“live from the Phoenix shower curtain studio after the kid went to bed…”
Hmmm. Has a certain (shower curtain) ring to to it. Bahahahah! 
“live from the Phoenix shower curtain studio after the kid went to bed…”
Hmmm. Has a certain (shower curtain) ring to to it. Bahahahah!
I used a nice heavy curtain in my basement bike shop to separate it from the utility area and preserve some heat. It worked pretty nice. I’d say heavy material would be acoustically helpful too.
Mine came from Ikea. Check their as-is and you might find just what you’re after?
Good to hear this, man. Ikea is a bit of a drive, but yeah–Recorded live in a shower in a Phoenix garage… 
I’m also going to look into hanging Xmas lights overhead. Ooh! And I think it would be crazy cool to turn the old GVR4 backseat in the rafters into a couch one day…
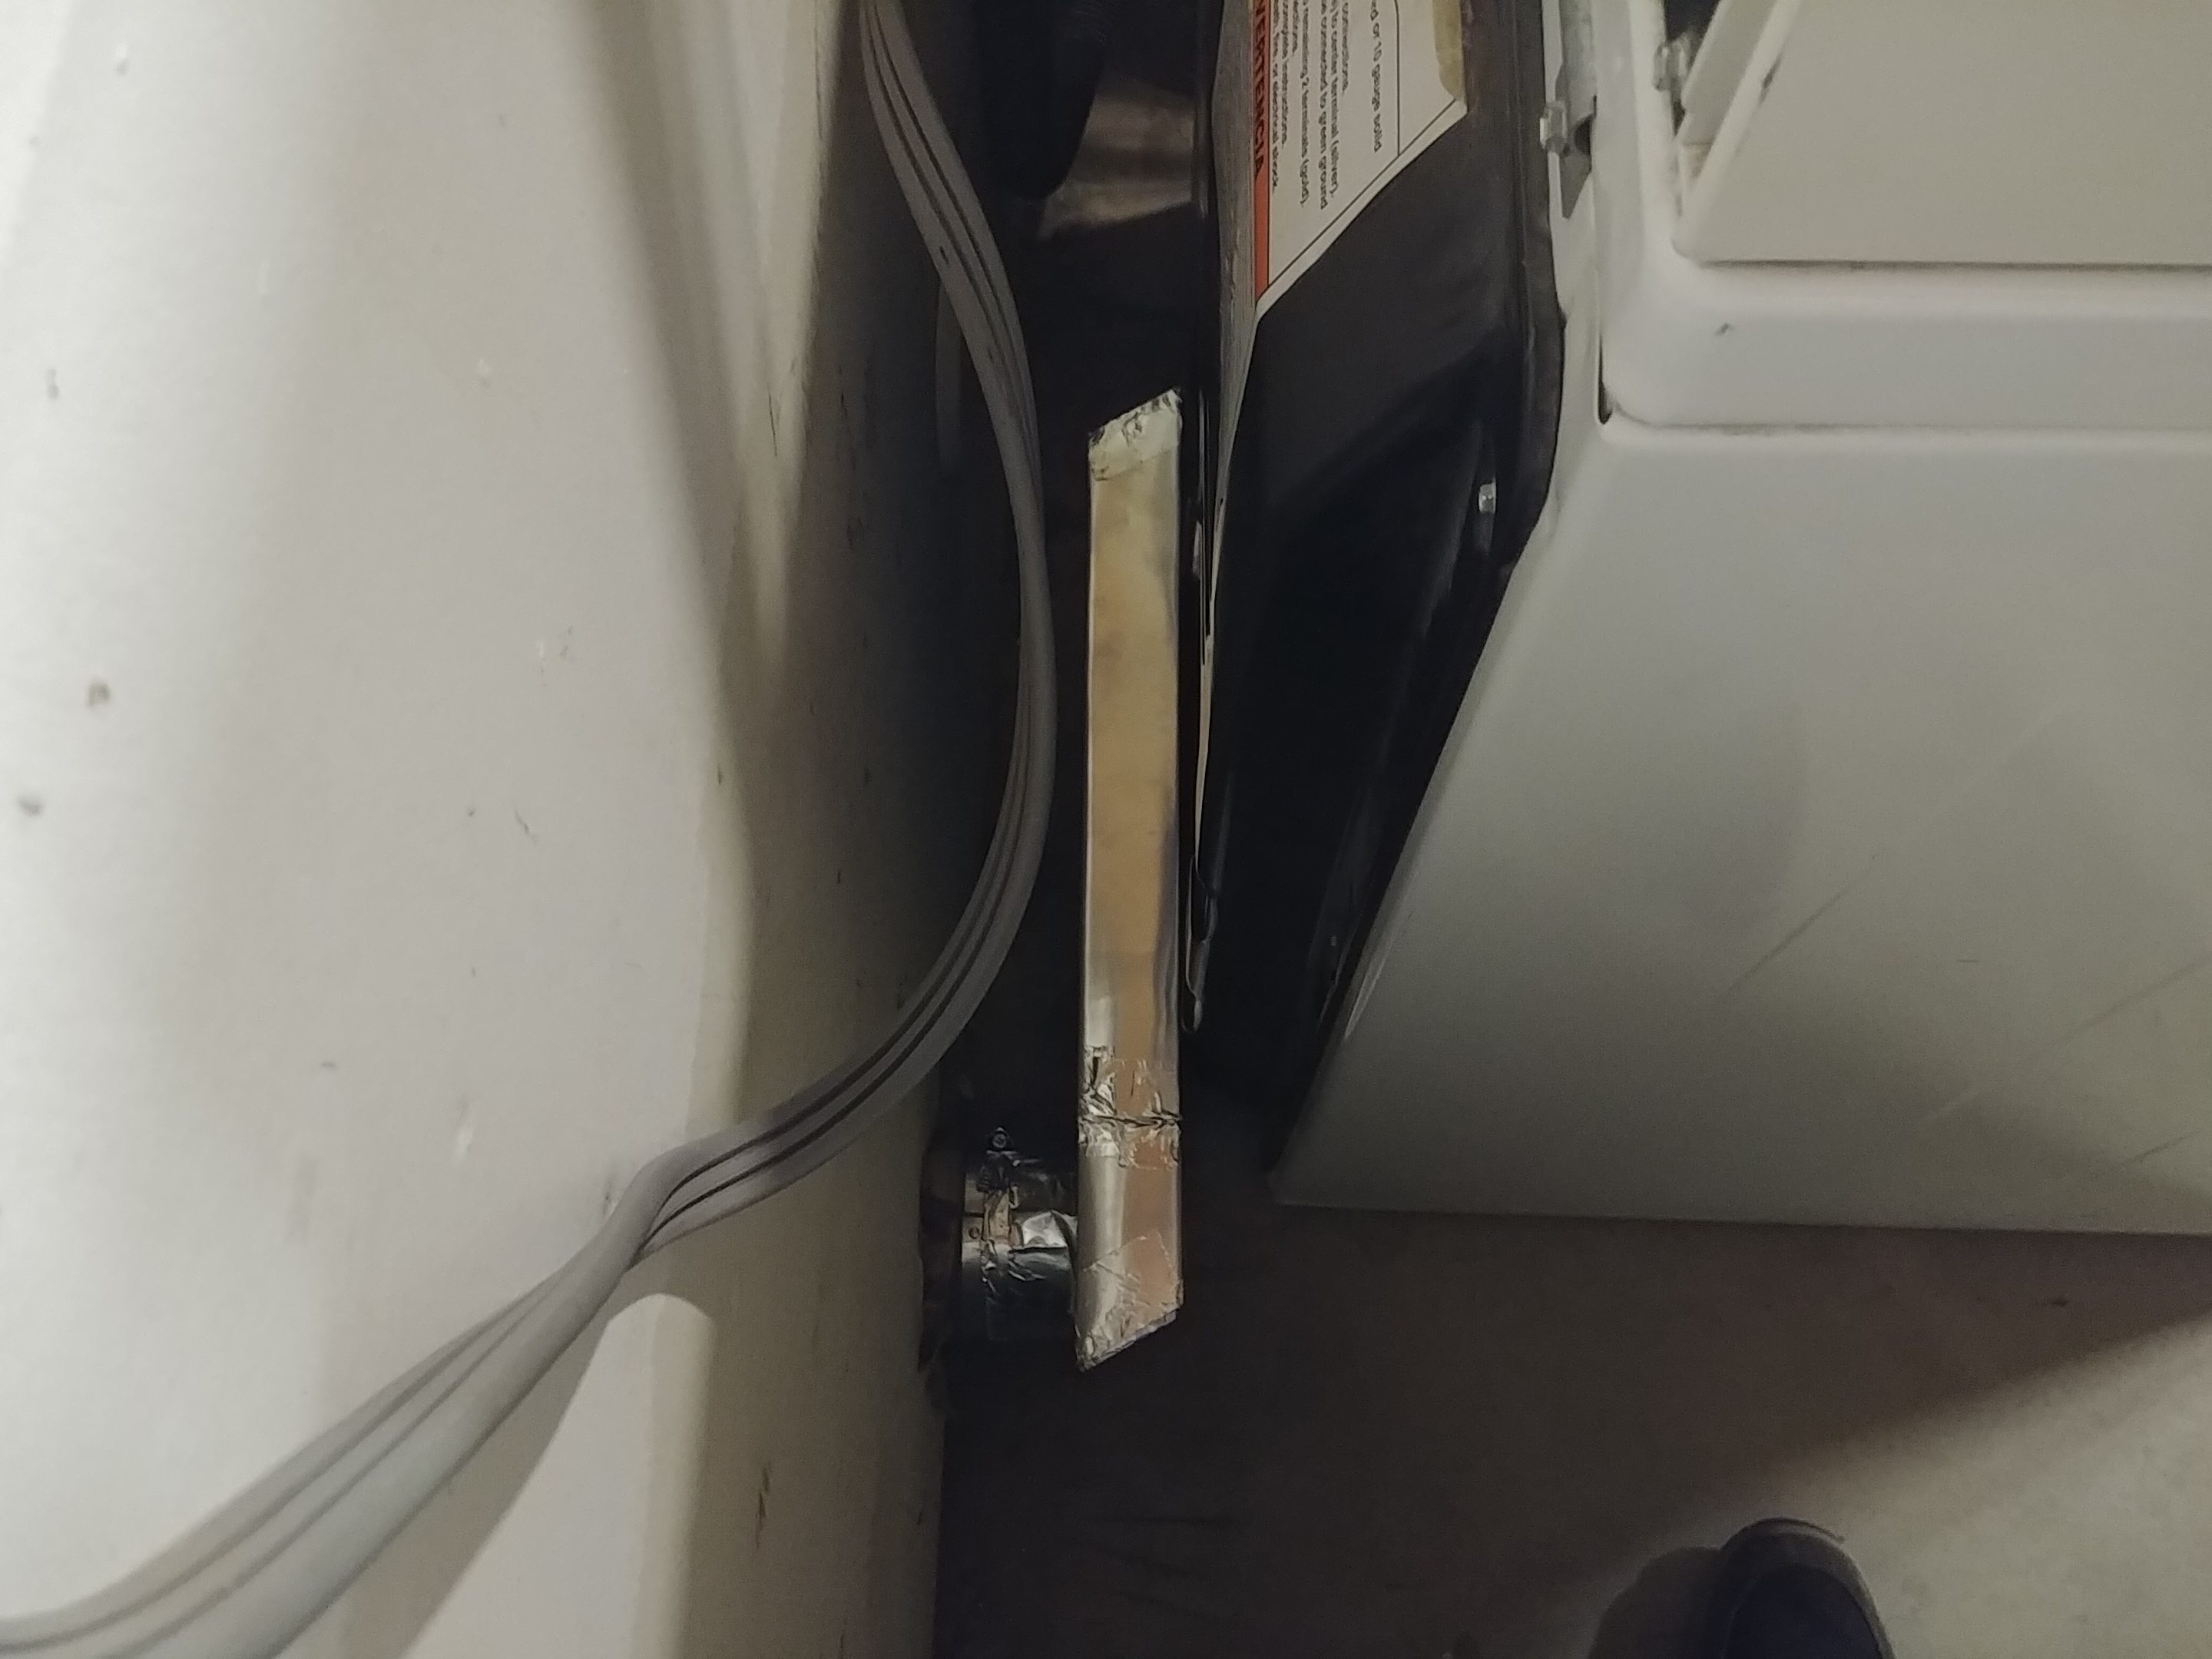
Finally got the periscope dryer duct installed. I had to modify it. And the dryer outlet. And install it backwards, but it’s finished.
Required a Dremel cutting wheel, tin snips, foil tape, a pair of 4" hose clamps, and a funkload of expletives, but it’s done.
Next, we move to shelving construction.
Honestly, hanging some heavish curtains can provide some sound absorption and blocking. Recording studios also use blankets in this way.
That’s what I’m thinking. I could hang them around a small space for myself, or both sides of the desk for a group. If I could get them in green, might be nice for future video work.
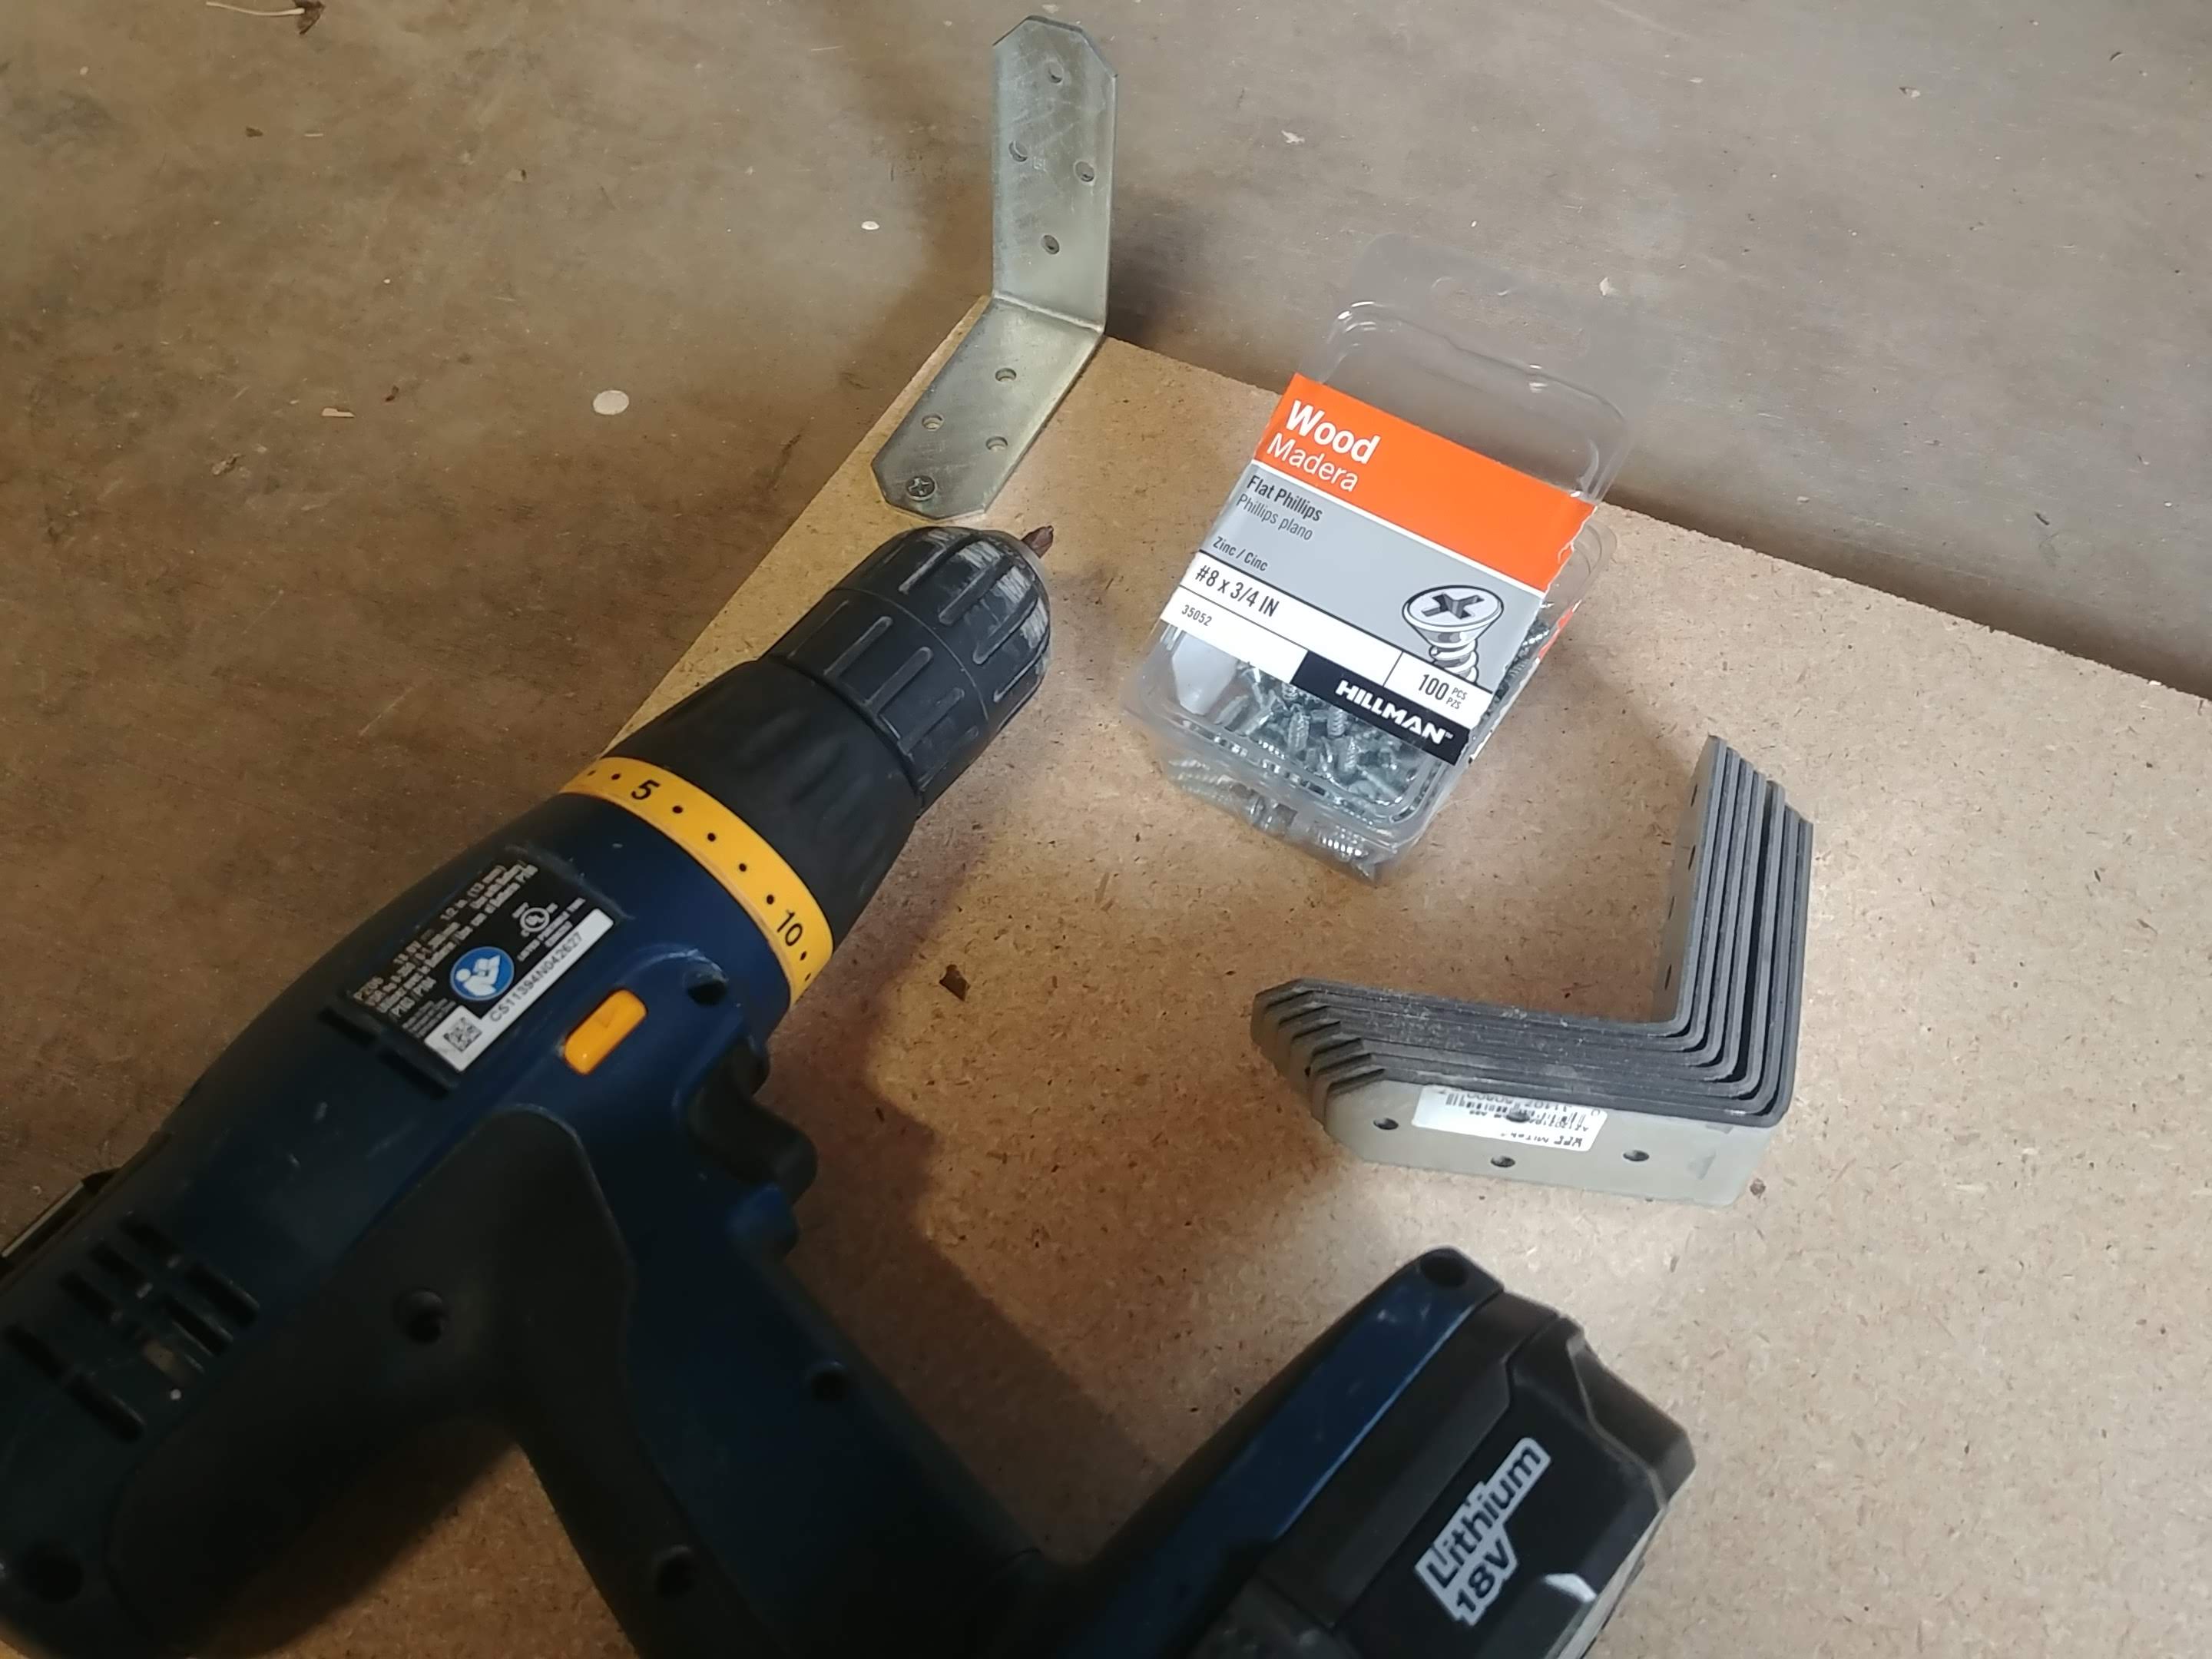
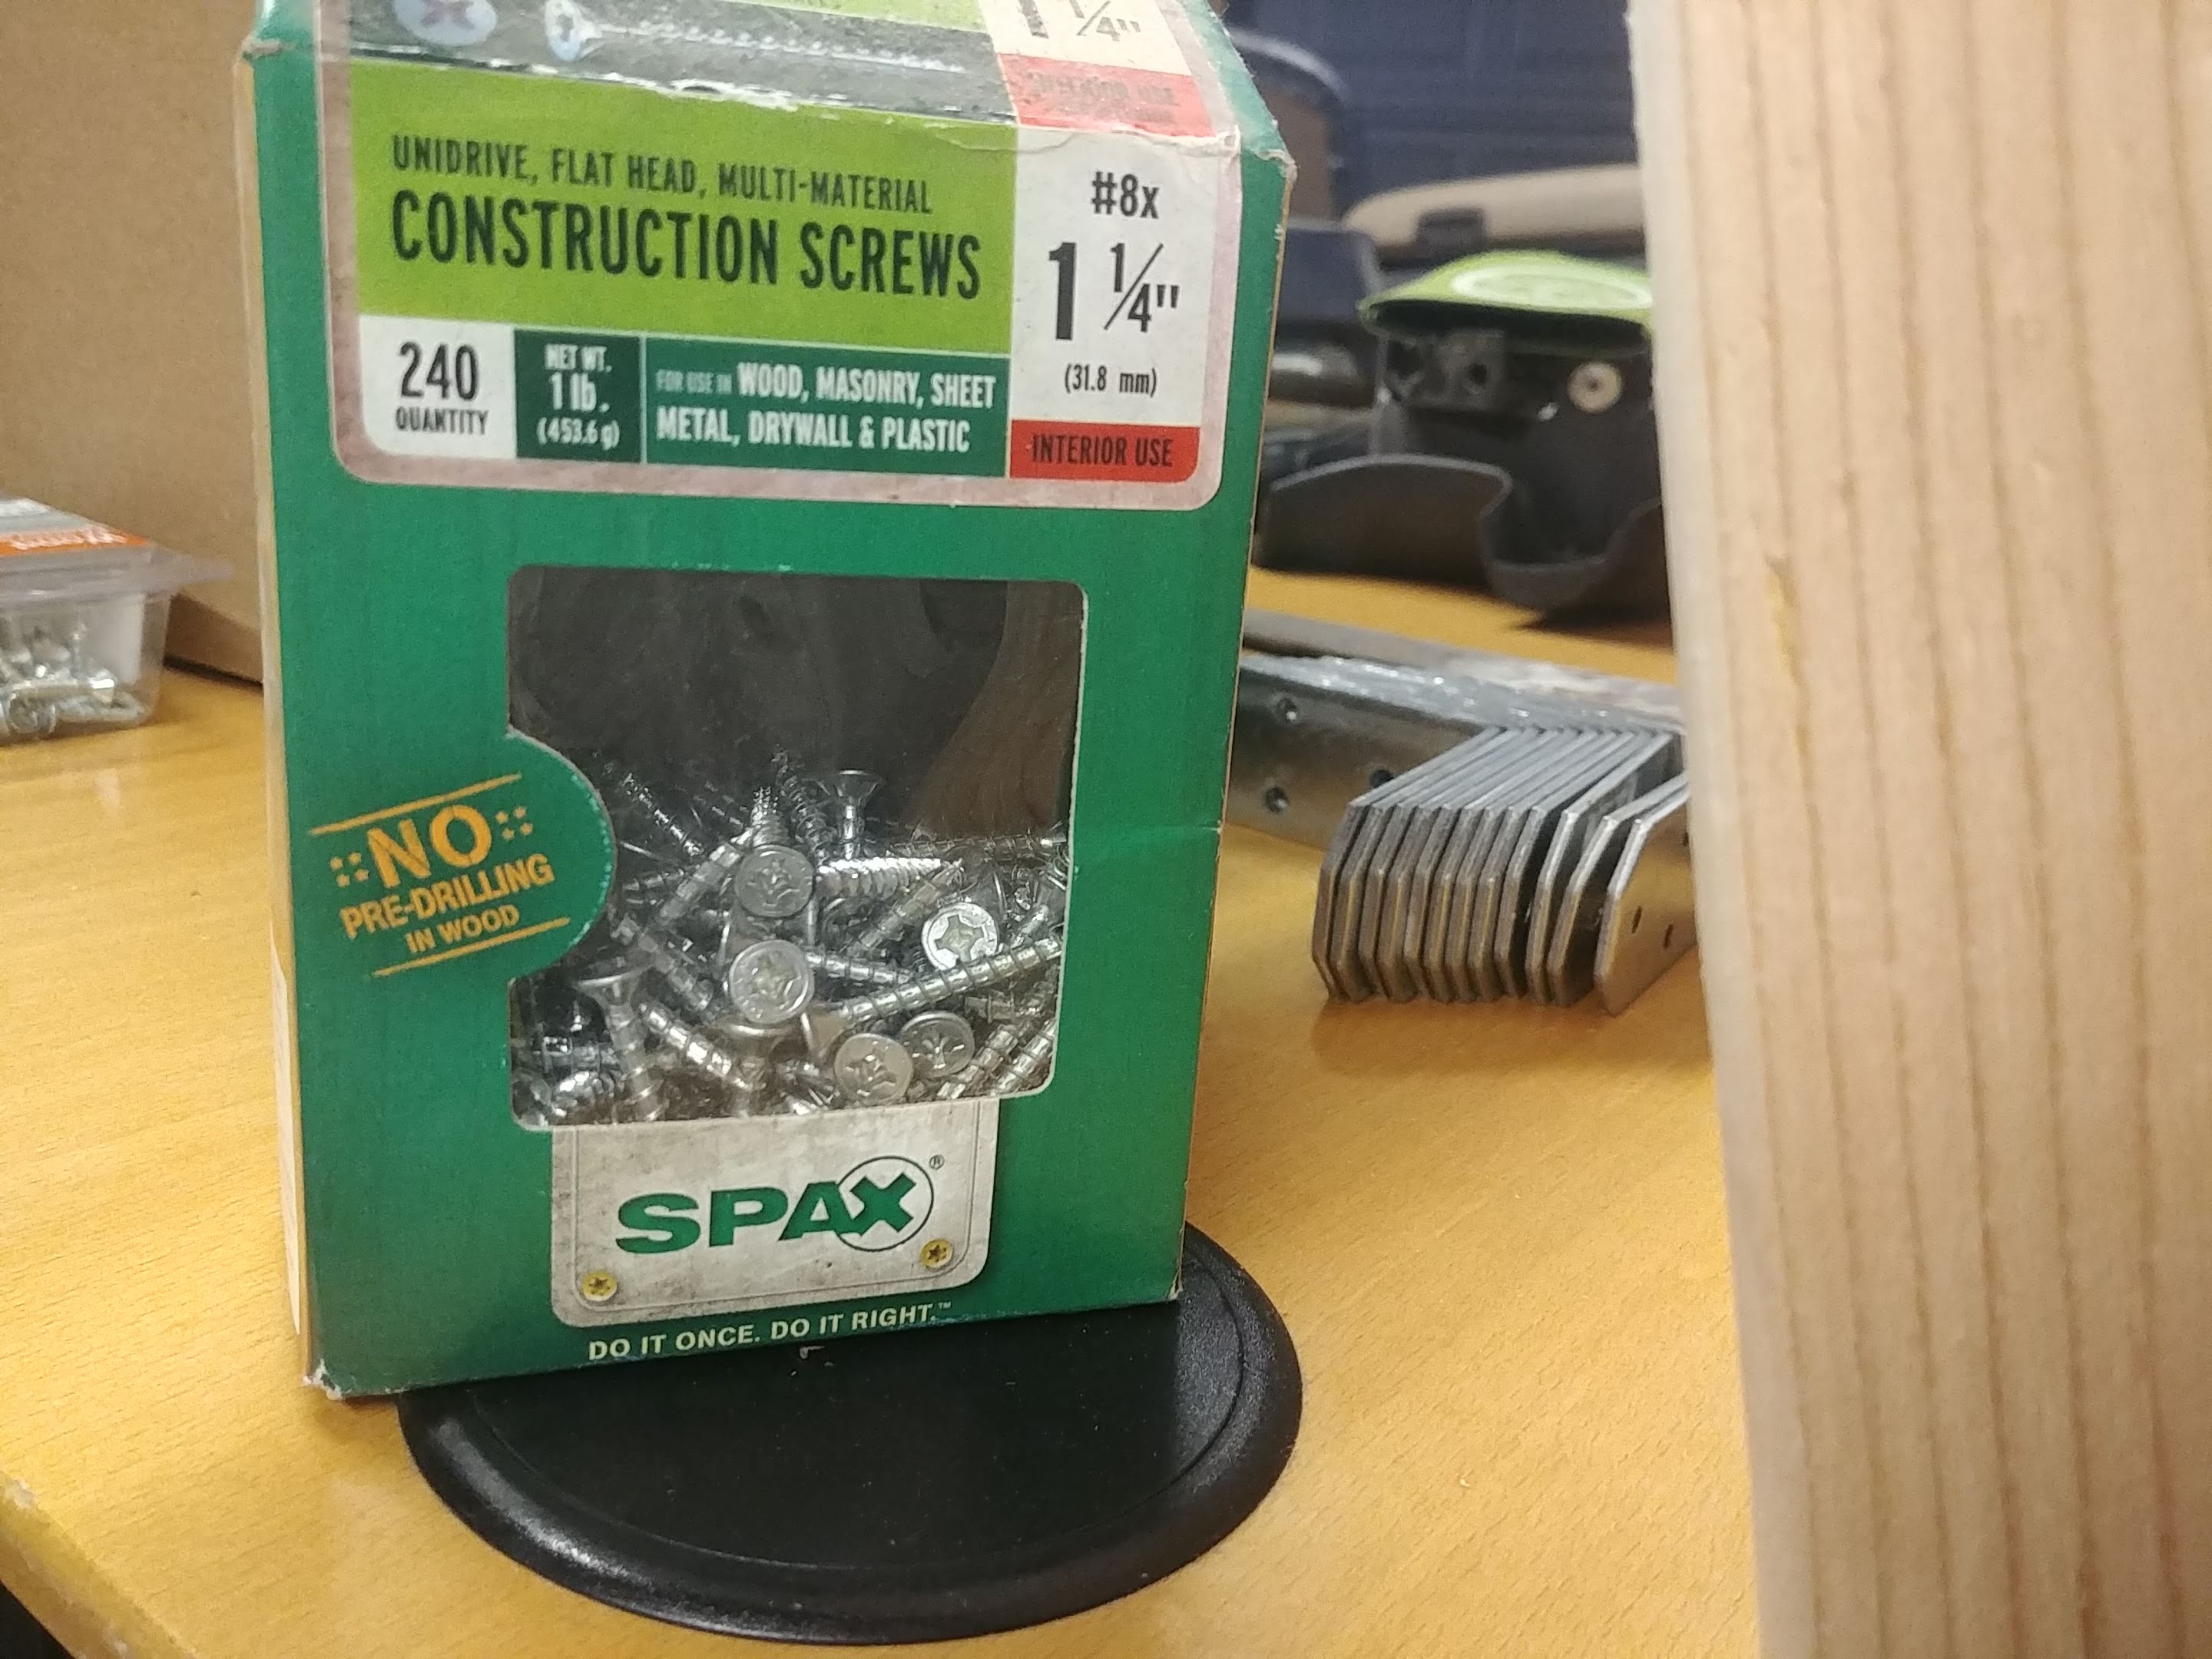
I started out with almost $40 worth of these little “90°” brackets which were more like 100°. They ended up ripping screws right out of the cheap-for-a-reason particle board I selected for the shelves themselves.
I took them all back.
PS: This entire thing was largely eyeballed. I do not have any precision woodworking tools and did not want to pursue access to same.
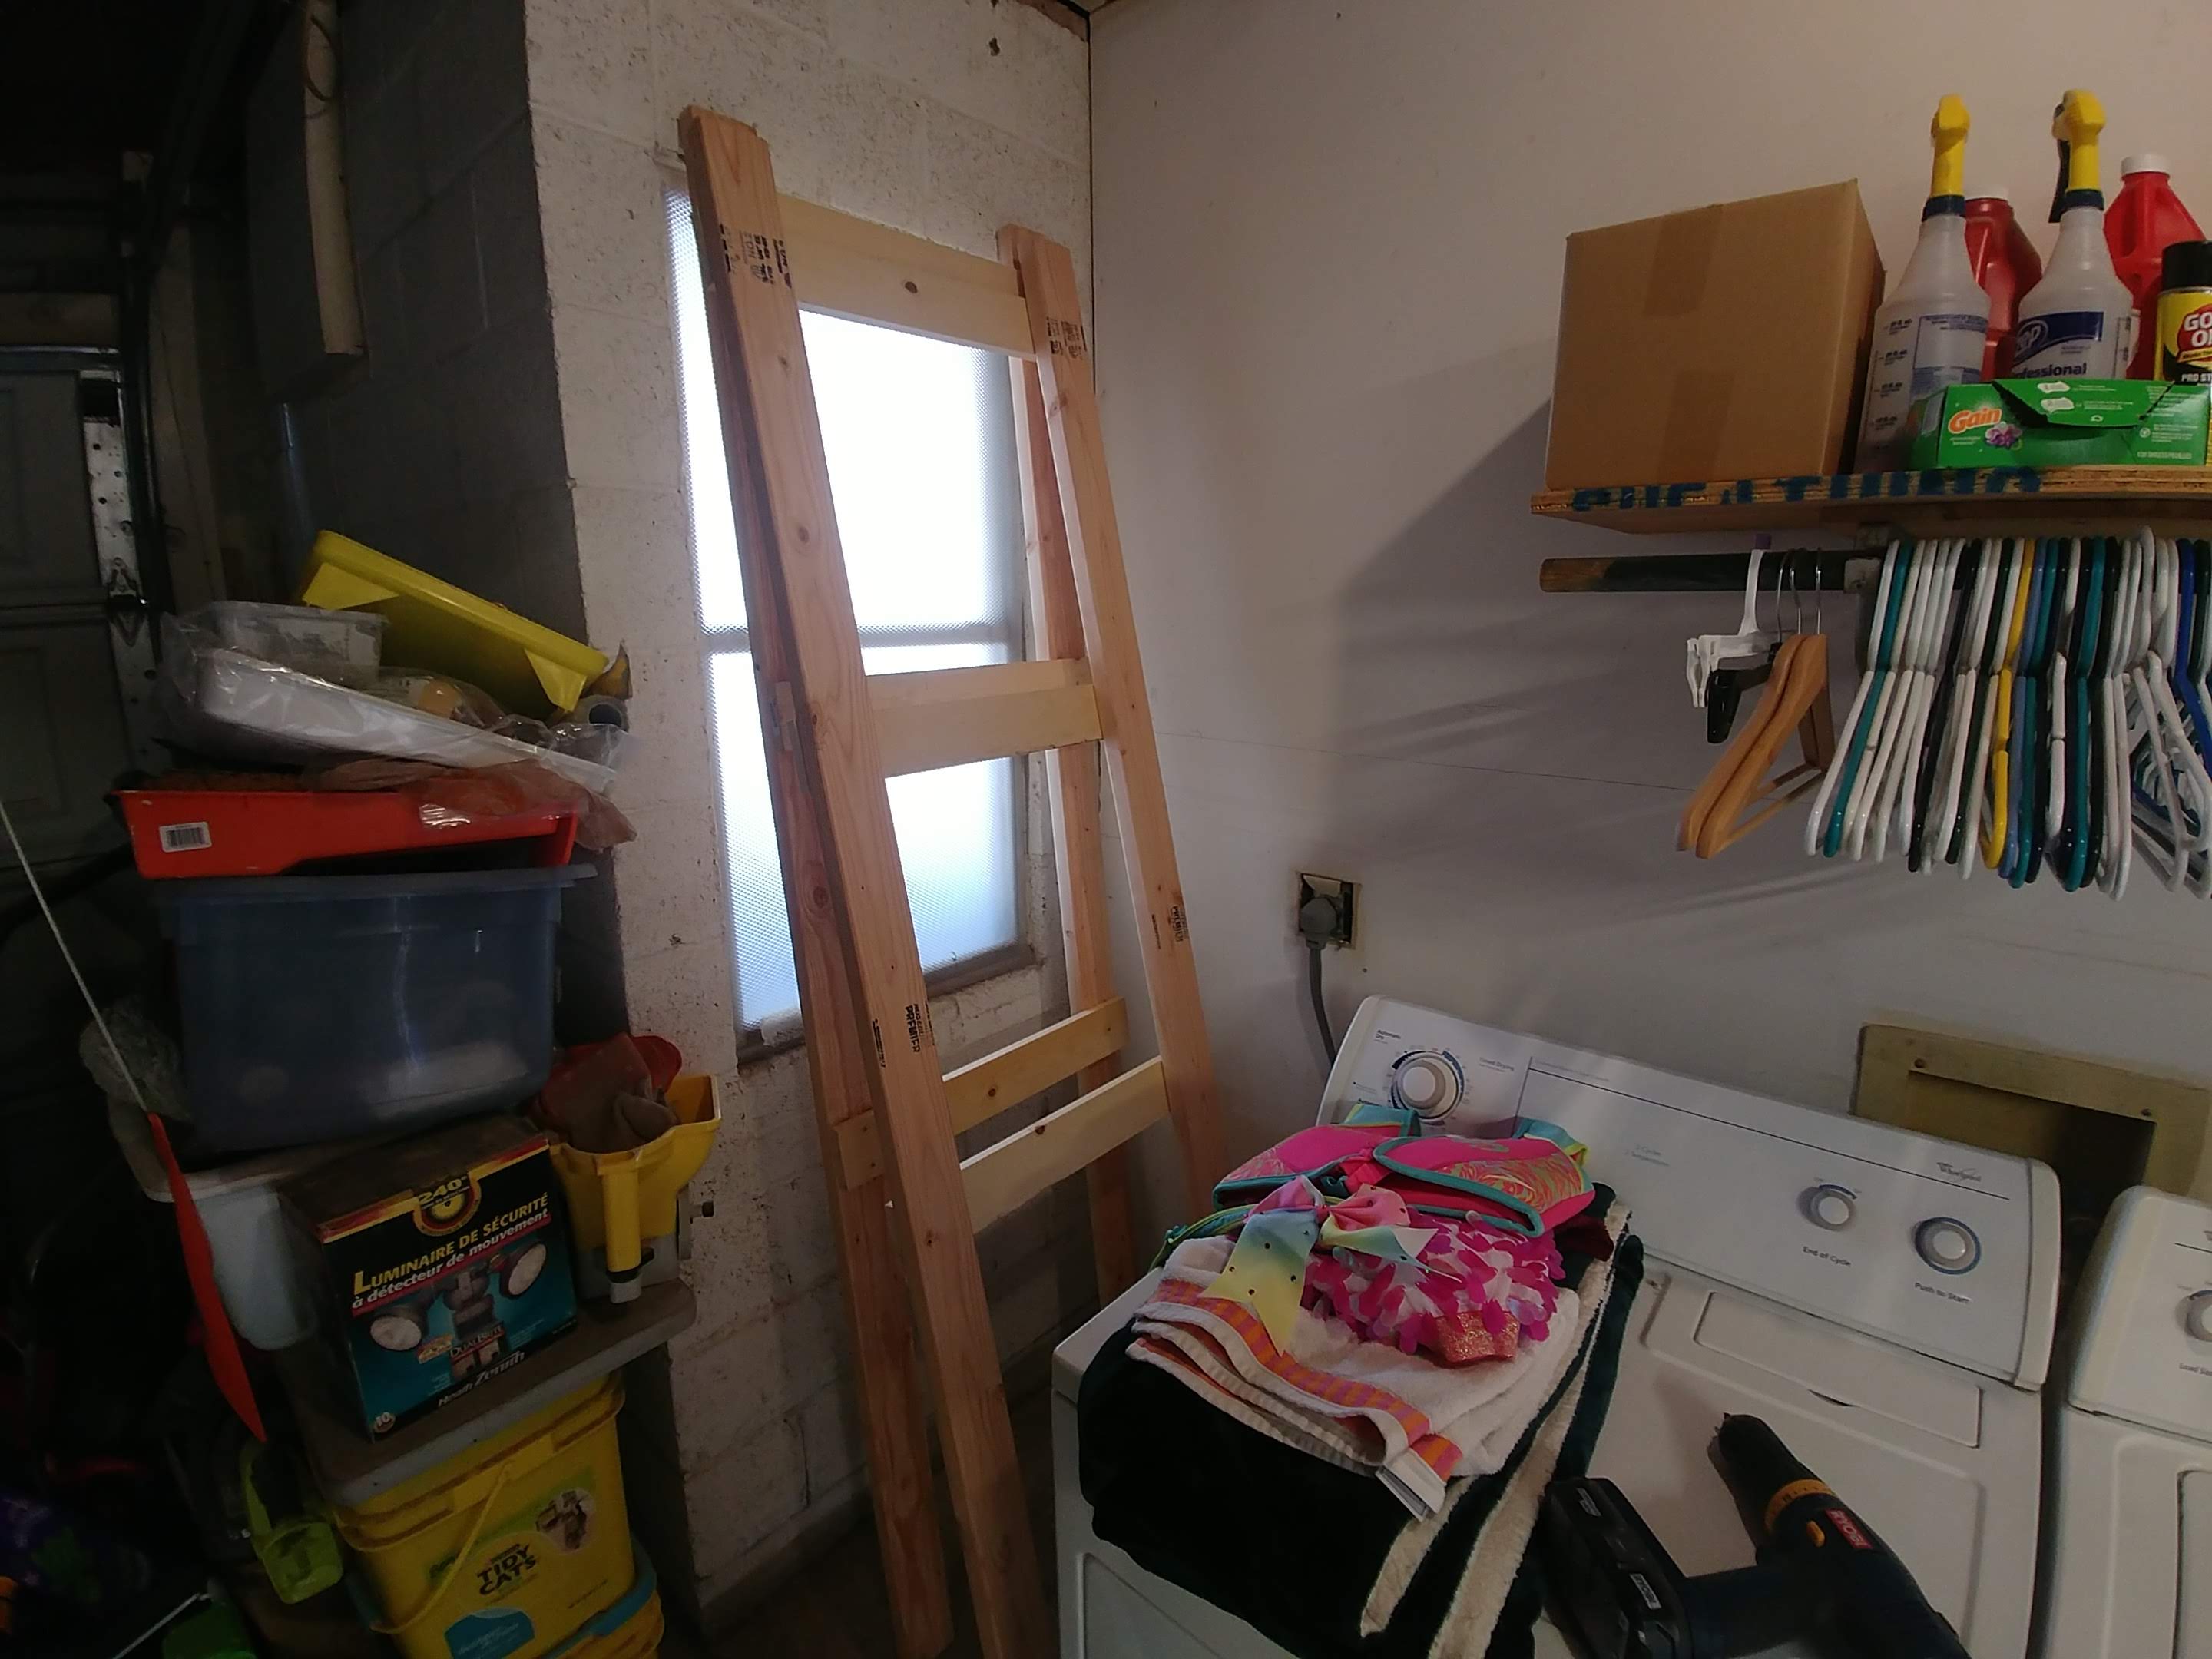
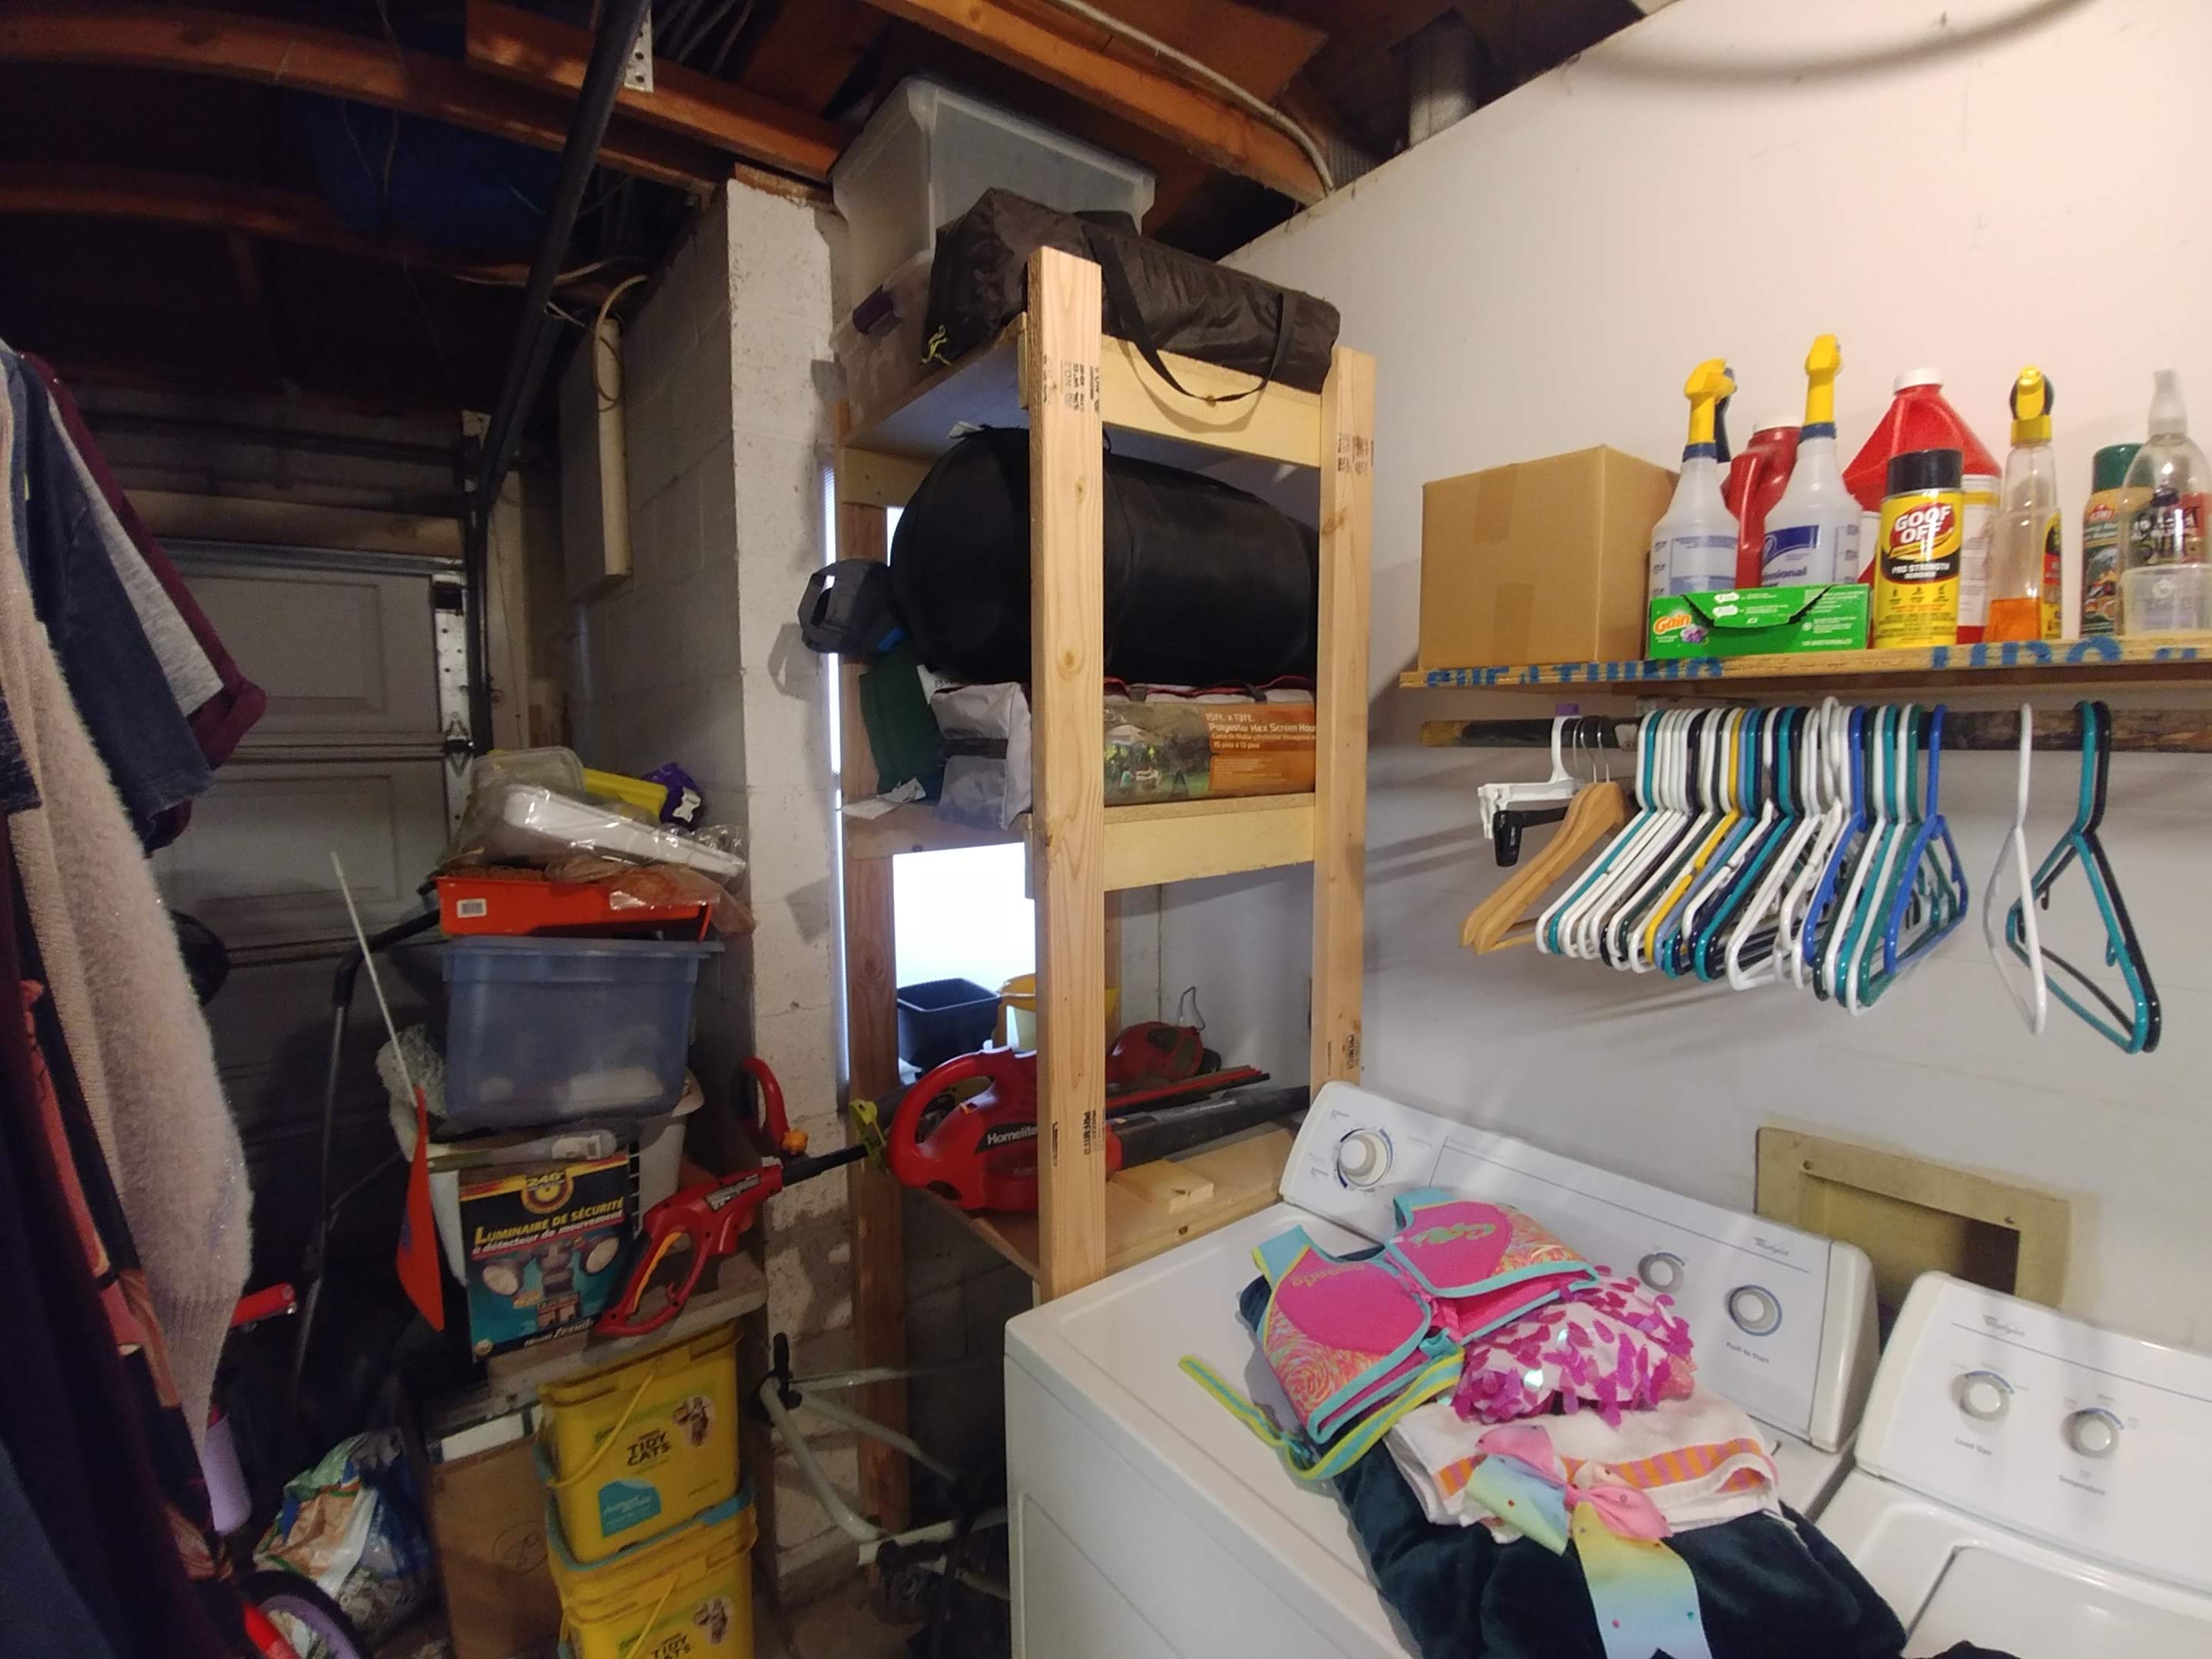
I cut up some leftover 1x4(?) I had laying around to make basic shelf rails.
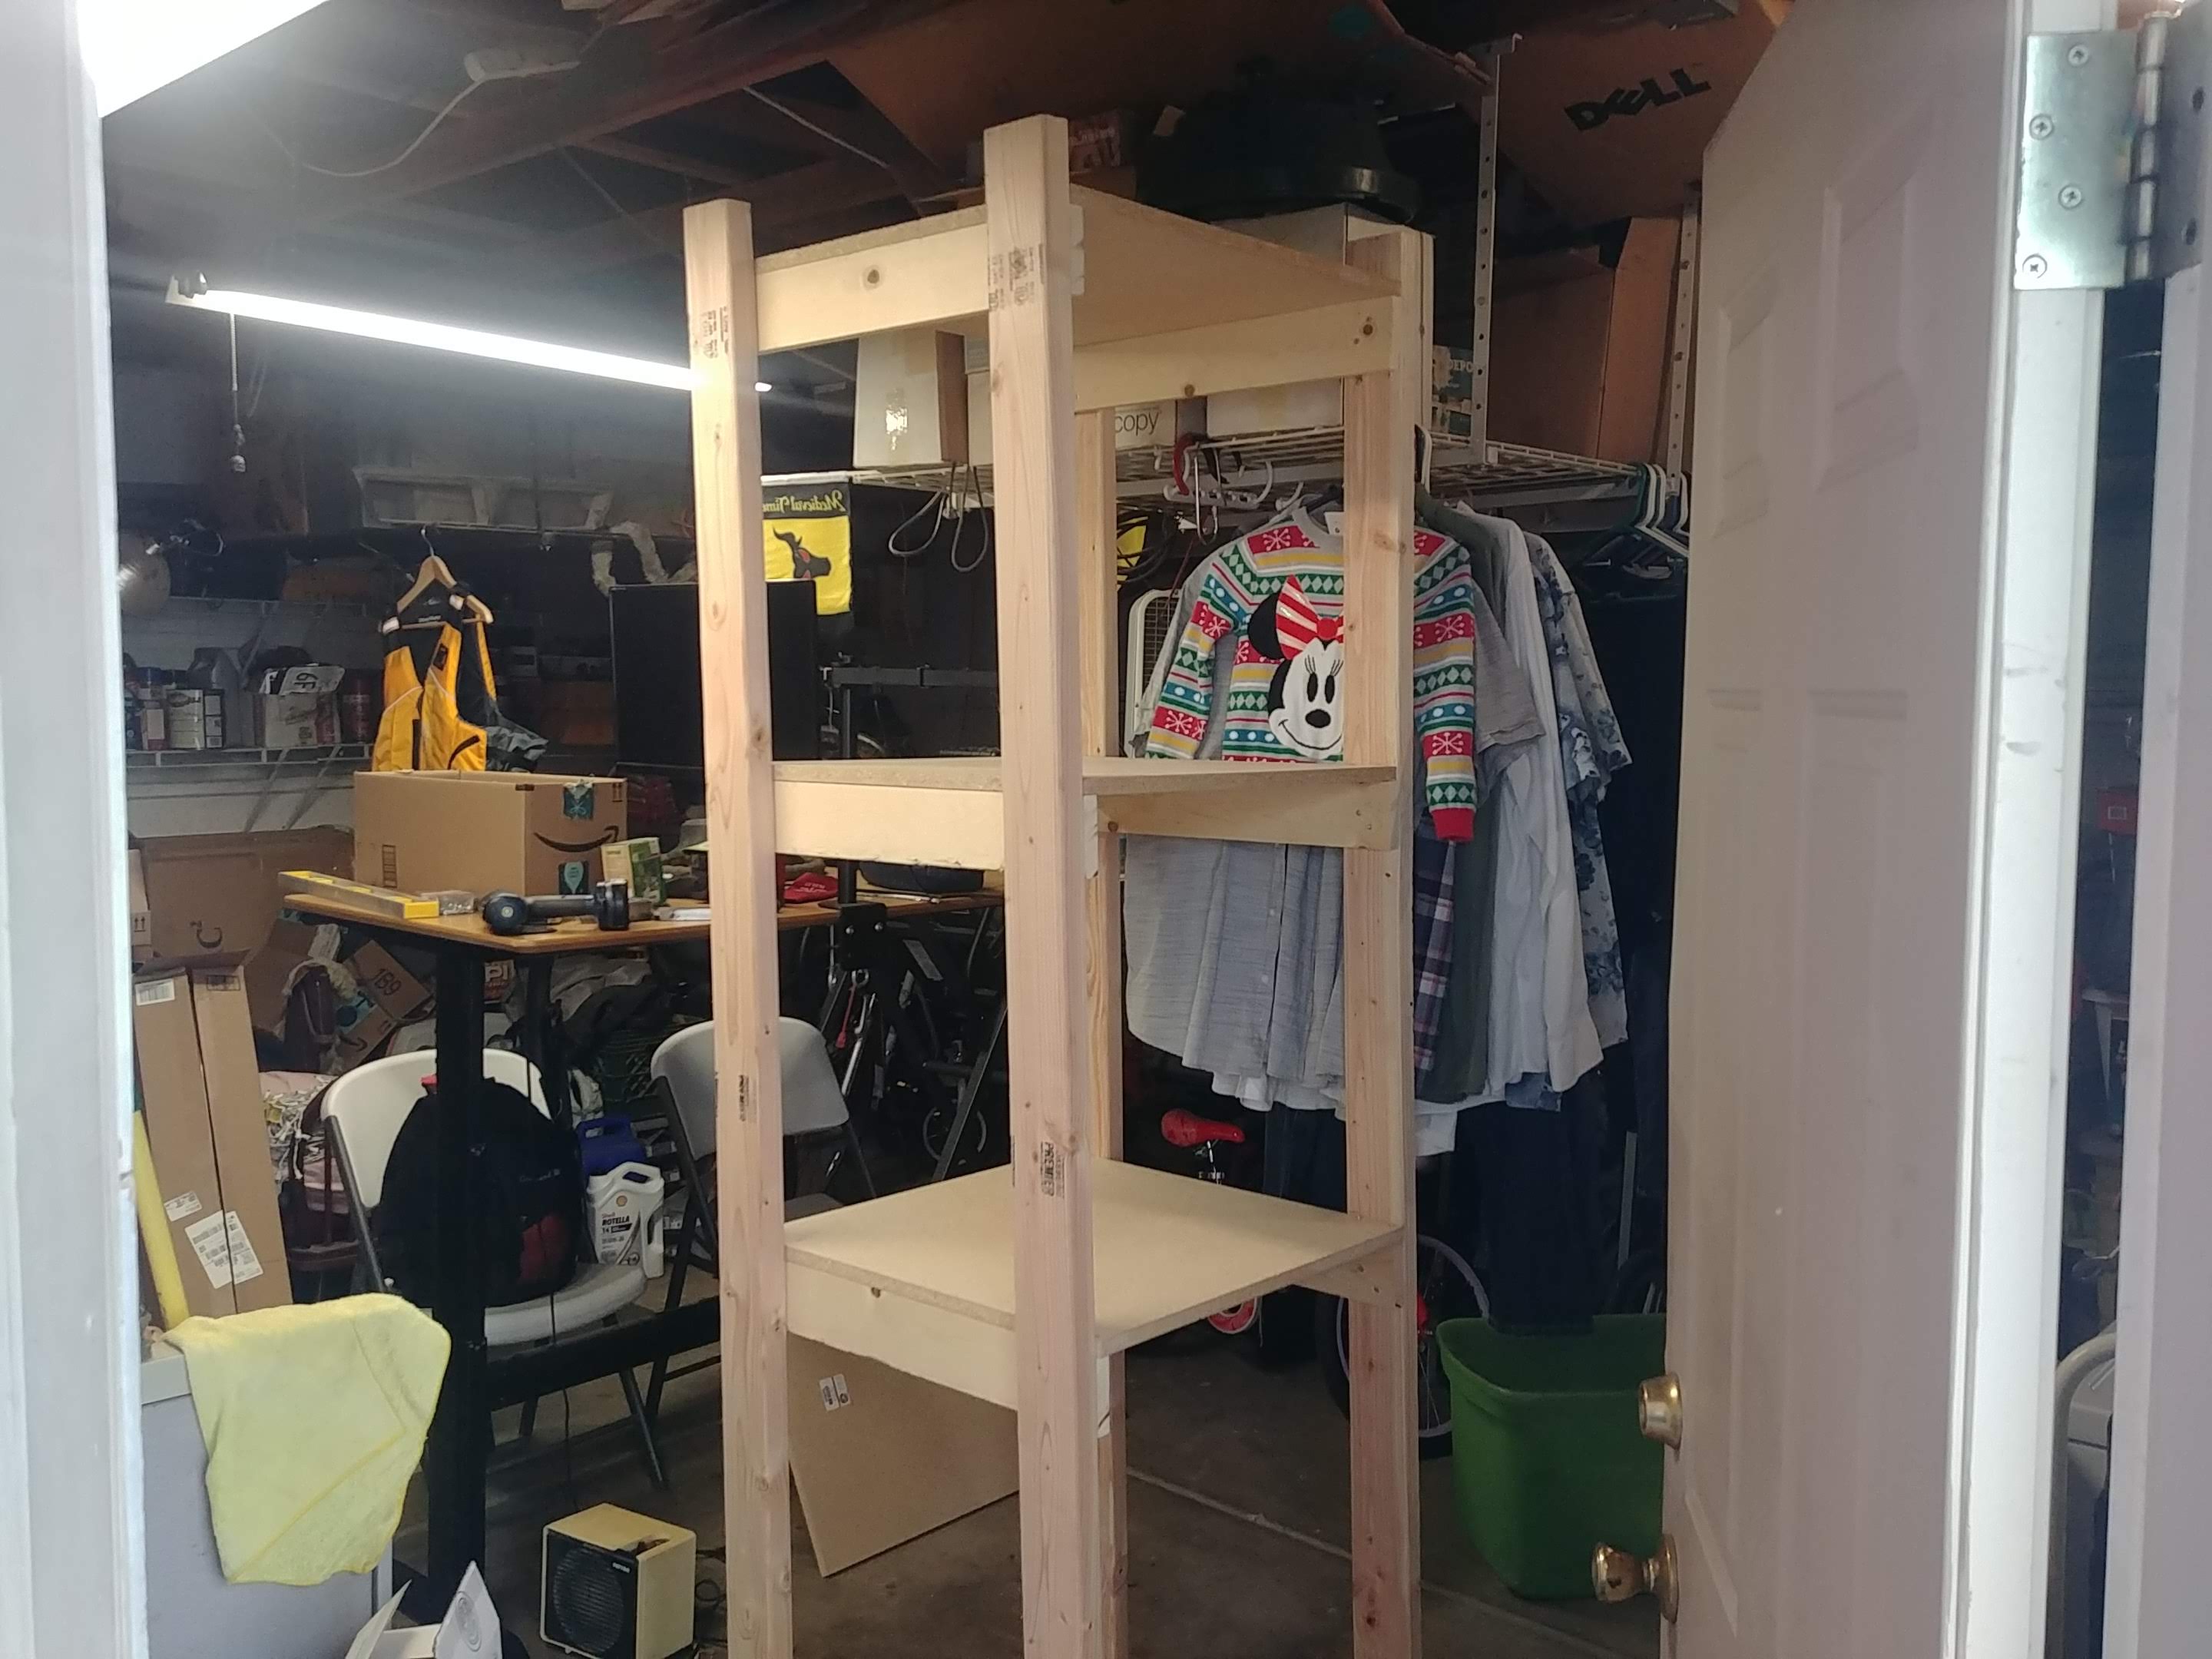
Here’s the semi-final shelf stood up on its own. (It’s a six-footer.) It wants to wobble a bit so I’ll need to add some bracing, but it’s close enough for government work so I’ll take it.
Looks pretty nice loaded up like this! 
Man, this is gonna suck…
…but, man, will it be worth it.
Not entirely sure what I’m doing here. I just know it starts with cleaning. A whole lot of cleaning.
Then probably a shelf overhead and peg board against the wall.
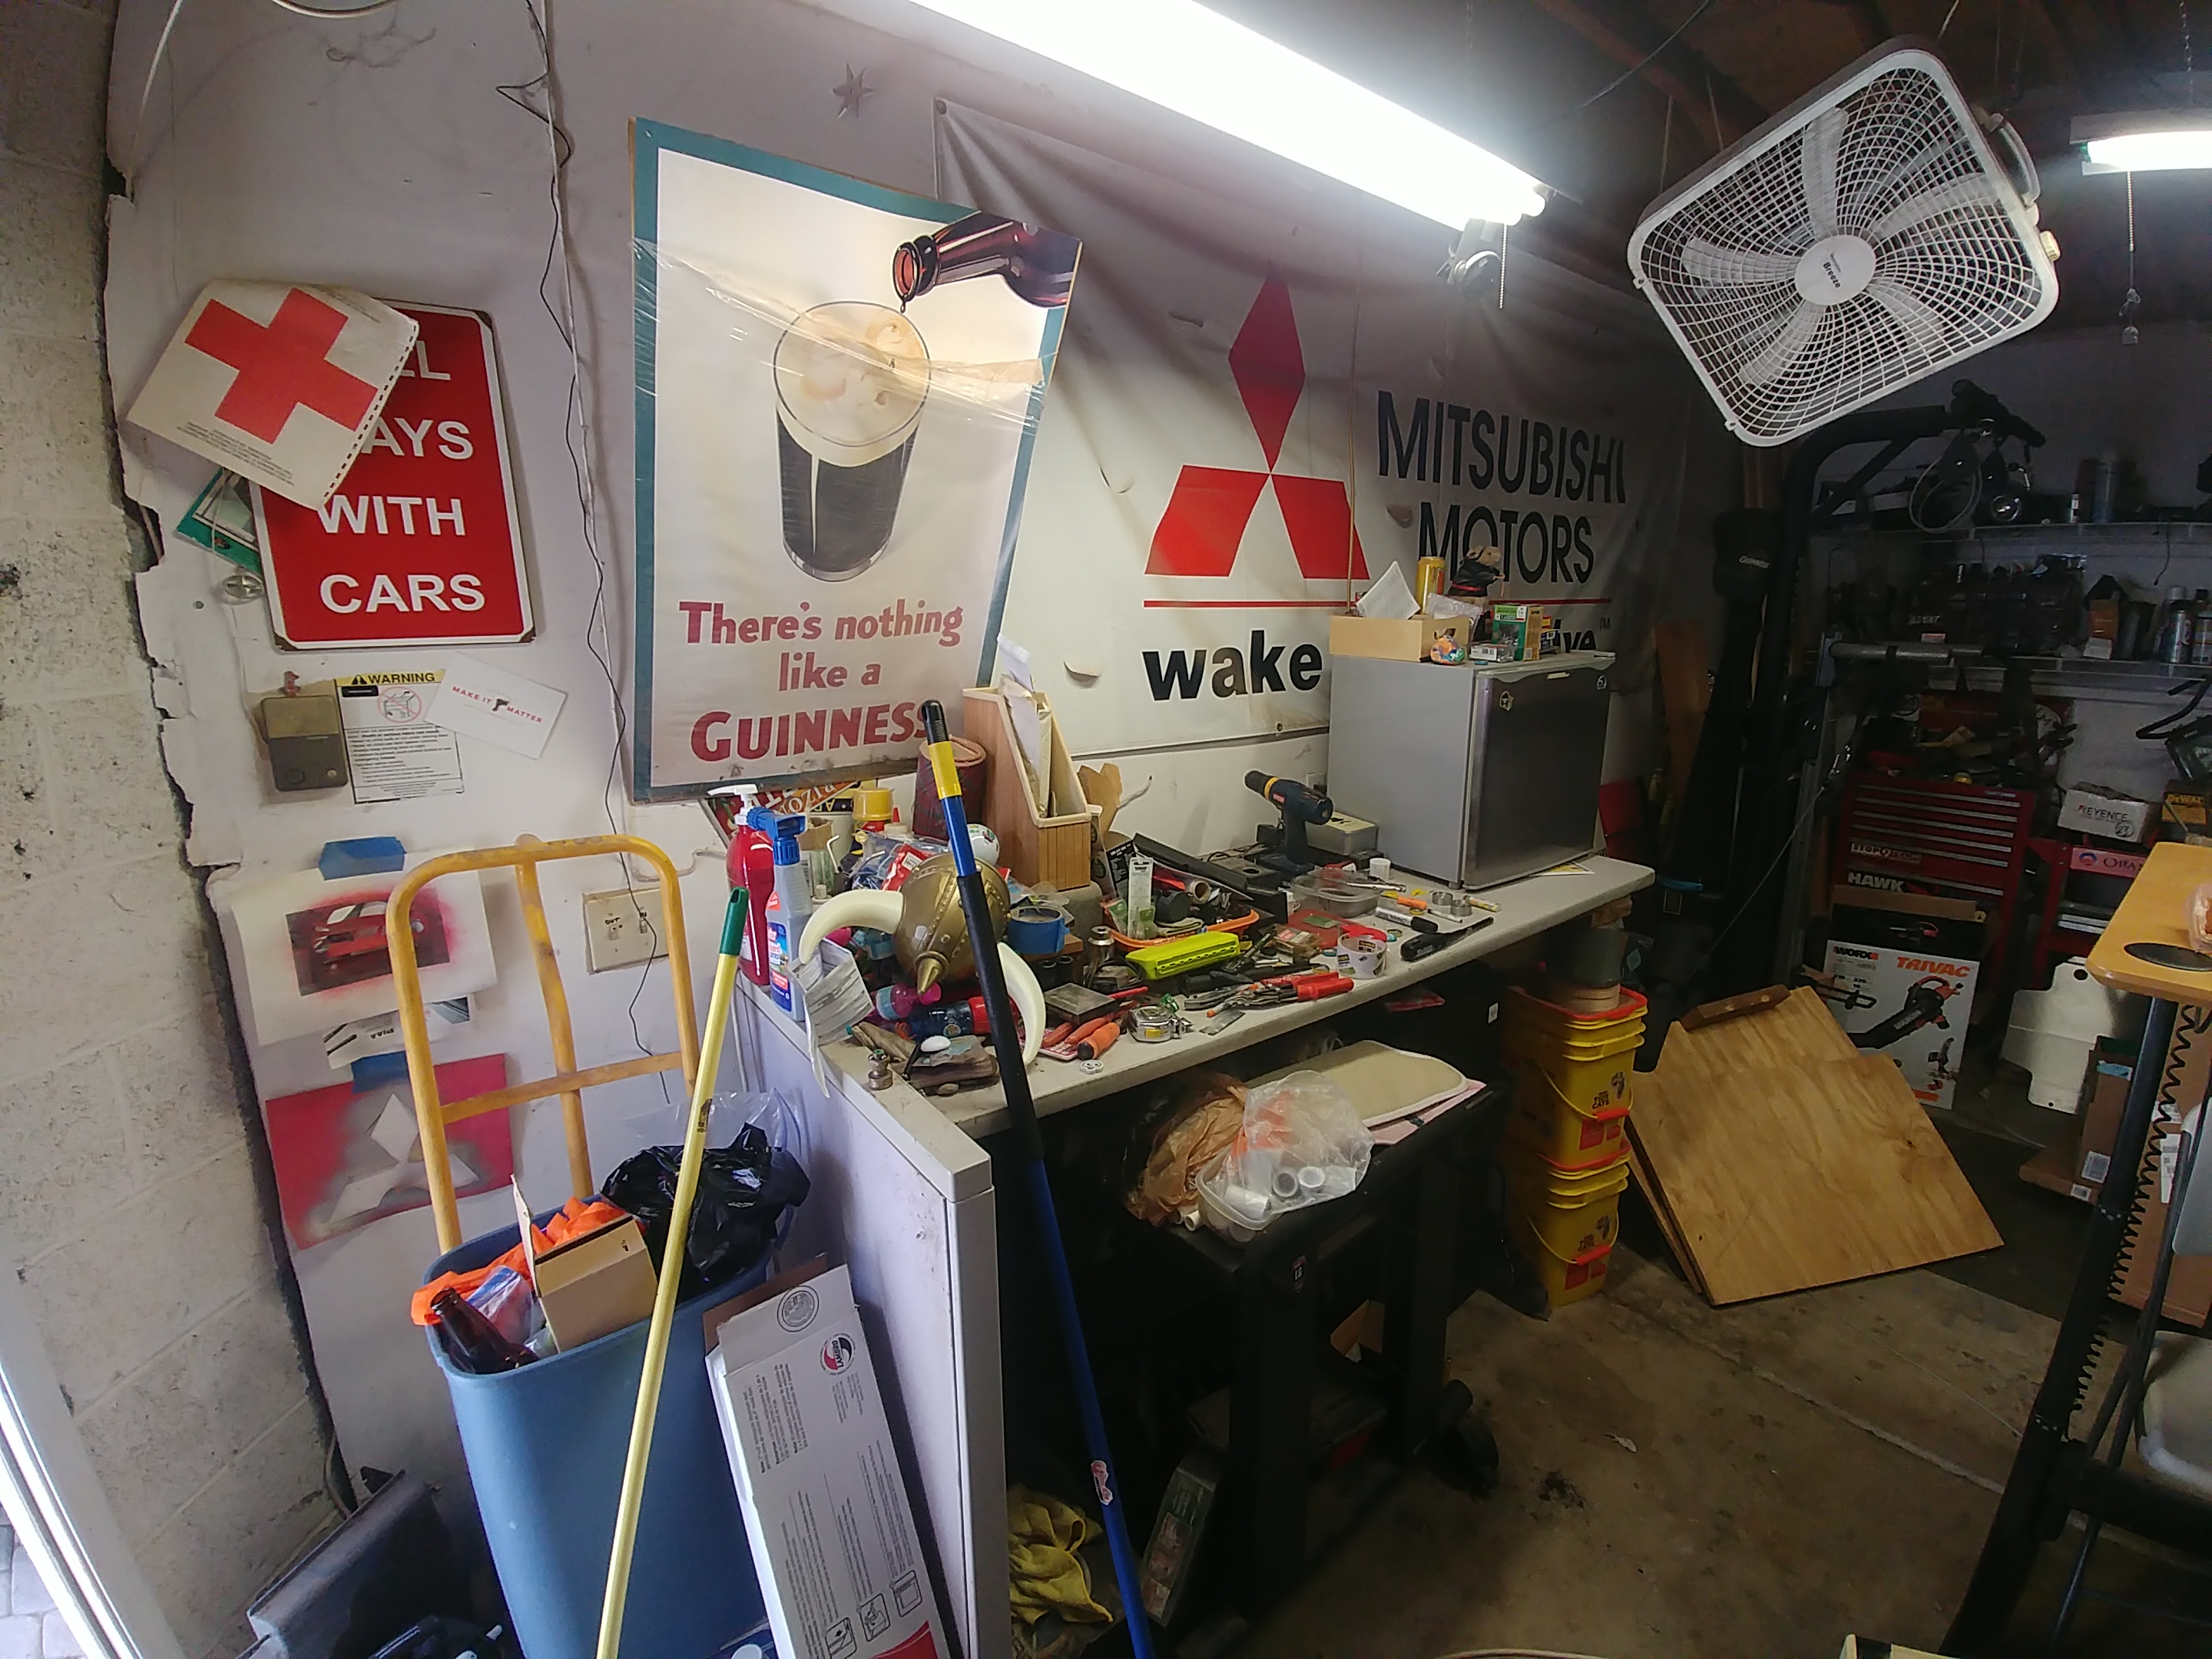
Anyone want a giant, wake up and drive banner?
Been obsessing over these for a while: https://amzn.to/2xbuCJ5. Surprisingly not that much more than the composite panels Homey-D sells when you factor in the included goodies (and the completely eliminated frustration of dealing with those composite panels).
How thick is that banner? Any chance you can mount it overhead facing down and stick bulbs behind it to make it a light? 
Speaking of Homey-D, I assume you’ve already found the purple pile for cheap lumber? A little extra digging and you can score a ton of 70% off “straight enough” boards.
I’d love the banner but I fear the cost of shipping it would be prohibitive!
Progress @Brian no matter how small, is progress. I had to get rid of a lot of stuff to make any headway. And I’m not finished yet.
Banner is pretty thick, Chazz. It’s one of those vented jobs they used to stand up alongside race tracks. Neat idea, though.
Phil, if you’re going to be in the country, maybe I could mail it to one of the people you’re visiting? Looks like USPS flat rate to Canada starts at US$30, so not that bad.
Cox tech just left. Turns out the cable between my panel and V’s office is causing so much noise ingress they’ve been testing half the houses on the block trying to figure out who’s pissing off the network.
Tech left me with a preterminated line, but I’ve got to remove my entire workbench to get to the wall outlet.
Good thing I was planning on cleaning things up today…
Six months later…
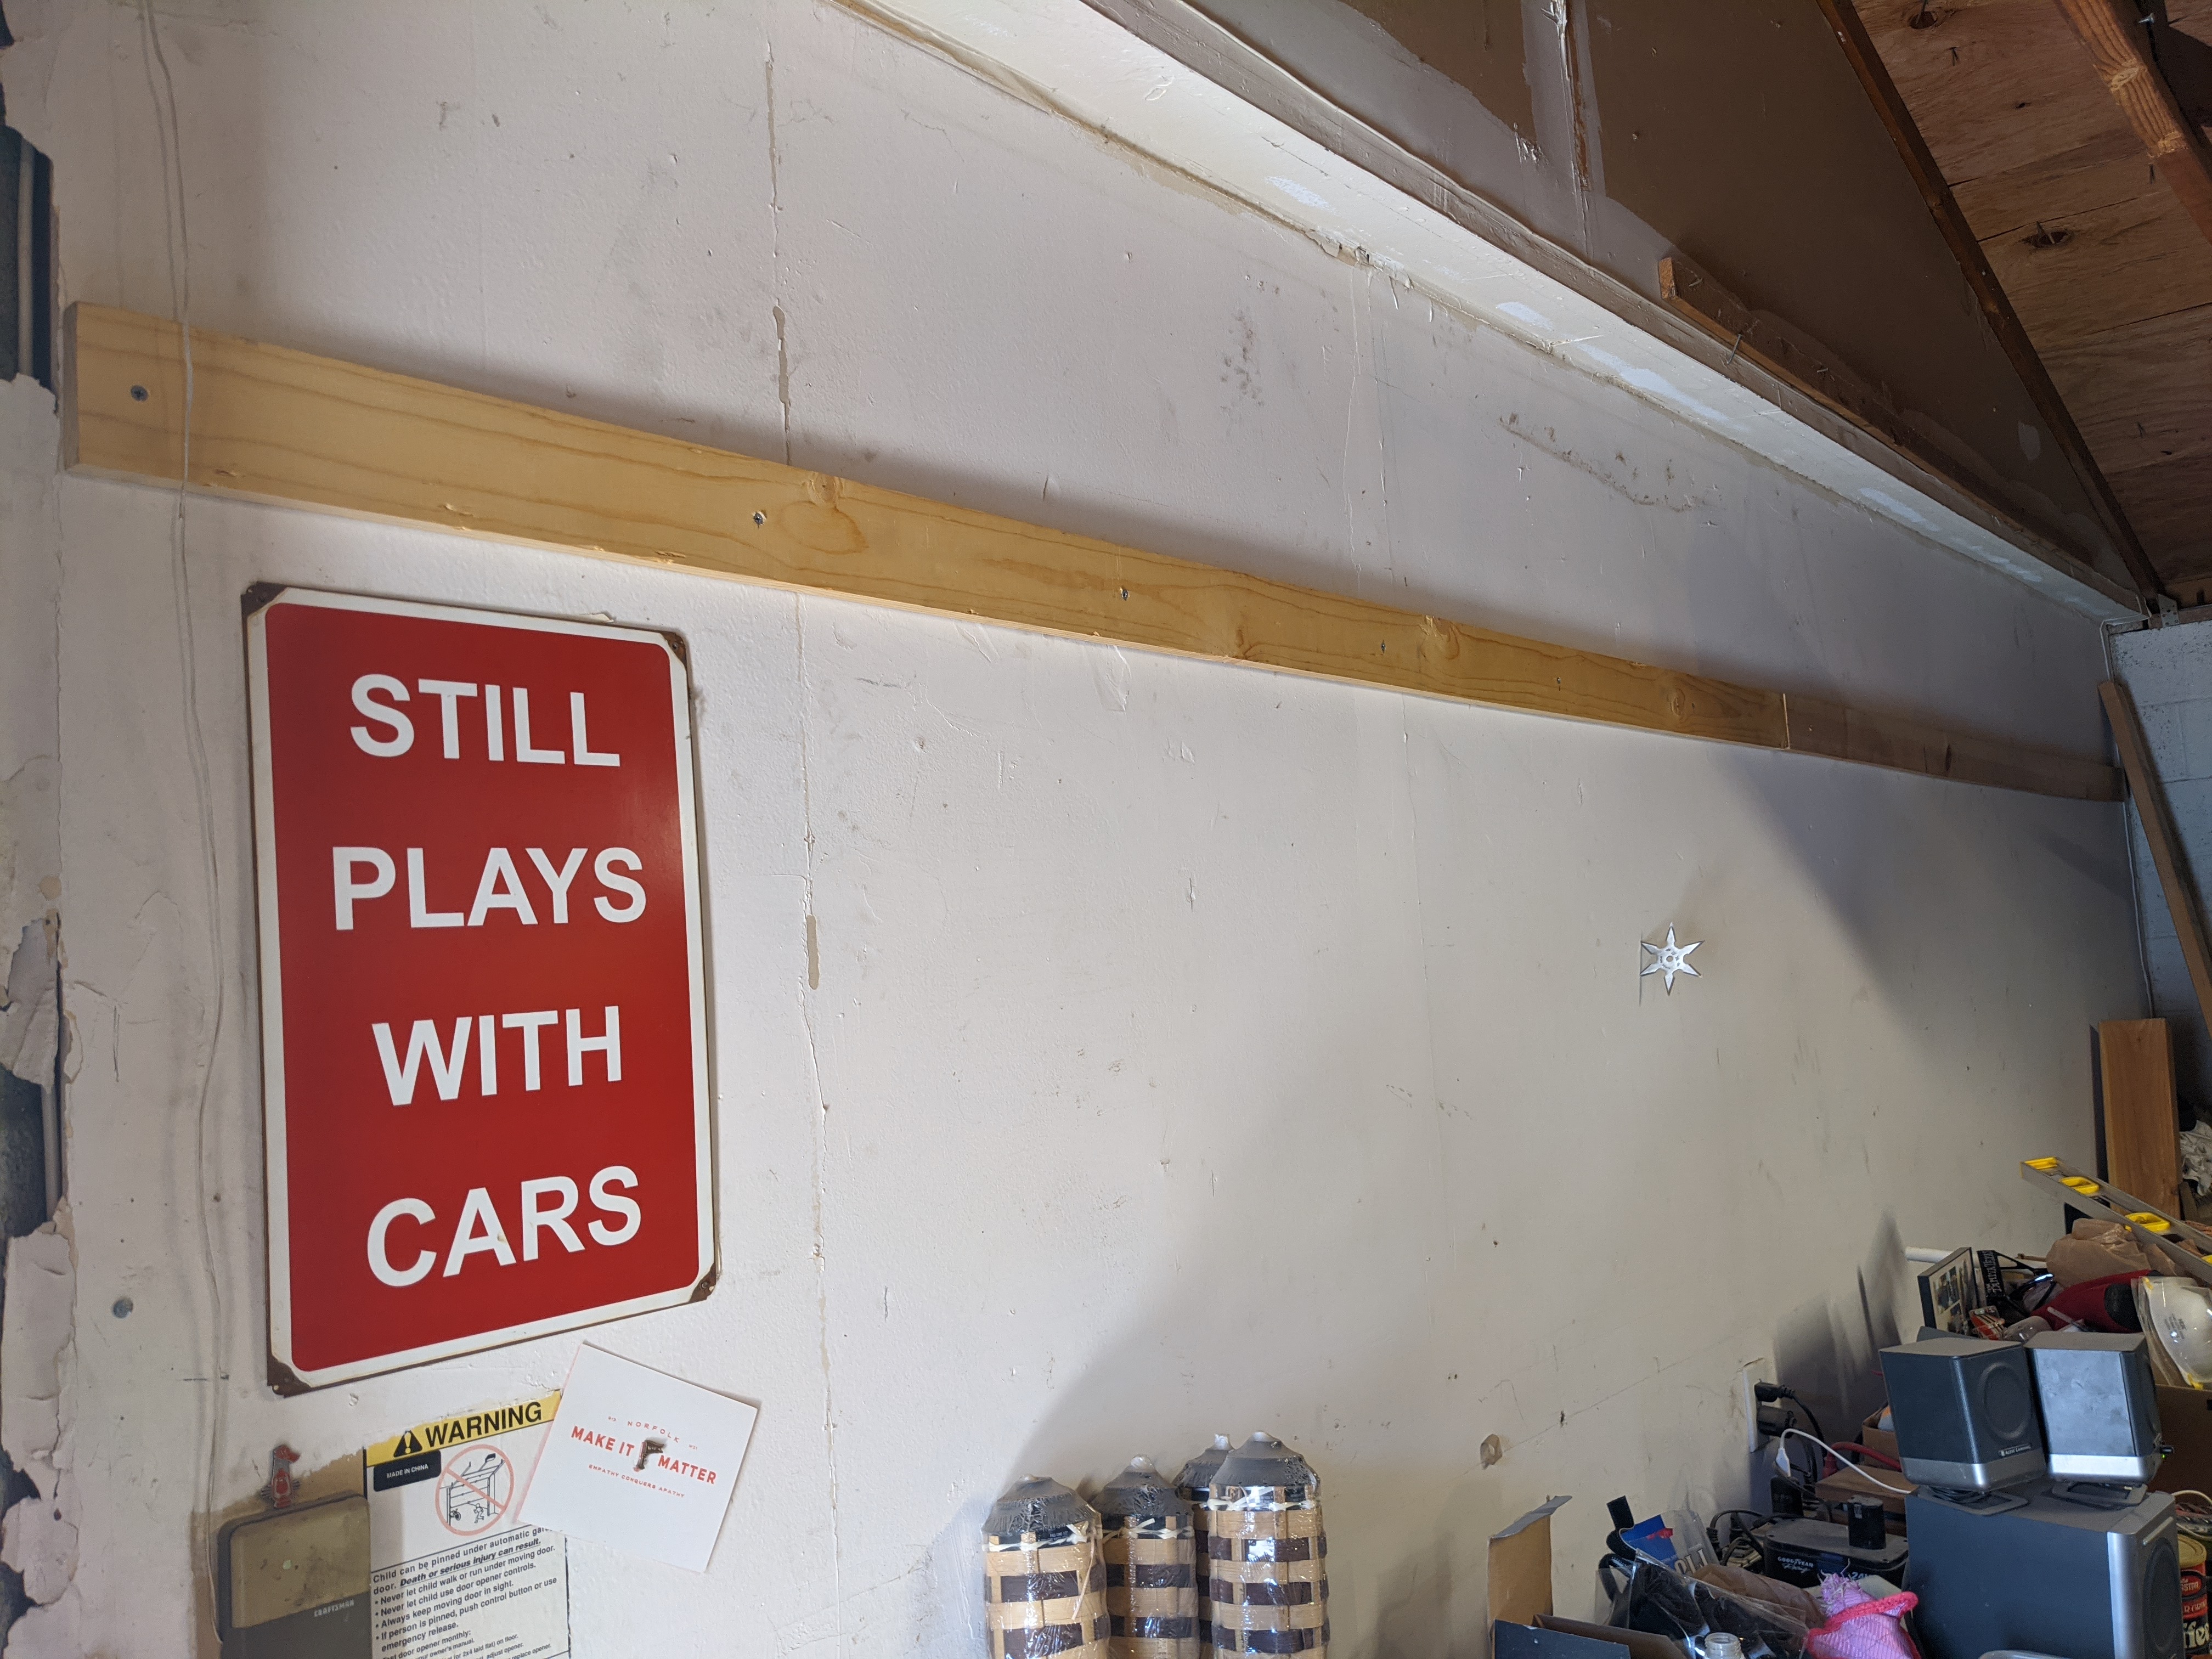
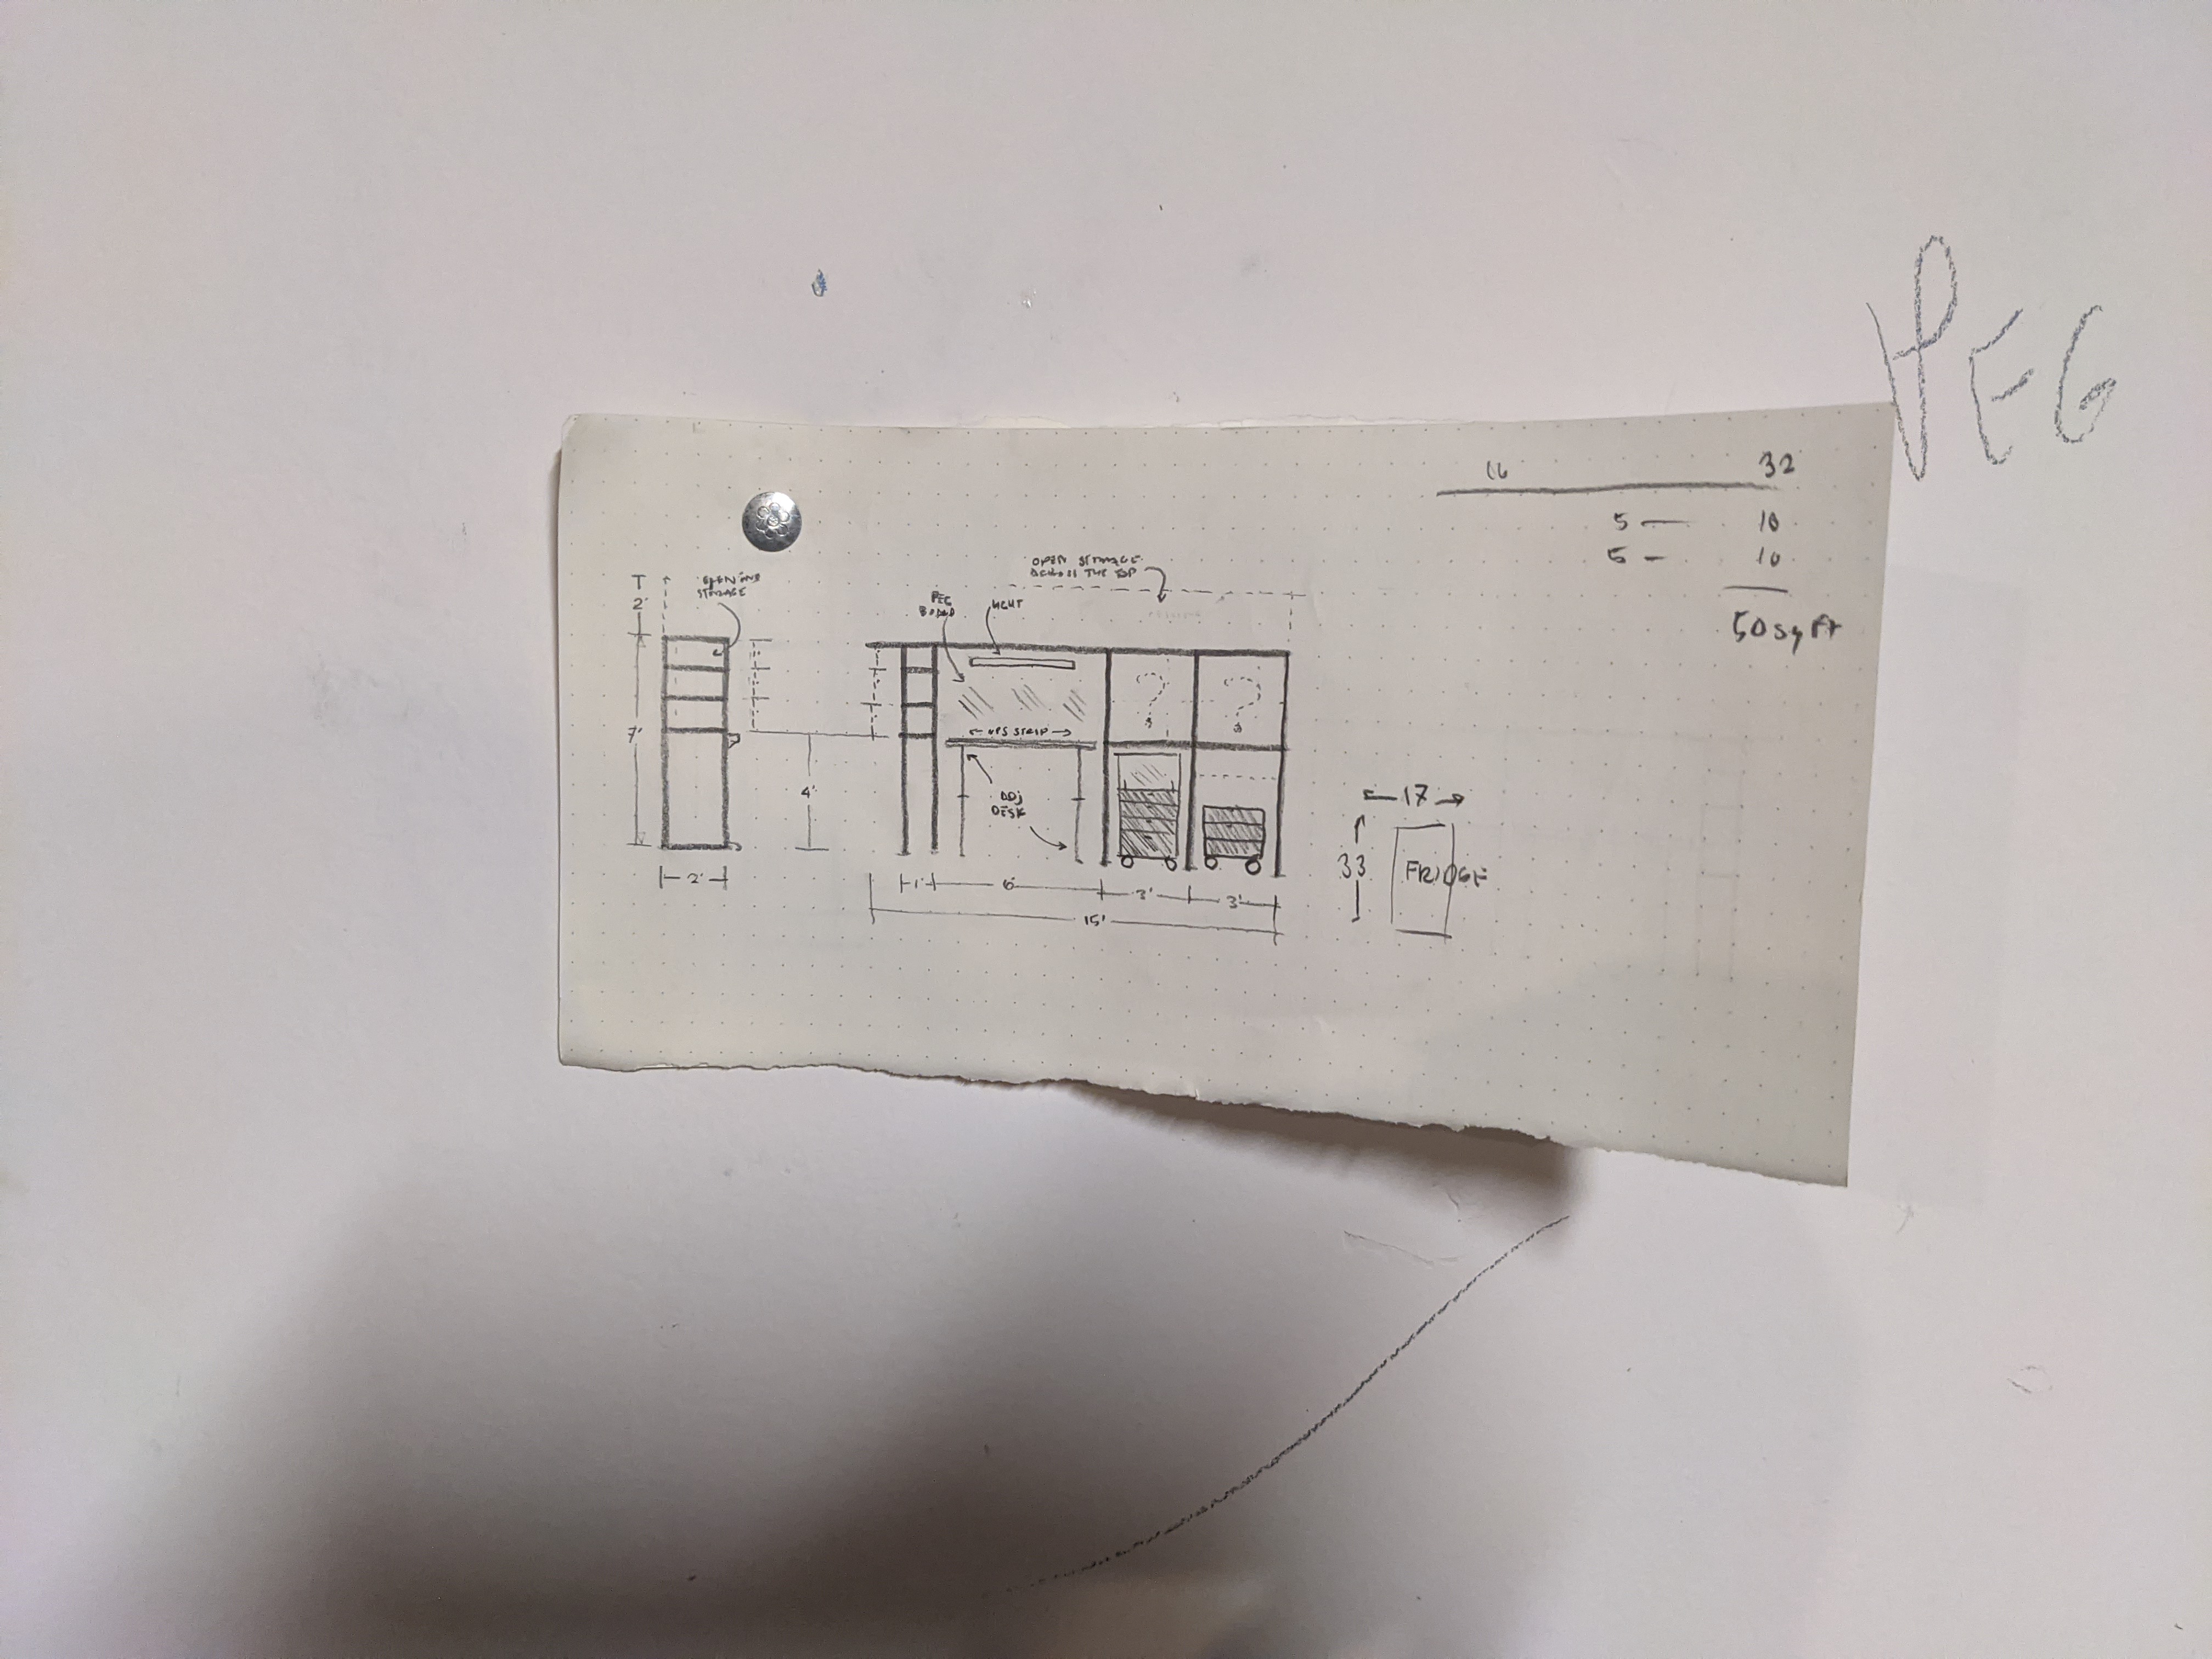
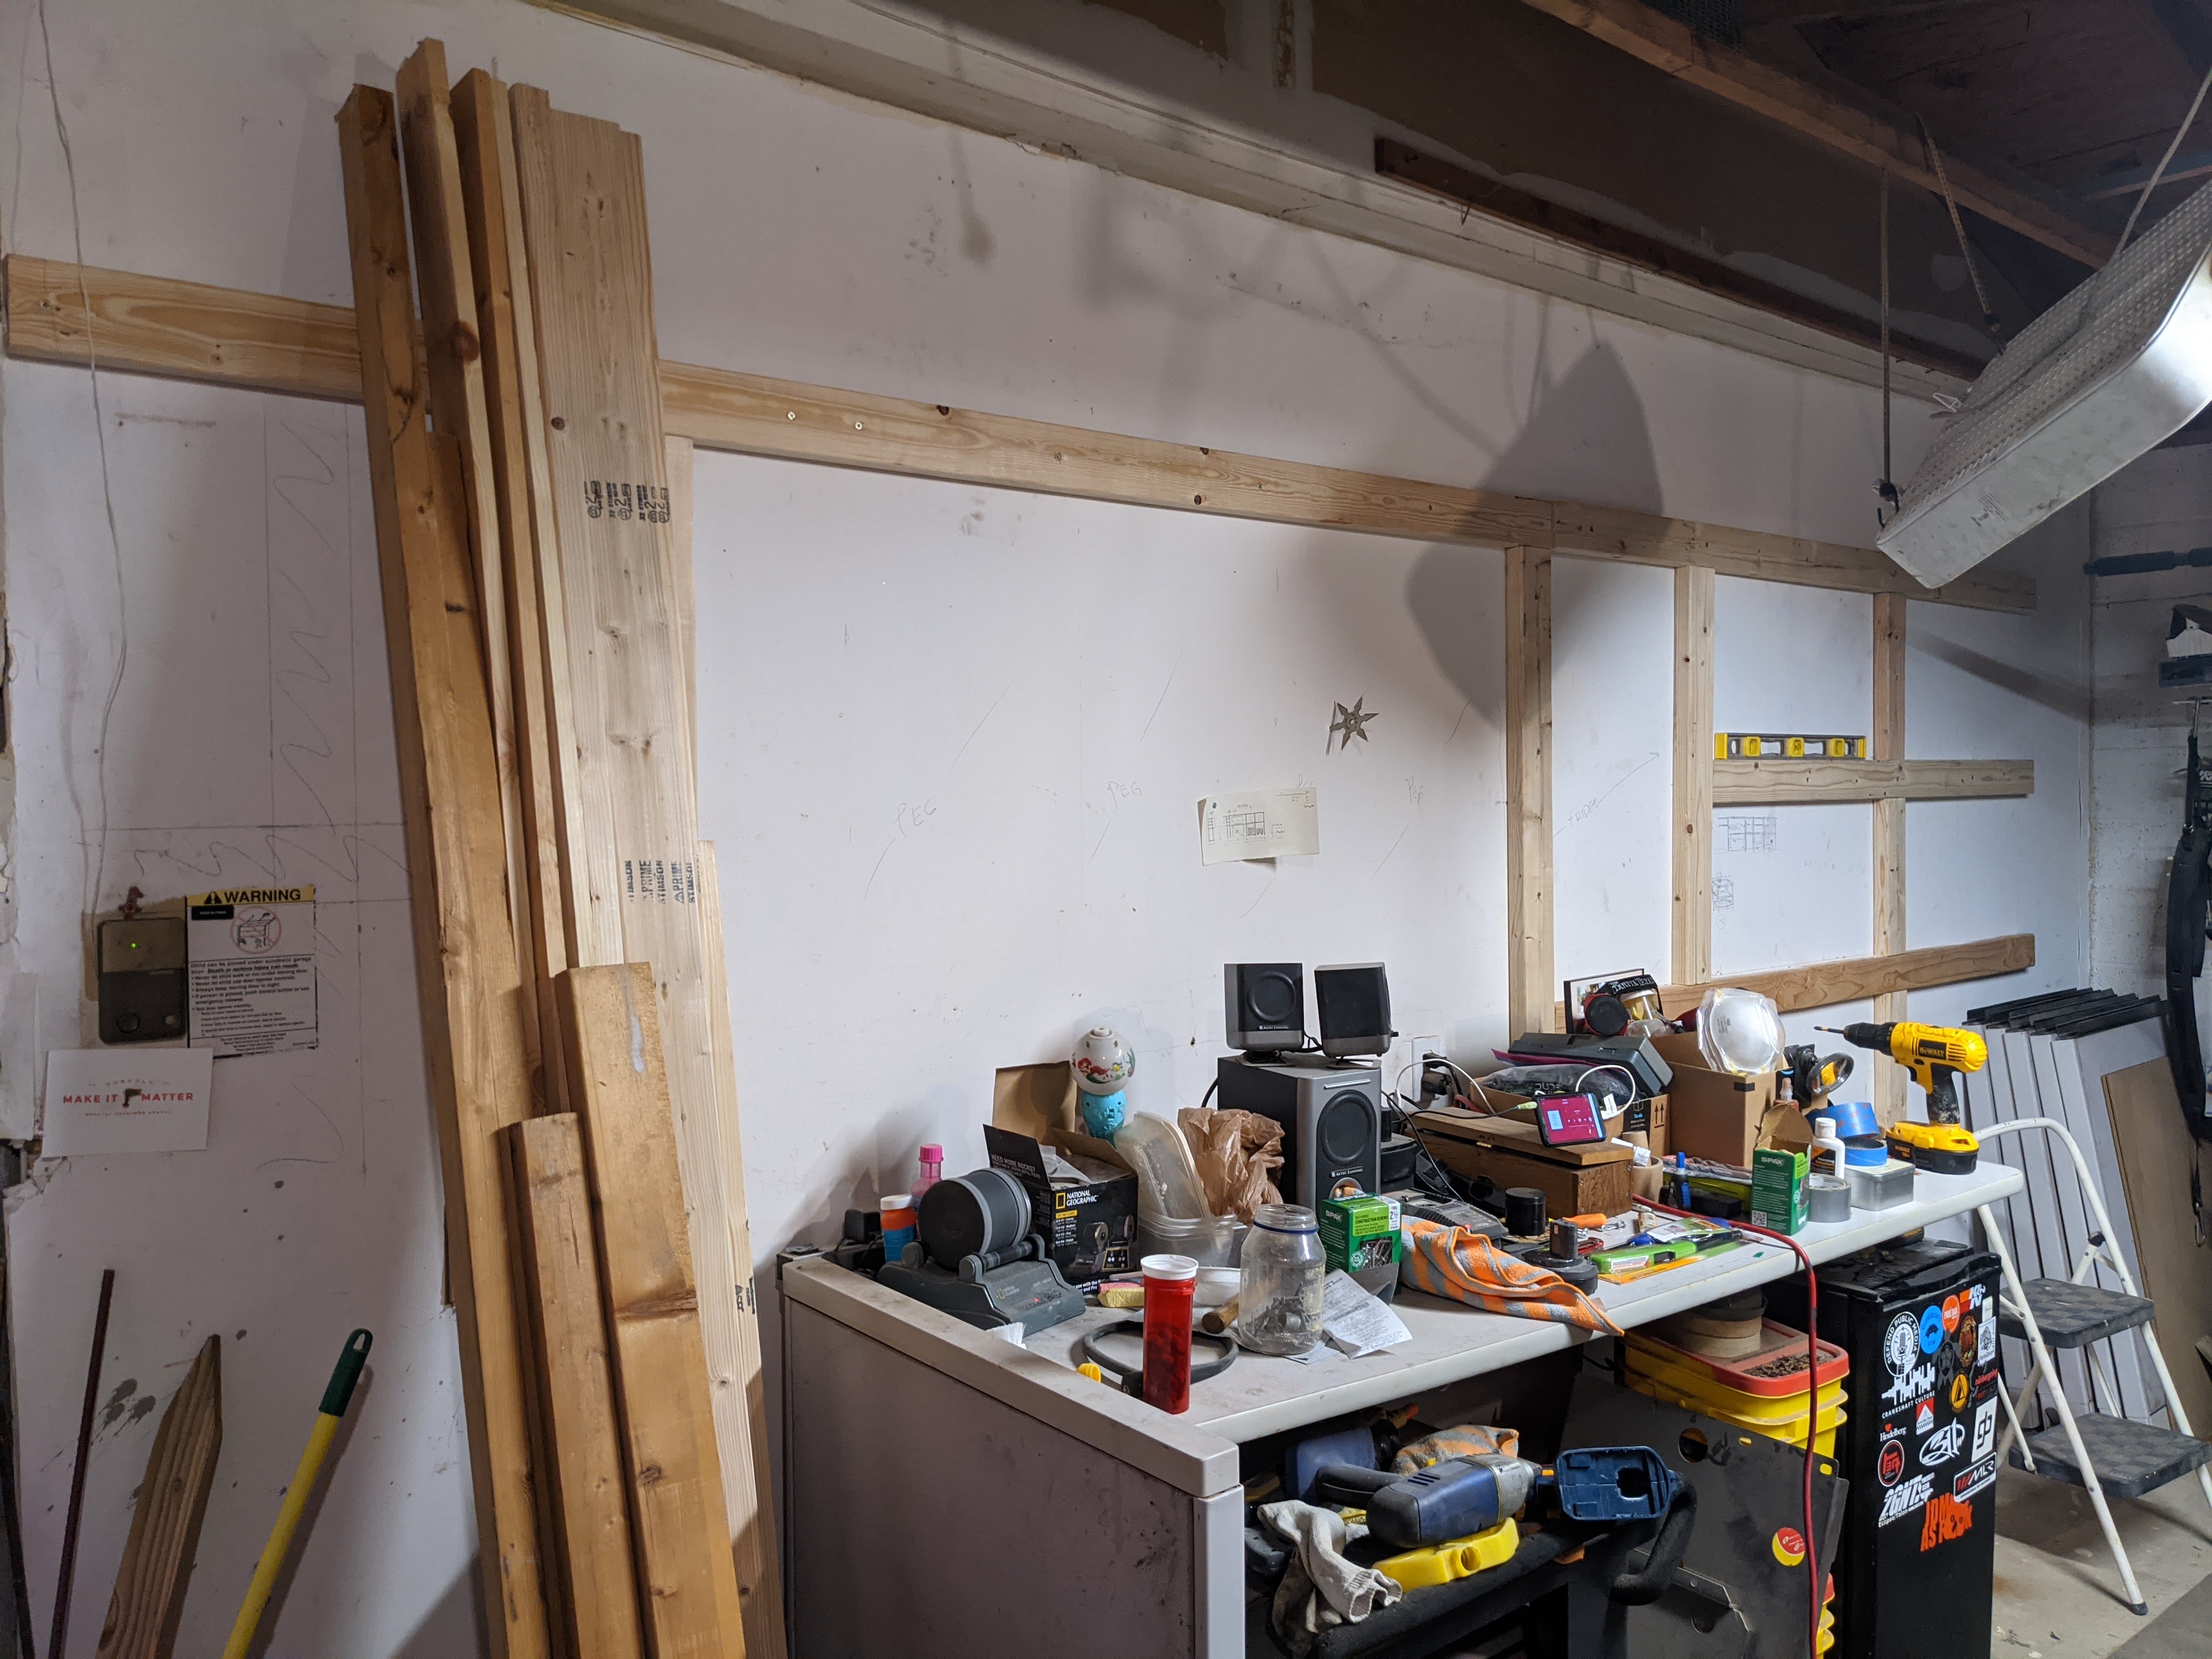
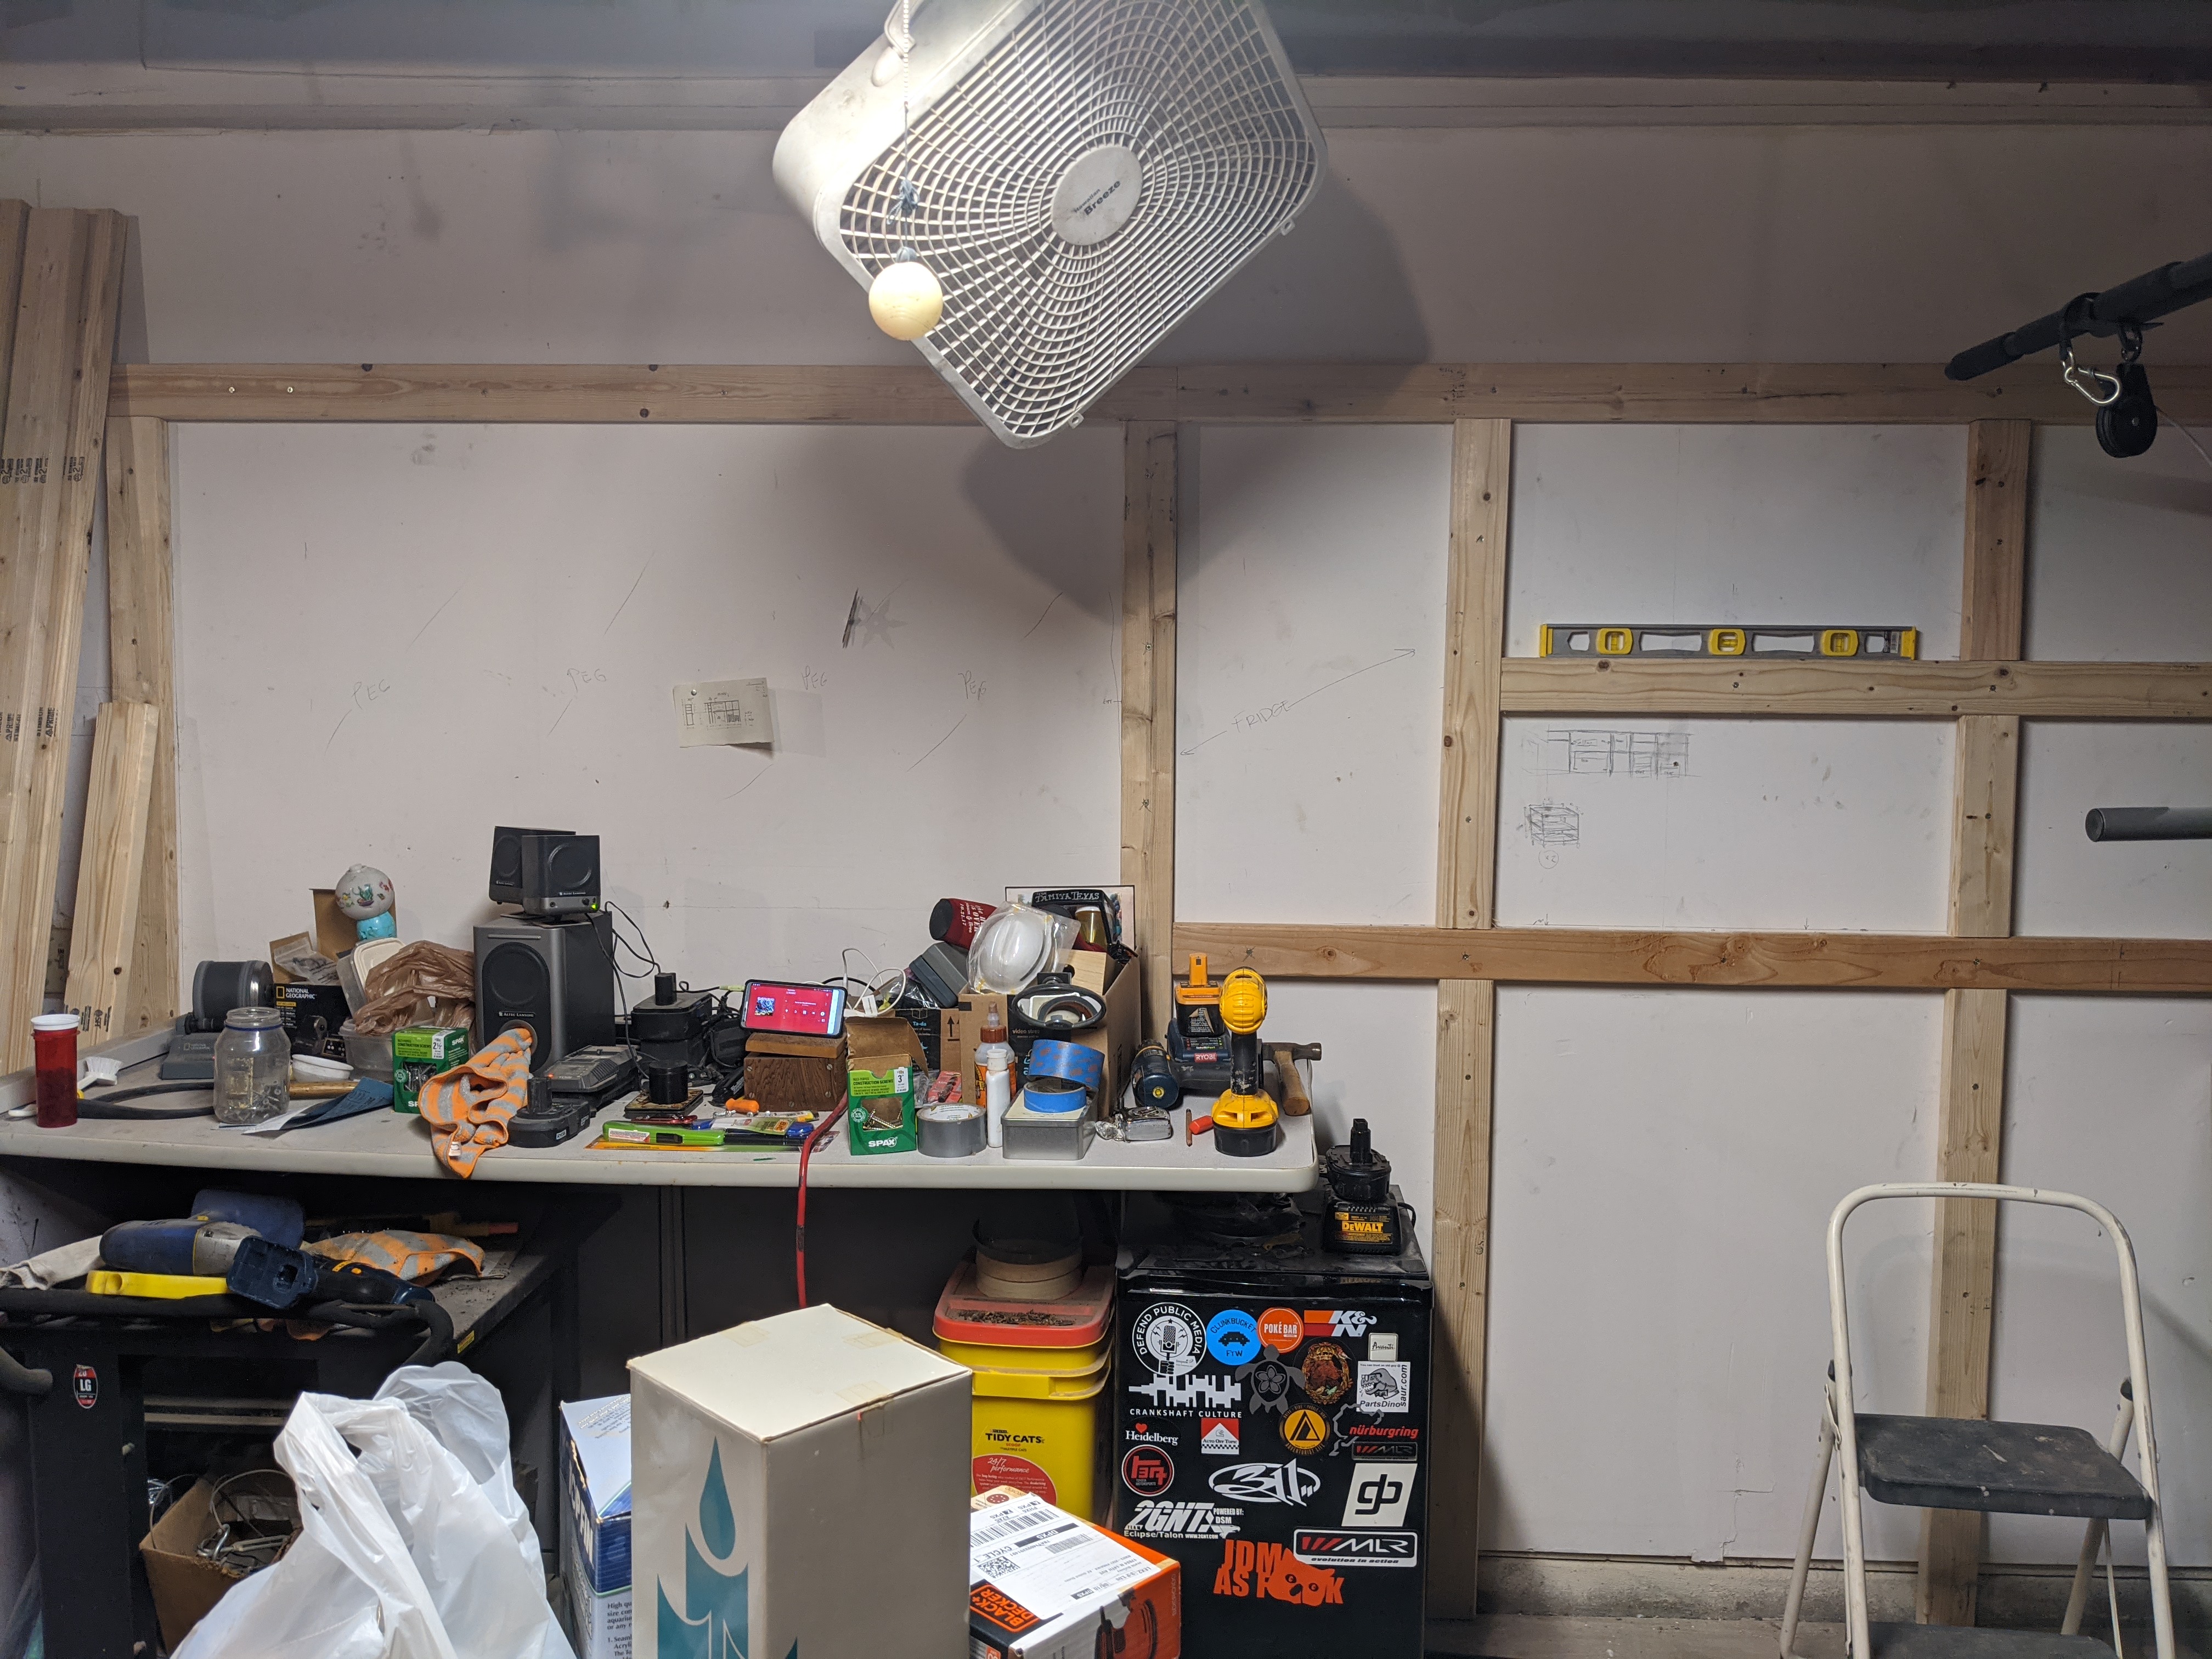
Giant Mitsubishi banner is gone. Shelving frame is up. Not only am I going to have a well-lit, adjustable work bench slash seasonal office, I’m going to add 52 square feet (about 5 sq.M) of storage space above the floor!
I started roughing things in yesterday morning, but used the wrong wood. Too skinny.
Even so, I got a good idea what I want to go where. The plan was good, but the map is not the territory, right?
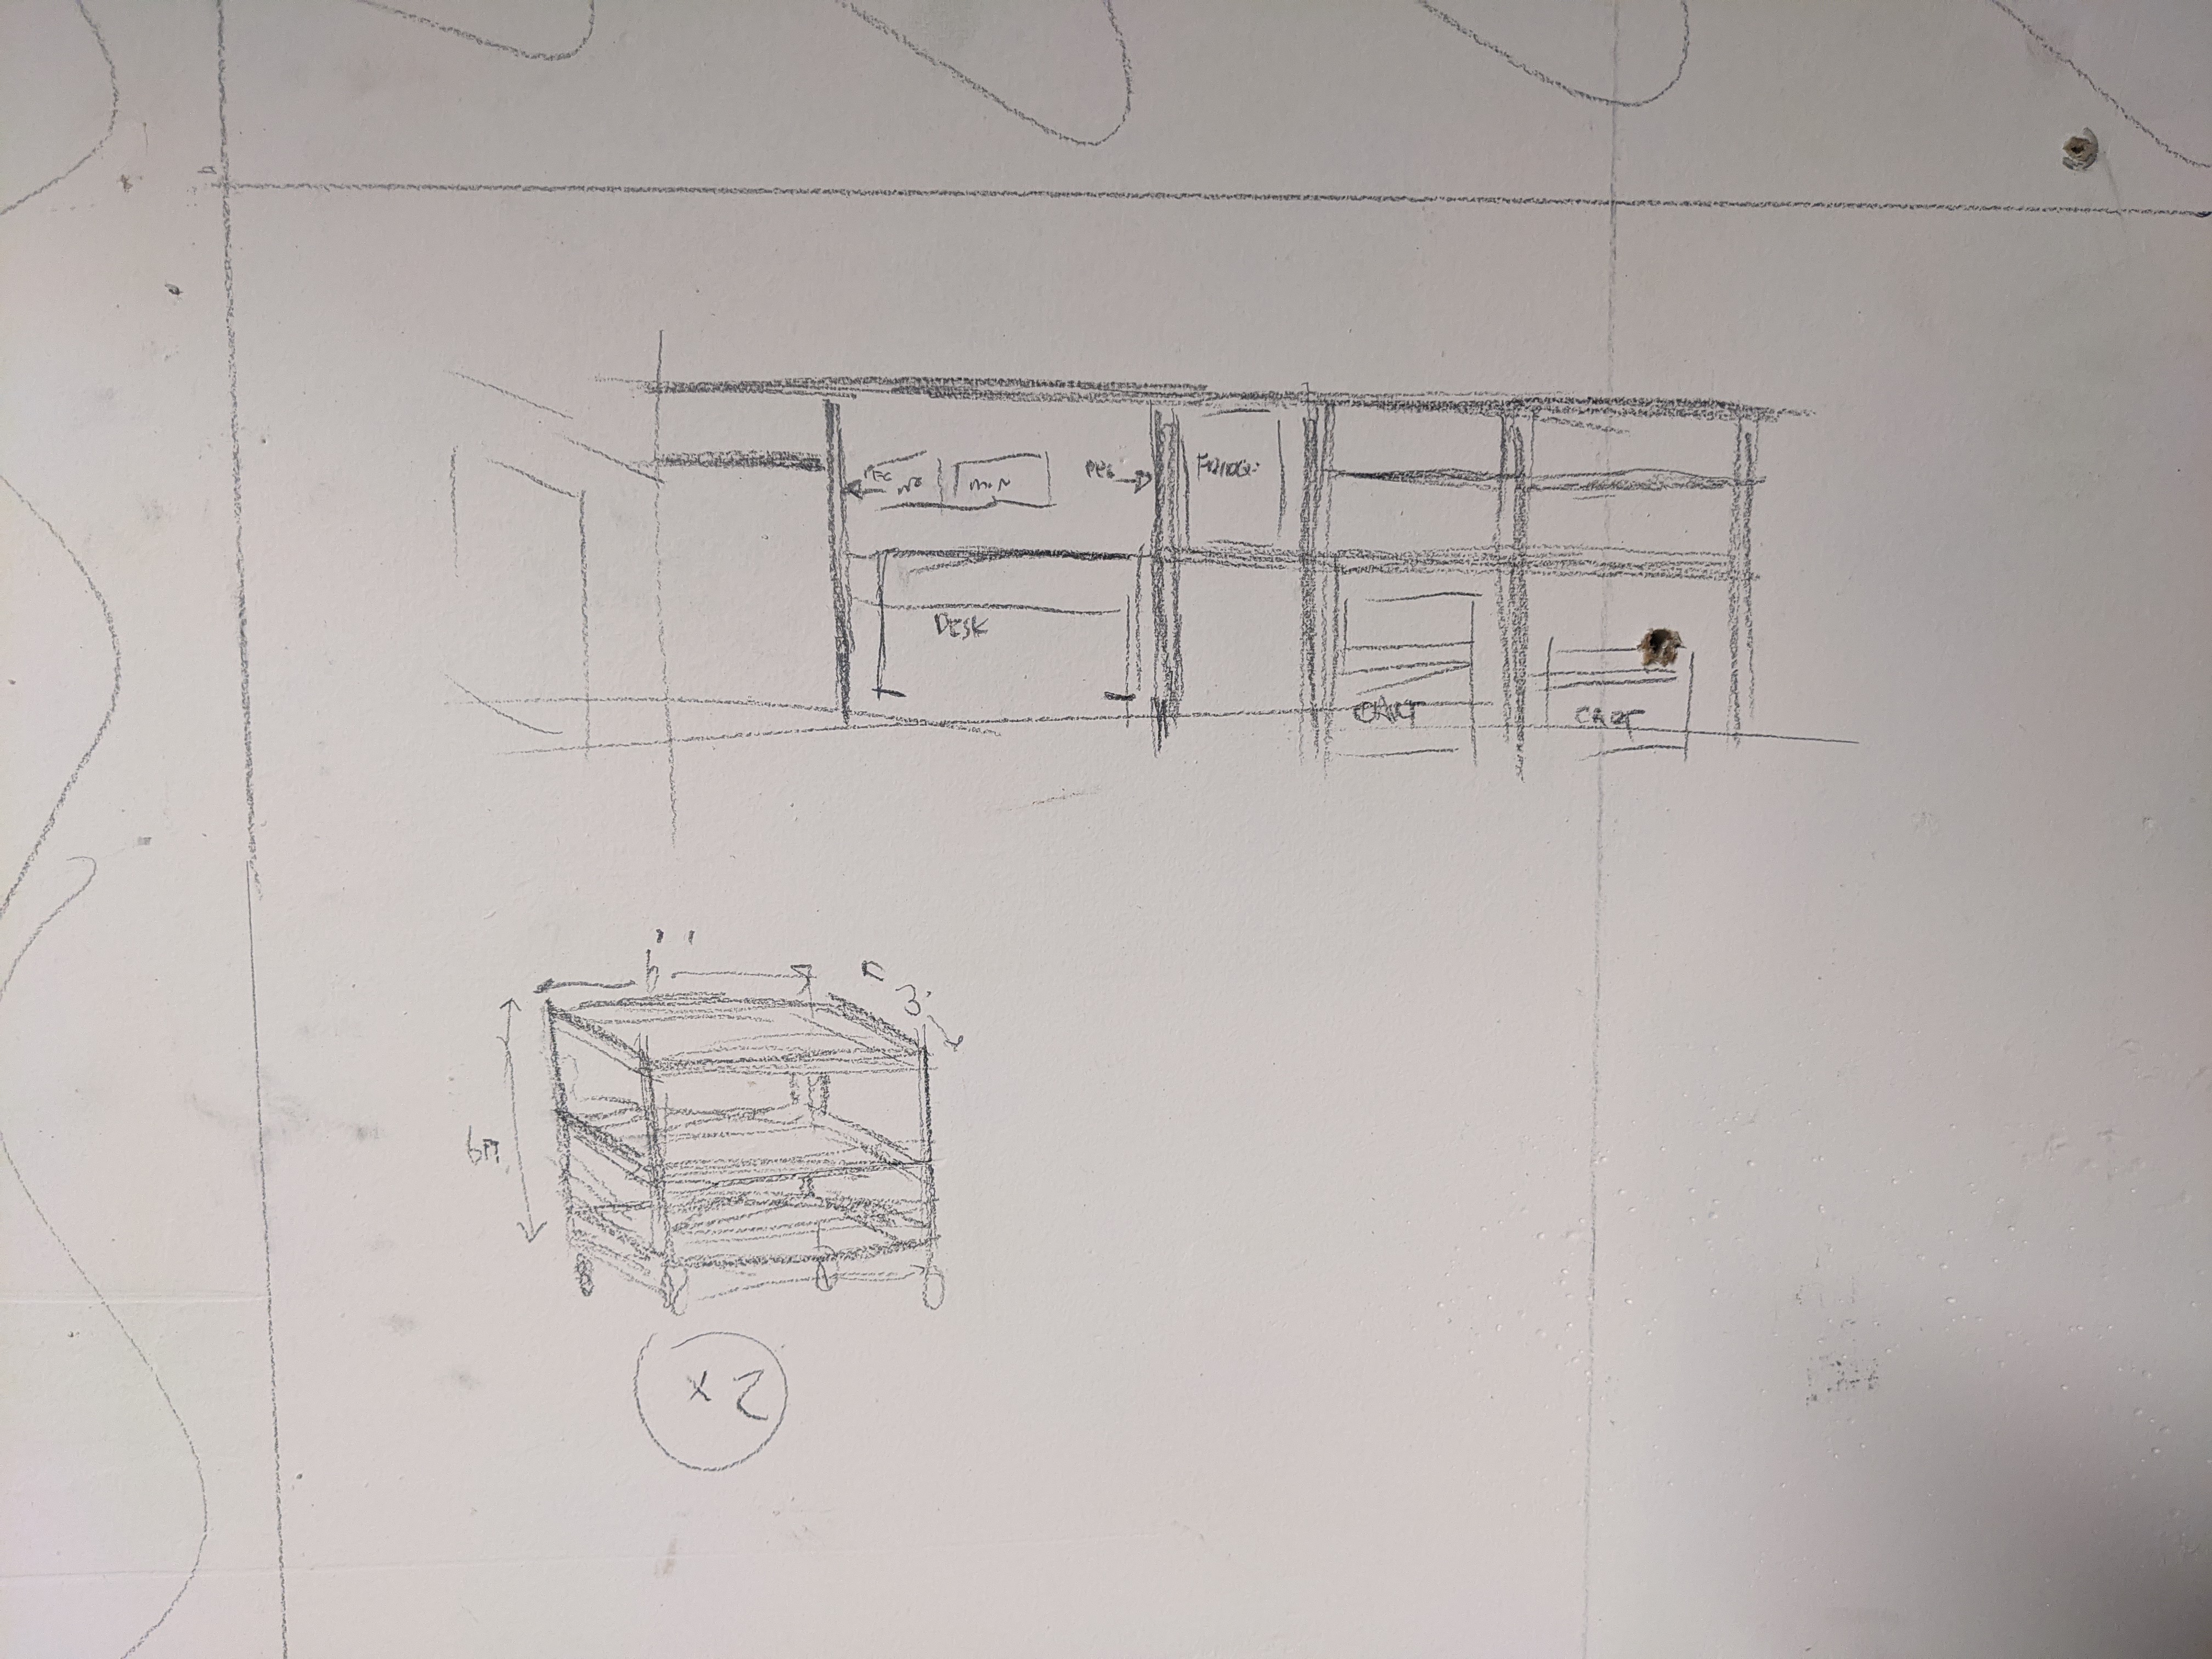
Fun to draw on the wall. This is the new plan. Mini fridge is getting elevated.
And here’s where I’m calling it a night tonight.
The big area on the left is where the work bench will go. Woo-WOO
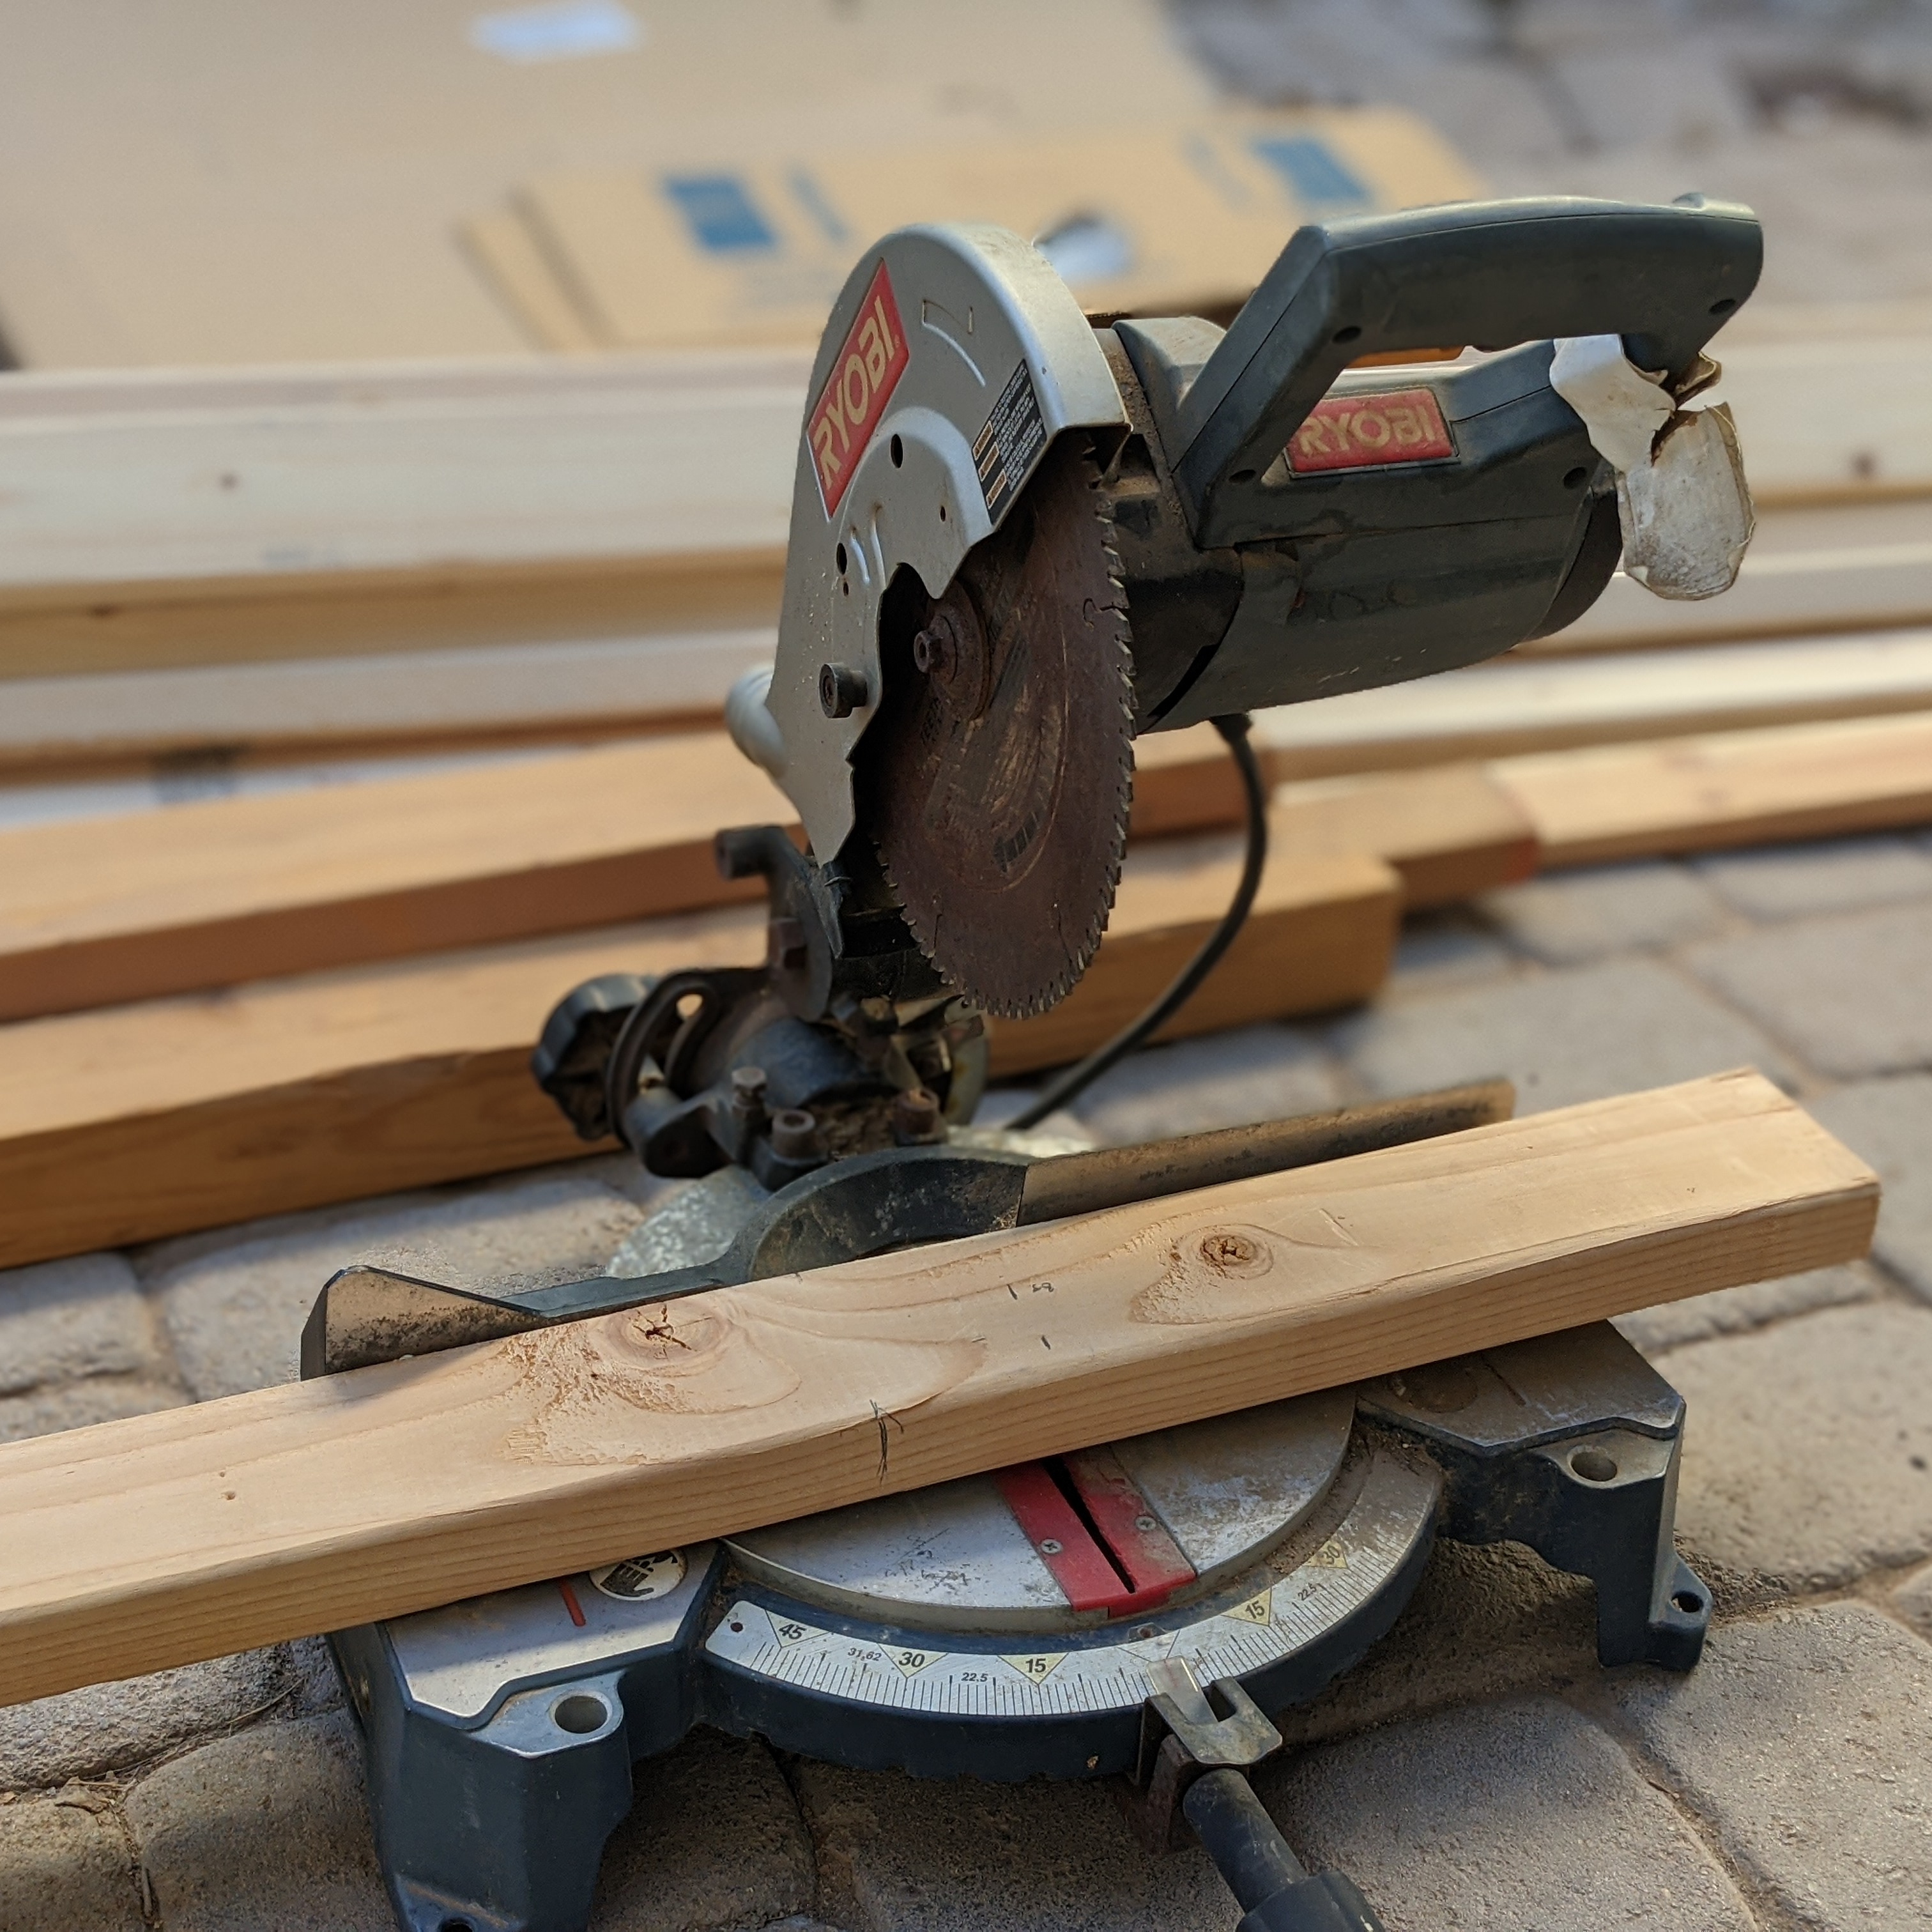
Added bonus, this went a LOT faster with Dad’s chop saw. Well, I guess it’s mine now, but I like to think he would be proud.
First cut.
I have an air nailer if you want to borrow it. Screws are more secure, but an air nailer is a lot faster.
Solid. I might take you up on that. I also inherited a small, pancake style compressor (never used) that would be perfect for a nailer or stapler (or airbrush). 
Looks like I’m going to have to get one of them Kreg jigs to do pocket screws on the cross bars. I just can’t see any other way of connecting the front to the rear. If it was a simple matter of connecting the two sides, I’d just let the playwood shelves hold it together with screws/nails across the front and back, but they’ll need cross-beam support beneath to support any real weight.
Worth their weight in gold. I try to design around it and avoid needing pocket screws, but there’s more than a few situations where there’s simply no other way. Clamp behind the cross bar (opposite side of the jig) when you go to put the screws in as they’ll tend to wander as they tighten.
(I’d send you my jig, but I just started on the kitchen booth and it’s going to get a lot of use on that project.)
Alternately, you could pop the frame off the wall long enough to screw in the cross bars from the backside, then reattach…whether or not it’s worth the effort really just depends on how much weight is going up there. Pocket screws (three 2.5" per joint) should be plenty if you’re just throwing a bunch of tools up there, but I’d go in from the back if you might someday toss a transmission or something up there… ![]()
Dude.
I’d thought of that, but ruled it out because I couldn’t figure out how to reach the screws going into the wall again after. Who says they have to go on the uprights? ![]() Thinking about it now, I could simply put the cross bars just inside of the uprights. That’s PERFECT.
Thinking about it now, I could simply put the cross bars just inside of the uprights. That’s PERFECT.
Not opposed to investing in the Kreg, but buying a $100 tool, plus specialty screws—when the entire frame is less than $150 in lumber seems a bit much. I don’t think I’ll be stashing engine blocks or transmissions 7 feet up in the air, but it’s nice to know I could if I wanted to. ![]()
Thanks for the suggestion!
You can use pretty much any screw with a flat-bottomed head of the right size on the Kreg (I hate square-drive almost as much as slotted), even standard issue gold screws if you’re careful. But yeah, pocket hole jigs are a bit much to spend if it’s not a tool you’ll be using frequently.
Exactly. I enjoy working with wood, but I’ve no intentions of becoming a wood worker.
That said, the wooden bunk bed wants is entirely 90° angles and $1500…
I know a guy… ![]()