Me too. There’s more to it, of course. The bunk bed in question, itself, is a simple affair, but it’s got a dresser built into one end, a desk (with drawers) below, and a matching staircase up the one side (also with matching drawers).
1 Like
I feel like this garage re-org is the kind of thing that a few of us could help you make short work of.
2 Likes
You are not wrong, sir. And perhaps I’ll plan a wrenchfest of some kind before the end of the year, but it’s looking pretty slim right now. Currently only three open weekends left for me in 2020. Fezzik will be getting re-geared during one of them. And I’m not sure what else will need done on the rest of the house during that time.
Looking forward to having a new place to hangout and hangout with other people.
1 Like
18 hours and $160 later…
I used 3" screws to anchor the frame to the wall, then cloned the wall boards by tacking identical horizontals to them with a couple random screws each.
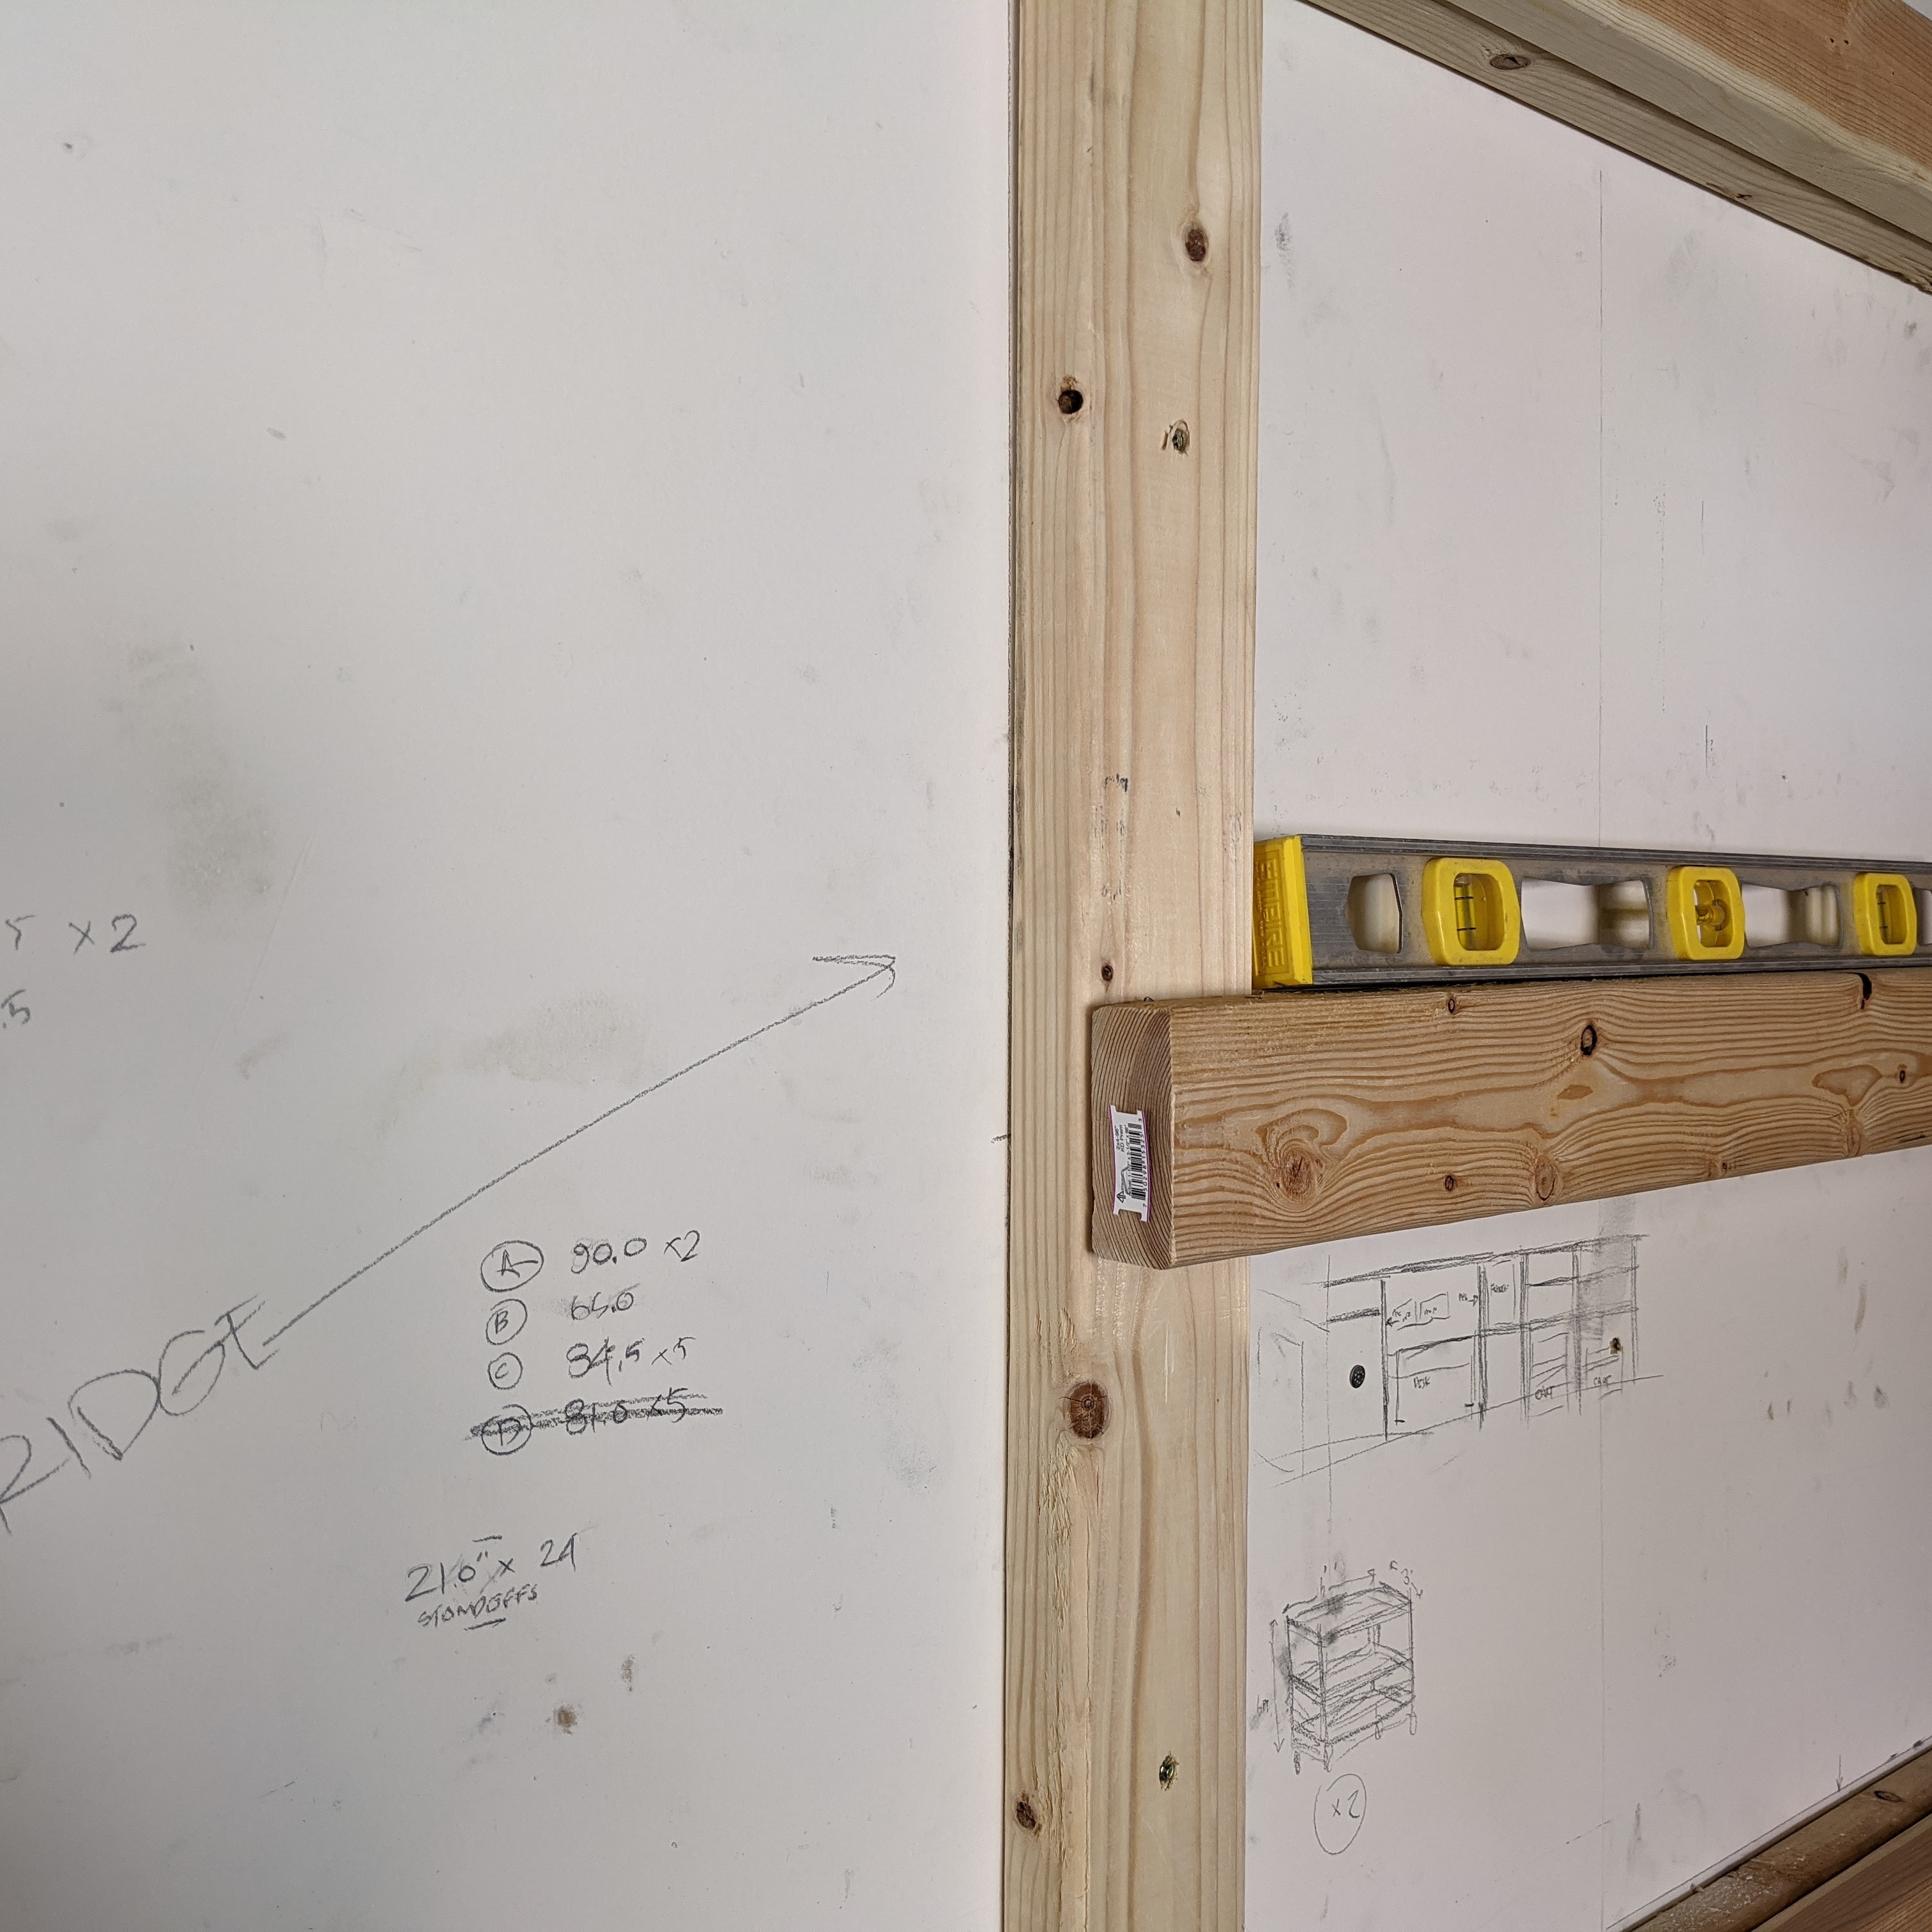
Next, I ran 2.5" screws through vertical uprights into them. Then I removed the cloned front pieces and set them aside.
Rather than drop $100 on a fancy Kreg jig for pocket screws, I took @ChazzLayne’s advice and removed the wall frame to run 2.5" screws into my standoffs/supports from the back. (I eyeballed the locations while it was still on the wall for easy location and pre-drilled the holes through the boards into the wall.)
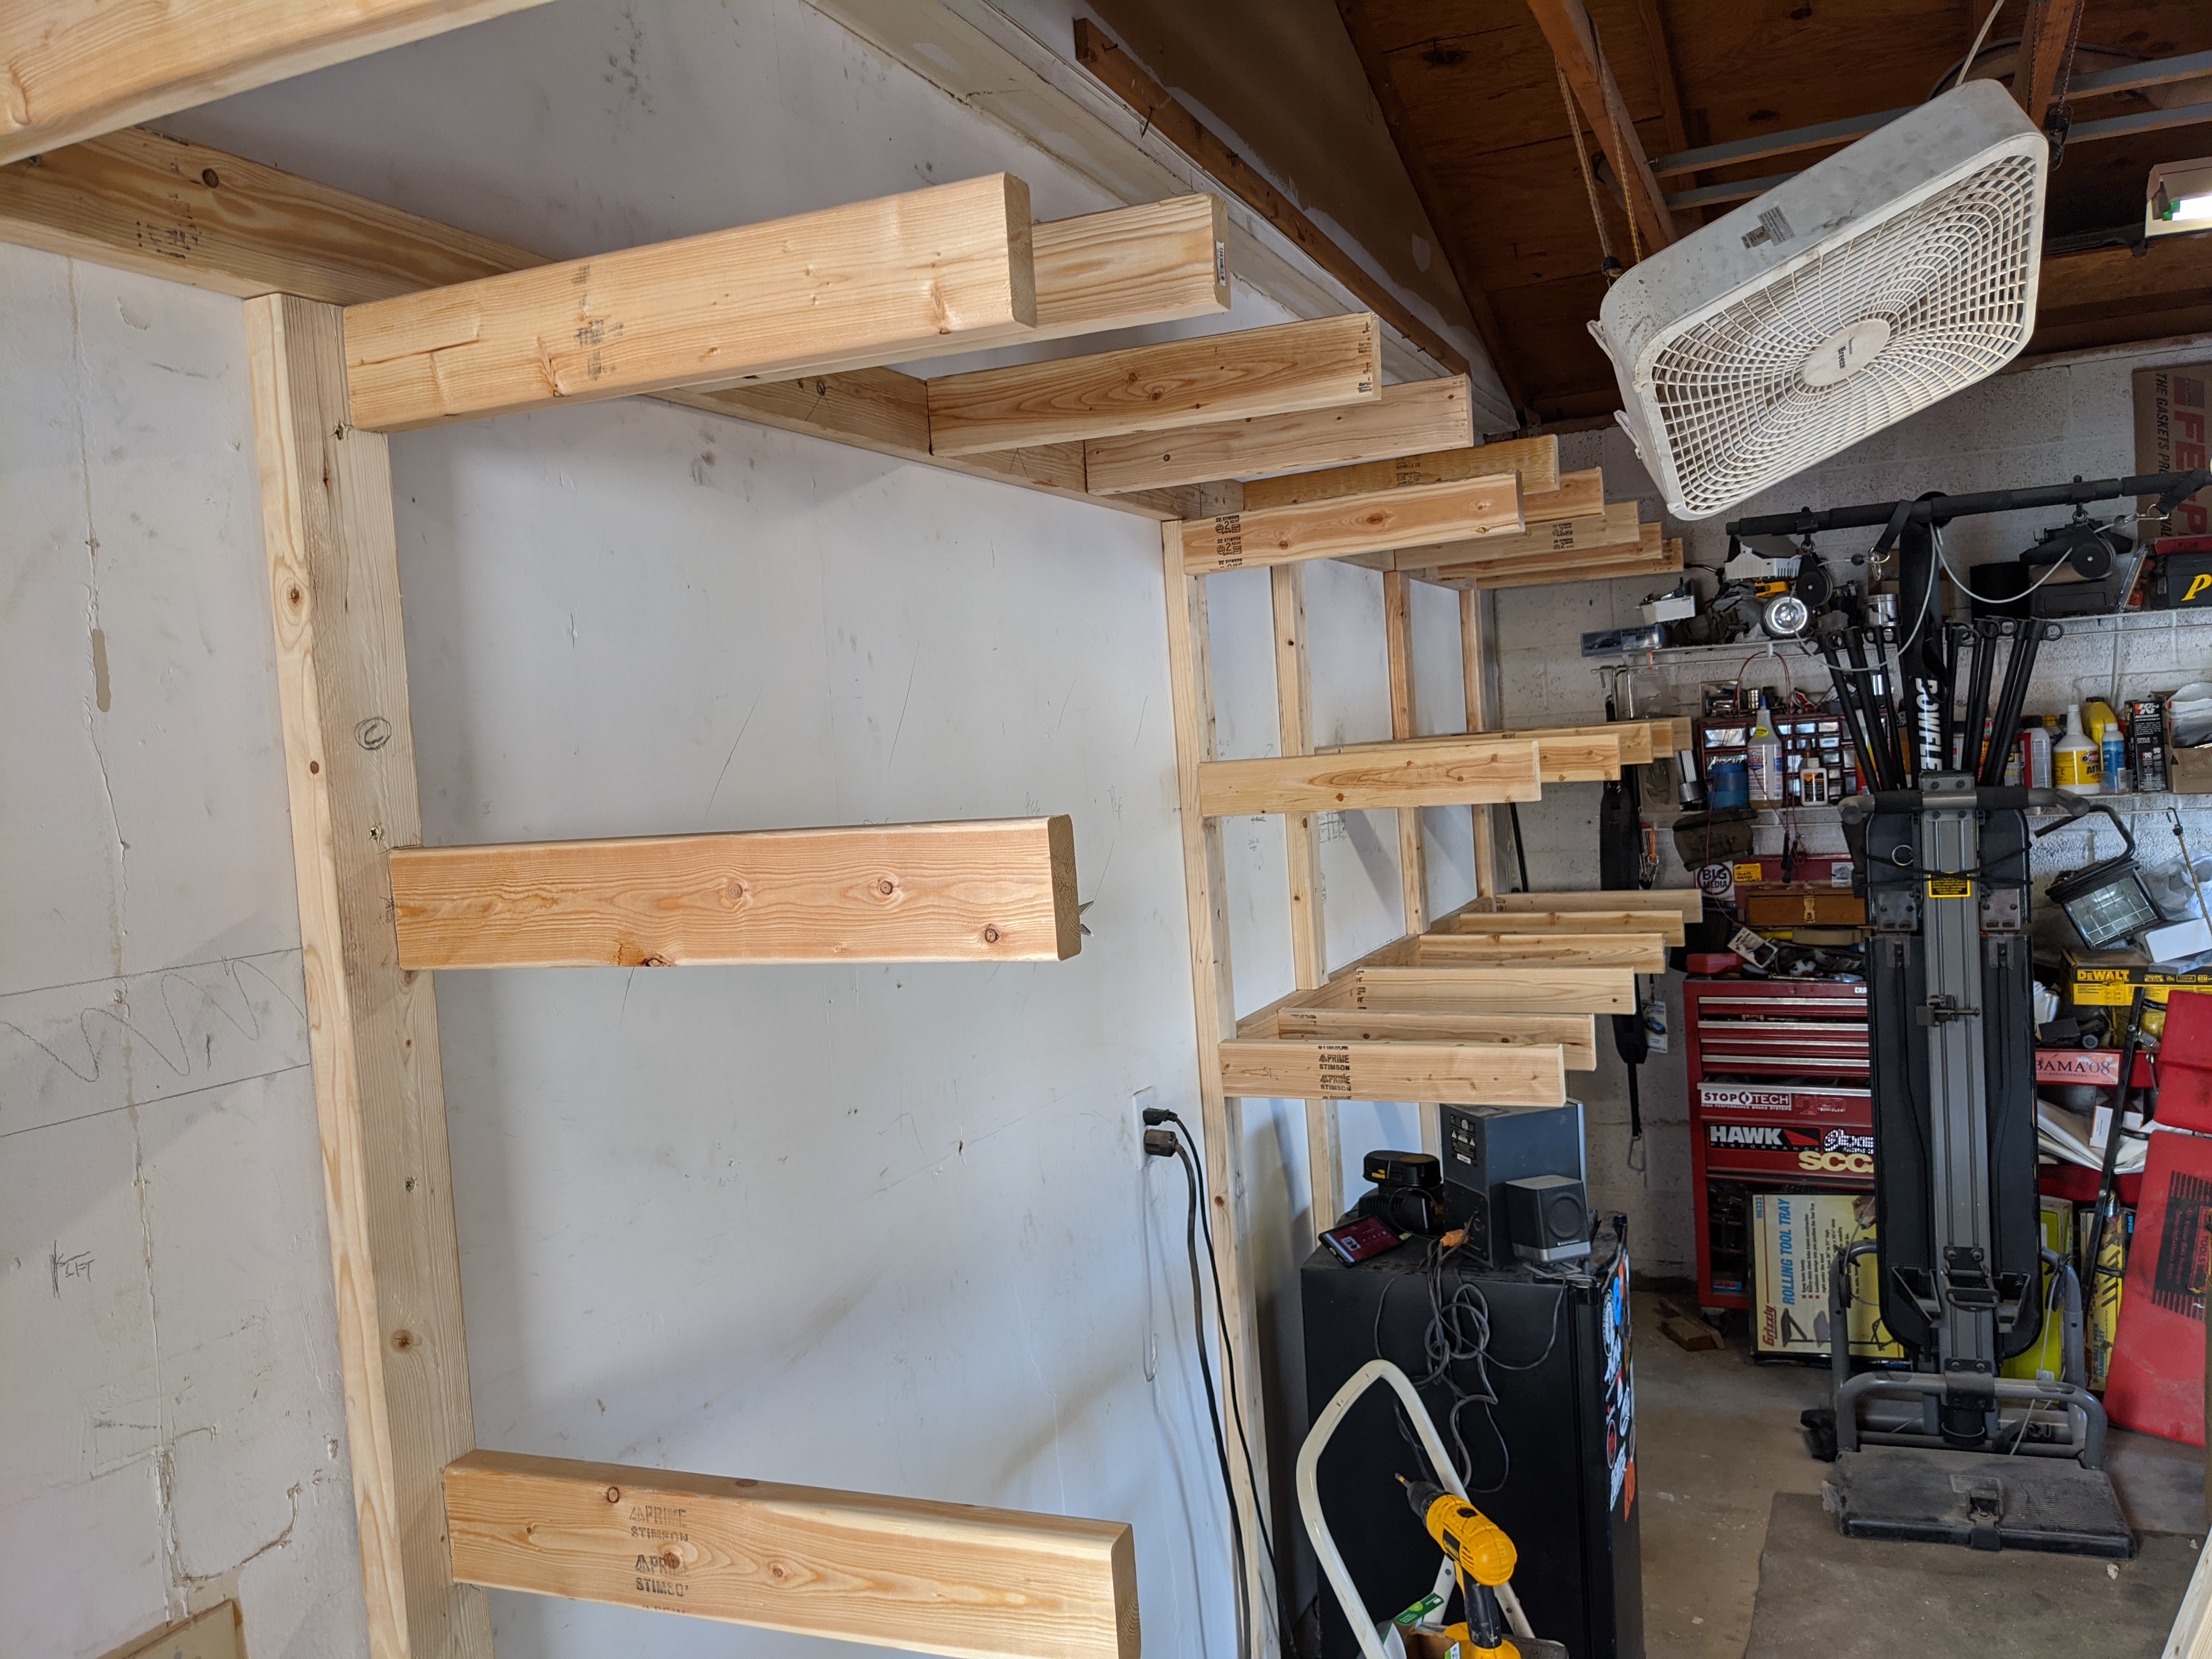
Then I located the front pieces and attached it to the supports with more 2.5" screws. I ran out of screws and decided to press on and get the shelf boards too. Had a nice guy at Home Depot rip the 4’ x 8’ sheets down to 2ft wide and the lengths I needed to fit the shelves.
I ended up having to use a circular saw to cut the plywood sheets into smaller sections so I could get them in. Ended up having to remove the two uprights on the shelf side to get them in. This also required using the Sawzall to notch the panels to fit.
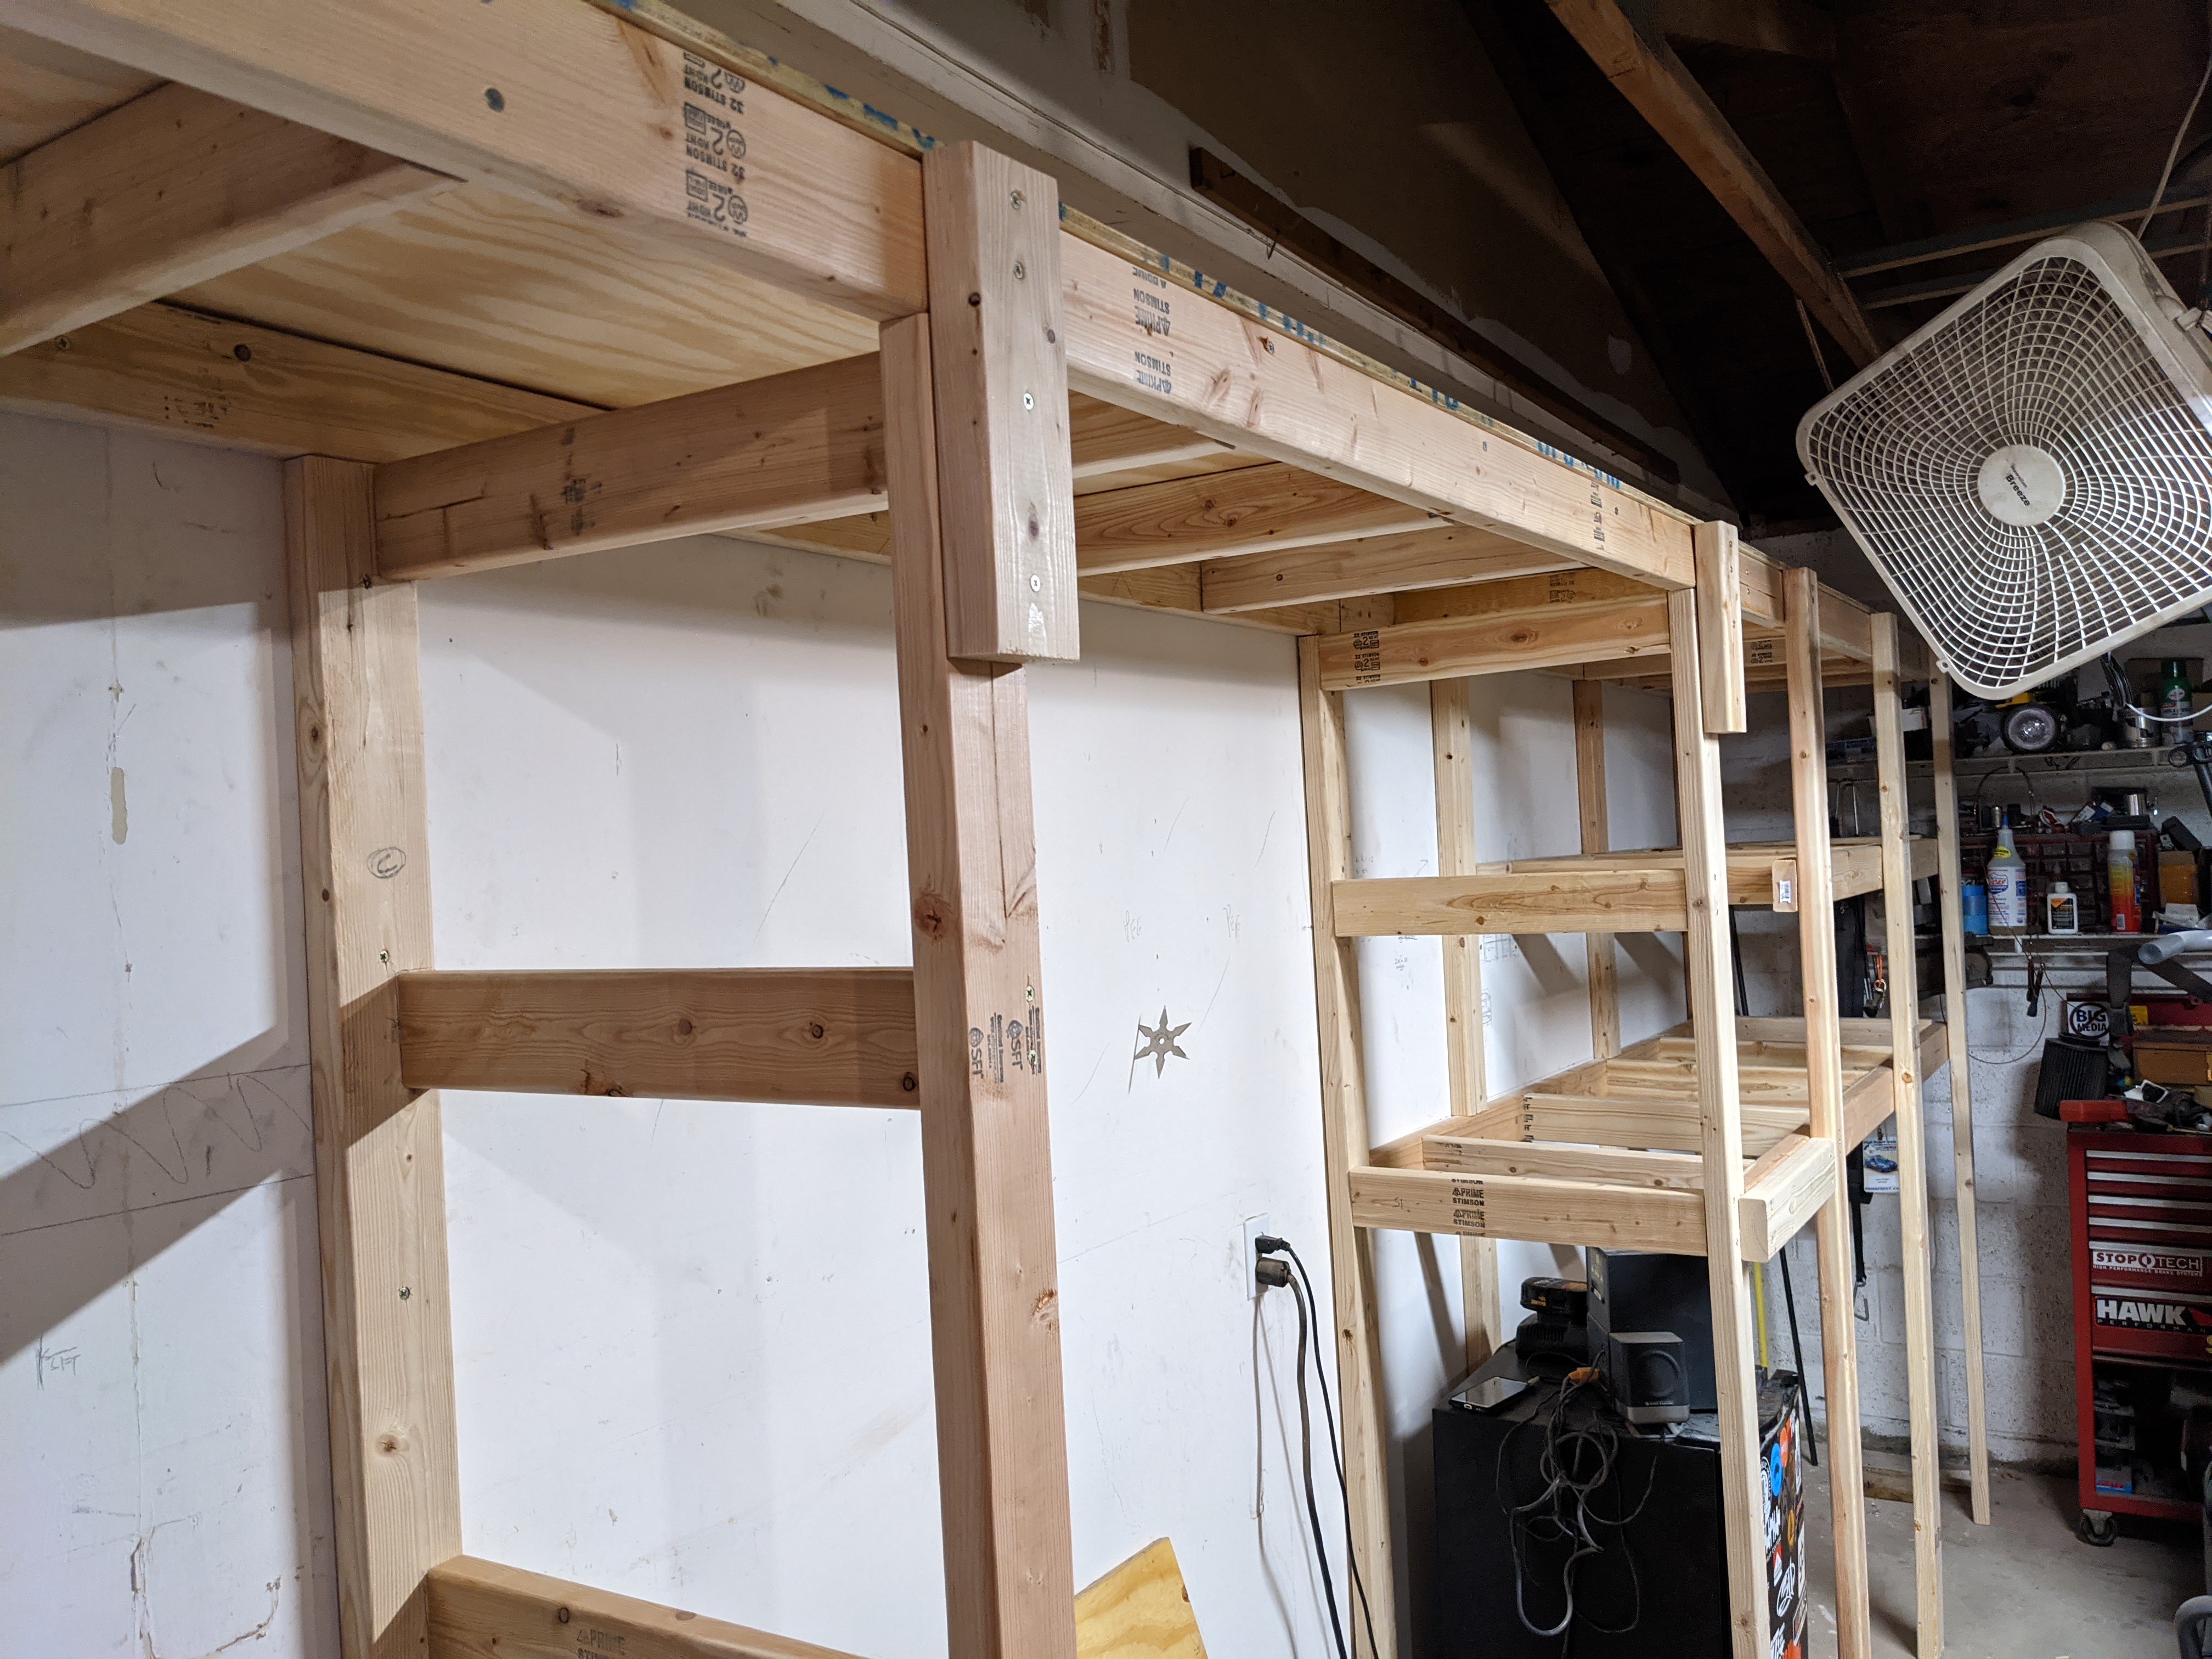
I discovered I’d miscalculated a couple cuts, but chatting with Josh from Adventure Driven Design, he suggested trimming the two uprights and making them load bearing. This was an excellent idea. Í used a couple matching scrap pieces to lock things together securely.
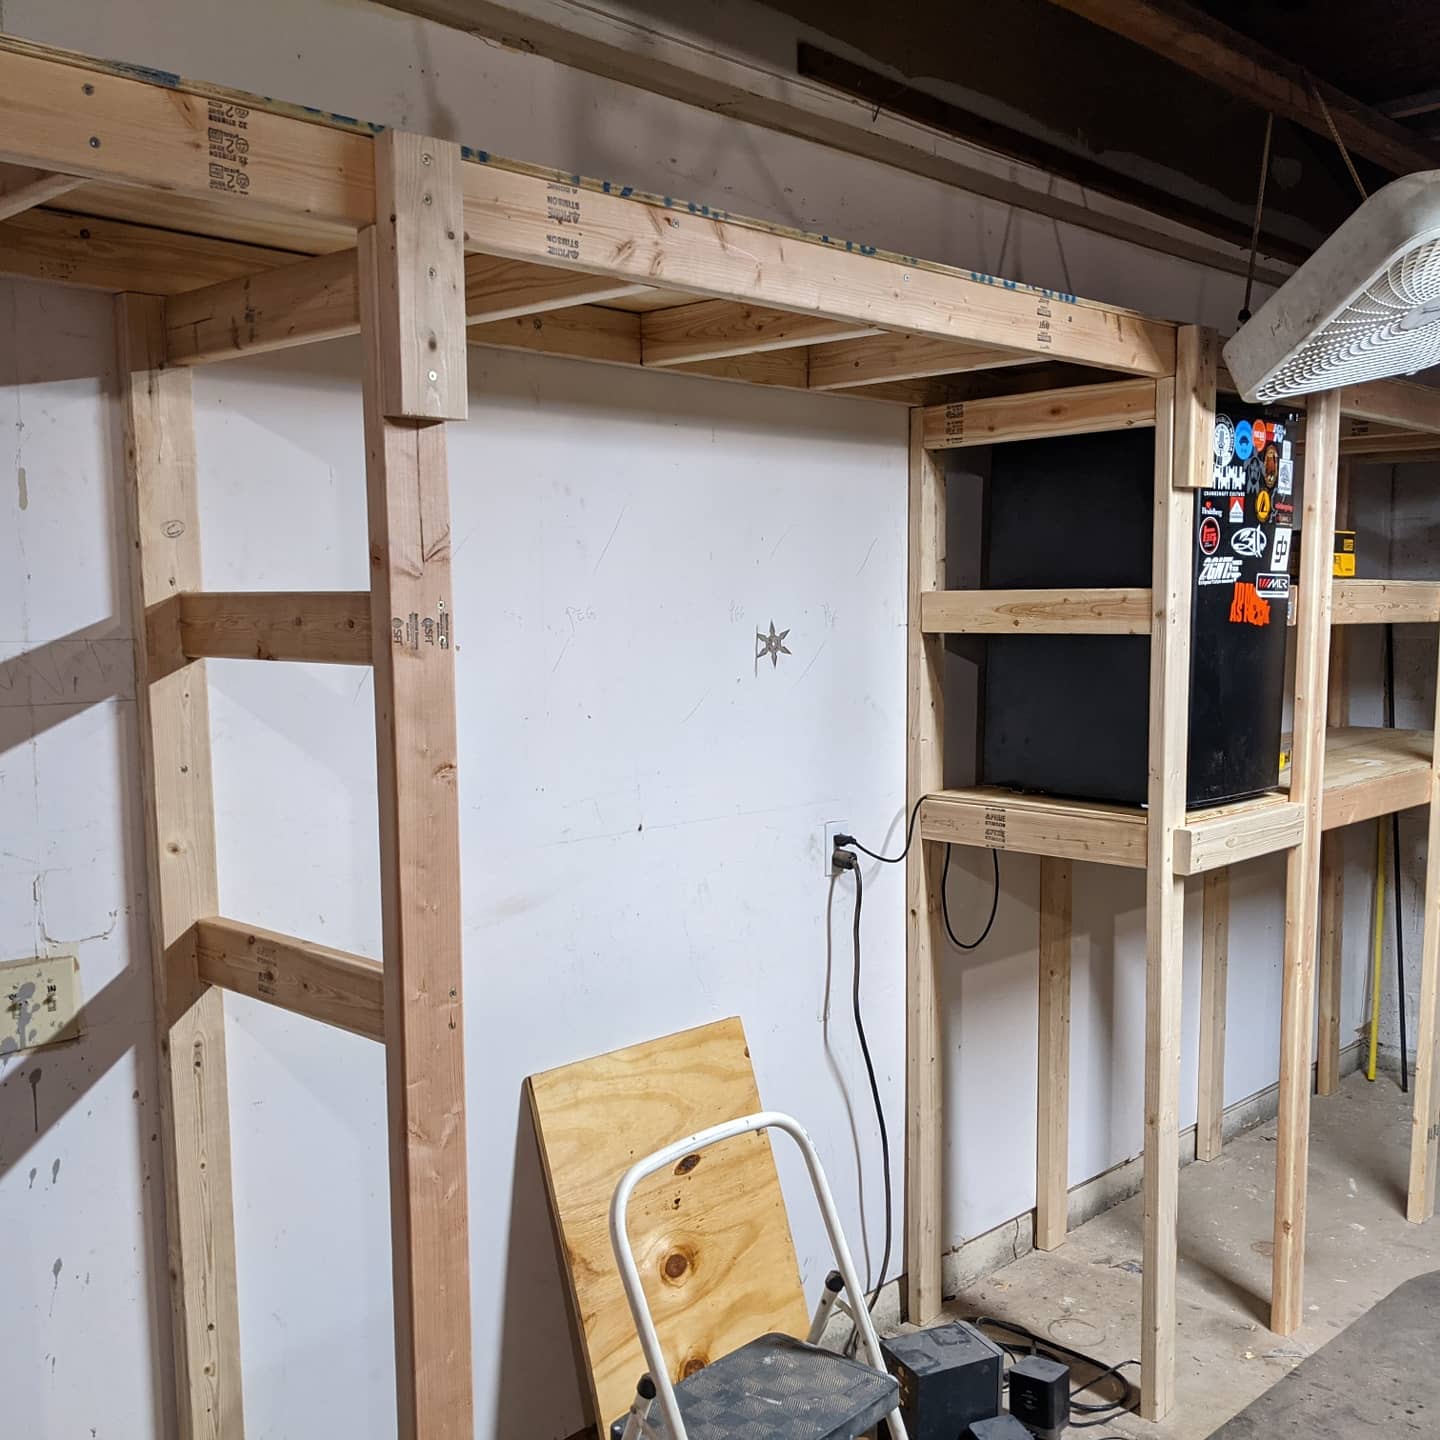
Buttoned everything up and put the fridge in its place. This was my goal for the day.

Tucked P in and went back out to clean up. Last time I used the chop saw, I had termites in the sawdust the next morning, and ain’t nobody got time for that!
Next thing I know, I’ve got rolling tool boxes stashed under it and stuff on the shelves. And room to move things around in the garage. 

This is the biggest thing I’ve ever made with wood and I am VERY happy with the result.
I can’t do a single pull-up, but I can hang my 270lb ass from the overhead over the workbench area and it doesn’t so much as creak.
Next up, I’m going to get the bench into place, load the top shelf, and run my lights. It’s a $50 set of six LED fixtures that daisy chain together.

I’m gonna pay dearly for this amount of hustle tomorrow–I’m feeling wooden myself right now–but man, what an accomplishment.
Wo0t!
3 Likes
Looks awesome man! Should help a lot with keeping things out of the way. I wish I could have kept all my built in shelves, but if I wanted to fit the mill, lathe, AND a car in the garage it was a no go.
Keep it up and definitely let me know if you need a hand with anything.
1 Like
Thanks man. Rather than built-ins, have you considered rolling units?
I’ve already sketched out a design for 2’x8’ shelves on 4" casters. I can add another 48sqft of flex space. One will be for camping gear. Not sure what to use the other for yet.
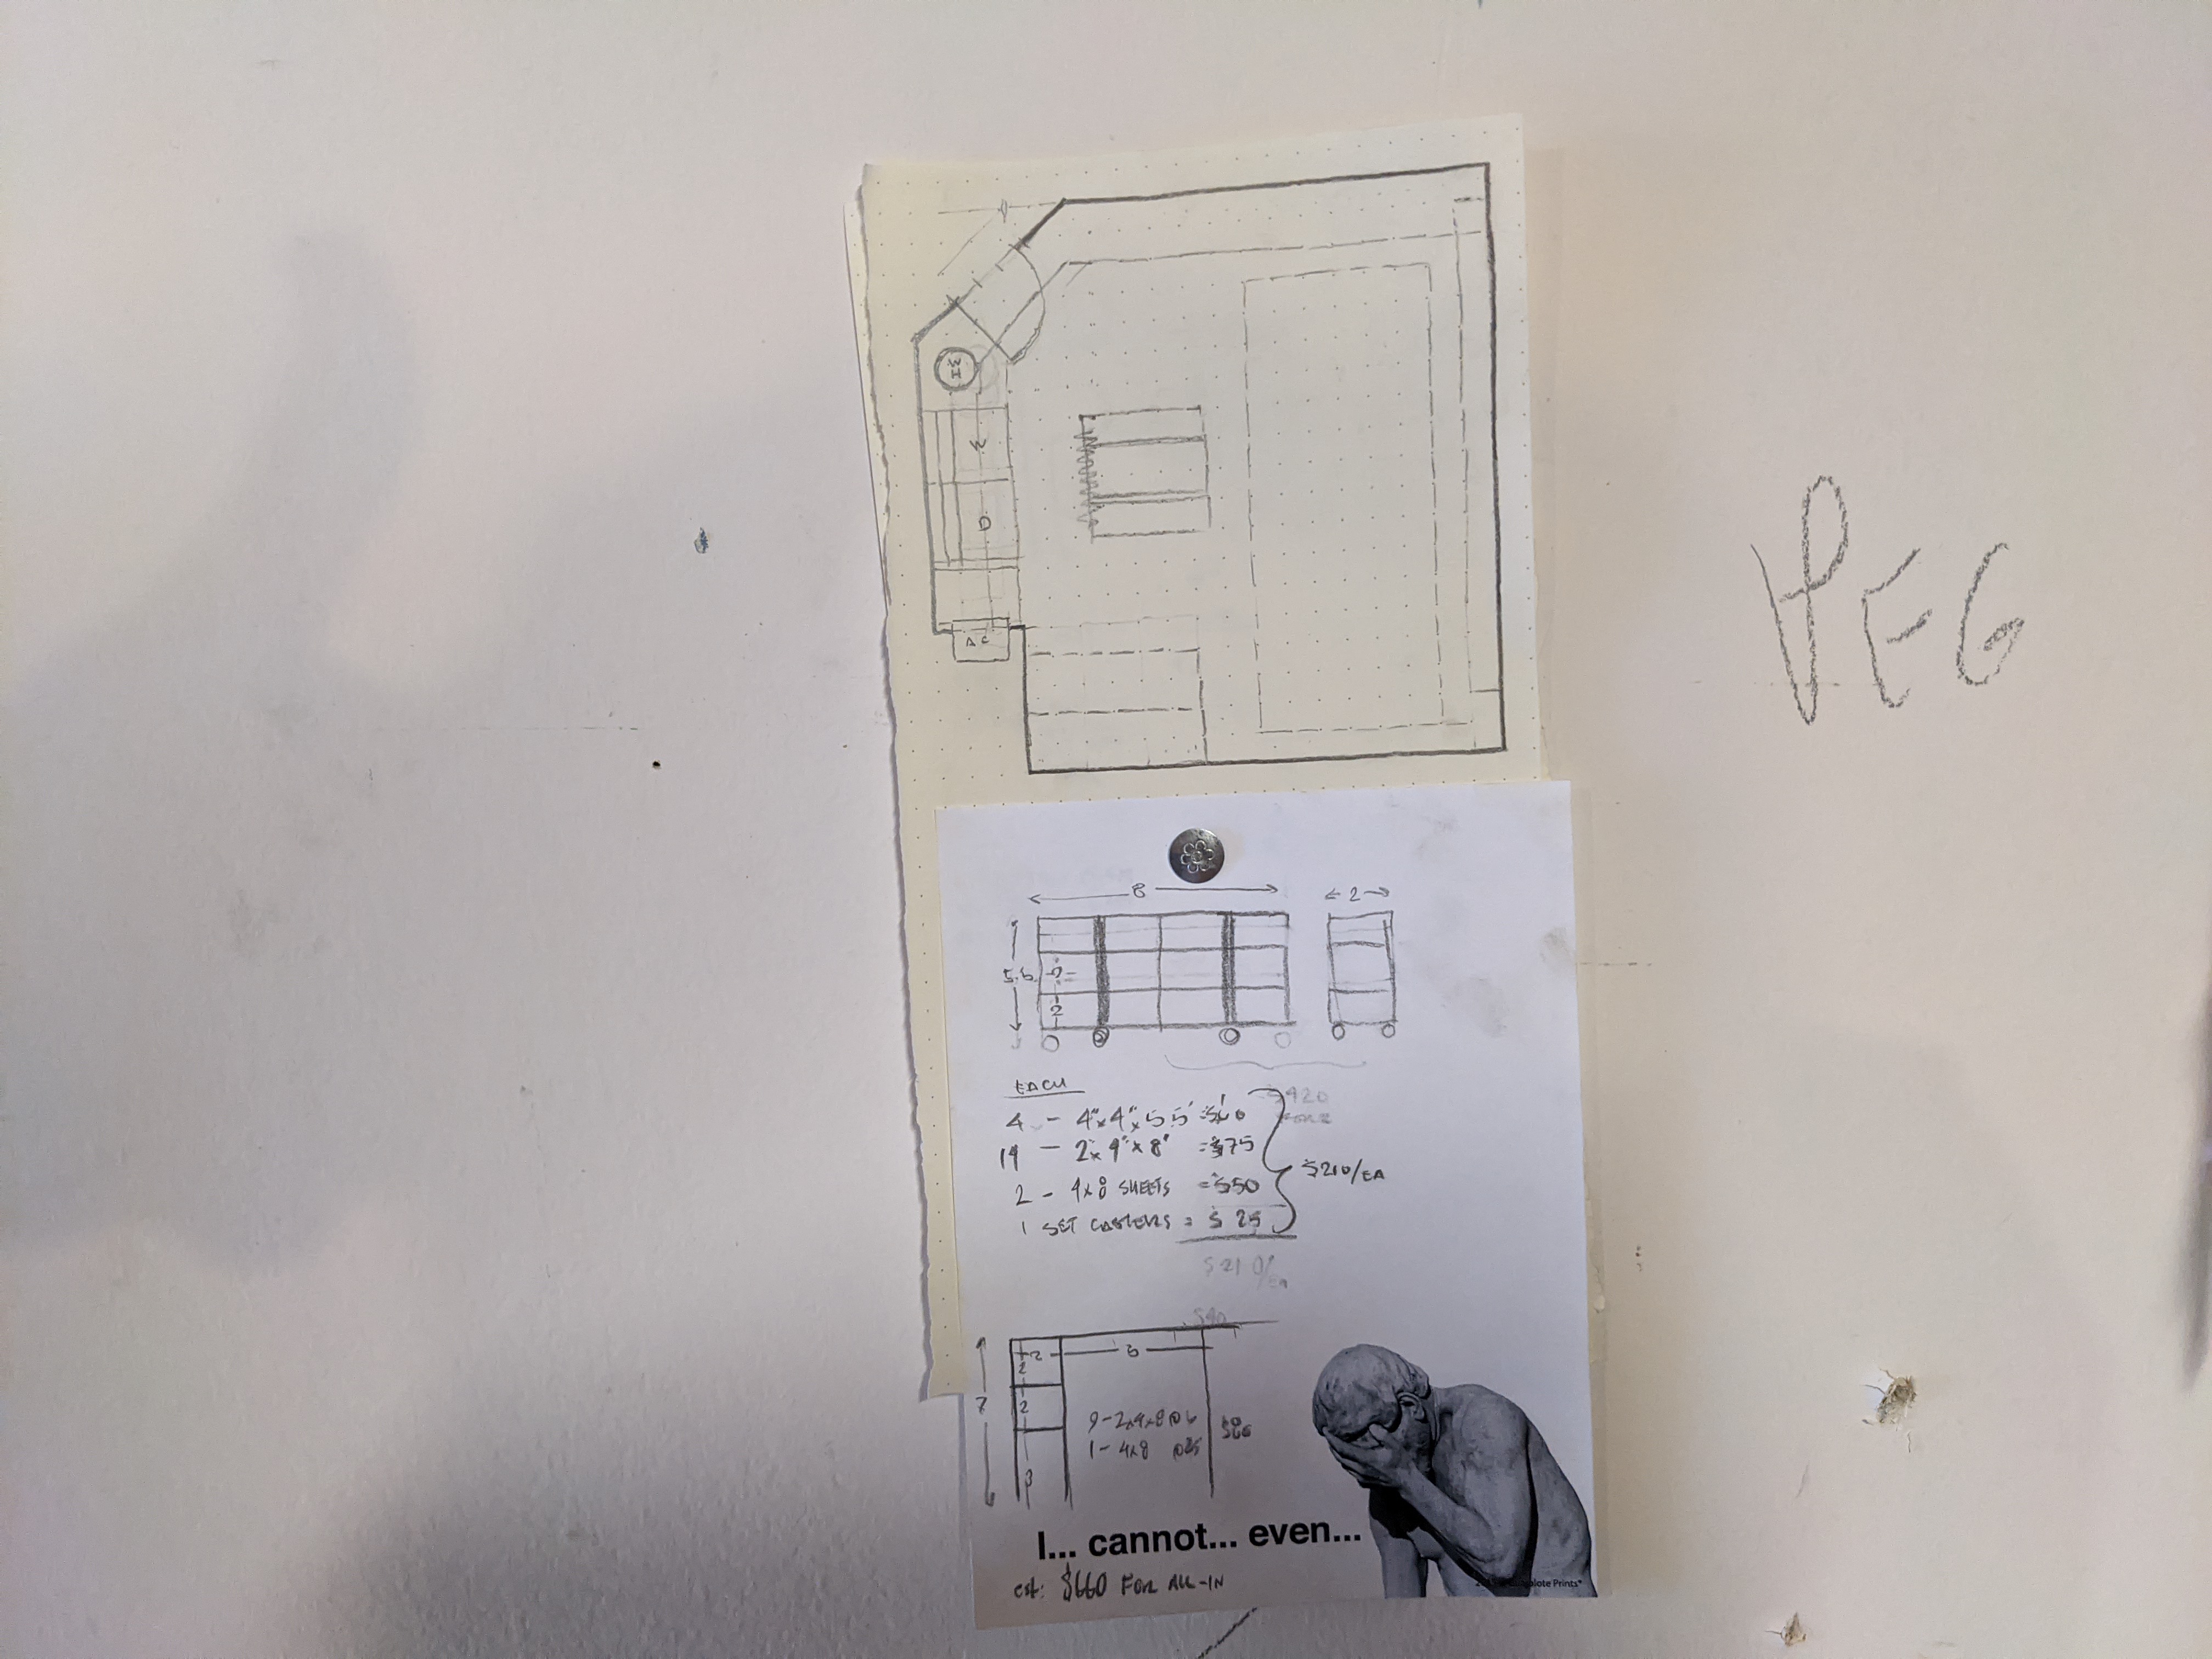
Floorplan not exactly to scale, here, but the idea is I can park–and leave–Fezzik in the garage, then move those shelves where they make the most sense depending on what I’m doing. If Fezzik isn’t inside, I’ll have loads of room for other activities.
2 Likes
I wasn’t planning on building shelves today, but we got the day off for, uh, civic duties, I’m running out of weekends to get it done before the end of the year, and, well, I discovered things moved pretty quickly.
How quickly? Let’s just say this was when I realized I hadn’t snapped any pictures.
It’s a little narrow, and feels like it wants to be tippy, but nothing a little ballast down low should remedy that.
The plan is for two of these.
2 Likes
Oh, wow…I might have to steal the design on this one. 
To add a little extra weight without having to keep the rack loaded you could make a few cheap weights out of concrete. One of the 60-pound bags would probably fill the lowest center section sufficiently, then hide it with the shelf’s top. Maybe cross-drill and run a couple bits of rebar across the 2’ span if you’re worried about the weight pushing the bottom out over time. (I’ve got tons of rebar if you want some.)
2 Likes
Looks good! Can’t wait to see it all done!
1 Like
Thanks, gentlemen. 
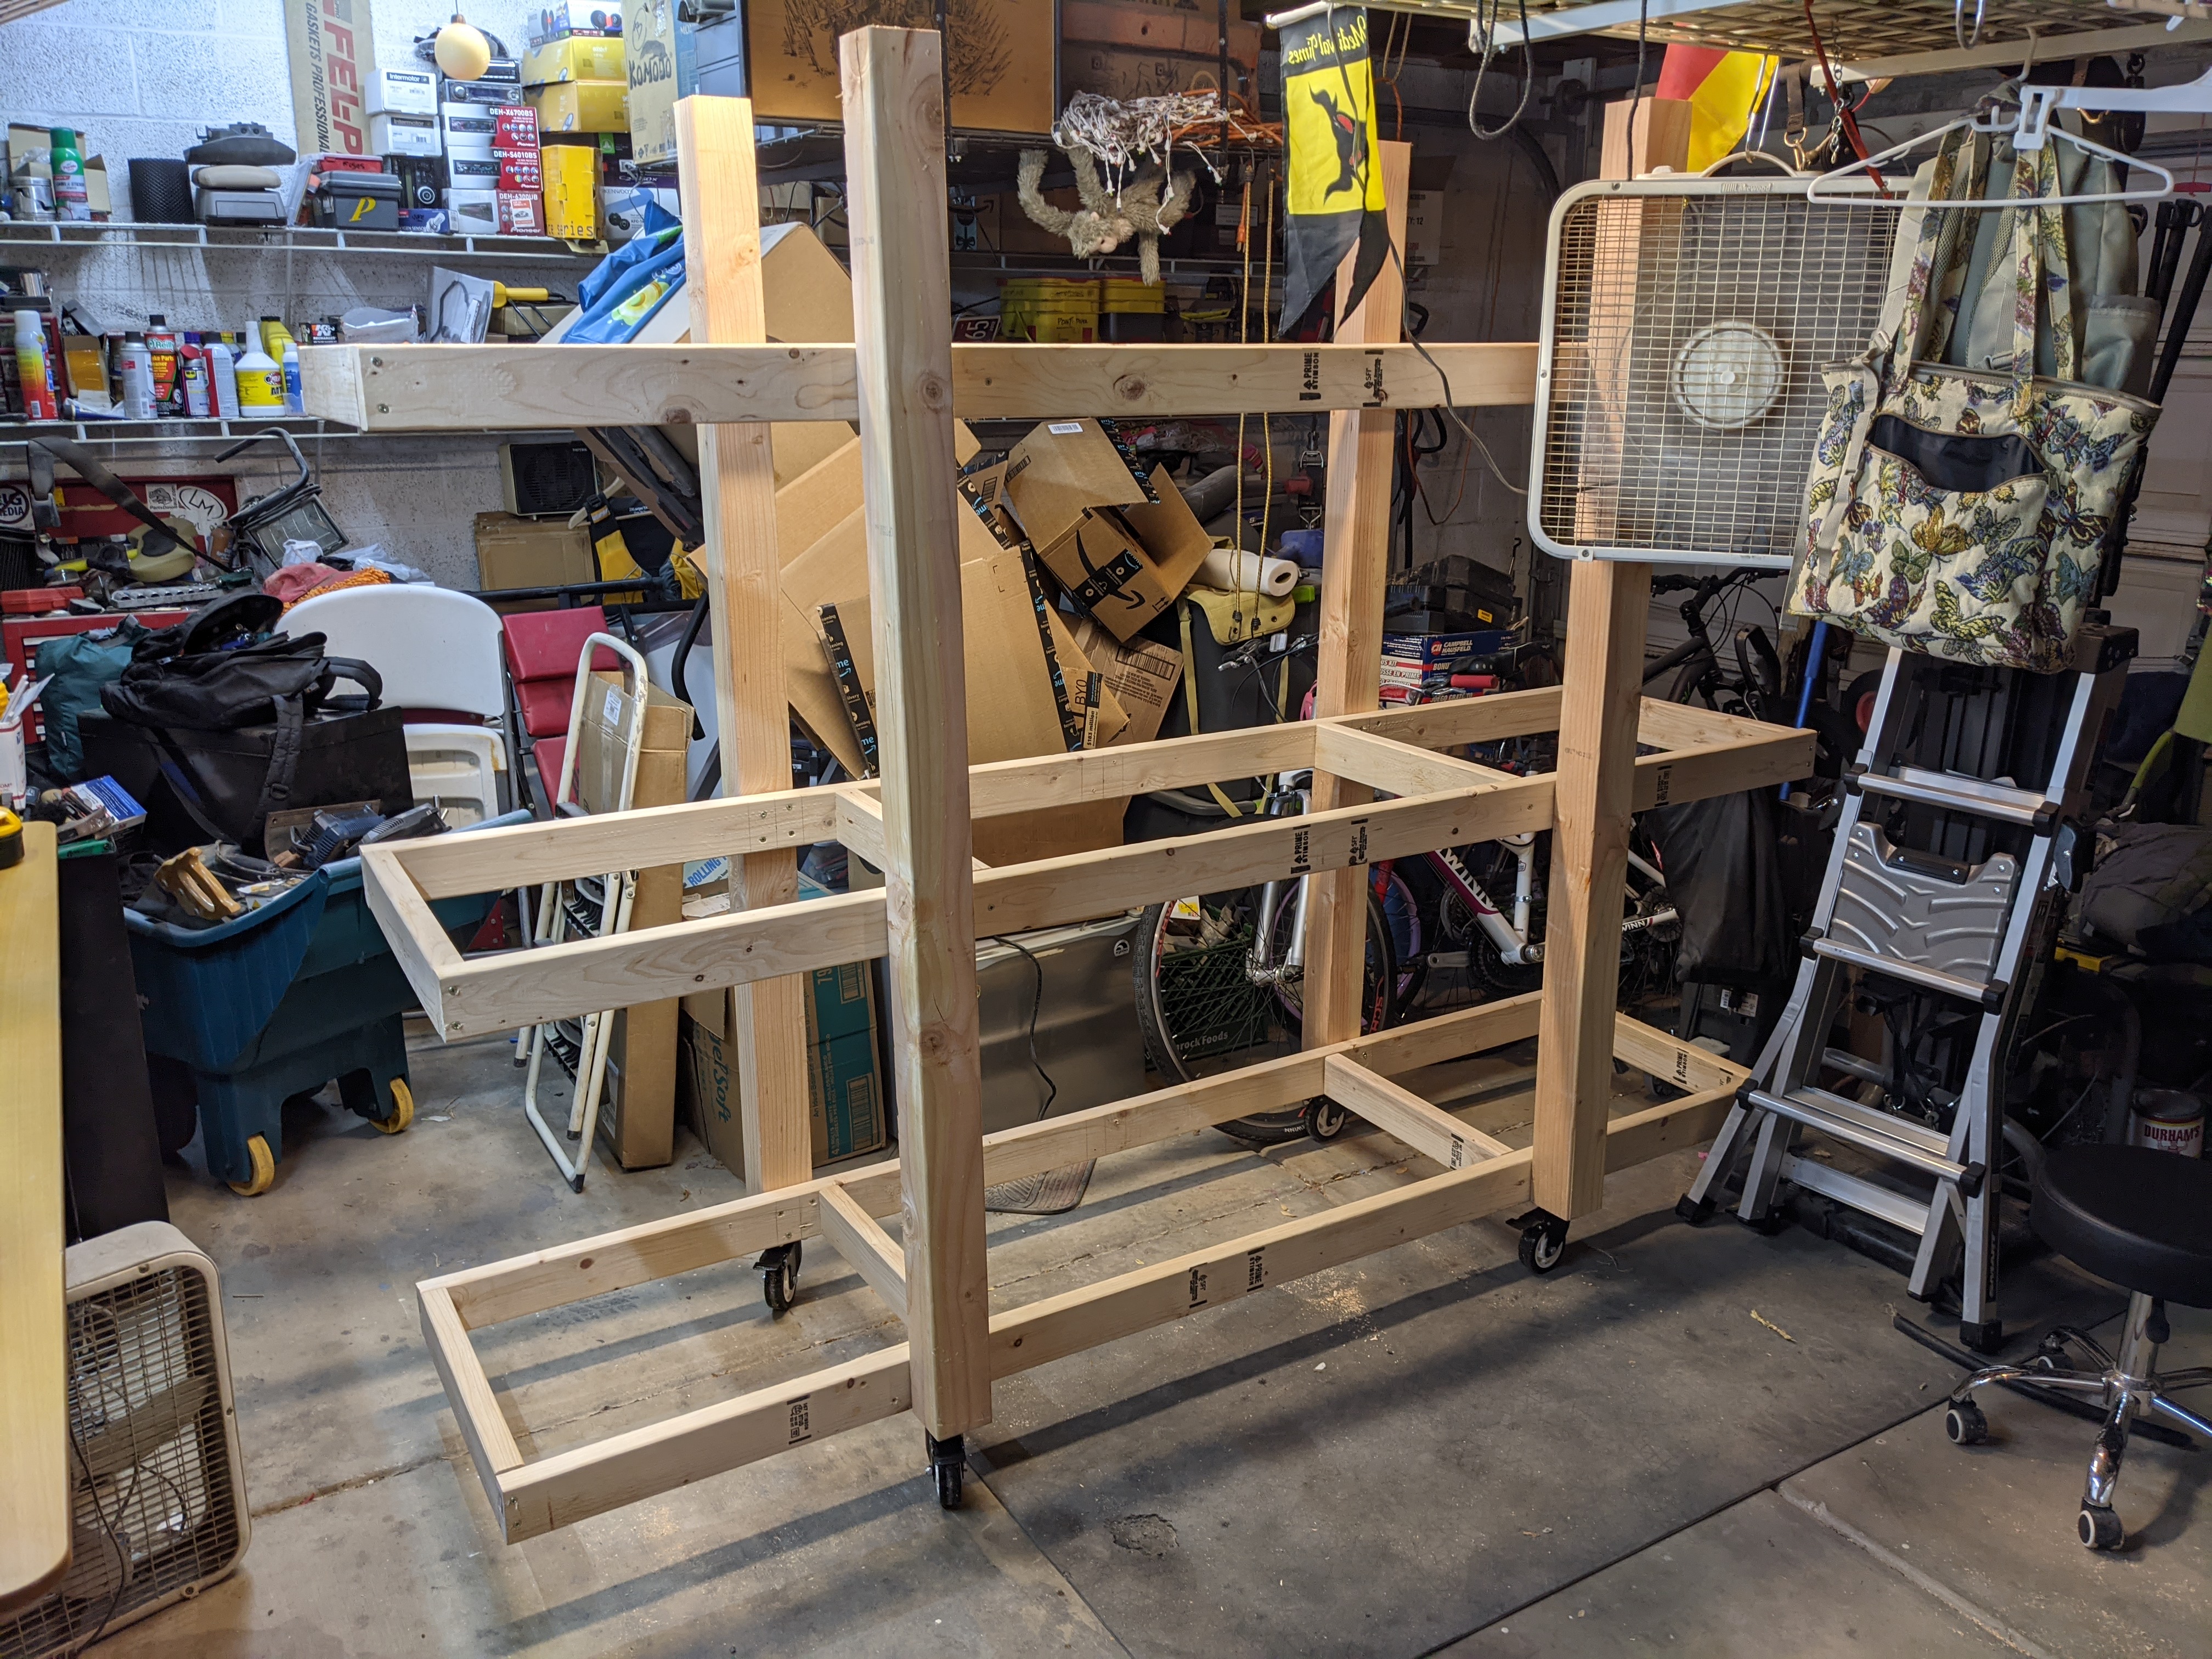
The 4x4s come 8ft long, so I have four 2ft pieces left. They’re stout. I think I’ll cut them down to 21" and install them as crossbeam supports on the bottom shelf. Should add an easy 20-30lbs, imo. (I was going to do this at first, but realized they were 2" too long once I started connecting the top shelf sides.)
The design is pretty simple.
- (4) 4x4x8s fro the uprights
- (6) 2x4x8s for the horizontals
- (3) 2x4x8s for the 21" crossbeams
- (1) set of 4" swivel casters from Amazon
The whole thing is only 16 cuts. Cut the 4x4s down to 6ft, and three of the 2x4s into 21" pieces. From there, it’s (4) x 3in #10 Spax wood screws into the uprights at every mounting location, (2) 2.5in #10 Spax into the crossbeams on the ends, and (1) 2.5in #10 Spax into the ends of the other crossbeams.
I was really surprised I got this far in a single day.
Now I just need to get a couple 4x8 sheets ripped in half for the shelving surfaces—make the other unit—and start loading things up!
2020: GARAGE, growth, grit.
2 Likes
Oh, got the fancy casters.  I’ll probably start doing that too as soon as I move inside a structure, for now it’s el-cheapo Harbor Freight (they don’t lock, but, $8 moving dollies broken down = $2 casters).
Pro Tip #1: When you have Homey-D rip the sheets down, make sure they center the blade on the mark (“cut it in half” vs. “I need 24 inches”) or you’ll have one shelf that’s 1/8th shorter than the other. (Might not really matter, but aesthetics and all…)
Pro Tip #2: Don’t cheap out on the sheets. The short lifespan of OSB and the hassle of unsanded/subfloor sheets isn’t worth the $5-10 in savings—grab the pre-sanded 15/32 or 1/2 ply. Prefinished MDF is cheap too and can look really good with a carefully routered edge, which brings me to…
Pro Tip #3: Grab one of those routers (fixed base) and a round-over or chamfer bit from the tool pile. Super easy to learn, you’ll have it in five minutes, and you’ll save yourself a lot of nasty splinters over the years (and preserve the shelf edges for a lifetime). Careful though, once you’ve got it, it’s one of those tools you’ll feel must be used on every project.
2 Likes
Oh man. I was thinking about all of the above… as I installed the sightly off-kilter, rough around the edges, $5 cheaper boards I used for the shelving tonight. Doh! Just a bit too late, I guess, but they’re done now.
Gotta get more stuff on them, then reorganize to make more sense, then get the truck in for some work.
2 Likes
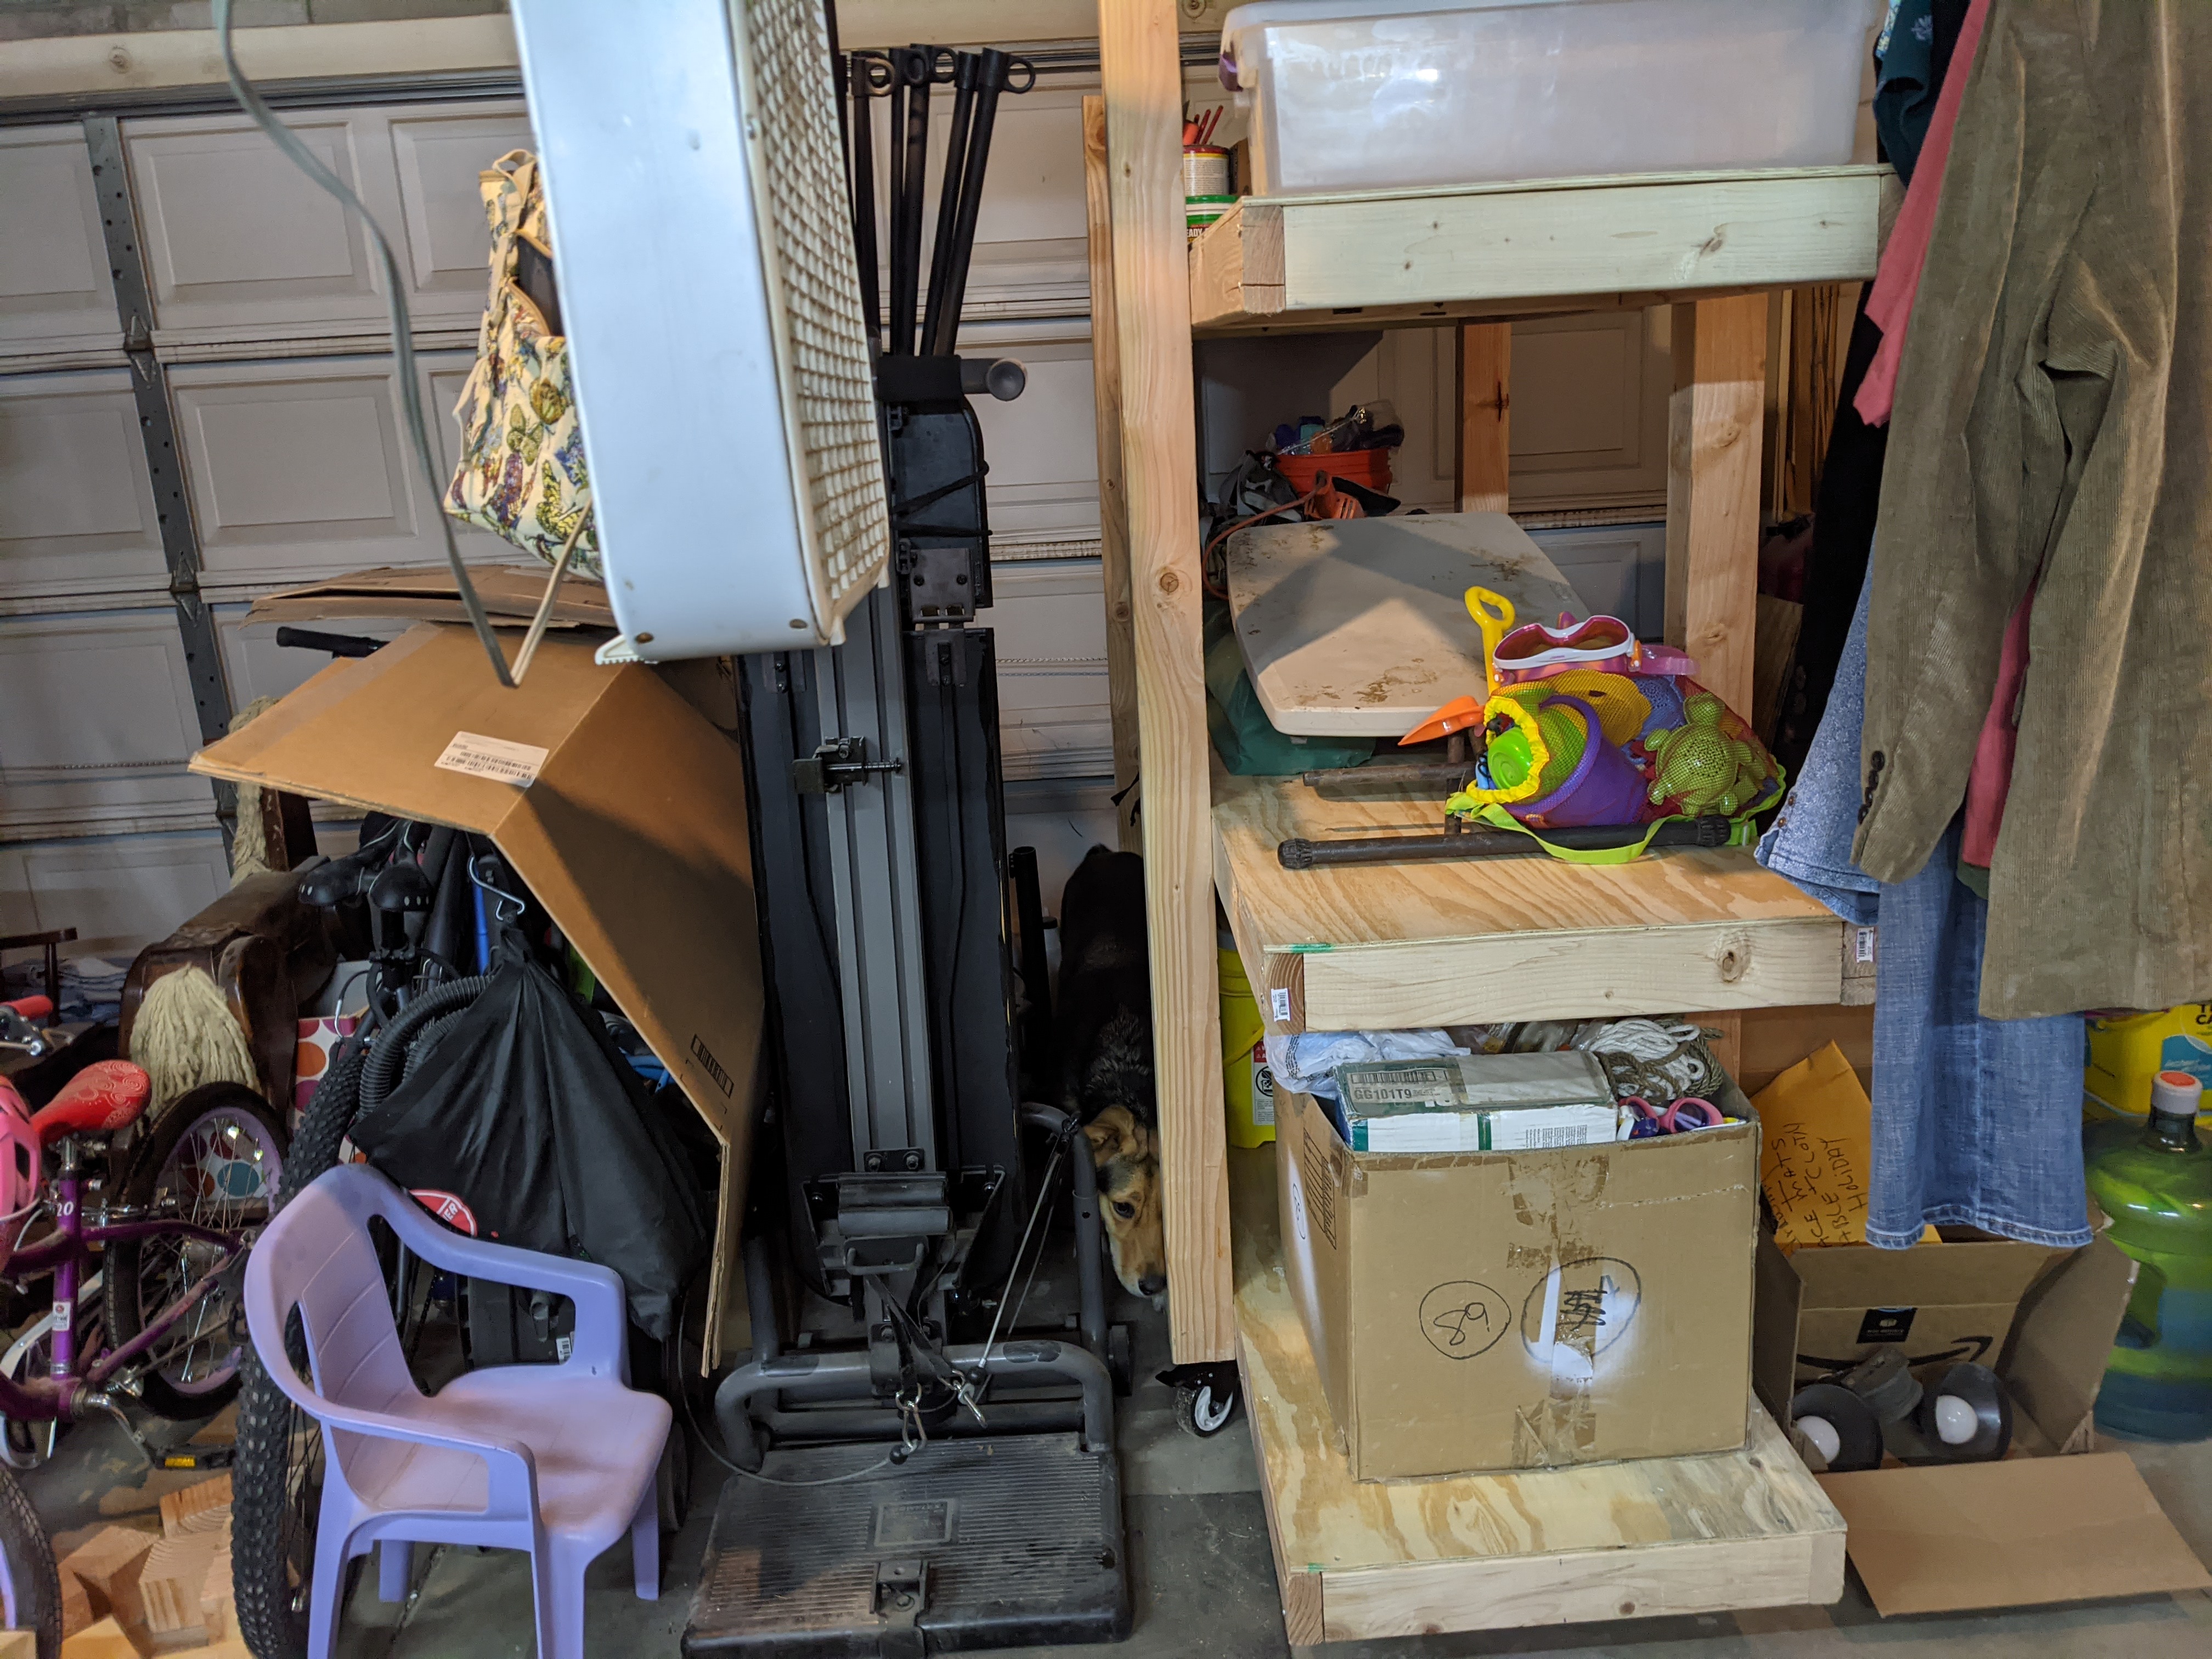
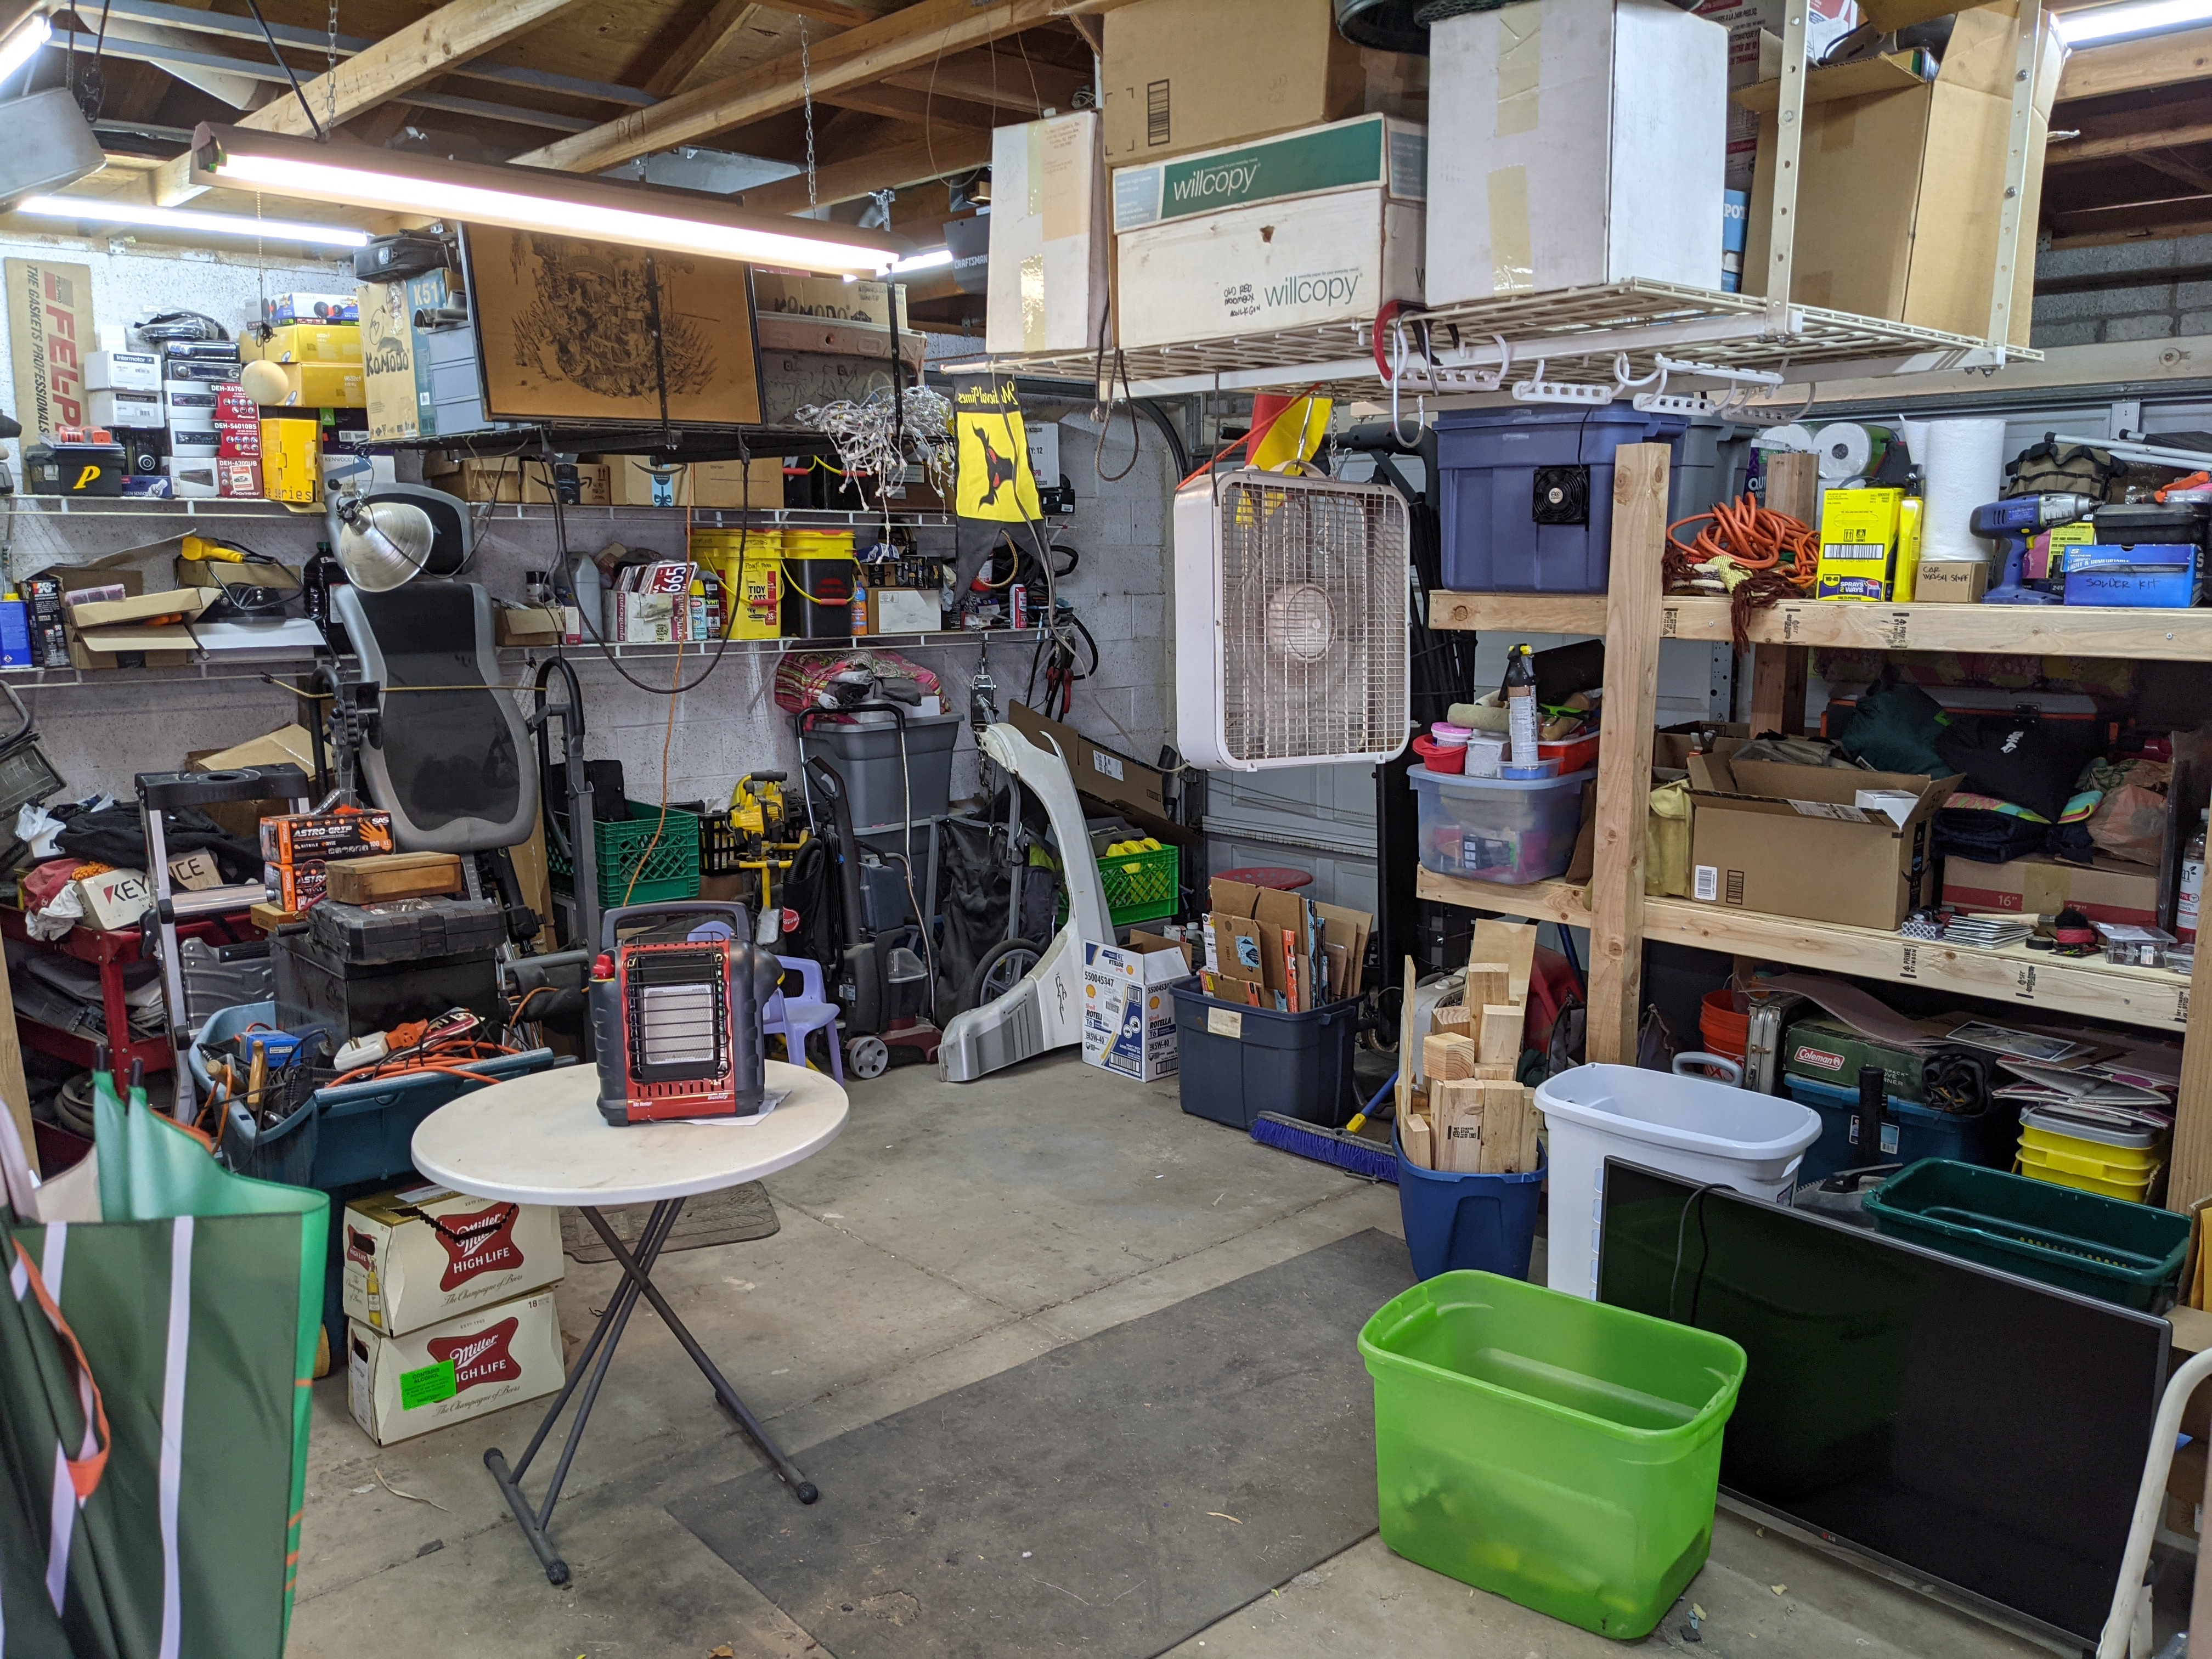
Getting closer!
Today, after going to FOUR different parts stores to recycle the 14 gallons of used oil (one turned out to be 3qts of new Rotella  ), I put the old workbench stuff out for bulk trash and got the shelves A) where I wanted them, and B) roughly loaded up appropriately.
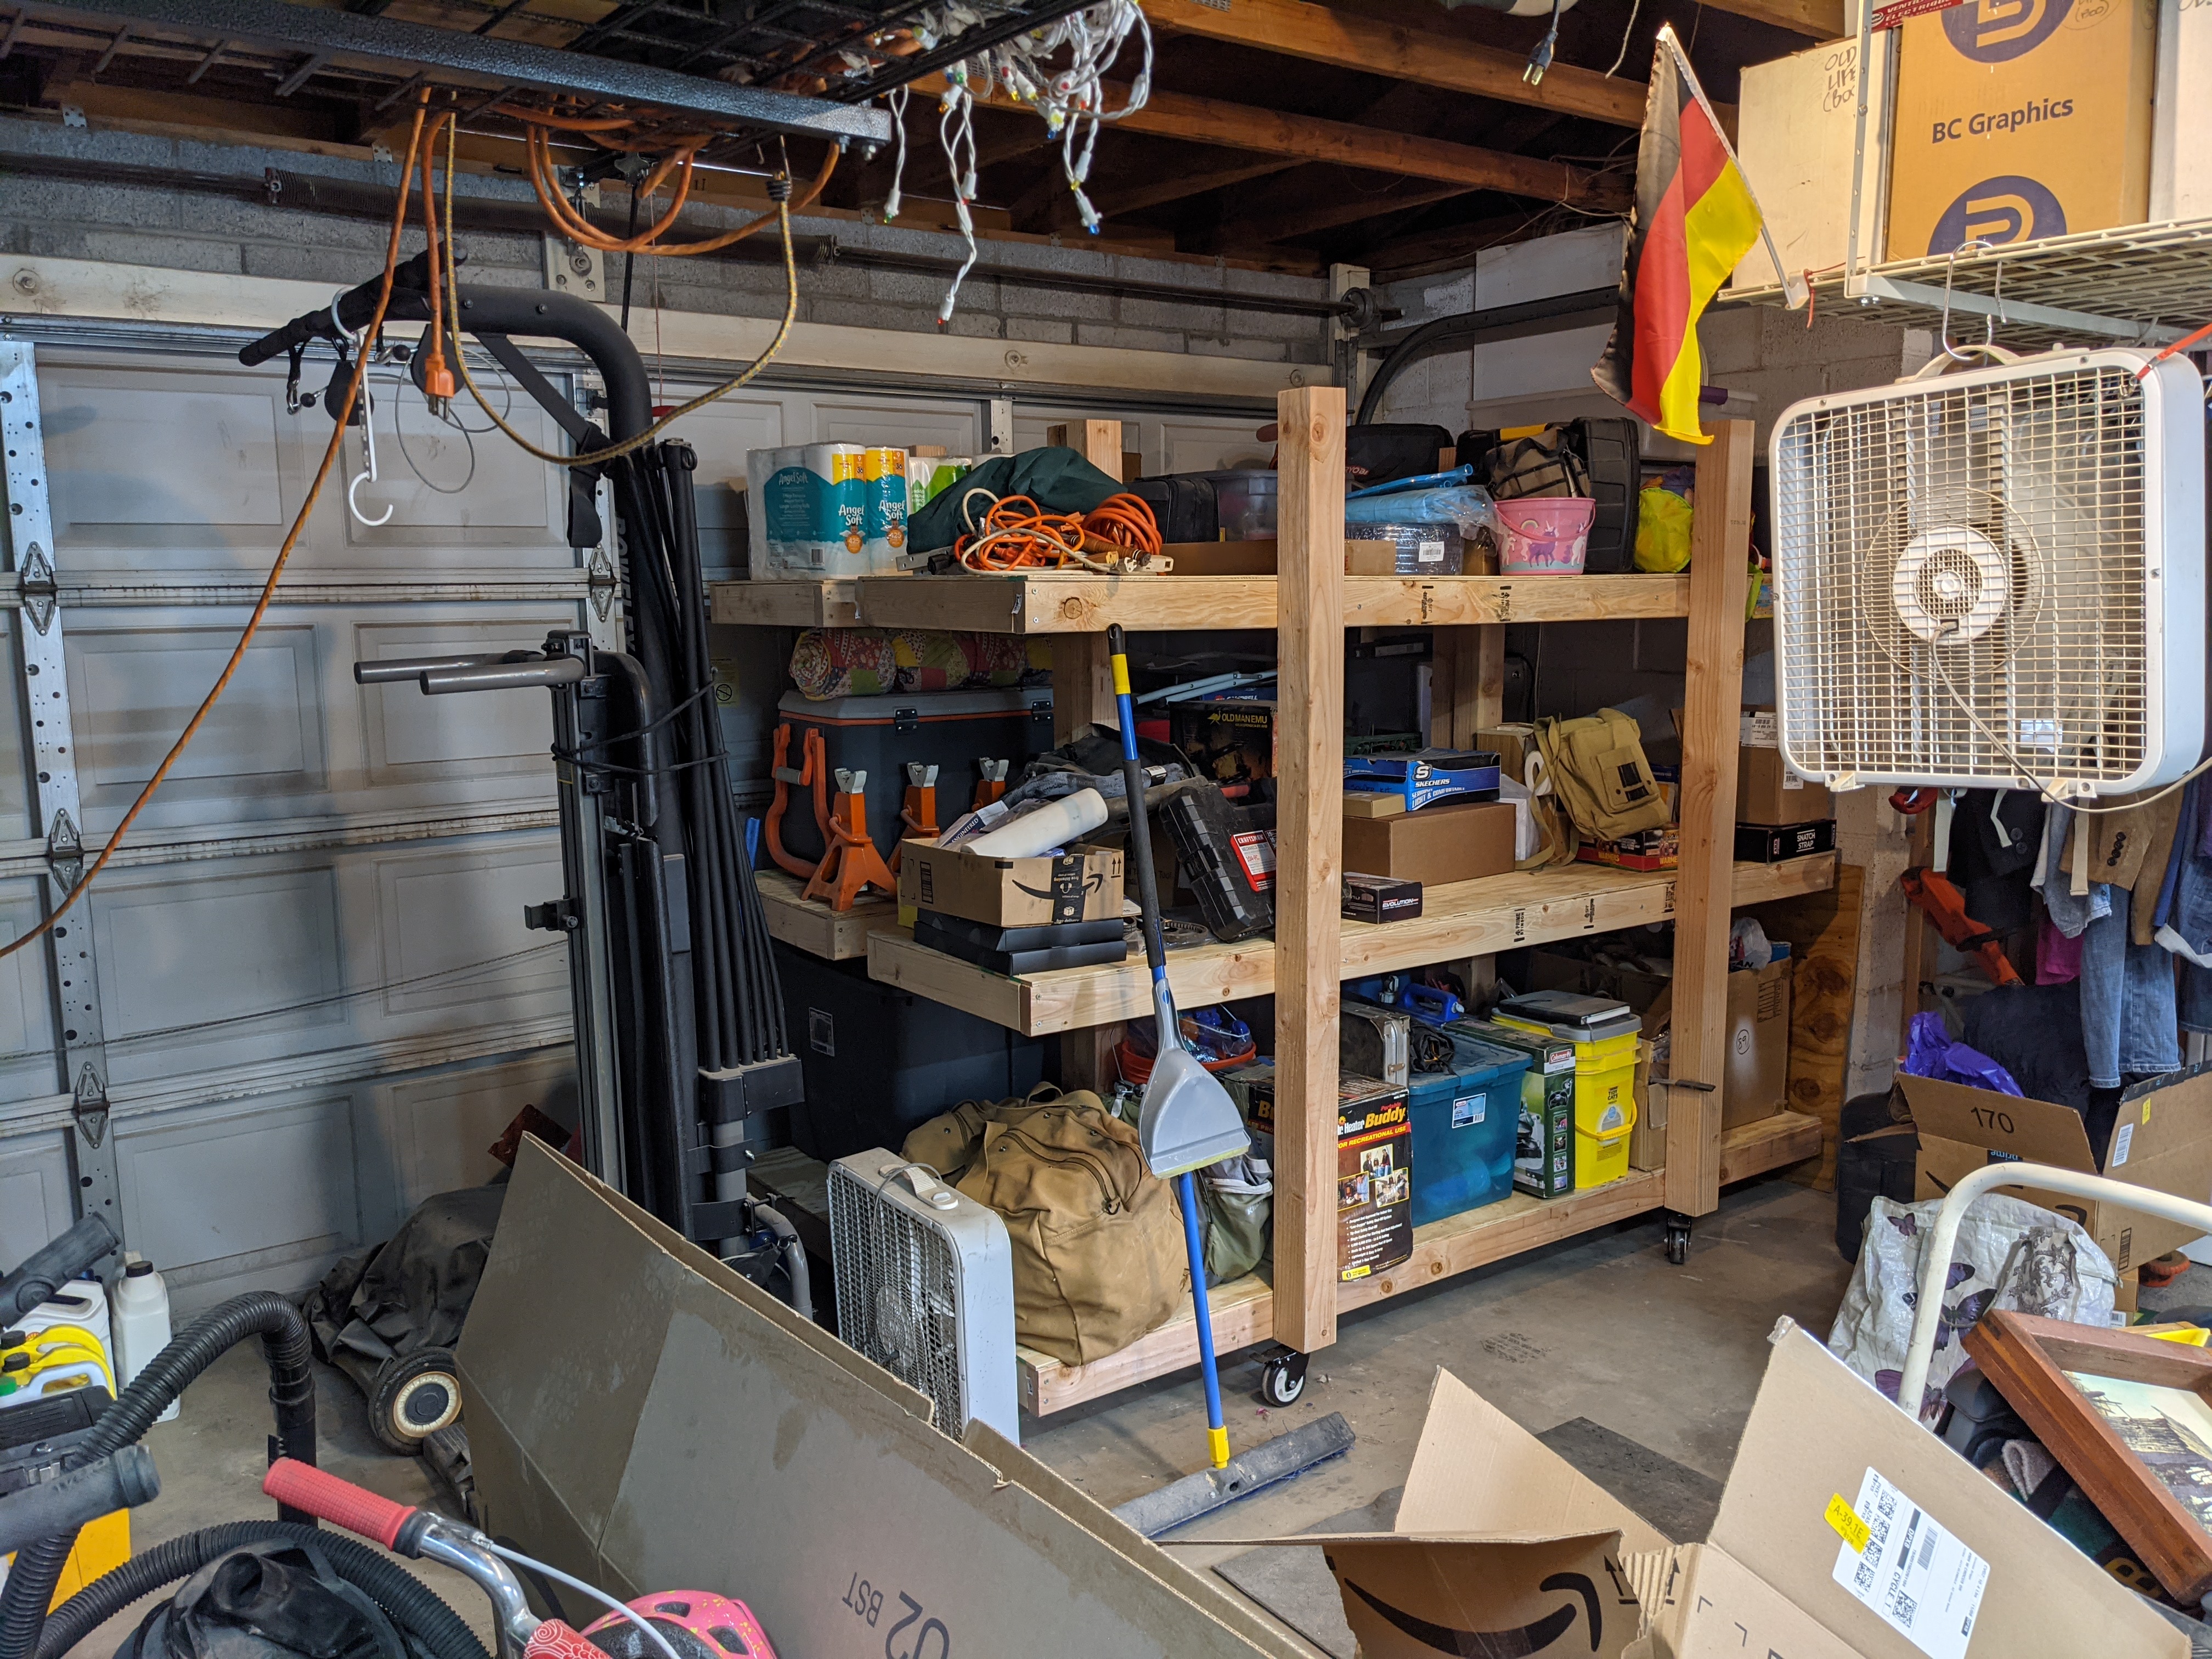
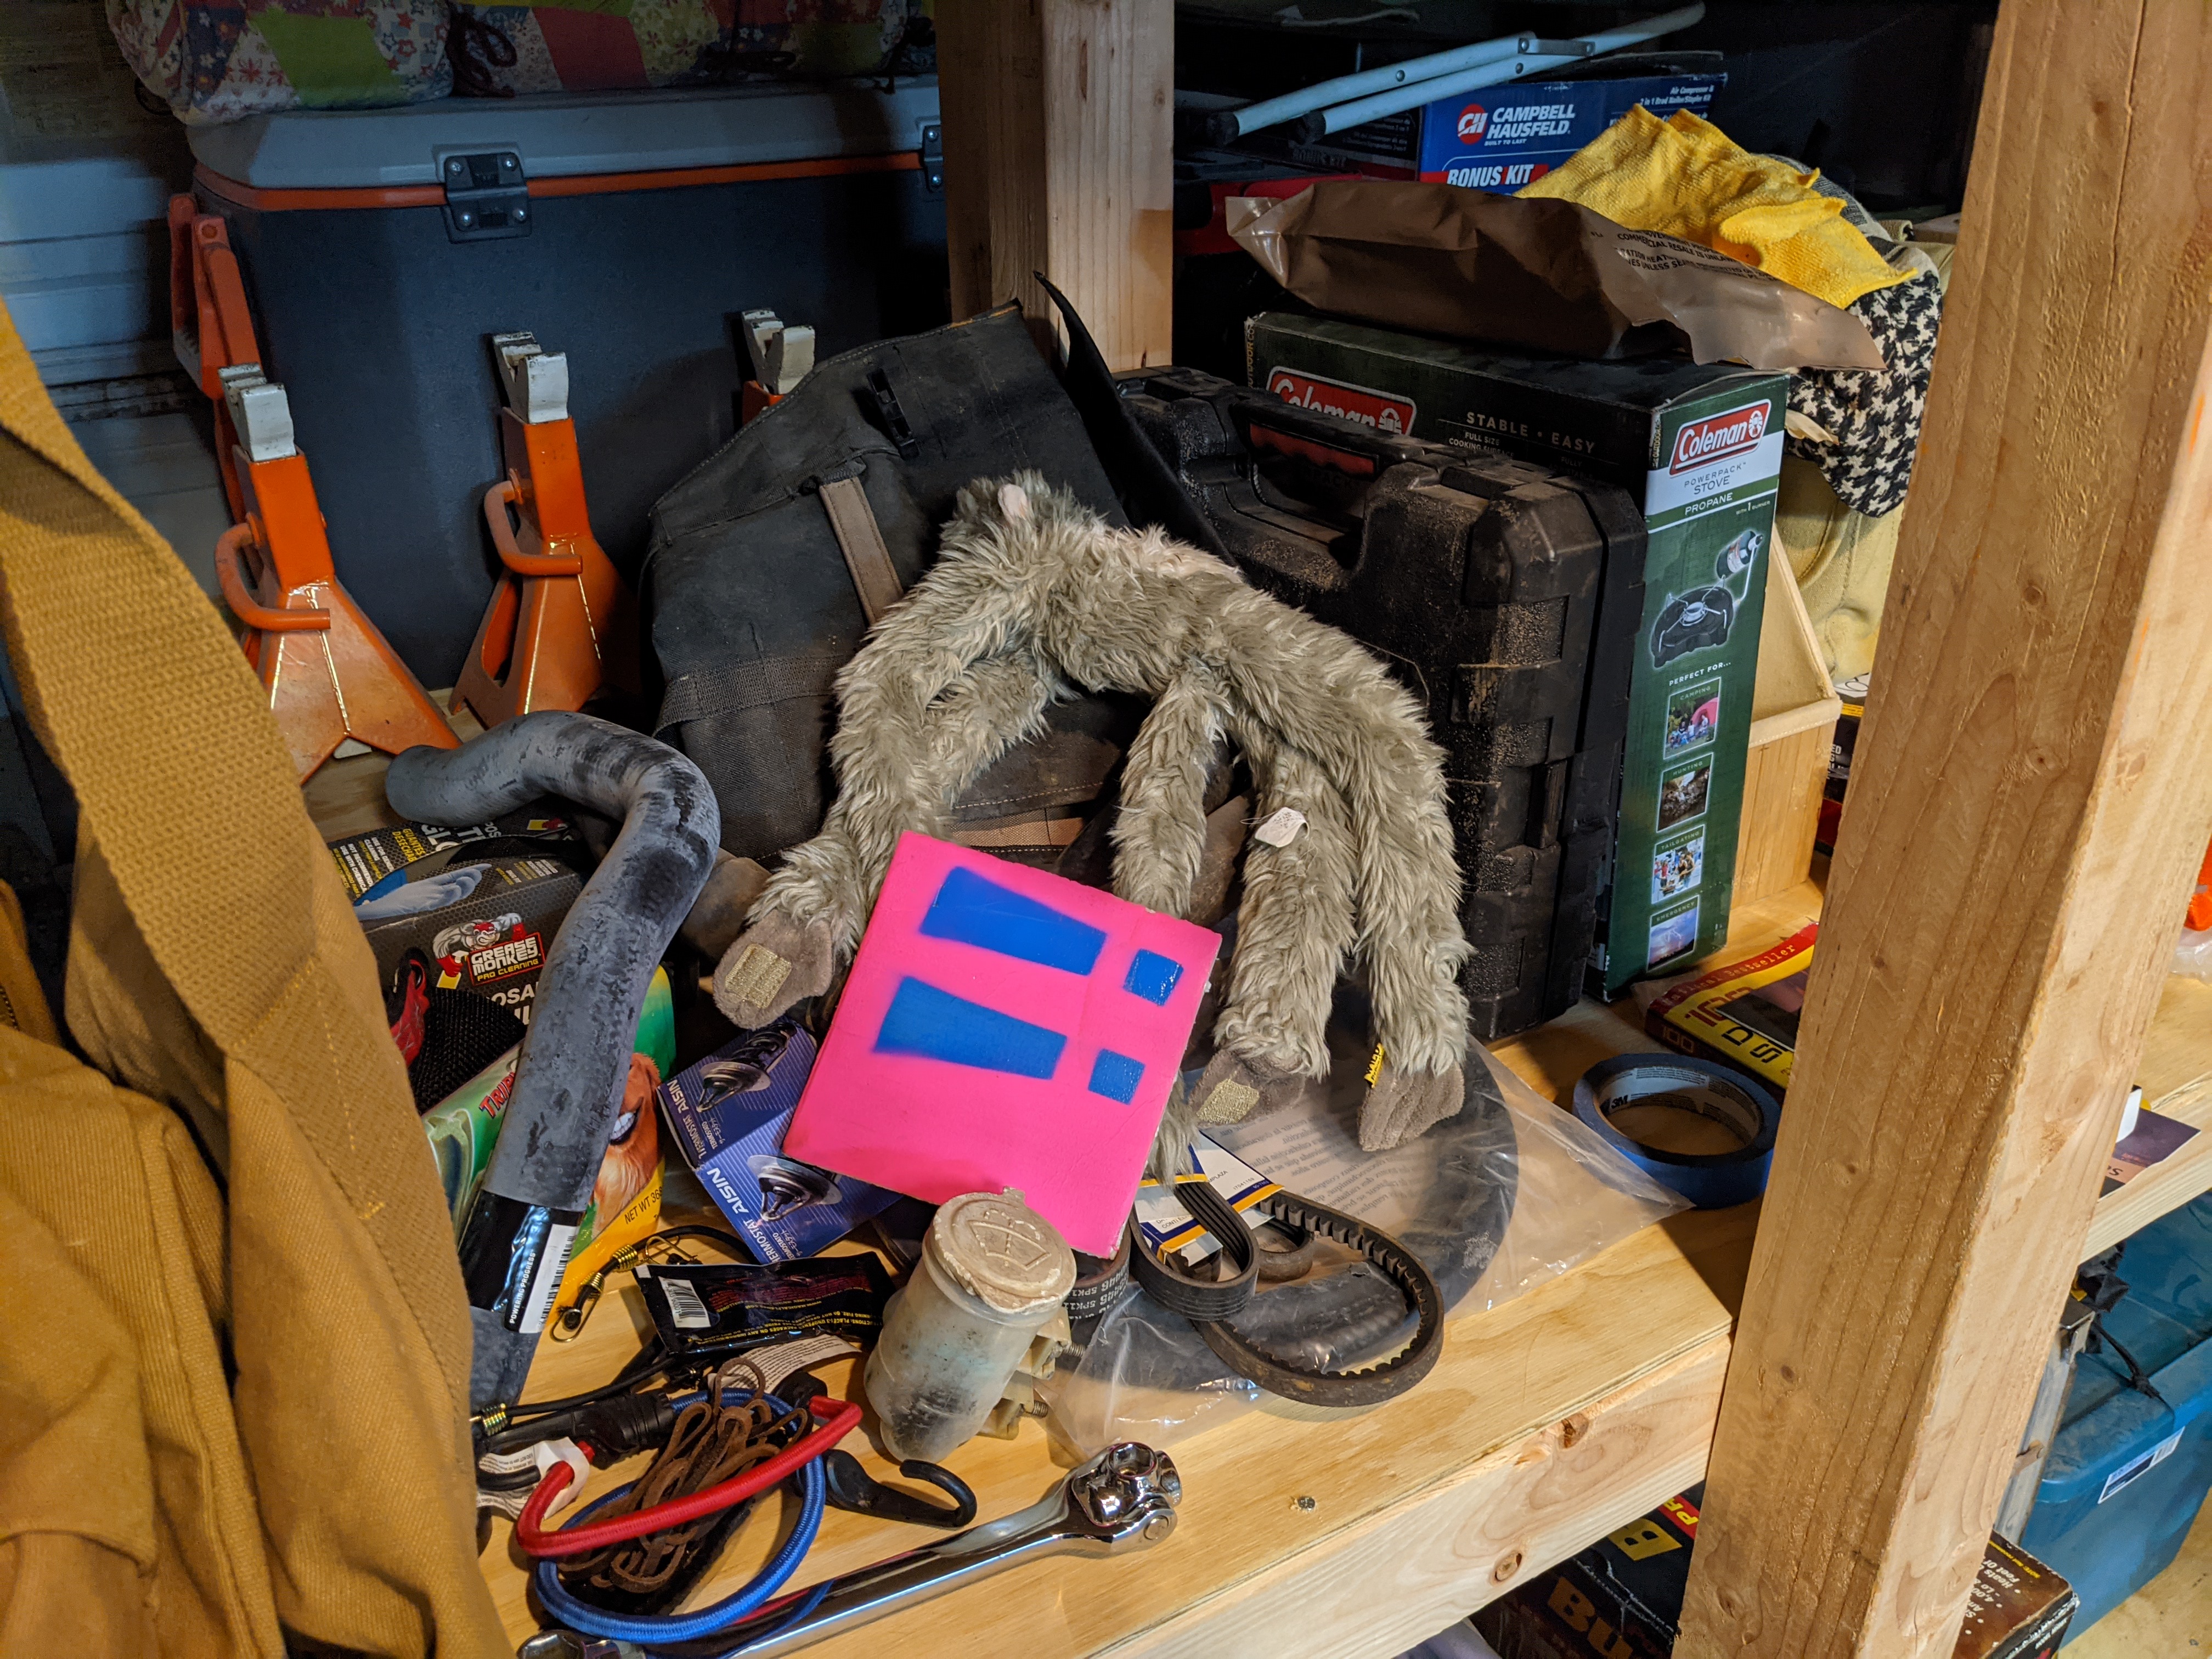
The back shelf, closest to the door, is for mostly camping stuff and seldom used things like a serviceable OE alternator, circular saw, angle grinder, and whatnot.
The front shelf is mostly staging for trip prep right now, but will ultimately be for more imminently useful things once the stuff on it is installed and or kitted up for quick load out.
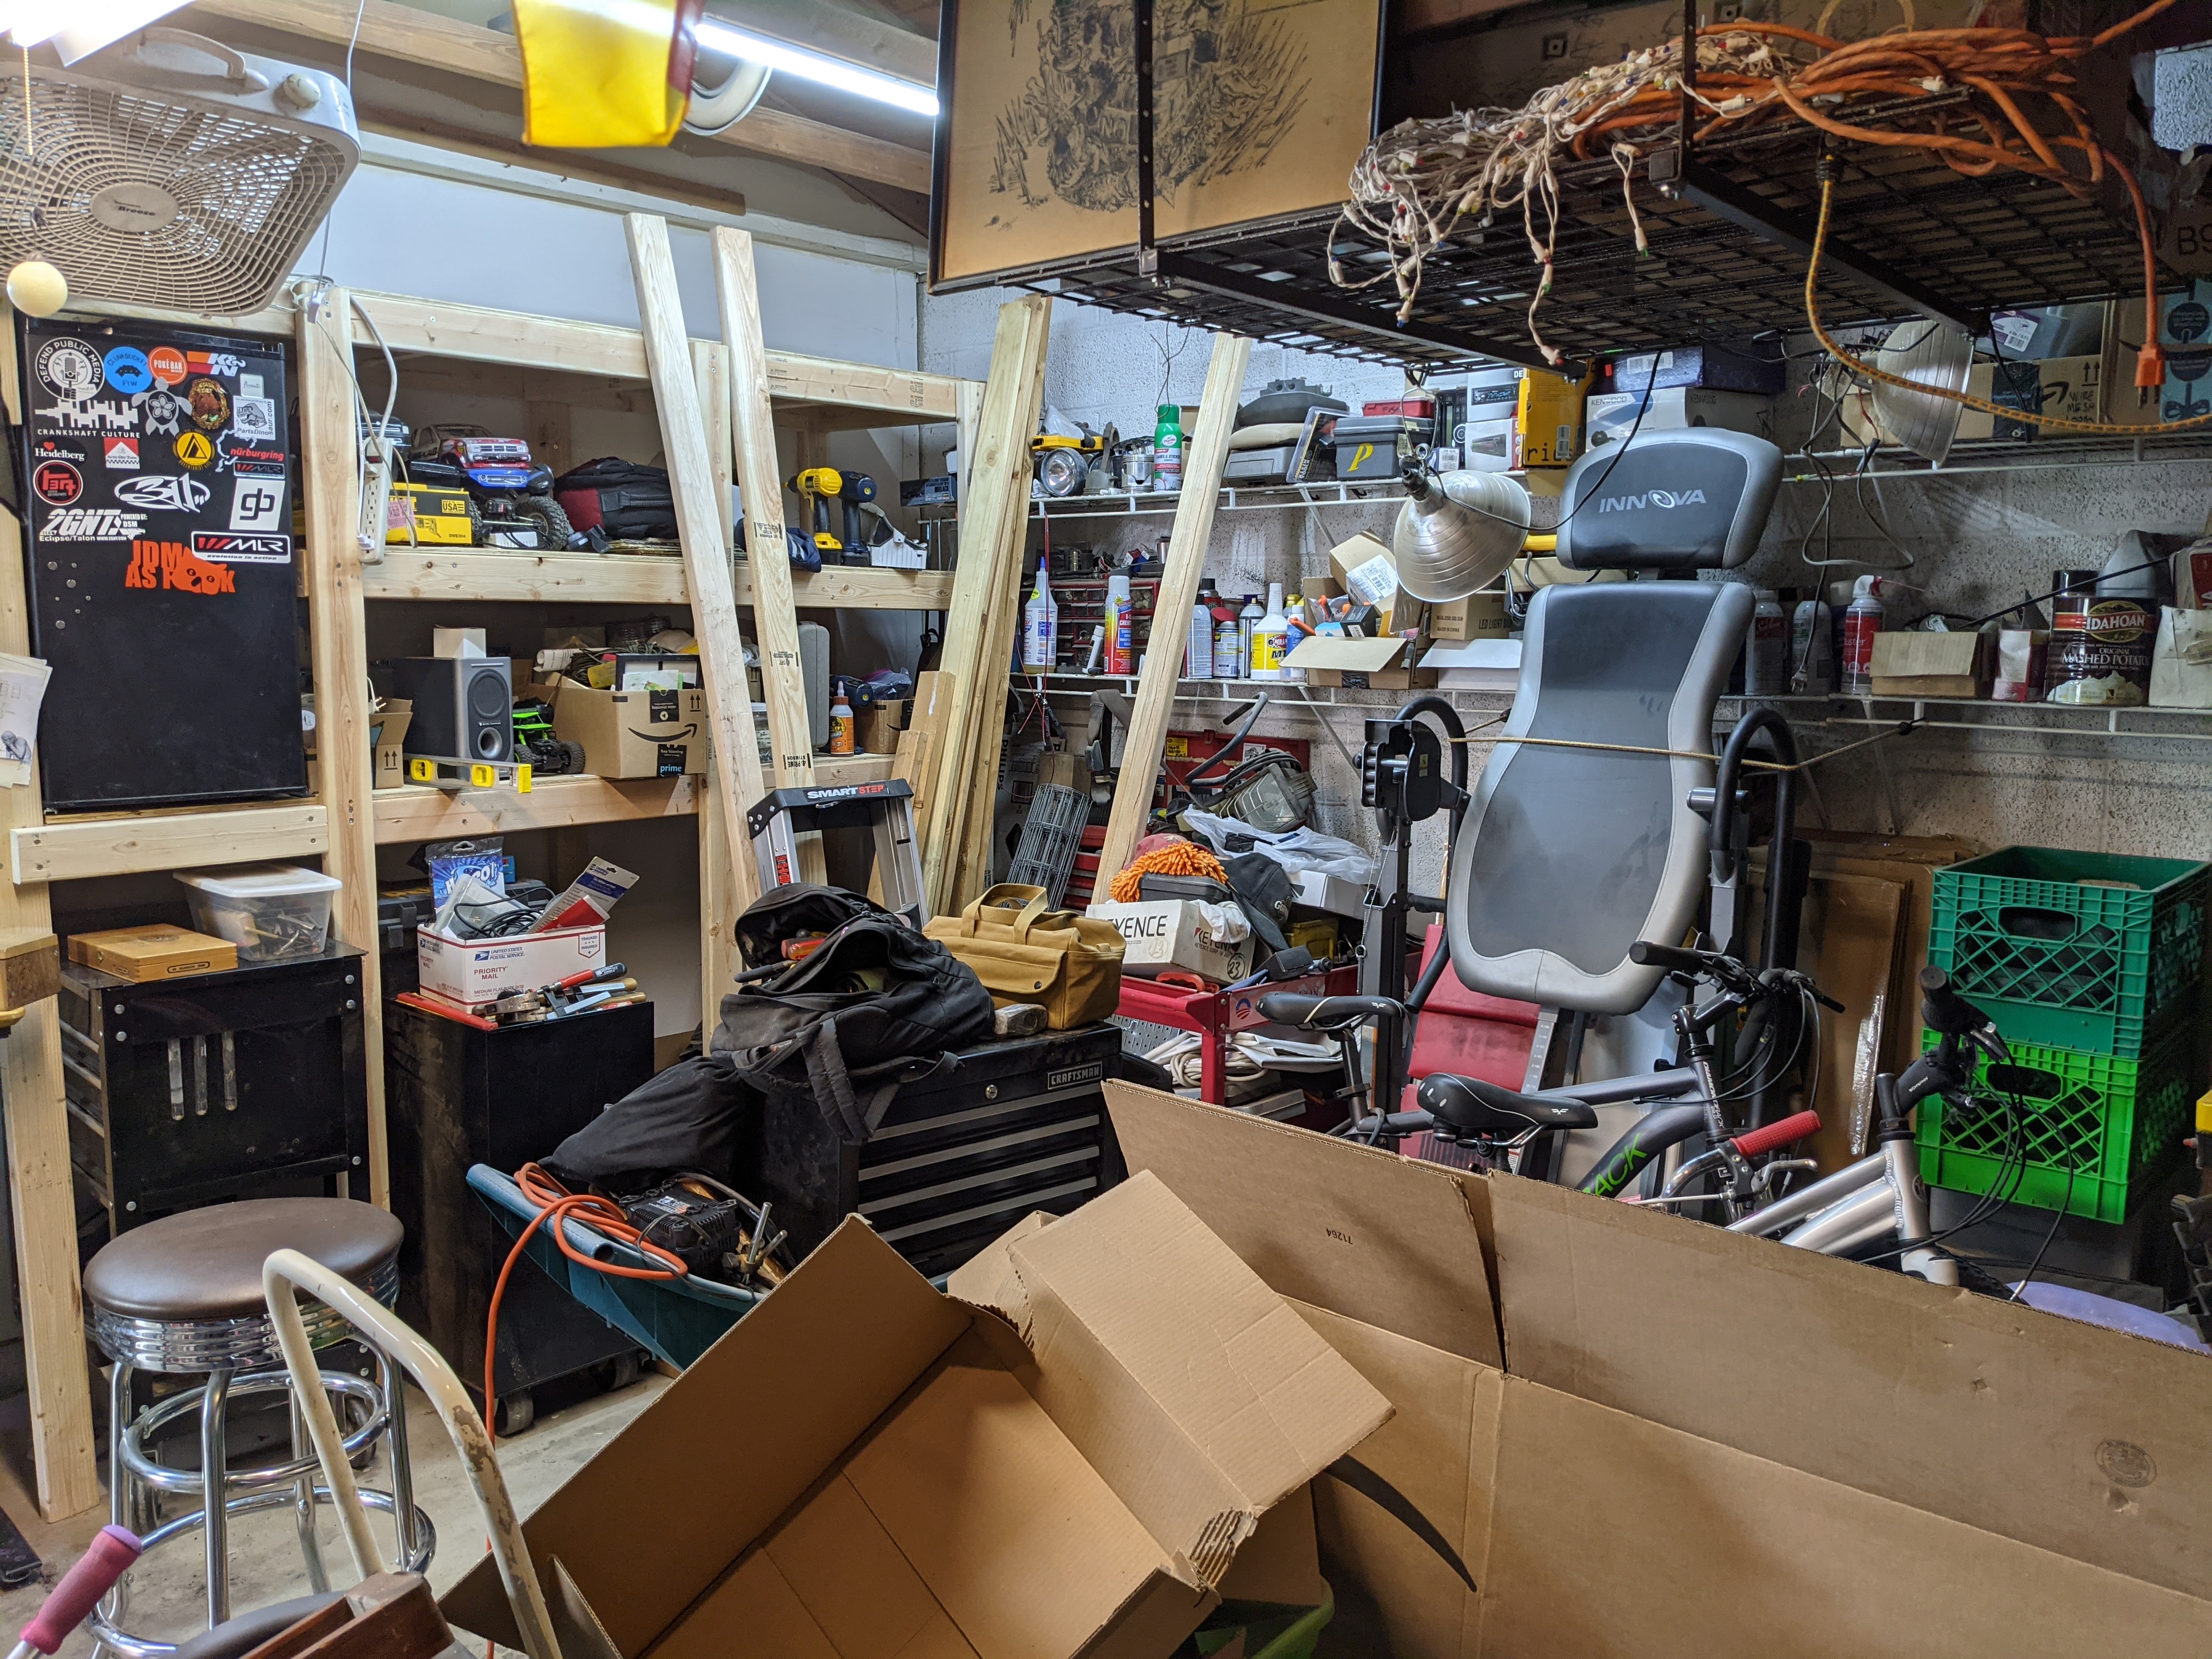
Here’s the view from the shelves looking to the back corner. Still a lot to be done, but it’s legit progress and I’m pleased with the results so far. It’s super nice being able to move all of that stuff around.
3 Likes
Looks super good! Thanks again for the stool, it’s perfect!
1 Like
Look at you @Brian geting all the garage stuff done. It really is a different world. I just finished bringing in two bins of paint for the winter so it wouldn’t freeze. Sigh…
Looking good pal. Really good. Progress is being made for sure!
2 Likes
Glad you liked the stool, Rob. It’s a good height and plenty comf. So squish!
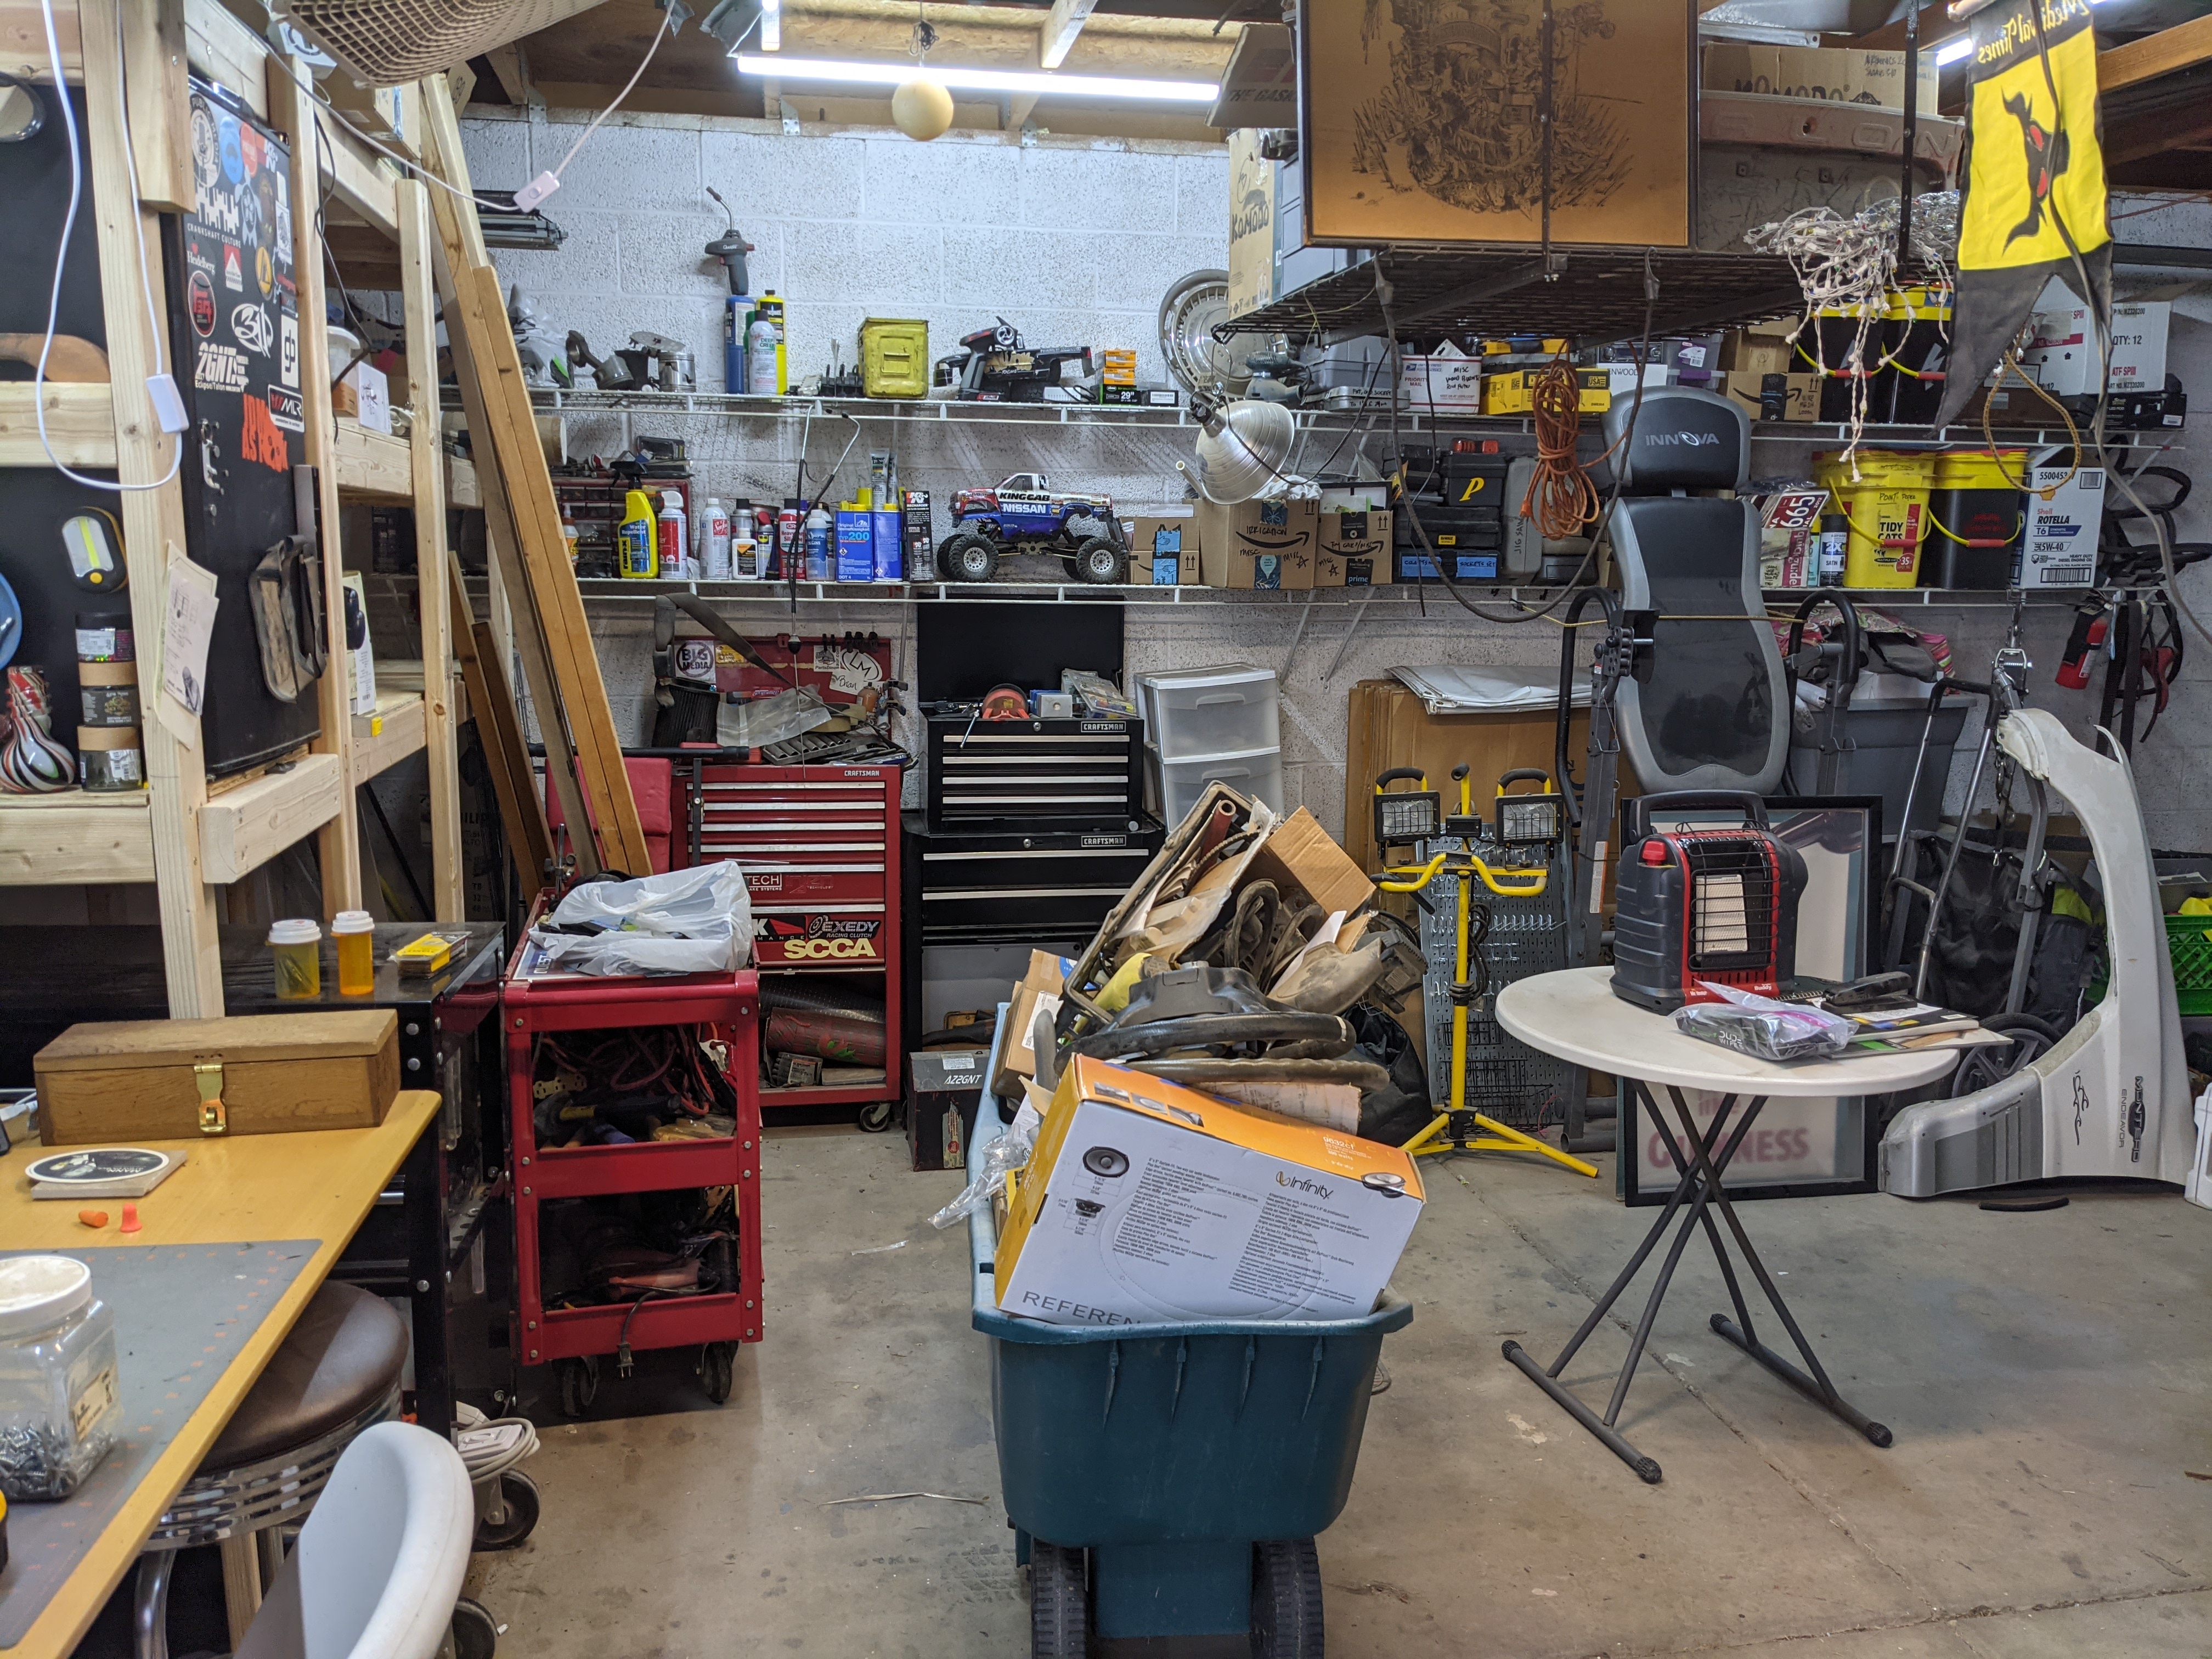
Thanks for the kind words, gents. I am indeed making progress and it feels good. Started organizing stuff for the trip on the middle shelf.
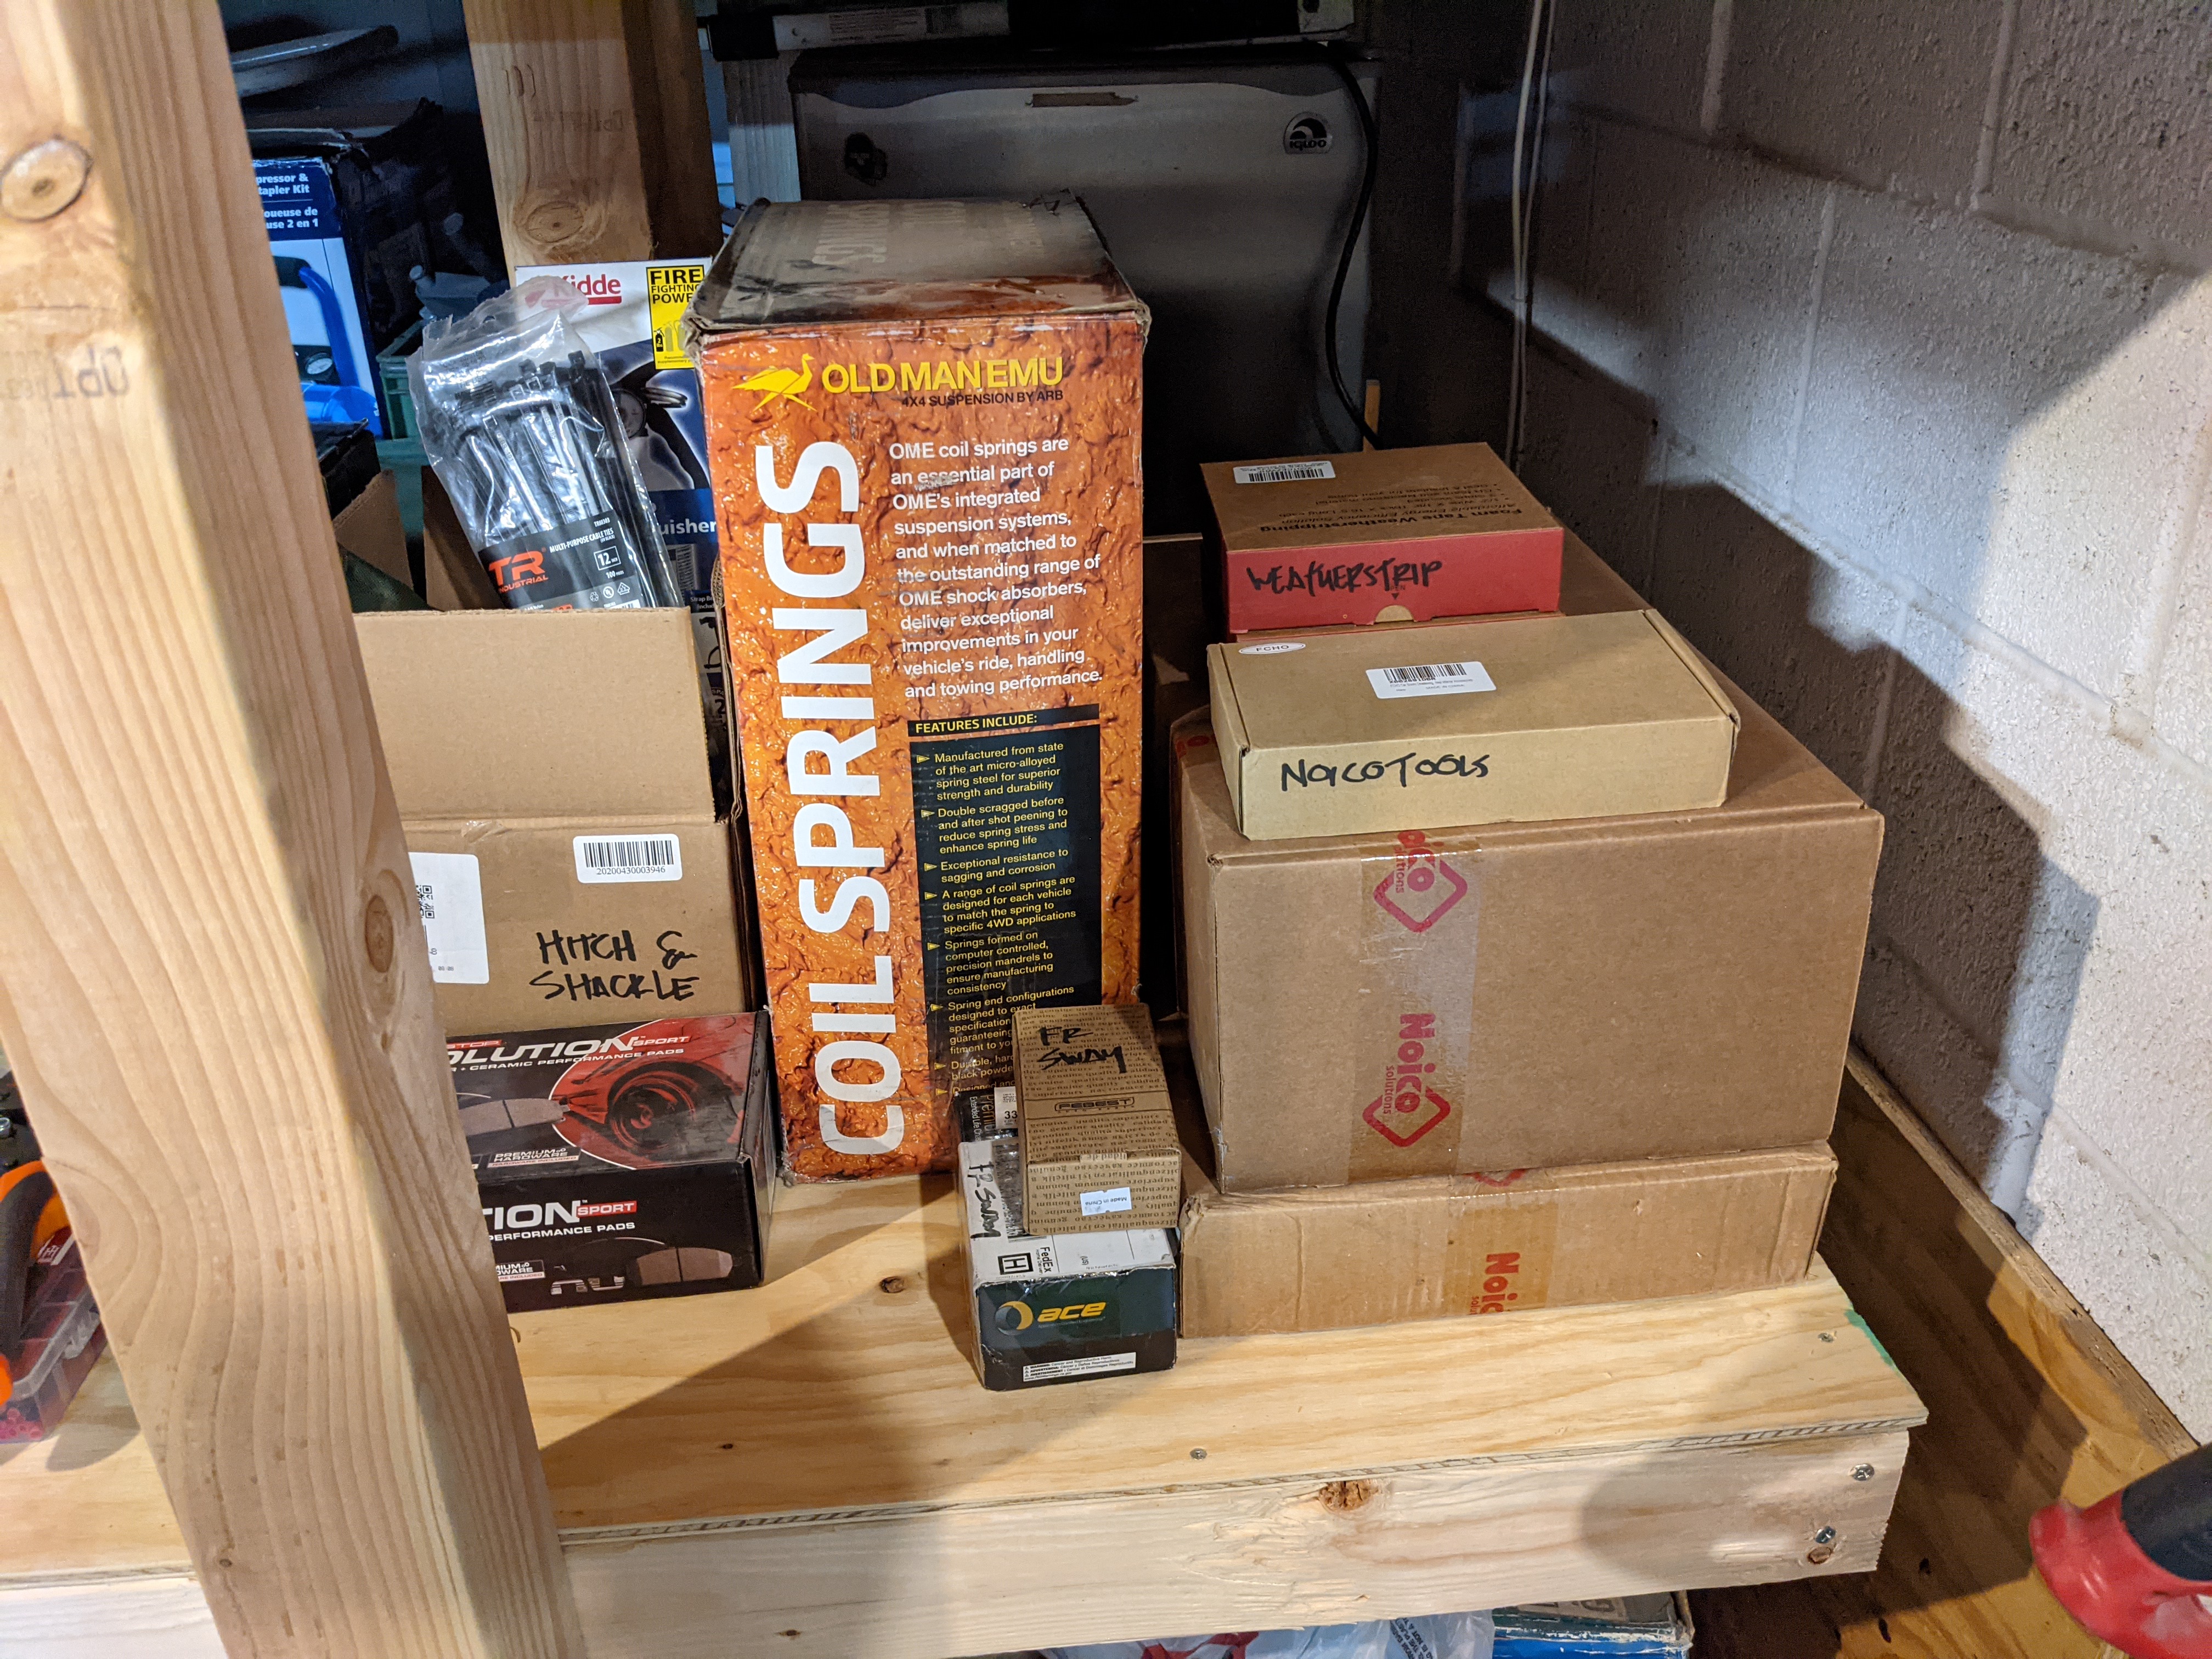
^ This is the harder end of the job list. Noico install, supplemental weather strip I wanna try, front swaybar end links, new rear coils.
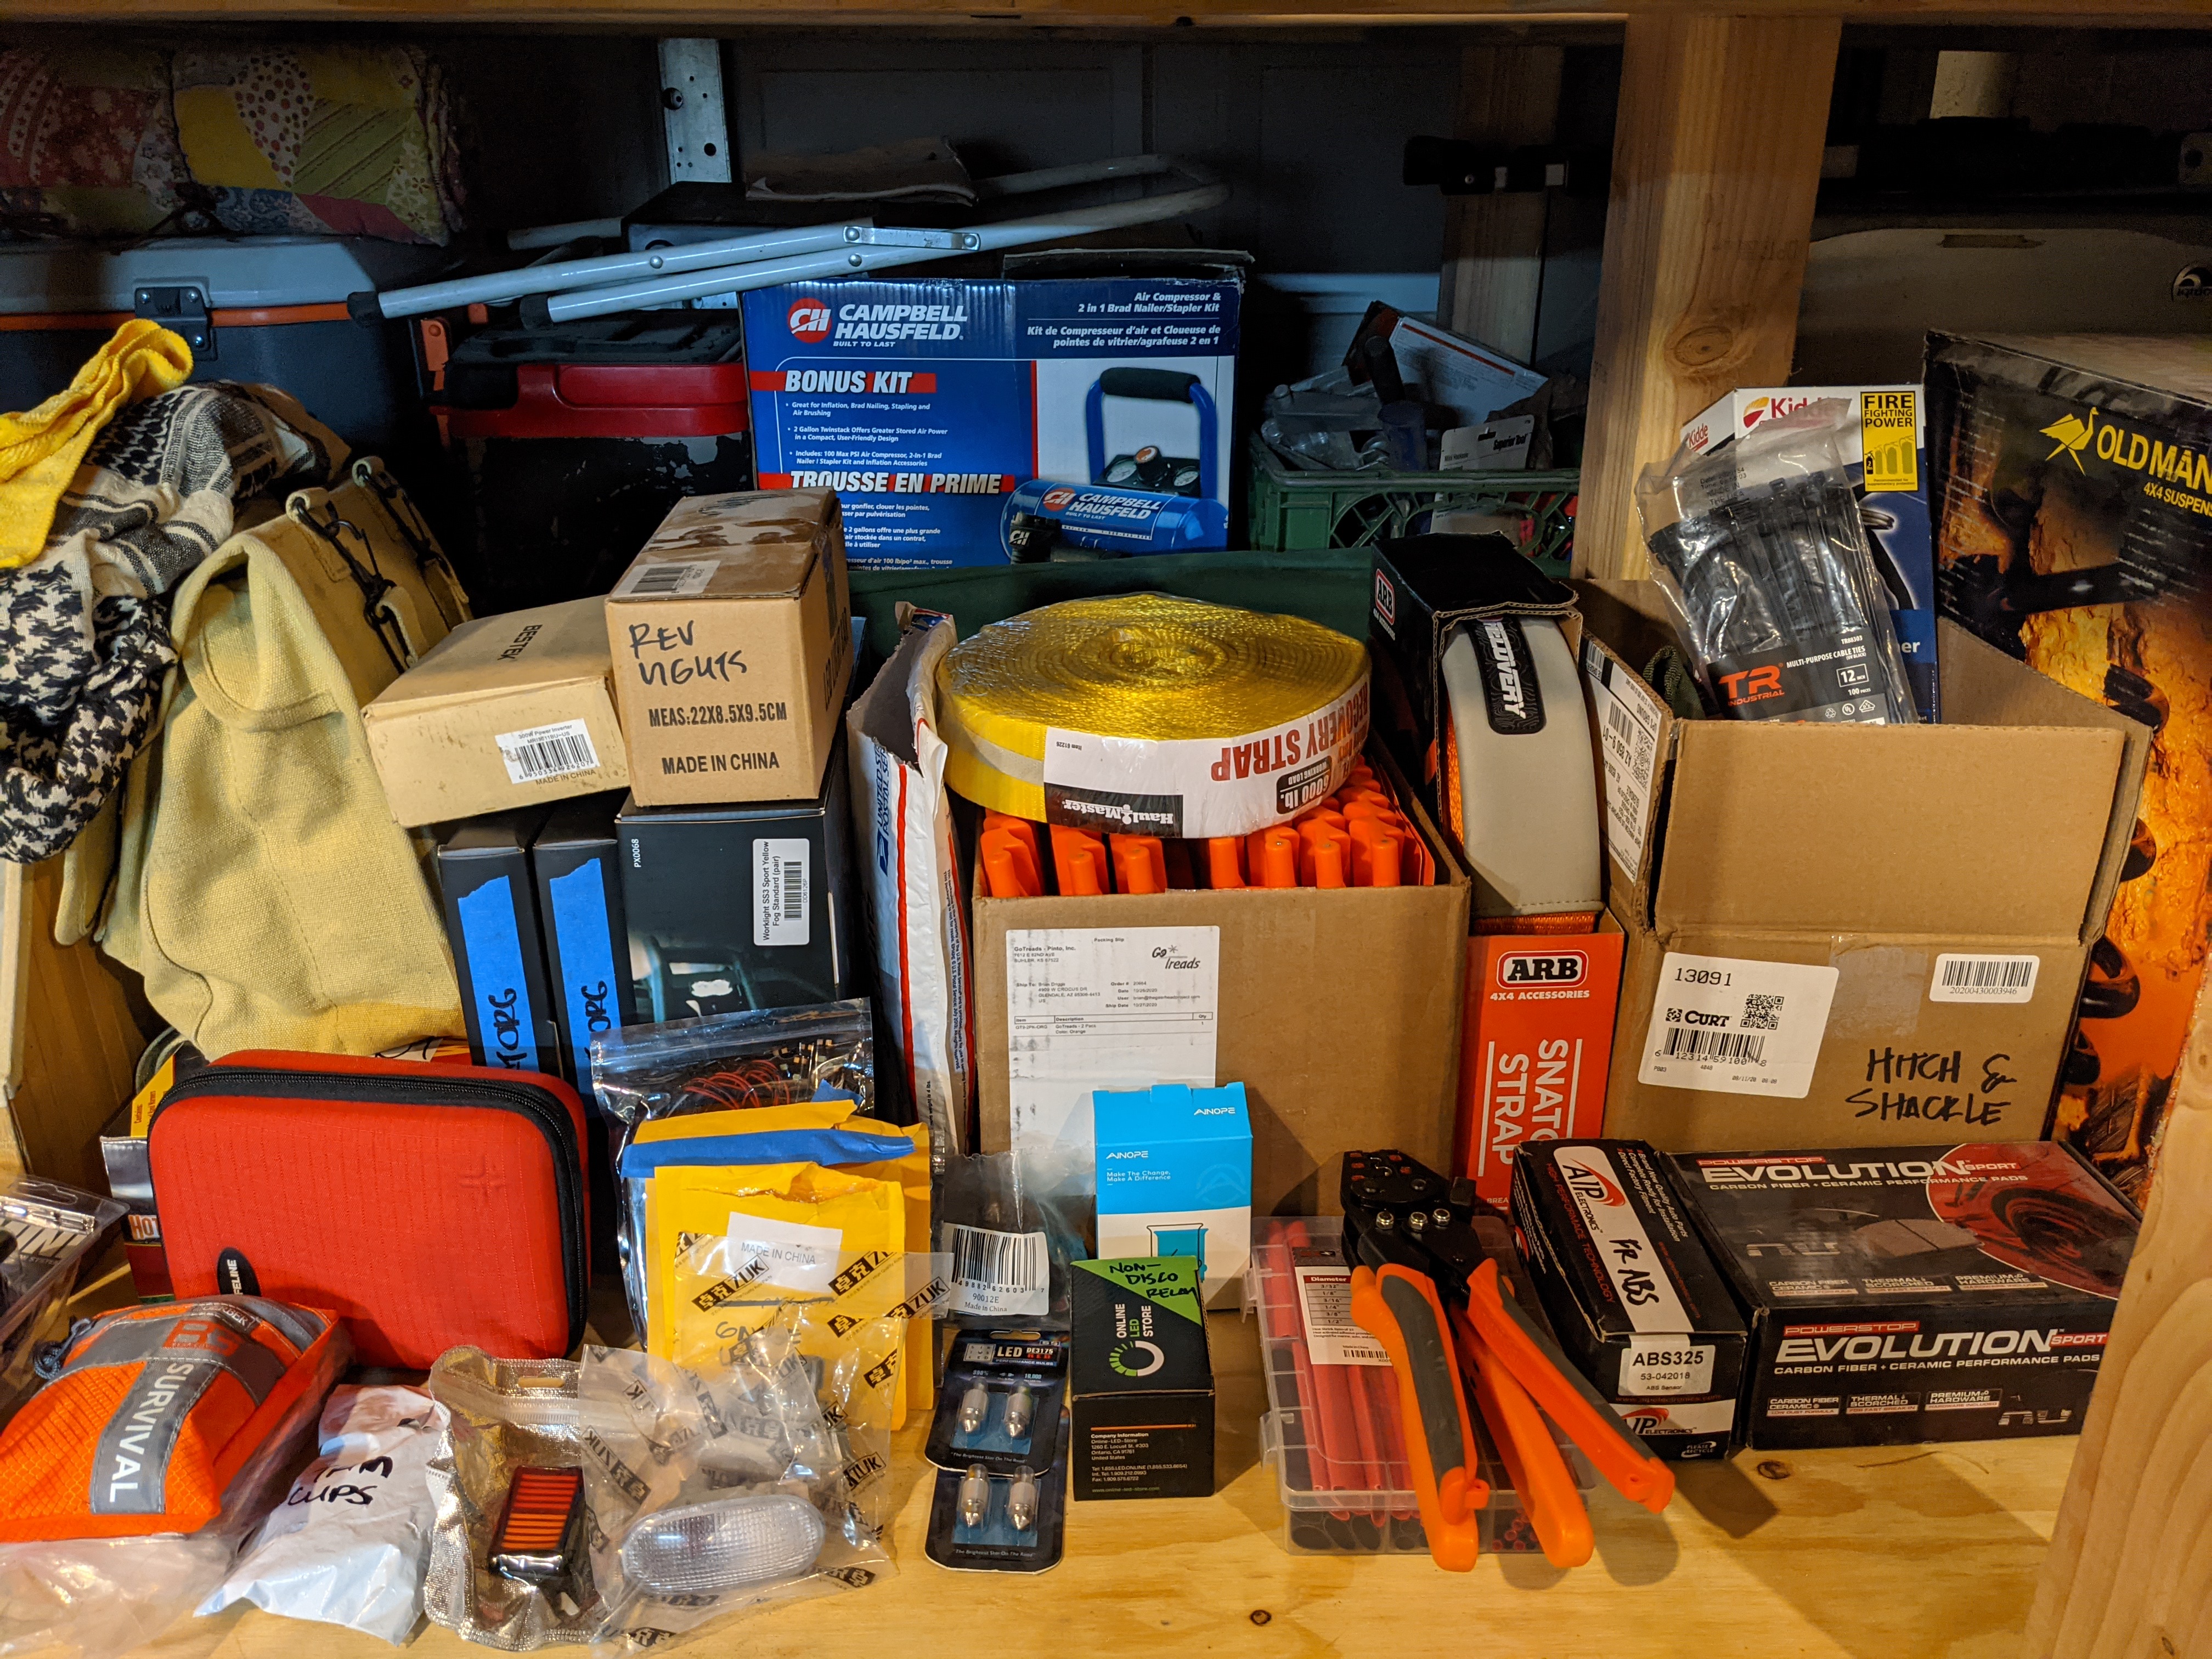
^ Things get easier the further left you go. Brake pads, new hitch with Warn receiver shackle, ARB snatch strap, Harbor Fright tow strap, Go Treads, new ABS sensor. “Shift Pod”, fog lights, reverse lights, side marker repeater lights, door lights, dome lights, and freaking compass lights. Seat back organizers, hand warmers, snack pack (“good” instant coffee and cocoa with marshmallows), fire starters, water filtration.
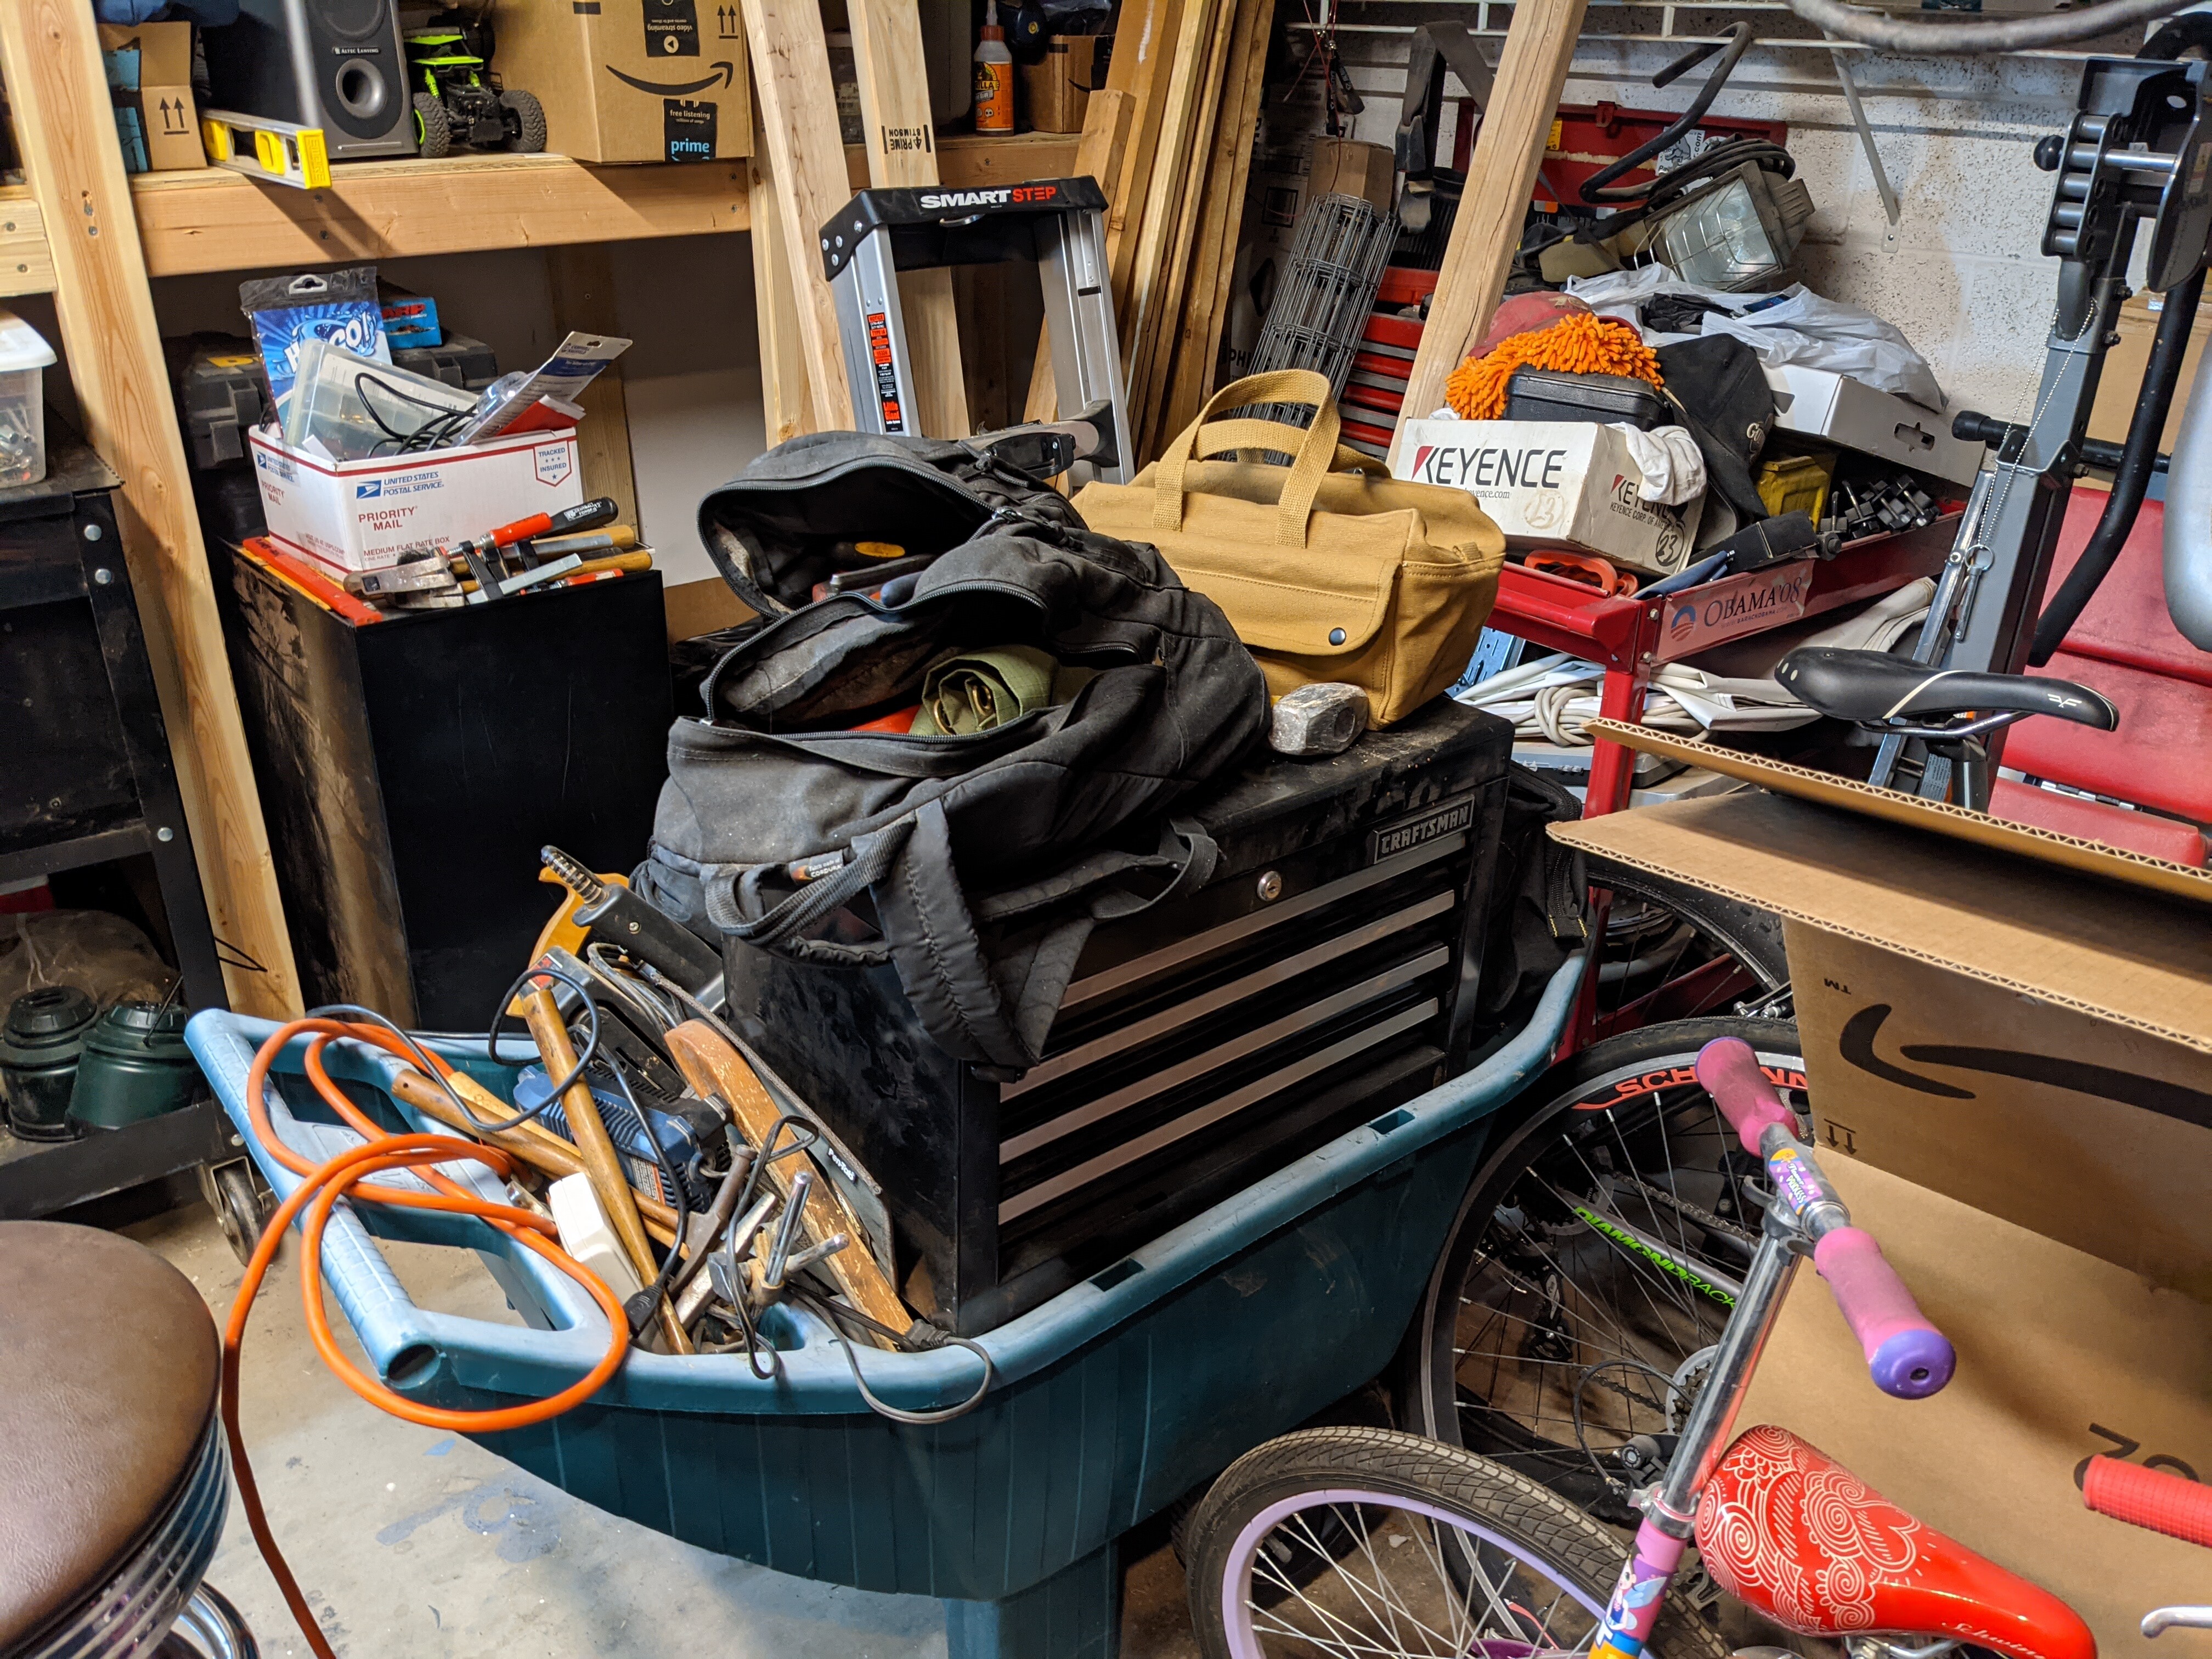
^ It’s still pretty messy here, but beginnings of spares, tools, recovery kits.
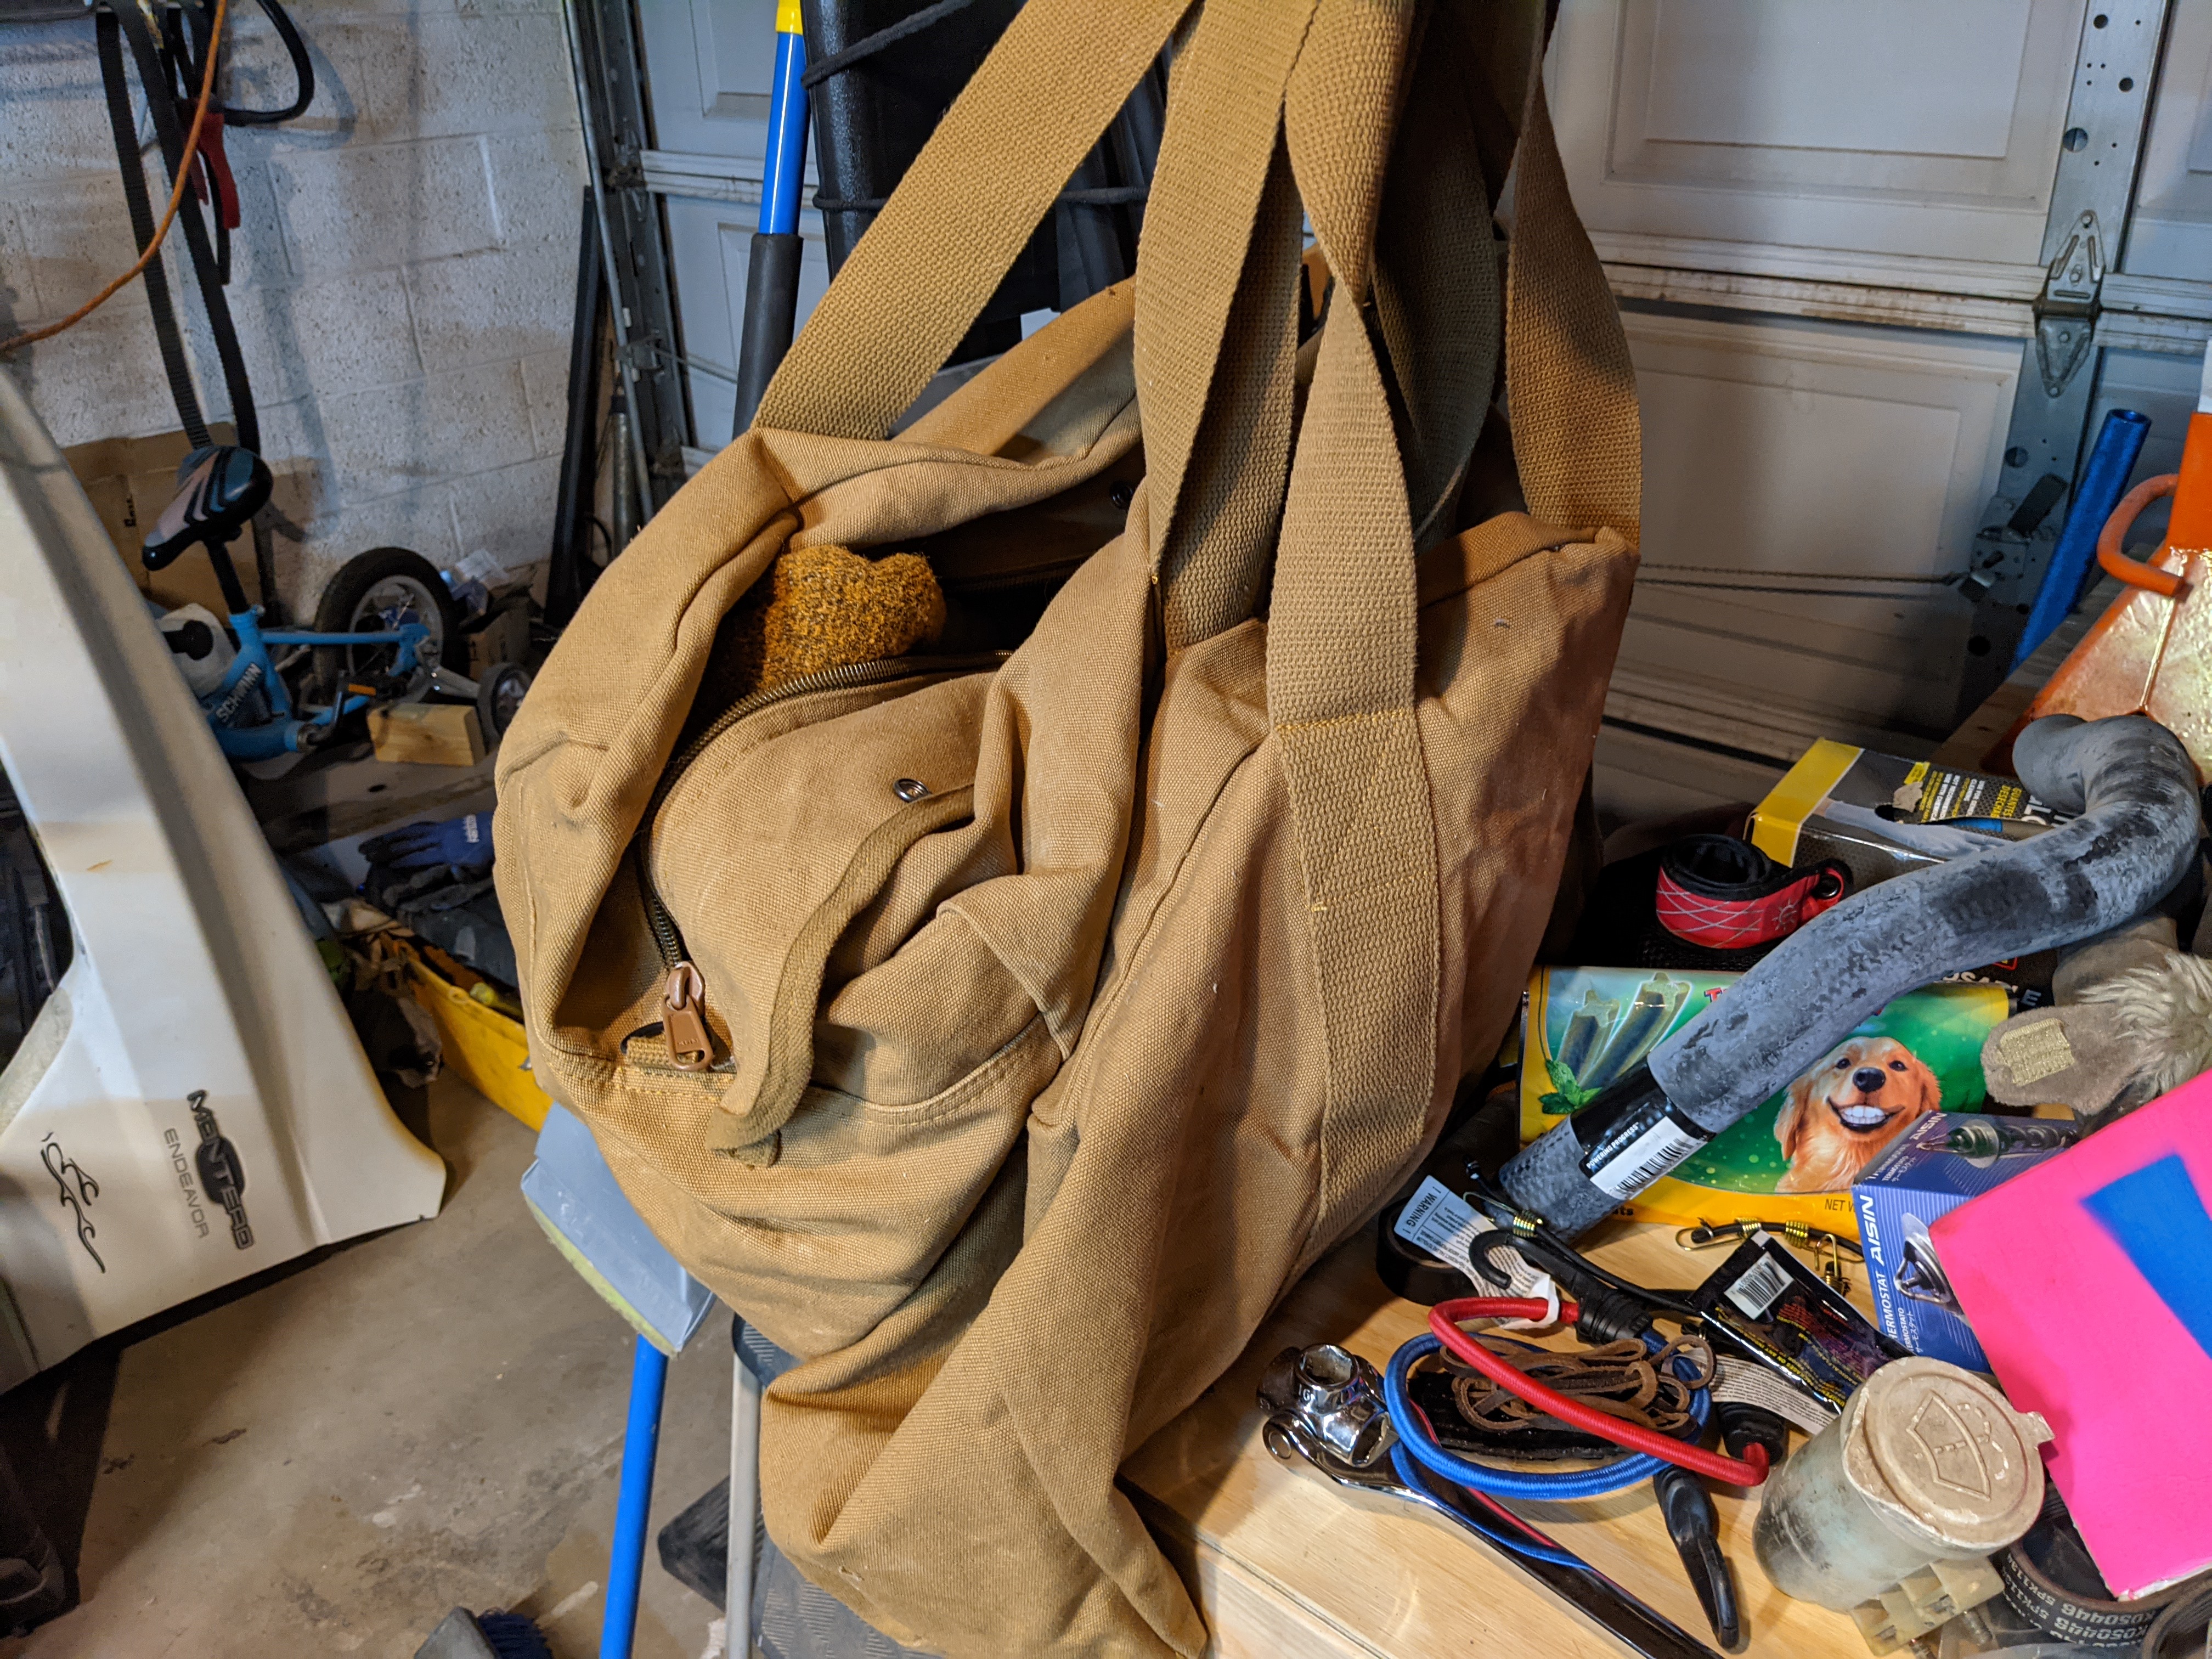
I’ve got a collection of bags to choose from for load out.
Edit: Almost forgot this one. Two bottles of fancy Instagram ceramic car wash shit and a case of WD40 to be applied everywhere under the truck before I leave for the lands of salt and snow.
And, not pictured, 4.90 gears, tcase upgrade, new OME torsion bars, ADD front bumper, and better seat covers.
Gonna be a busy couple a weeks…
3 Likes
PROGRESS.
Wheelbarrow Full of Stuff is now Wheelbarrow Full of Bulk Trash. I condensed down things on the wire shelves. Making progress!
Not Pictured: Also started a new shelf over the washer and dryer. Wo0t!
4 Likes
I have a ton of 2x4 if you need more.
1 Like
I might take you up on that, actually. Gonna need to pick up 4-6 straight ones to redo the shelf unit by the washer and dryer. It’s unstable and leans against the dryer. It also doesn’t line up with my new, over-the-washer-and-dryer shelf (which lines up with the top shelf on the main unit.
Check out these classic stylings!
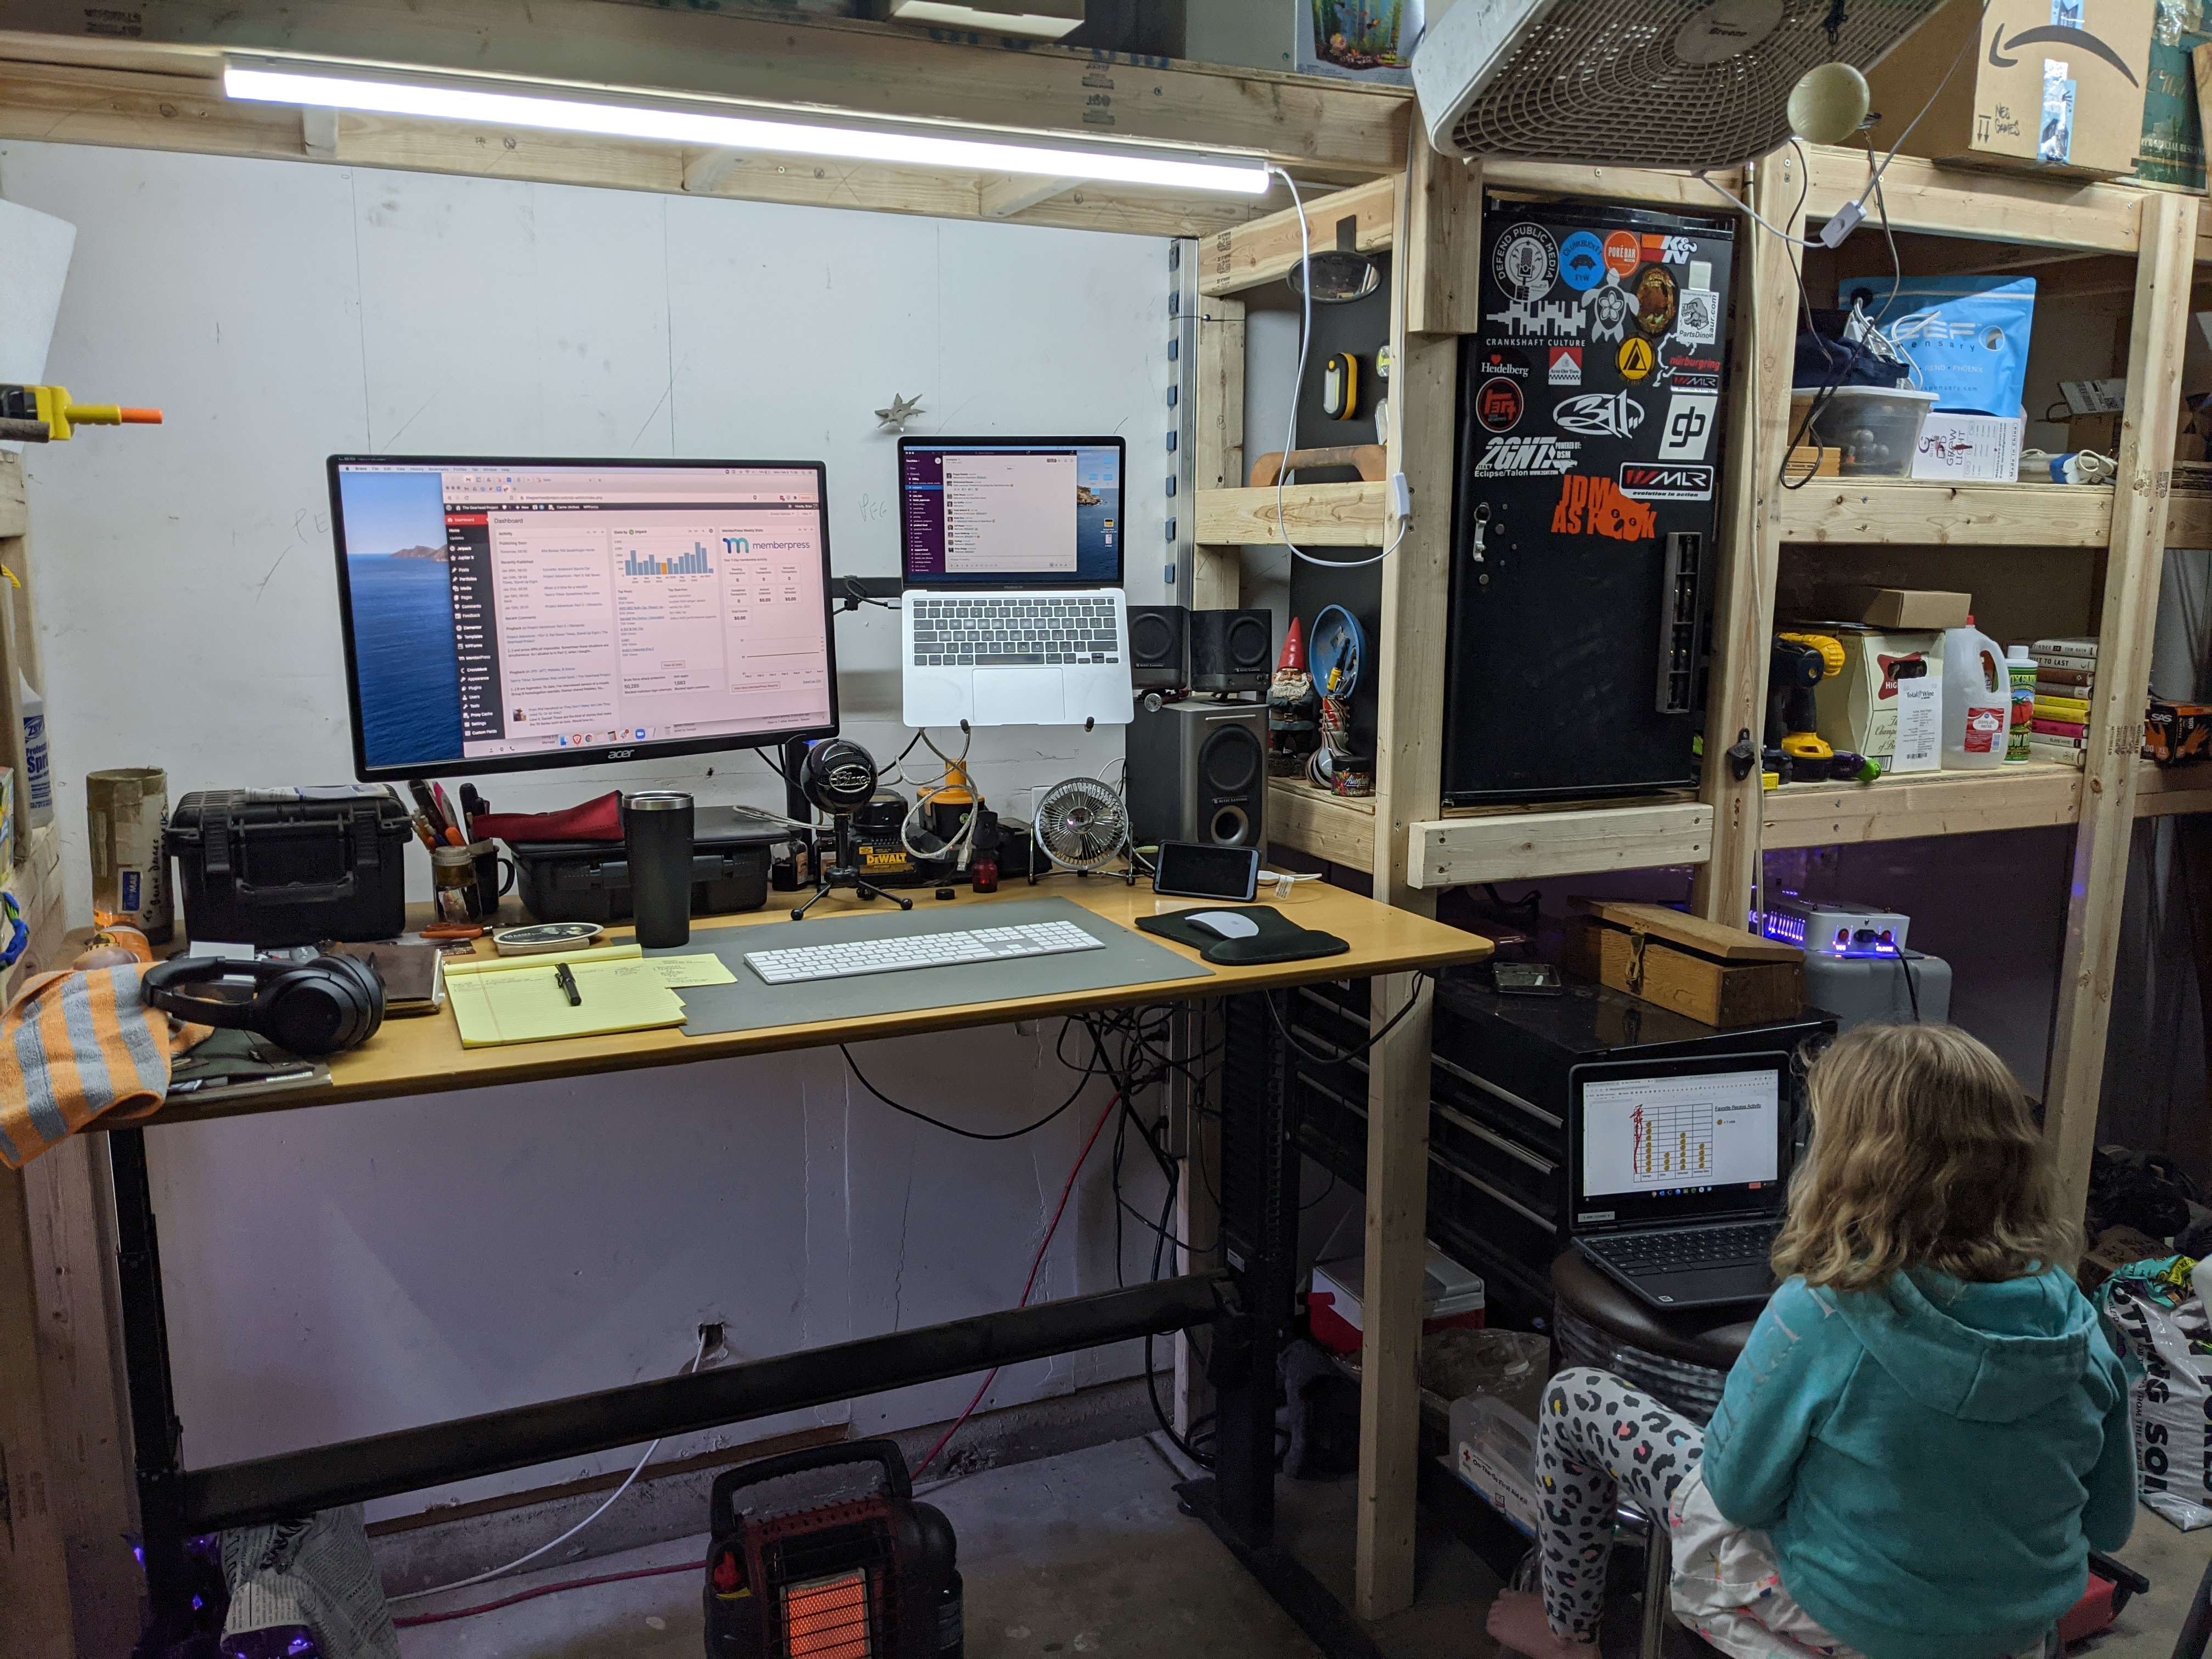
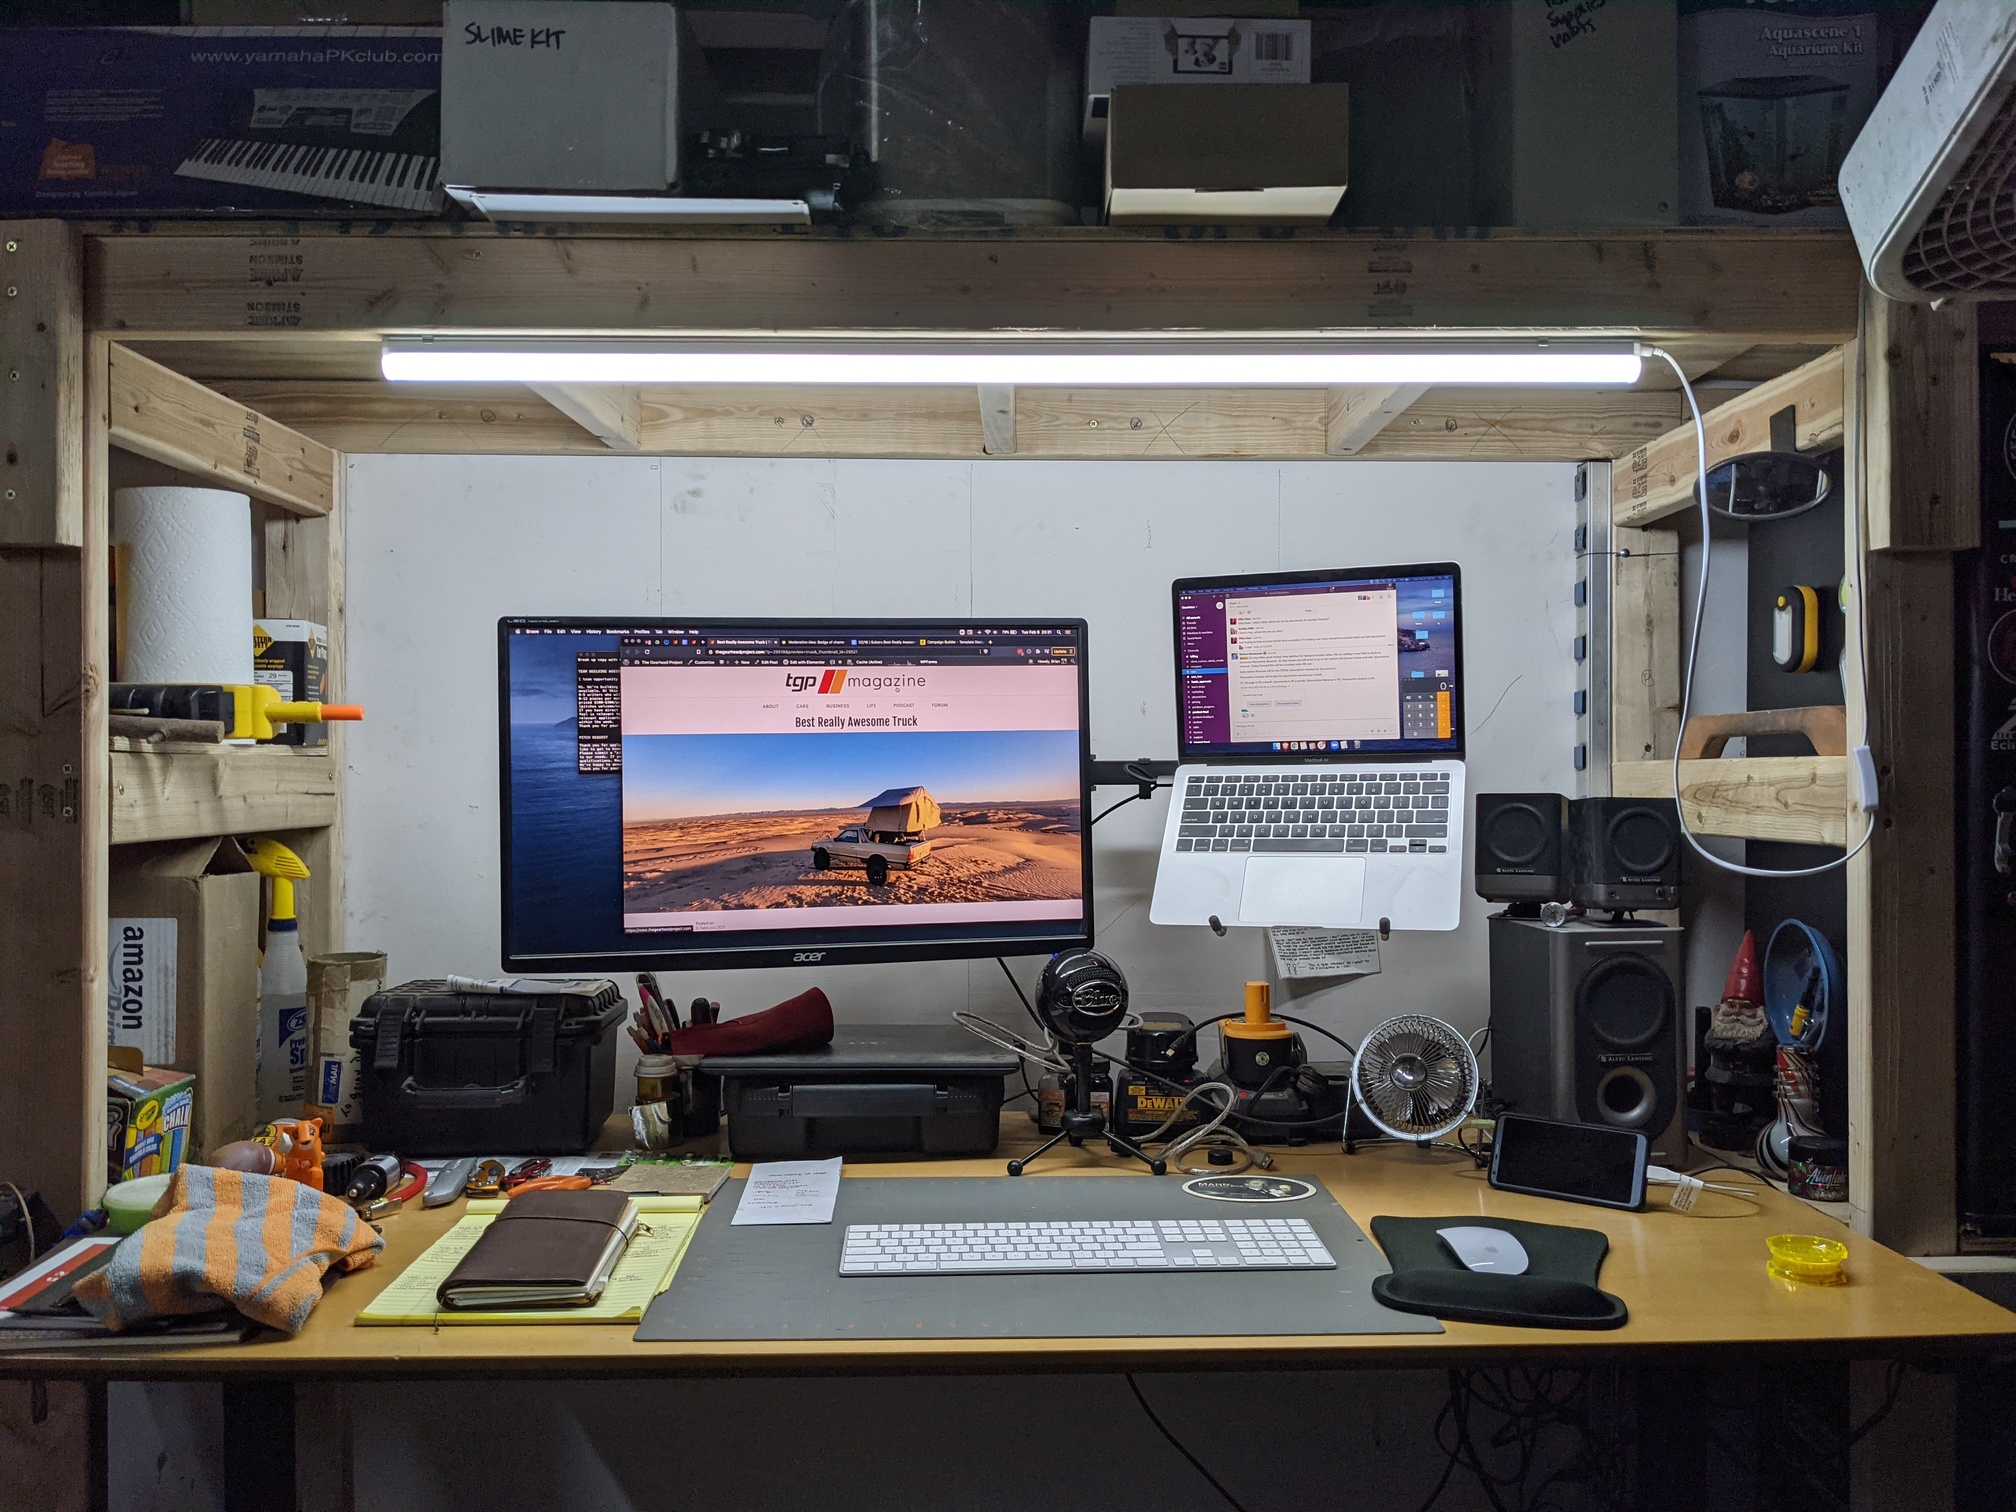
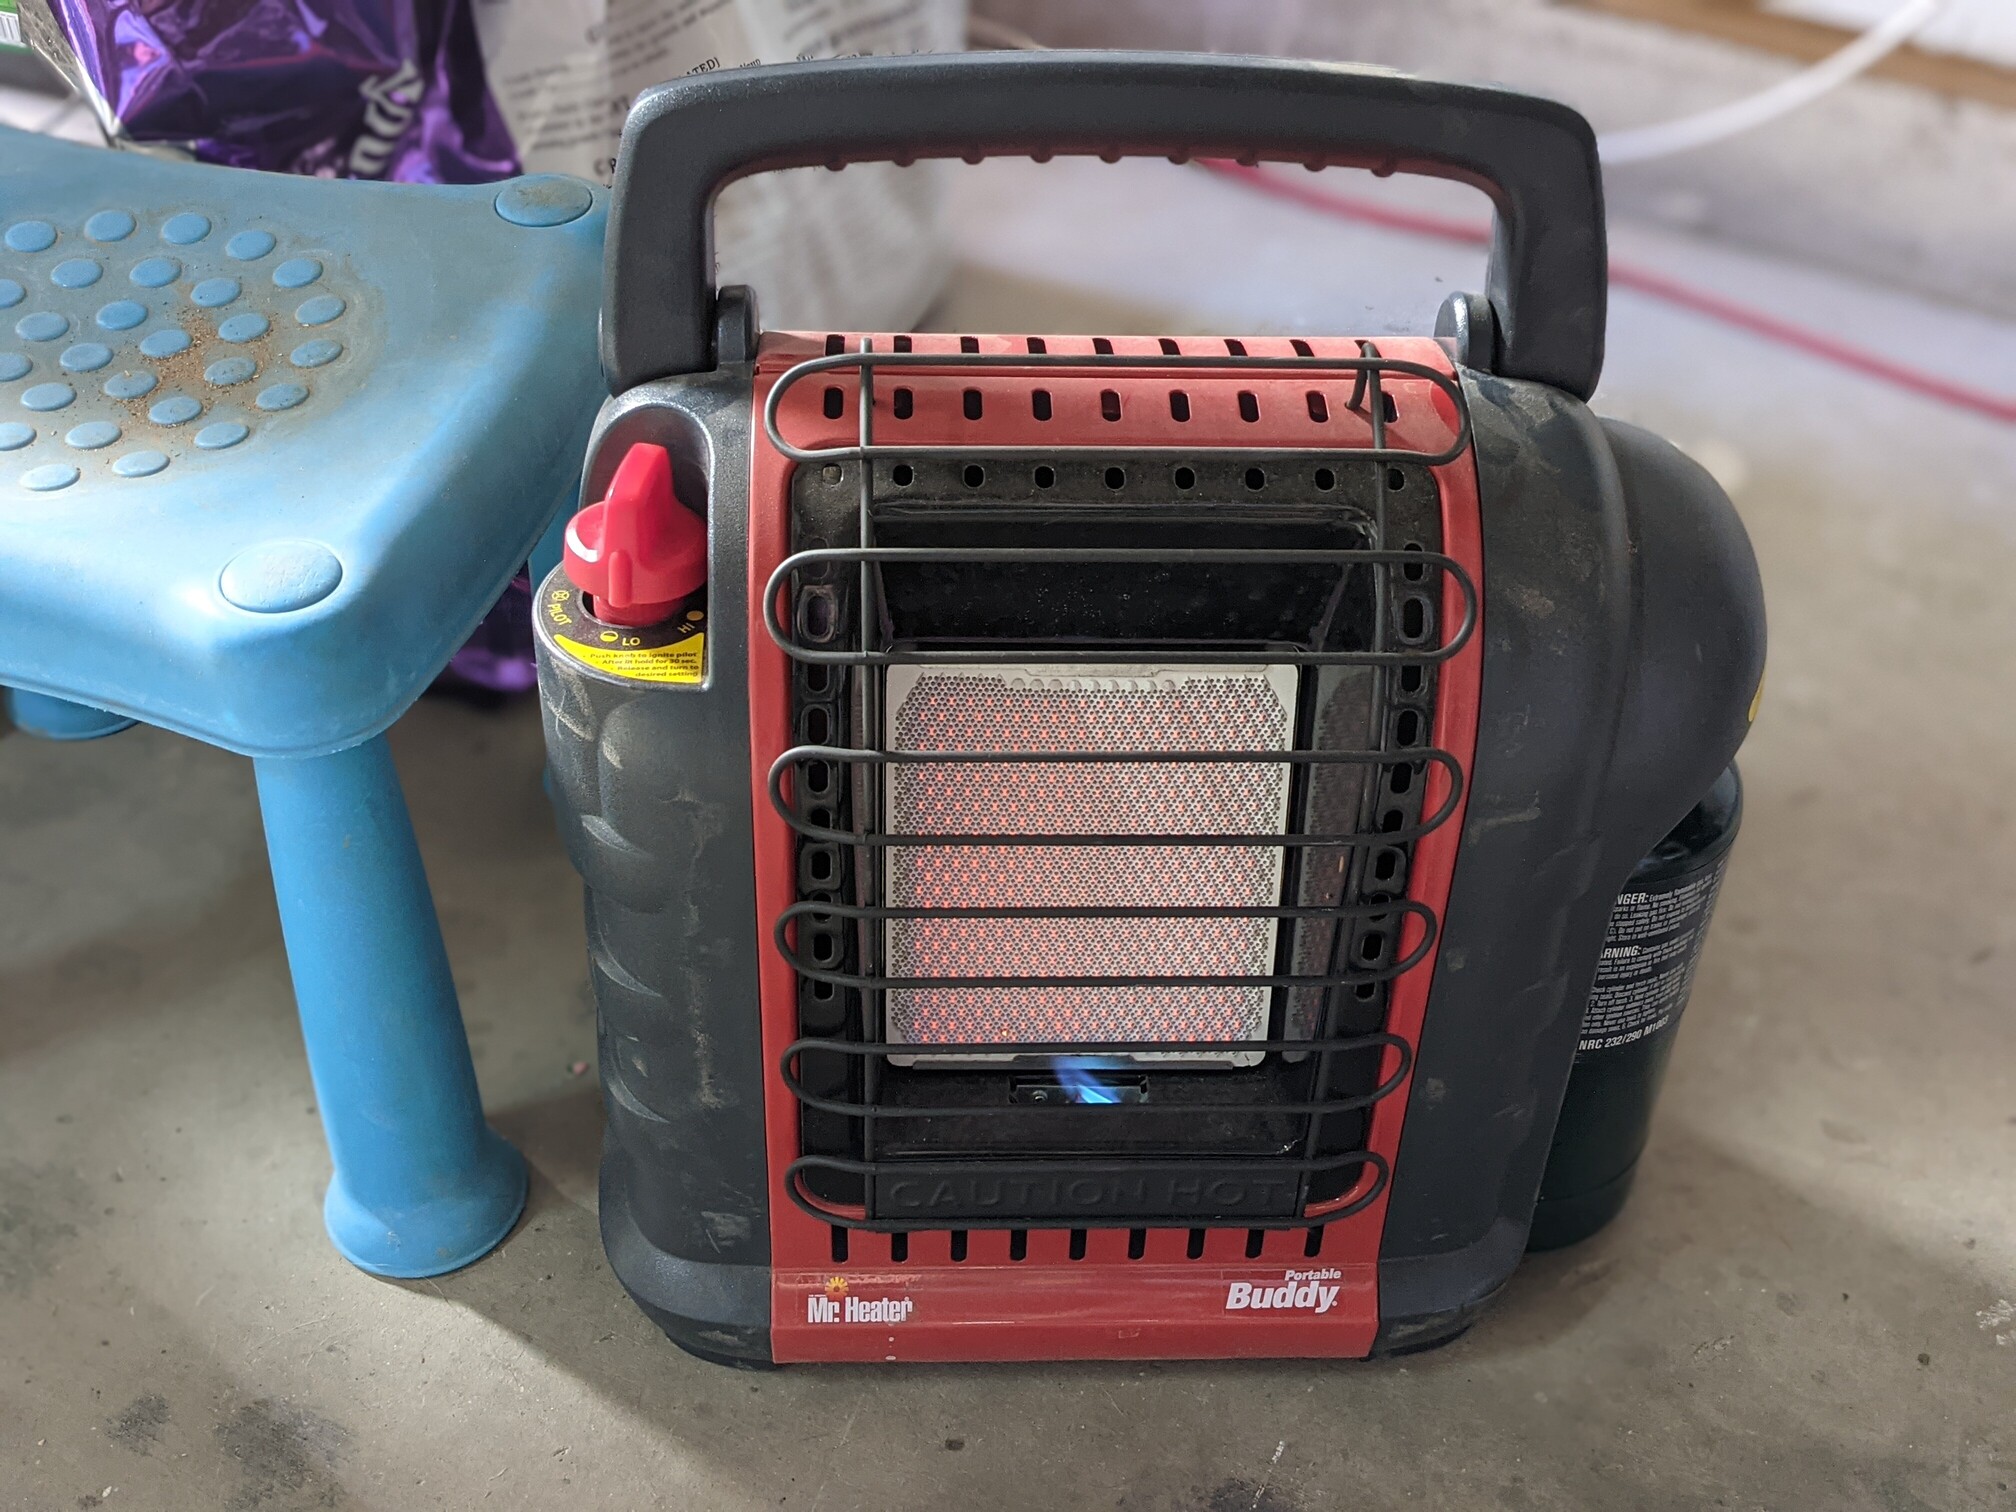
Today was my second day in a row working from the garage the whole day. It was most excellent. It was also pretty freaking cold in the mornings–50F/10C.
Ironically, when I inherited this little propane heater, I left 3-4 camp propane tanks behind. Shame, because I could very easily go through 80% of a tank in a single day. At $6 a pop, not really doable.
It’s real nice having two monitors again, though. I got a thick, smooshy mat to stand on and I’ve spent more time on my feet in the last 24 hours than I probably have in the last 24 days.
I’m going to look into a conduit-based curtain rod so I can hang a green screen behind me for work meetings. Customers might be accepting of my laundry hanging up behind me in a garage, but it’s a simple way to level up my game. See also, a smaller space heats–and cools–more easily, while potentially reduce background noise during podcasts.
Background noise like the three, 18W 100CFM fans running 24 hours a day in my nearing completion Space Tote.
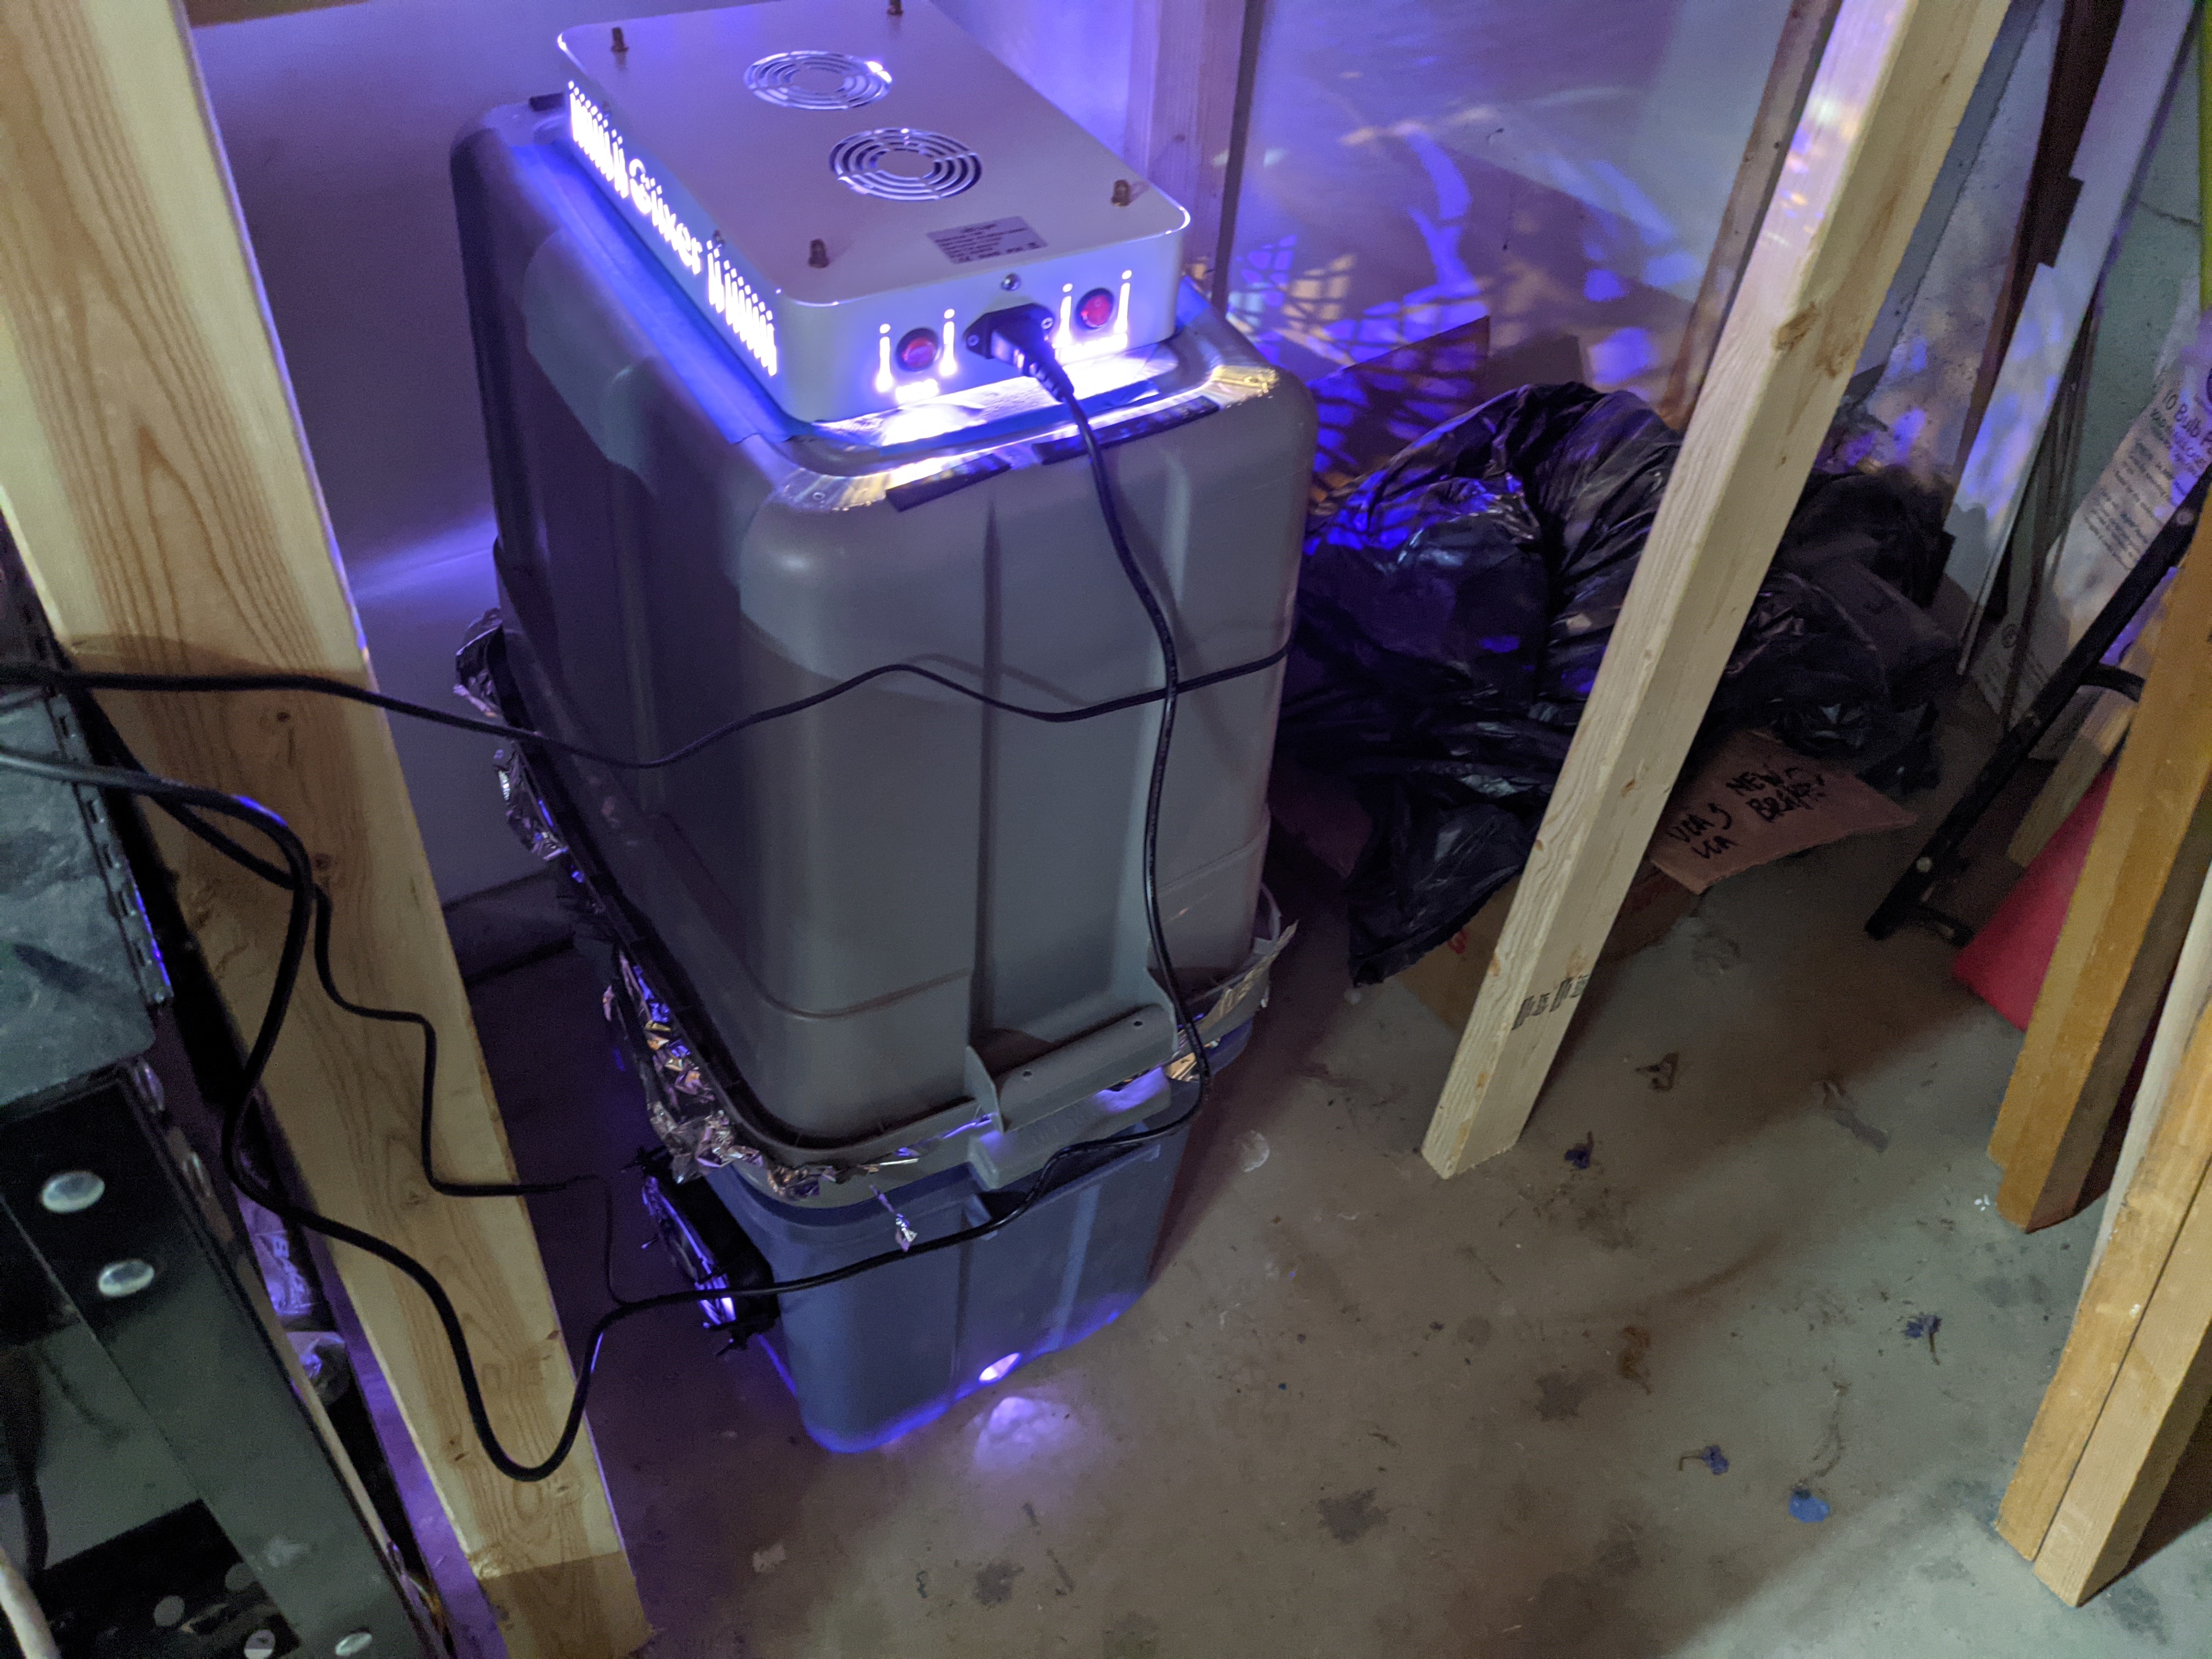
I have a pack of auto-following, feminized, Northern Lights seeds coming from the UK. In the meantime, I’ve got a practice run going with a struggling ivy, new strawberries, and basil plants

Special soil, nutrients, and lighting for the whole lifecycle. The plan is to go from seed to 1-2 ounces of flower in 90 days.
3 Likes
A lot changes in a year.
The desk is still there, but it’s more of a work bench. And I just spent a couple hours prepping the garage for bulk trash and packing.
The view from the driveway
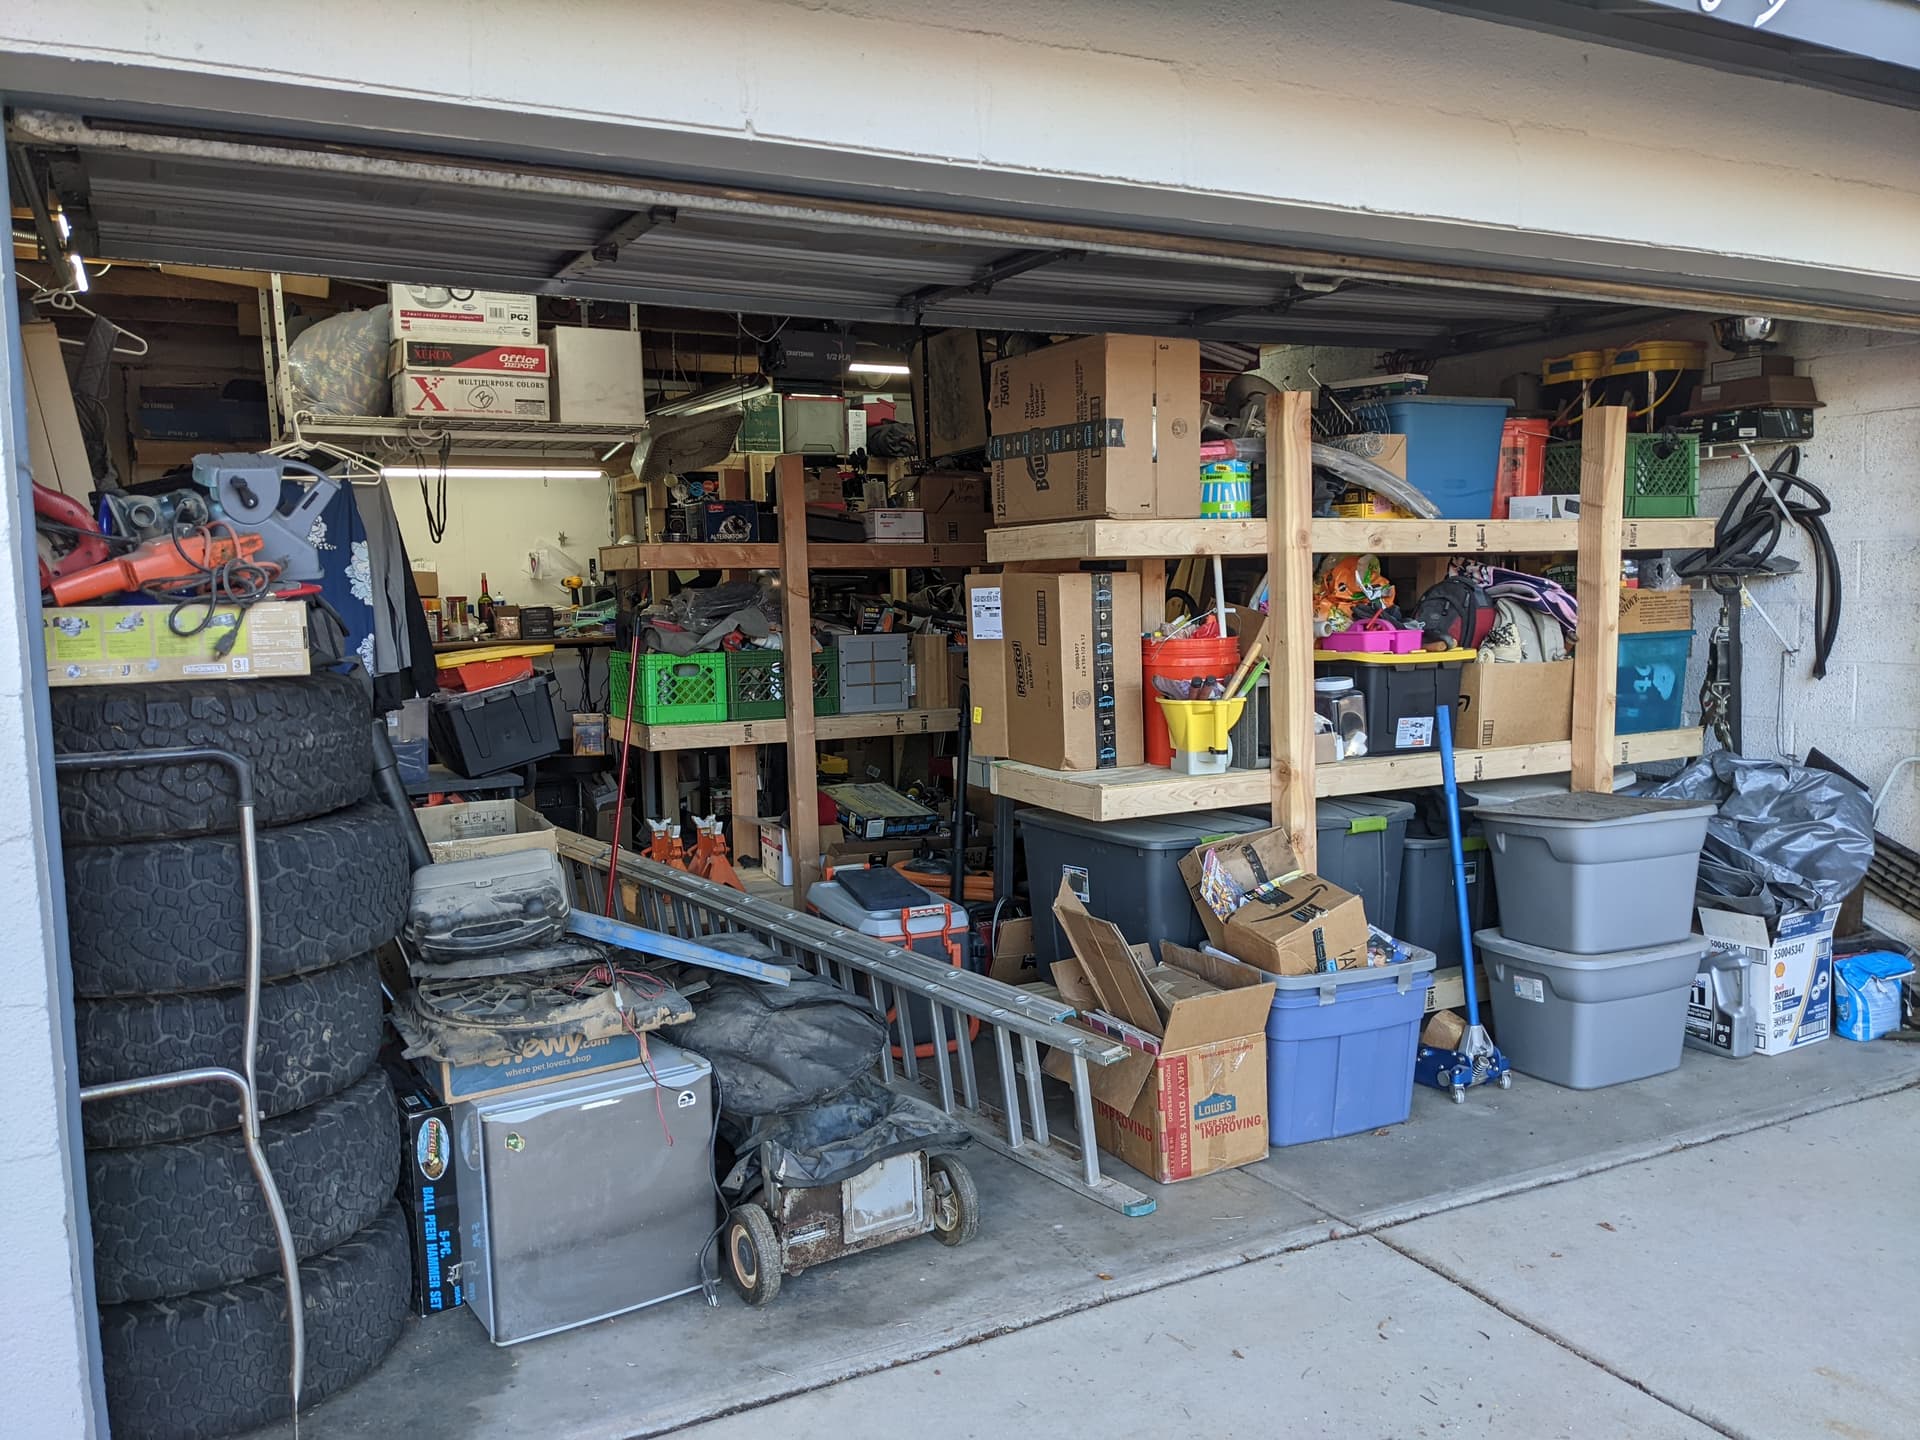
Craigslist / Goodwill / bulk trash pile. Mostly. I’ll probably give the wheels and tires away, but the big boxes are P’s bunk bed to be assembled.
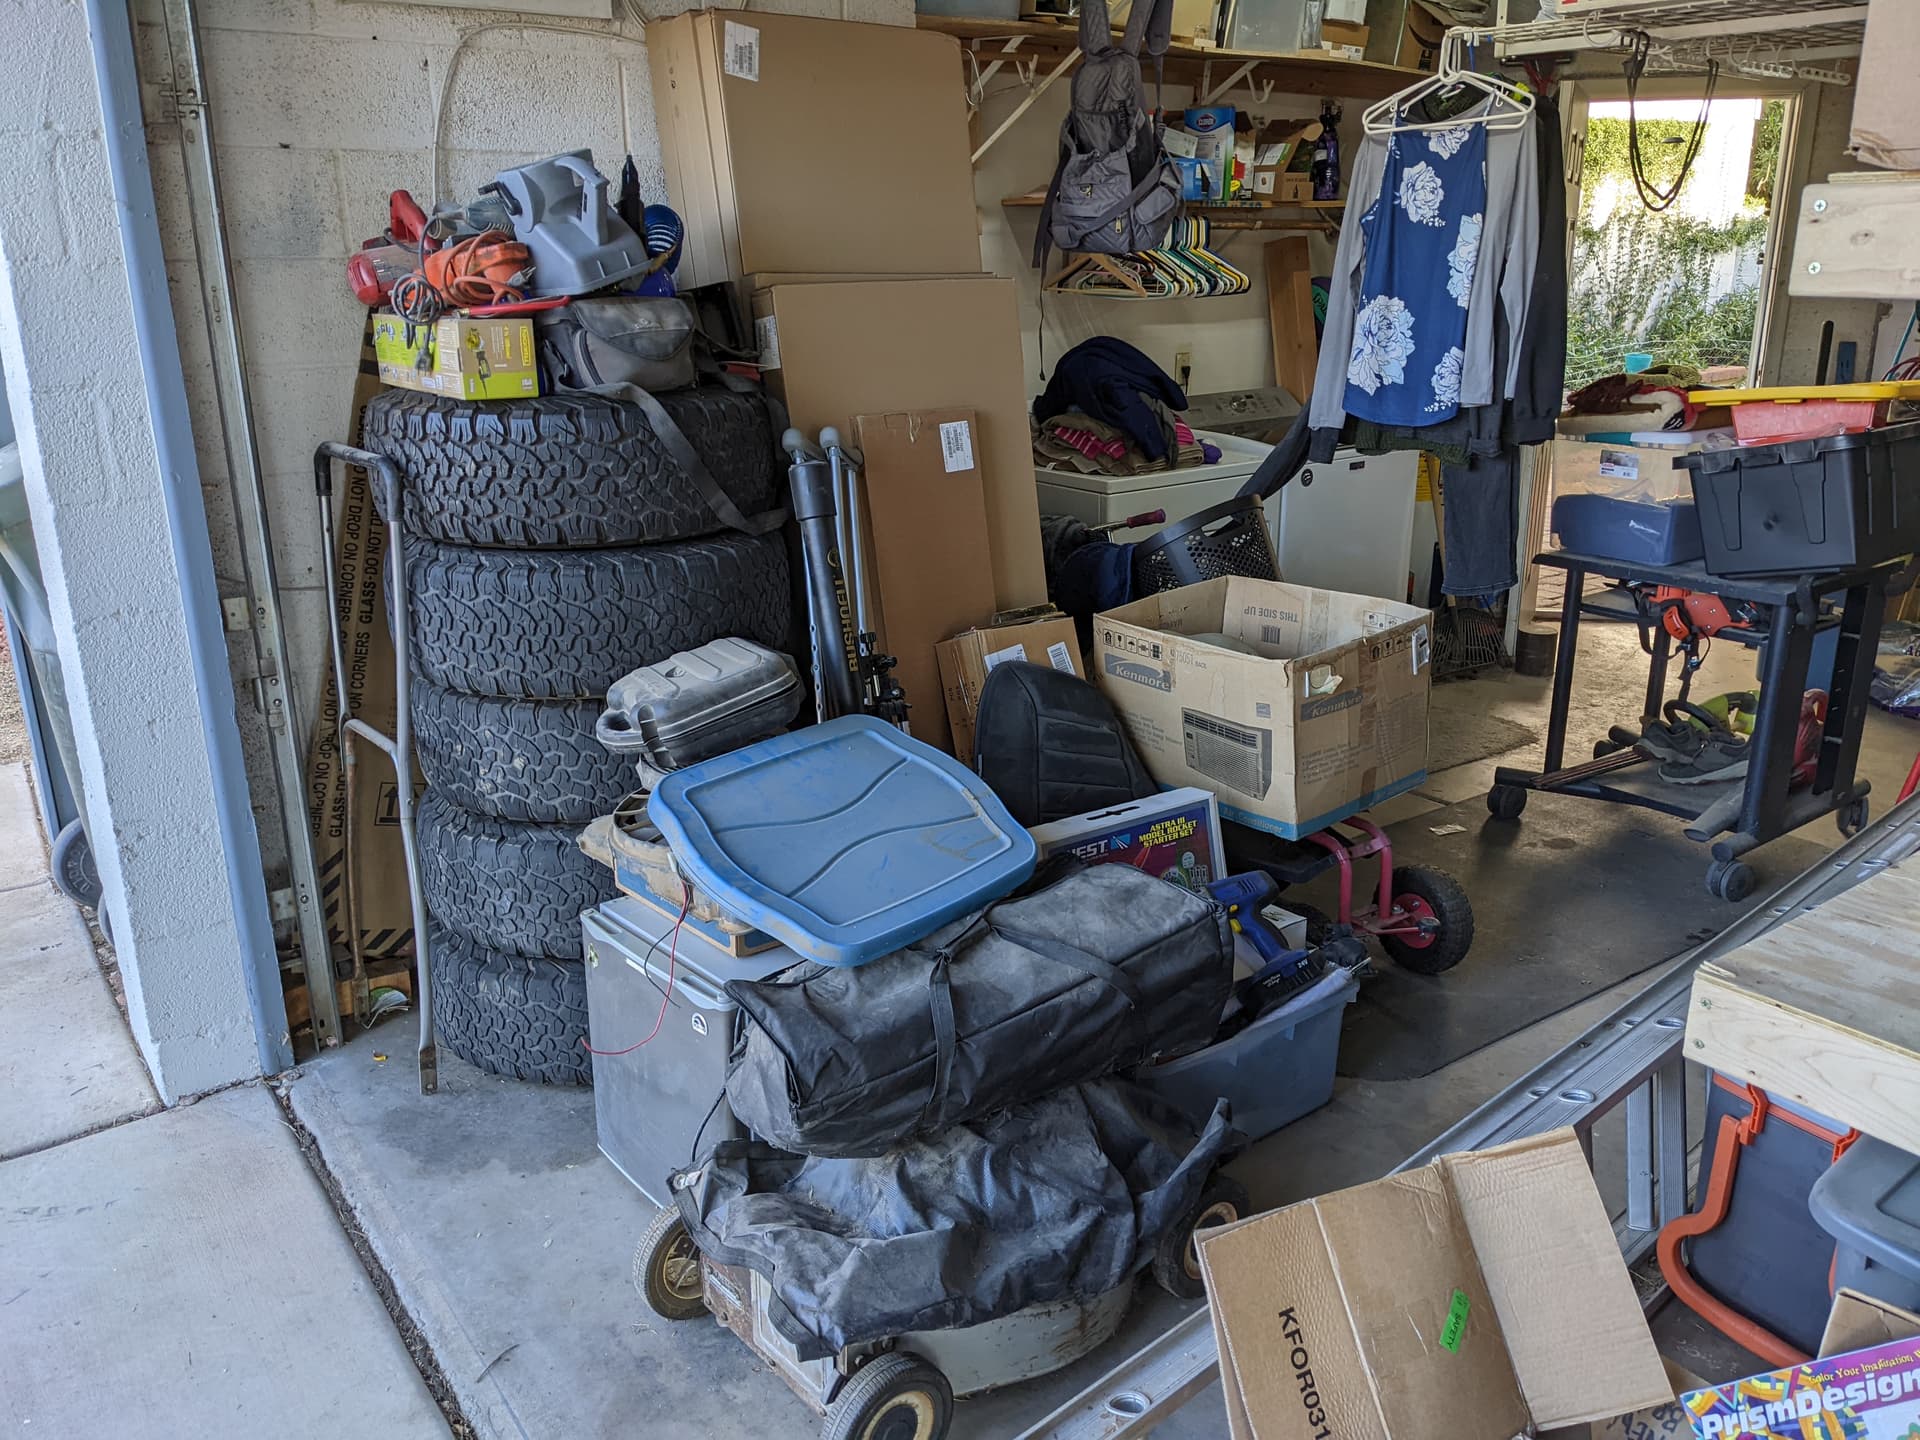
Carved out a little space for packing materials. I’ve got a lot of boxes.
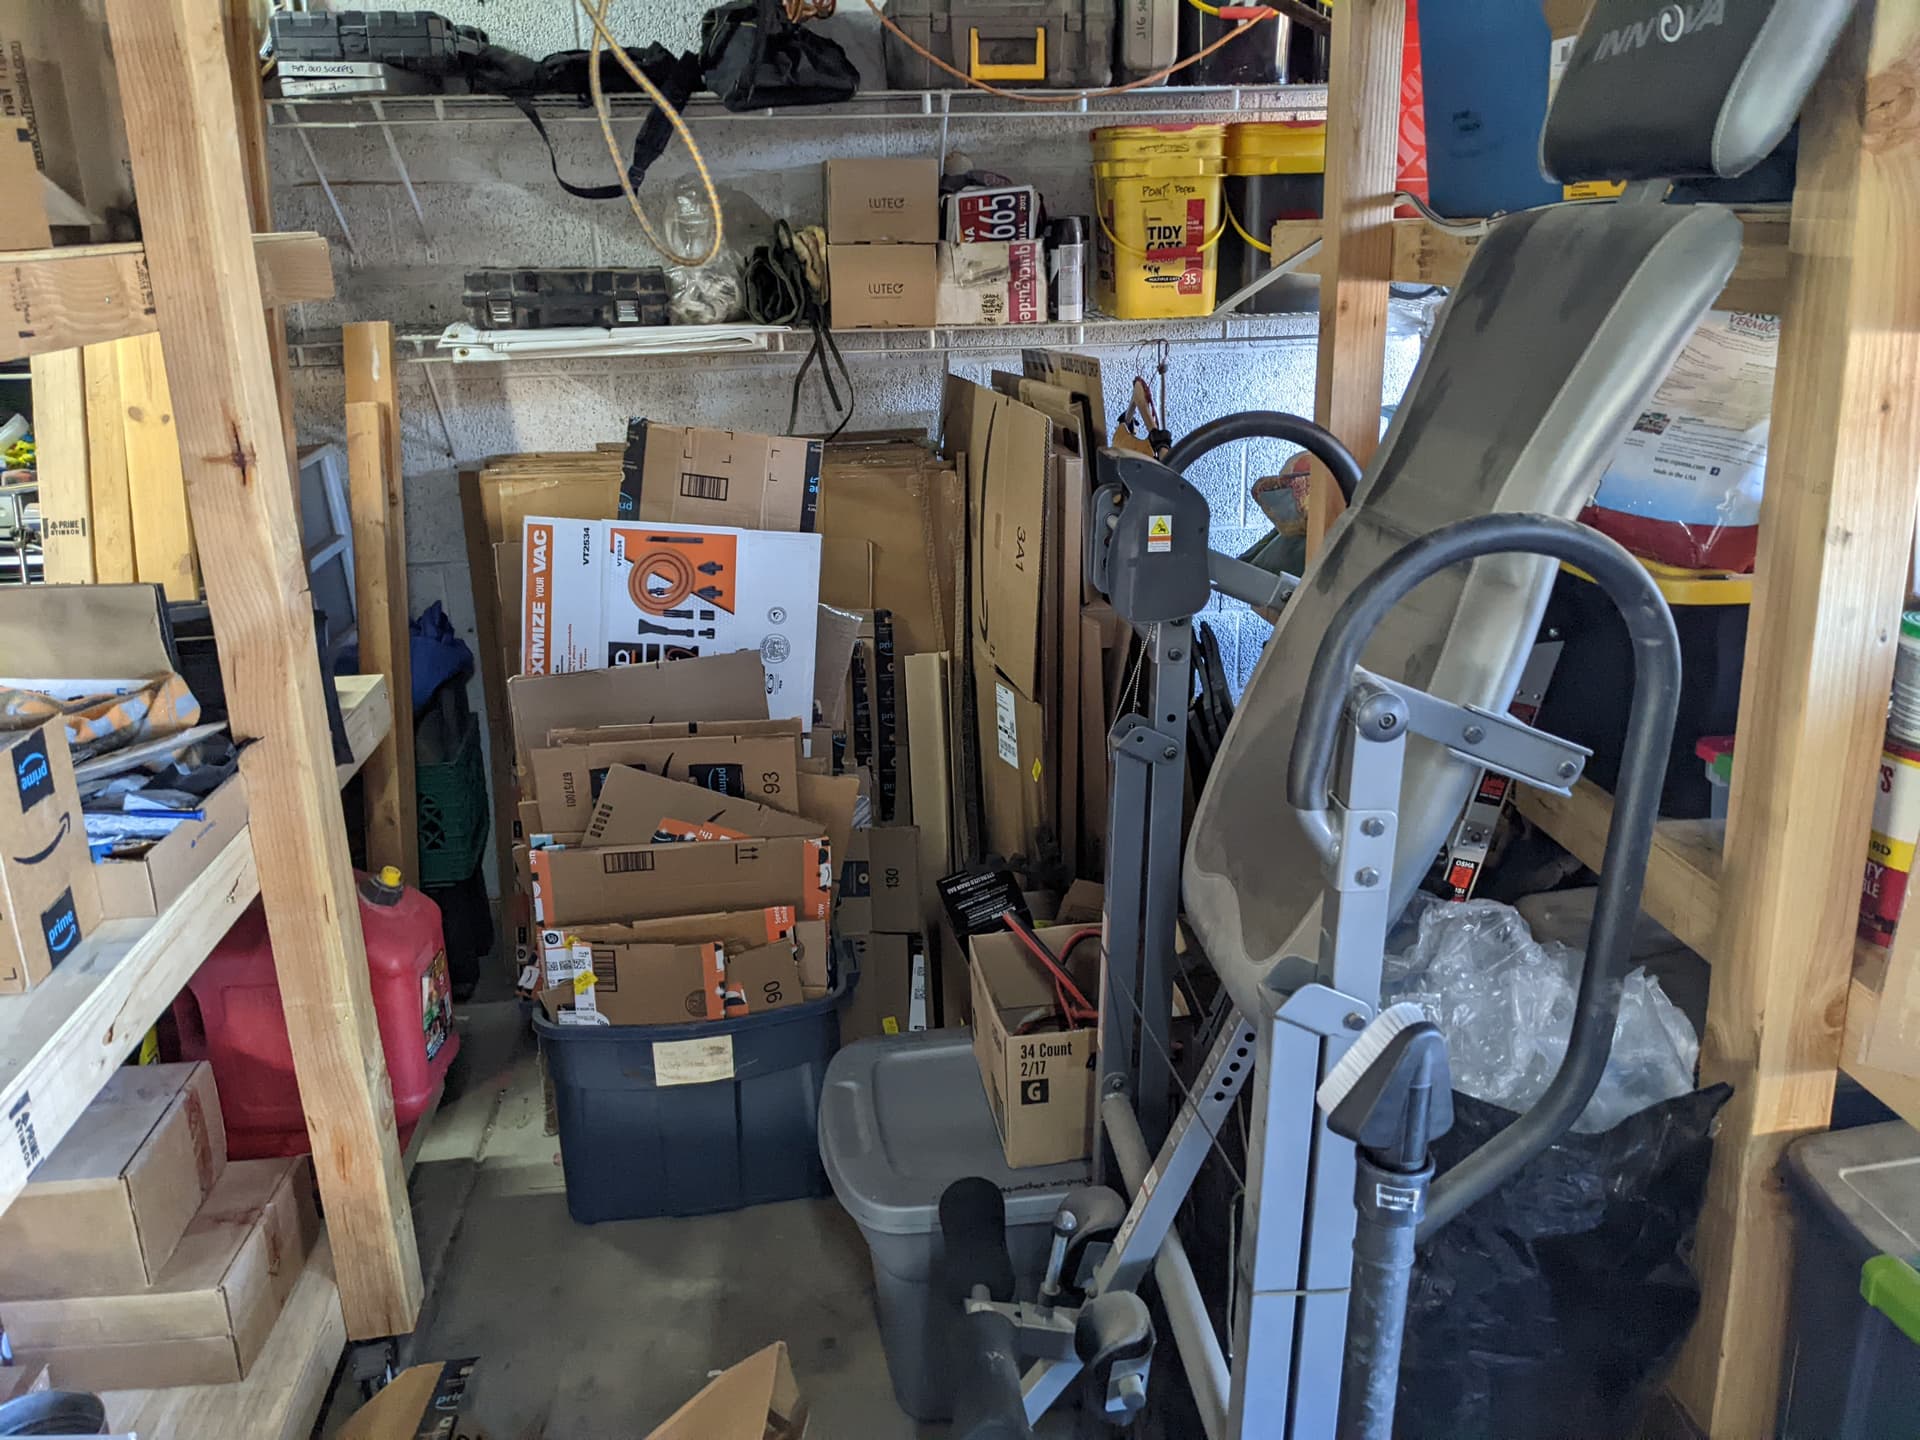
I would have kept going, but the clothes dryer is apparently on a fail every weekend schedule. Back to the drawing board…