The booster will rust out usually well before corrosion takes the master cylinder.
2 Likes
261,ISH
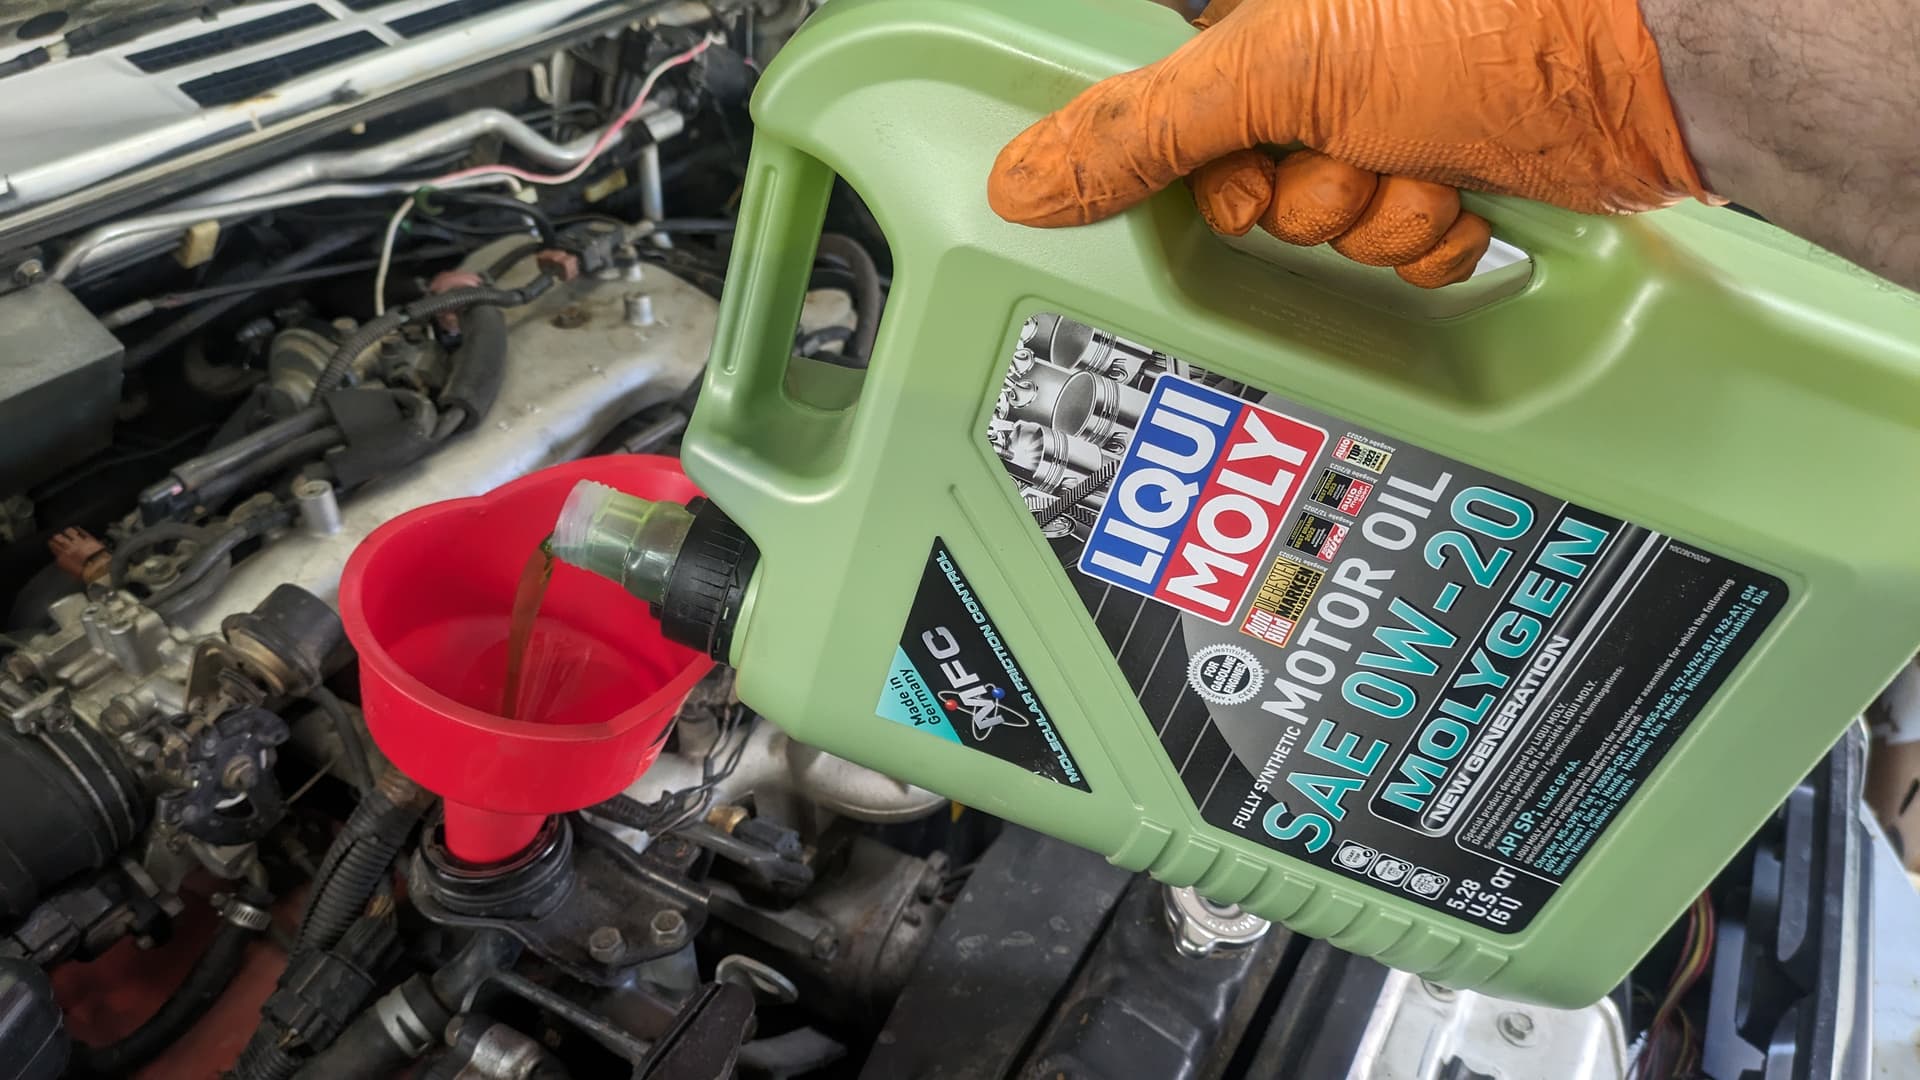
- oil/filter change
- new PS belt
- cable adjustment
After 1,000+ miles of struggling to find, make, beg, borrow, or steal time for an oil change and PS belt install, I’m sure 0w20 will be fine for 3,ISH miles to a summer oil change with 30 weight. (Sorry, Lance.)
What’s it gonna do, make more noise? I’m not pulling that fucking intake unless I have to. I park nose-up on a hill. It’s gonna tick. If anything, I’m curious if it gets up to the heads quicker and/or maybe flushes the lifters.
Besides, I’m the first kid on the block running green oil.

In all seriousness, though, having power steering again is the MVP here. 33s and recirculating ball steering. My forearms. Wow.
1 Like
I think that oil might be too thin. Next payday, I’m adding a little Seafoam and doing another oil change.
Should have bit the bullet and done lifters when we did the engine swap, but such is life.
In other news, the vinyl stripes were finally showing their age and had to come off. Feels weird.
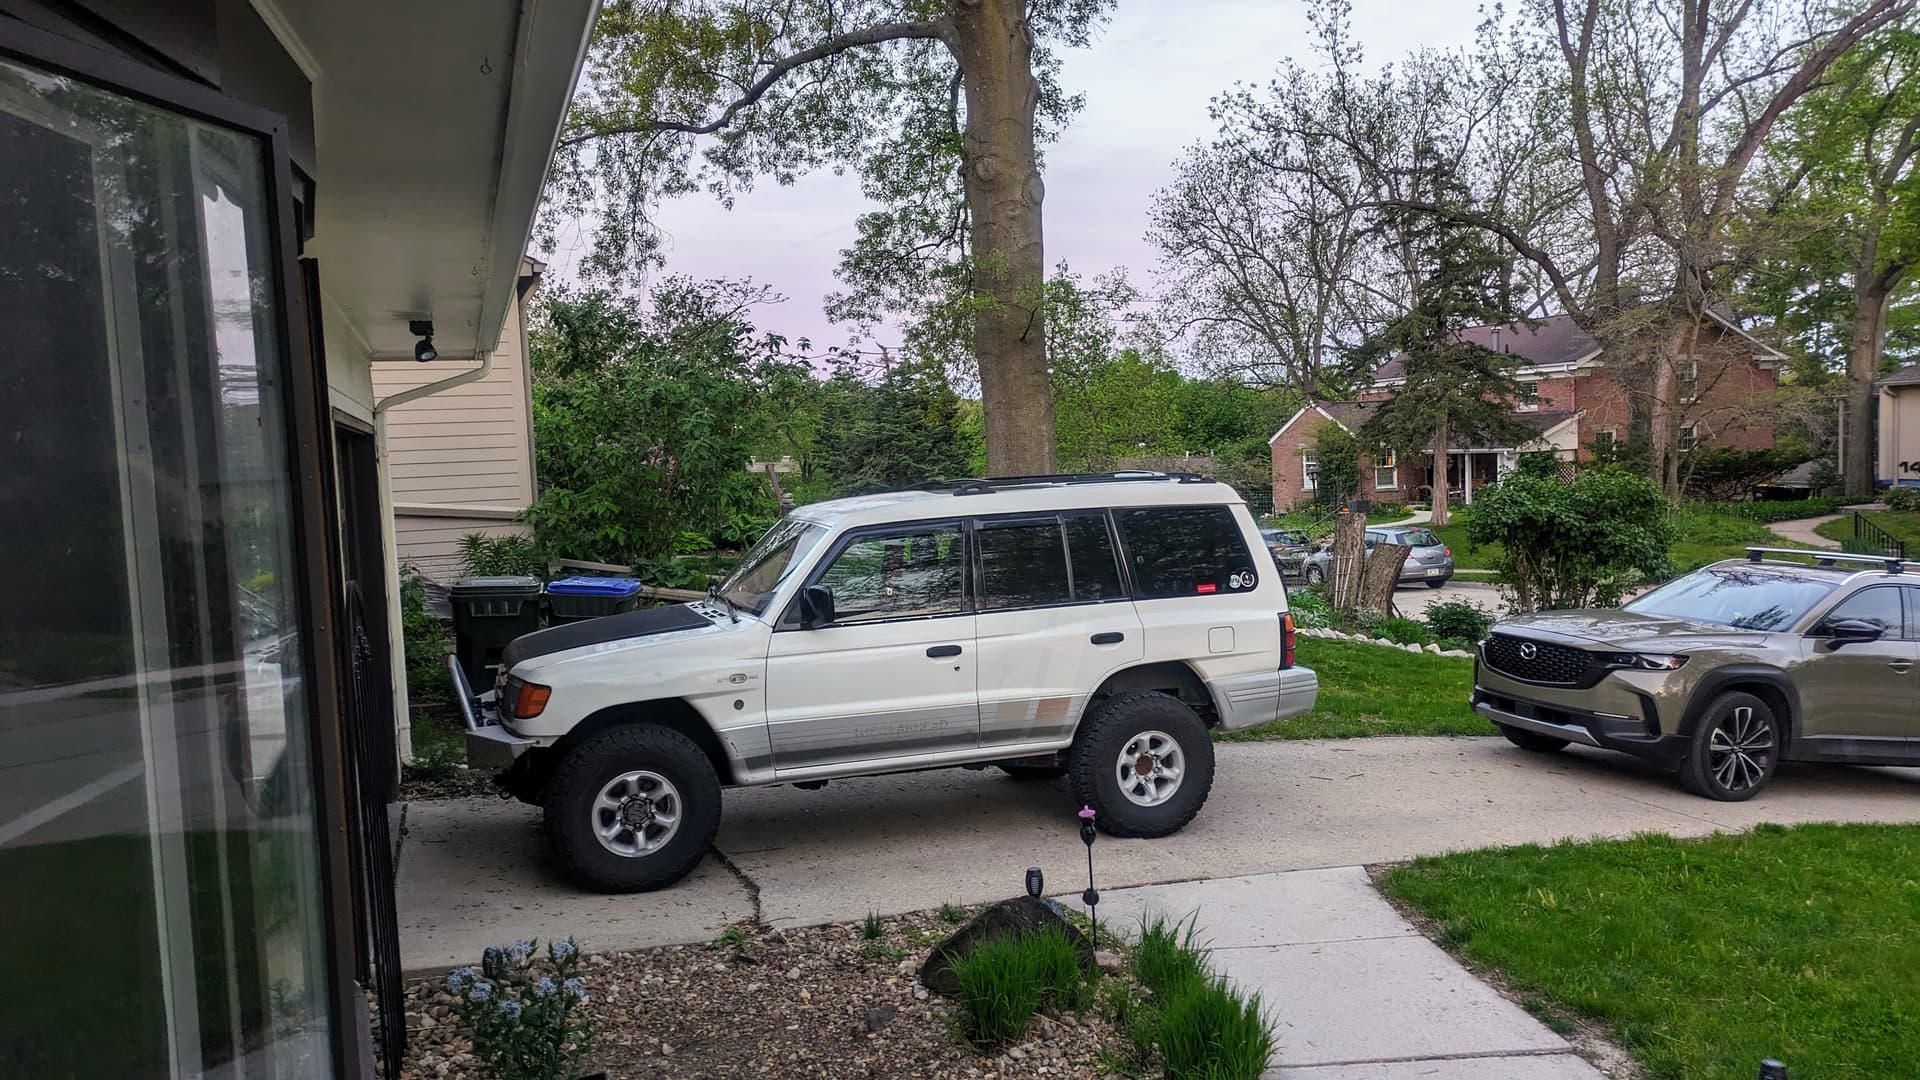
Spring is here in the sense that Summer is on its way. It’s high time I got my shit–and by extension, my truck–together so we’re ready to roll on short notice. There’s some Hip Camp exploring to do in the area, and we’re looking into destinations further afield for summer. Colorado, even!
![]()
1 Like
I wouldn’t put seafoam in anything.
What oil is factory? 5w30?
You may want to switch to a high-mileage full synthetic with a better additive package.
If you’re not doing oil analysis, you’re guessing. Blackstone is cheap $35 - SpeedDiagnostix is great but too rich at $75 a sample.
EDIT: The “new” european formulas are leaning towards newer cars with direct injection. Which means LESS additives - this could do more harm than good.
Does the ticking go away once the truck is all warmed up?
2 Likes
I hear ya. Might skip the Seafoam this time.
OE recommendation is 5w30 for up to 100°F ambient. Good point about the additives. I used to run the full synthetic T6 Rotella for just that reason. Found the Liqui Moly to be similar, if not better quality, at a better price, with a better experience, so this is my second or third oil change with them (though first with the green stuff).
I trust the oil analysis science, but have never felt a need. What are they going to tell me that I don’t already know? It’s a 26-year old truck with 260k on the bottom end (fresh rings/bearings at 200k). I put five quarts of clean oil in. 5,000 miles later, I drain a little less than four quarts of dark, dirty oil. It’s always smelled like fuel and been a little bit sparkly. #internalcombustionamirite
There’s metal/fuel in your oil. I know.
It’s probably from your rings/bearings. I know.
You should change your oil more often. Maybe, but I know.
You should use a high quality, fully synthetic oil in the proper viscosity. Totally.
You should spend $35 twice a year so you can see how much your internals are dissolving. Pass.
I can totally see it for high performance machines that see any amount of severe duty or stress. SoCal Freeways? HPDE Track Days? In anything that spends more than a few minutes a week above 4,000rpm or is otherwise built/tuned? Absolutely. But for an old tractor that seldom averages more than about five minutes of highway speed a week, I think it’s overkill.
Change my mind?
1 Like
Finally went camping.
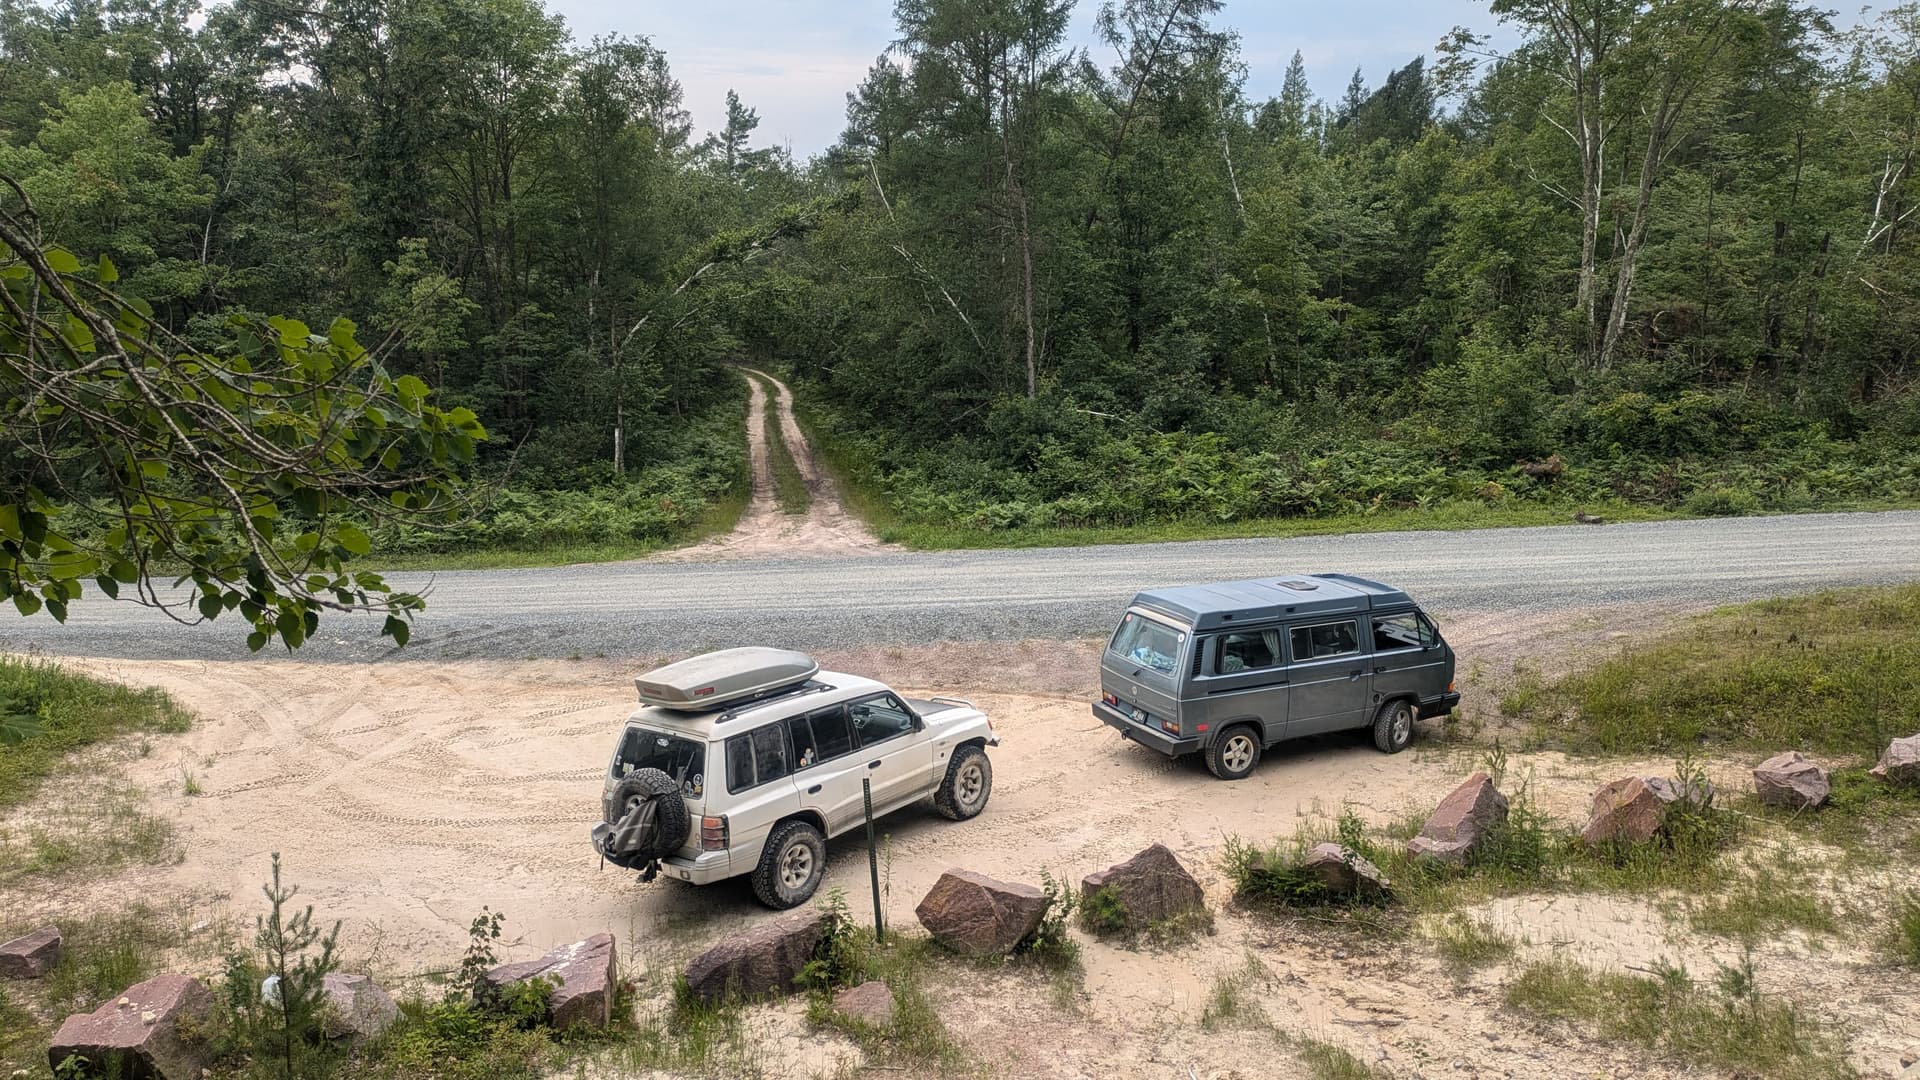
We did a 4-day / 4-night recon of the Trans-Wisconsin Adventure Trail. It was my first real camping trip in over two years, since leaving Phoenix.

We followed the Great River Road a bit near Prairie du Chien before taking gravel back roads through the prettiest farms I’ve ever seen.
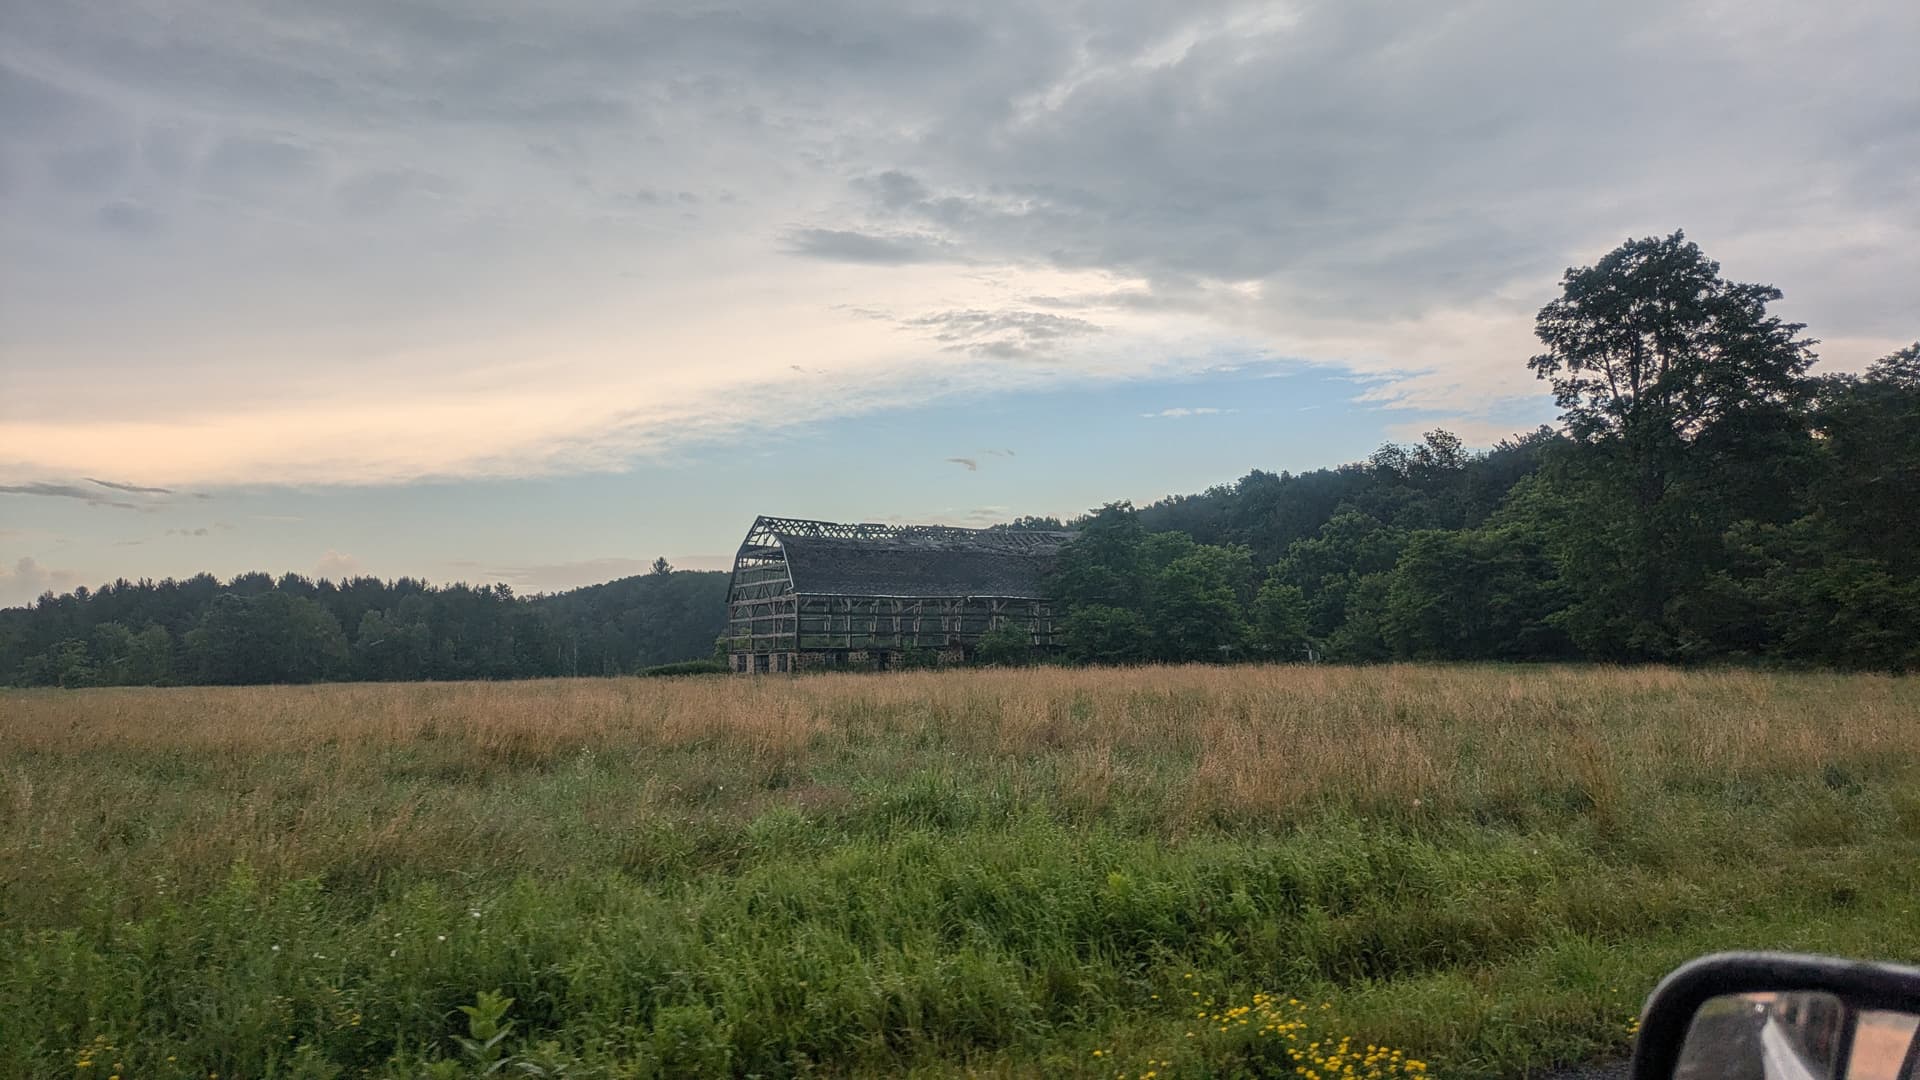
Lol. Maybe not that one, but the size of some of these structures was pretty incredible. They had to have made all that lumber.
Fezzik performed flawlessly.
4 Likes
That looks awesome, super jelly, can’t wait til the boys are just a bit older.
1 Like
It’s a different kind of camping than anything I’ve ever experienced before. It’s not bad. It’s just different. And it takes a different approach. There’s a research and logistics piece that makes it interesting.
And you’d be surprised how young kids can be and do camping. I mean, have you read any of @haolepinoy 's work? It’s brilliant. Plus, I would think you might get access to some kind of special programs helping the boys connect to their own land, ya know? That would be pretty awesome.
2 Likes
259,ISH (corrected)
- timing belt, tensioner, & pulleys underway

Rather conveniently, V&P are in Salt Lake City for 10 days, so I’ve got two full weekends to hopefully knock this one out. Not that I wanted to spend the week working on my truck. (I actually had a bunch of fun little around-the-house projects lined-out that got pushed as a result. Boo.)
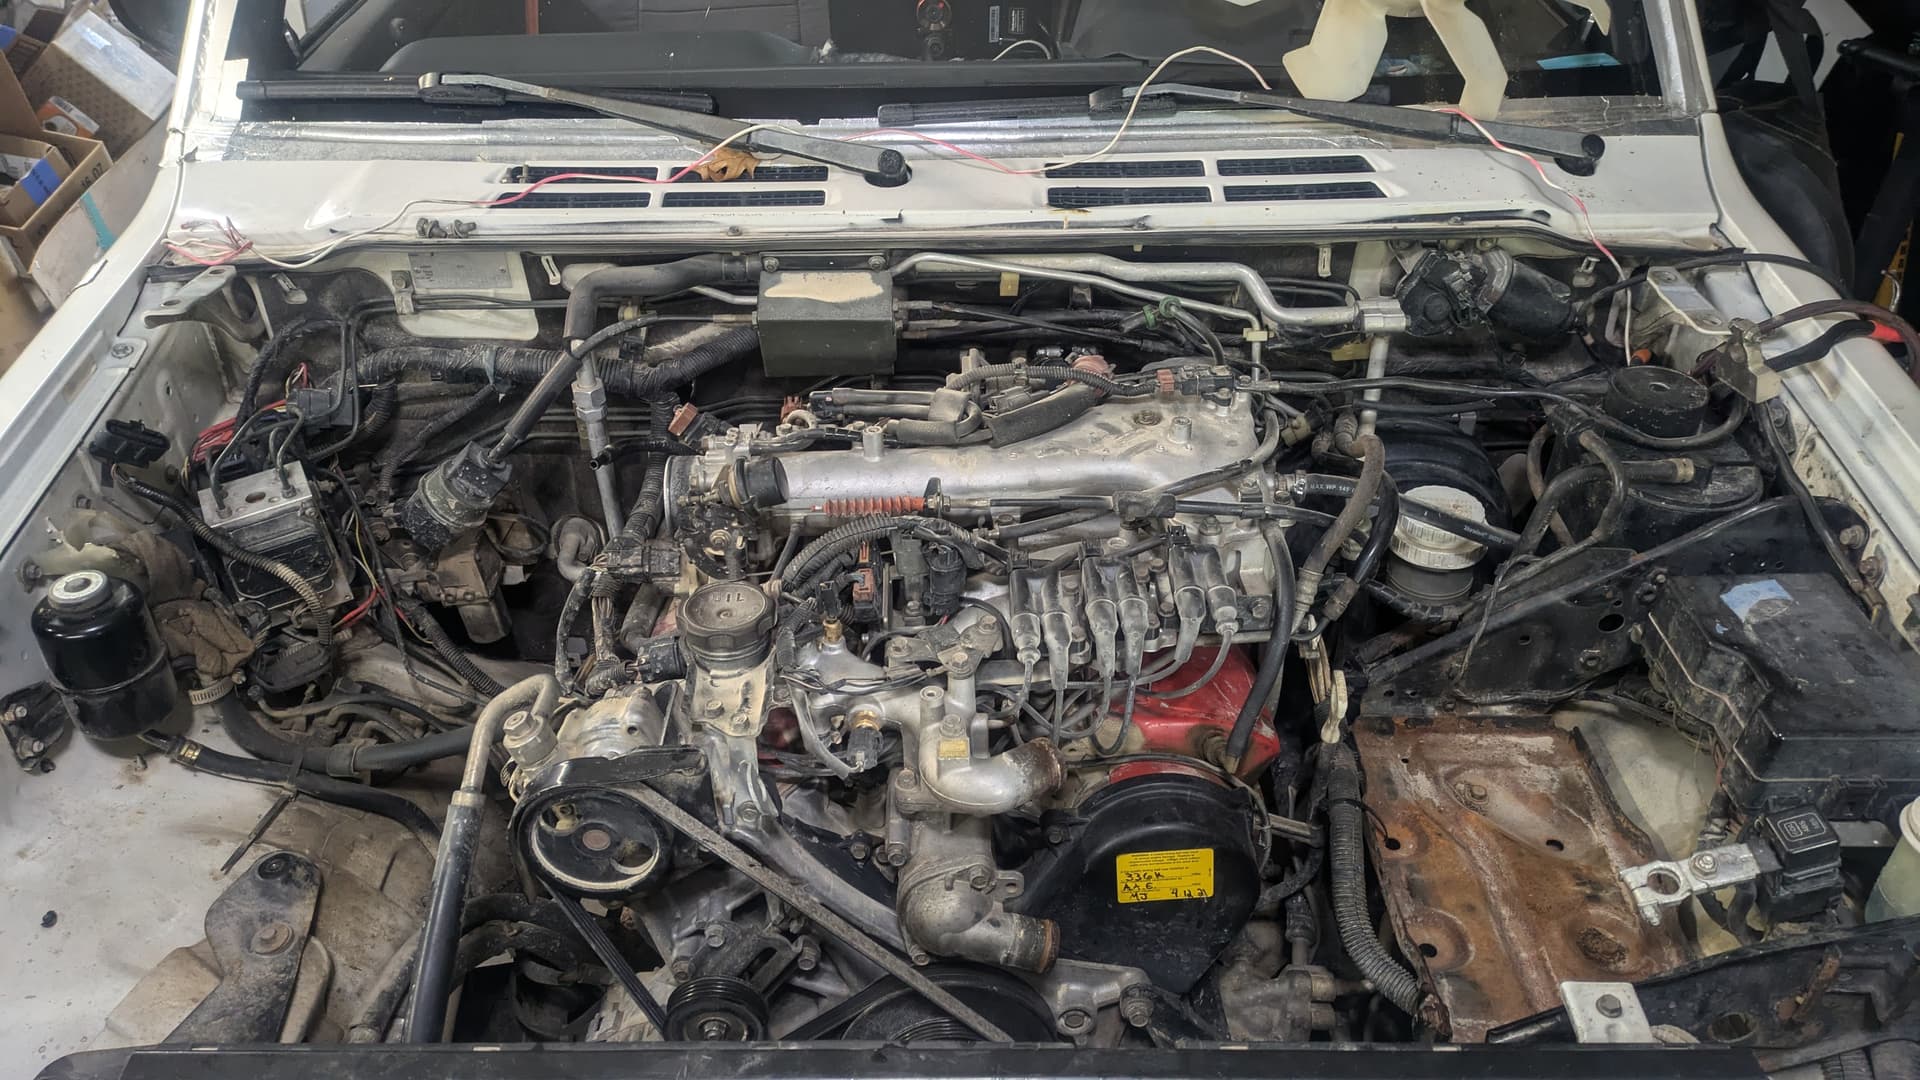
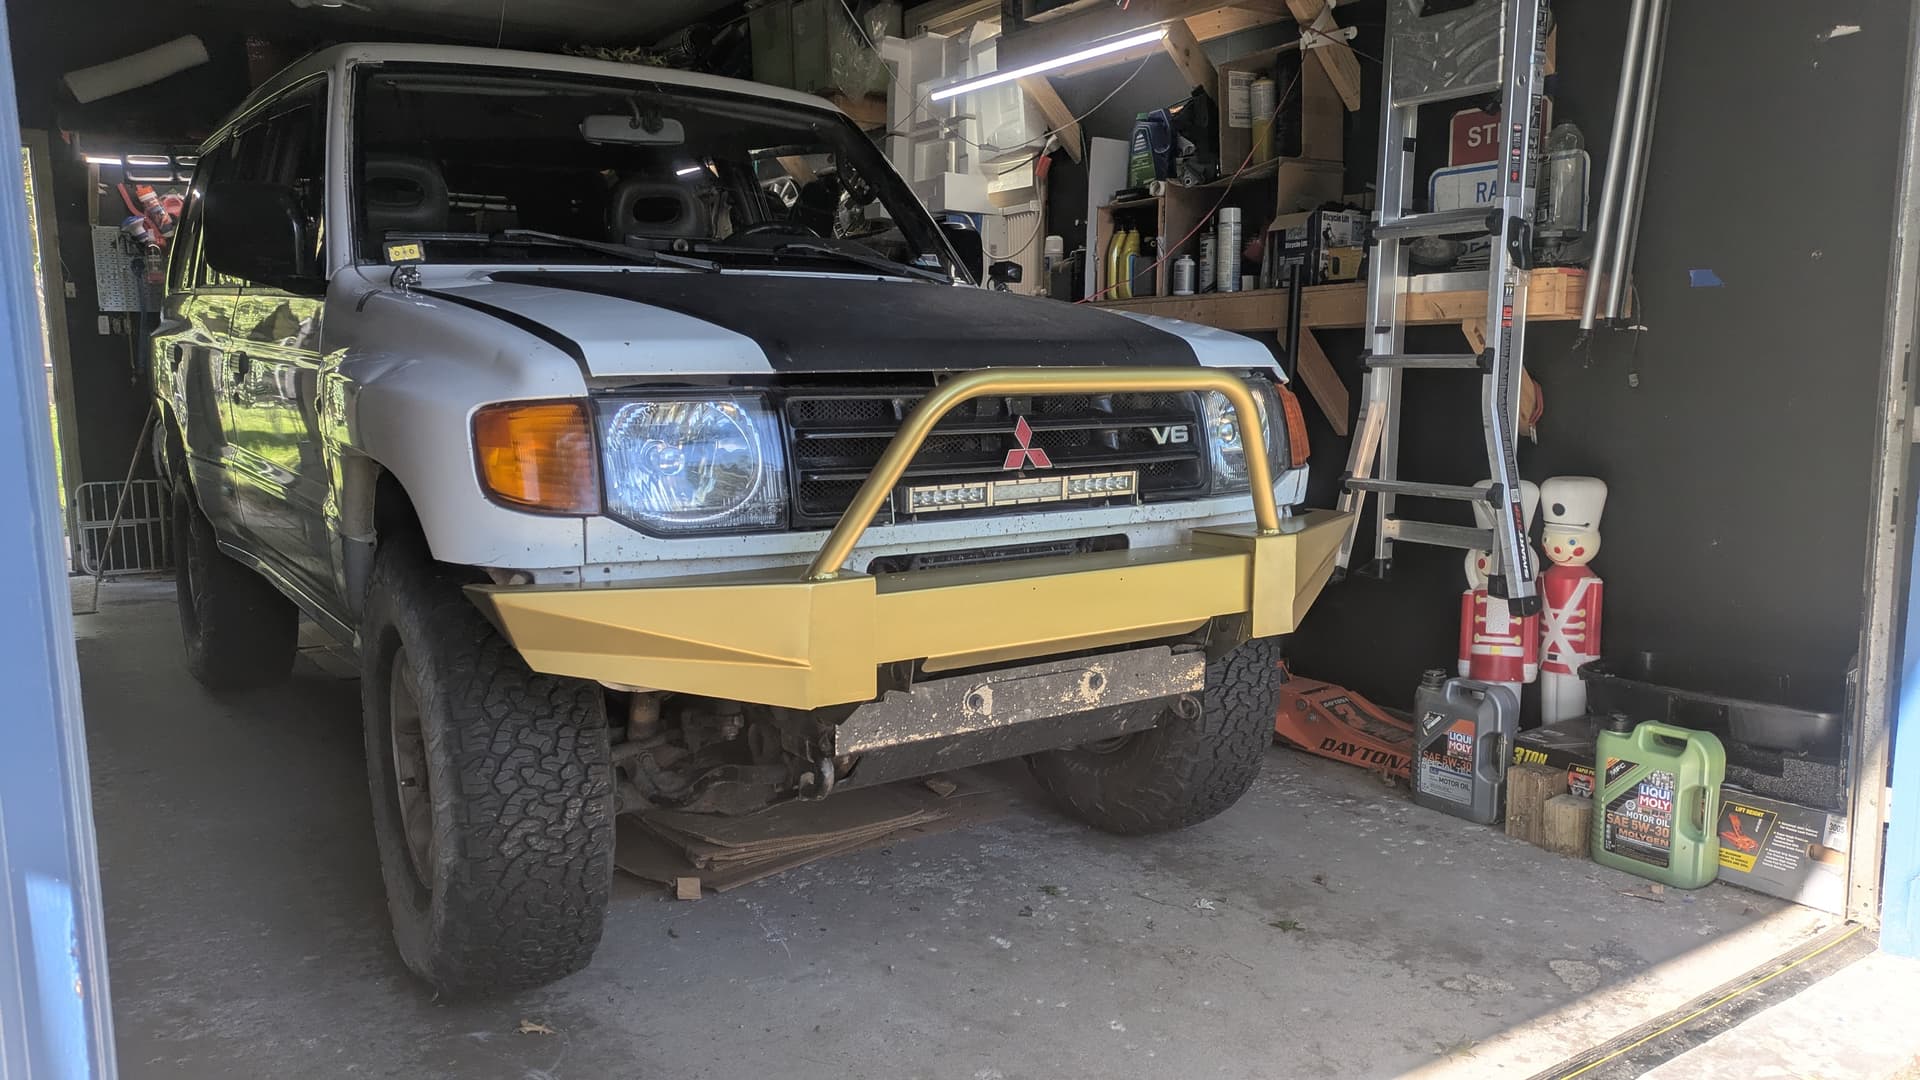
Believe it or not, this is my first time doing the timing belt on Fezzik. ![]()
Picture above is current state. Front skids dropped, intake, battery, radiator, & fan removed. Next step is sidelining PS, ALT, & AC, followed by front cover removal, belt alignment, & replacement. It’s not going bad, but it’s all dirty work.
A scandalous timing belt history
Mitsubishi recommends a 60k service interval due to the 6G74 being an interference engine. (If you don’t know, interference means pistons can smash valves when the belt snaps.) Given the importance of this service interval…
The original belt went 160k thanks to previous owner negligence. That’s almost twice as long as it should have been used. Adventure Driven Design installed Belt Two for me in exchange for some website building work and we were all blown away that the front case had never been opened prior to their doing so at 160k. I still have the belt as a garage totem.
Belt Three went on in 2021 at 230k. I paid a trusted shop to do all the things.
Now I’m sitting a hair under 260k and I’ve got something under the front case that sounds like a pulley freewheeling when it loses contact with the timing belt on revs. I still trust the shop and have nothing but love for them. That said, I’m excited to see the tensioner when I pull the covers.
Did they re-use the OEM from 160k and it went roughly 100k before starting to slip?
Did they install something generic and it only went about 30k before failure?
Either is a possibility at this point.
We’ll see.
1 Like
259,ISH (no change)
- ongoing timing belt job
- radiator fan bearing/bracket replacement
- harmonic damper replacement
Here’s a video of the sound prompting all this work:

I thought I caught a lucky break when I discovered the fan bearing/bracket was noisy:

Turns out the harmonic damper failed:

In Other News: 20K timing belt service interval
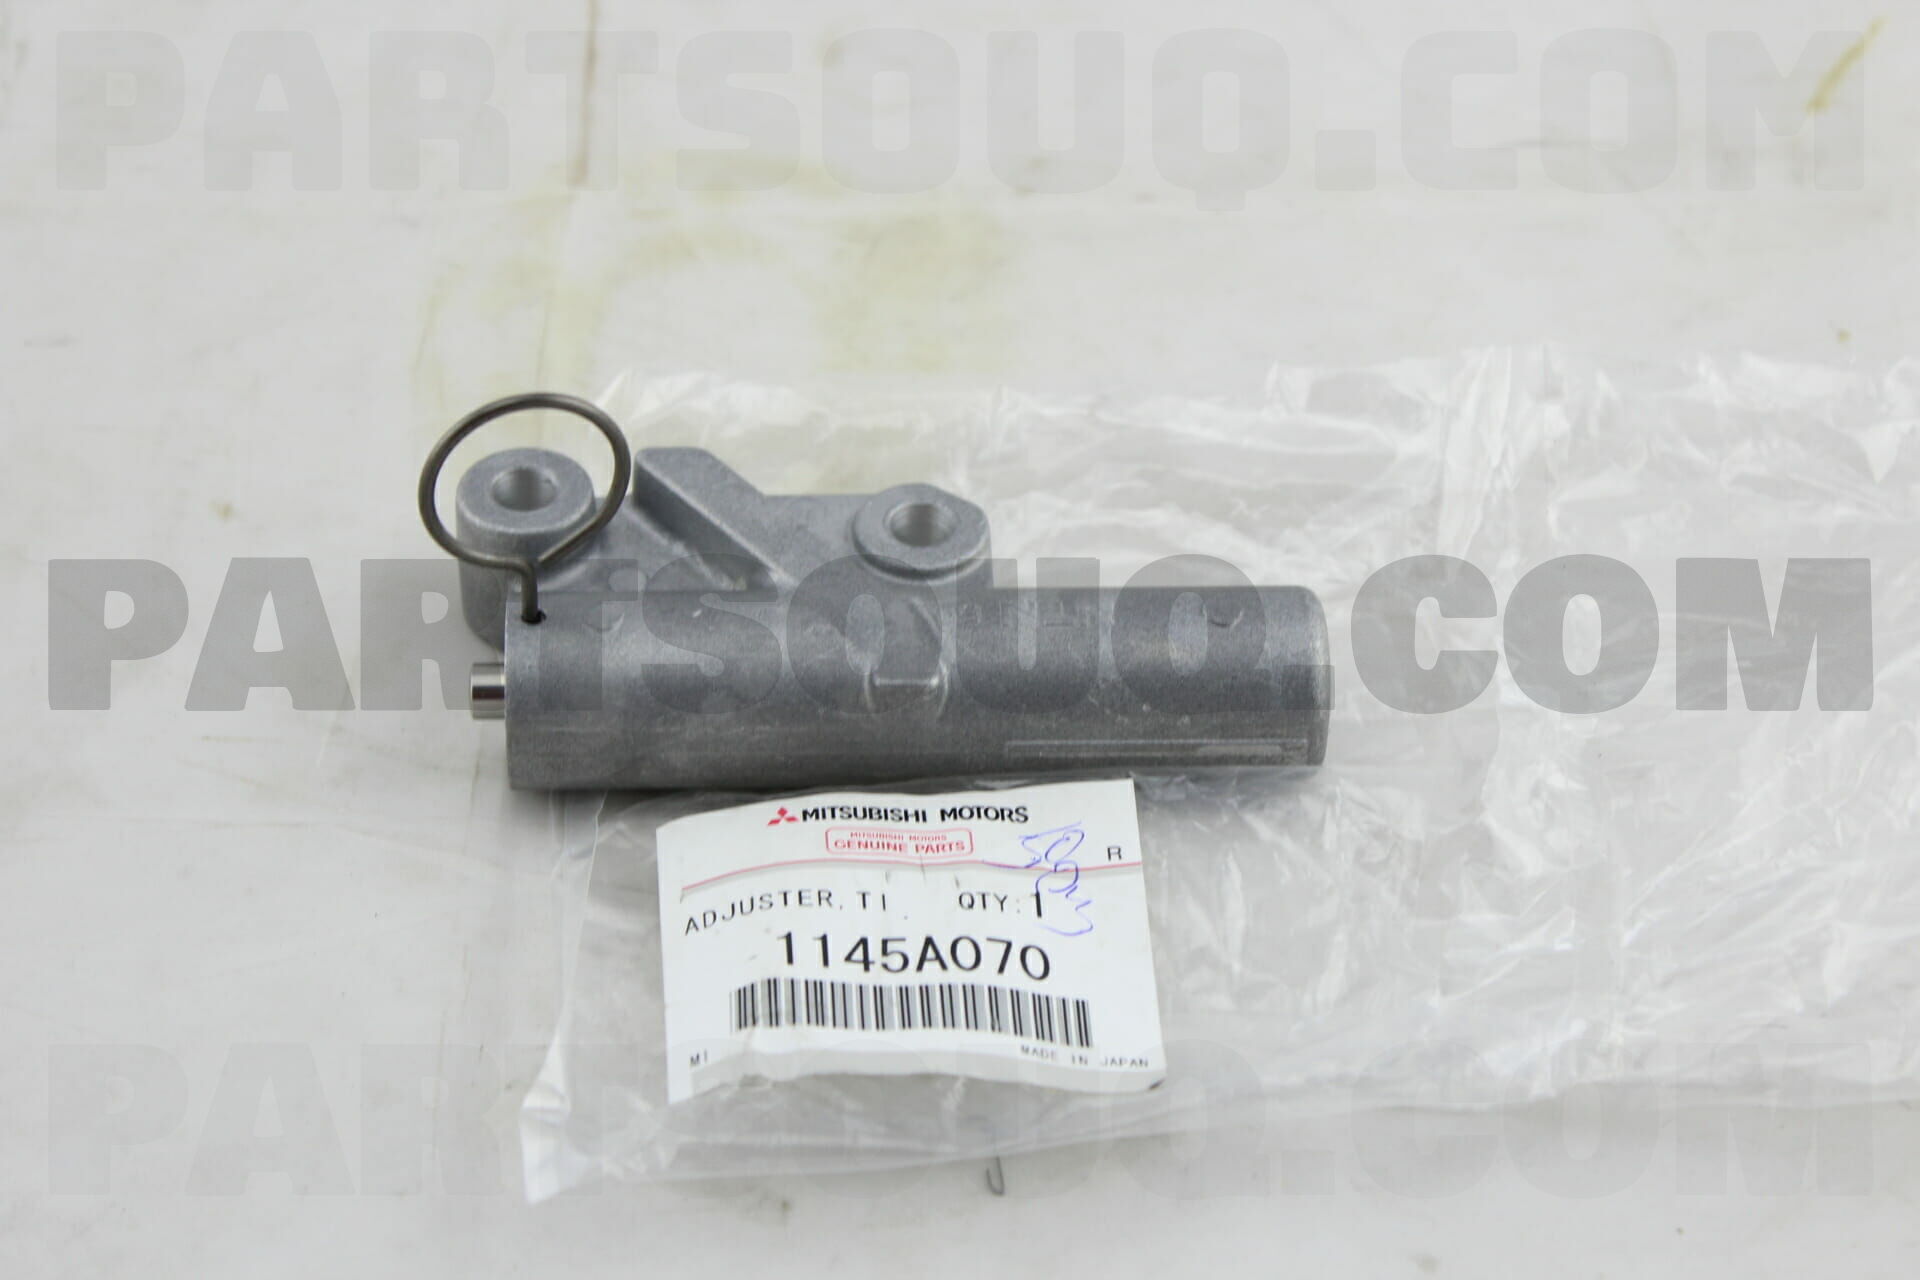
The hydraulic tensioner the shop installed is stamped “NTN”. The OEM in the unopened plastic bag with the Mitsubishi part number on it does not have such markings.
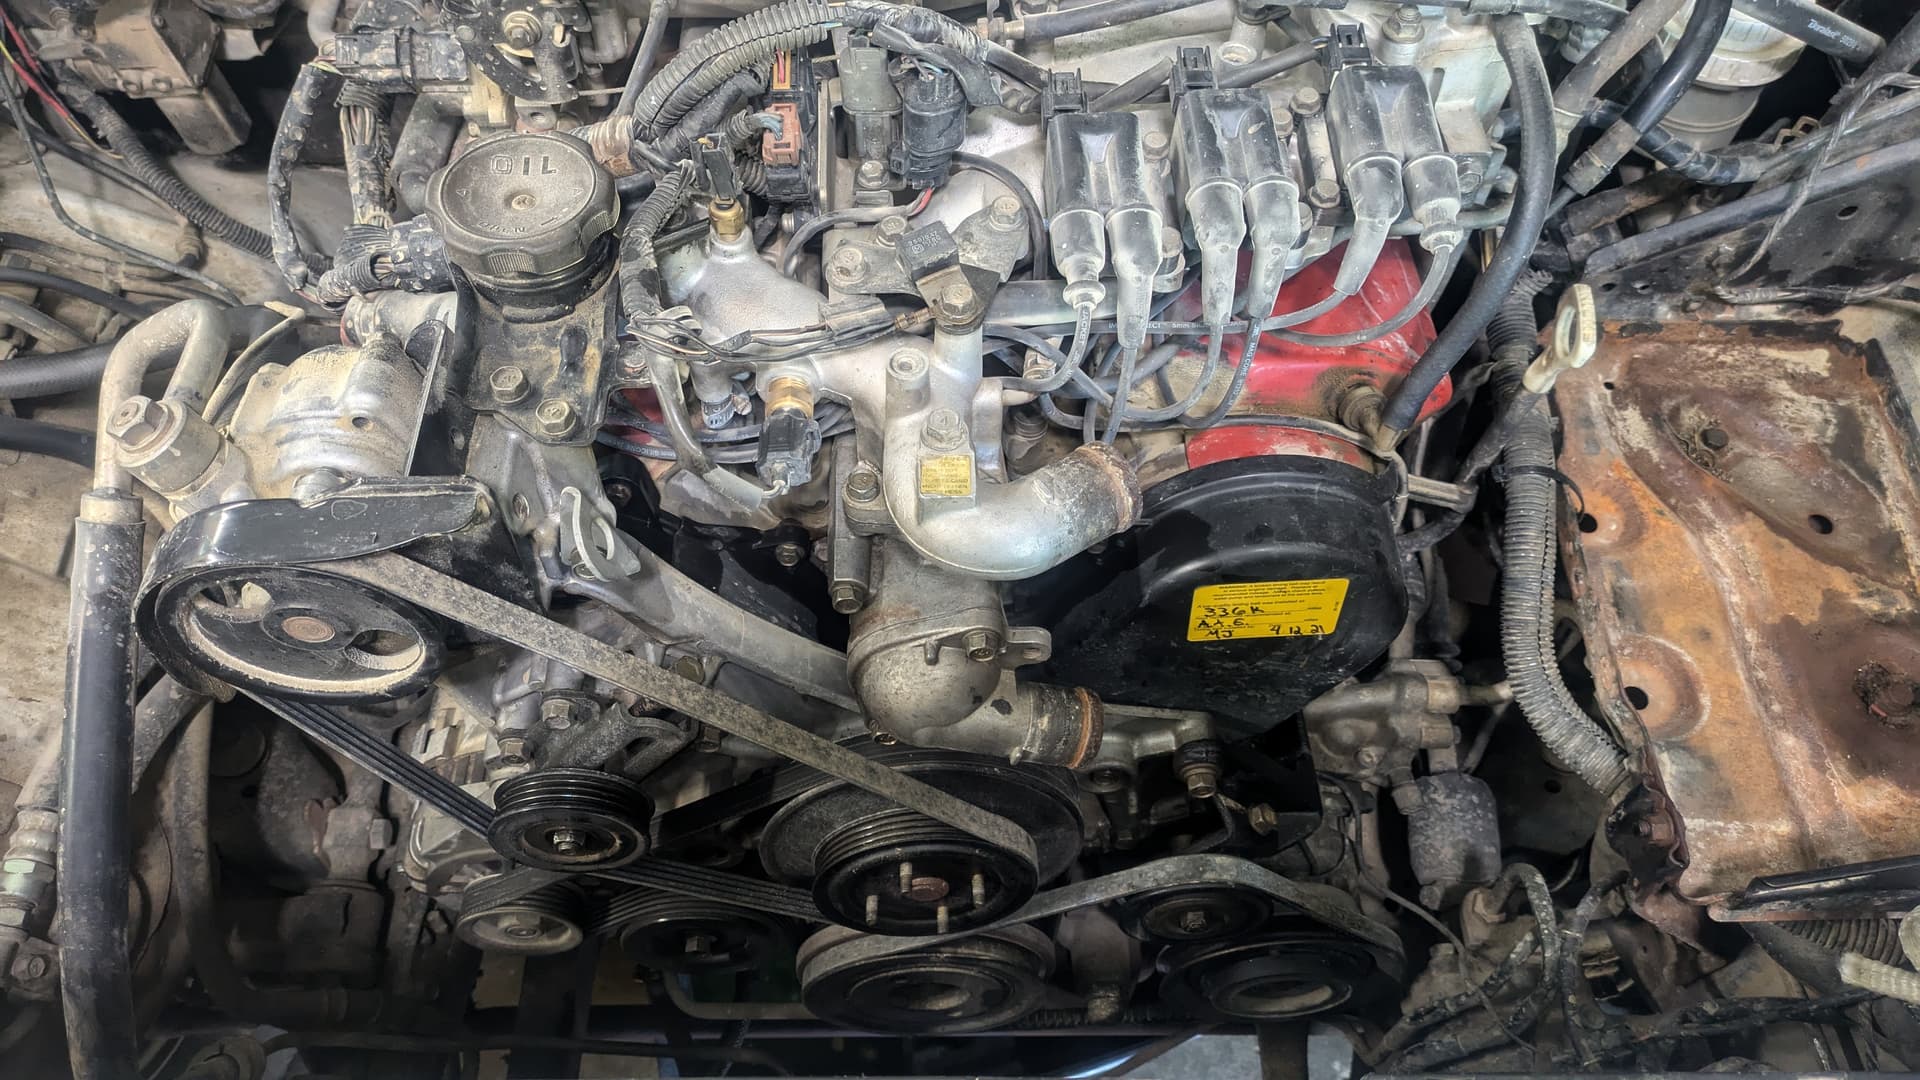
Based on the sticker, I’m sure of a couple things:
- MJ used a Gates belt kit (evidenced by the yellow sticker).
- I remember he incorrectly assumed a 100k service interval.
- Meaning the belt was changed at 239,000 miles, or about 20k ago.
- Non-OEM tensioners like to nuke engines around 45k, so this is a huge save.
- New parts are on the way from Rock Auto*.
*Best price on an OEM harmonic damper was $400+ shipping from Japan. I went with $70 from “Warehouse A”. (And a fan bearing from “Warehouse B”, and a pulley puller from “Warehouse C”. Ah, Rock Auto…
E: New Developments!
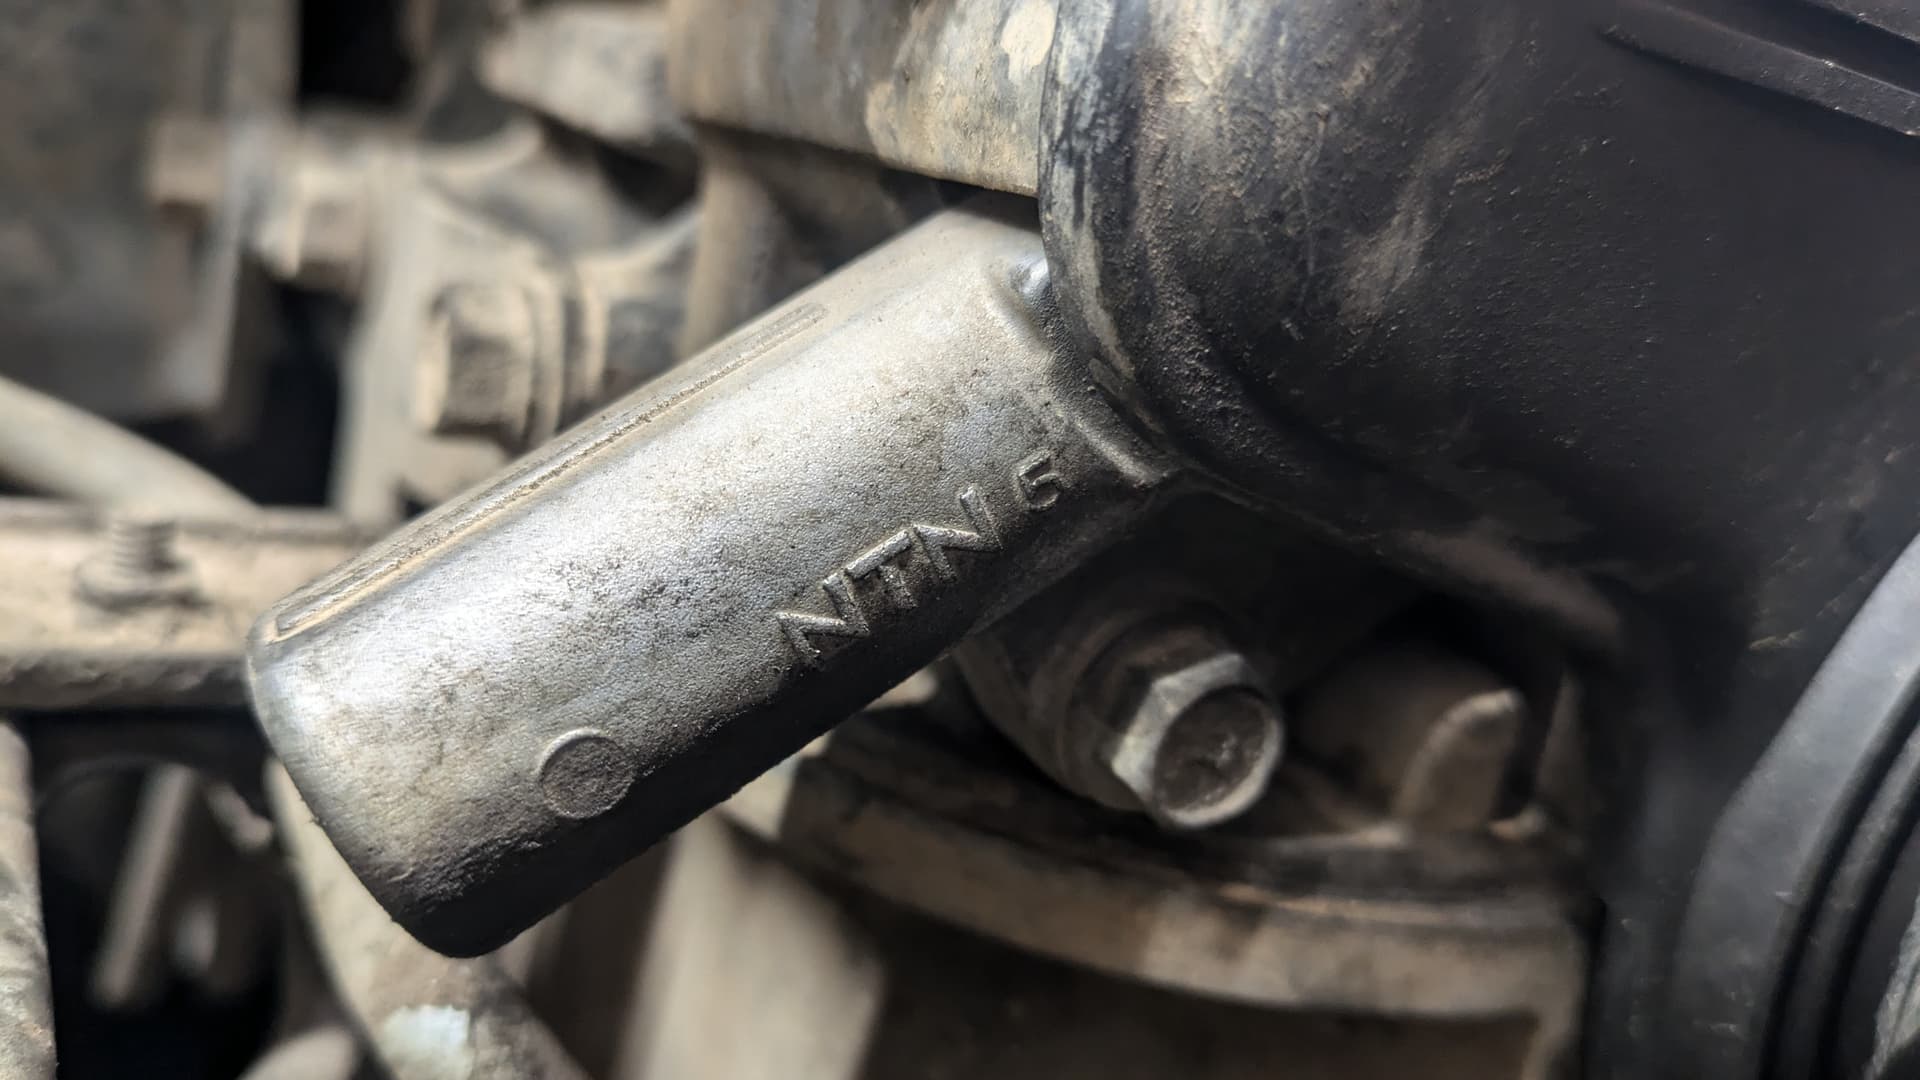
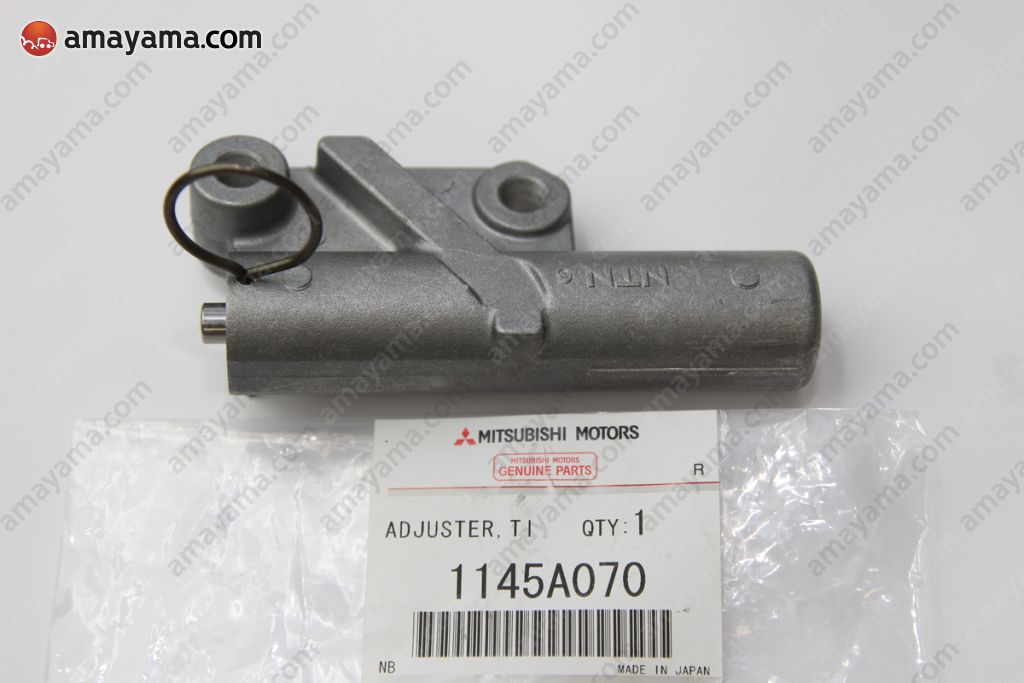
The hydraulic belt tensioner on the truck now is stamped “NTN 5”. The two most respected international parts houses–PartSouq and Amayama–are both showing an updated Mitsubishi part number for the tensioner. The pictures show “NTN 5” stampings and an OE Mitsubishi parts label. I might have dodged another bullet.
2 Likes
EIGHT MONTHS LATER
I realize I’ve sort of forked the project into a second thread: My First Moab: 2025
03.29.25 was our 10th Anniversary, Fezzik & I.

It was also the day we returned home from a 4,200-trouble-free-mile road trip.
Found myself wondering how many miles I’ve actually driven since we moved here. This led to an ADHD Rabbit Hole Adventure back through Google Photos for odometer pictures. I don’t know that I recorded the actual odo before we left Phoenix, but I found a picture from I40, showing 3 miles to AZ77 junction and 250,6XX on the odo. (I had a sticker blocking the last two digits.) Google maps says that junction is 217 miles from the old house. Boom. 250,400-ish miles.
And how crazy that we did almost exactly 100,000 miles together in AZ.
Here’s to 10,000 miles this year, mostly from adventures.
- 150,000 - the night I got him
- 200,000 - Josh & I rebuilt the engine
- 250,400 - we left Phoenix
- 265,300 - when we left Iowa City
- 269,500 - when we got back
The Phoenix Years: 2015–2022
- 7 years, 100,000 miles.
- 14,285 miles per year (avg)
The Iowa City Year: 2022–2025
- 3 years, 19,000 miles.
- 6,333 miles per year (avg)
This might explain why it took me until the last fuel stop in Flagstaff to realize that bigger tires plus lower final gearing equals we’re going slower than the speedometer reads—not that the speedometer is [ reading ] slow—ergo, I had just spent four days fighting to set cruise control at 90-100mph, fully loaded, into a 30-40mph headwind.
3 Likes
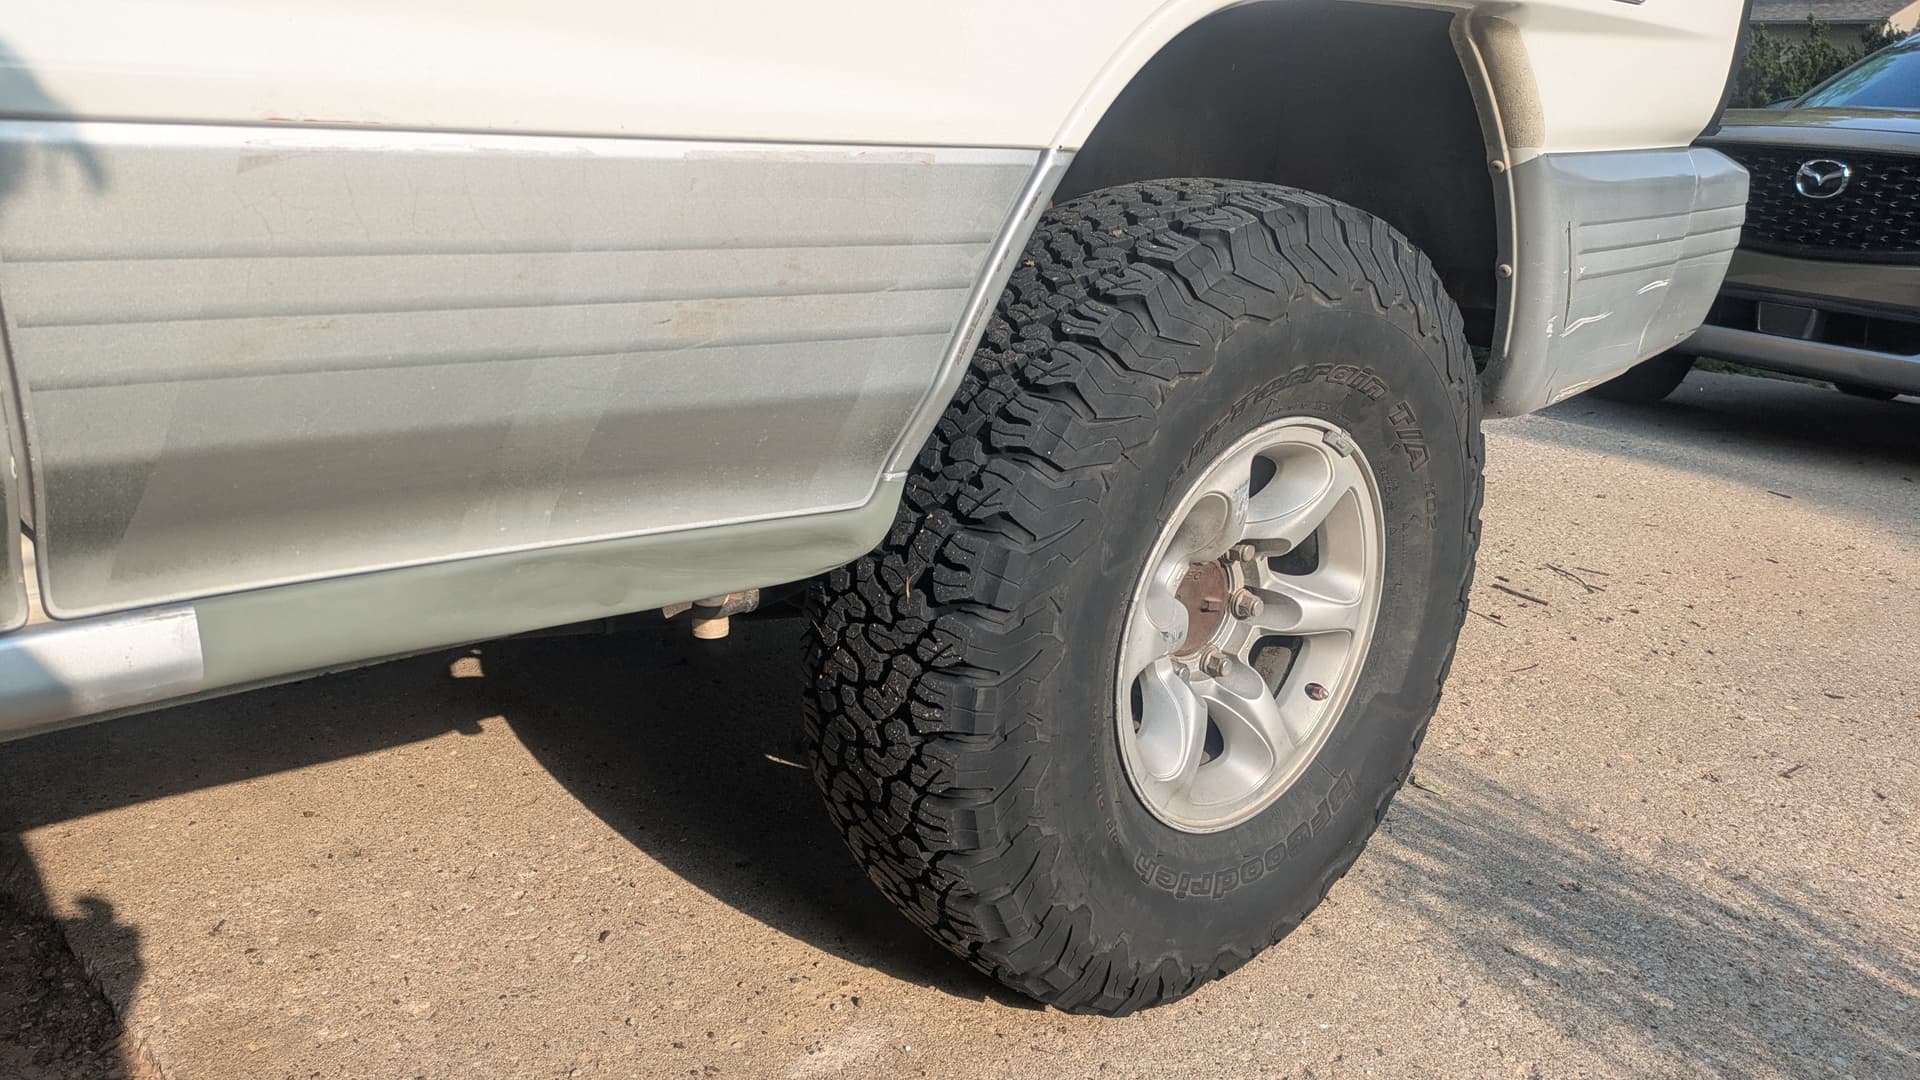
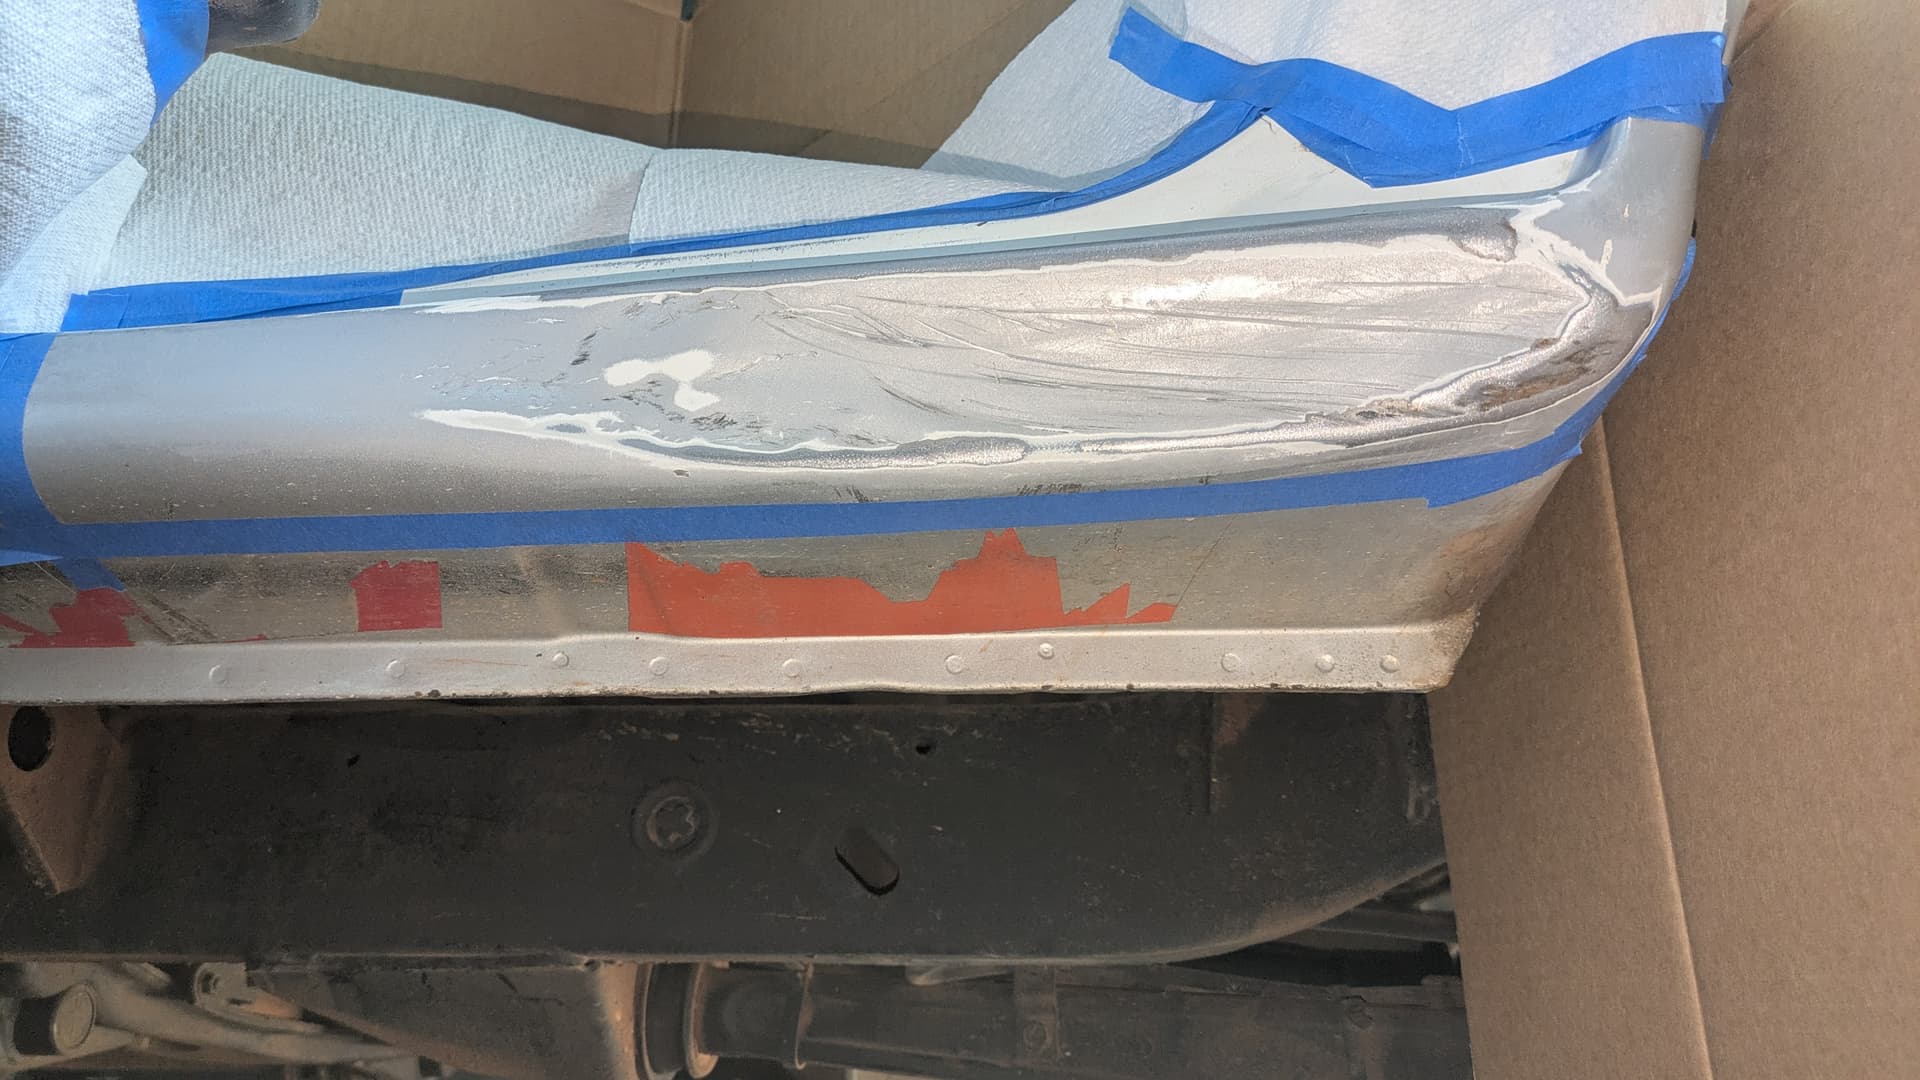
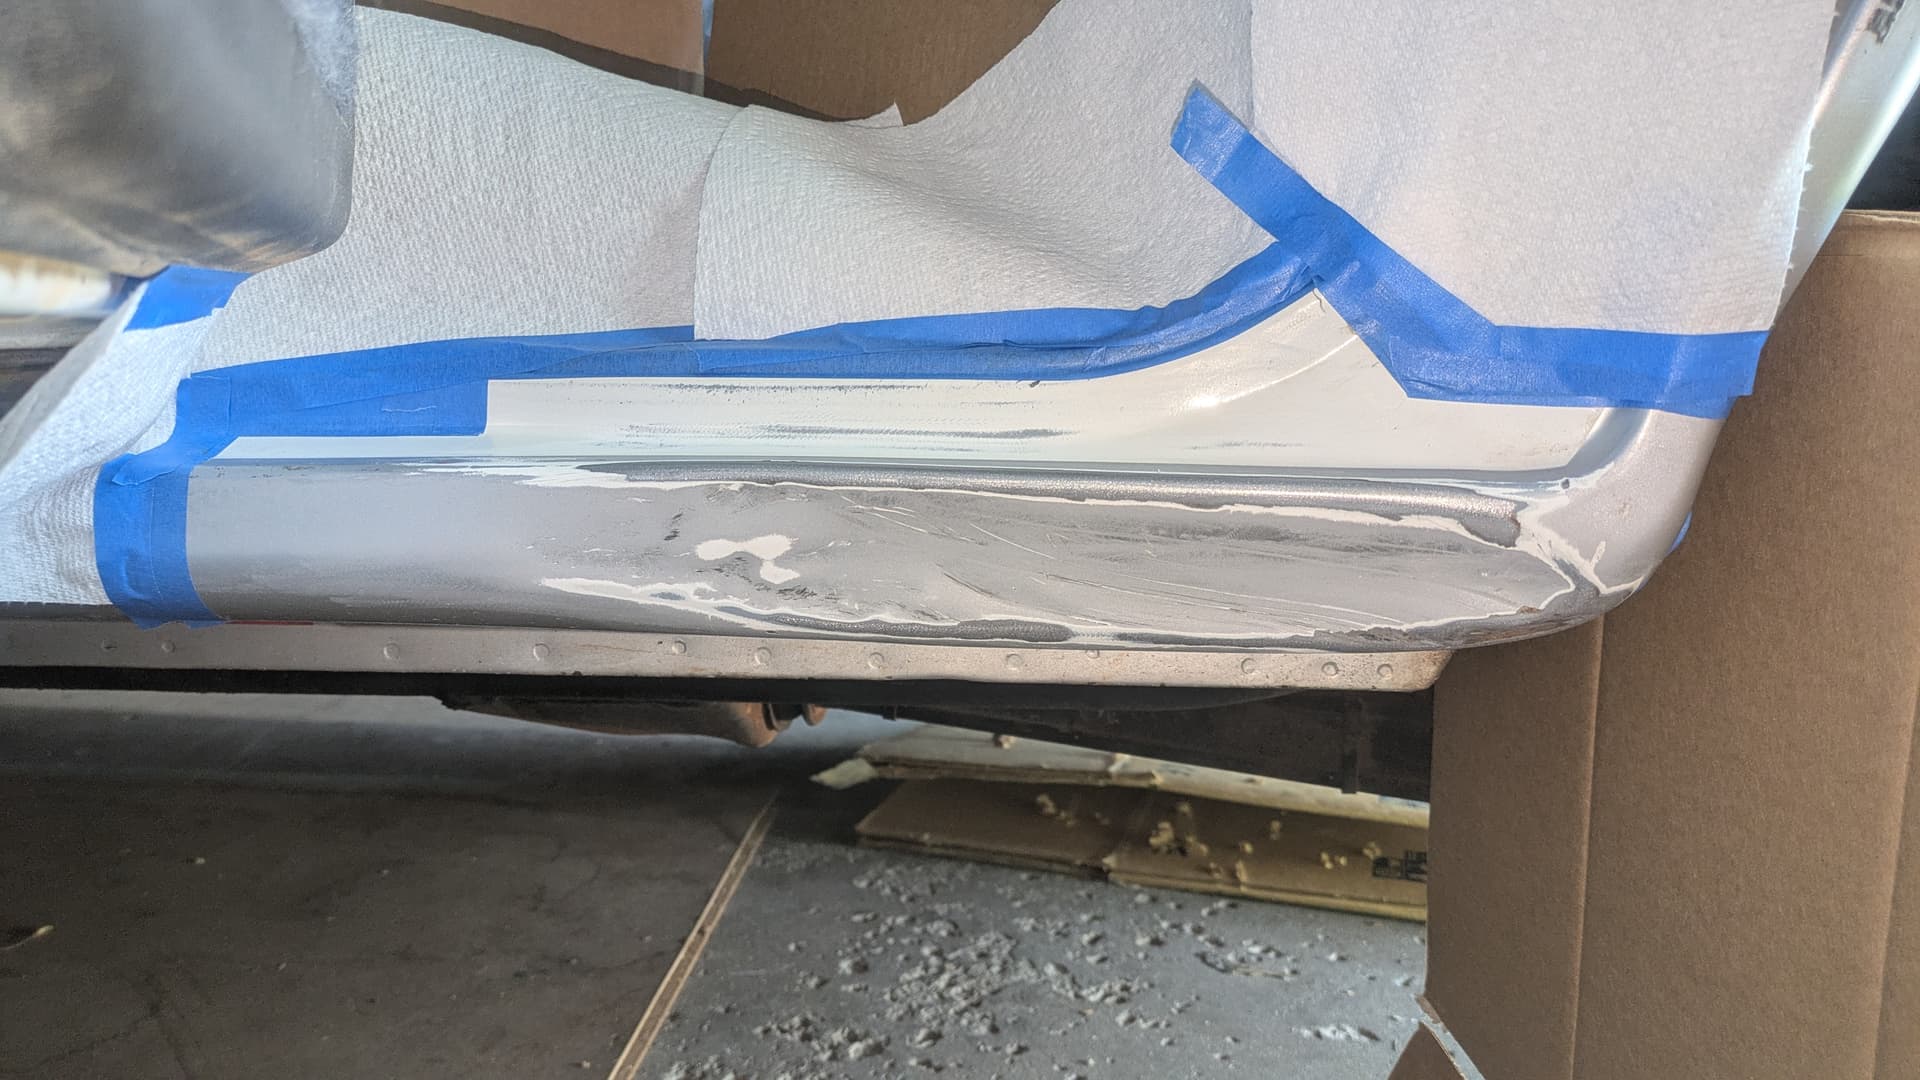
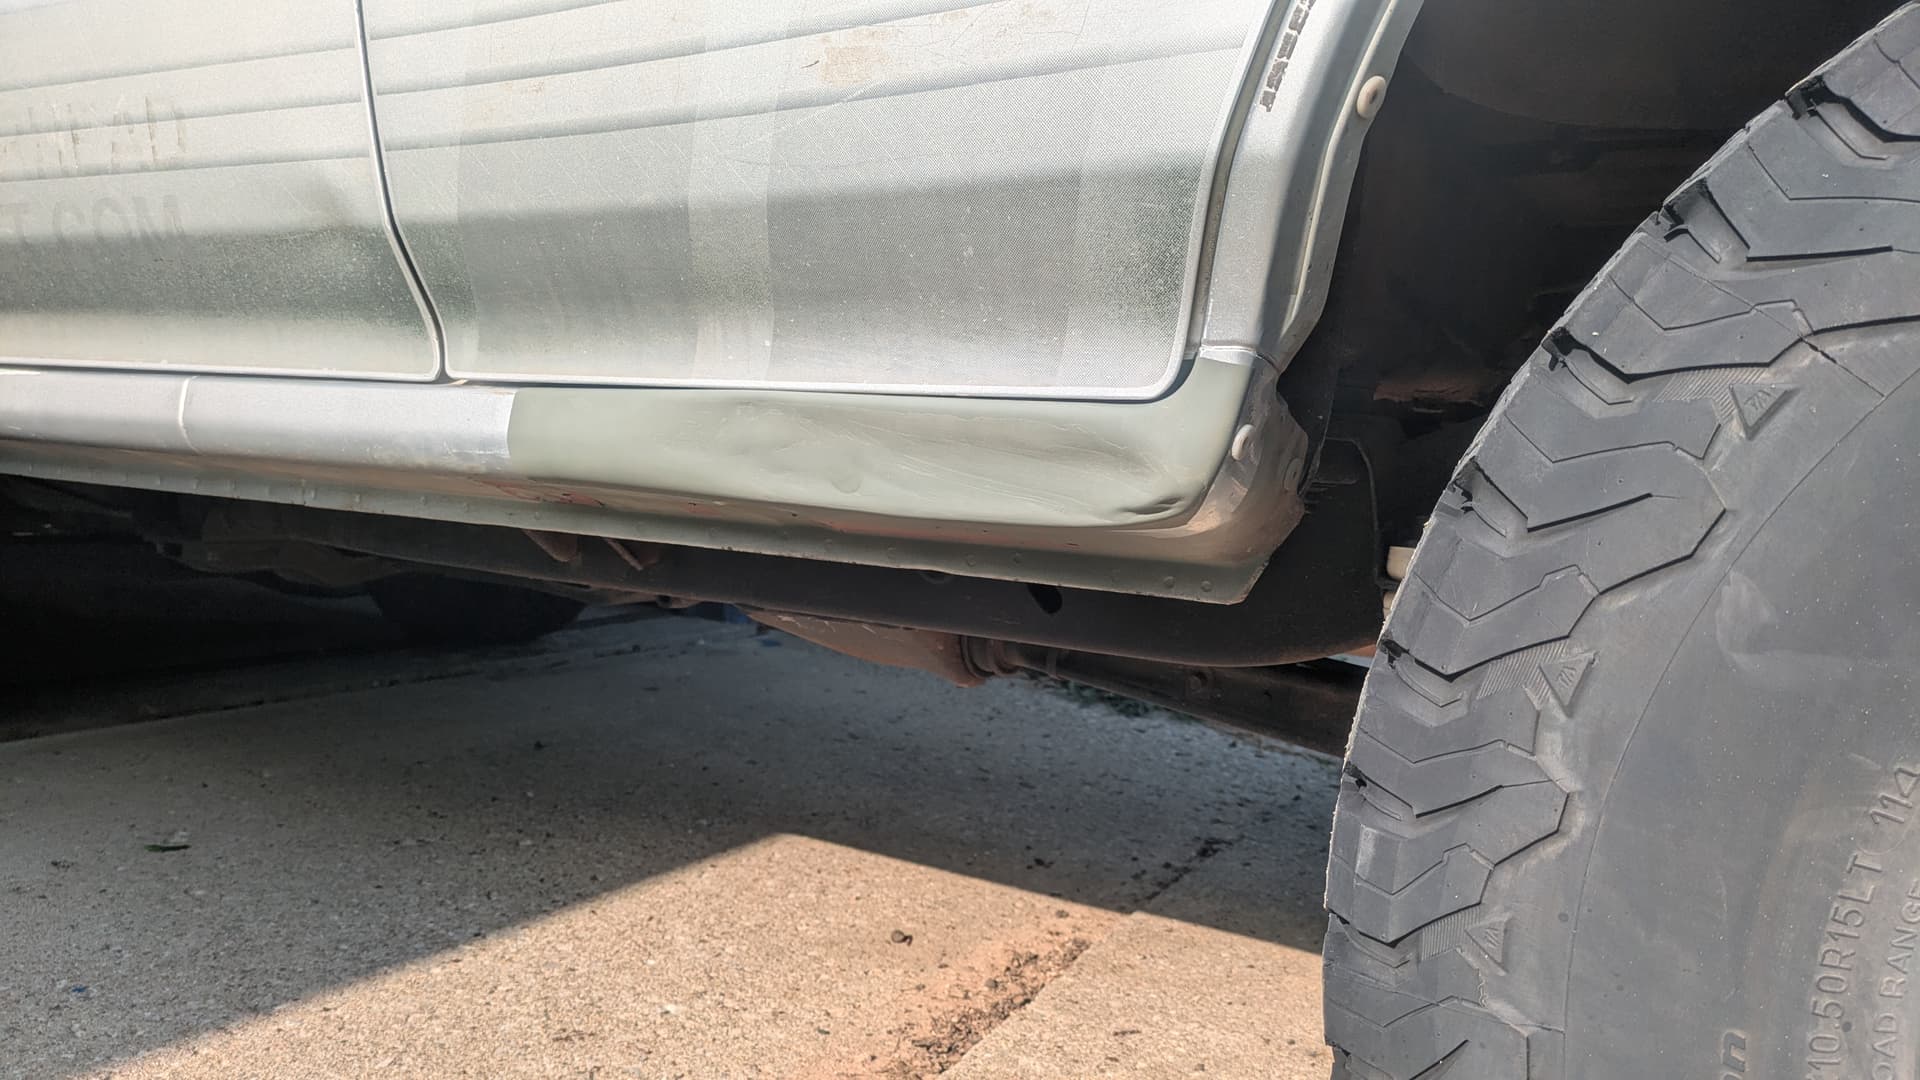
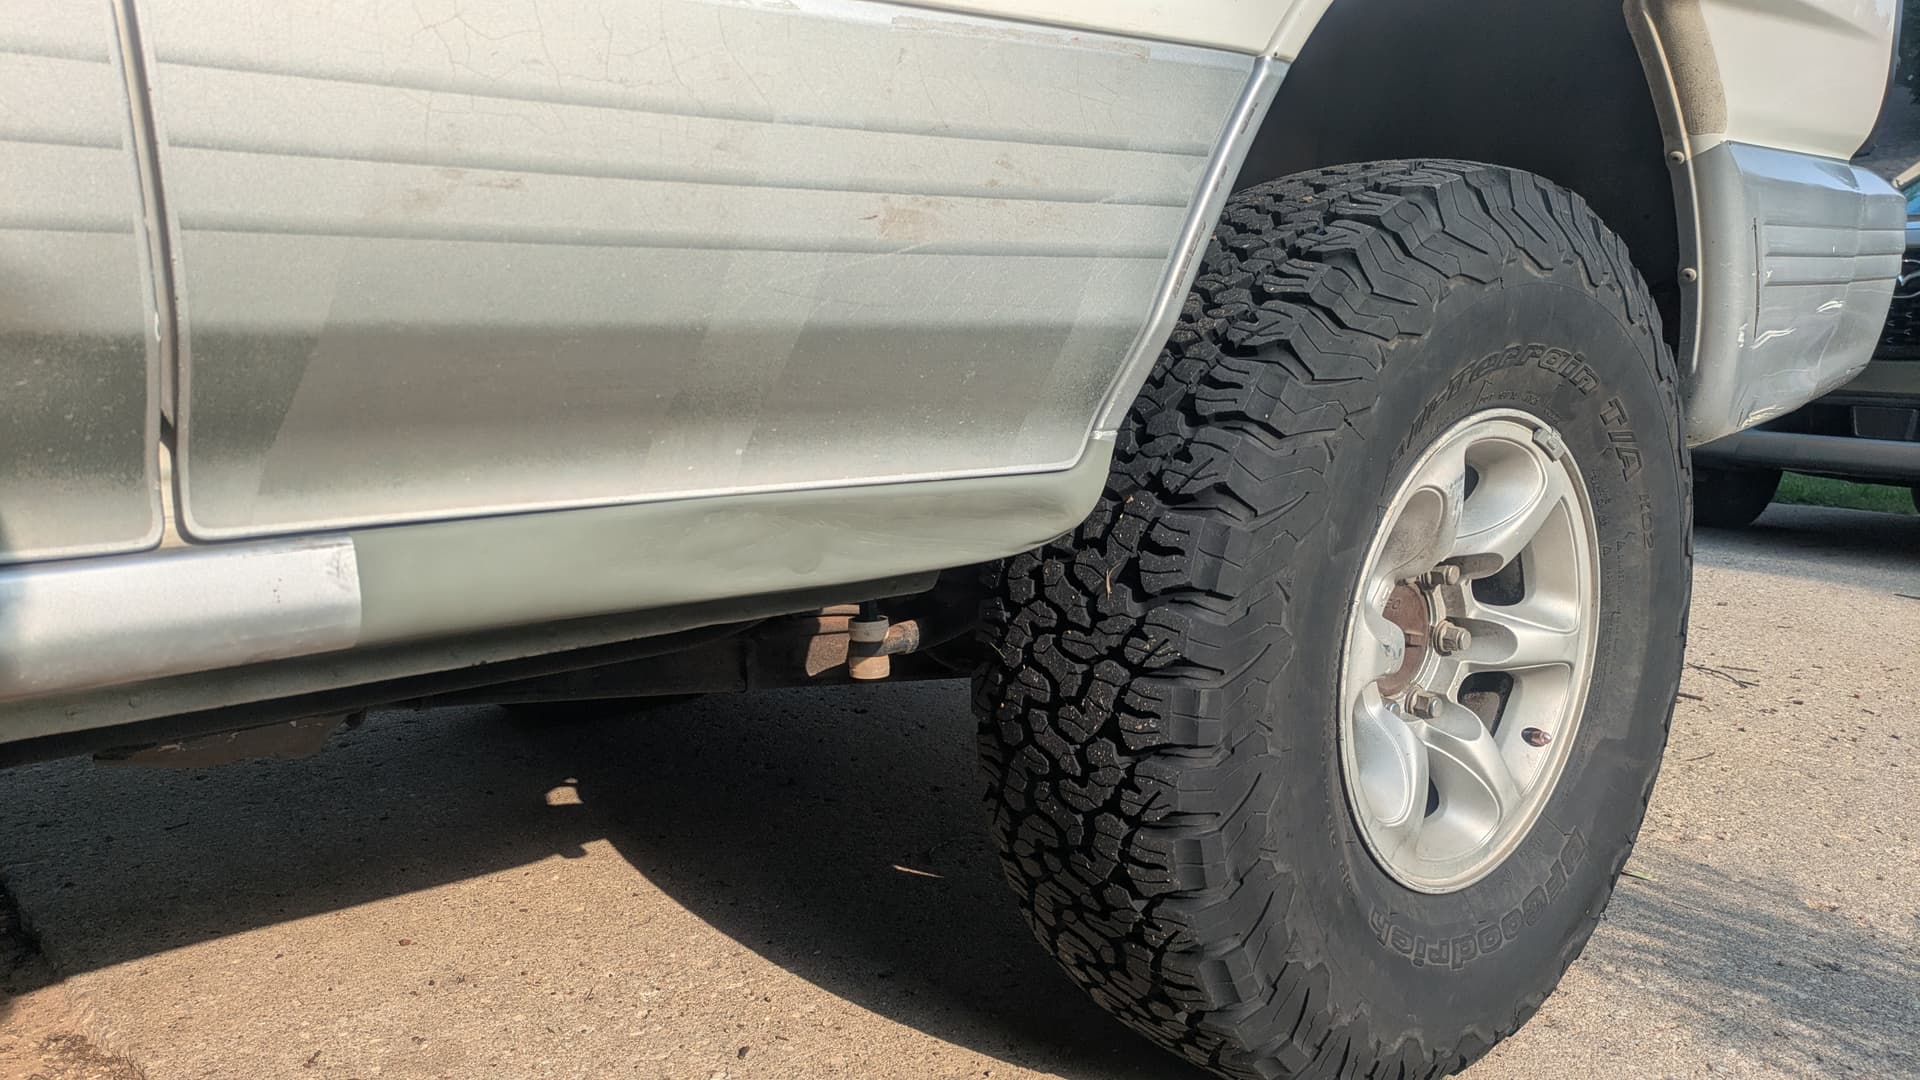
Nearly 2 months after returning from Moab…
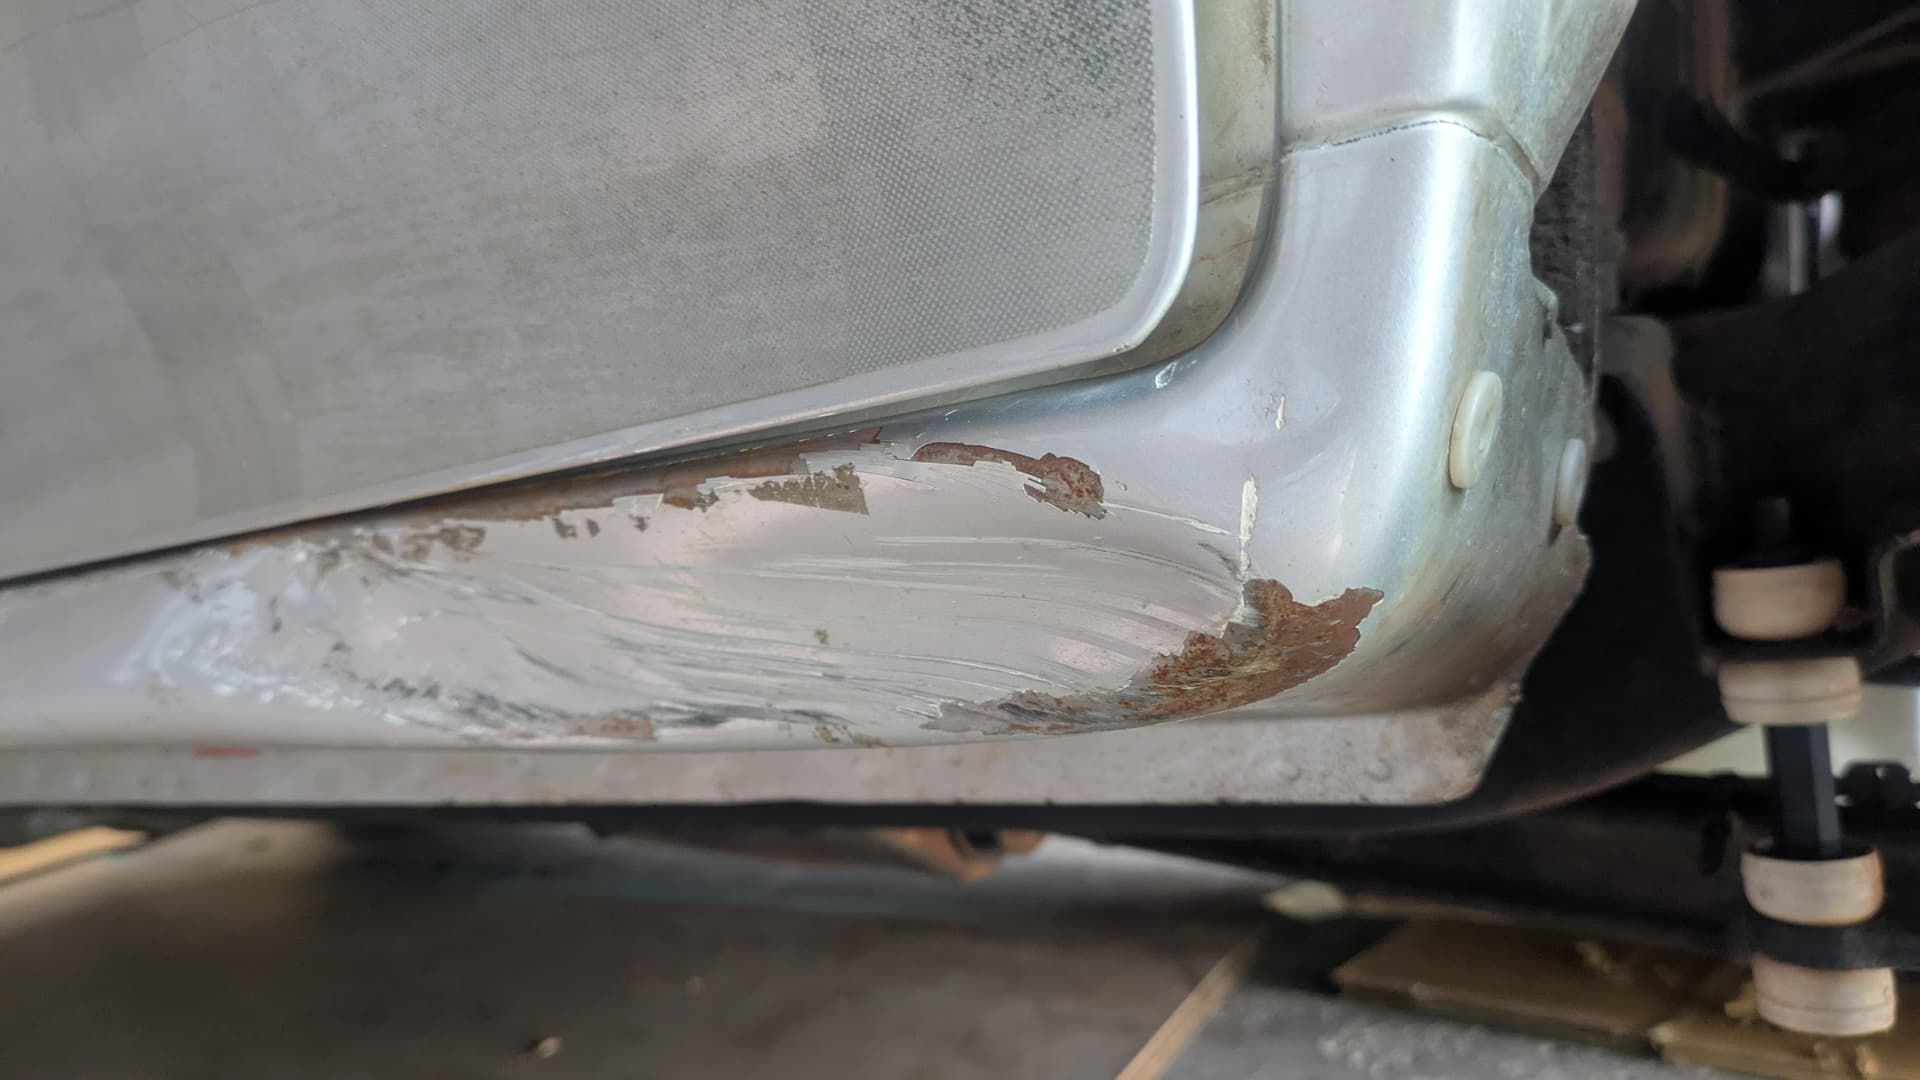
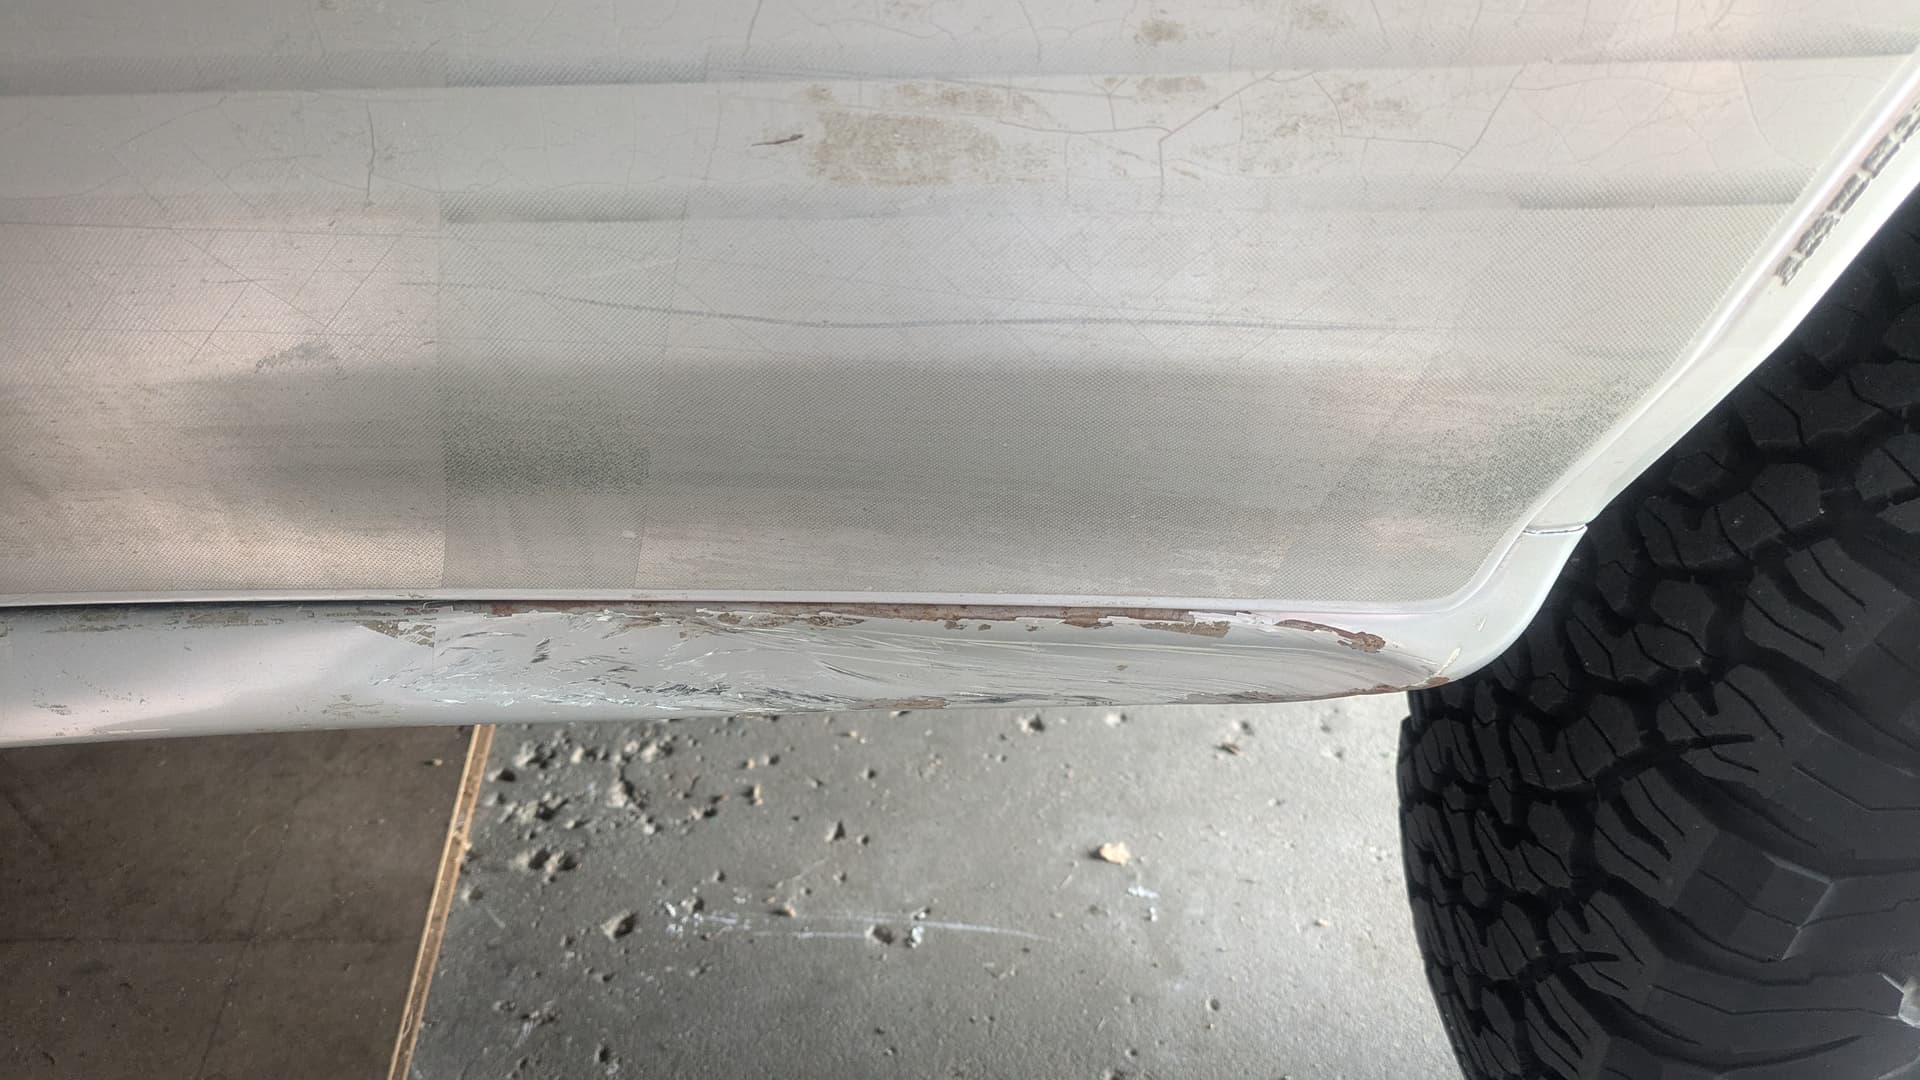
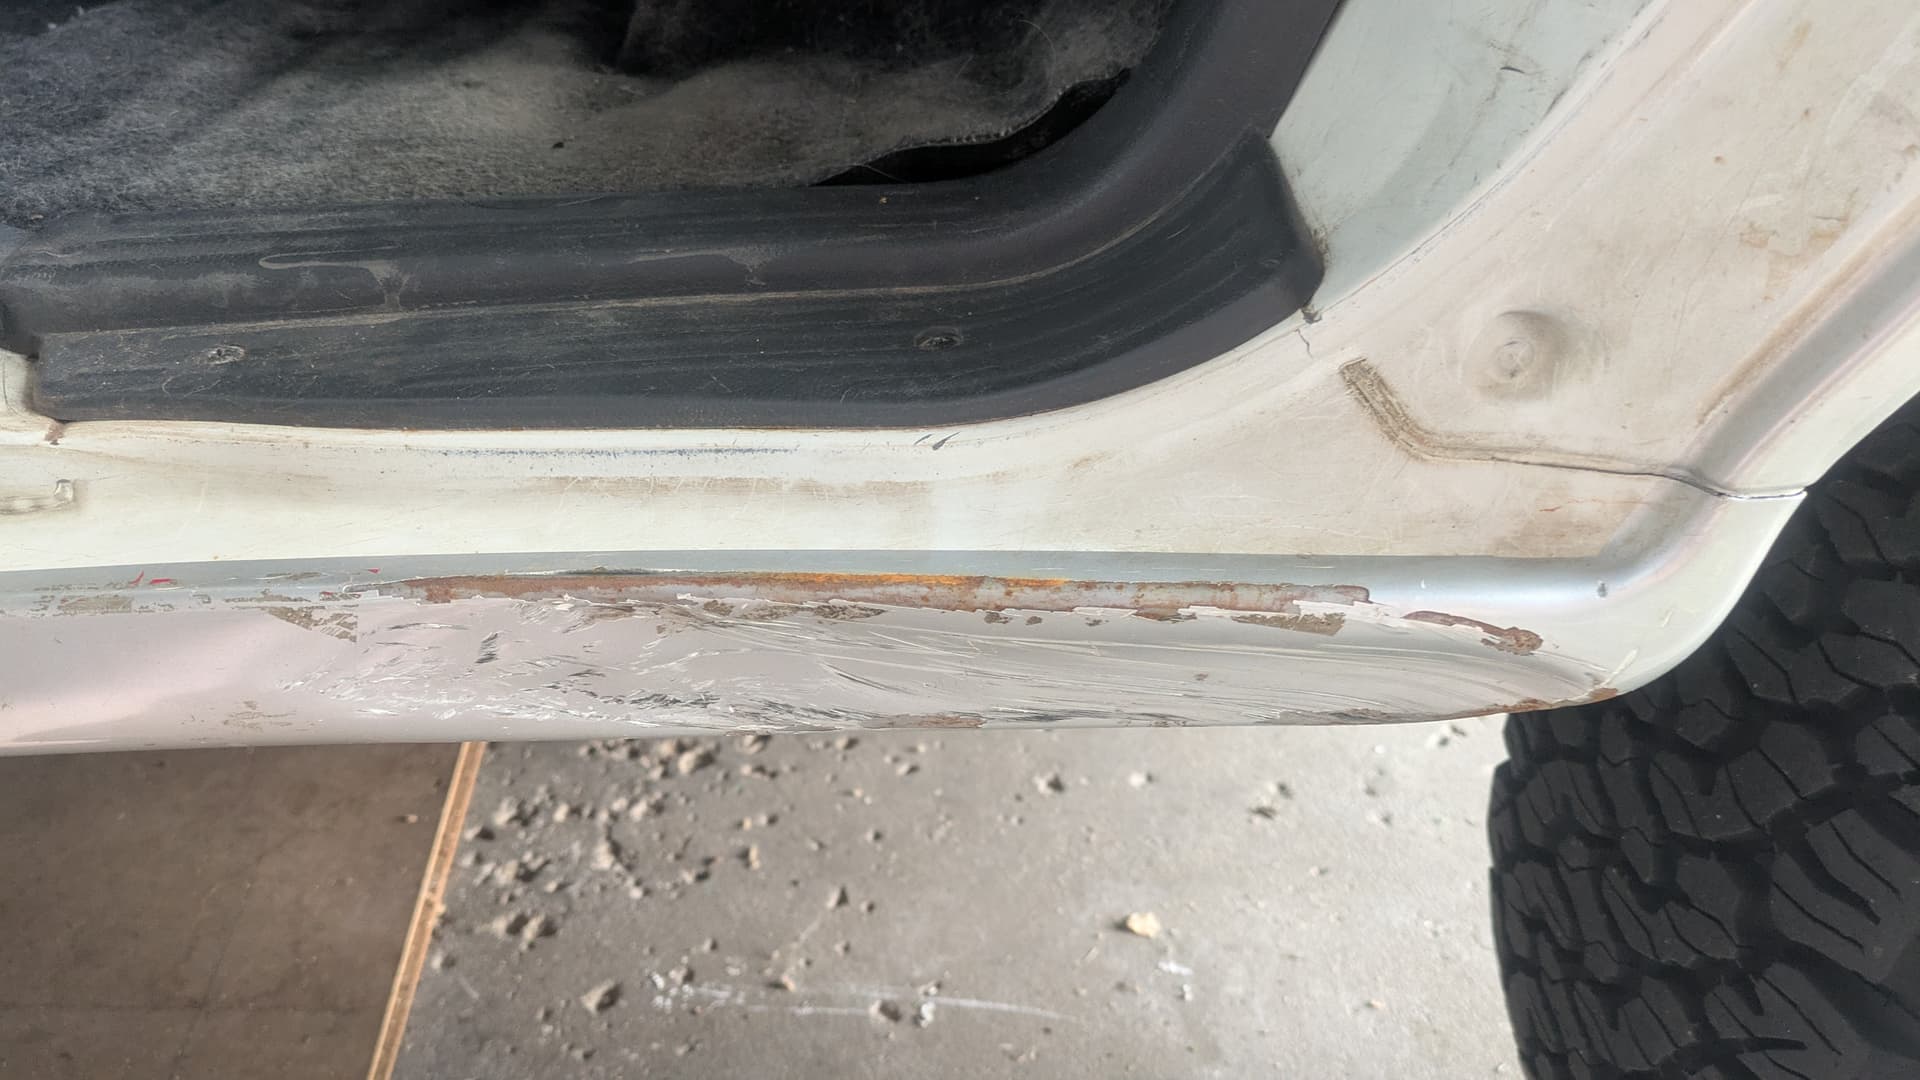
Noticed the rocker dent already starting to rust. Got after it.
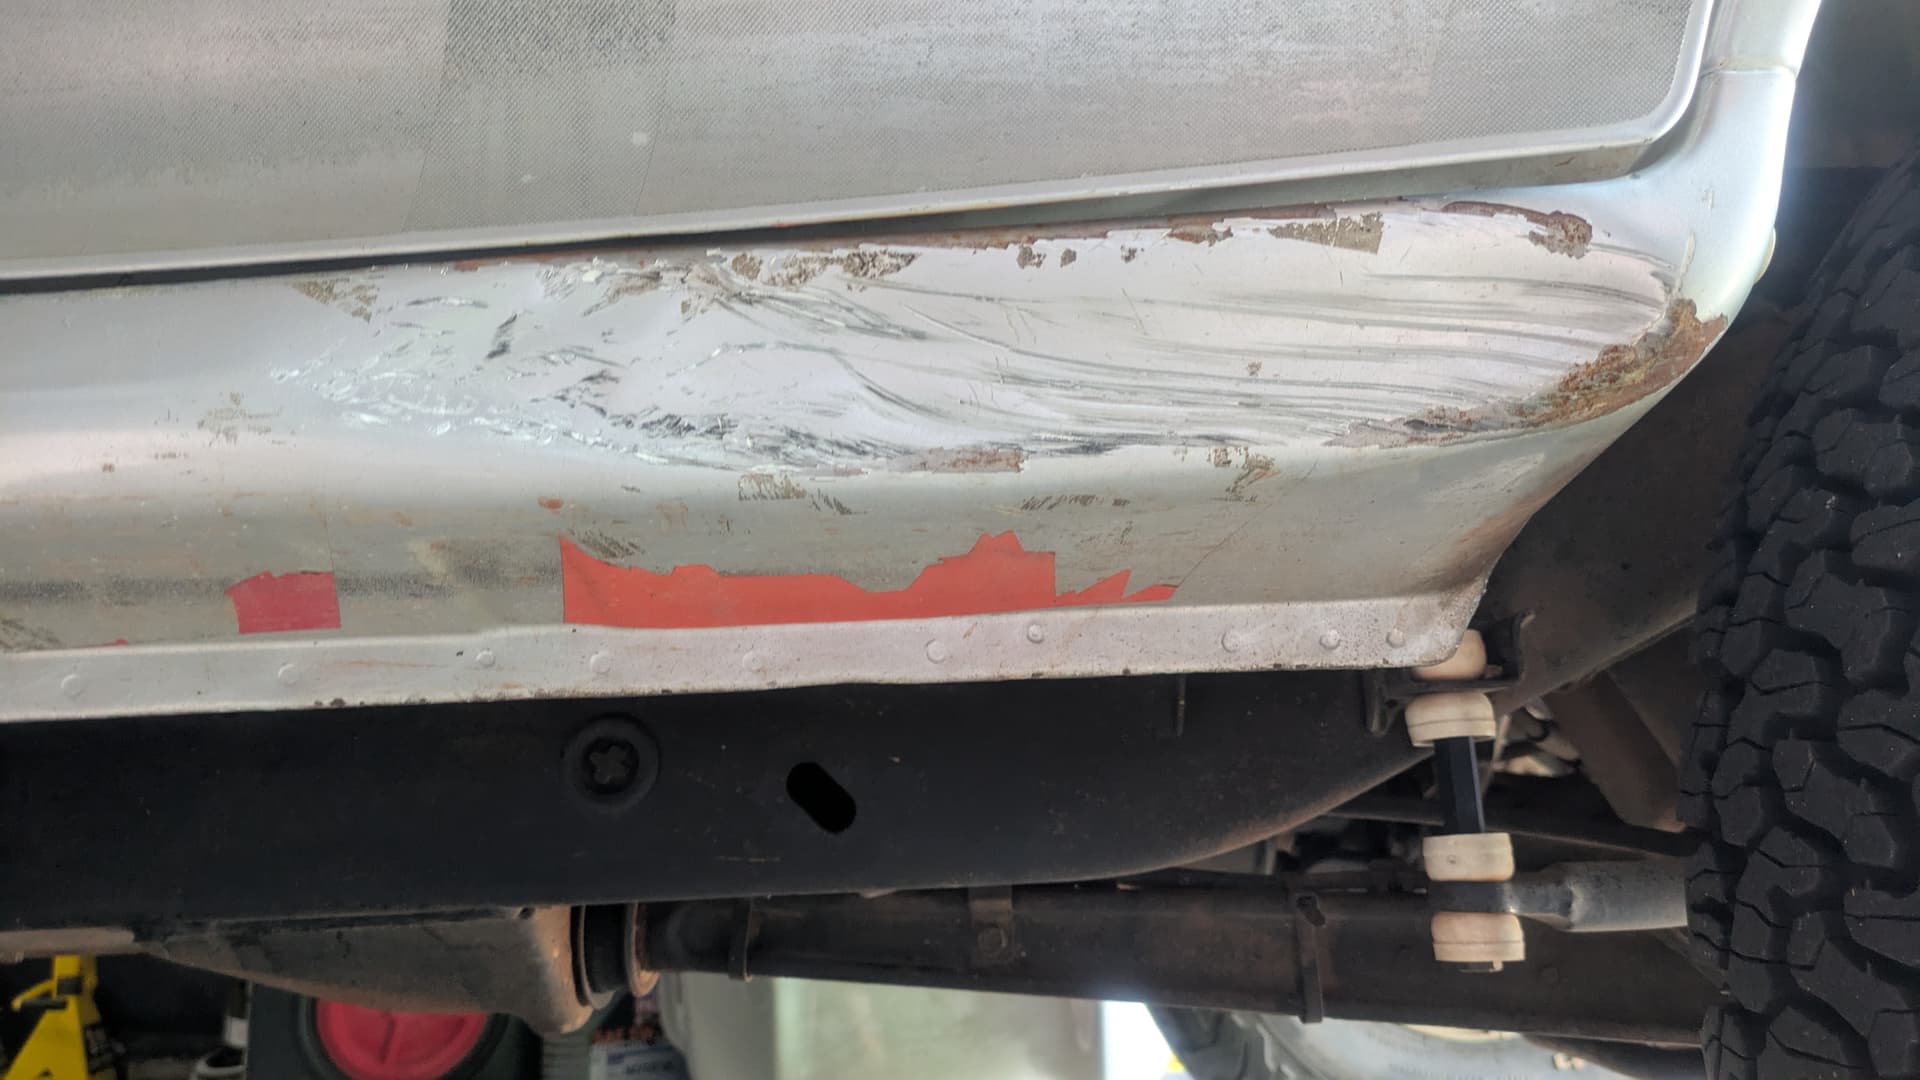
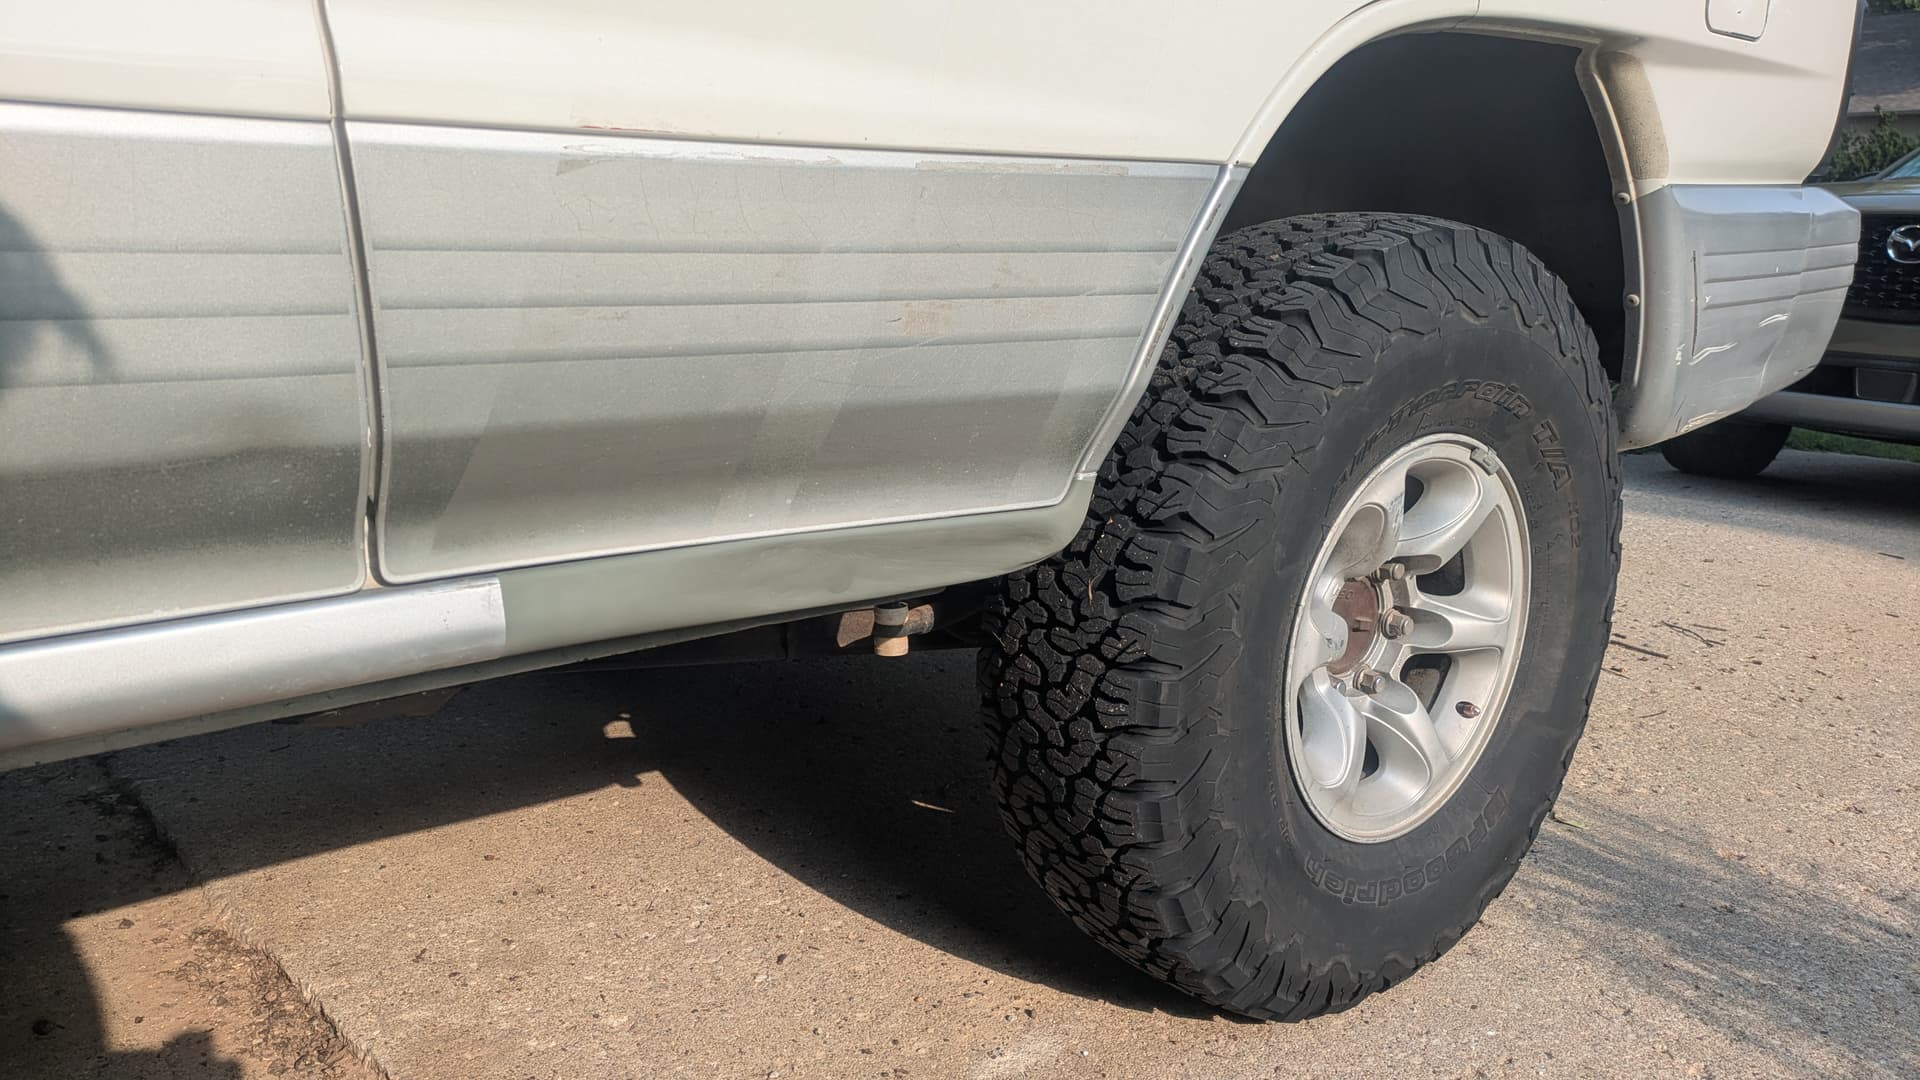
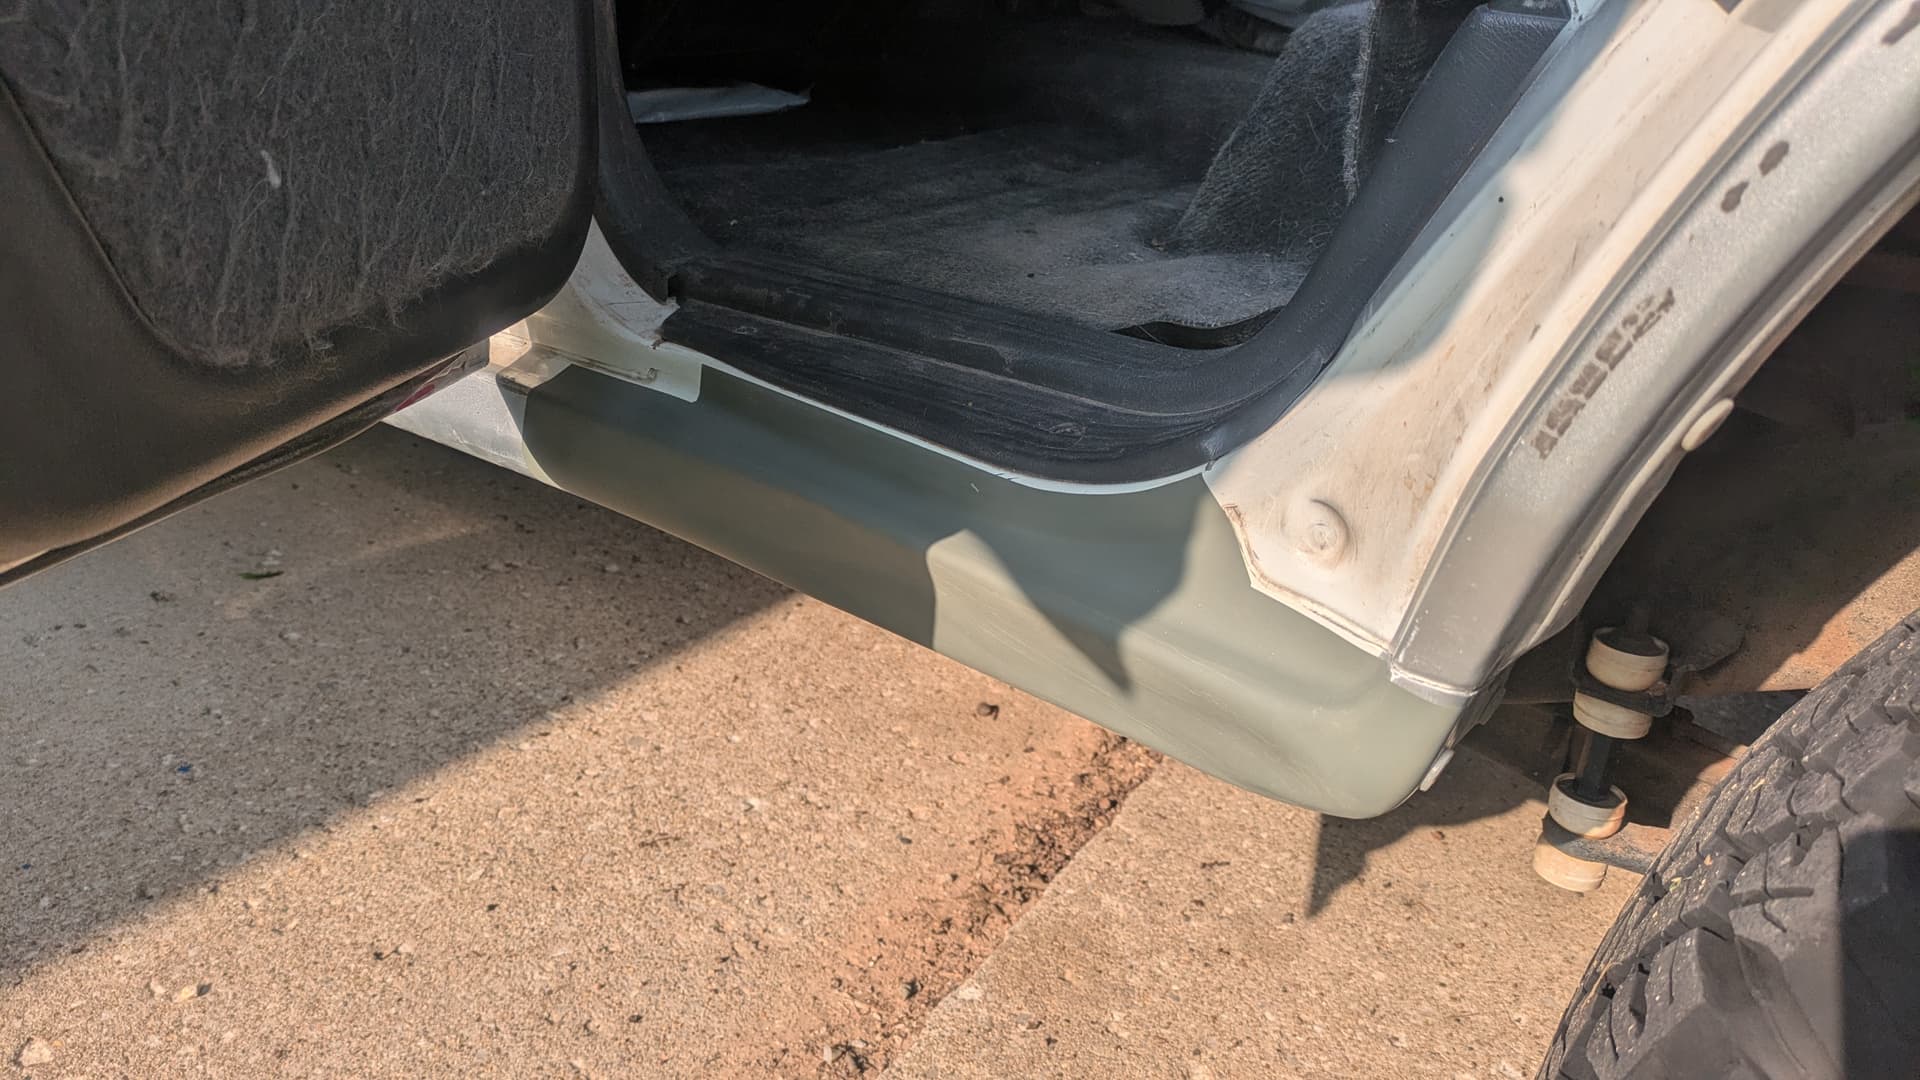
I need to get one of those whizzy wheels or whatever to receive the OE decal before I finalize a color decision. I’m probably going to stick with the silver/gray, but really want to do khaki.
2 Likes
Damn. I hadn’t seen that clearly from the previous photos after your trip. Nice cleanup.
1 Like
Yes, sir. Dent’s easily as big as my footprint. I like how it cleaned up.
1 Like
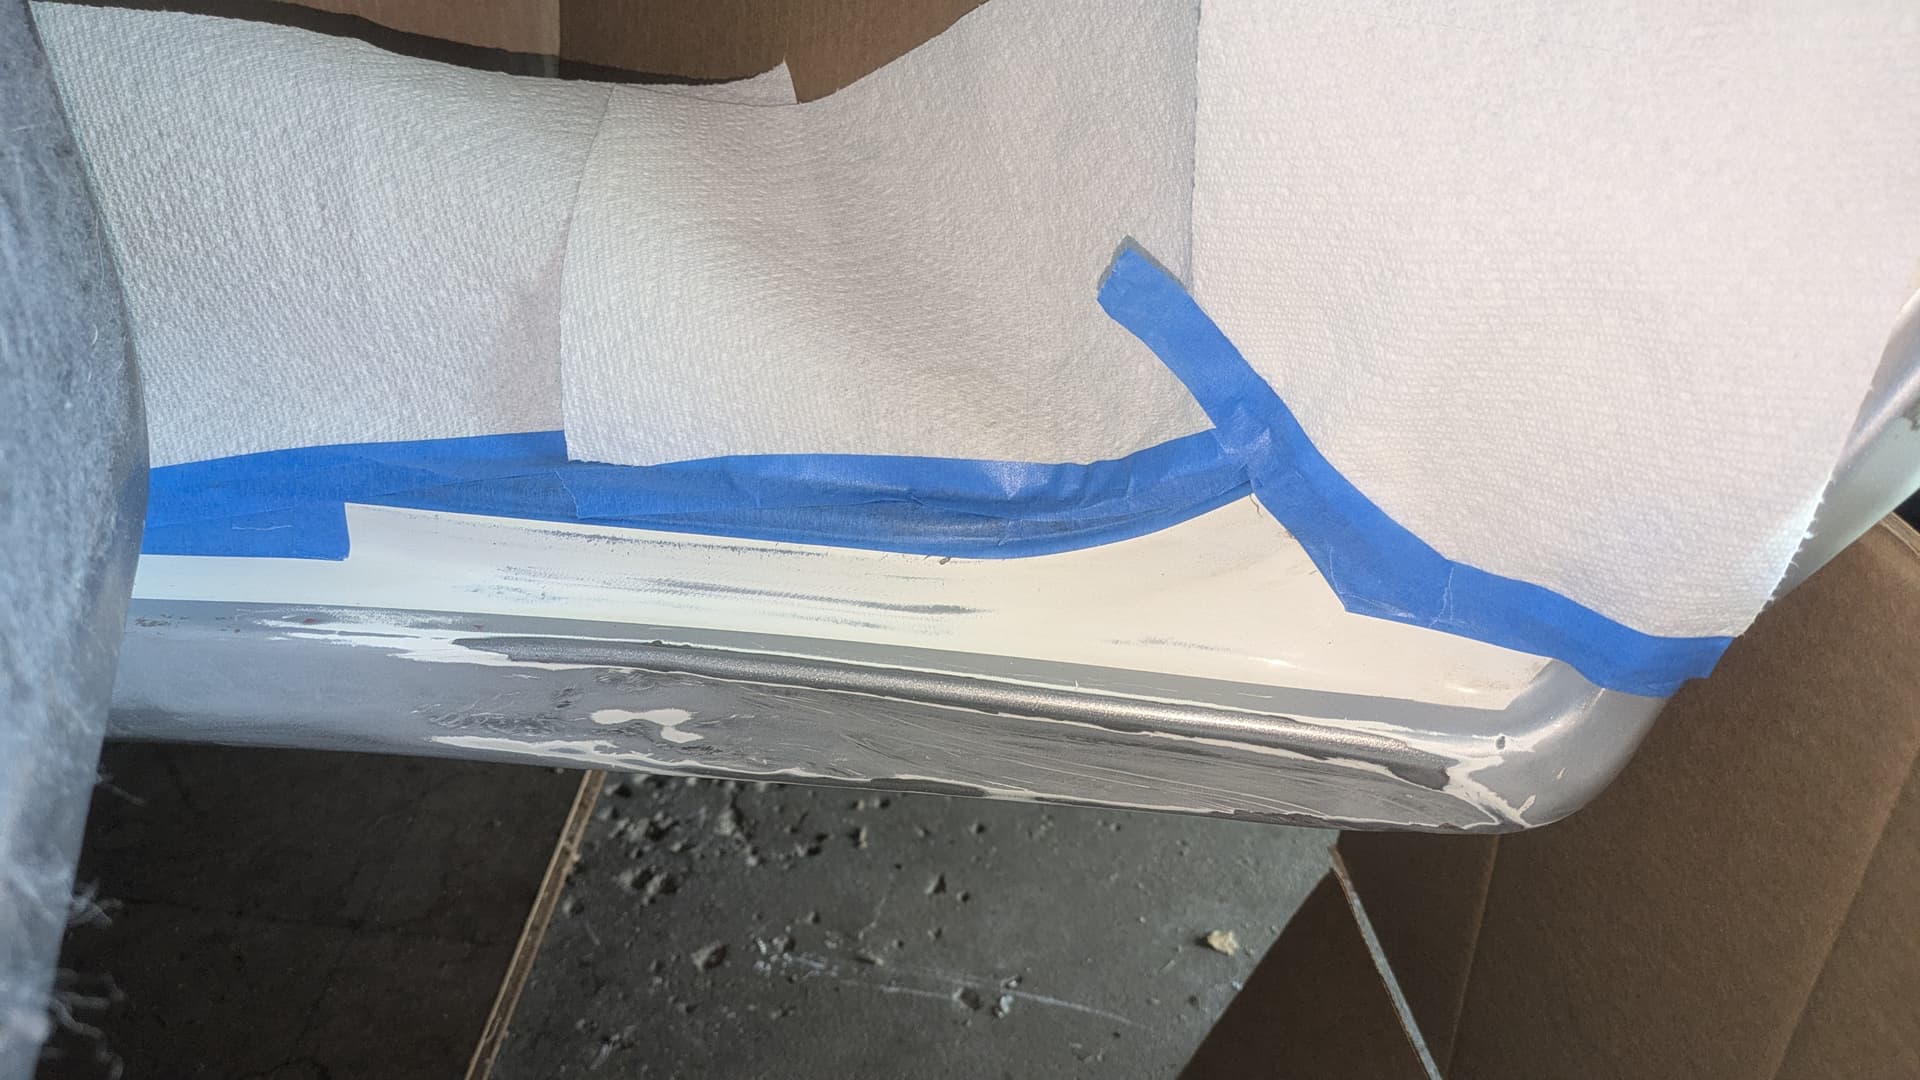
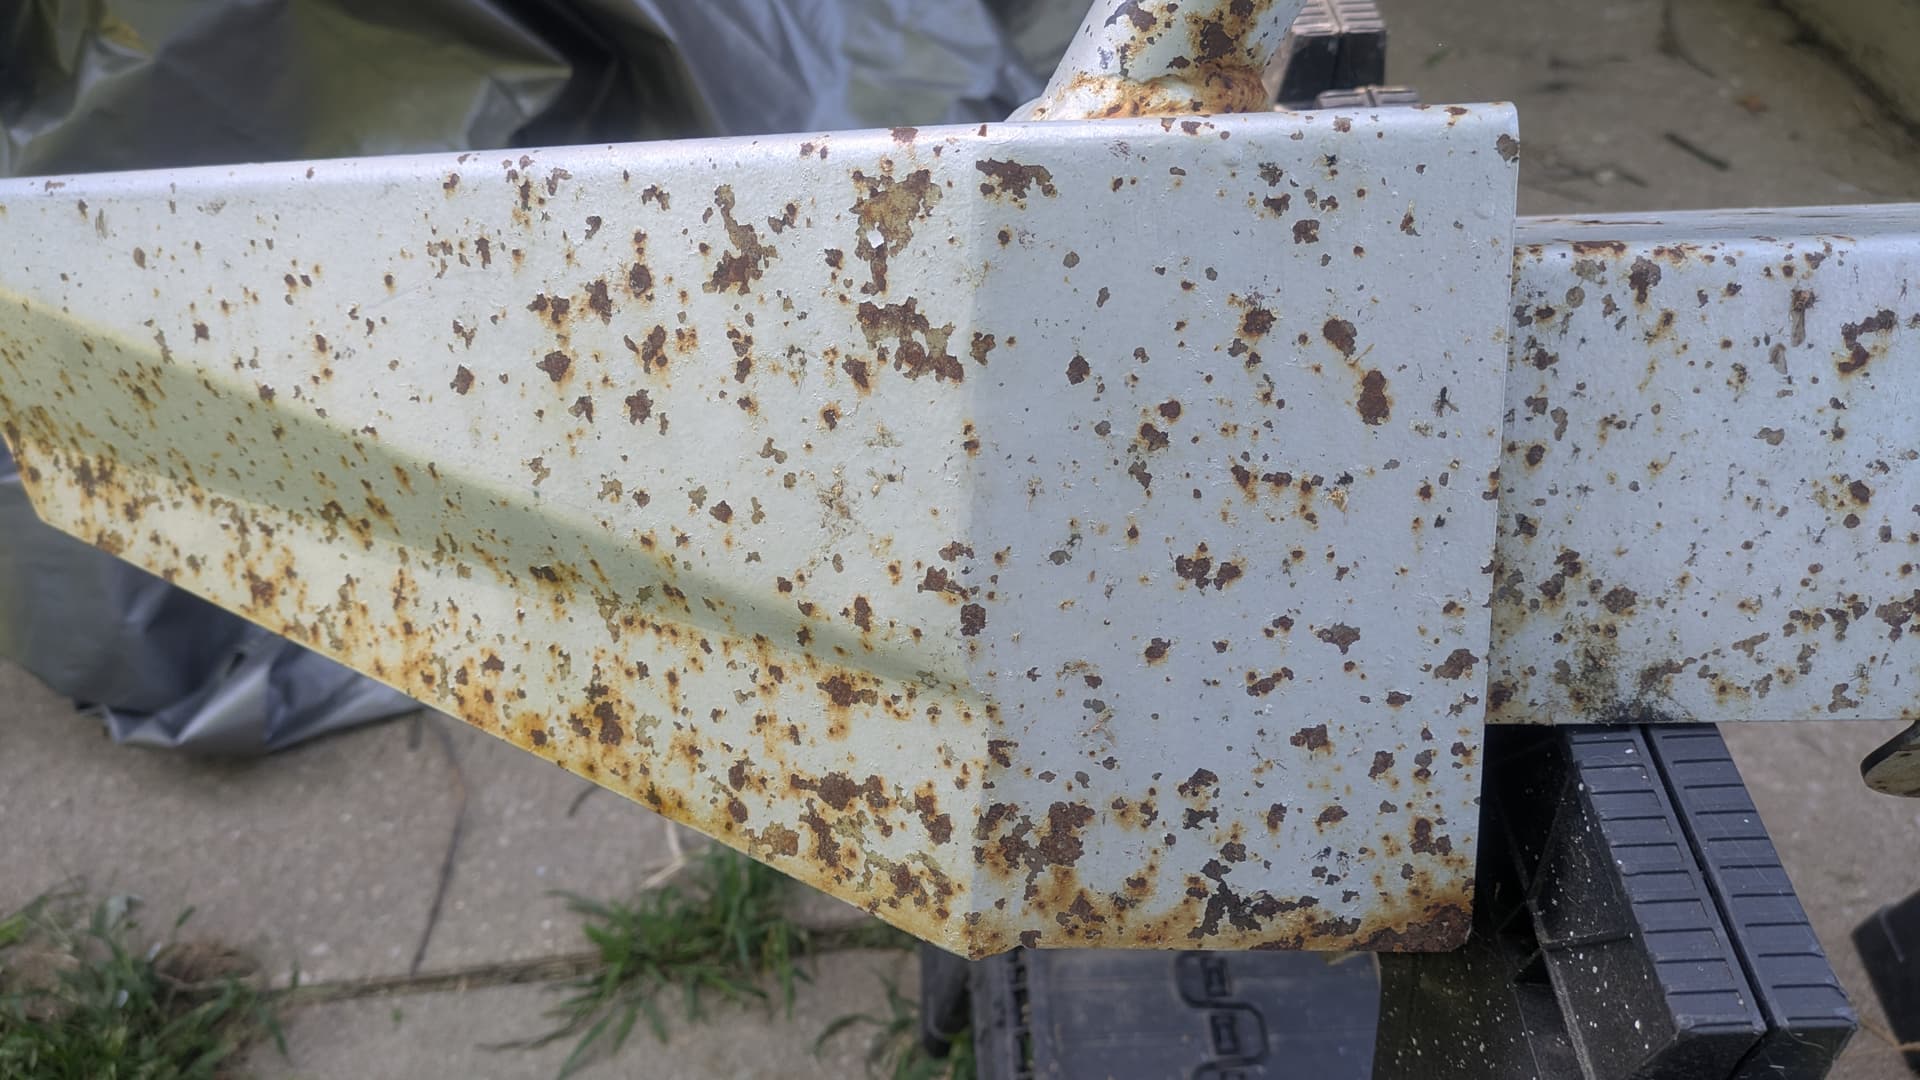
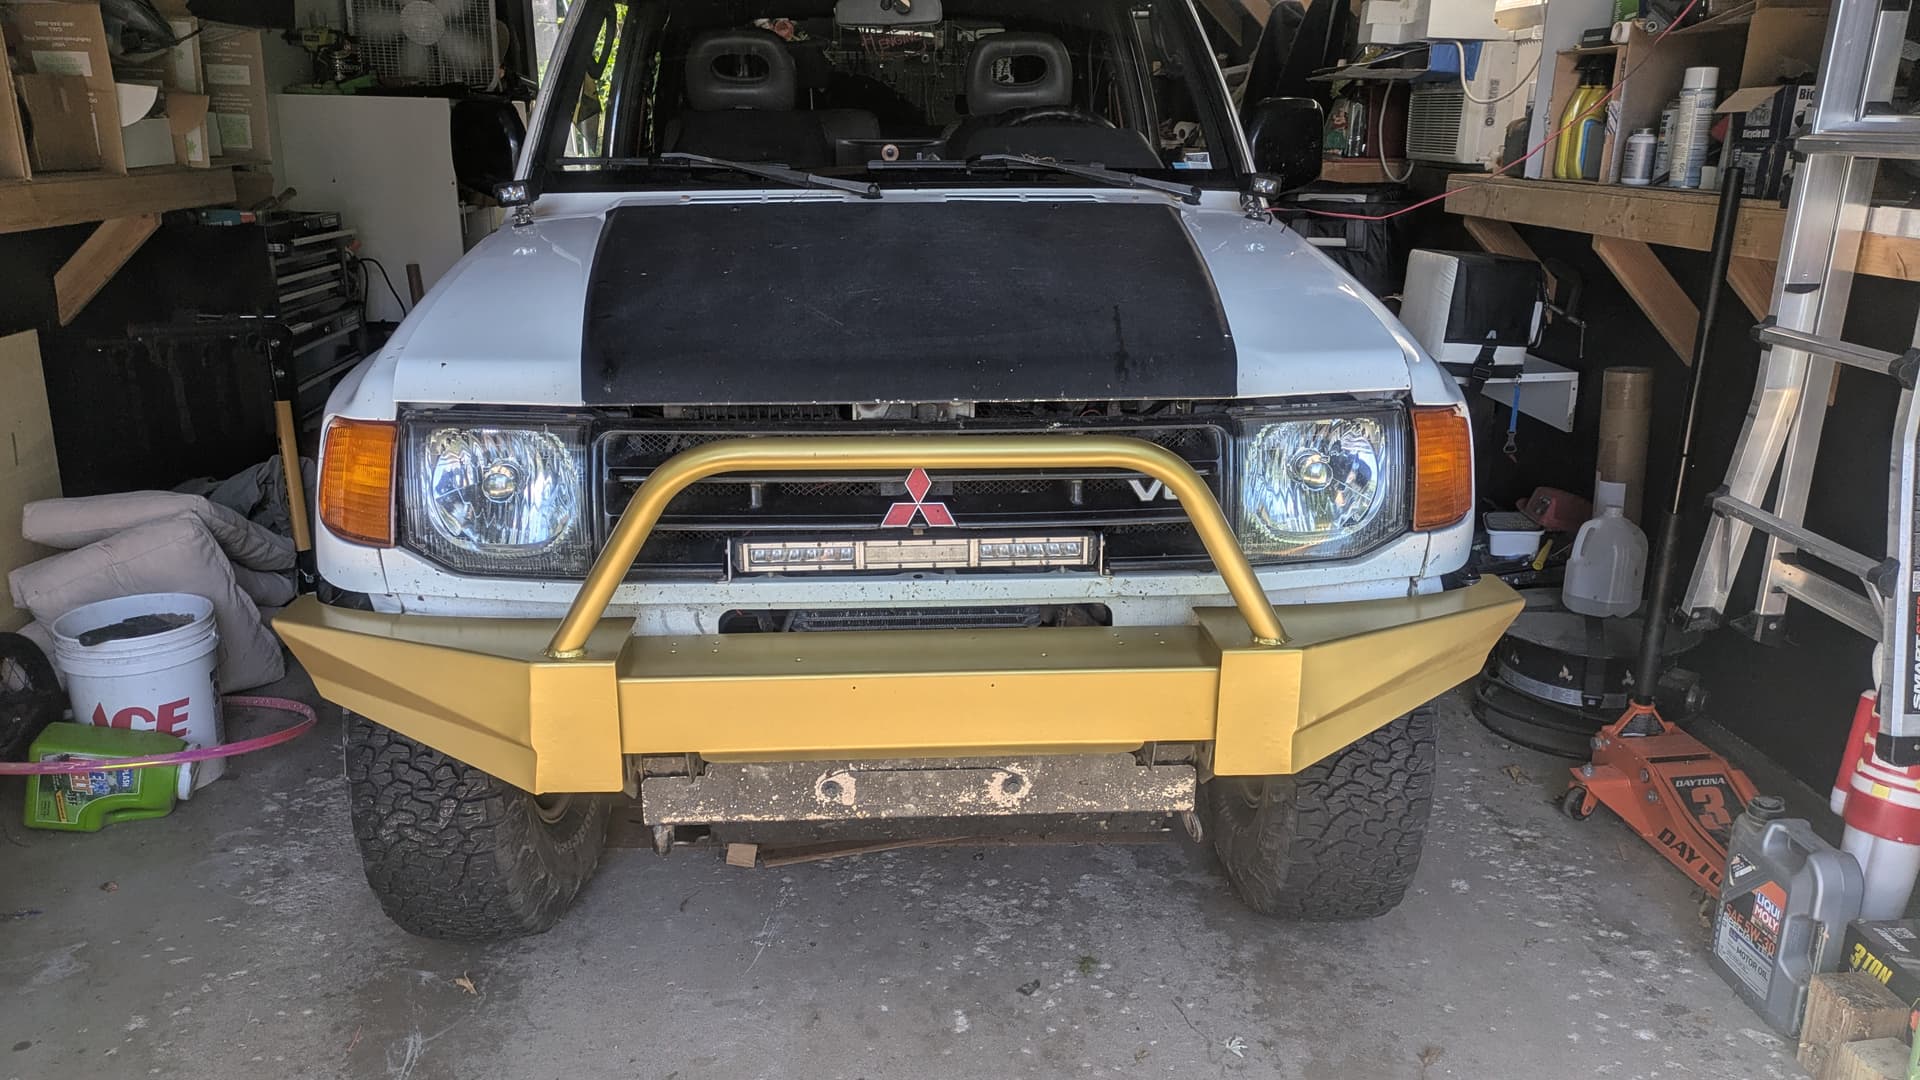
Finally repainted the front bumper.
Wire brushed it down and sanded before cleaning with brake cleaner. Hit it with two coats of rust converter, then two coats of etching primer, before two plus coats of Rustoleum Vintage Gold.
Next steps:
- clean, prep, and paint silver rocker trim on lower doors to match
- remove, prep, and paint rear bumper to match
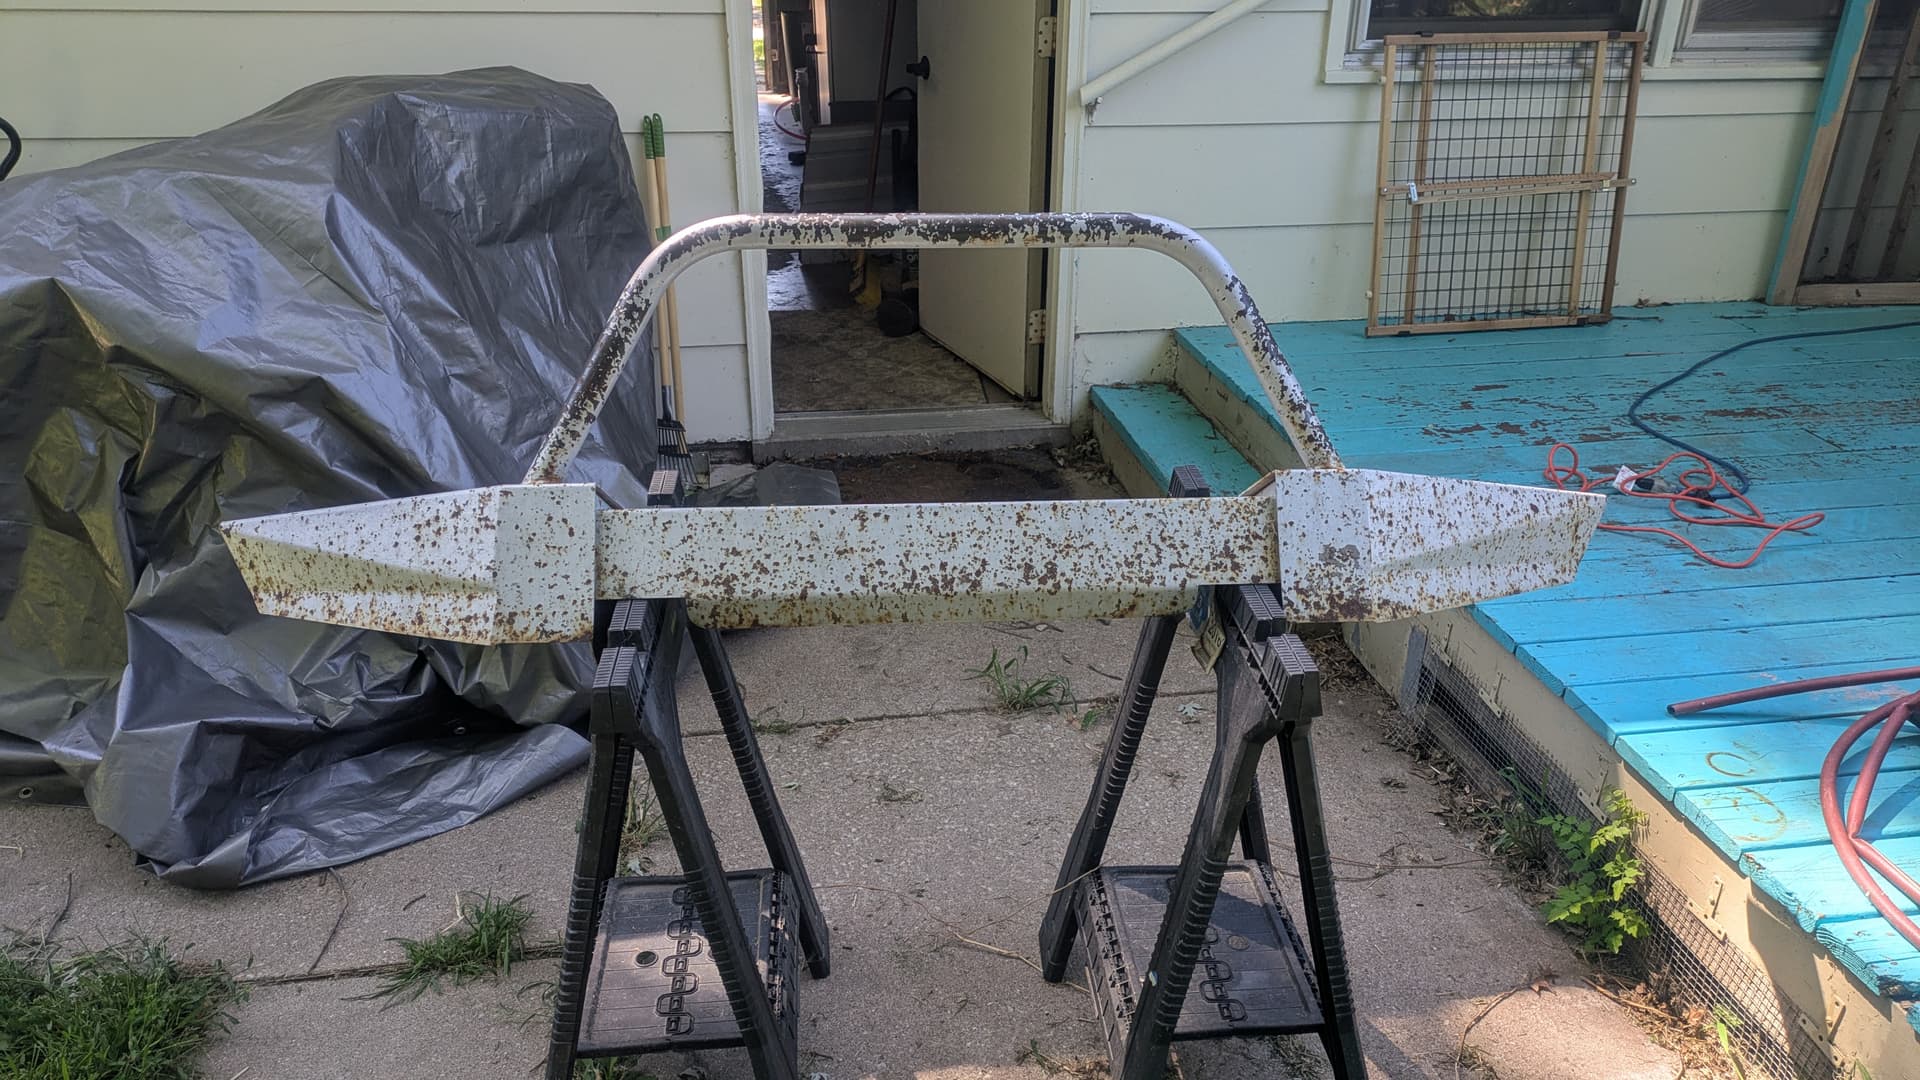
While the rear bumper is off, I plan on mocking up a new rear bumper design. Once I have that, I’m telling myself I can legitimately start looking at stick welders. ![]()
2 Likes
I am planning on swapping out my newly rusty rear bumper, as well. My lifelong desert truck isn’t keen on the hella salty roads in upstate New York.
1 Like
Trying to get my ass in gear…
Winter is coming.
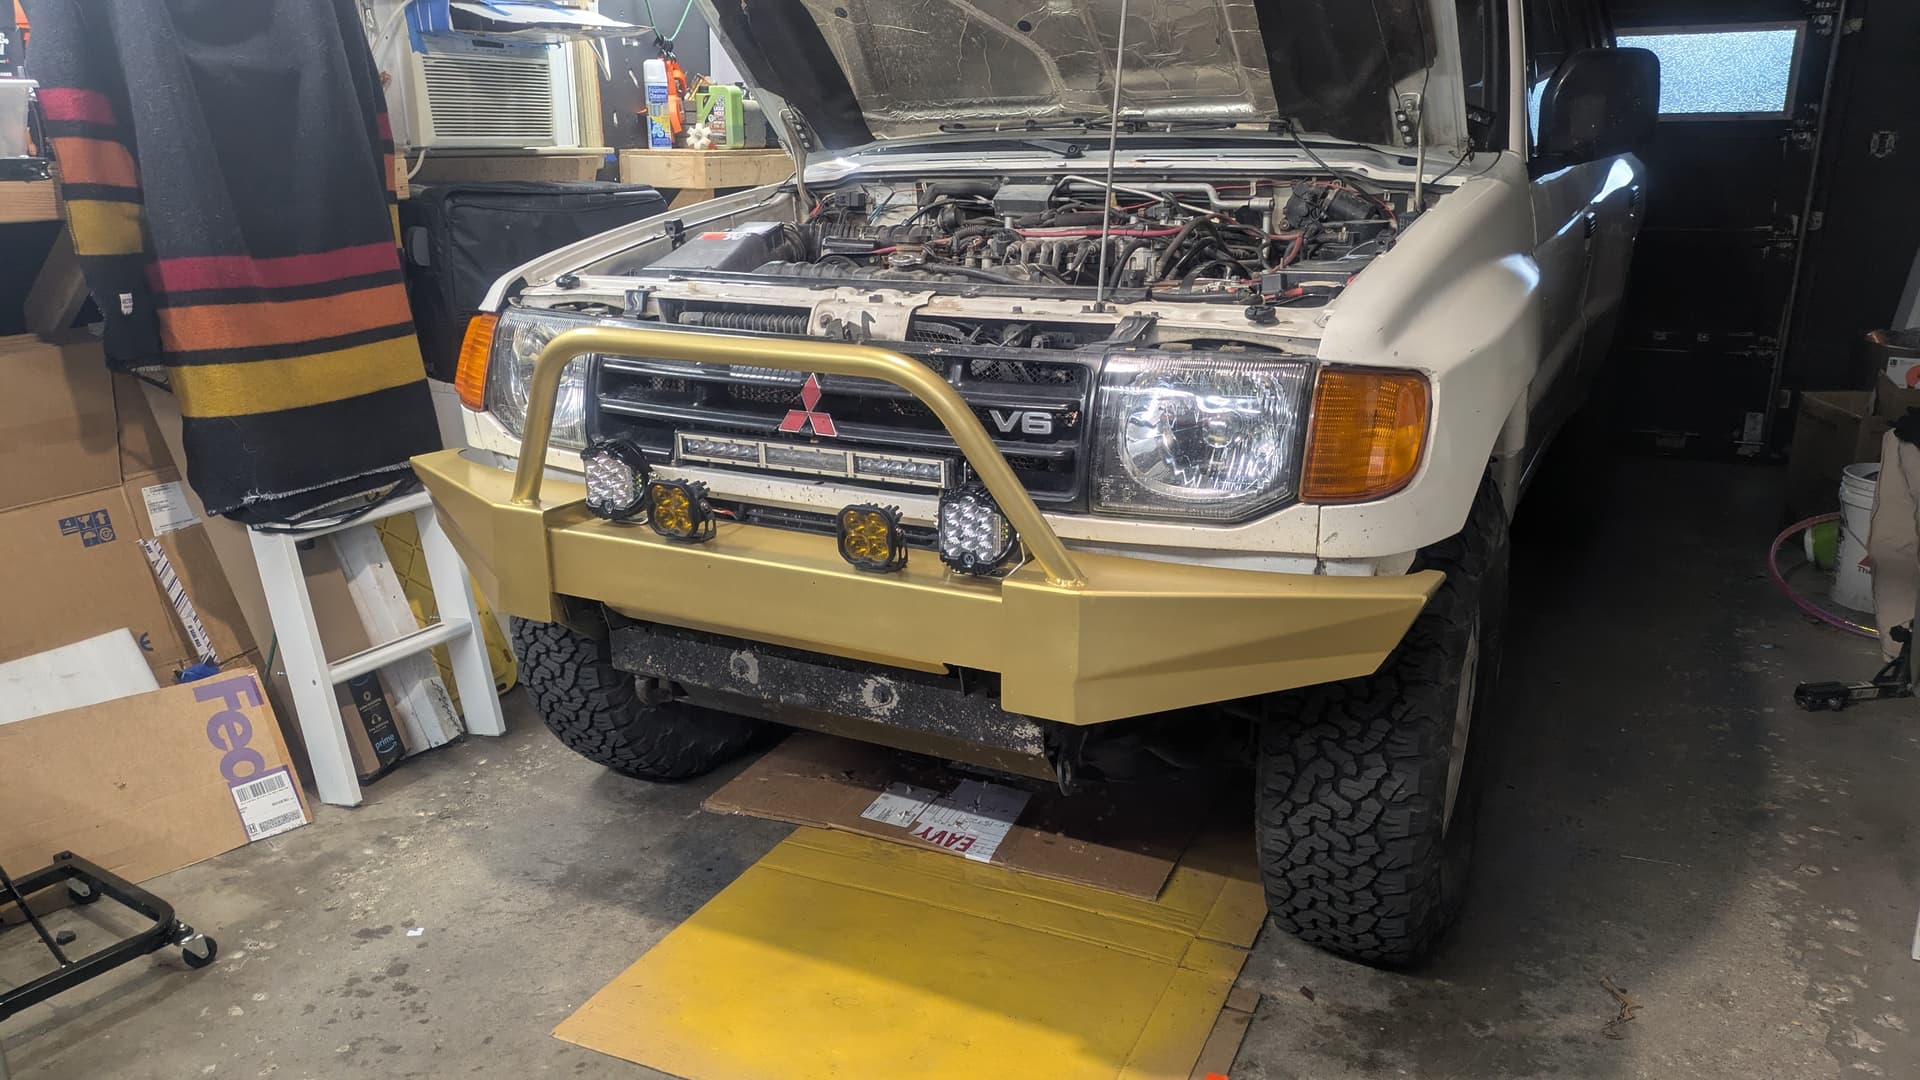
Two weeks ago, I reinstalled the fog lights. I also wired up my ADD lights. Truck hasn’t moved since, though, so I don’t know how well they’re aimed. ![]()
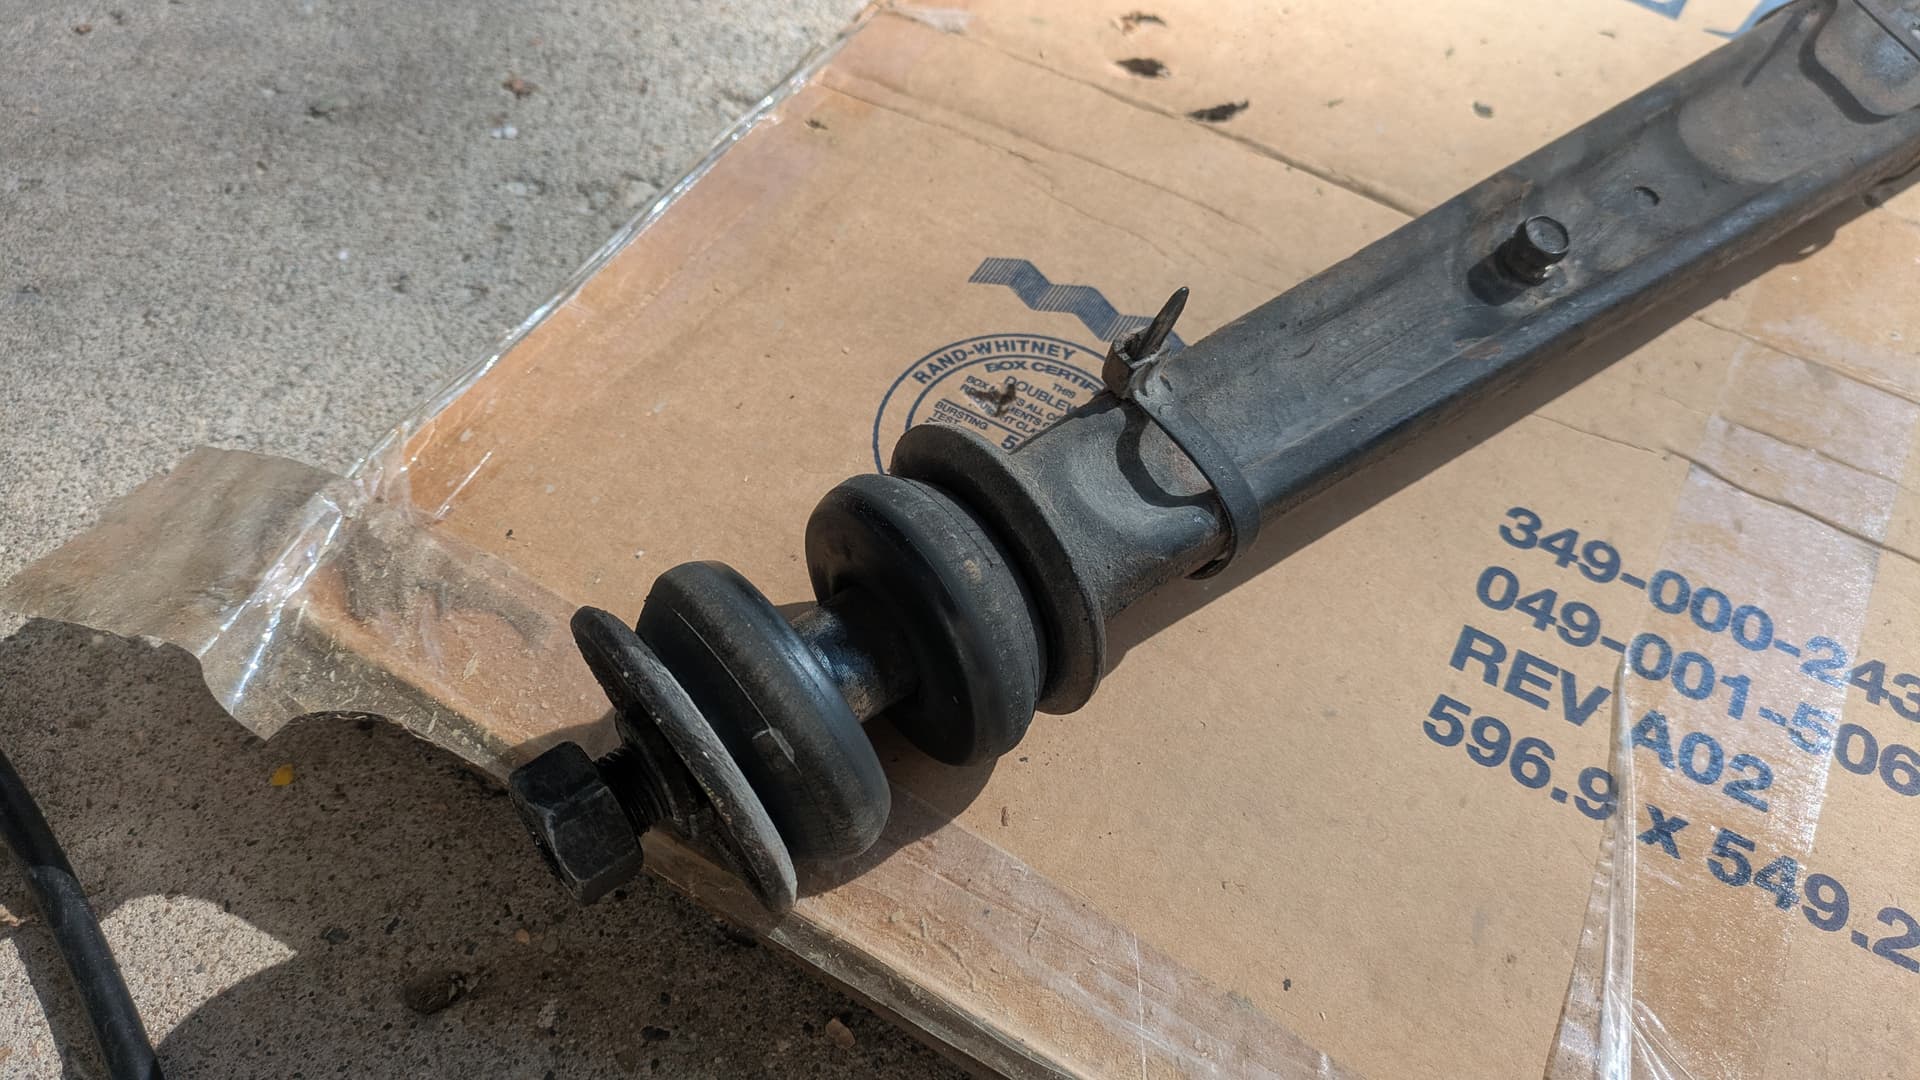
I also replaced the missing shock eye bushing with a Siberian poly unit. As you can see, it’s time for new shocks. Actually, it’s been time for new shocks, as I have well over 70,000 miles on these OME Nitrochargers, which are rated for 24,000 miles.
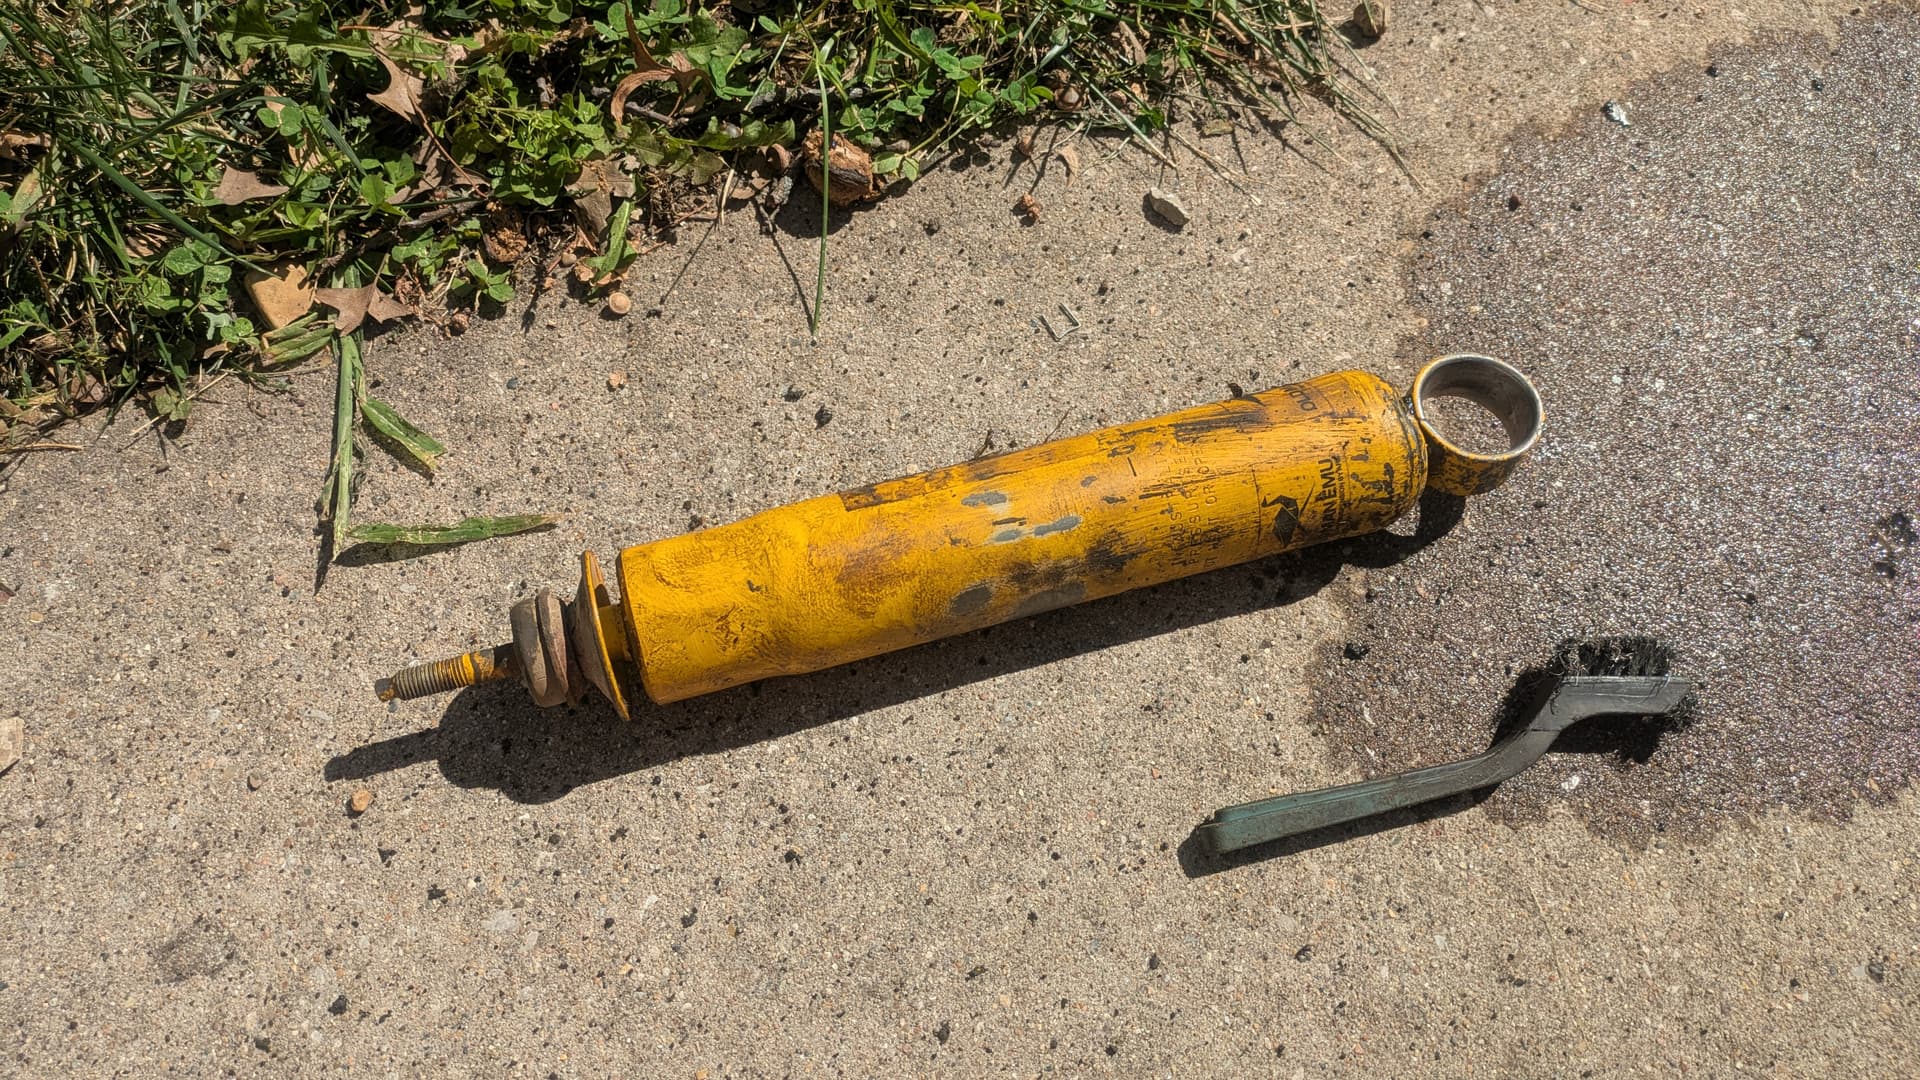
I’m thinking Bilstein 4600s or maybe Koni Heavy Tracks. Dunno yet. Gotta sell a snowthrower to fund the purchase.
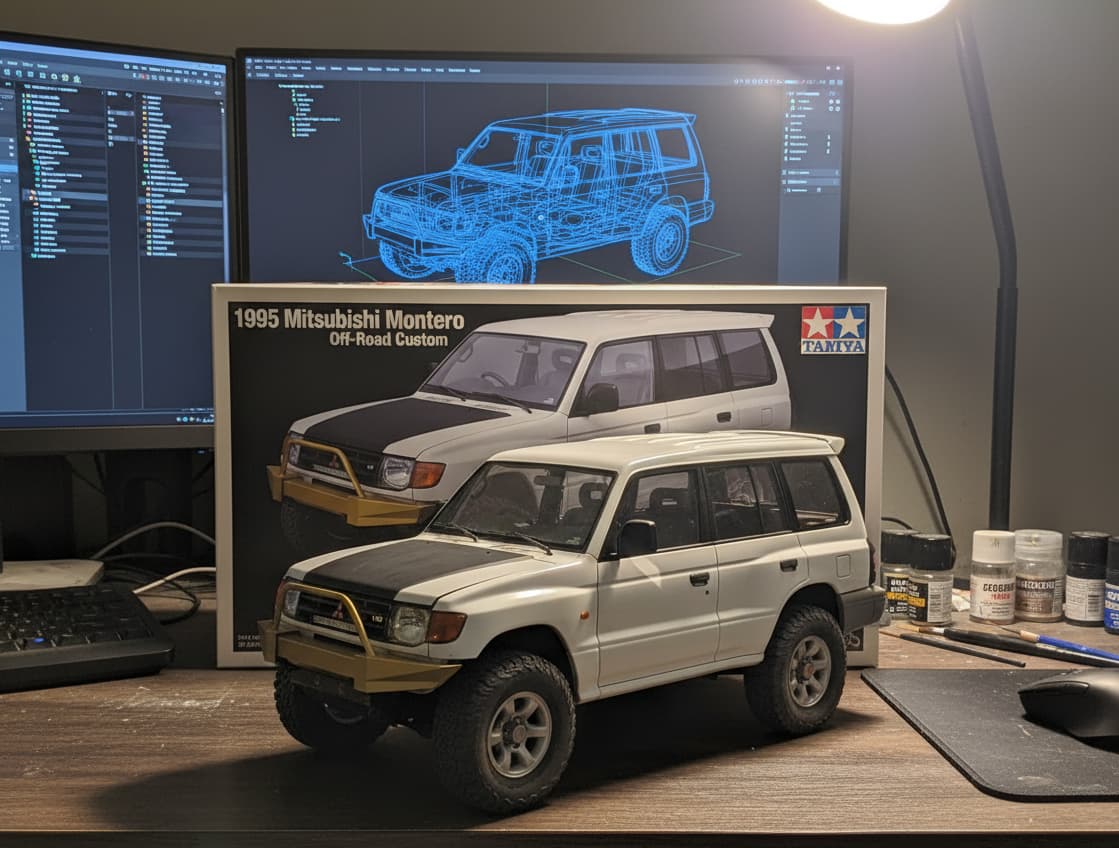
In other news… AI.
Local buddy sent me this the other day and I flipped. Thought Tamiya had a Gen 2.5 (ahem, V45W) kit out, but turns out it’s AI generated. This just in: I’m painting the sides white.
2 Likes
Almost Five Years Later…
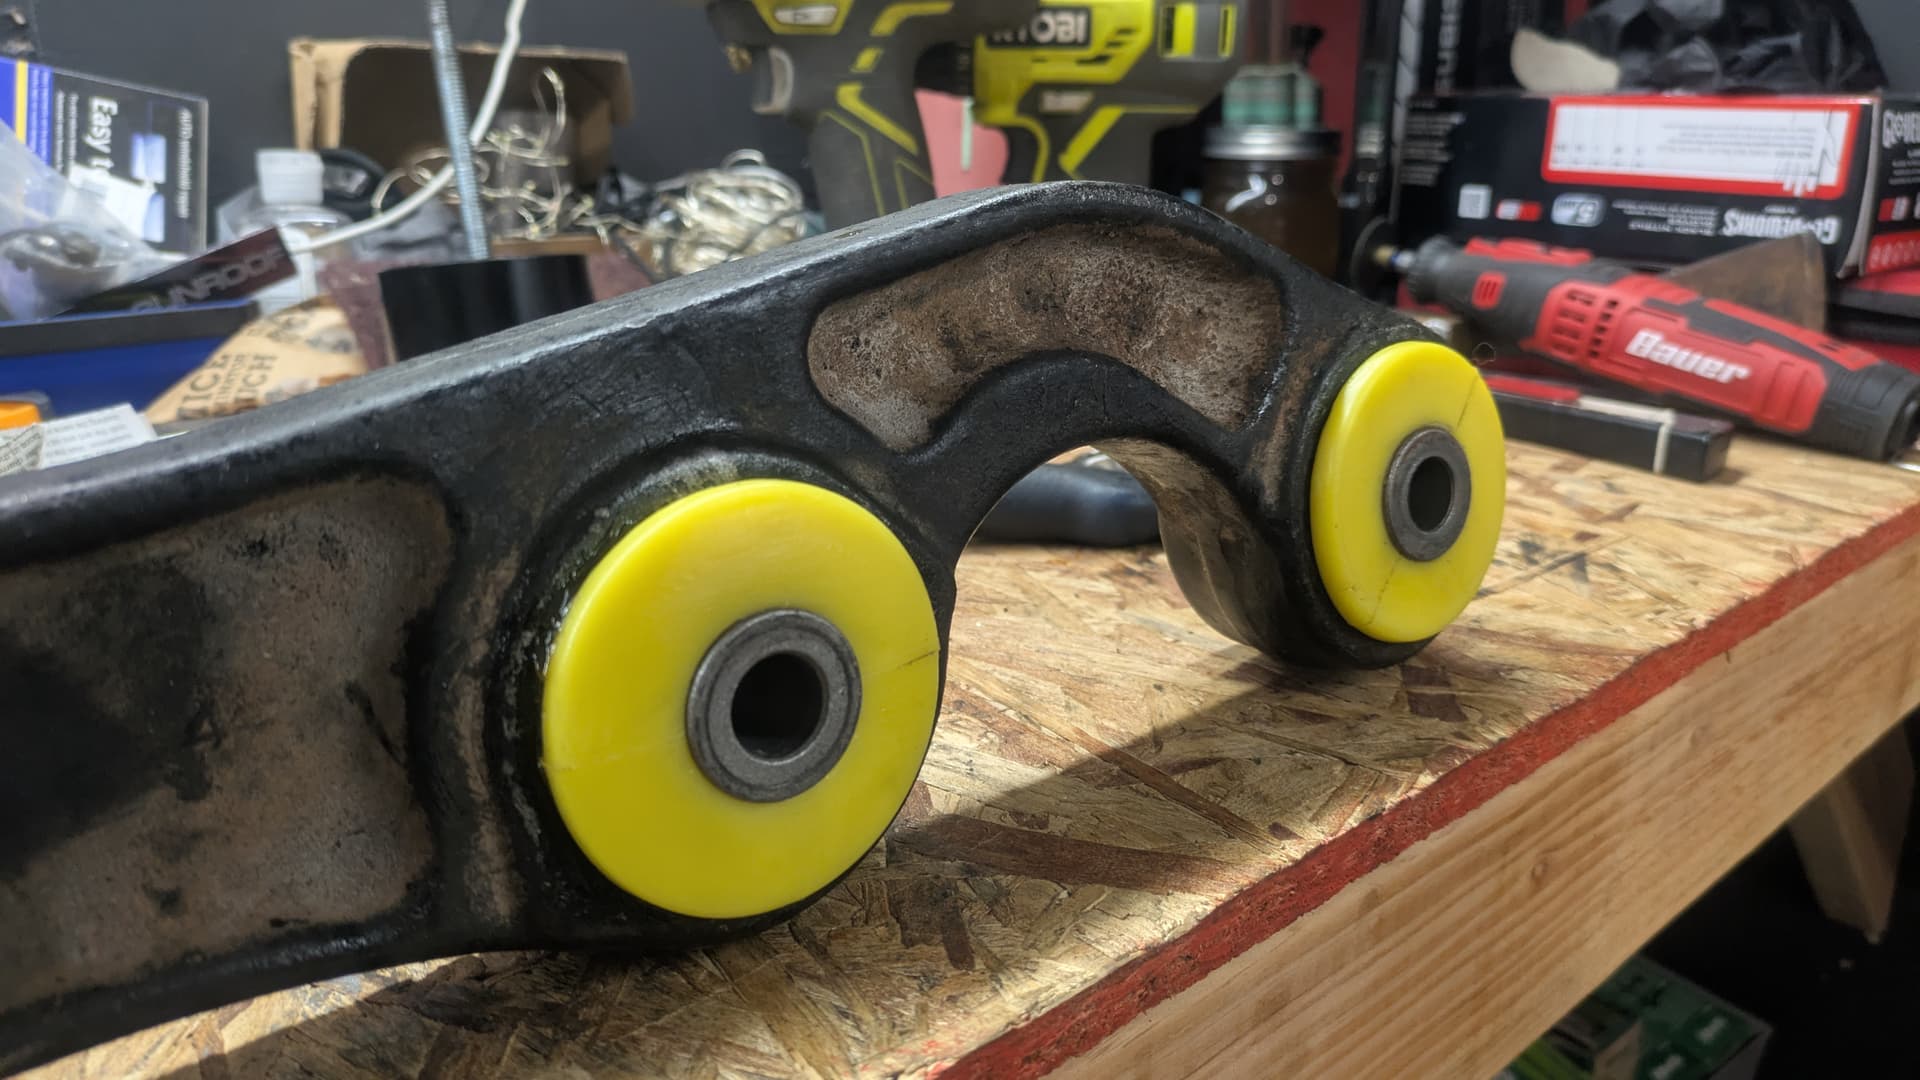
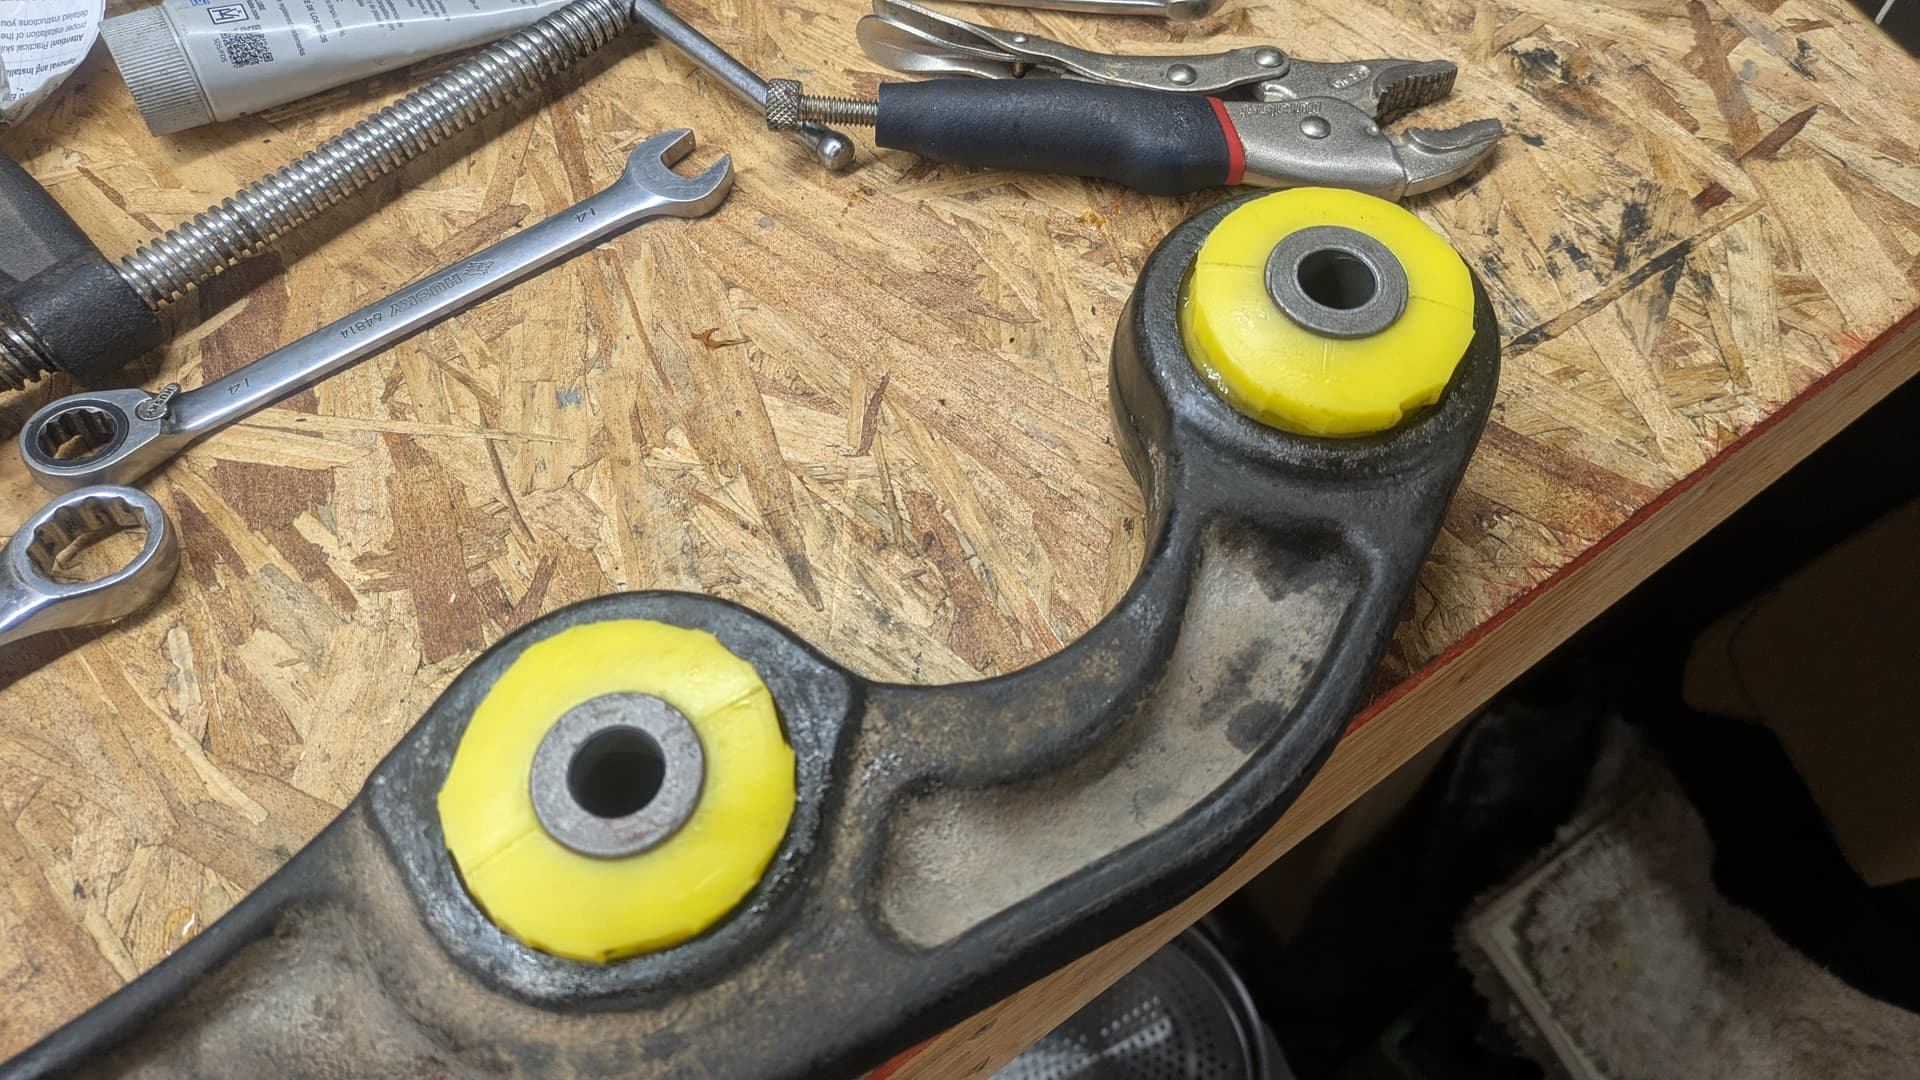
I still firmly believe that bushings are a Top 3 All-Time mod for any older vehicle. They just transform (restore?) chassis dynamics in ways you struggle putting into words–but they are a royal pain in the ass.
(1) bushing = 3.0hrs labor (90min out / 90min in) on average
I’d say you can take that to the bank. I forget exactly how much time it took to do the front bushings nearly five years ago, but it was so traumatic that I put off doing the rears until Josh recently visited me in Iowa, looked at them, and said, “Yeah, those are toast.”
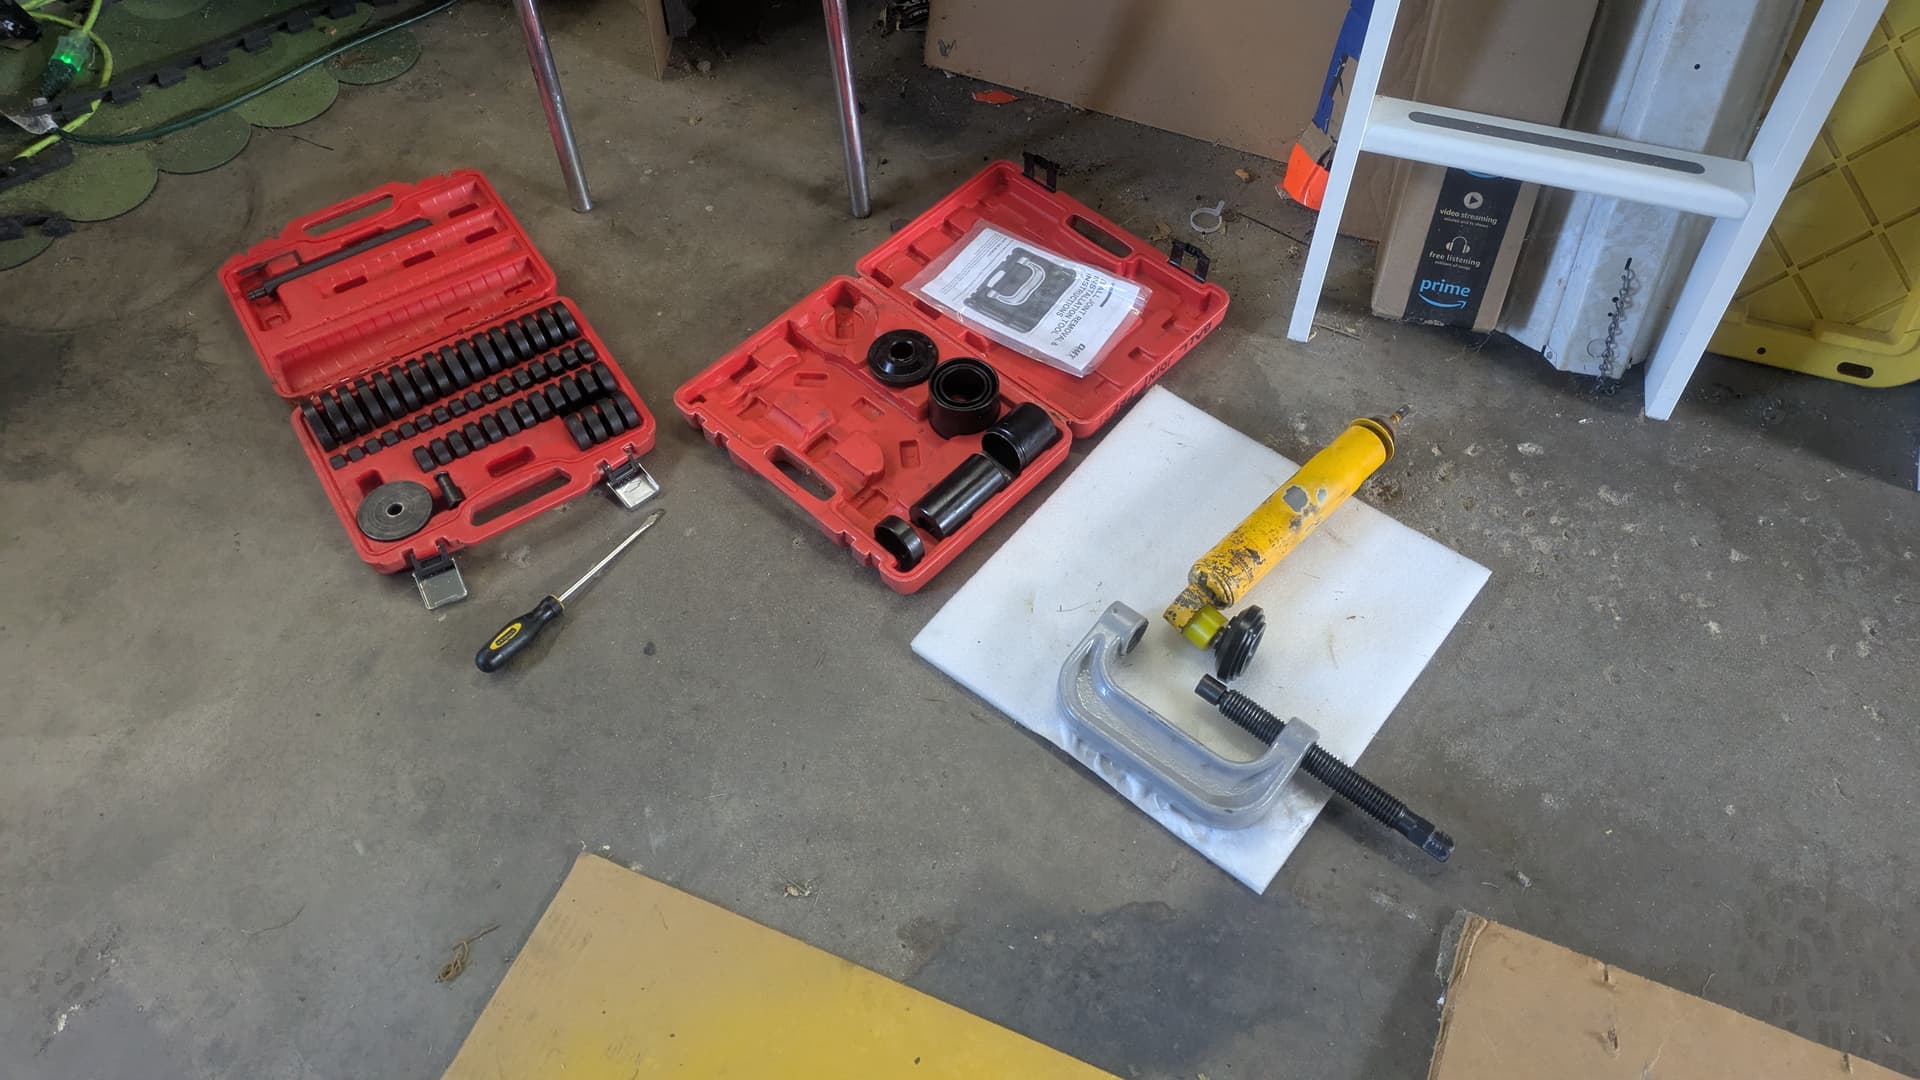
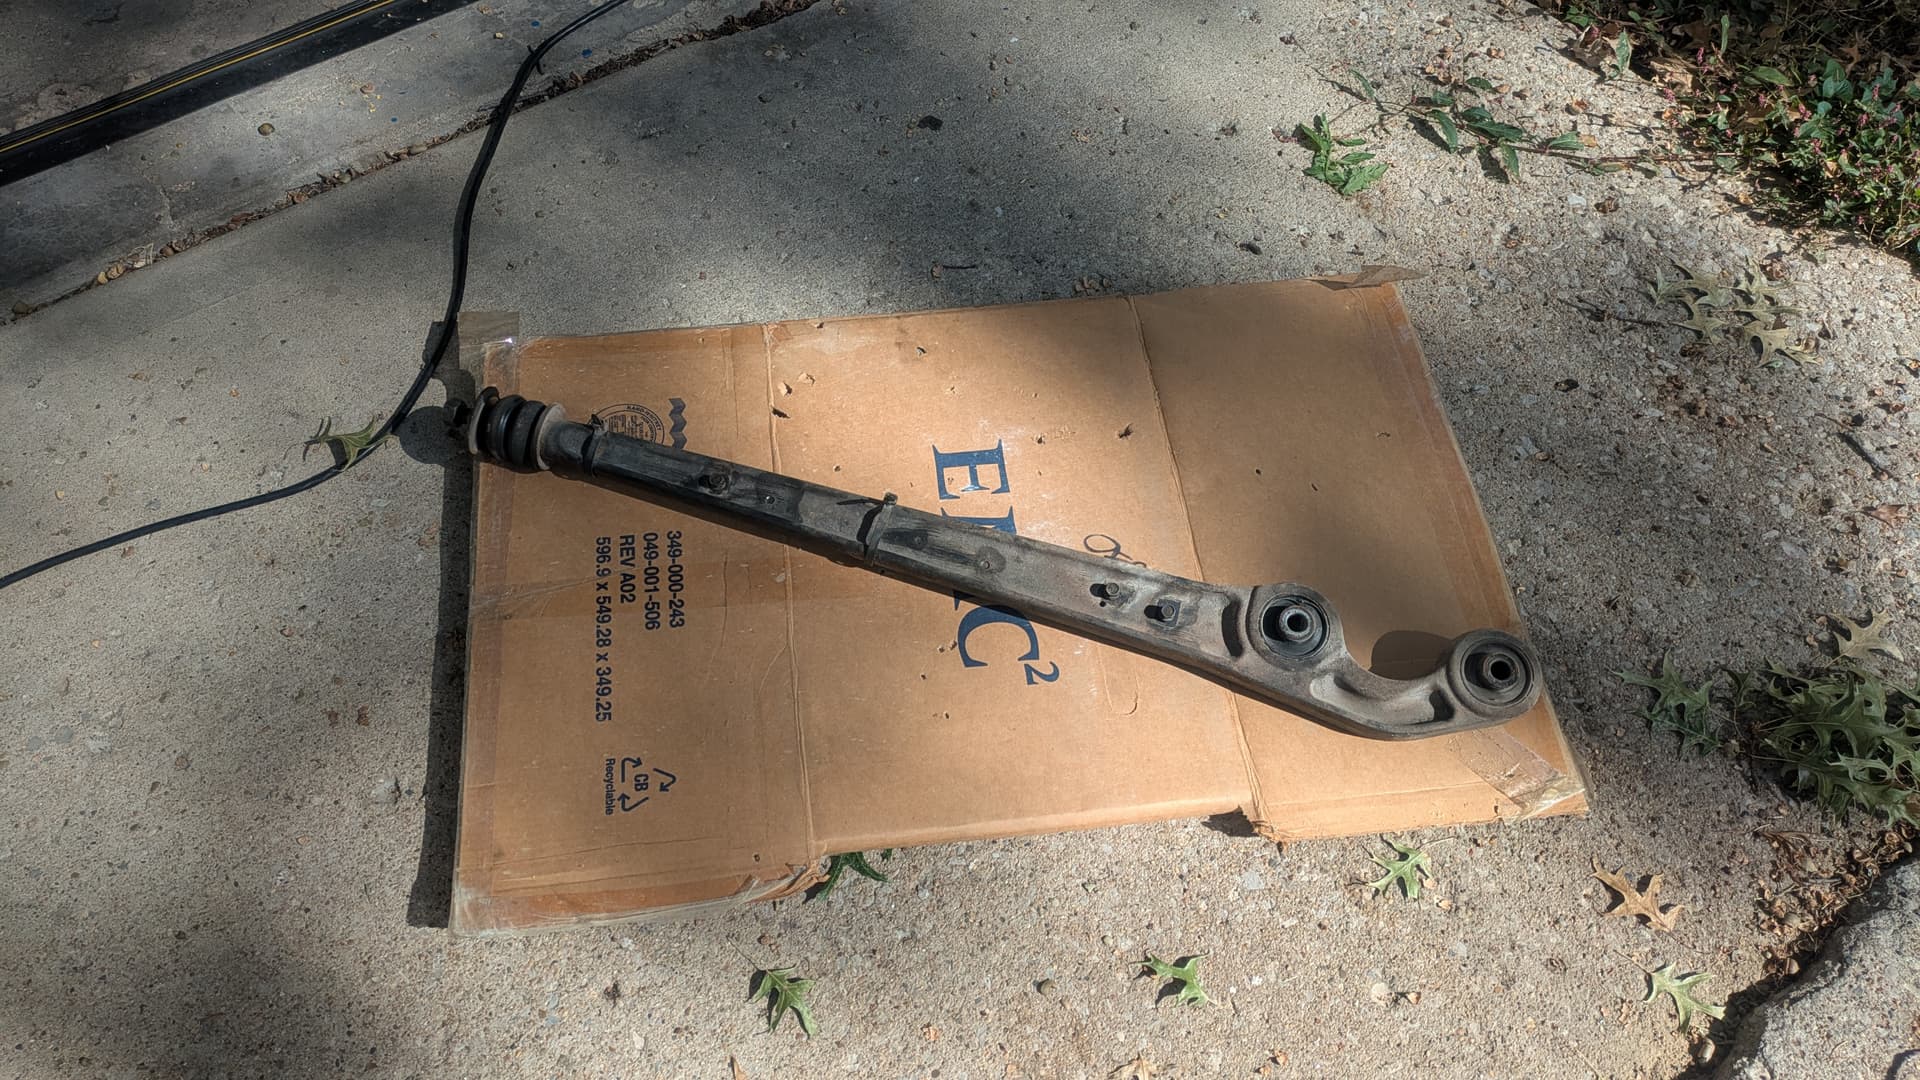
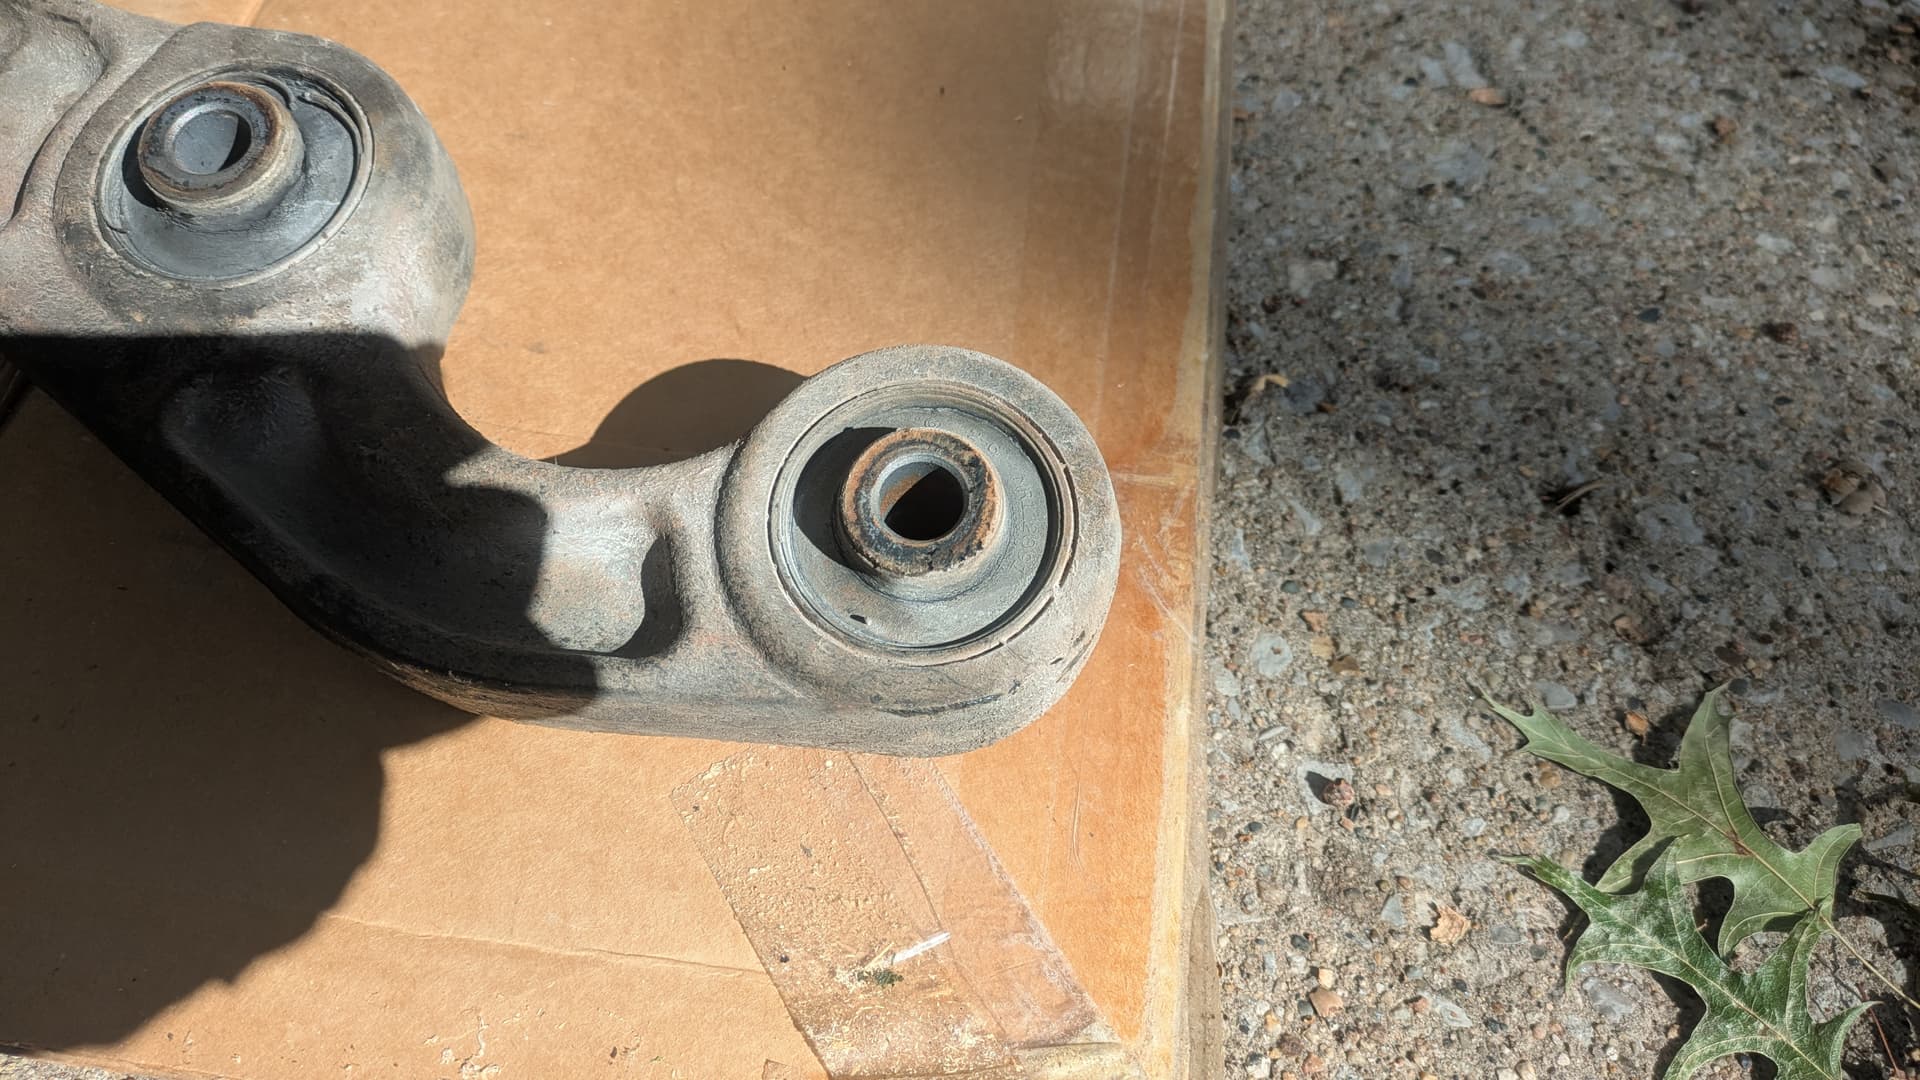
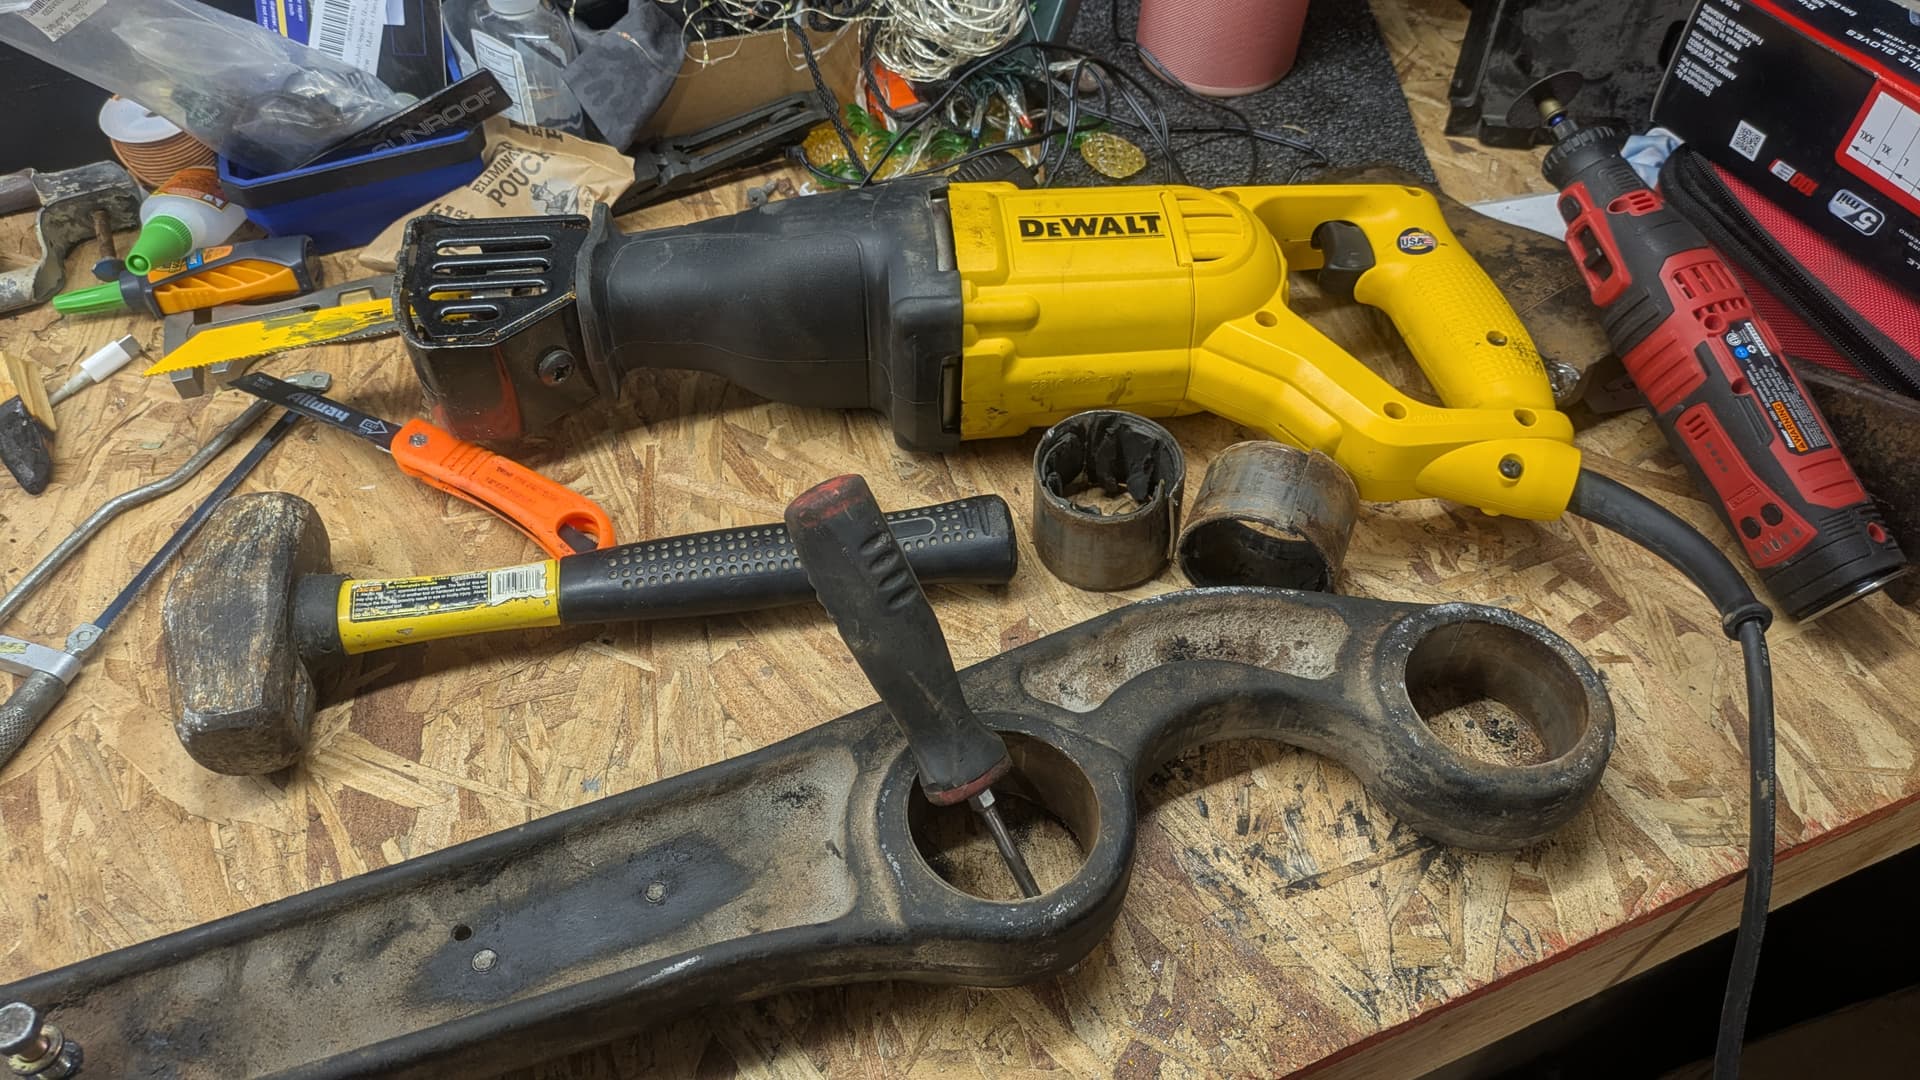
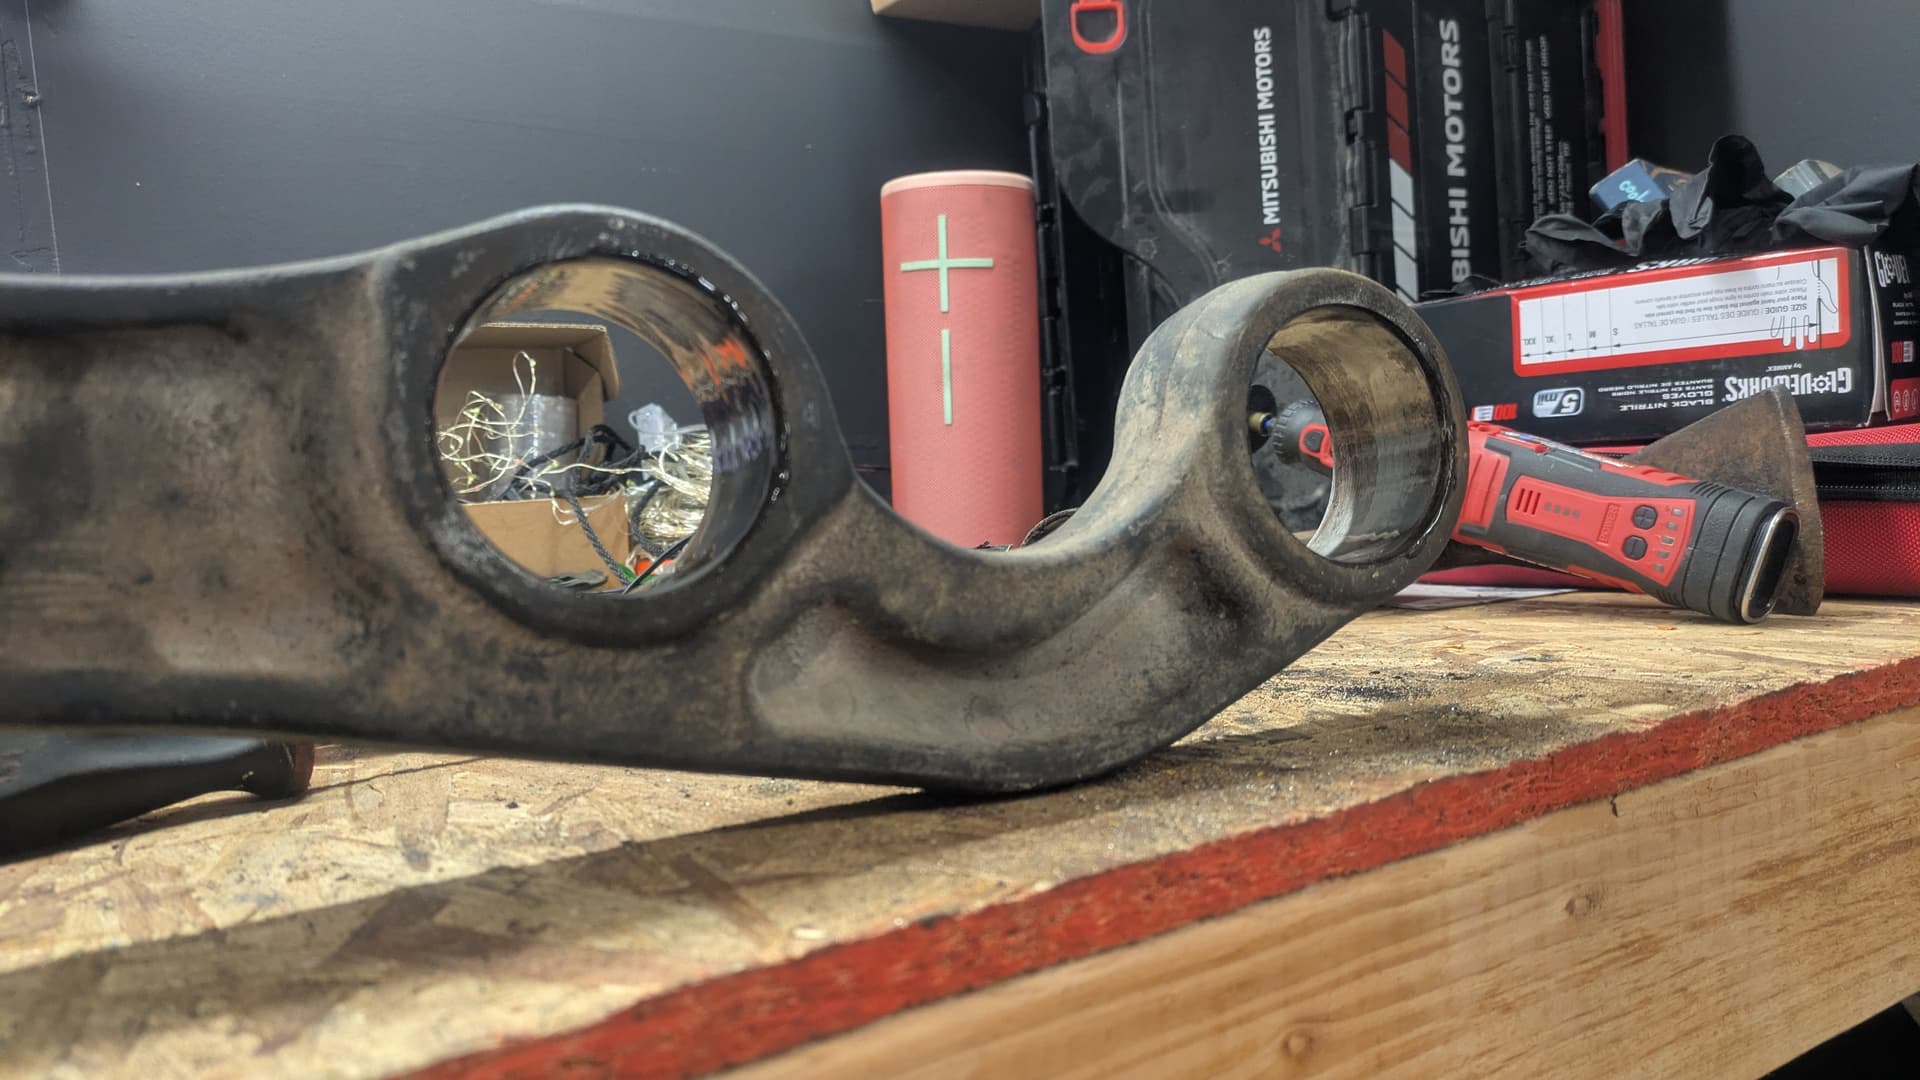
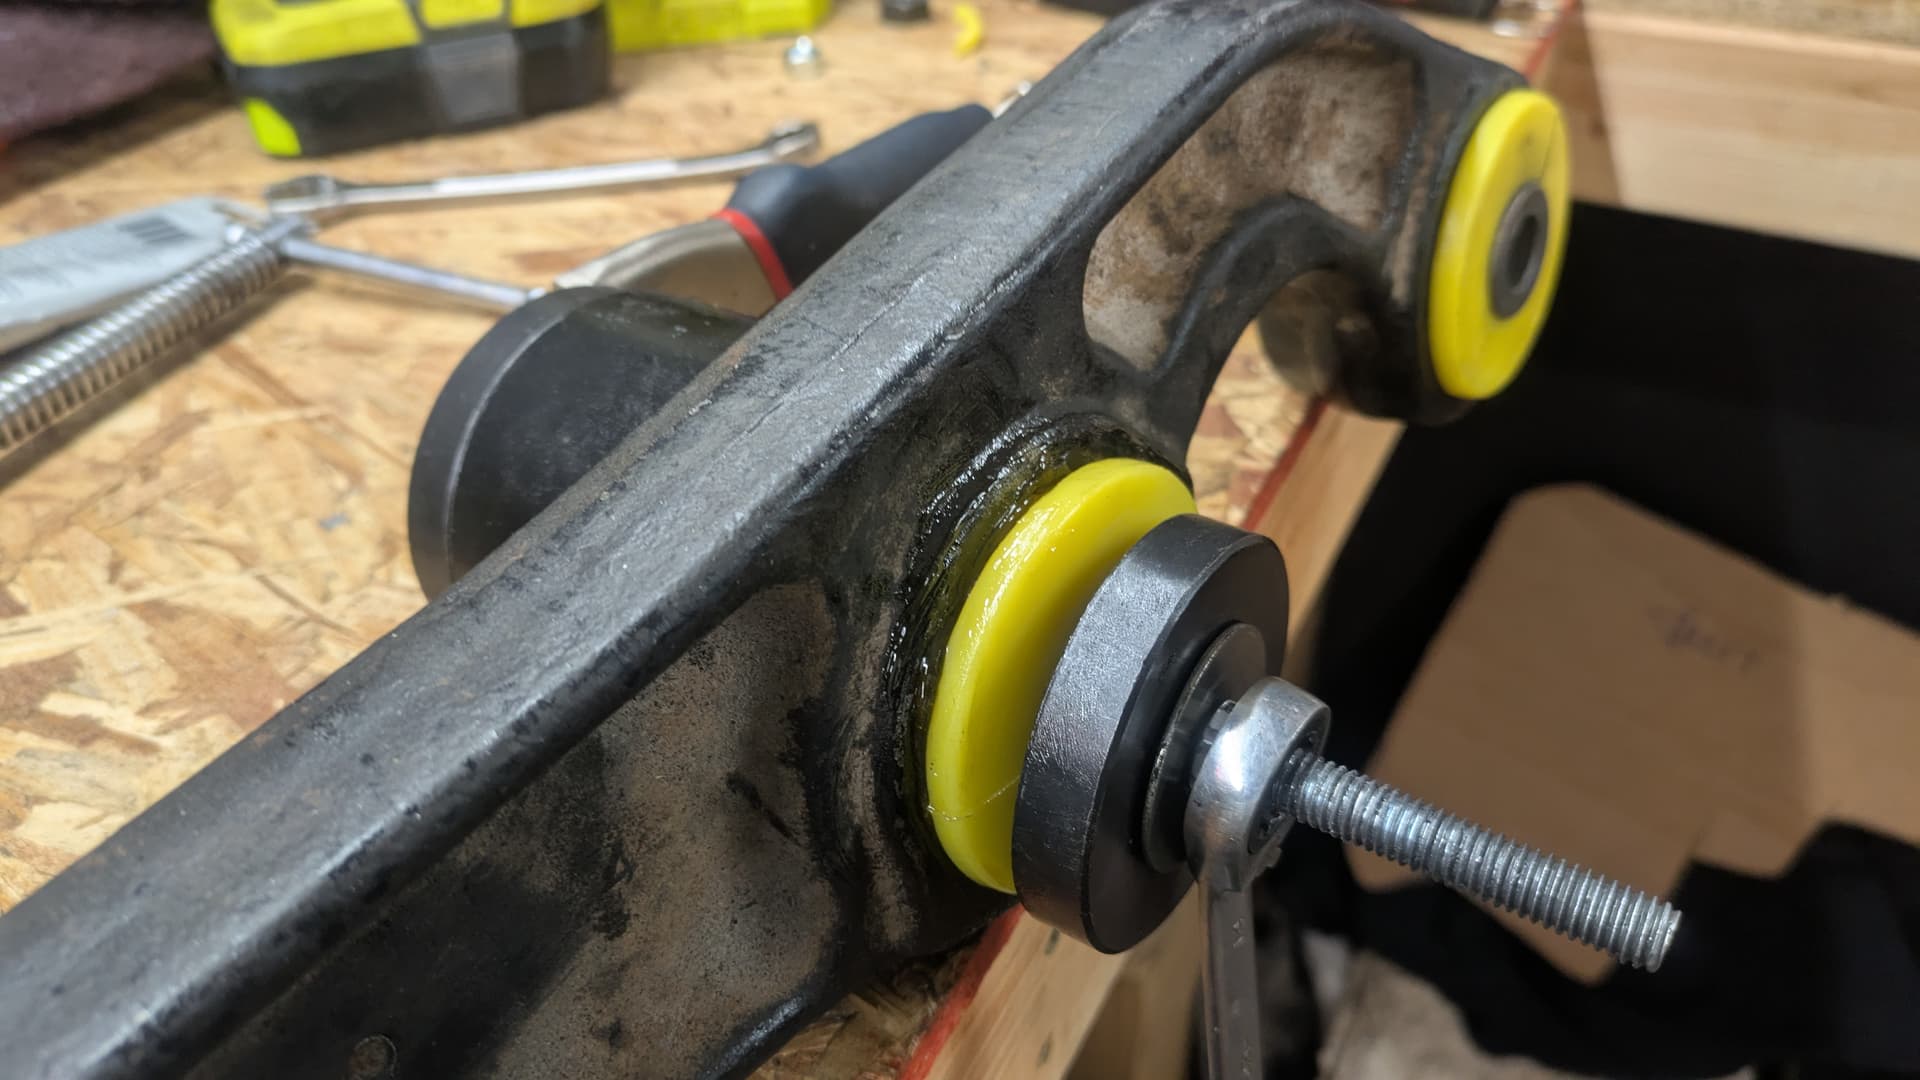
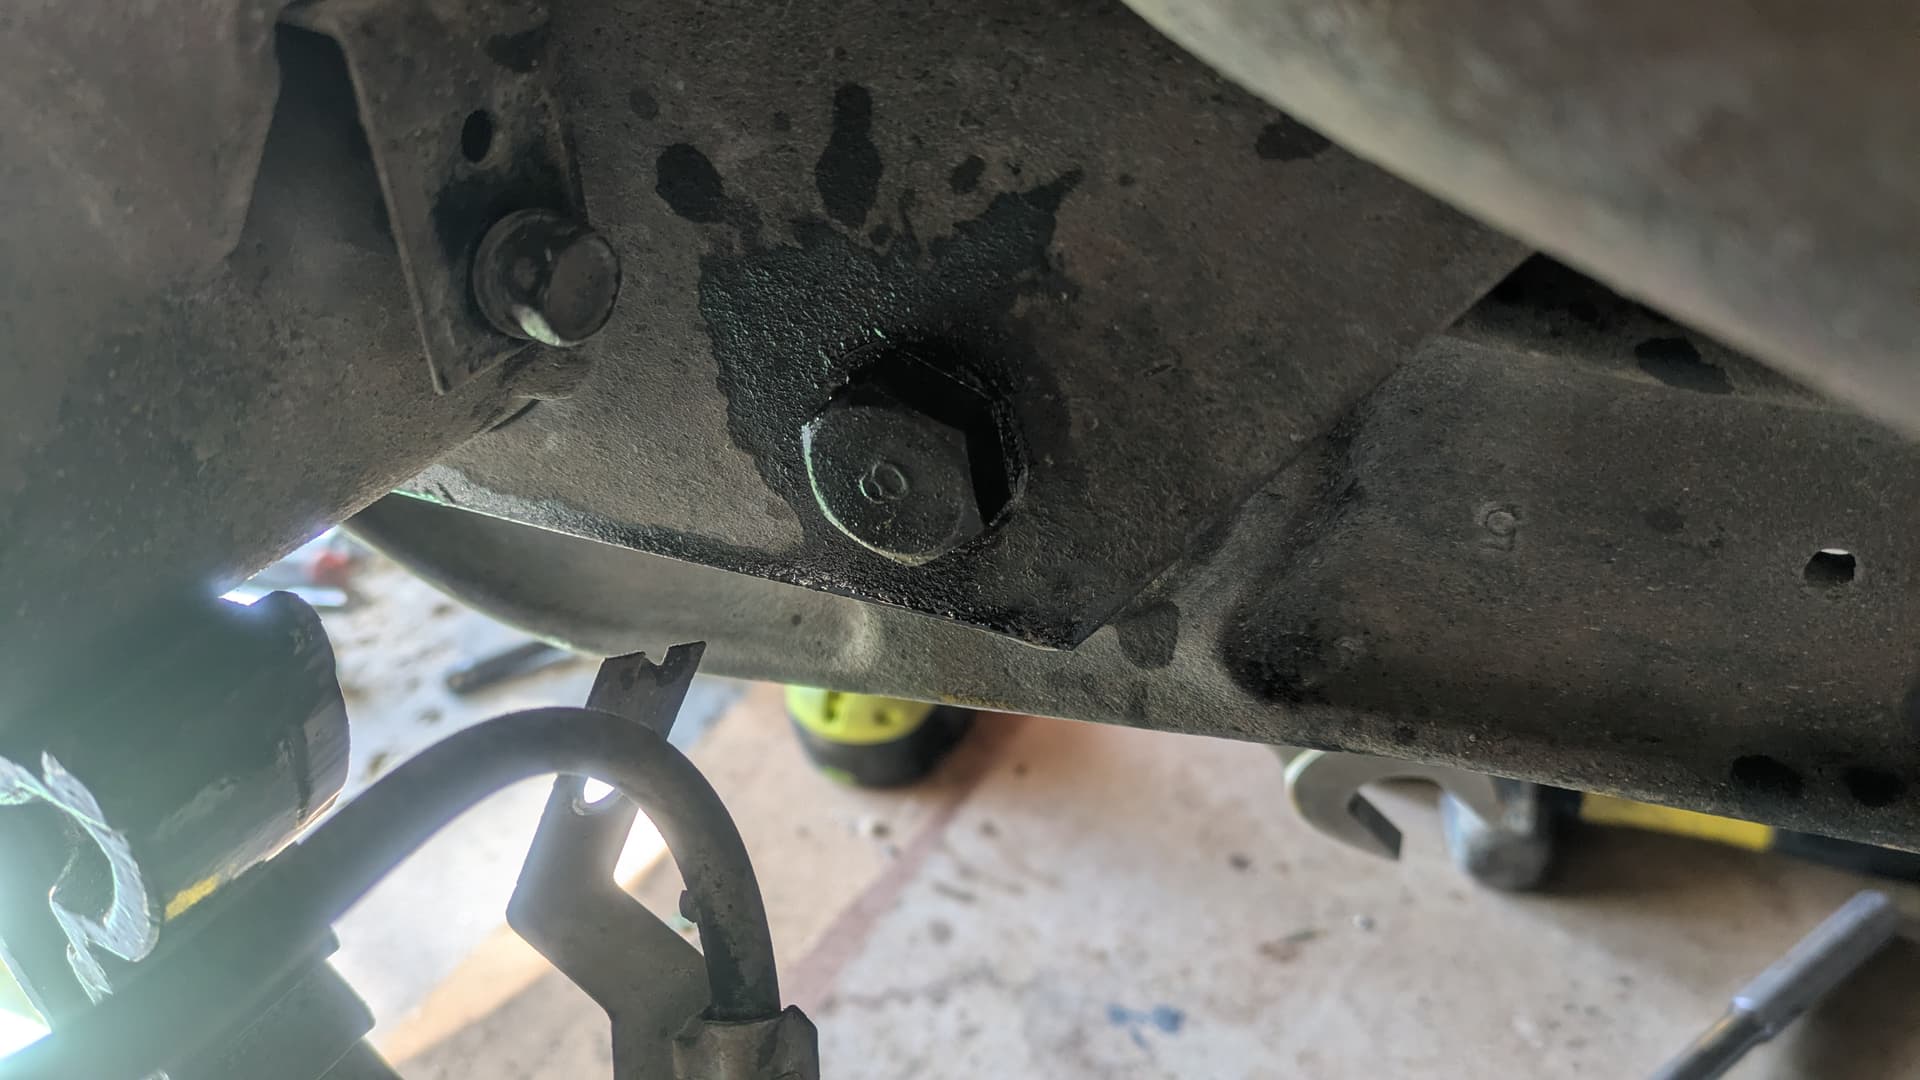
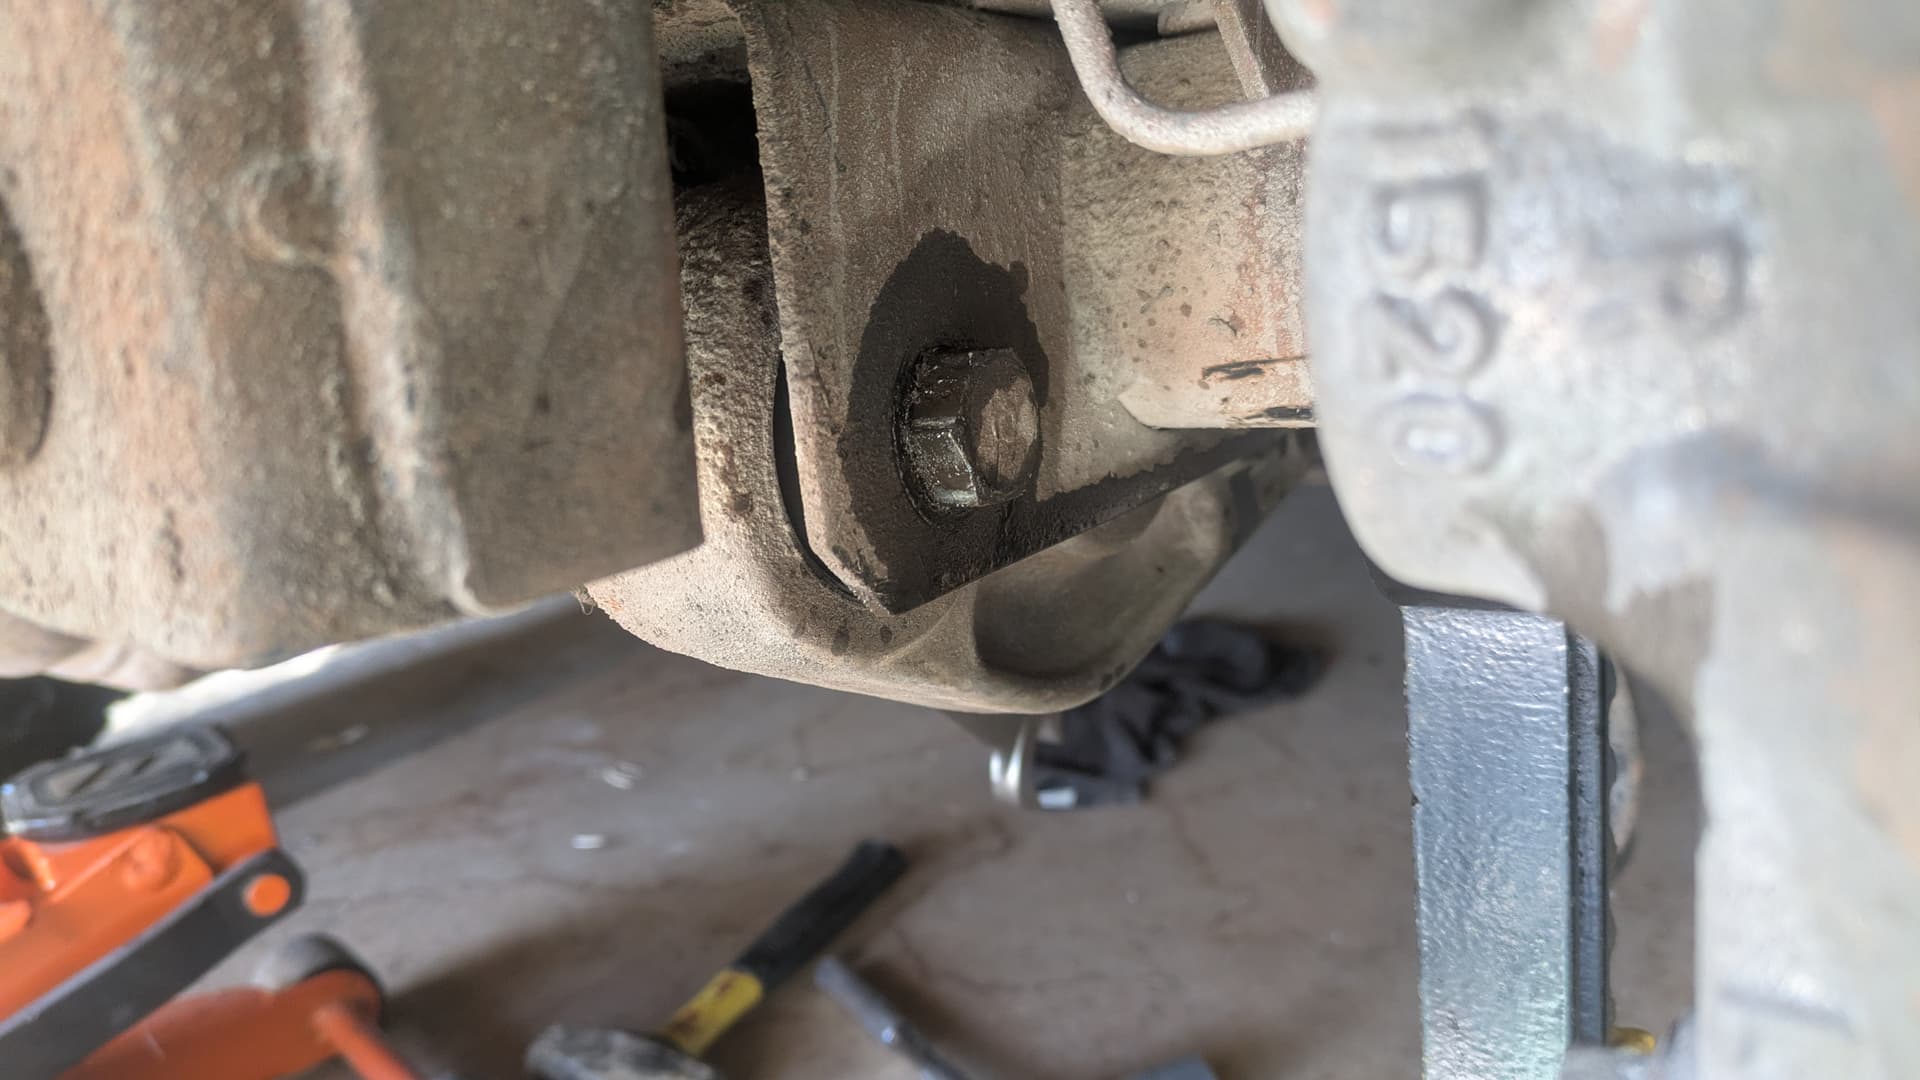
May as well get it done before it gets cold, right? So back to that math. Each of these trailing arms has (3) bushings. One slip fit at the front, and two press fits at the axle. The little 12mm bolts holding ABS and locker lines were a 10-minute job, but the two 24mm bolts through the trailing arm were factory torqued to something like 400ft-lbs.

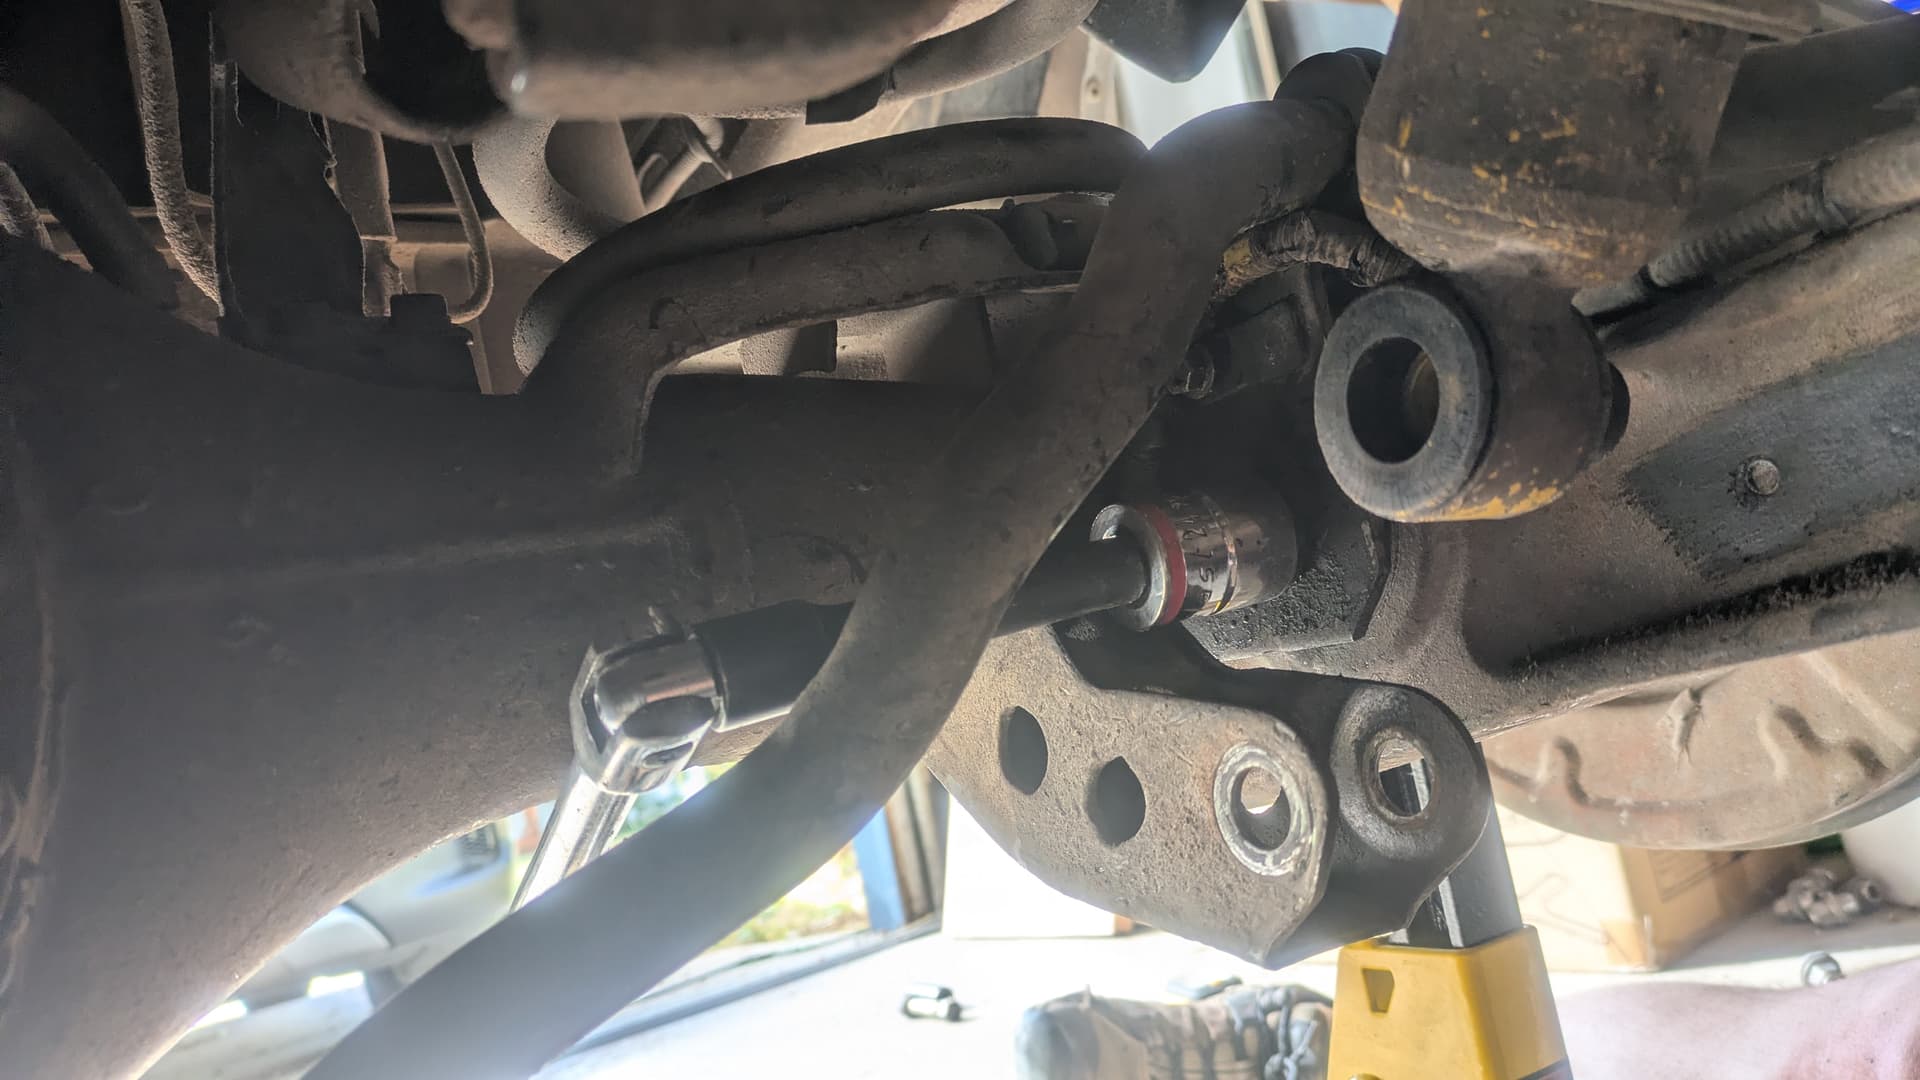


I invited Justin over to play cars. He has a 71 Chevelle convertible in his garage that hasn’t seen the road in 10 years and I’m trying to get him in the mood to turn some wrenches this winter. We fought it for two hours, but didn’t think we could raise the vehicle, so couldn’t break those bolts loose.
Josh confirmed it’s okay to raise the vehicle, so long as the axle stays put, so I took it up and set the axle on the jack stands. Now we could pull the tire and get more leverage. It took the biggest breaker bar I’ve got and I am still sore three days later from pushing so hard.
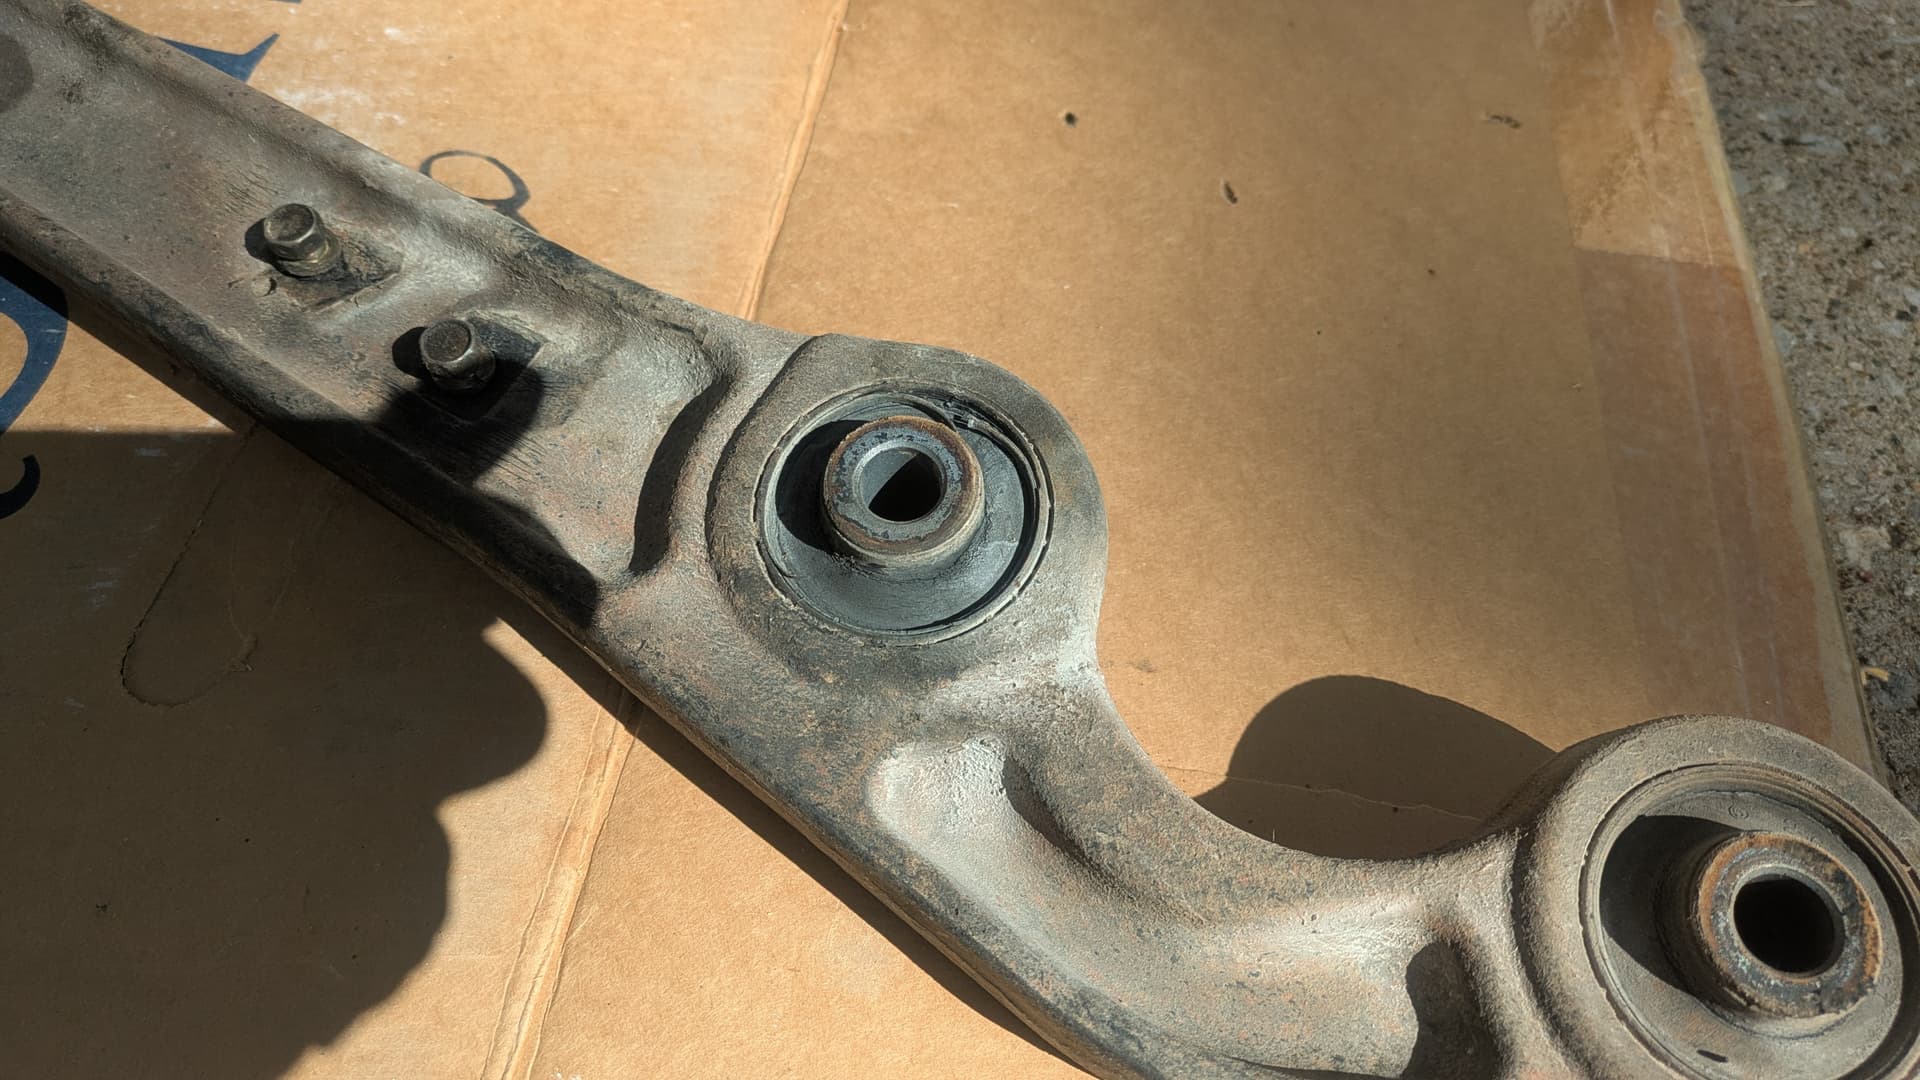
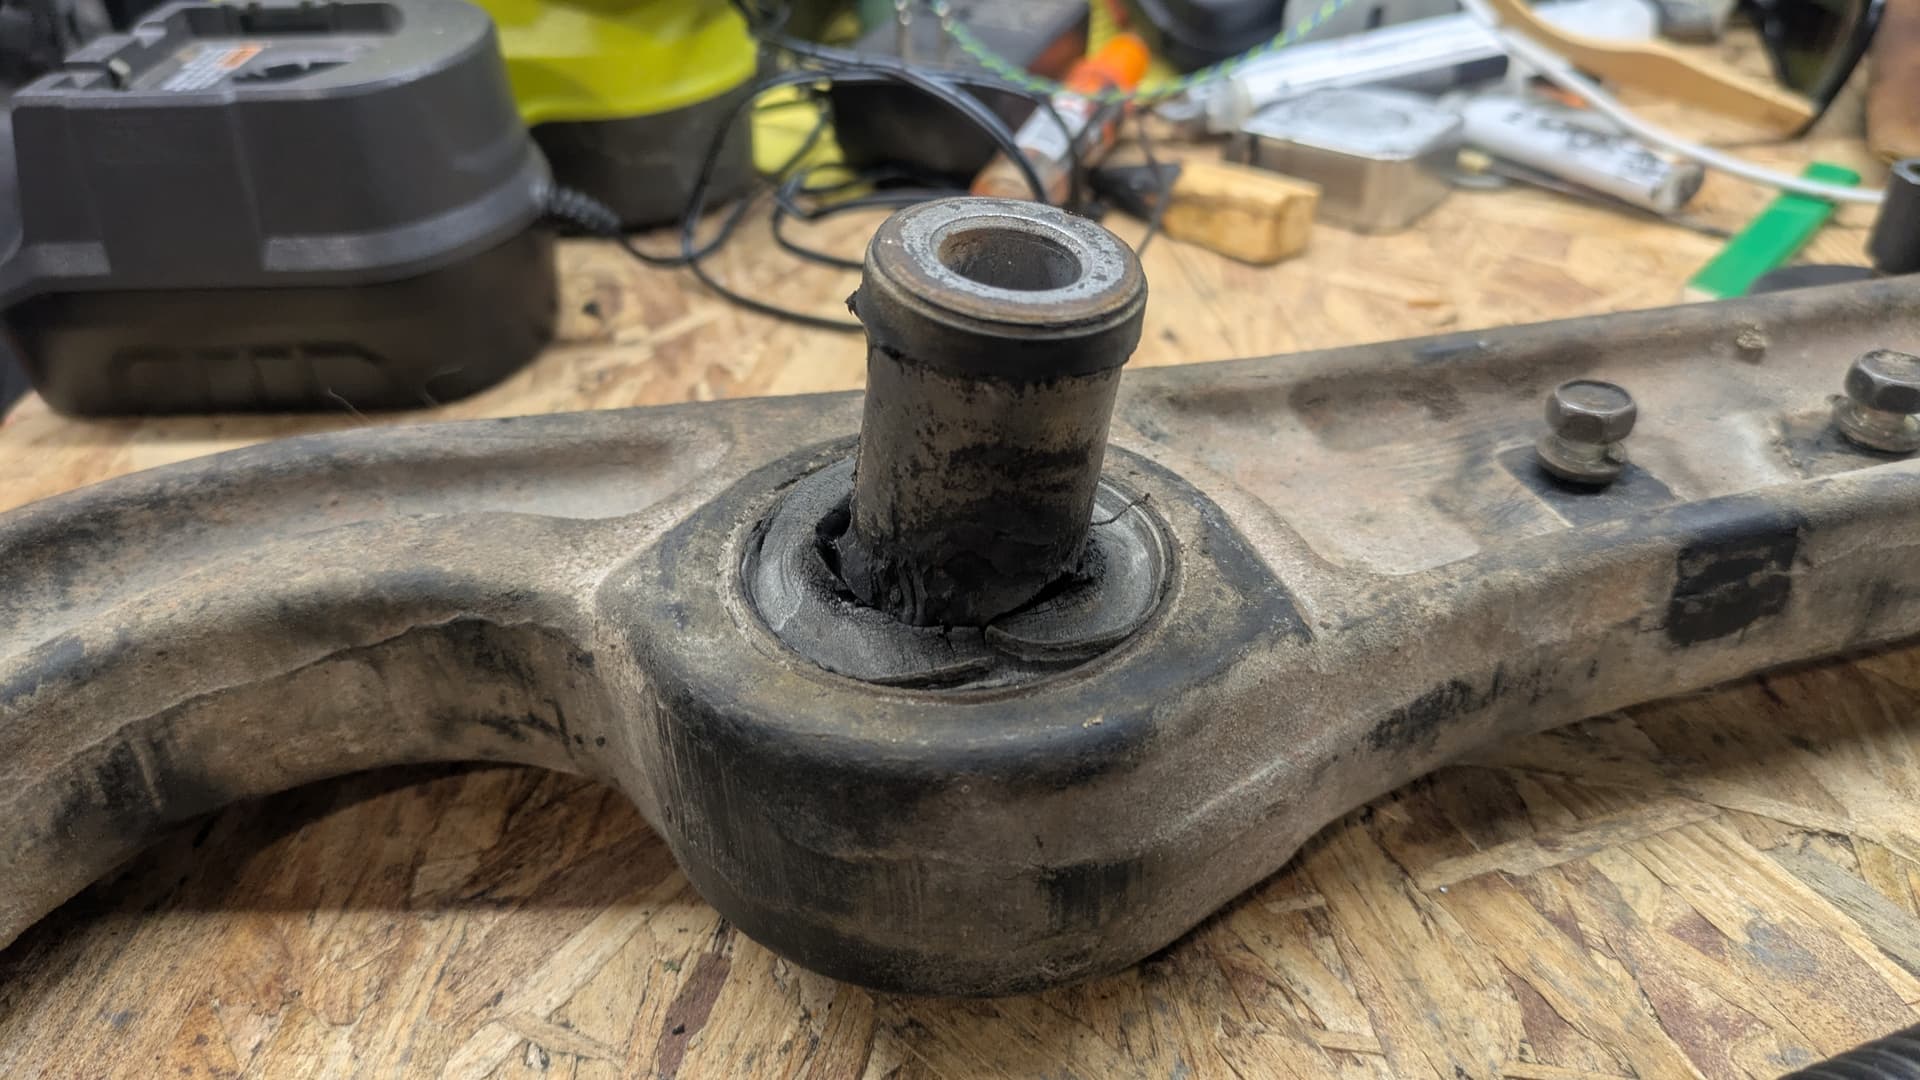
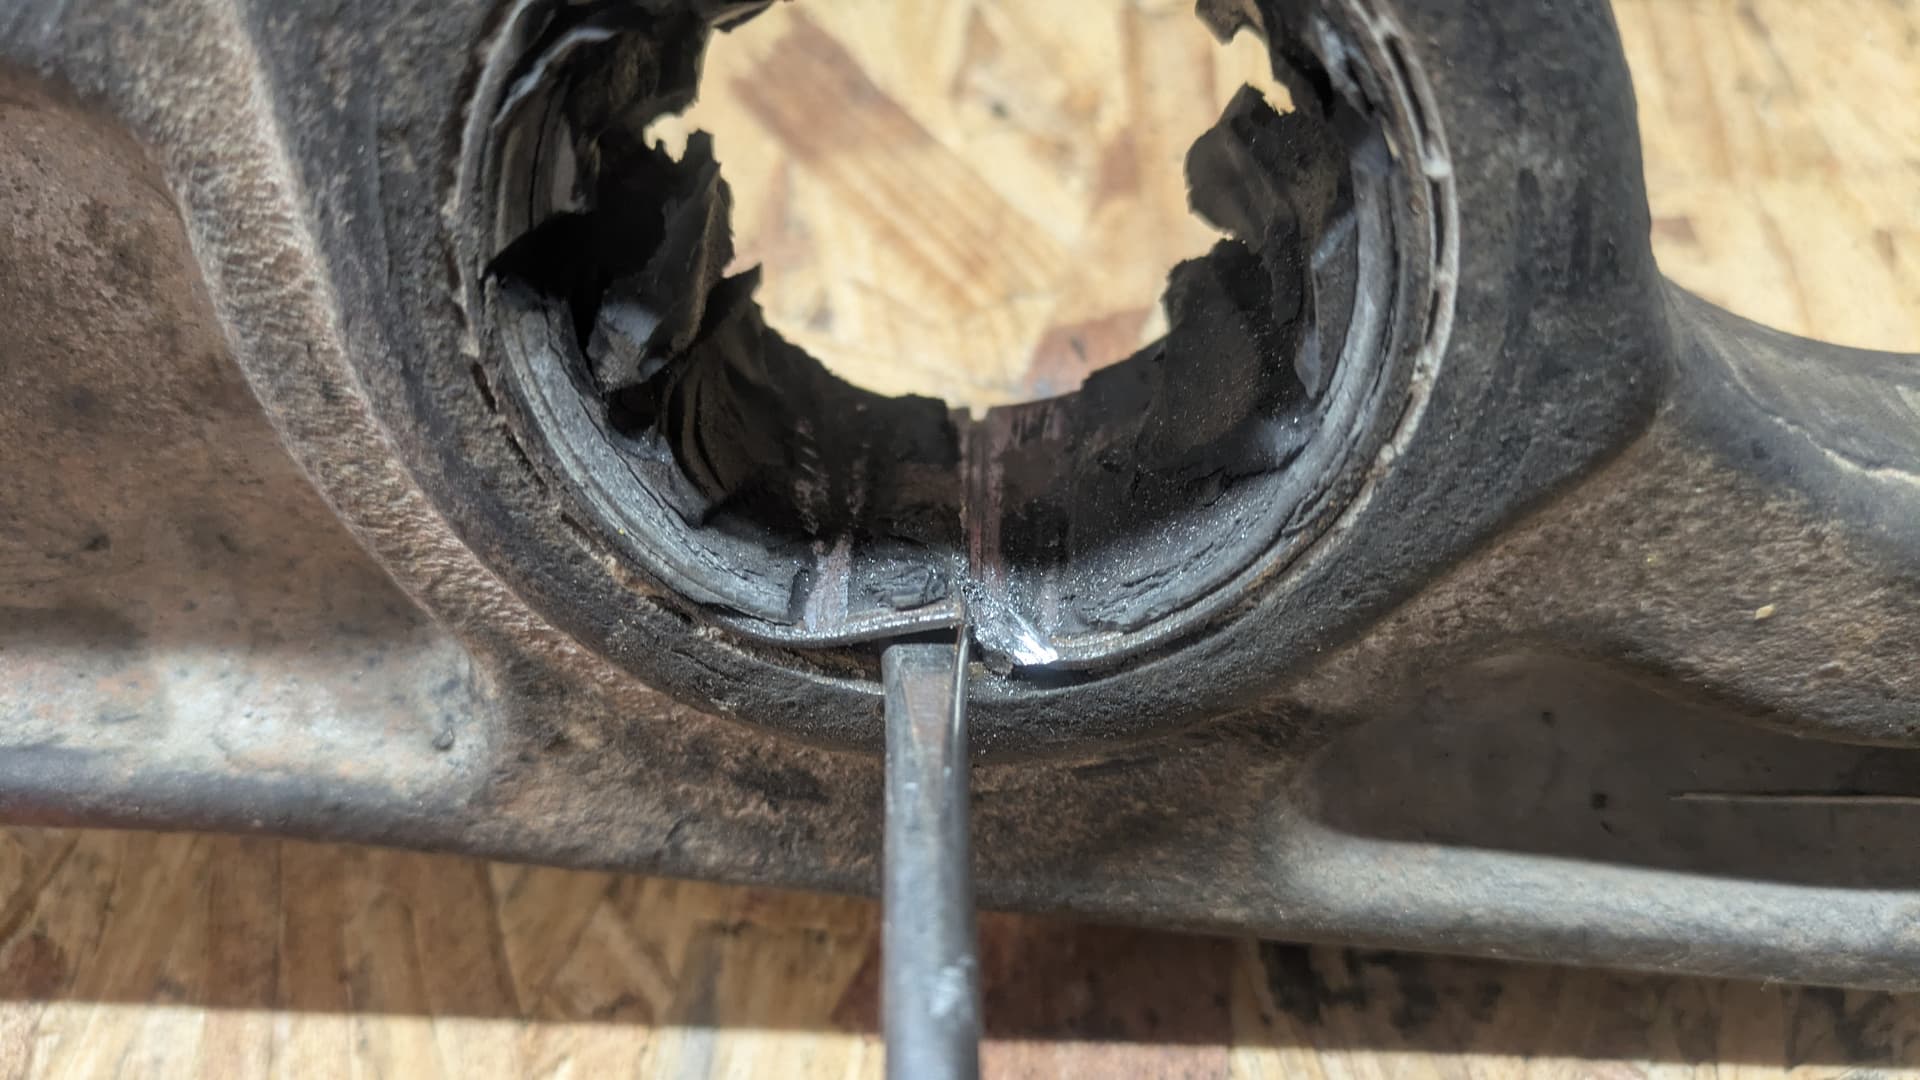
Once I had the driver side out, I set to pressing out the old bushings. Of course, only the centers came out, so I had to get drill bits and start perforating the old rubber surrounds. Broke two drill bits this way, but finally got everything out.
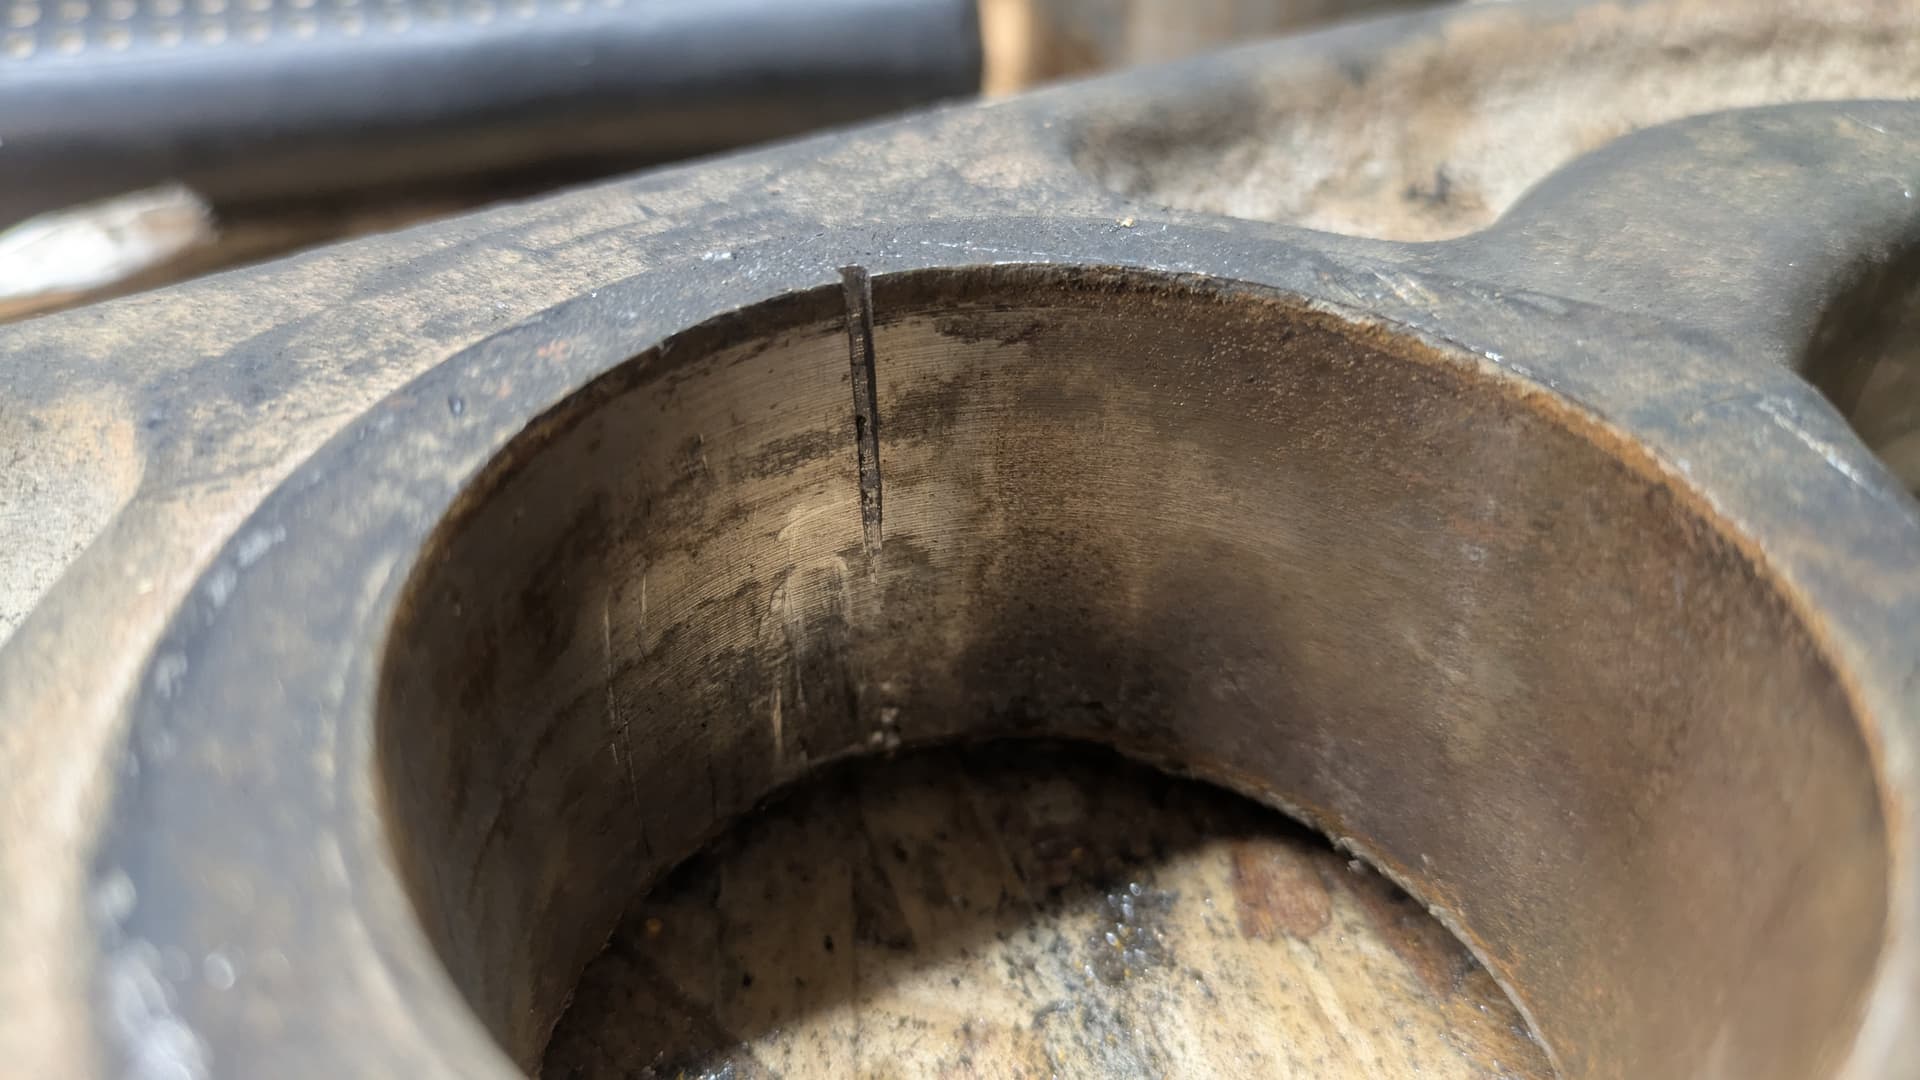
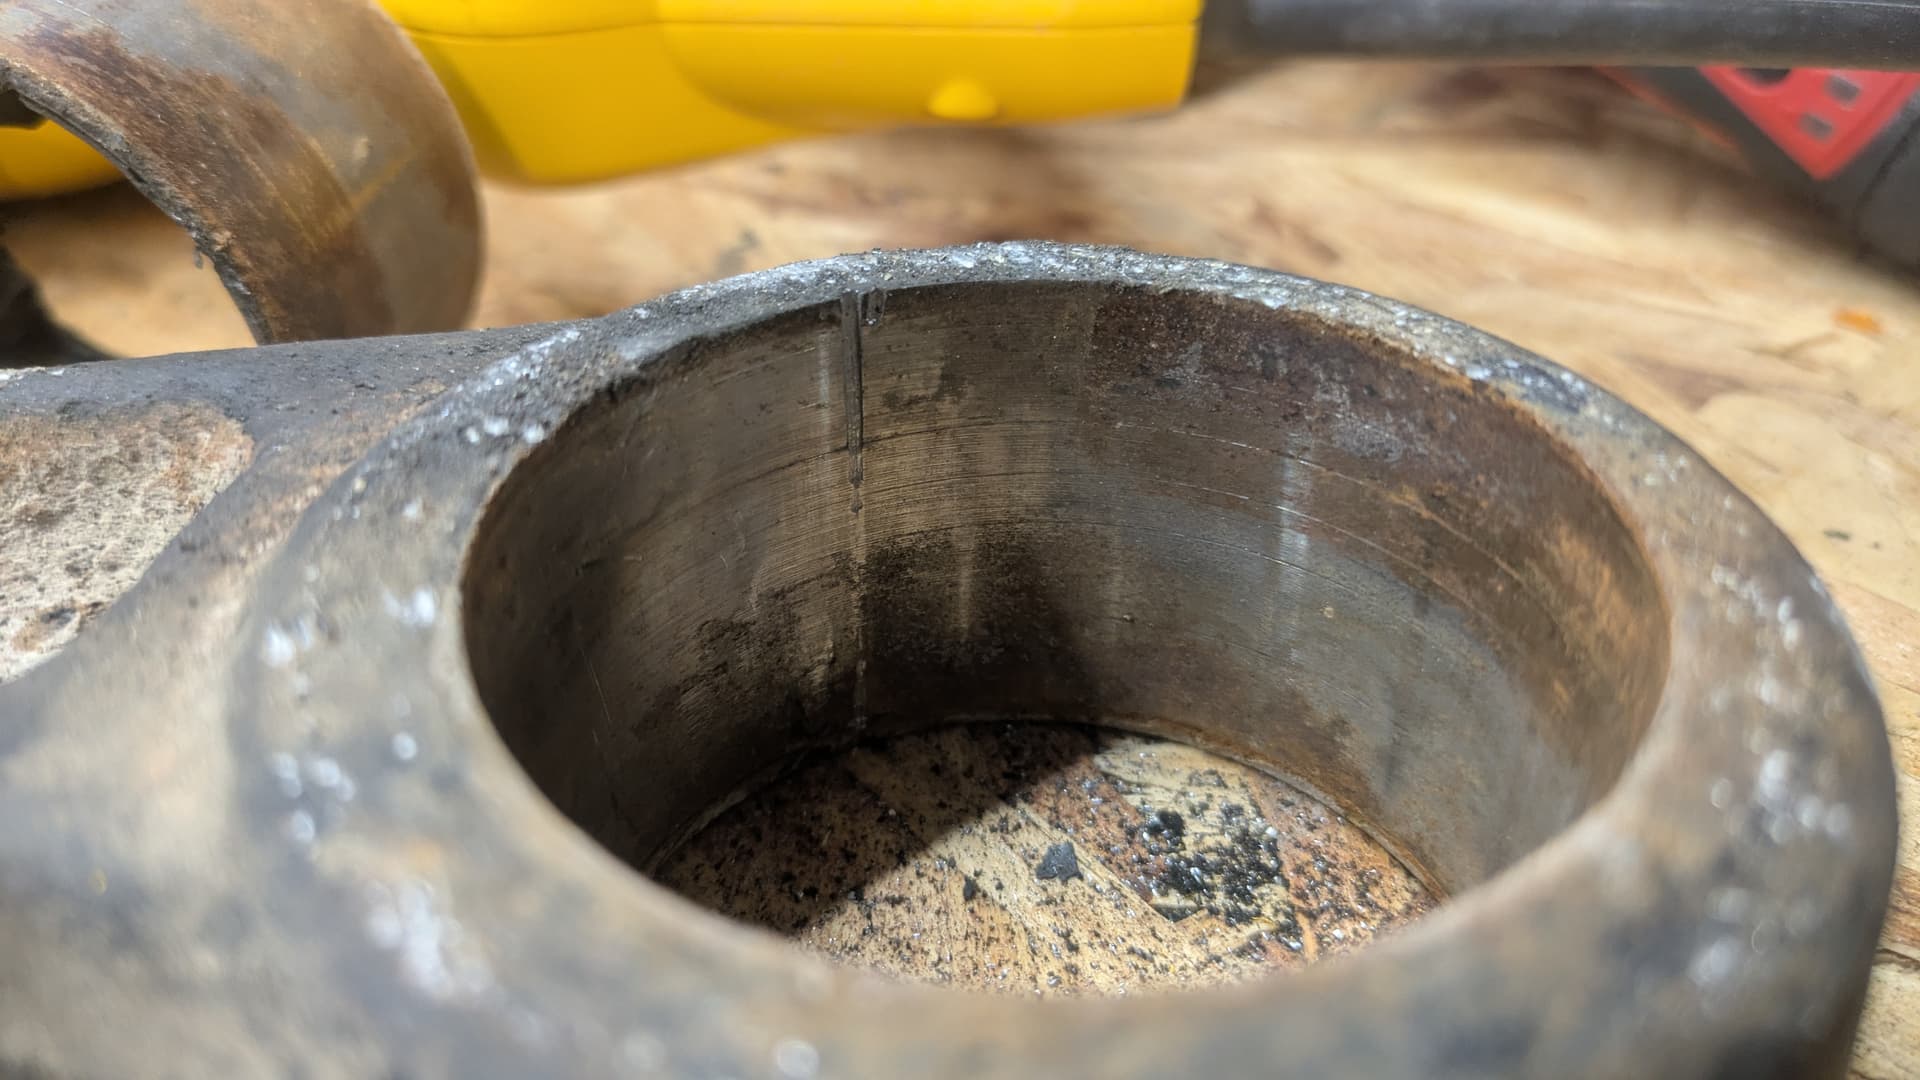
Saw a text from Josh saying I could take a hacksaw to the old bushing cases, but didn’t open the app to see the full message where he also suggested a sawzall, and spent at least an hour hating life before I just broke out the serious tools.
Then I couldn’t get the new bushings in.
Then I went to Blakes shop and spent two hours trying to use his 12-ton press. Nope.
Then I stopped at Menards on the way home for an 1/2" x 8" carriage bolt and some nuts to go medieval. Then I got home and discovered the holes in my bushing press kit are 7/16".
I pulled the bushings out of the freezer (note to self: put them in hot water so they’re softer) and started pressing. They did not want to start. This being my last resort, I cut them into pieces. (Ugh.) Not really, but I trimmed the leading edge out of sheer desperation.
I needed the truck for P’s birthday party in less than 24 hours.
Had to clamp vice grips to the 1mm edge of the carriage bolt head to keep it from turning while I was cranking on the other end, but it worked, and I actually took a break for a dinner BBQ in the driveway down the street before buttoning it all up around 930pm.
Saturday, I bought a 3/8" x 8" carriage bolt, a 24 pack of Miller Genuine Draft, and a 12-pack of Pacifico. I had the axle back on stands, all the 12mm out, and was just about to bitch-out until Spring because mother-fuck those 24mm axle bolts, when Steve walked up.
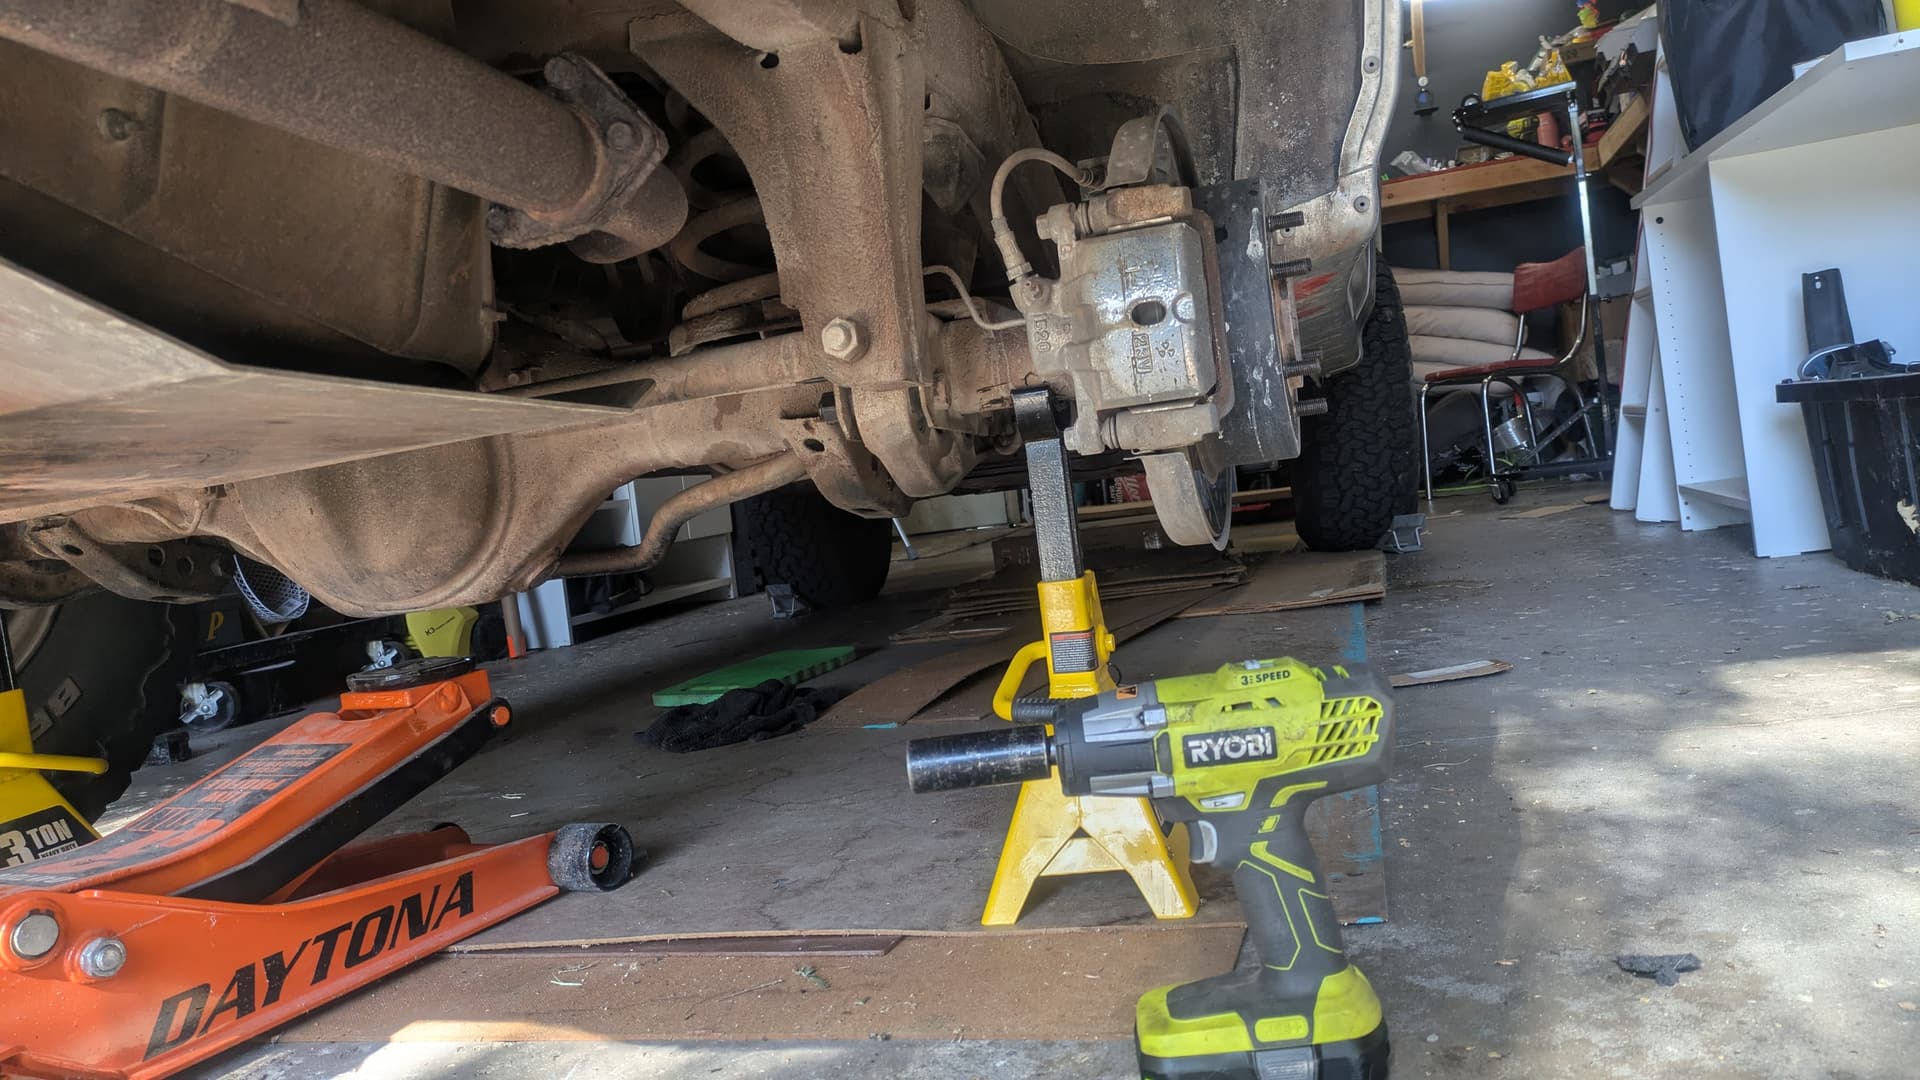

He suggested raising the truck as high as my stands would allow, and then he basically did a pullup on the rear bumper while using his feet to push on the breaker bar. Two cracks later, we were in business.
Old bushings out. New bushings in. Took us right about four hours this time, all-in.
Next projects on my mind…
- new shocks - Koni Heavy Track
- wheel well splash guards
- custom dash pod
3 Likes
You make this job sound so damn appealing!
1 Like

It’s time- and labor-intensive, but it’s only stressful if you’re under a time constraint.
And I think the pro tip is warming the bushings in hot water before install so they slip through like boogers. Freezing them only makes your life harder unless you’ve got access to commercial refrigerant.
1 Like