Placeholder. Might as well start one now.
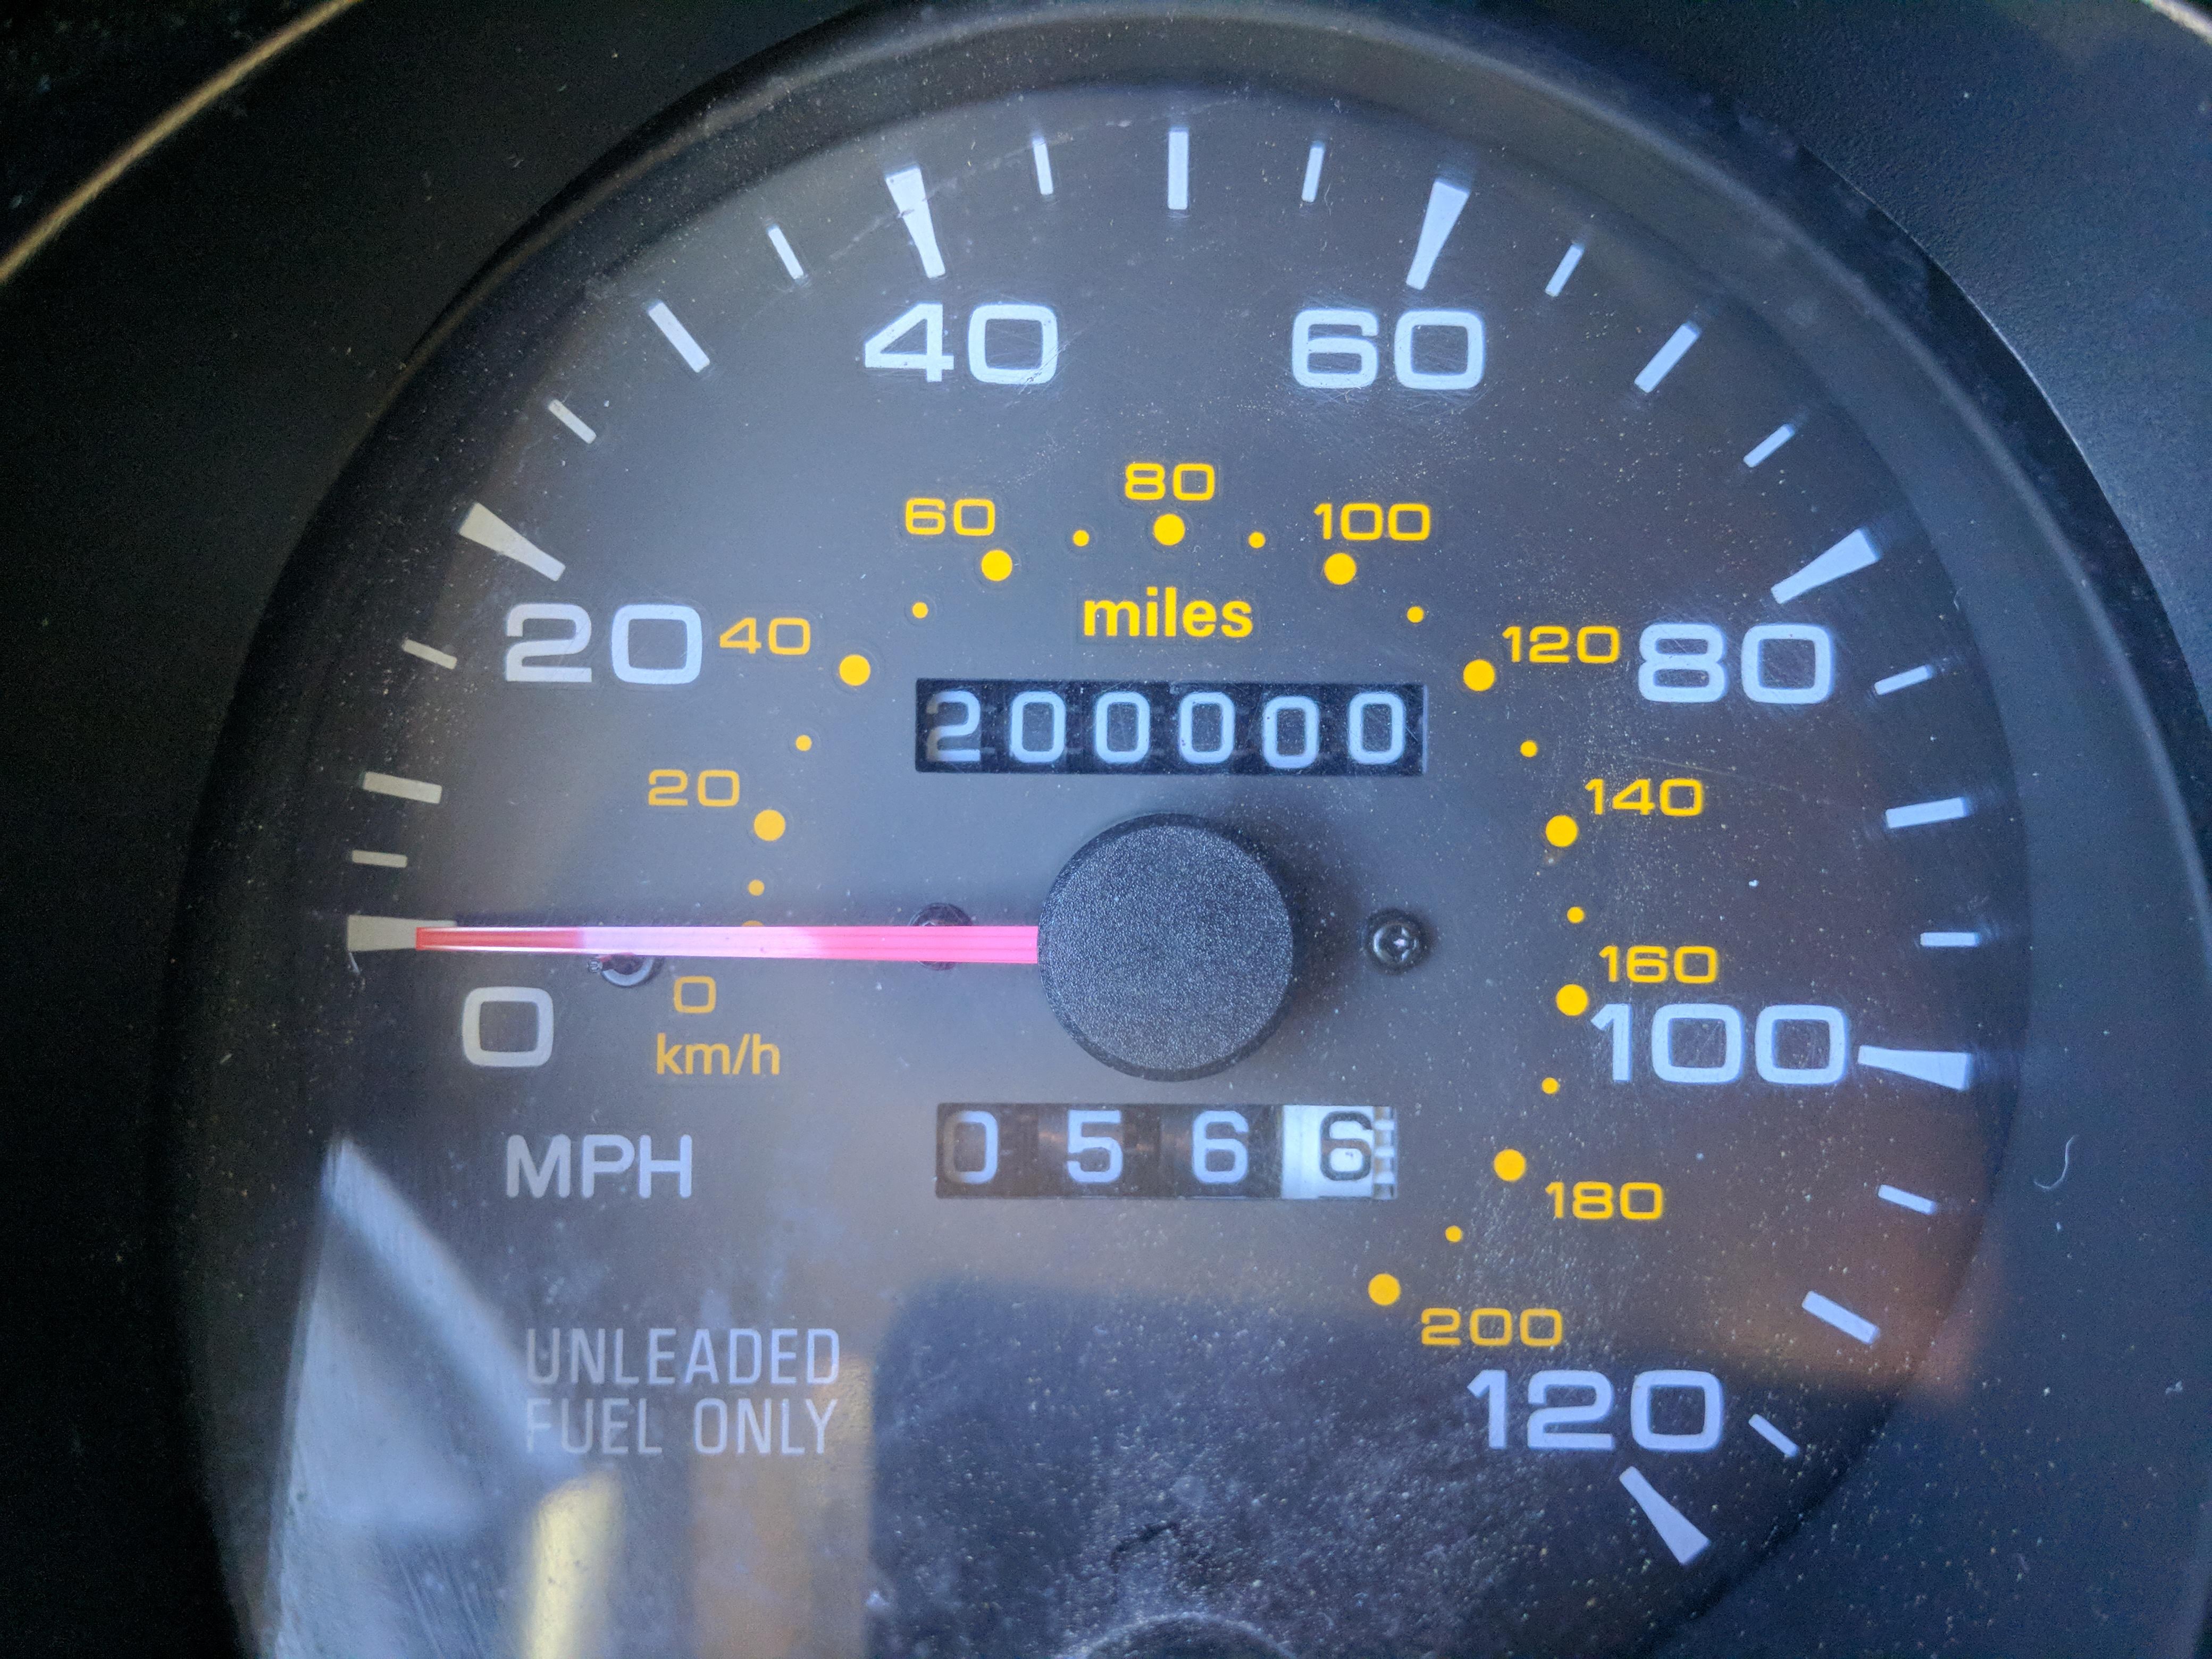
The life and times of Fezzik, my 1998 CA-Spec #Mitsubishi #Montero. Starting with the new engine at 200,000 miles, Mother’s Day weekend, 2018. (I originally purhcased ol’ Fez a few years earlier, selling Rocinante, my 1989 Raider, SWB 2.6, to fund the purchase, but those are stories for another time.)
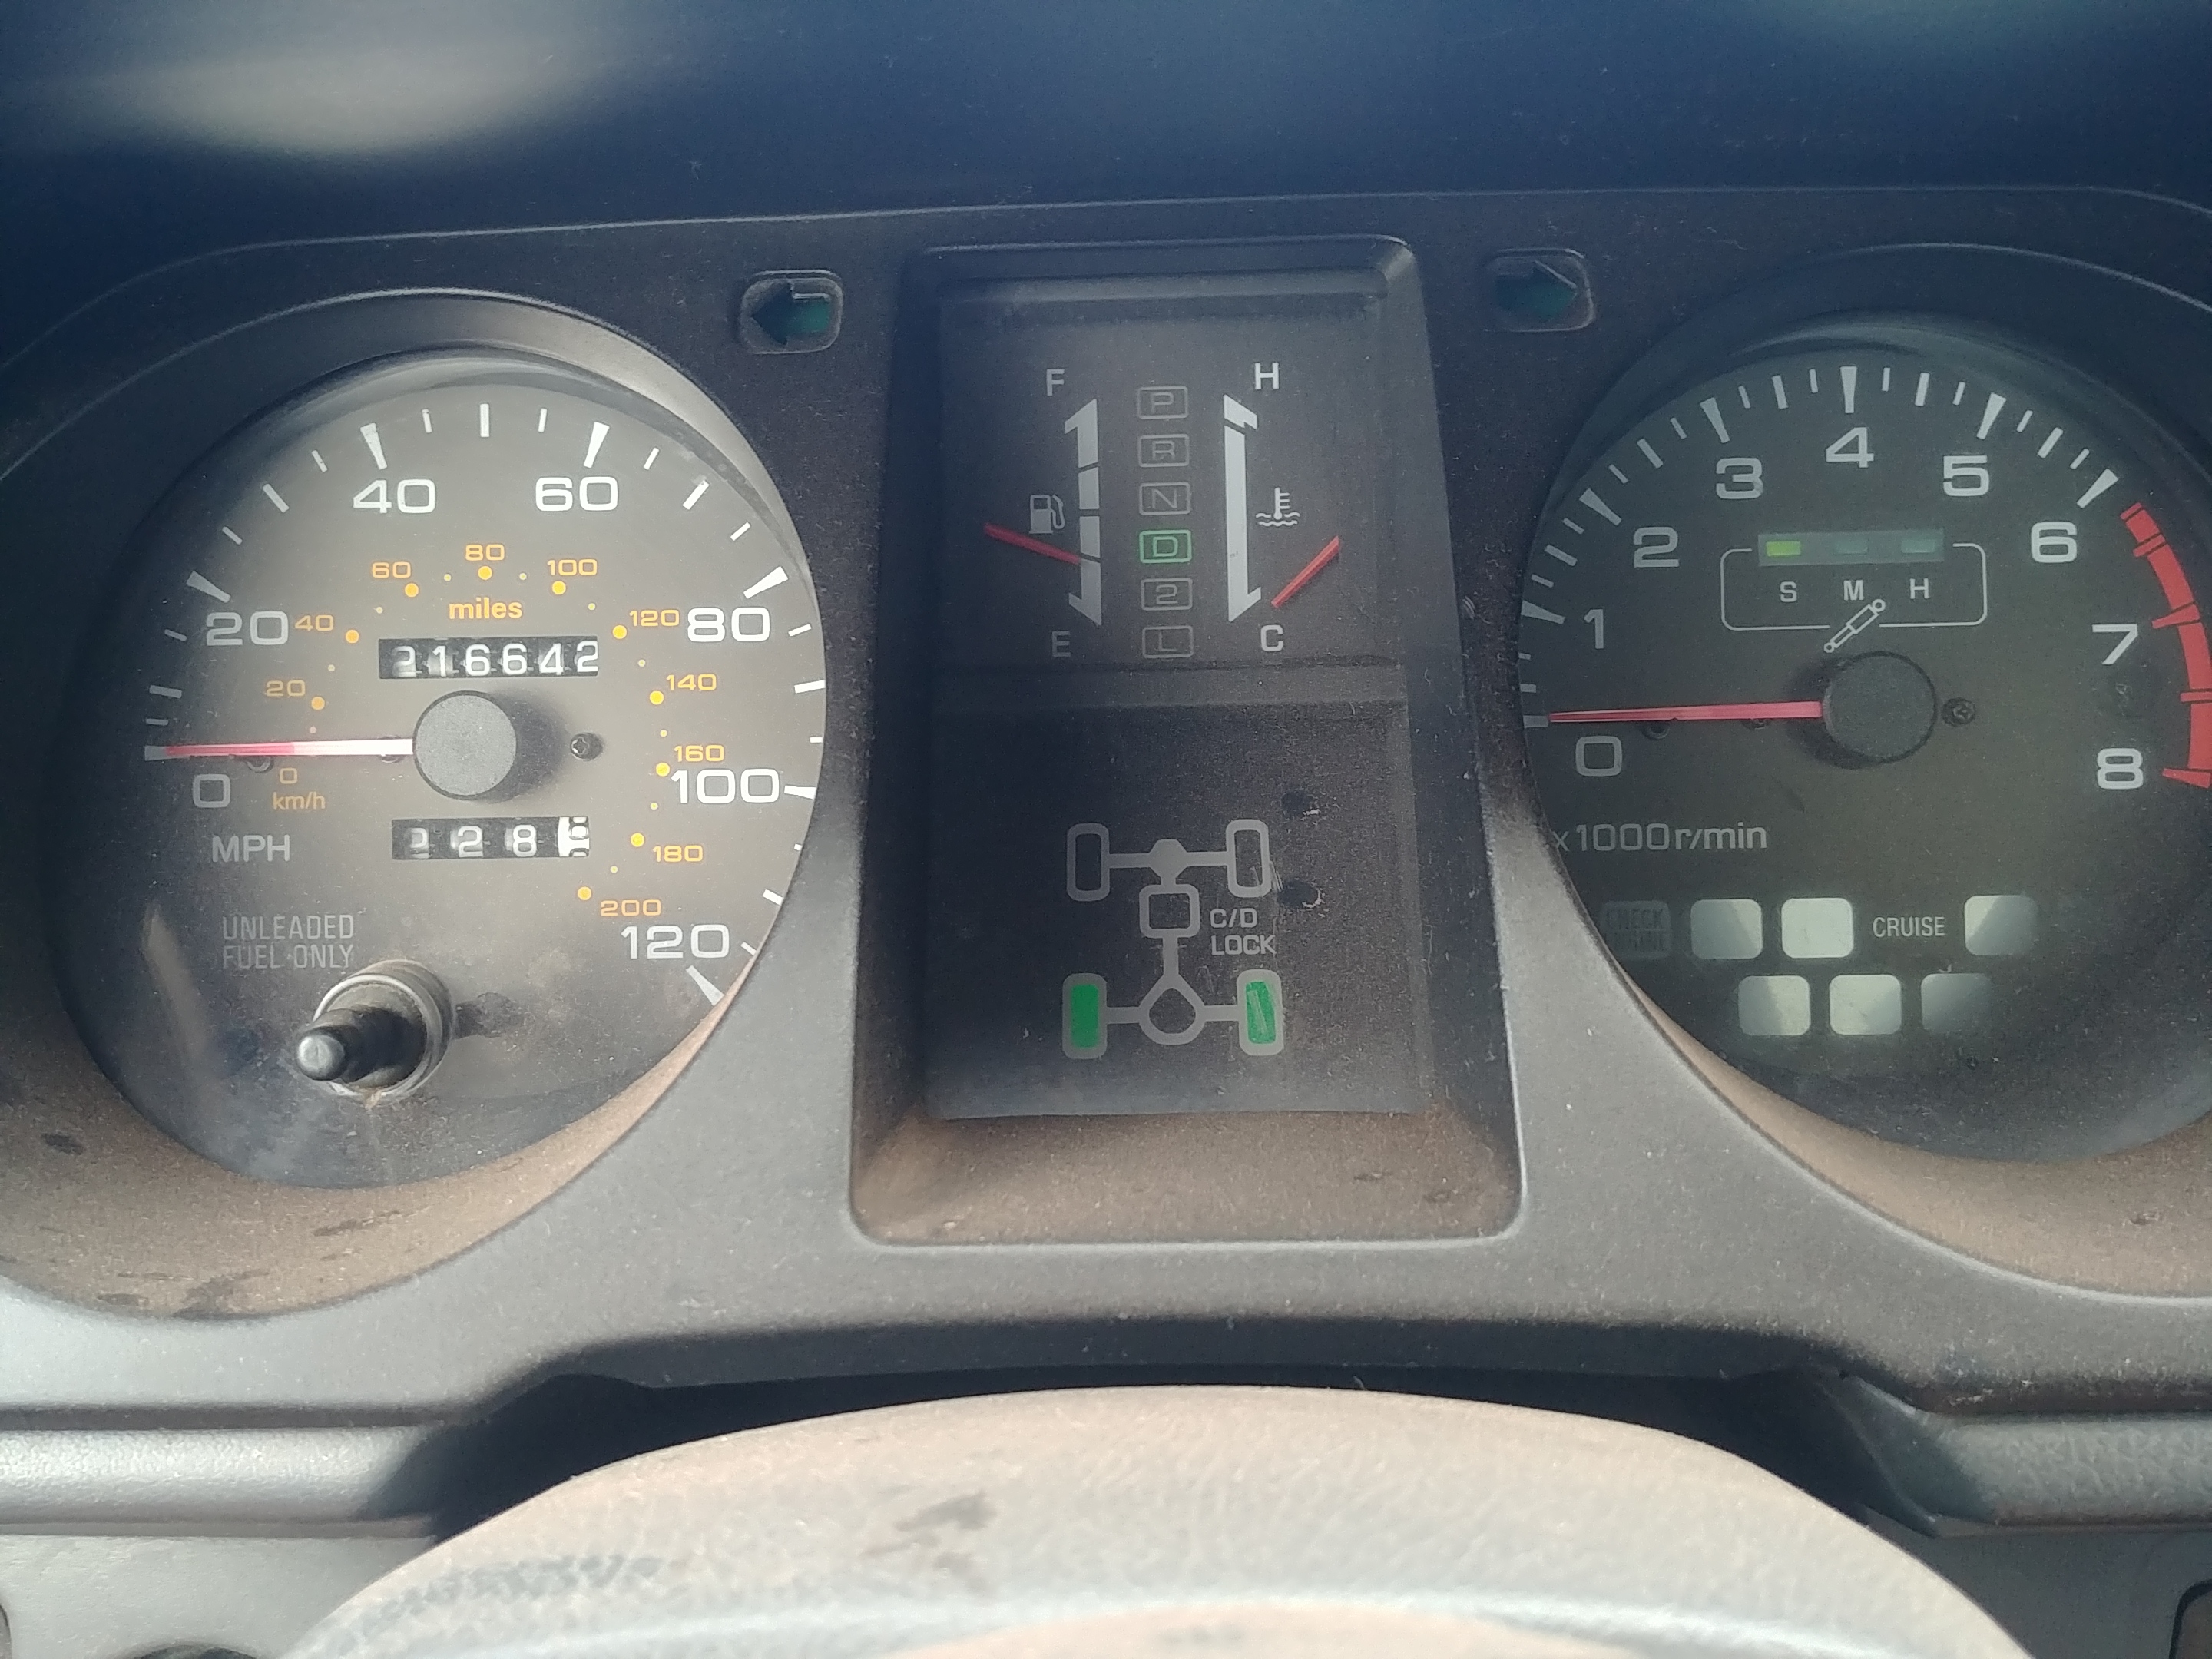
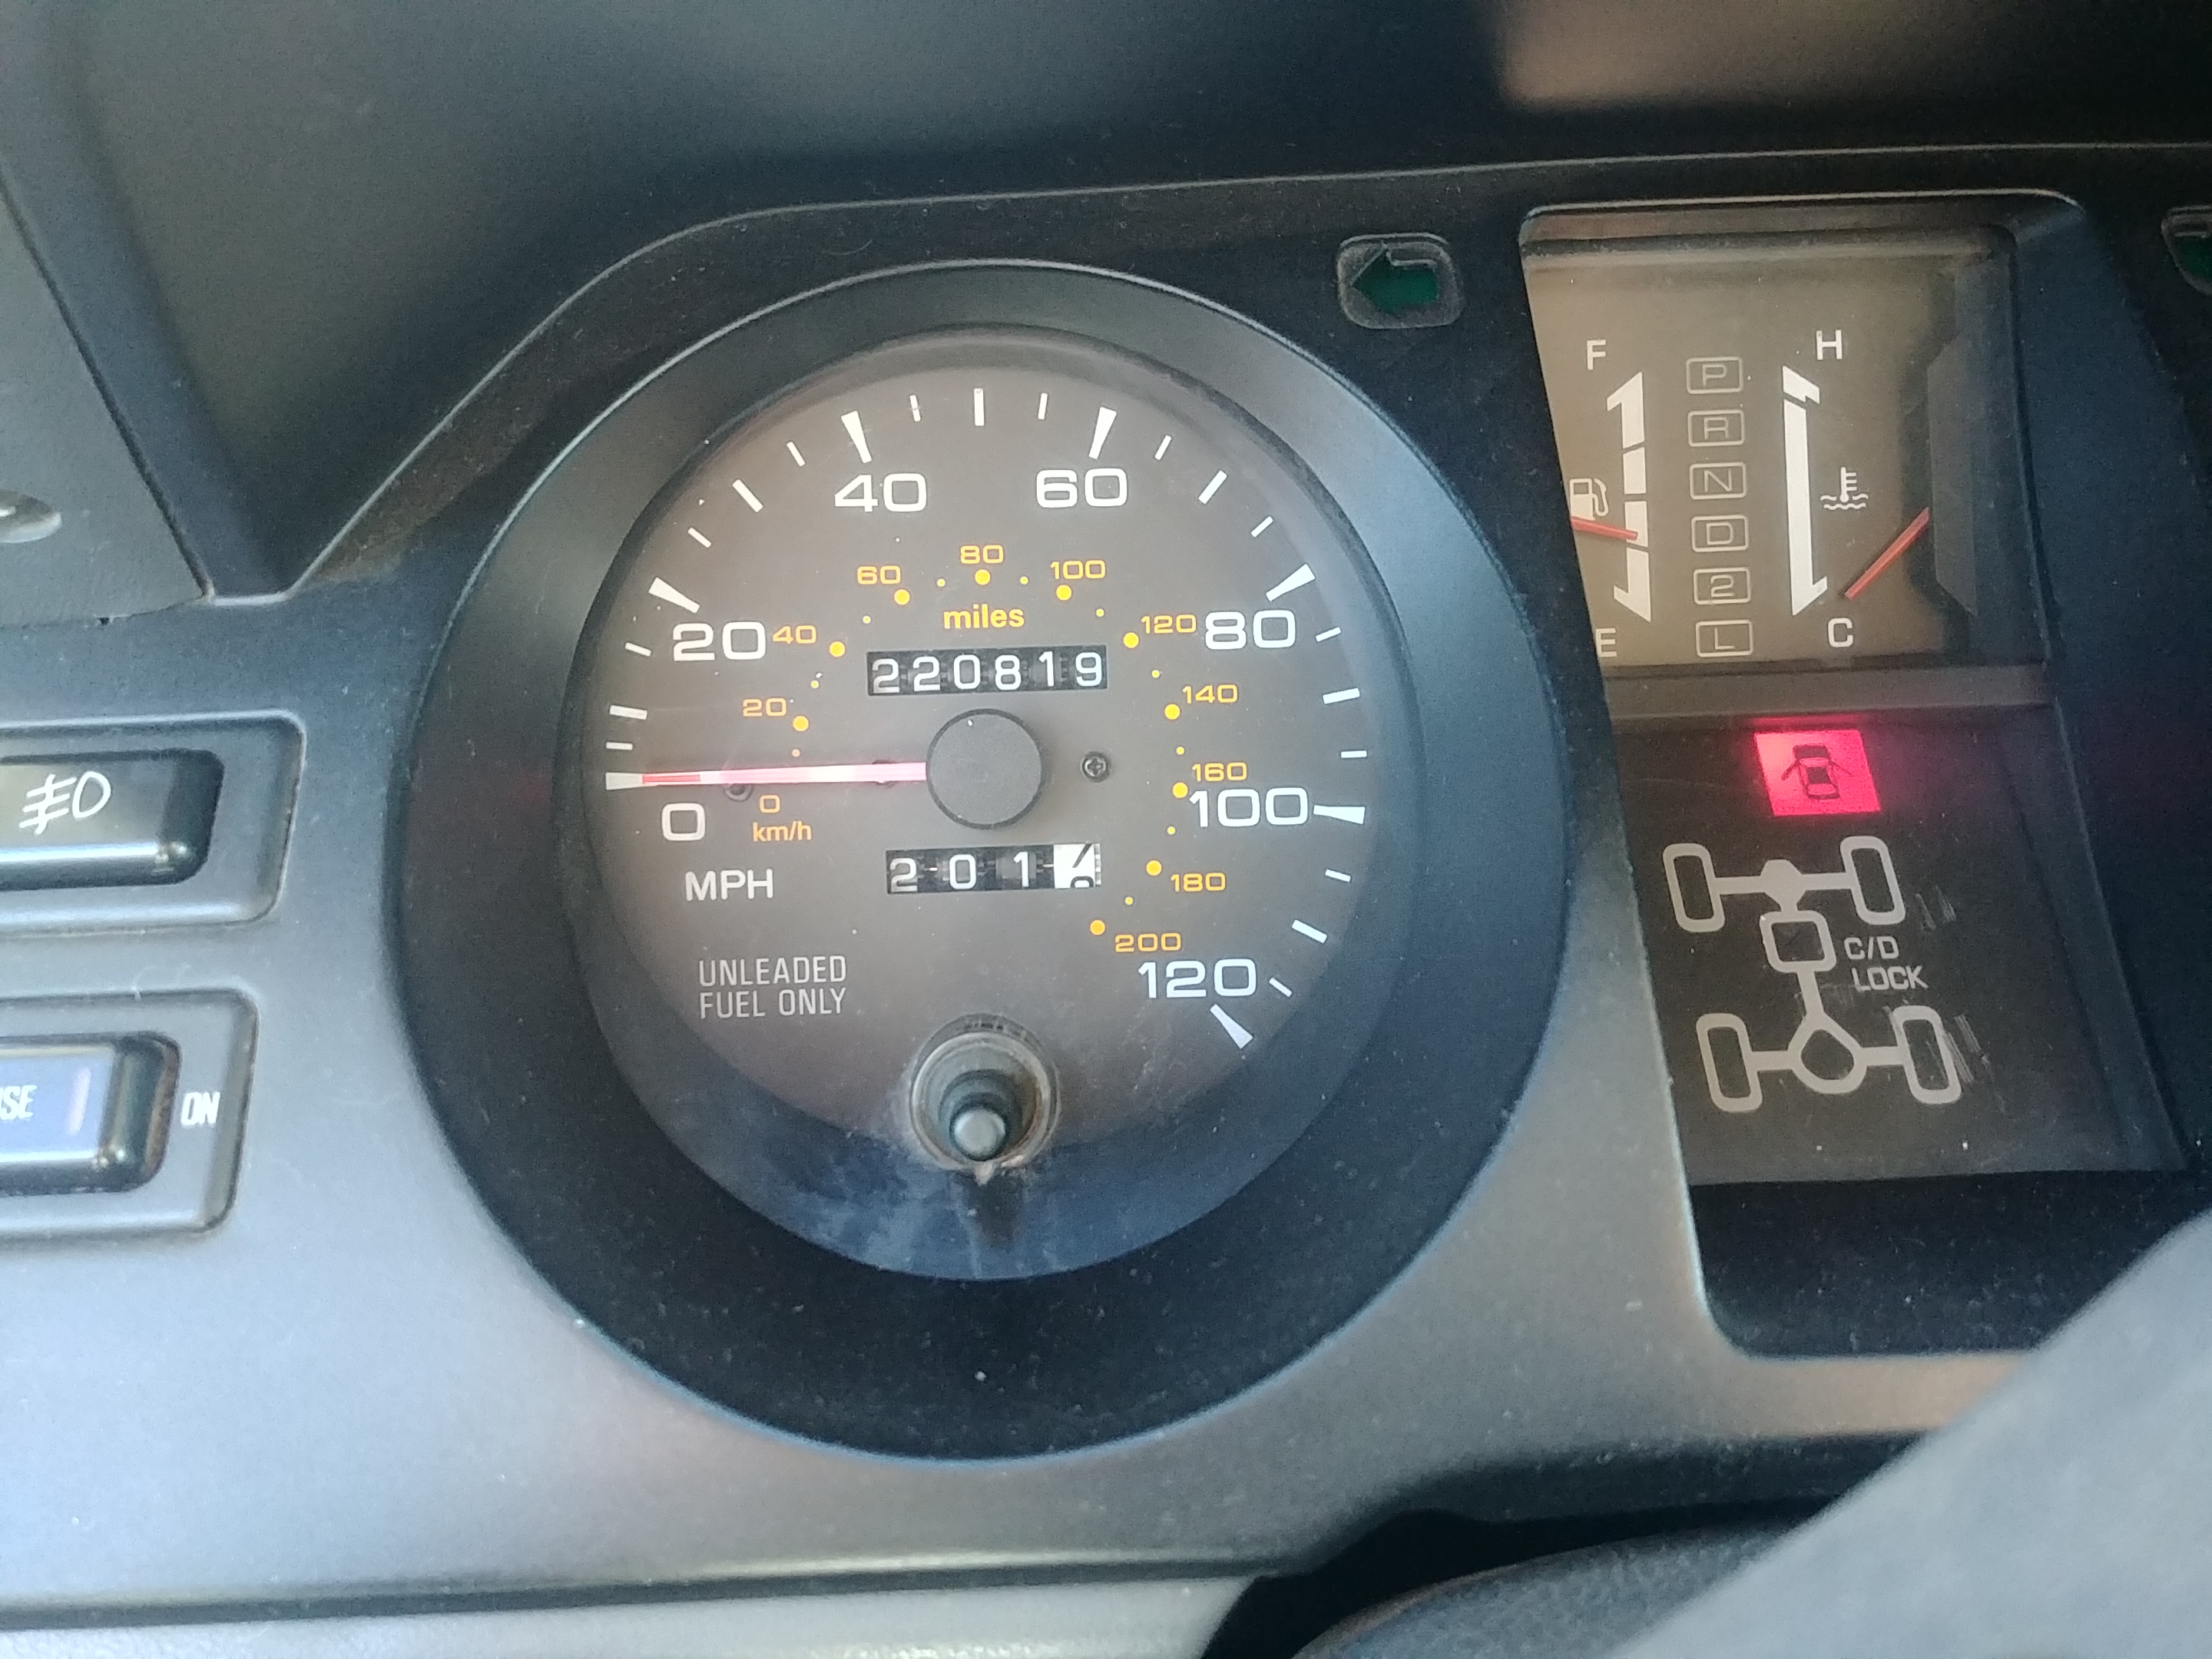
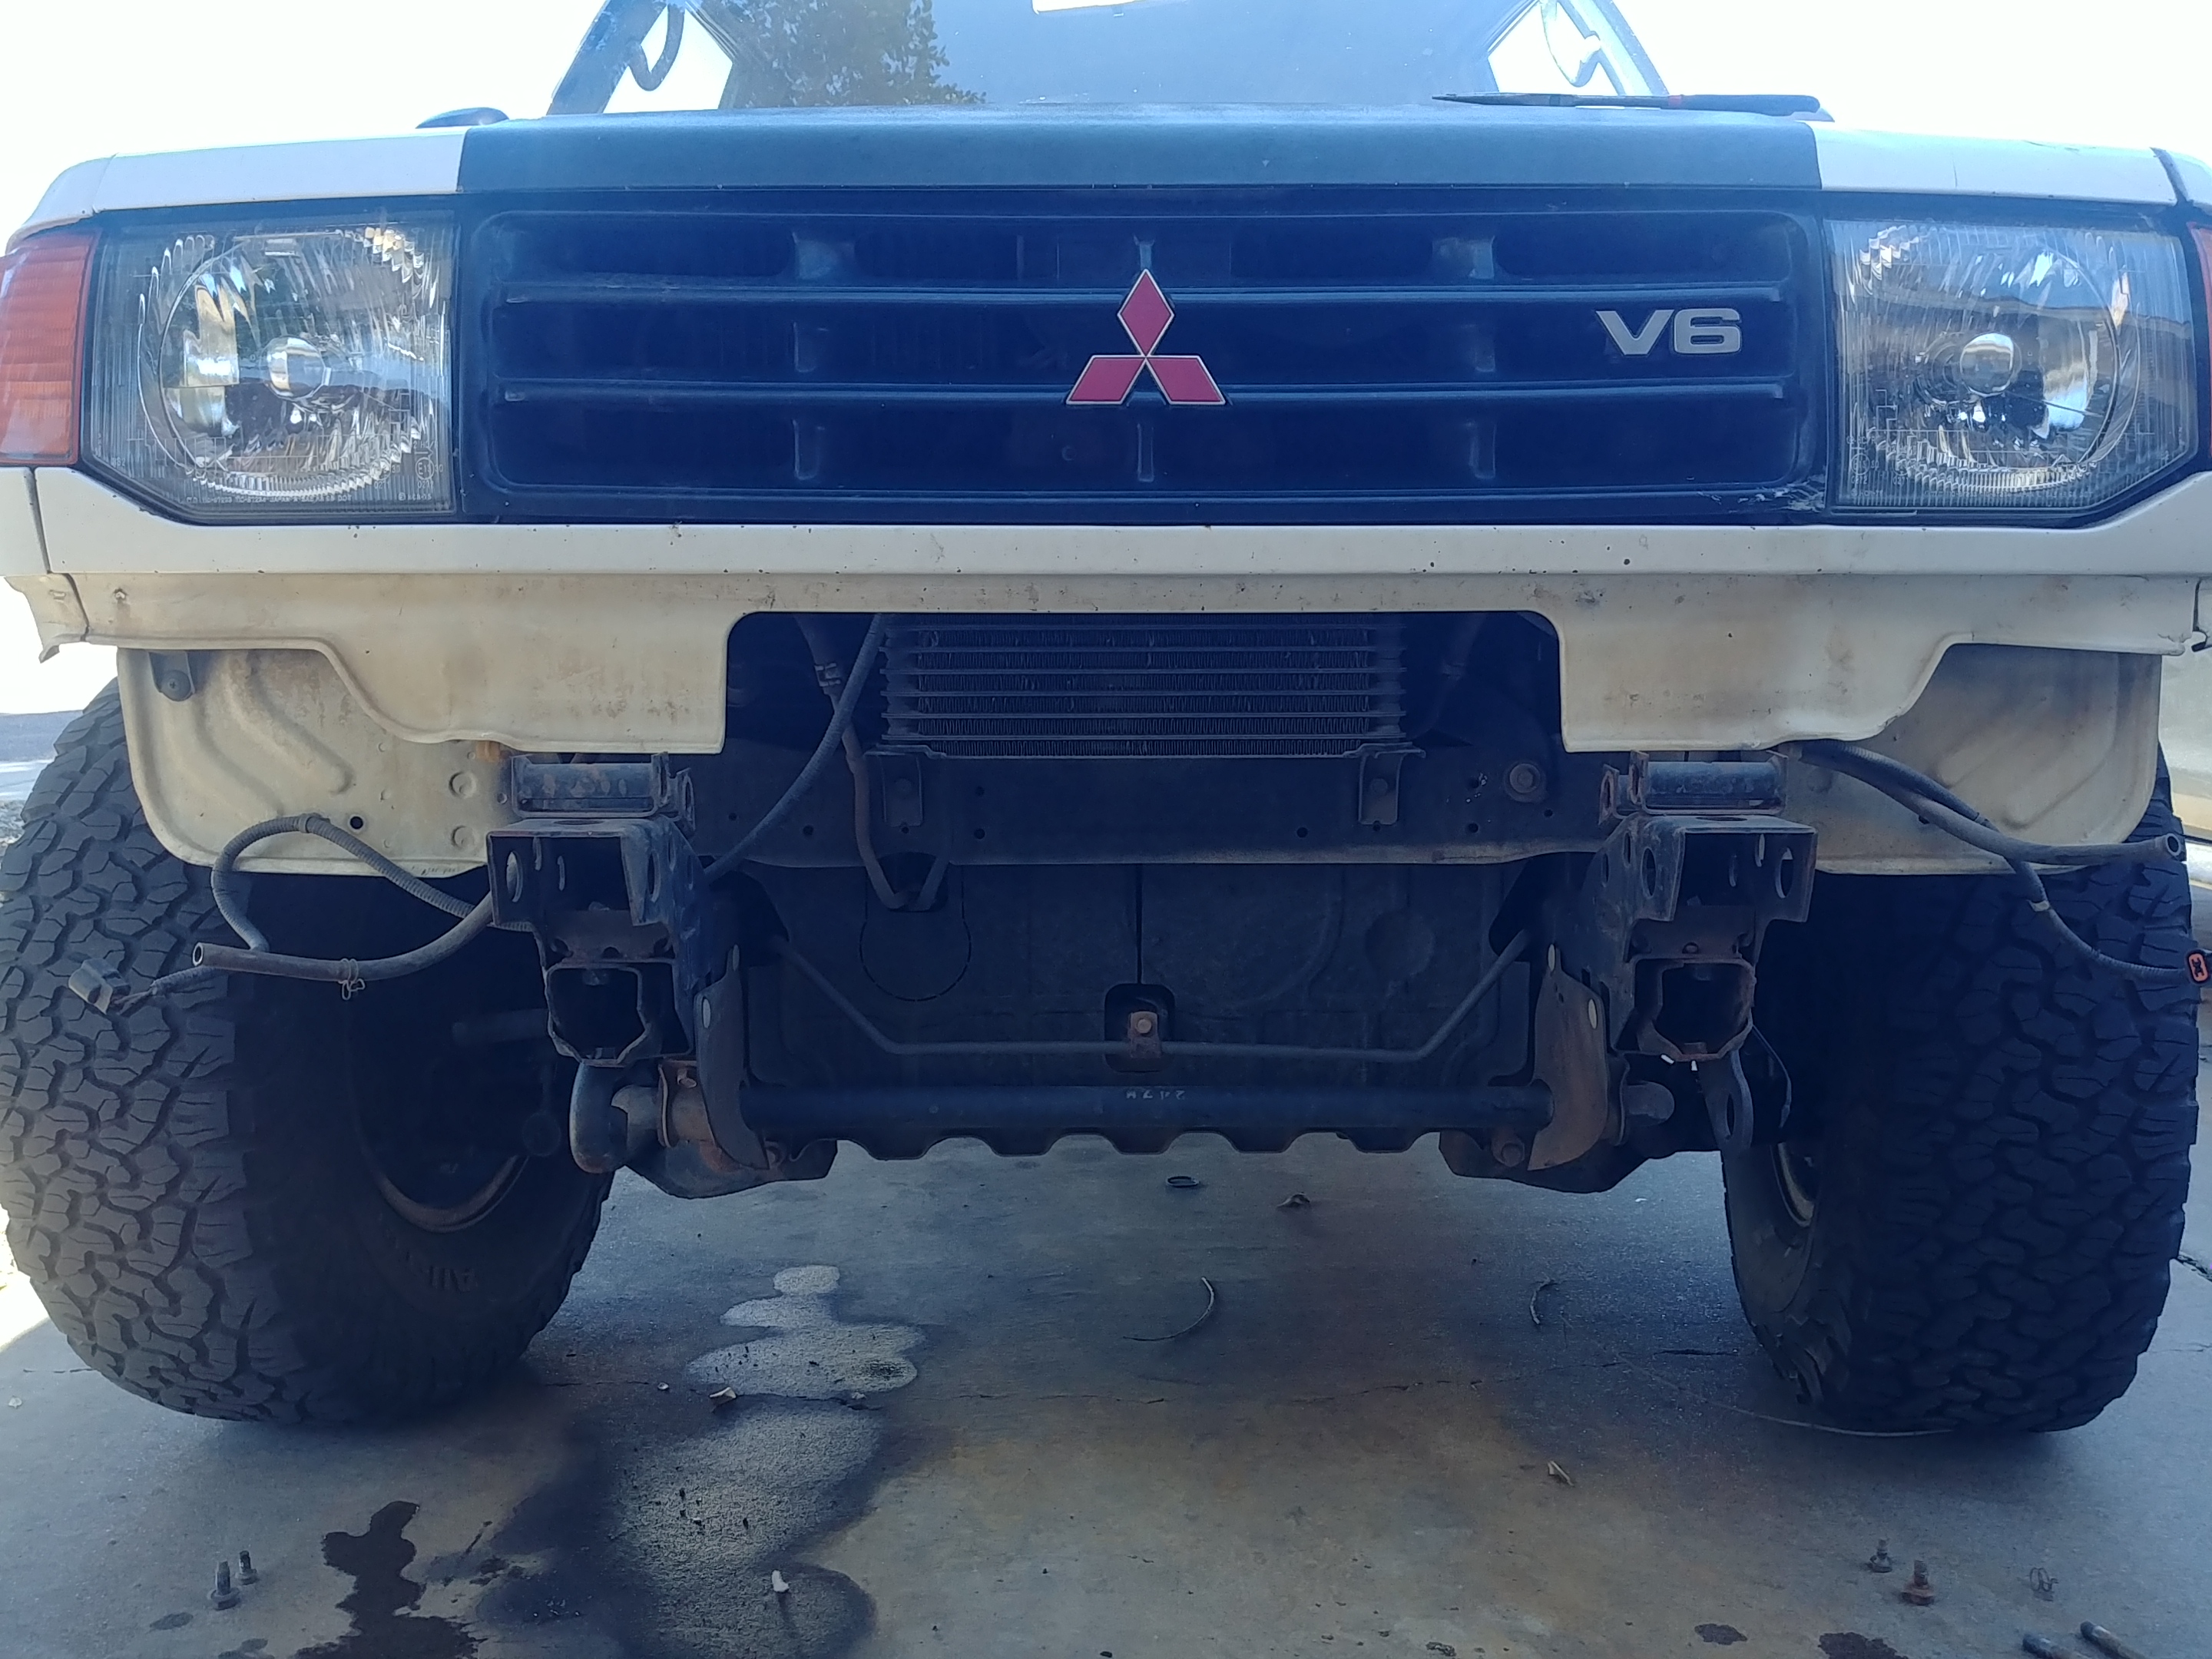
199,9XX
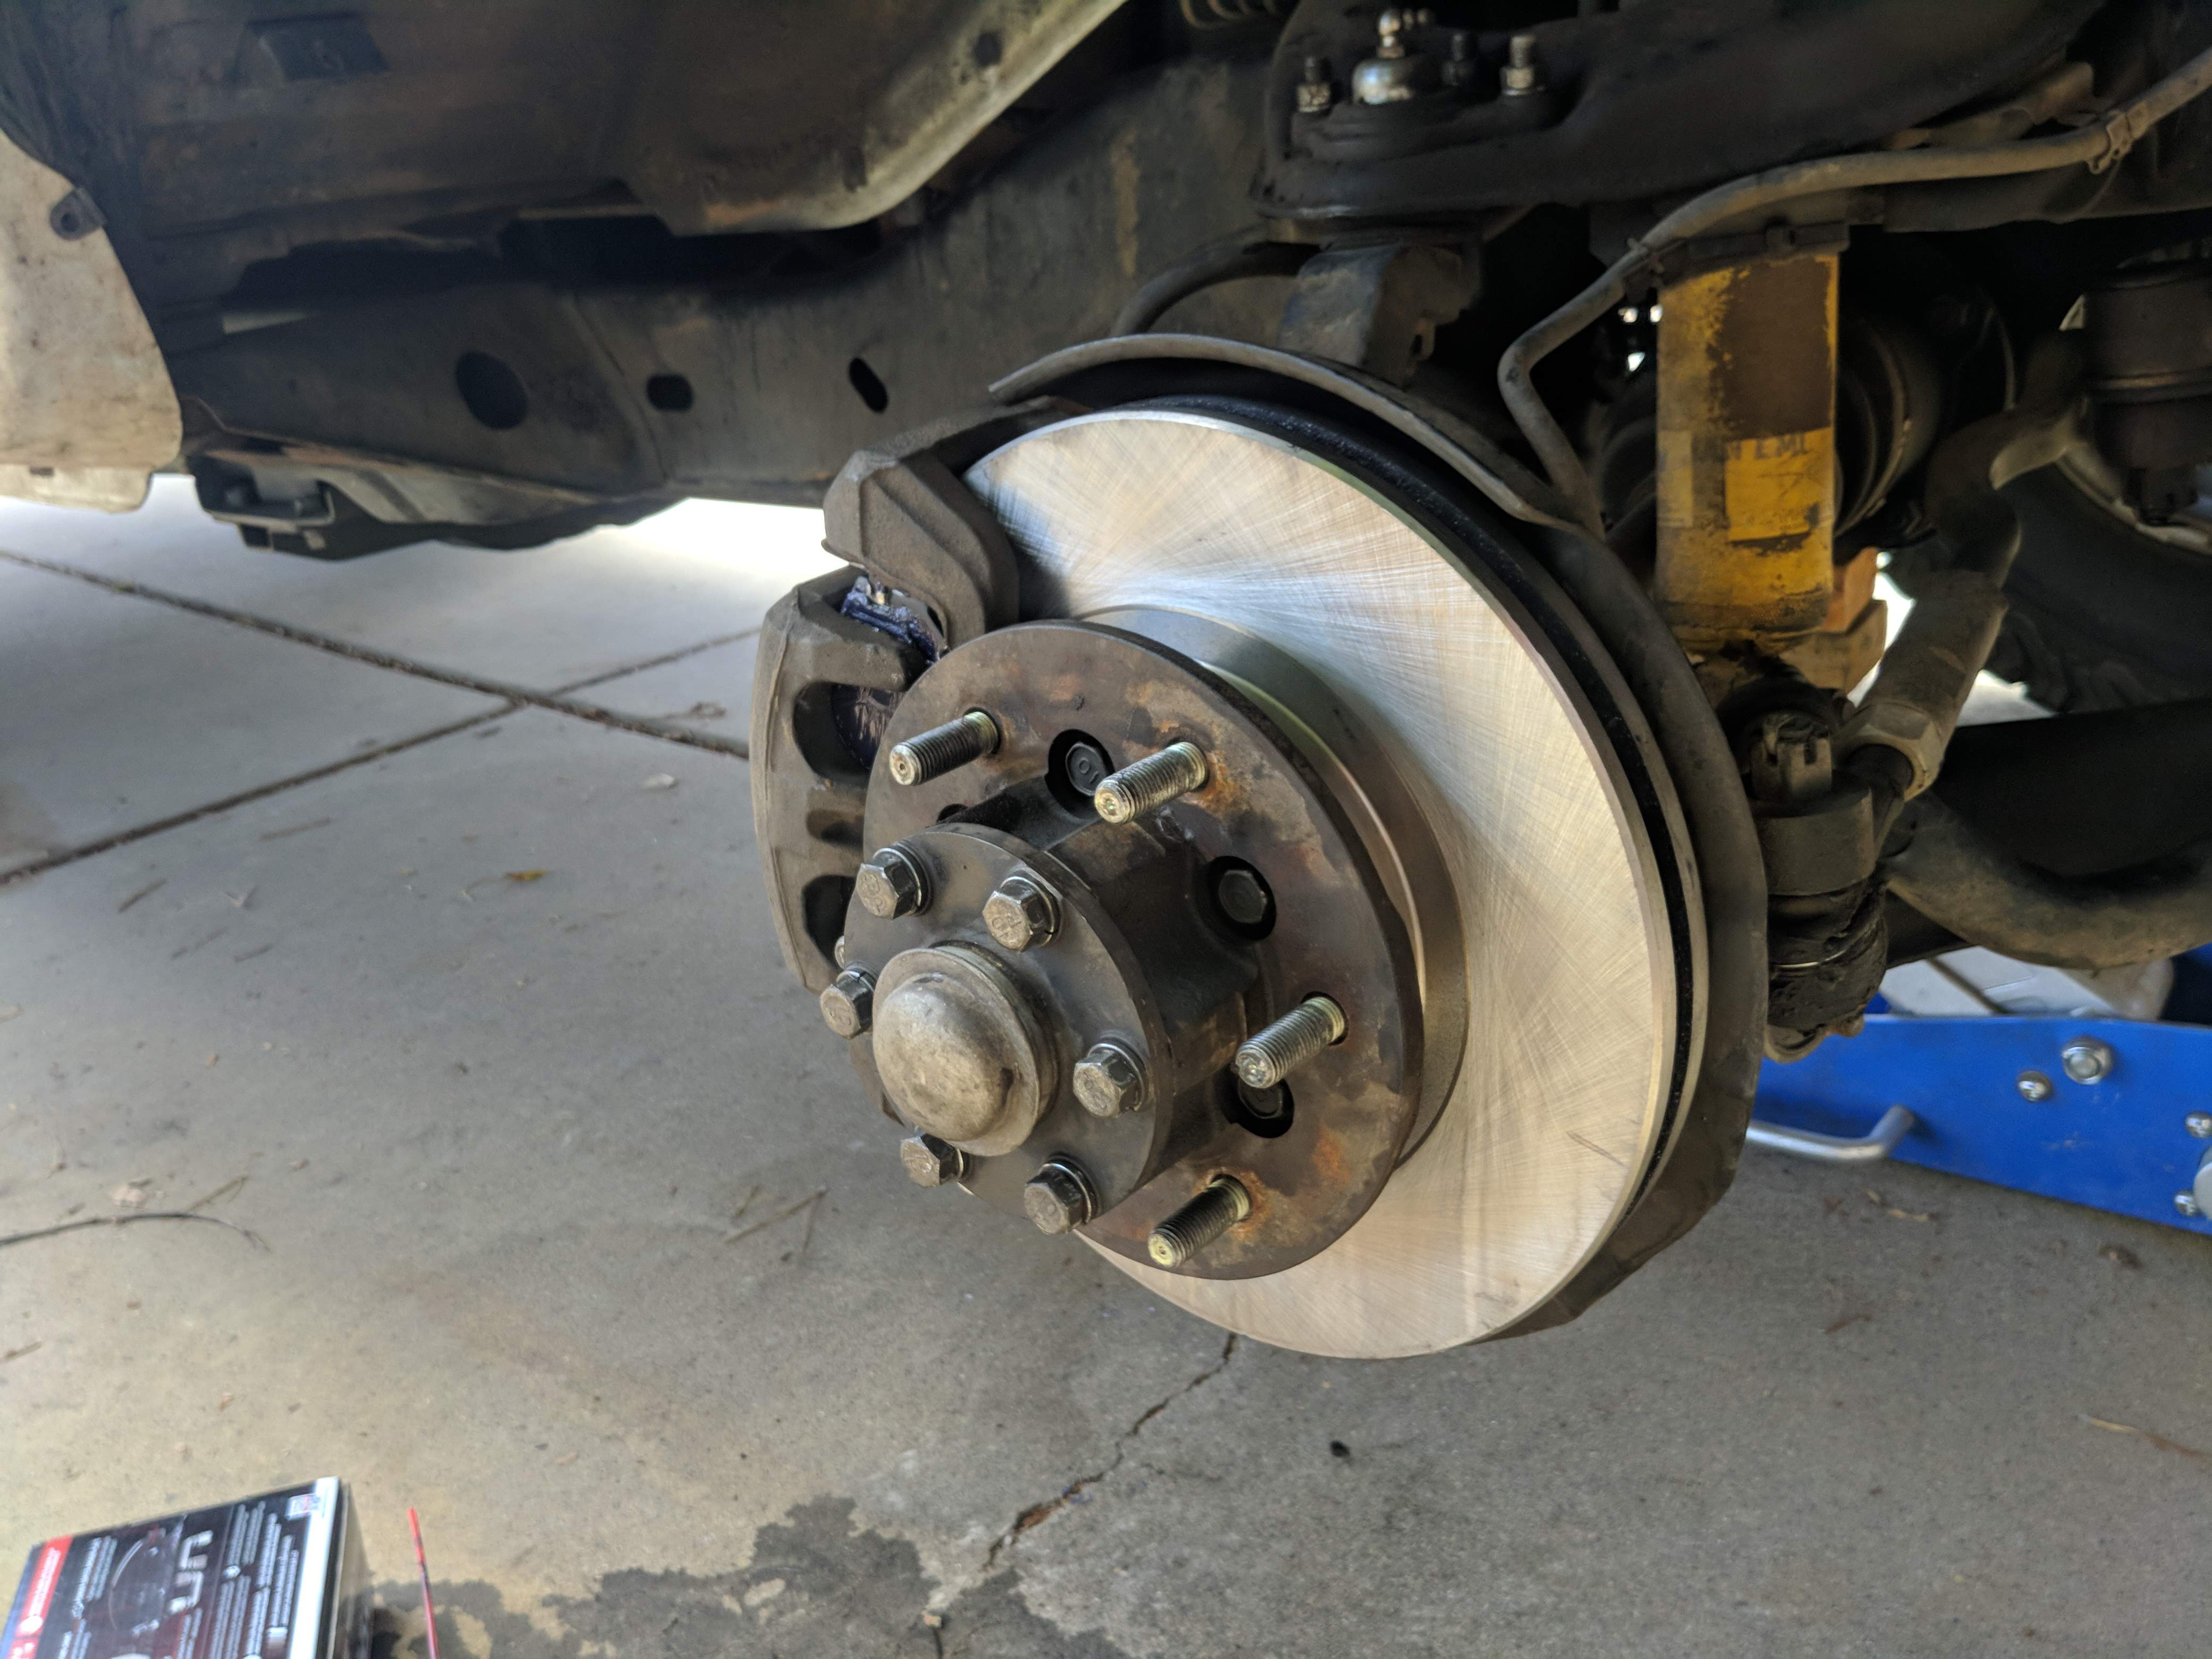
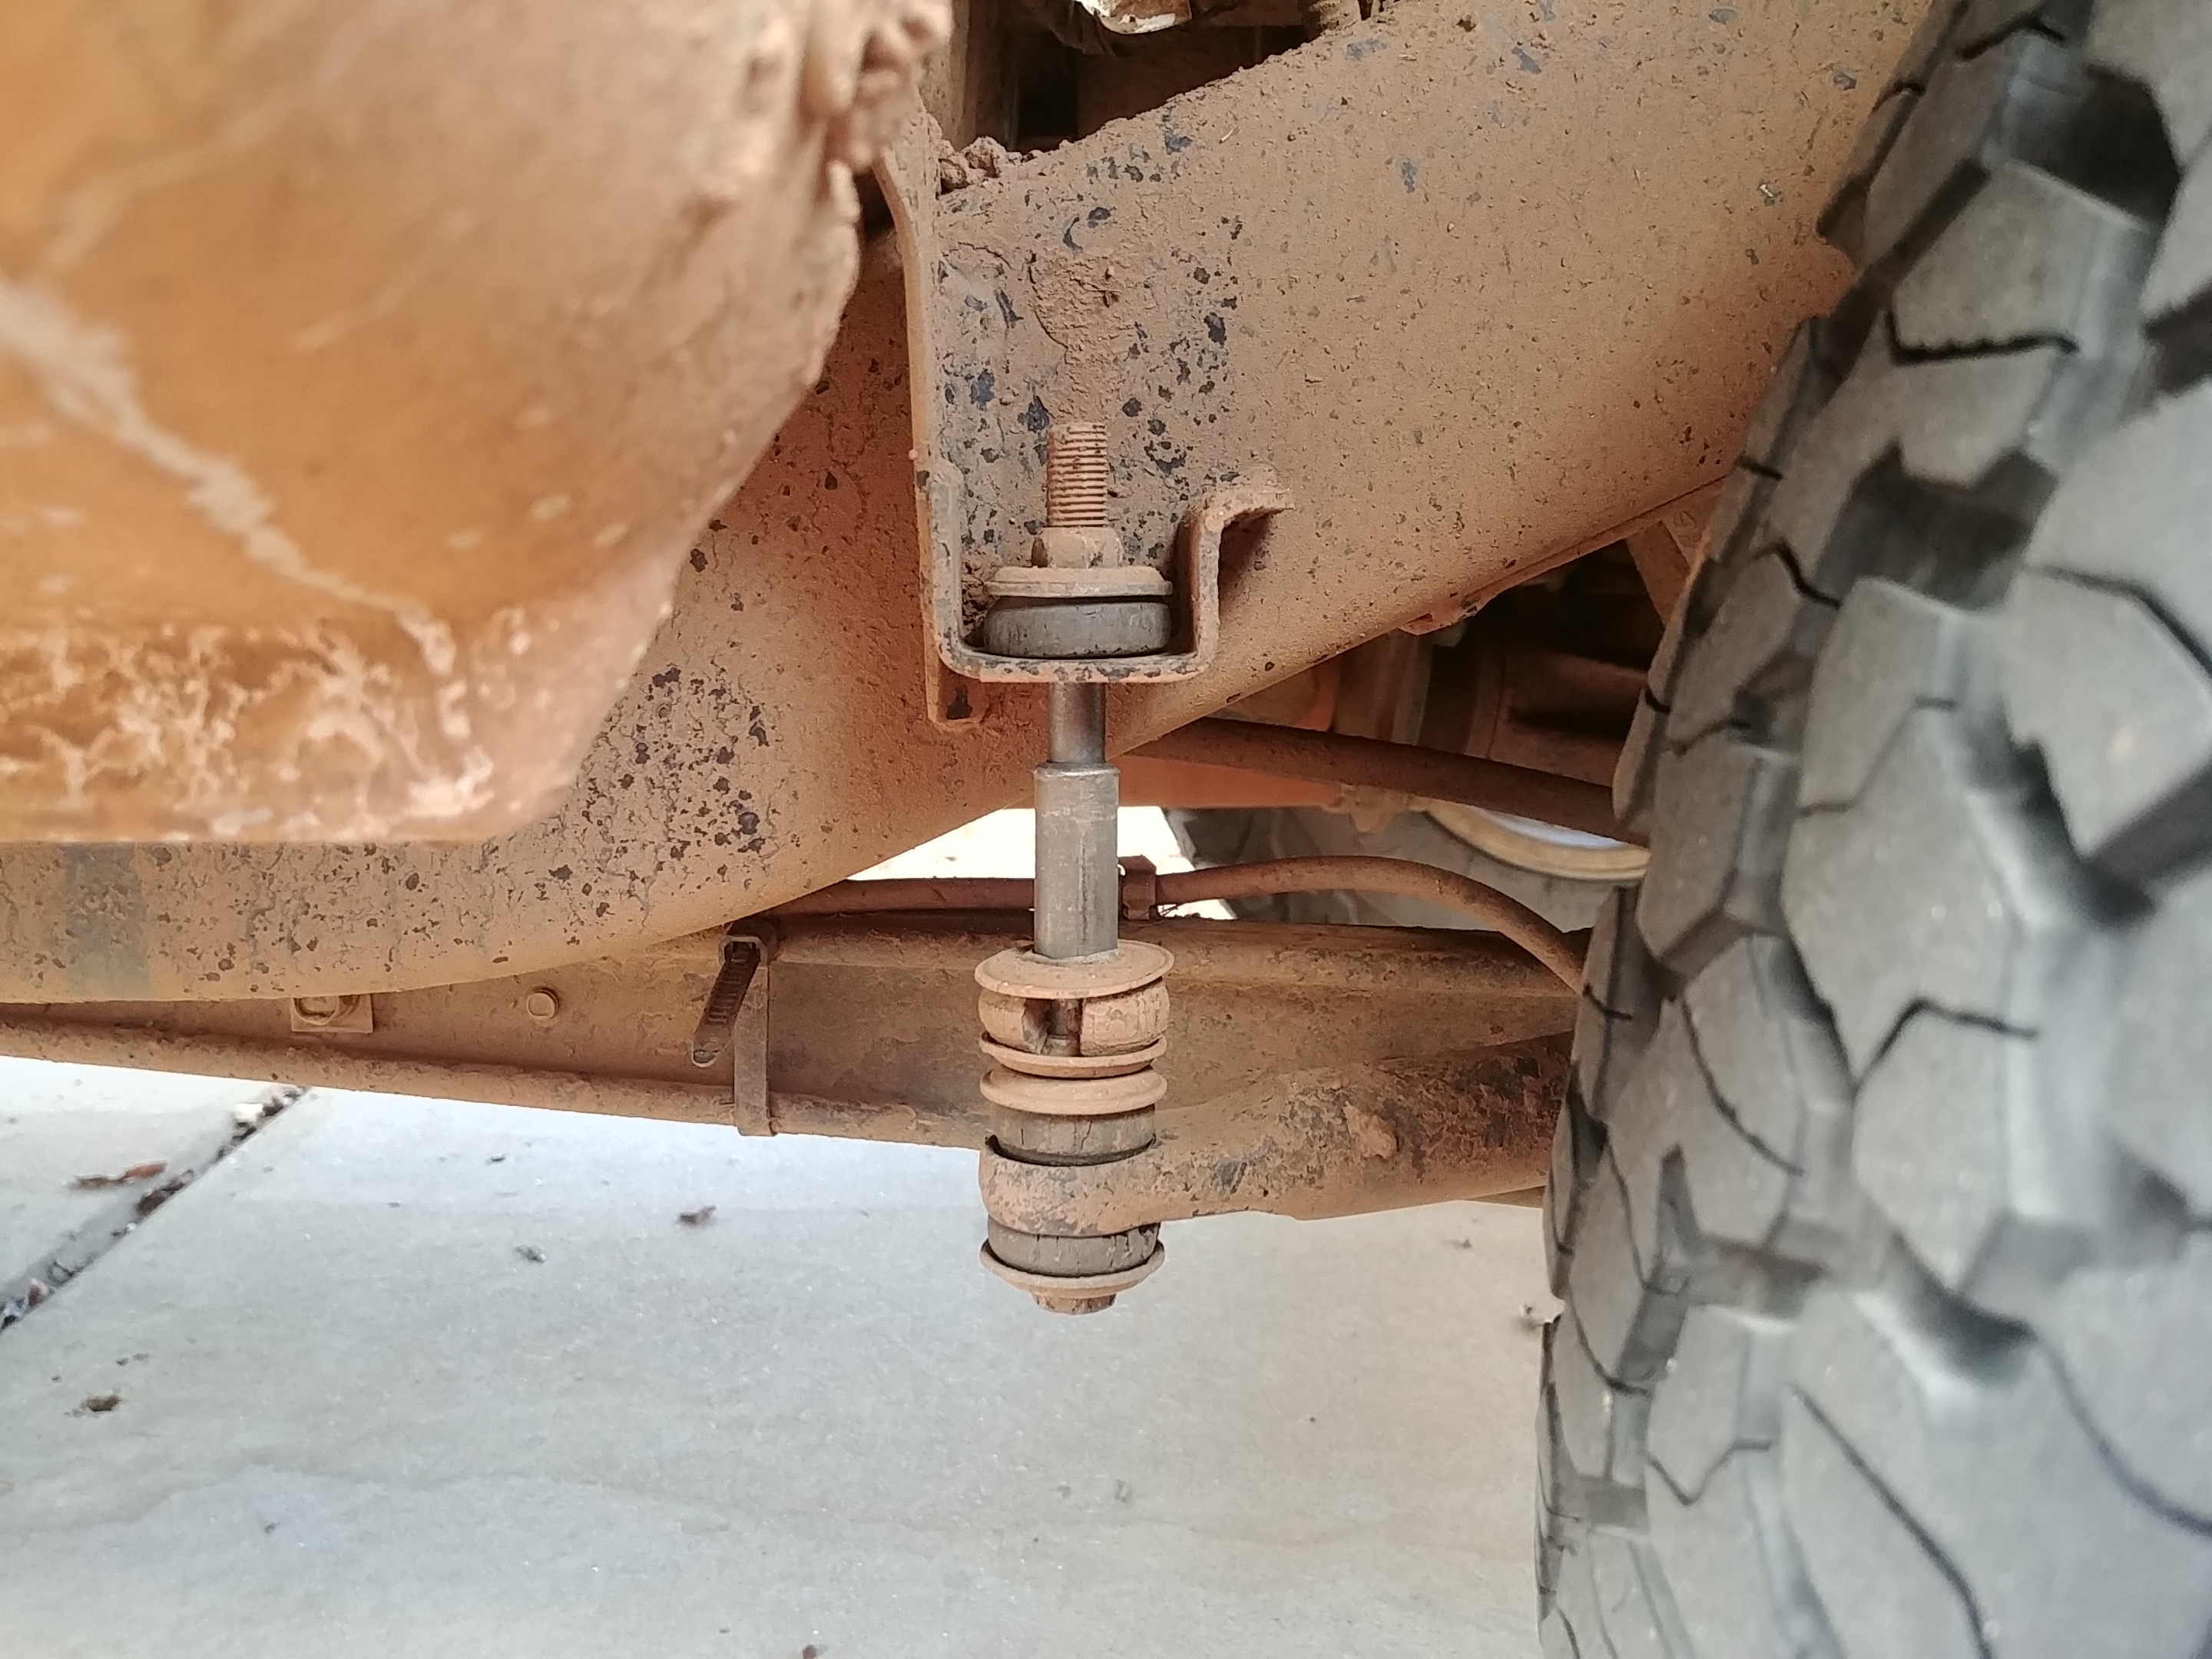
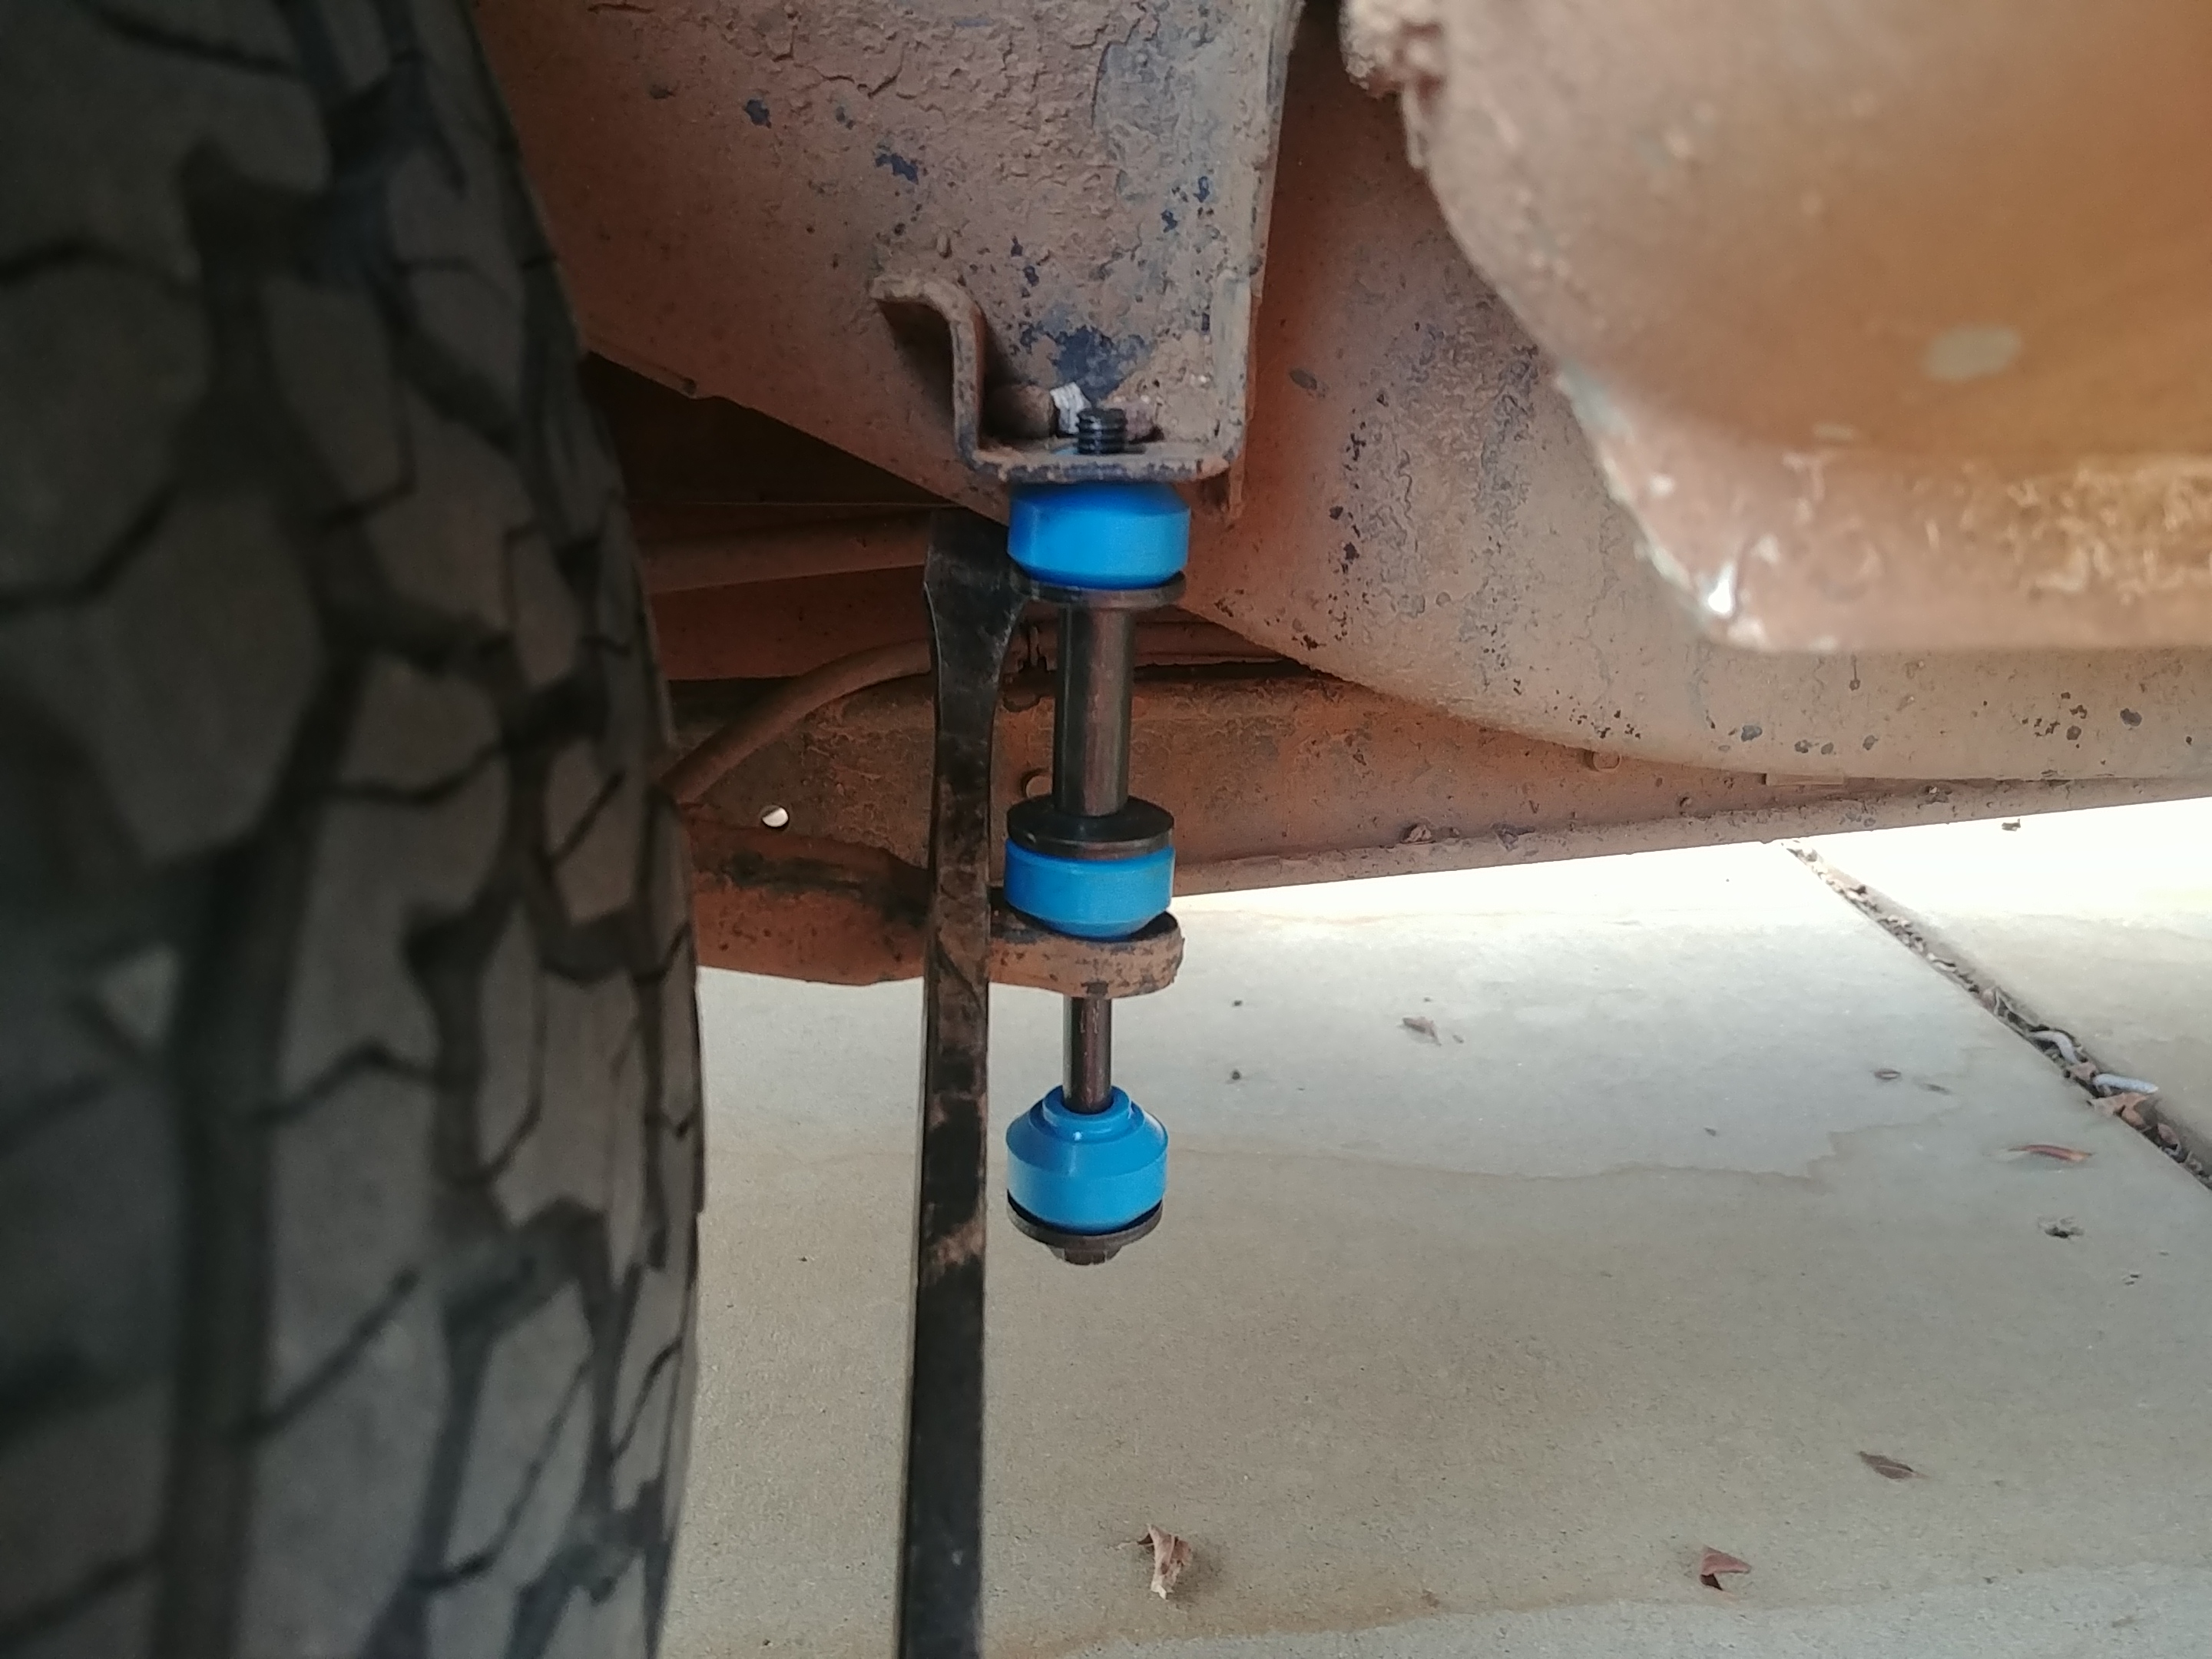
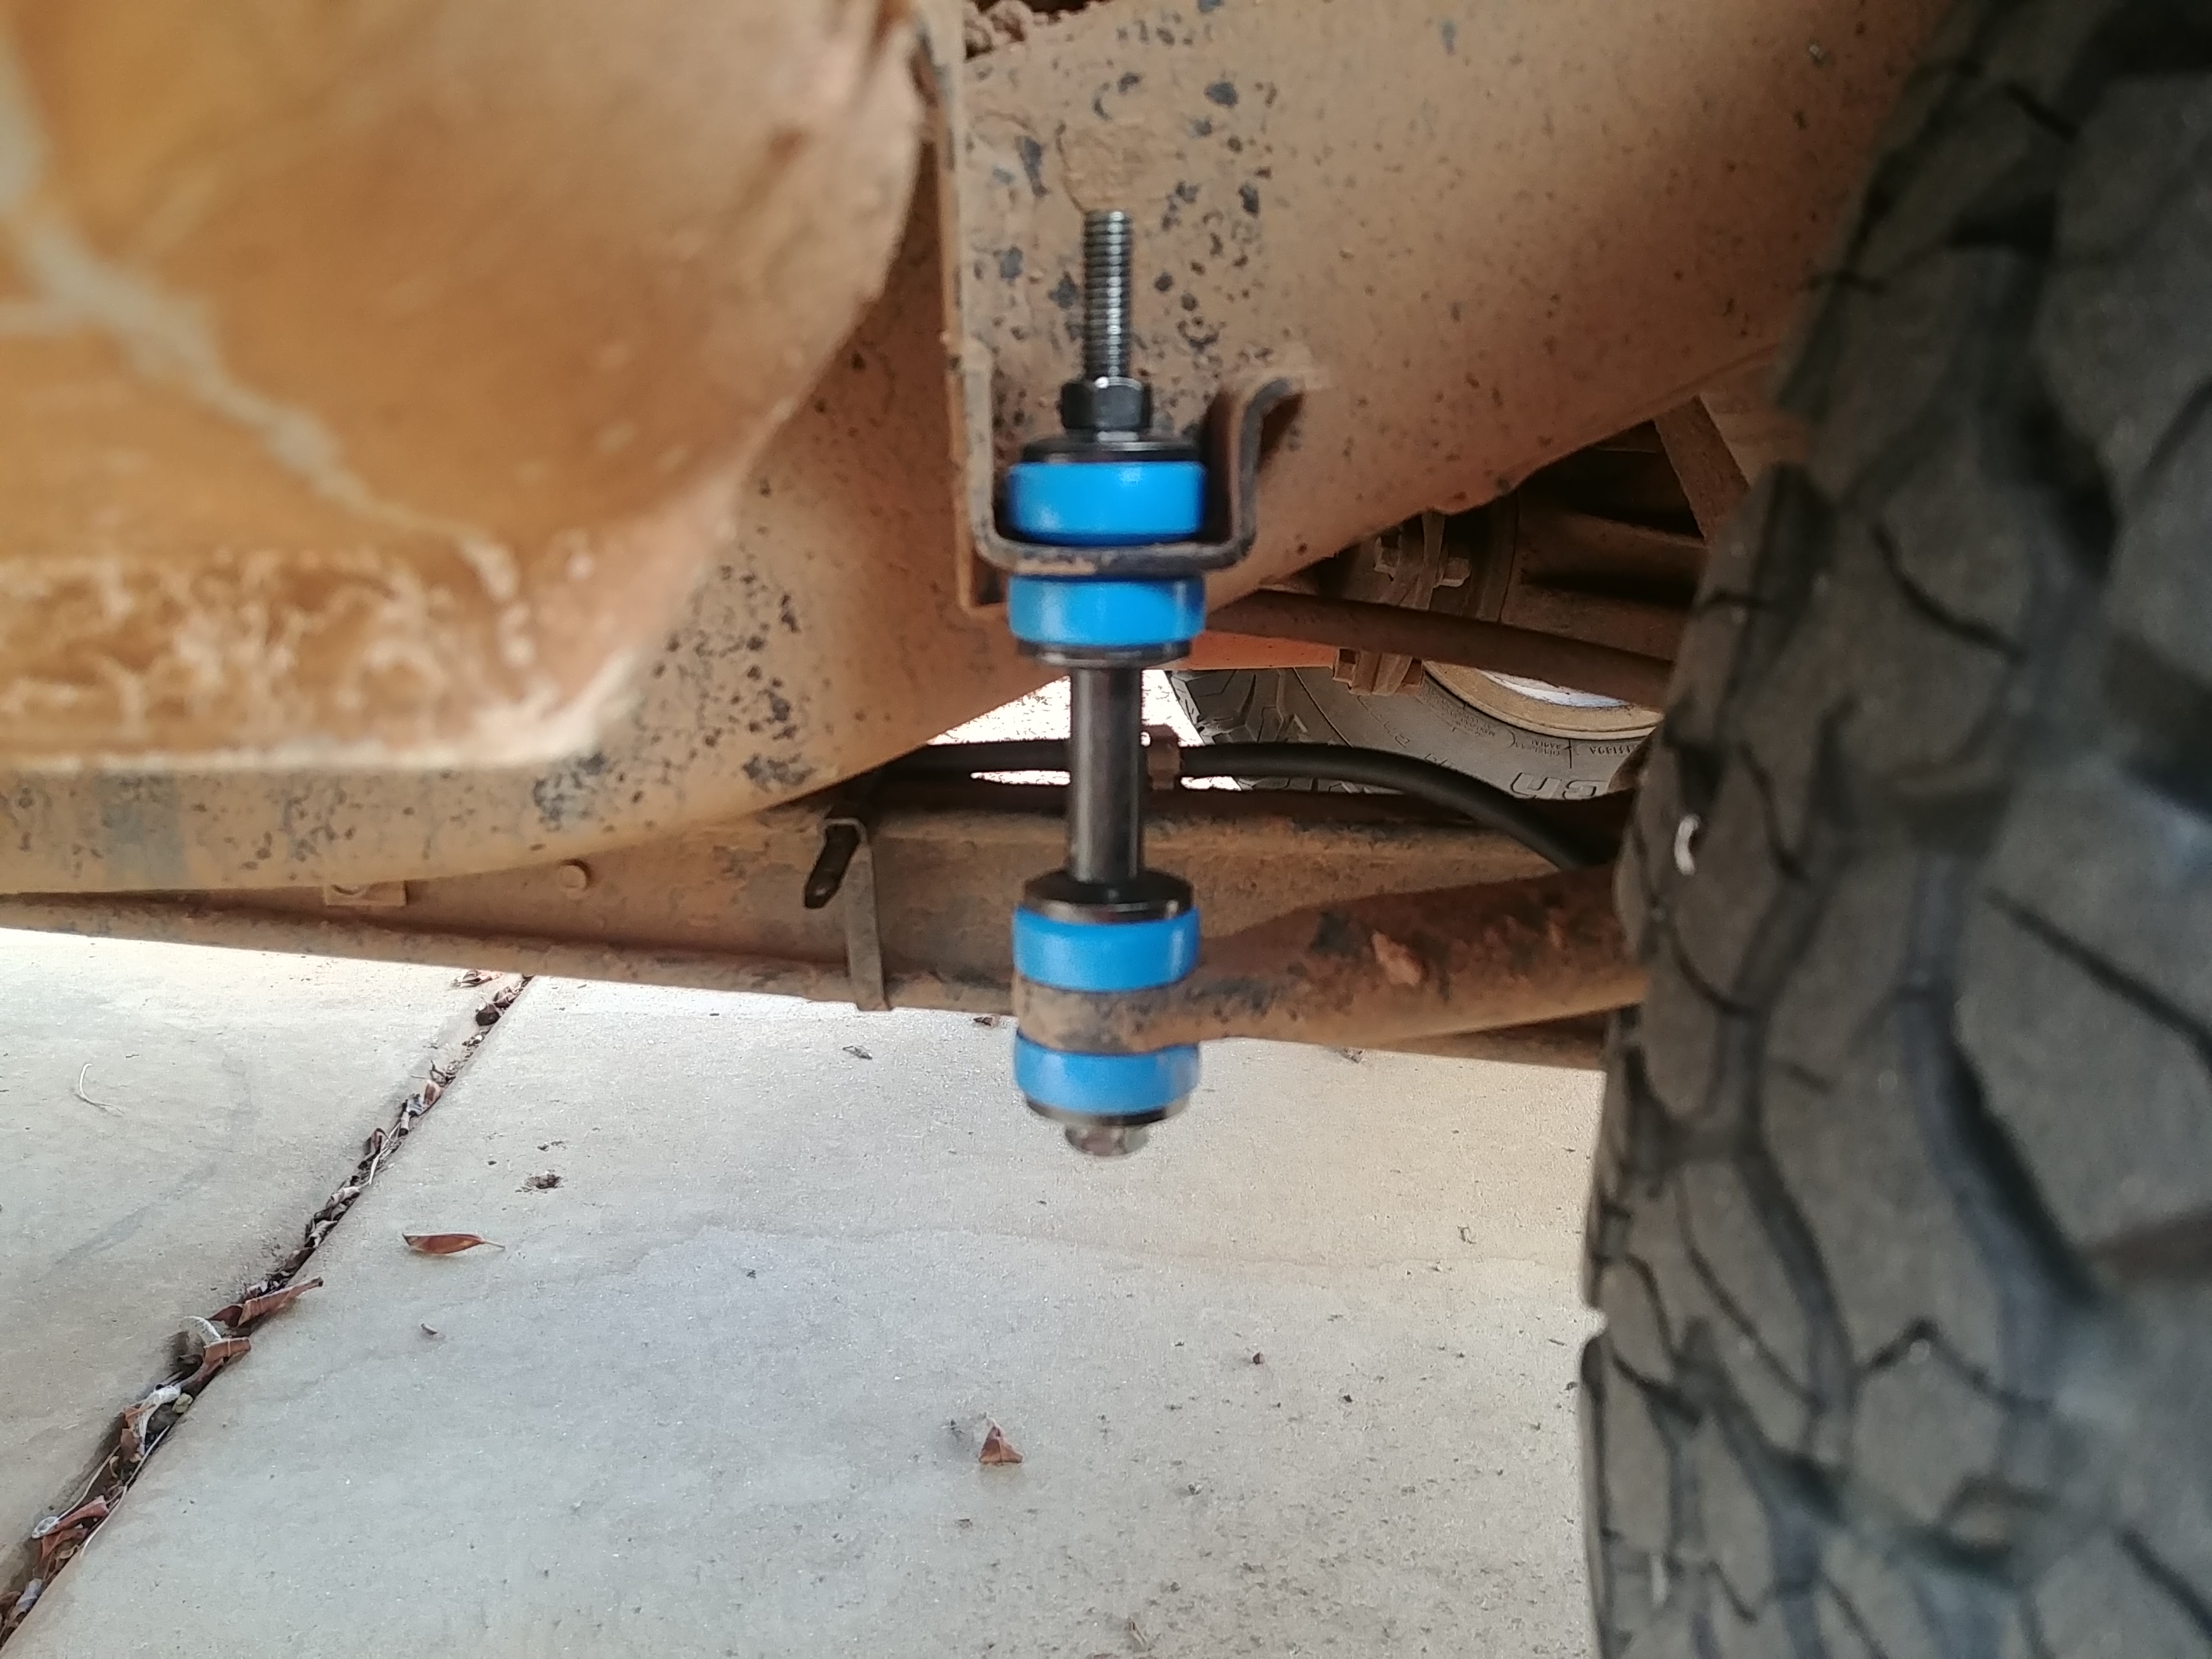
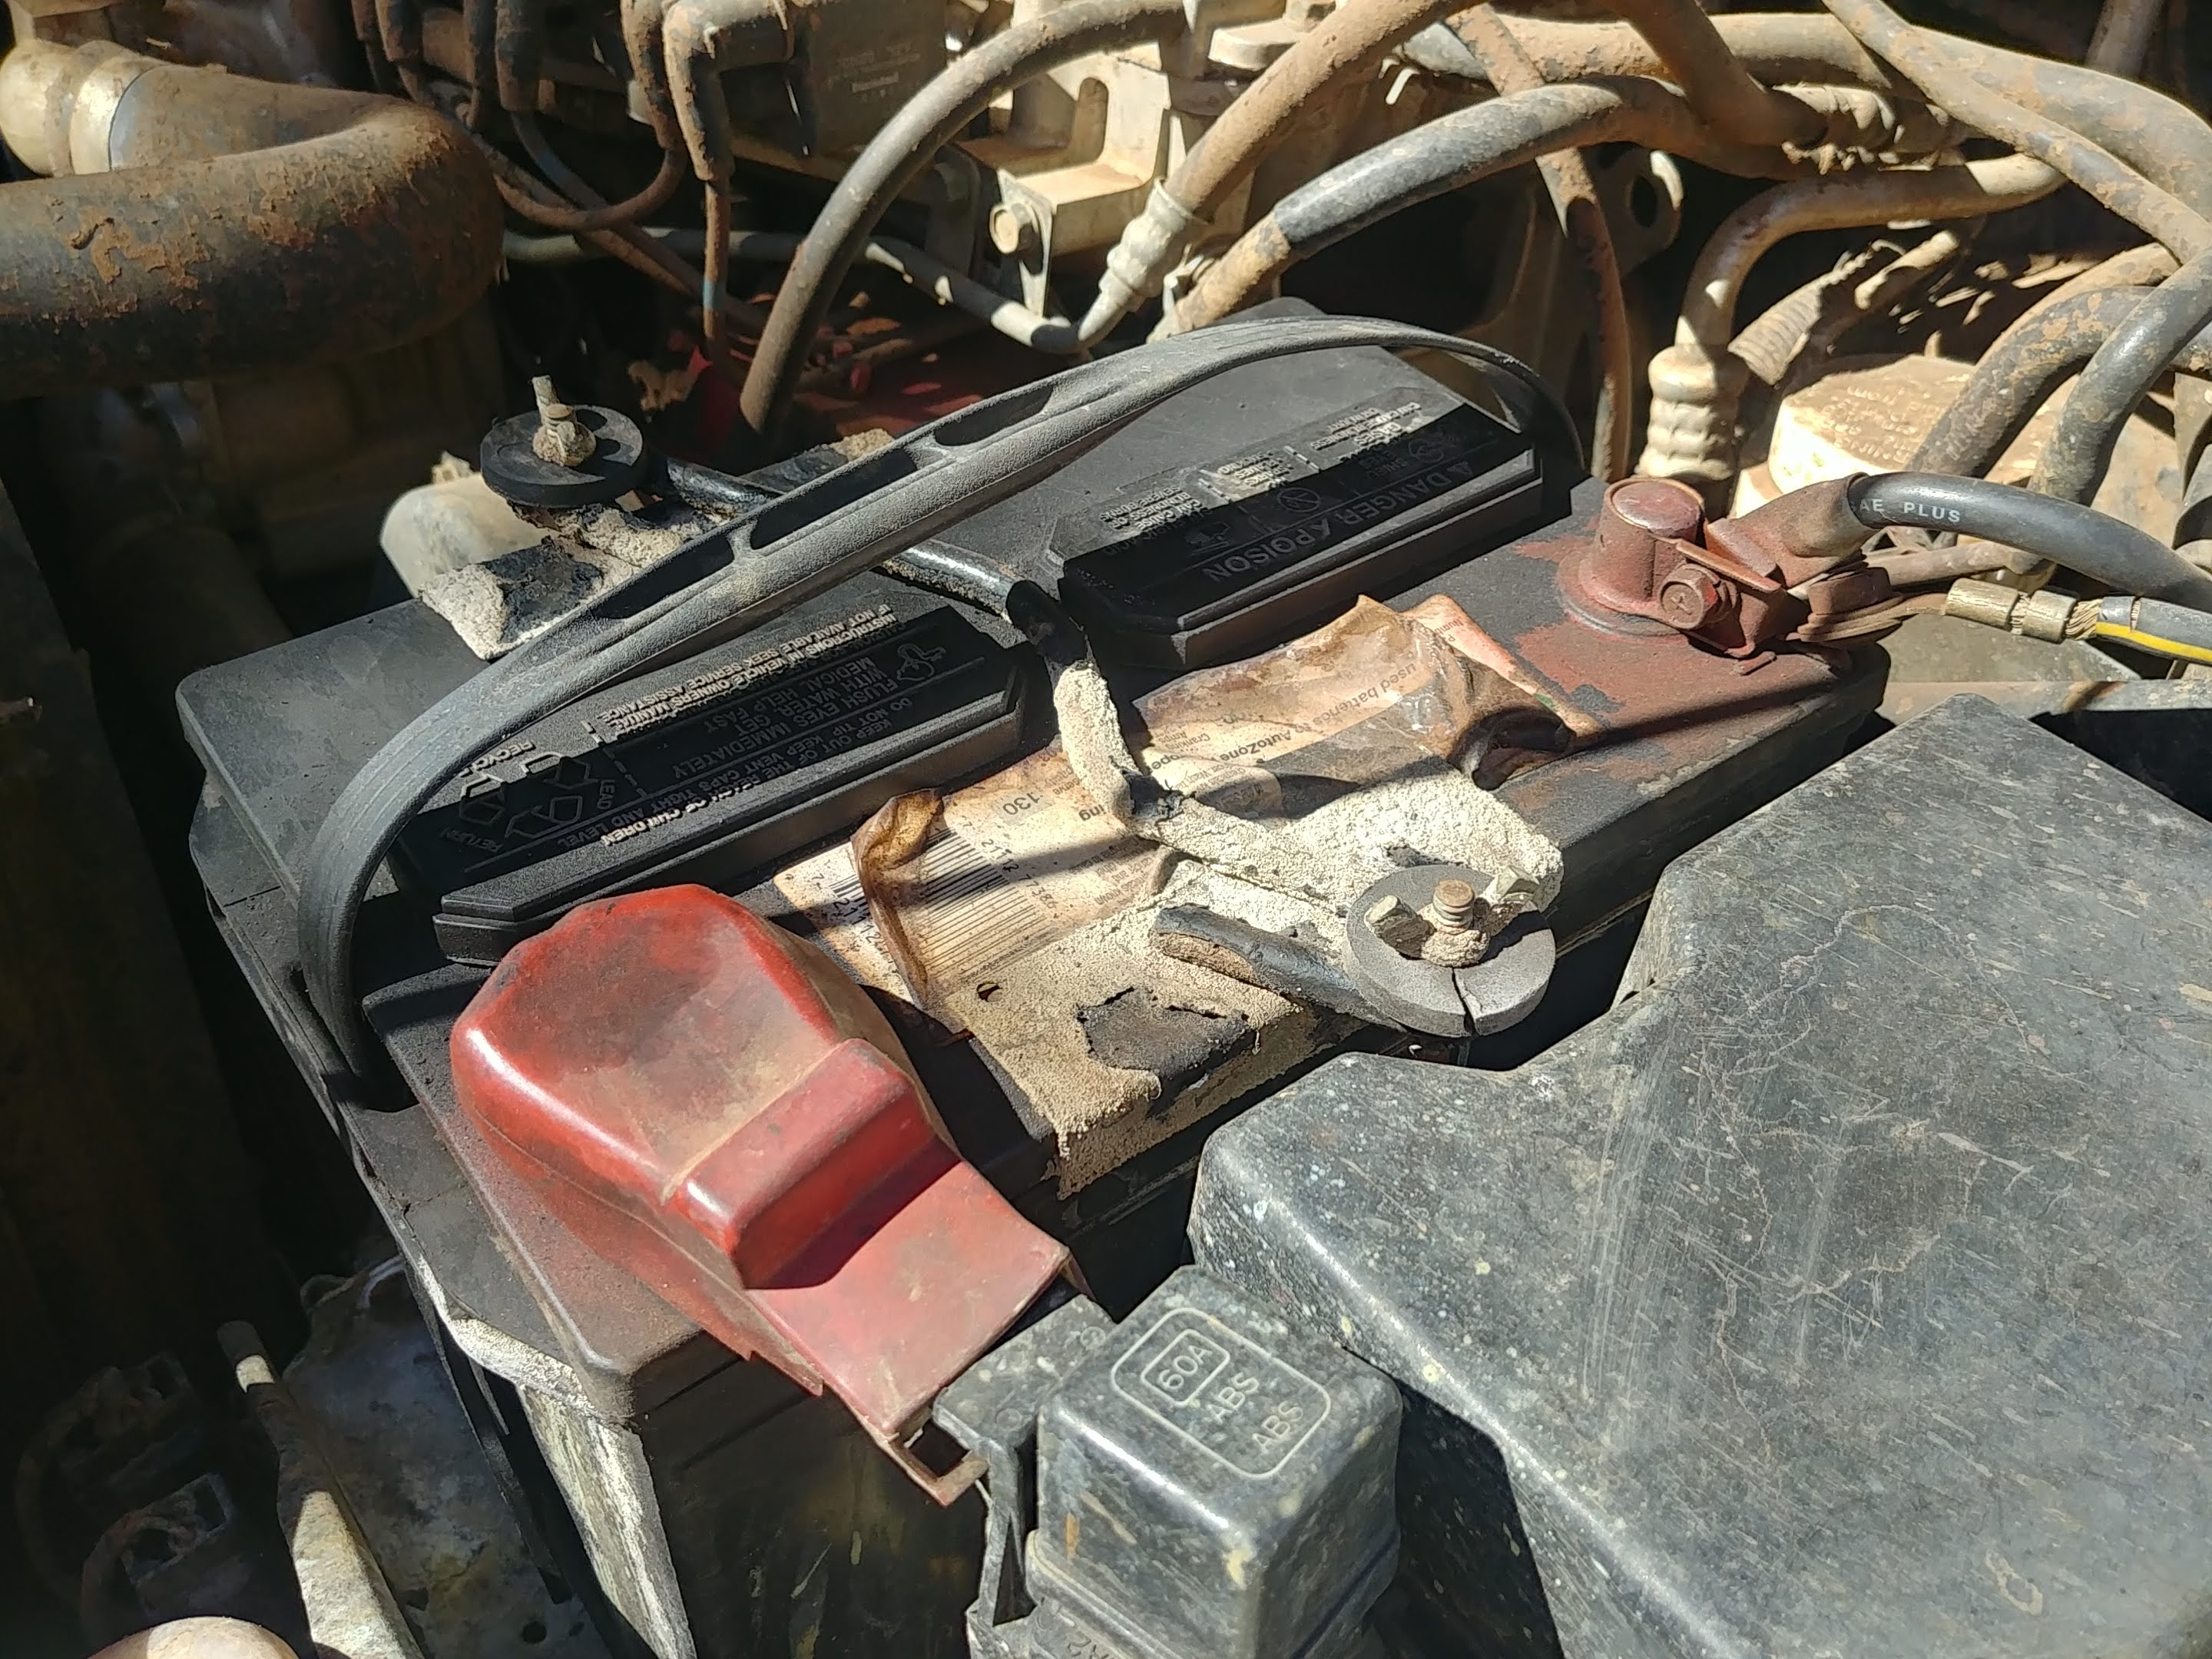
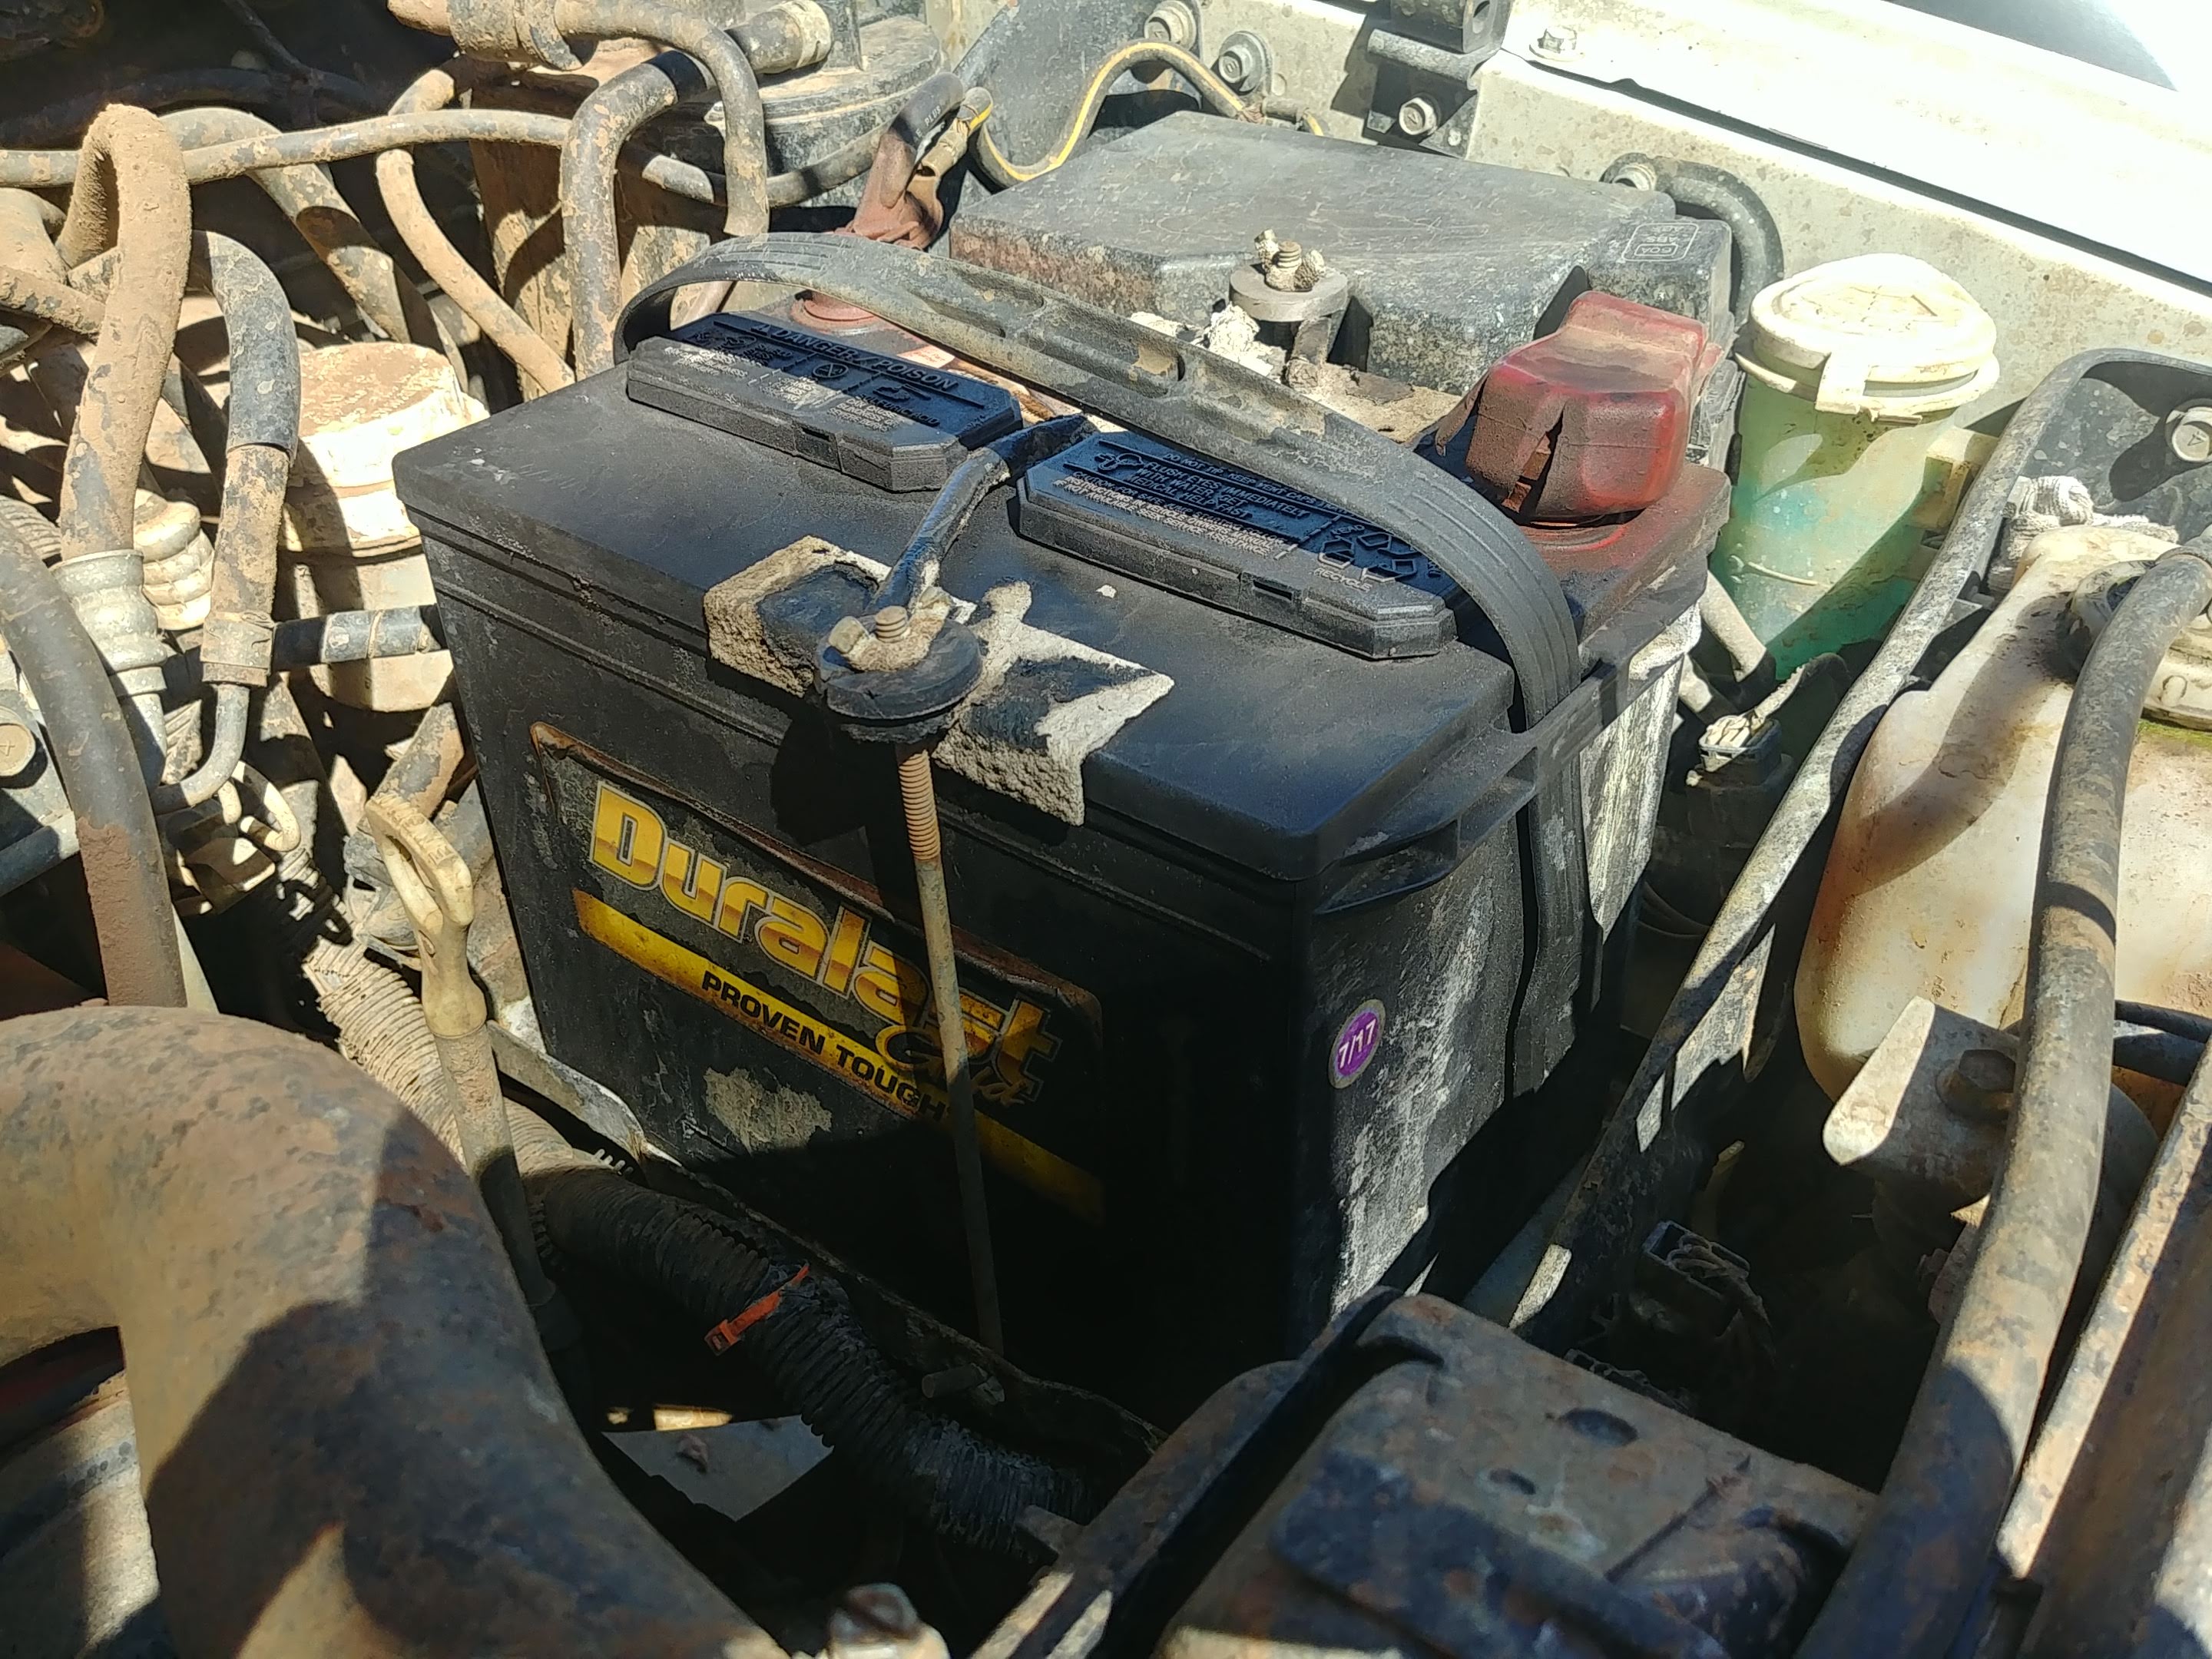
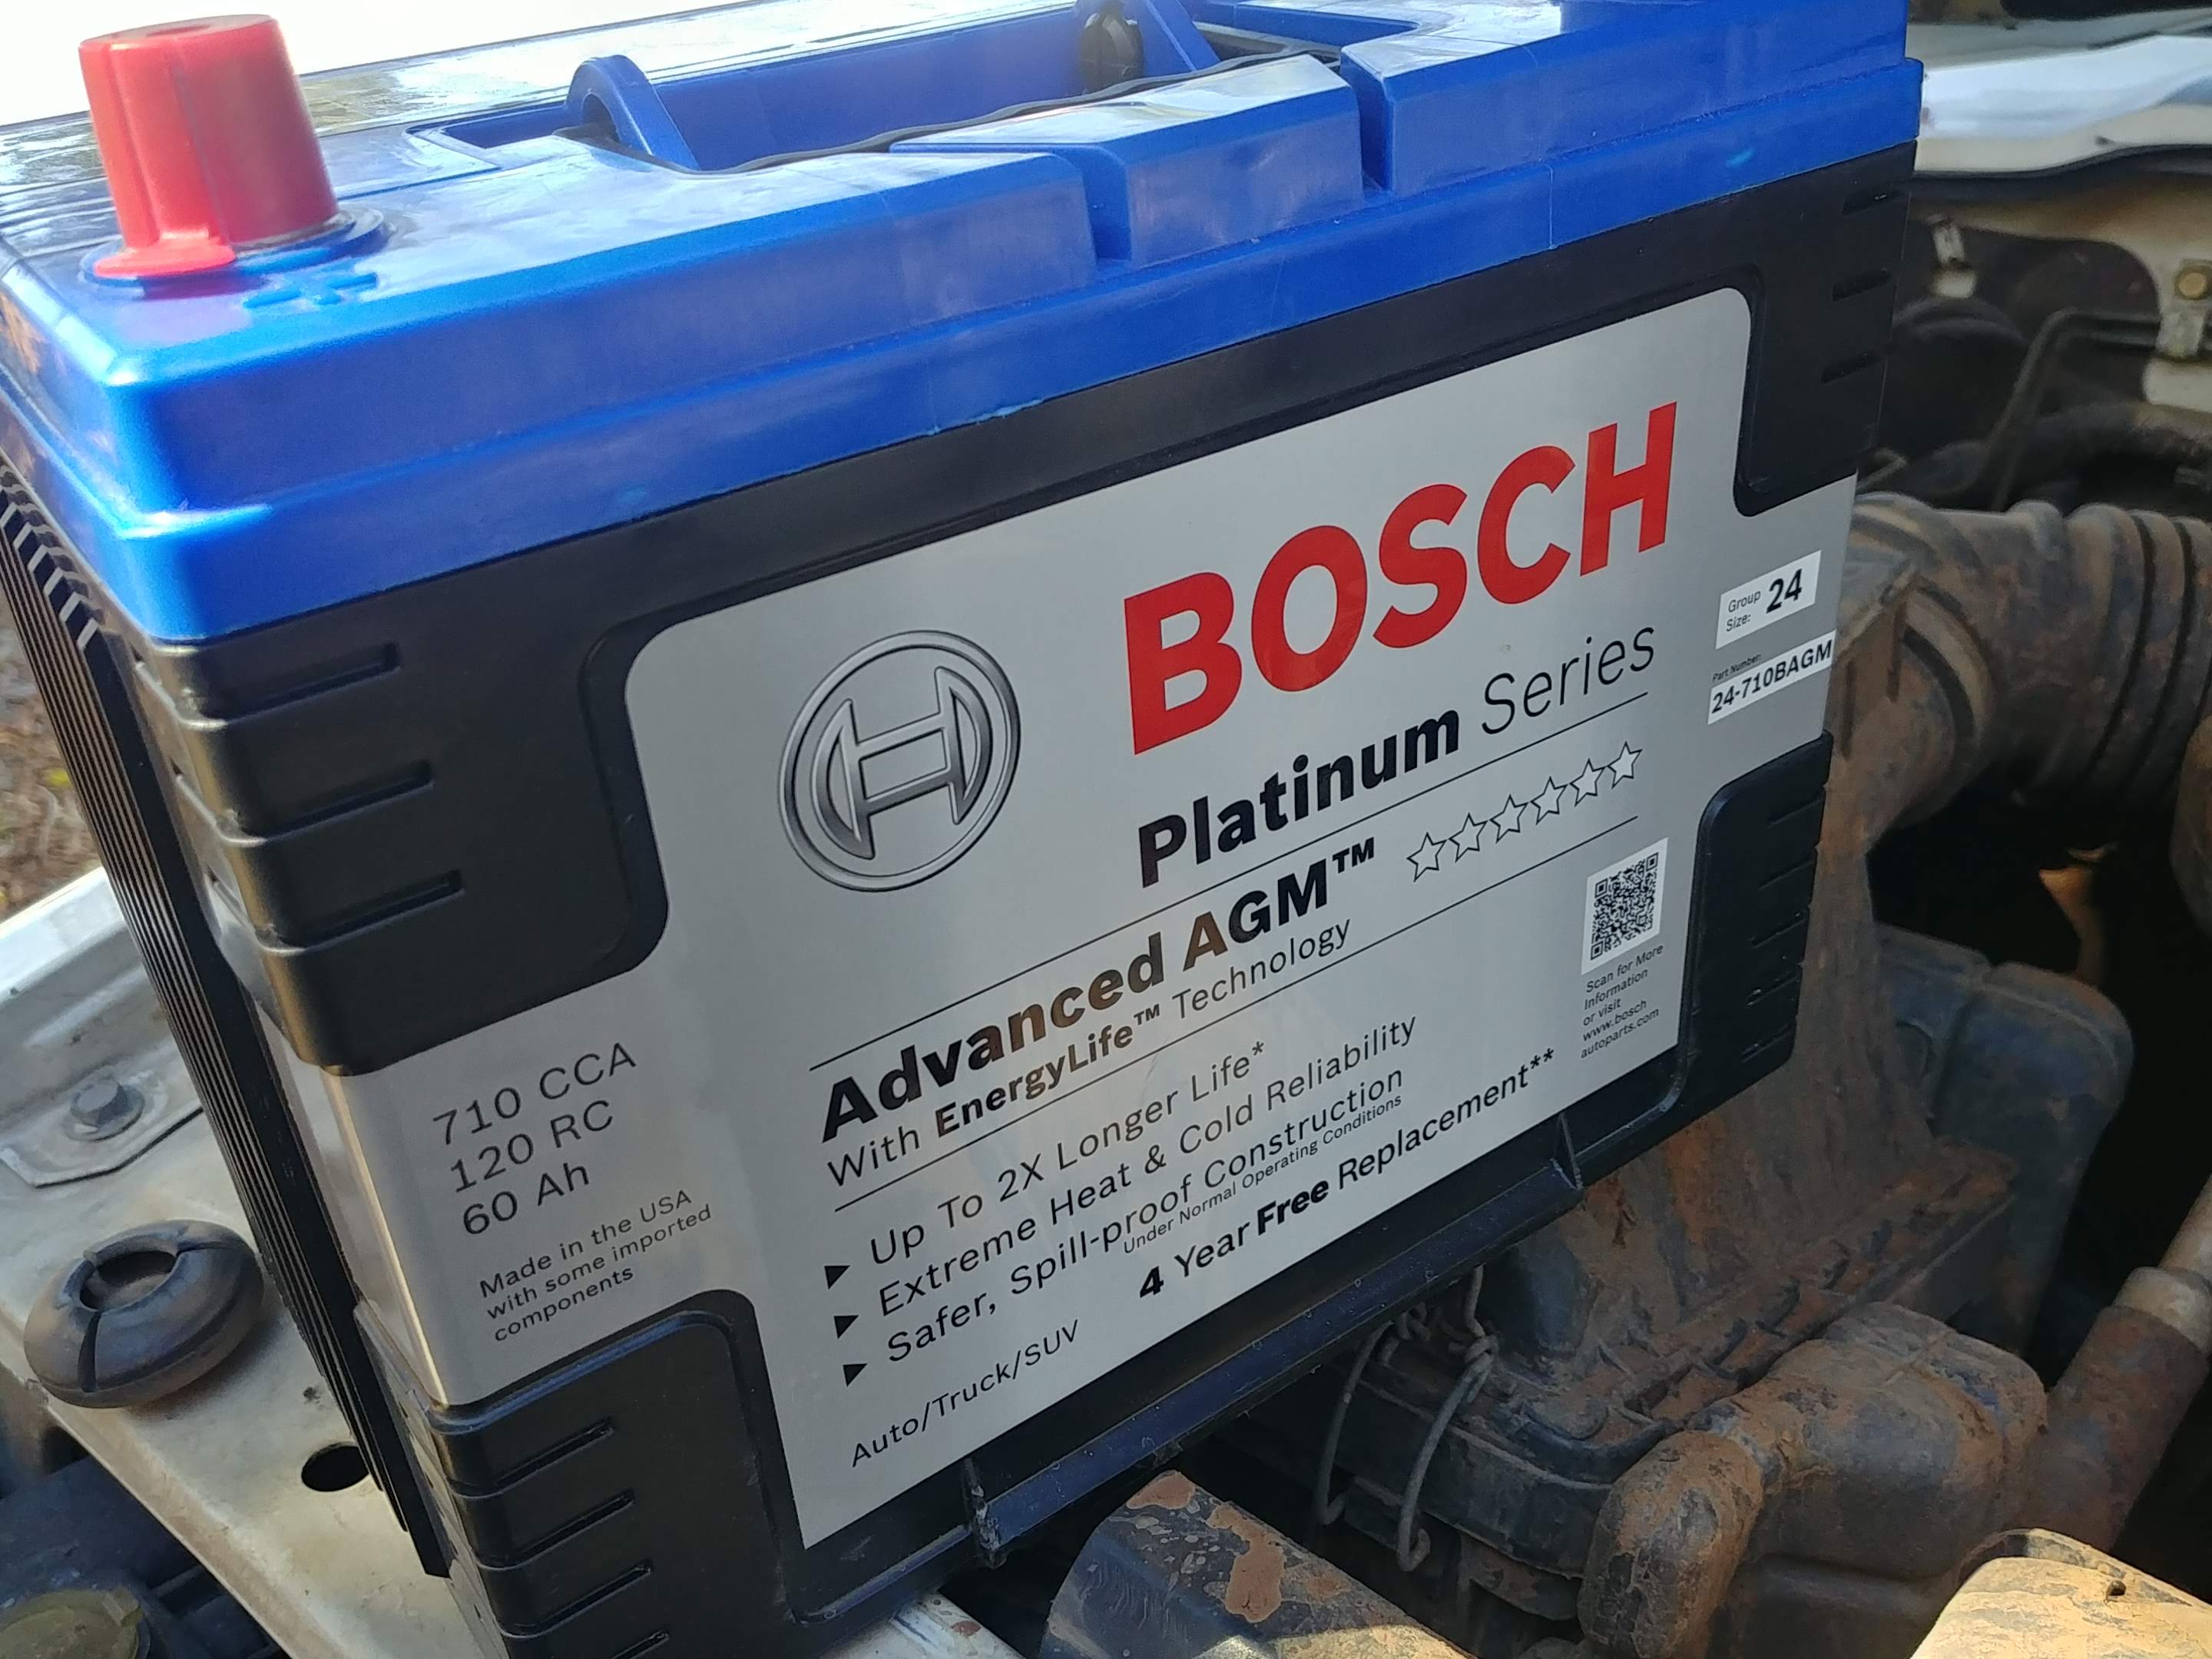
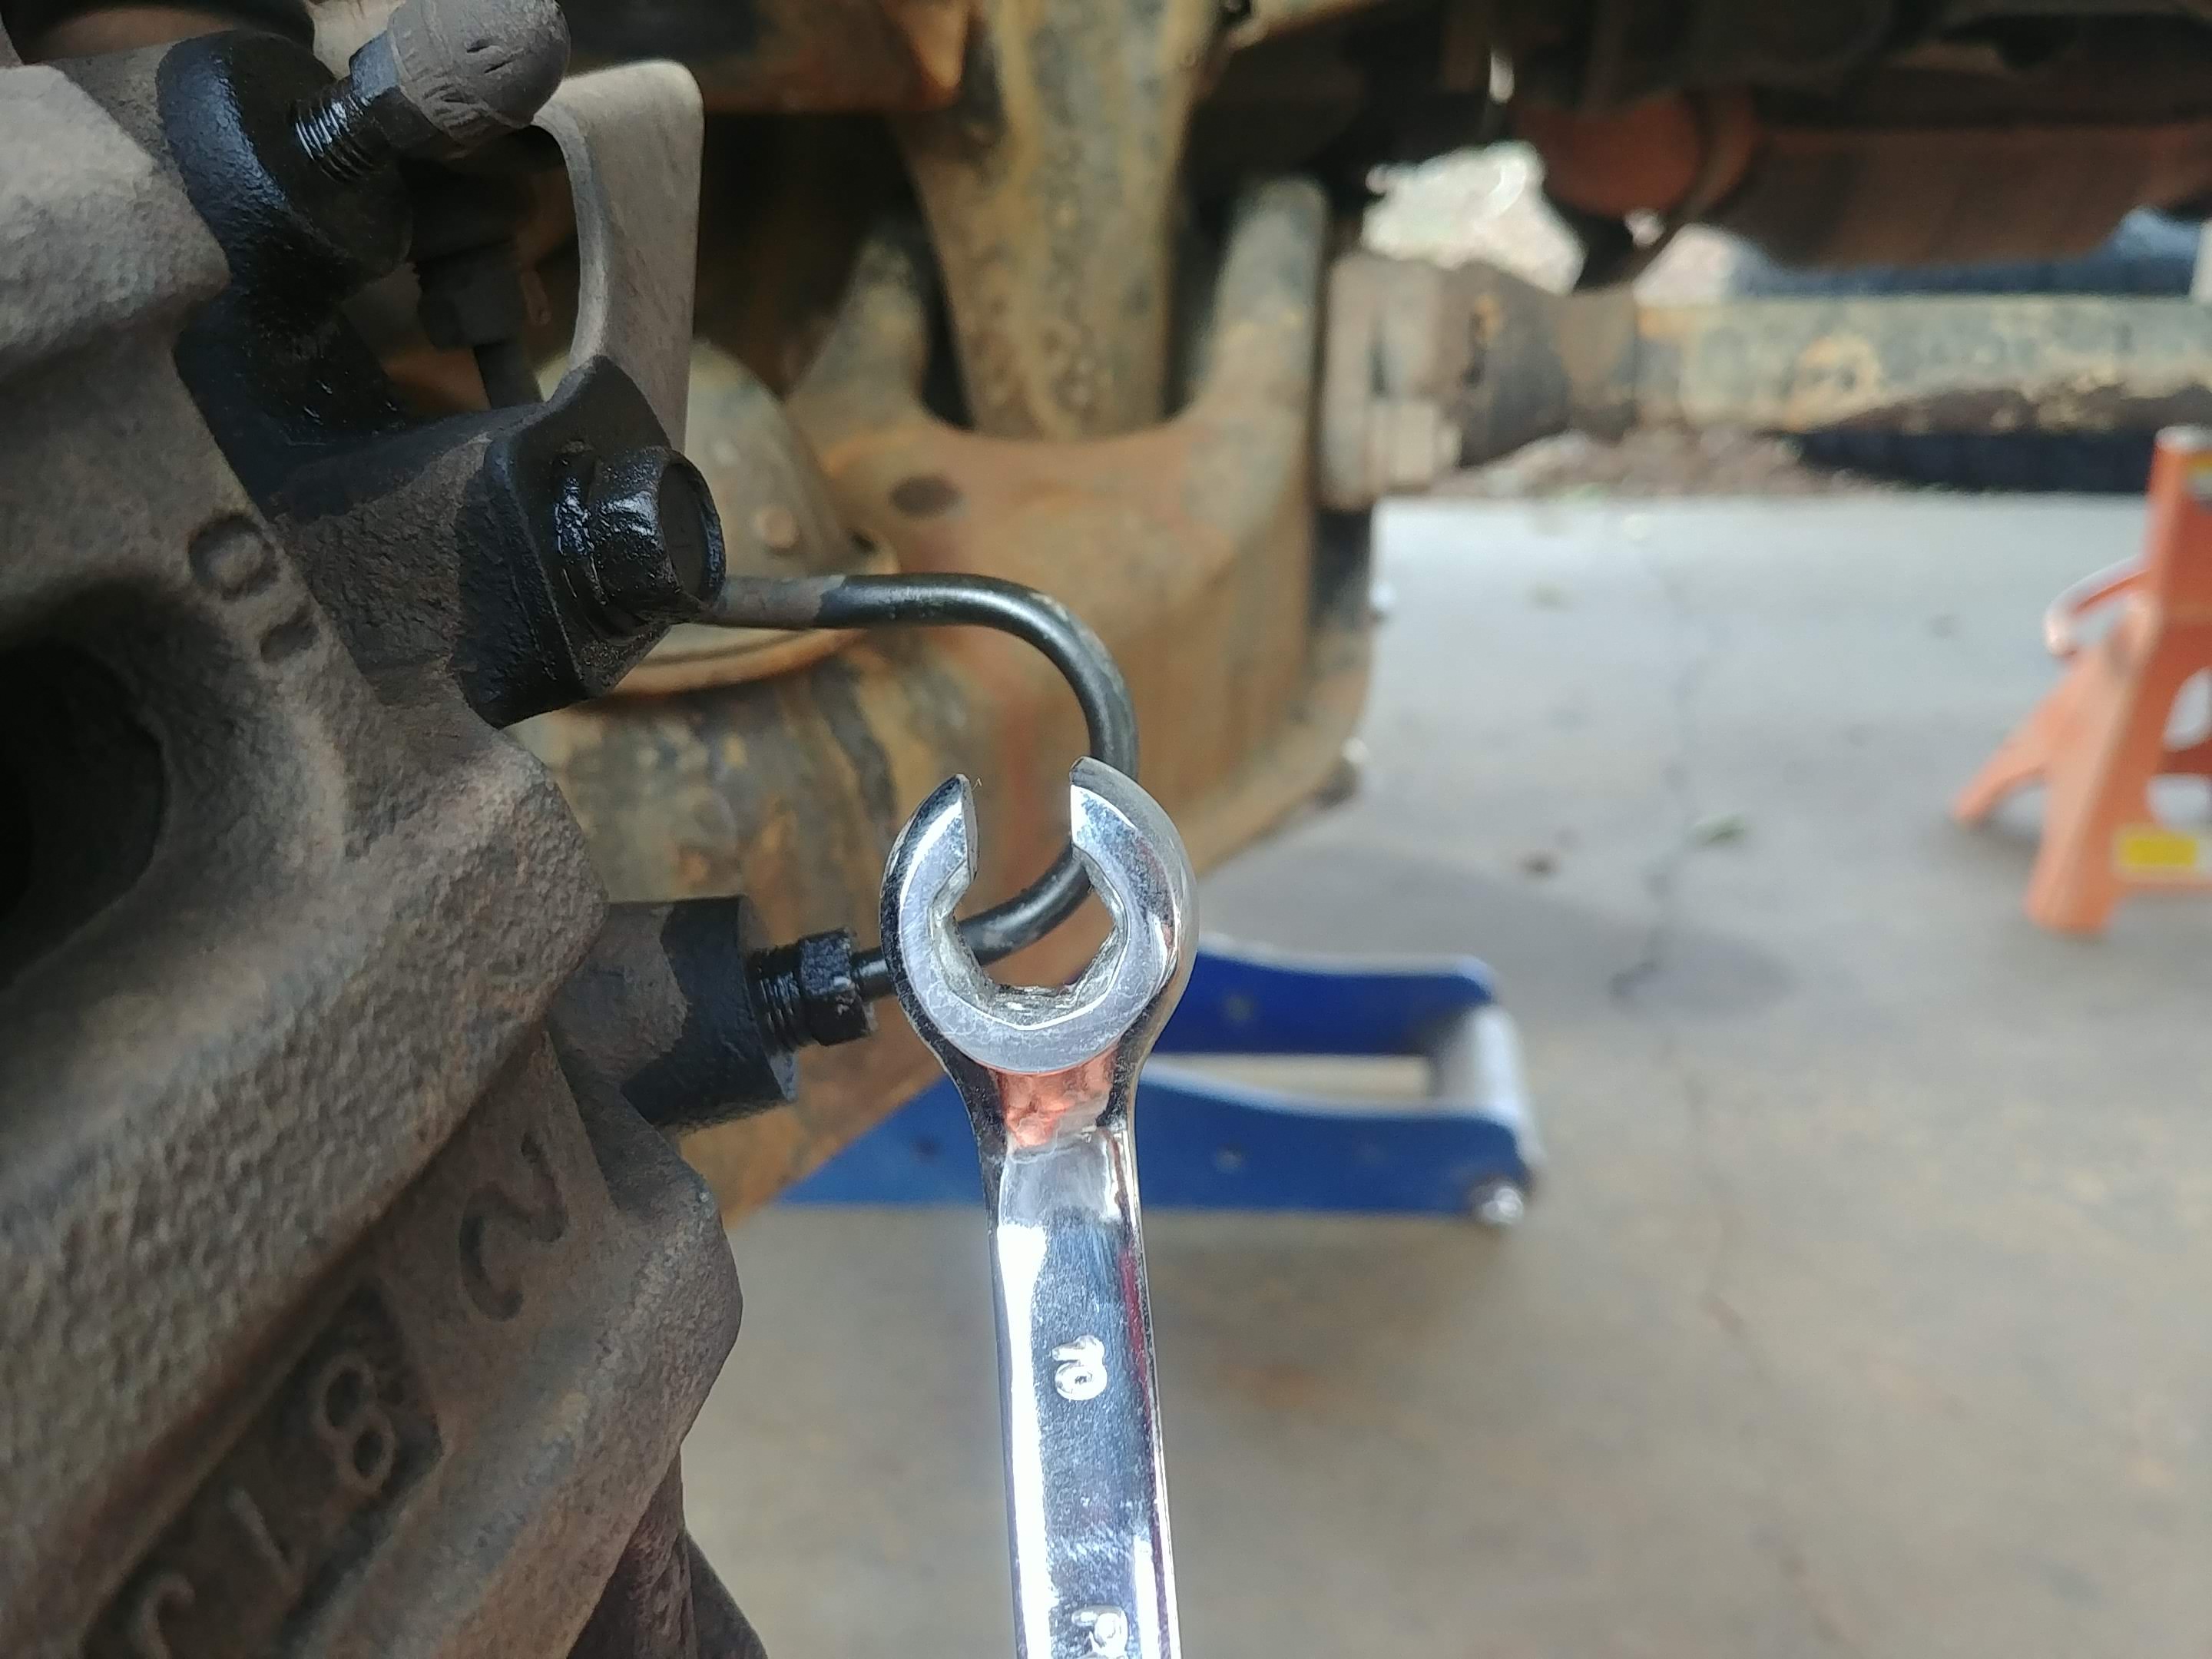
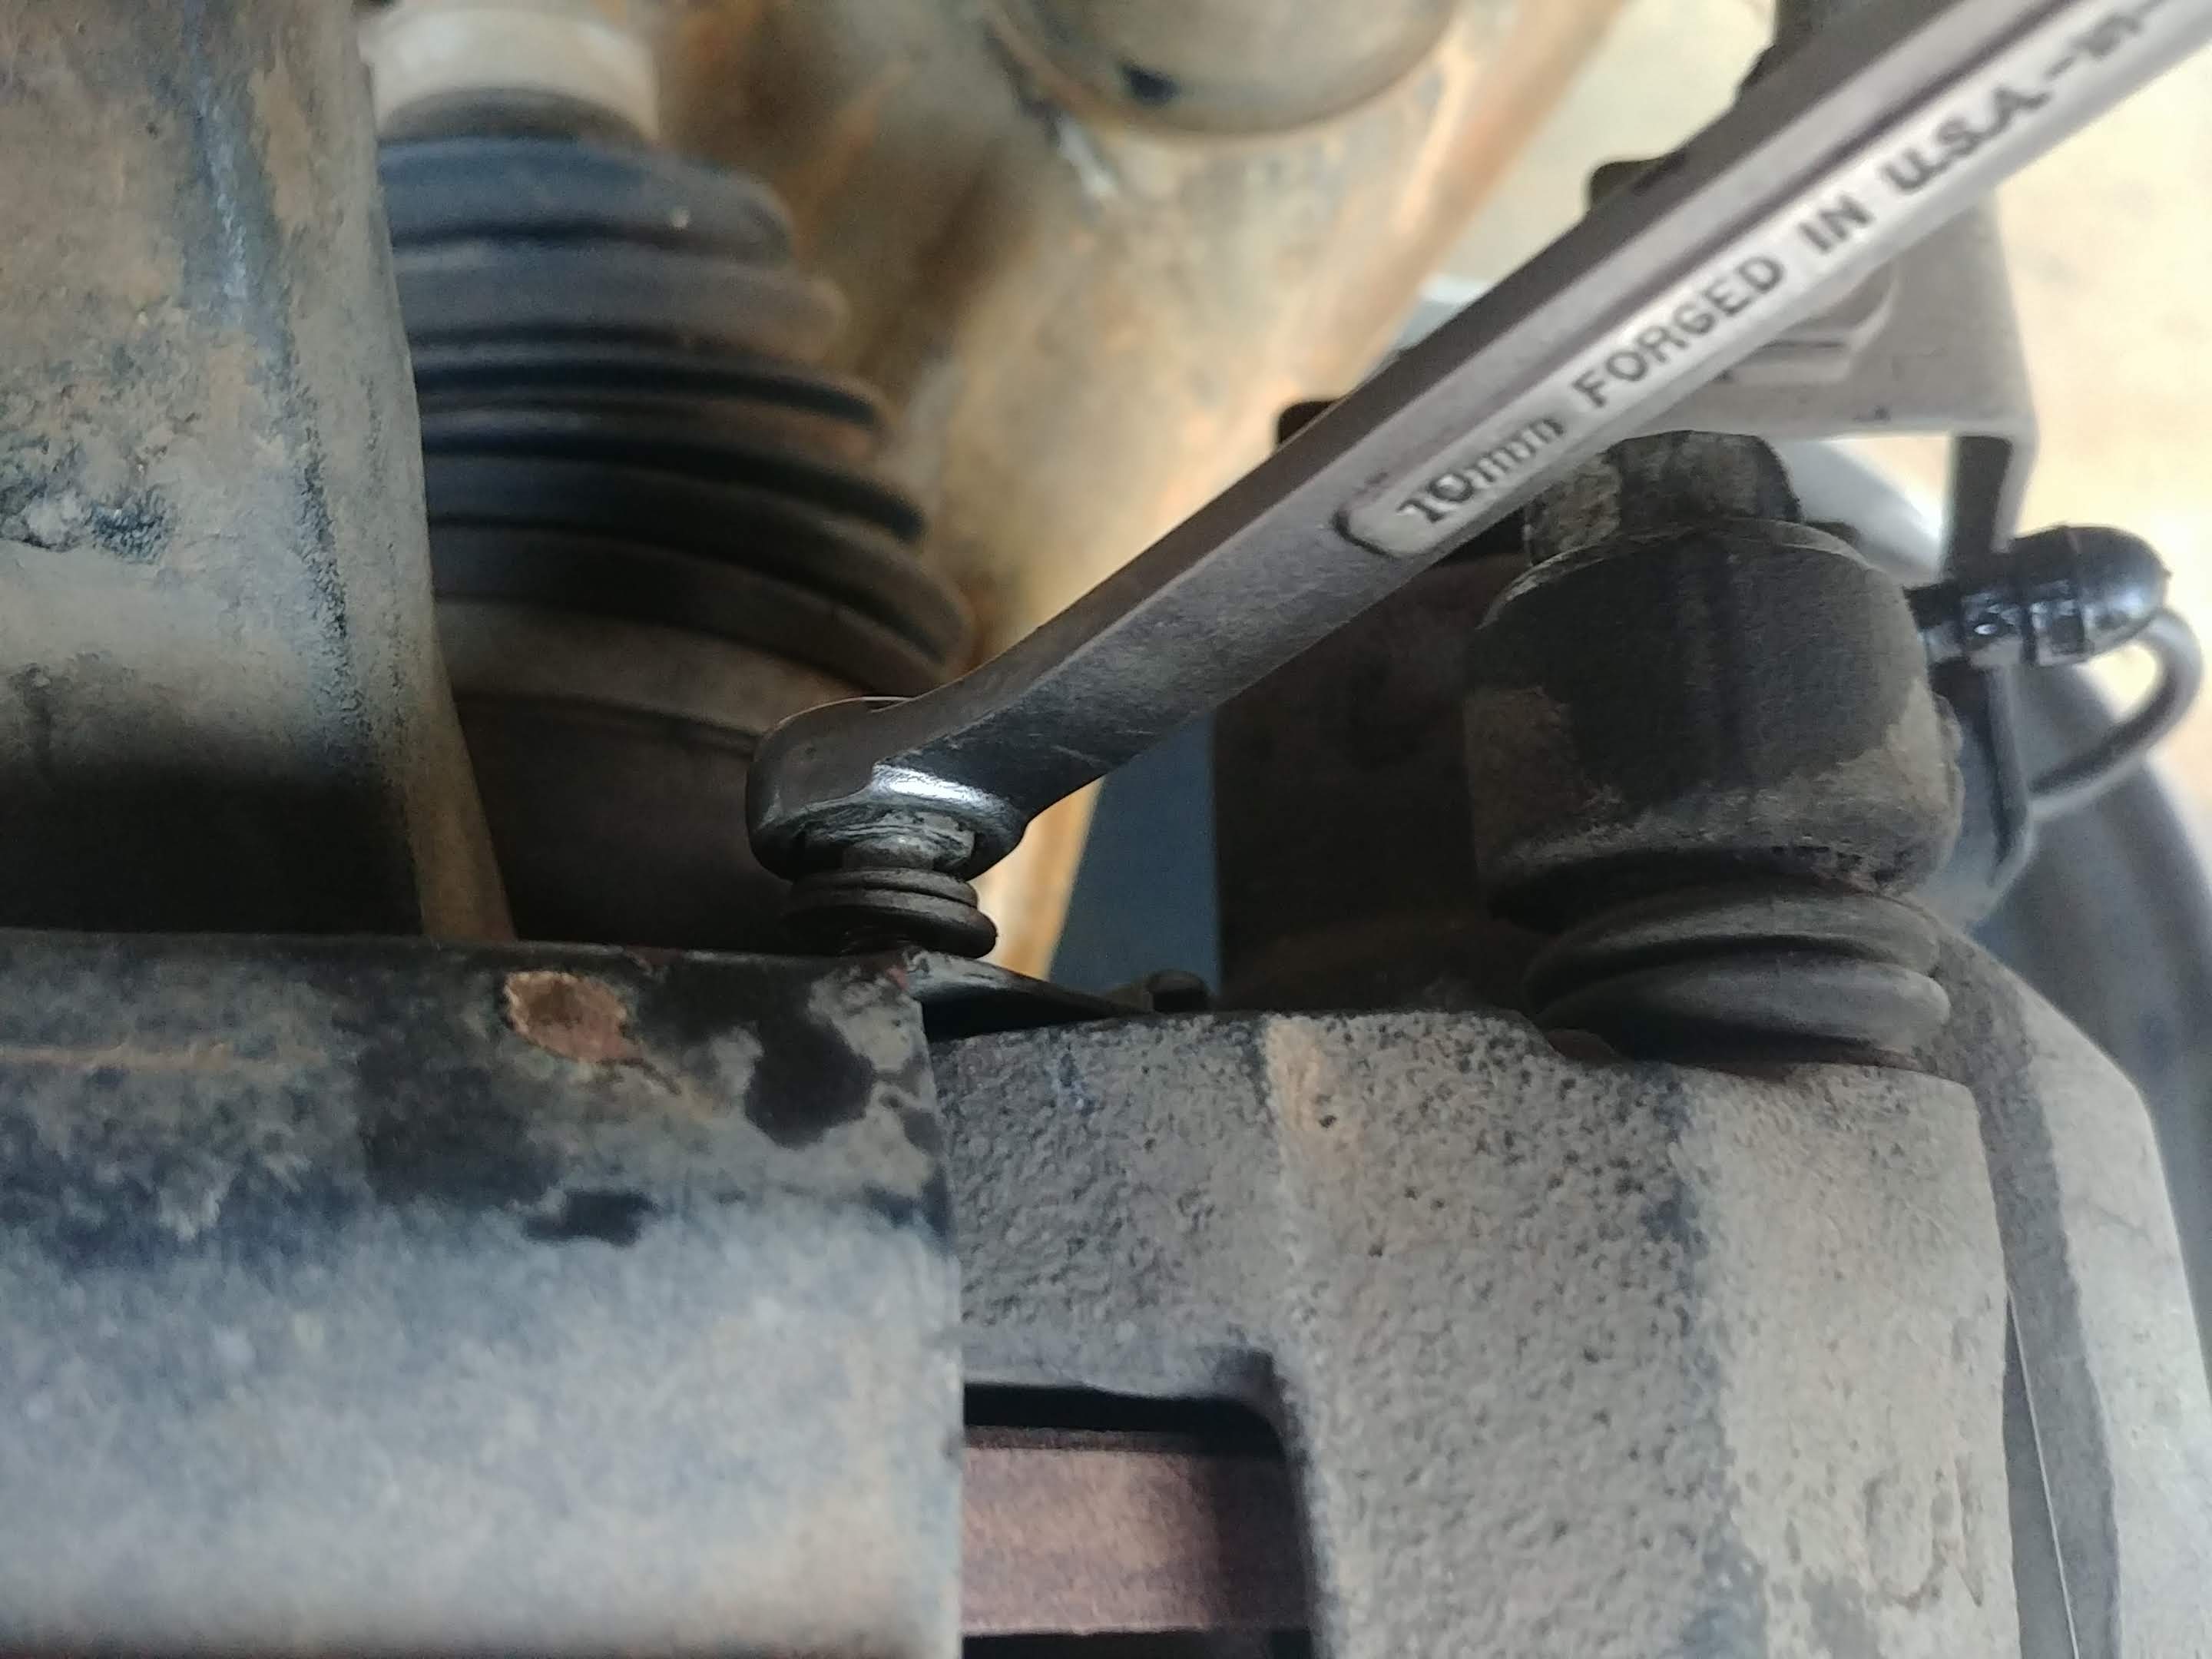
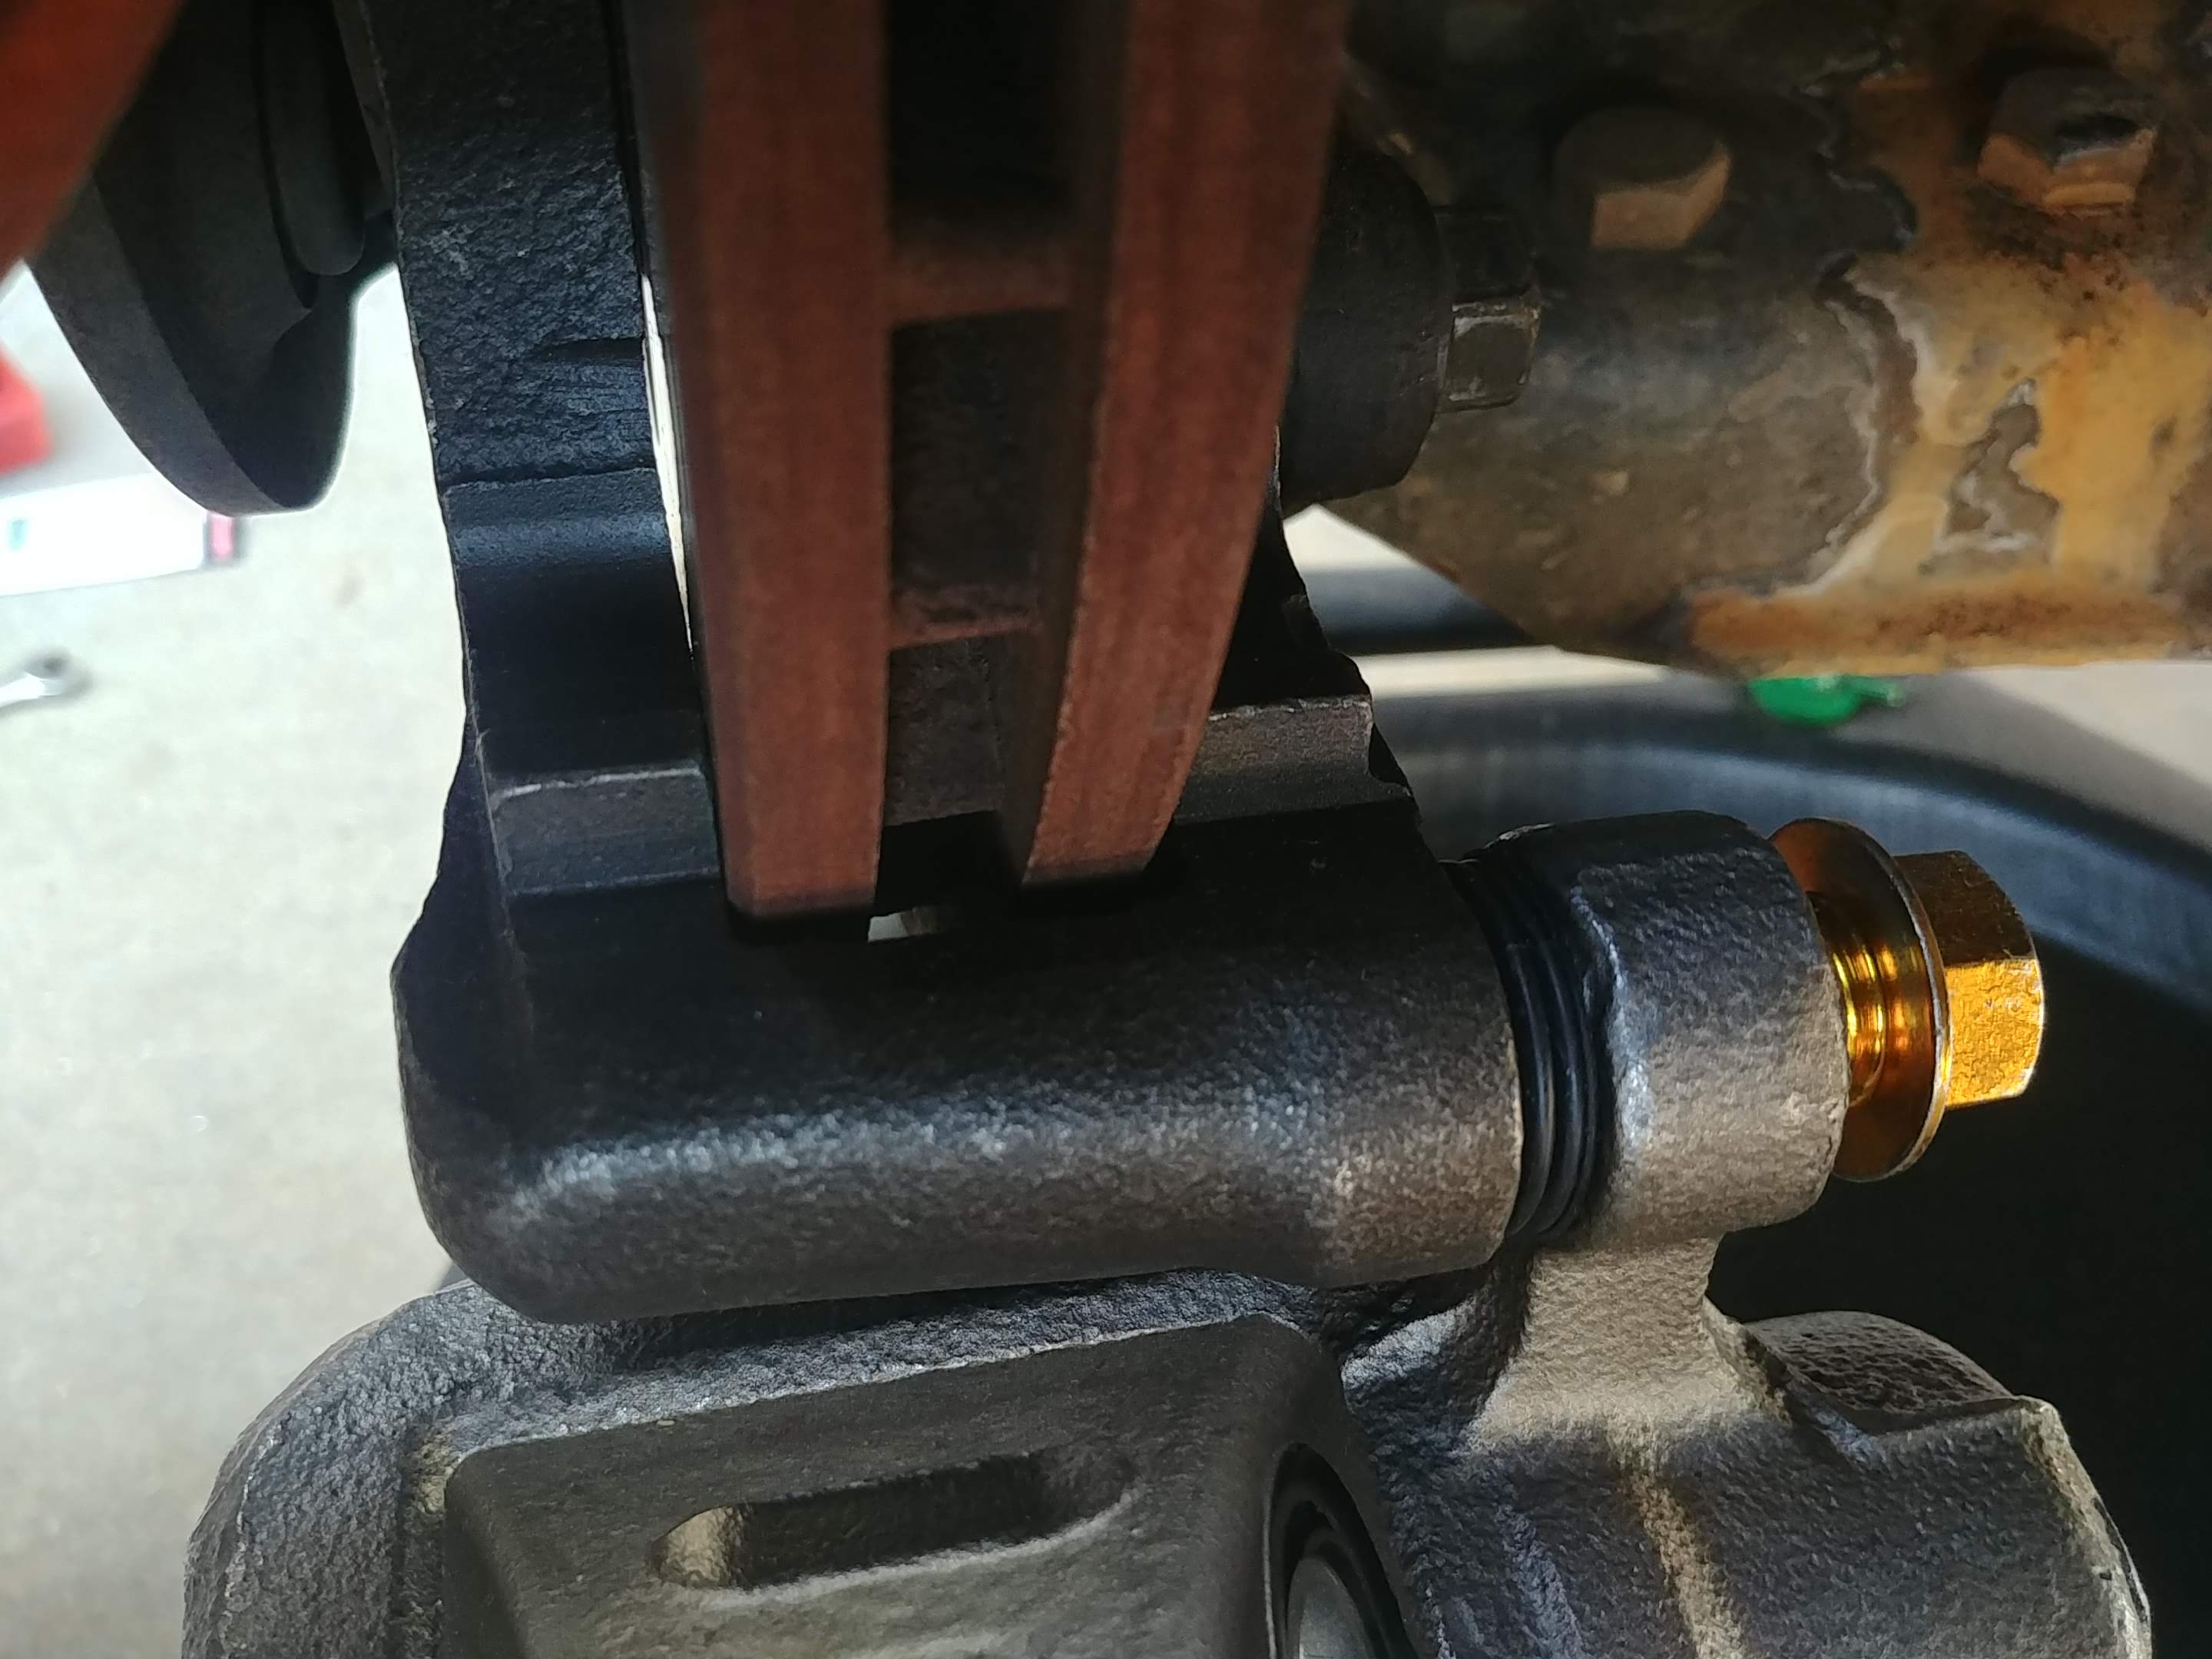
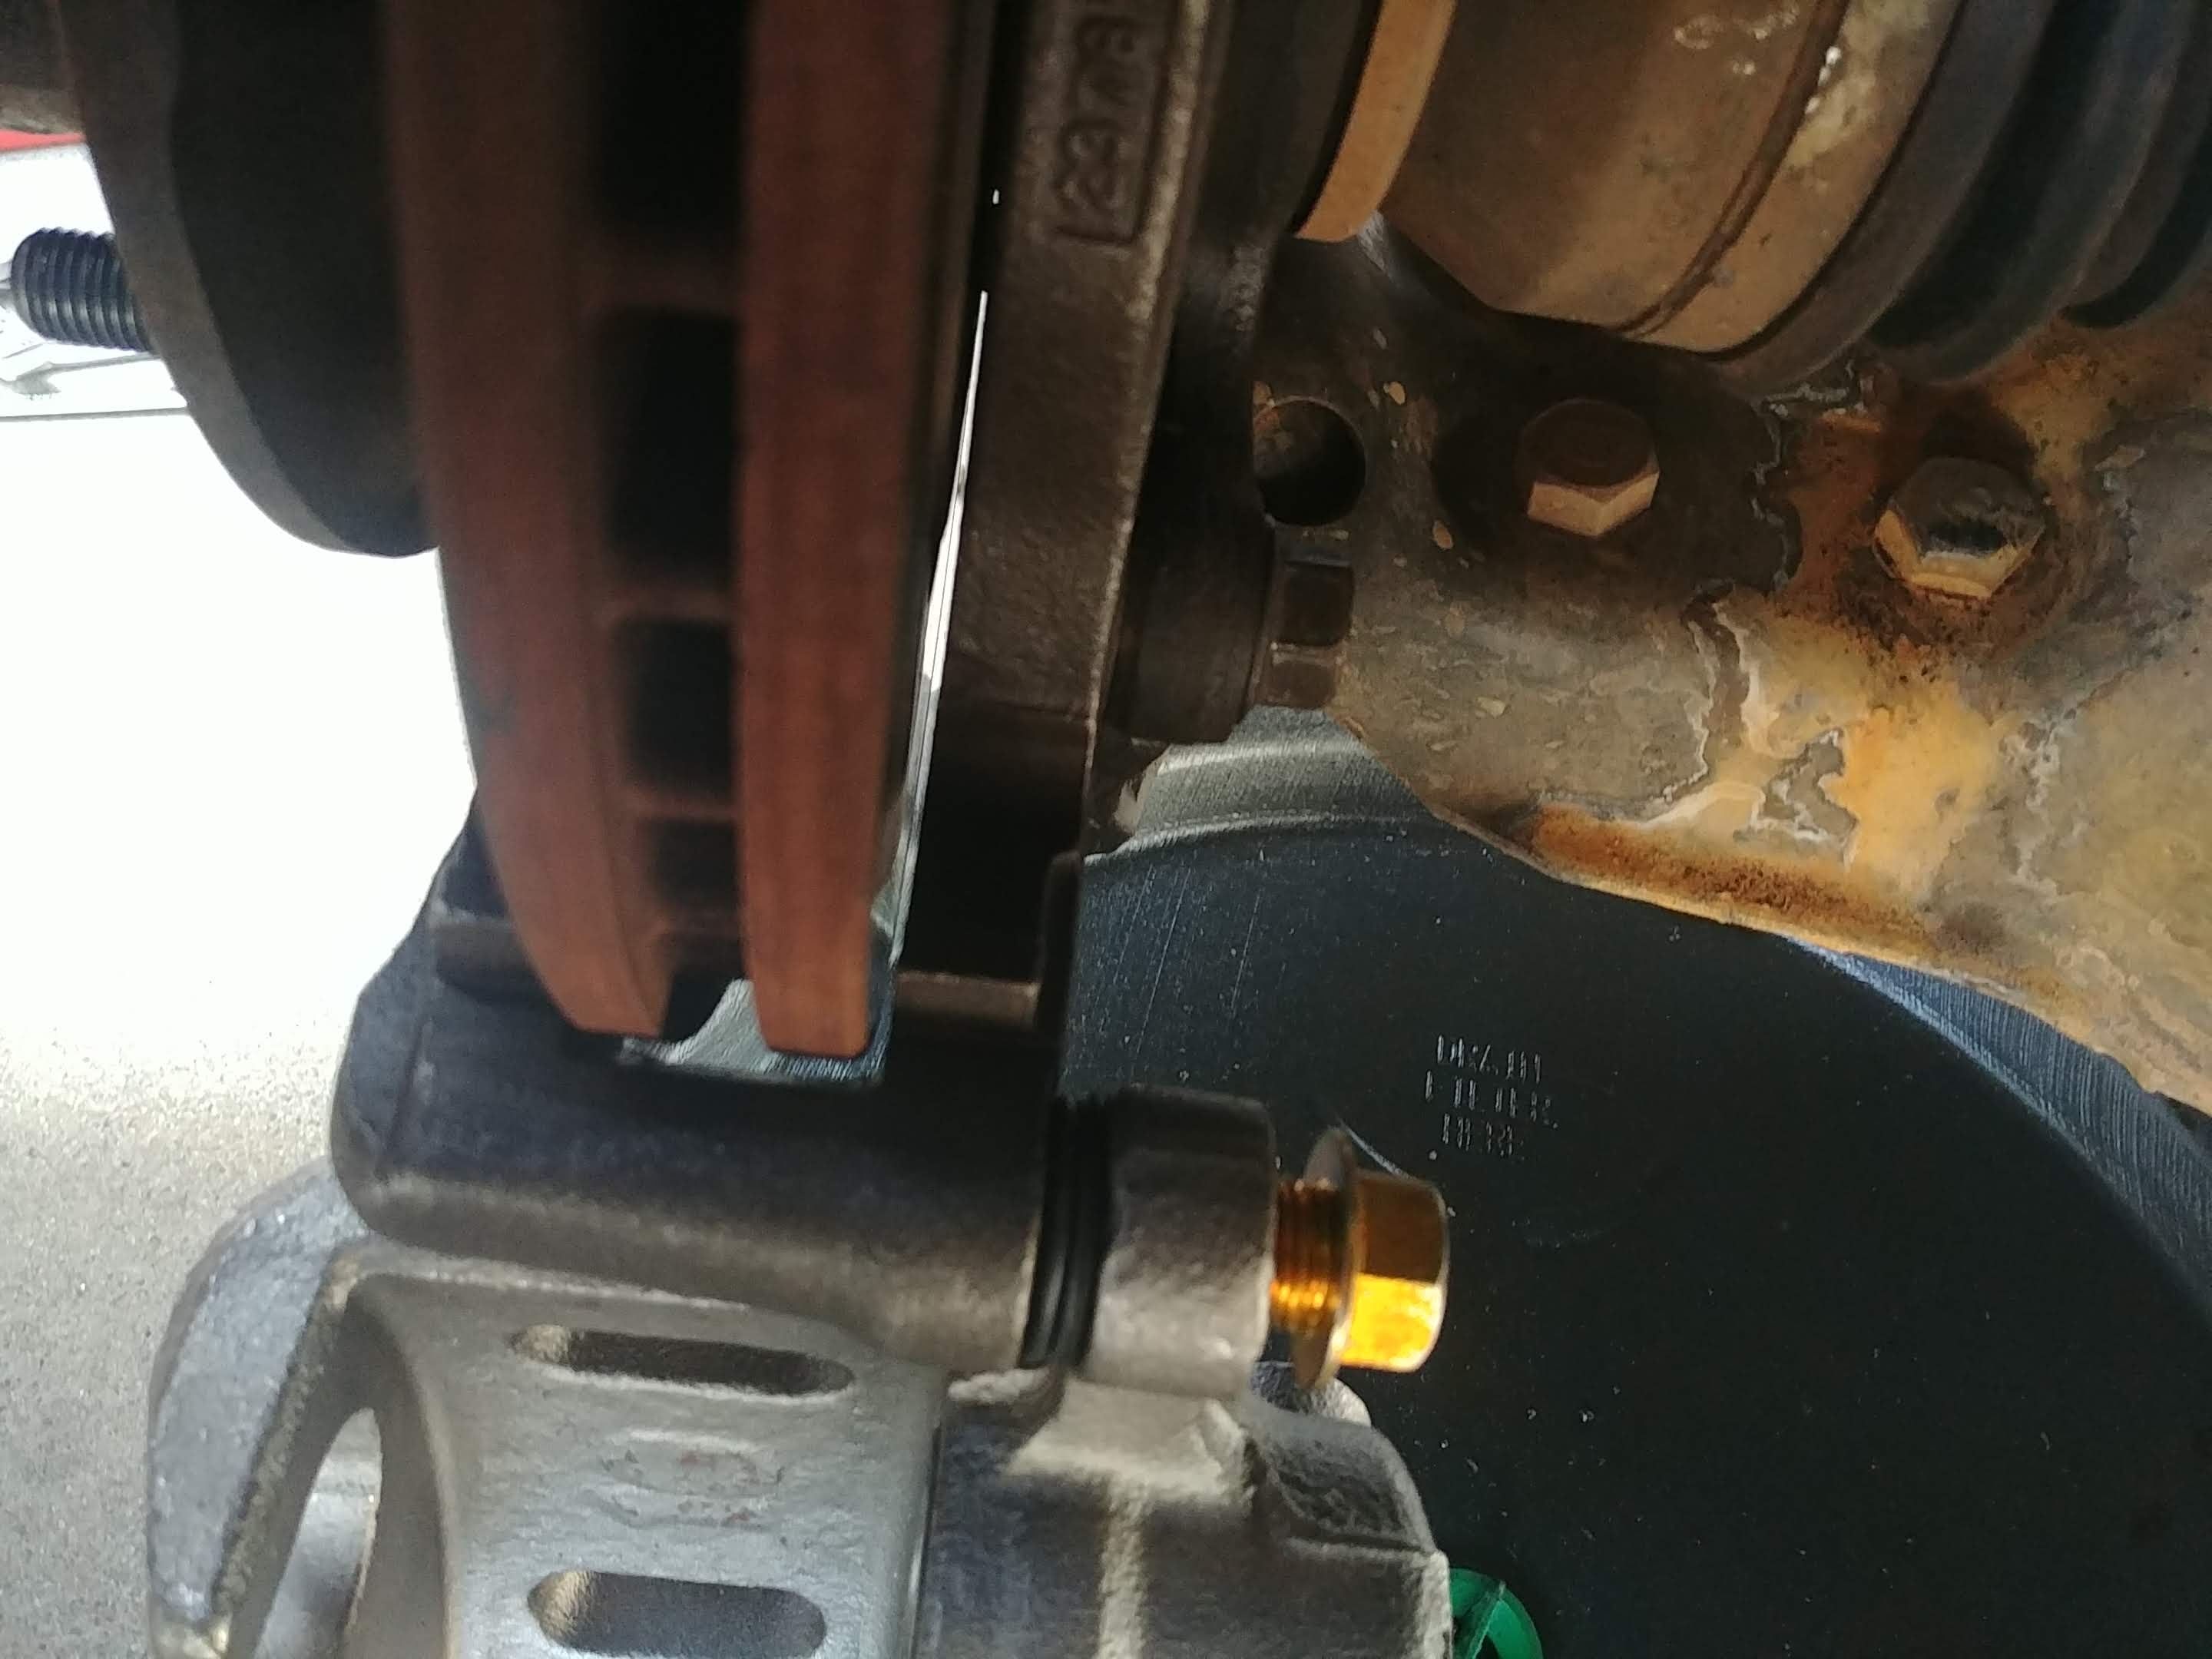
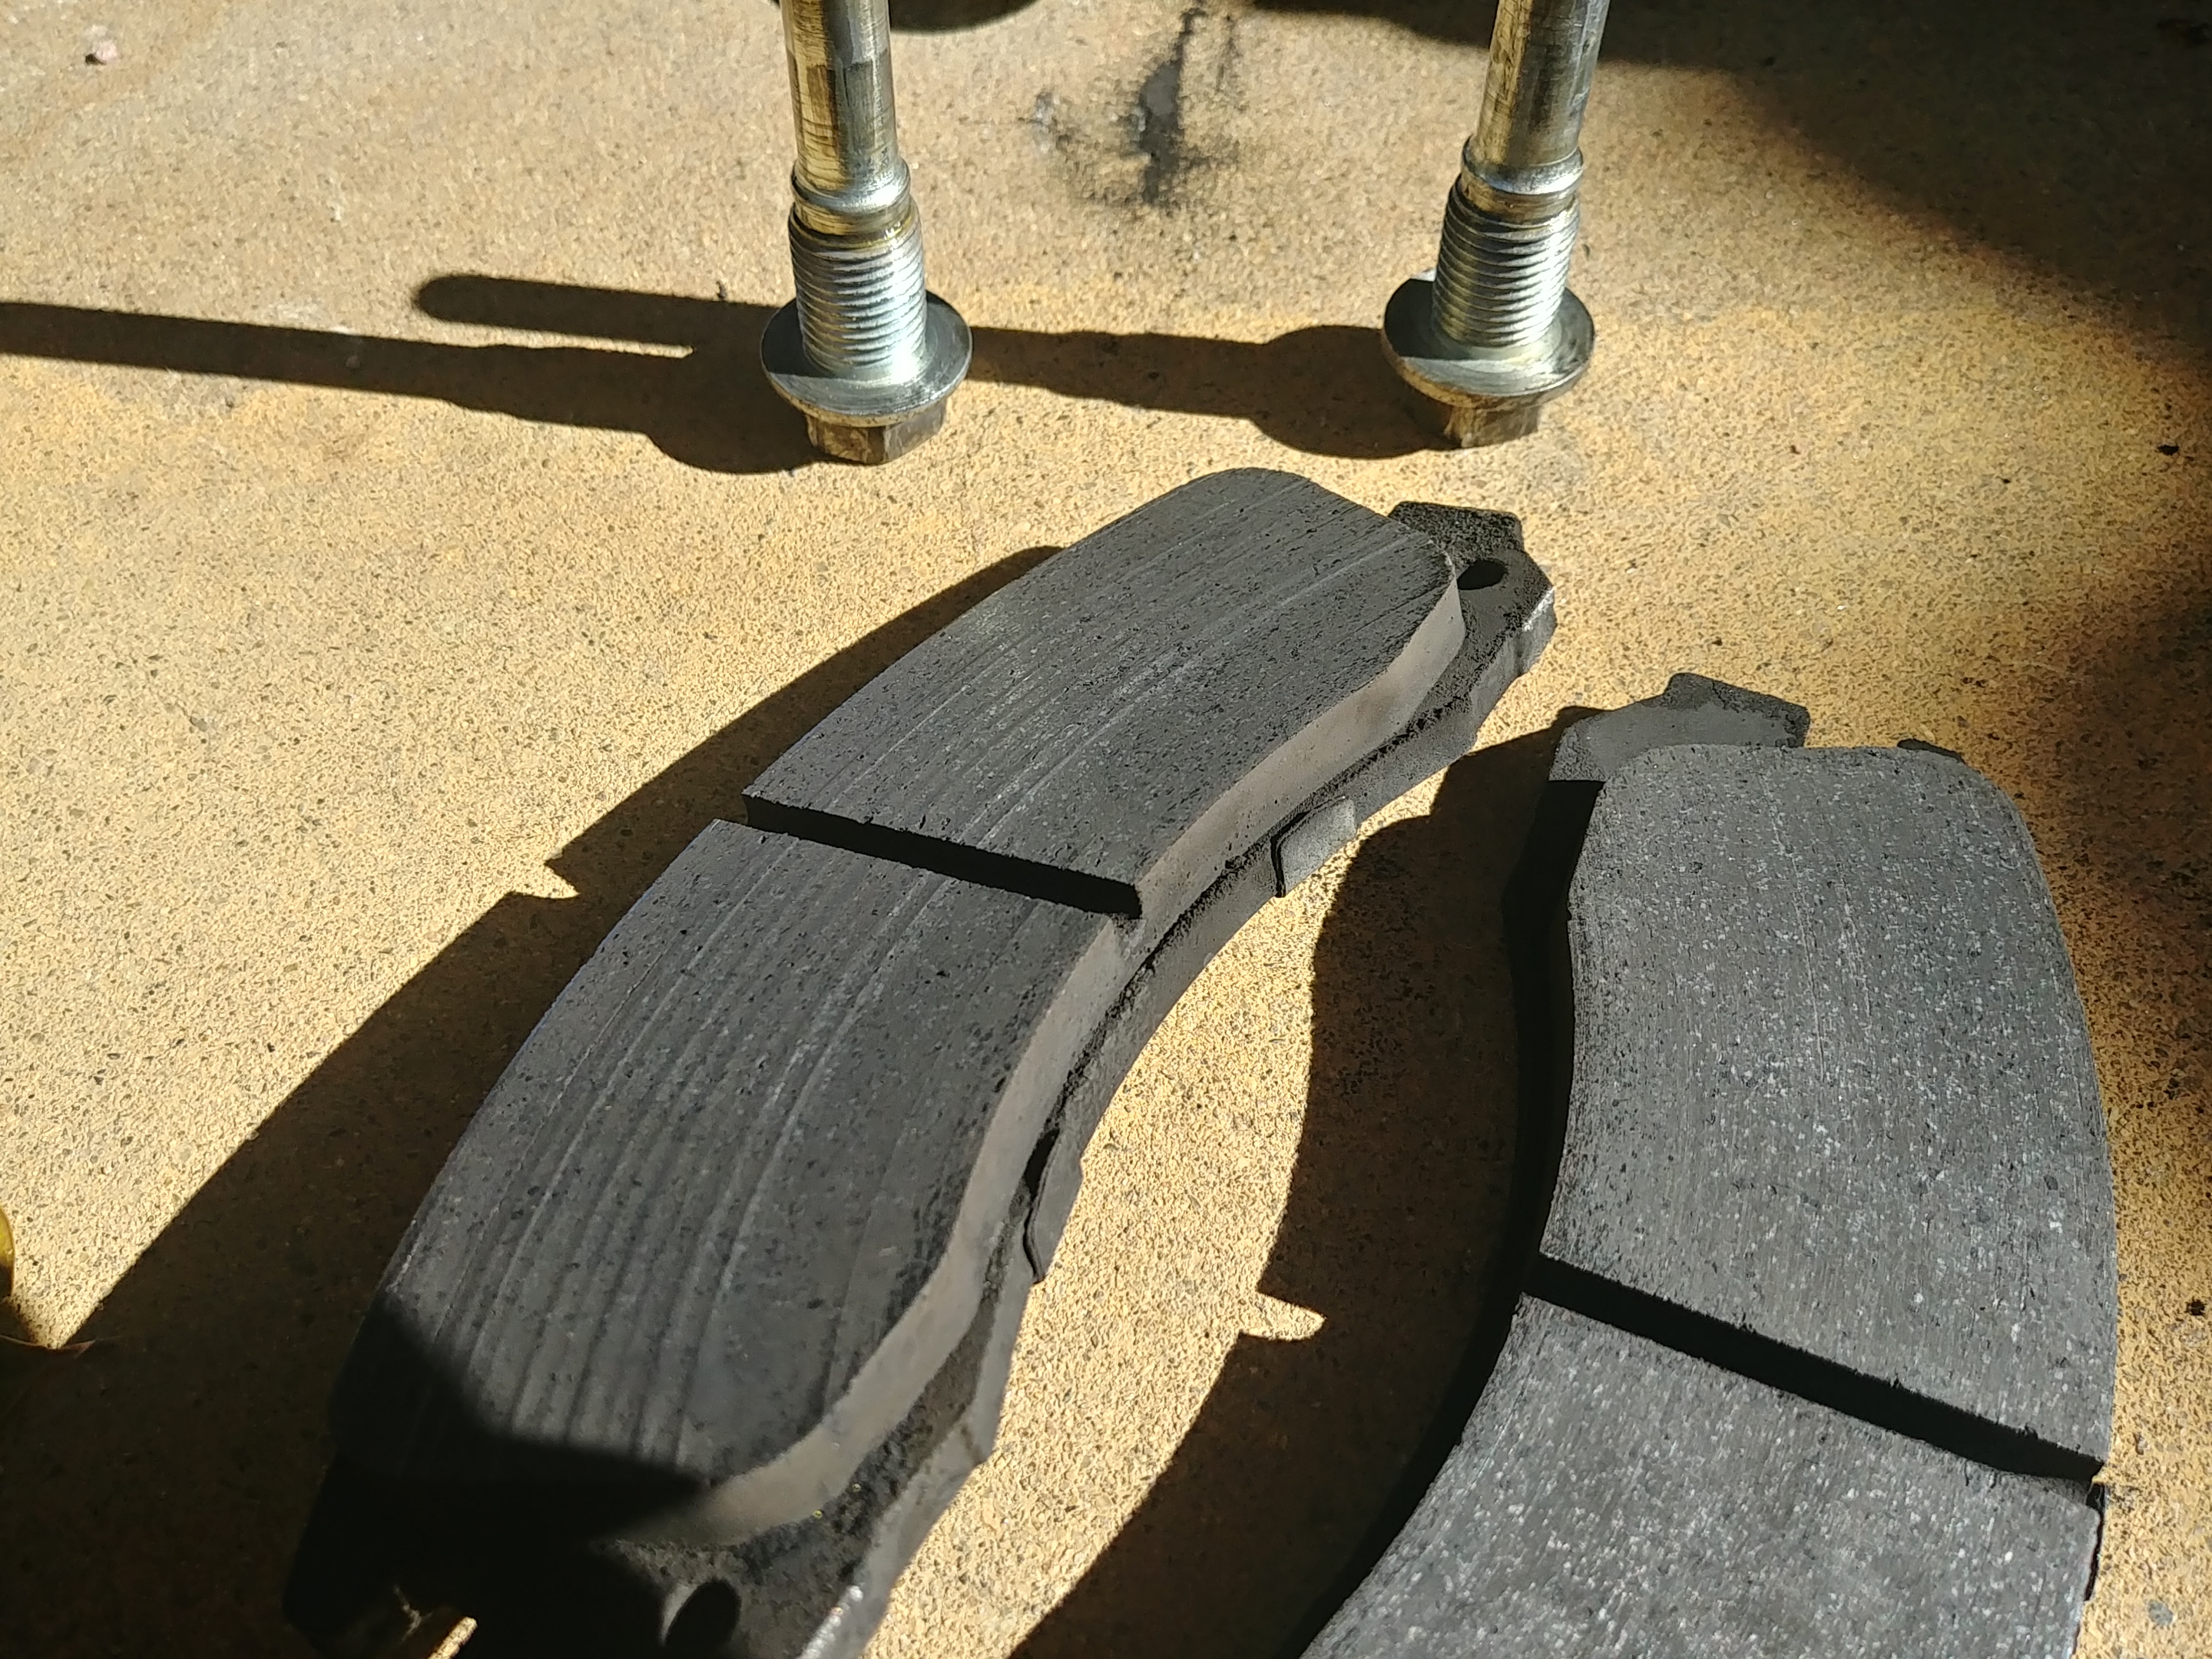
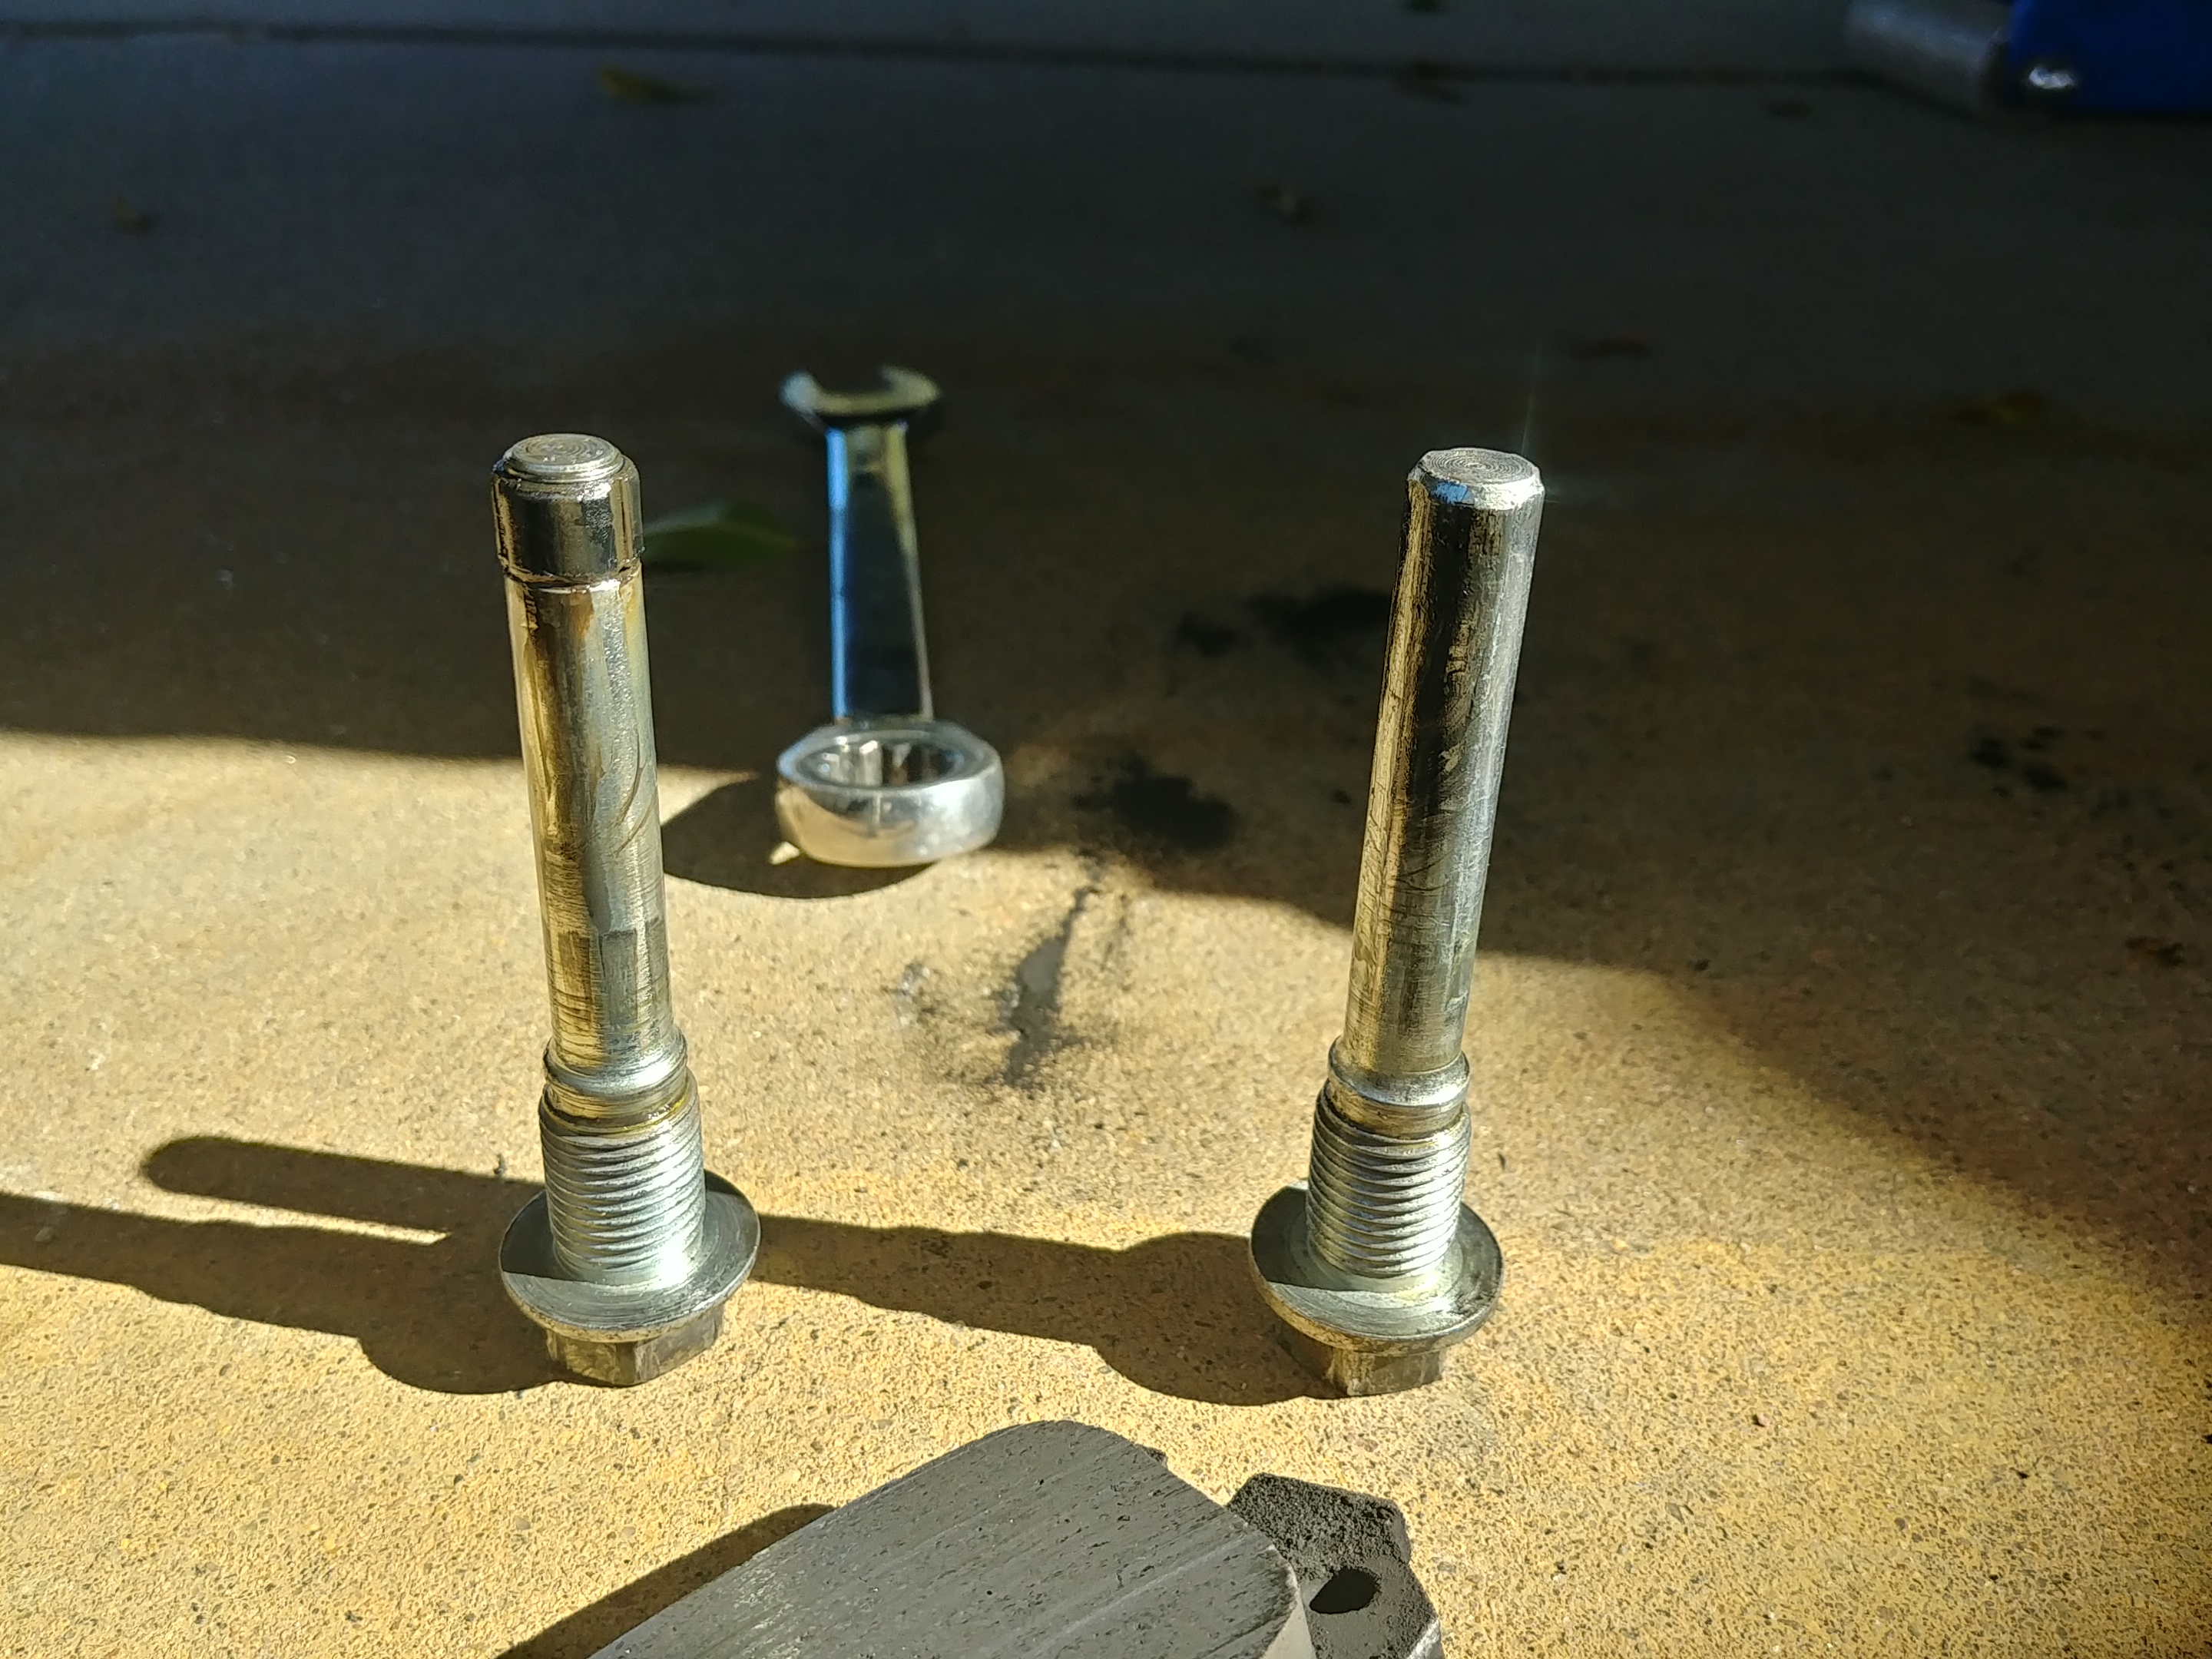
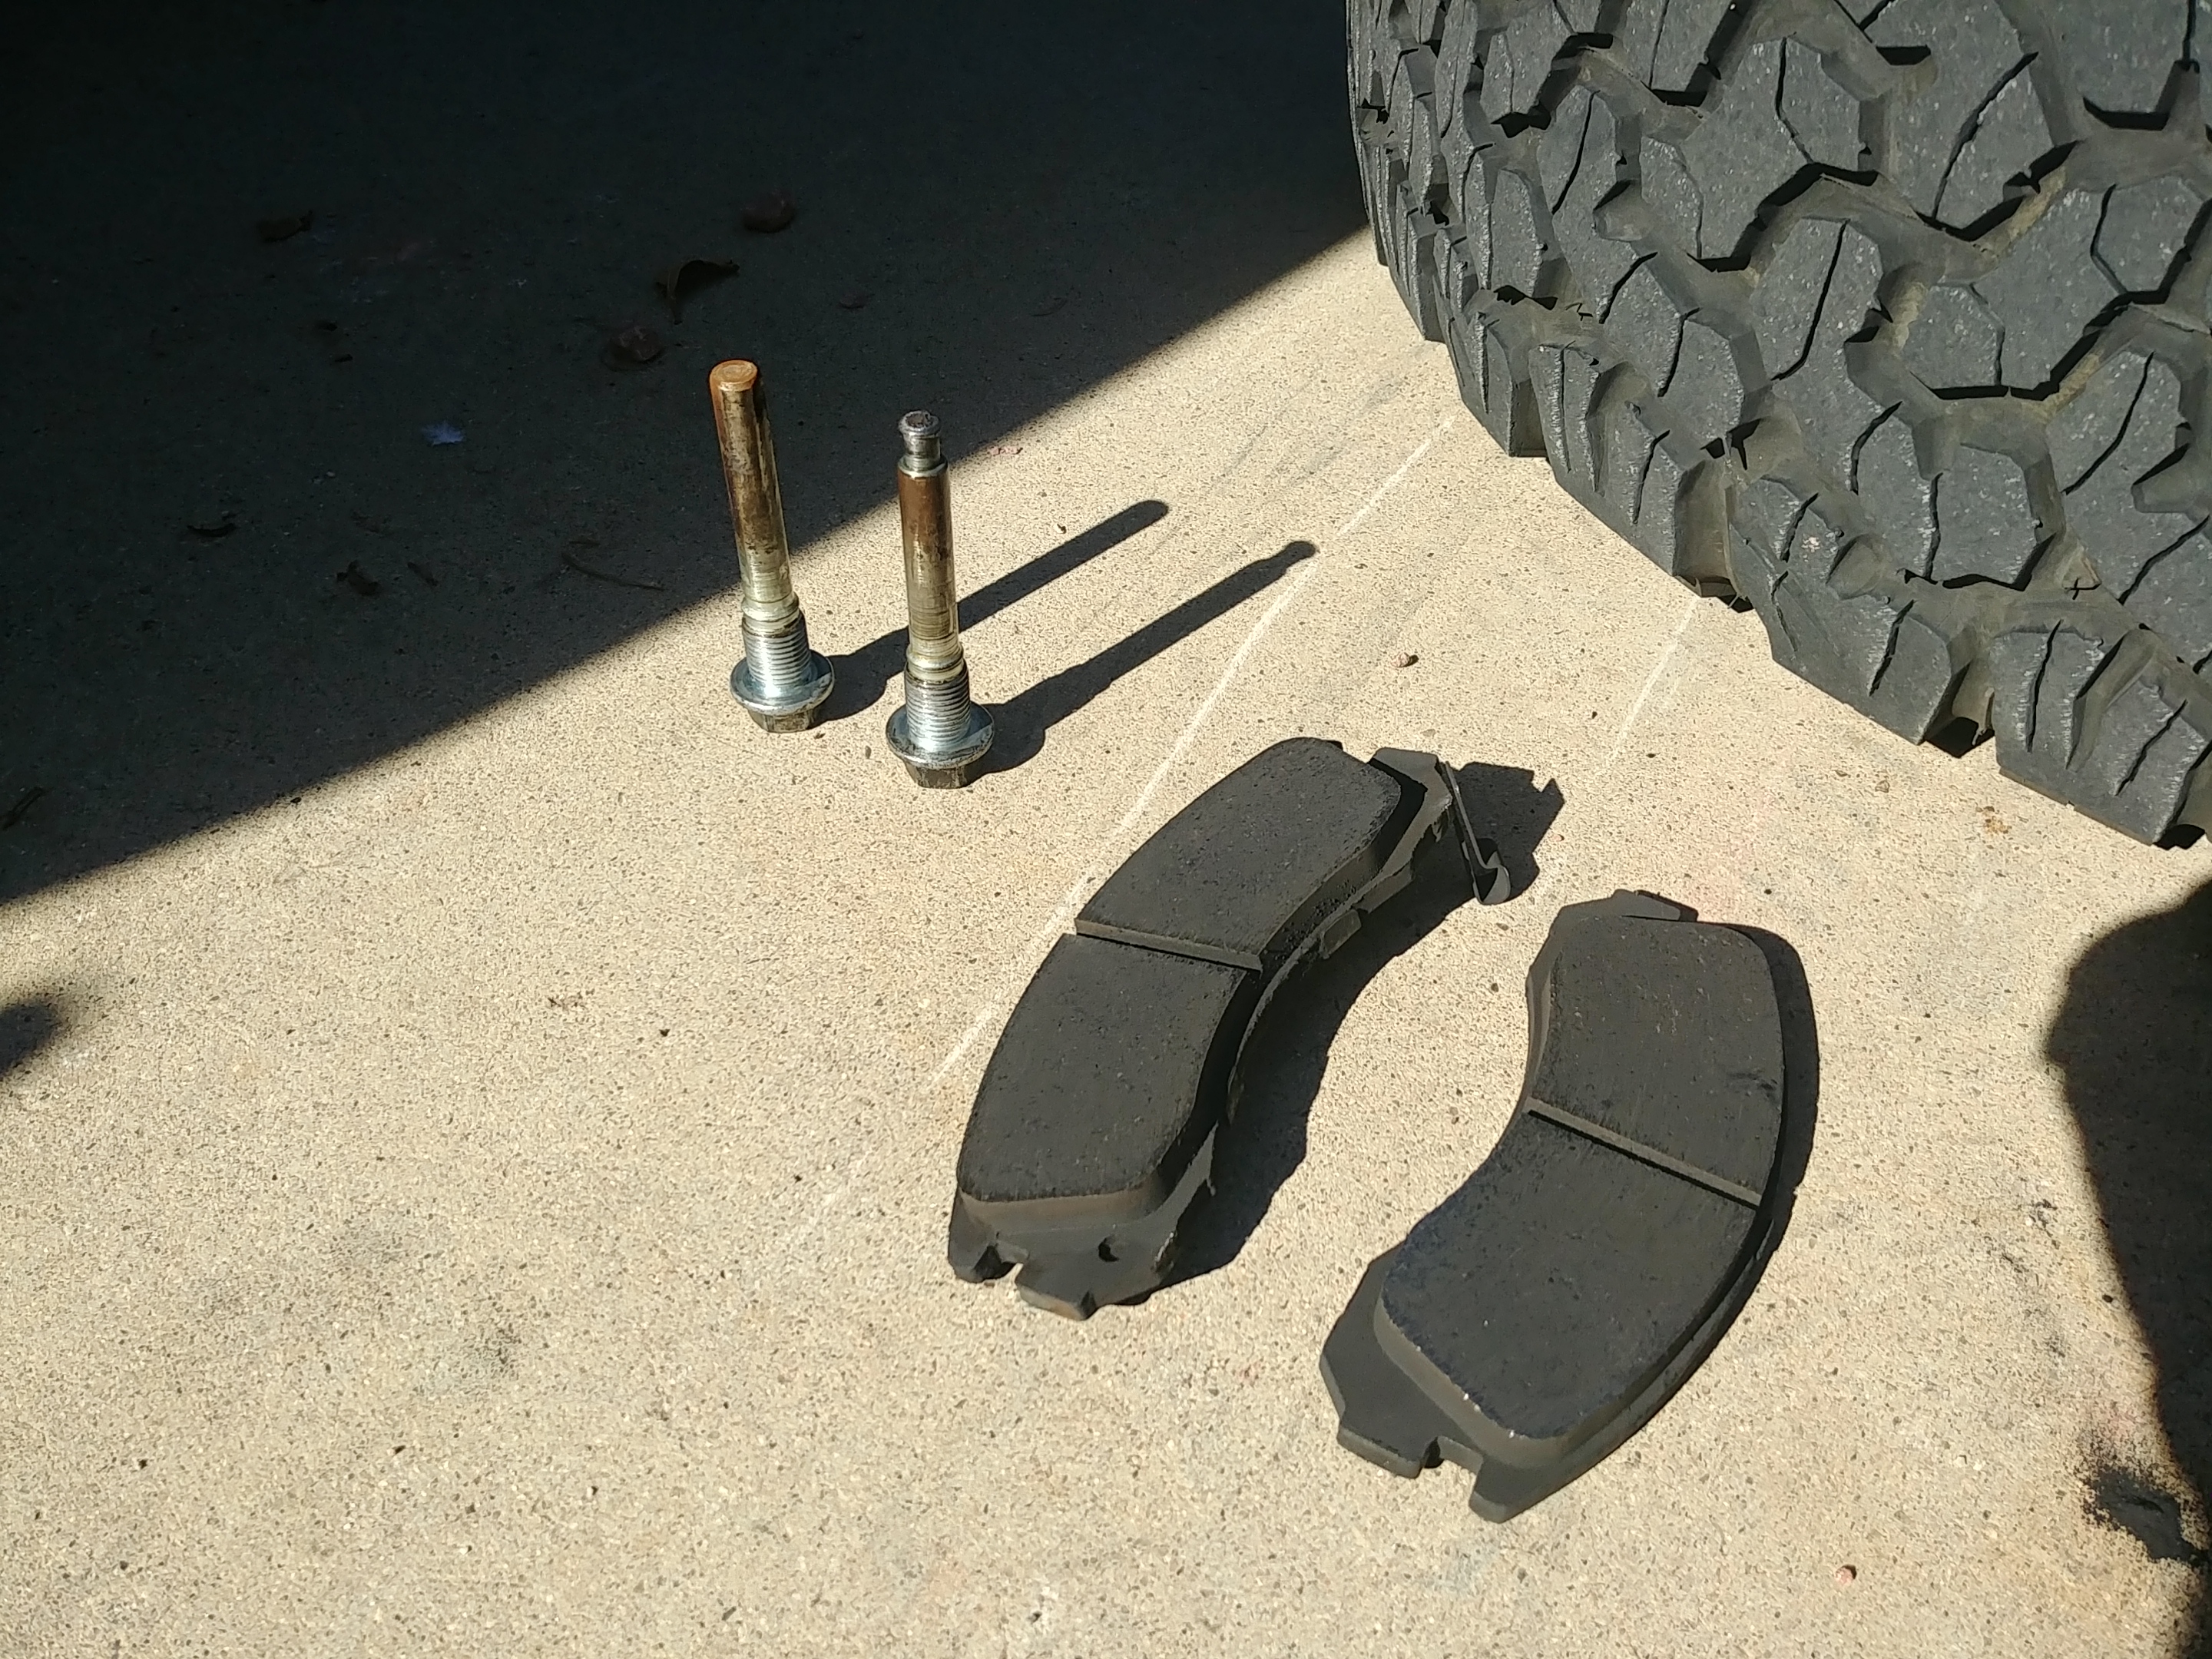
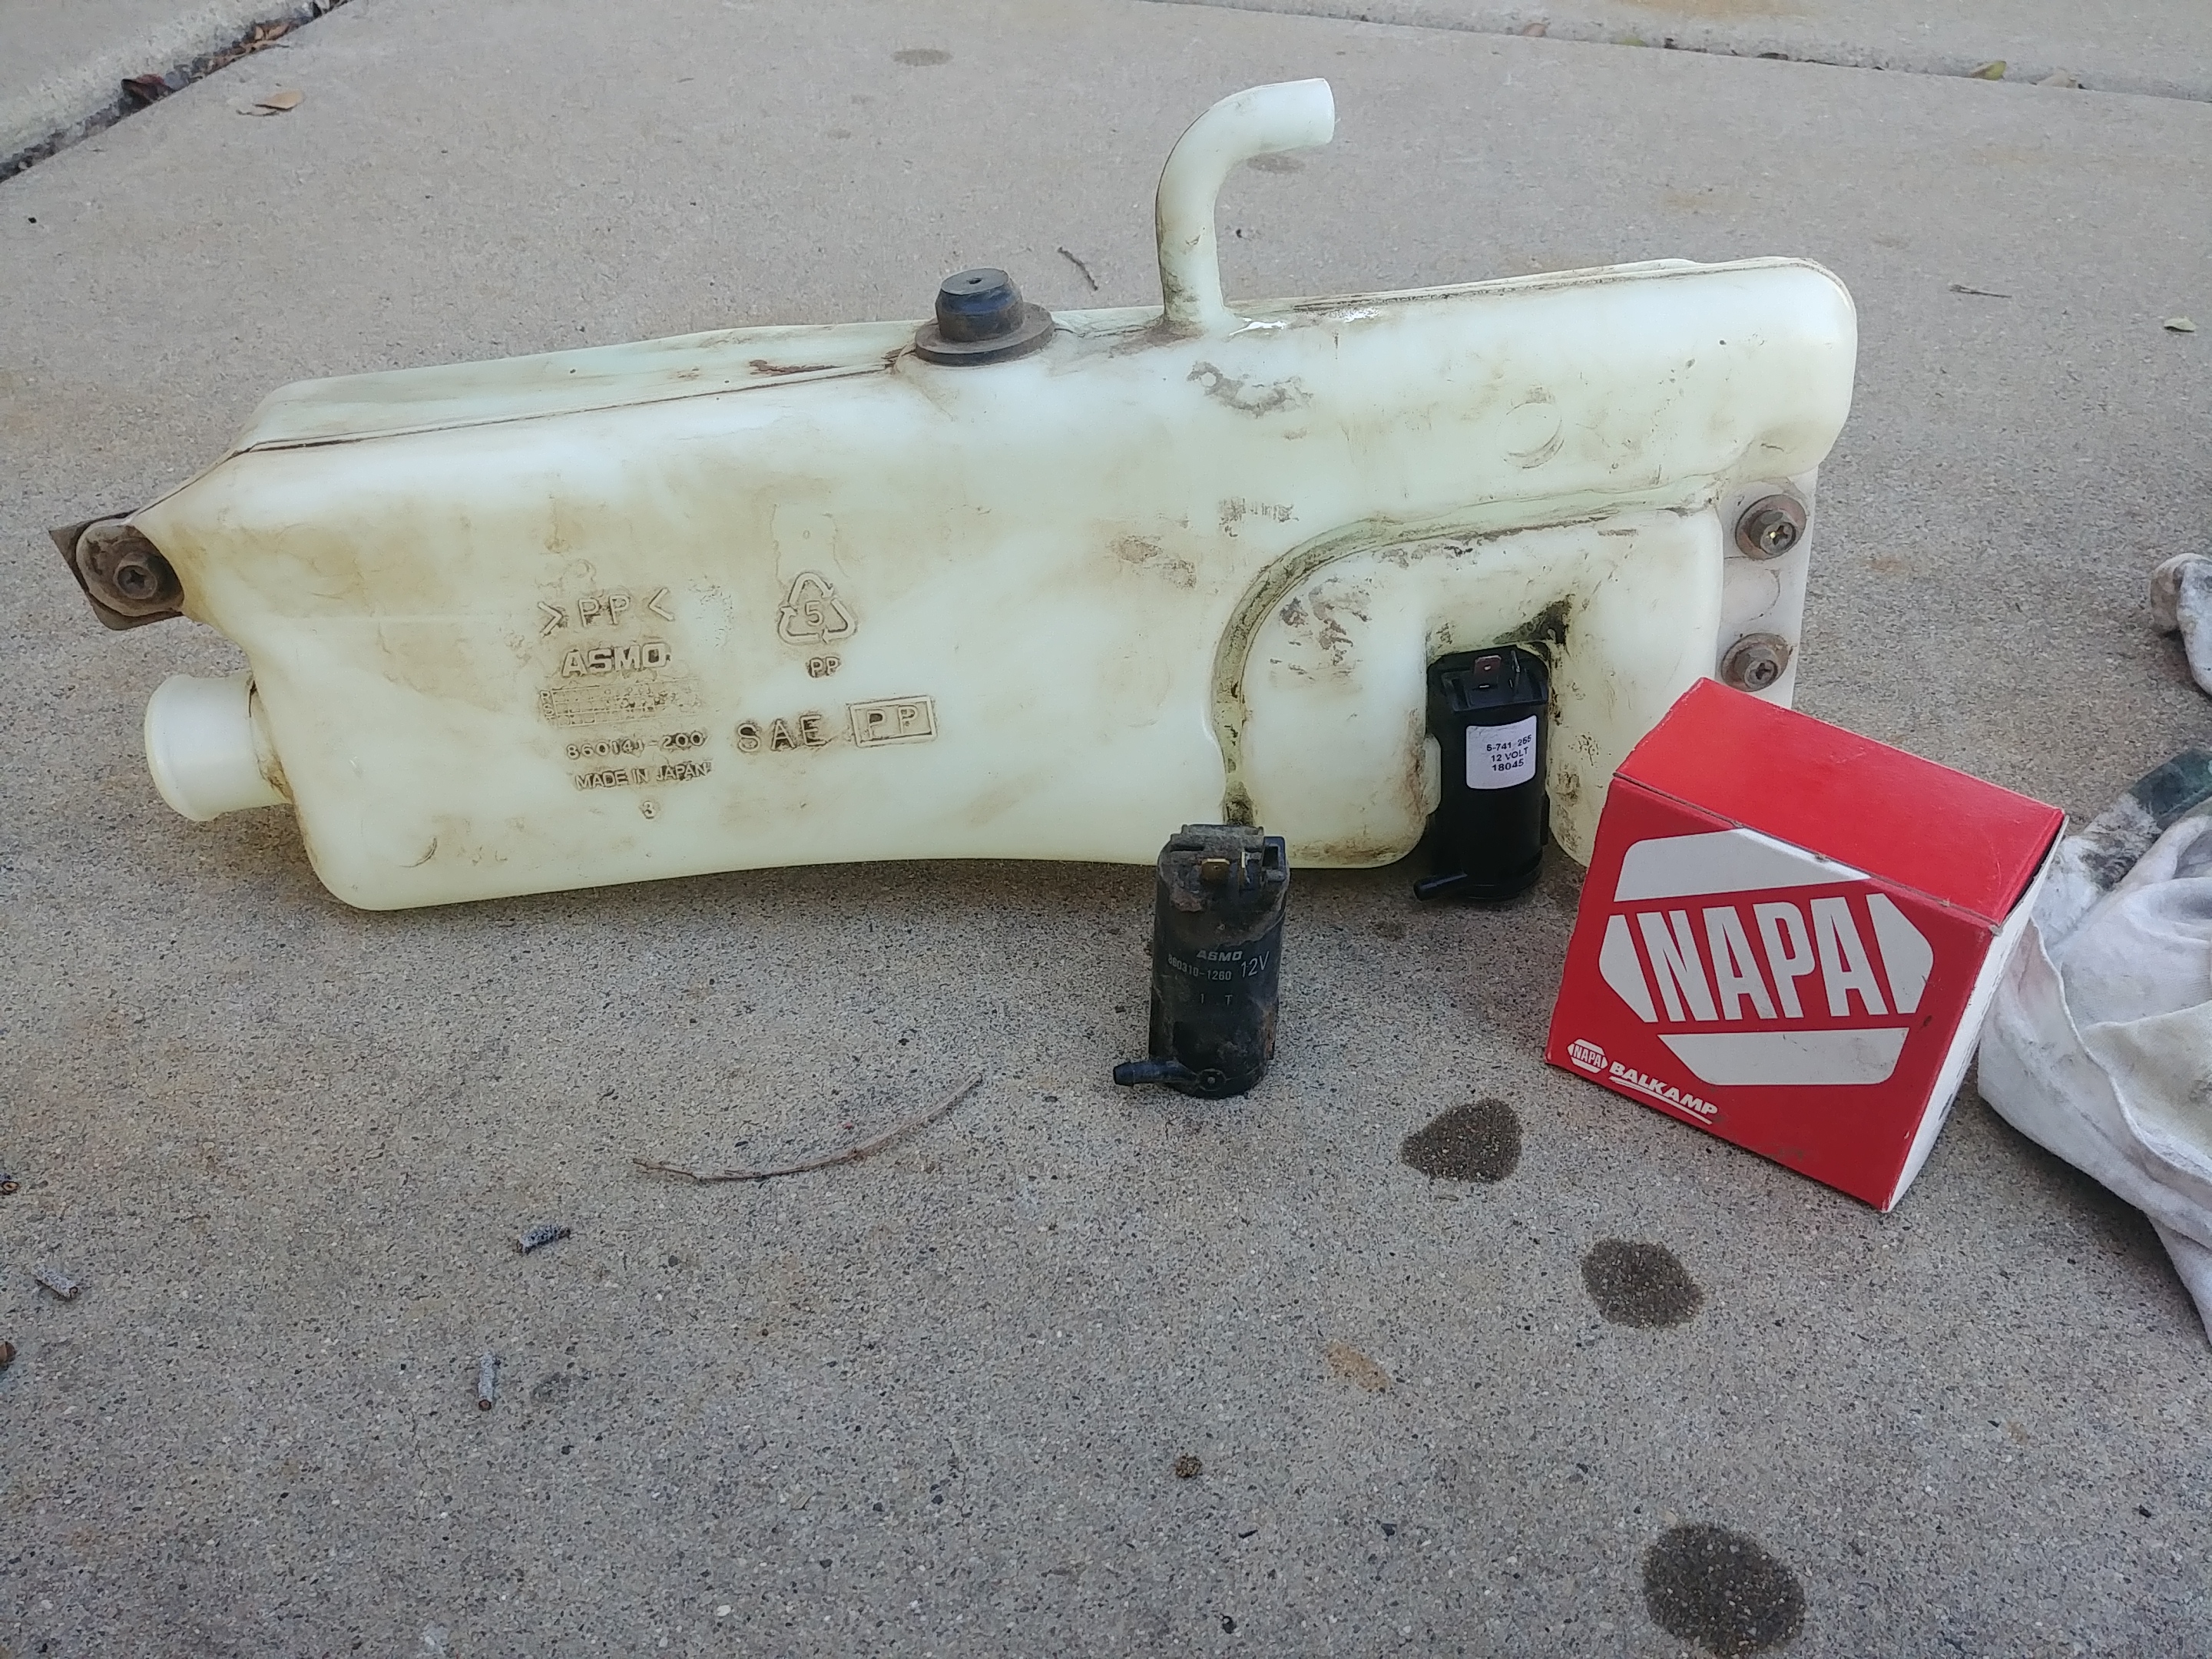
New engine, fluids.
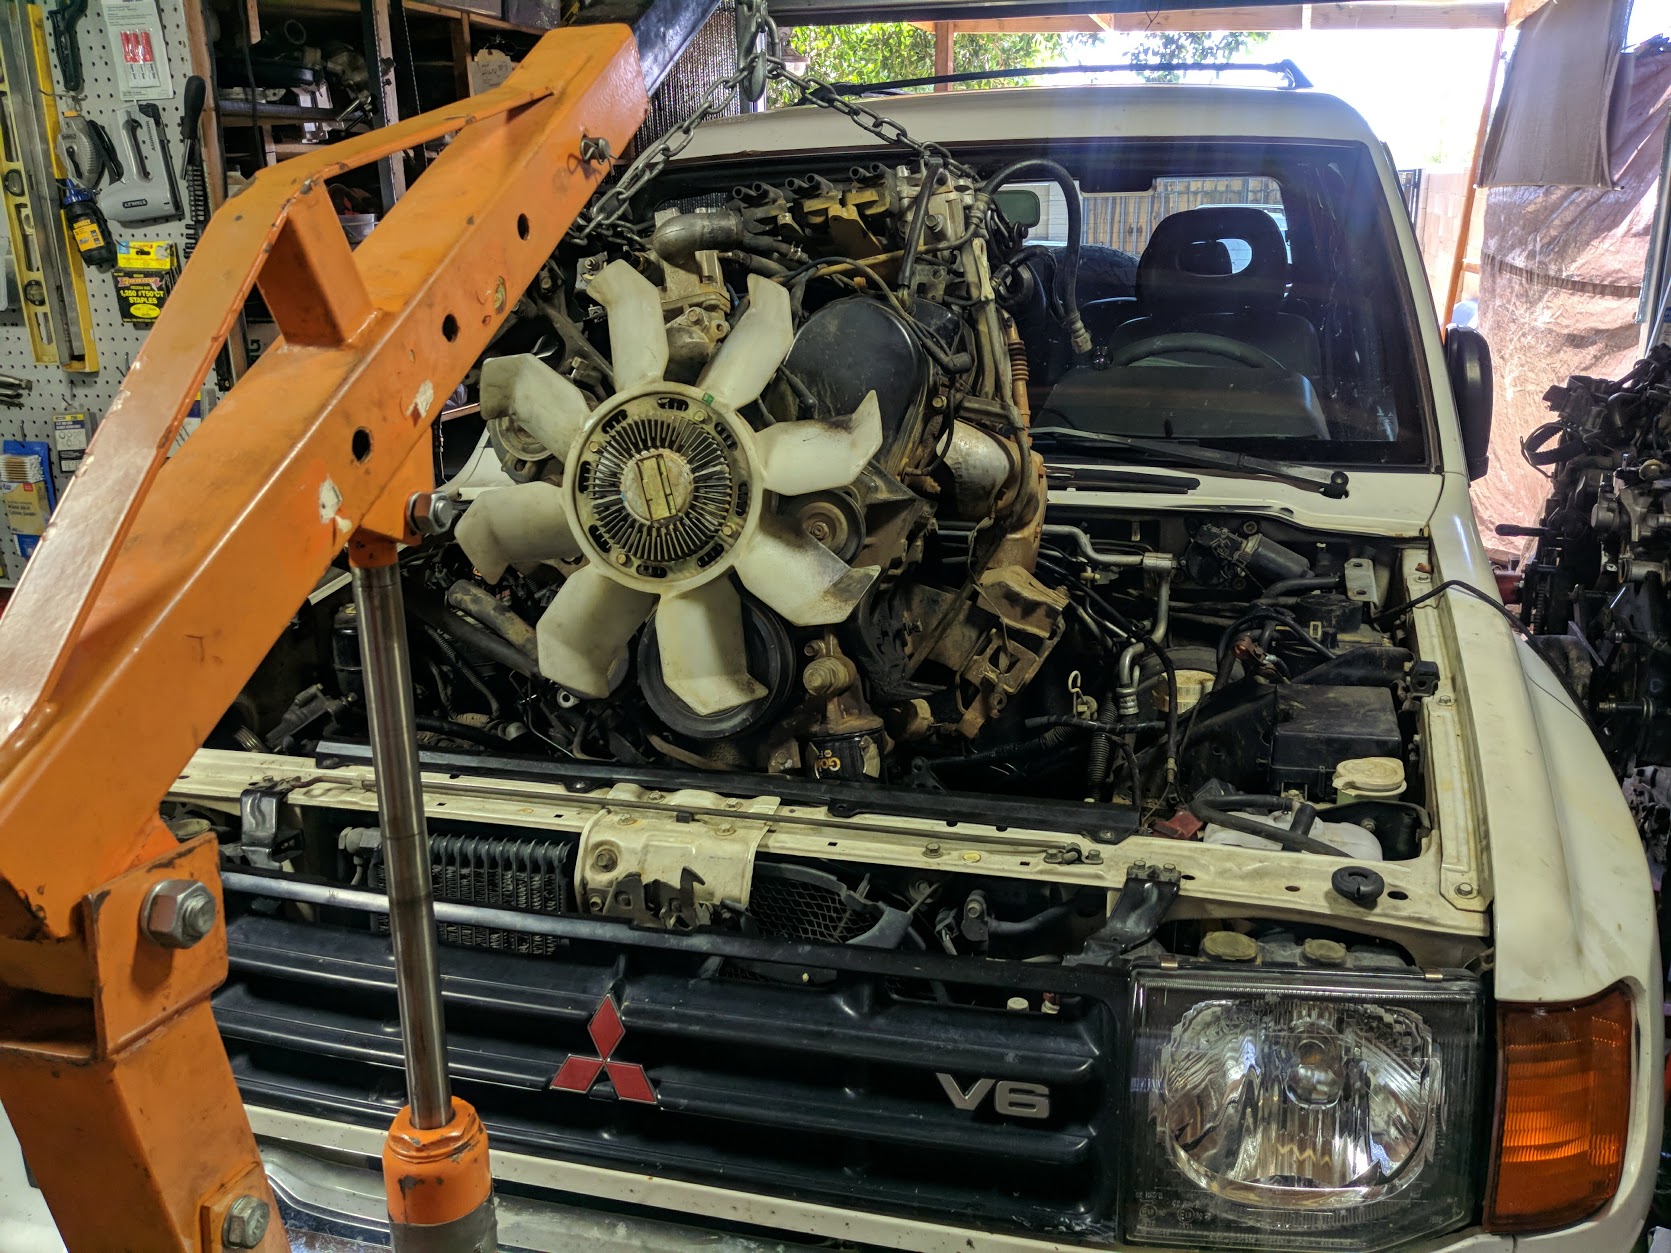
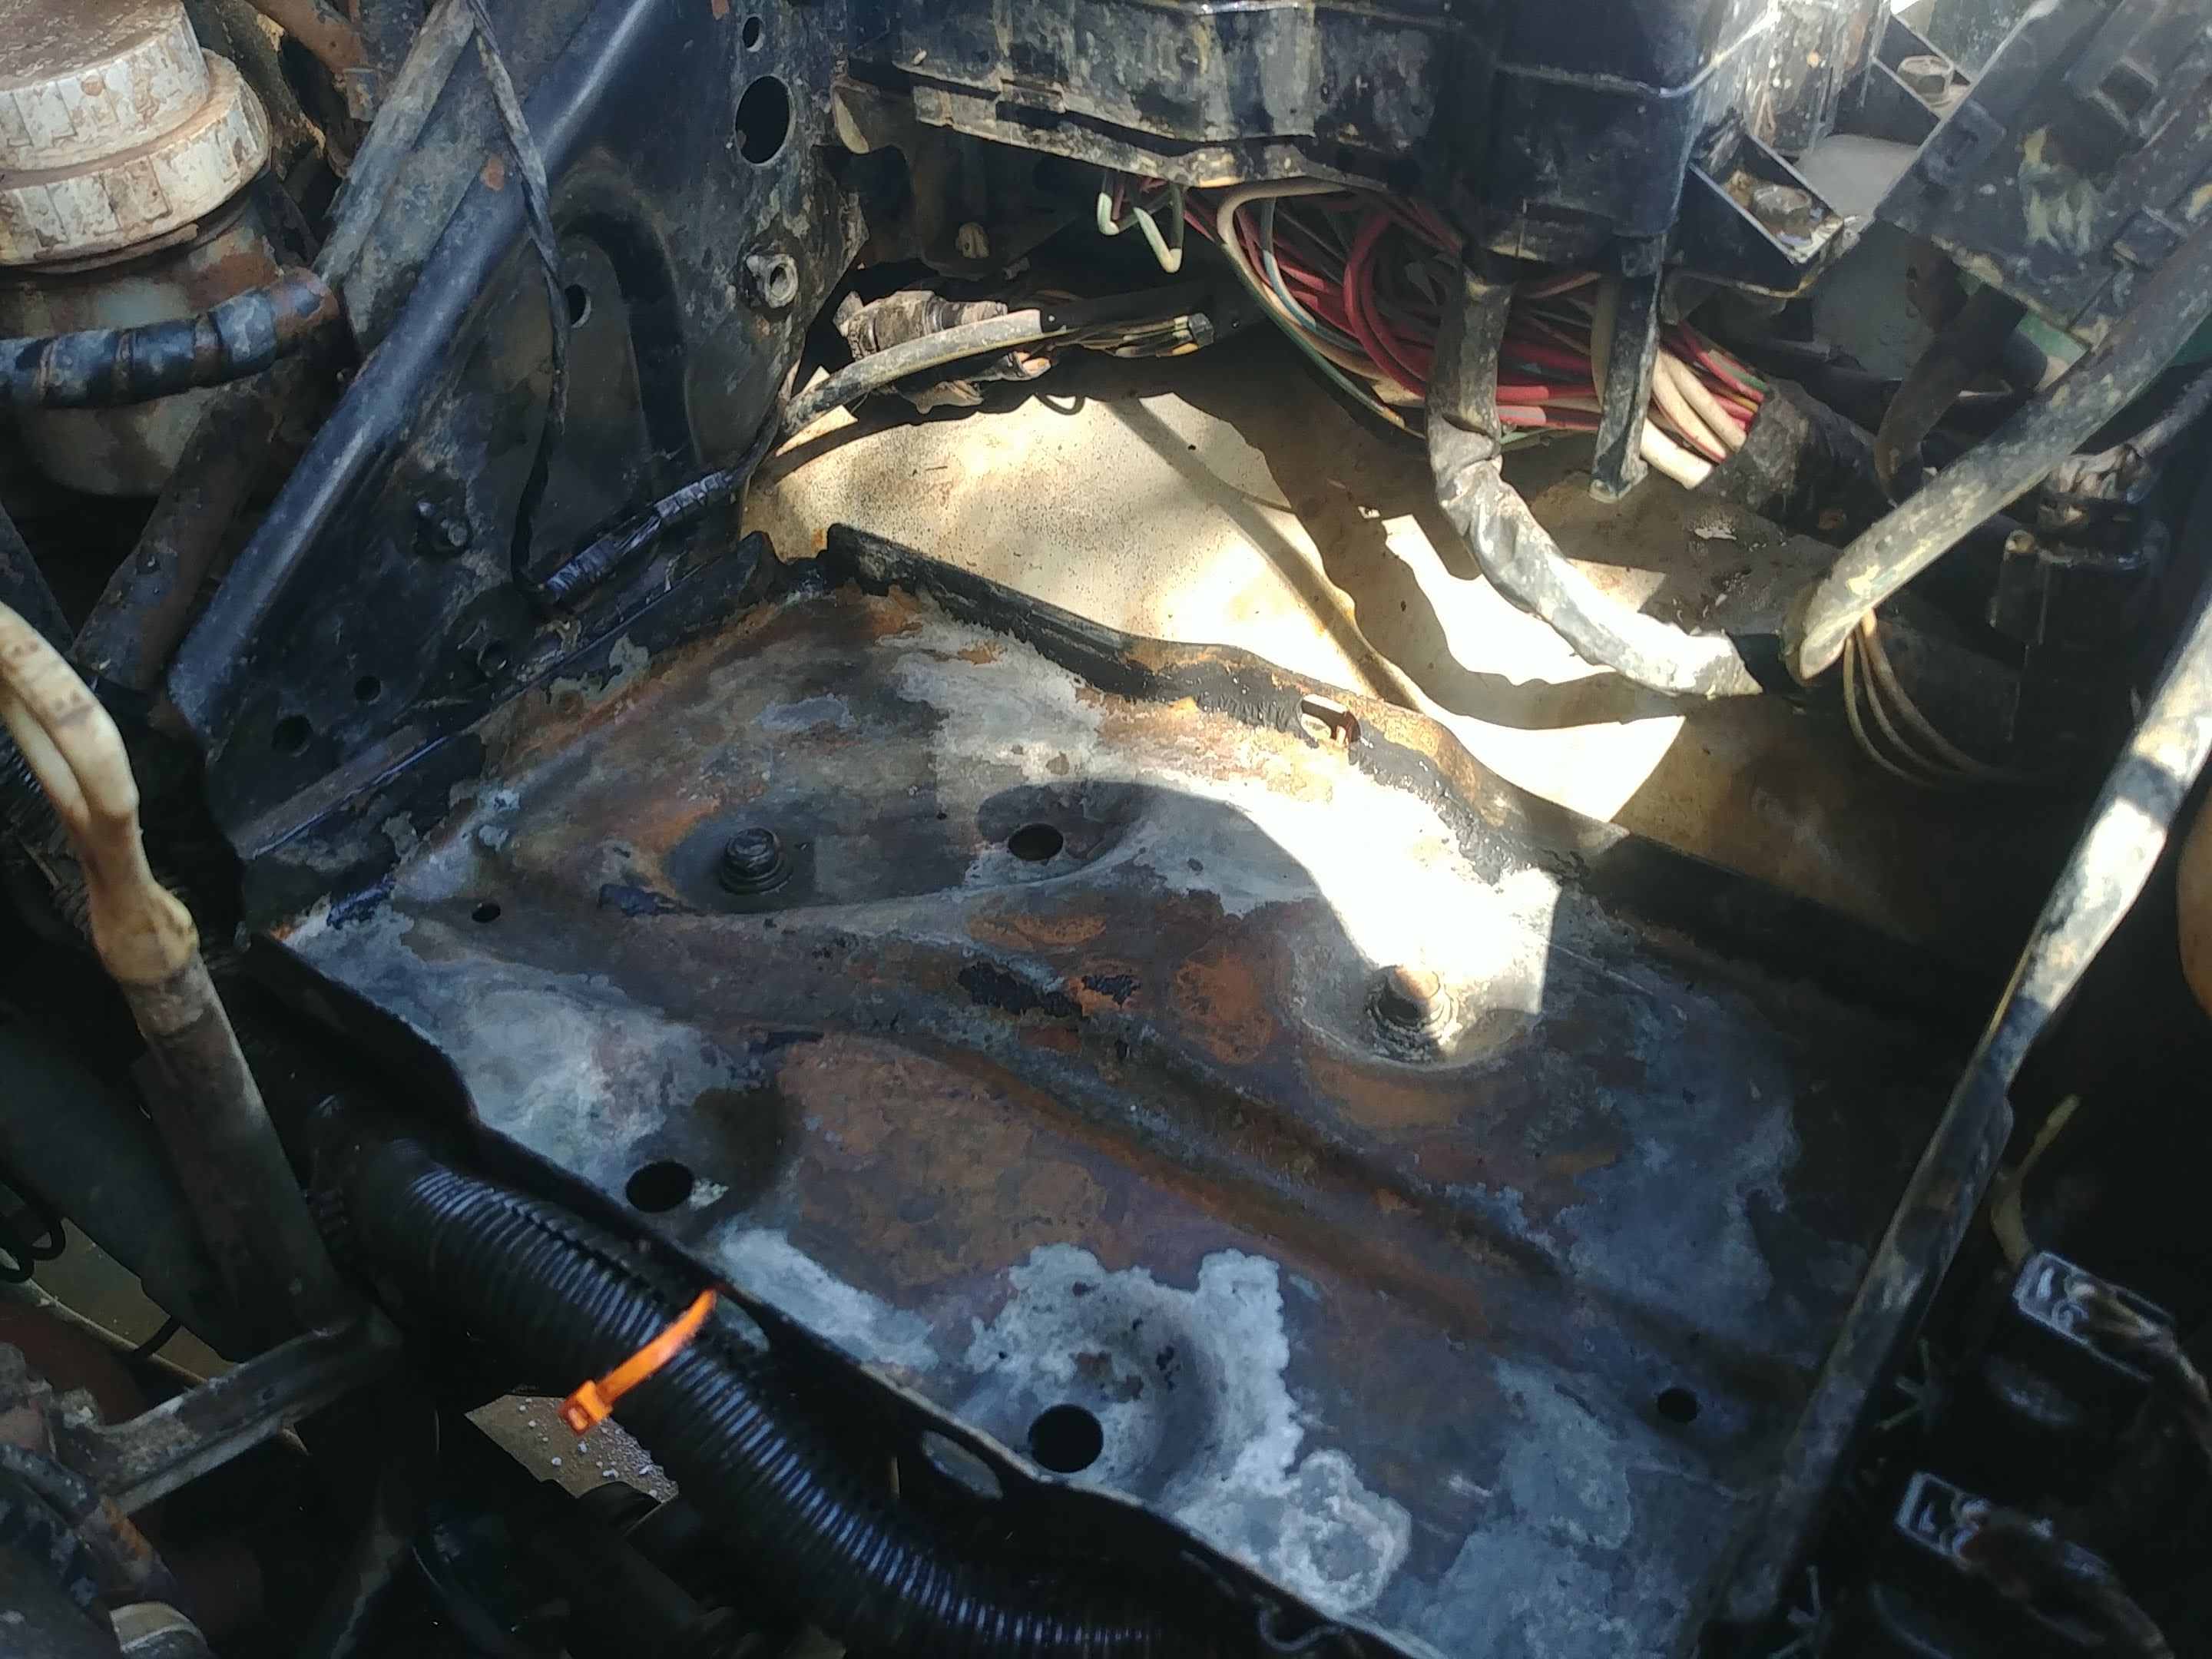
After saving up a few bucks here and there, I worked out a deal with Brother Josh at Adventure Driven Design. He coordinated the parts and supplies. I drove over to his place on the far side of the Phoenix metro after work on a Friday night. We pulled the original, 199,9XX mile engine, Saturday morning.
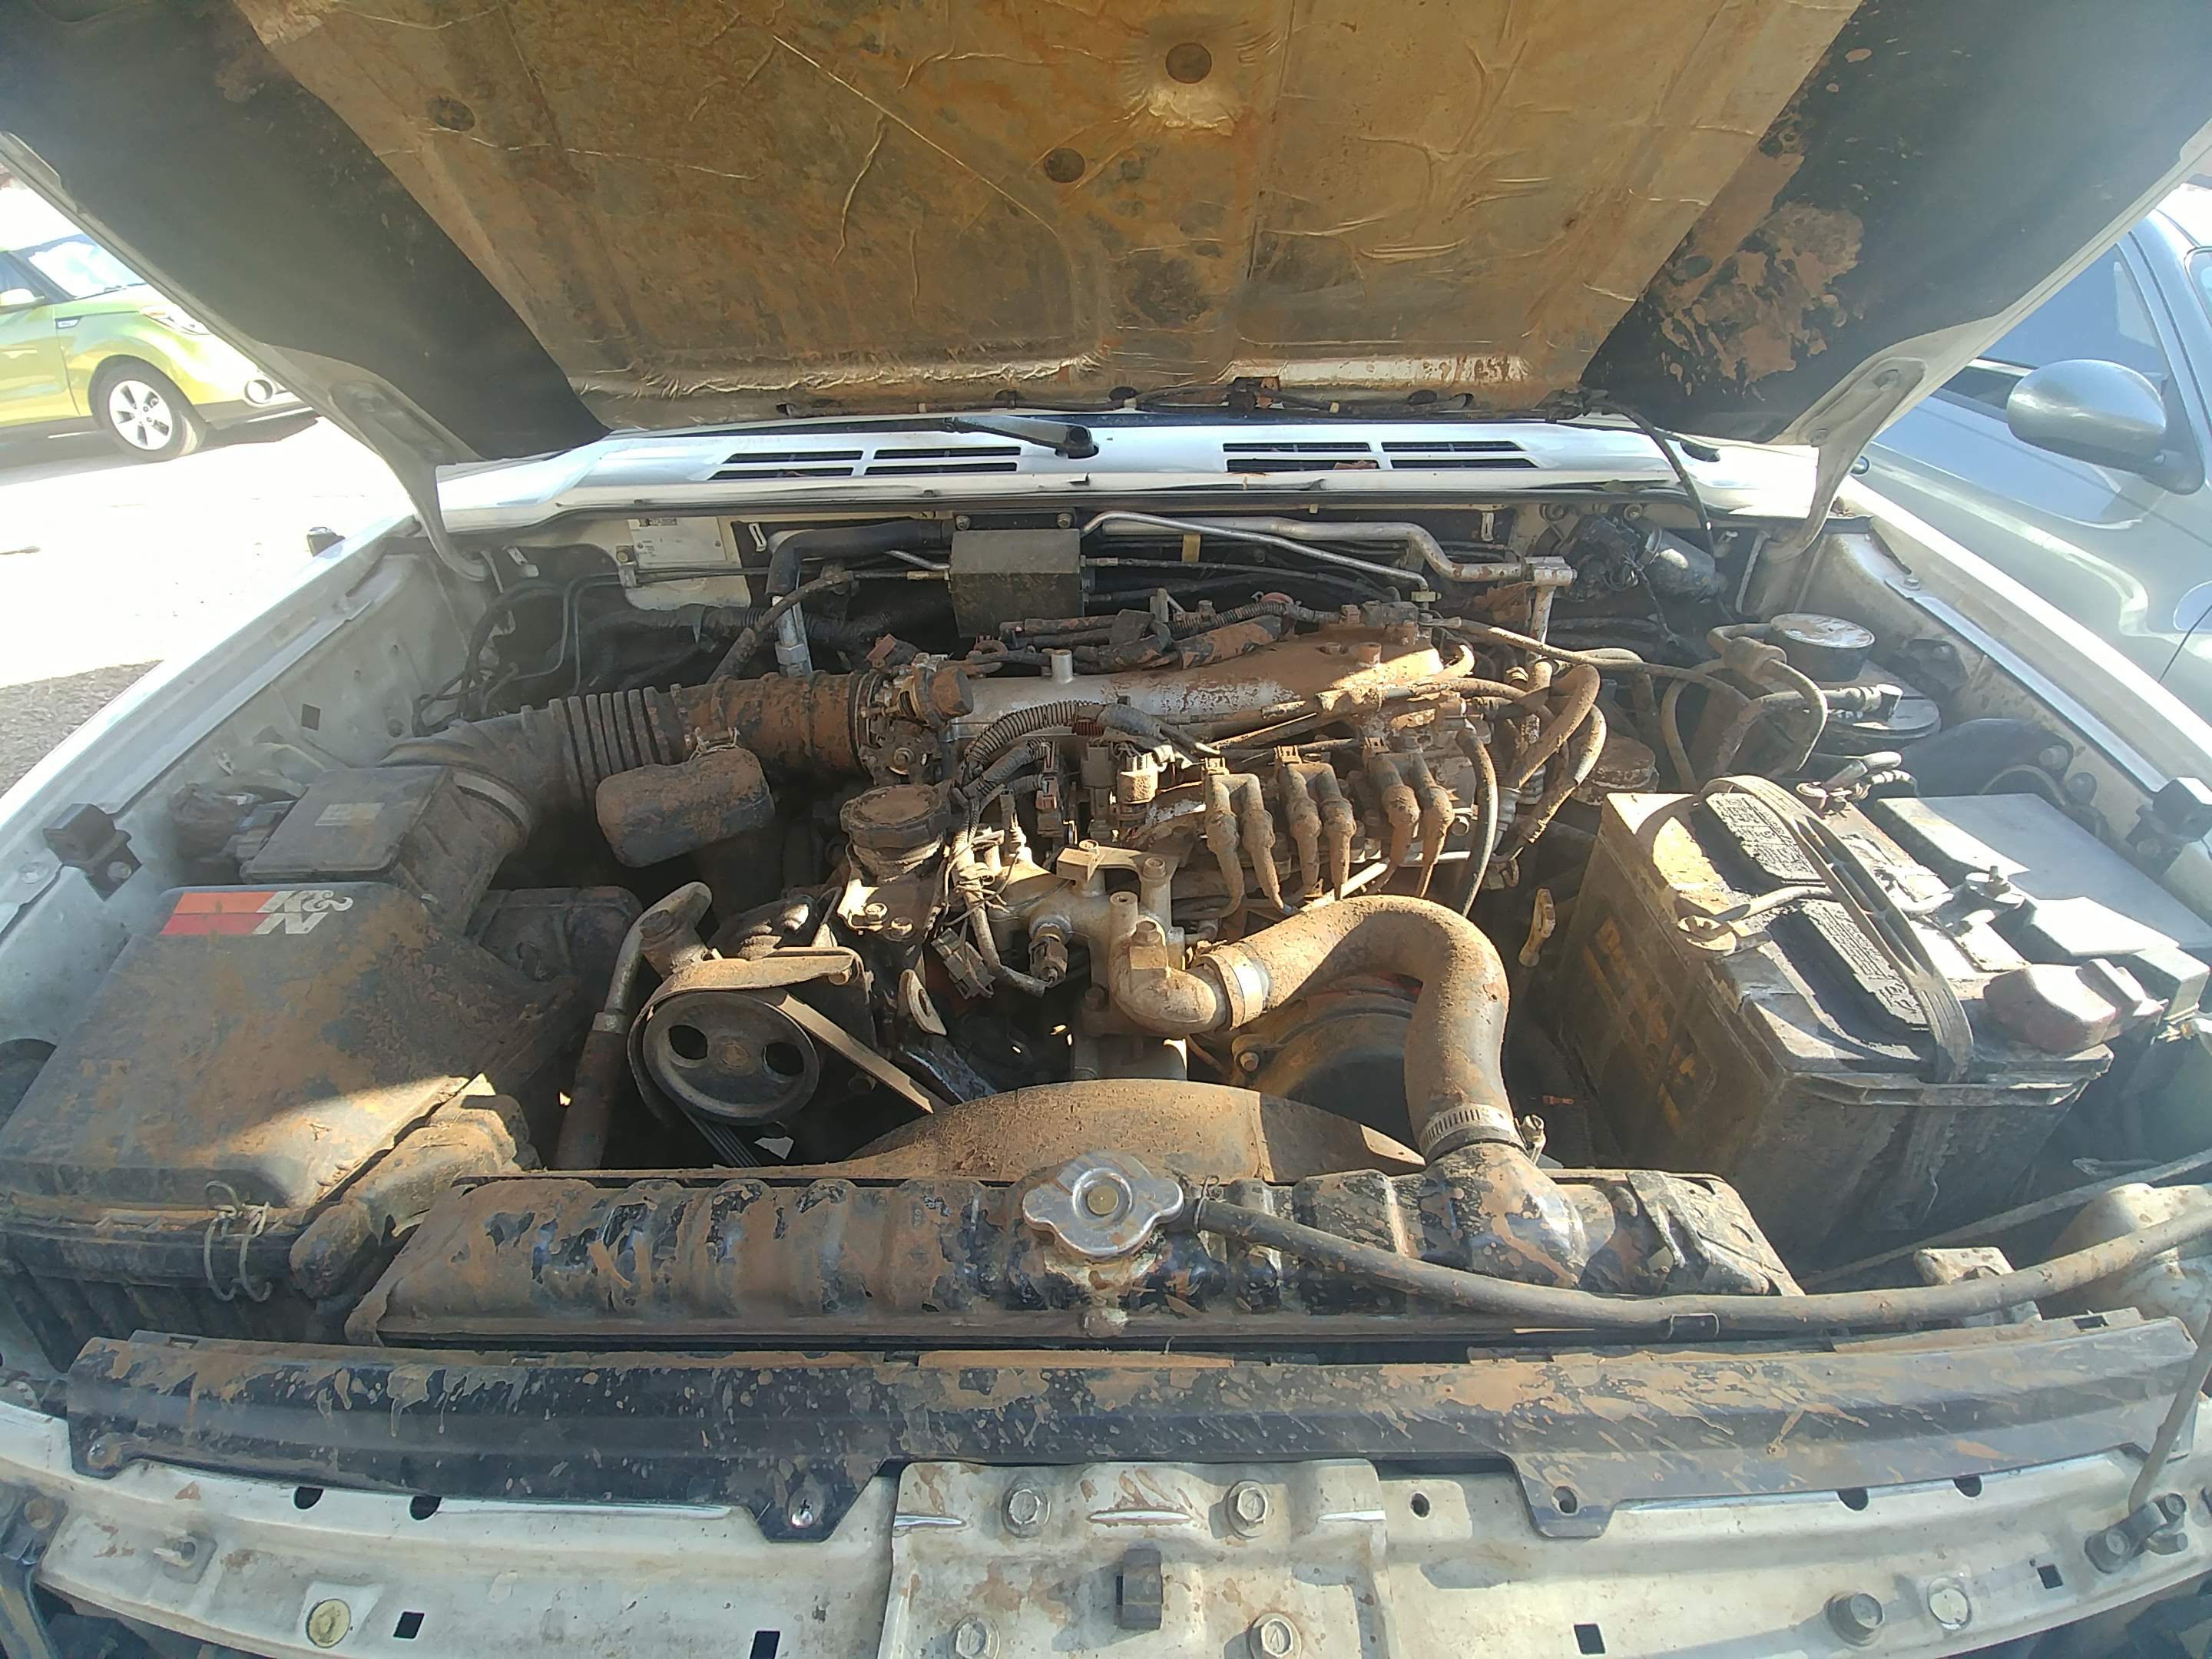
It was a mad dash of several late nights in a row, ending in my leaving Josh’s place just before 1AM Monday morning. The alarm for work a few hours later was a real bastard—but Fezzik had a leak- and smoke-free engine under the hood. Things were looking up.
Here’s the full story on Gearbox Magazine back in the day.

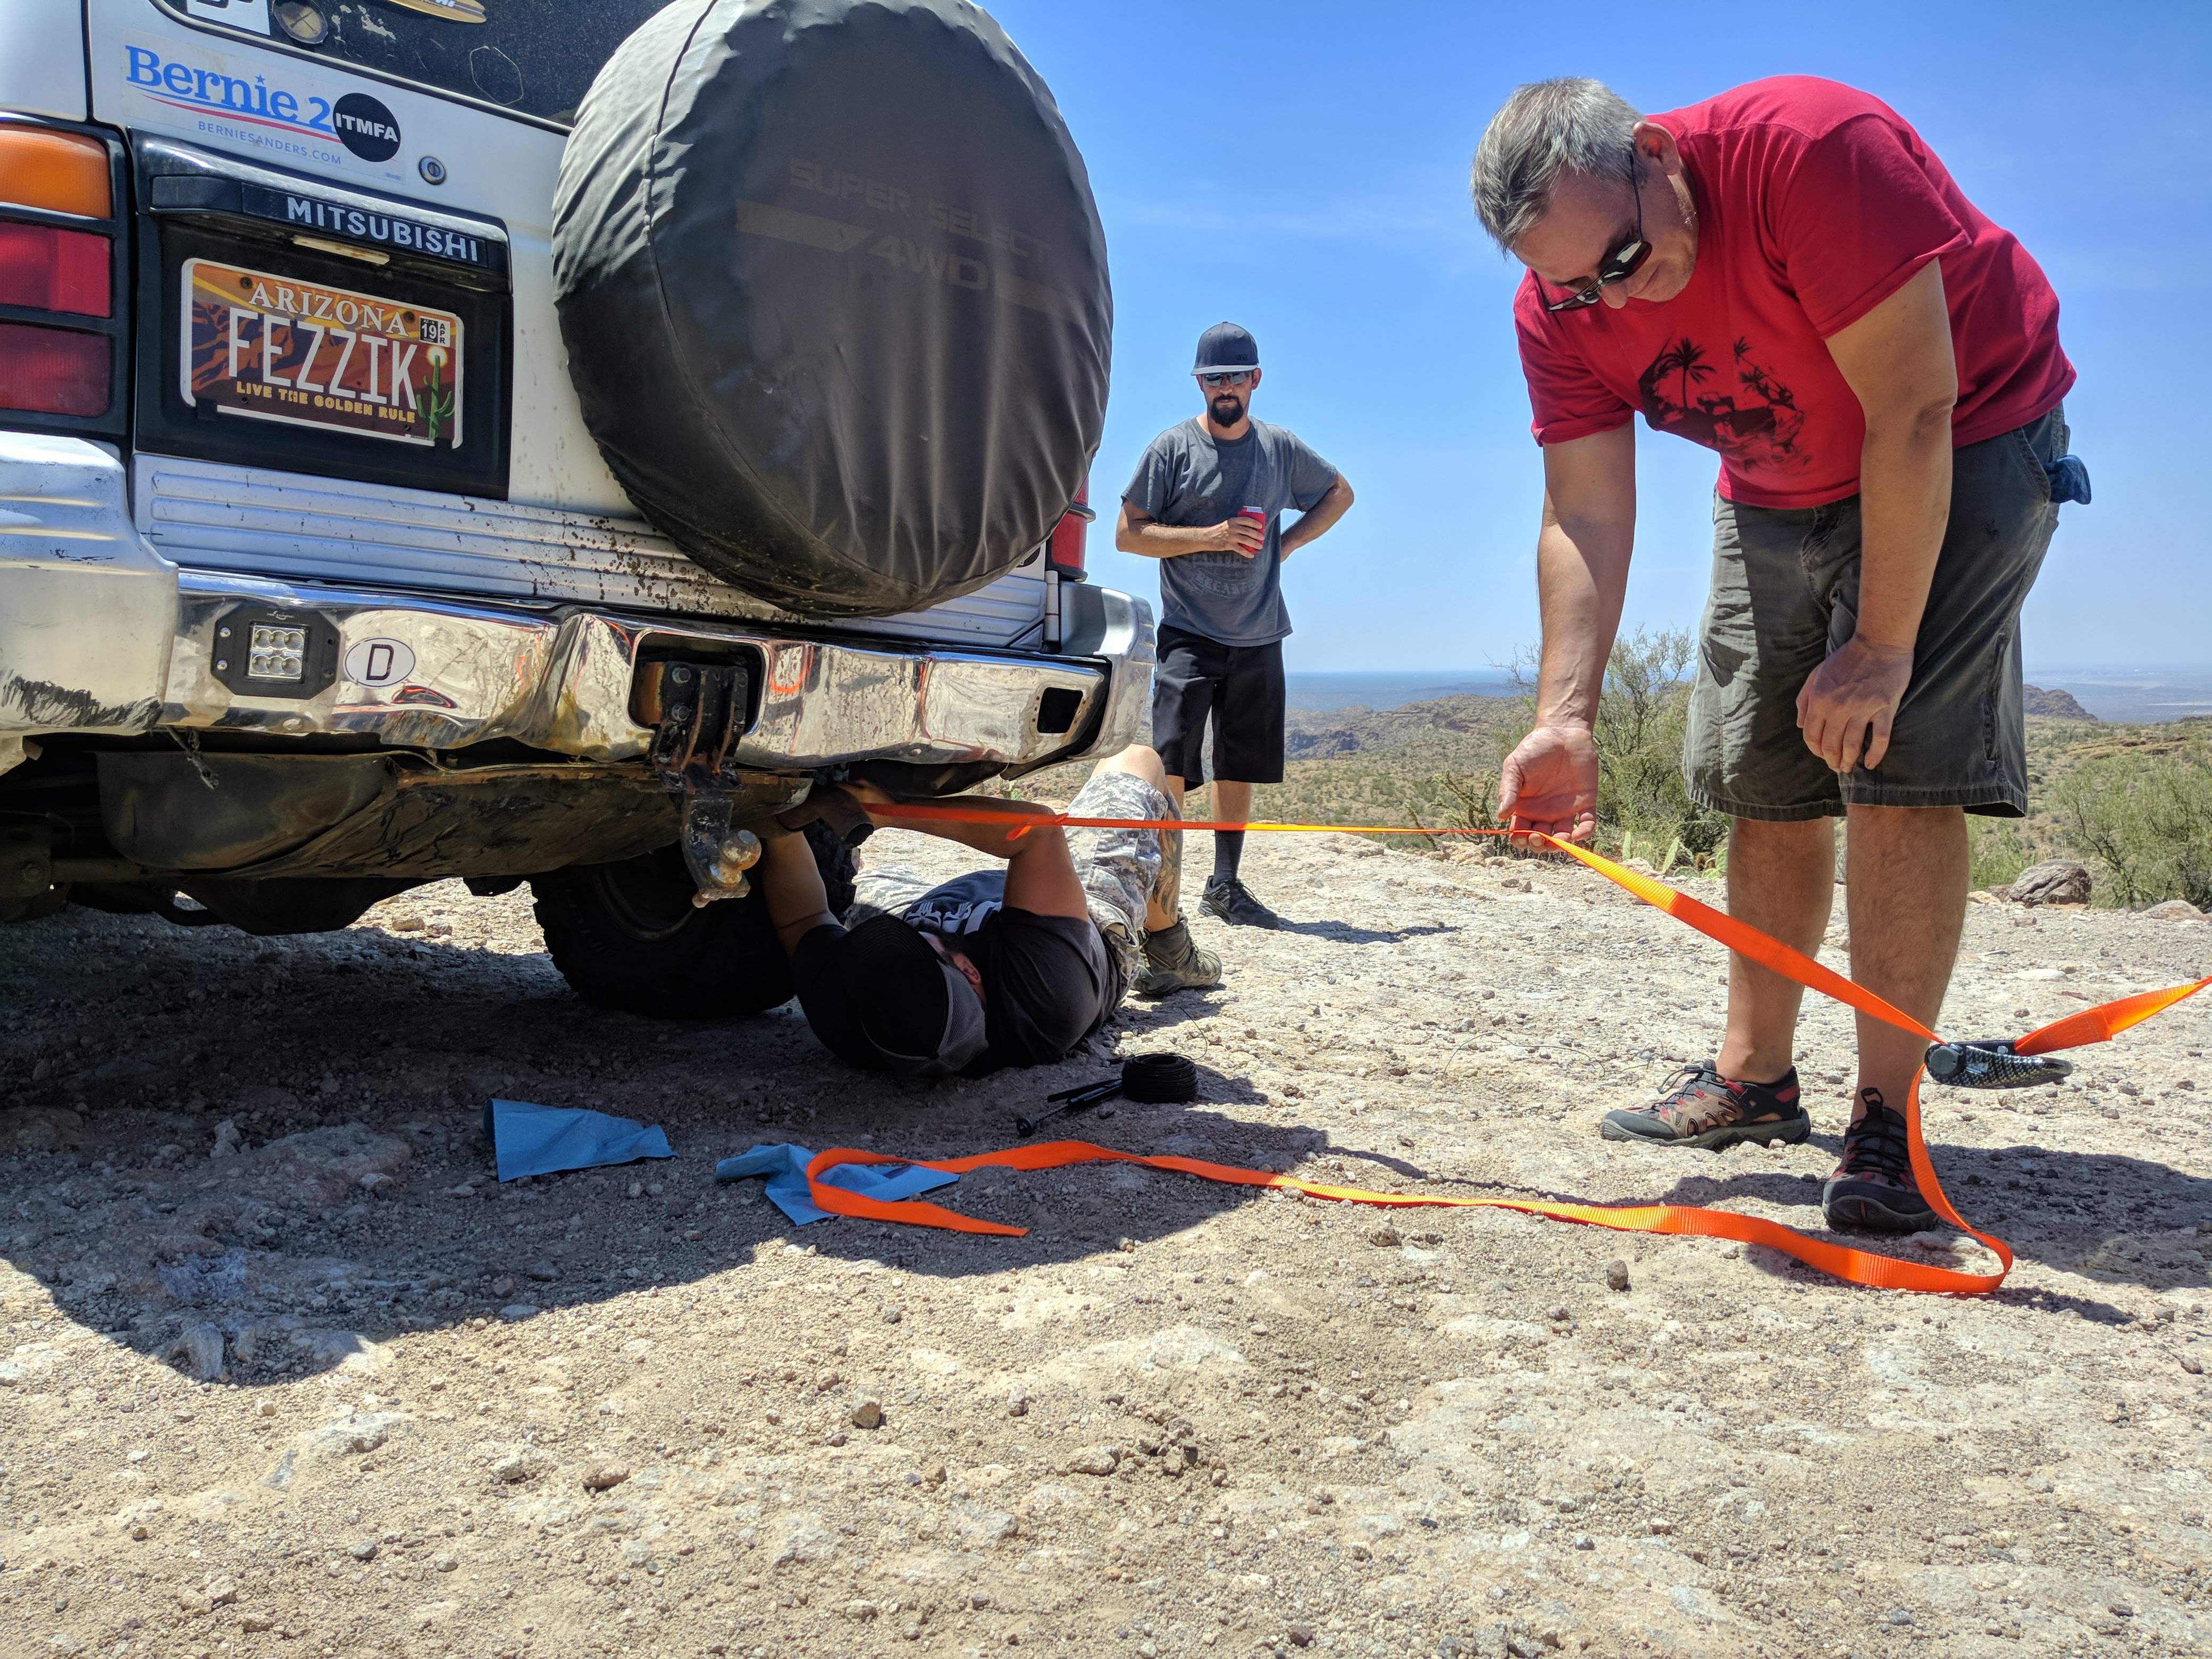
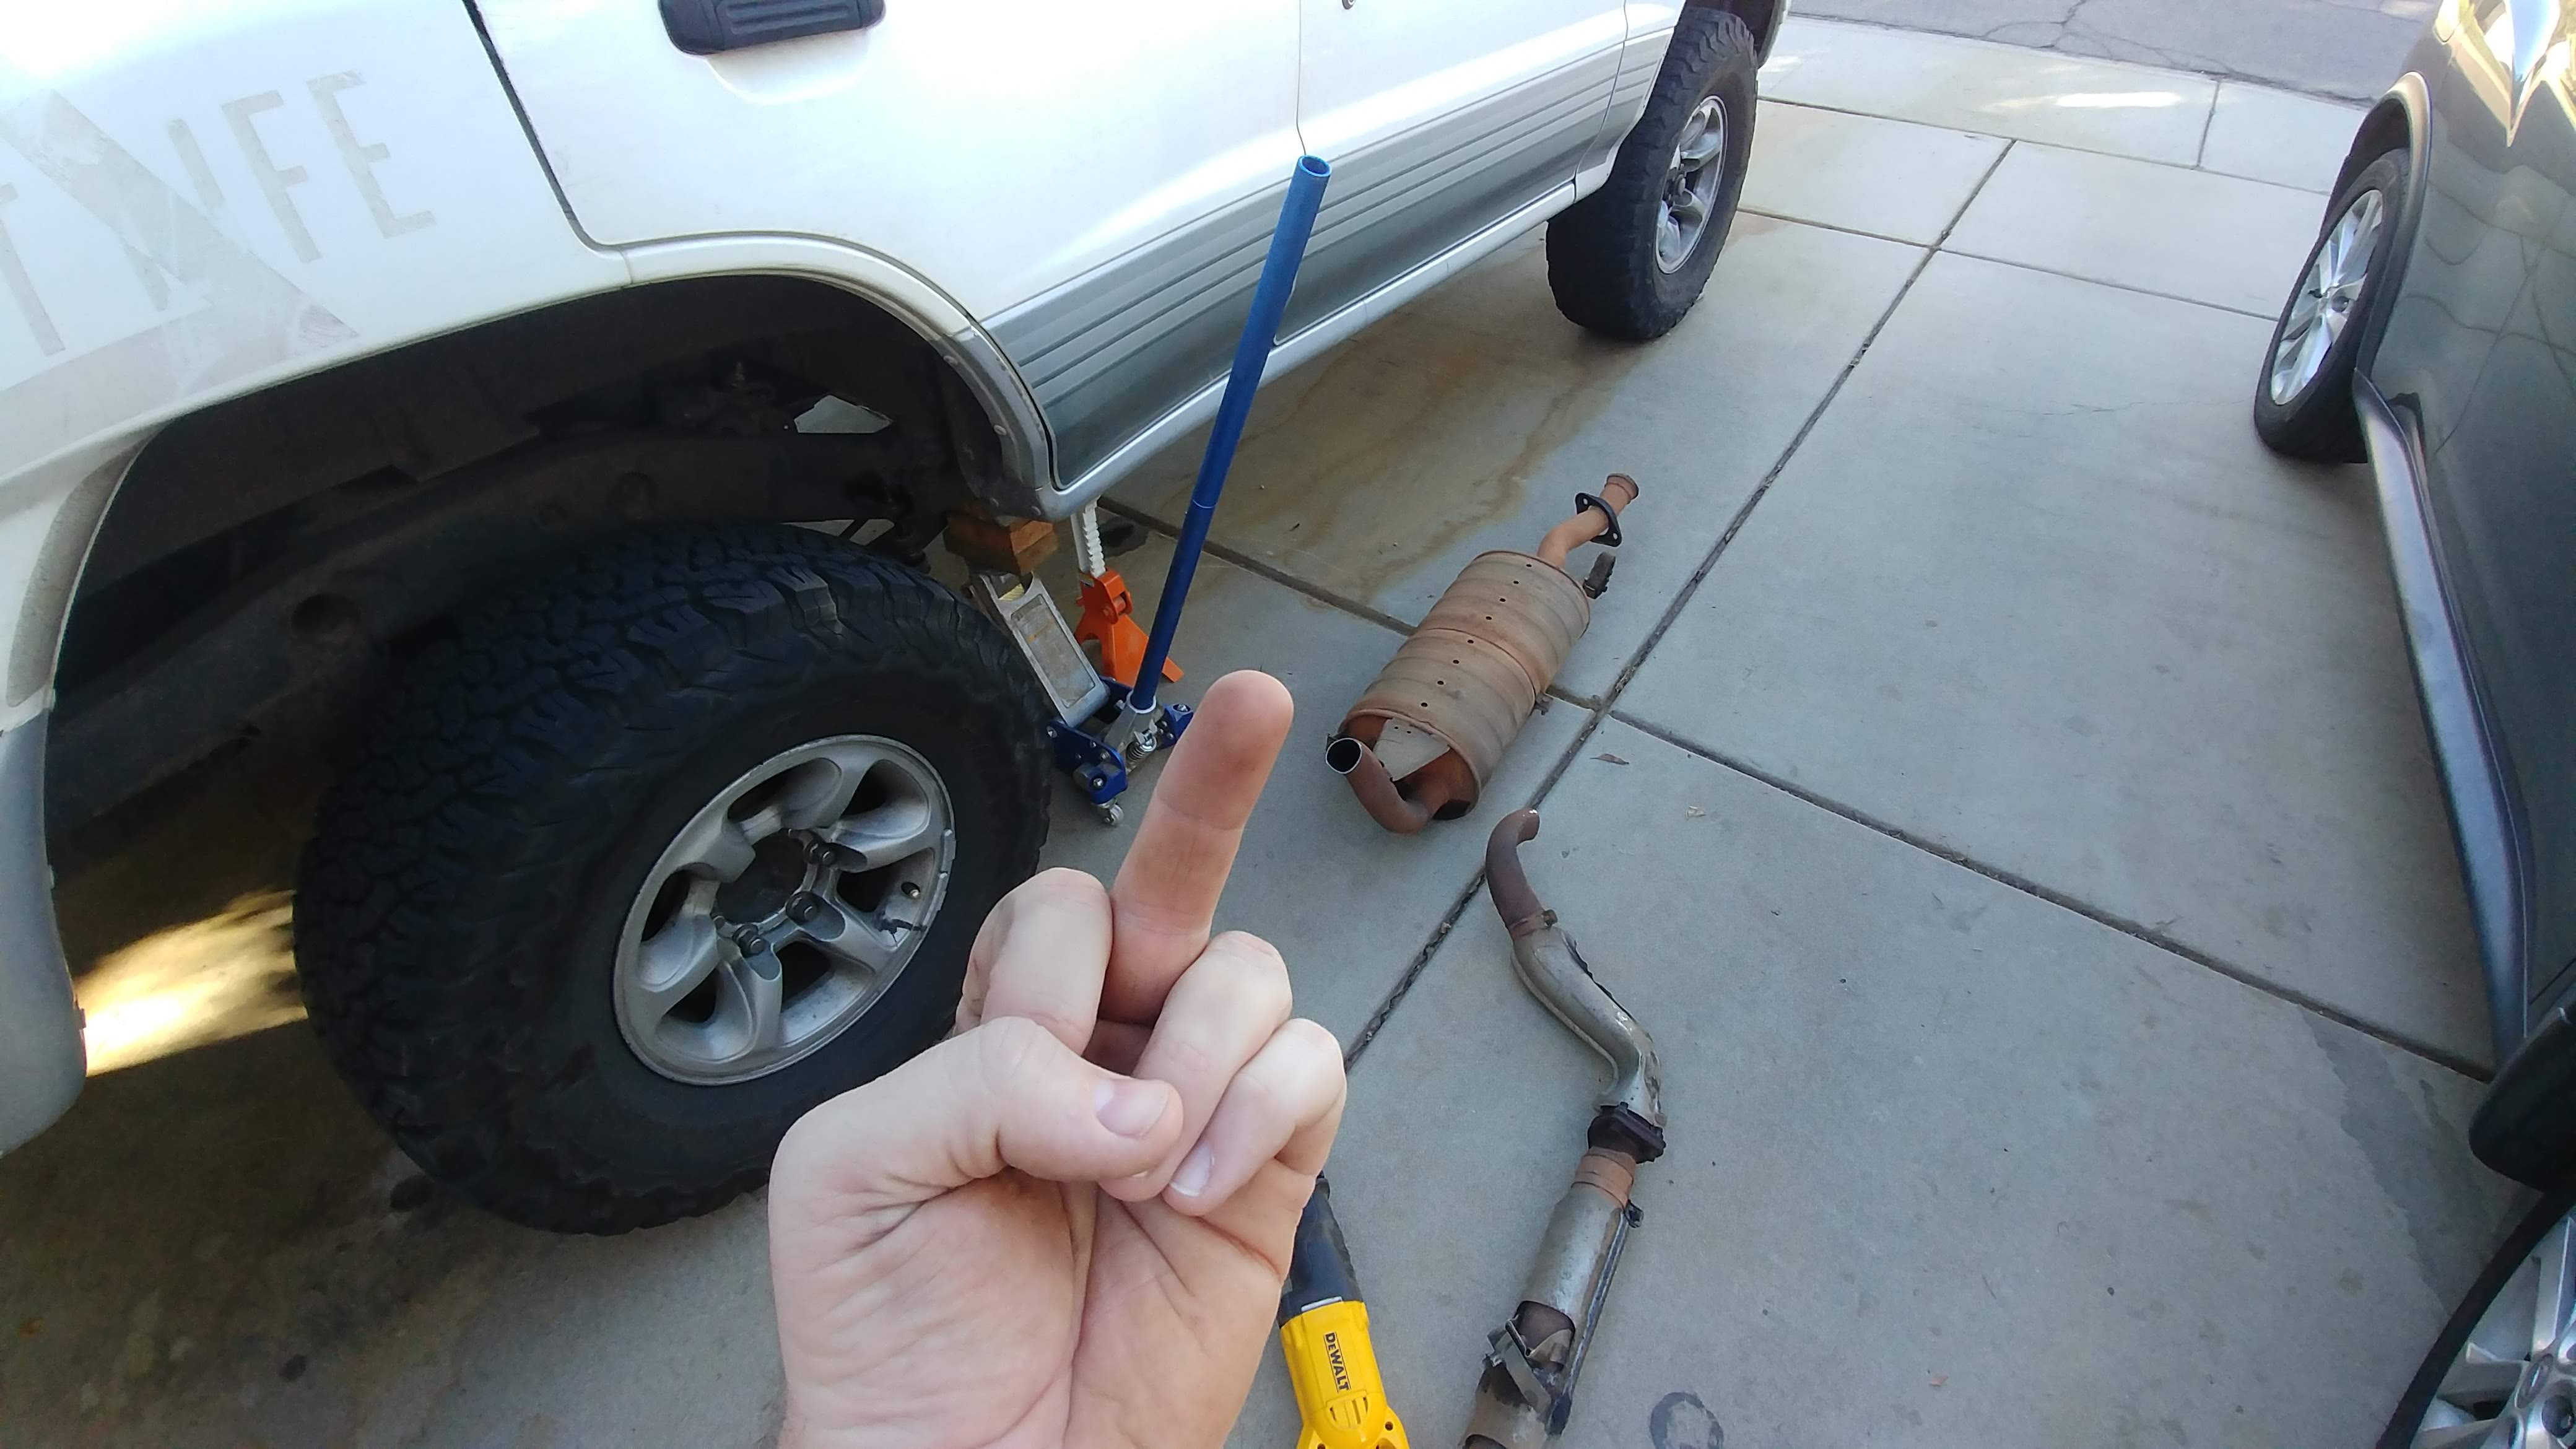
Five Days Later
Shitting bricks en route to Overland Expo.

Aggressively climbing over the hill south of Camp Verde, AZ, I was passing a minivan at 80mph, when a giant cloud of smoke erupted out the rear. It was coming from under the truck—not the tailpipe—leading to immediate fears of oil starvation on a brand new engine.
Commodore Chef and Angie stayed on-site until the tow truck arrived, then rolled on to meet the AZ Crawlers up near Bearizona. I watched the tow truck driver unload a 2018 Toyota Highlander (which was headed for Lemon Law justice due to its third complete electrical meltdown in six months), load up Fezzik, then re-load the Highlander out back since we couldn’t rule out driveline issues on Fezzik.
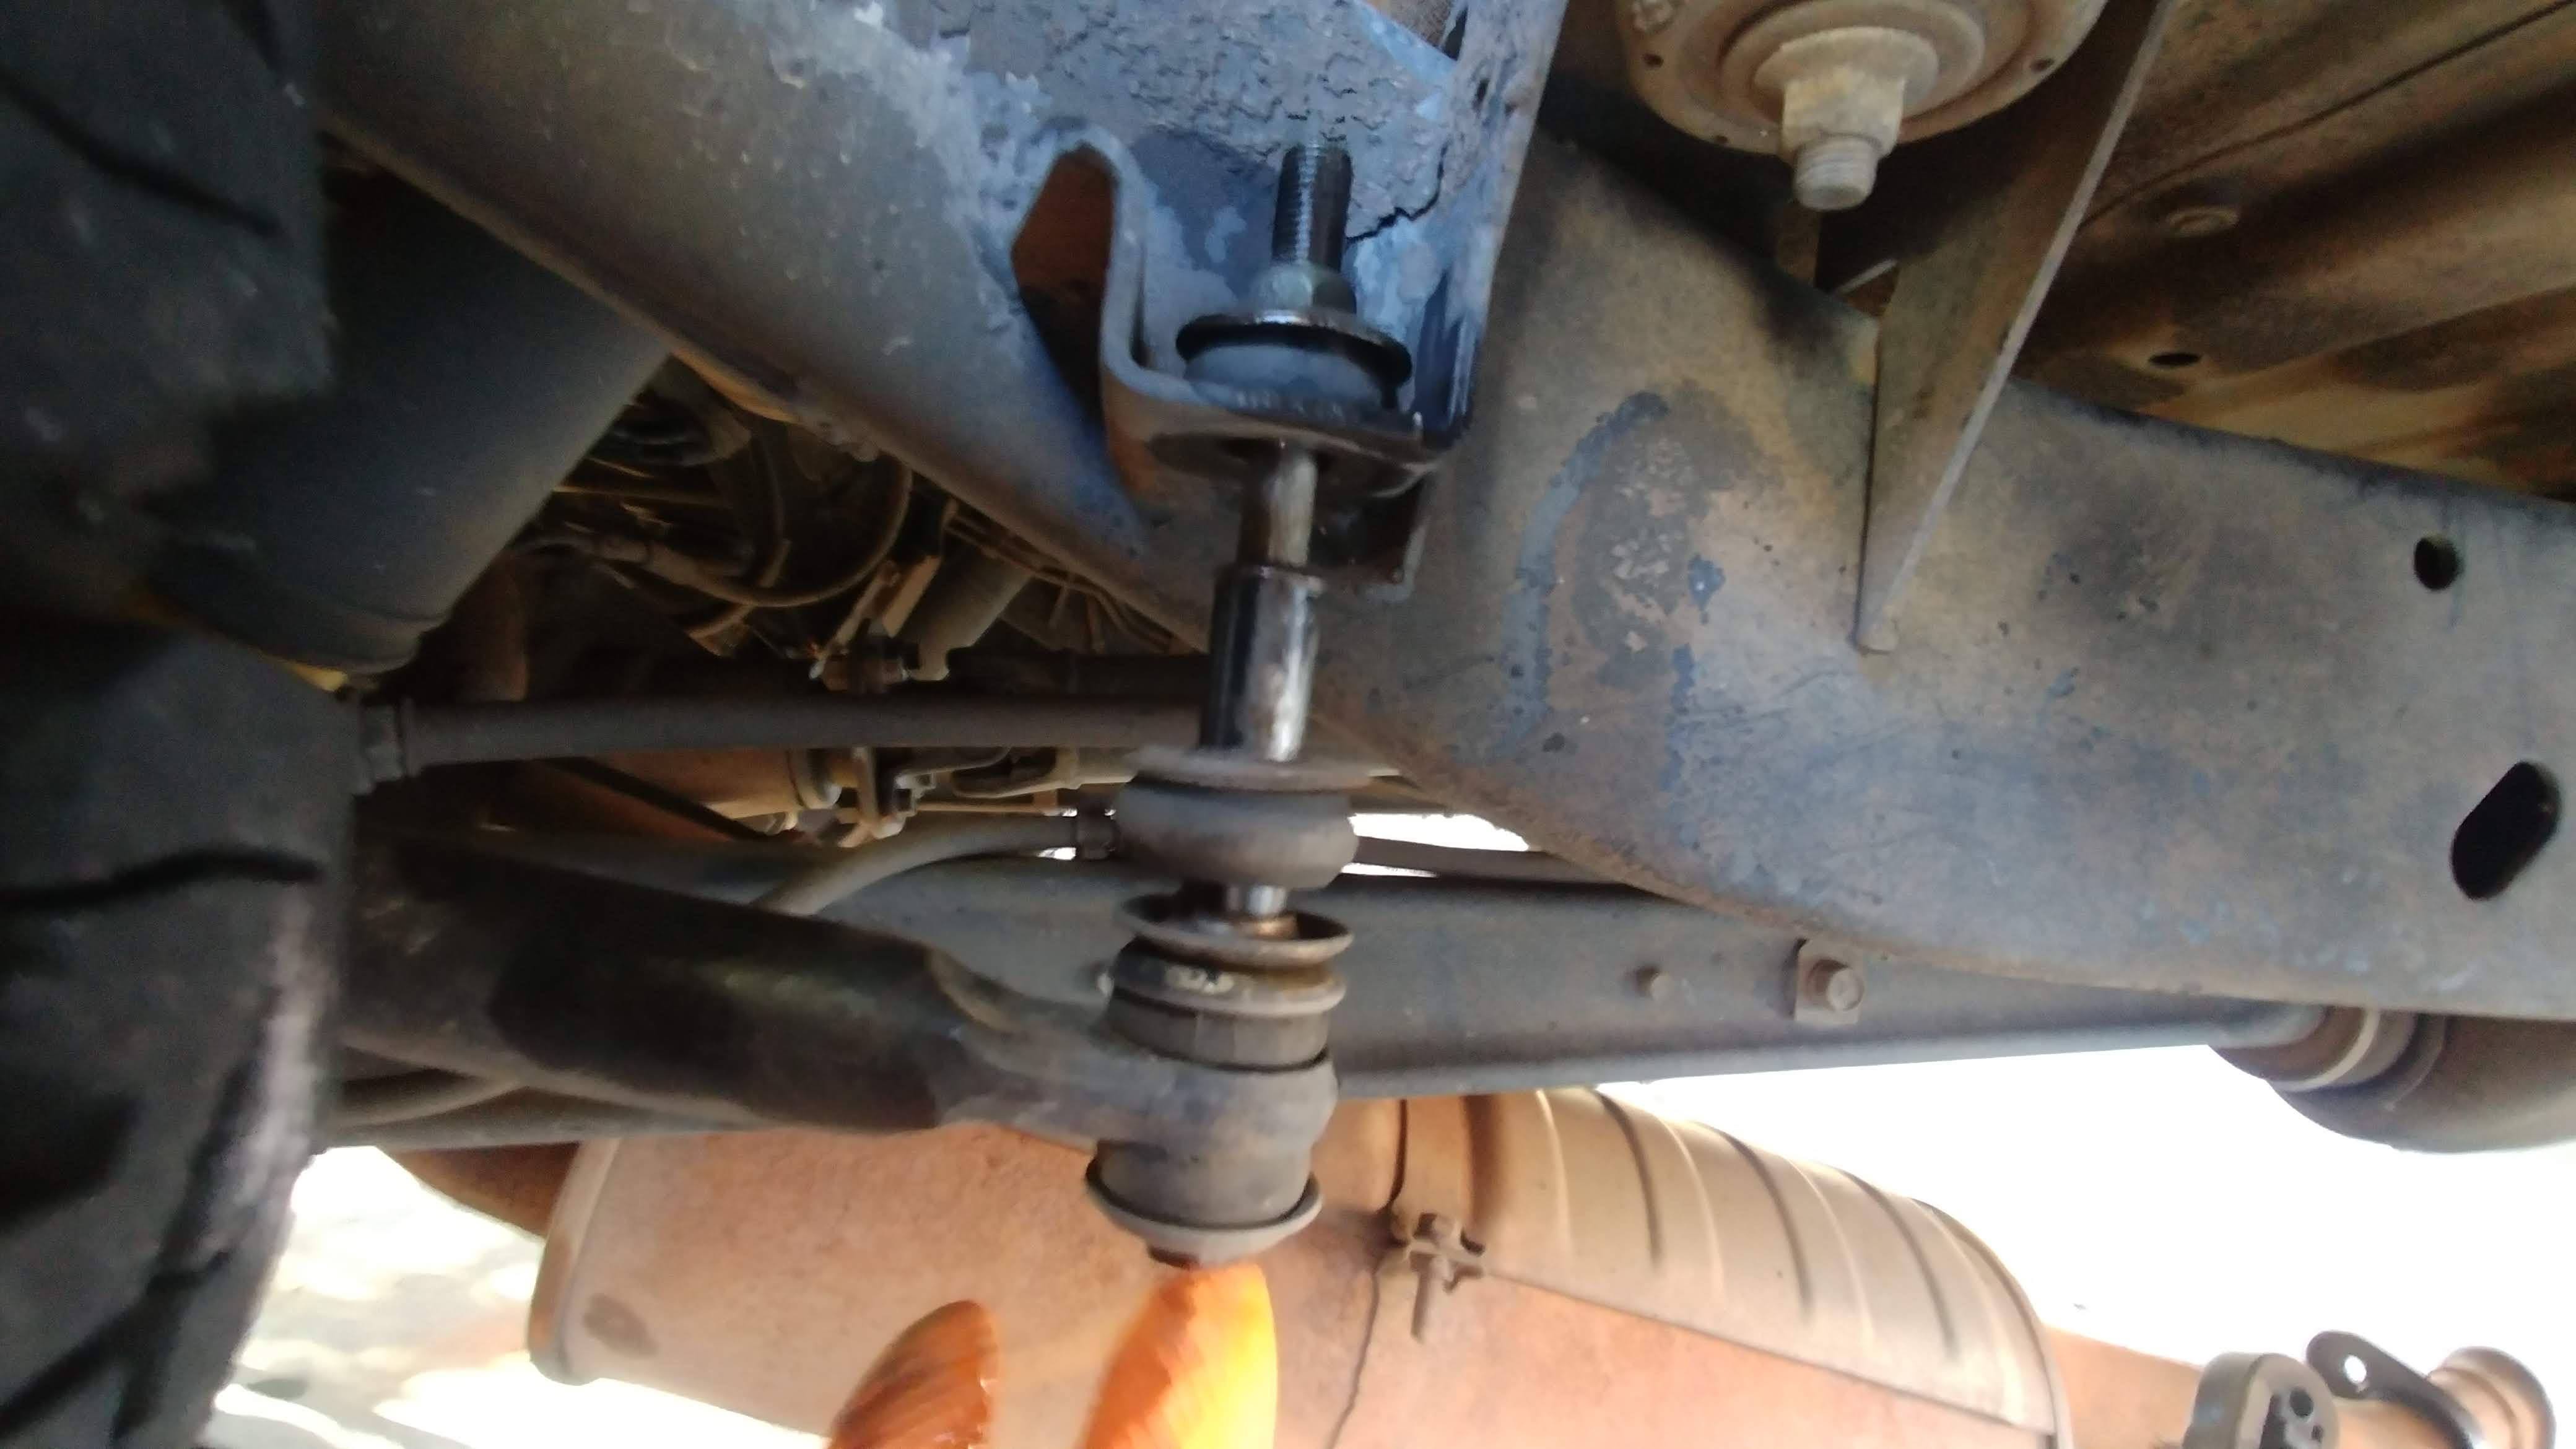
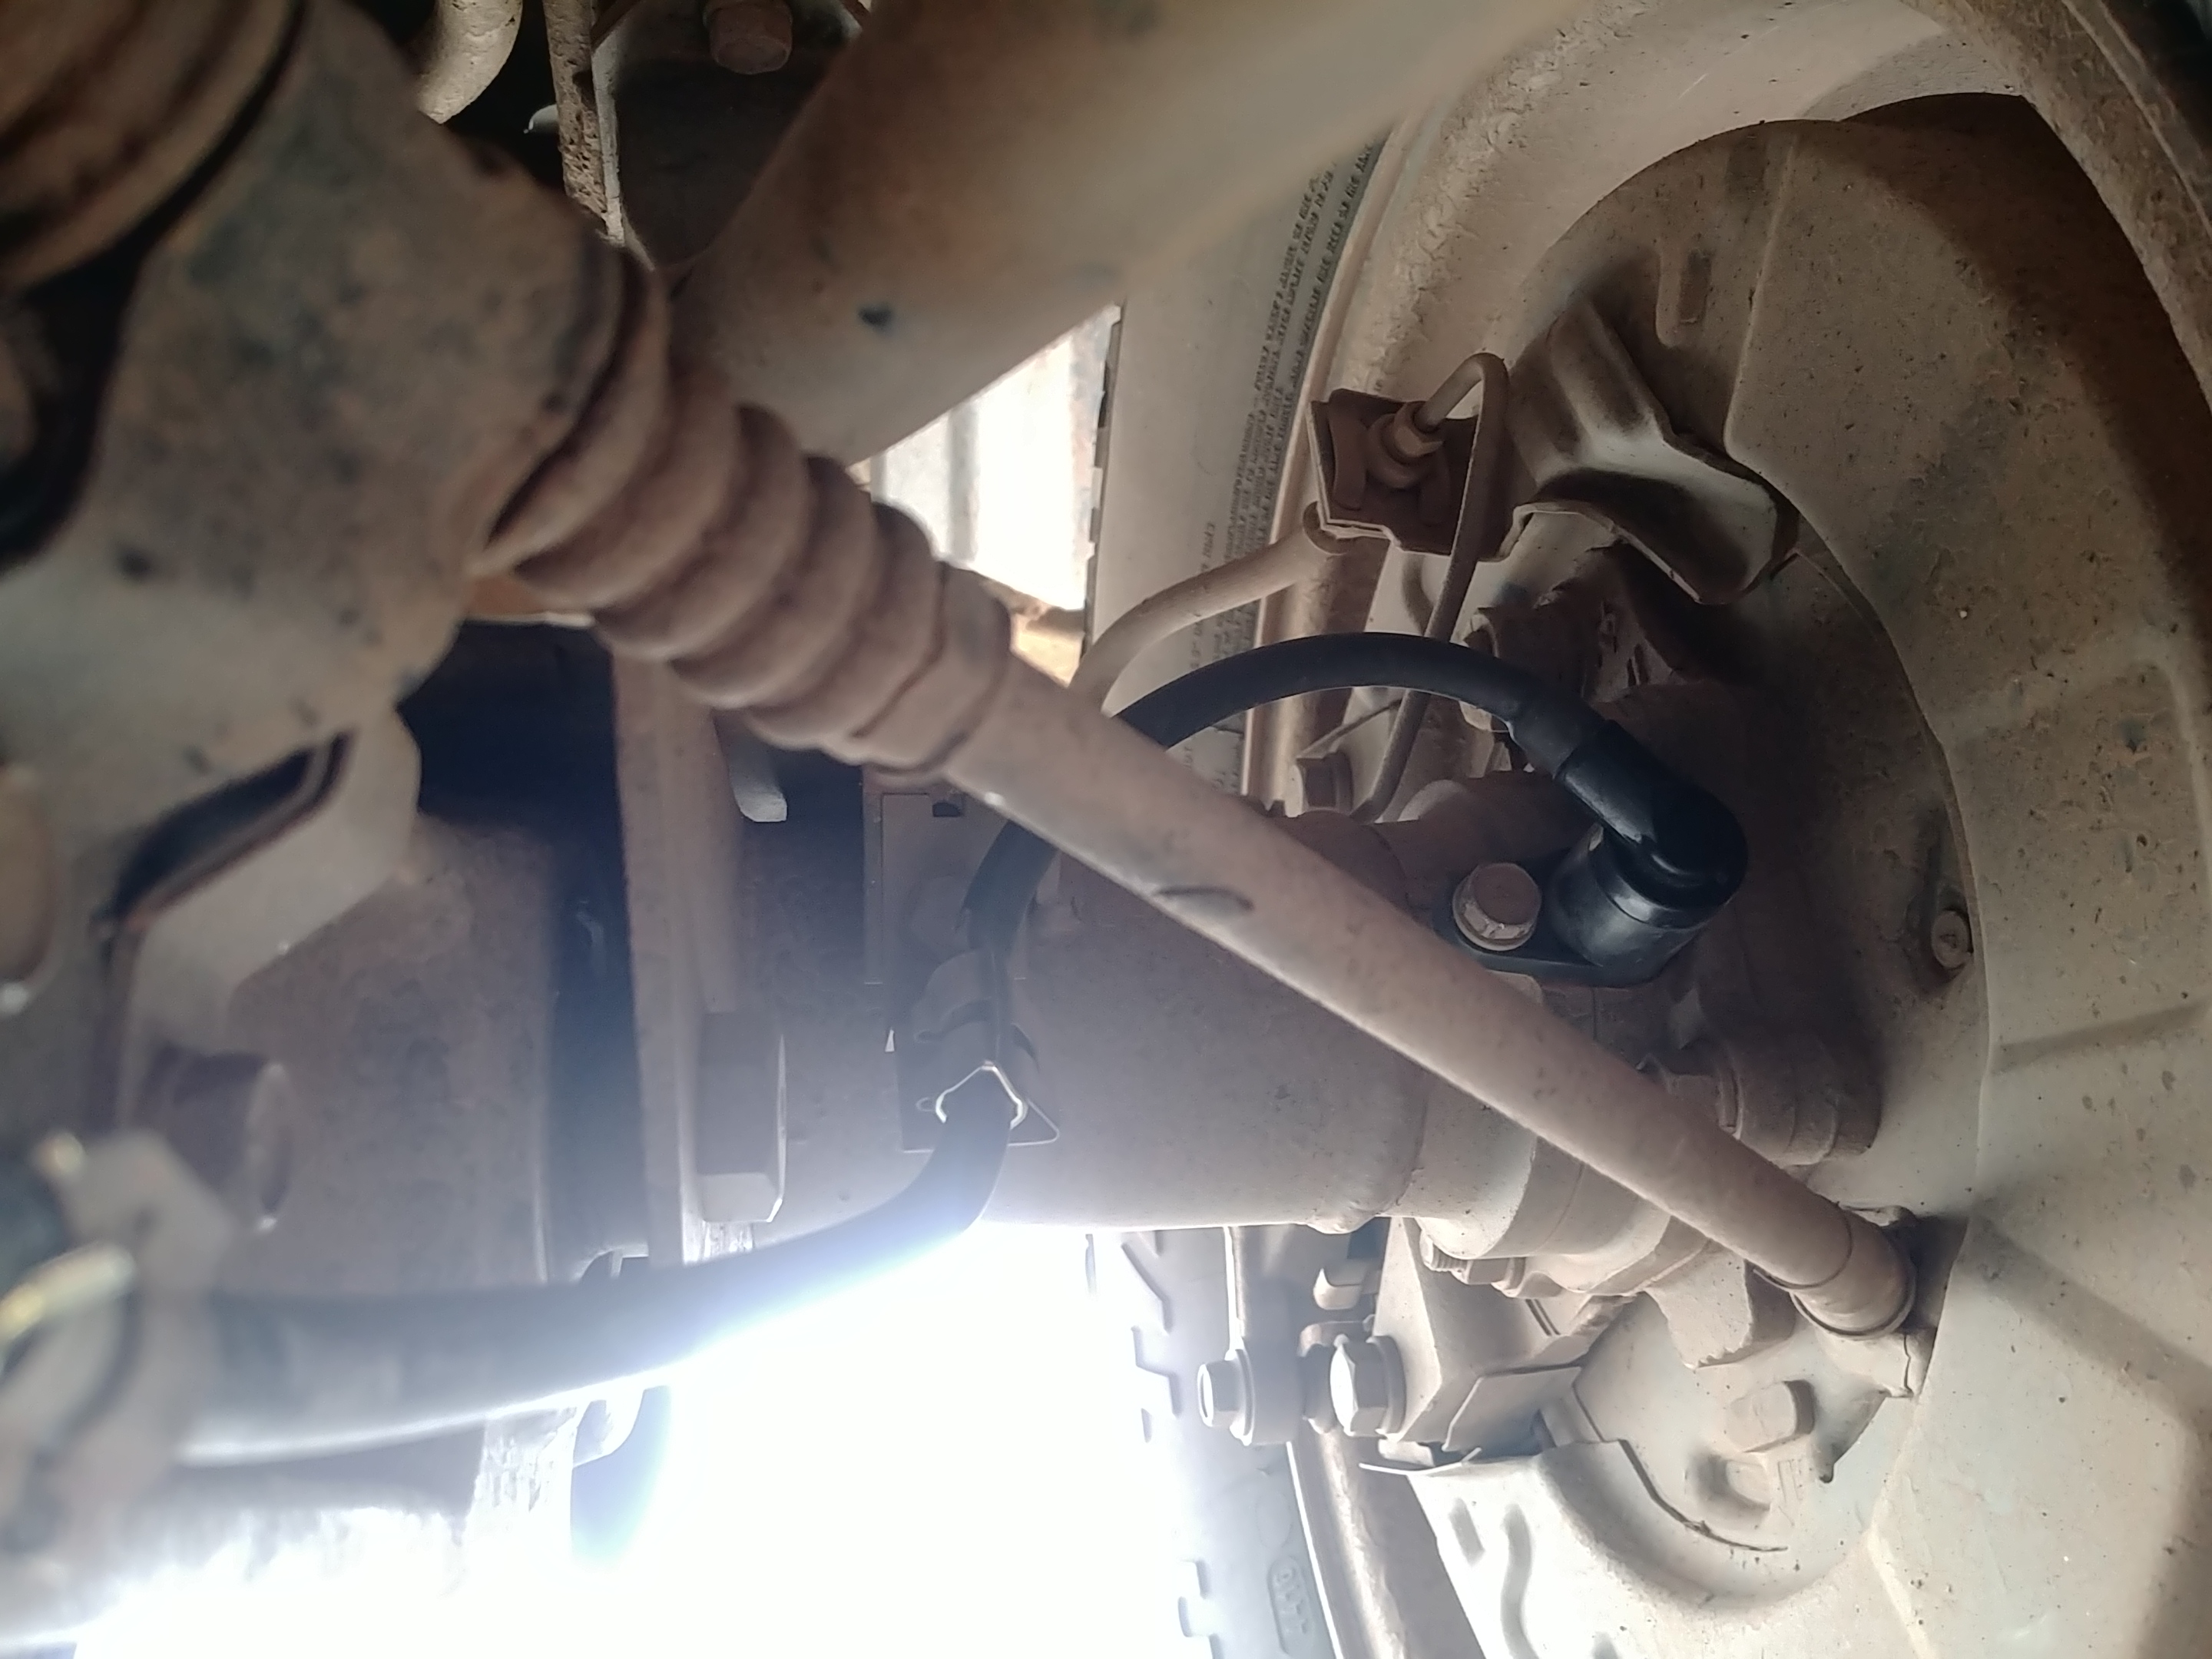
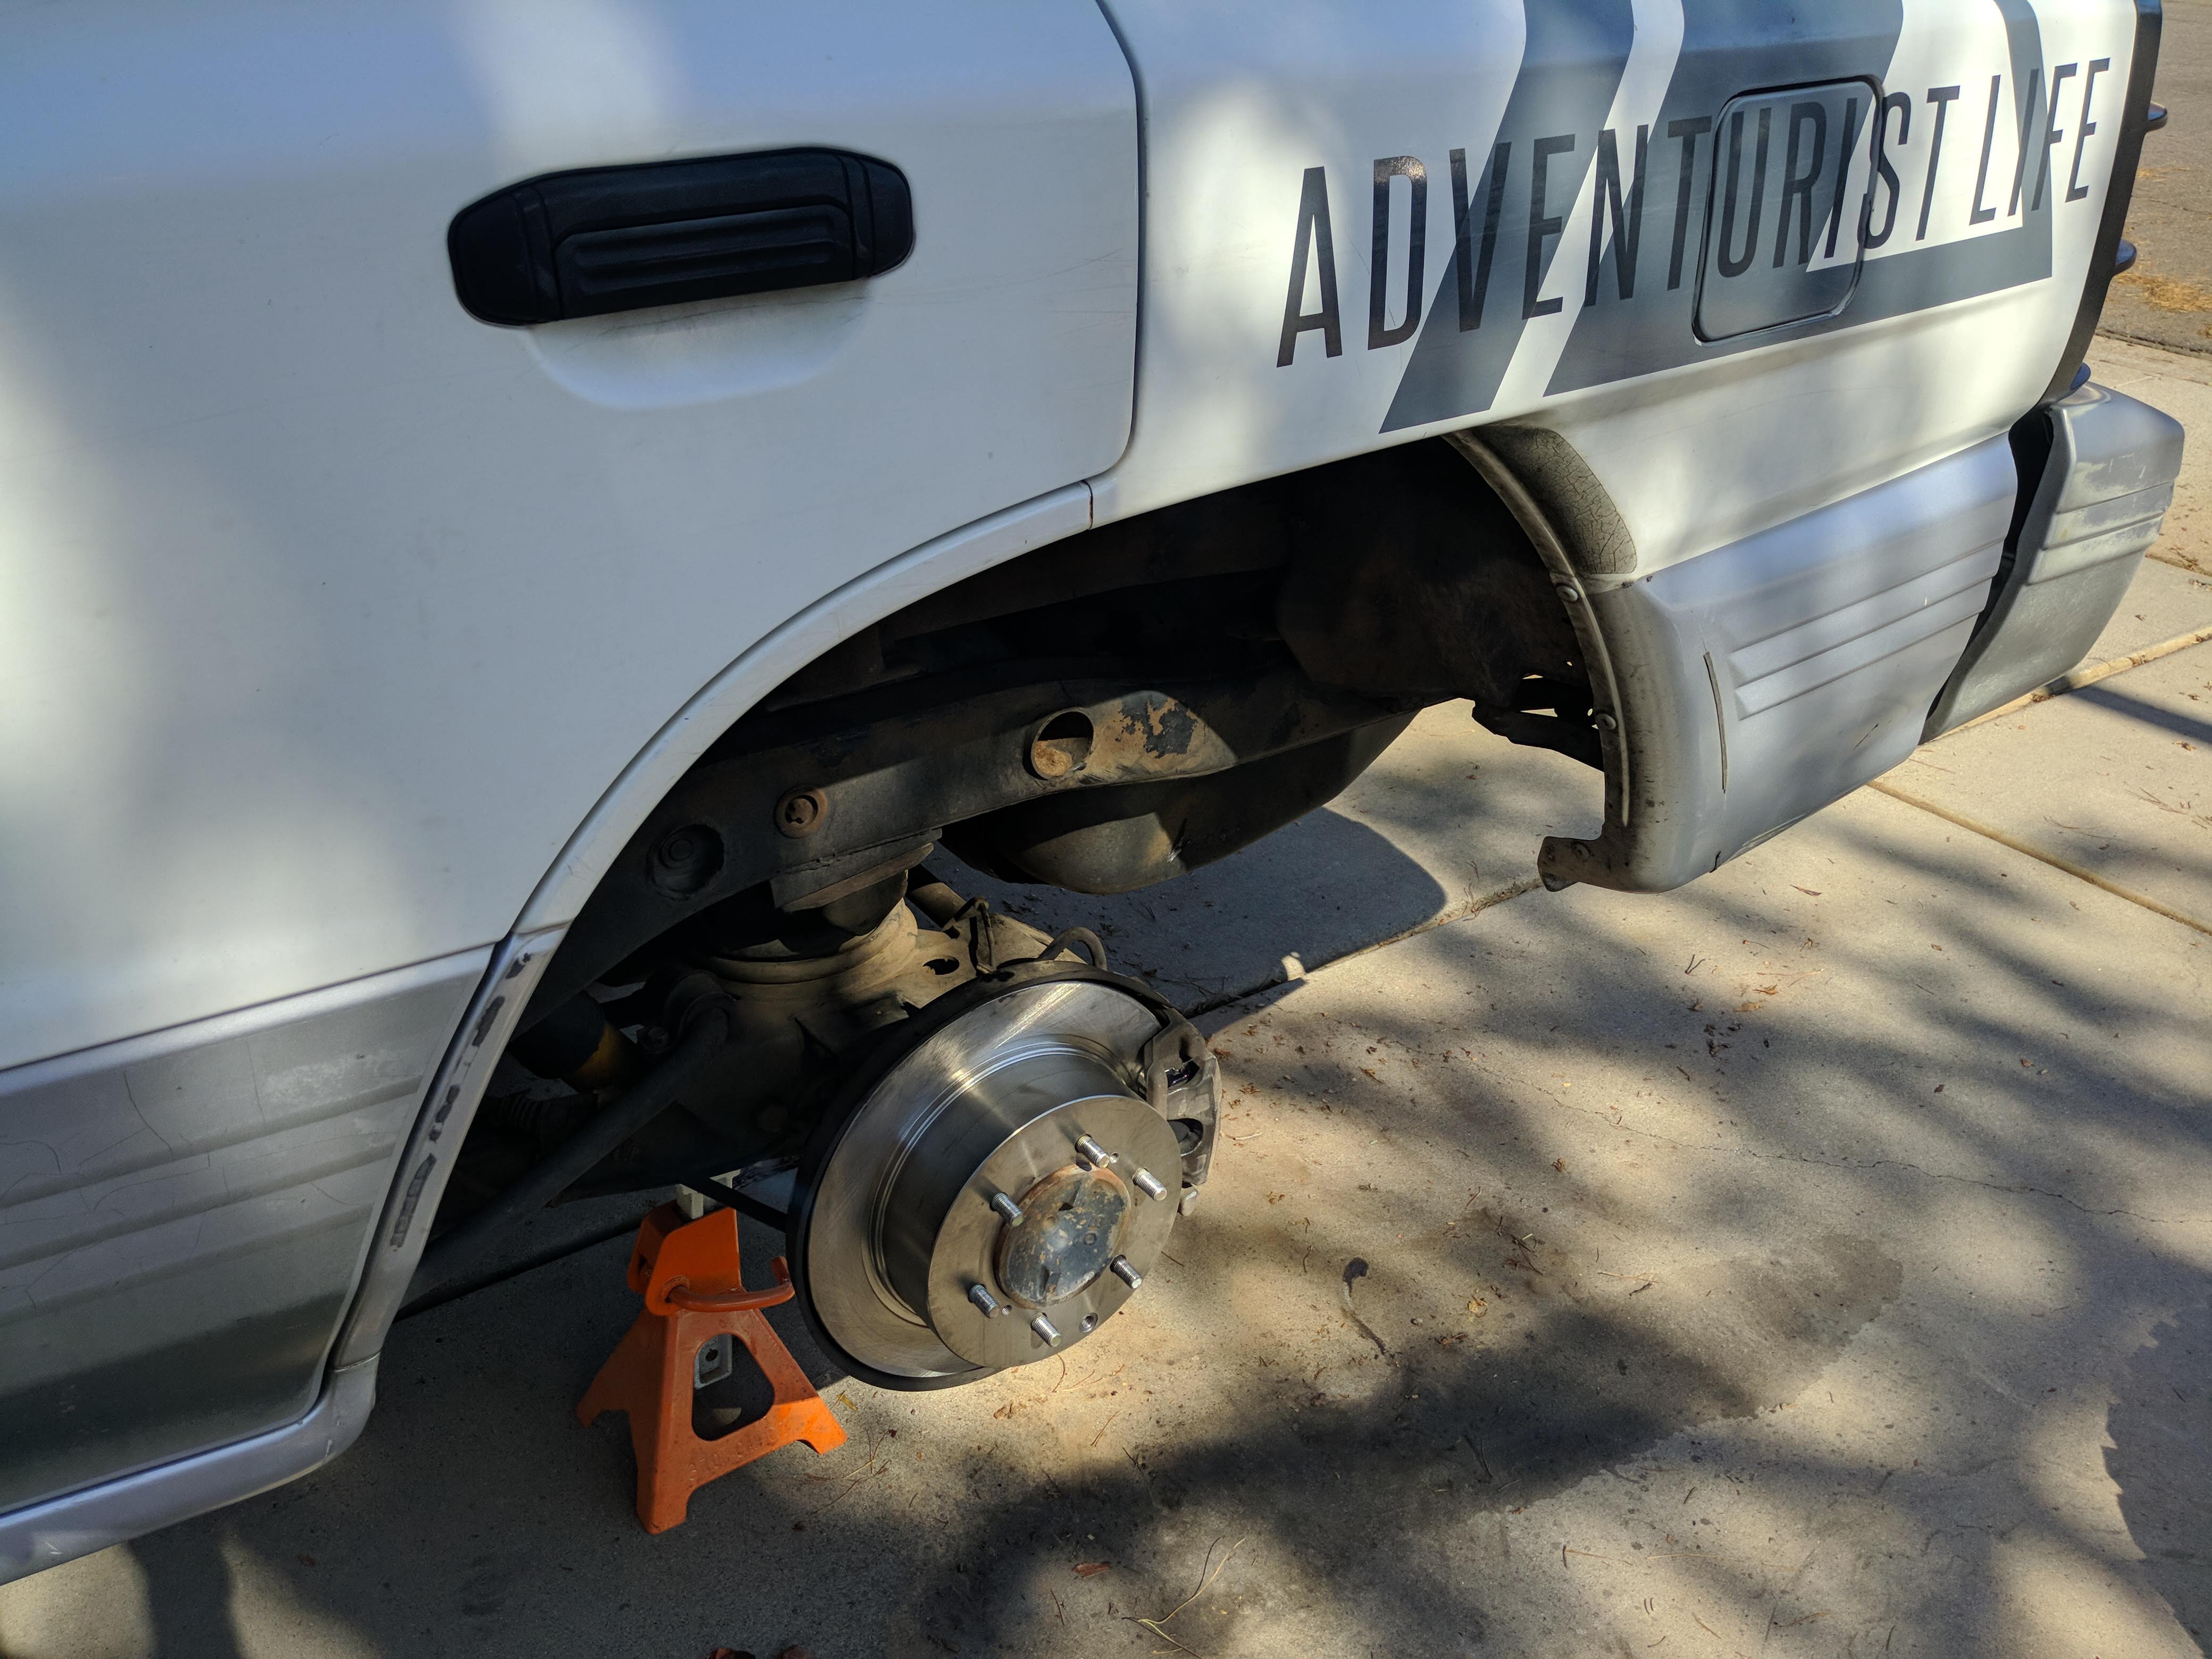
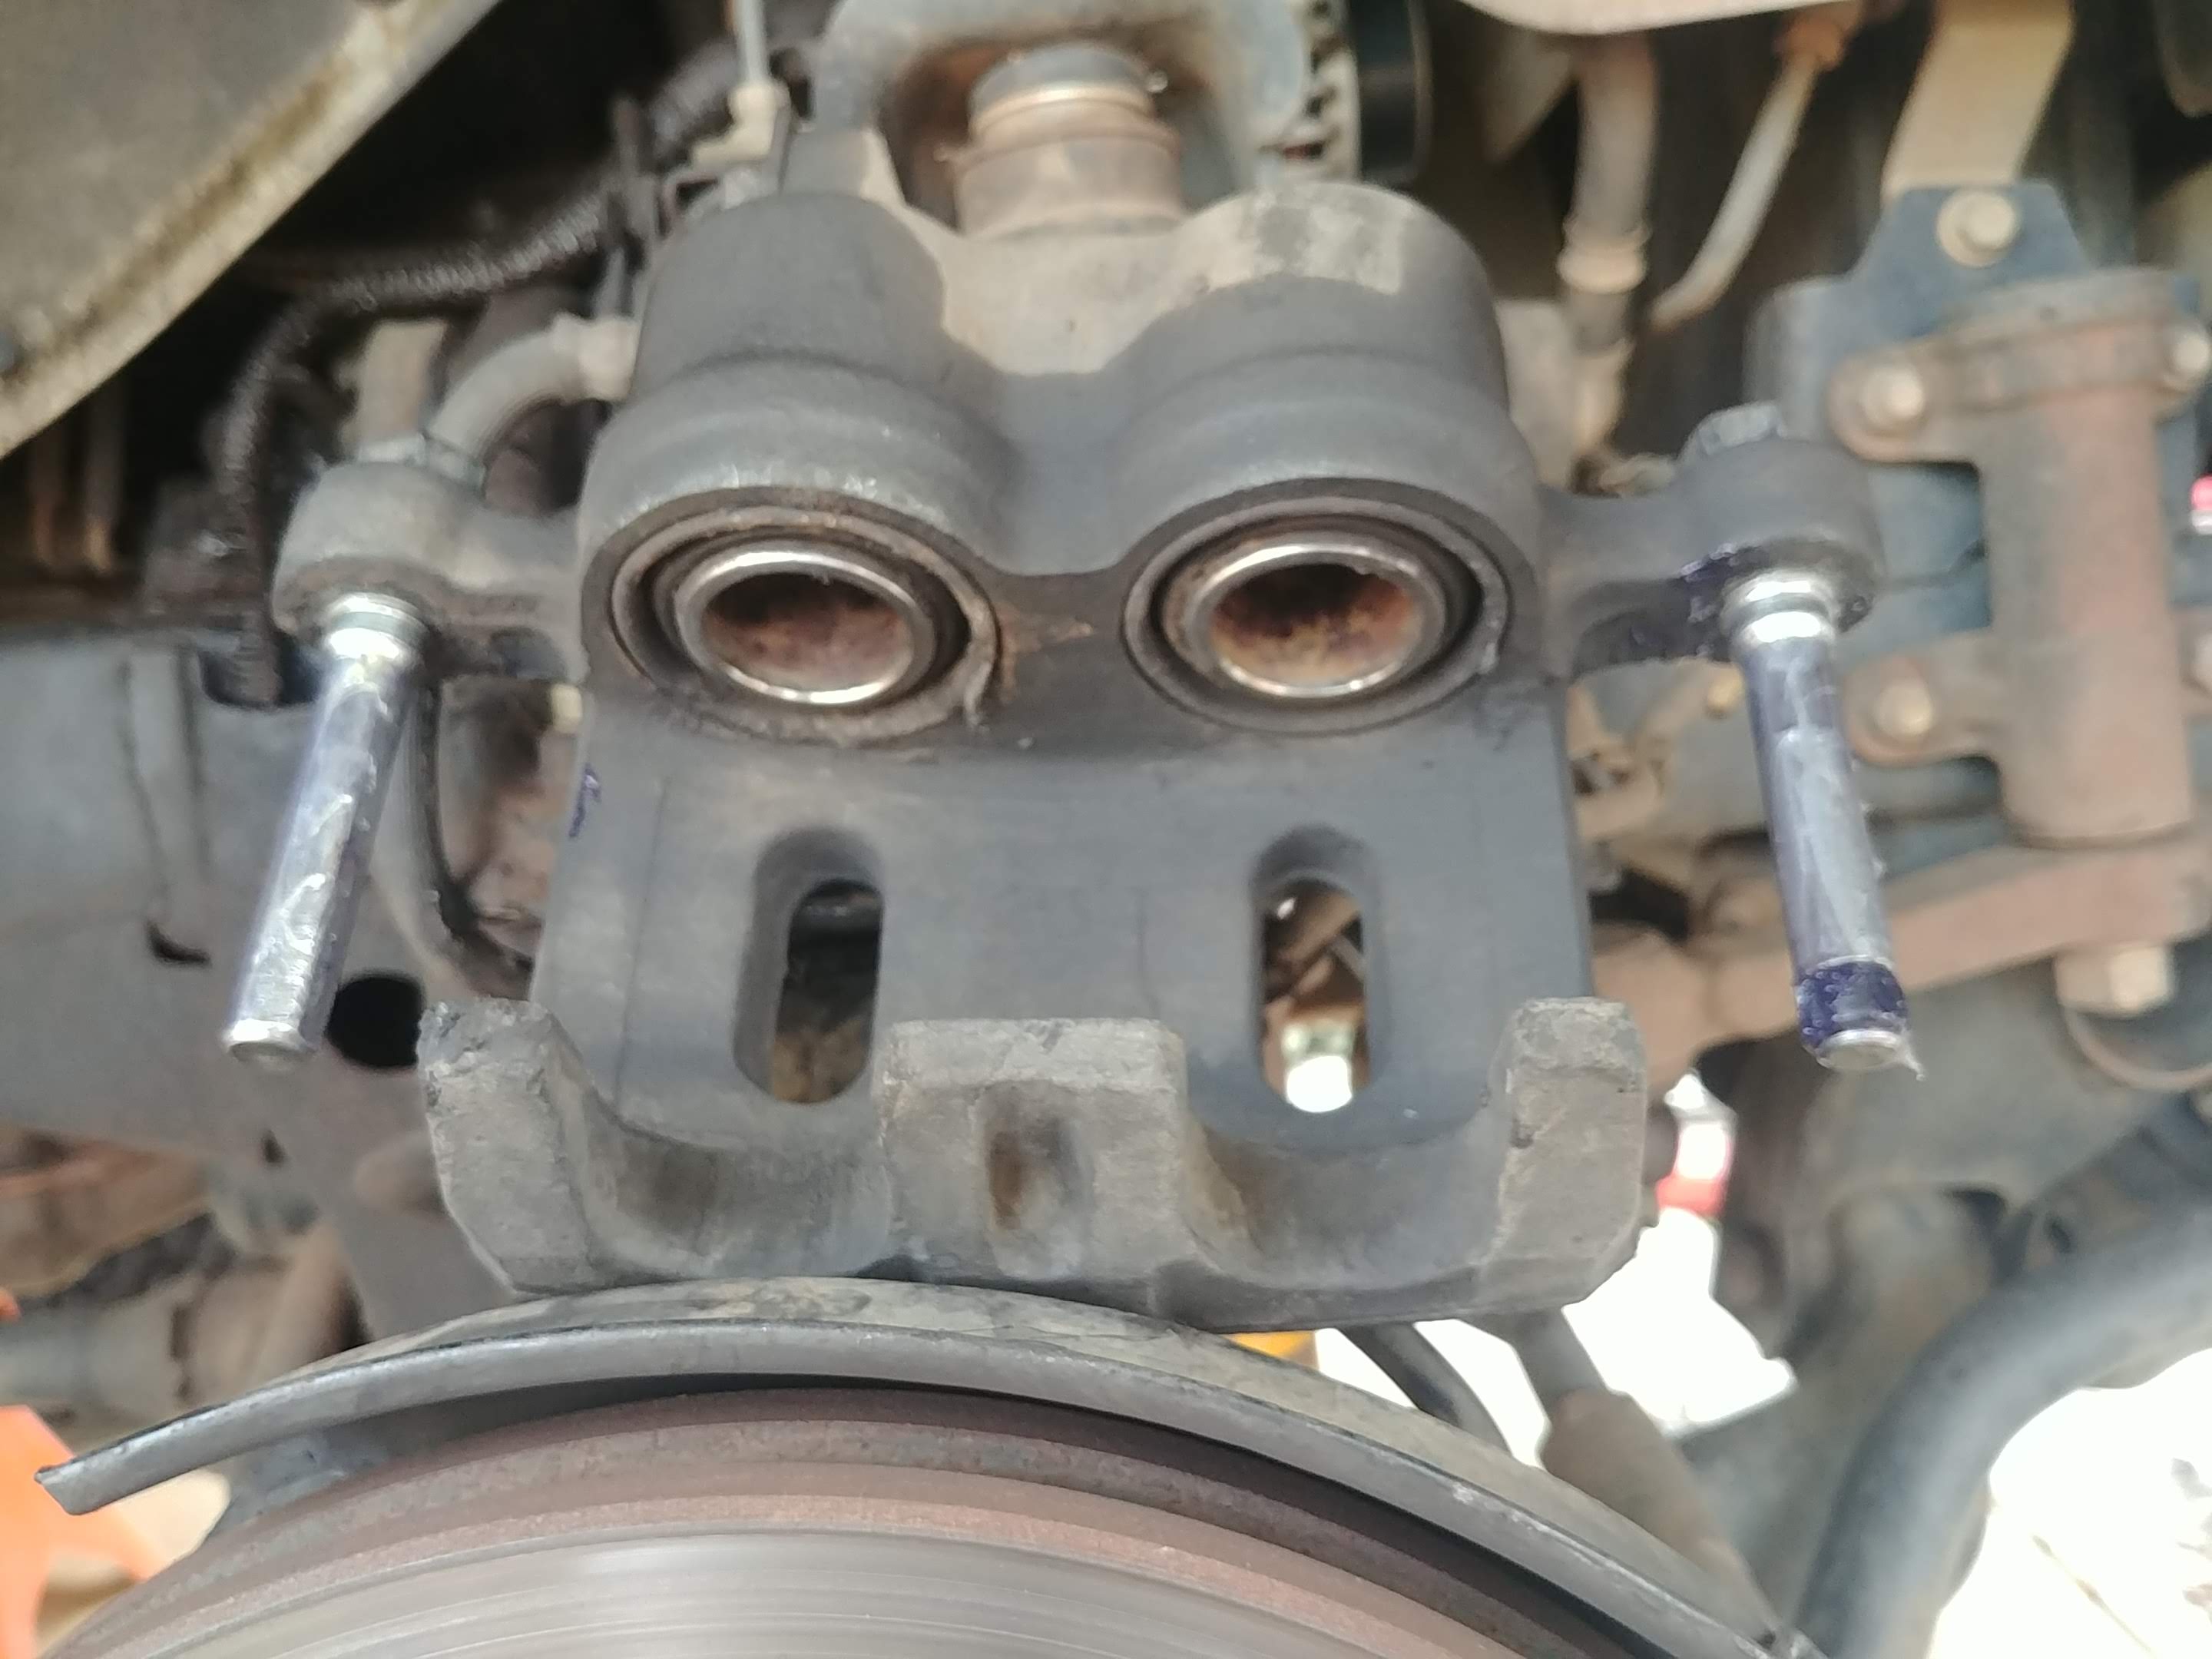
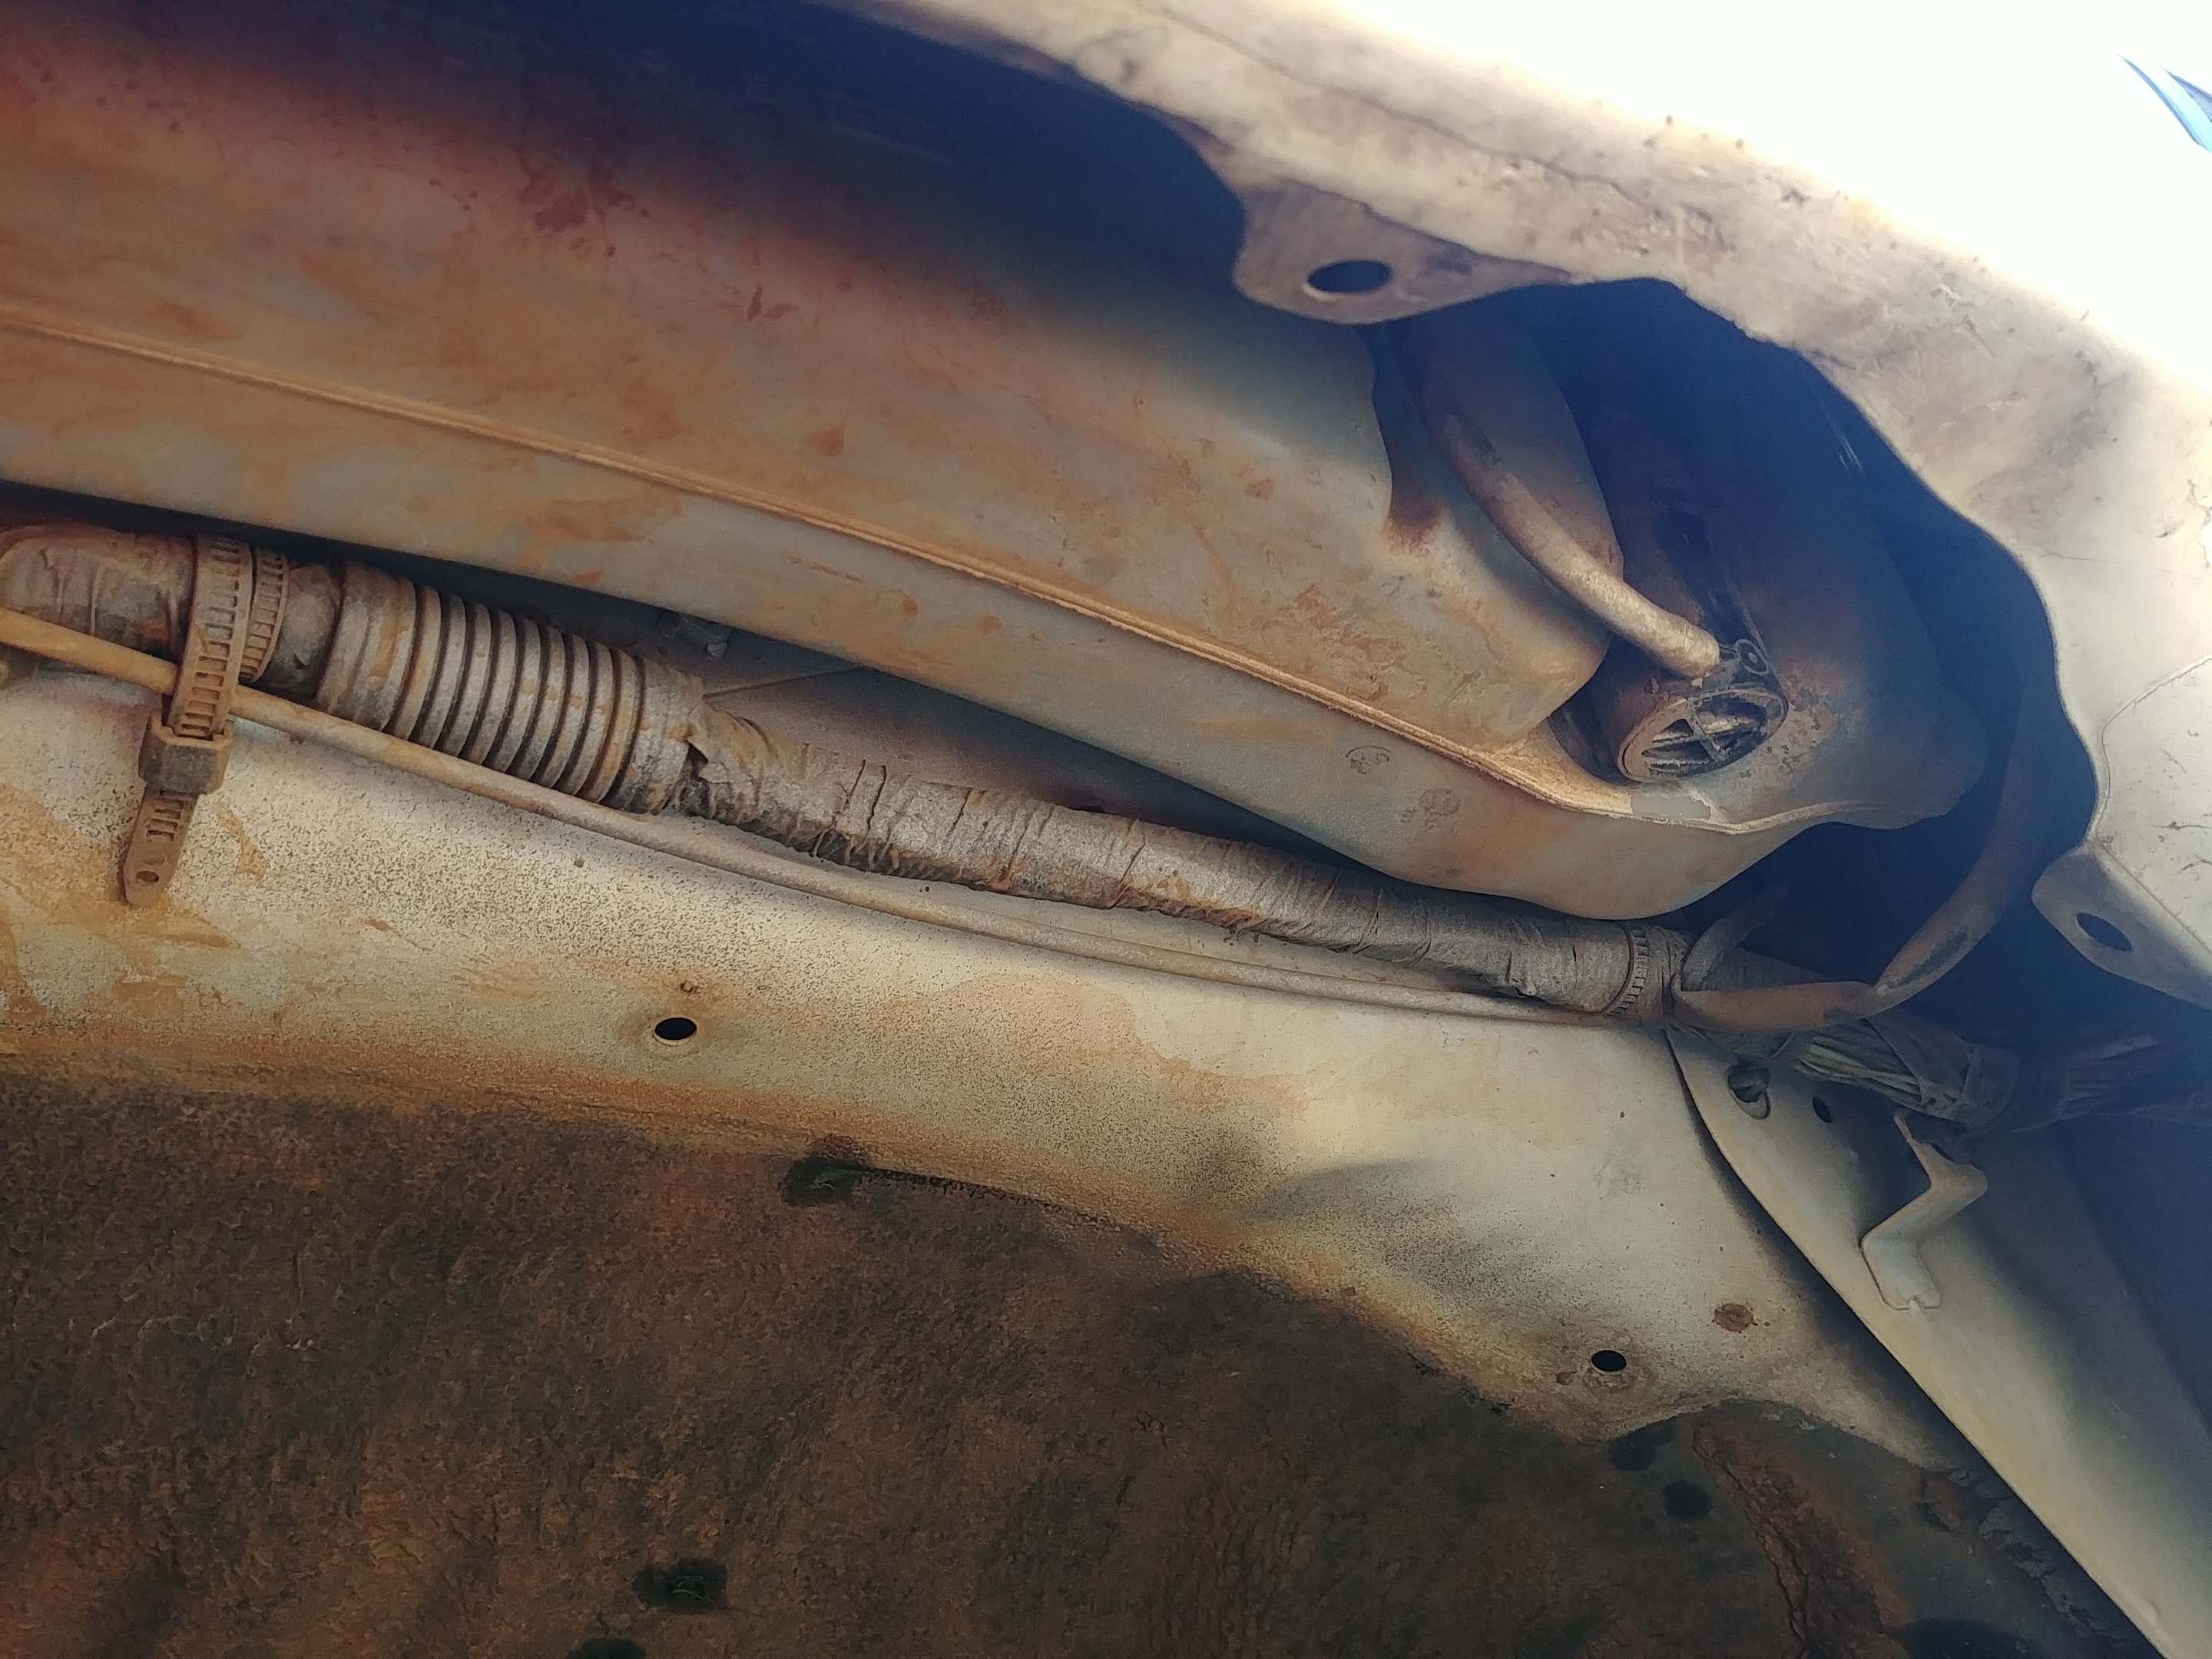
I got home shortly after midnight. Surprisingly, the engine oil level was solid when I checked it at home. I test fired the engine and it idled just fine with plenty of pressure. So first thing in the morning, I limped over to the shop, where Josh and I crawled under to investigate. Turned out I was about 3 quarts overfilled on the transmission. Sheesh.
Five Days Later
The Camry Incident
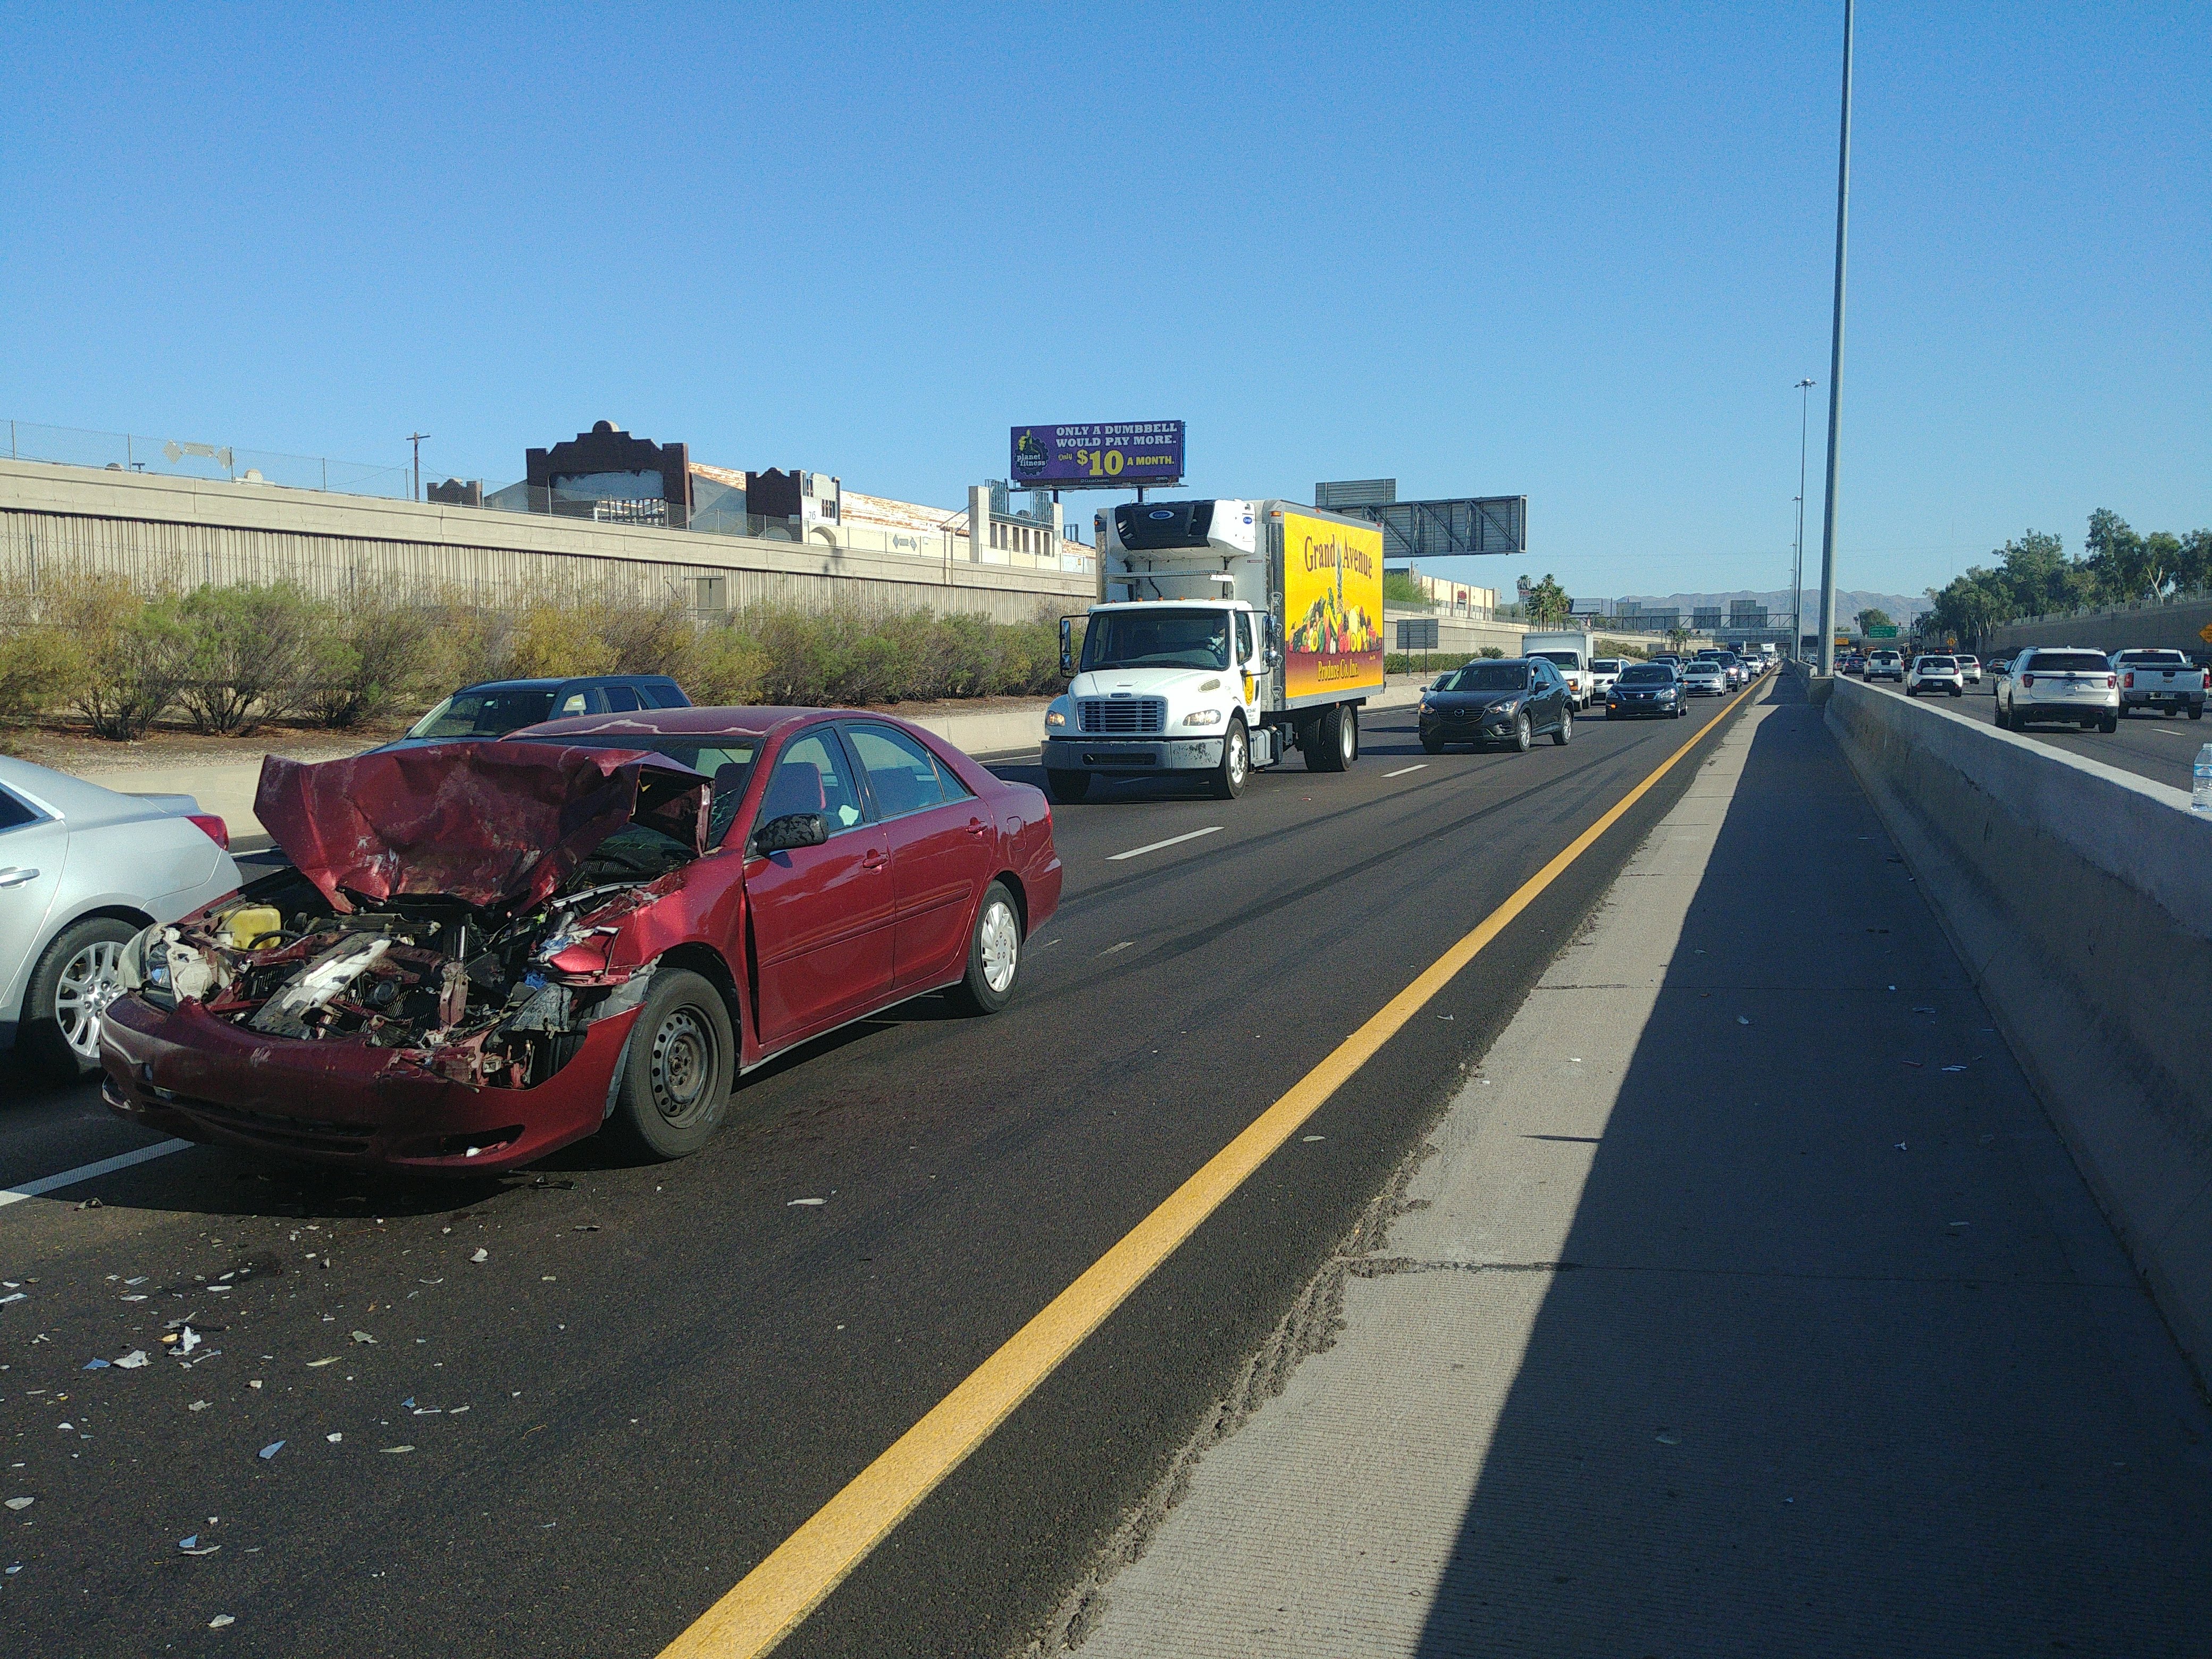
Poor girl on her third day driving home from work after they moved into a new office. With pretty much bald front tires. Traffic stopped—as it does in rush hour. She panicked, had no grip, and slid about a country mile into my rear bumper, lifting Fezzik and I up into the air and into the back end of a Honda Accord.
14 months later, I still haven’t collected the insurance money from this, because while Allstate adequately valued Fezzik, they included $50/hr labor rates on the repairs, bringing the total to north of $4,000, making the claim a total loss.
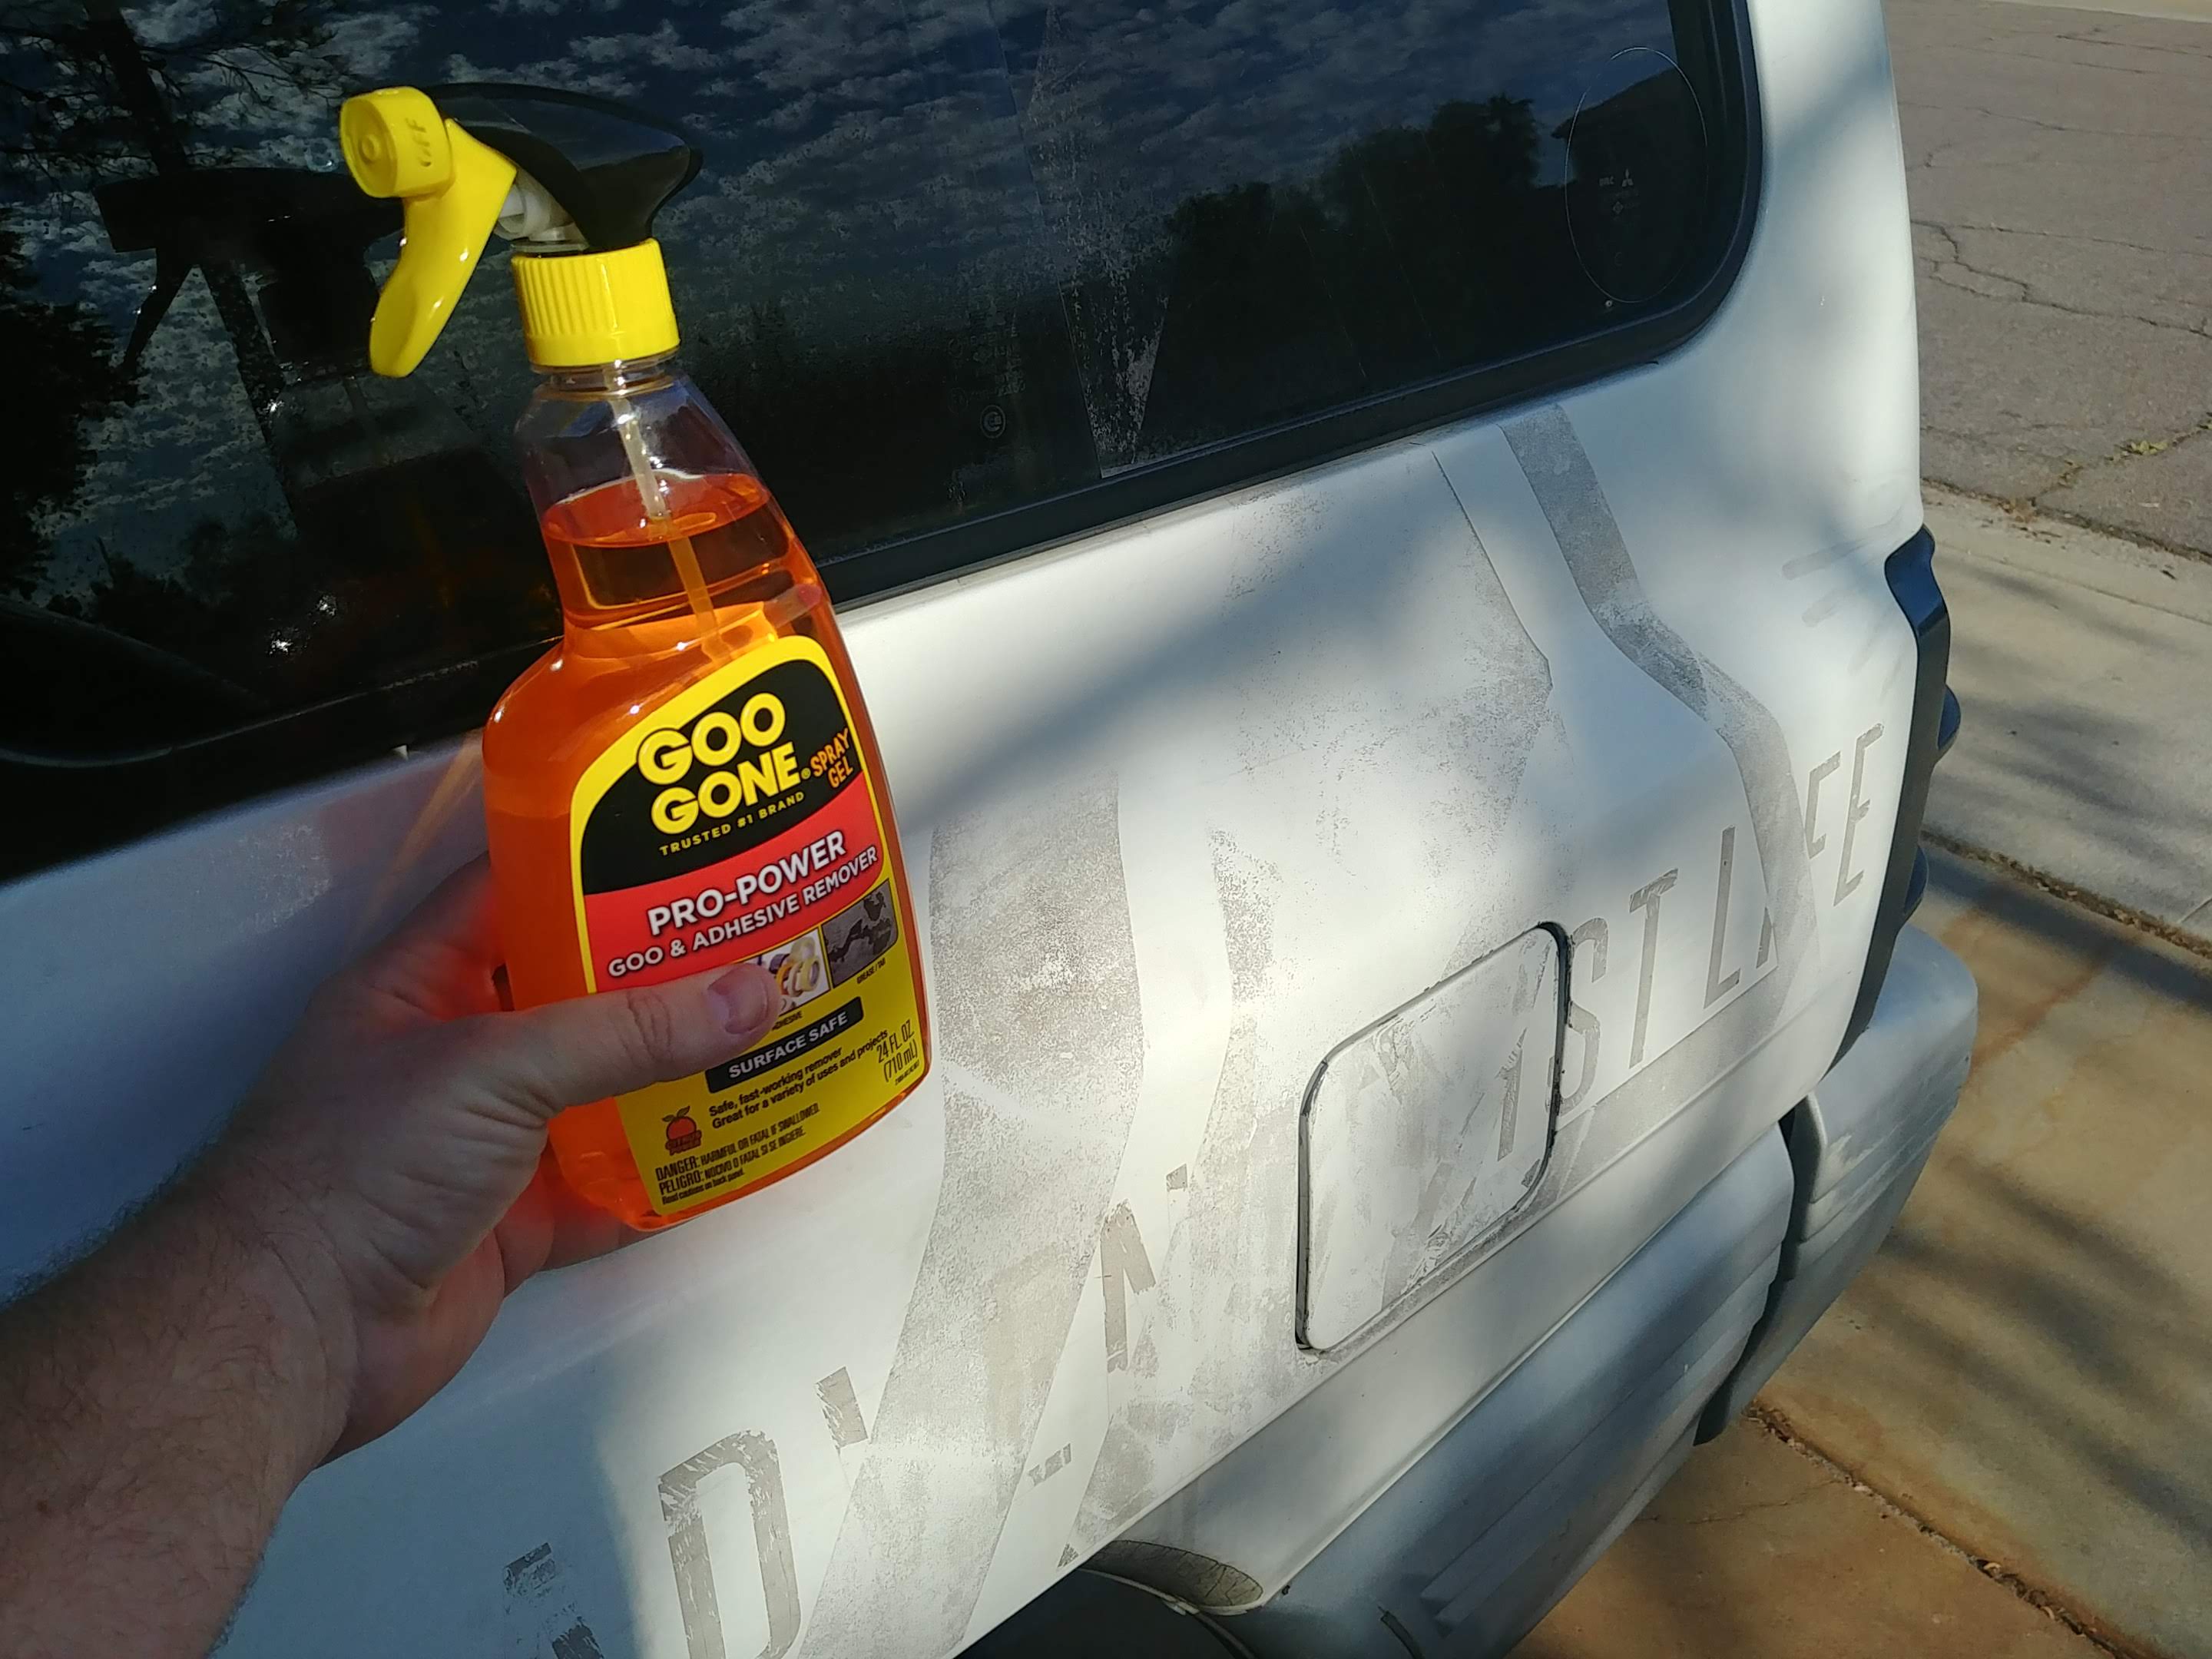
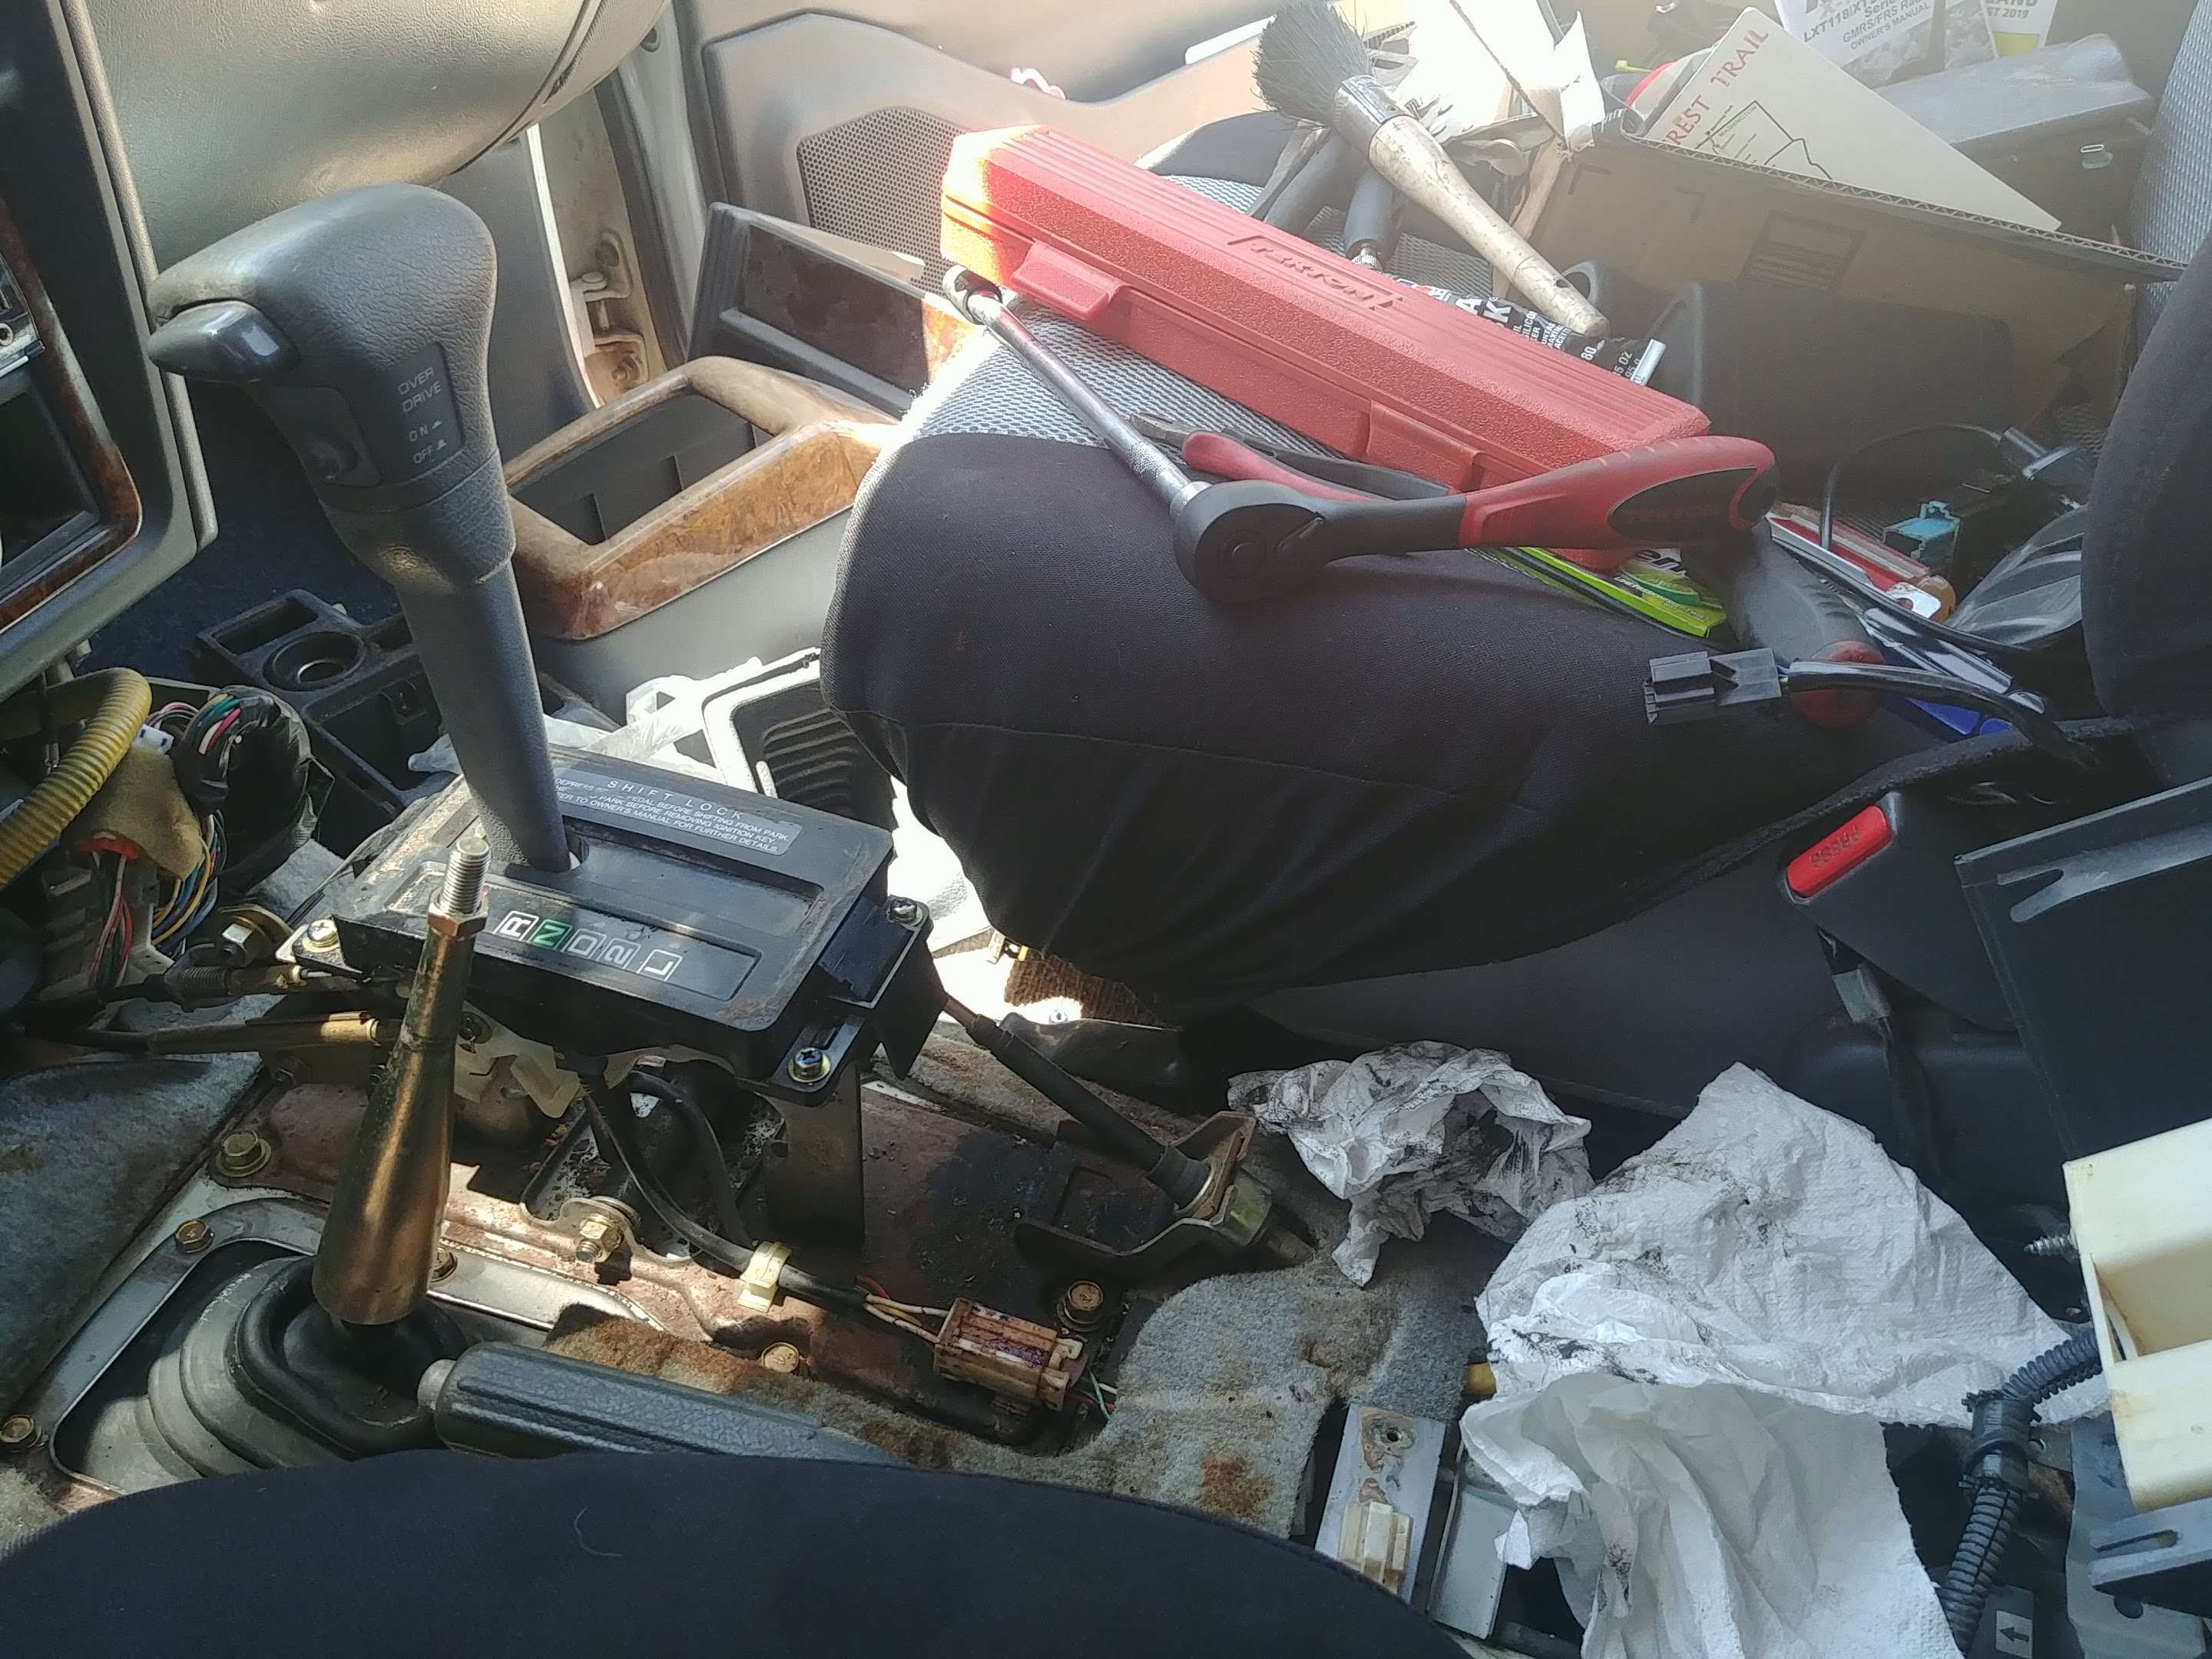
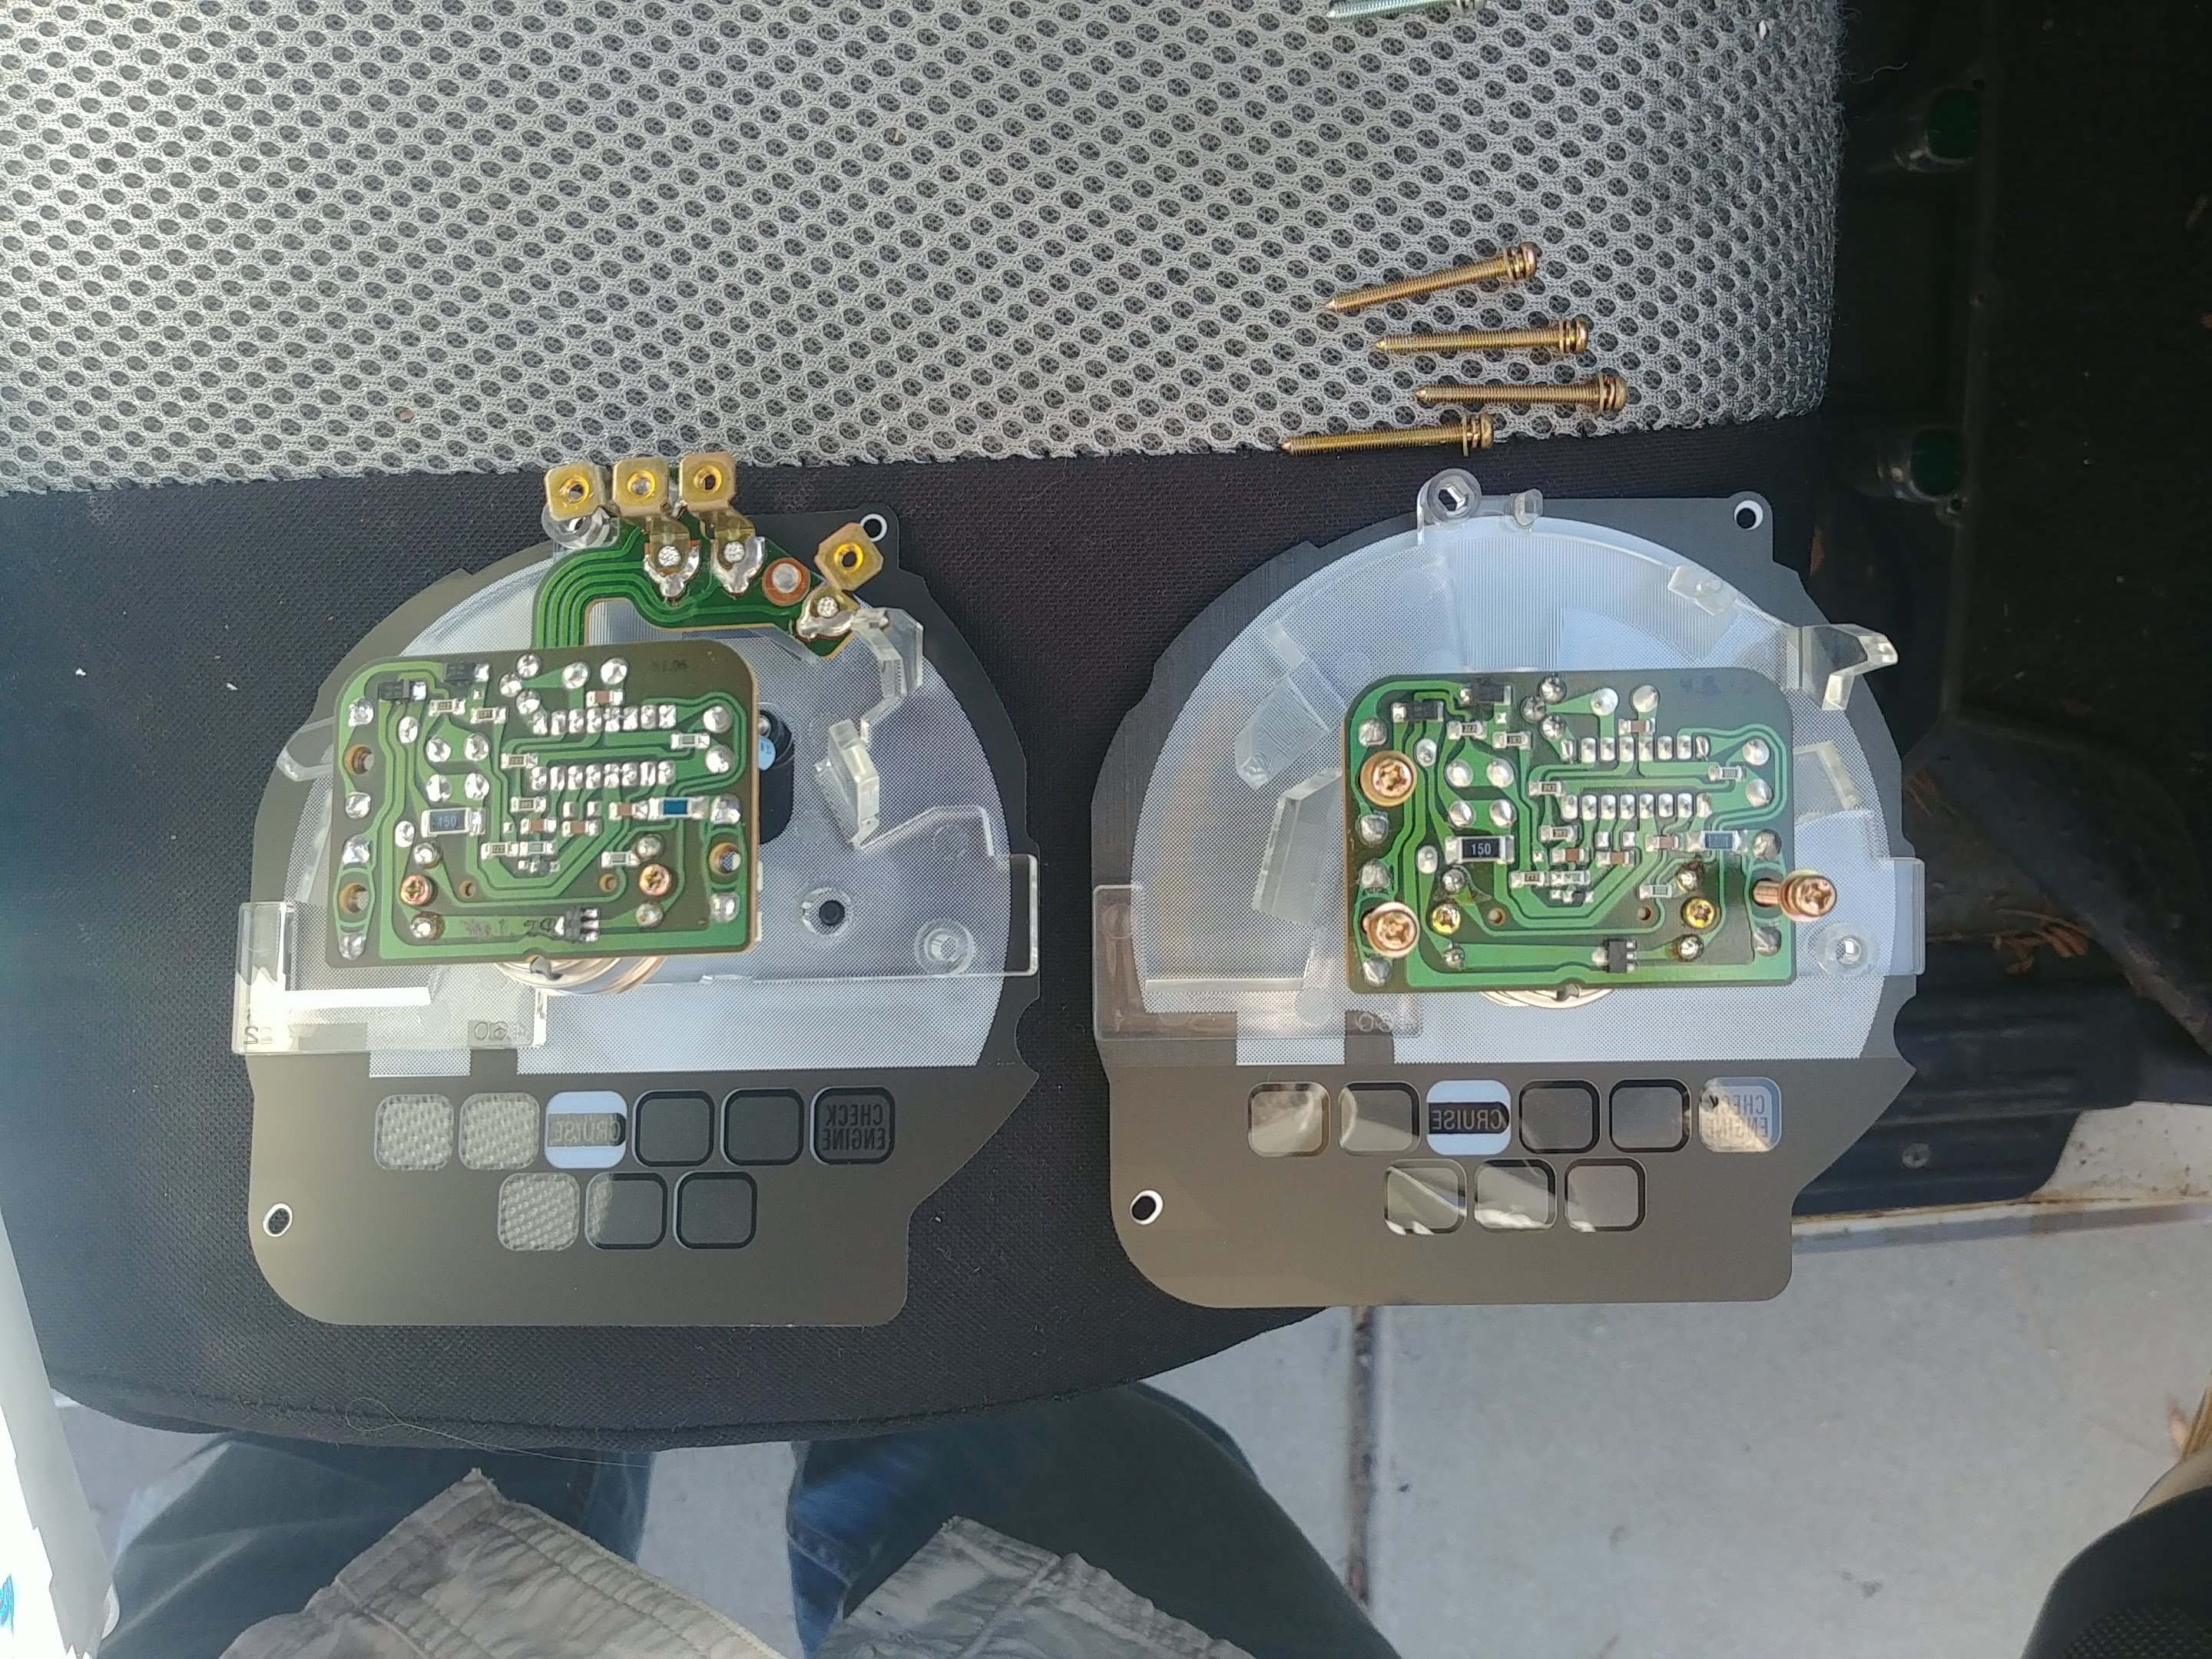
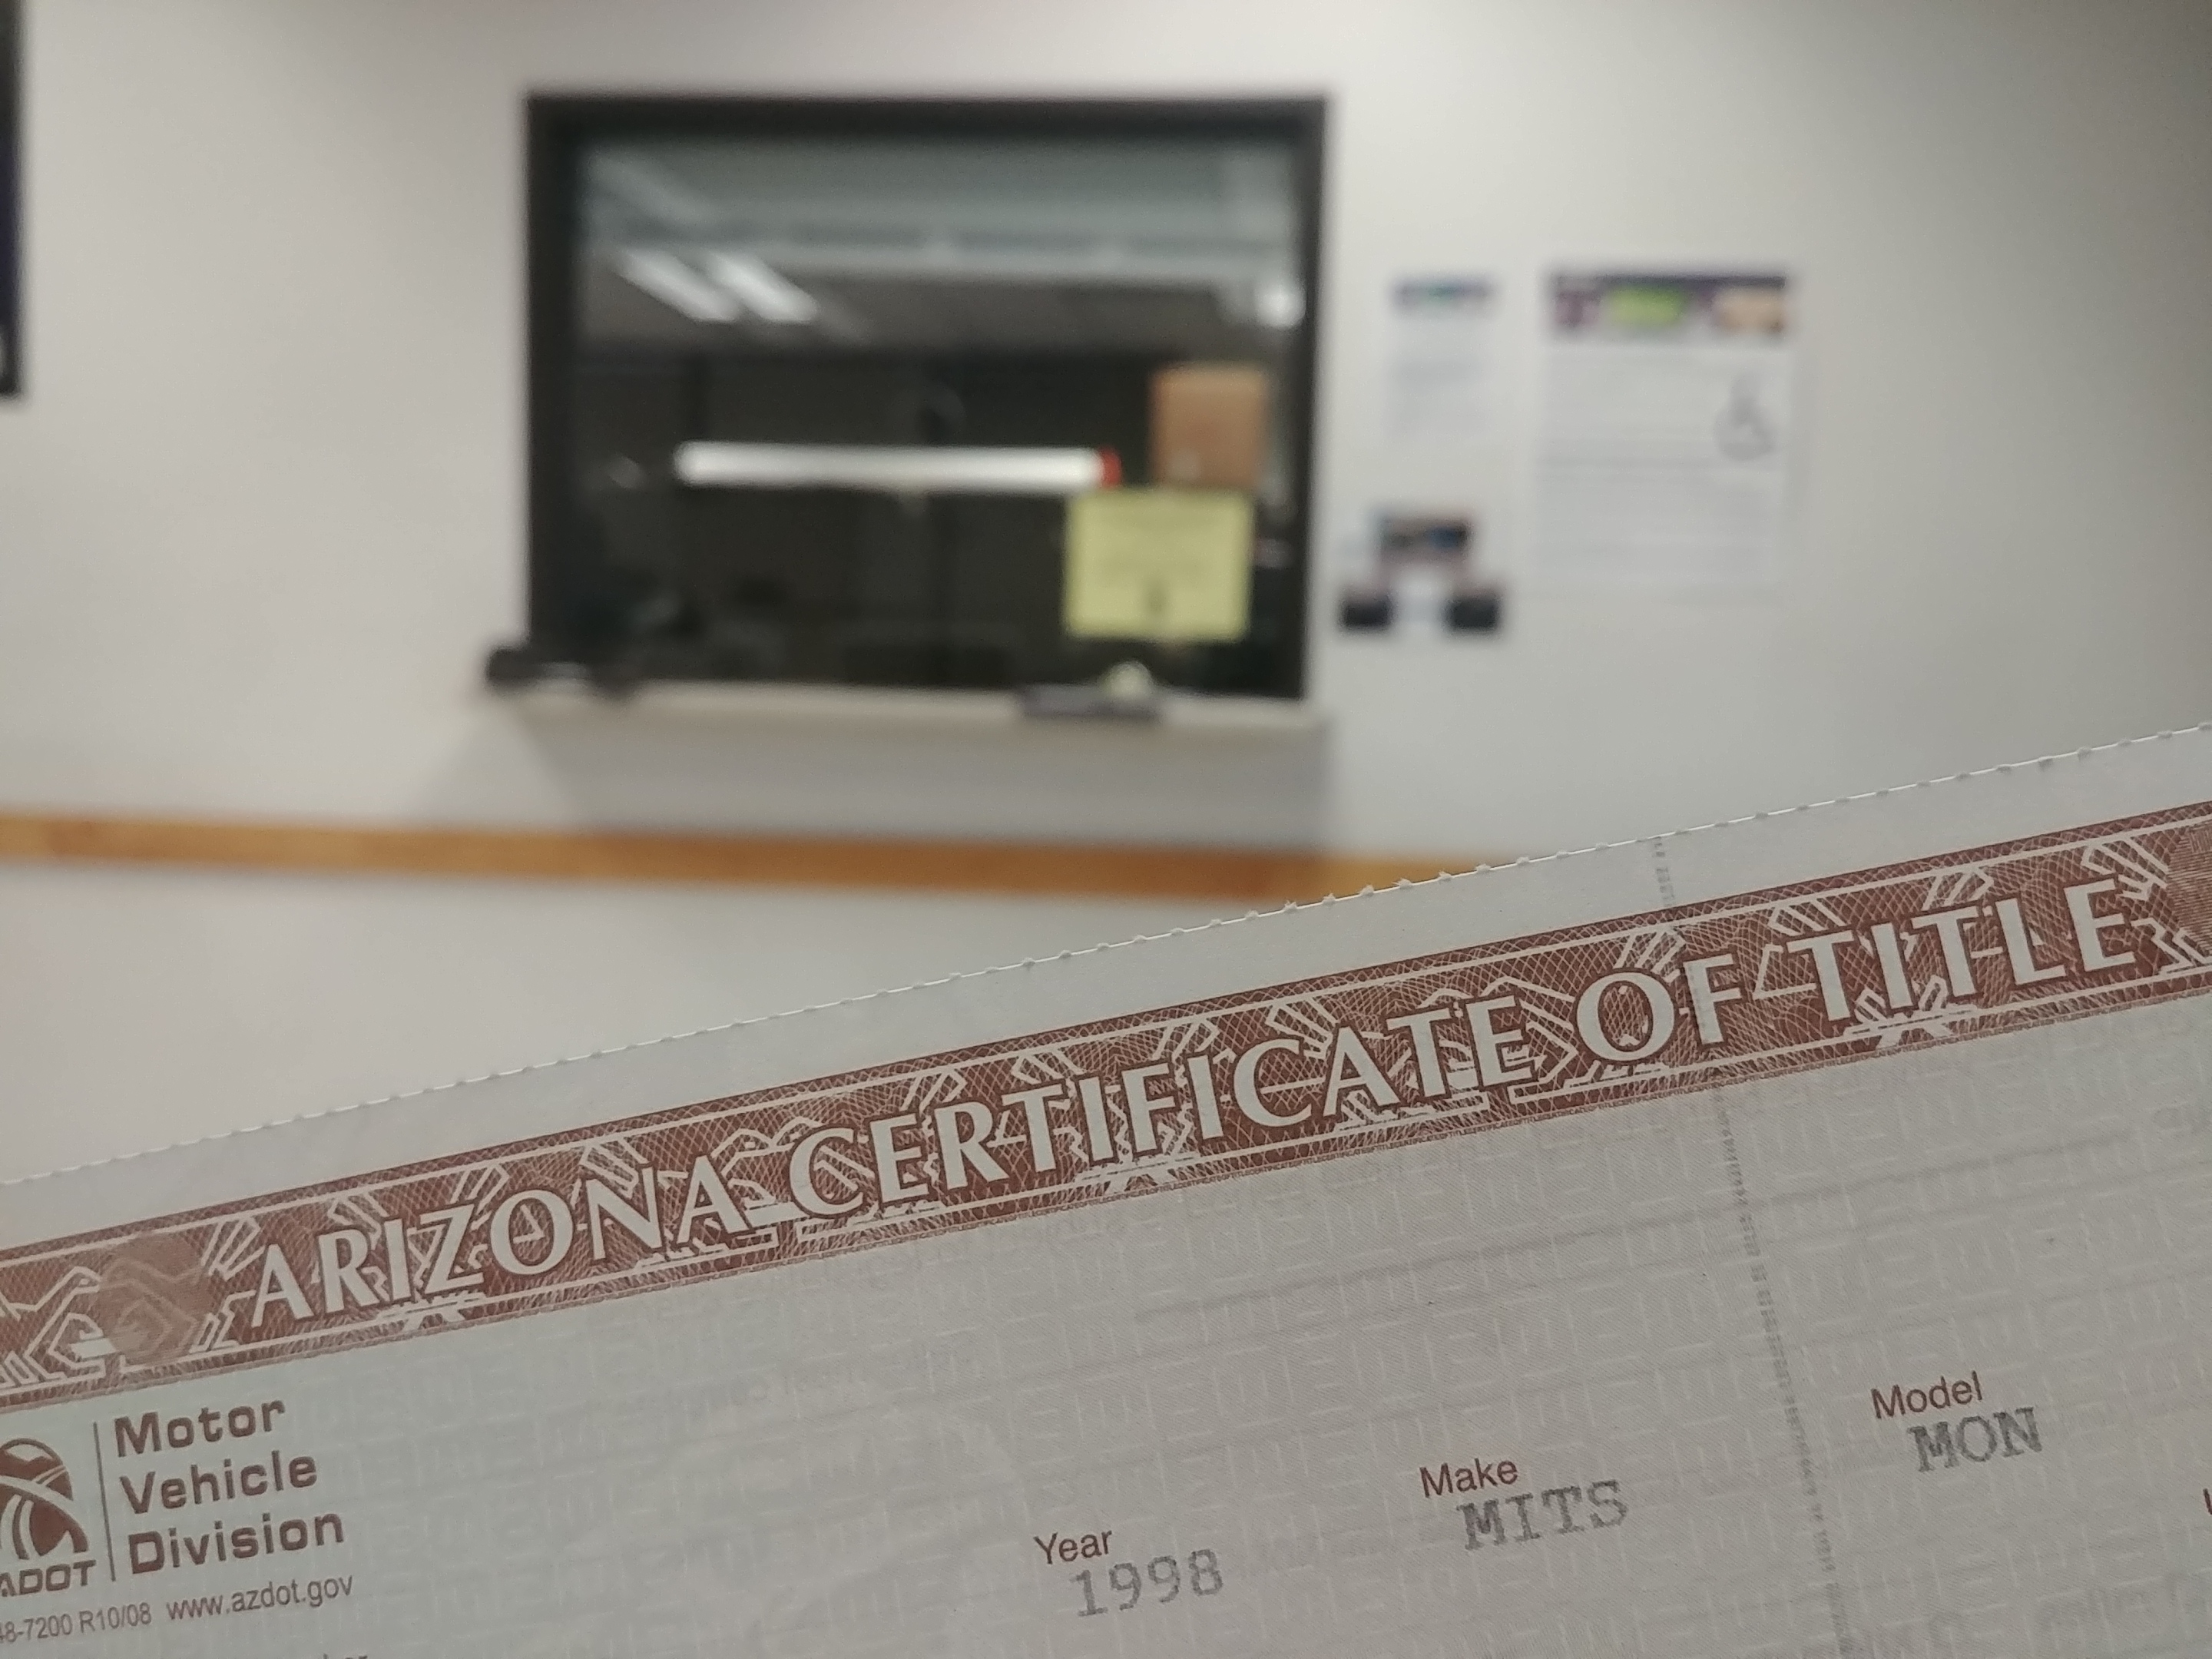
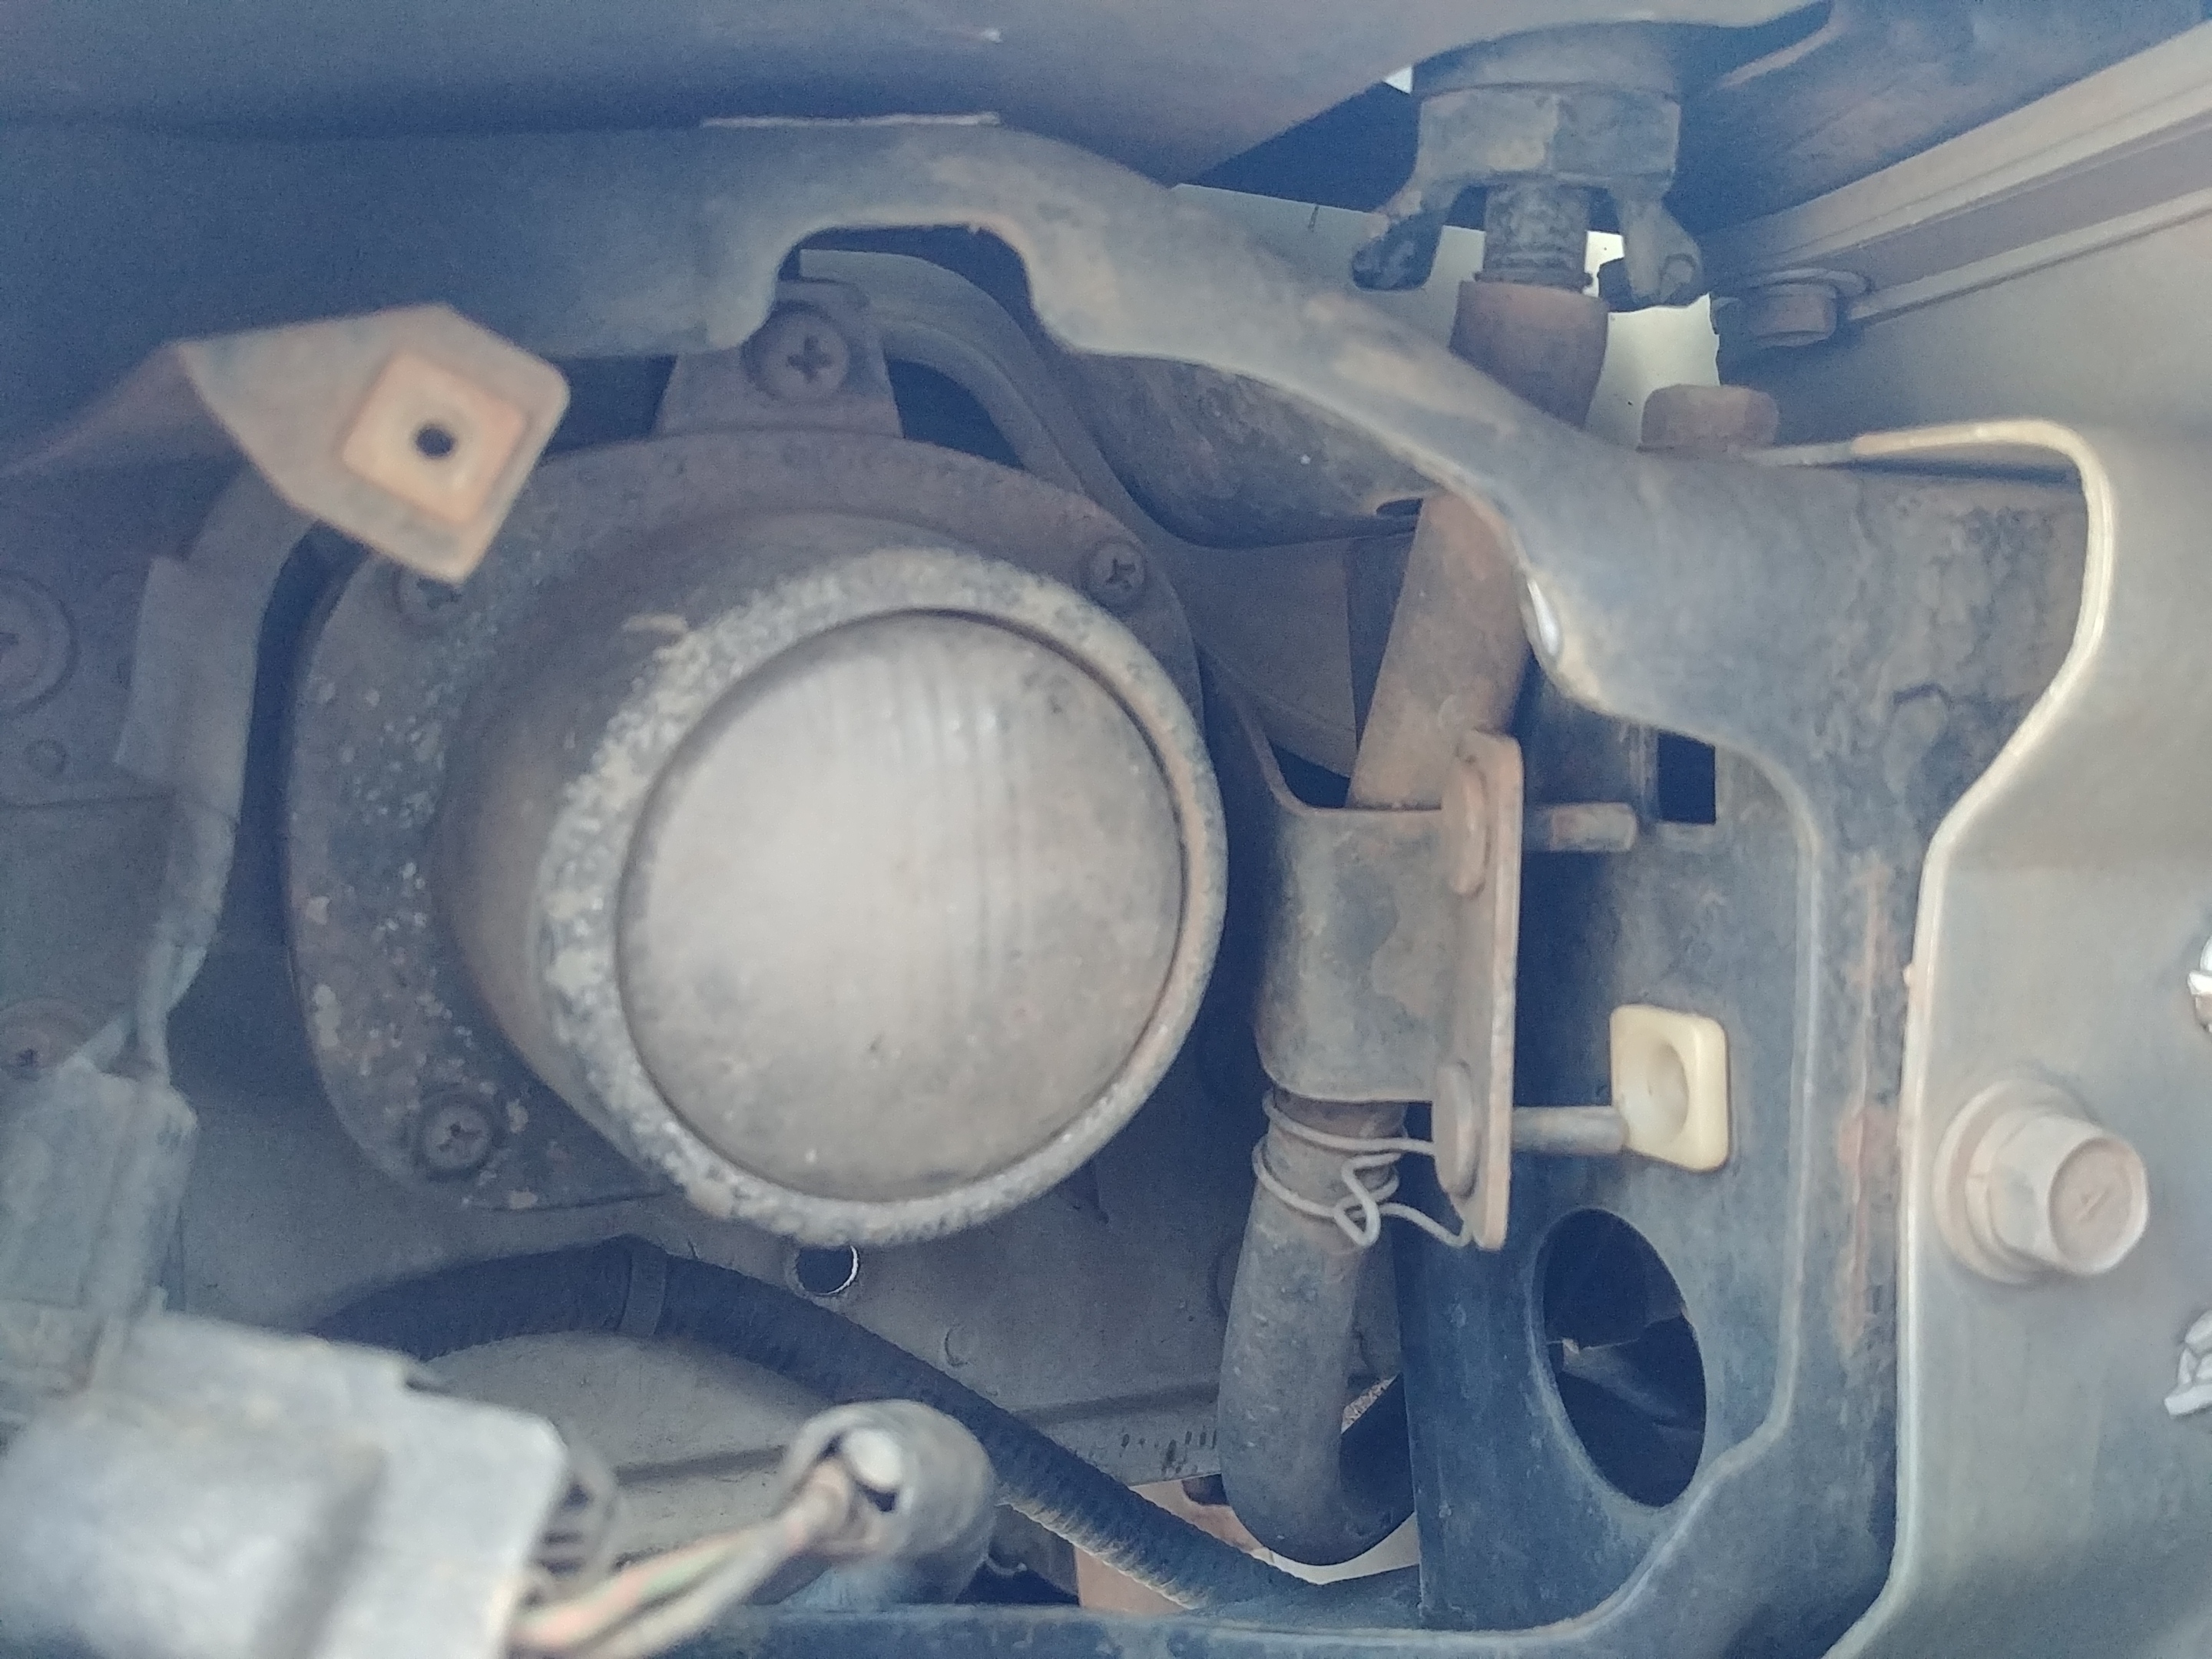
I’ve been daily driving Fez ever since. Total loss means I have to provide a salvage title to the insurance company before I get my money. But this means my registration is void on the spot (salvage vehicles aren’t legal in Arizona), so I have to get a bunch of stupid, unrelated, little shit to pass the restored salvage inspection before I can do this. Cracked windshield (again), ABS light, working reverse light, horn button, etc.
I’m pretty close. Just need to make time out in the heat to do the work and schedule even more time off work to go get that inspection.
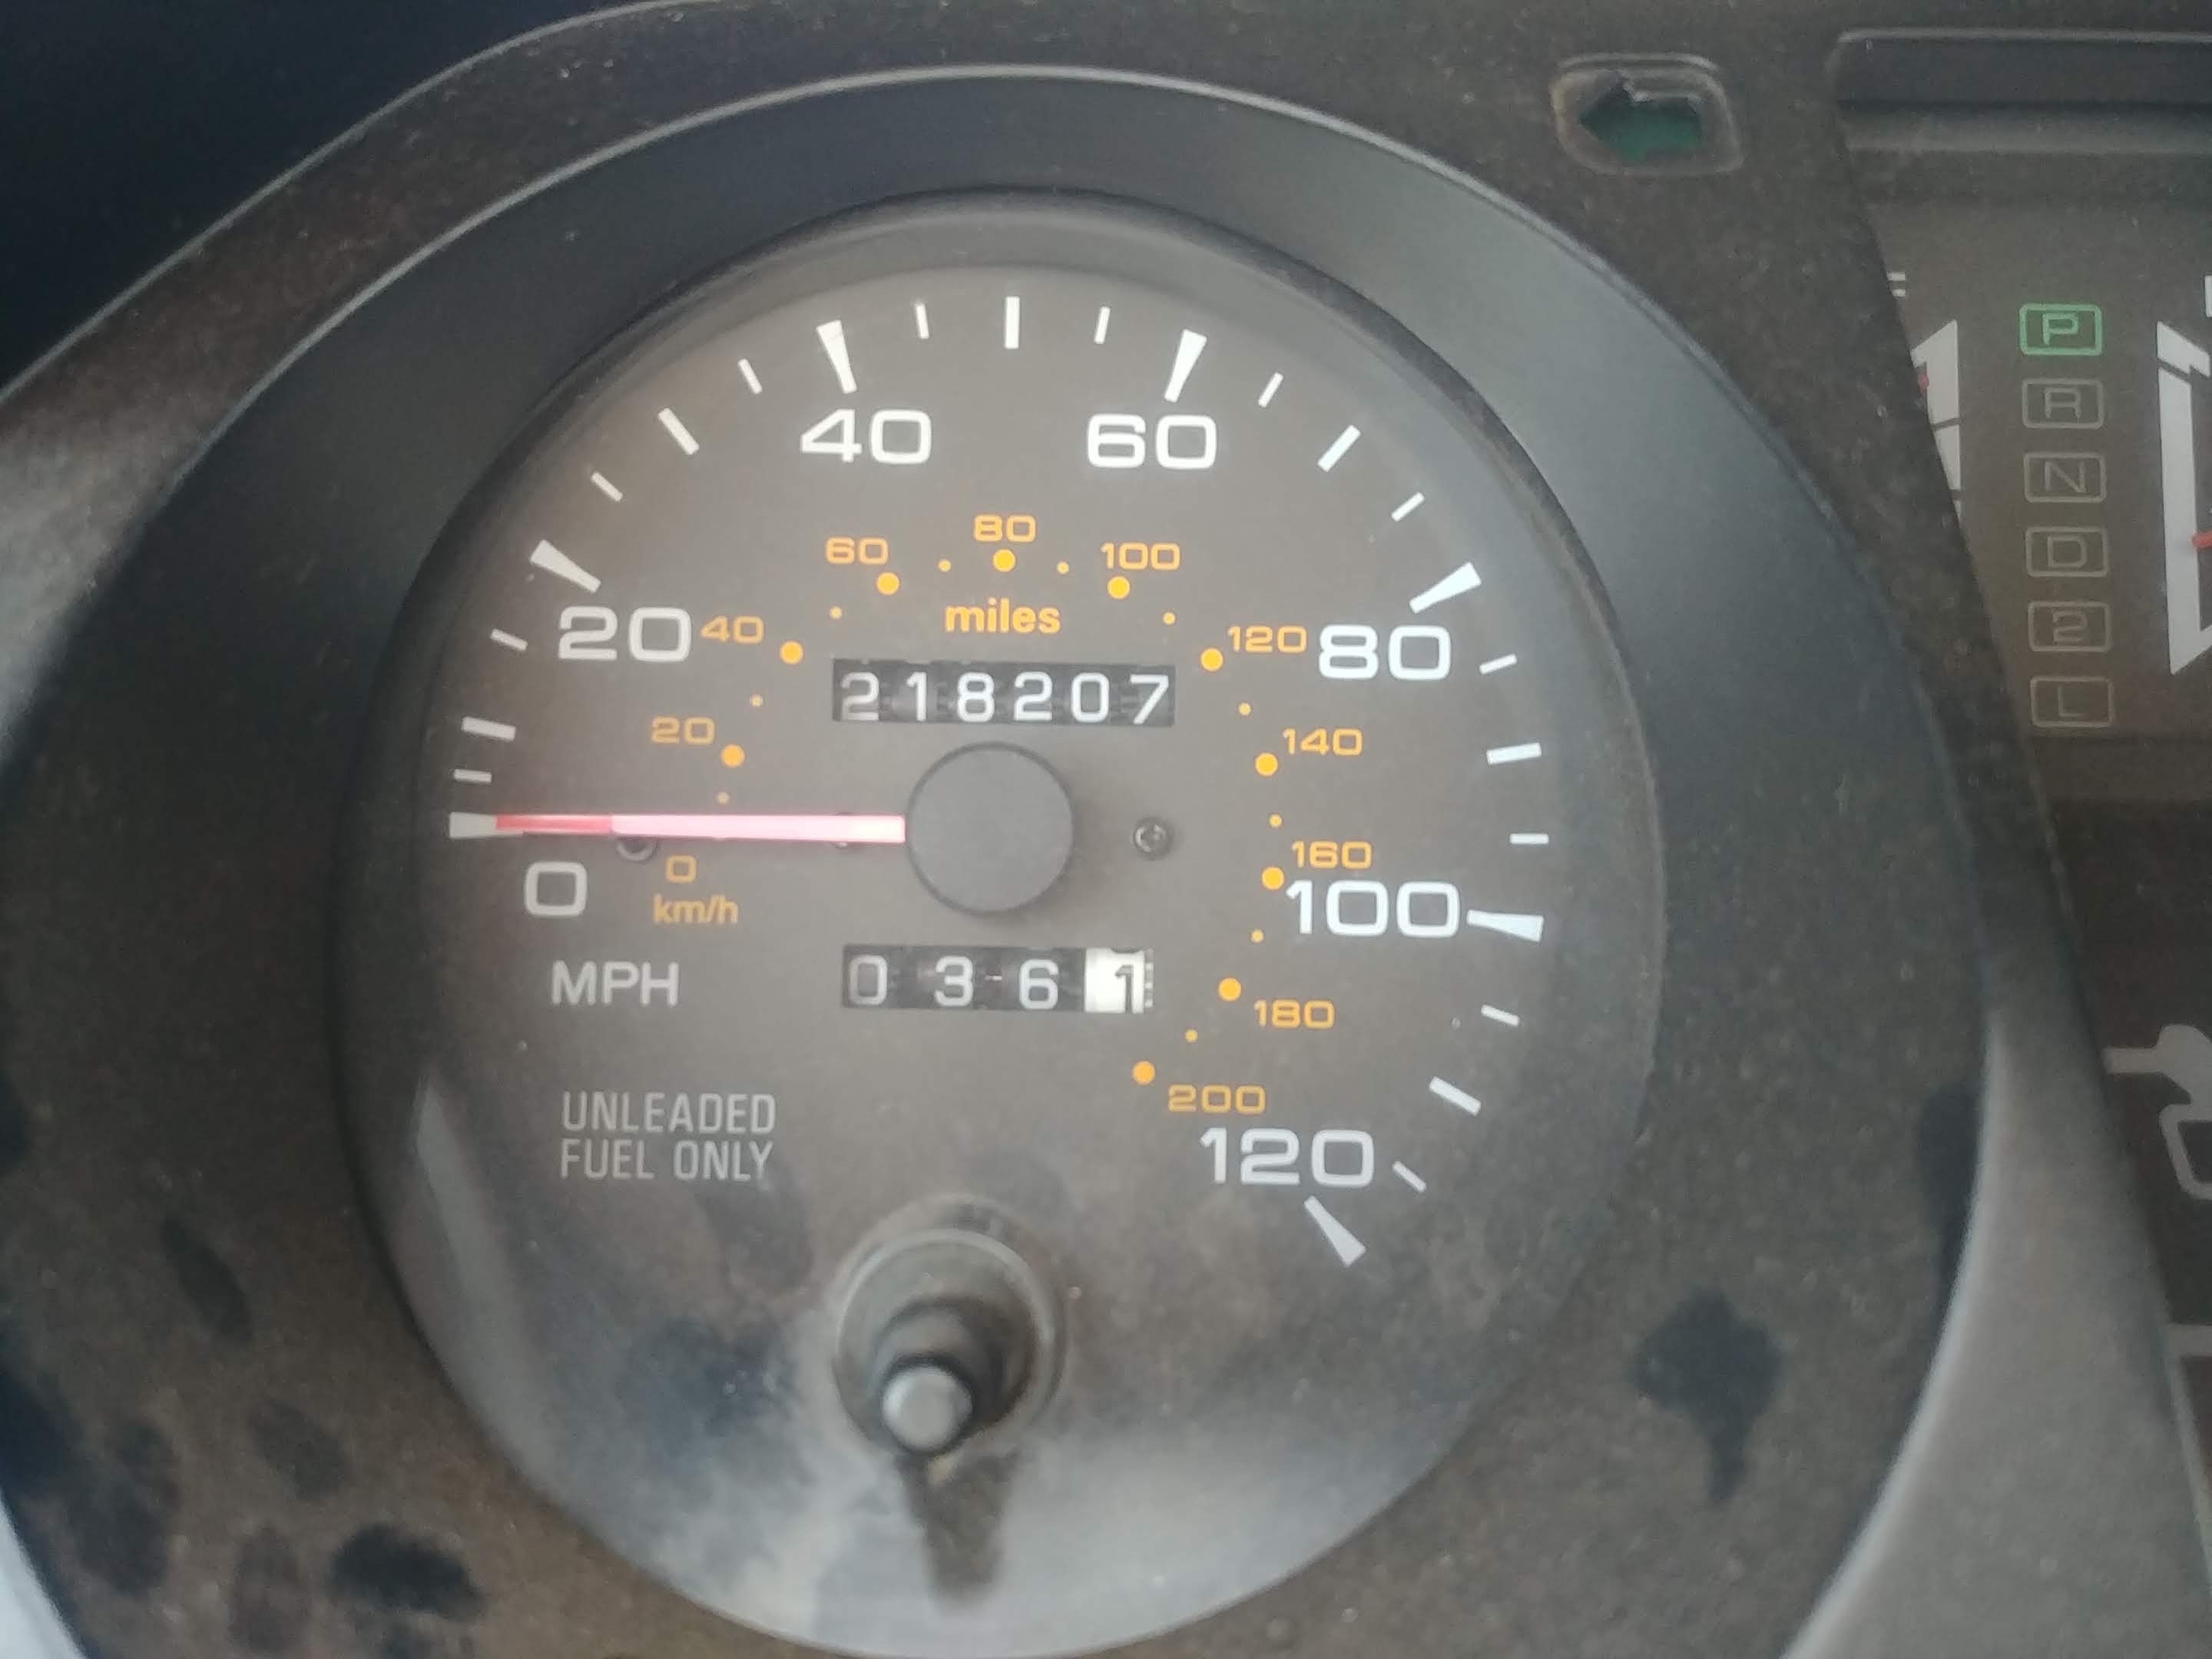
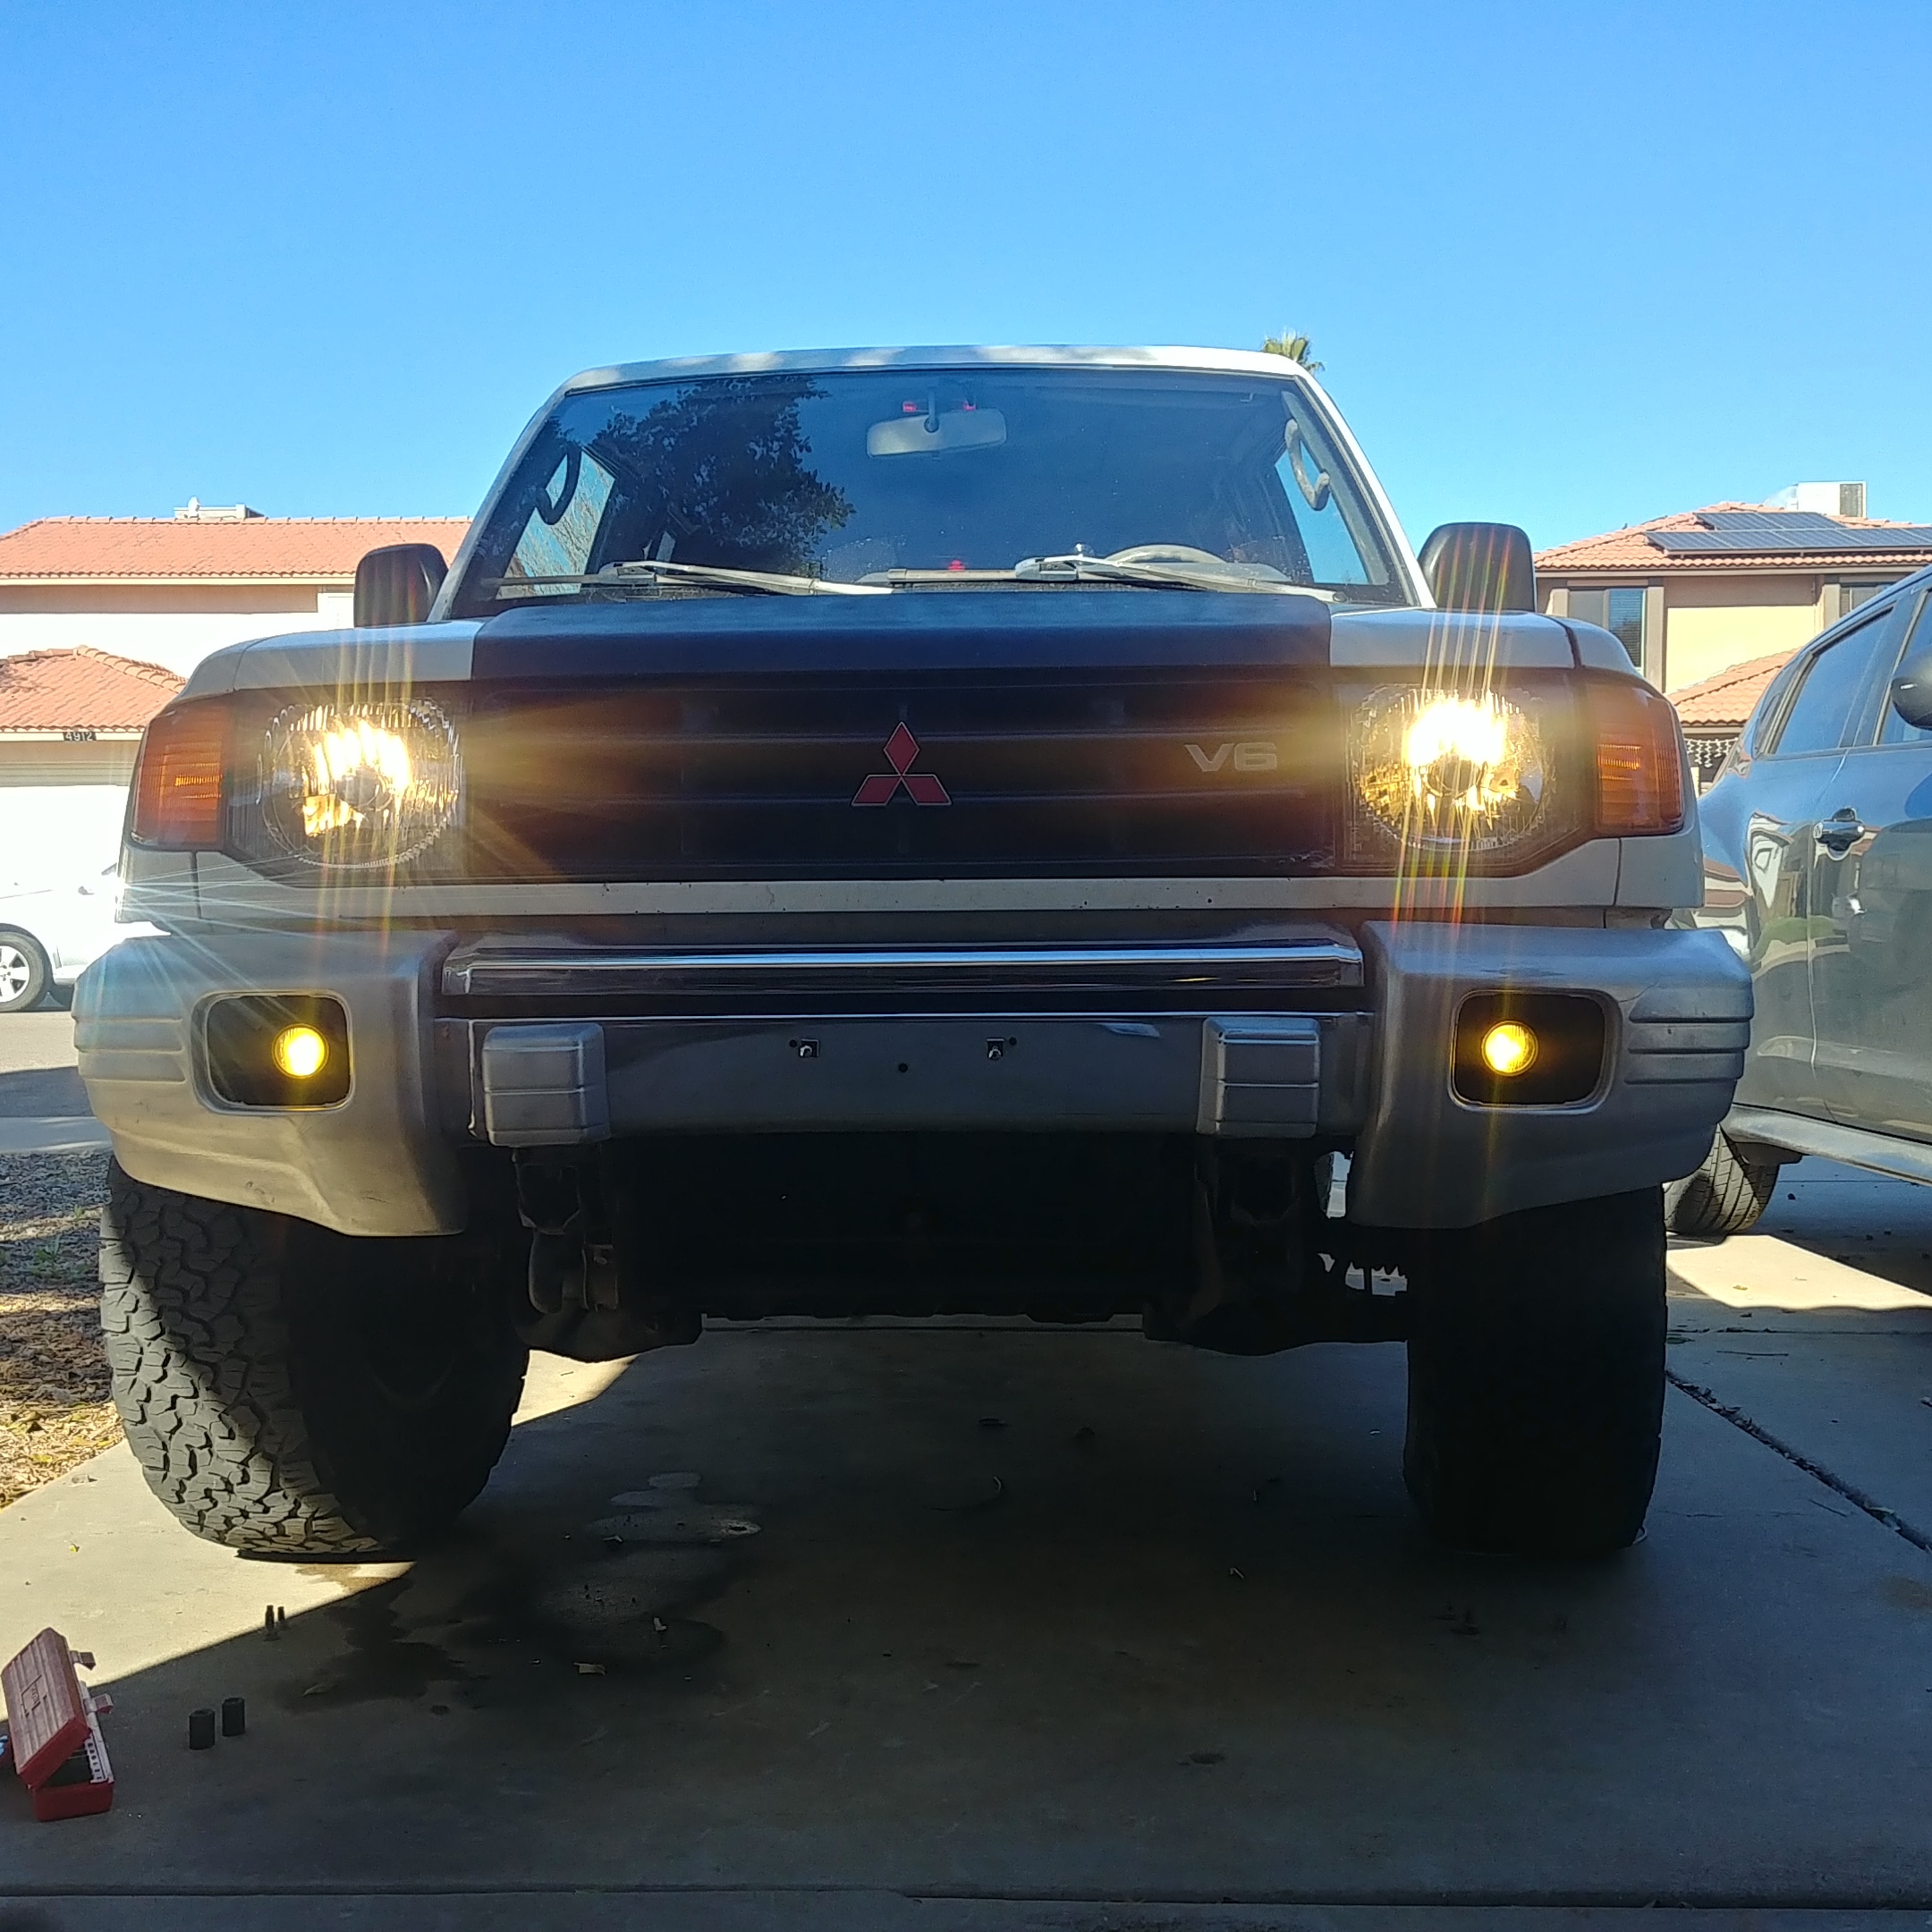
200,000
31 May 2018