Yeah I listen to all those podcasts too. The 200 series is the one I believe they referred to. It’s very high cap. I feel like for a really small rig like the LC90, 220# is pretty crazy too. The 2nd gen SWB Pajero would definitely have its work cut out for it there, since it has no gutters like your lwb does. The third gen did away with them altogether on both short and long versions. Without gutters you’re limited to low cap factory rails if so equipped, or you’re drilling holes up and down your roof. I’ve done that a few times and it’s a little more nerve wrecking than even installing a snorkel. Lol.
I’m super happy with how this rack turned out. Overall it cost me about 800 CAD all in, including 8 gutter mounts and the platform itself. When you think about what that is in USD, I’d call it a bargain.
And the fact that I can mount it with under an inch of space between the closest bar and the highest point of the roof makes it quite acceptable in terms of the usual compromises that roof racks create.
Yeah, dude. It’s solid. Great place for a tent, or a better seat for the fireworks show, or as they mentioned in the OJ podcast, a place to put gear when you need to carry people inside your cabin.
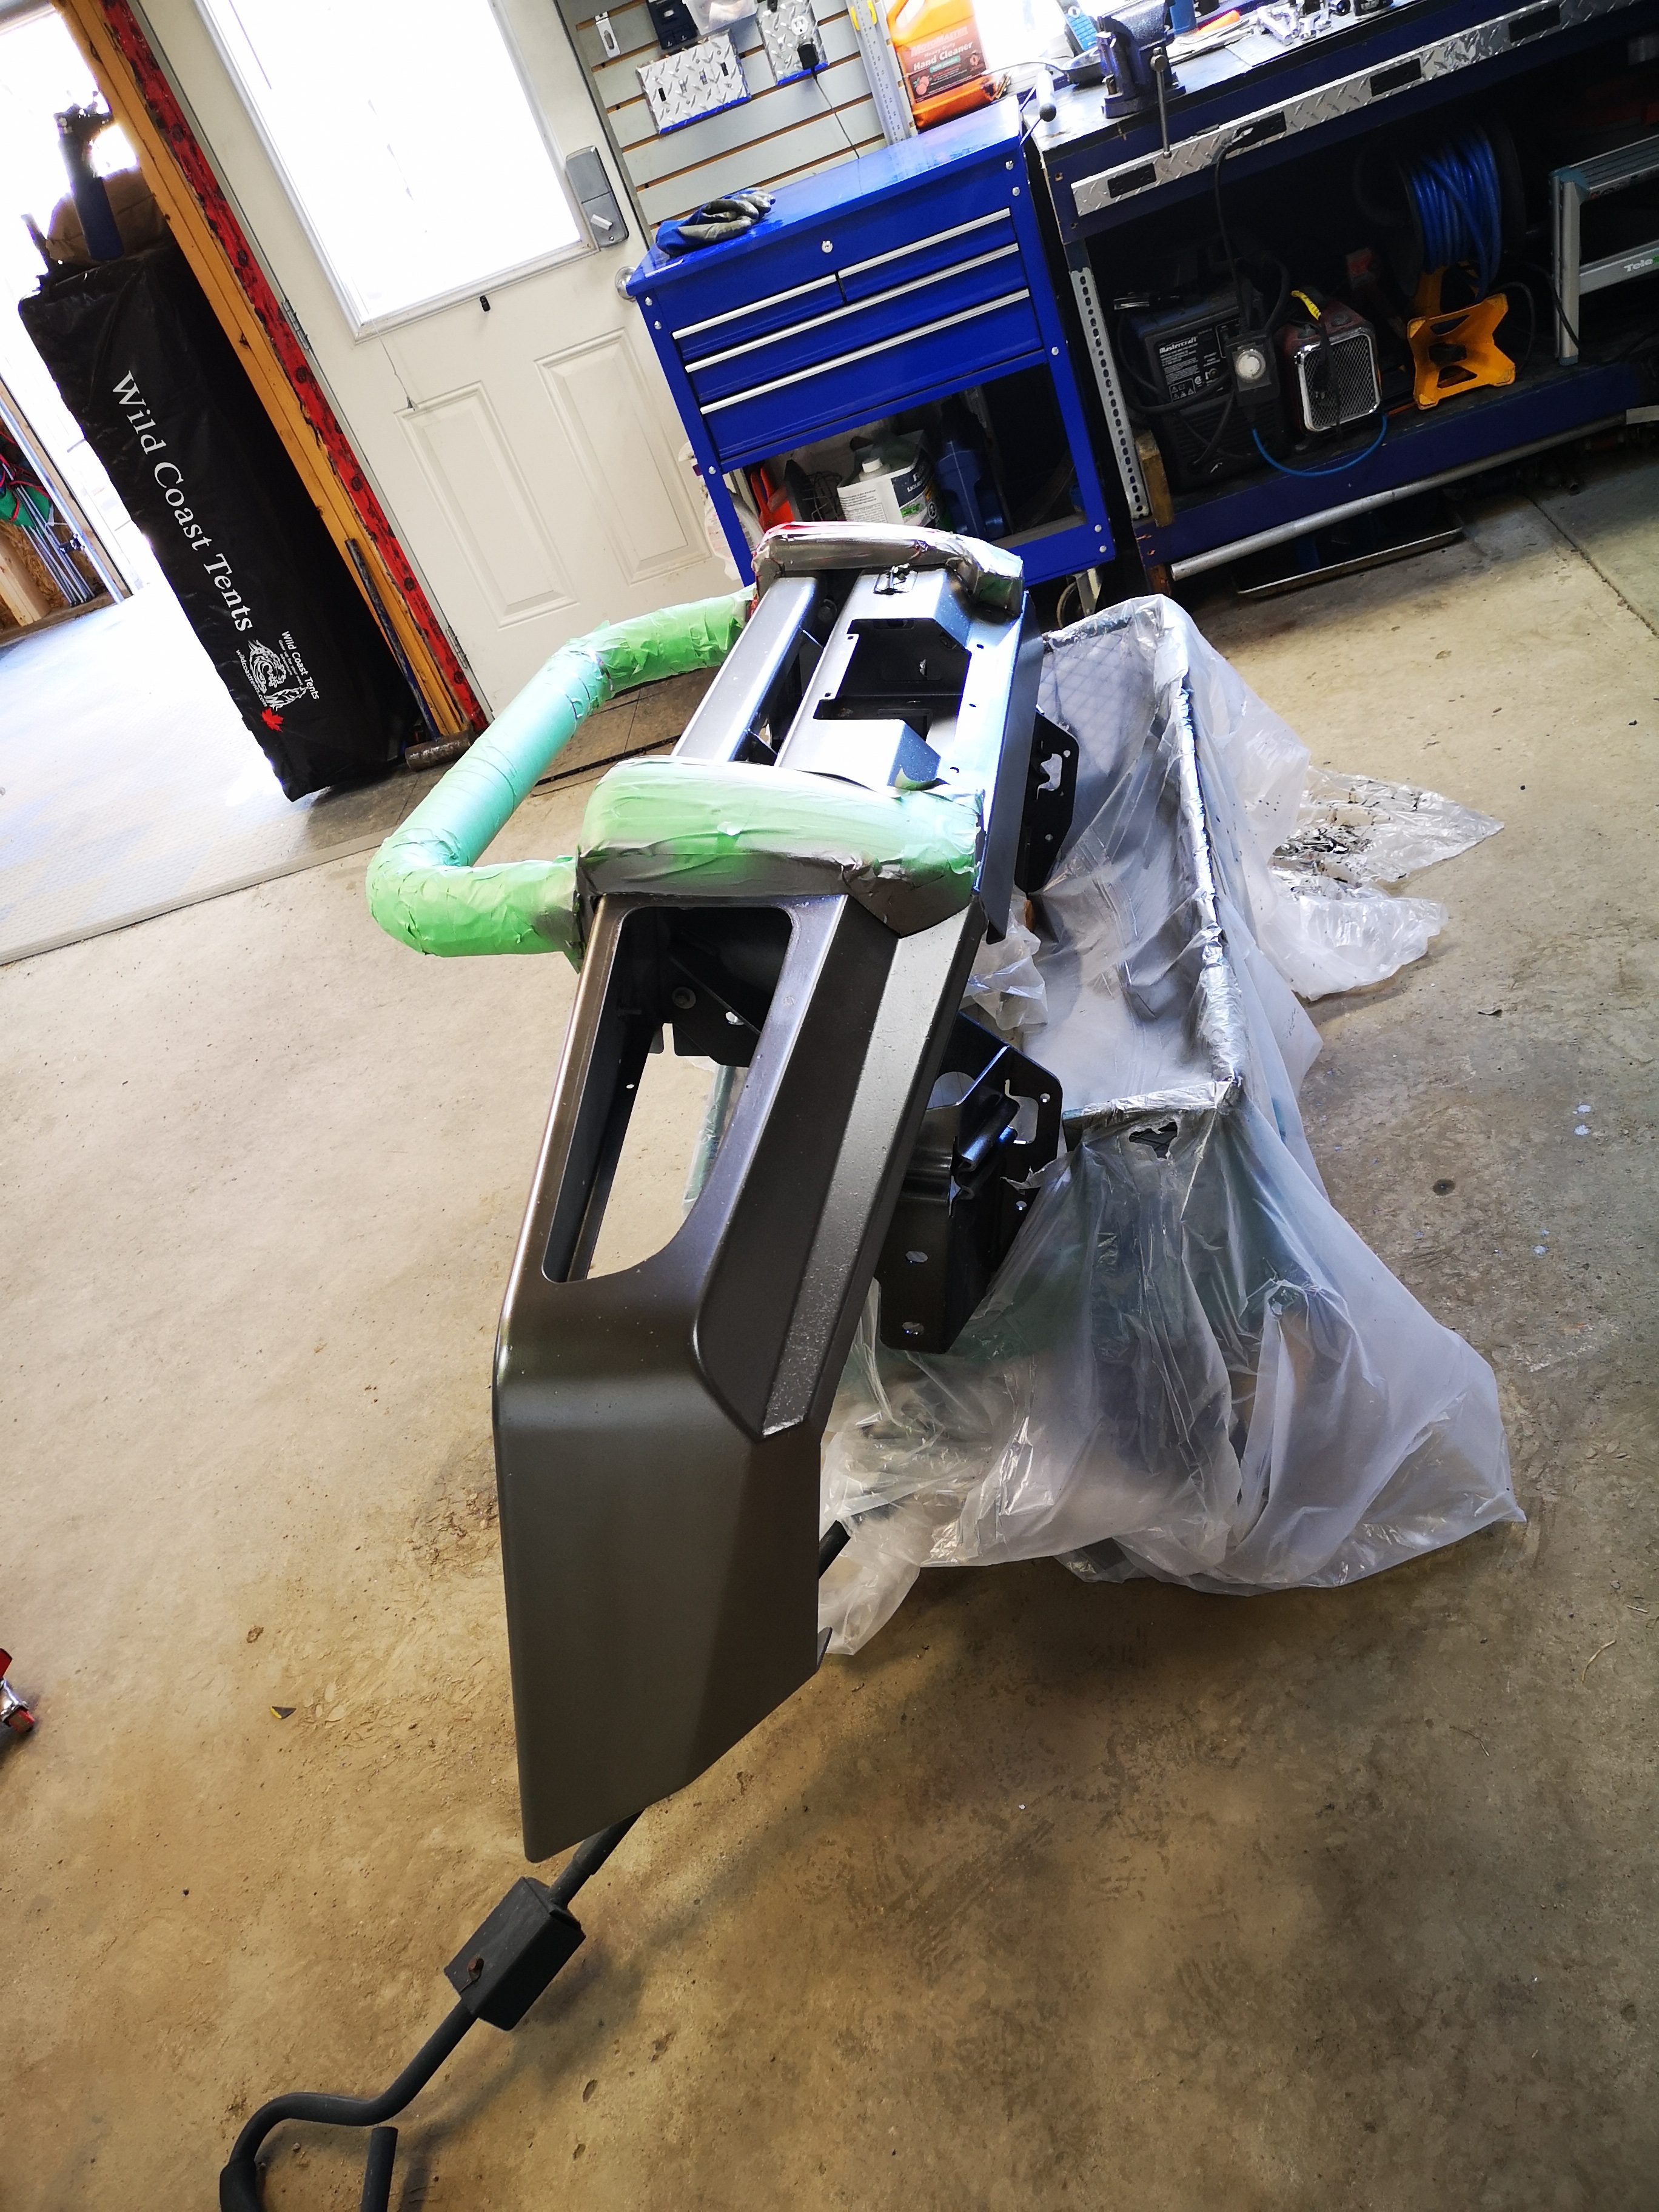
It’s got a dent. It’s got some surface rust spots and paint issues. Nothing major but I’m picky. It’s missing the recessed light pod thingies. And of course the aforementioned brackets aren’t matching on the bumper side. Good news is they are perfect on the truck side so I’ve already started working on fabbing some more to bridge the gap.
One more thing. From the factory this bumper came with these plastic spacer things to fill the gap under the grille and lights for certain models. It’s a little holey honestly. And one side is missing. So… Need to address that too. Don’t want to look like my bumper is falling down.
When I lay it all out like this I wonder just wtf I was thinking. Lol.
How difficult would it be to mount some expanded metal behind those holes? Suppose you were to JB weld (or tack weld) studs or anchors of some kind on the backside, then trim and attach some expanded metal (maybe with round holes to match the headlights) to cover the blanks. You could probably fit some decent-sized round lights in those outer windows, too.
That’s not a bad idea. My plan was to use the ARB light pods to cover the big holes. But they are pricey. Perhaps expanded metal as a stop gap? (pun intended) The gap I was most concerned about was between the bumper and grille/bottom of headlights. I believe some more massaging (grinder) may have ameliorated this? More later…
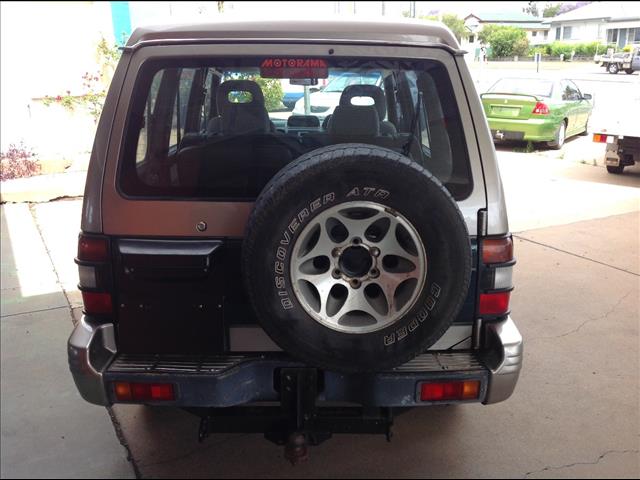
I thought the same thing. They also are reminiscent of the late gen2.5 teardrop wheels too. So much so that I thought it might be homage to the mighty paj by hanging one on the back since I didn’t have a matching spare. Toyota folk will have no idea, but some mitsu nerds might recognize it?
Yesterday was scrape, rub with solvent and then rust killer. Thankfully the rust is mostly surface under the original paint, and only on the back side.
Today was high build primer. Tomorrow will be sanding, more primer, more sanding. IF temperature doesn’t go down too low.
It’s close. I tried to match the lowers as best I could with limited access to shops and patience. Lol. It looked a lot grayer until i put it on.
It is very much in keeping with what ARB painted it in the first place… So I guess it’ll have to do… Perhaps powder coating in a few years depending on how it holds up.
For now it’s got 3 coats of high build, three coats of paint, and 3 coats of clear. Hopefully it sticks.
Here’s a crappy garage shot. Just got a few bolts tightened. Laid the fogs on top. Just to see…
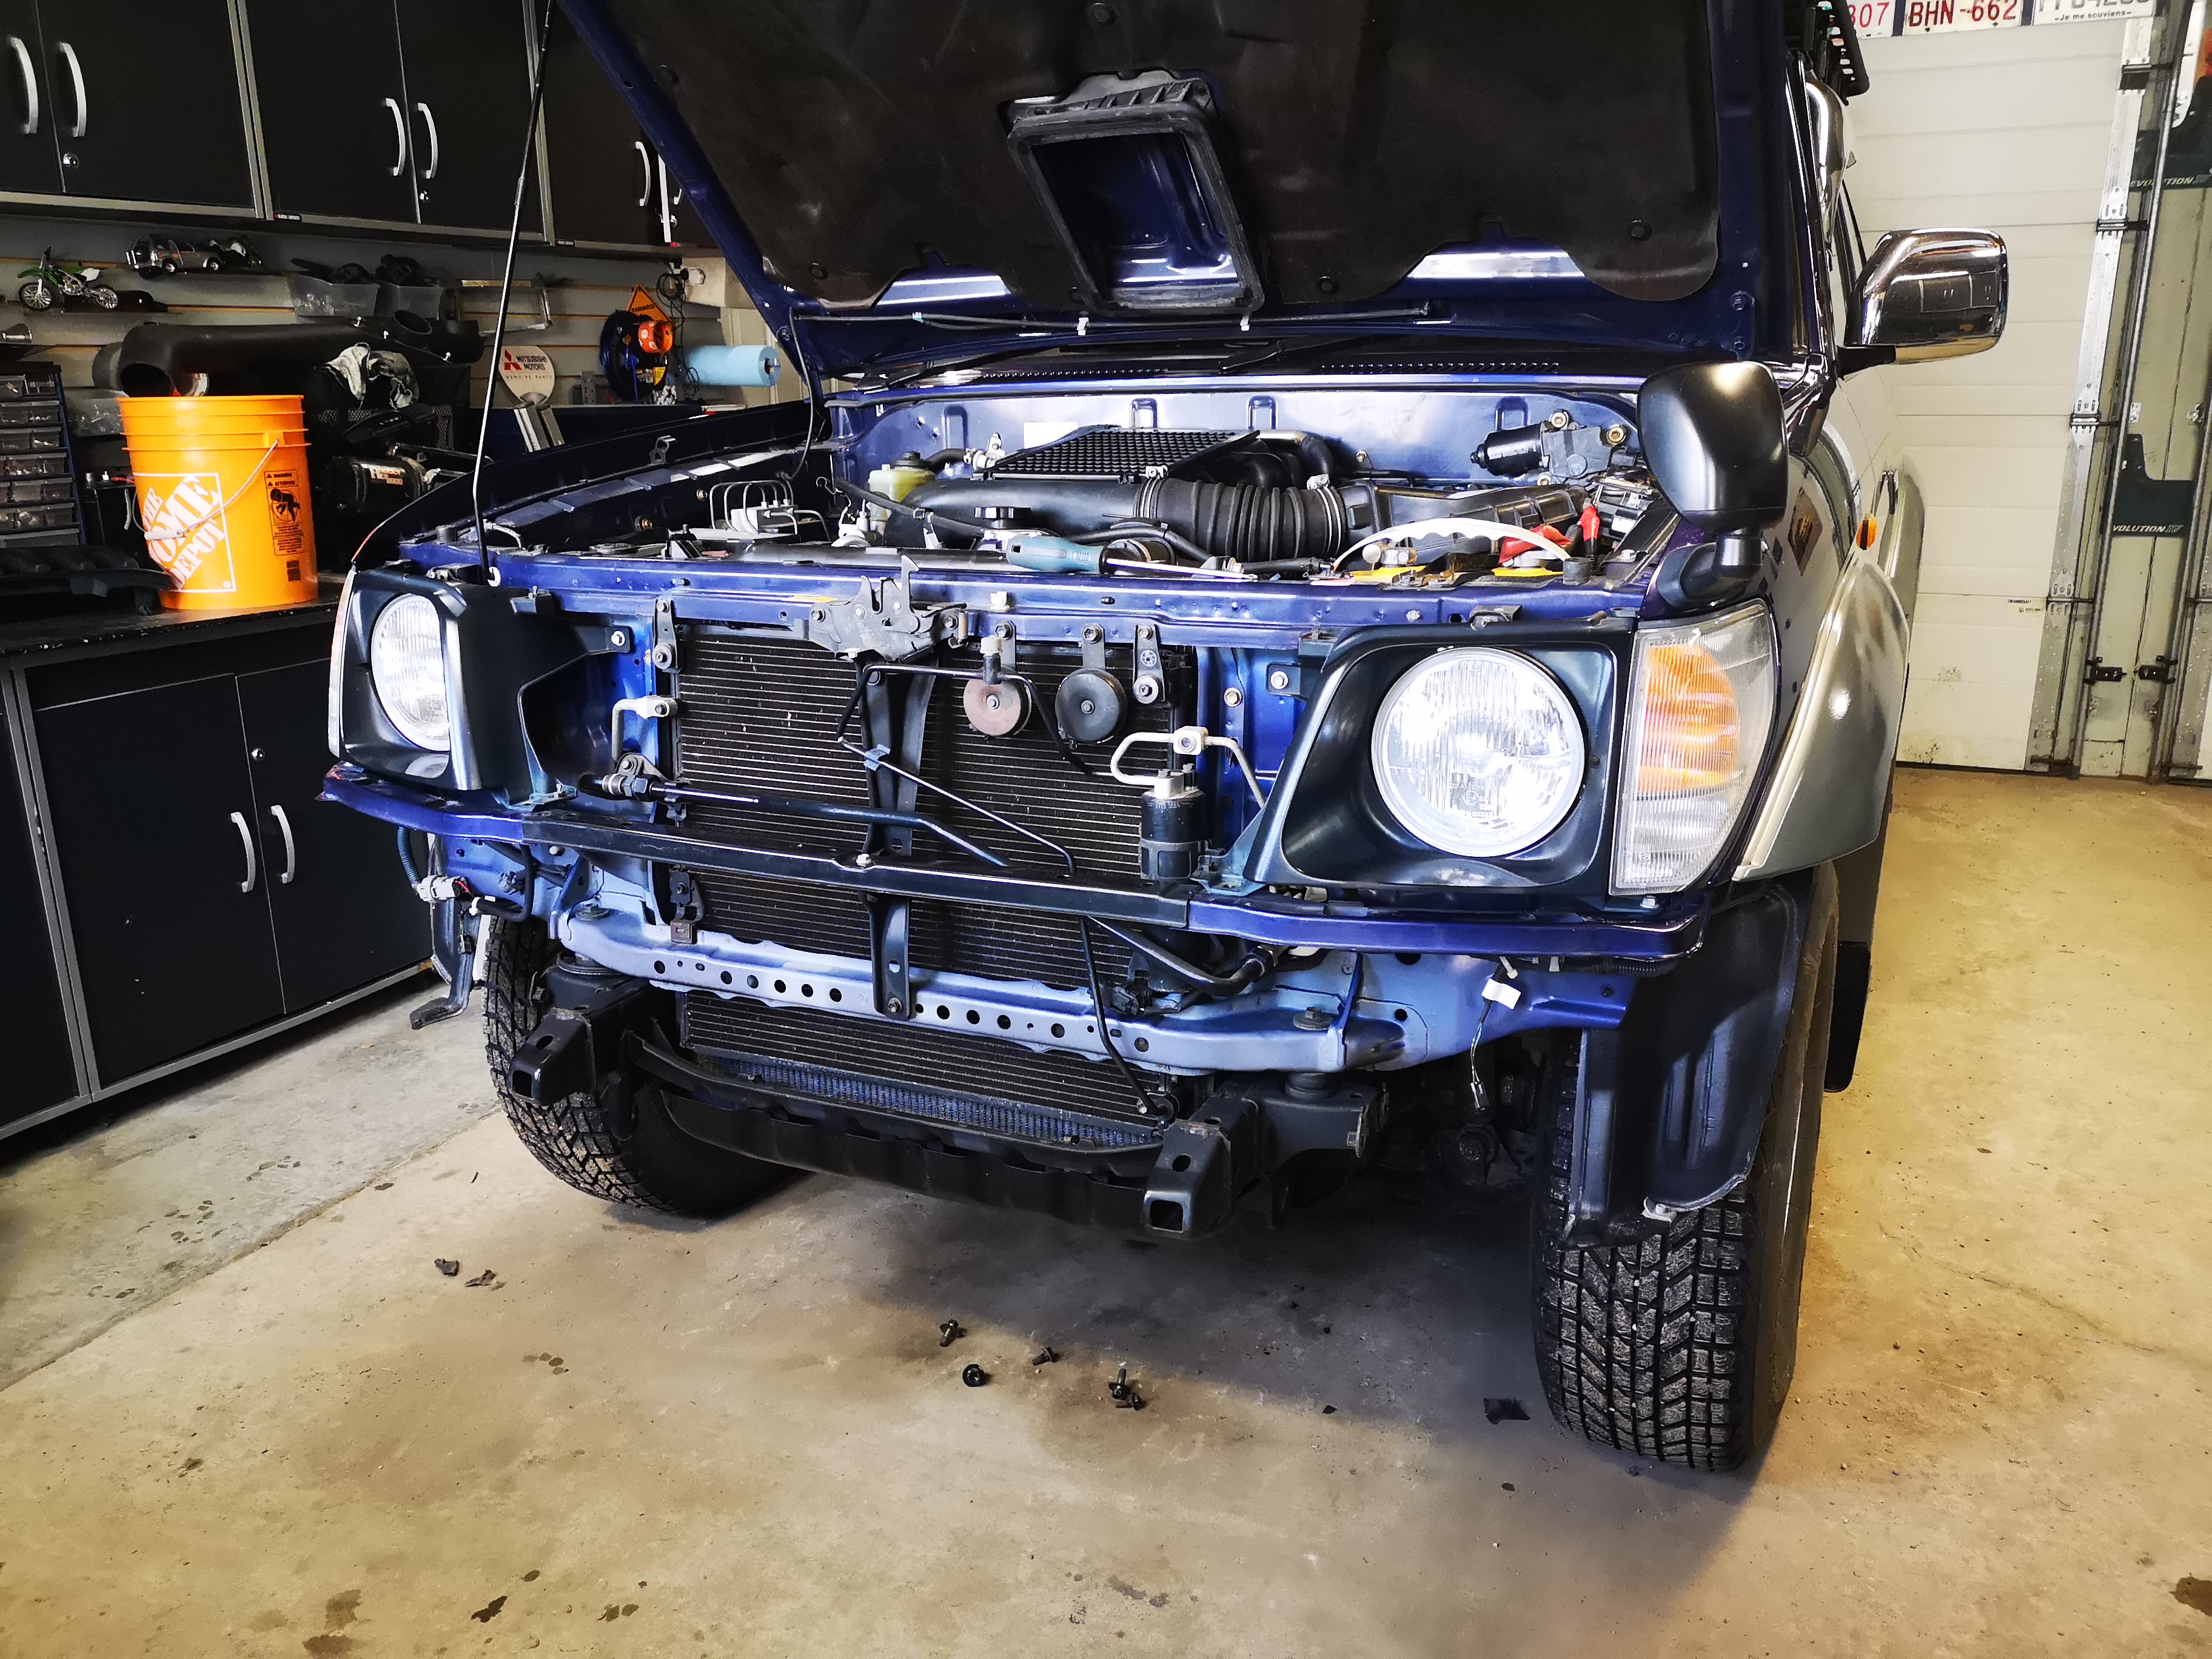
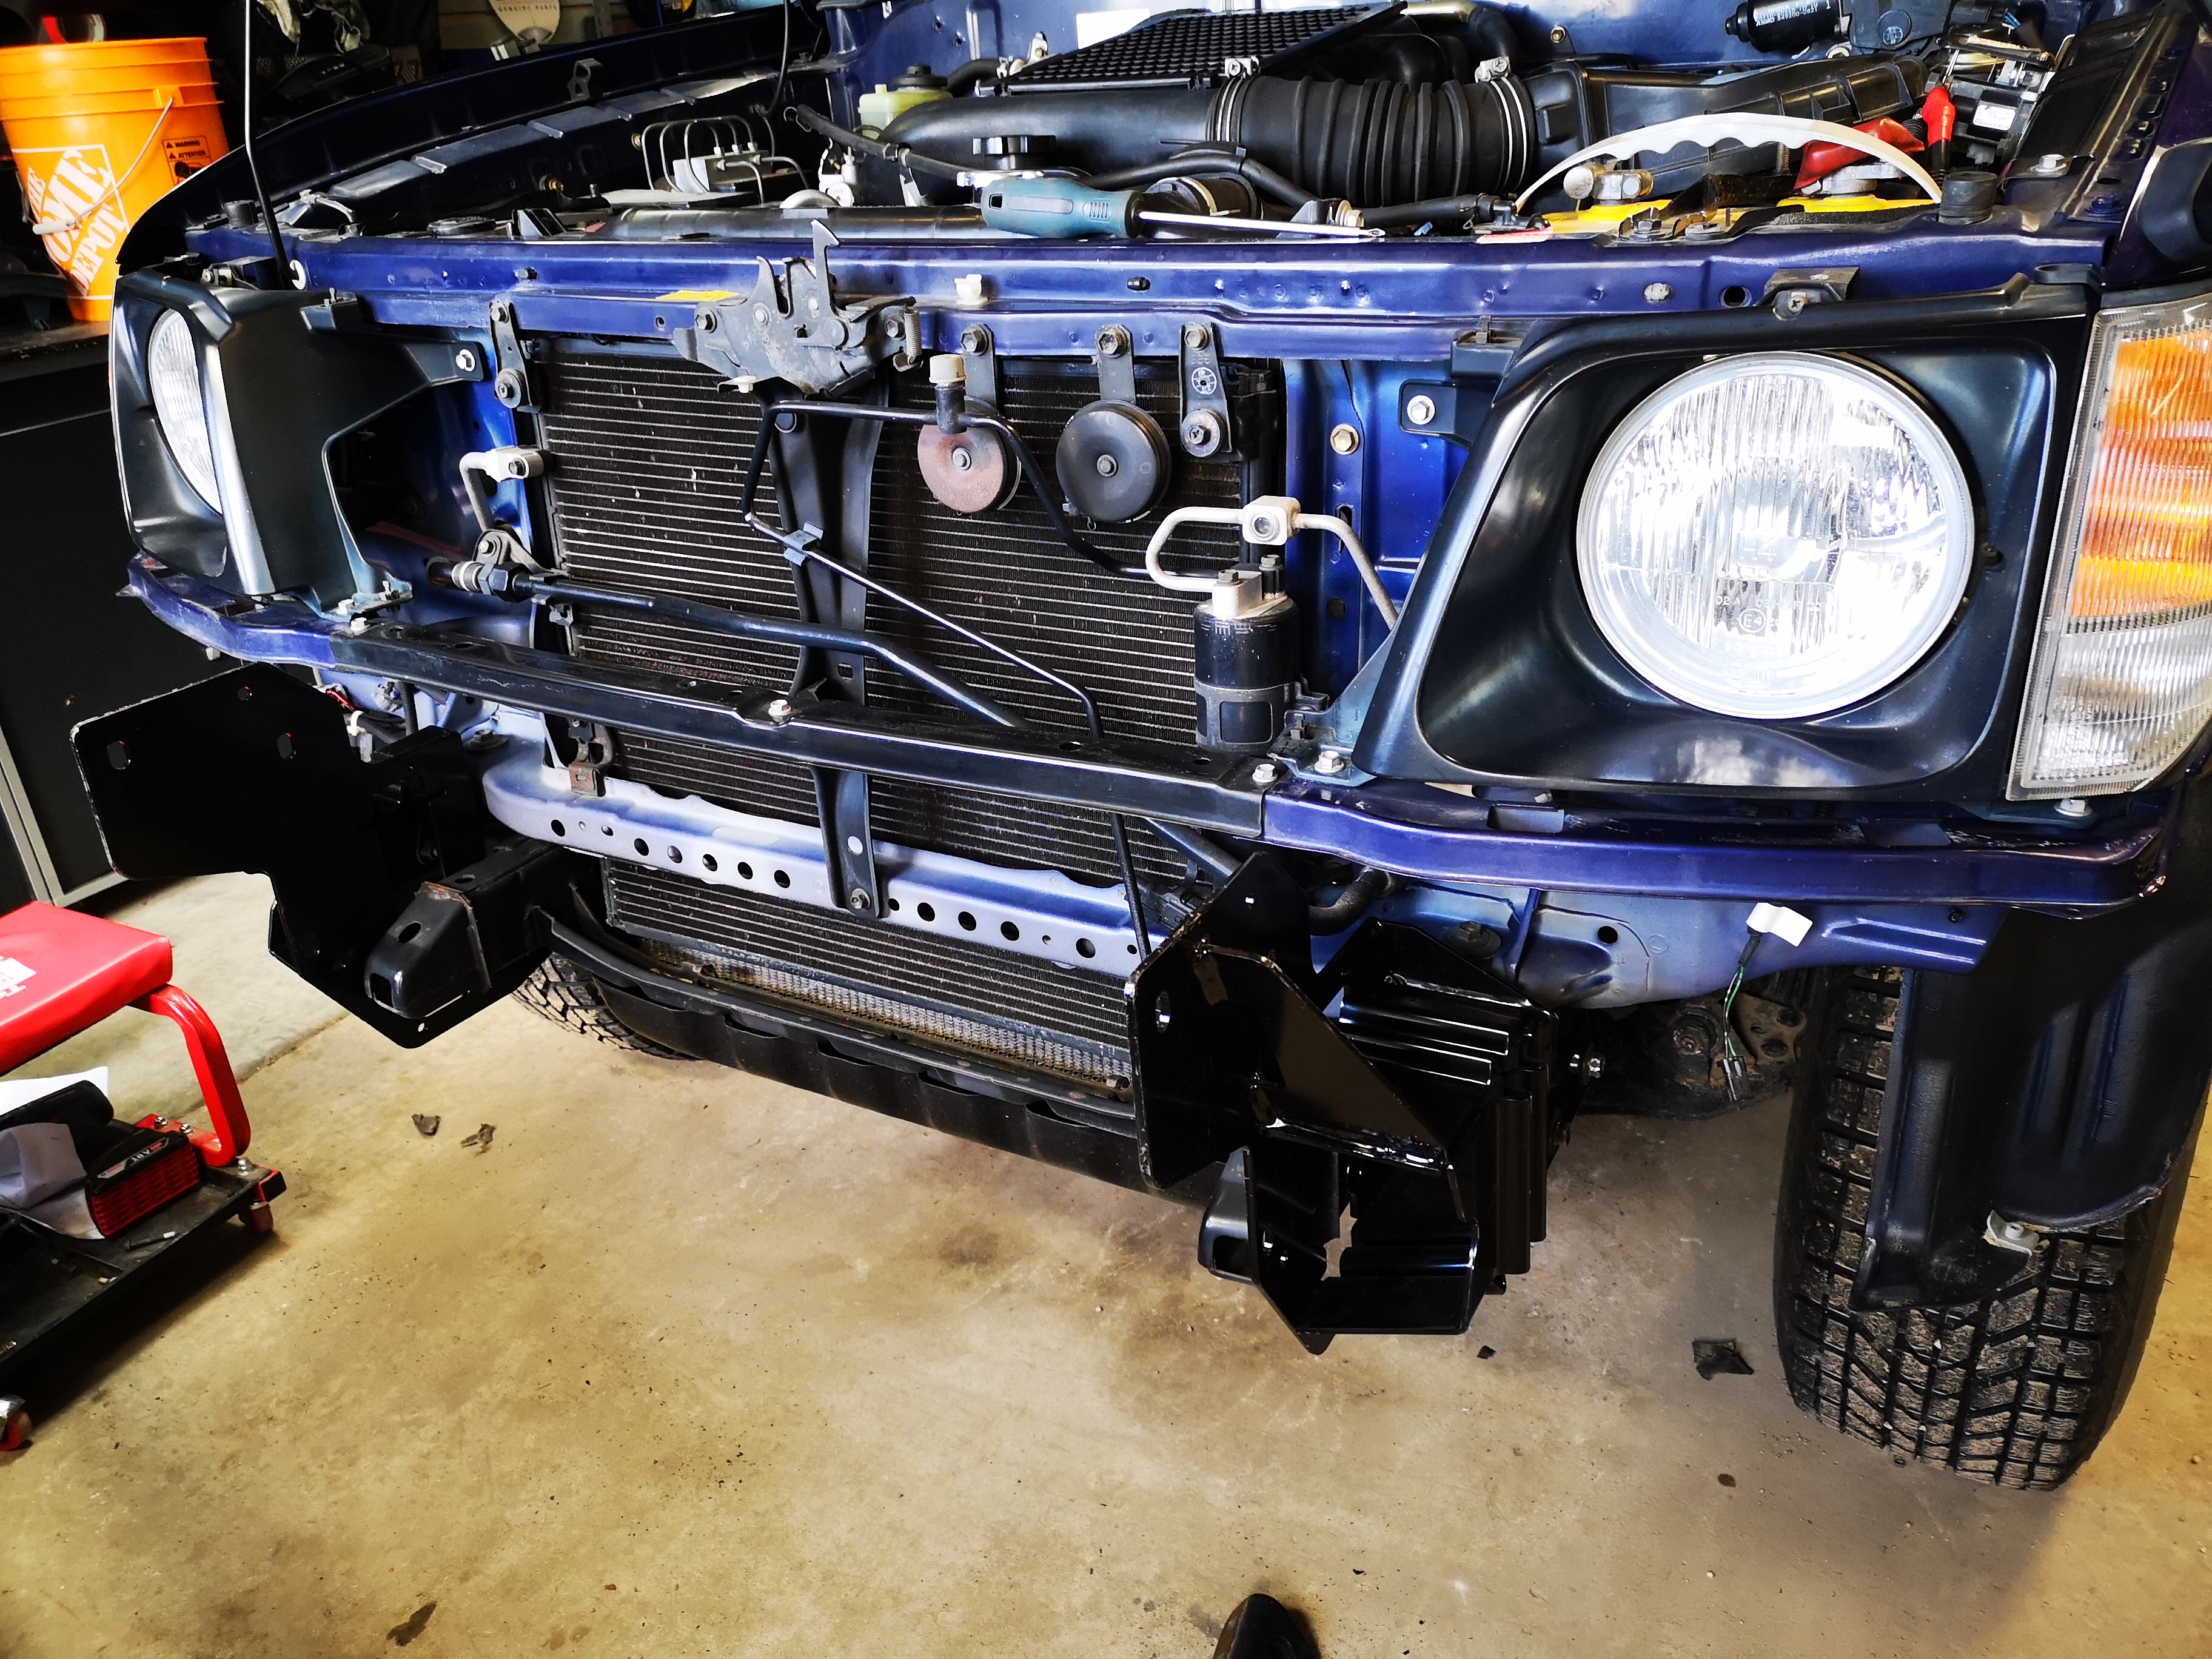
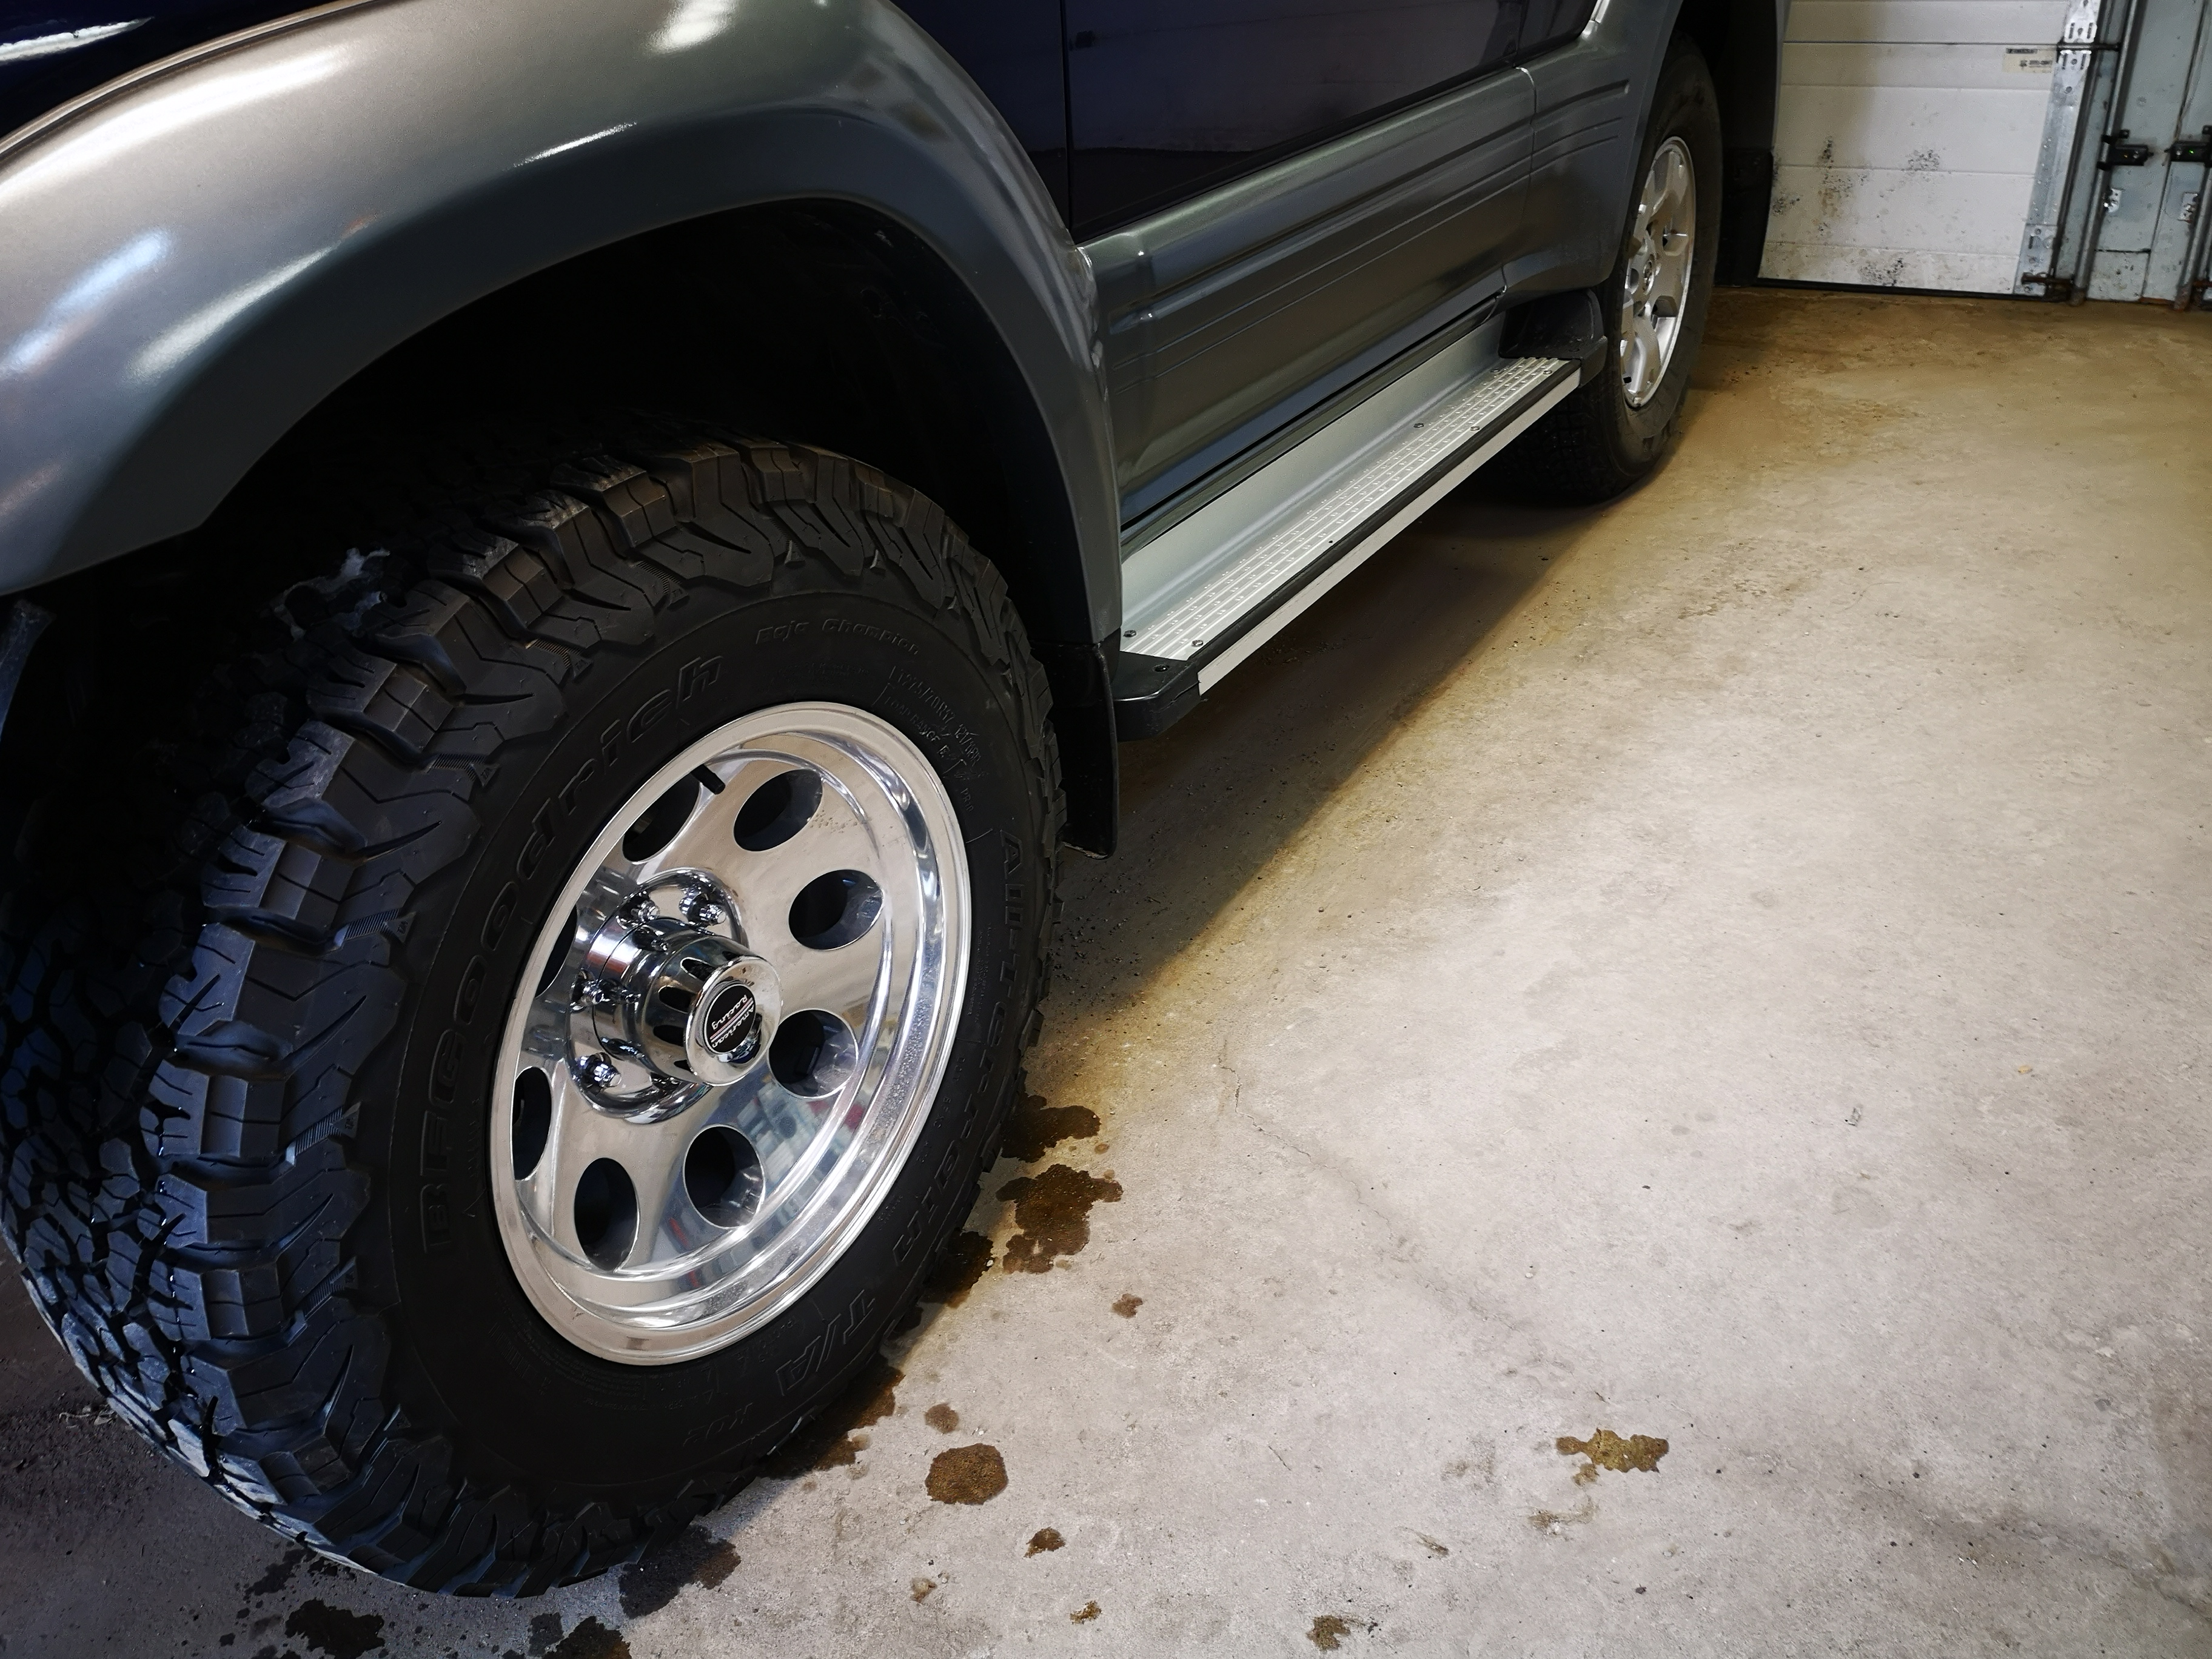
Winch is going on this week. But… That brings us to the next issue. The tires and wheels that came with the truck when I bought it? Yeah… They don’t fit. Or rather… You can’t really turn the wheels. Seller said he removed mudflaps. Not if he wanted to actually turn.
That’s why its called a build thread, not a finished project thread, right?