Lil' trucks, Lil' Lightning

2020-03-31_04-54-31 by Brad DeSantis, on Flickr

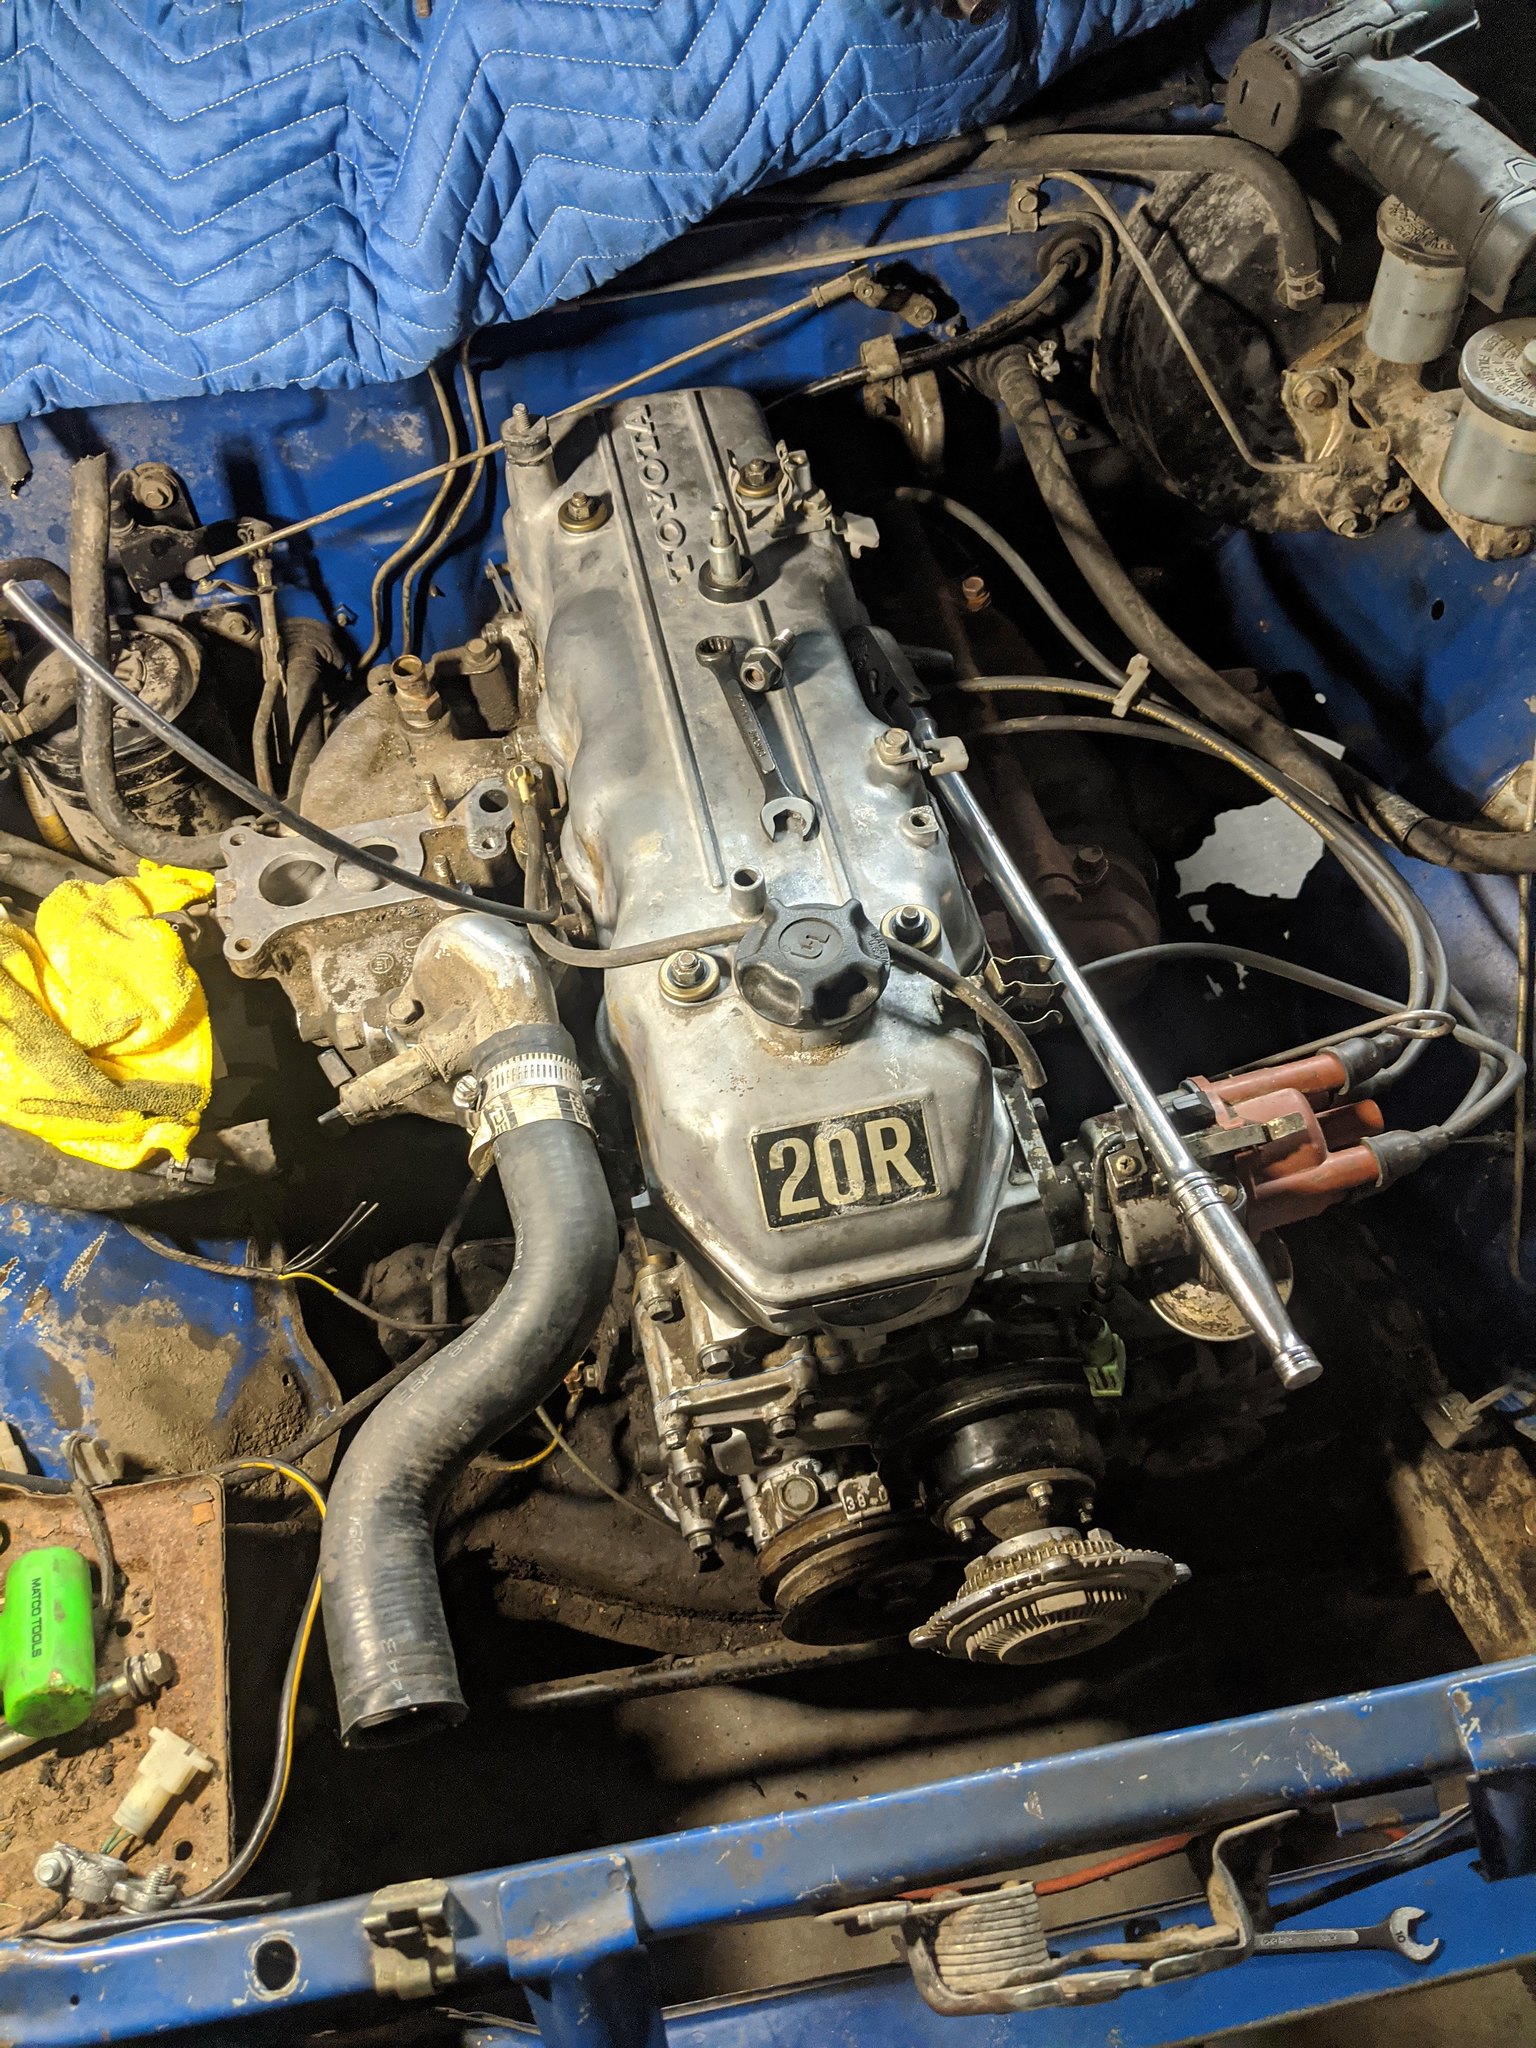
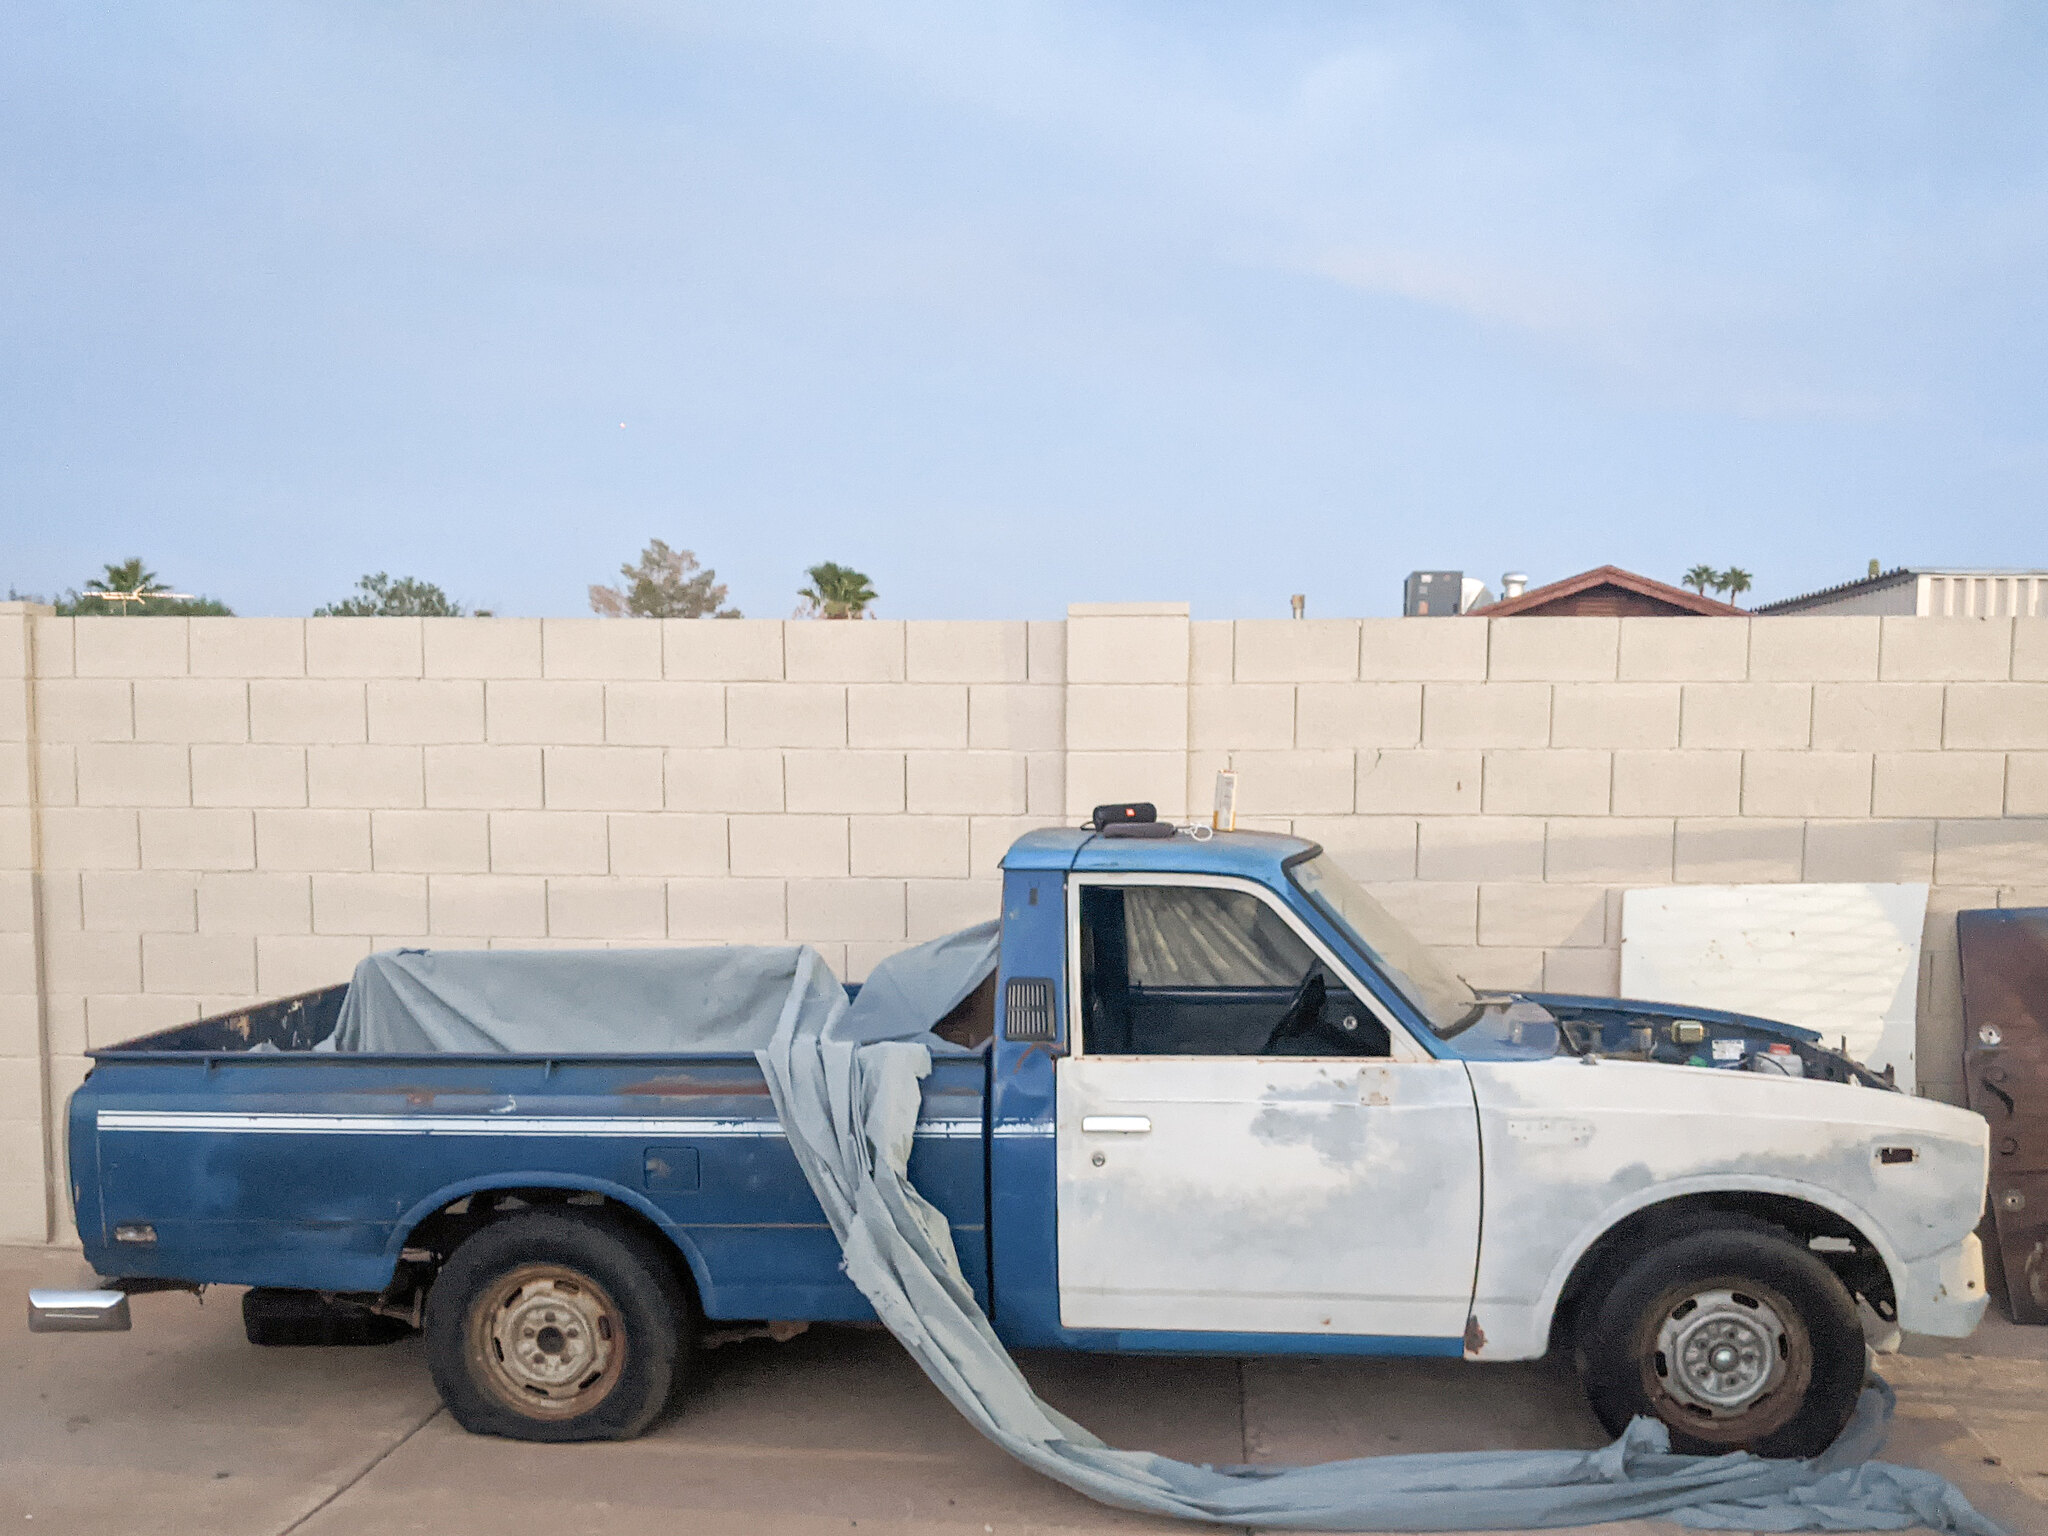
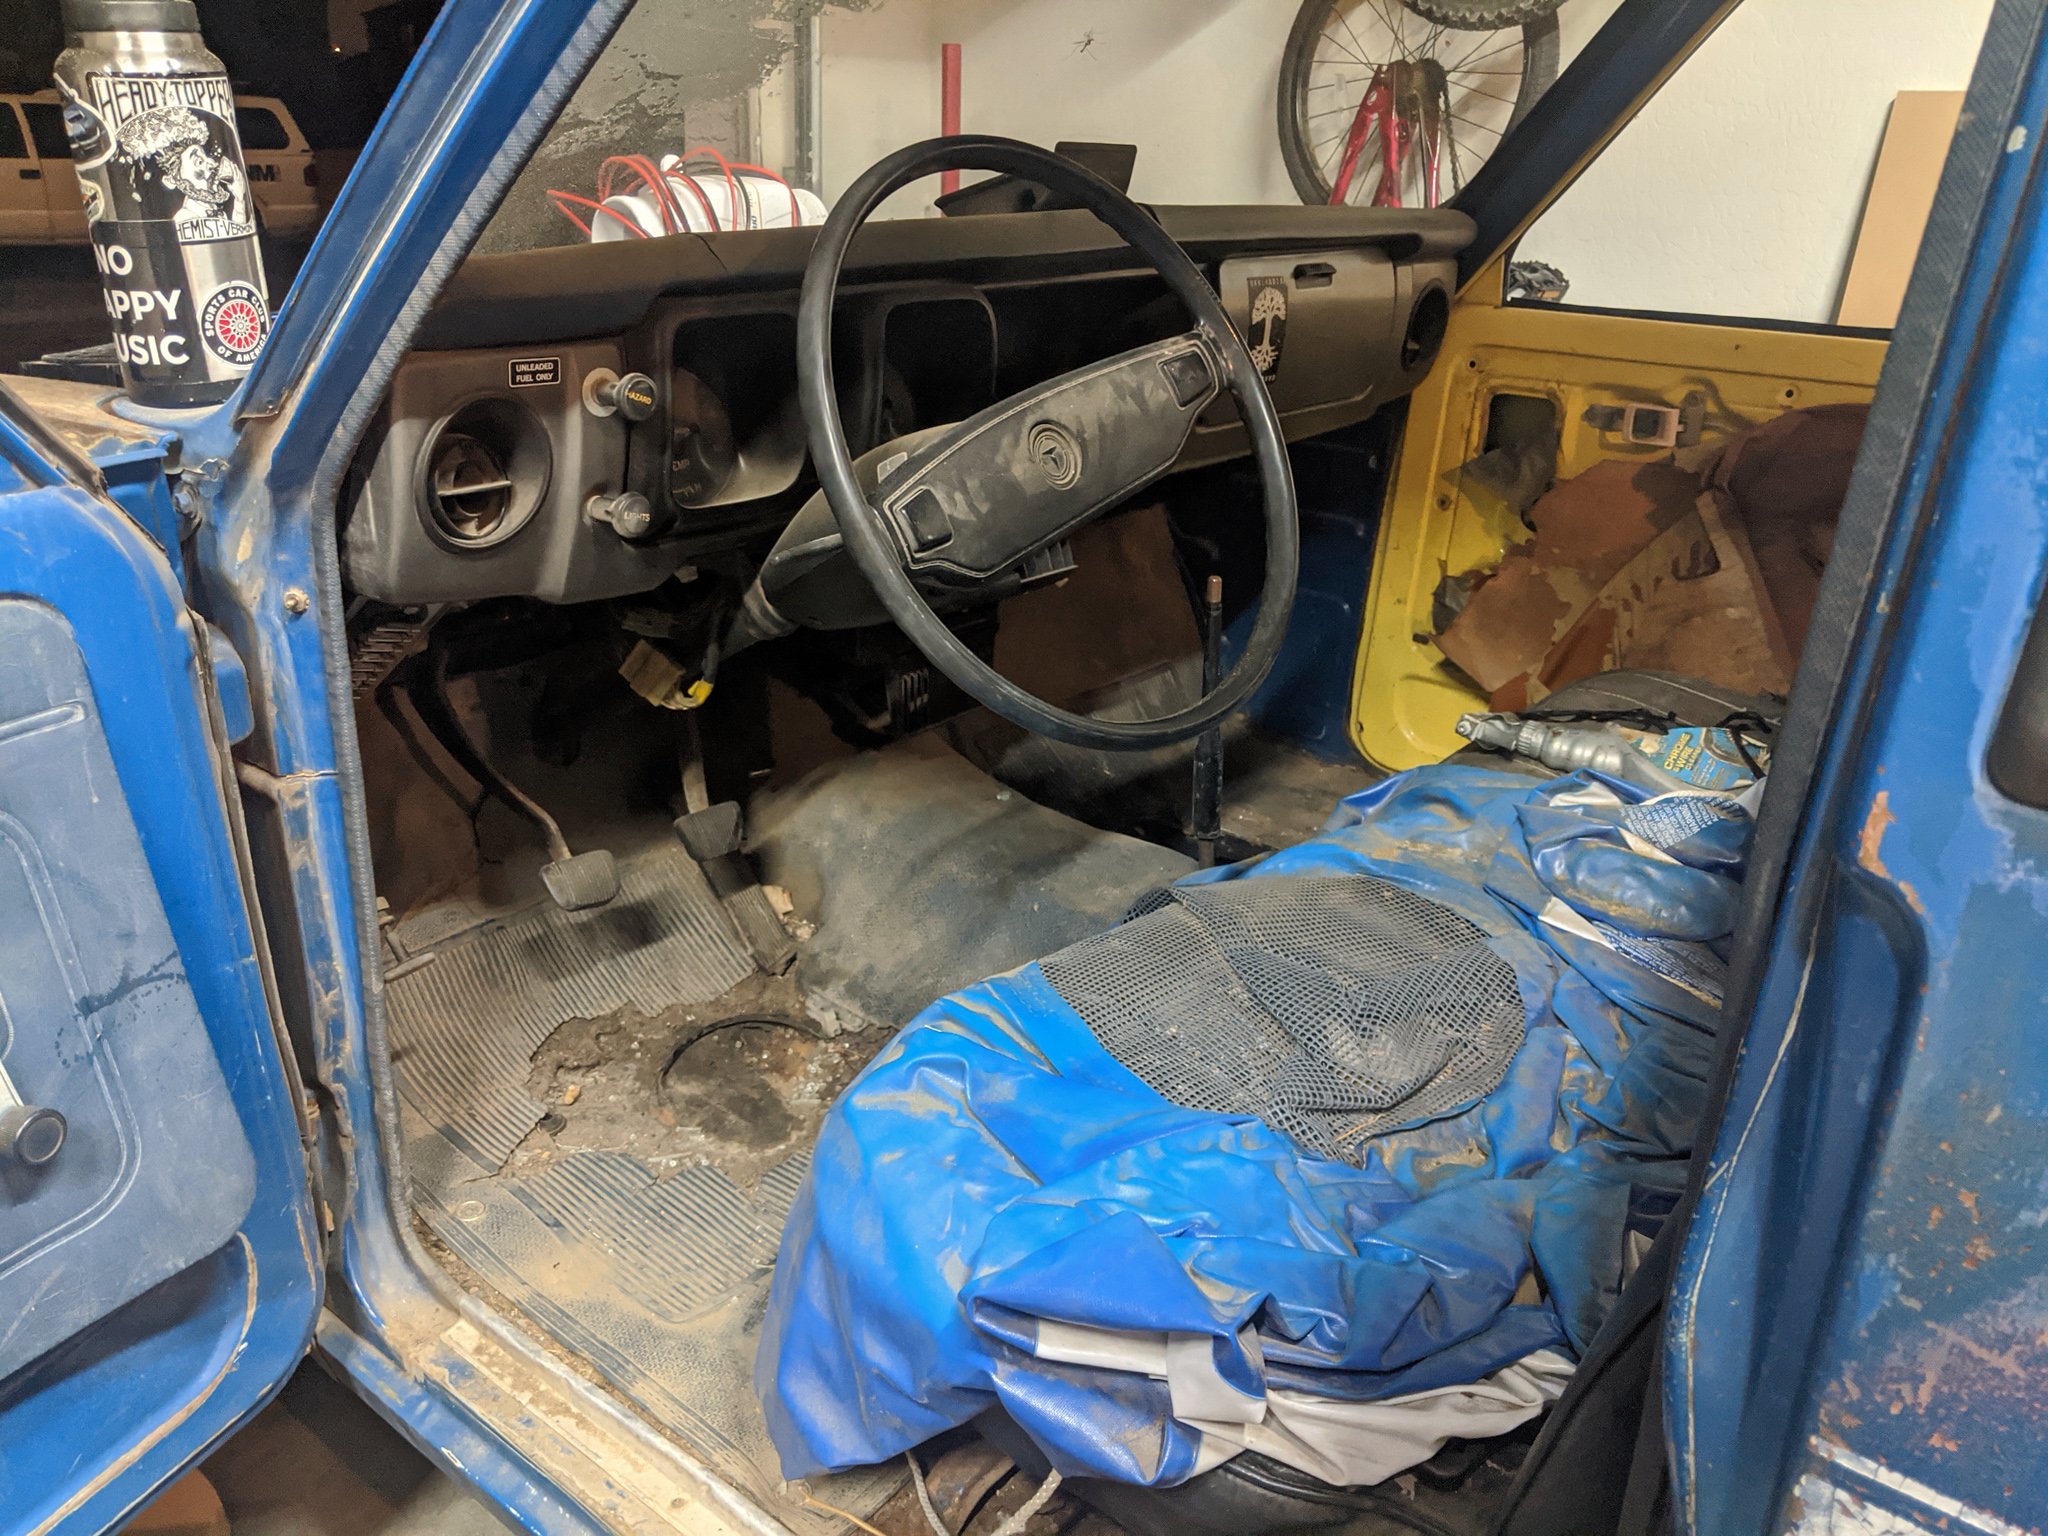
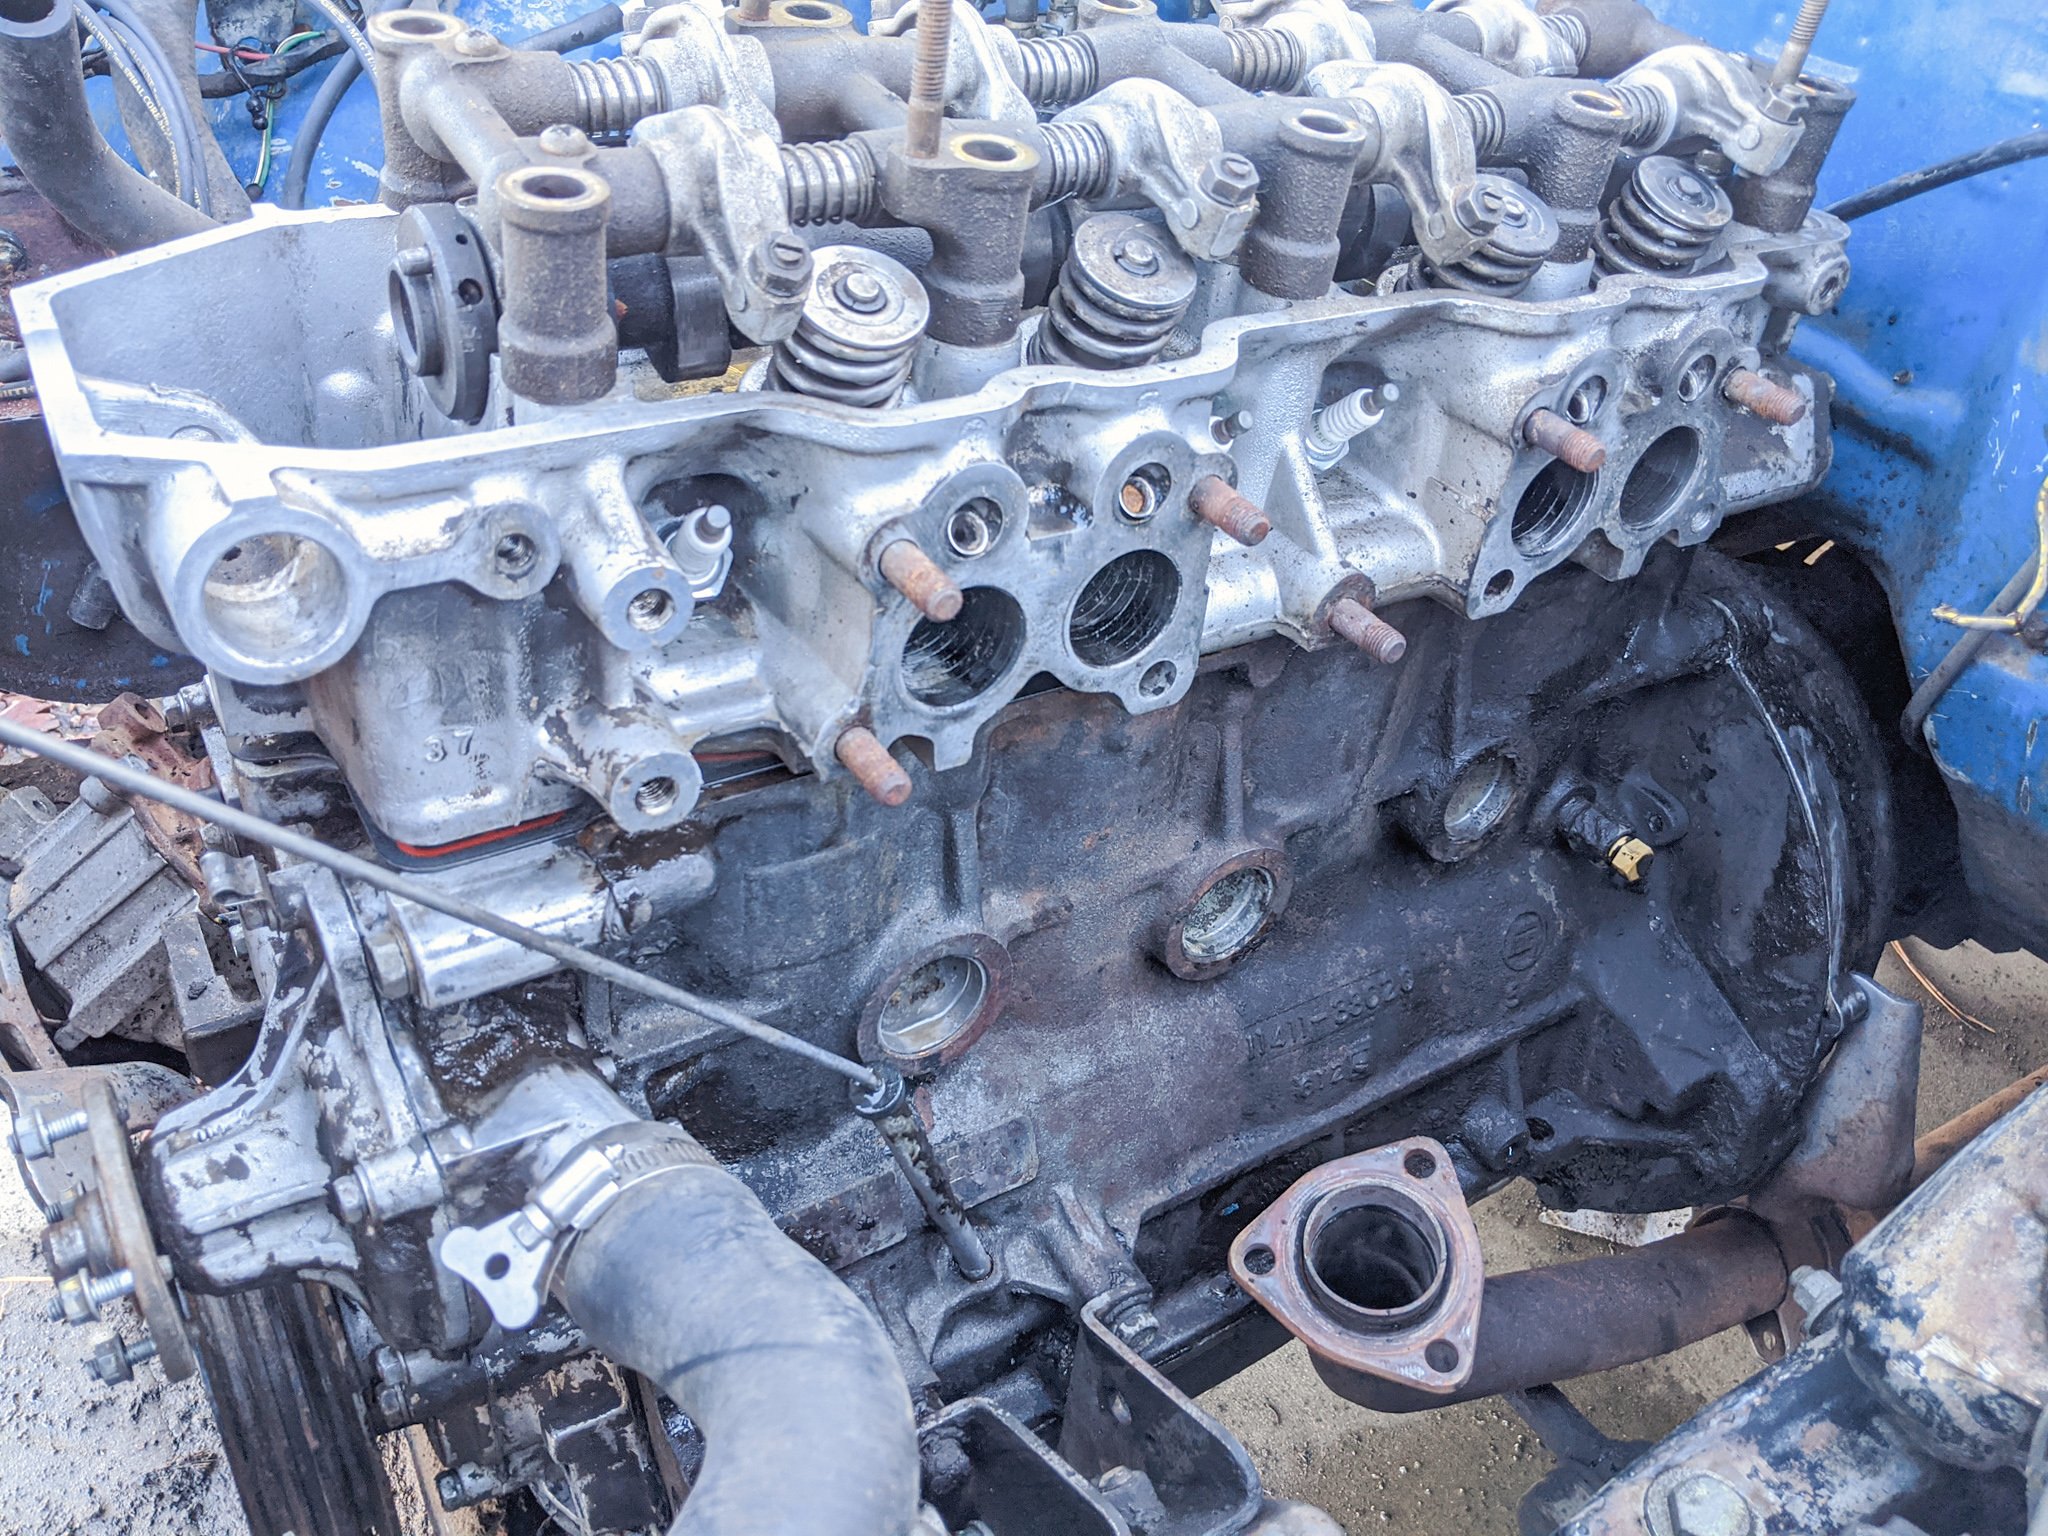
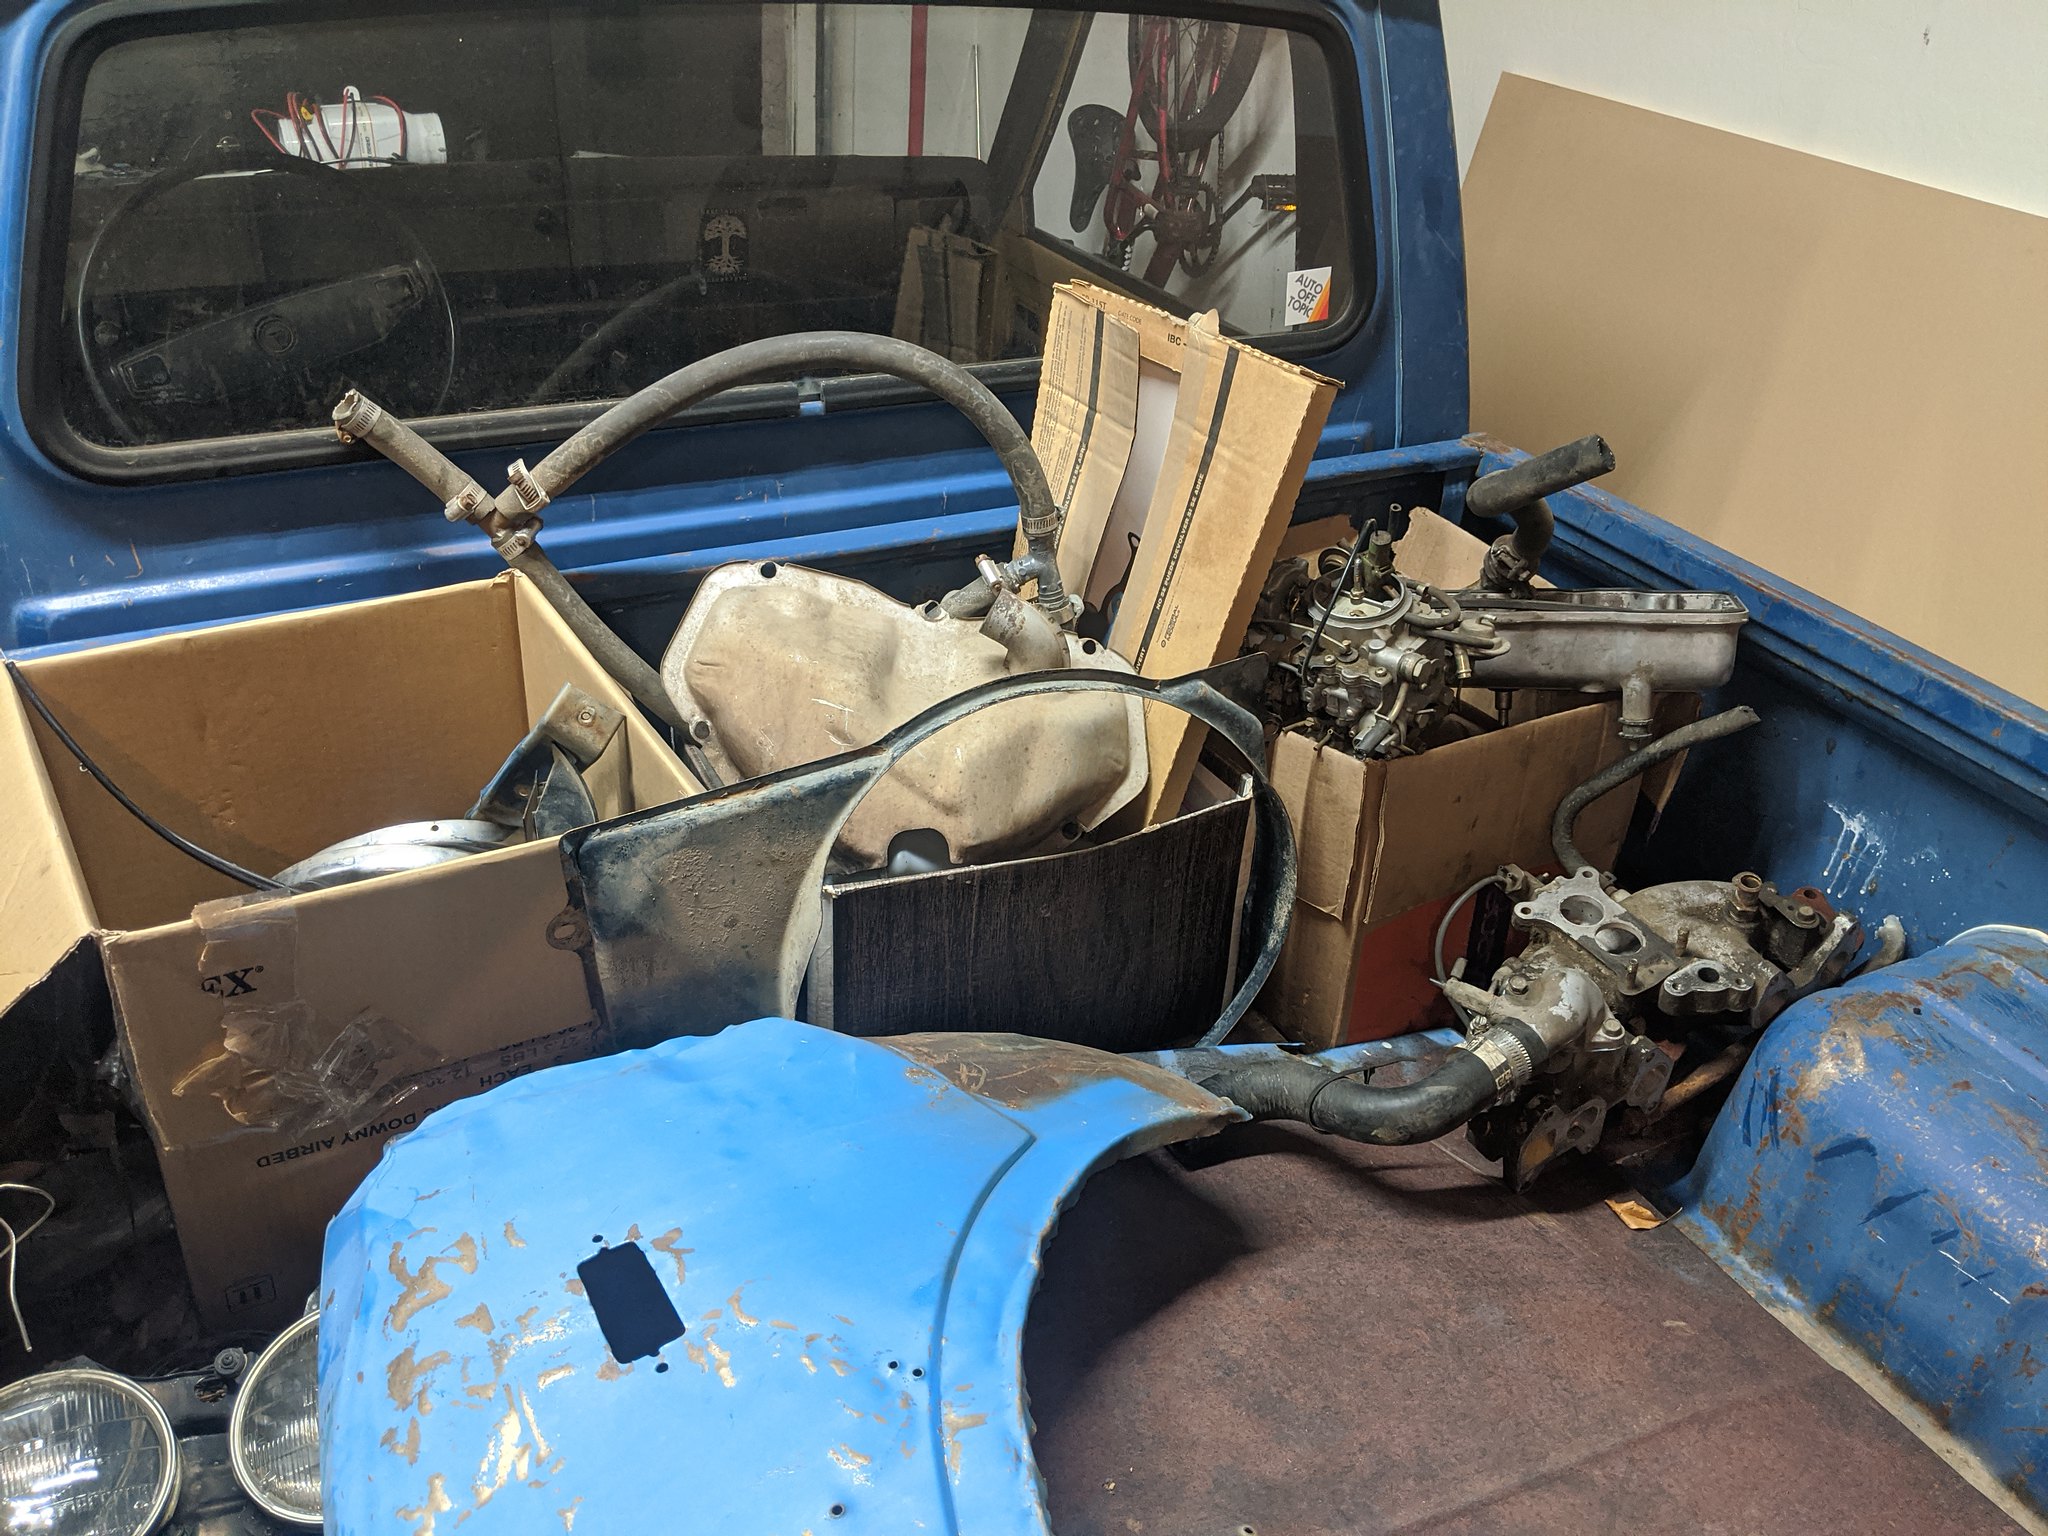
Going to make a formal introduction to my new project truck, a 1978 Toyota Pickup RN28, more commonly known to the rest of the world as a “HiLux”. These trucks replaced Toyota’s unibody Crown pickup as the less utilitarian option from them. Their Stout pickup was much more agricultural and if you wanted a daily usable vehicle with cargo capacity, this was it. These 20R powered trucks are affectionately known in Japan as the Rocket HiLux, or “RokeHi” (Hello cool vanity plate!)

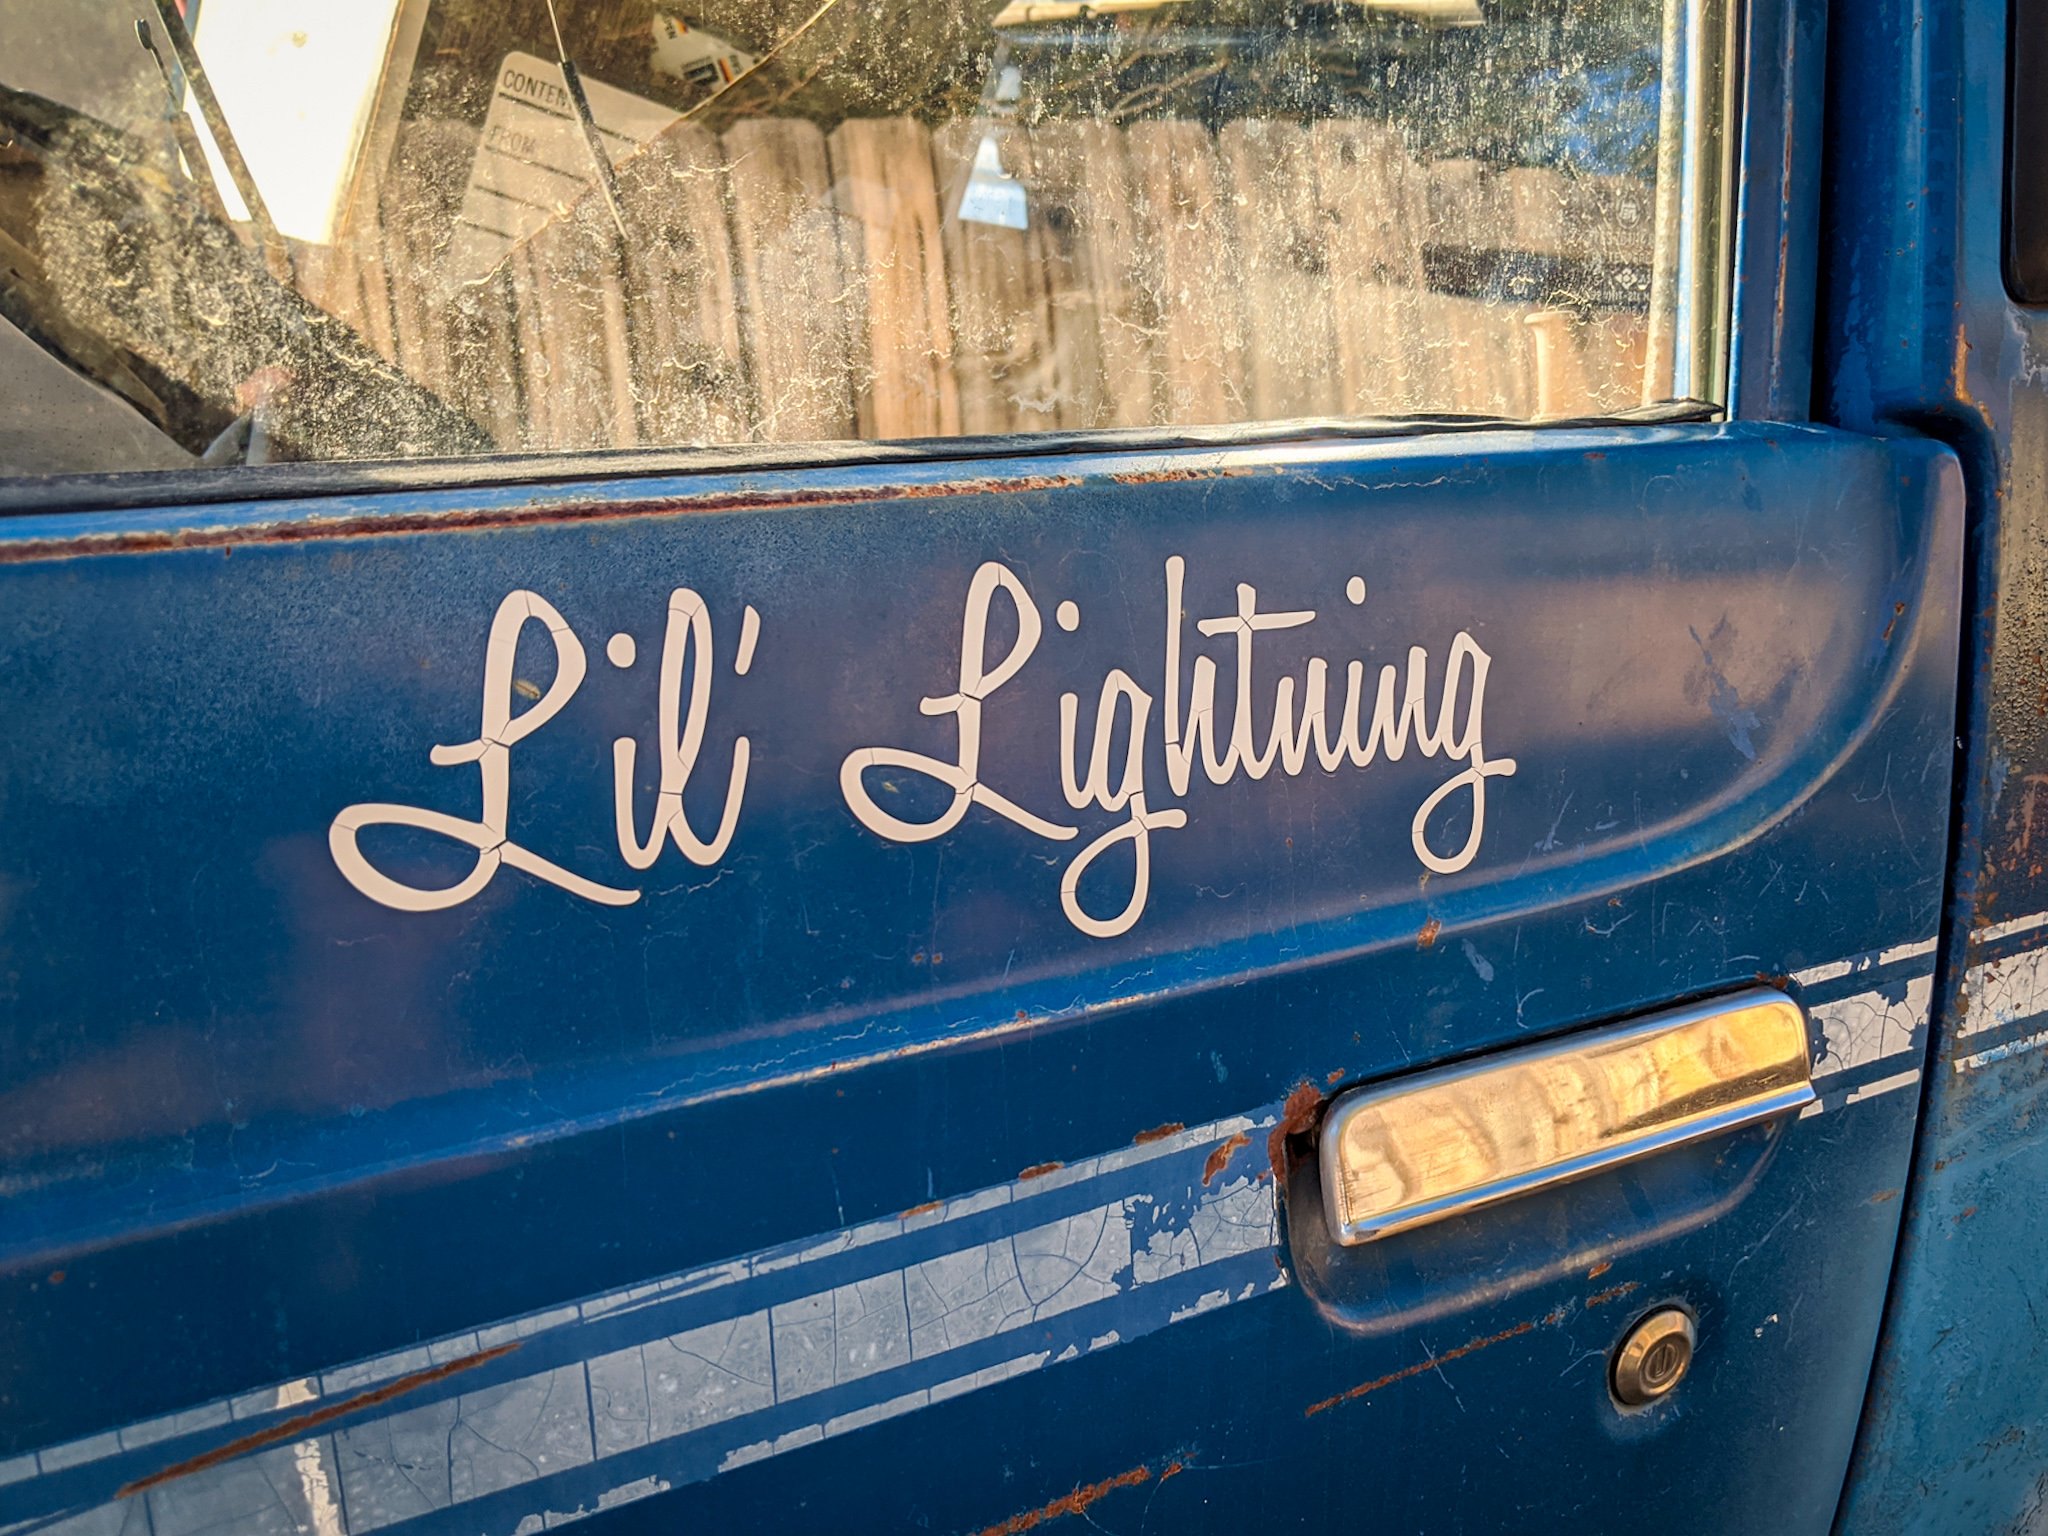
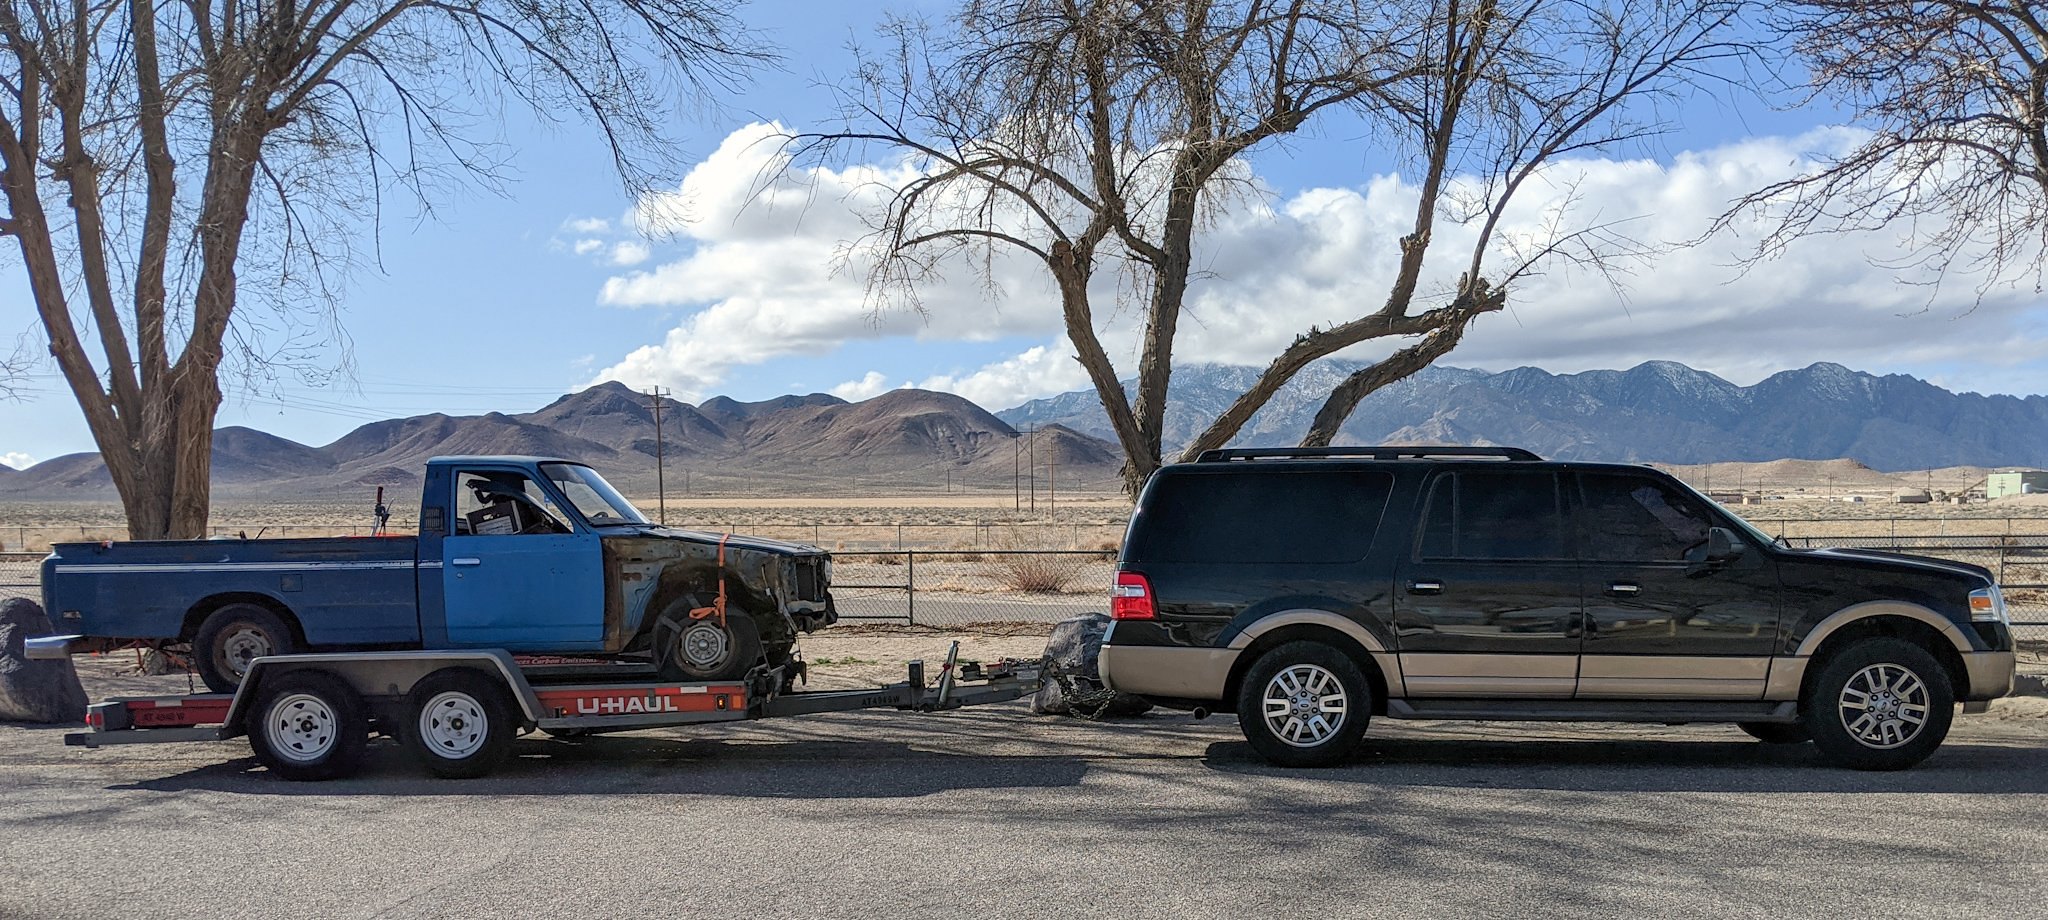
A little background info on the truck. I don’t name my vehicles as a general rule. But, when they come painted on the door, well, you just don’t have a choice! This truck first entered my brain about five years ago when a friend of mine, another Brad, happened upon it. Bradley Brownell Co-Founder of Radwood and writer from Jalopik and pretty much every other automotive publication you can think of, found the truck languishing in his neighborhood. A tow sticker was present on its windshield pretty much guaranteeing a certain death for this little truck. After making contact with the owner, it turns out that he was in the process of parting it out and was moving. He hadn’t had much luck he said in selling parts and the city, not keen on this beat up looking truck sitting on their streets had threatened to take it away. So they struck a deal for almost no money an Bradley set about to tow it home behind his wife’s Mazda3. Unfortunately for the truck, Bradley is a busy an with a few other projects going and the truck sat for almost five years in his back yard. (No disrespect to him, I have had cars sit longer!) Ever since he first picked it up, I have been telling him I want it. Fast forward to the end of 2019, his realtor told him that its tough to sell a house with an old pick-up in the yard and he needed to get rid of it. So, what better idea then to borrow a pickup, rent a trailer and go grab it from him?!

2020-04-01_04-53-03 by Brad DeSantis, on Flickr

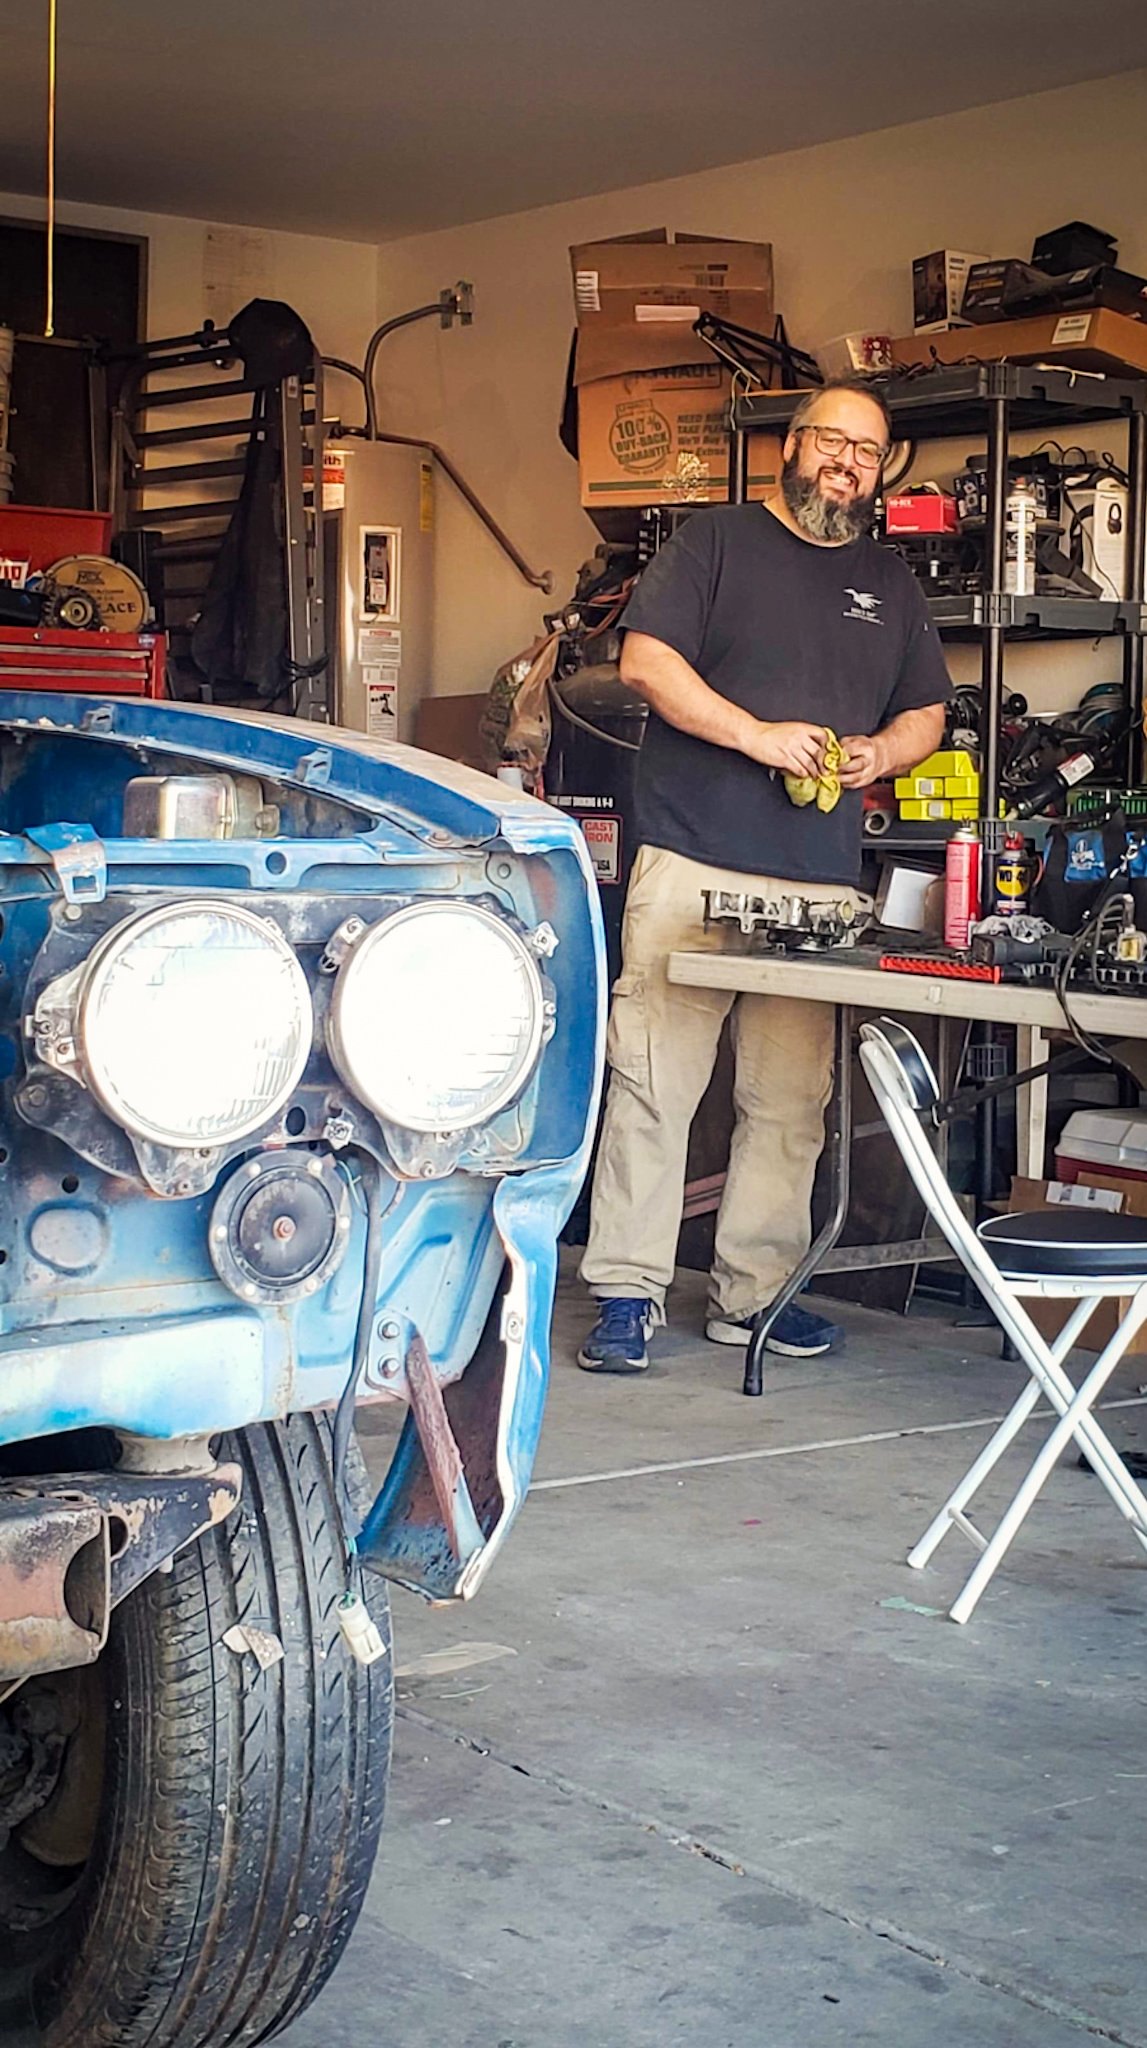
Well, that pic should tell the story, we did it. Its now my truck, my head ache and my project car hell. Not that it means I am upset, I relish the thought of getting this thing back on the road whereas others have deemed it to far gone or better as parts source.

This has all happened in the past month, just before the Corona Virus and social distancing and quarantine were words in our daily vocabulary. SO this truck now serves a second role, its a great distraction from all that is going on in the world right now. Sometimes timing is important for many reasons.

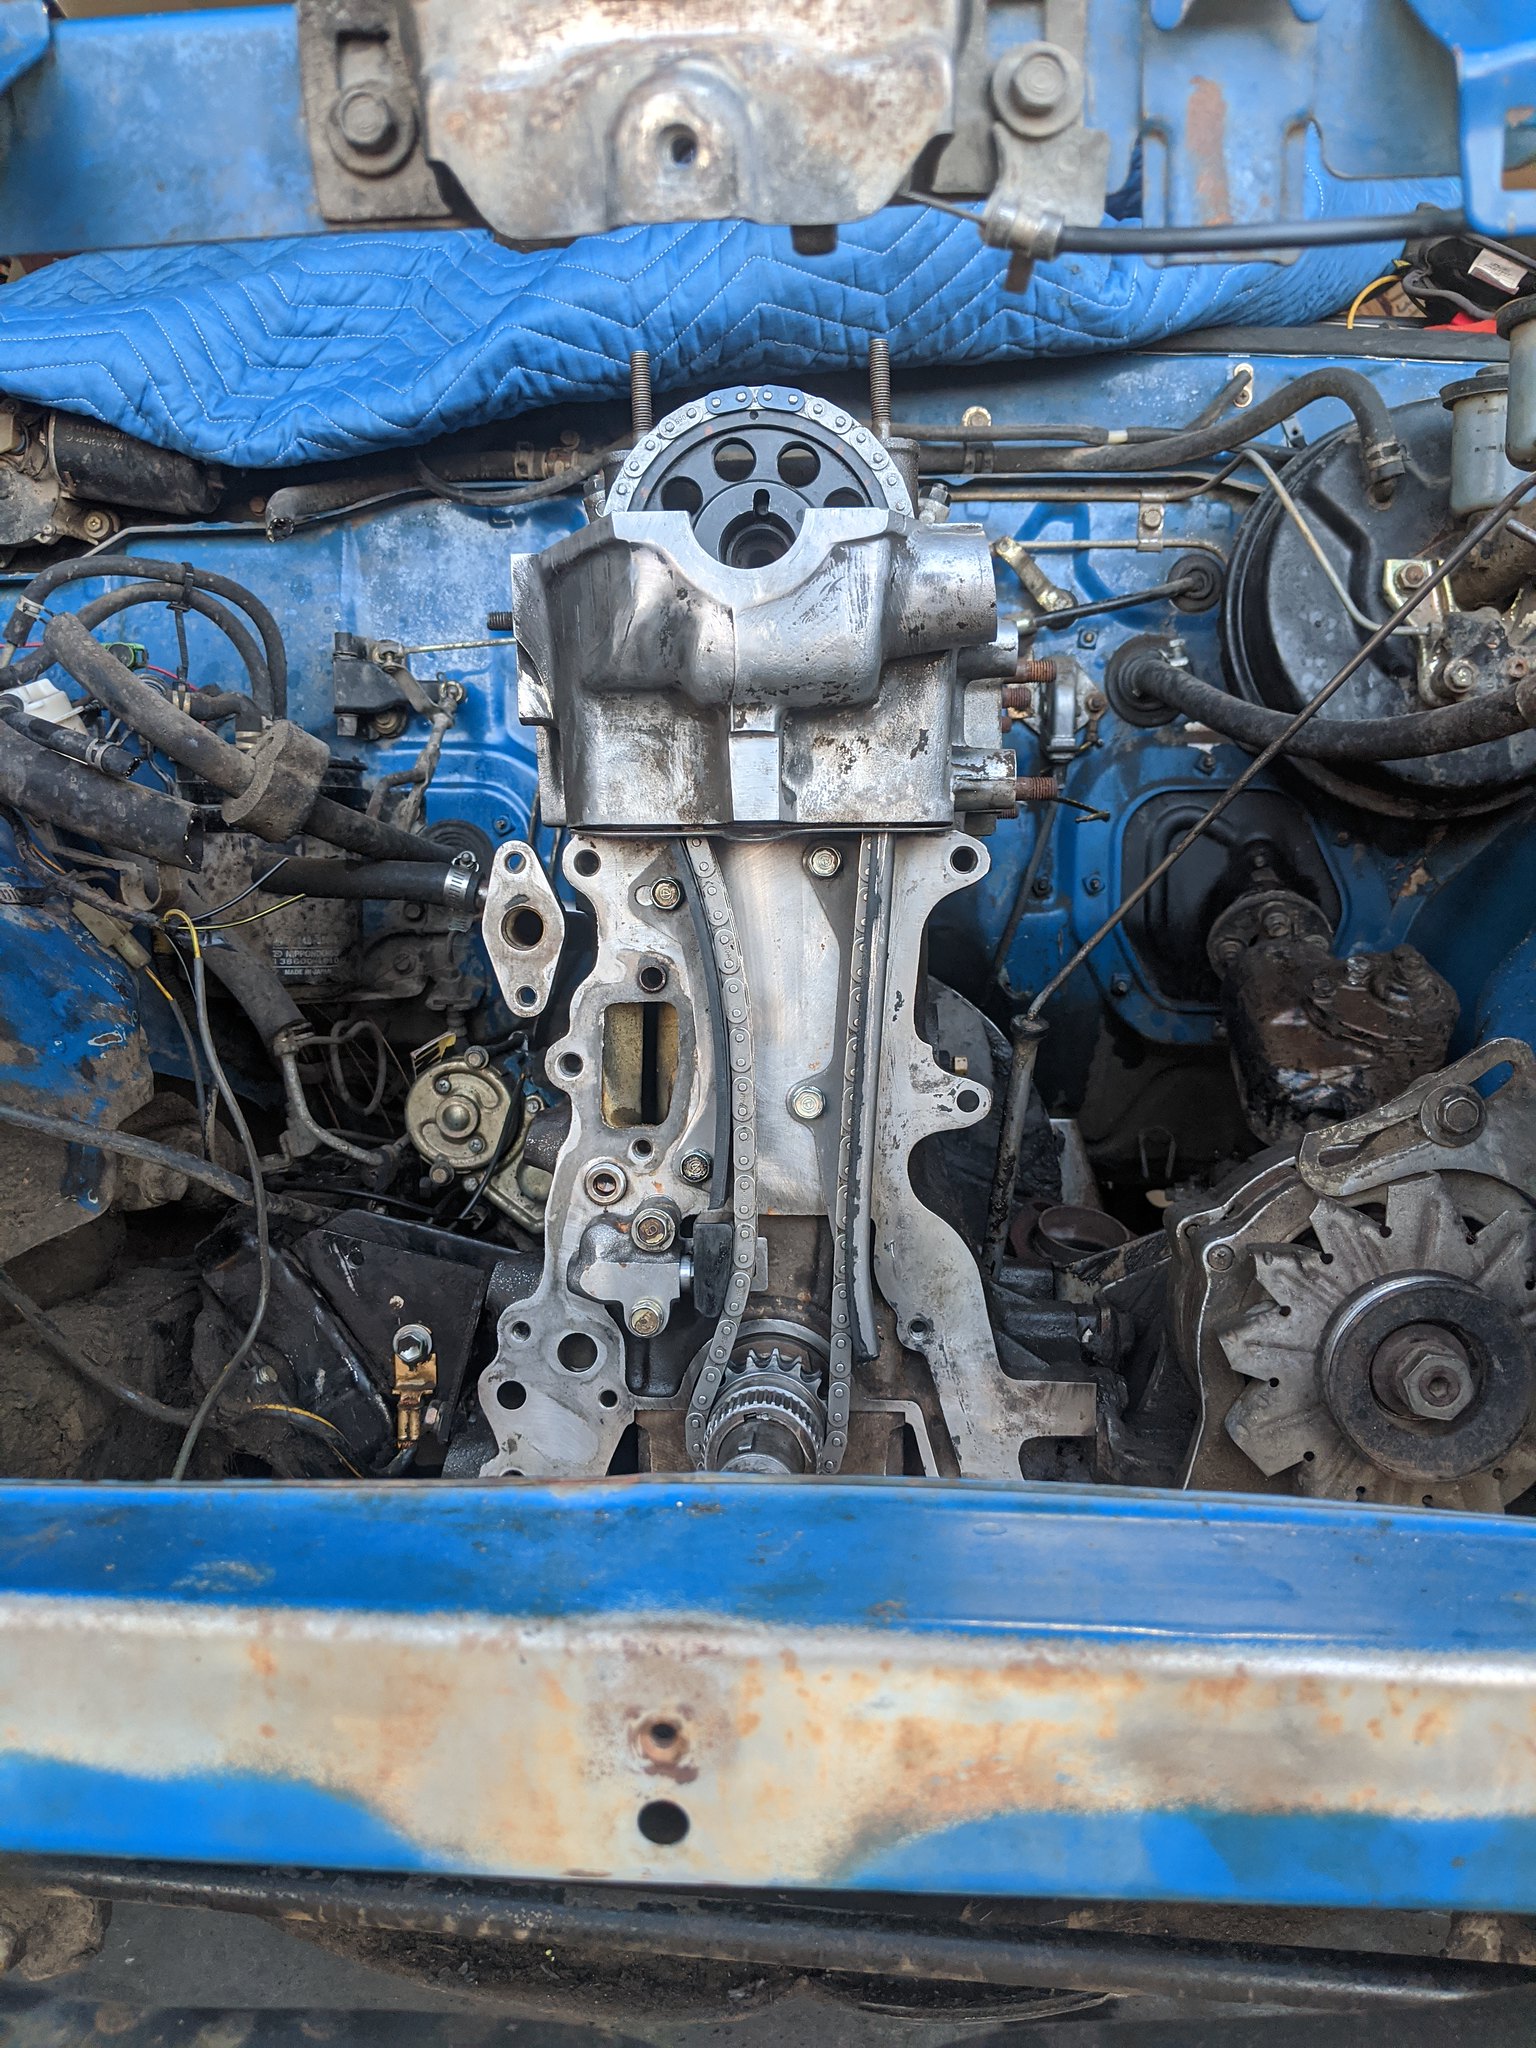
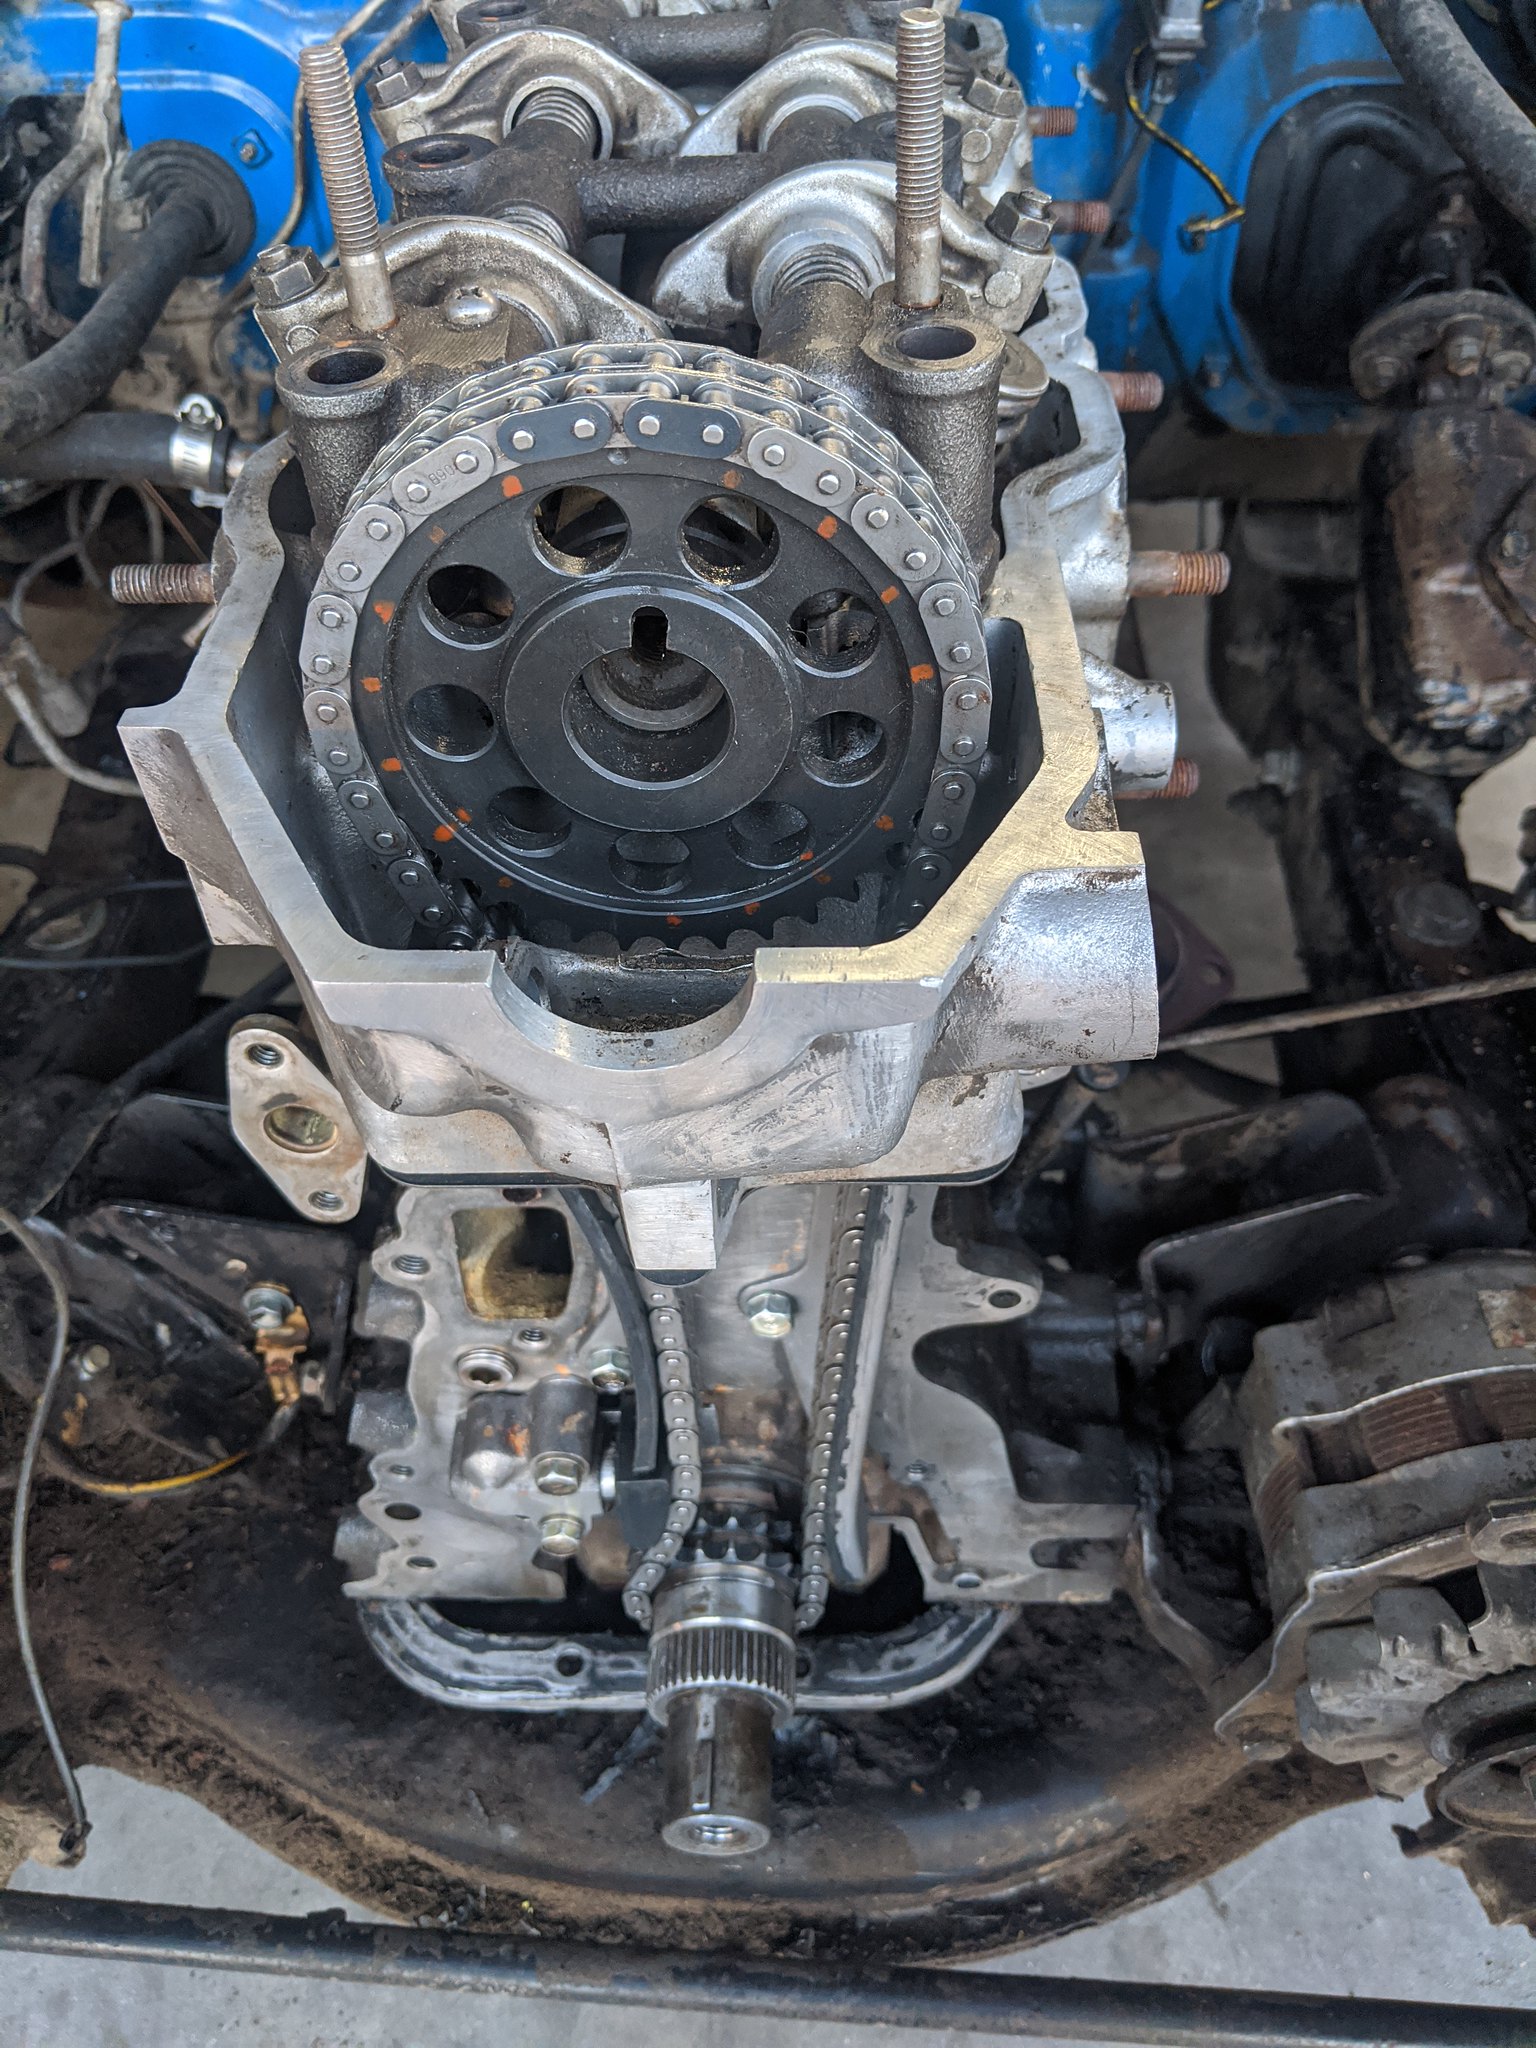
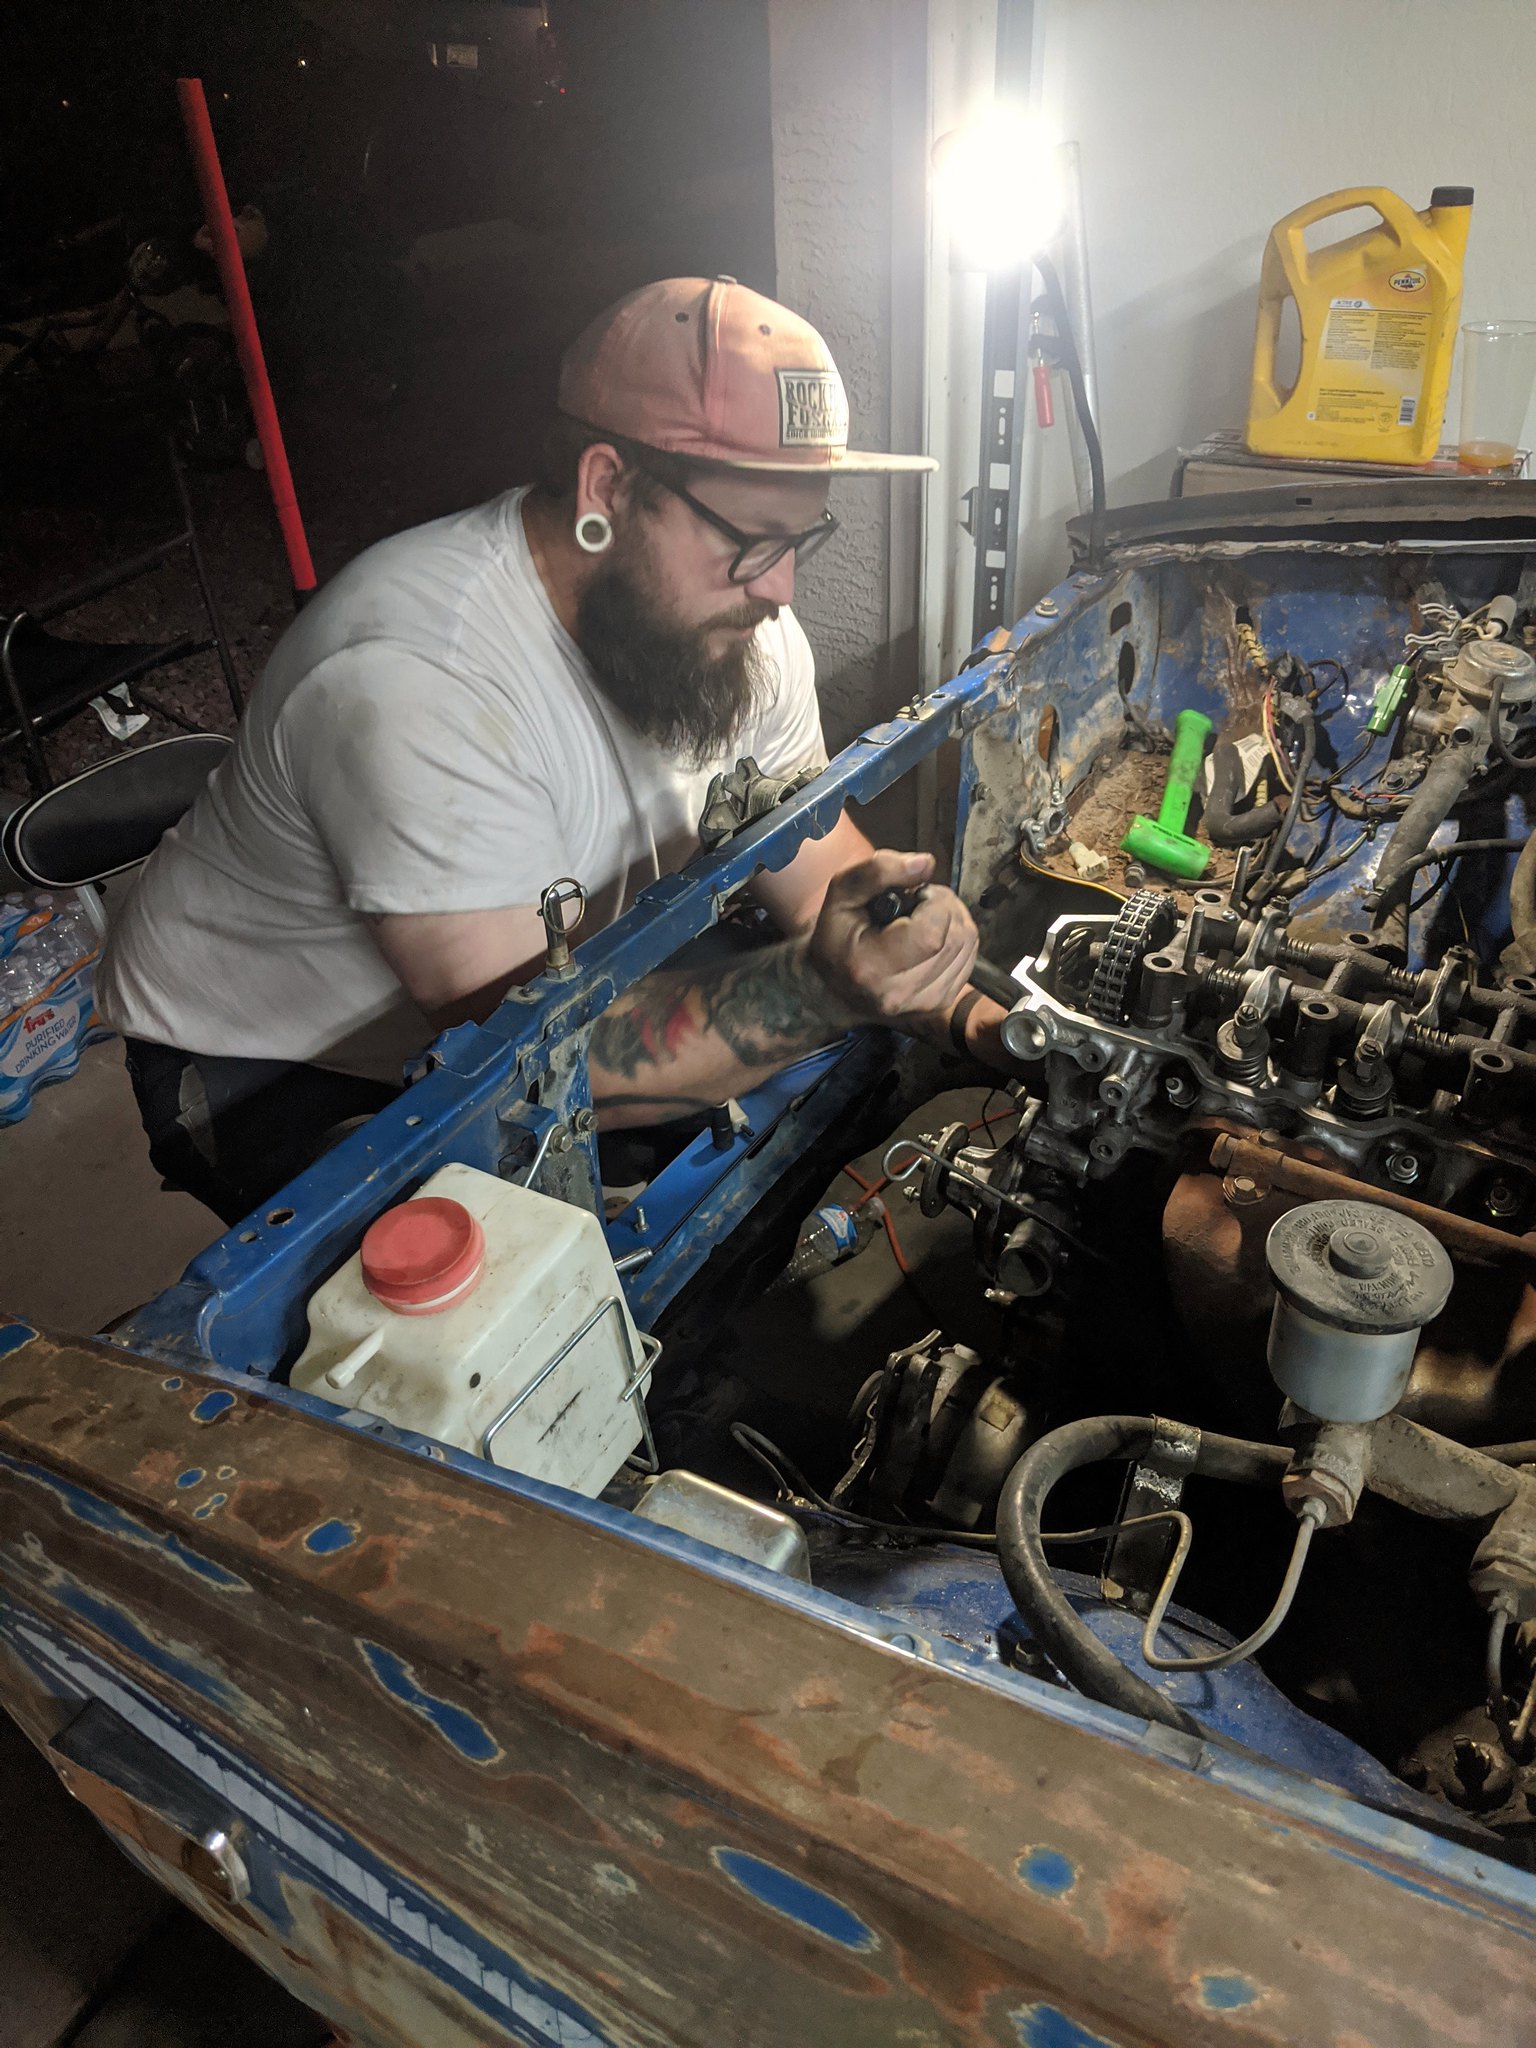
I have made some good progress and will update the thread to catch up to where I am and to document the whole process moving forward. Look here for updates for sure!

2020-03-31_04-46-28 by Brad DeSantis, on Flickr

5 Likes

Yessss!!!

I almost sent you a comment today on IG asking if you were gonna put this thing up here. I kept trying to visualize things as you guys were talking about it on the podcast, while I was working in the yard this last weekend.

2 Likes

I have planned on it for a bit, and a thread on the Euro Eclipse. But I am a terrible person when it comes to follow through. Its up now, so that should keep me motivated to keep going!

2 Likes

One empathizes.

Something I’ve found useful is turning on full notifications on here. If anyone posts anything, I get an email. Then I can just reply to emails. Piece of cake! Hope it helps.

1 Like

I do same. It helps.

Love this project Brad. Looking forward to seeing the progress. I can honestly say that even my most ambitious projects were never even close to what you are attempting. It’s awesome!

Its funny, I see this as a simple quick project. Its not going to be a full resto. Just a simple assembly and cleaning and enjoying. Thanks for the kind words though.

1 Like

Ok, so the nitty gritty. This truck was in the process of being parted out. So, it was disassembled, and not with care. The front case, timing chain and head were off the motor. The fender and door on the passengers side were held in place with more zip ties than hardware. The grill, missing. The right inner fender, smashed and back three inches give or take. The HVAC controls, somewhere in the bed and most lenses, cracked. Seat, torn and covered in broken glass.

Step one, clean, clean, clean and organize.

The “carpet” (Rubber floor cover) is trashed, full of holes, completely covered in mud on top of and under. A disaster.

2020-03-31_04-55-56 by Brad DeSantis, on Flickr

Under the mats, seriously, a LOT of mud. I could have grown vegetables in here.

2020-03-31_05-01-04 by Brad DeSantis, on Flickr

About three hours of cleaning. Vacuum, simple green, scrub, vacuum again, simple green and scrub then power wash. Reveals a pretty nice floor, not much paint left but also, no rot holes, just some heavy surface rust.

2020-03-31_05-03-04 by Brad DeSantis, on Flickr

Dash cleaned, instruments scrubbed, decals removed from dash

Before
2020-04-01_08-51-03 by Brad DeSantis, on Flickr

After
2020-04-01_08-51-53 by Brad DeSantis, on Flickr

A break from the updates. Lunch time while my supervisors Naomi and our granddaughter watch closely

2020-04-01_09-22-16 by Brad DeSantis, on Flickr

And one more because, well, look how adorable and its my post so there :wink:
The seat they are sitting on was in the cab of the truck on top of the factory bench, near as I can tell its an early Celica seat.

2020-04-01_09-29-52 by Brad DeSantis, on Flickr

Head off, internals look good, but man is that bay a mess of grease and mud

2020-04-01_08-57-49 by Brad DeSantis, on Flickr

Head back on and power washing the engine bay

2020-04-01_08-56-18 by Brad DeSantis, on Flickr

MUCH better

2020-03-31_05-03-59 by Brad DeSantis, on Flickr

2020-03-31_05-03-32 by Brad DeSantis, on Flickr

2020-03-31_05-04-57 by Brad DeSantis, on Flickr

Alll the parts lines up and organized in the bed in boxes (Had to get that AOT sticker on the back glass!)
IMG_20200310_210626 by Brad DeSantis, on Flickr

At this point, I dried everything the best I could covered it n WD40 to avoid flash rust and cleaned up for the next time.
Guest appearance by Jordan, Naomi’s son building competition stereo equipment.
2020-03-31_04-58-08 by Brad DeSantis, on Flickr

Next time, deep dive into the engine.

3 Likes

I think the bodywork is what scares me off. But perhaps under all the ummm… agricultural accoutrements, there isn’t that much?

1 Like

Zero rust. But it has its fair share of dings and dents. Most of which will stay.

1 Like

Really looking forward to seeing this all come together. Love these old Toyota Pickups.

2 Likes

Love this build and this truck. I have wanted to do a turbo mini truck for so long… But I’m gonna Have to put that off a while

1 Like

A turbo you say, Its certainly crossed my mind. I have a spare Starion engine, but the plan there is eventually a SWB 1g Montero/Raider. If I ever engine swap this I will probably buy a JDM BEAMS/six speed combo. They are cheap and a borderline bolt in 200+ hp.

1 Like

Alright, I am a little behind on the updates here. Unfortunately the truck is not at my place (Apartment life :roll_eyes: ) . So with the current situation of the world I am not working on it. Jordan’s home has our 8 month old grand daughter and his immune-compromised biological father living in it, best not to be bringing unknown germs and the possible virus into their home.

This will be the last progress update for the foreseeable future. Thankfully I have made good progress and my hard deadline of one month to get it running or sell or was pretty much made. Its not running, but as you will see in this update, that’s only due to lack of one, rather important, part. With the stay at home recommendations, I am not going to hold that against my progress, and is soon as its safe to do so, I will be back at it. Hopefully with a small stack of collected parts.

We left off last time with the head just resting on the block, well, in this pic the surfaces were cleaned, the new gasket installed and the new head bolts from local AZ Toyota specialists LC Engineering torqued to spec and in the manufacturers specified pattern. The timing marks are lined up and the chain is in place. All of the timing components actually looked brand new with VERY little wear.

IMG_20200329_182733 by Brad DeSantis, on Flickr

IMG_20200329_182737 by Brad DeSantis, on Flickr

After that, the front case; water pump and manifolds were installed with new gaskets and the valve cover added also with a new gasket to seal the whole thing.

2020-03-31_05-08-04 by Brad DeSantis, on Flickr

Time to fire it up right? Well, close. No carb gasket means hold on the final install, but we still wanted to see if it would fire. There is not lot of wiring to be done on a late 70’s vehicle to make them go, but as we started plugging in the harnesses we realized, hmmmm, something is missing. We had two wires going to a two pin connector out of the distributor, but no other end to the connector. My experience with '70s and older ignition systems told me that those two wires are usually, one to the coil or resistor and one to ground. As I was about to jump into just making a harness and trying to make it work, Jordan was doing the right thing and researching the system. Turns out, I would have just been super frustrated in my attempts because we were missing a crucial part of the set up. An igniter box! Turns out, late 70s Toyotas use an igniter box system similar to a motorcycle of the same era and guess what. They are SPENDY! So when the previous owner that wanted to part this thing out advertised it, I bet the first thing that sold was that box. They are worth $250-$300 used , $500 for an aftermarket or near $700 for an OEM! Yikes! This was a free truck, I dont even have $700 into the 2000 mile roadtrip to go get it, I cant spend that kind of money (even if I had it) on this truck before we even know if it runs. That ended my last day of wrench time on the truck, almost three weeks ago now.
Cooler heads prevailed and I did not give up, some research and I have found a sub $40 solution. There is a GM HEI ignition module that you can run with a heat sink in place of the Igniter box. PHEW! It requires a bit of wiring and VERY light fab to mount it, but certainly nothing out of my skill set. I have the parts here and now we just wait for the OK to go and work on it again. Hopefully soon!

Final unimportant photos, me working on parts clean up. Naomi’s sneaky photo skills,
2020-03-31_05-05-17 by Brad DeSantis, on Flickr

And Jordan torquing the front cover bolts, he was stoked to use his new torque wrench, who am I to let some free labor go by?! :rofl:
2020-04-13_07-37-47 by Brad DeSantis, on Flickr

2 Likes

Wait. Jordan as in the rally buddy from back east?

Ha, nope confusingly enough, too many Jordans. This Jordan is Naomi’s son, my unofficial step son you could say.

1 Like

Haha. Too many Jordans?

1 Like

This cool, as I’ve said. You WERE paying attention when wrenching with me. Now if we can collectively un-hit the 'Pause" button.

1 Like

I have not updated this in a hot minute. I got the truck together, timed and sparking good with a GM HEI ignition module conversion. Unfortunately compression was an issue. So its apart again. Going to pull the motor and re-ring it I think.

In the meantime. I got some body panels for the dented trashed passengers side. Feels good to make some progress after a few stagnant months. (Life gets in the way of all good ideas, no?)

PXL_20201006_013014898 by Brad DeSantis, on Flickr

In this angle you can see how far I will need to move the inner fender to make it all line up.

PXL_20201006_013244699 by Brad DeSantis, on Flickr

4 Likes

CHEAP PROJECTS
PROS: You can let it sit for months when life gets in the way.
CONS: Life gets in the way on a monthly basis, sometimes.

Looks like it’s coming along though. Very nice. Good luck on that inner frame work. Are you thinking frame pulling or something more shadetree/McGuyver?

2 Likes

Happy to see you’re still at it, with this truck. I’m really looking forward to seeing more.

3 Likes