That looks like a plan. Still debating pressurized water, I take it?
1 Like
Well the water would not be pressurized, I’d open an air valve to push it out instead of a water valve to let it out, if that makes sense, but I’m not sure how I want to do it and what pieces etc. Trying to decide if I want to at all.
1 Like
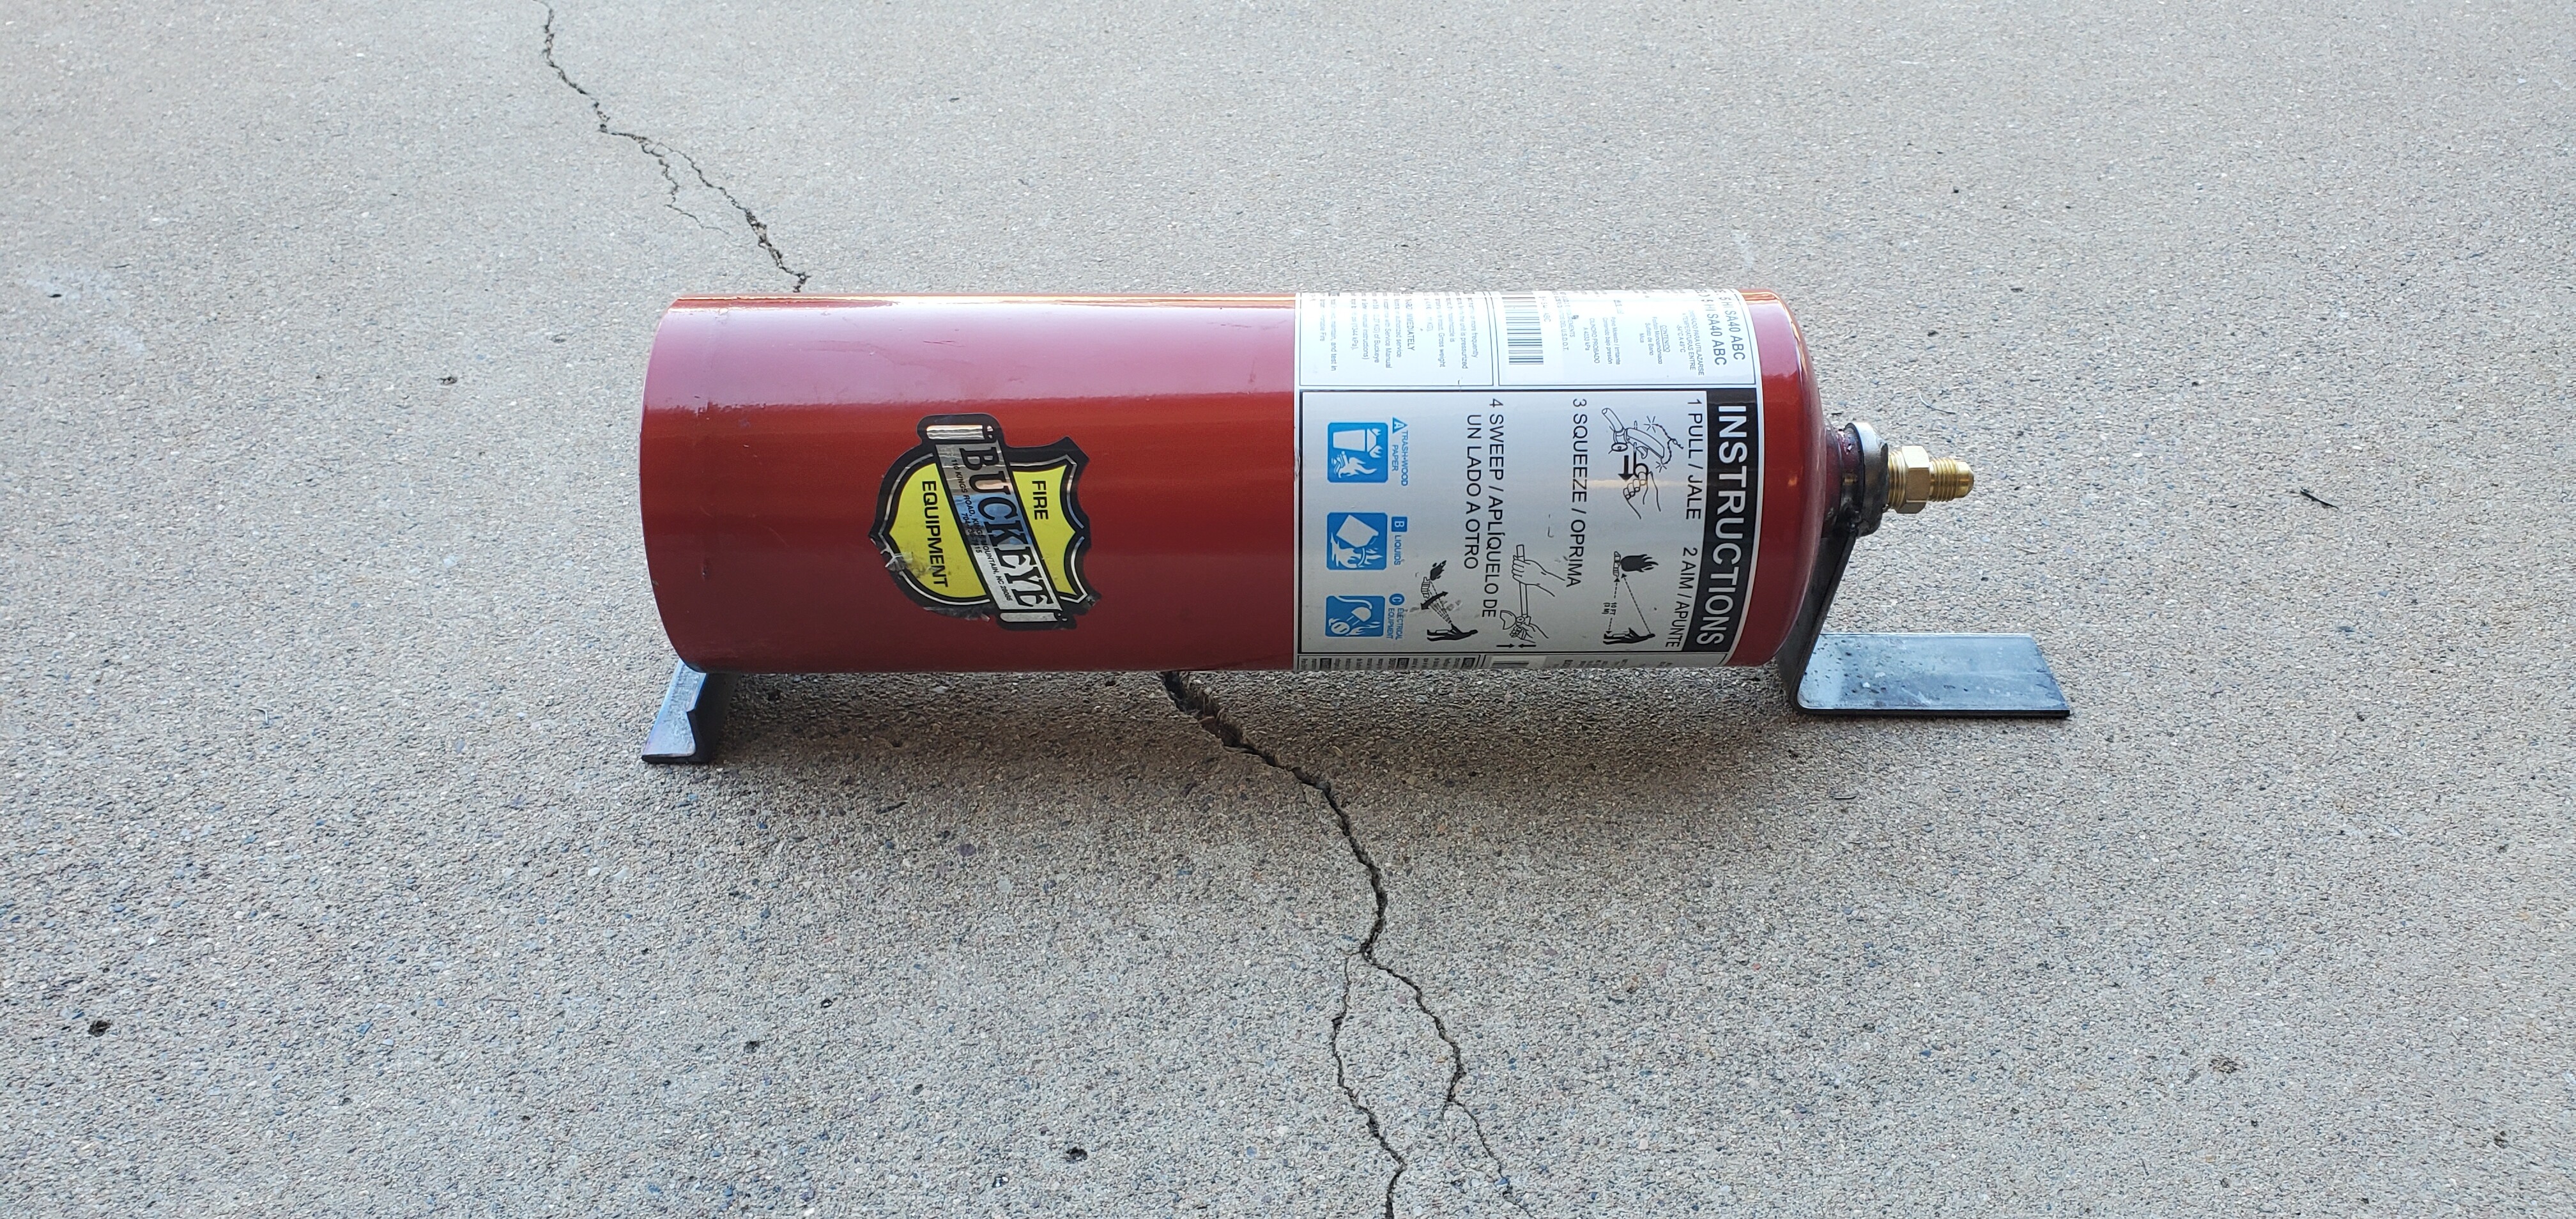
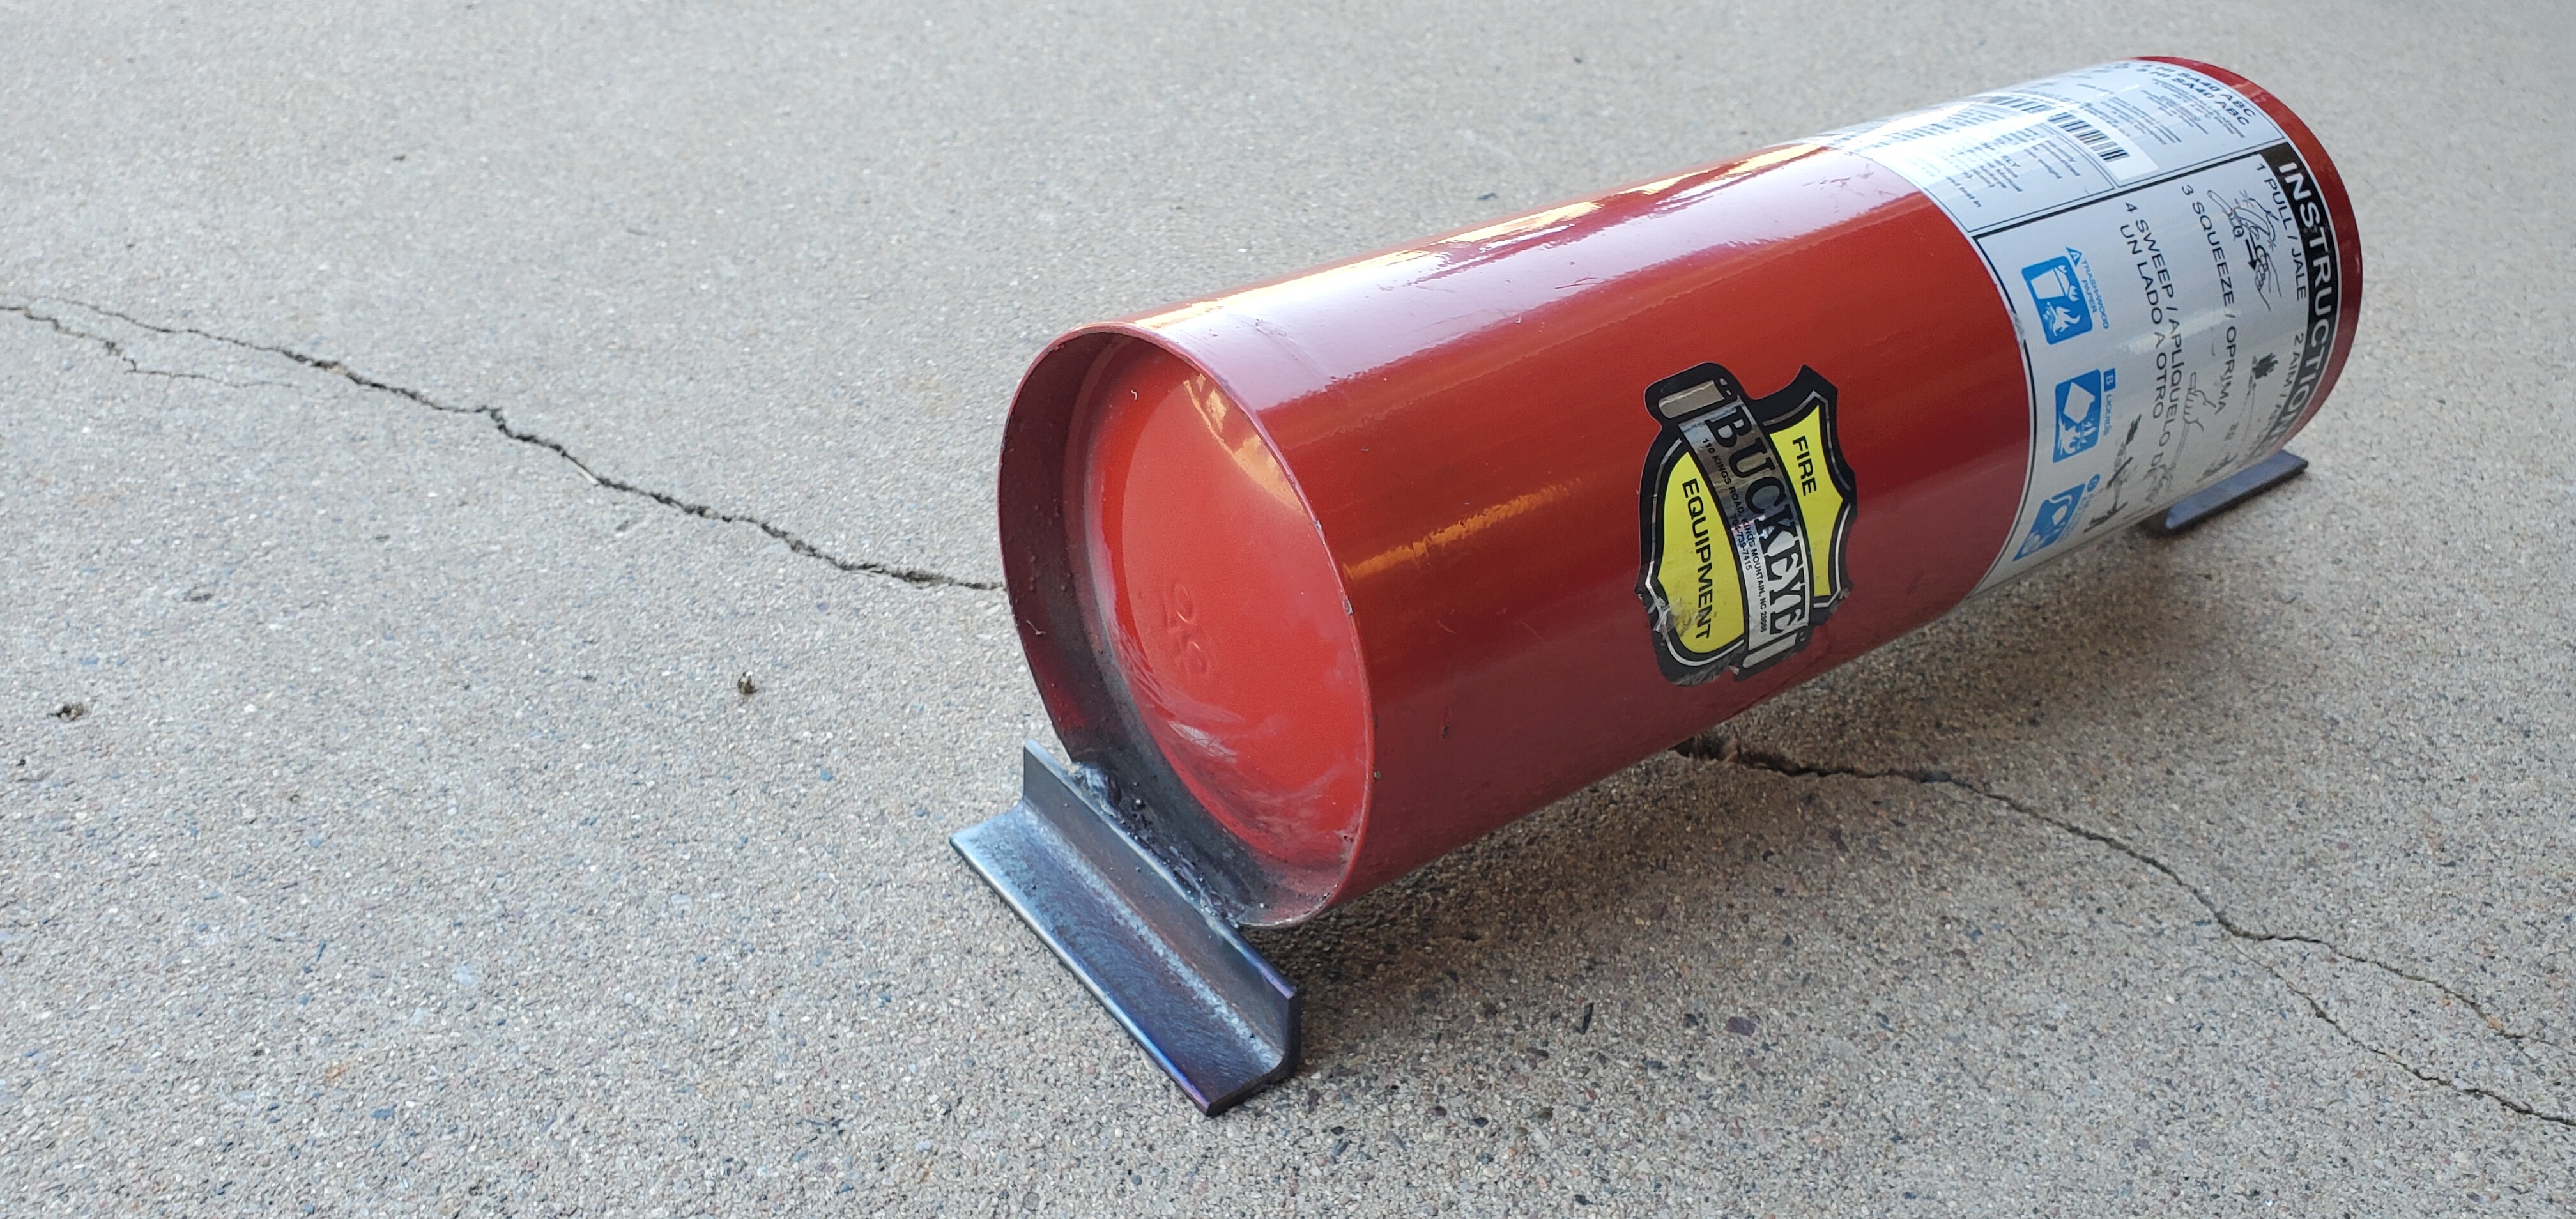
Settled on using an out of date fire extinguisher for the air tank. Bought a bung and welded it in just now.
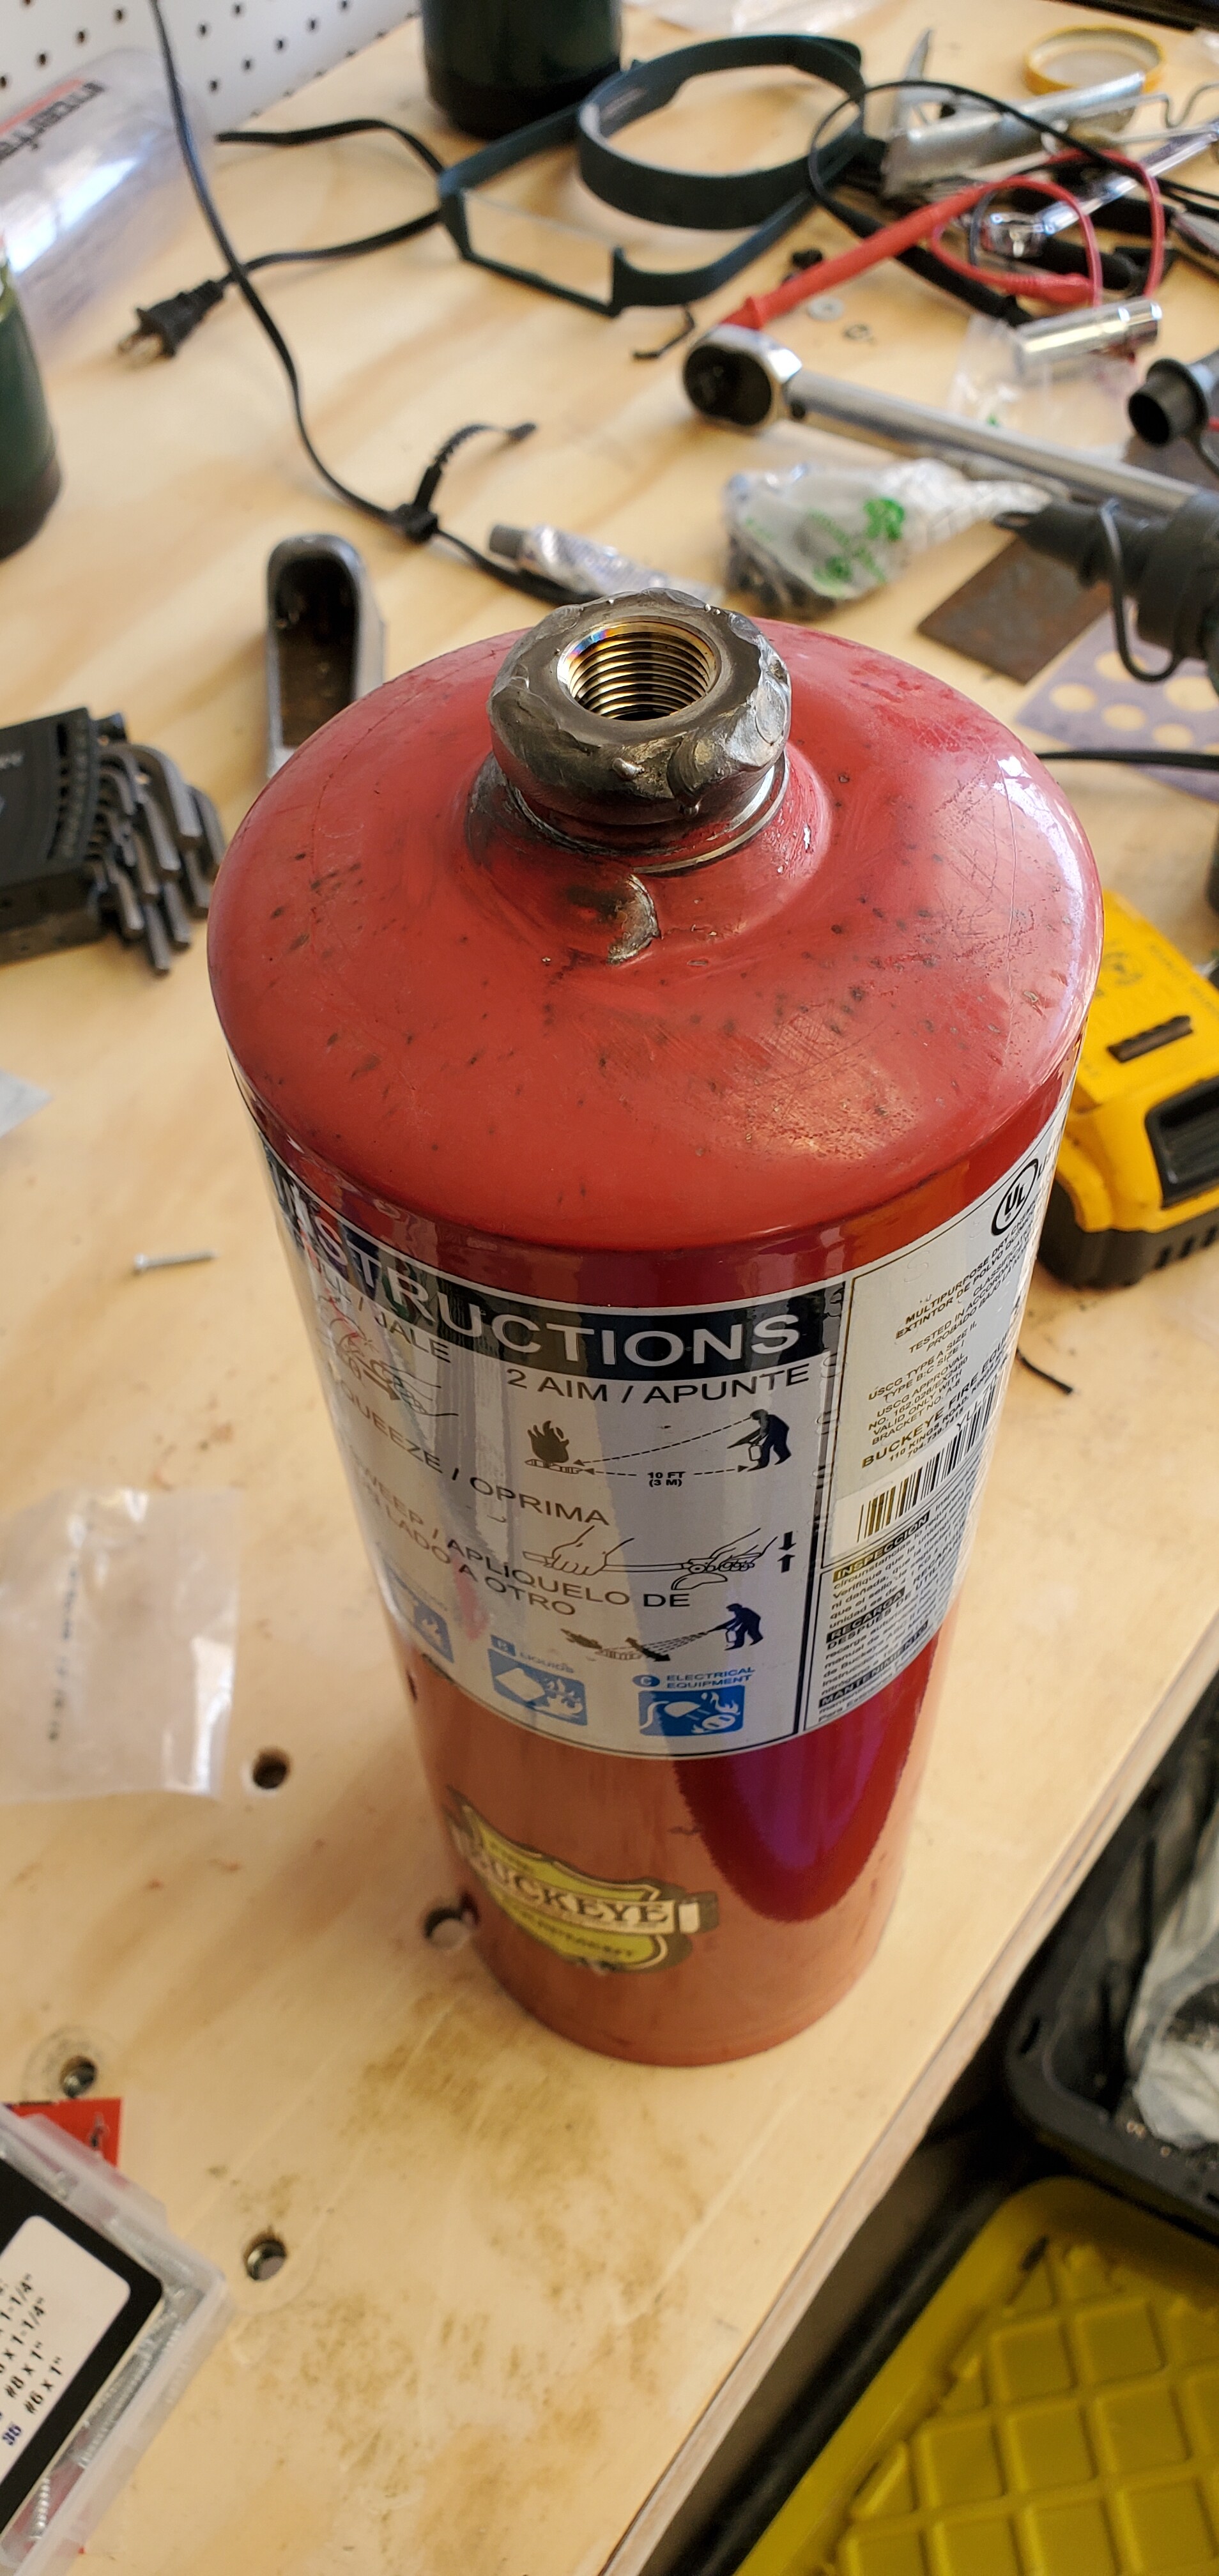
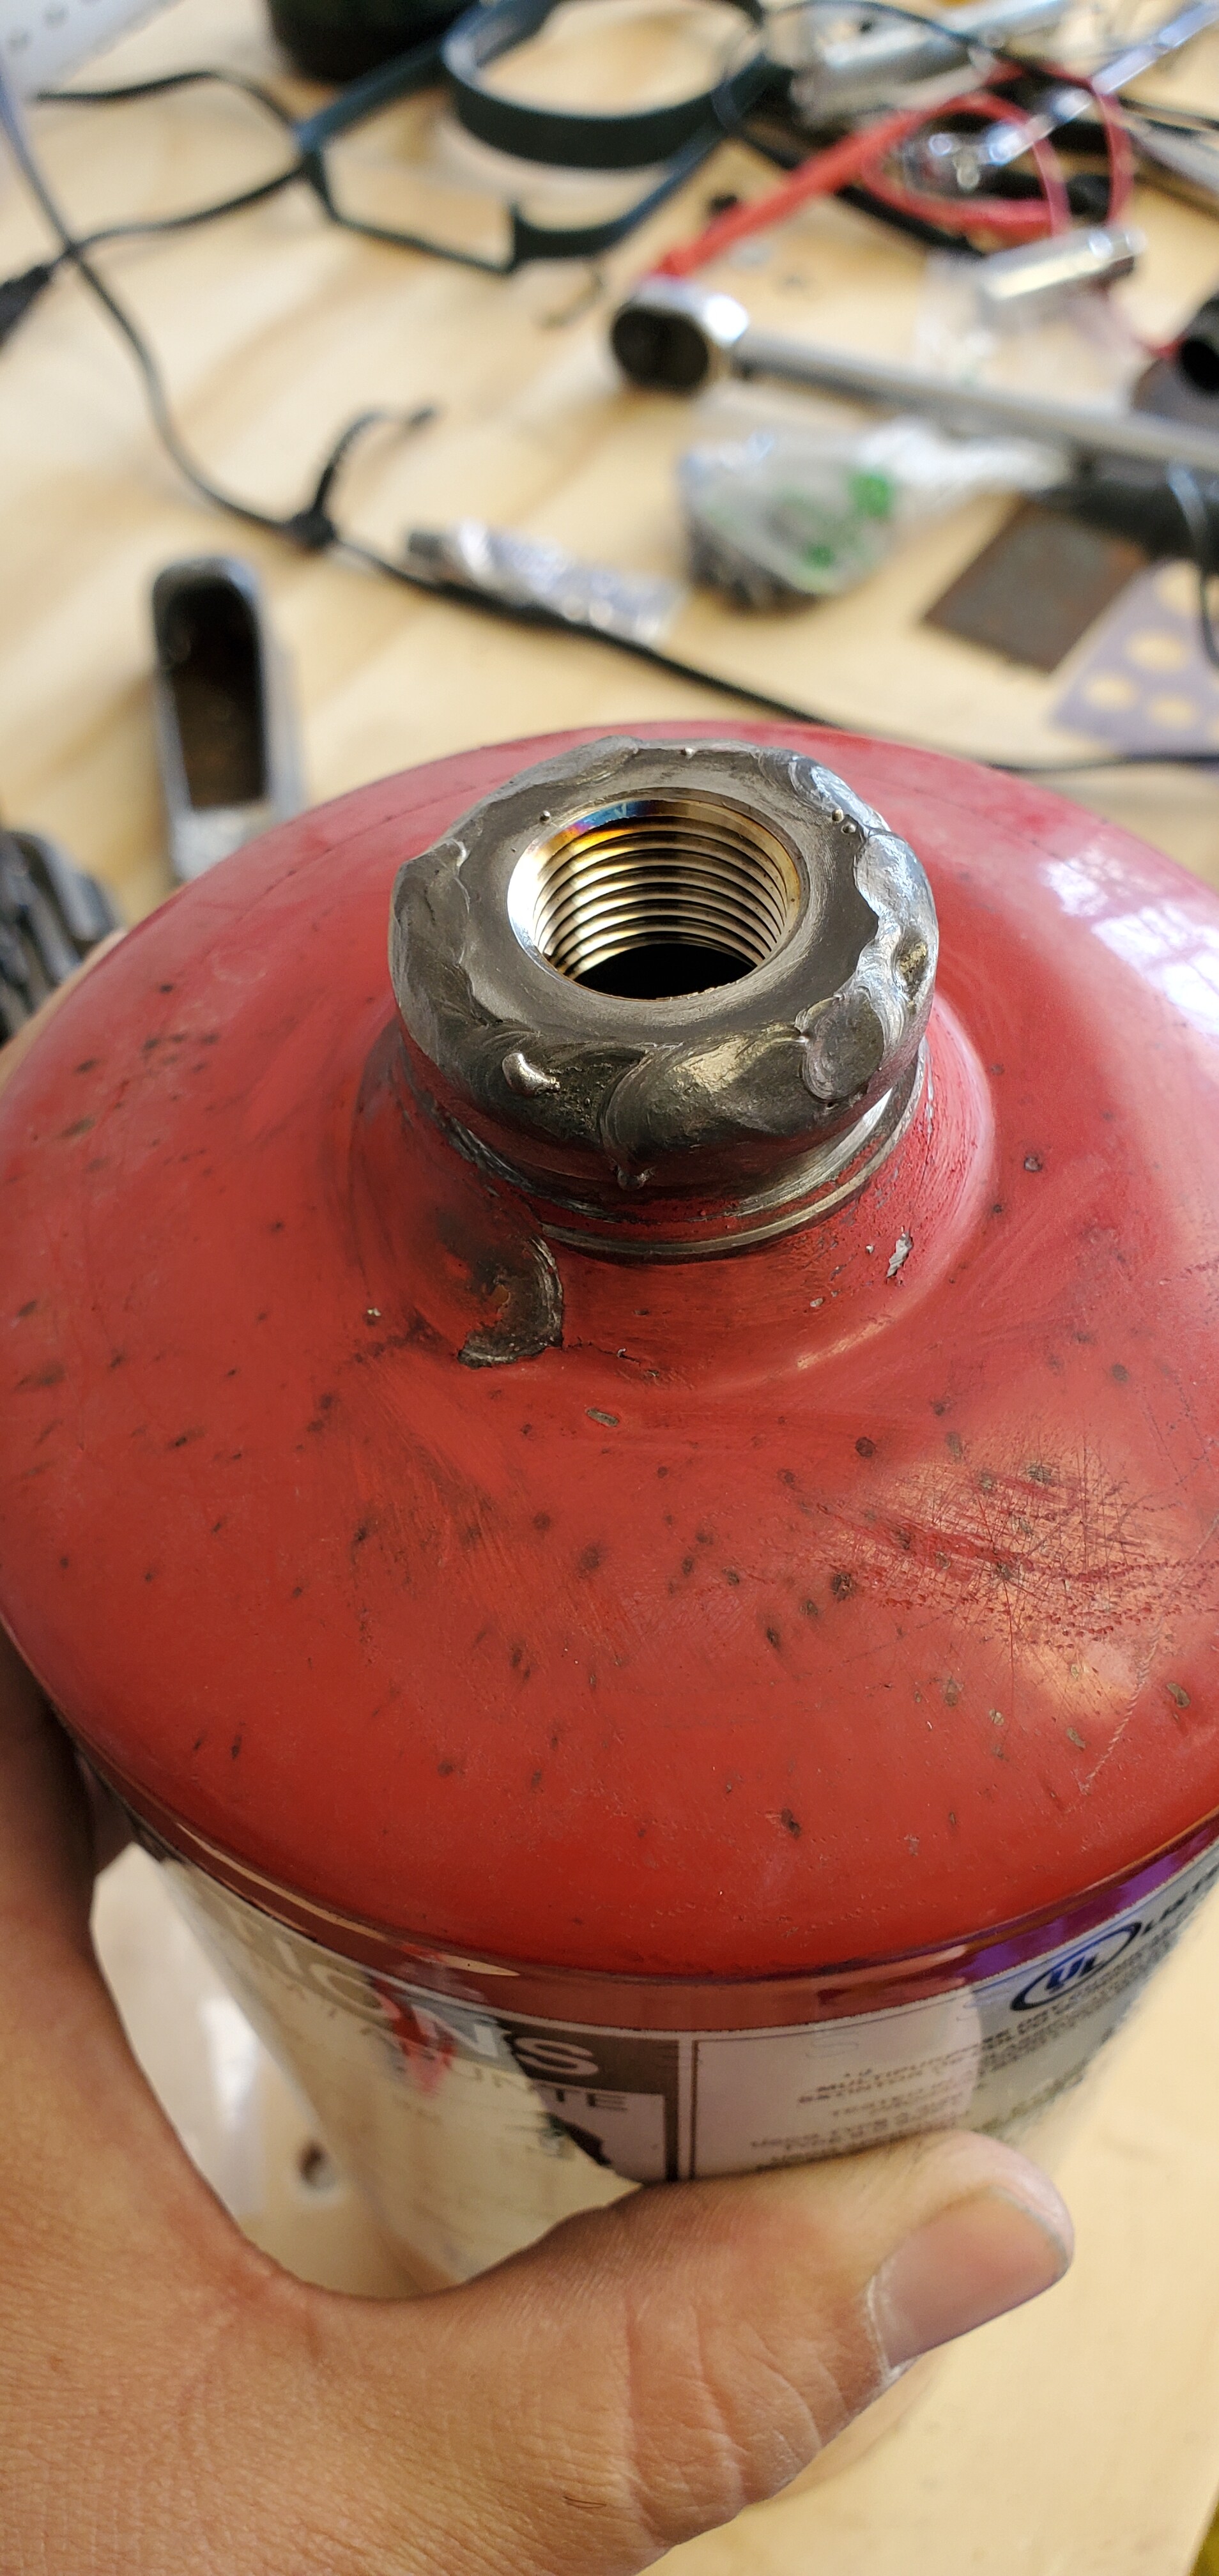
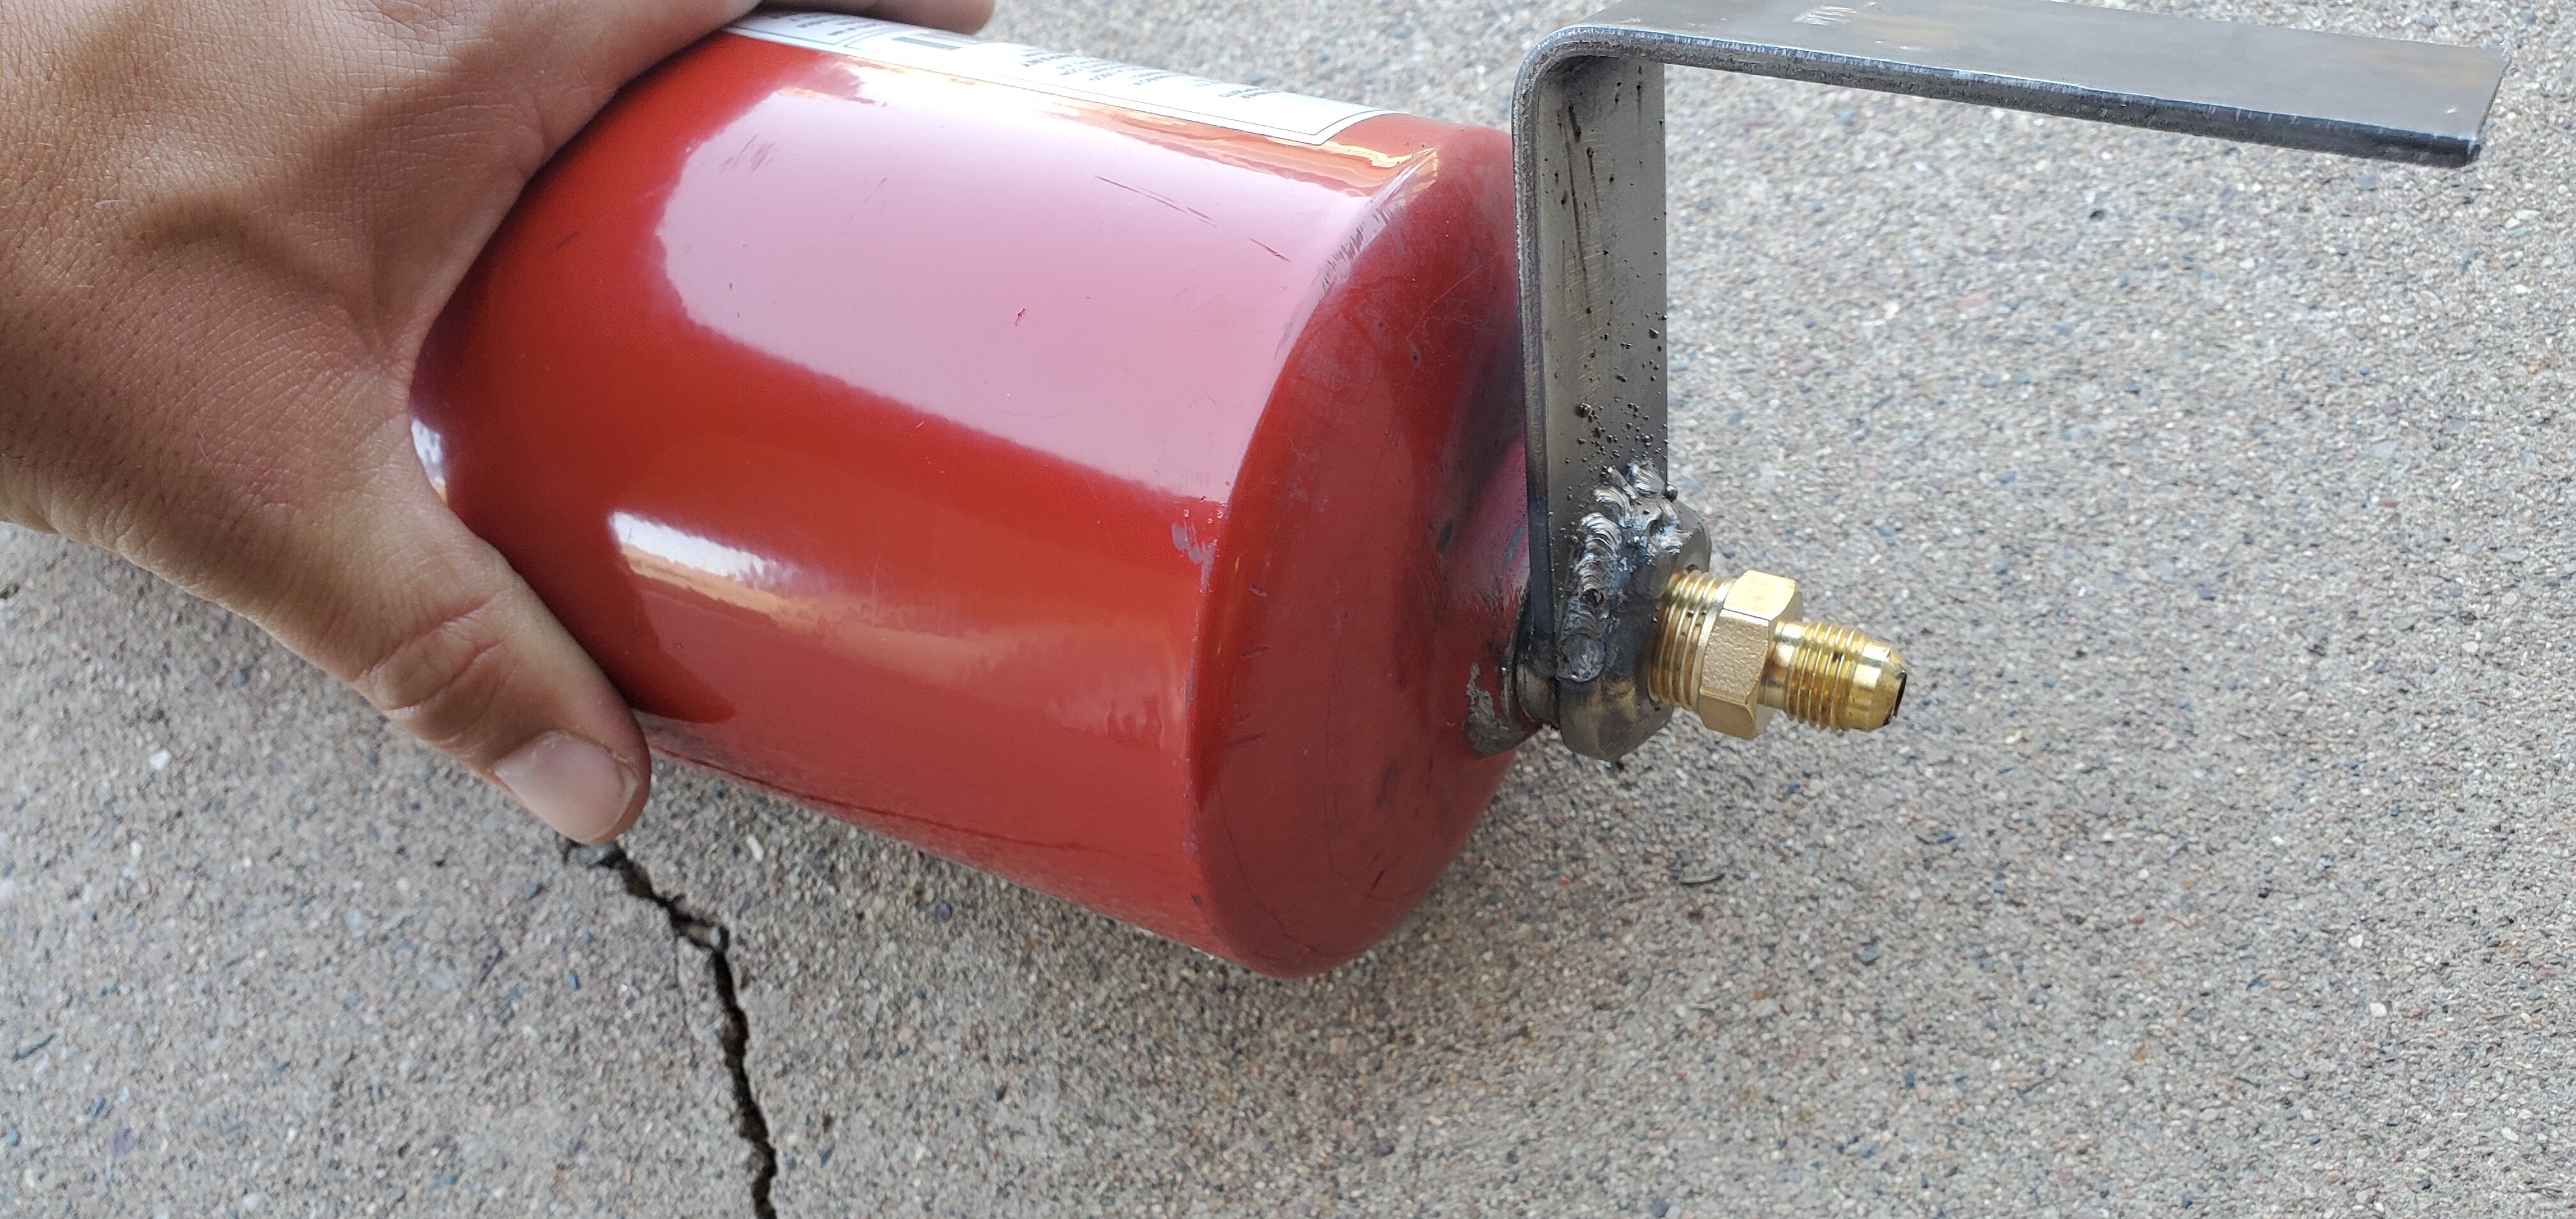
Possibly the nicest weld possible given my crappy little welder running flex core. I had a fitting screwed into the threads while welding to protect them from slag.
No grinding in this picture, literally just a quick hit on the wire wheel. I see one tiny pinhole but it doesn’t look like it will go all the way through so I’m just going to leave it.
It’s getting mounted under the rig, still going to take it to work and sand blast it, and then I have to decide what color to paint it. I have some gold metallic spray paint I can’t see myself using for anything, so why not?
4 Likes
That’s cool. How do you plan on mounting it under the chassis?
1 Like
Gotta fab a little bracket that I’ll weld to the frame, and mating brackets that I’ll weld to the fire extinguisher, one at the neck, and one on the flange around the bottom. Thought about using hose clamps but not sure they would hold up long term.
1 Like
It’s time for another one of Brian’s ridiculous, over-the-top ideas! 
Suppose you made a box that nestled into the space between the frame rail and lower body…
It could be hinged across the back. I’m thinking full-length piano hinge right to the frame rail. You could mount the tank inside that box and potentially have space left over for other things. Not sure what else you would want under the truck, but there’s probably no better place on the truck to put weight than under the chassis between the wheels, right? Maybe you could even seal the tops of the box with thick weather seal to keep dirt and such out.
We now return you to your regularly scheduled reality.
1 Like
Only issue is access, can’t be anything you’d need when stuck. It can only be things you CANT need when stuck. That severely limits the universe of possible things to put there.
Exactly. I was thinking recovery gear, but if you’re sunk up to the frame rails…
For a long-distance, full-time overlander, though, it could be a good place to store heavier spare parts like brake rotors, alternator, ball joints, and whatnot.
I guess you could mount the tank on a hinged swing arm, but why complicate things? In any case, I do hope you’ll paint it up like a missile. You could fashion a simple aluminum cone to protect the top of the tank and mount a feeler fin on the bottom to make noise before the tank makes contact.
1 Like
Oh man, that’s a great idea
1 Like
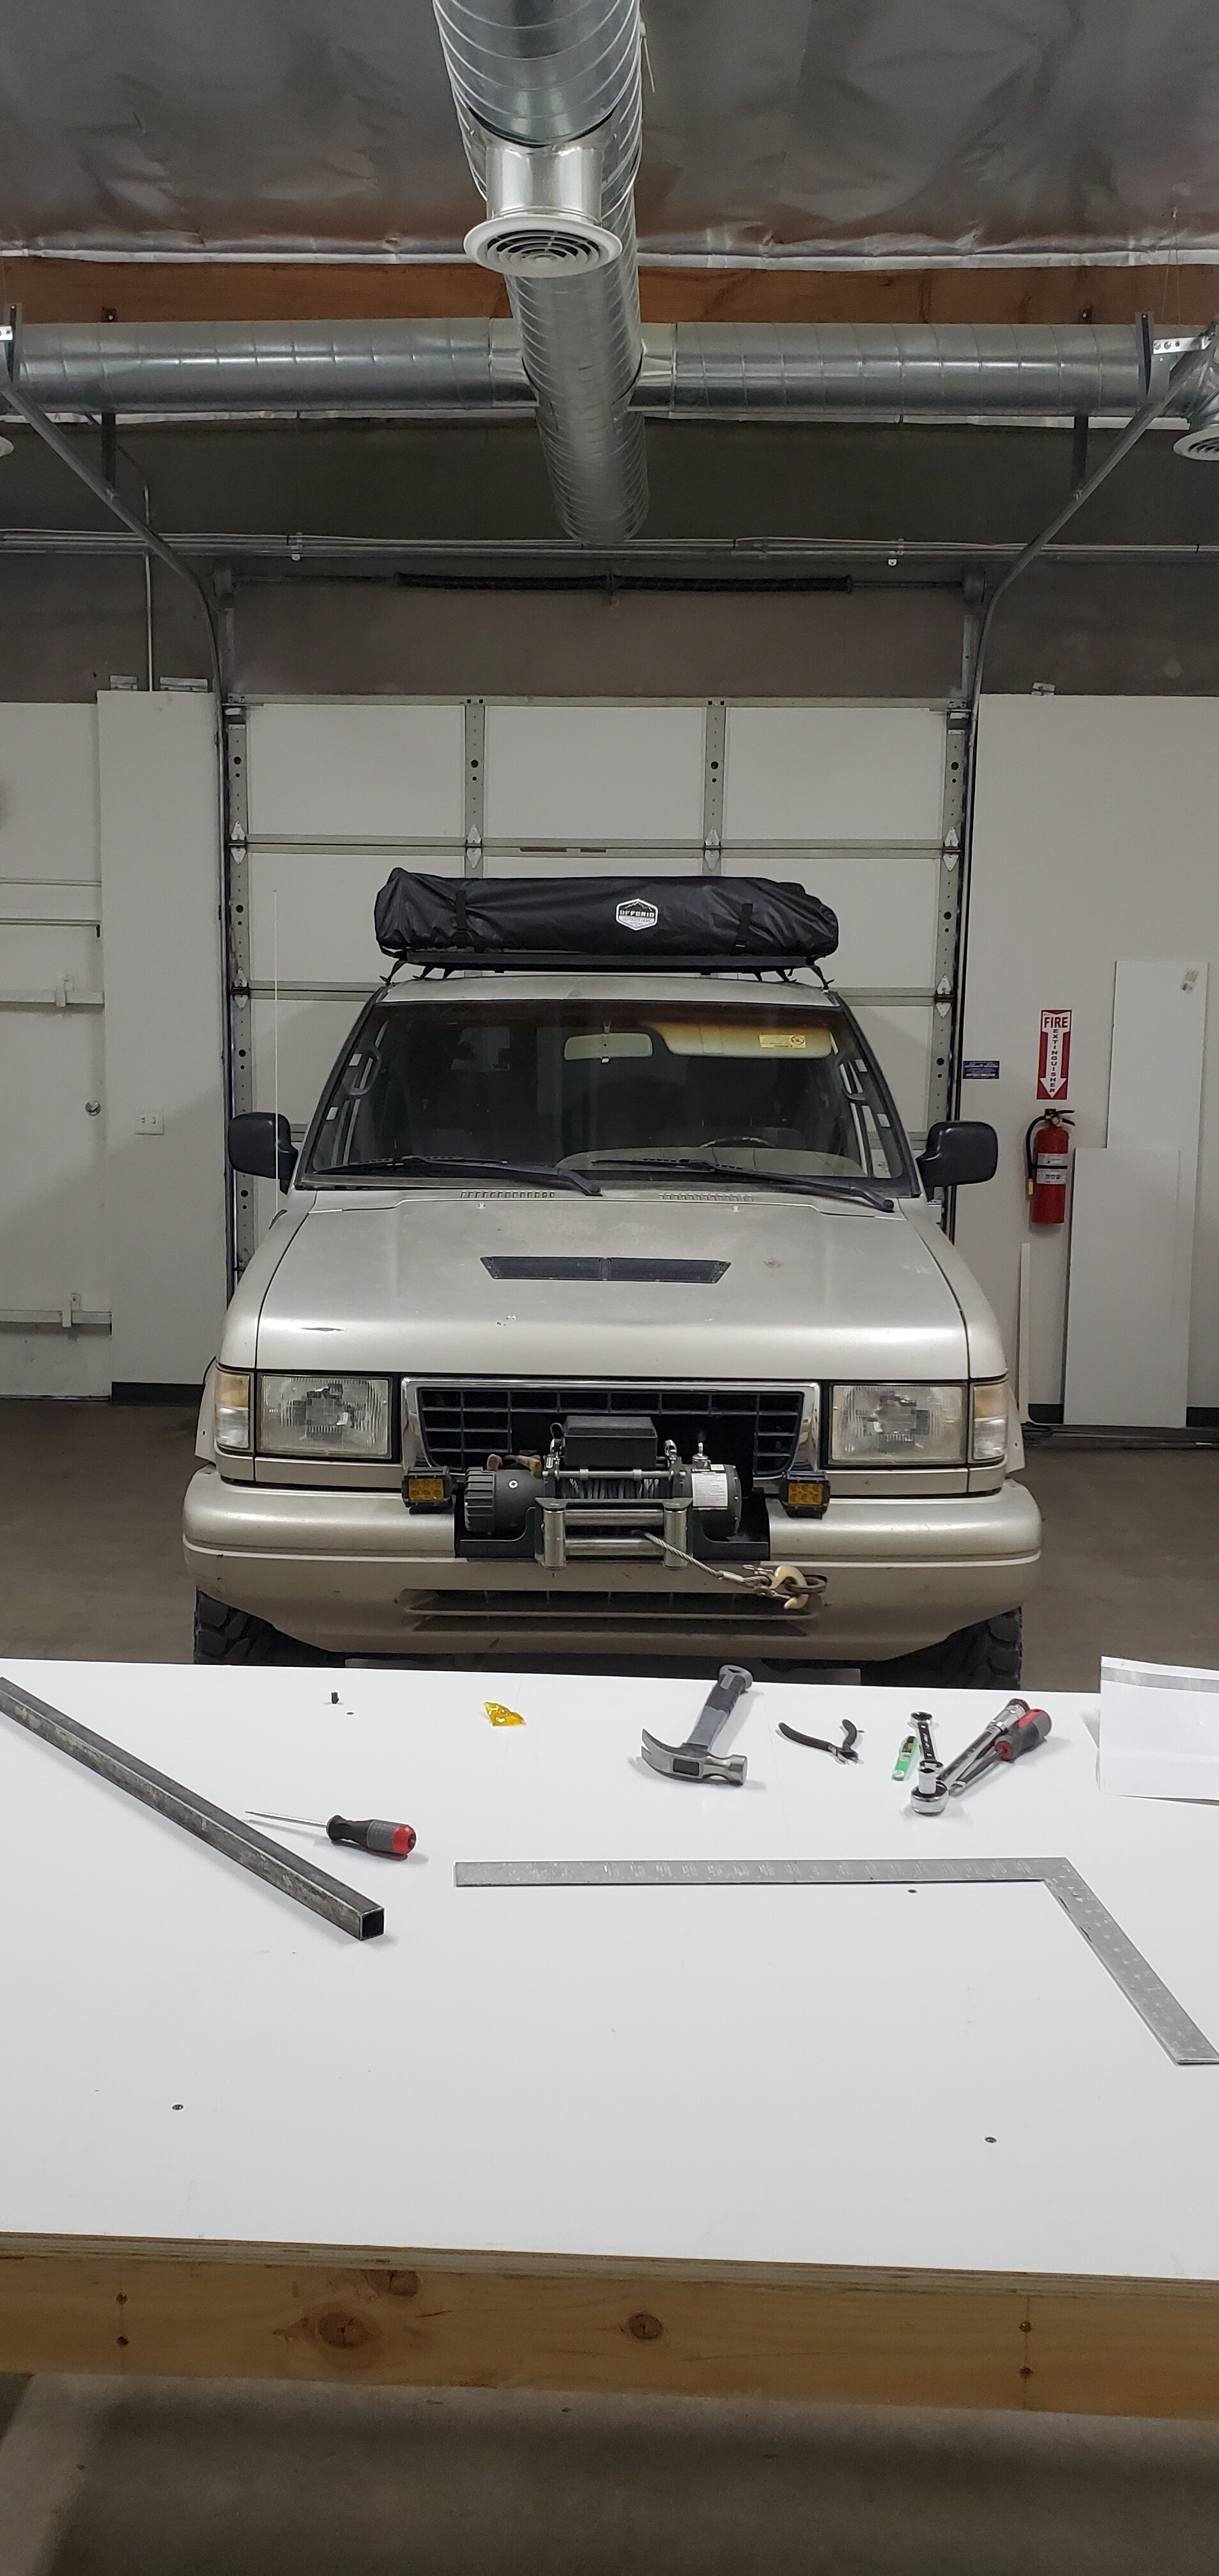
To prep for the roof top tent I decided to reinforce the corners of the roof rack.
Made some corner gussets by cutting 2" squares out of 18 gauge steel sheet, and then bending them with a 3/4" space between the bends.
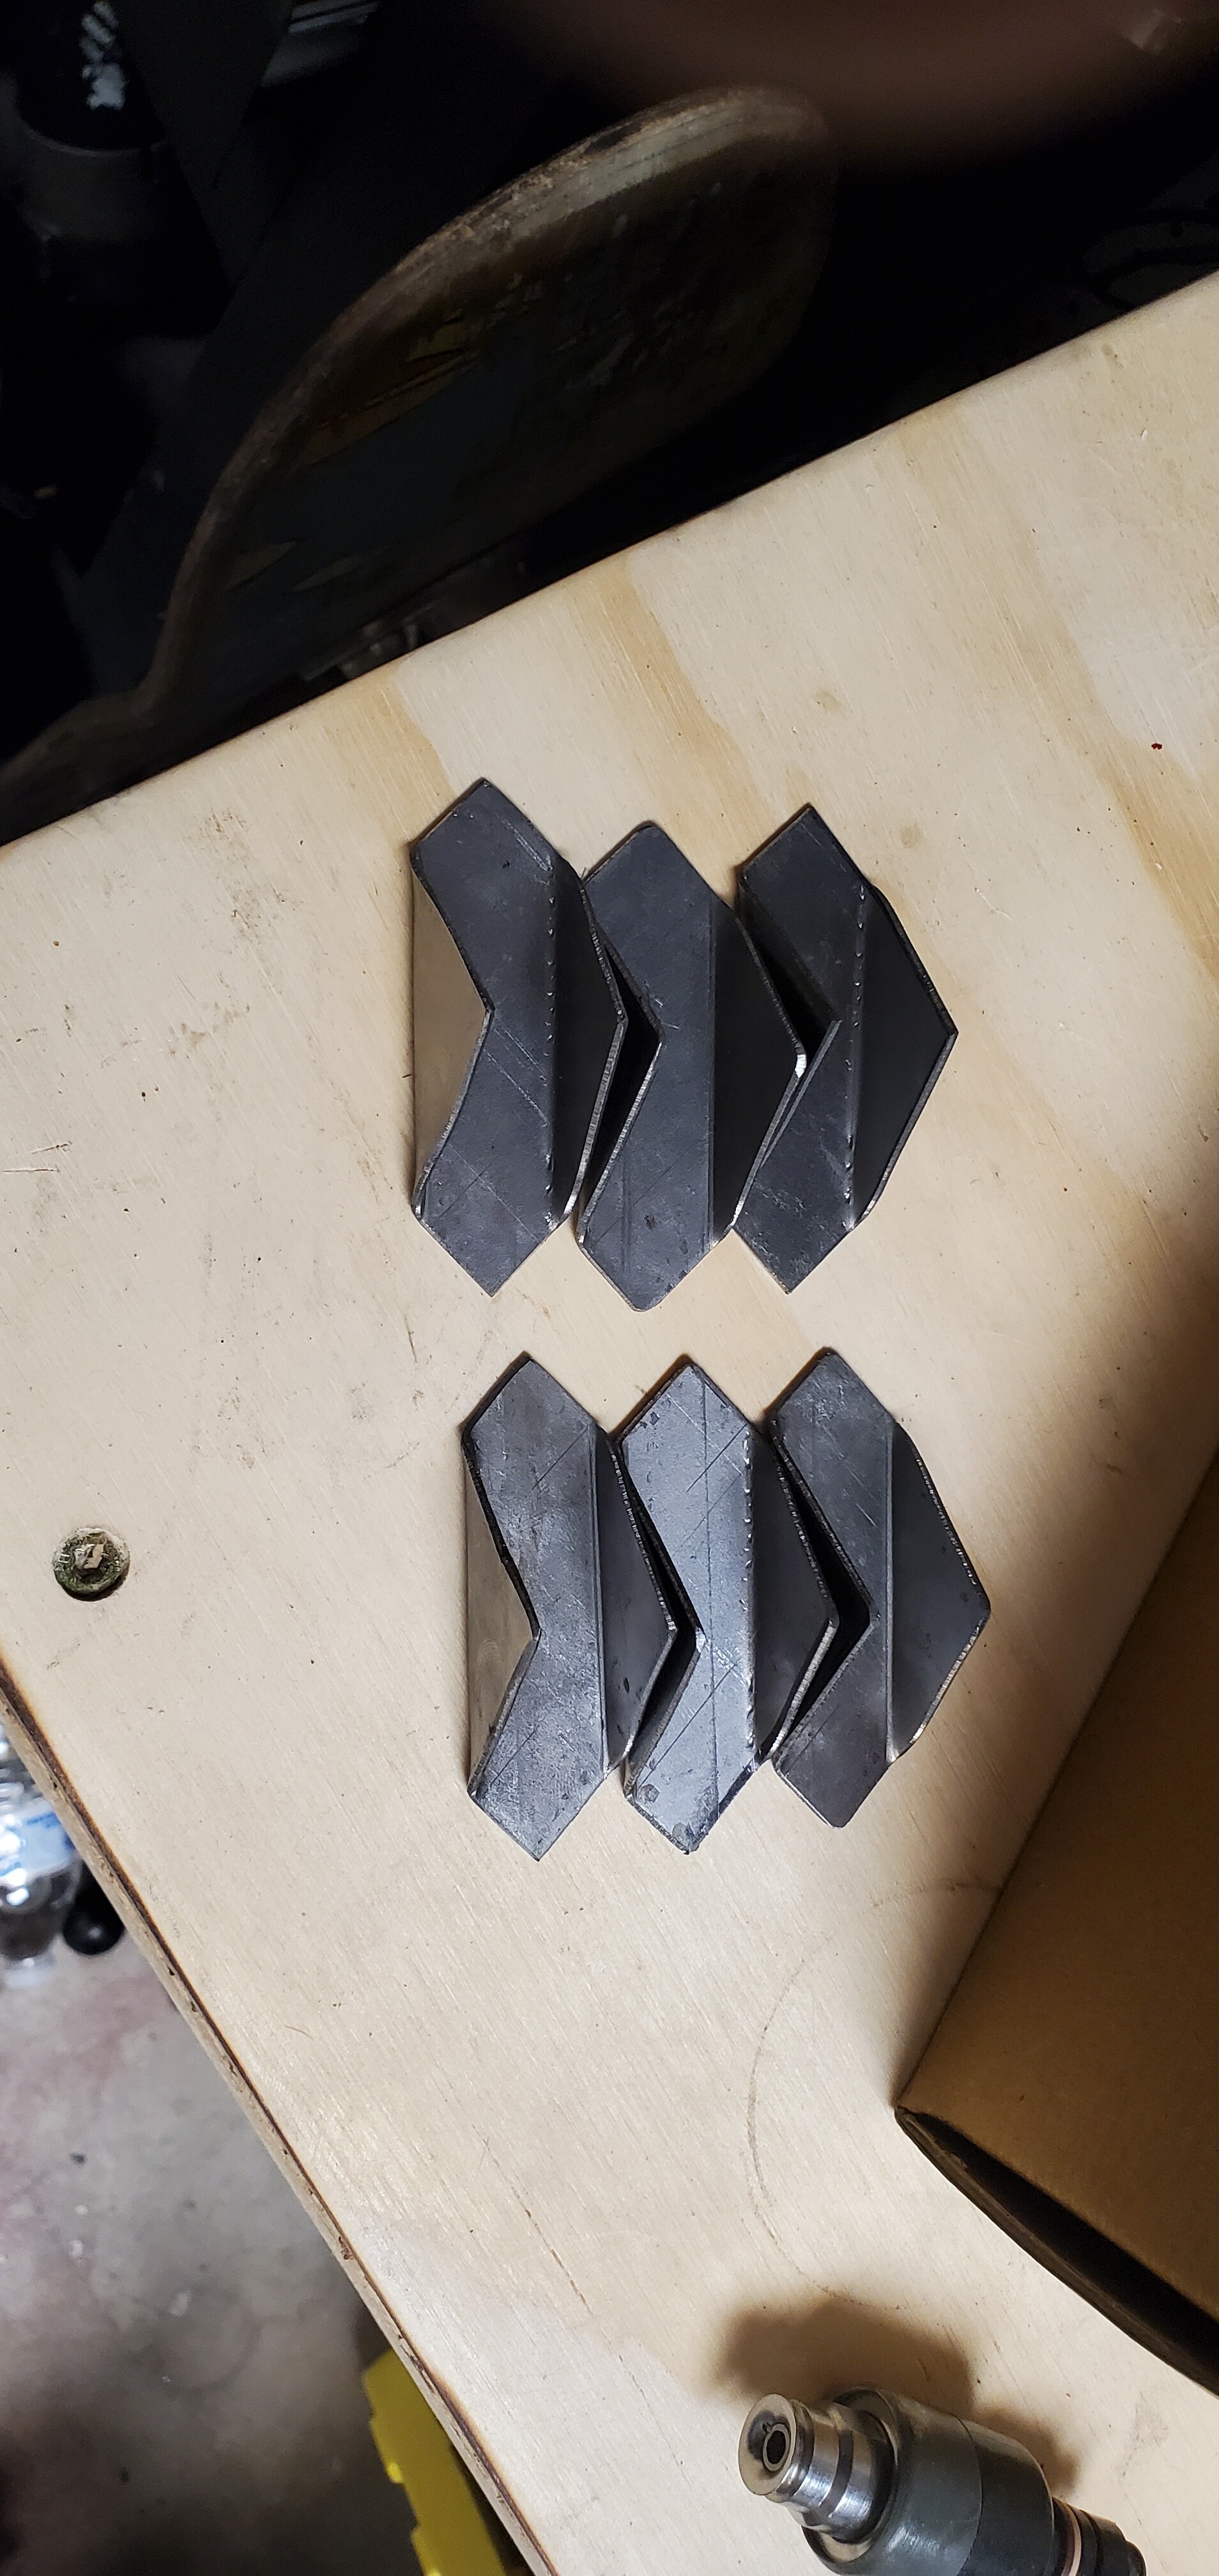
Ground to shape for each support, and welded in.
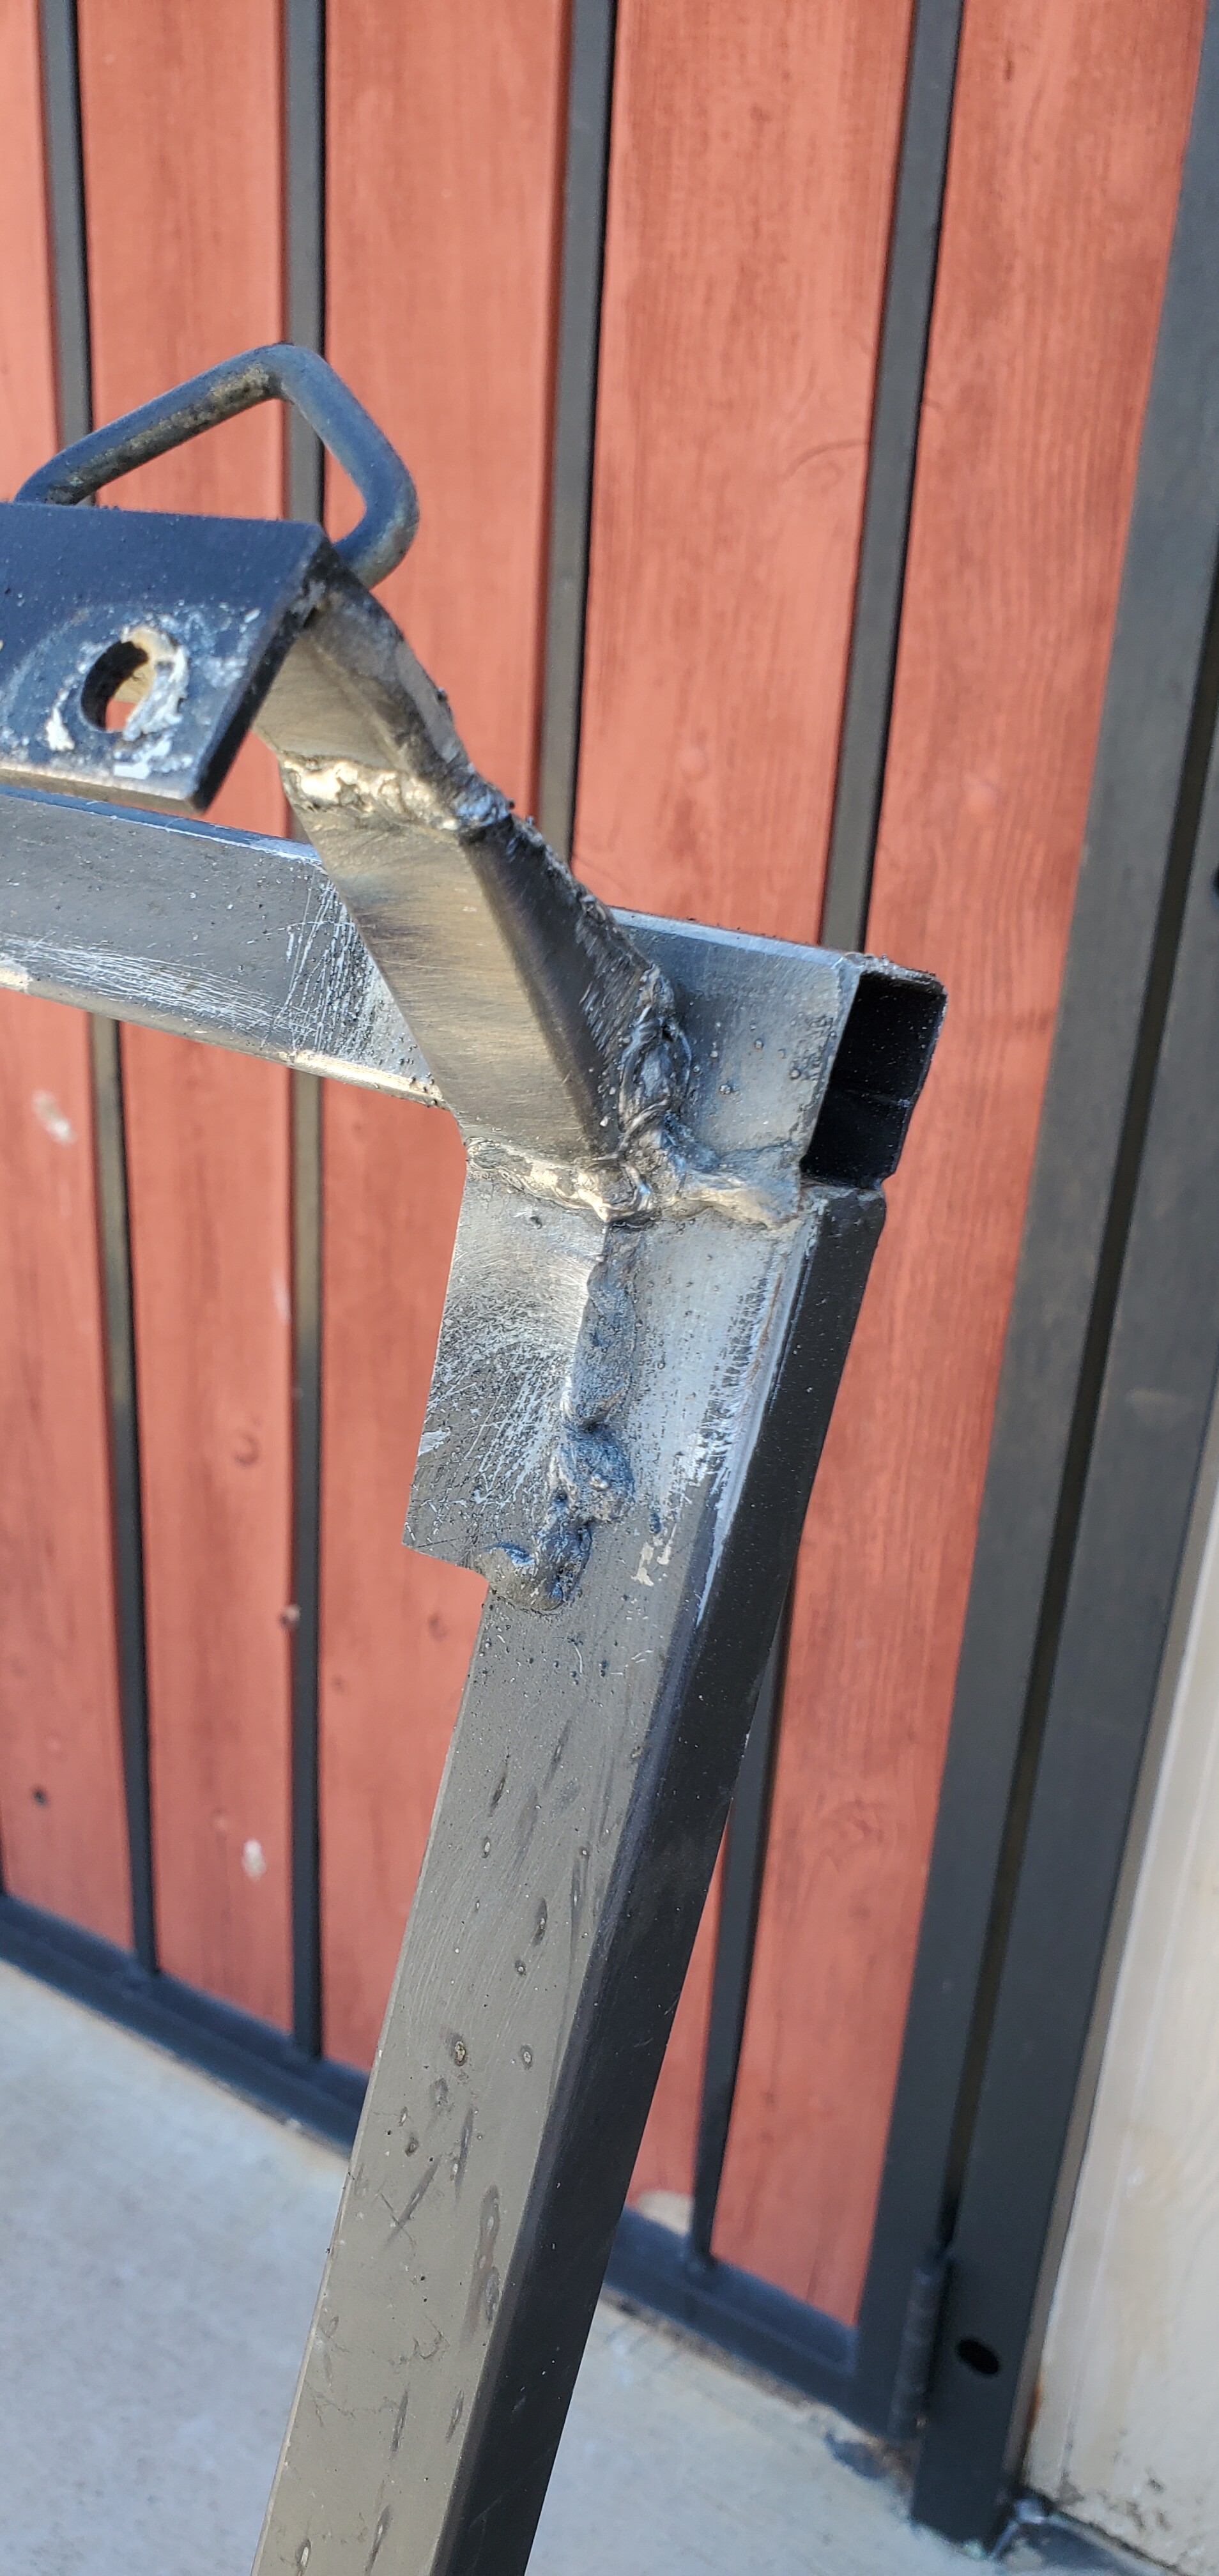
Not a masterpiece of fabrication, but given how thin everything is and the fact I was welding with Flux core? I’m happy with it.
5 Likes
It’s installed on the top/backside of the “leg” in the lower picture, right?
(I was thinking they would slide over the open end on the corner.)
Very cool! I’ll need to address the roof rack later this year. Mine has a loose nut on an anchor—but it’s under the headliner, so it’s gotta wait. 
1 Like
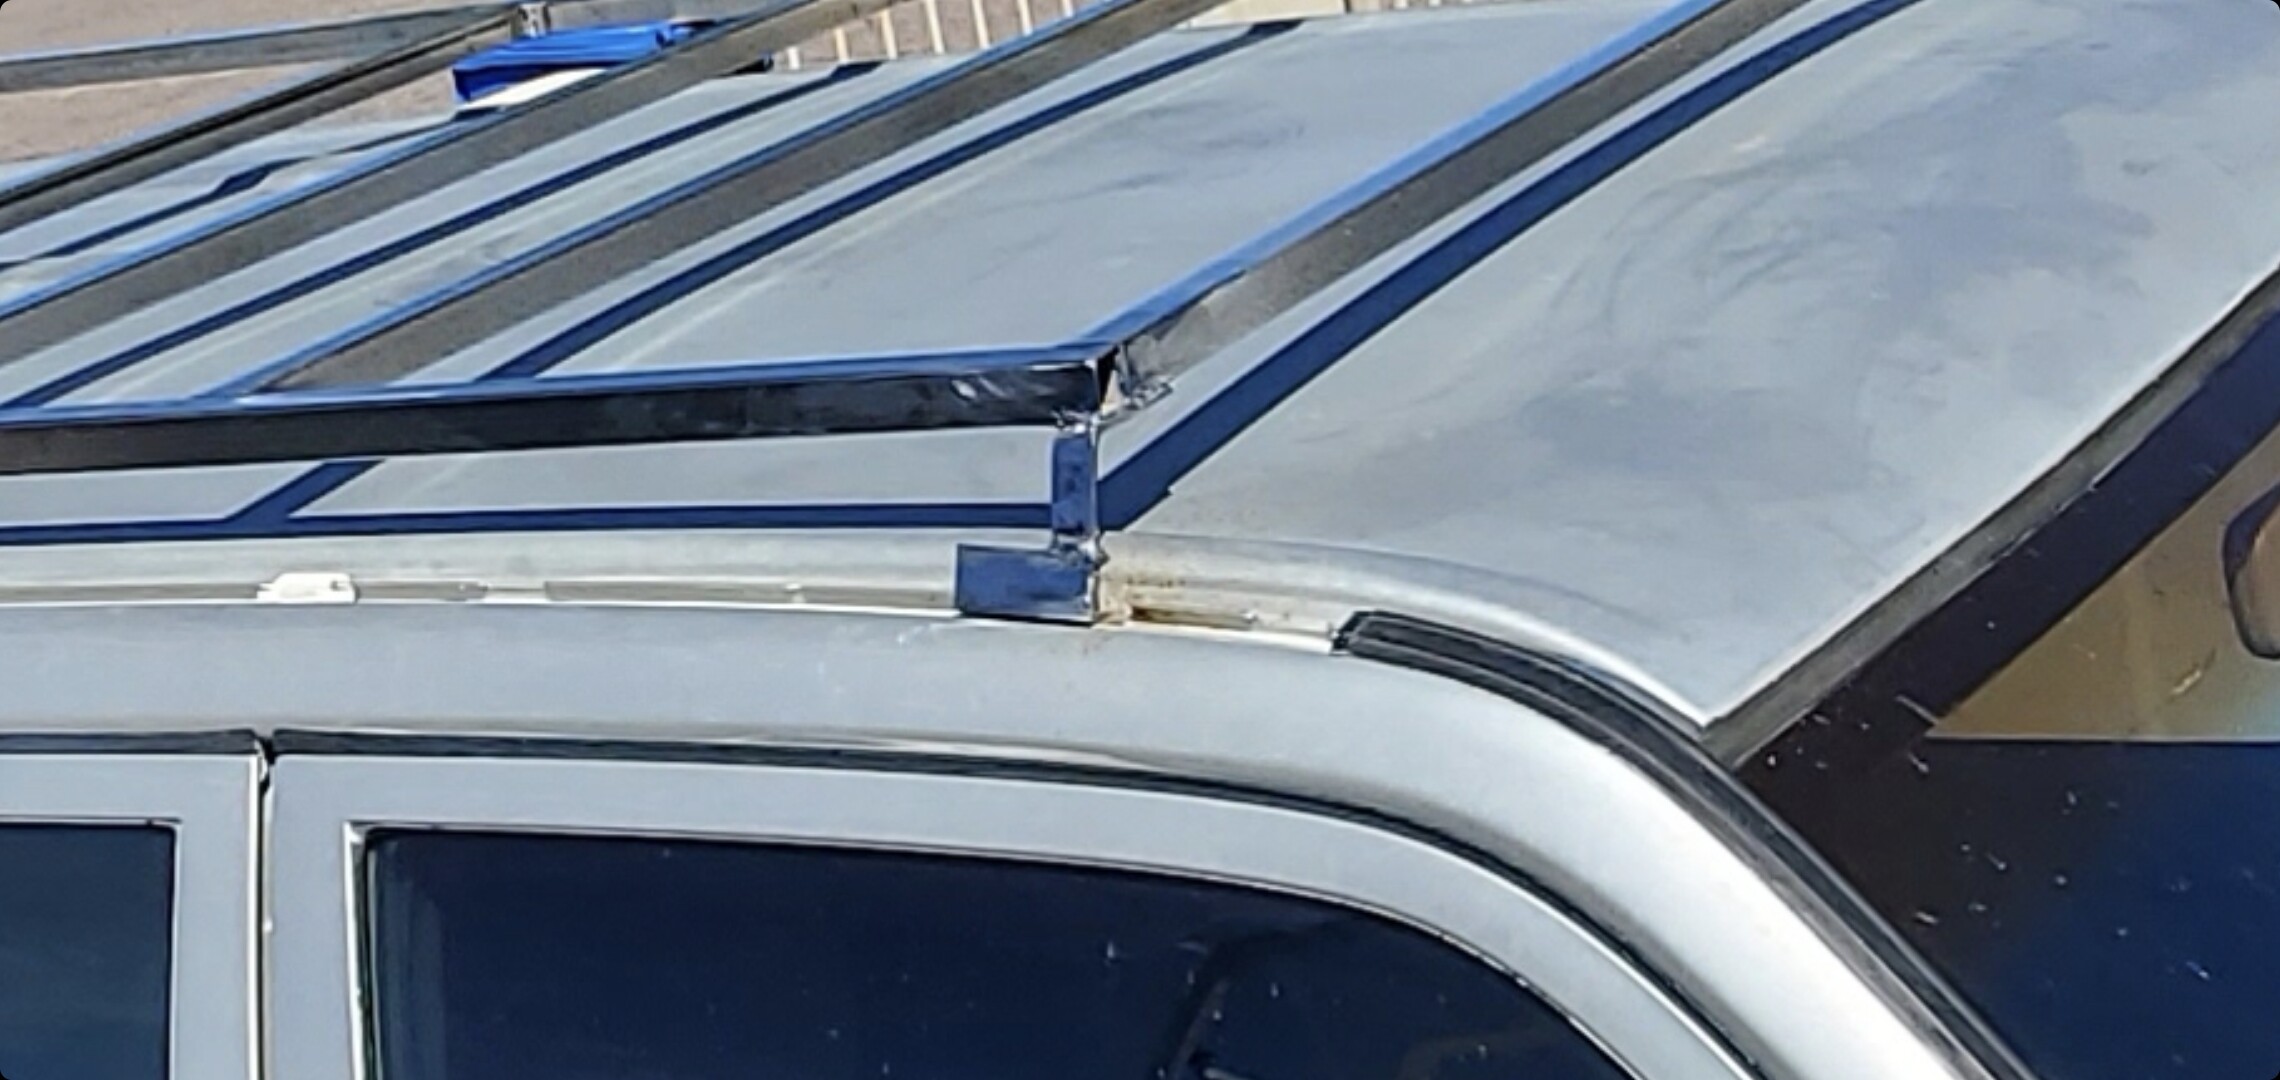
Yeah, I should have done a better “before” picture. Here’s one I found in my phone:
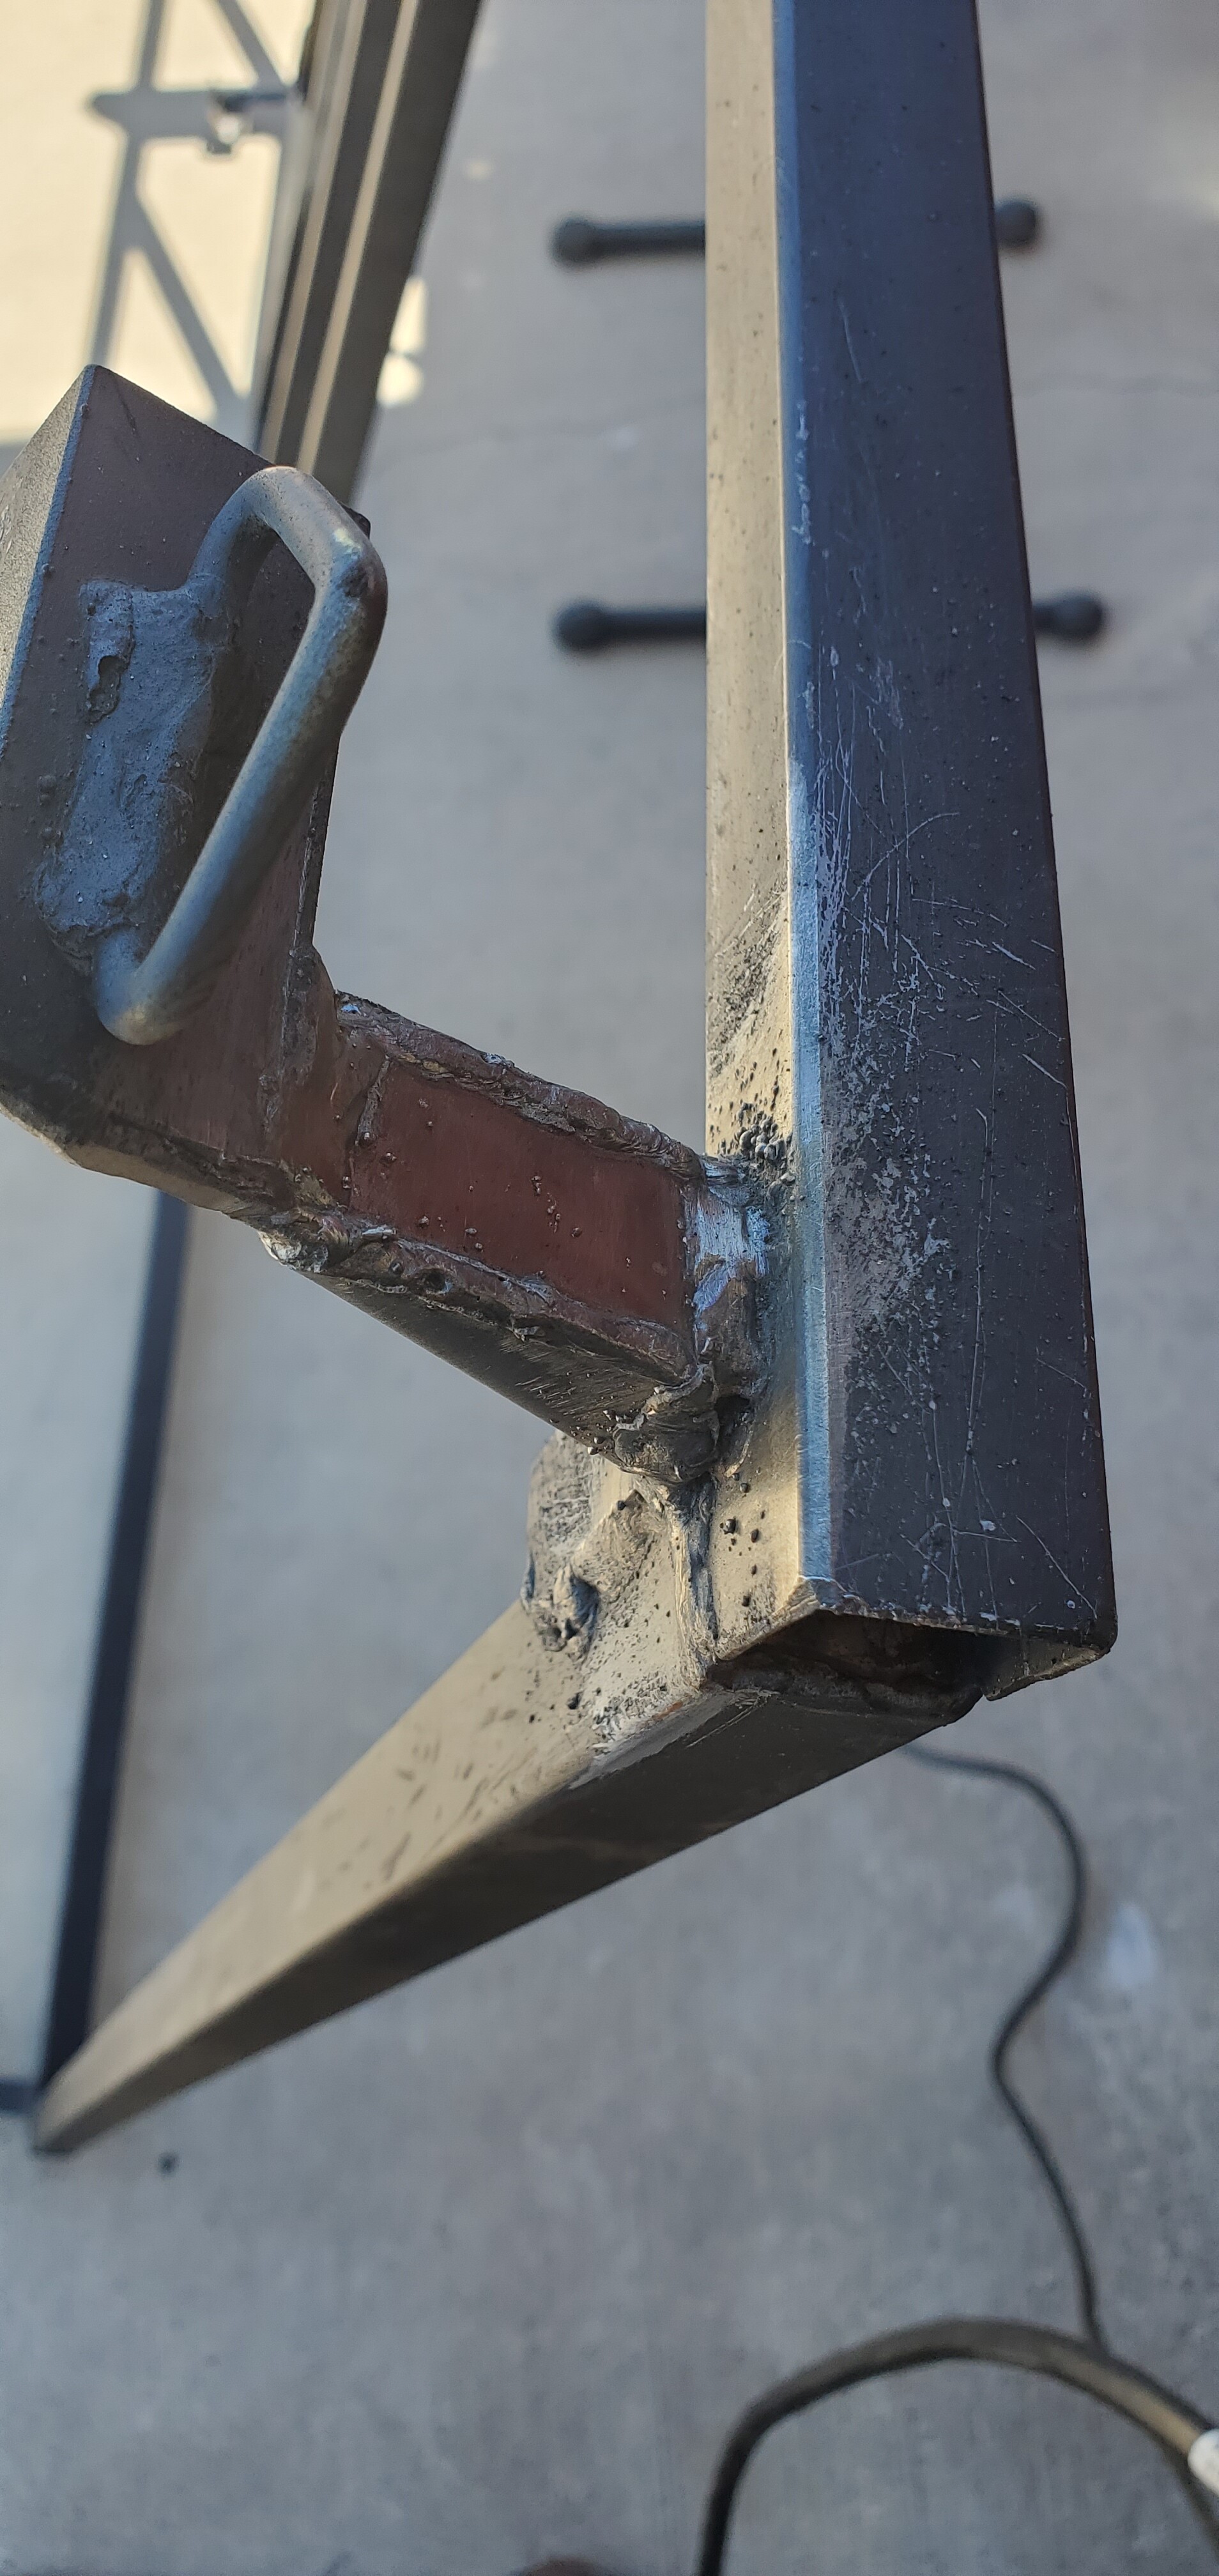
And here’s after
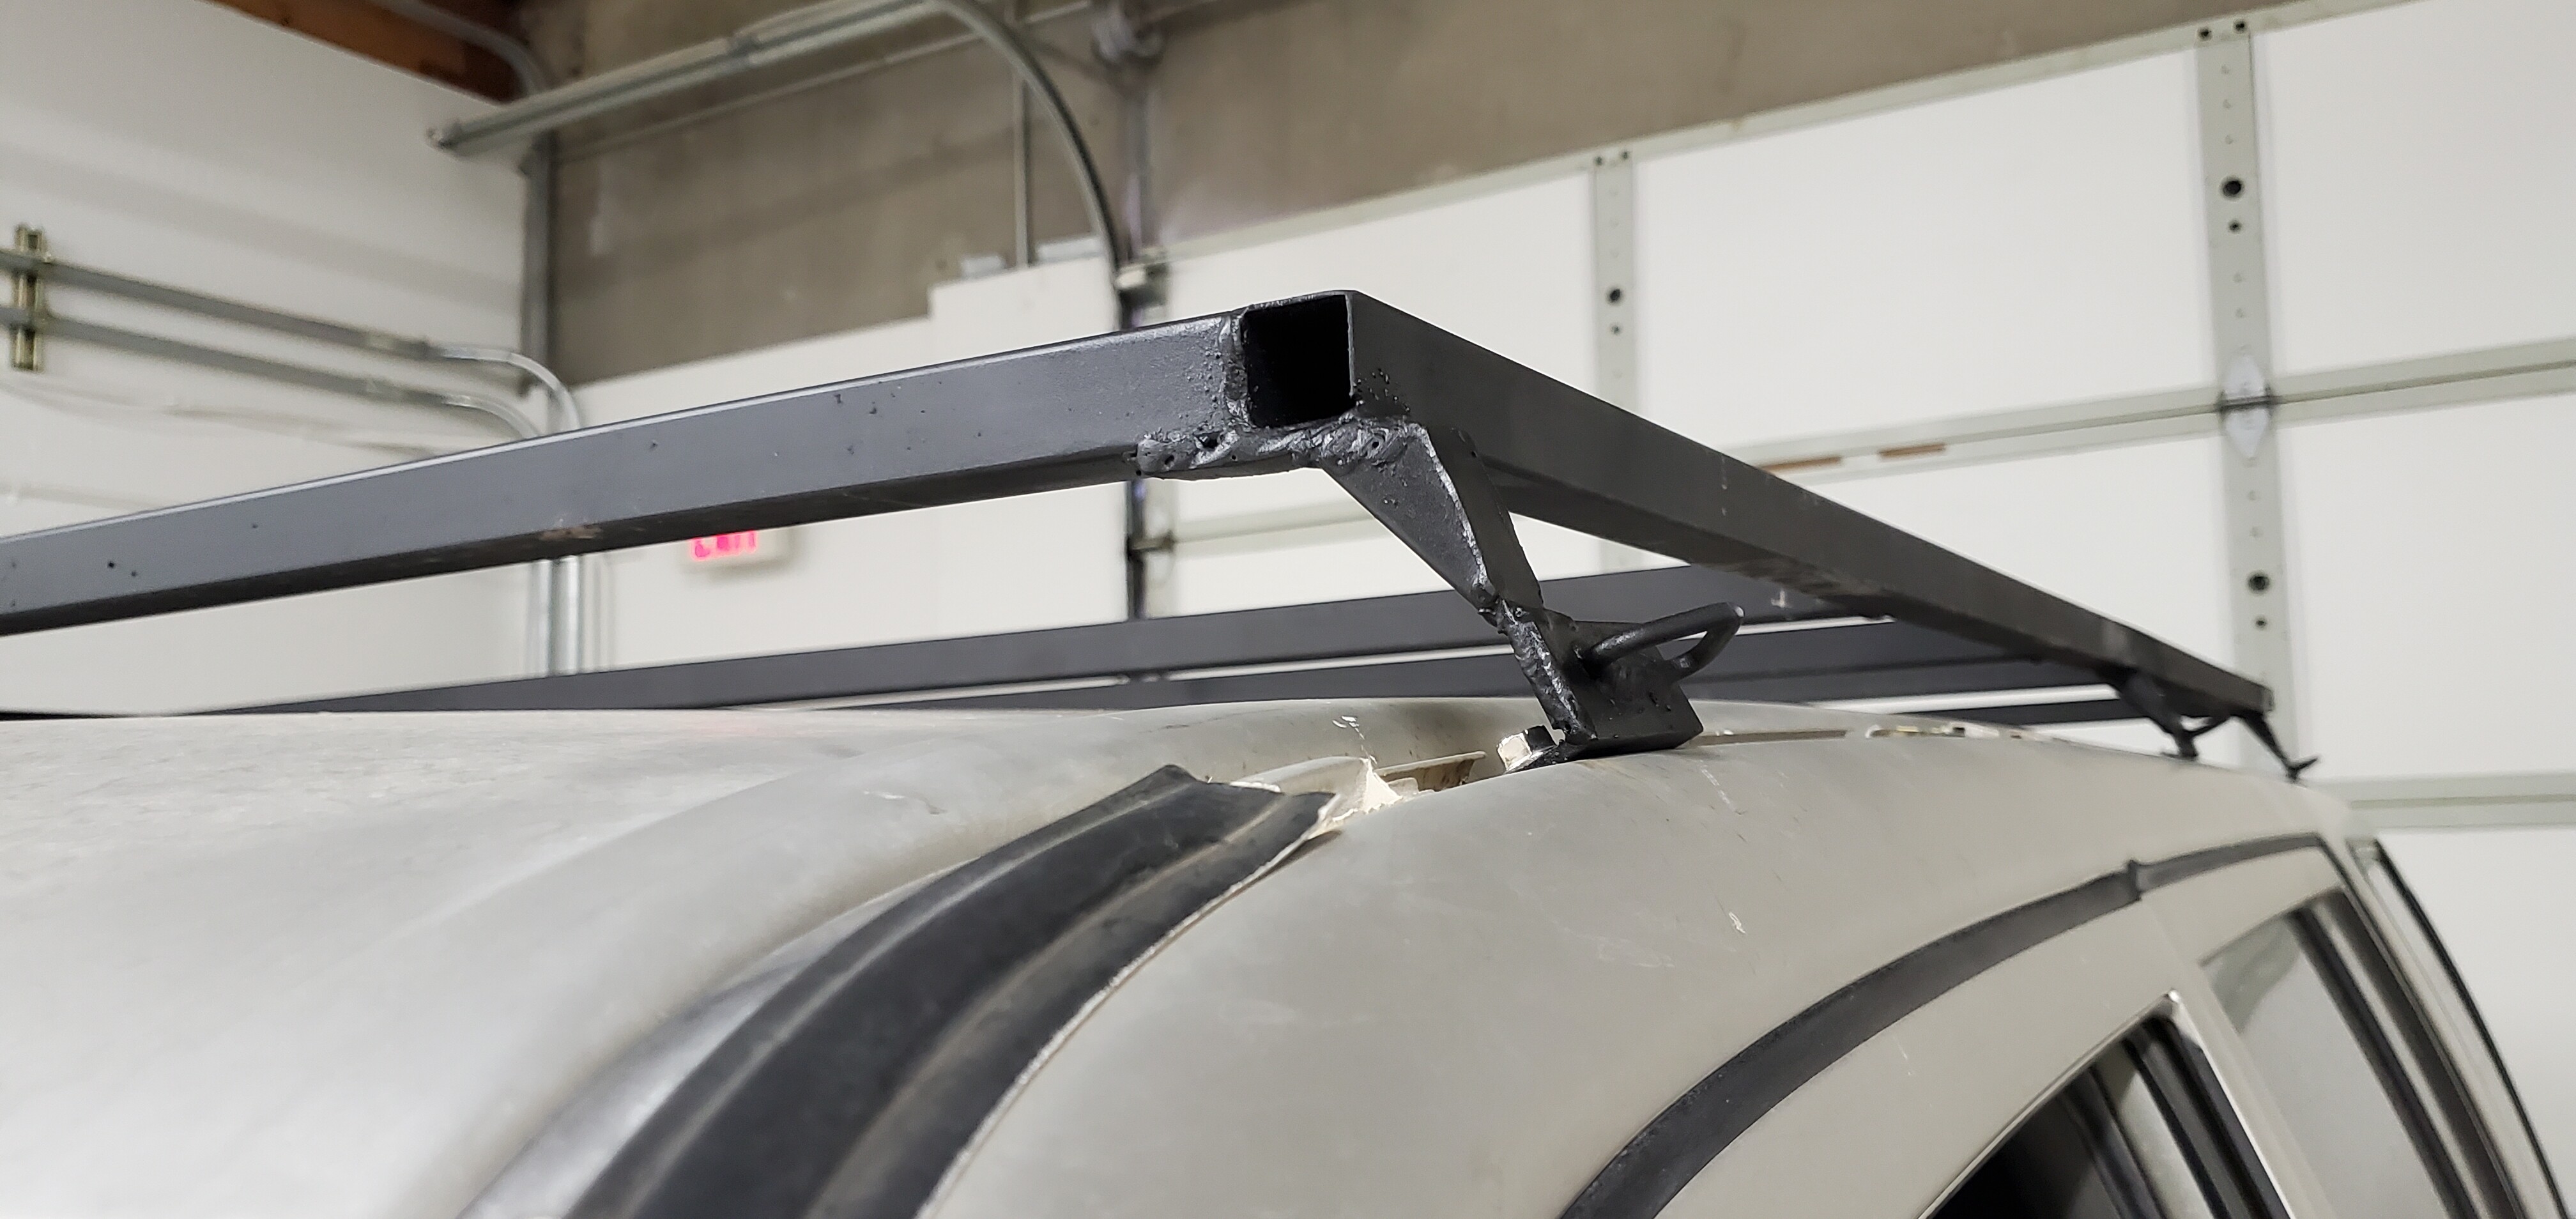
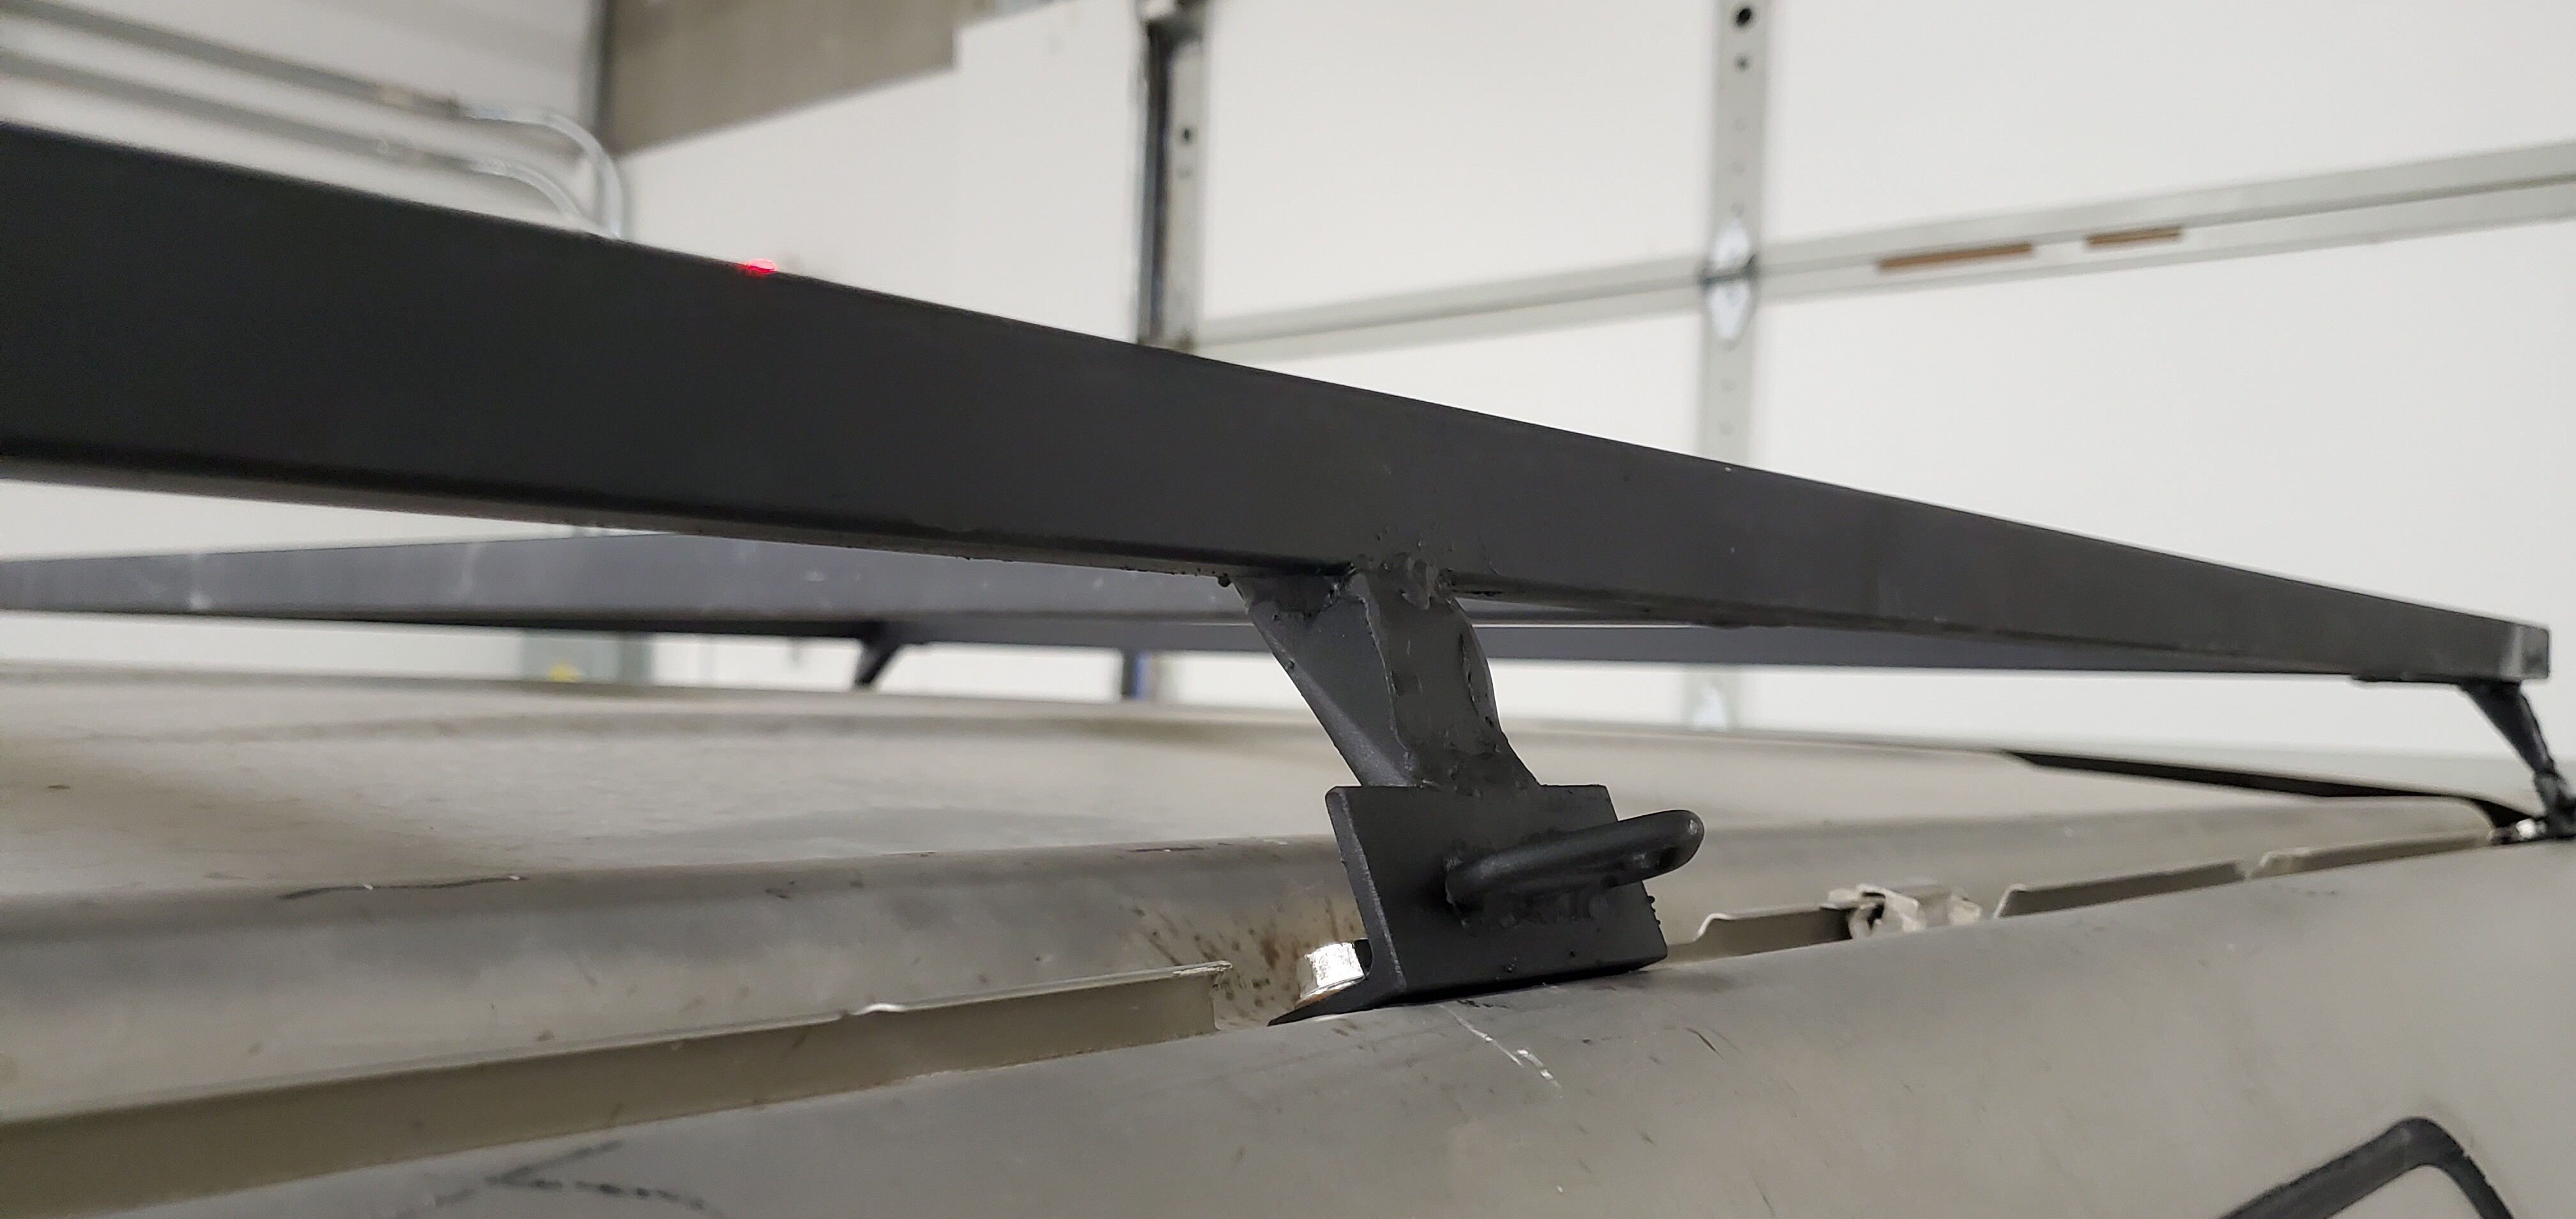
You can see that originally it was just a flat piece of 3/4" * 1/8" steel, bent to connect the rack to the mount bracket. Plenty strong forward to aft, but questionable side to side. The added 3d gussets make it much stiffer side to side. I was a little worried with the RTT, not so worried now, in fact I’m totally confident.
The open end on the corner is actually going to serve as storage for poles for a make shift awning in planning on for later.
2 Likes
It’s installed! I’m not doing that again. As far as I’m concerned the roof rack and RTT are now one assembly 
My desire to keep the roof rack as low to the roof as possible meant that my hands couldn’t fit in to tighten the bolts. Took some MacGyver magic, but I did it. Next time I’ll install the rack onto the tent and then both onto the truck.
I’ll get some pics of it all set up this evening or maybe Friday.
5 Likes
Ok so tonight is my first night giving it a try. I’m just gonna say, the pad is insufficient, definitely need to try a thicker one.
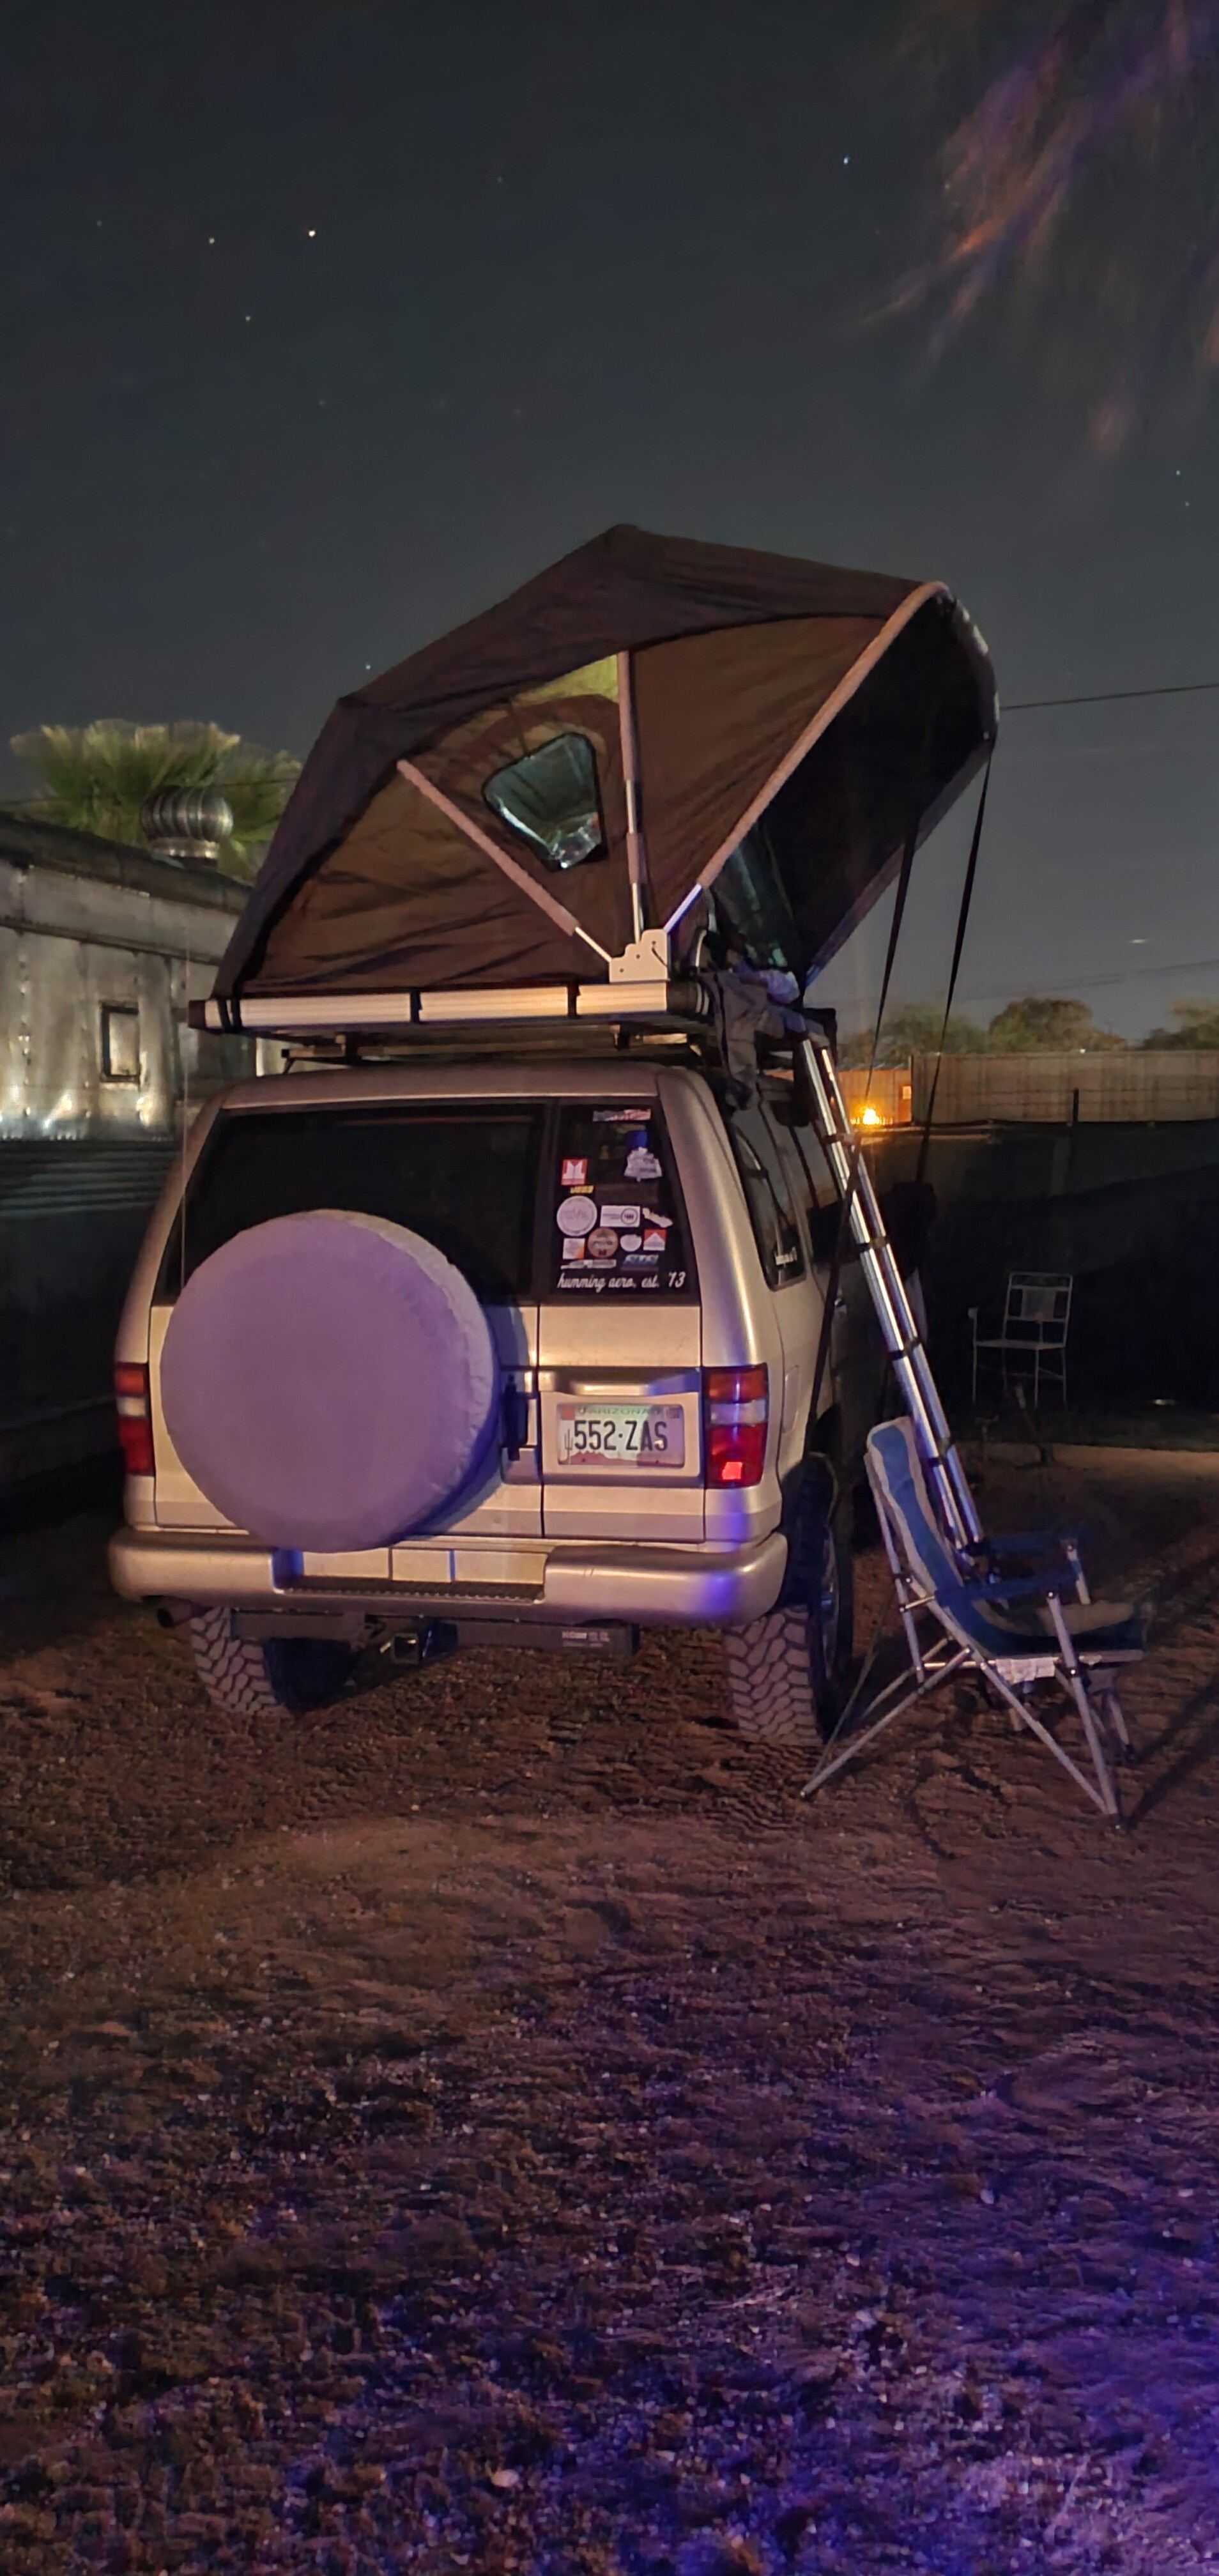
I’m down in Tucson volunteering for the SAE Baja college design competition, and decided to give the tent a try and save a few bucks on hotel. I tried out an app called hipcamp, it’s like airbnb for camping on private land. Ended up at a little place in Tucson where RVs go, but they also allow tent camping, have a pool, bathrooms, and showers. It’s super funky, but I dig it, glad to have a pool to ditch the dust from a day telling college kids why their racecar failed inspection.
My brother loaned me a USB powered fan that is really really nice to have at the moment, the tent has a lot less vents than a normal 3 season tent, which I’m sure is really nice in cooler weather, but it’s a hair on the warm side here, 75 degrees at 930pm. Only other complaint really is that there are just two hooks inside, and no storage pockets for wallet, keys, etc.
4 Likes
The rack improvements make sense with the new pictures. I wonder if I could do likewise. I want a rack/platform, but I don’t see myself needing one enough to justify the $2500 it would cost to buy the ones I like. I’m gonna go back up and take a closer look at your build.
Solid test run. I dig the setup. Quick deployment?
Before you shop fancy RTT mattresses, look into bulk memory foam. I found a couple places where you can pick the thickness, density, and dimensions. I feel like you could build your dream mattress. (think: a firmer 1" glued to the top of a softer 3", enclosed in a case made from, say a trimmed/hemmed queen/king fitted sheet)

1 Like
So I missed saying it in here, I actually bought a 2" memory foam mattress topper off Amazon, and had it in for this trip, but 2" wasn’t thick enough, I need a thicker pad. Might get a 3" one, and then add it to the 2" one and it should be great. Putting actual sheets around it to contain it is a great idea!
Also, the USB fan was a solid choice, I’m getting one.
As long as you have some sort of threaded Something-or-other on your roof to connect to, and it can hold a load, you can build a roof rack for $100ish, and some borrowed tools.
1 Like
Good to know! Thanks!
1 Like
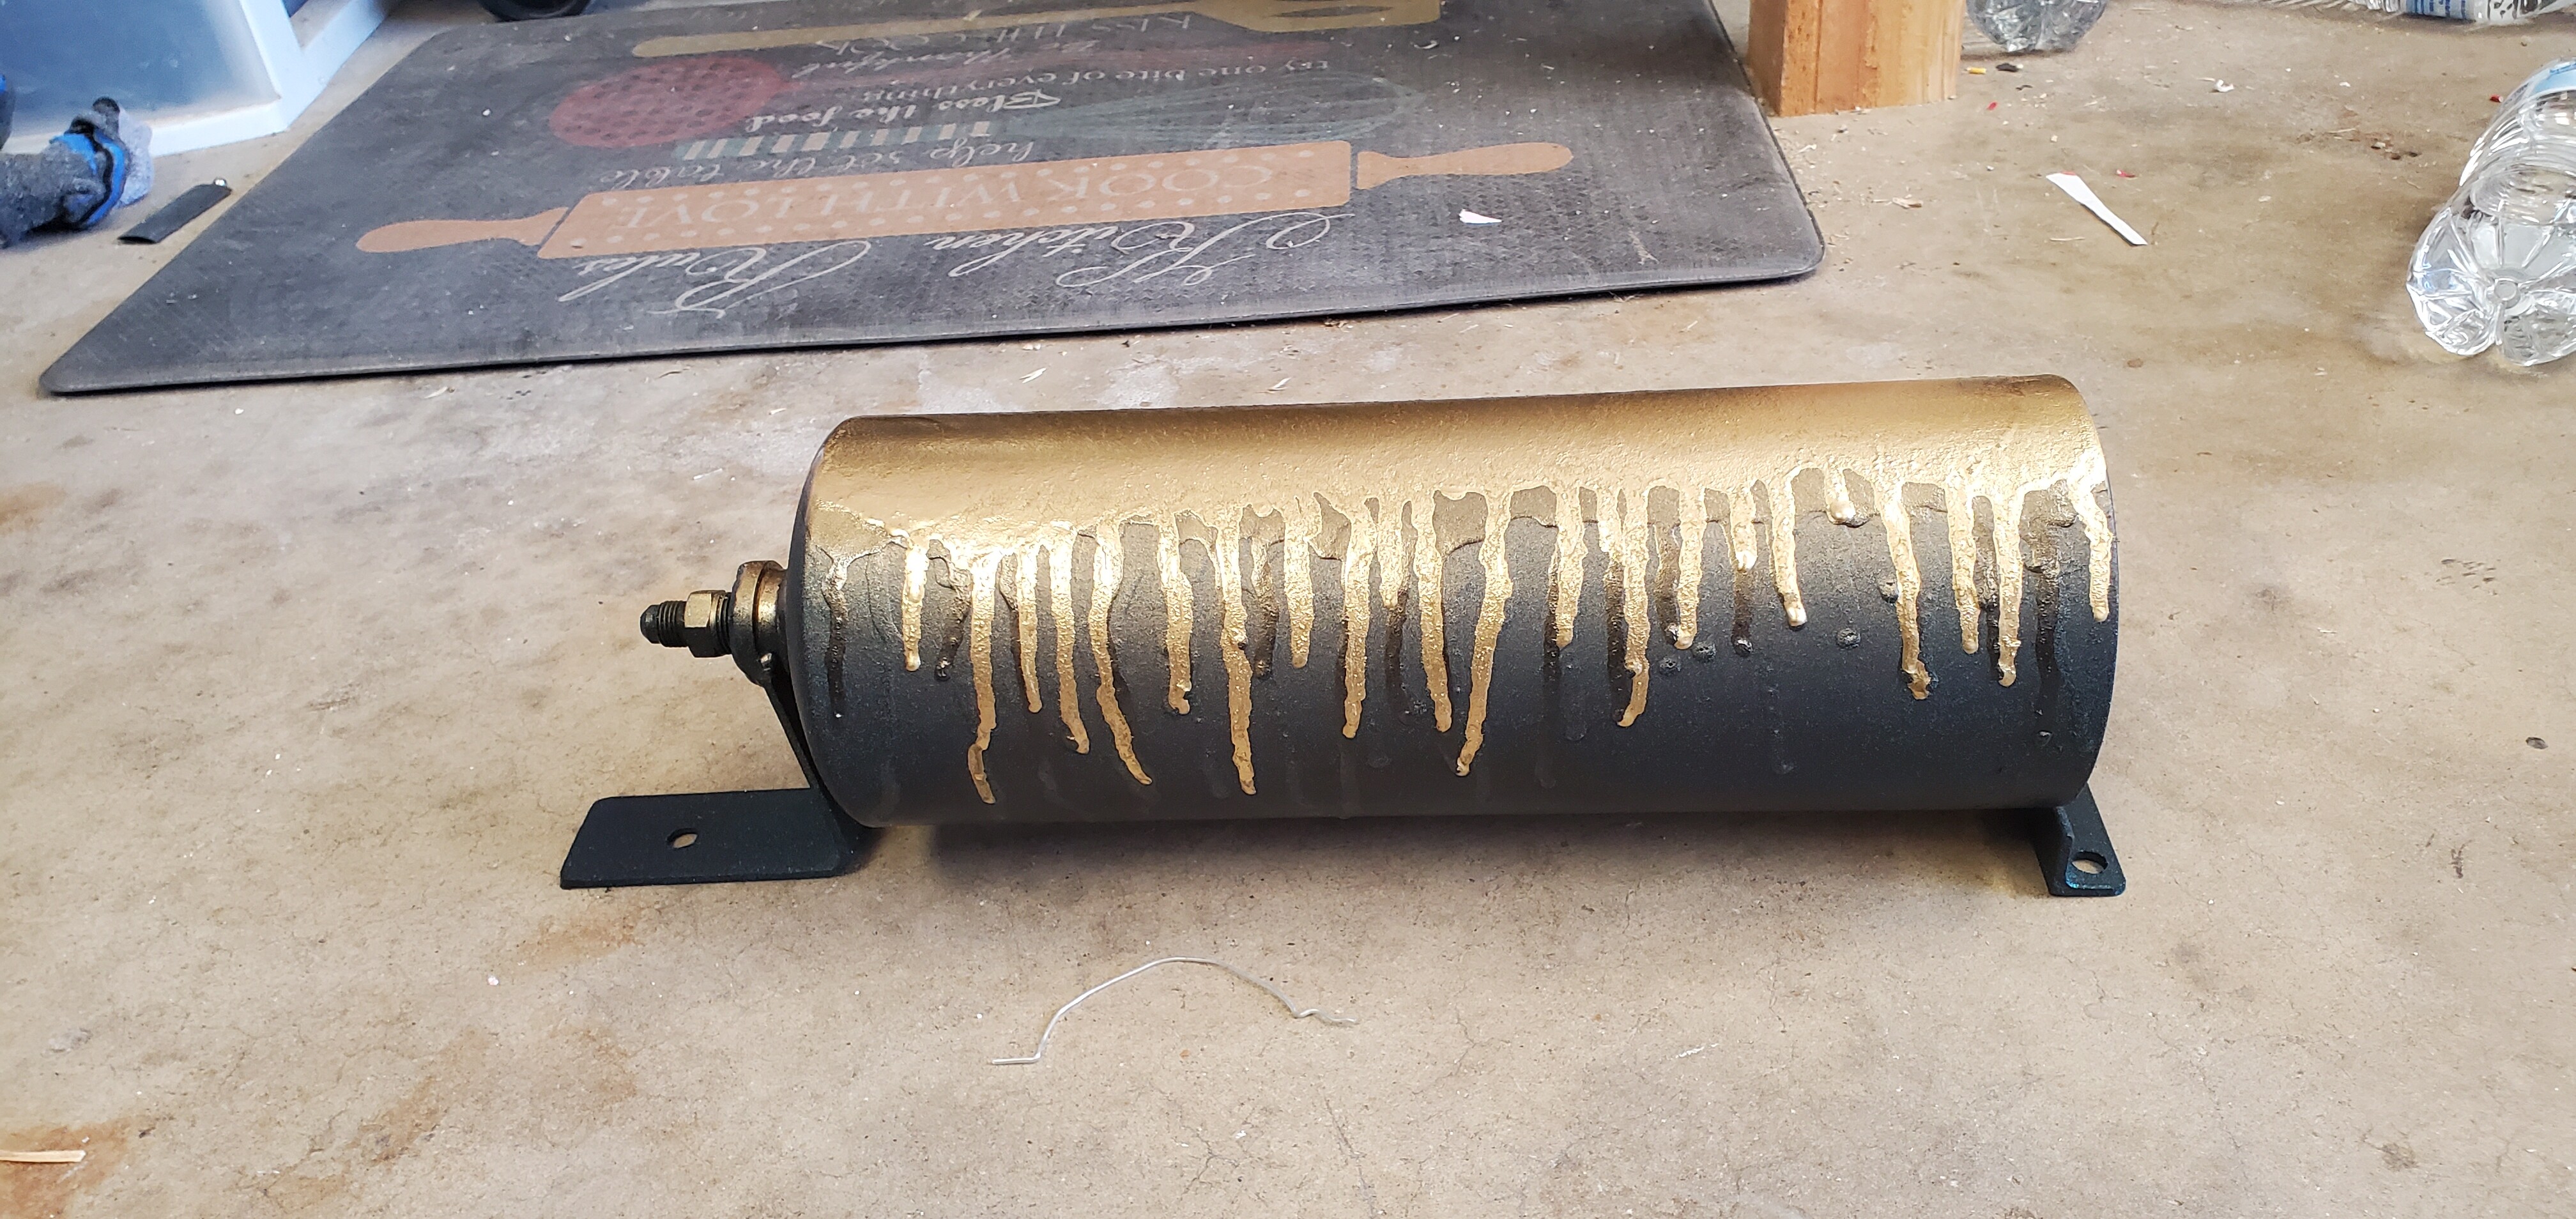
Finished the air tank. The fitting in the end was sacrificial to protect the threads.
The two brackets will keep it off the frame, and the bent front bracket will accommodate expansion of the tank, both from pressure and temperature.
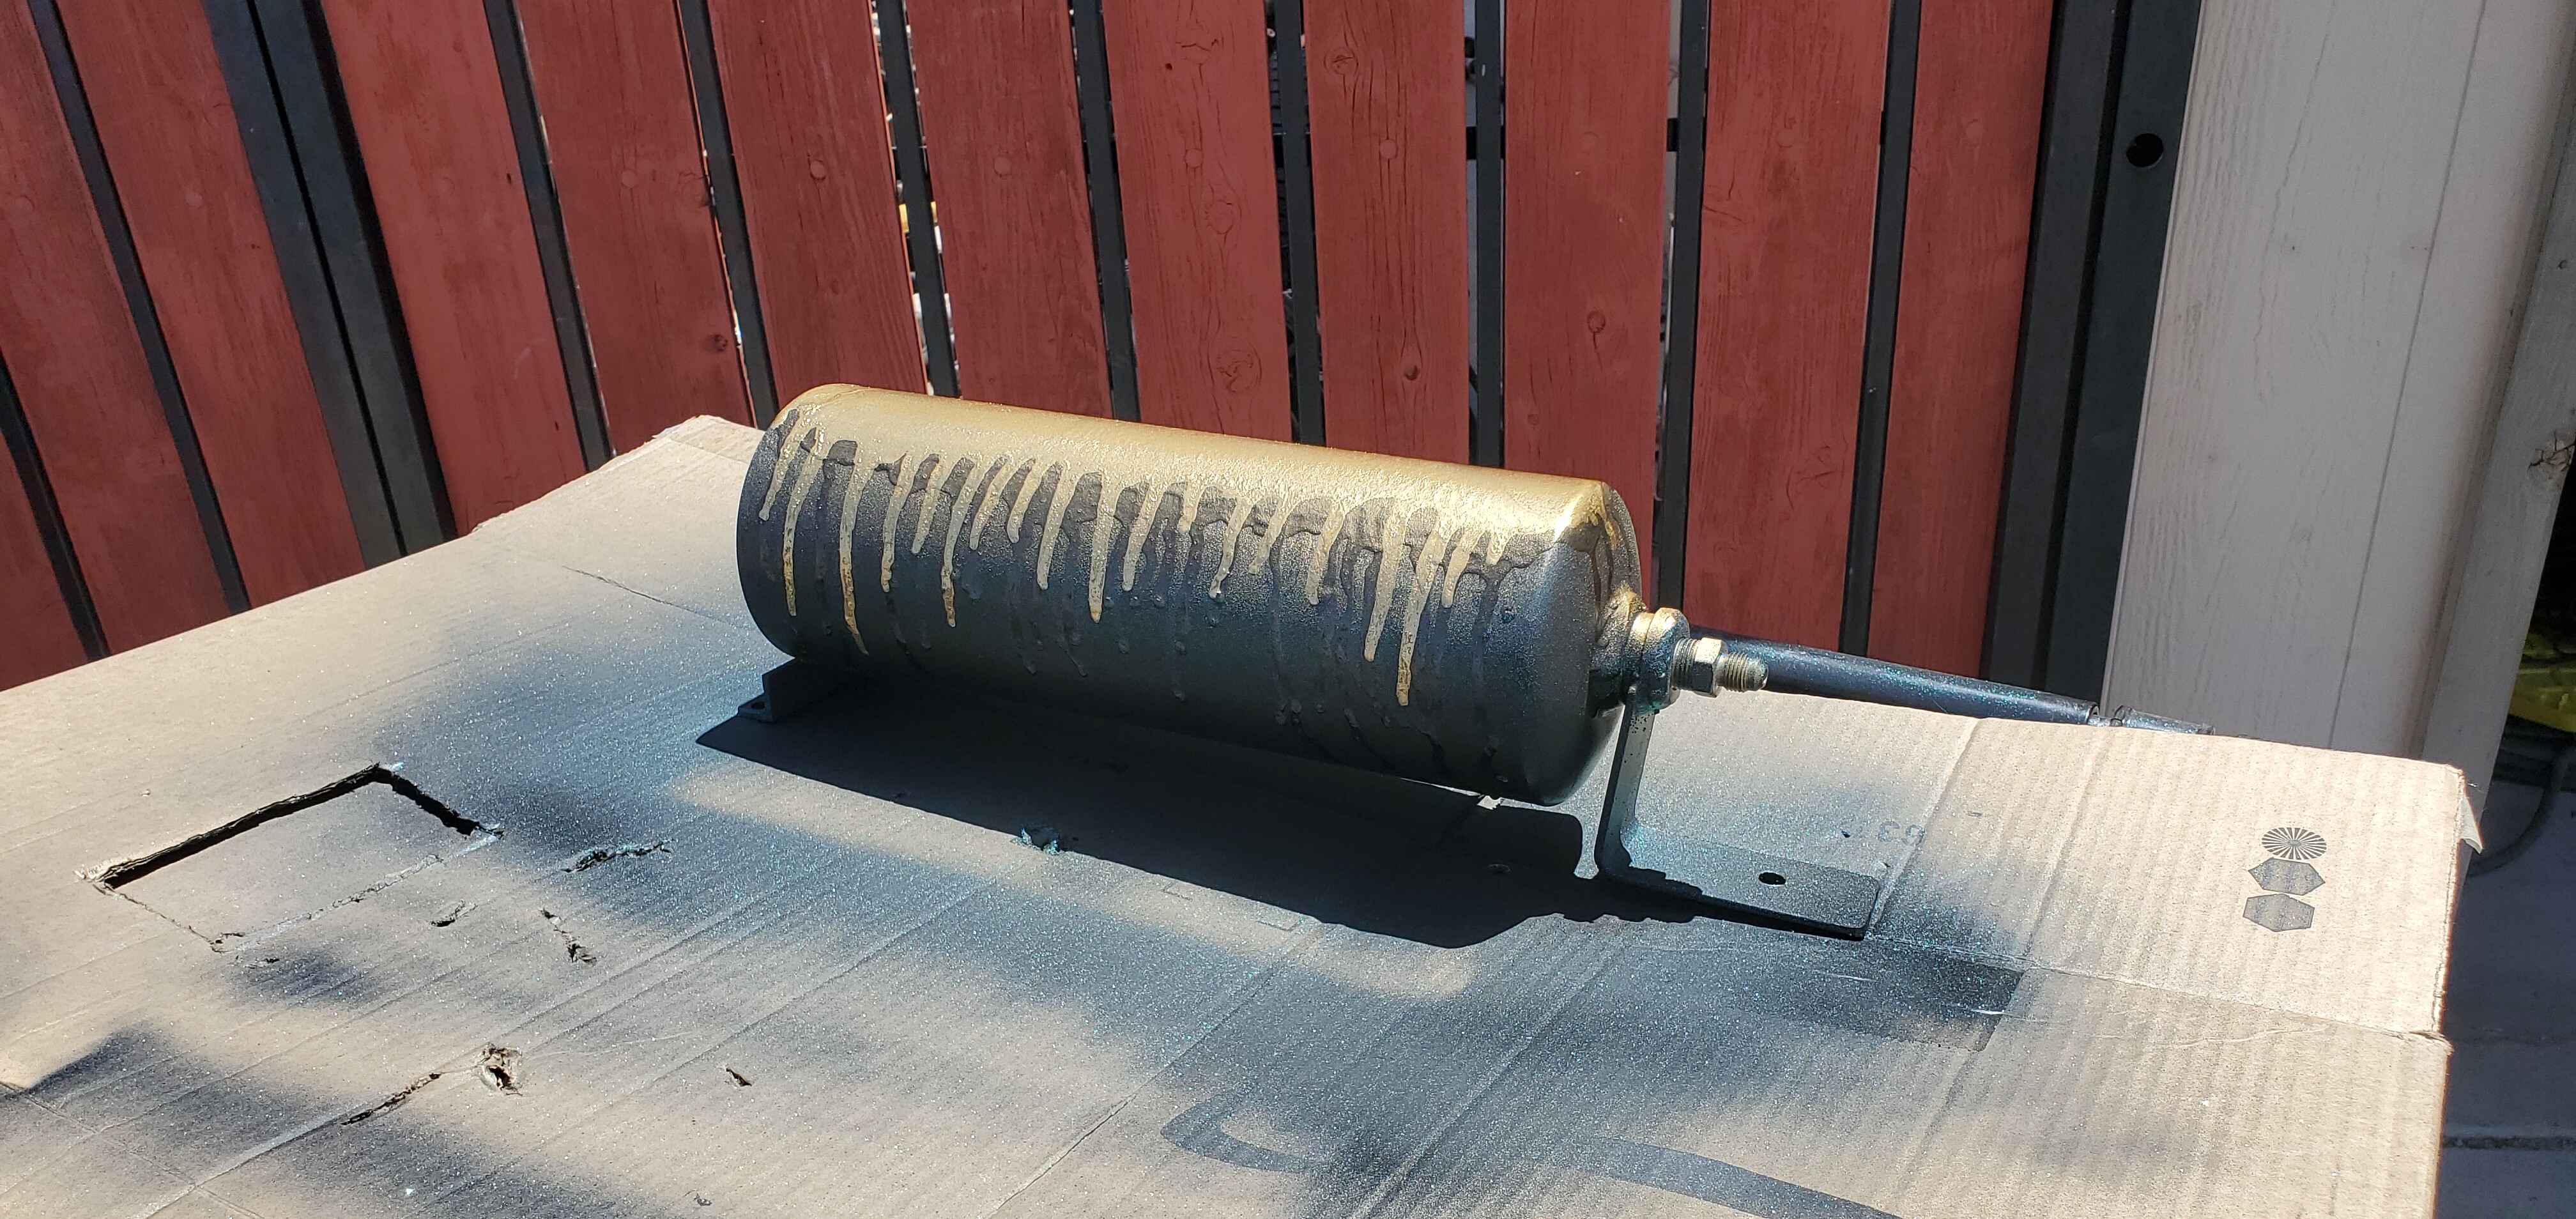
Since it’s under the frame I went with spray paint I already had on hand:
Satin black, and then a glitter coat, followed by thick runny layers of the black and gold.
Because why not.

3 Likes
Love it!
Be careful with the layers of mattress… just ensure you can still get the tent closed and cover zipped. Different platforms have different tolerances for what theyll fit. I’ve had one where you can leave sleeping bags up there. And ice had one where a cotton sheet might be the thing that keeps it from closing. Lol. Just something to keep in mind.
3 Likes
Yeah this one has plenty of room still, even with the 2" pad
3 Likes