Oh wow. Situations like those are my downfall. You chase weak link after weak link. You put in hour after hour to repair it. Only to have it fail anyway, leaving you stranded on the side of the road. That’s agony, my dude.
Good to see you smiling in those pictures.
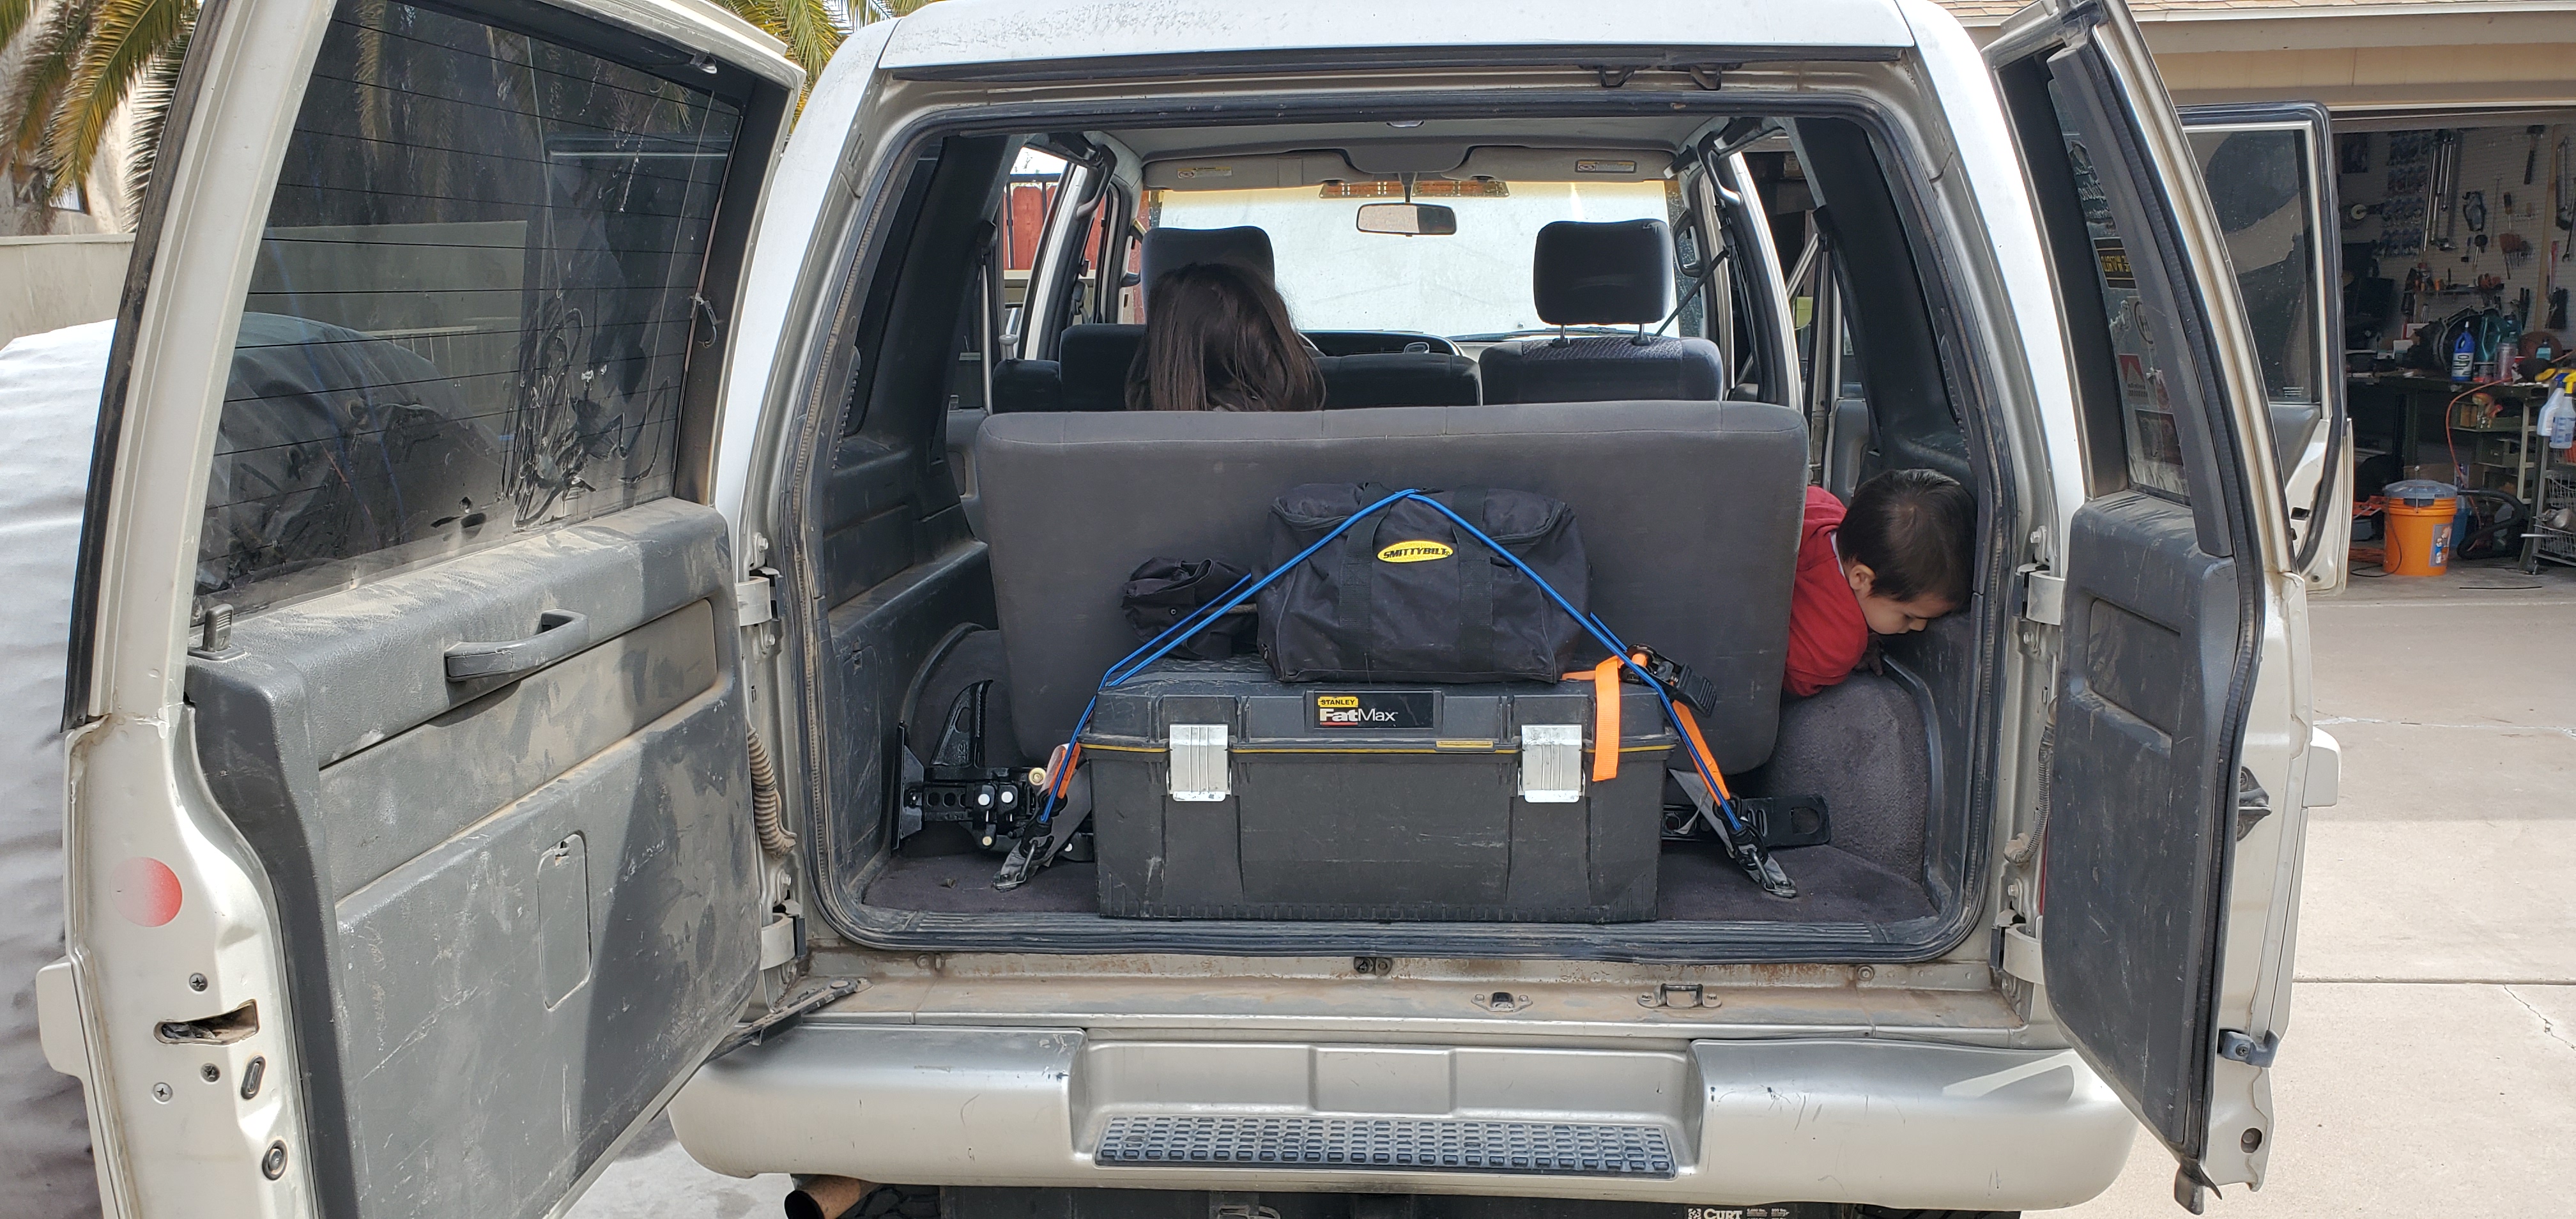
Did you leave the truck unsupervised while you went for tools? I’d be wary of passersby. Seems like anything not actively supervised is generally looted and/or destroyed out in the bush round these parts.
It could be agony, but I actually had a lot of fun, it wasn’t in a place so desolate that running home was a nightmare, part of why I was a little more relaxed in what tools I brought. It was only about 45 minutes to an hour from where I broke down to my door. The fix was pretty easy as well. Cut two bolts, push the diff out of the way, drive home. No towing needed. Those aspects kept the stress low.
Yes, I was worried about it, but nobody messed with it. I think for three reasons:
one, the trail was extremely busy so nobody really had my rig all to themselves with no witnesses
two, I just wasn’t gone that long, I was back to it within 3 hours from when I left it
three, it’s an isuzu, they probably felt bad for me and my dumpy little ride
Putting this here for myself more than anything, here’s a list of every dumb little thing I can think of that is wrong with the car that needs done, and maybe a few things that I just want to do.
Need to do:
O2 sensor needs replaced
DS valve cover gasket
Figure out what the heck is up with my alignment and learn to align it myself.
Front diff bushings
Rear passenger door lock assembly sticks
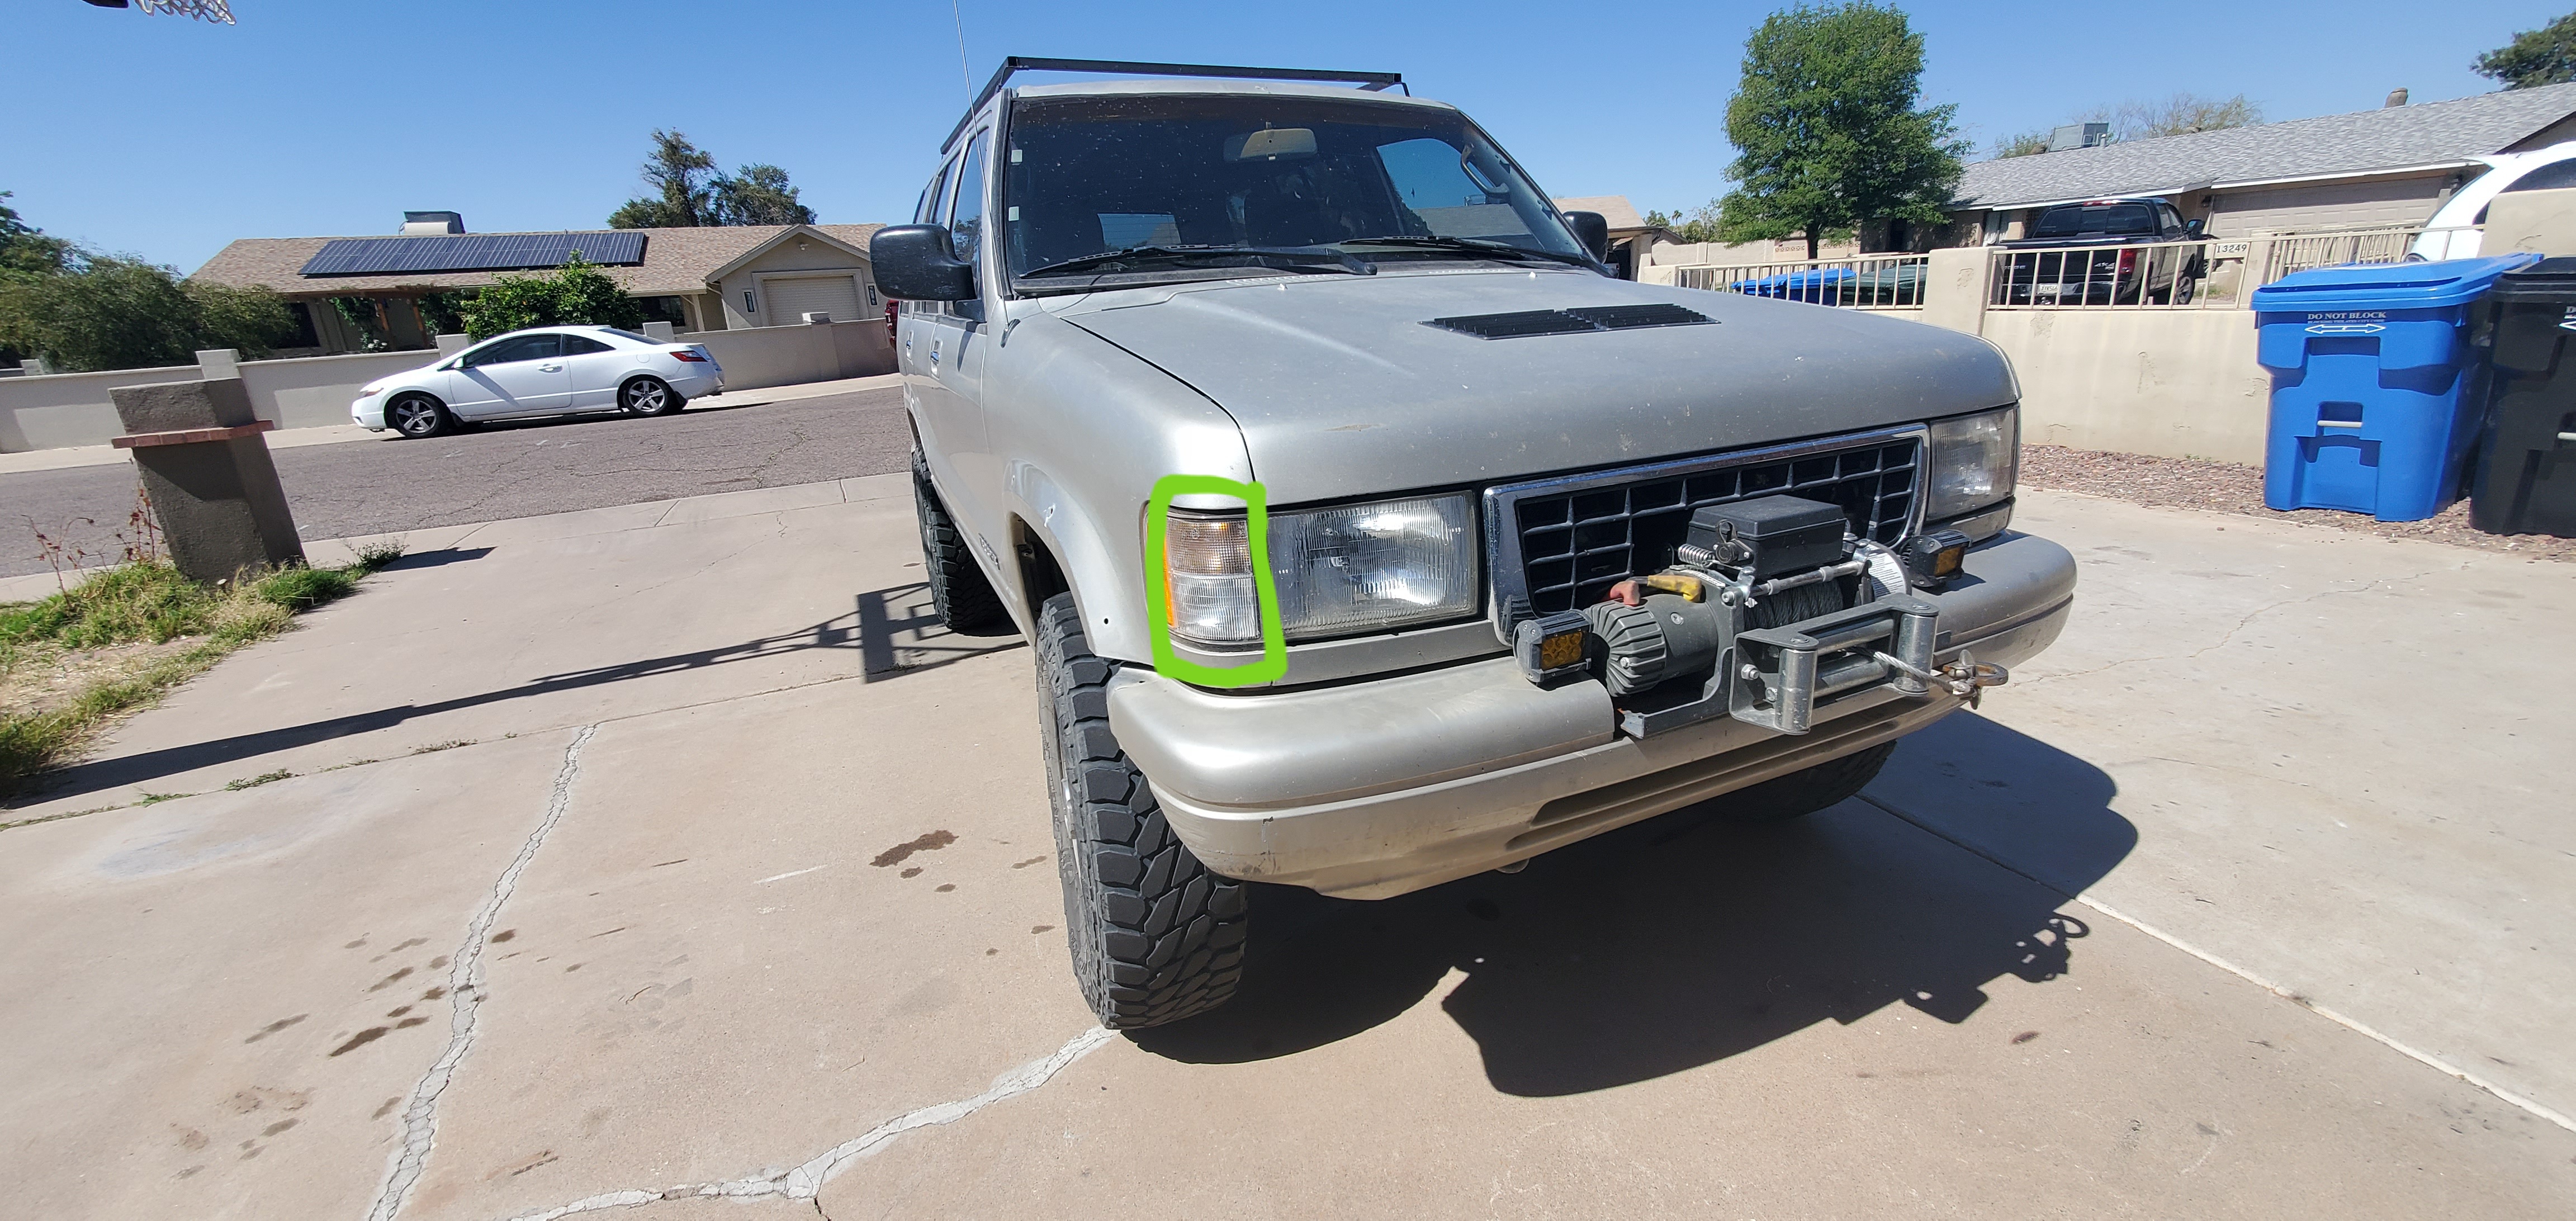
Front passenger headlight wiring issue
Rear door lock assembly sticks
AC tensioner pulley assembly replaced
Front passenger window weirdness
Bent rear driver trailing arm
Redo rear seat knobs
New 3rd row seat bolts
Exhaust manifold gaskets both sides
Reinstall front sway bar
Want to do:
Redo wiring on lights and fans with arduino and relay set up
Add tube to front bumper, trim sheet metal under head lights
Add switch for corner lights
On board air system
Battery cut off
Humvee style snorkel
Diy Vortex particle separator
Quick disconnect end links
Skid plates
High capacity gas tank
have you tried disassembling, cleaning, and lubing up with silicone or dry graphite lube? This might be a good project for before it gets hot. A nice, Saturday morning project. Combine it with about $100 in Noico sound insulation, you will likely walk away feeling pretty good about things, imo.
This was another big improvement I had done recently. The pulleys are pretty cheap on Amazon; maybe $20? Fezzik is super silent now, except for the lifter tick.
This one speaks to me. I’ve got quite a bit of wiring work ahead of me and haven’t figured out when I’m doing any of yet. Not sure how much Isuzus and Mitsus have in common—other than being world class, global platforms—but maybe we can compare notes.
My need-to/want-to list of wiring projects, in order from simplest to trickiest:
add signal repeaters to front fenders
add switched, manual override for electric AC fan
tie all forward lighting to factory high beam switch
(but also setup to work independent of high beams)
I’ve picked up some advice on that last part, but I’m still chewing on it.
The corner lights are actually super bright and really nice when offroading, but they only turn on when you have the turn signal on, and only on the side you are indicating.
I want to wire them to a switch so I can force both on, the plan is to put a relay in line that is on the normally closed side connected to the factory wire, with a separate 12V supply wired to the normally open side. That ought to keep anything funny from going on with the rest of the harness.
Could you “just” bypass the hazard flasher? If that circuit makes all four corners come on, I’m thinking a switch that allows power to jump the flasher relay would let you turn them all on or off at-will. Maybe it could be a small toggle switch next to the factory flasher button?
I think if I did that it would hold the torn signals on too, which isn’t the intent.
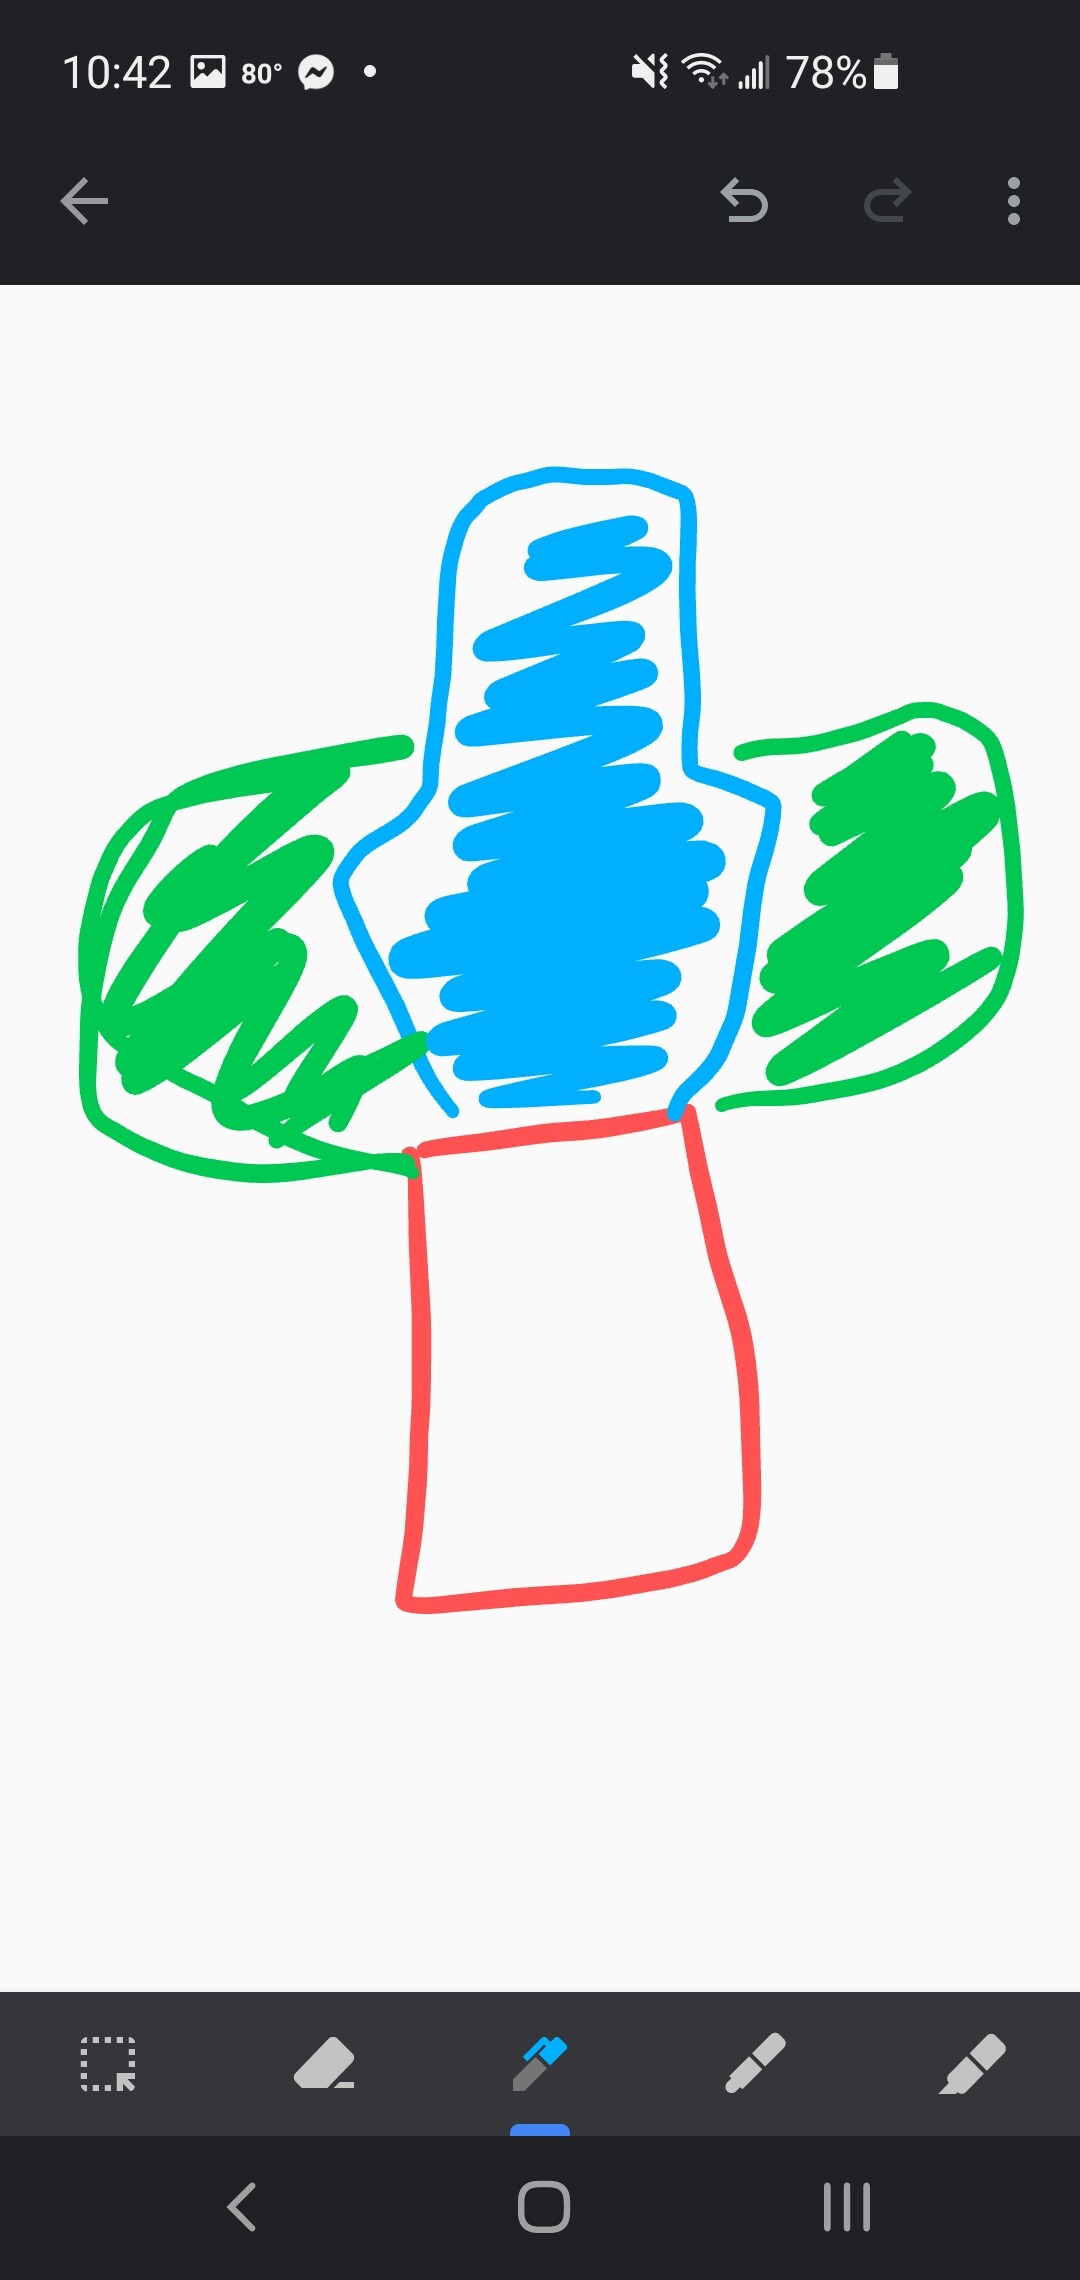
The corner lights are separate from the turn signals. The turn signals are orange, the corner lights actually illuminate a very wide area to the side with white light. They are awesome flood lights actually.
The blue is a guesstimate of what the normal headlights do, the green shows what the corner lights do. They are white light, not tinted.
At any rate, I have a pdf of the factory wiring diagram, I just need to drive on and see what the best way is, but I know I can do it with a relay as described.
I’m thinking I’m going to do what I should have done three years ago and actually pull the motor on the trooper, clean and fix EVERYTHING in the front of the truck, starting with exhaust manifold gaskets, and valve cover gaskets, and then go through all the steering and suspension everything to make sure it’s absolutely perfect, and (maybe) do the limited slip diff up front that I was wanting to do.
Sometimes we just have to bite the bullet and take our lashes. That’s for sure. When are you thinking about doing this job? I still don’t have a vaccination date, but if you wanted to do this during the summer for some reason, let me know. I’ll make plans to lend a hand. I know you’re handy, but sometimes having a second set of hands can make it a lot easier.
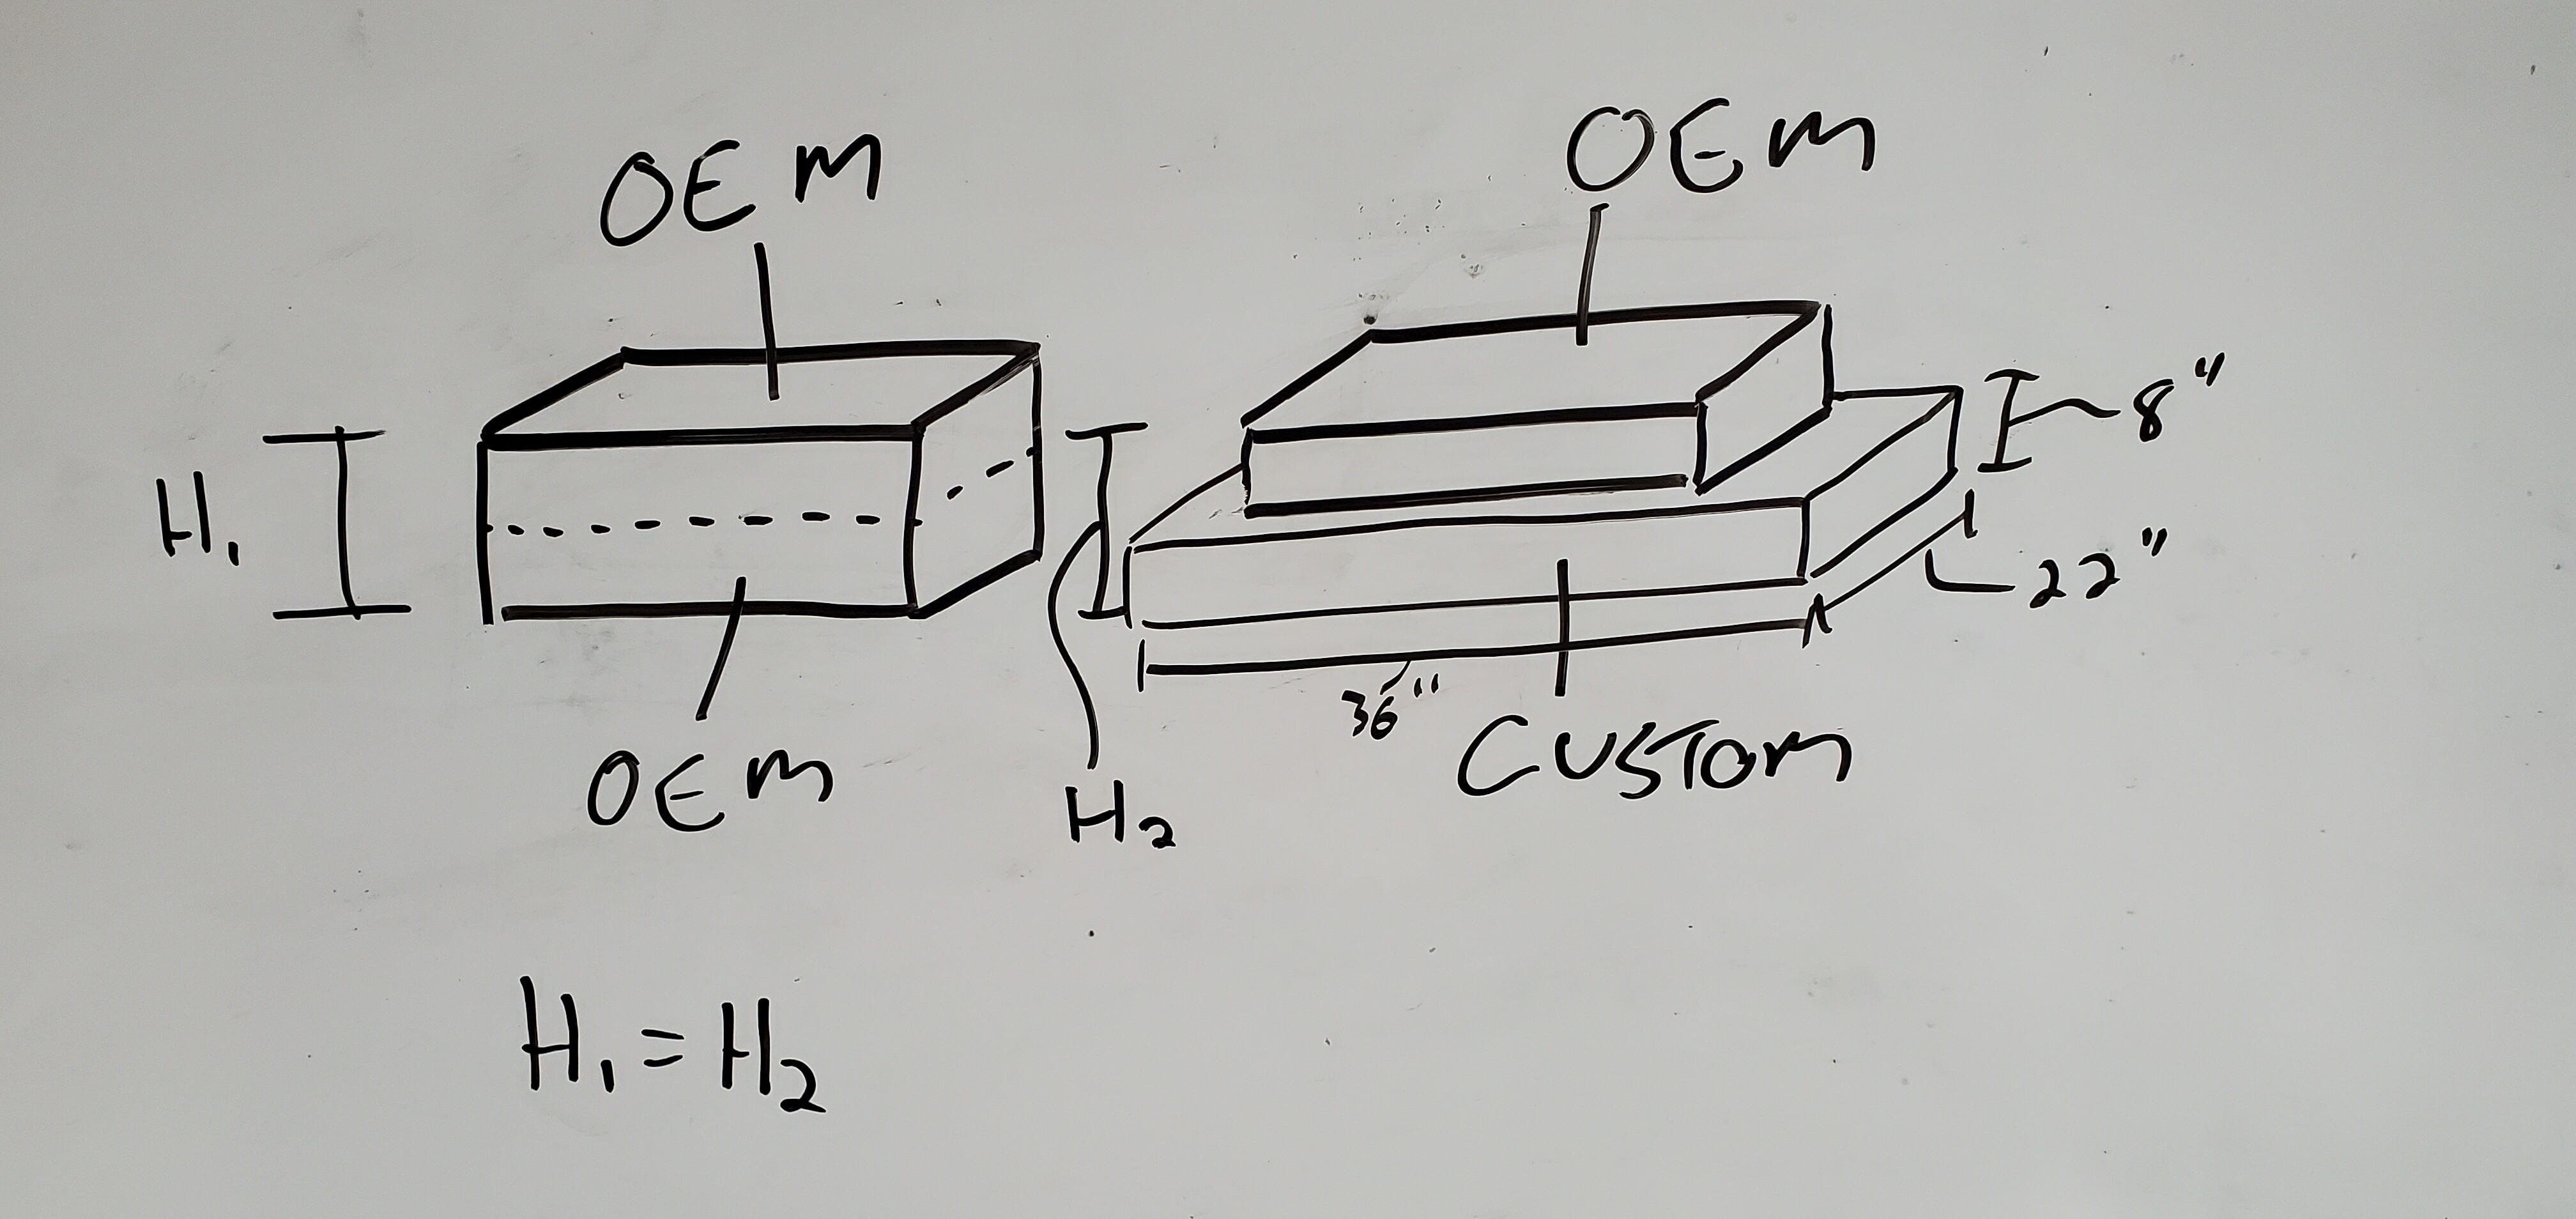
Crazy plan for extended fuel range. Actually not that crazy, a dude already did it. He made a custom tank that took his capacity from 22 gallons to 35.
He sliced the oem tank in half, used the top half, but made a custom bottom half. The really beauty is it actually raises the tank up as well to increase ground clearance (the tank hangs lower than id like in the rear). This means I don’t have to muck around with fuel pump and filler neck mounts and sealing.
Should be a huge help in achieving the needed range for the north rim traverse.
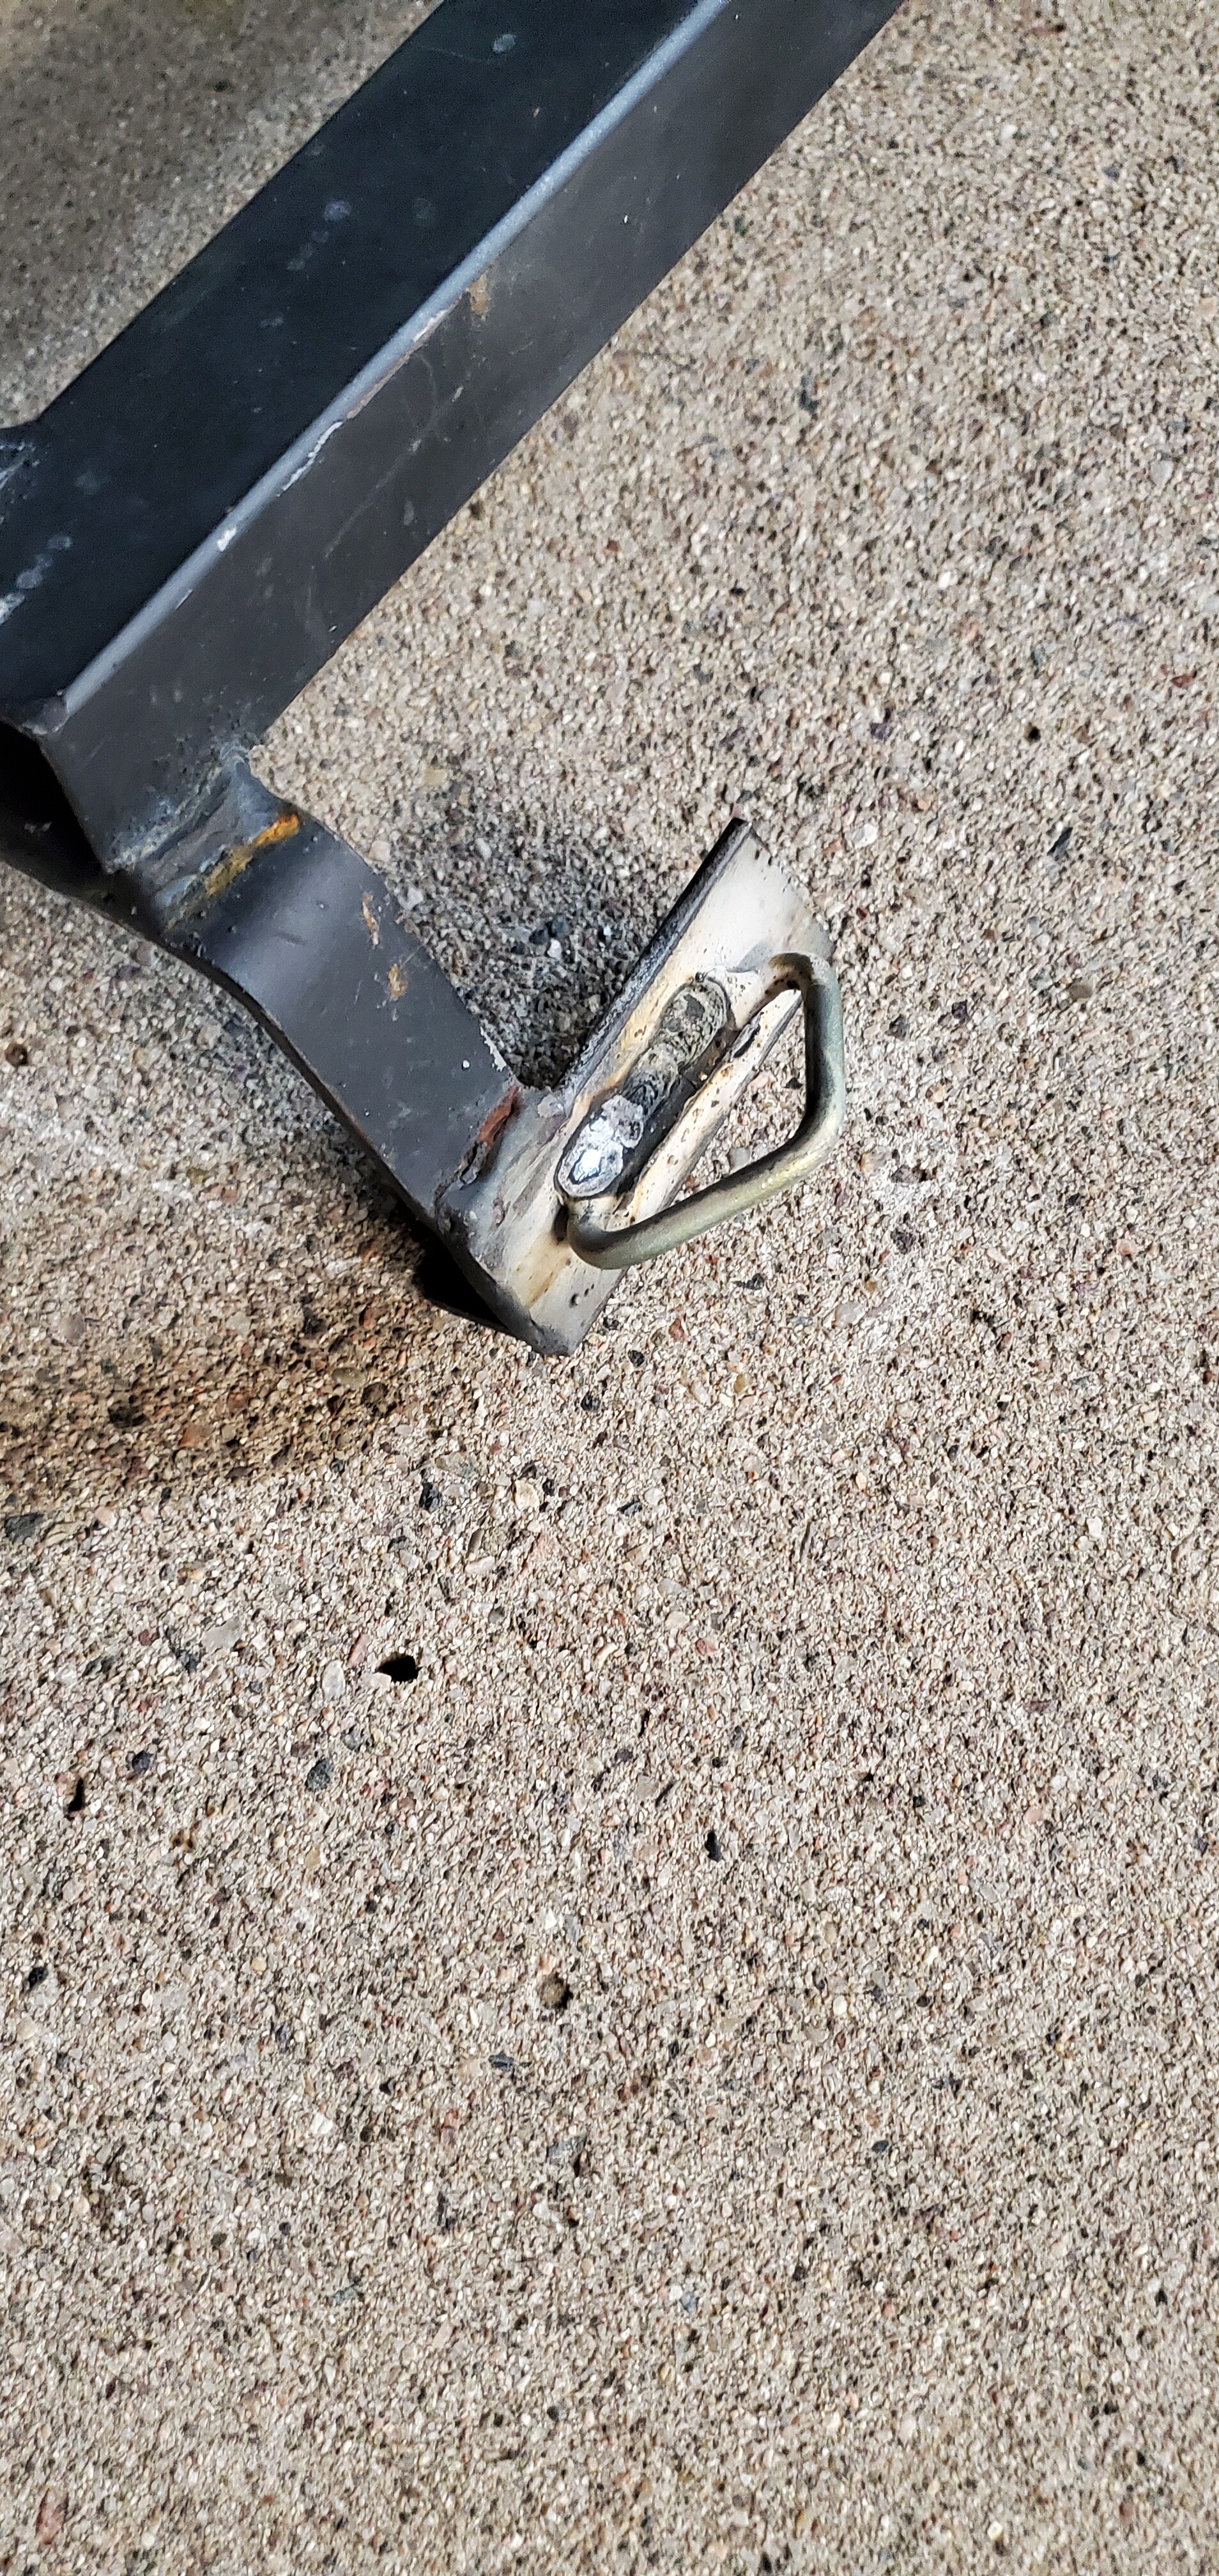
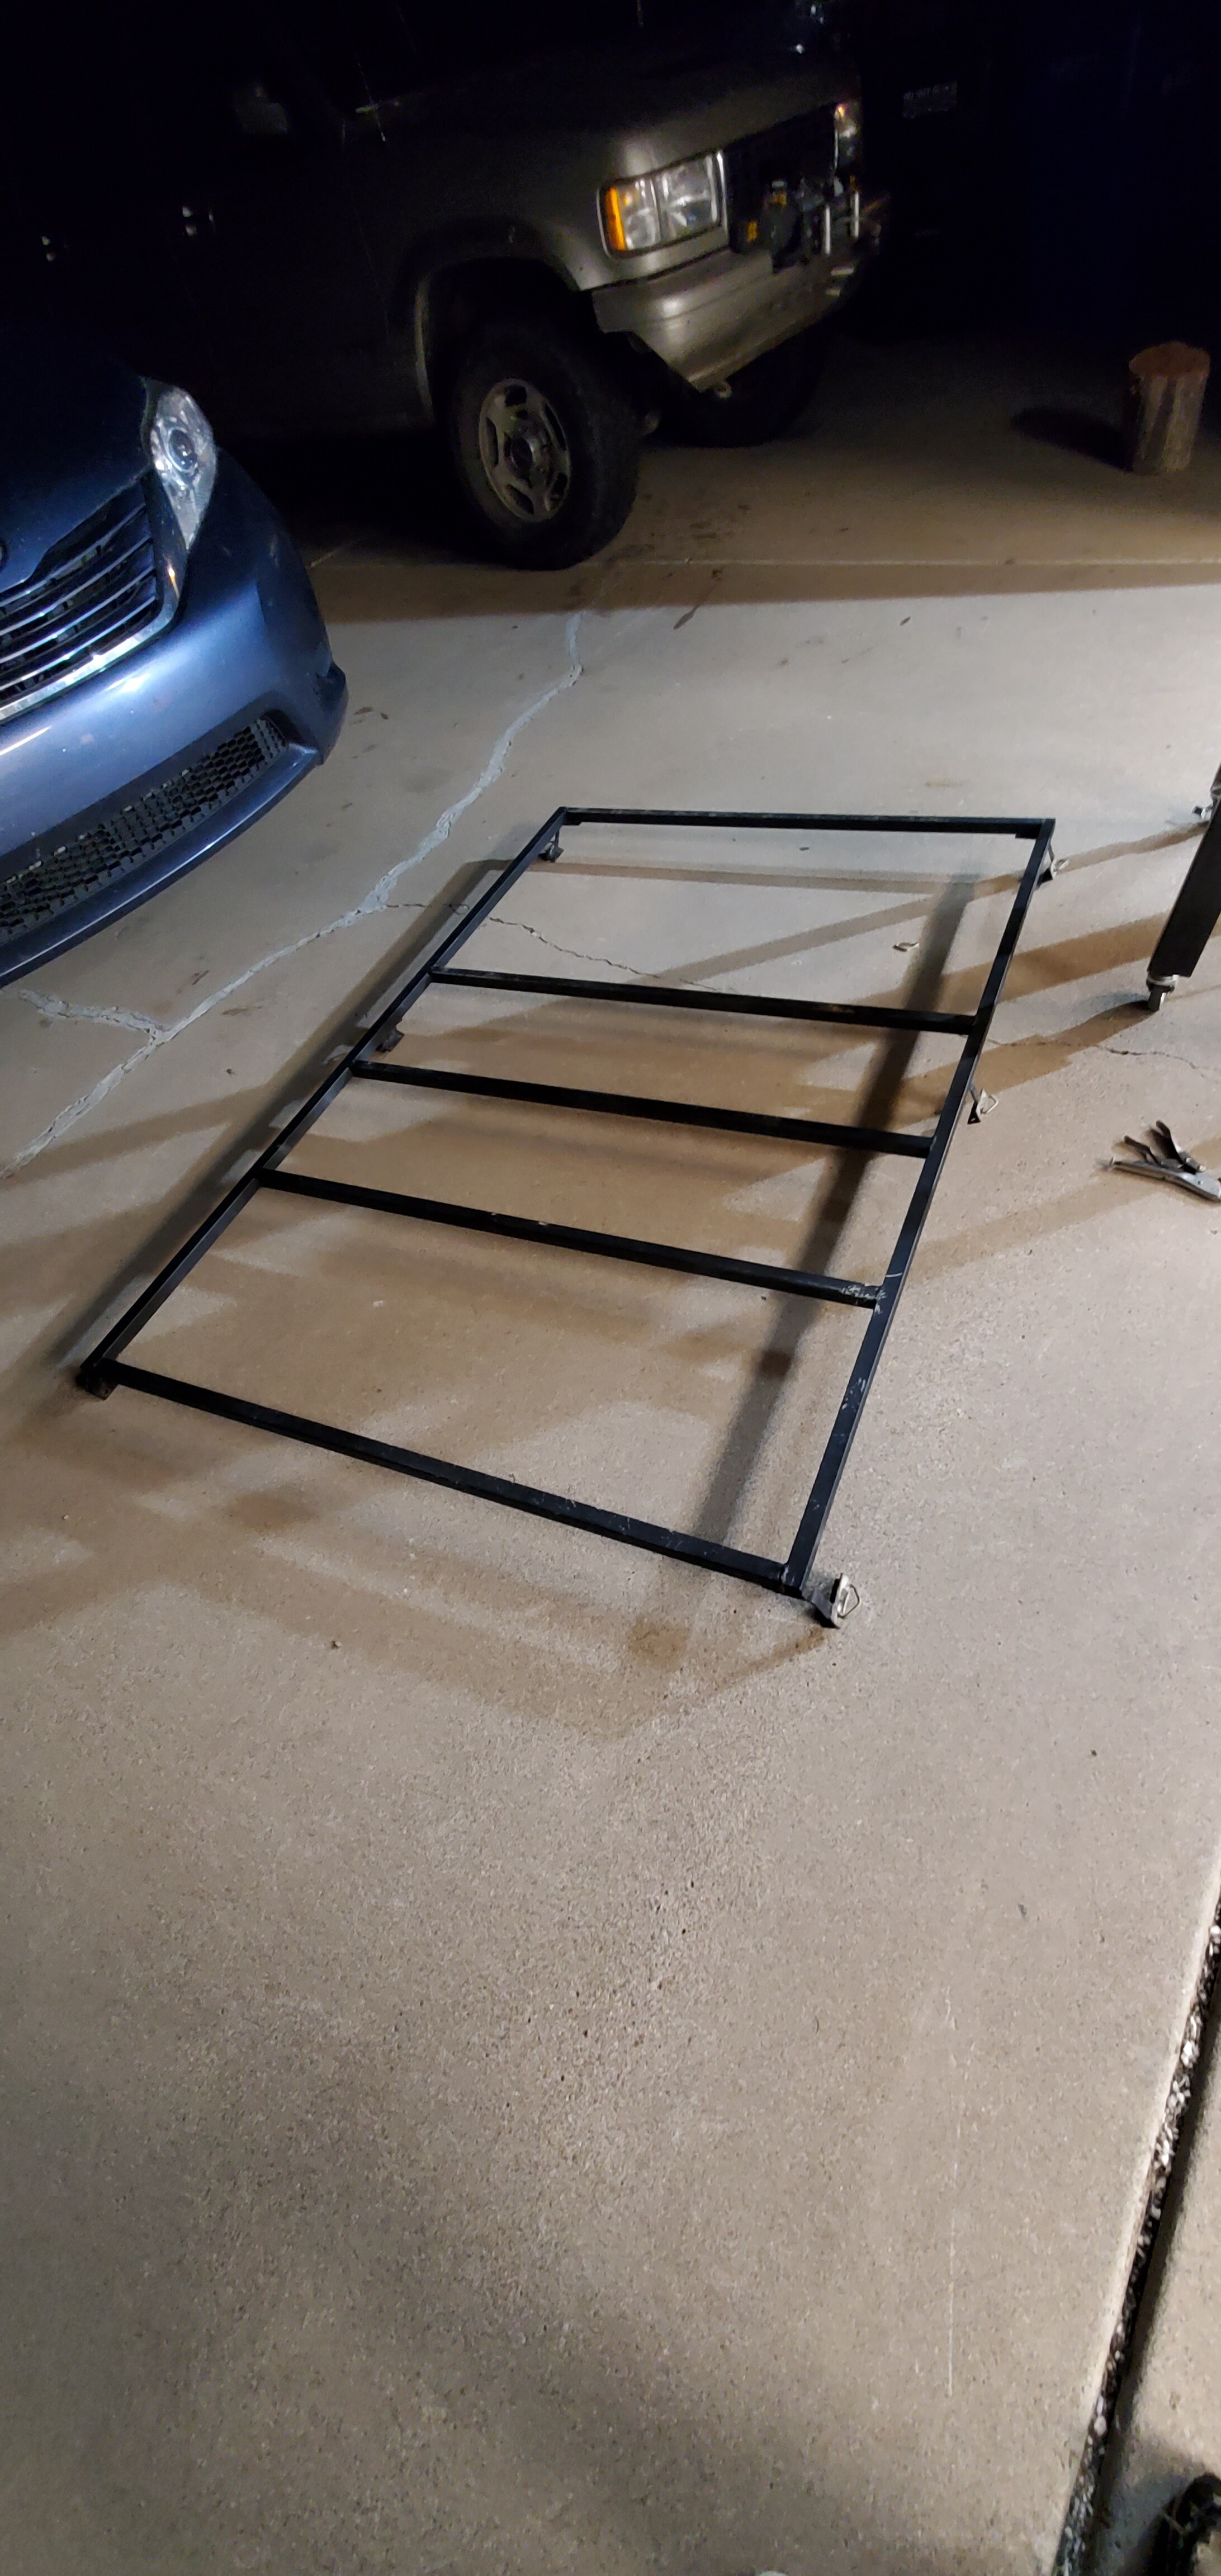
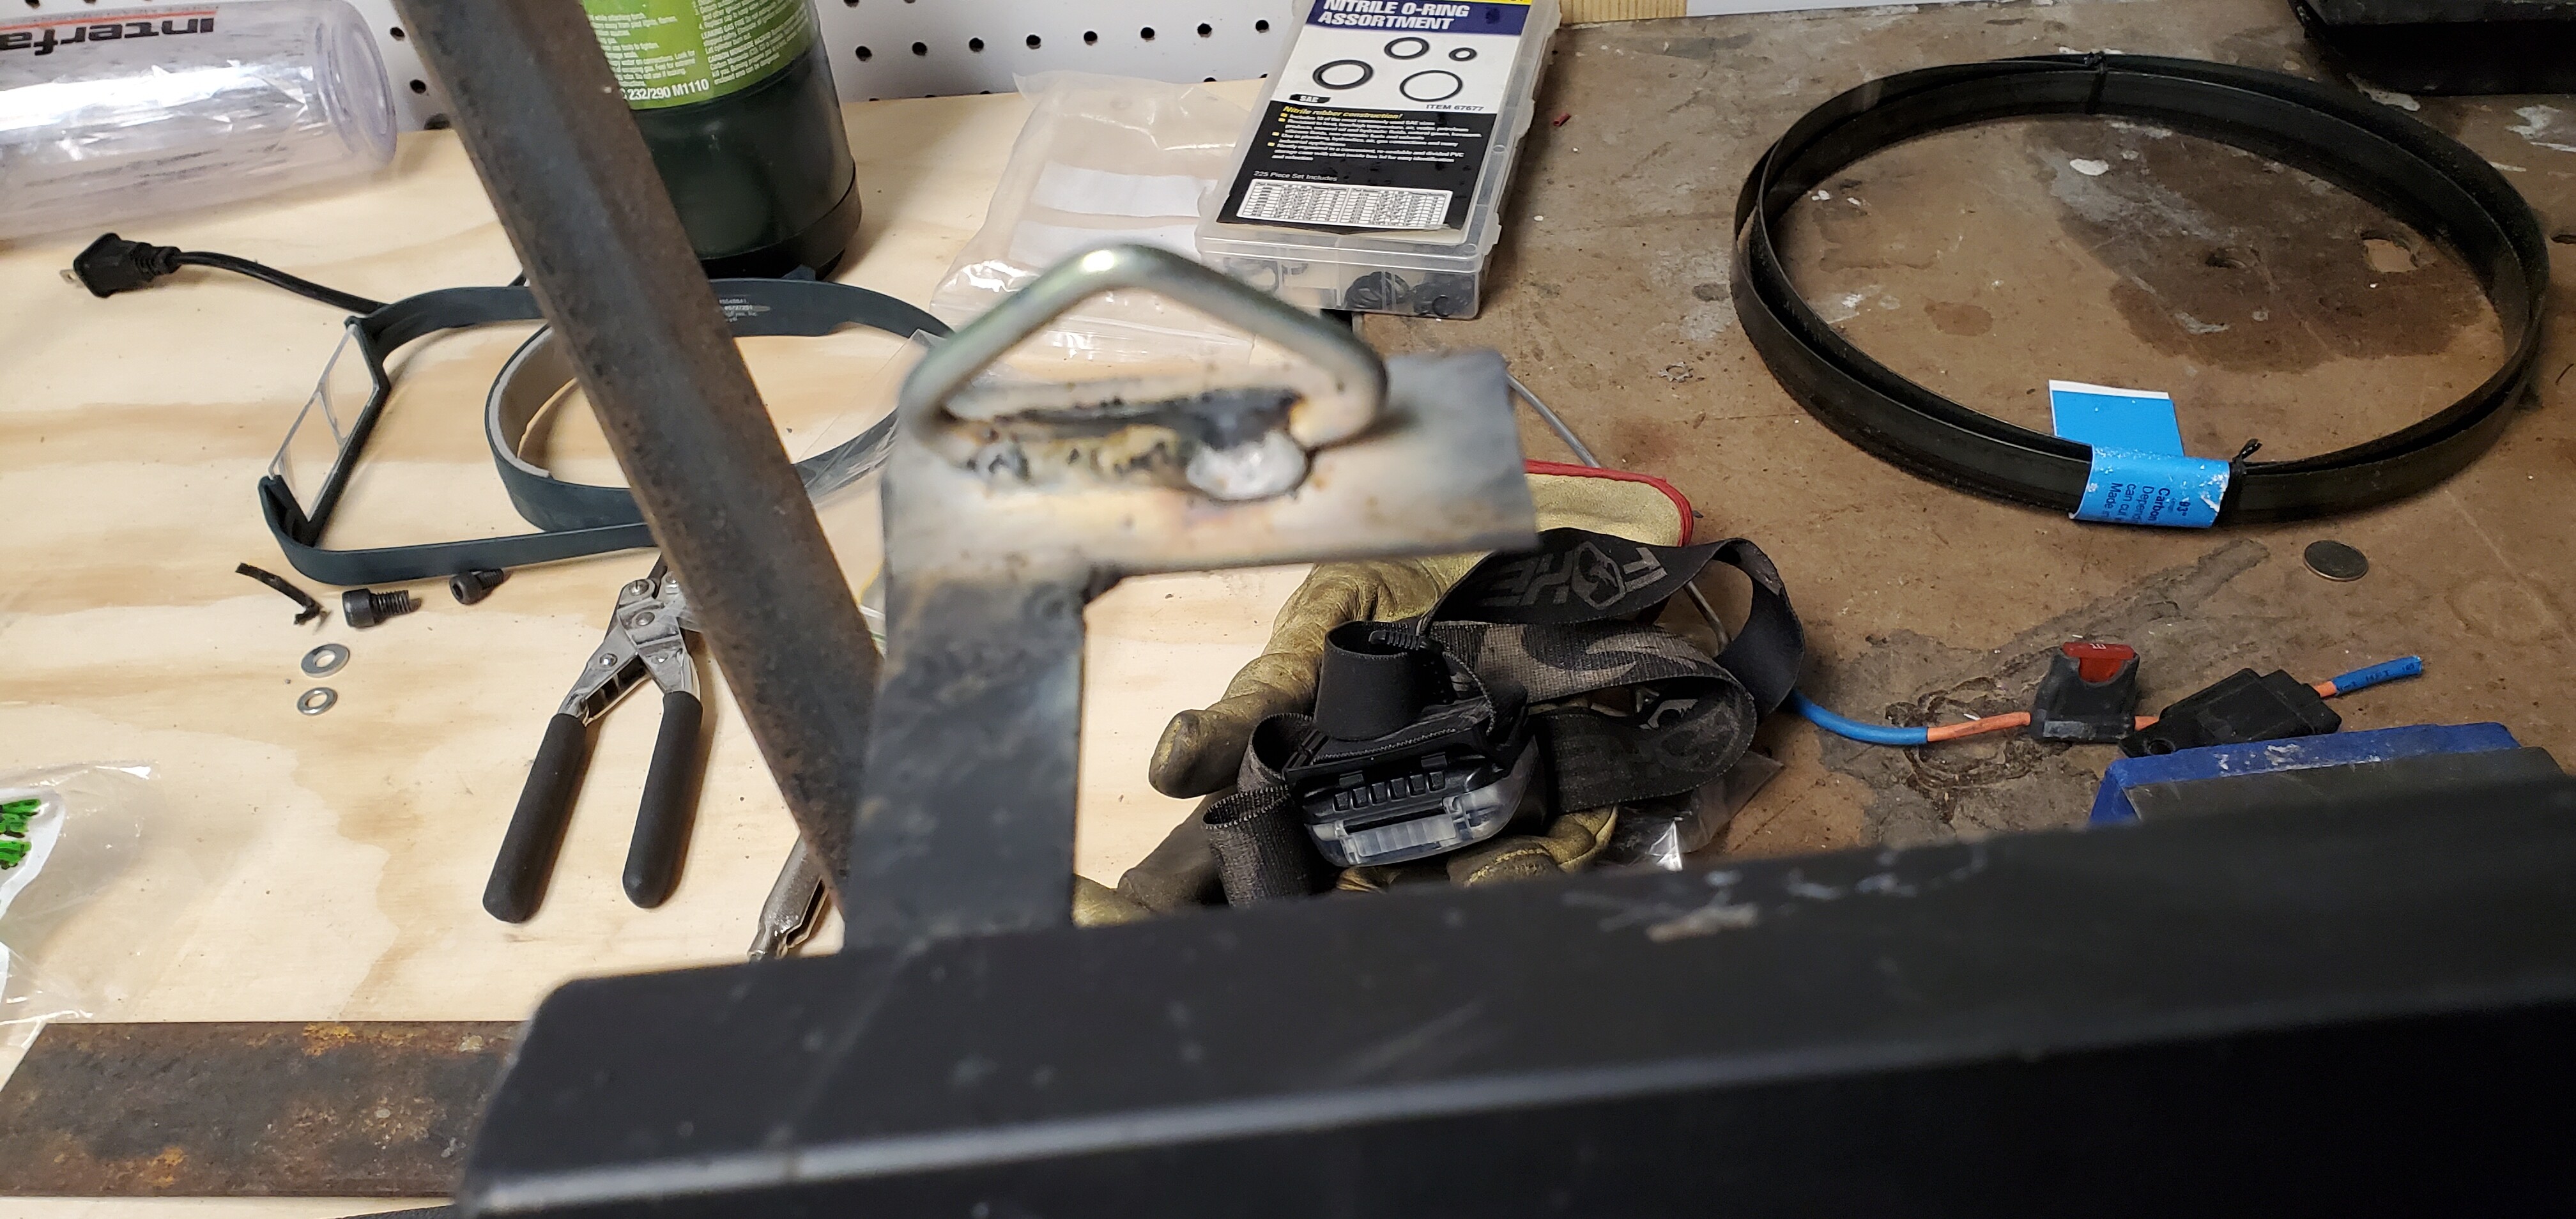
Little project tonight, the roof rack was missing good tie down points. We recently replaced the top on our trampoline so I stole a couple of the loops on the discarded top to add as attachment or tie down points.
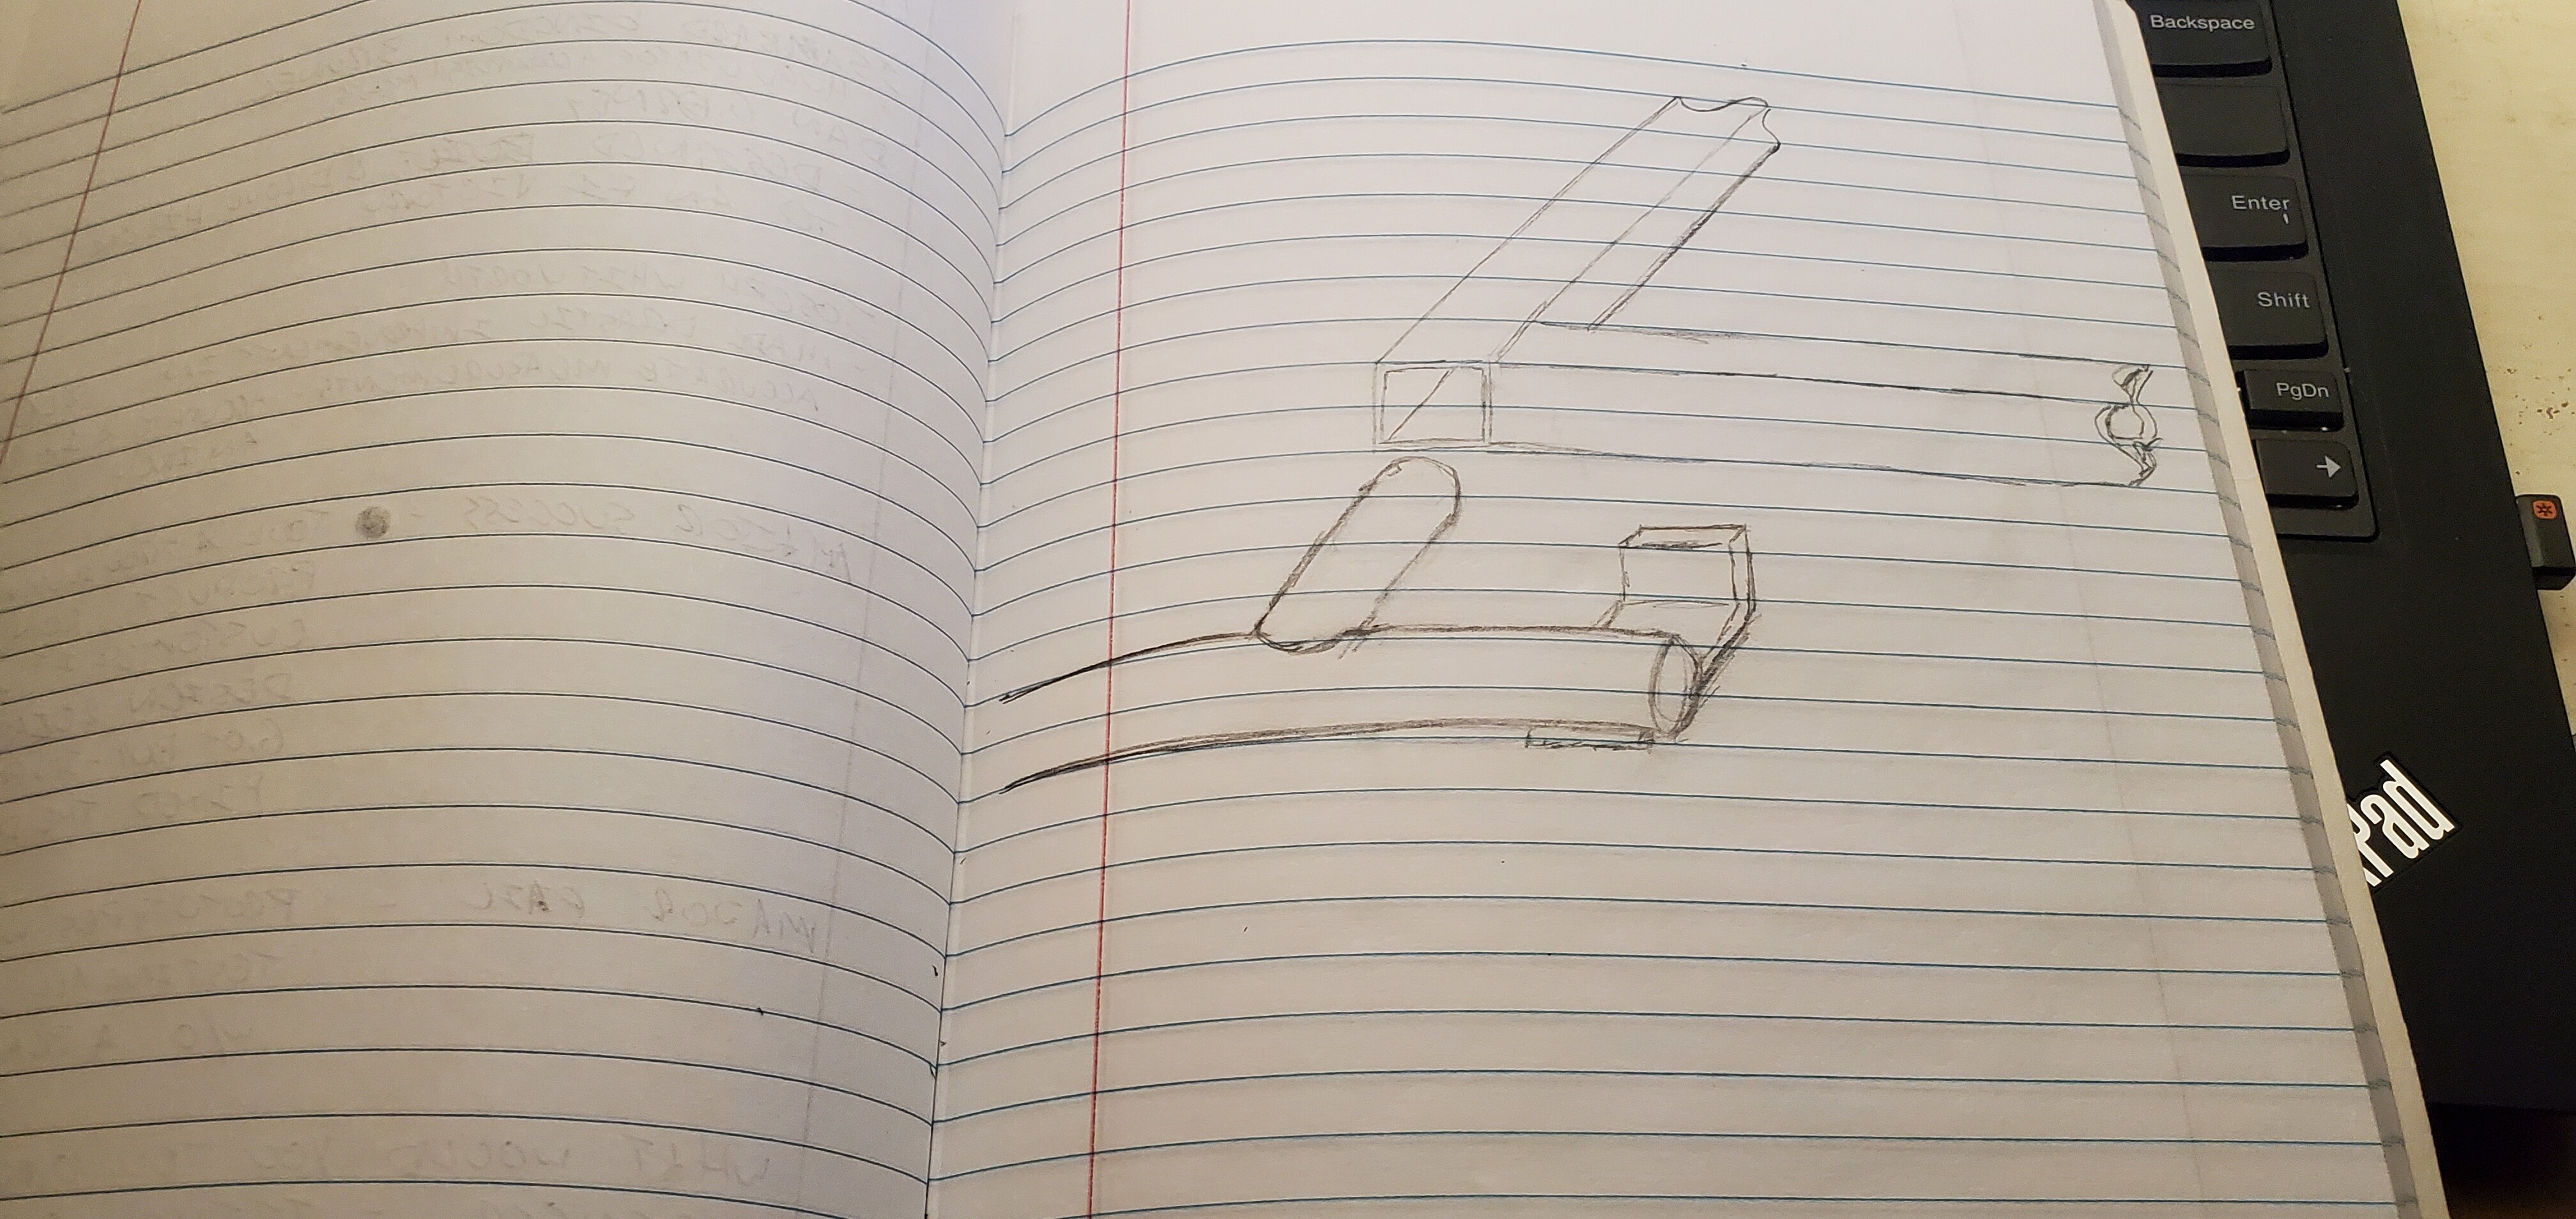
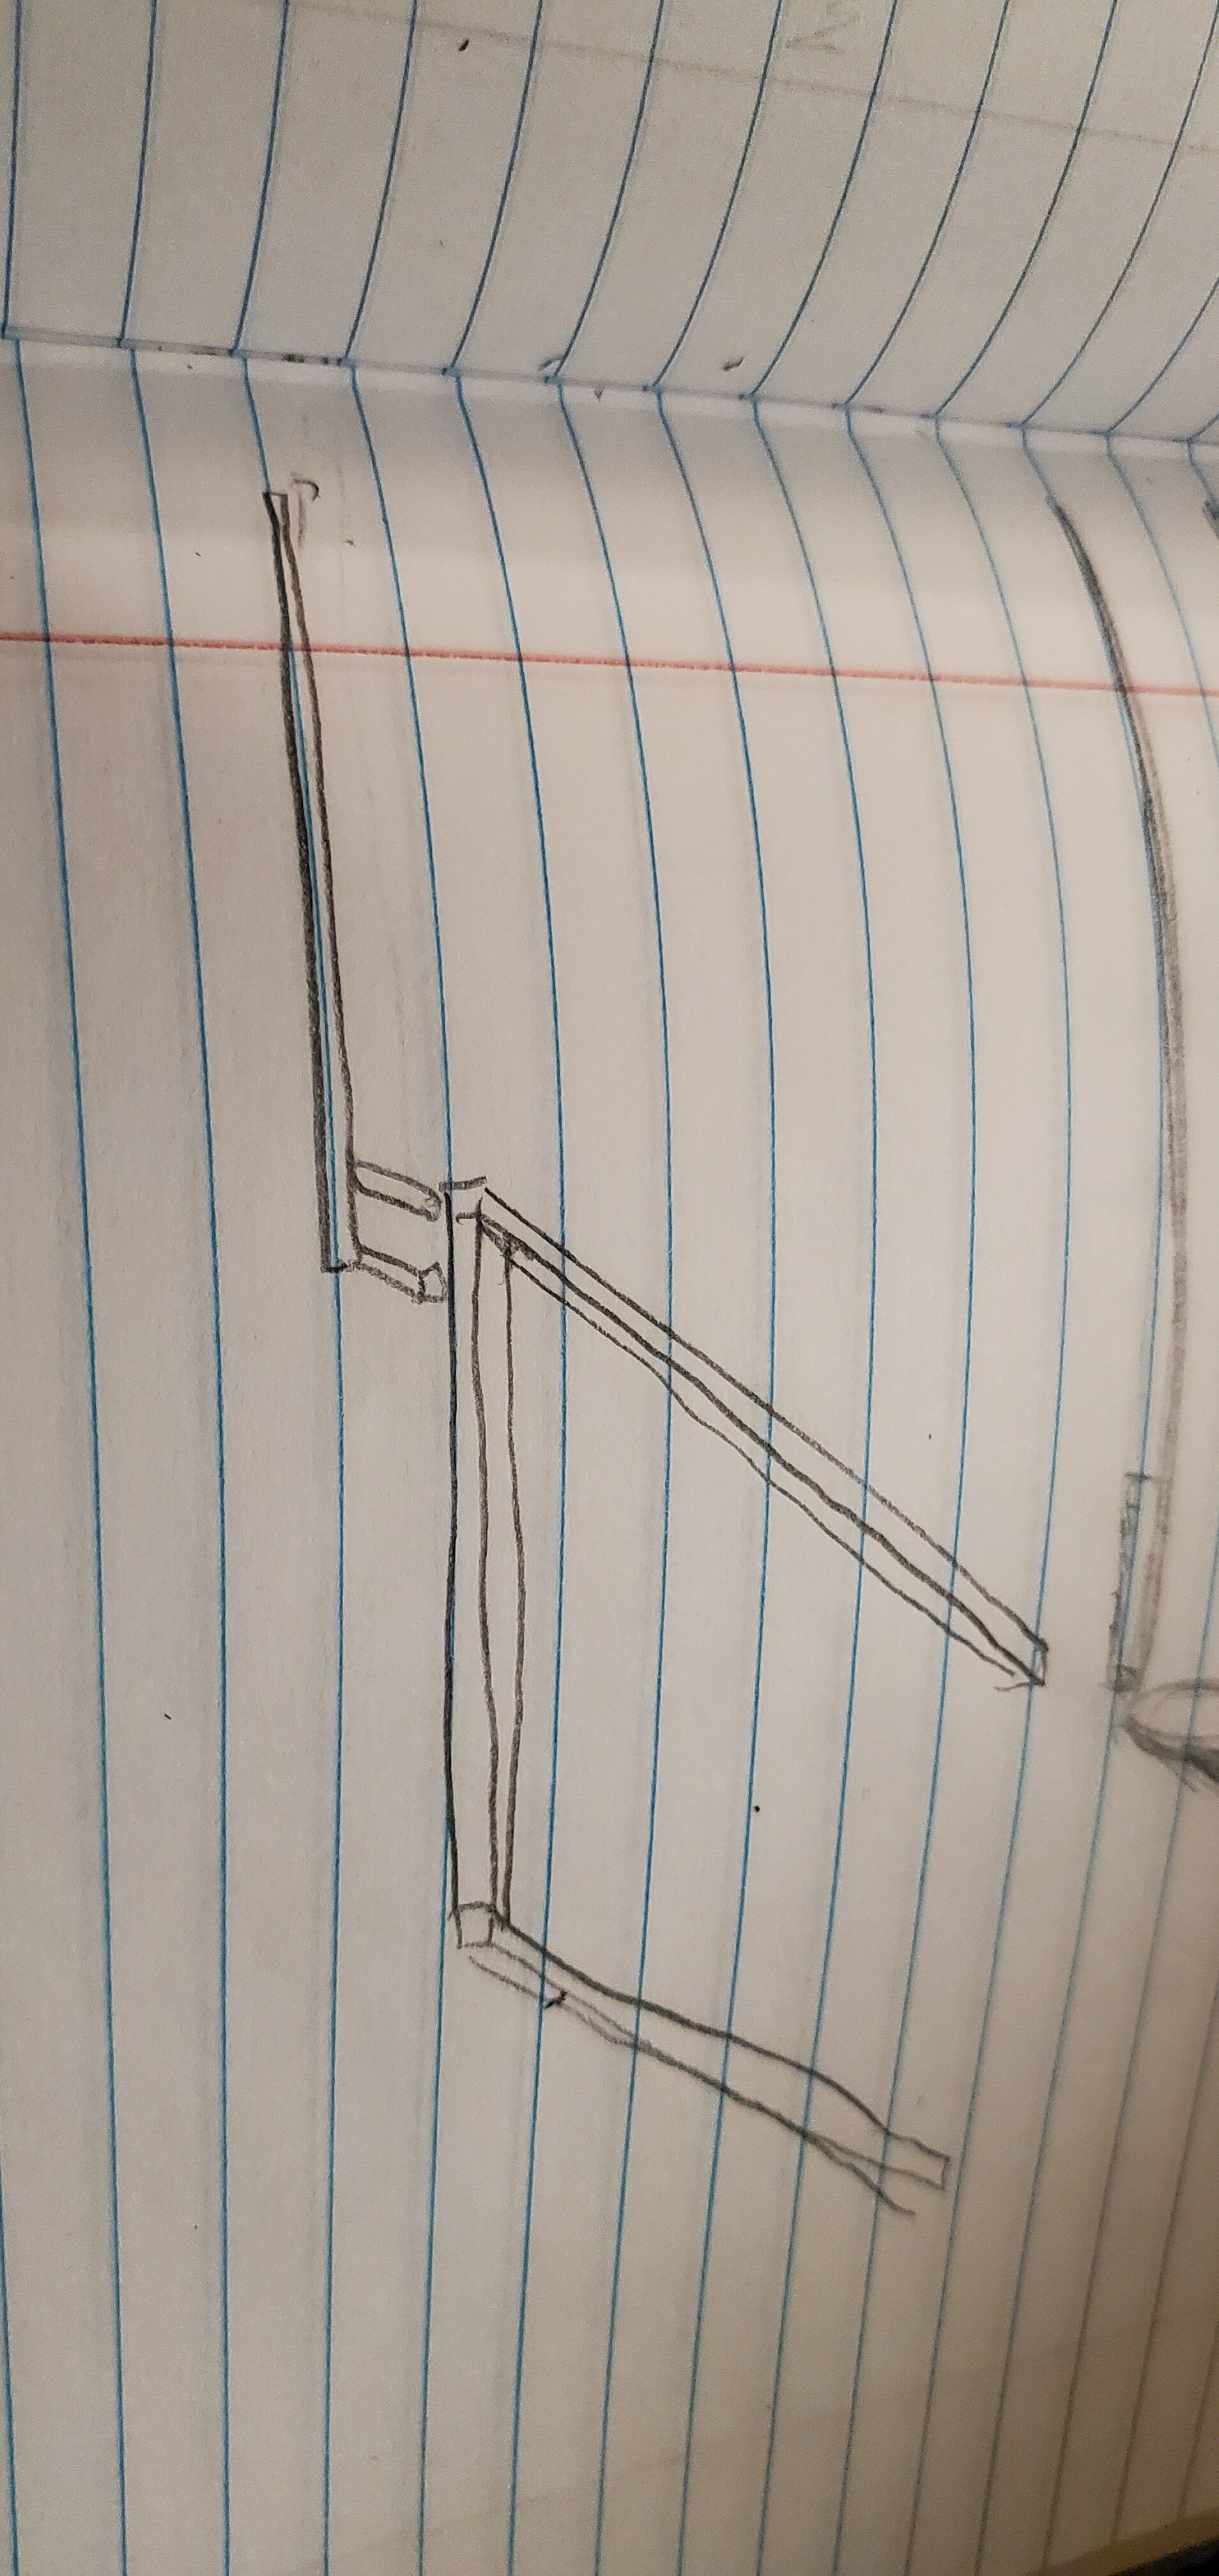
While working on the roof rack it prompted another thought… I’ve wanted to make a simple compact awning, and I think I came up with a really simple way to attach it.
You can see basically it will be a long rod sticking out, with two bits sticking off on one end. One bit goes into the frame of the roof rack, and the other one hooks under the roof rack. Then a tarp stretches over the bar and it’s symmetric cousin on the opposite end of the roof rack.
Not sure if the concept is coming through in my explanation and pictures.