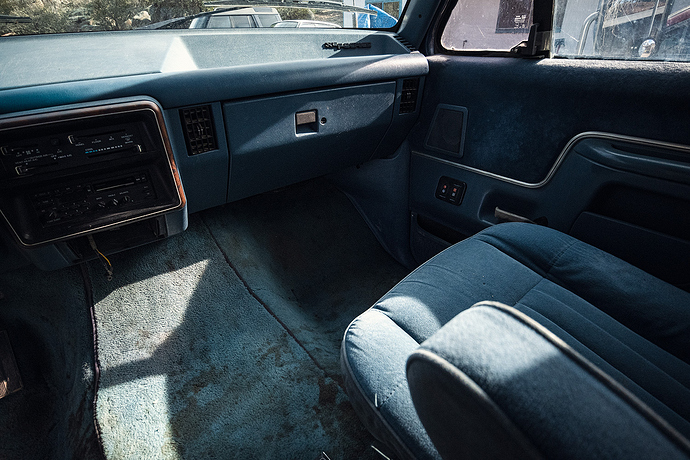
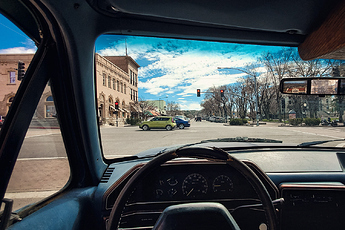
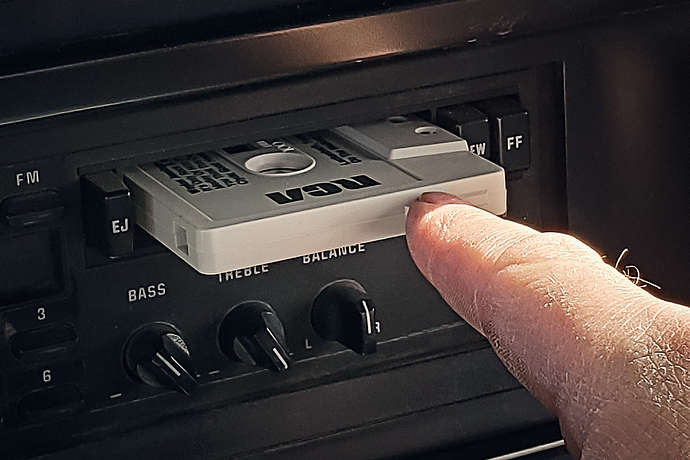
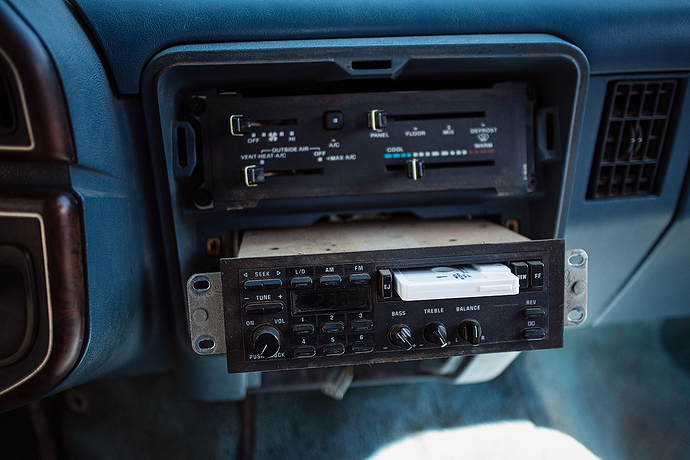
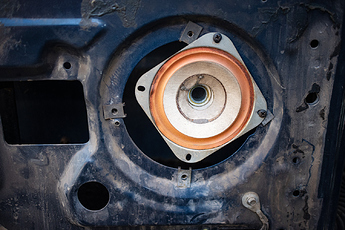
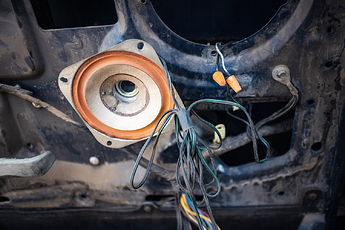
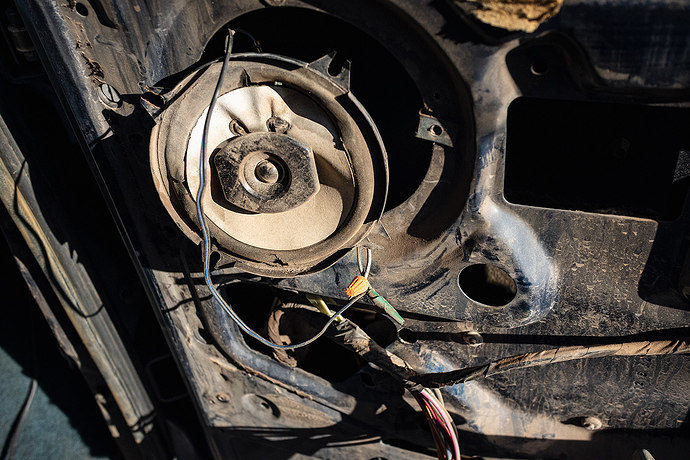
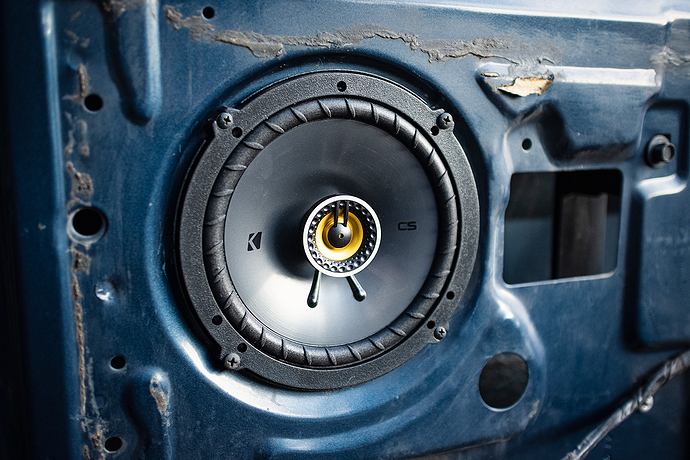
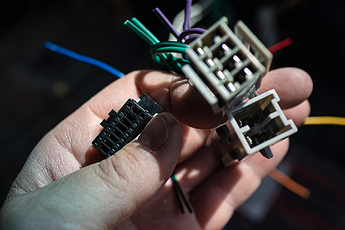
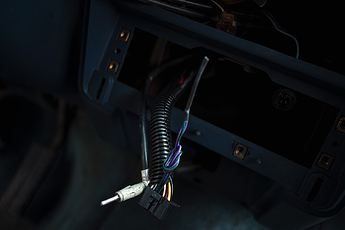
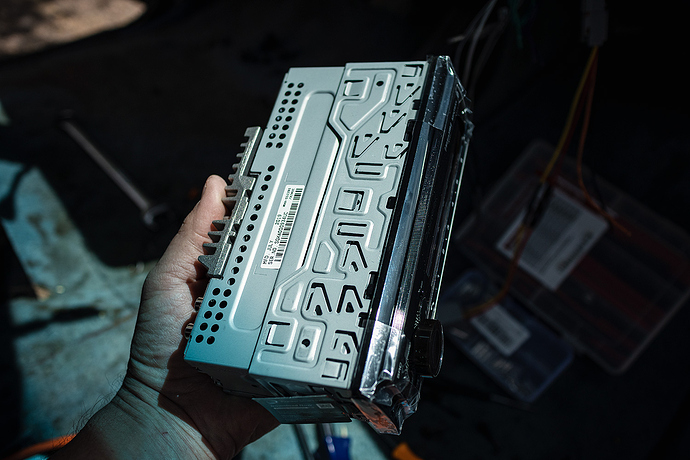
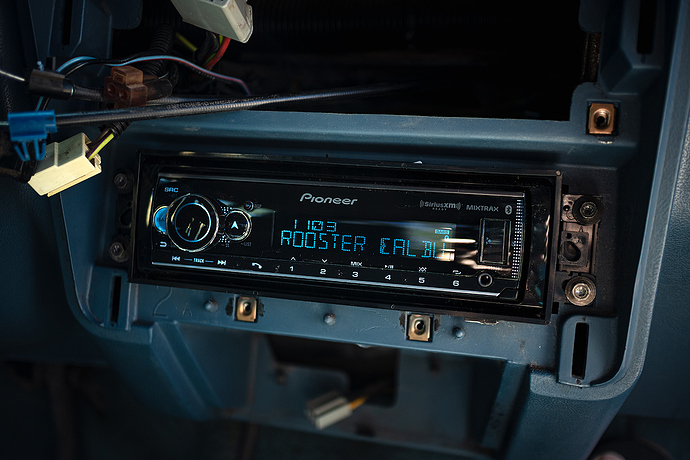
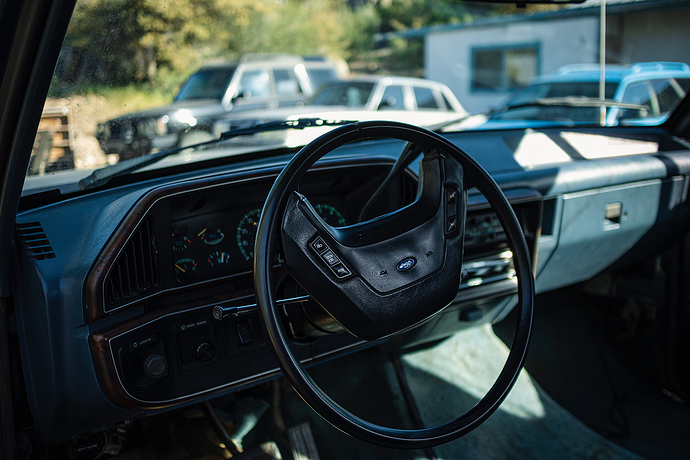
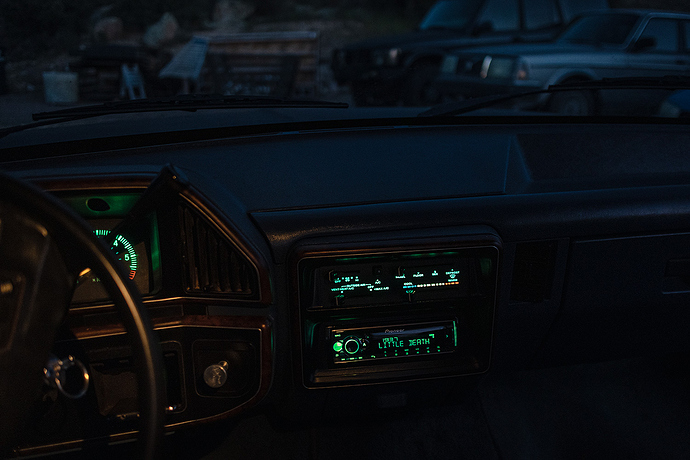
It’s entirely possible I watch too much Sarah-n-Tuned, or maybe obsessive cleaning behavior over parts no one will ever see is just a sign of giving a shit. Either way, what should be an hour-long stereo install turned into three days and resulted in the entire dash area being restored to showroom-good (with the exception of a little tasteful patina).
Still 185,617.8 miles…
New Stereo: Chapter 2
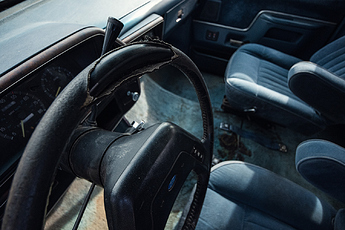
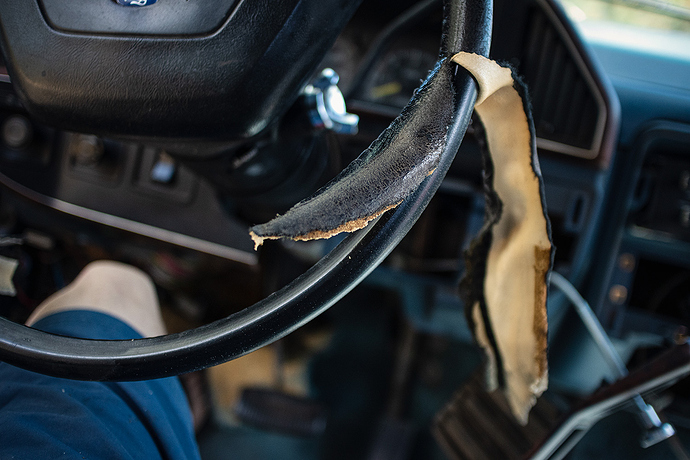
Flashback to the first day of the stereo install: I sat in the truck to pull the old stereo, but just kept fiddling with the bald spot on the steering wheel where the leather’s worn through. Remembering a naked wheel I saw on a recent junkyard trip, the idle fiddling turned into peeling and slicing with a hook knife to reveal what looks like a perfect condition thinner-style wheel from generations past. I was going to ignore that bald spot and swap the steering wheel for some fancy chrome-and-leather number—that’s still the plan, but now it can wait much longer.
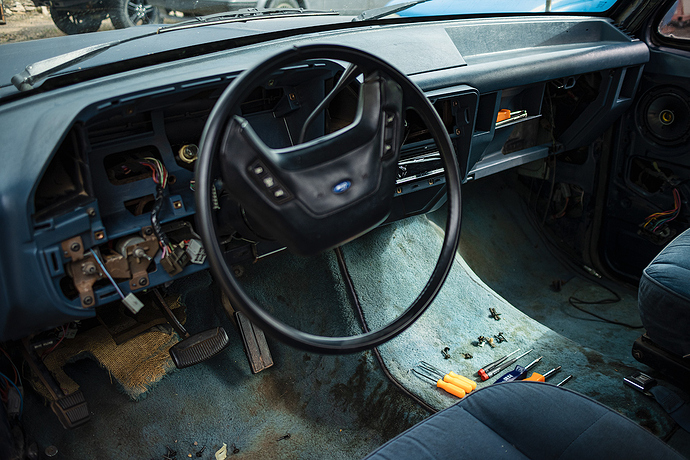
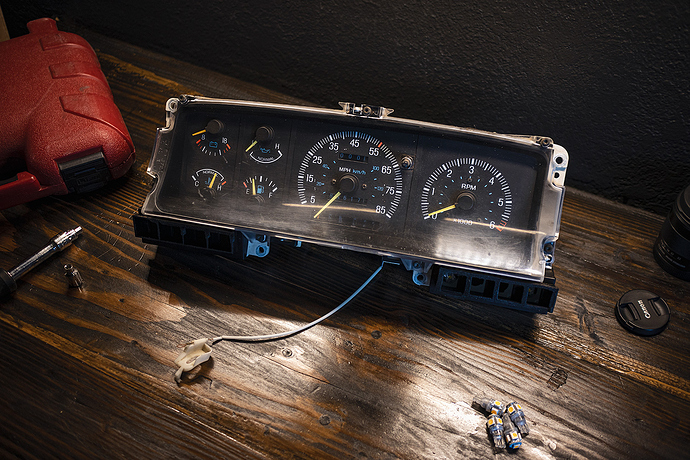
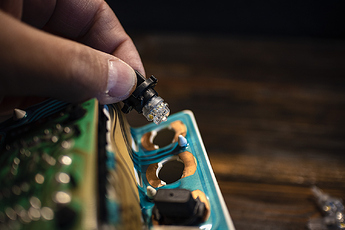
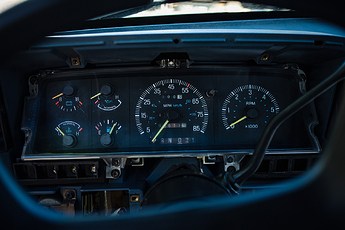
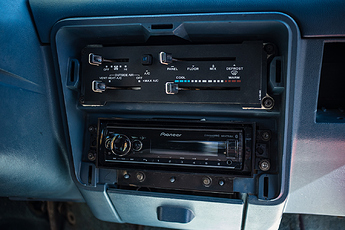
The decades-thick but to-be-expected layer of dust resting in the stereo’s cavity led to shop vac time. Shop vac time led to the removal of other dash panels. The removal of other dash panels led to the removal of the entire gauge cluster. The removal of the gauge cluster led to the ordering of LEDs, which led to the removal of the HVAC controls and more LEDs. And the glove box, and the ash tray, and more LEDs. And a trip to the junk yard to raid the blue-on-blue '88 F-250 they just got. Oh, and more LEDs.
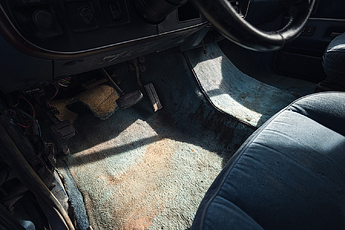
In the end the entire dash was stripped down to the base and vacuumed out, and every removable panel brought in the house and thoroughly scrubbed clean inside and out. Every panel, every vent, every knob and control. The same with donor parts from Junkyard Blue. That photo above is pre-wash…
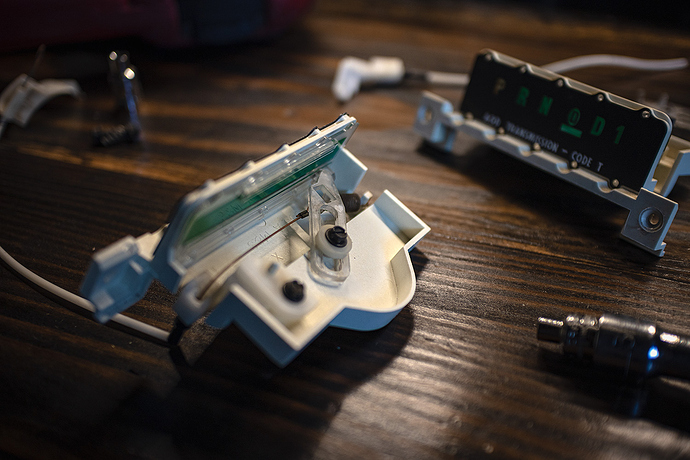
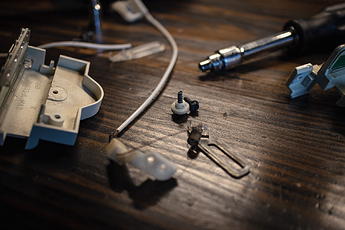
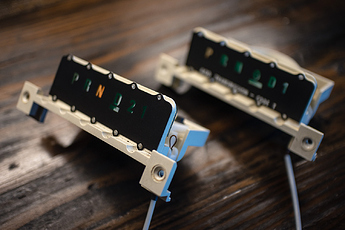
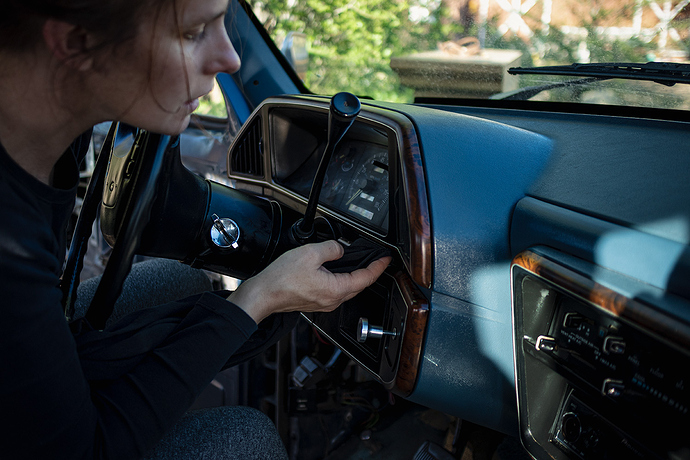
A bullnose Bronco was kind enough to give up it’s shift indicator. It’s previous-generation transmission is set up differently, a 3-speed auto with overdrive, but it matters not. Physically the dimensions and movements are identical, and the entire component is modular, which makes it relatively simple to remove the good parts from the Bronco’s indicator and repair my 4-speed OD indicator. I might have also completely disassembled the gauge cluster and cleaned it while I was in there.
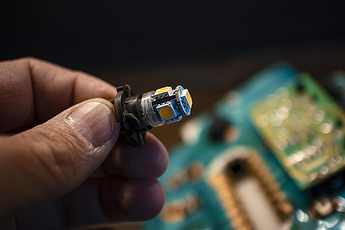
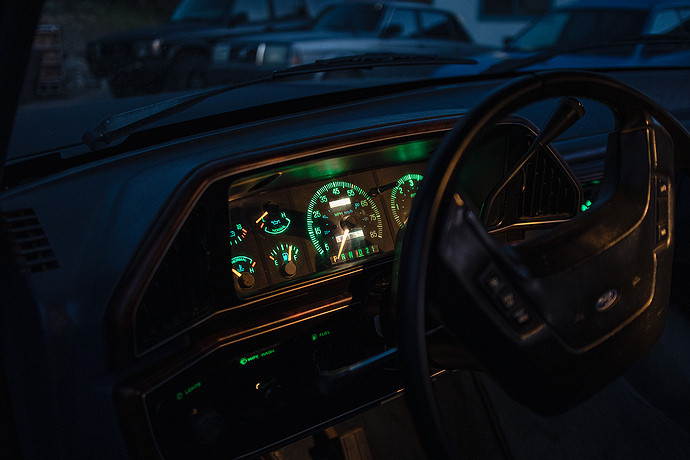
Did I mention LEDs? 24 of them in total so far, and I’ve only replaced the dash. Still to come: both map lights, dome light, all four corners, both license lamps, all five roof markers, and the bed light. I picked up warm white as this is a restomod in the spirit of the original, with emphasis on reliability and longevity. Stock colors, just a bit brighter and ready for another decade of work. Long gone are the days of polarity-sensitive retrofits, thankfully, just plug and play. The little guys bottom left are 30-lumen for the direct-viewed indicator lamps, and on the right a 95-lumen boost for the 80’s era “fiber optics.” In hindsight, 60-70 lumens would have been just right for the optics.
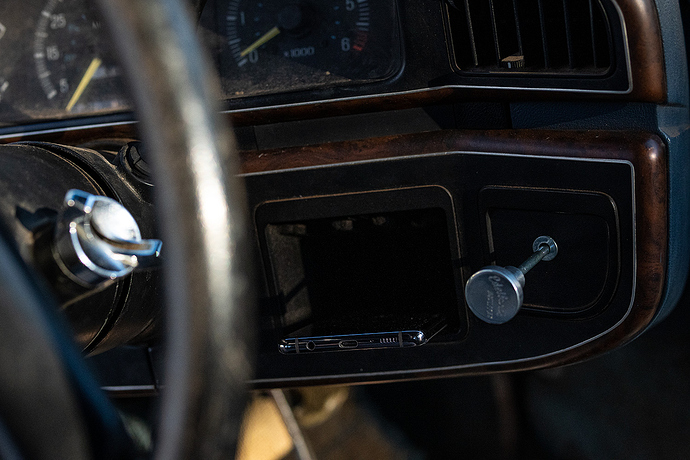
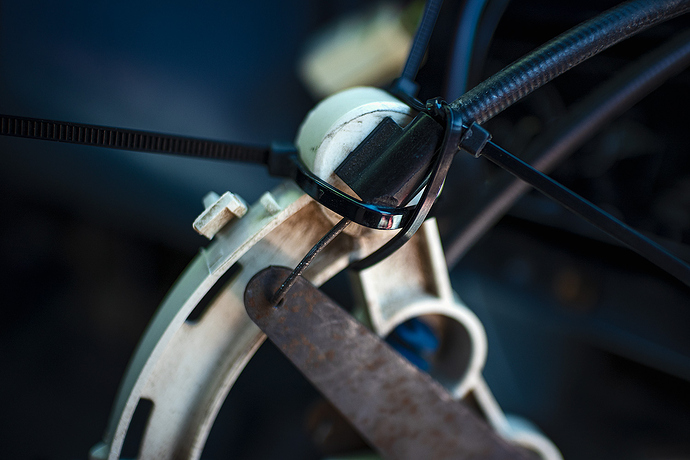
I was able to save an intact temperature control cable from the crusher, but not the one that controls airflow direction. Fortunately, Junkyard Blue had another secret to reveal: a relatively obvious and practically free zip-tie fix. They kinda worked before, but felt squishy; now both controls are nice and crisp.
Clean on clean on clean on clean. Oh, and a transmission in park now indicates a transmission in park.
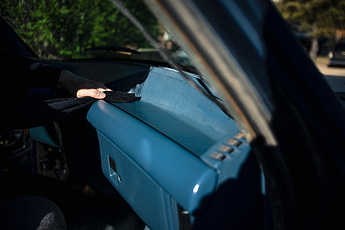
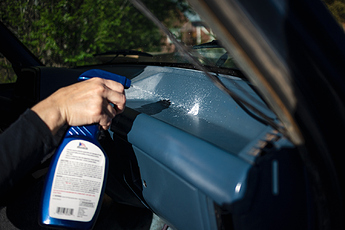
Next up, Dani insisted on treating everything to a bath in this magical UV-blocking restoration potion she used on her car’s interior. Flashbacks to greasy, dust-clinging Armor-All nightmares had me reluctant at first, but after witnessing the beautiful condition of the Outback’s residue- and dust-free interior I caved. Sure enough the blues, blacks, and browns are popping again and there’s no greasy residue. We’ll see how it deals with dust after I pull the headliner.
Before you ask, yes, I took night shots of the LEDs… 


