Journey to the Heater Core Ep. 6
Putting things back together better.
The heater core is in. I still need to test it before I reinstall the dashboard, but I’ve got another couple weeks before the second set of dash vents arrives. More on that in a minute. For now, the project is all about making all the stuff I’ve taken out better before it goes back in. #whatwould @boostedinaz do?
Last chance for pressure washing & outdoor painting
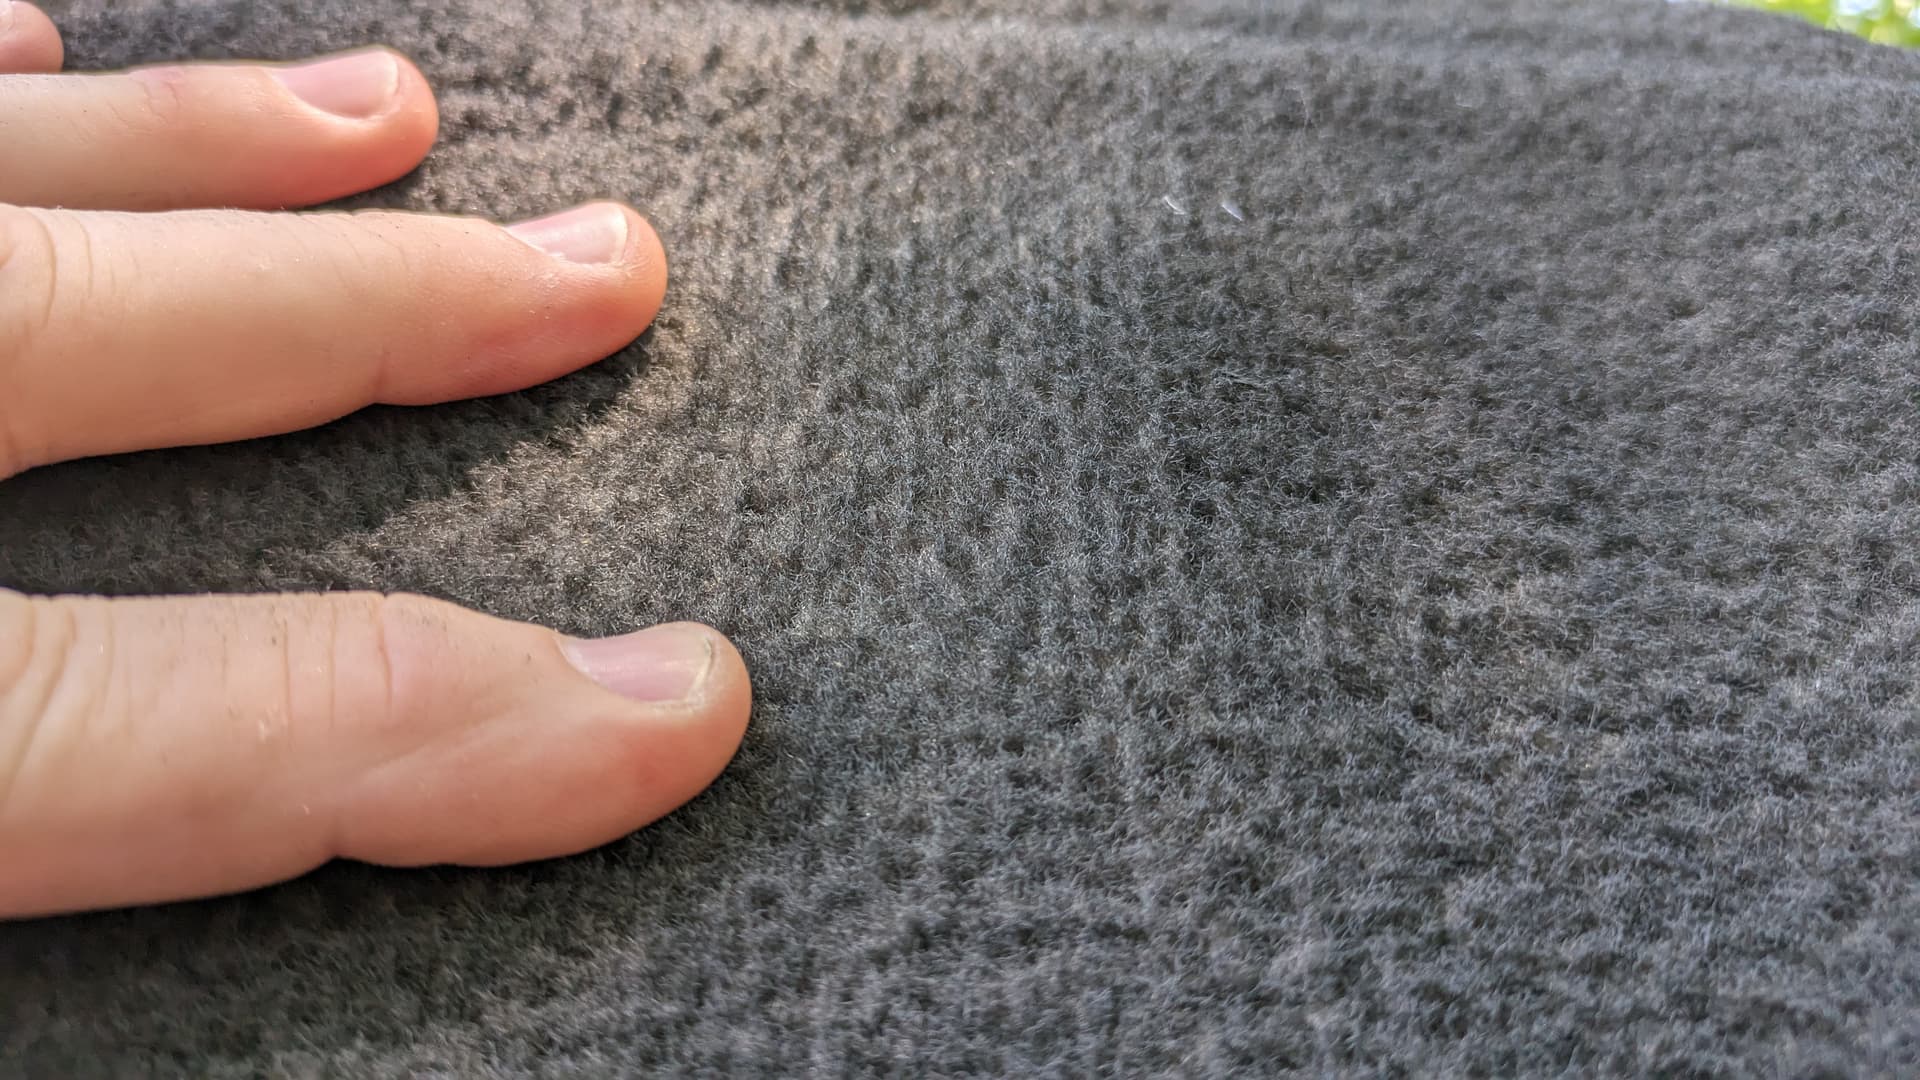
90-degree weather returned to Iowa City this weekend. A week from now, the highs will only be in the upper-50s. This was my last chance to do outdoor things that need warm and dry conditions—like dying the rear carpet and painting some more interior pieces.
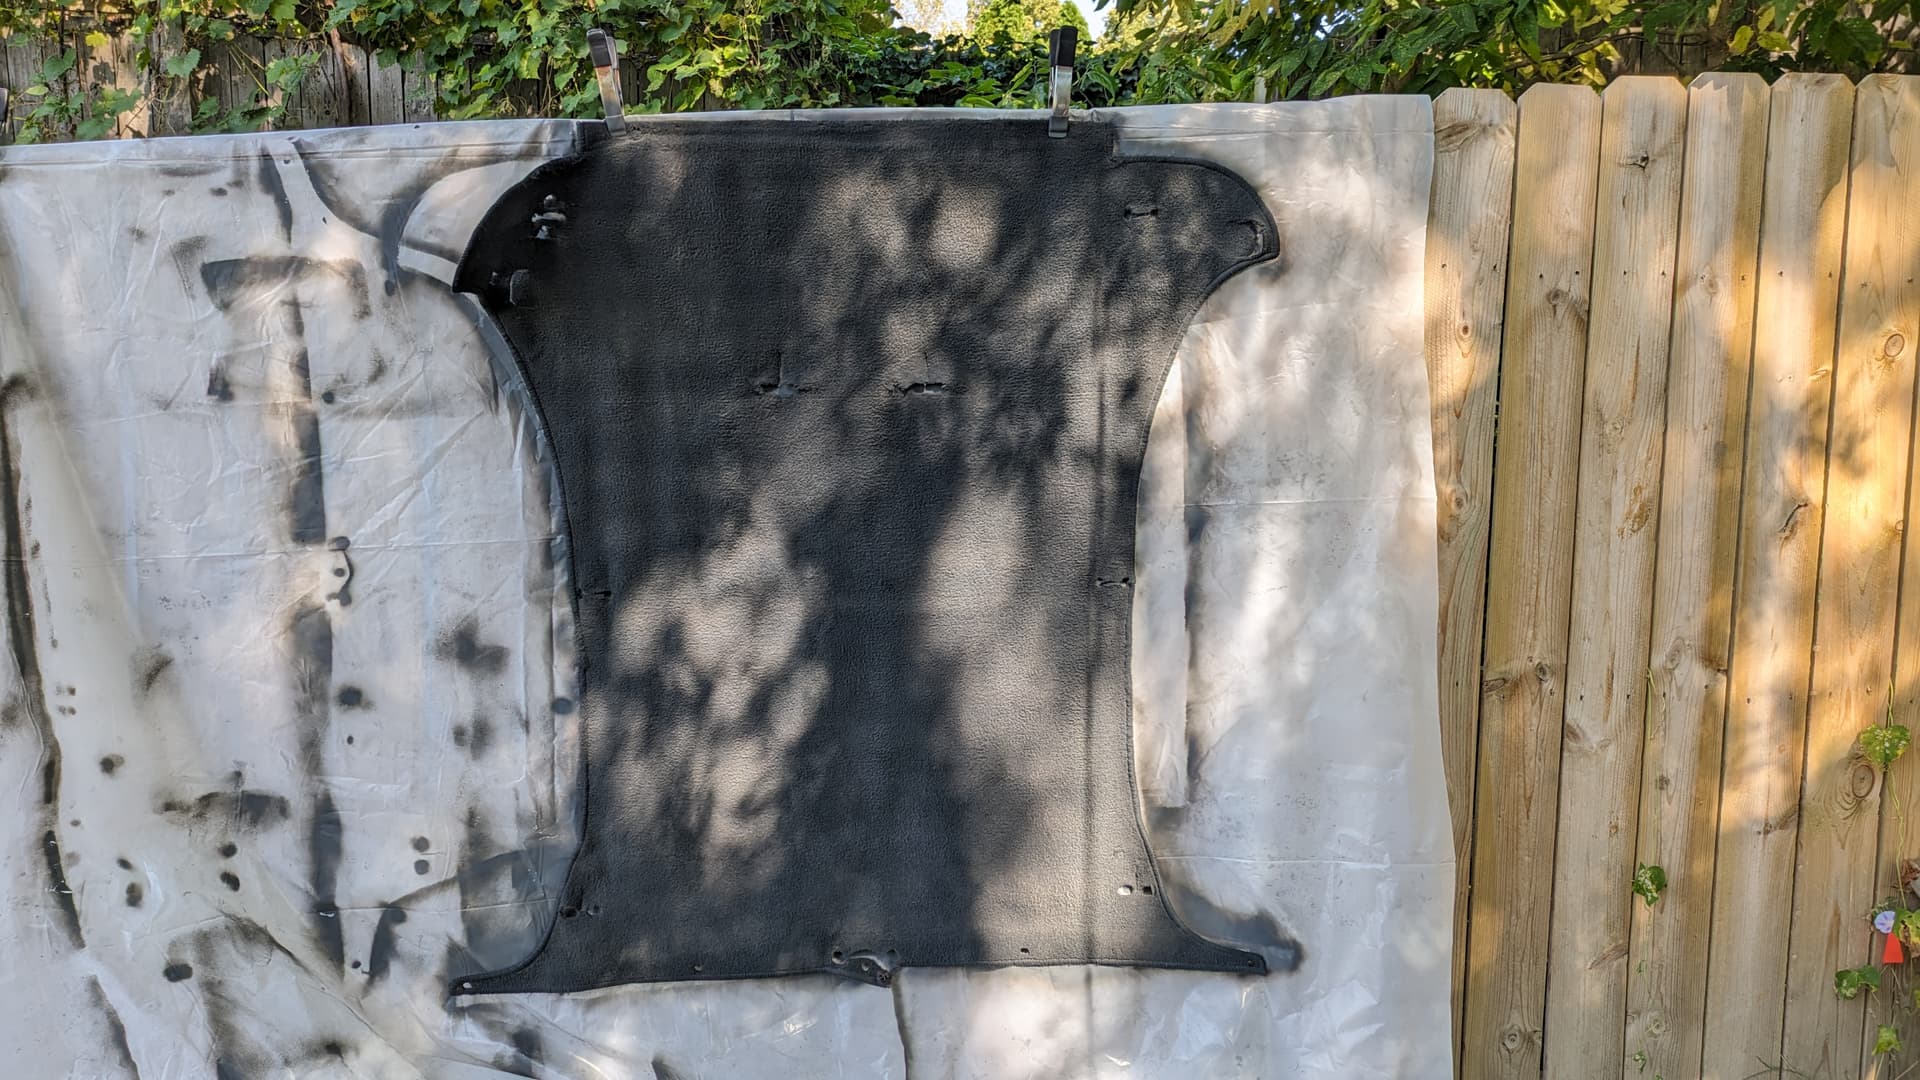


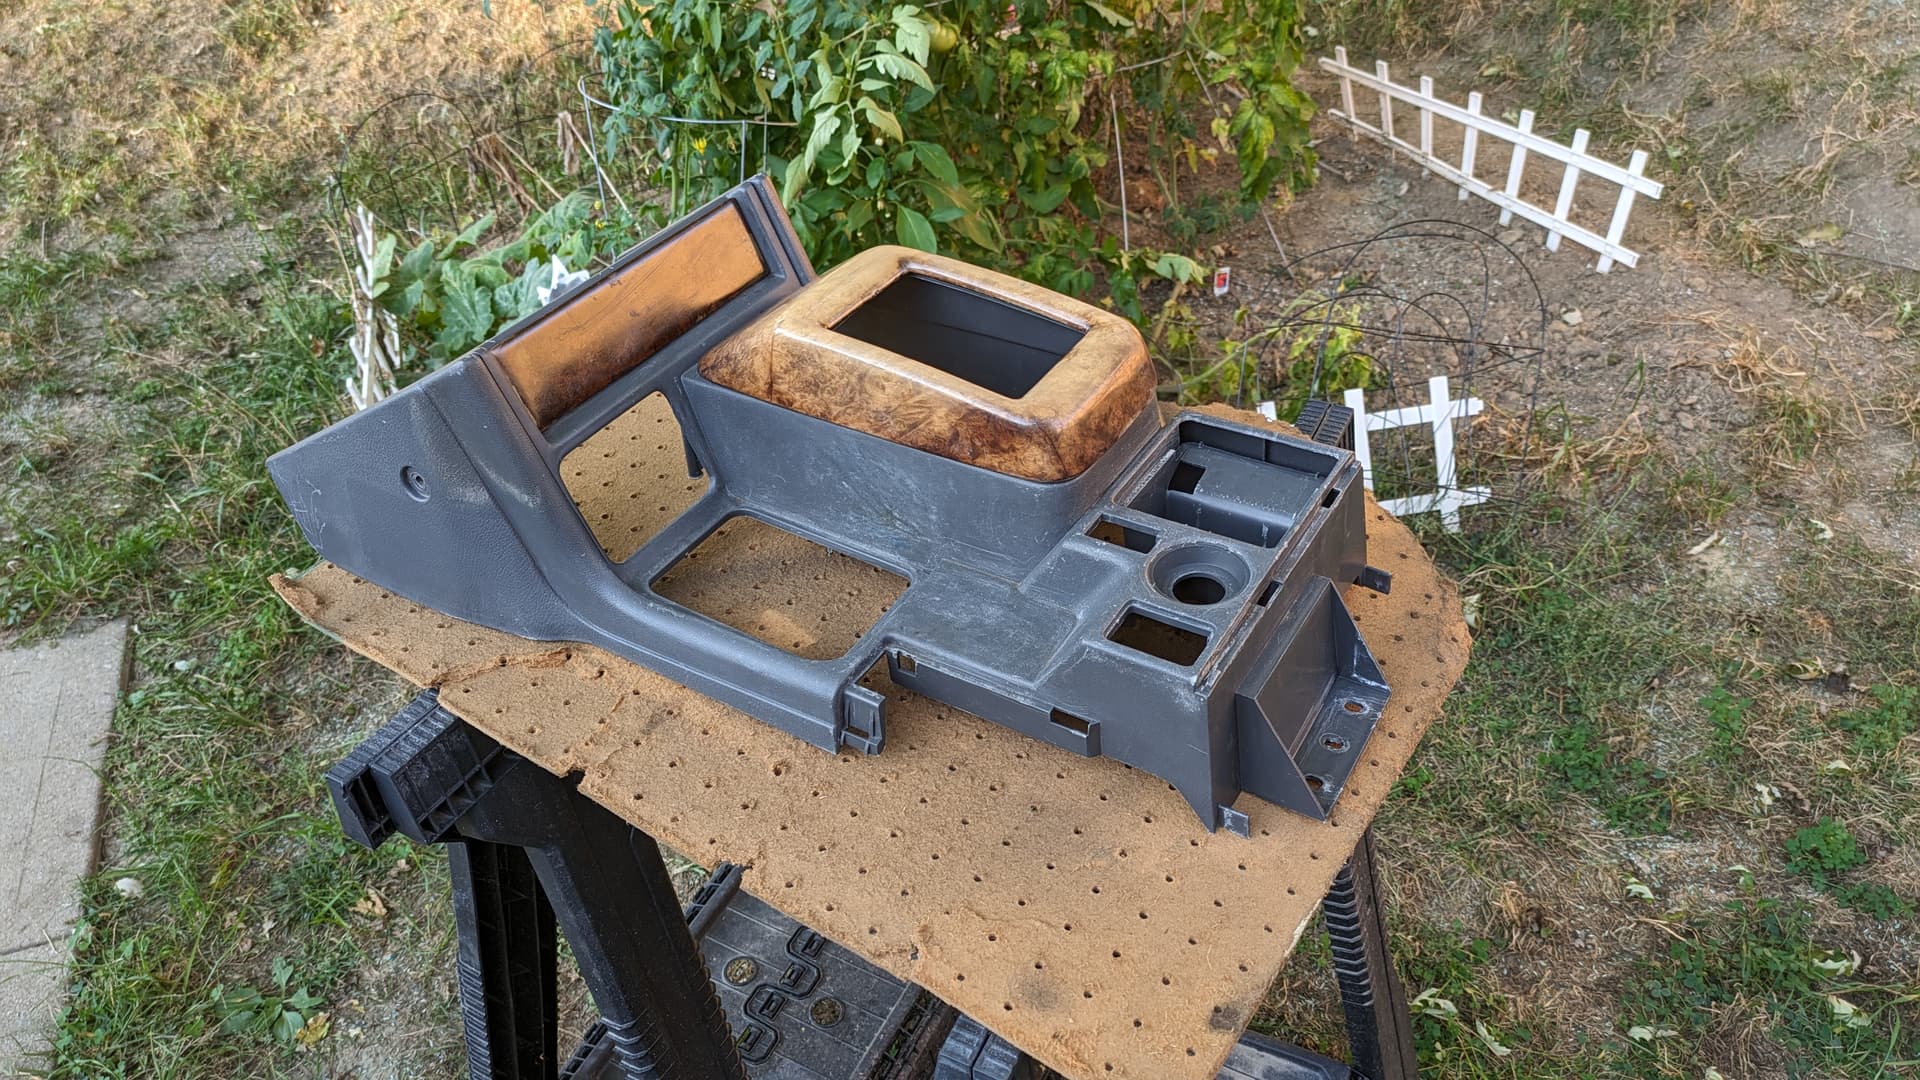
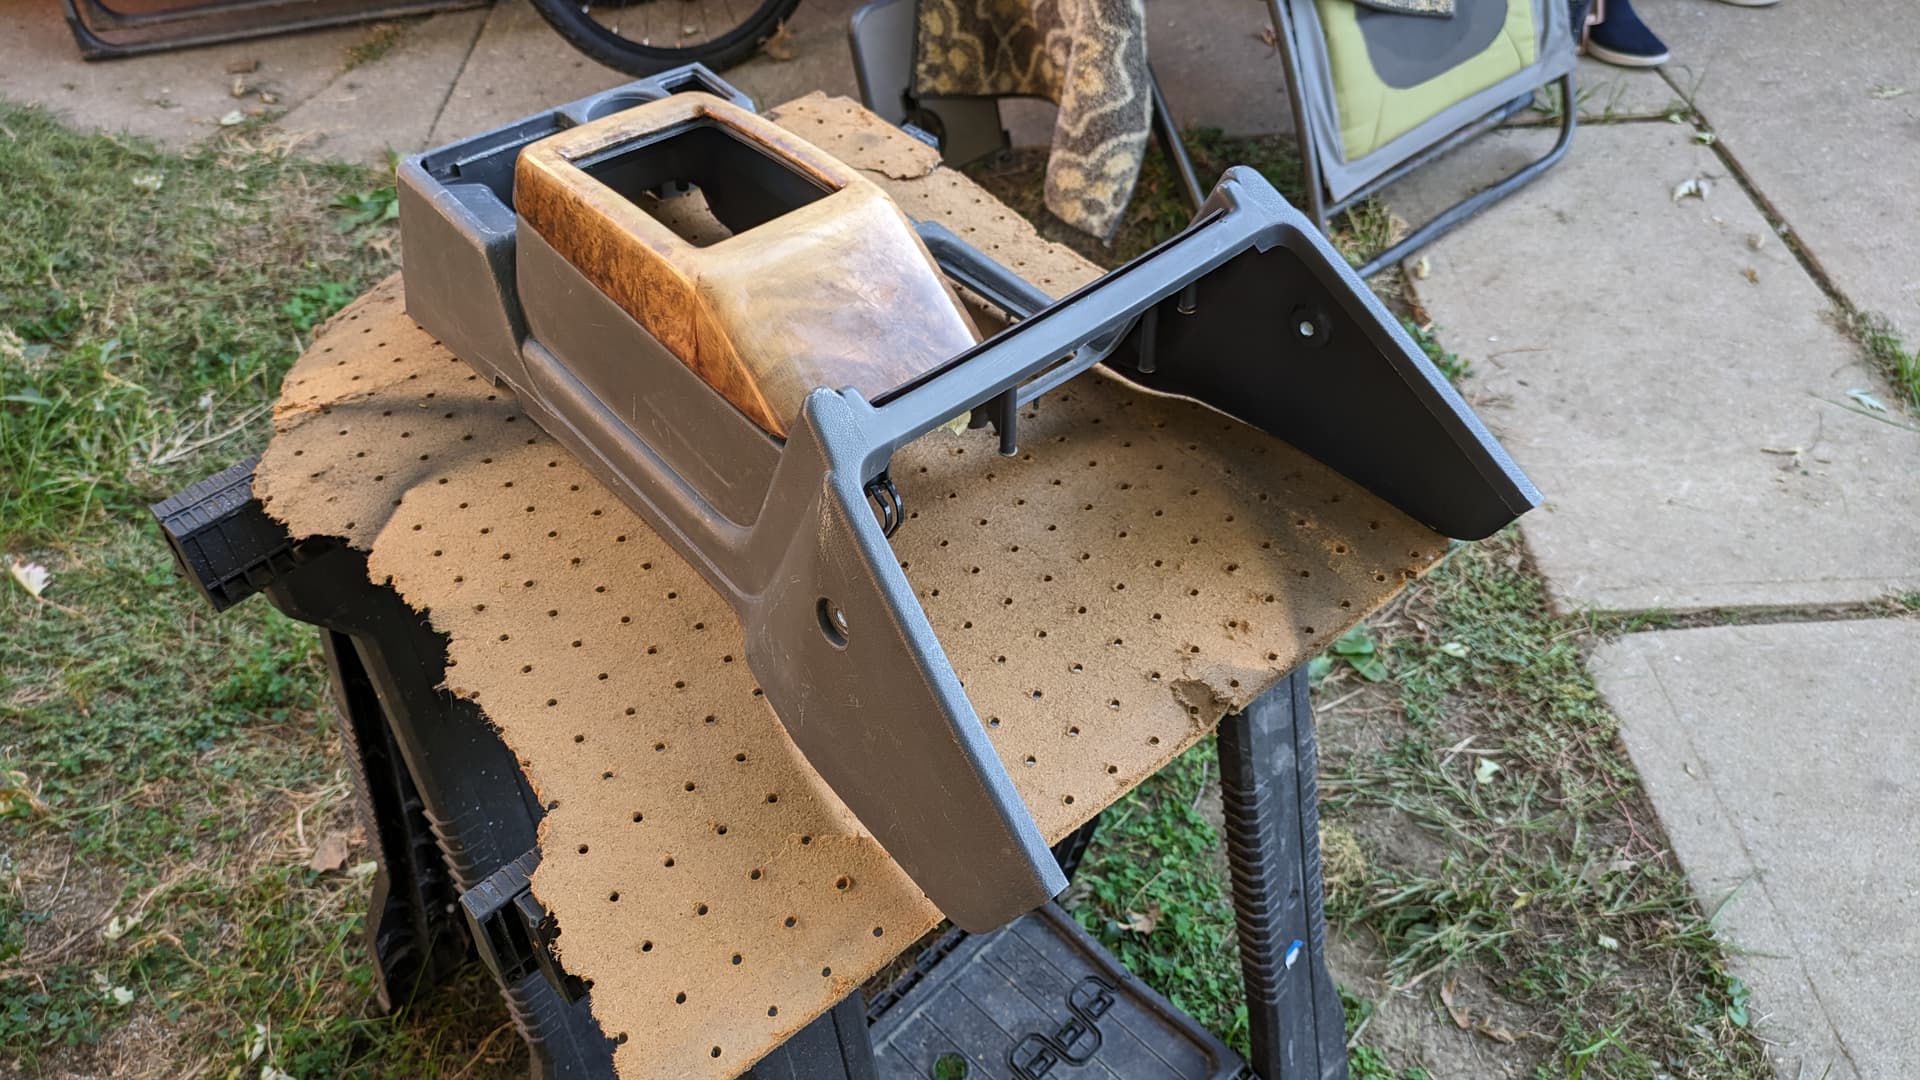

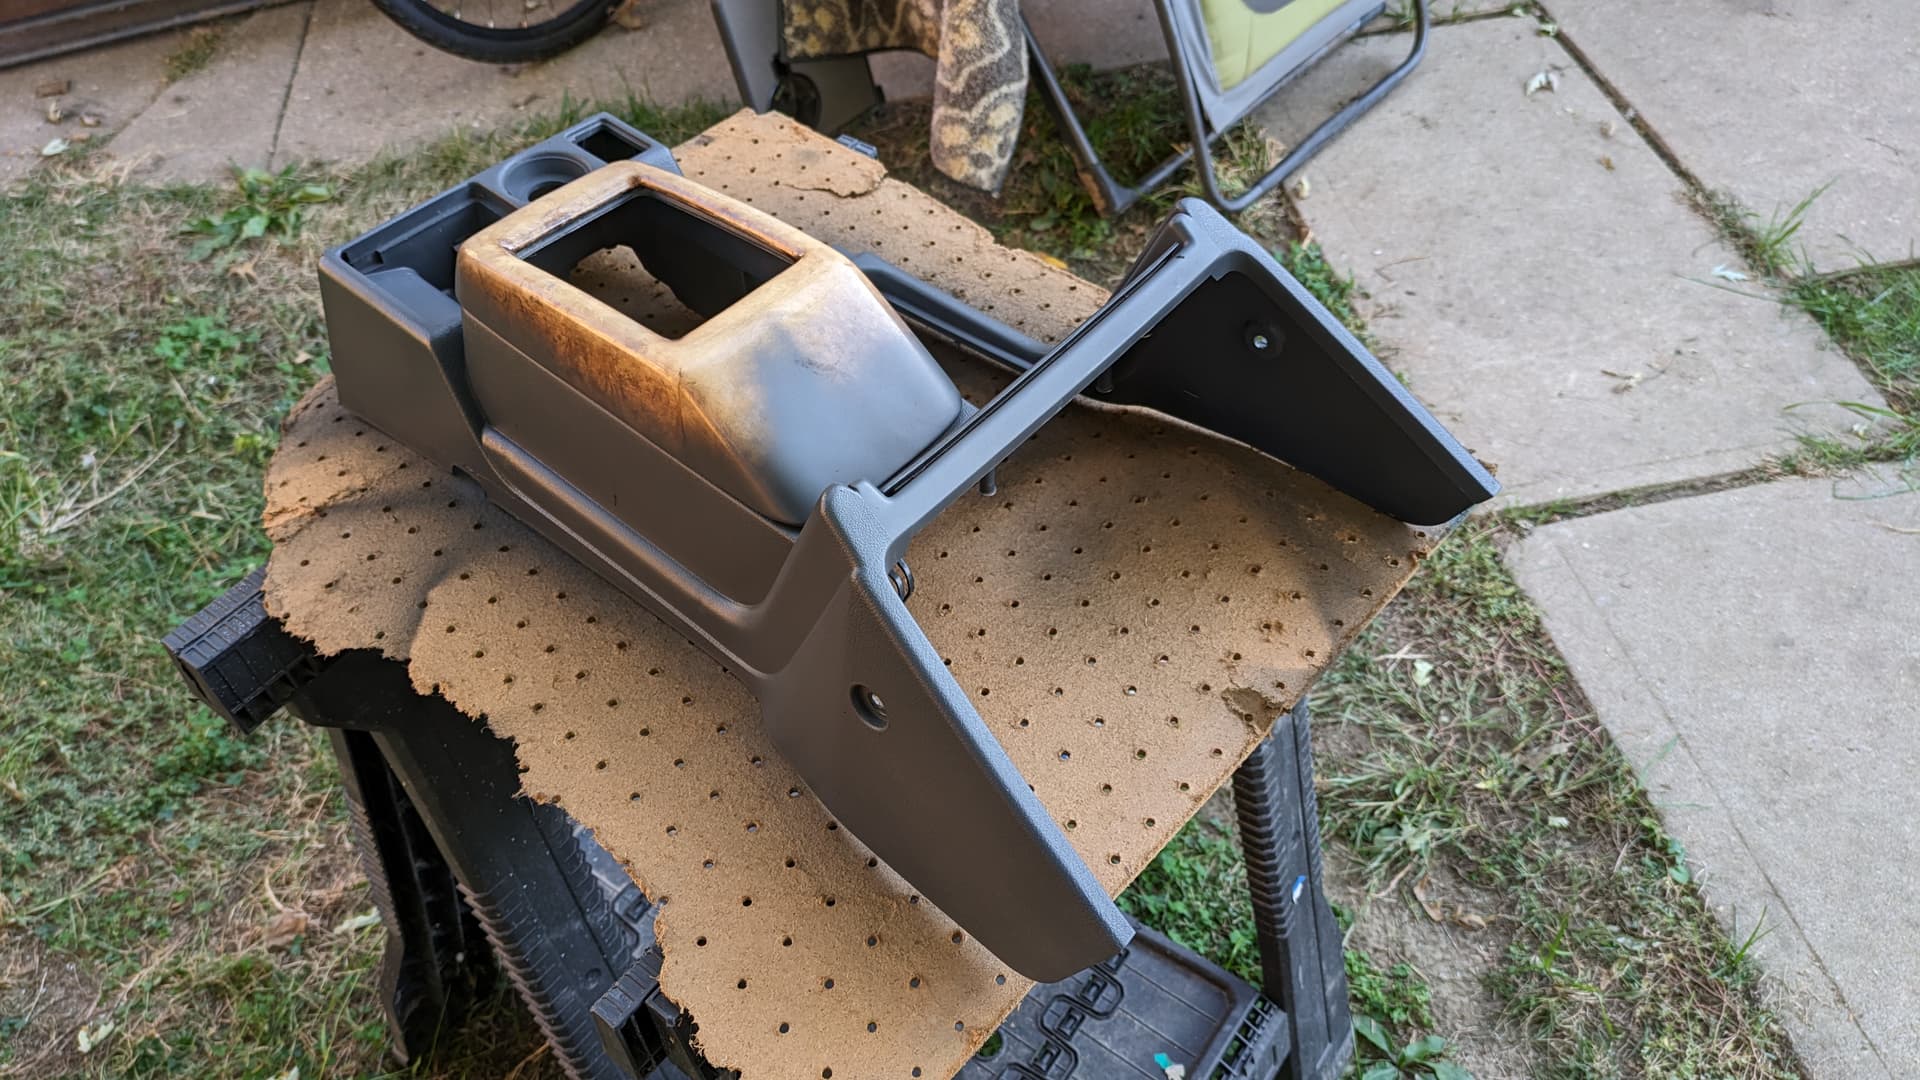
I pressure washed the rest of the interior trim panels and used the last of my first can of SEM paint/dye to make sure the center console and stack have plenty of time to dry before installation. I tried using a heat gun to fix scratches before painting (apparently this is a common thing), but didn’t have much luck and didn’t want to risk irreversibly damaging critical pieces and just painted.
PS: I’m covering all the fake wood trim with silver or brushed aluminum.
I might be overdoing it with the LEDS
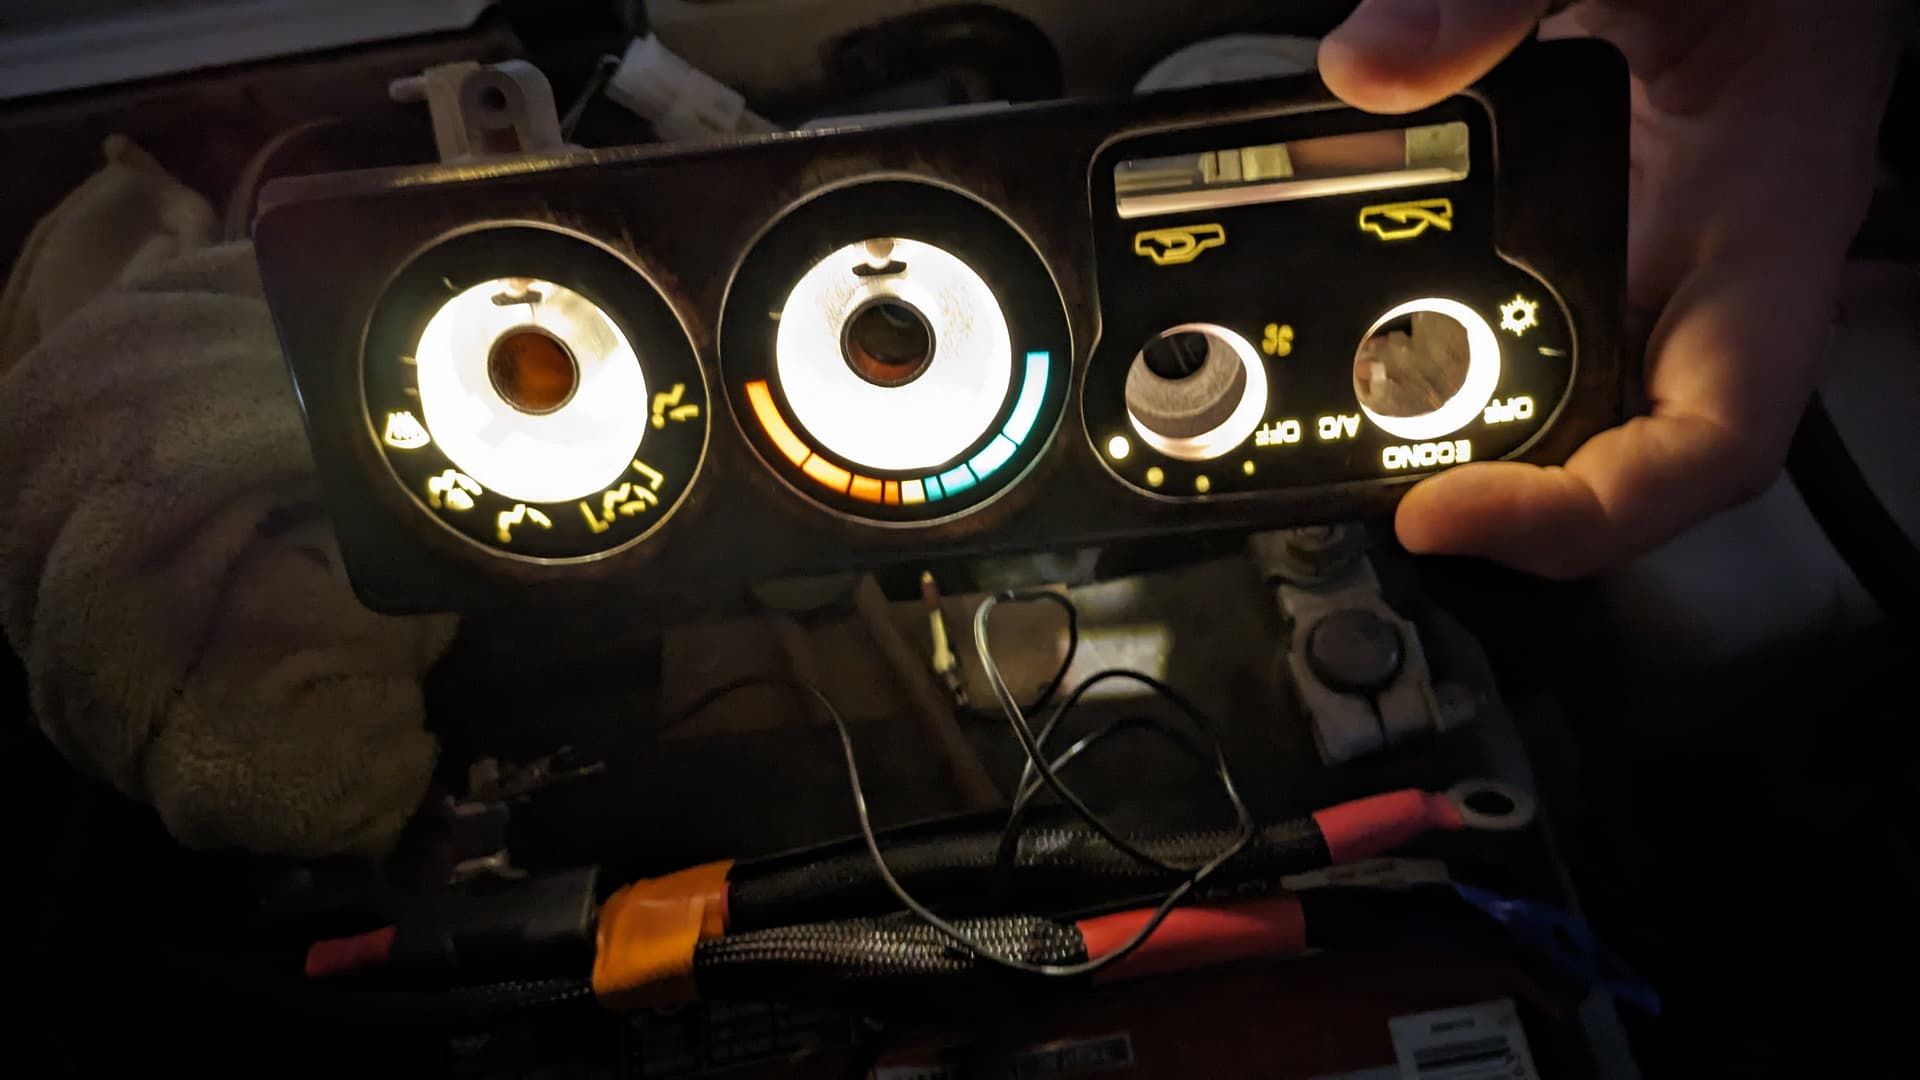
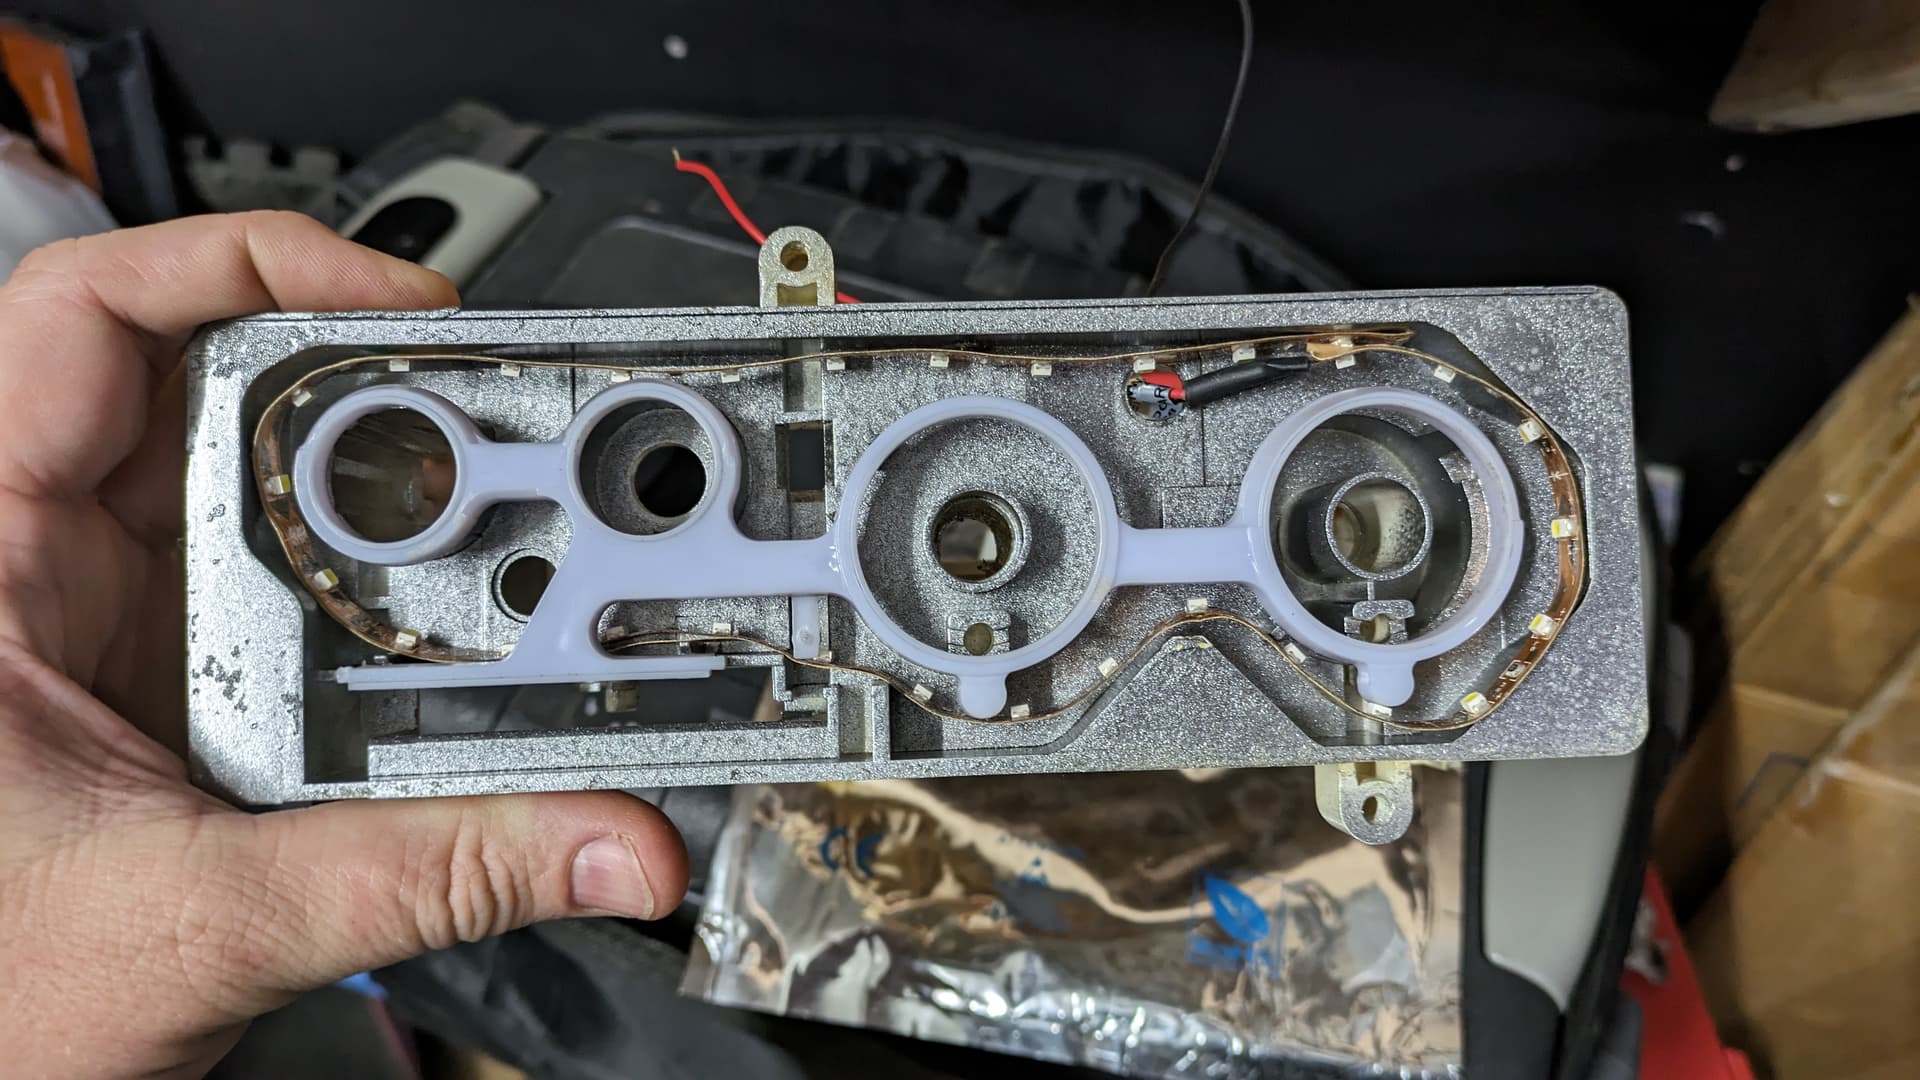
In addition to replacing the heater hoses in the engine bay, I think I might also need the HVAC controls hooked up to make sure everything is back together and works right. My controls were all kinds of broken behind the scenes, but I had a spare from my last junkyard run back in Phoenix.
I’ve got LED bulbs for the factory sockets, but I’ve also got a 16-foot reel of warm white, adhesive-backed, SMD LEDS that could work. I don’t remember if they’re dimmable or not, so I’m gonna chicken out on this approach, but it’s sure neat to look at.
Speaker & wiring upgrades
Earlier this summer, I lucked into a brand new set of JL Audio 6x9s. My mother-in-law ordered them by accident, missed the return window, and gave them to me. As much I’ve loved the Infinitys I had installed right after buying the truck, the JLs are beefier and I’m excited.
At the same time, I’ve never been thrilled with the Kenwoods in the doors up front. They’ve never been able to keep up with the Infinitys, which means my soundstage has been biased to the rear. Fezzik originally came with the 8-speaker Infinity system, but the amp and disc changer were removed long before I got the truck.
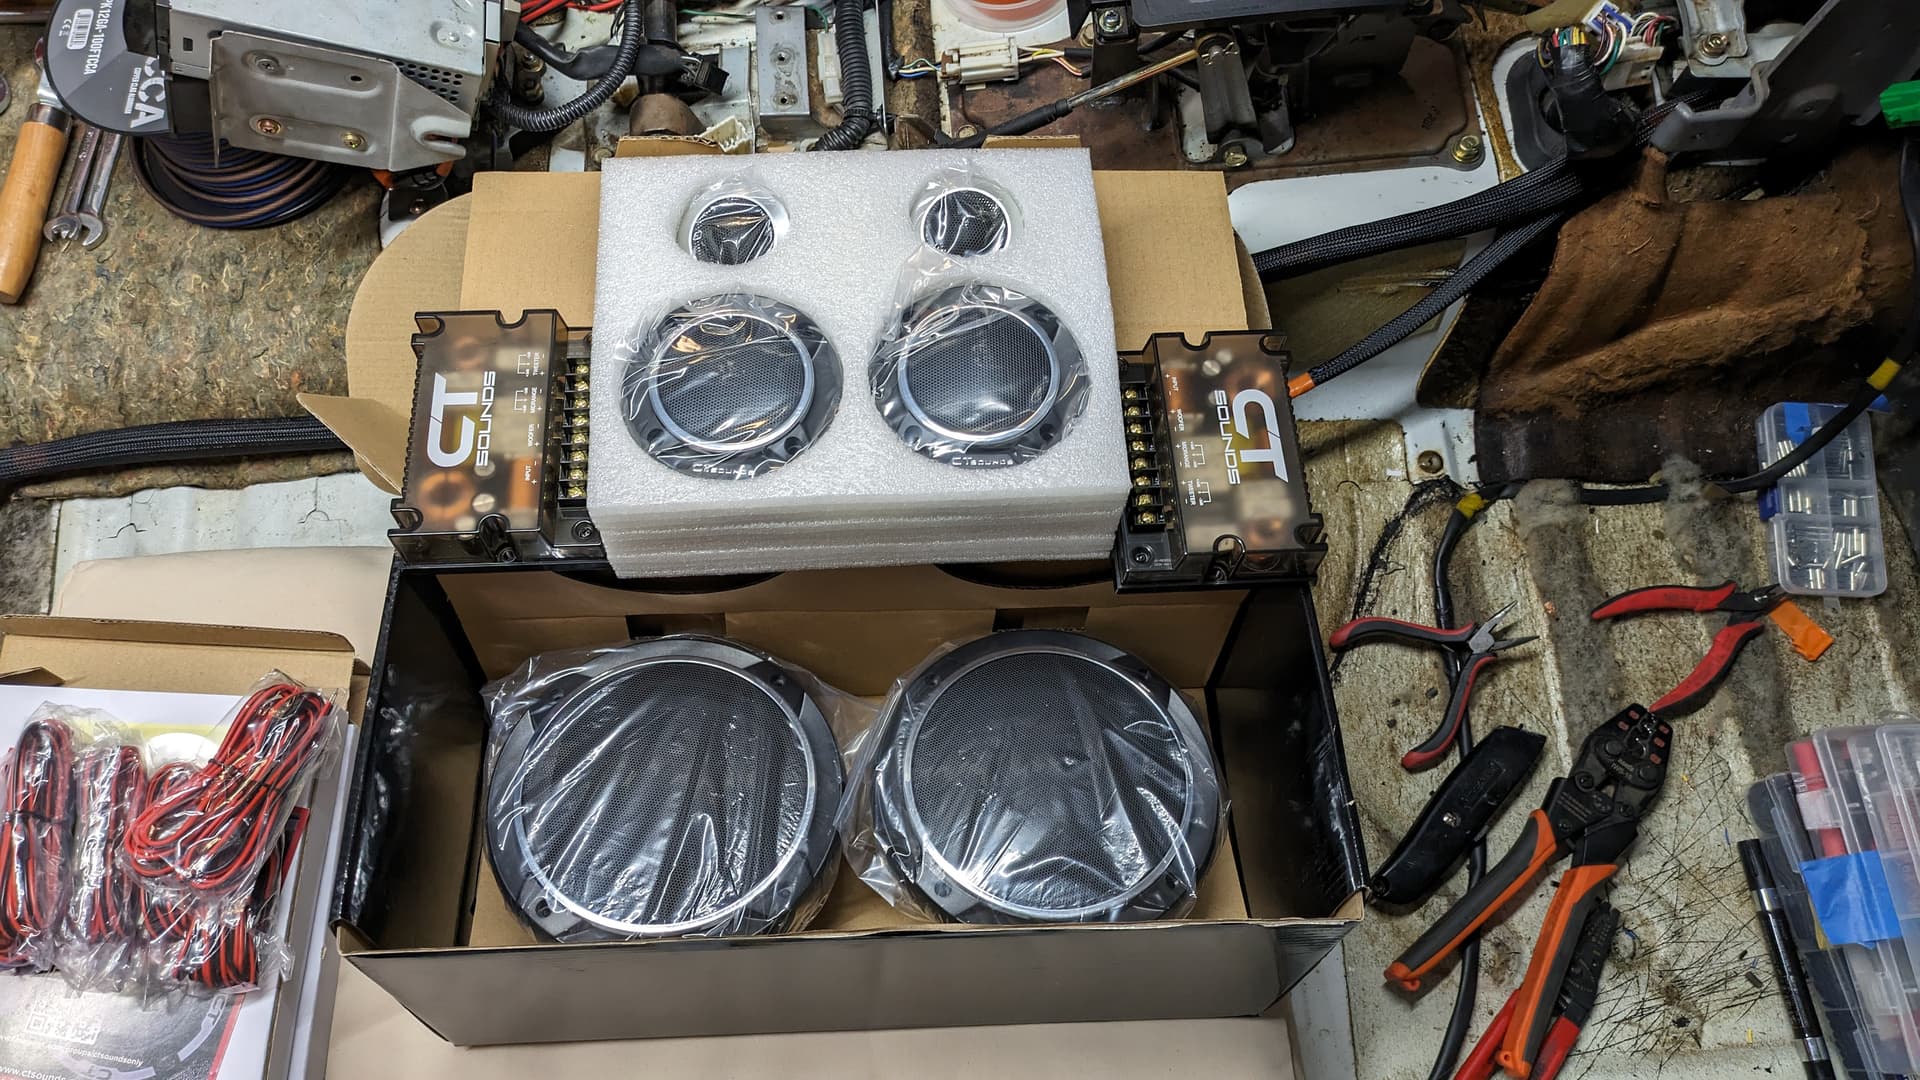
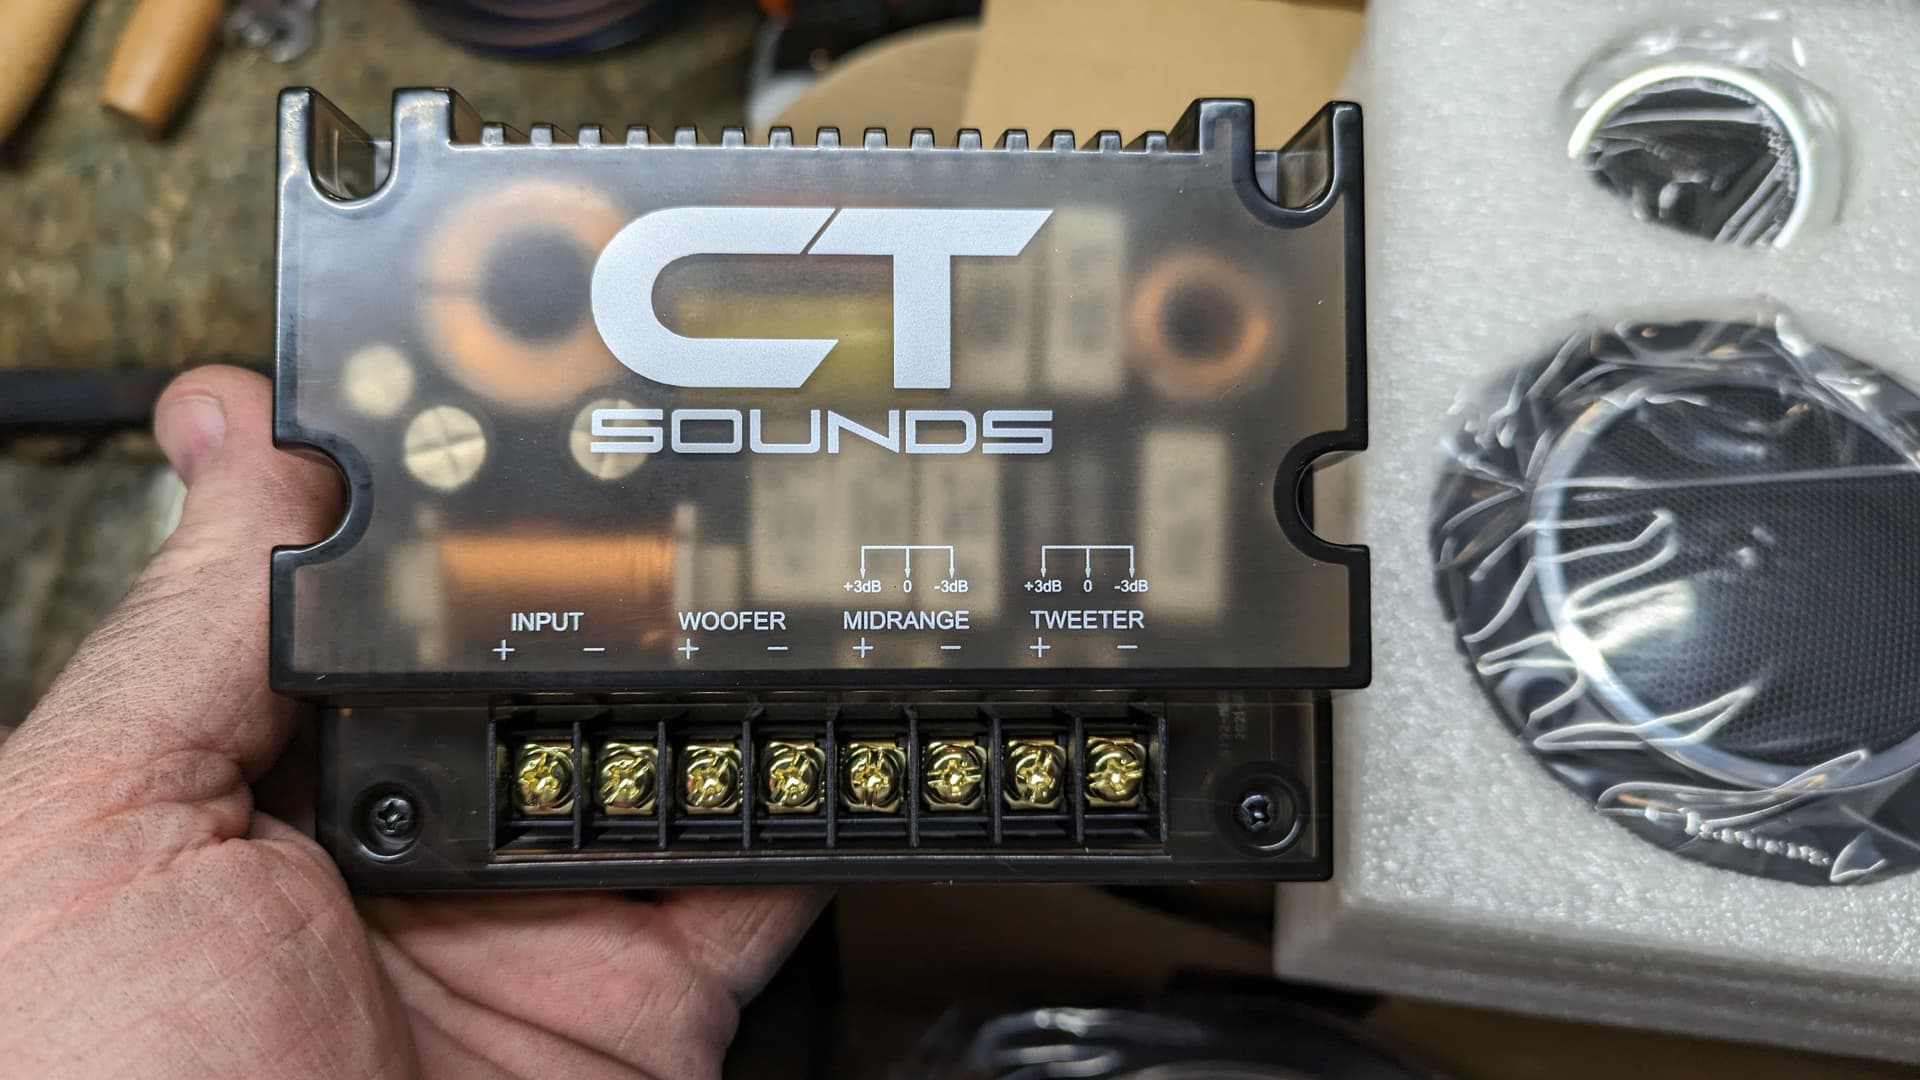
Considering how much time and effort (and money) I’m investing into re/prewiring the truck, I figured it was worth looking into component speakers. As expected, these were generally a lot more than I want to pay for speakers, but I found these CT Sounds 3-ways on Amazon for under $250. The reviews look good. The hardware feels good. I’m cautiously optimistic.
The factory tweeters have never worked for me, and I didn’t even know there were blown speakers in the lower dash. Between these 3-ways and a powered Cerwin-Vega sub (that I hope fits) under the passenger seat, I’m hoping to get closer to the 12-speaker BOSE system in the Mazda. ![]()
Not sure where I’m going to put the crossovers, though. Any ideas?
Other mentionables…
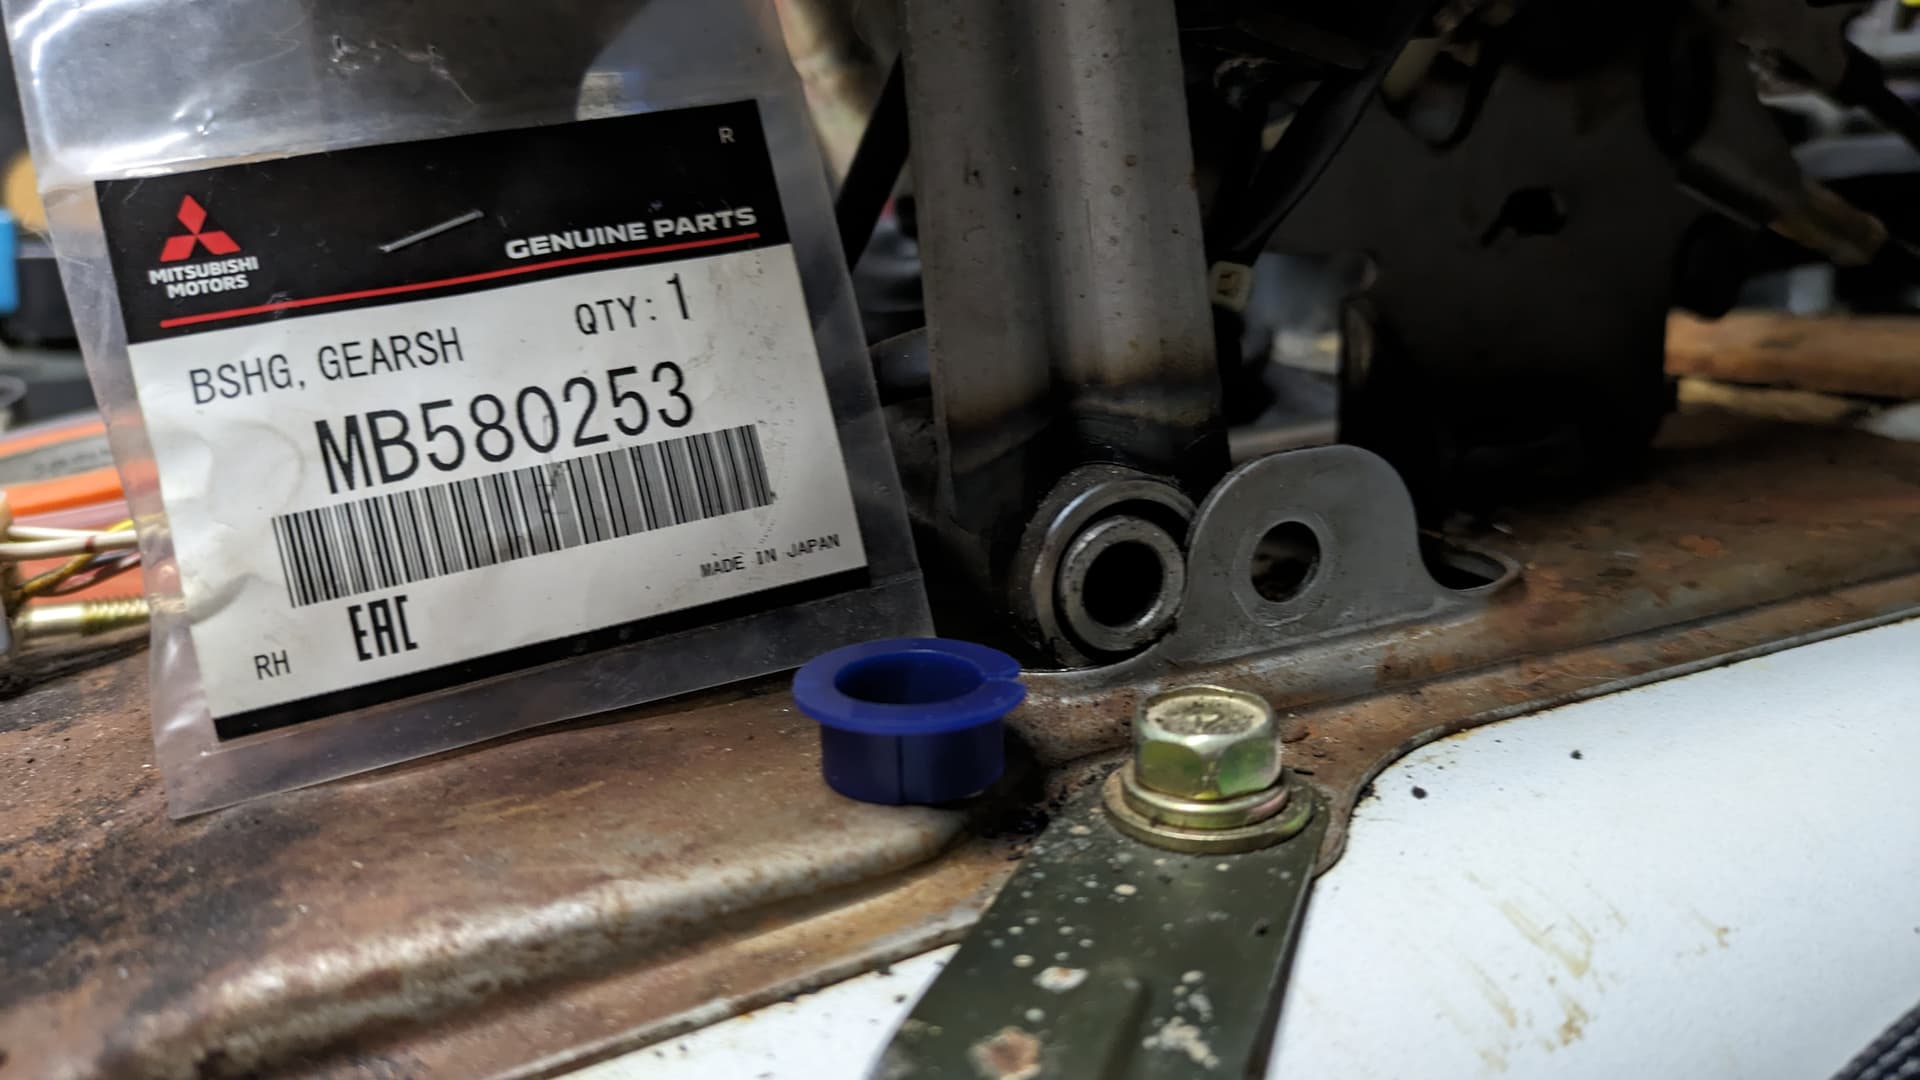
I also finally got around to installing the shifter hinge bushings I bought two years ago. If your Montero shifter wiggles side to side, you need these. You don’t have to remove too much to get to them, either. Mine were completely gone. As in, there was literally no sign of any bushings. It took a little more effort to get them in than I expected (they’re a tight fit), but head-scratching and all, it took me all of 15 minutes with a 12mm wrench and a small hammer. The shifter is nice and tight now and doesn’t feel like a cheap, plastic happy meal toy anymore.
Remind me to replace the PRNDL bulb with an LED!
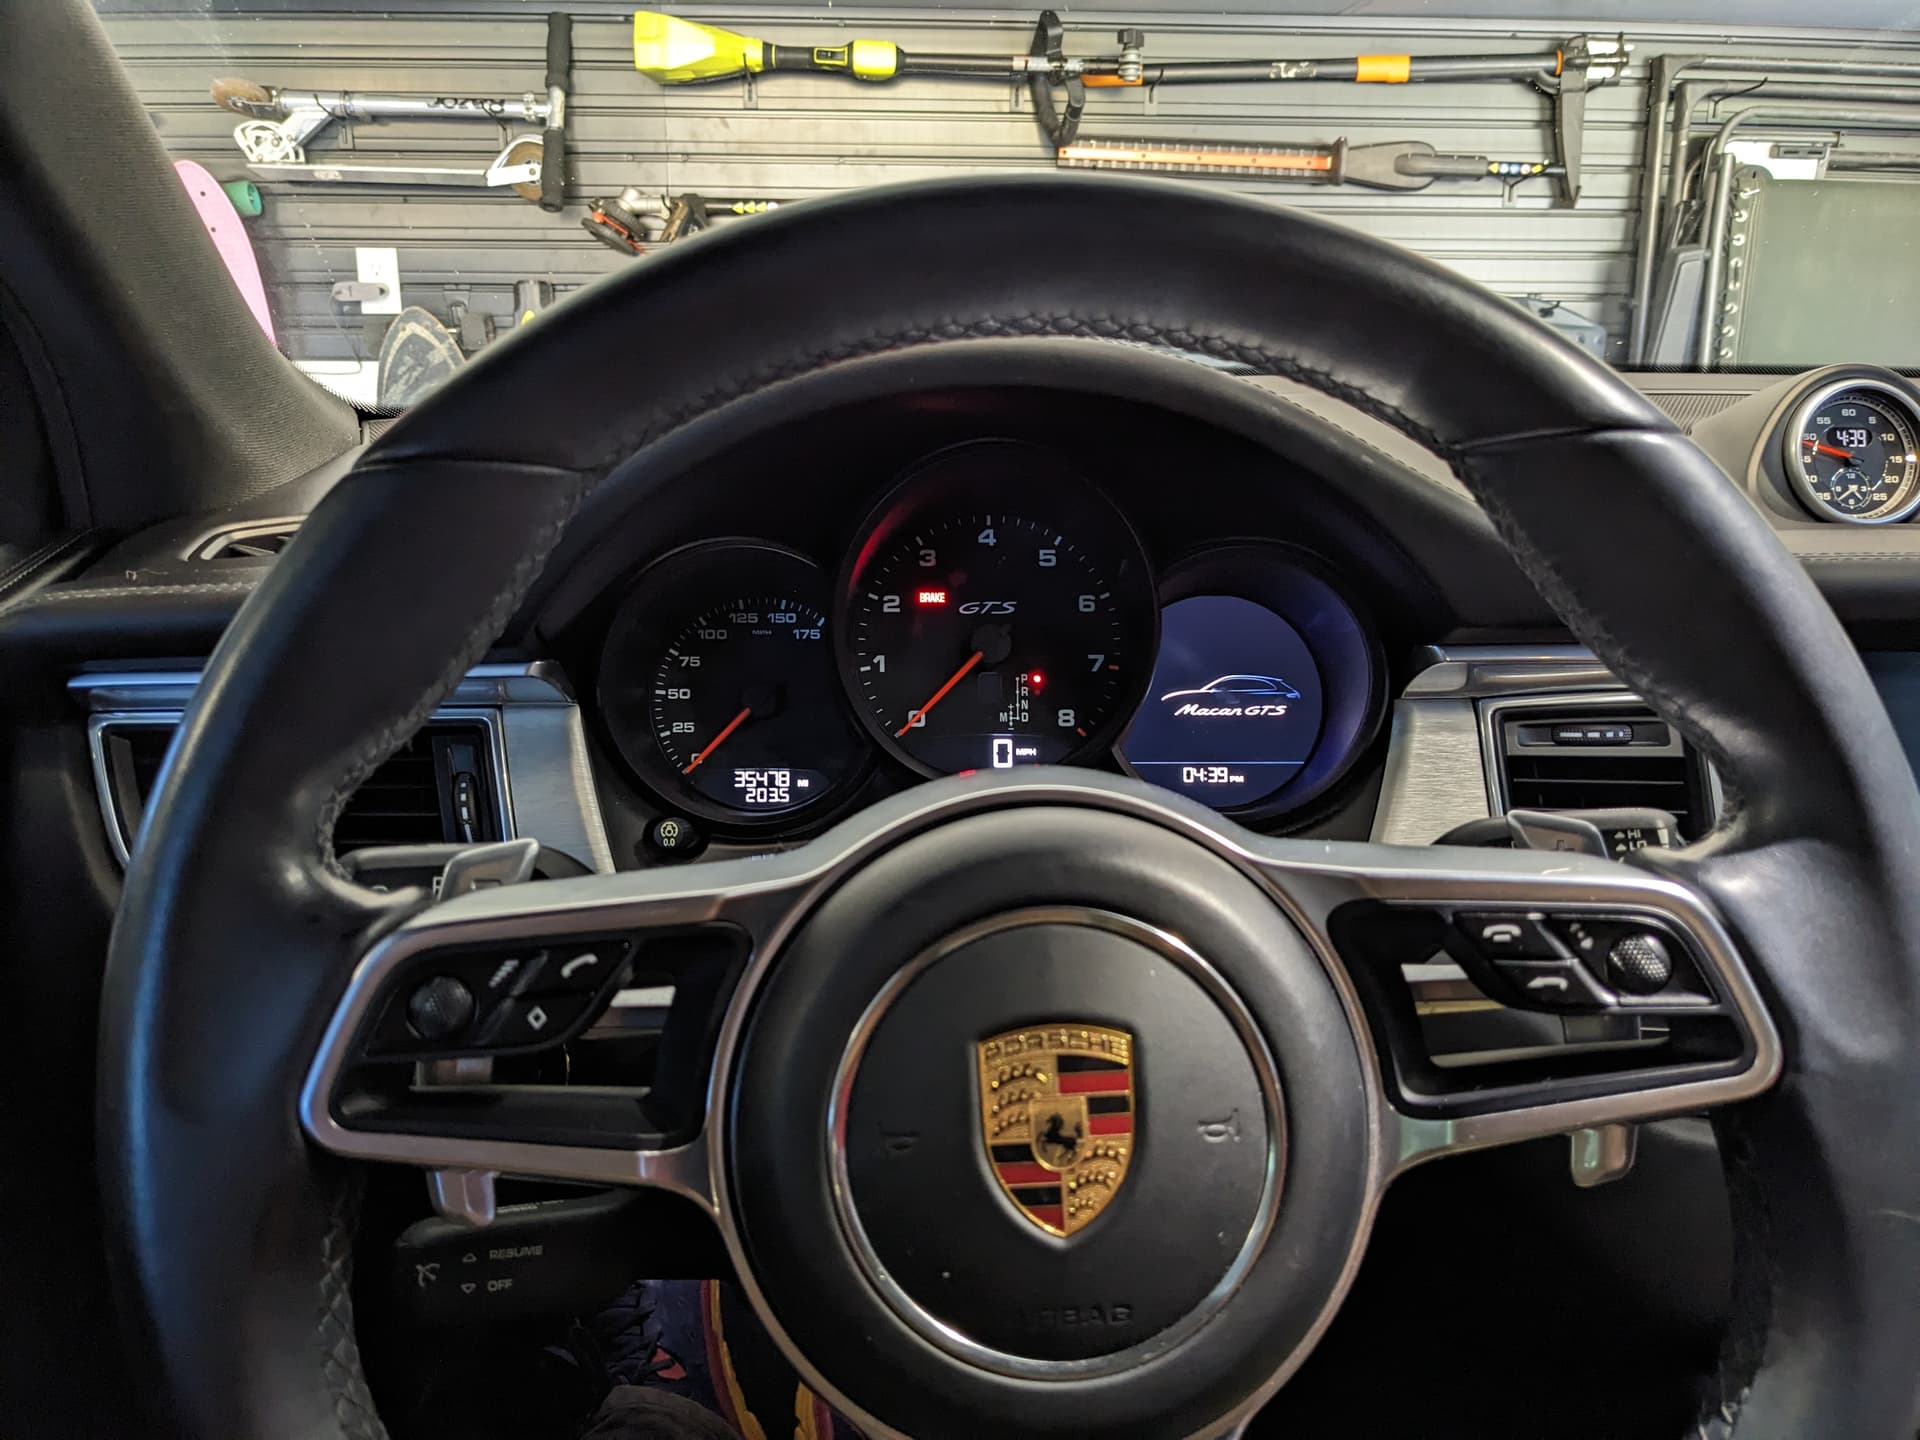
Finally, VP&I flew out to SLC to spend the Mabon weekend with @konverge and his family. I finally got a chance to drive their 2017 Porsche Macan GTS. It was glorious. Like everything we love about the CX-50, only tighter, tauter, and faster. It’s a technological marvel if you ask me, and I’ve made a point of reiterating my request for first right of refusal when/if they should decide to replace it.
Still left to do
- r&r the sunroof, fix the roof rack mount, & noico the roof skin
- test fit the subwoofer, noico the floor, install the carpet pad & carpets
- refurb the HVAC controls & test the new heater core
- test new house & aux lighting circuits
- assemble & install the dashboard
- finish wiring the fender repeaters
- install fiber optics & headliner
- install the rest of the interior
- replace reverse lights
- bleed the brakes
It’s a lot, but I think I might get it done this month. Halloween will be 90 days since Fezzik pulled into the garage under power—that’s an entire quarter of the year. Woof.