Galant VR4 801/2k Restomod

This thread originally appeared on Galantvr4.org and goes back to 2011

I’ve realized now, that this build is nearly a decade old. For this reason and in the spirit of this forum. I’m going to include my original posts and where you see italicized text I’ll add post commentary. Things I found out later, things I should have improved upon or improved upon afterwards.

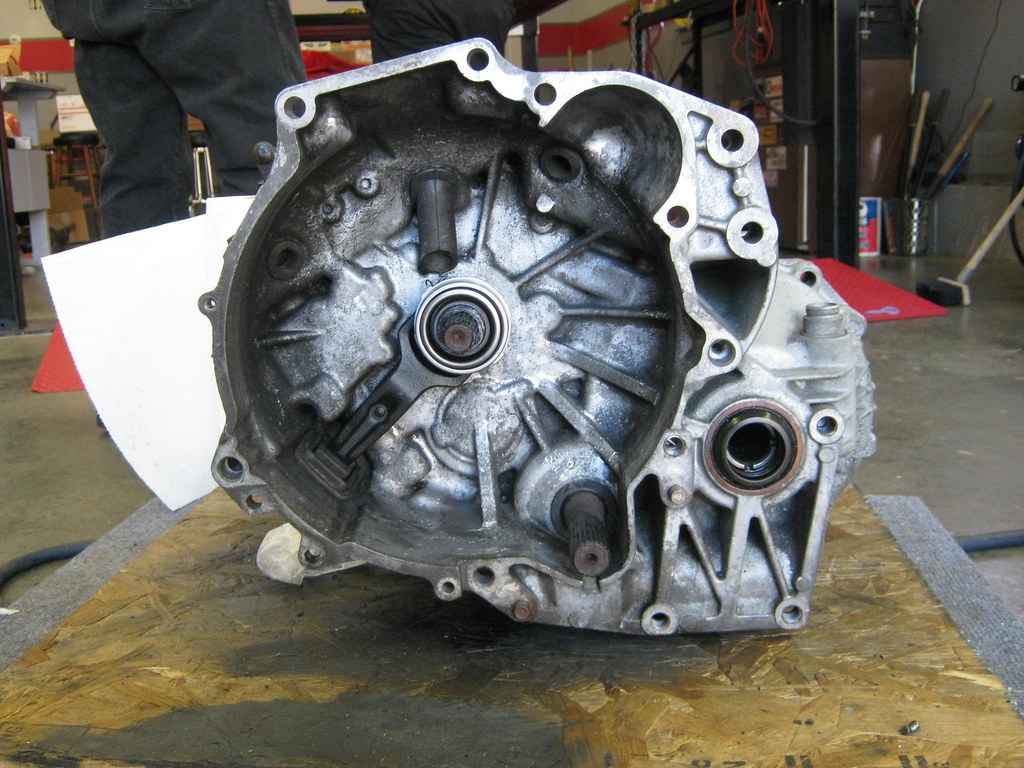
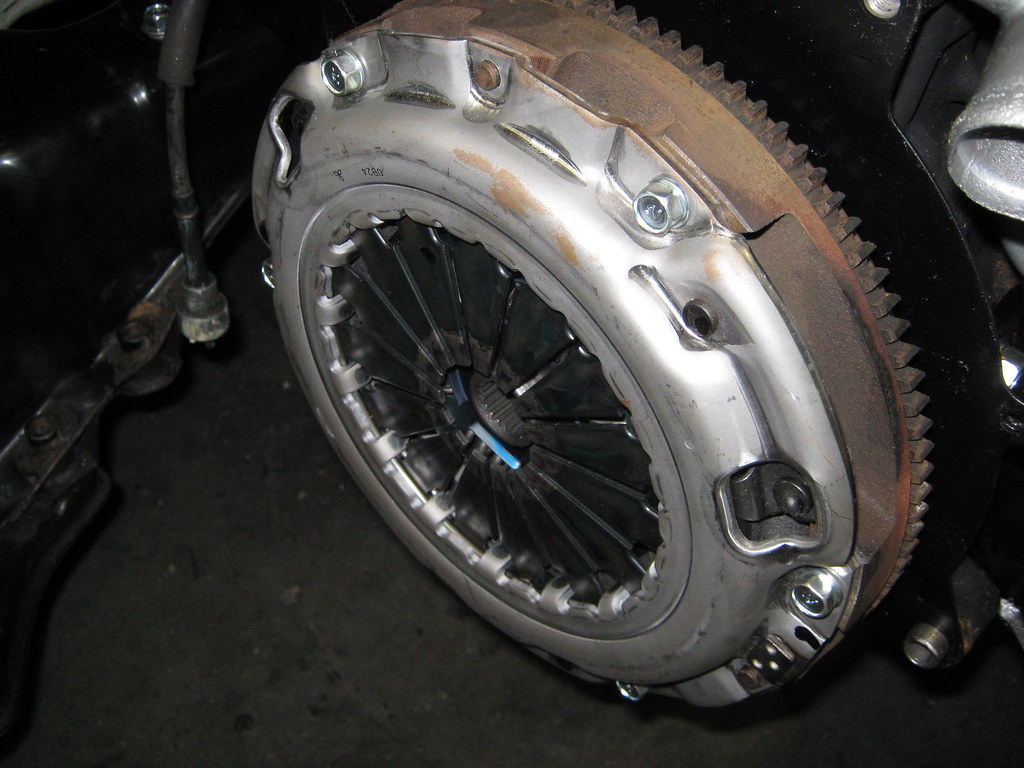
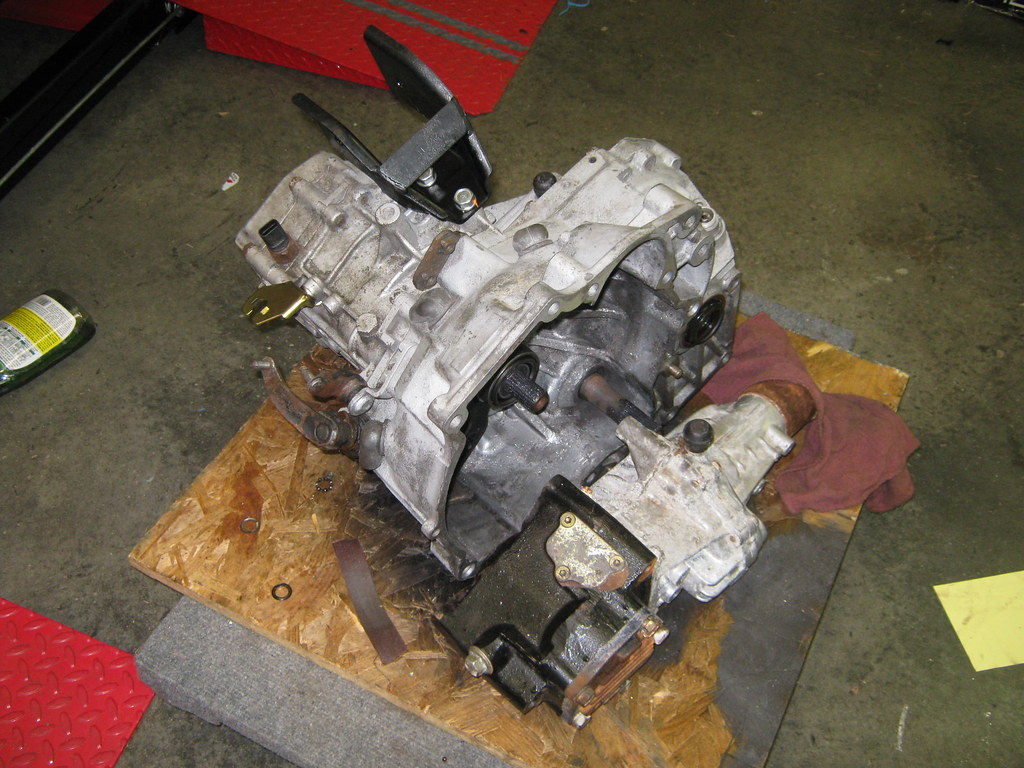
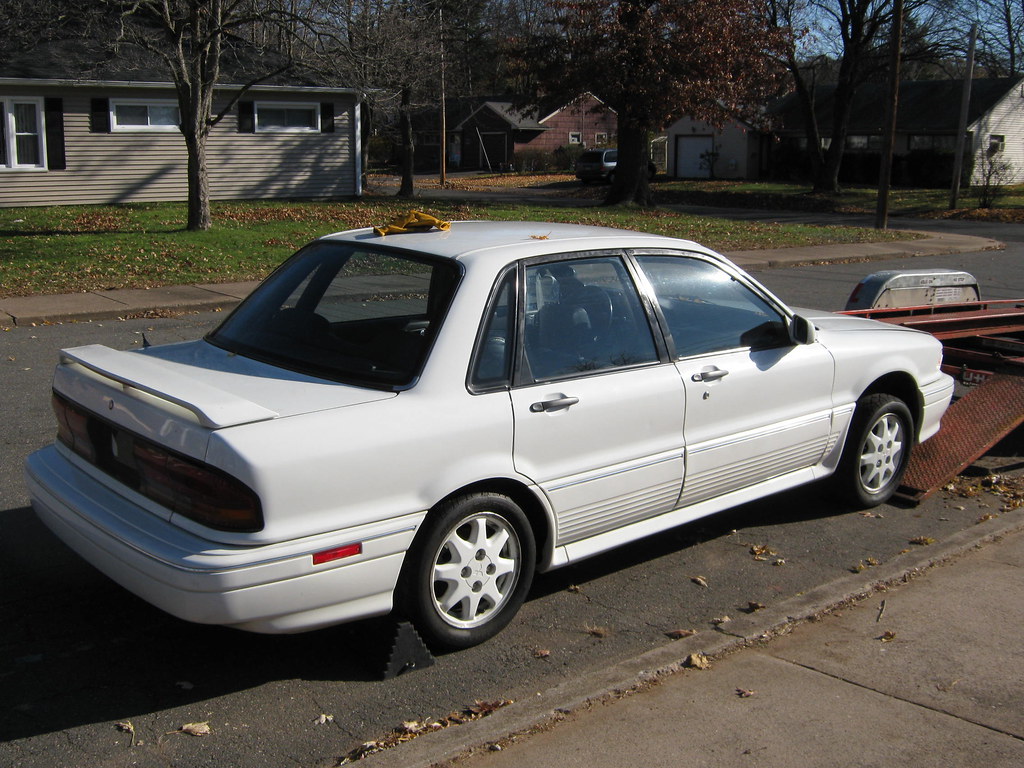
After years of wanting a Galant VR4 I finally found a decent one for the right price. Of course it doesn’t have and engine or trans. Simply minor details of course. It just so happened a Tech I used to work with needed to get rid of his 1991 Talon that was in storage. The engine was already pulled because it ran low on oil and rod knocked. The car also has a nice condition stage 1 Shep trans, lucky me. So the right Galant happened to showed up at the same time the right parts car showed up, fate I guess. The goal for this car is to get it back to nearly stock condition first. I need to make sure it runs right before any mods. I’m not building a crazy HP drag car. I just want to restore it back to it’s former glory. So I can drive and enjoy it.

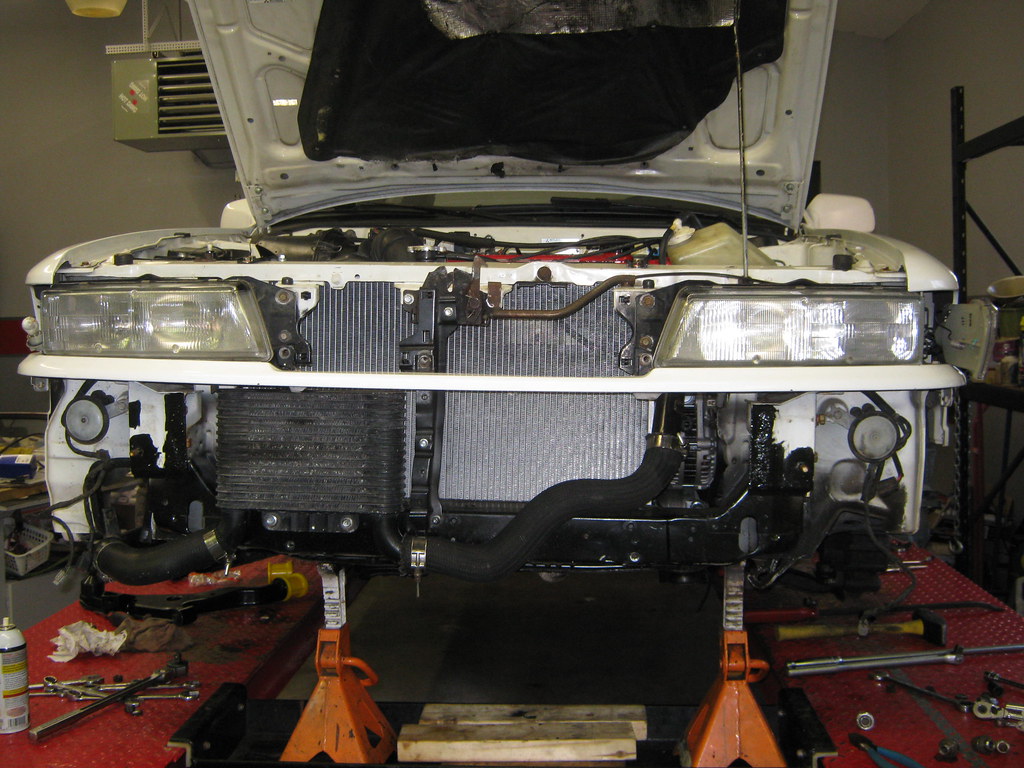
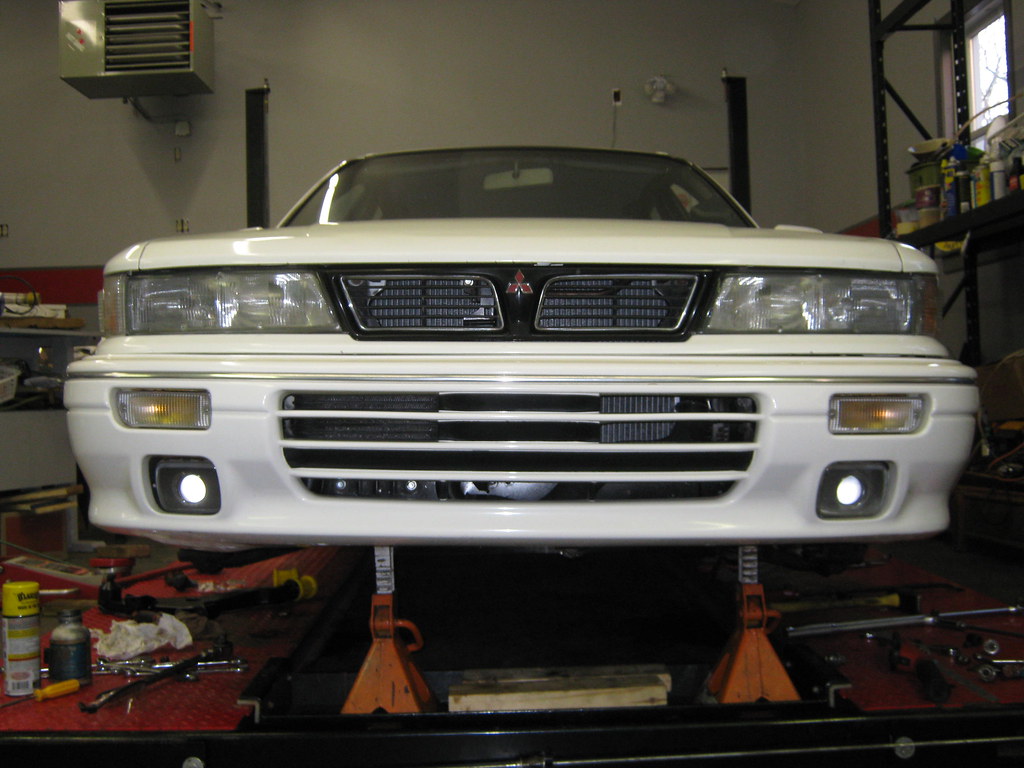
The paint is in really nice shape. The body is rot free with some small surface rust spots here and there. Nothing scary.

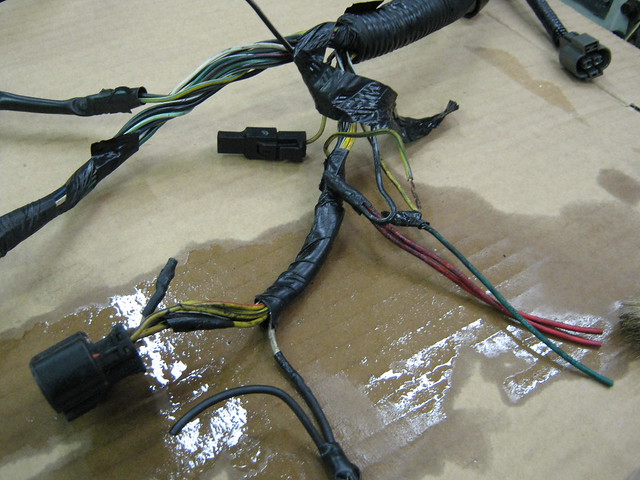
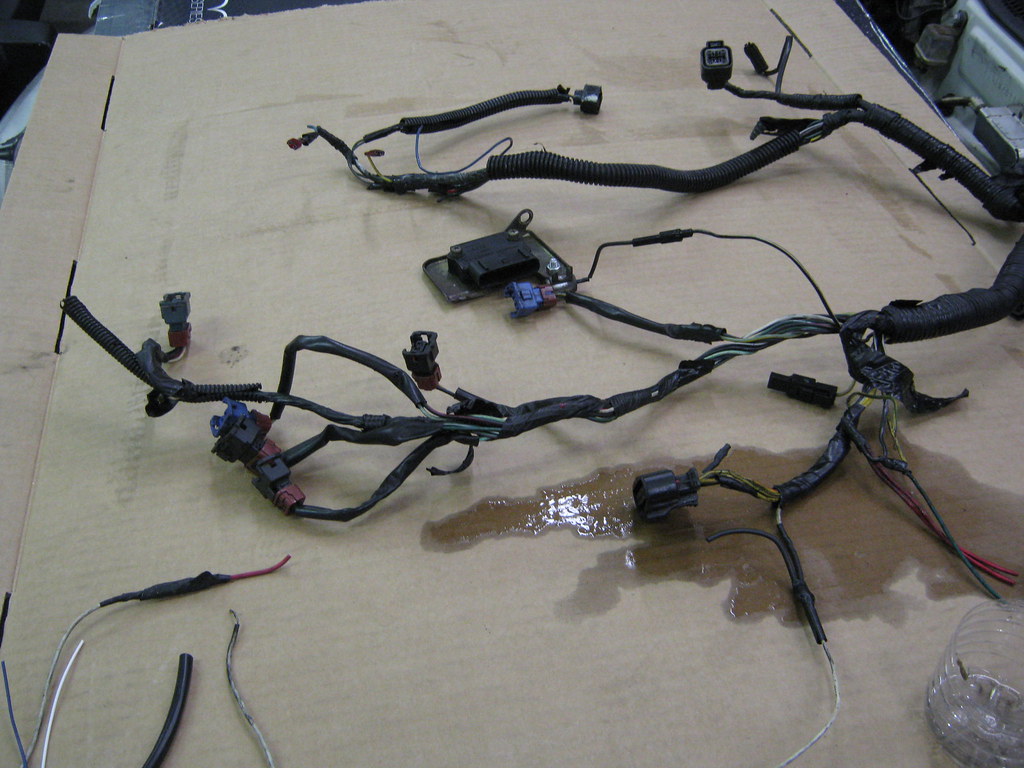
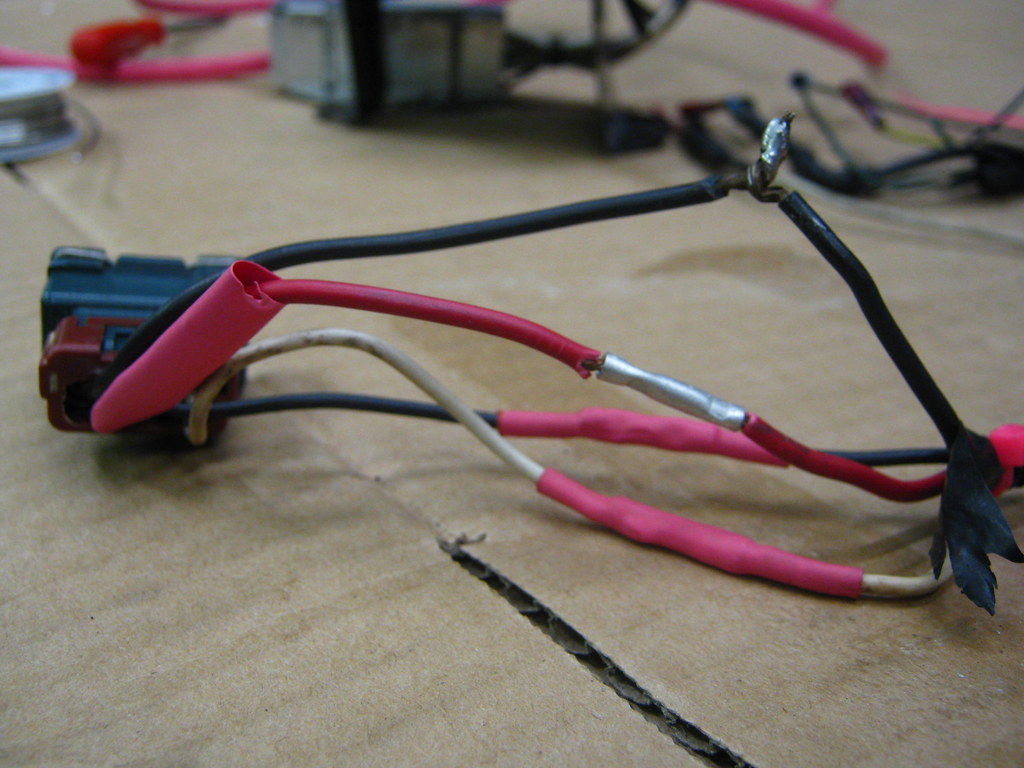
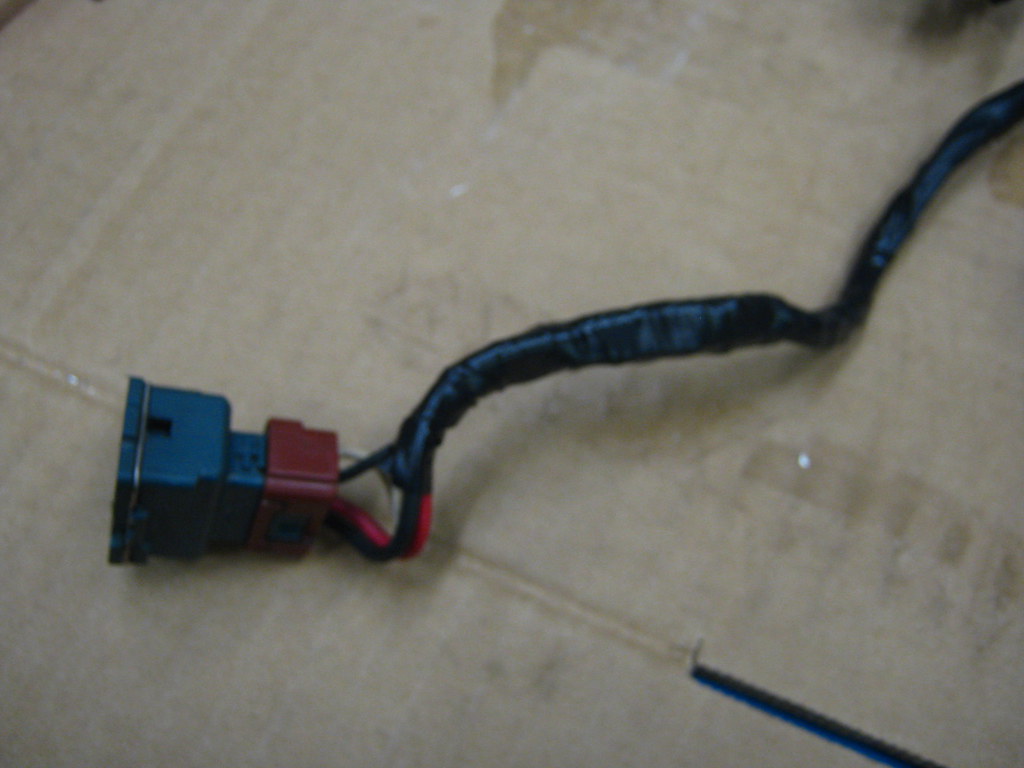
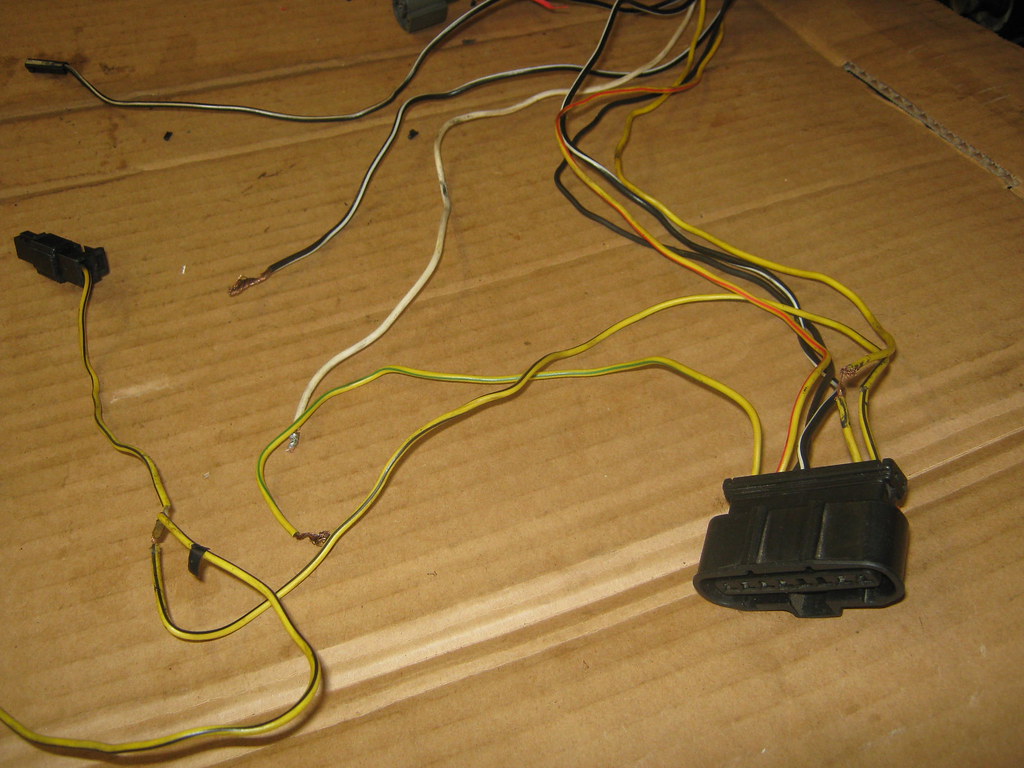
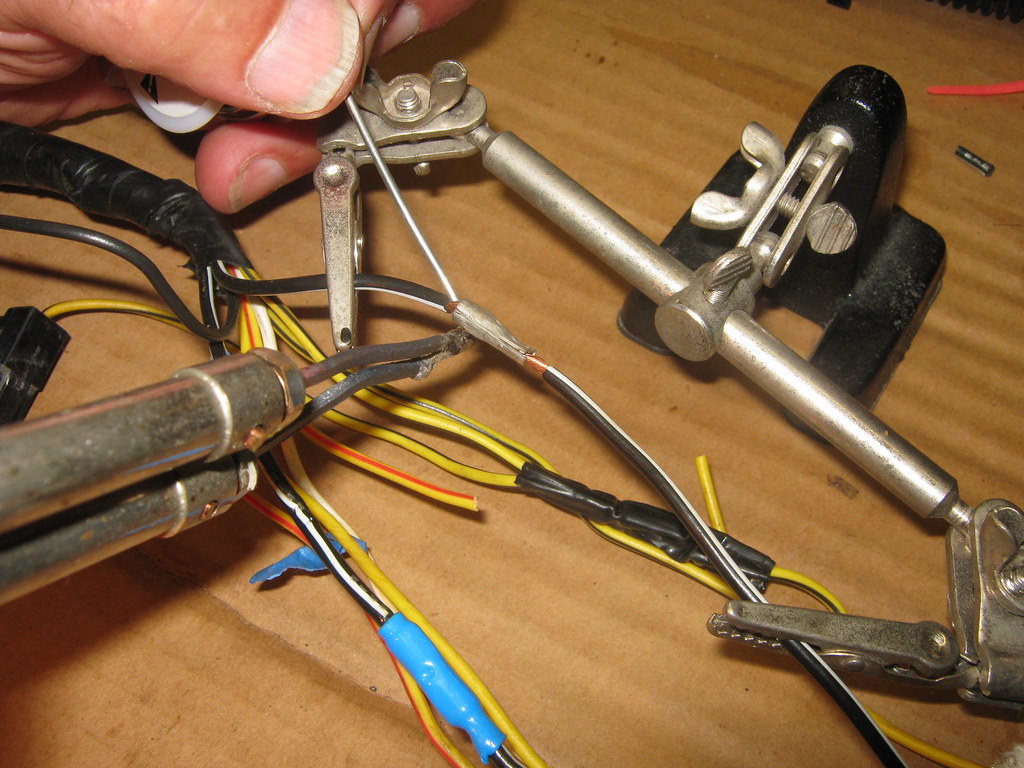
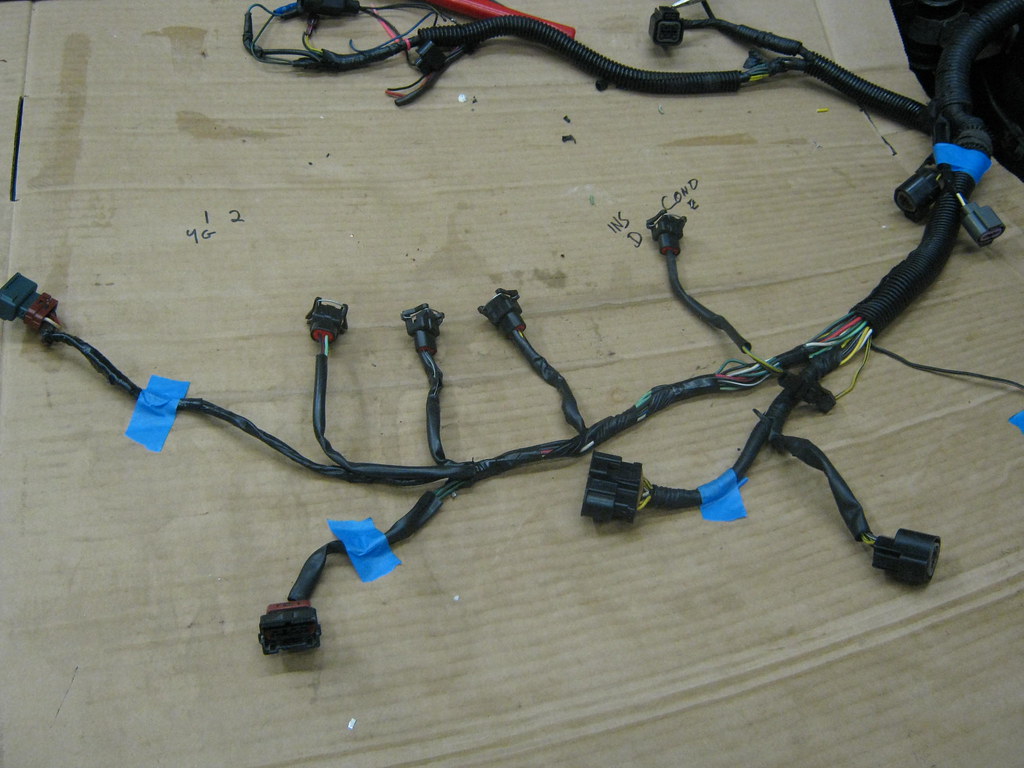
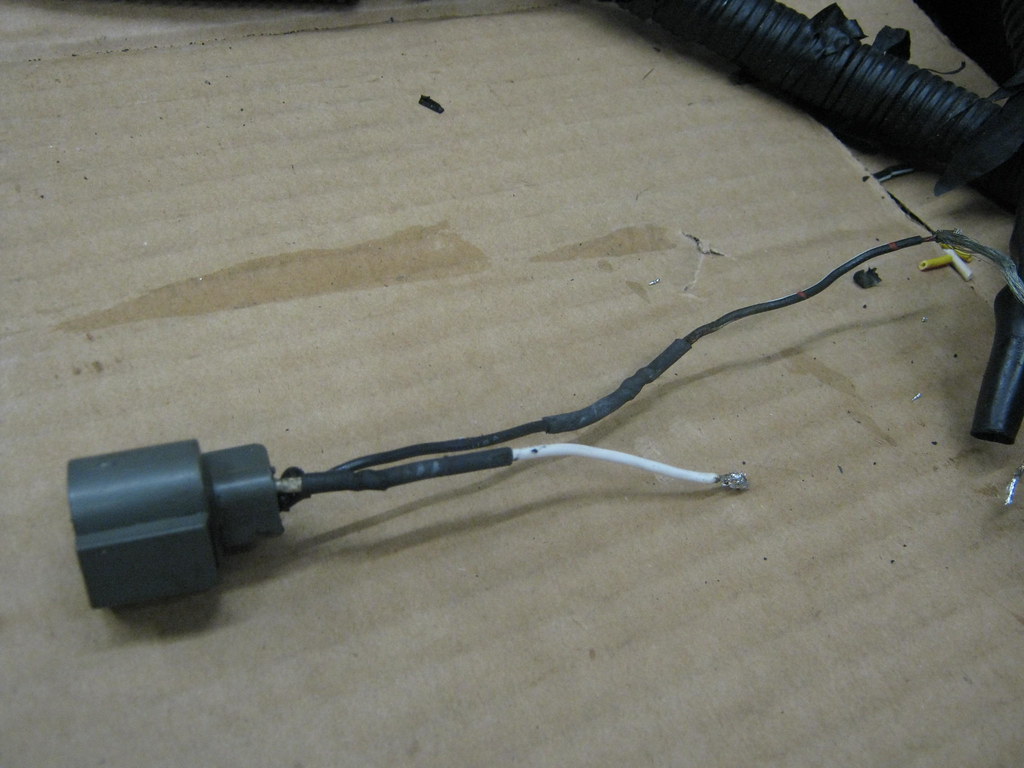
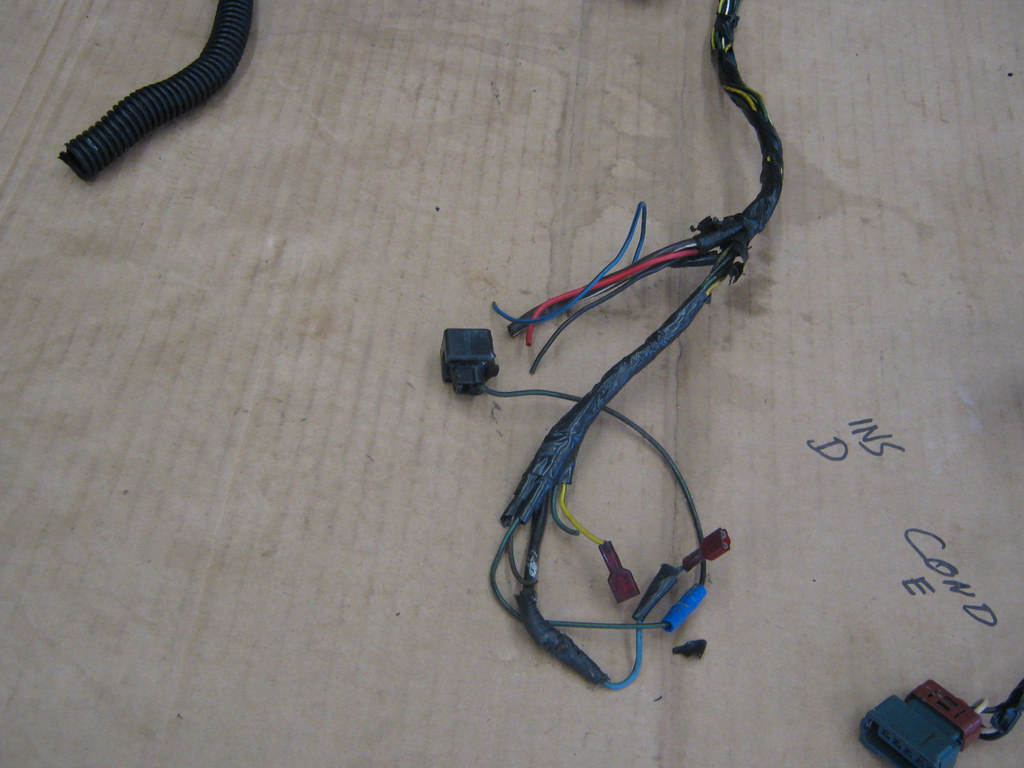
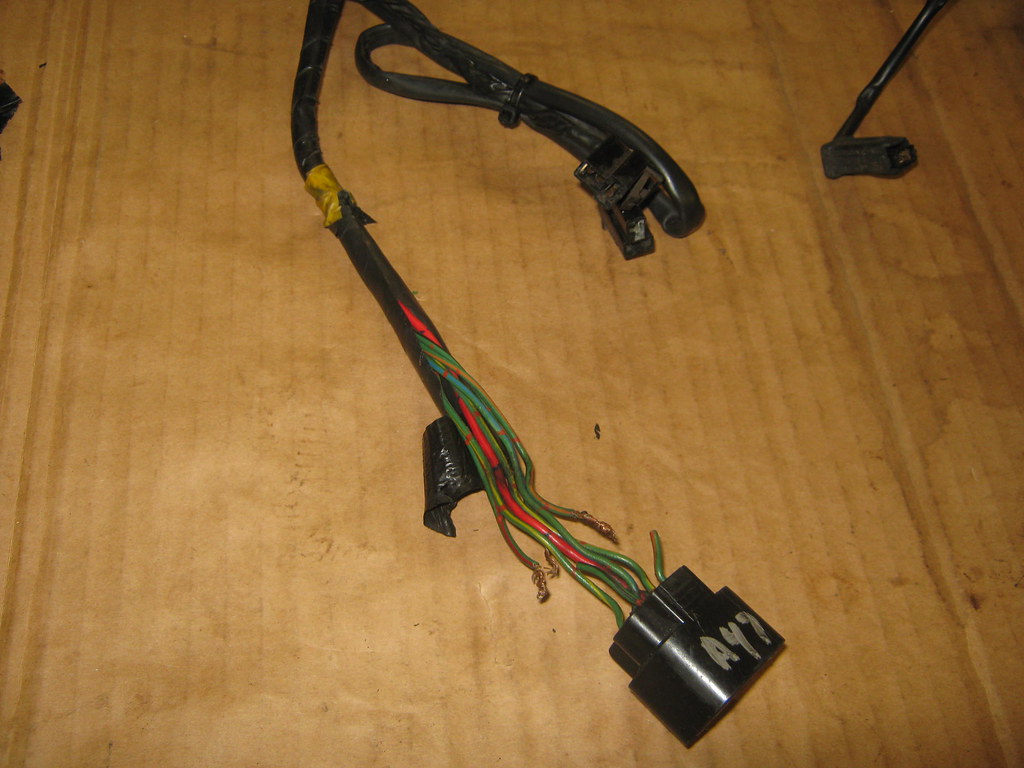
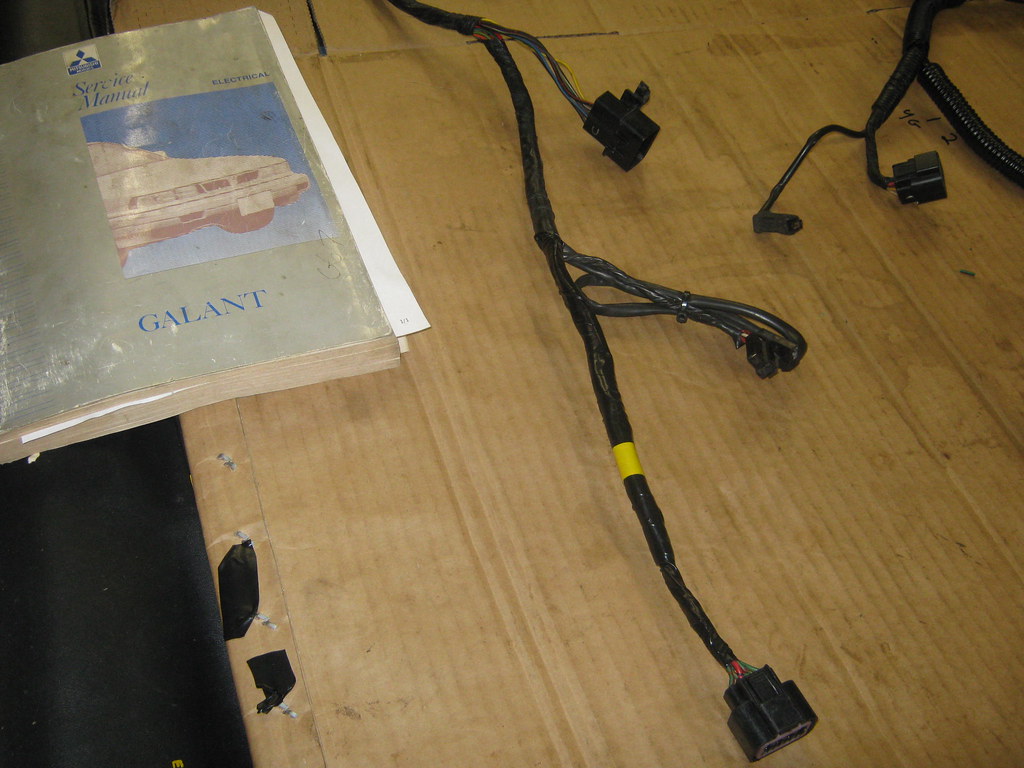
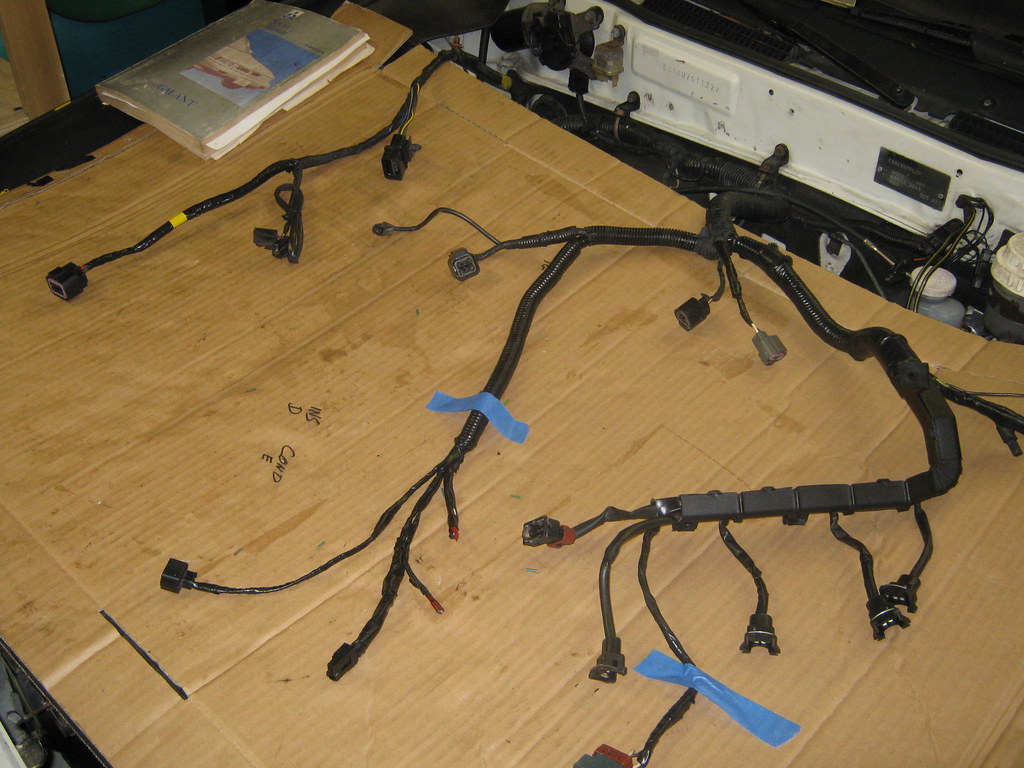
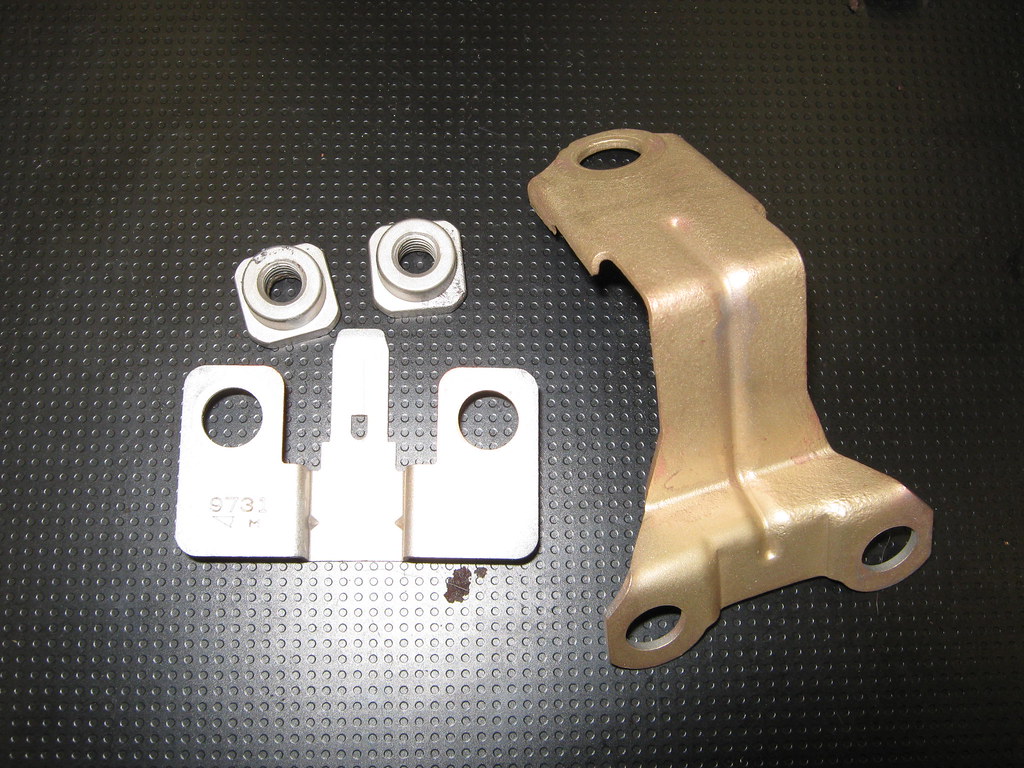
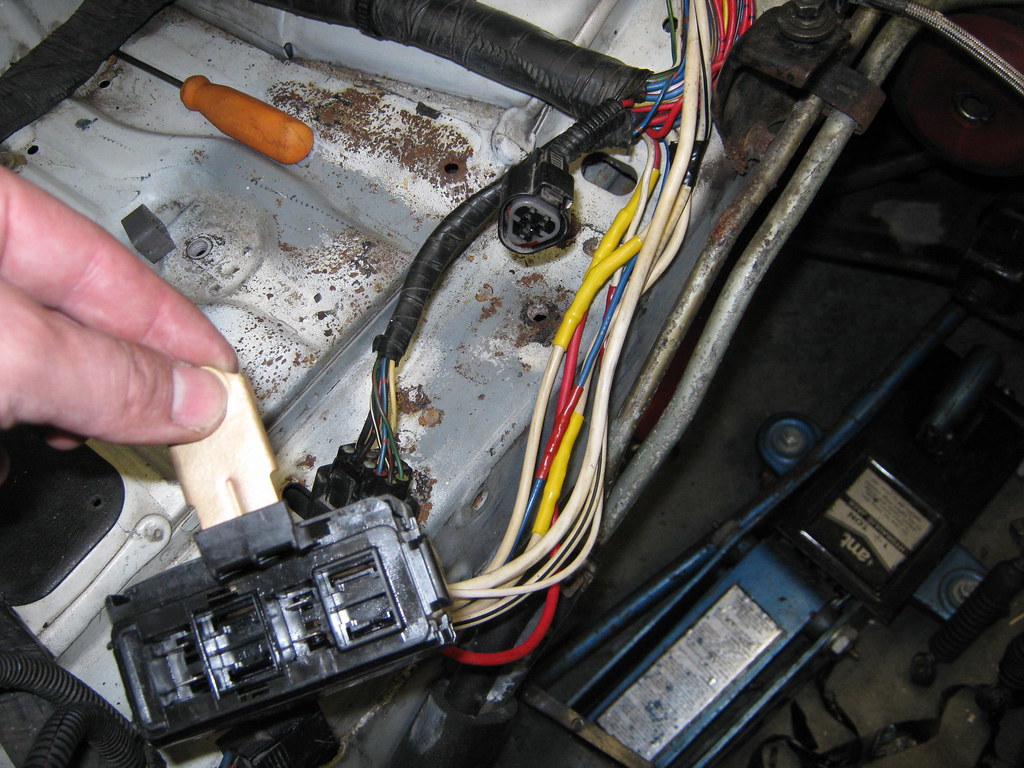
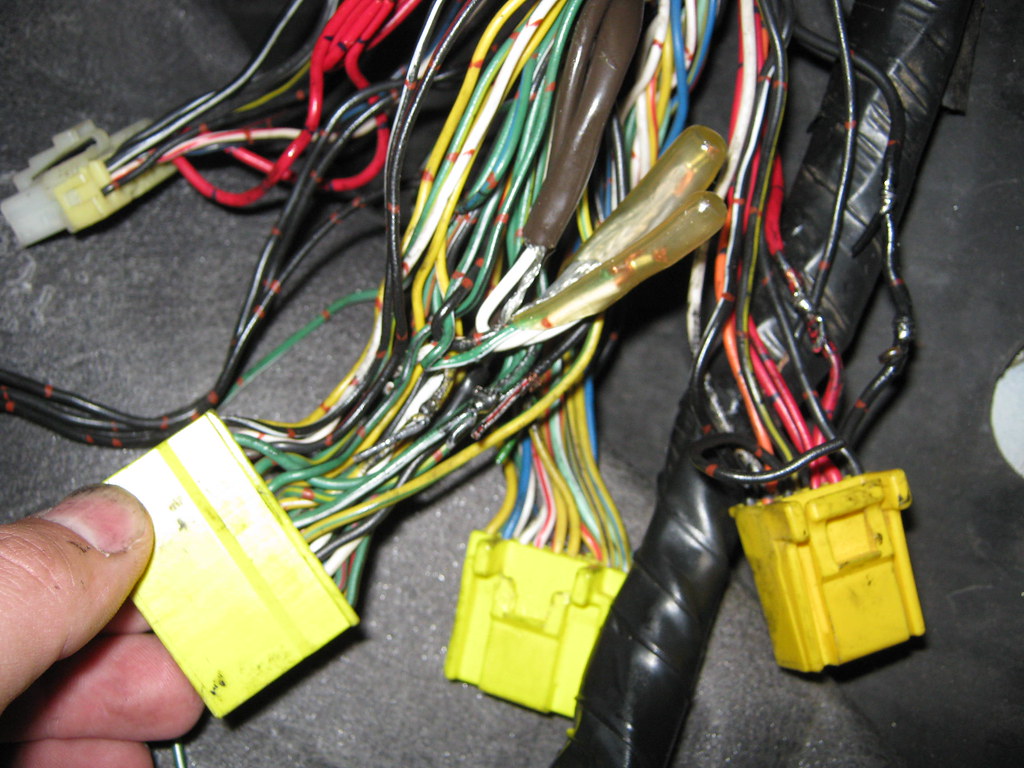
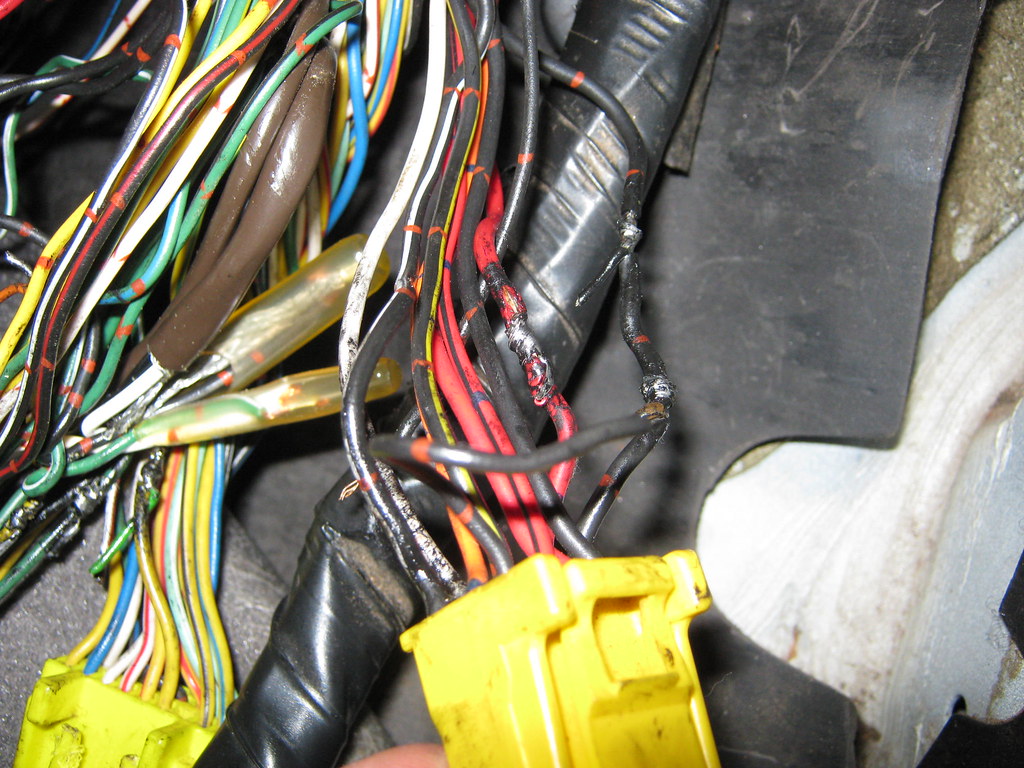
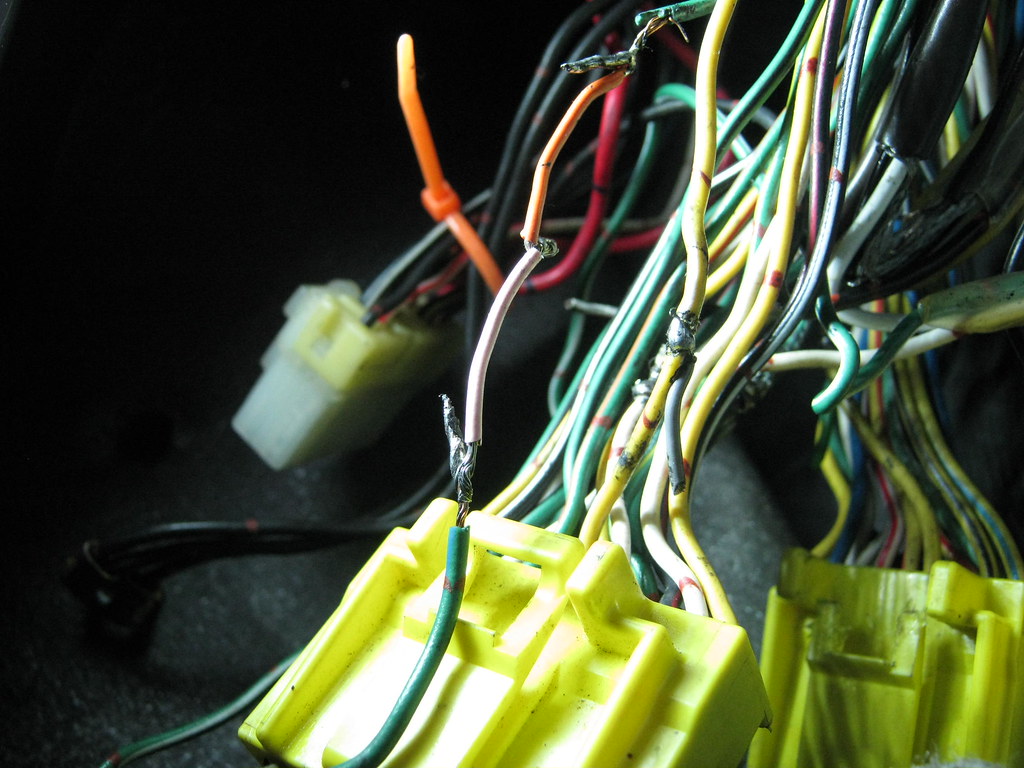
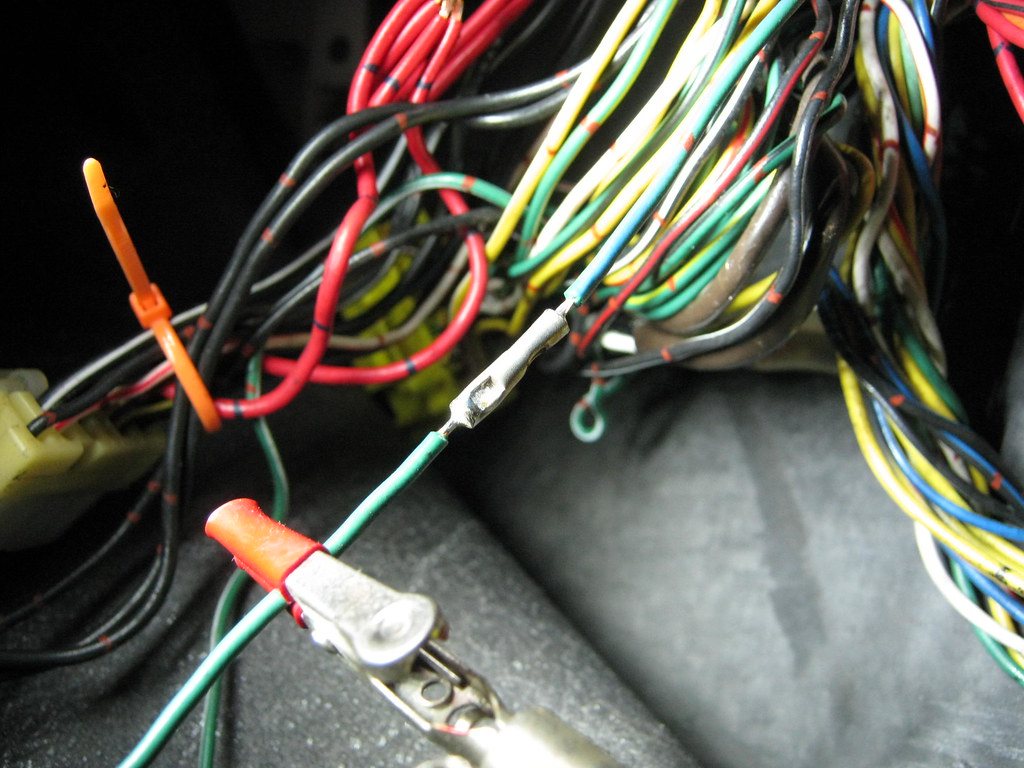
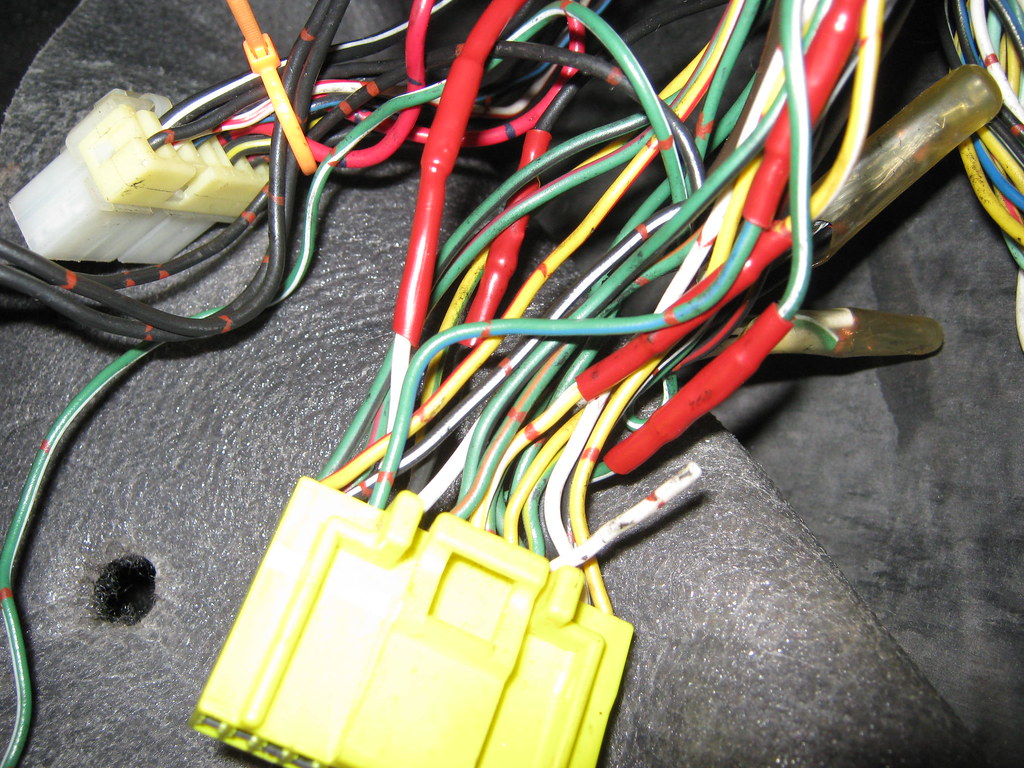
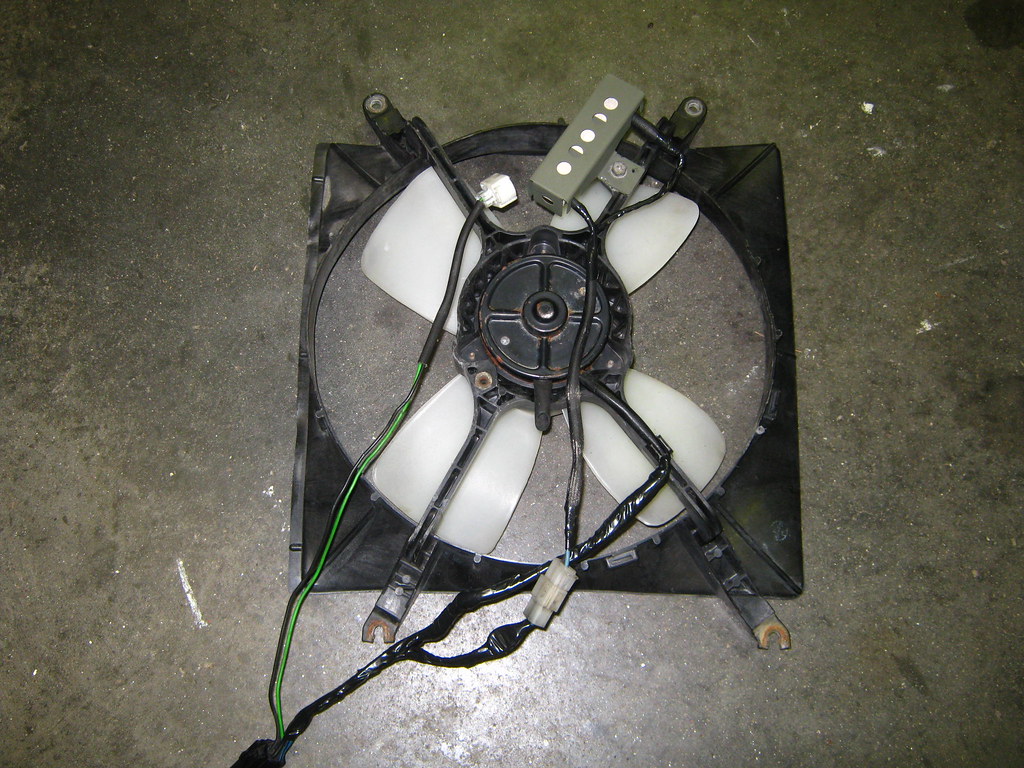
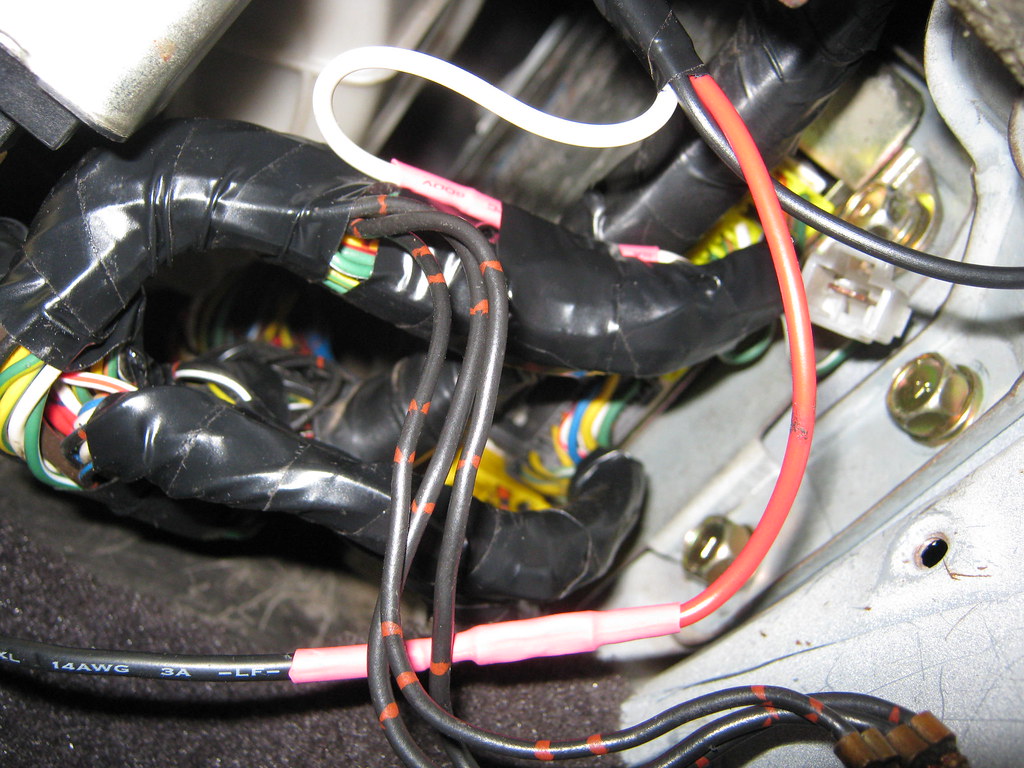
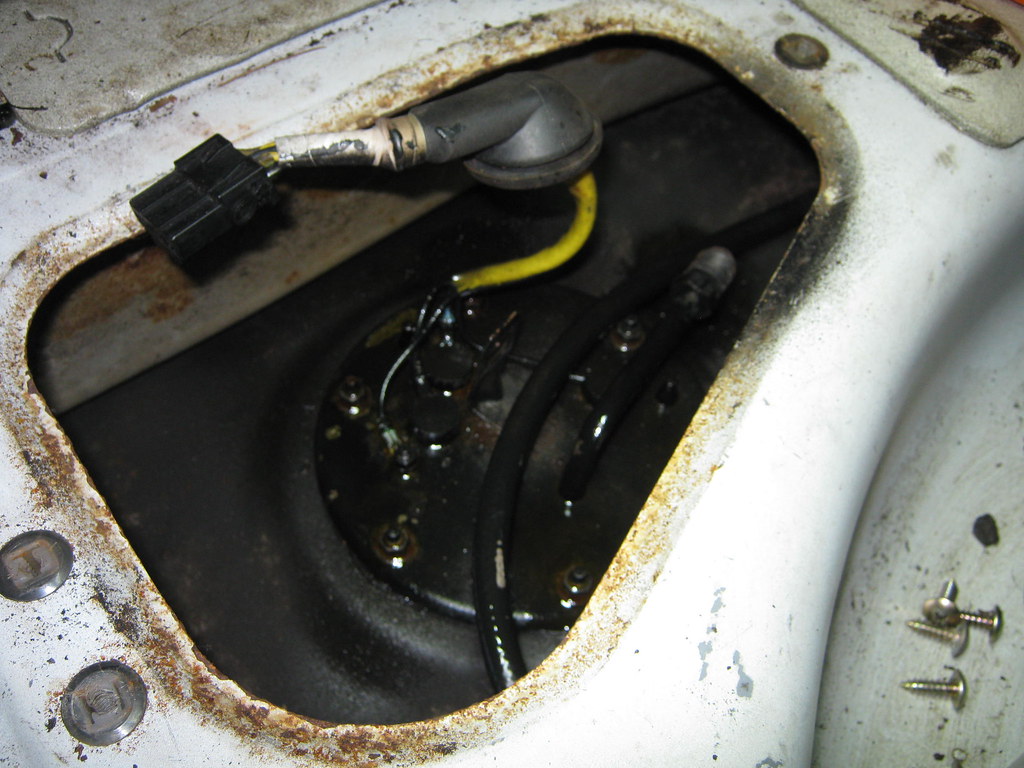
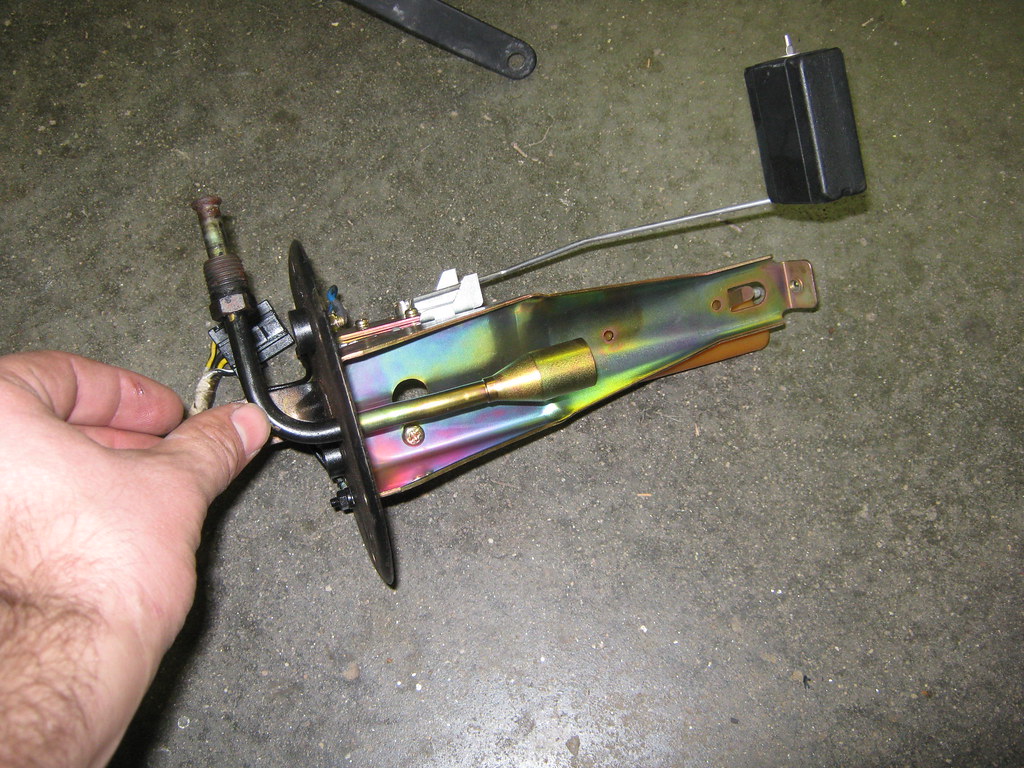
I’ve already located some needed parts thanks to members on the board. I picked up a Stock fuel tank, Engine harness and front body harness. Those where three of the most needed things.

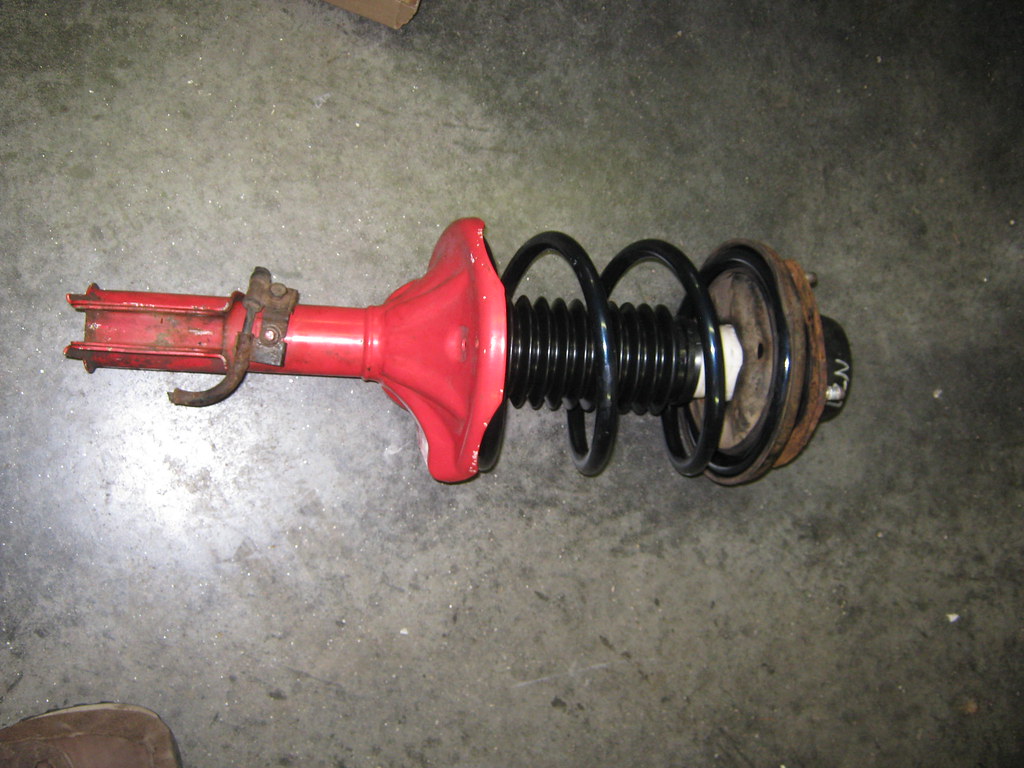
IMG_0432 by Andrew Pascarella, on Flickr

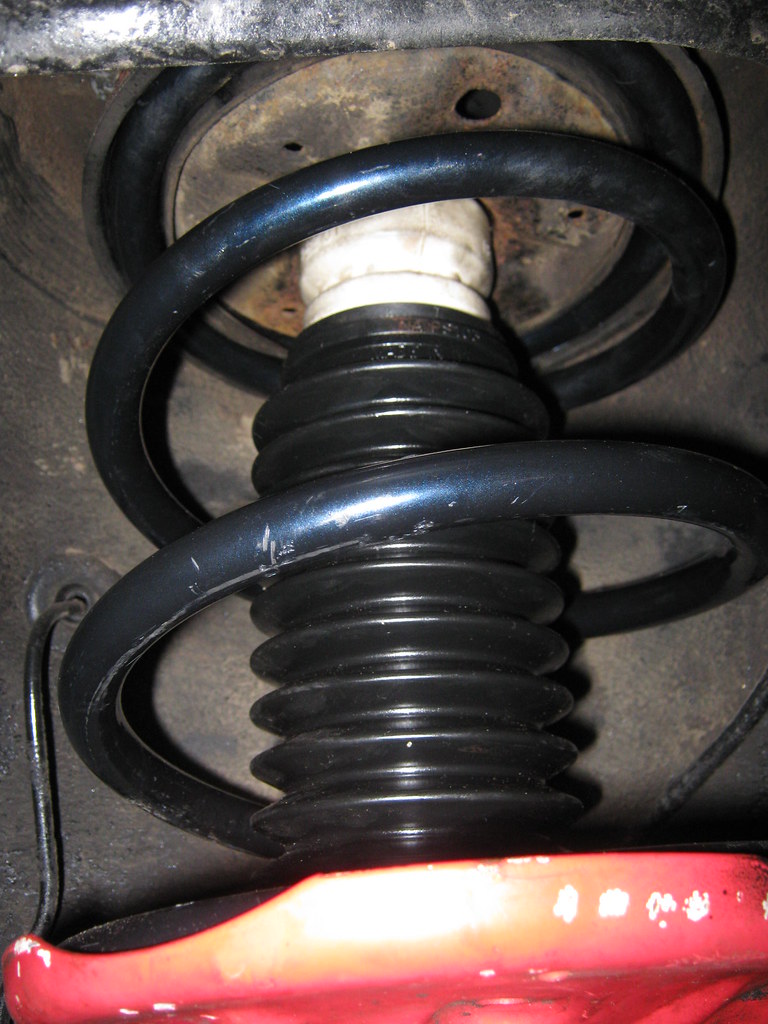
IMG_0431 by Andrew Pascarella, on Flickr

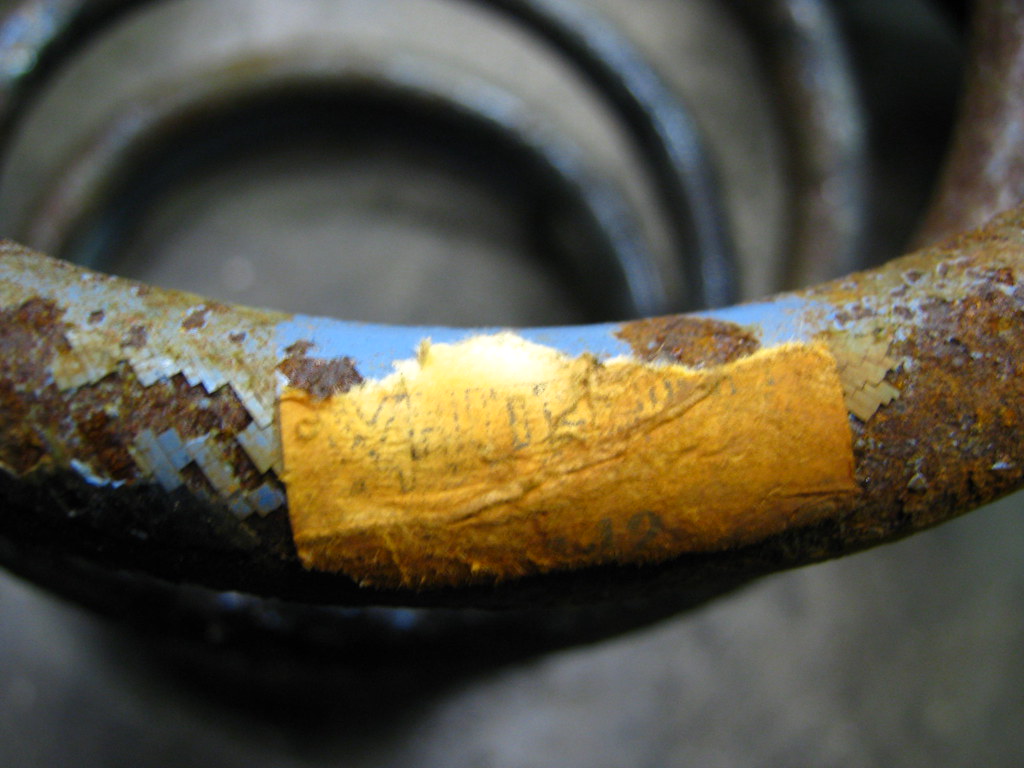
IMG_0438 by Andrew Pascarella, on Flickr

IMG_0439 by Andrew Pascarella, on Flickr
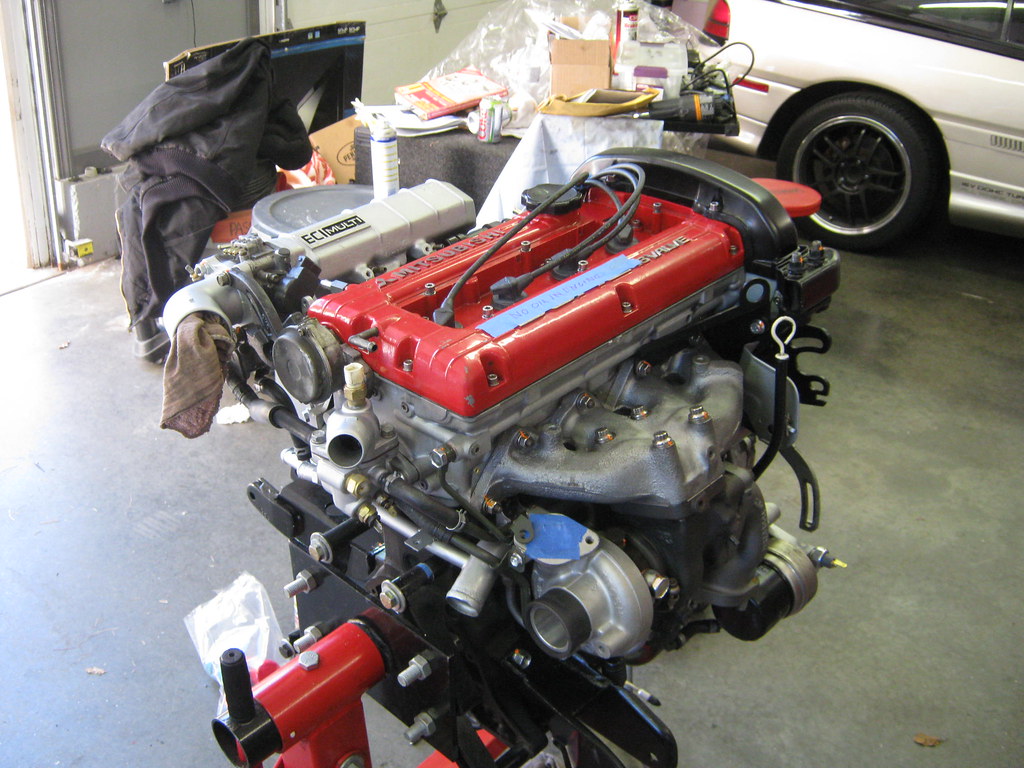
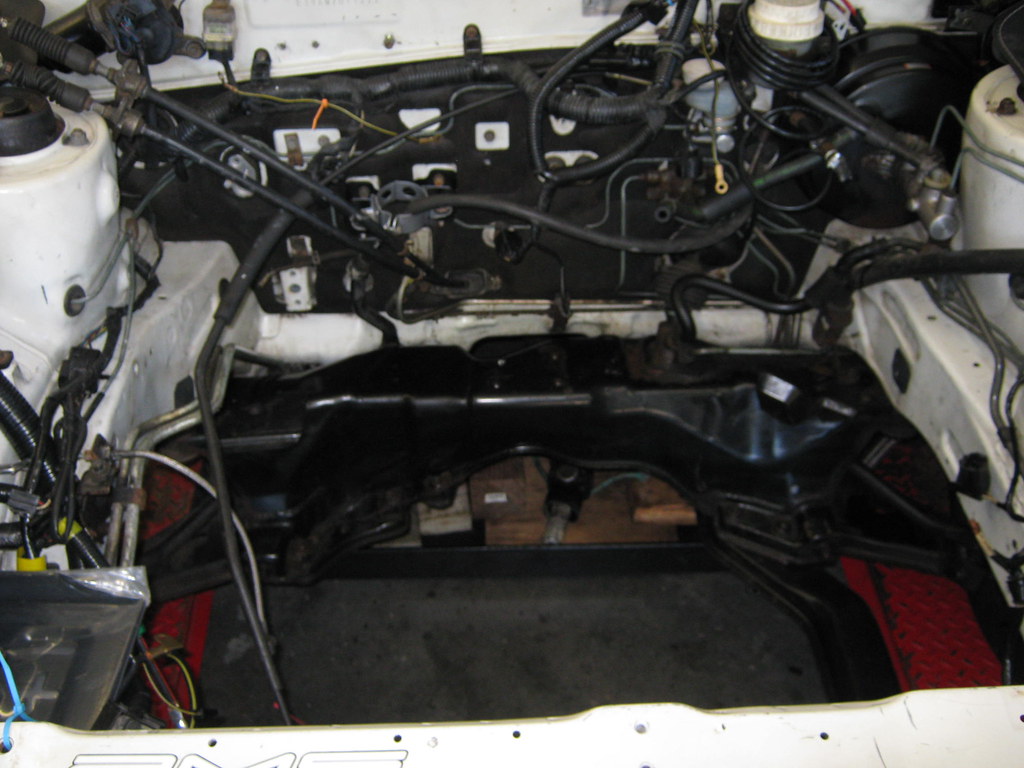
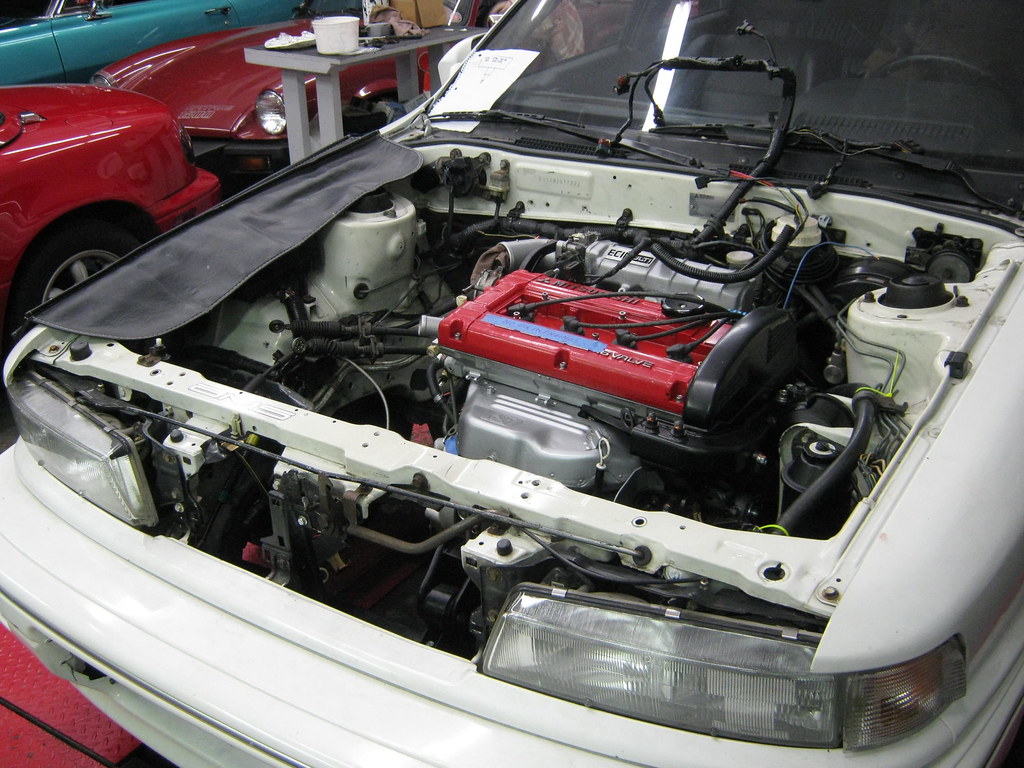
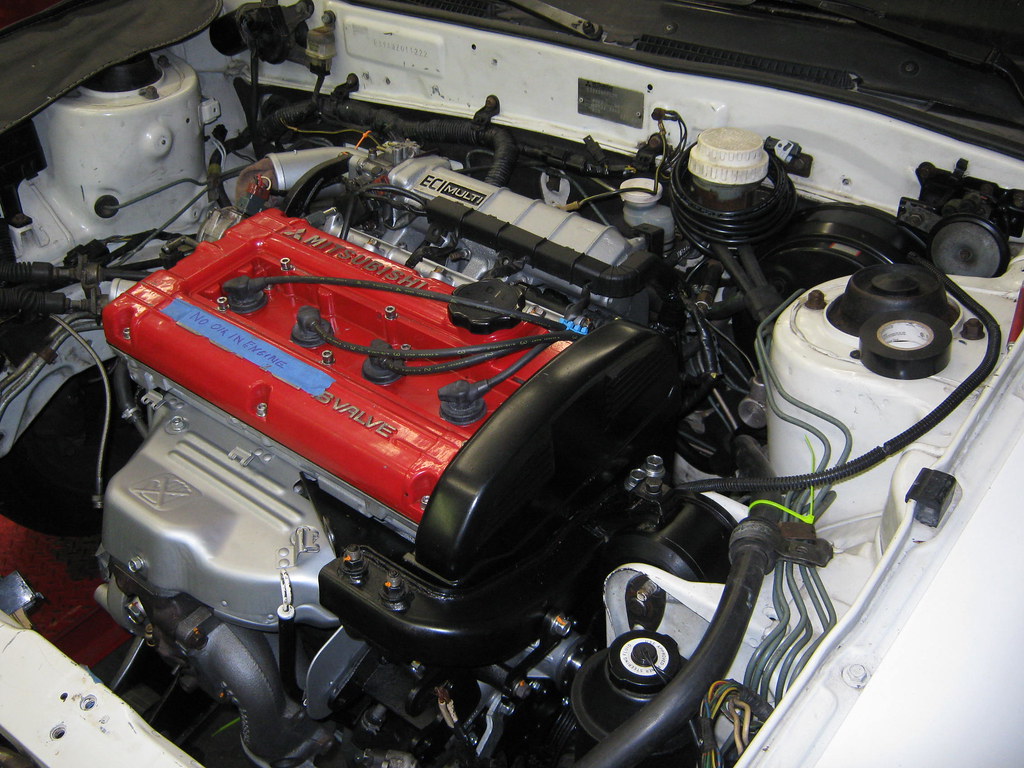
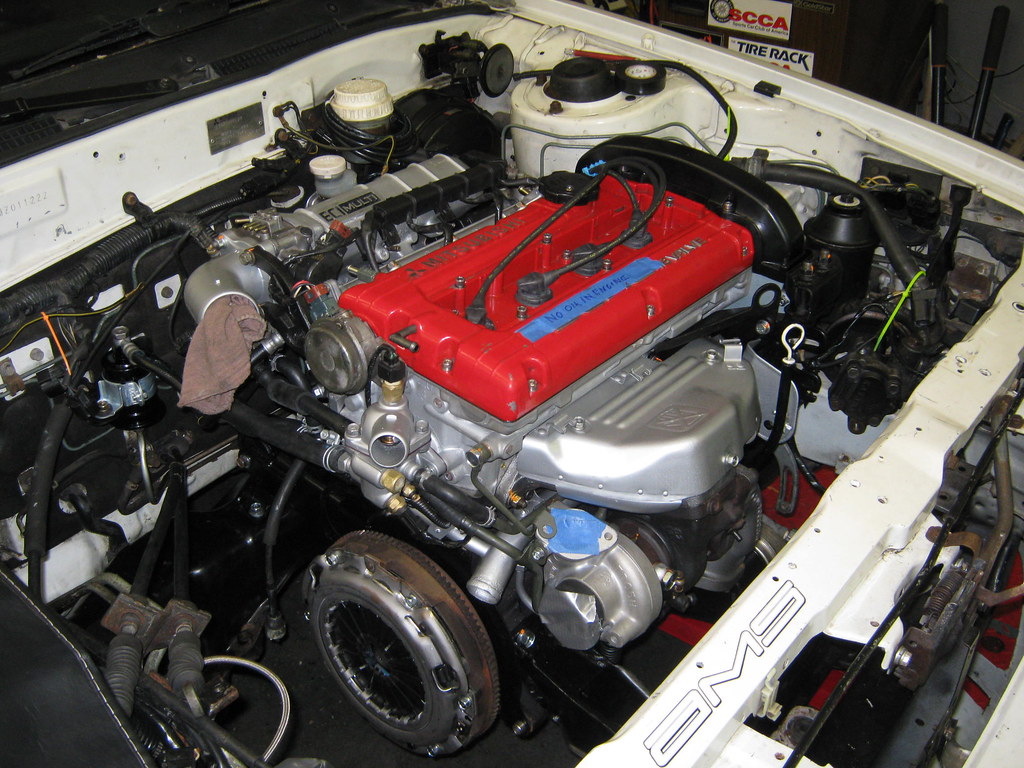
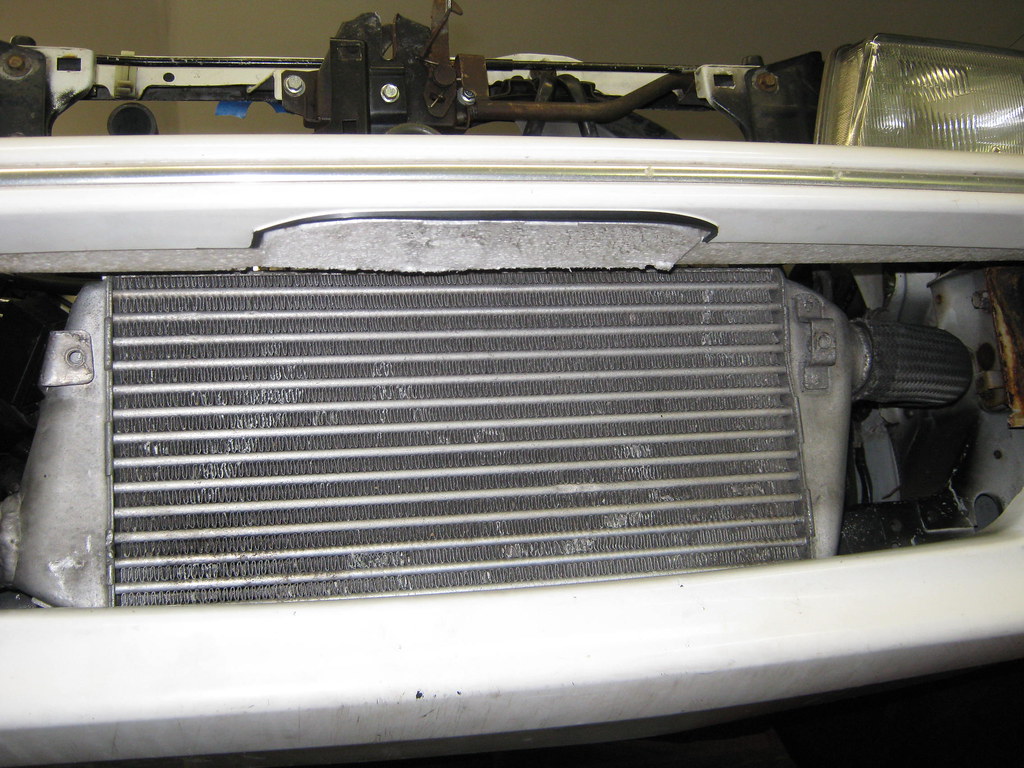
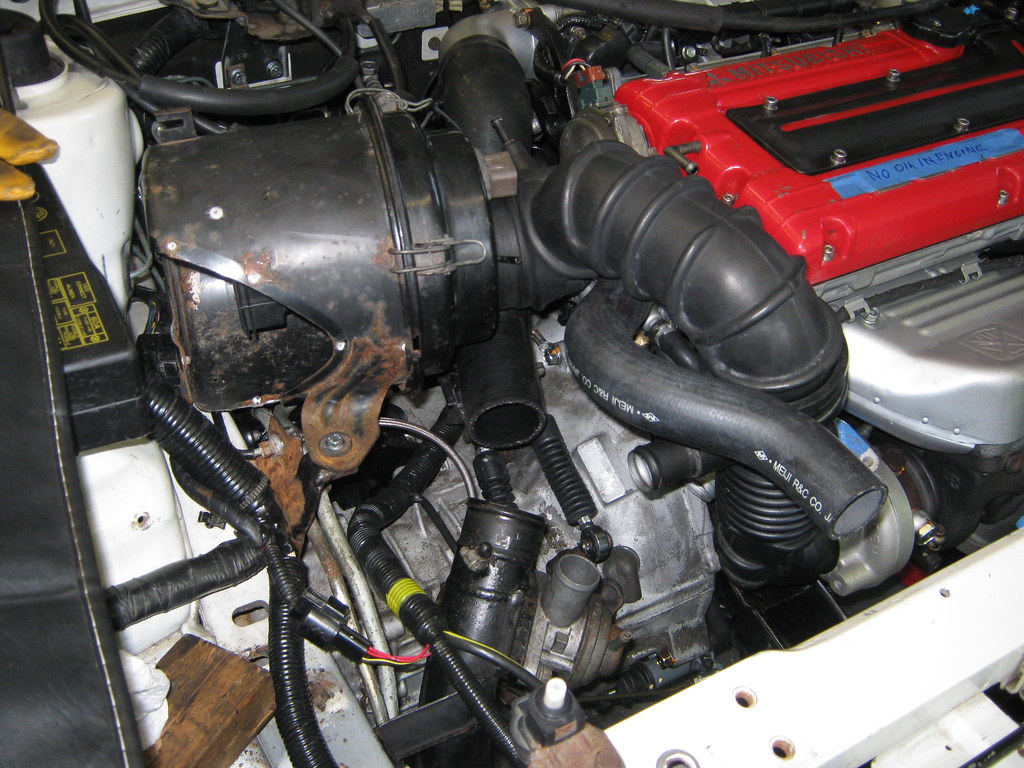
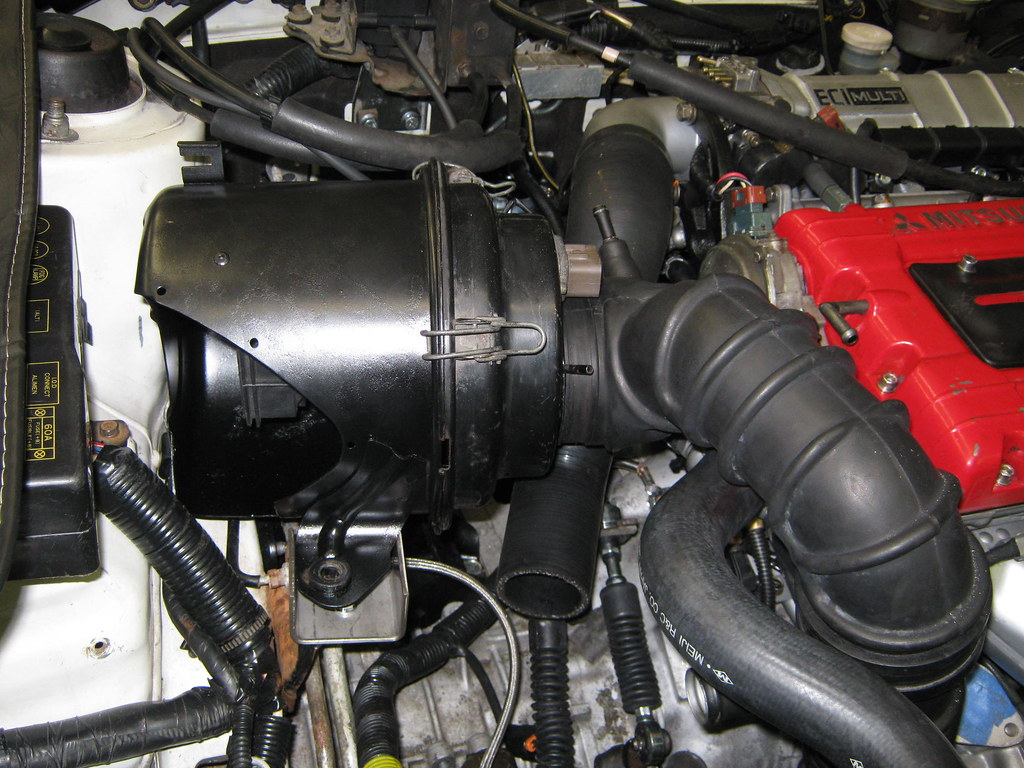
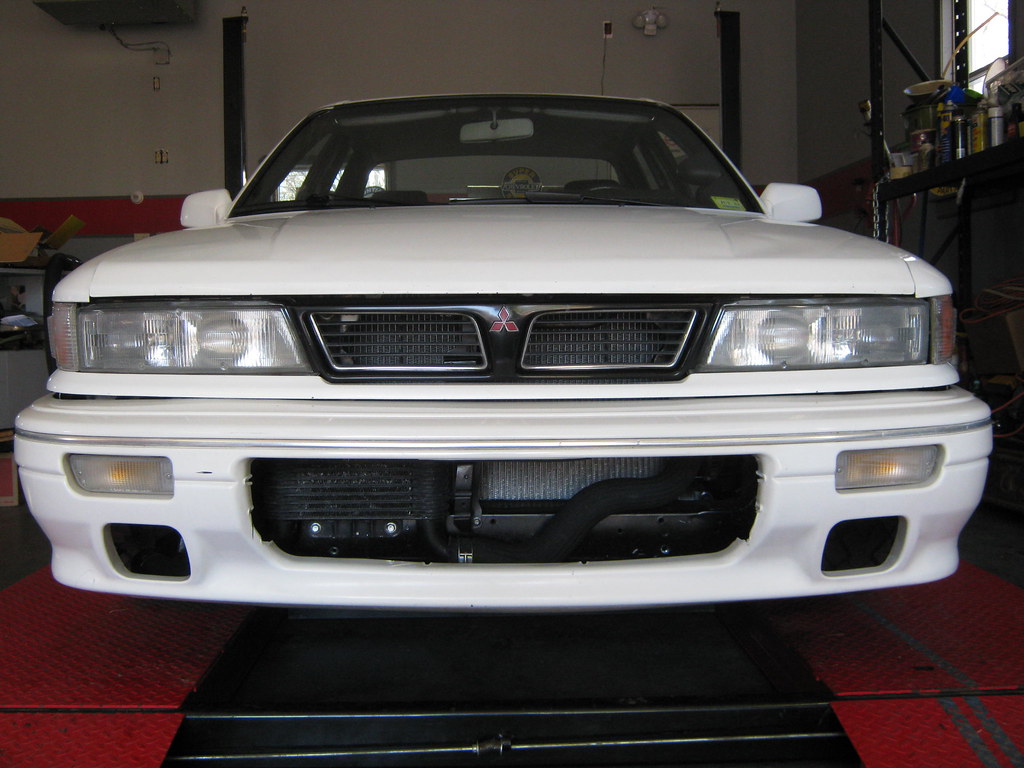
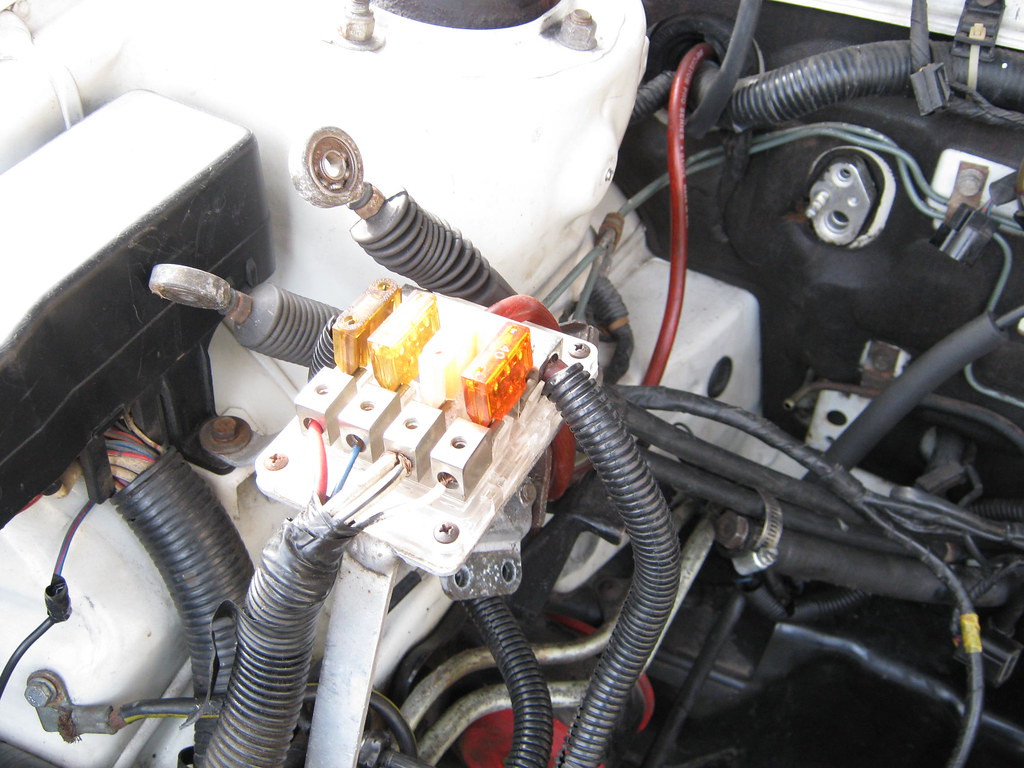
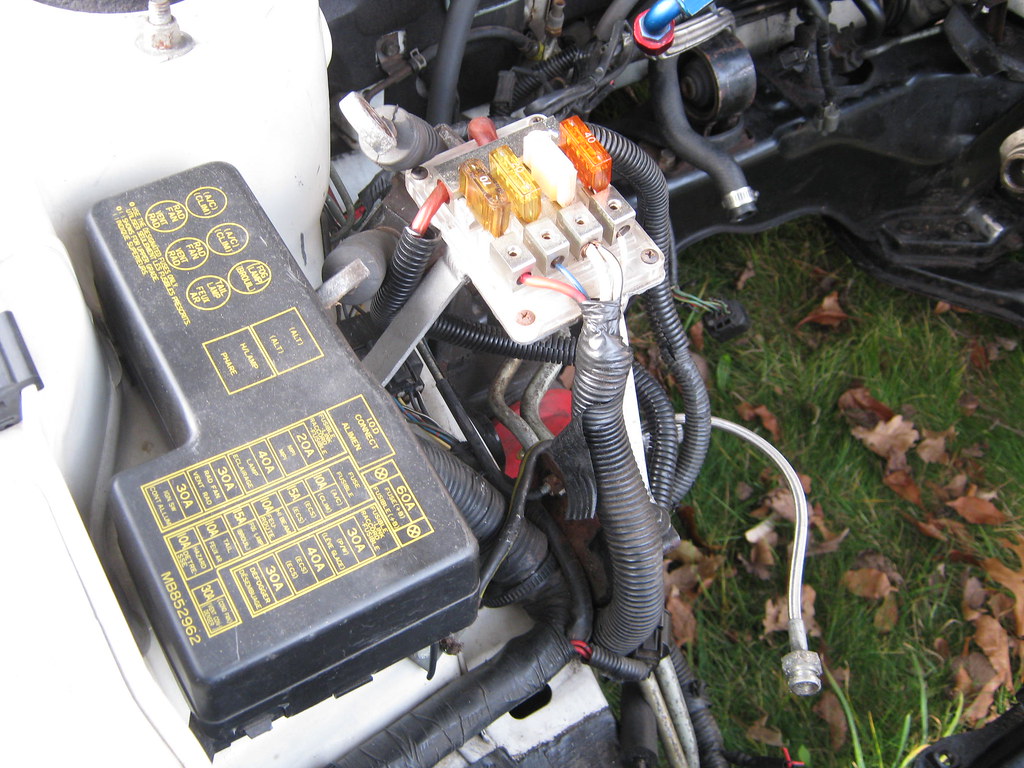
Parts car
IMG_0440 by Andrew Pascarella, on Flickr

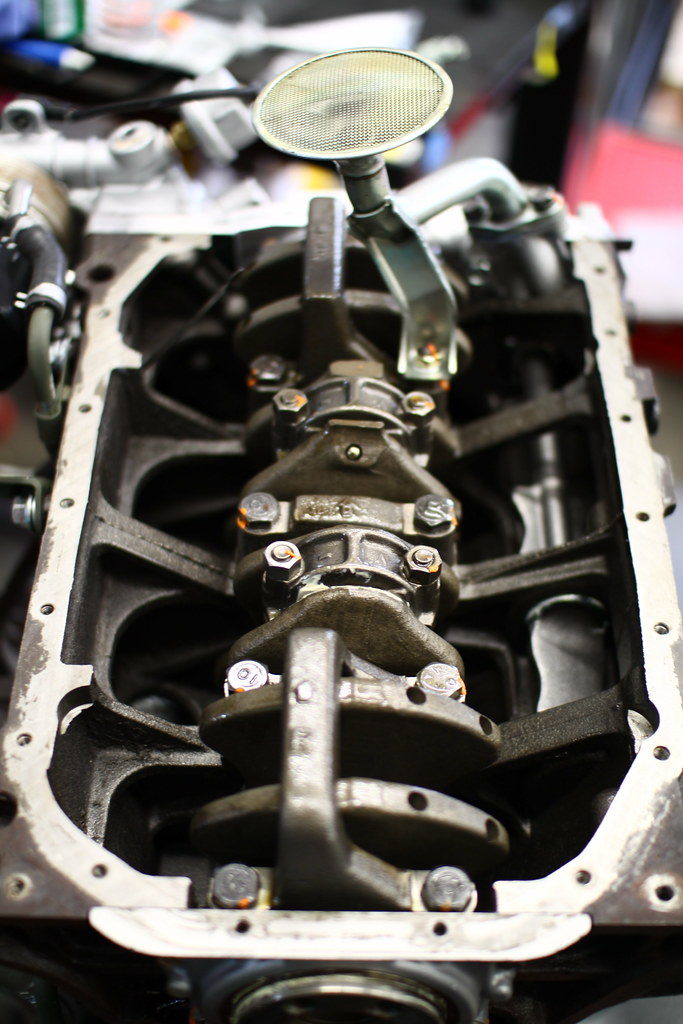
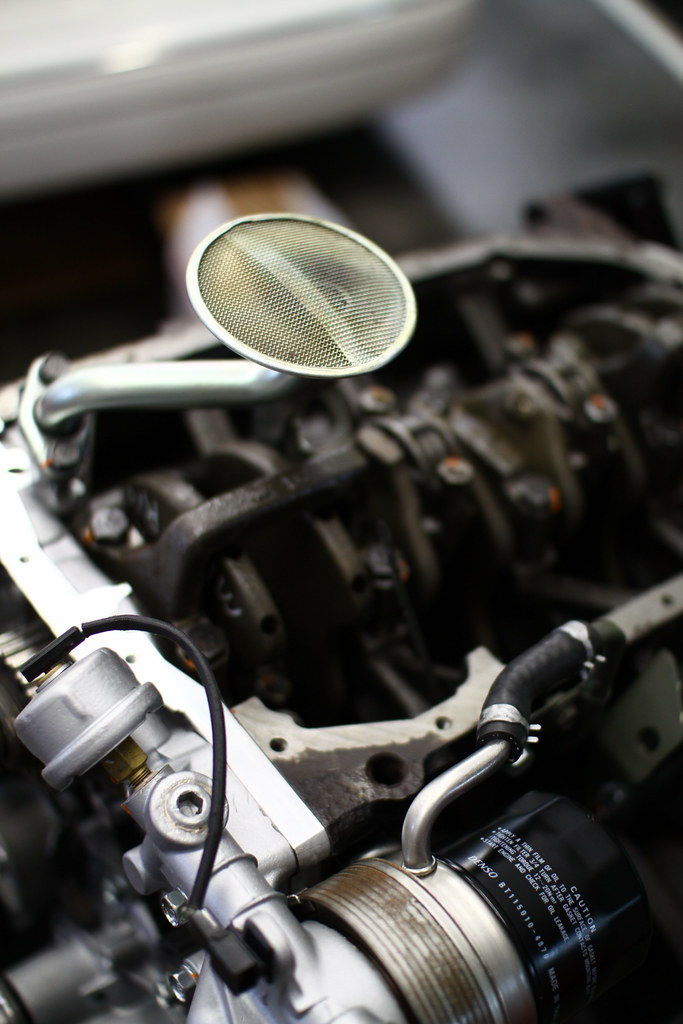
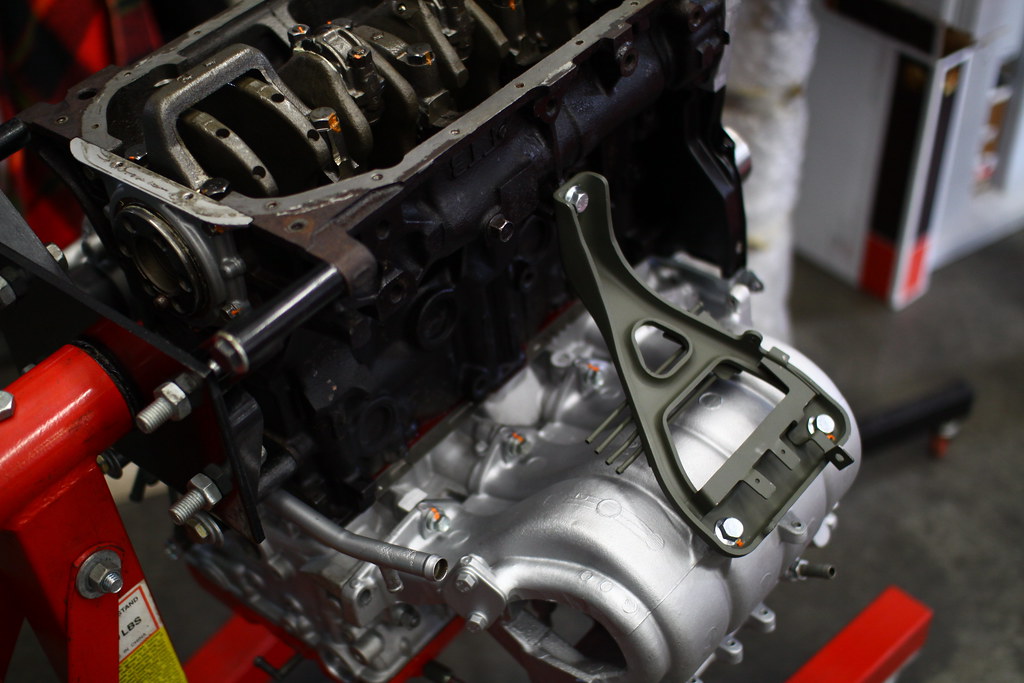
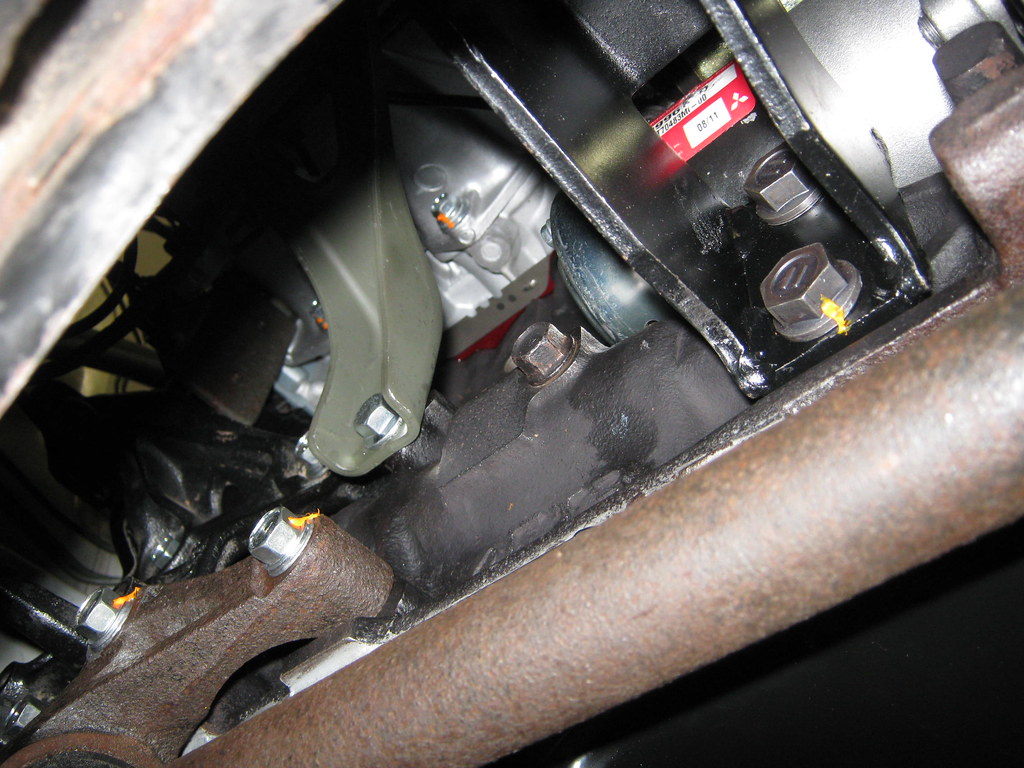
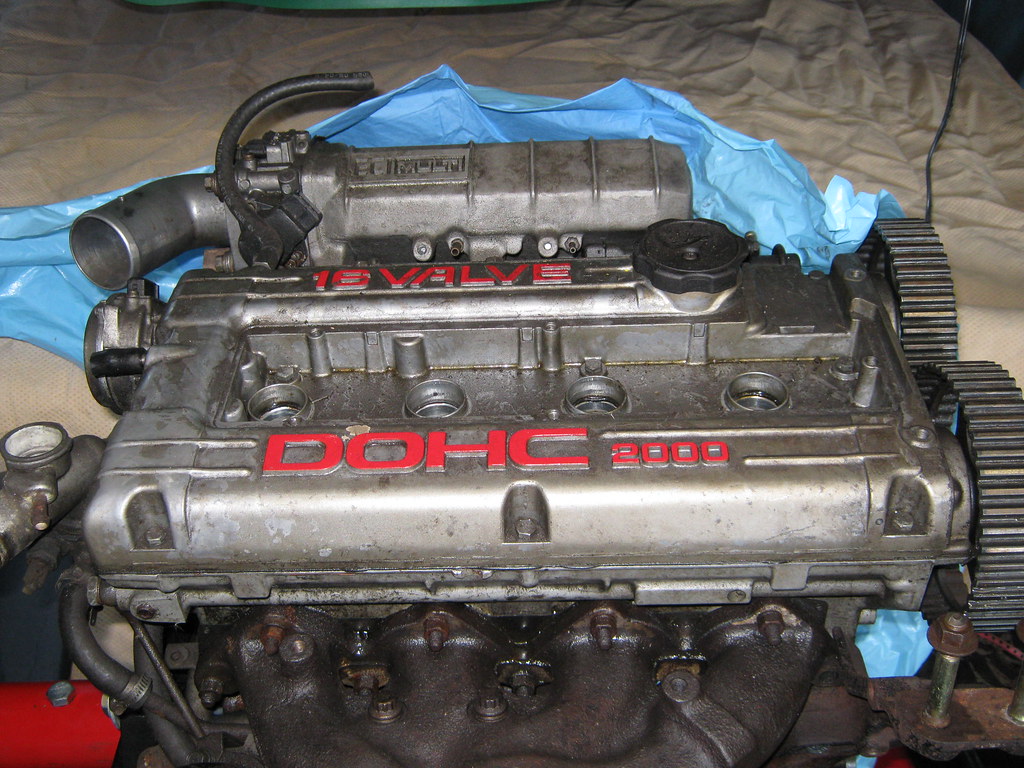
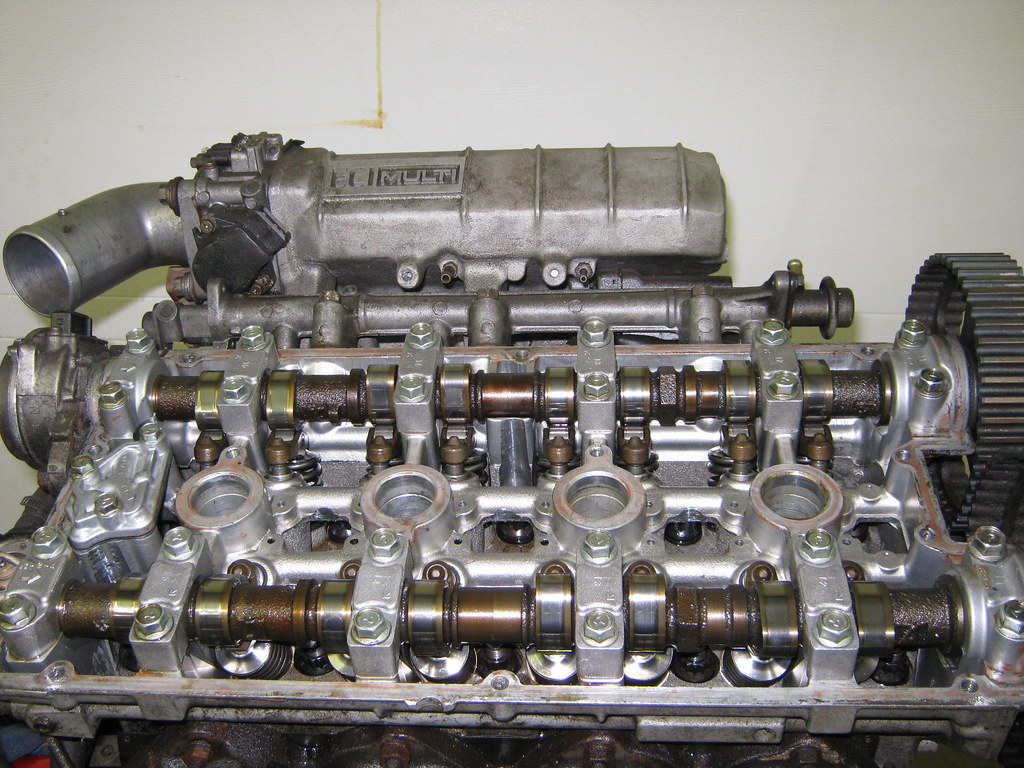
Engine was already pulled ! :smiley:
IMG_0449 by Andrew Pascarella, on Flickr

IMG_0450 by Andrew Pascarella, on Flickr

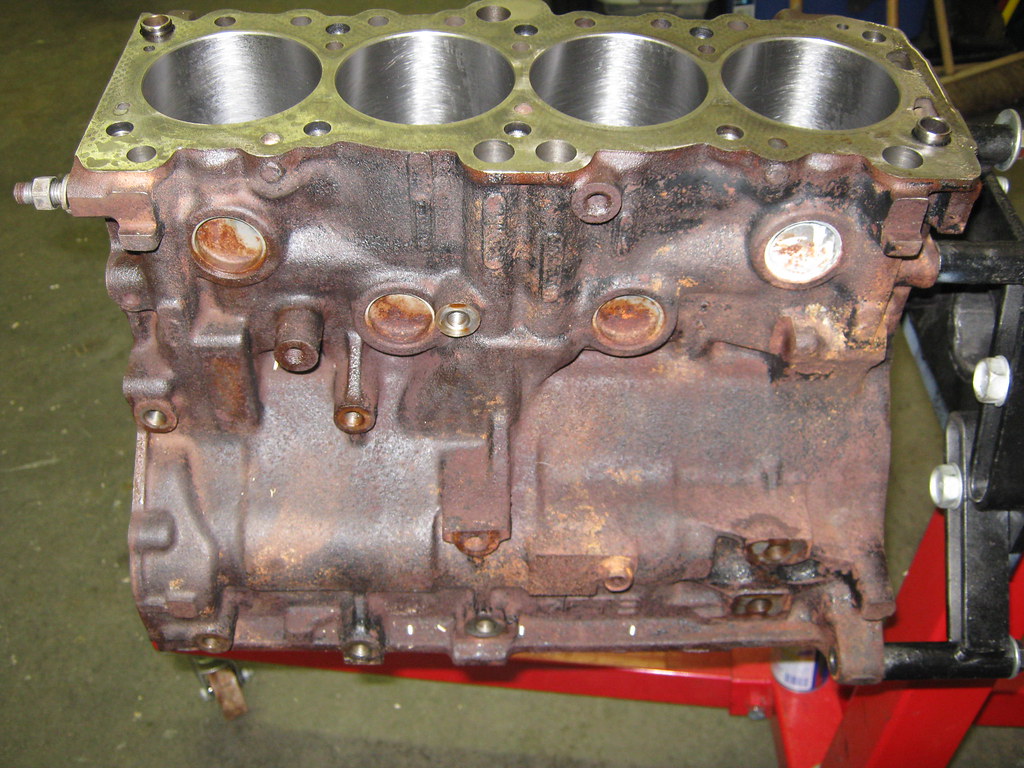
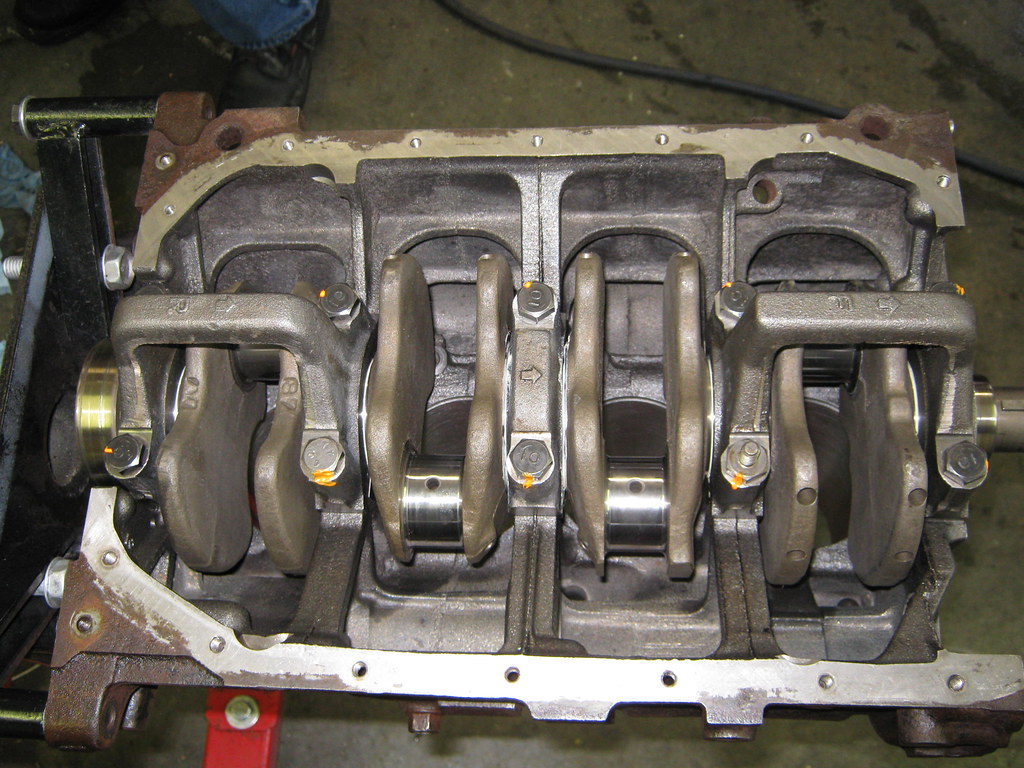
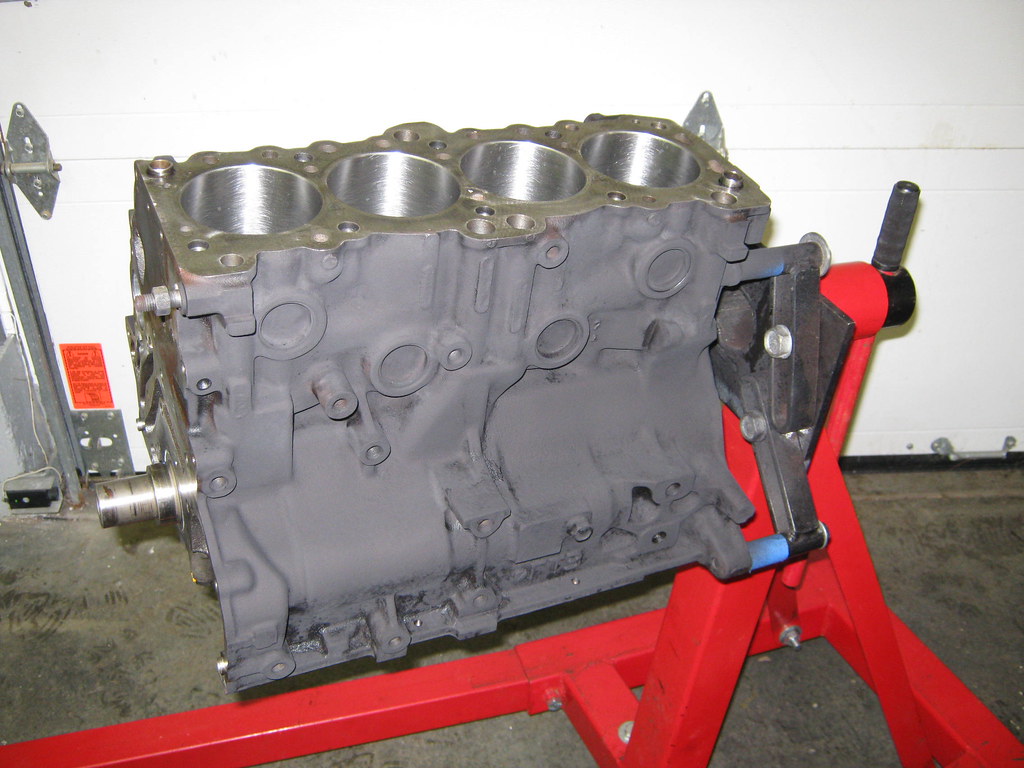
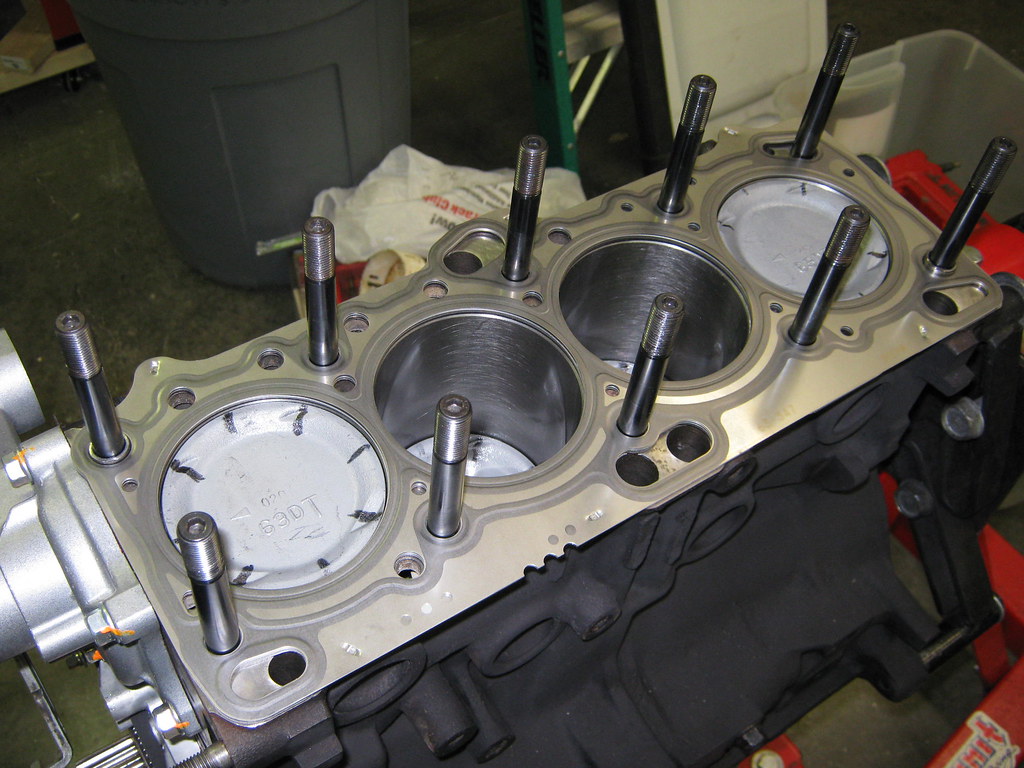
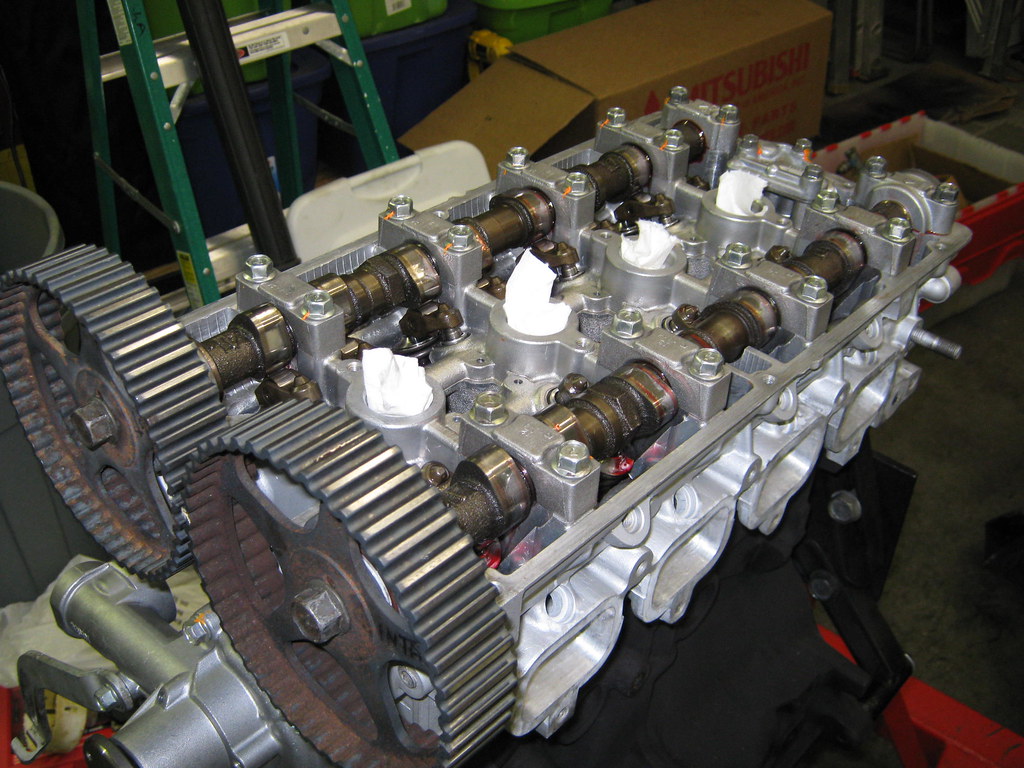
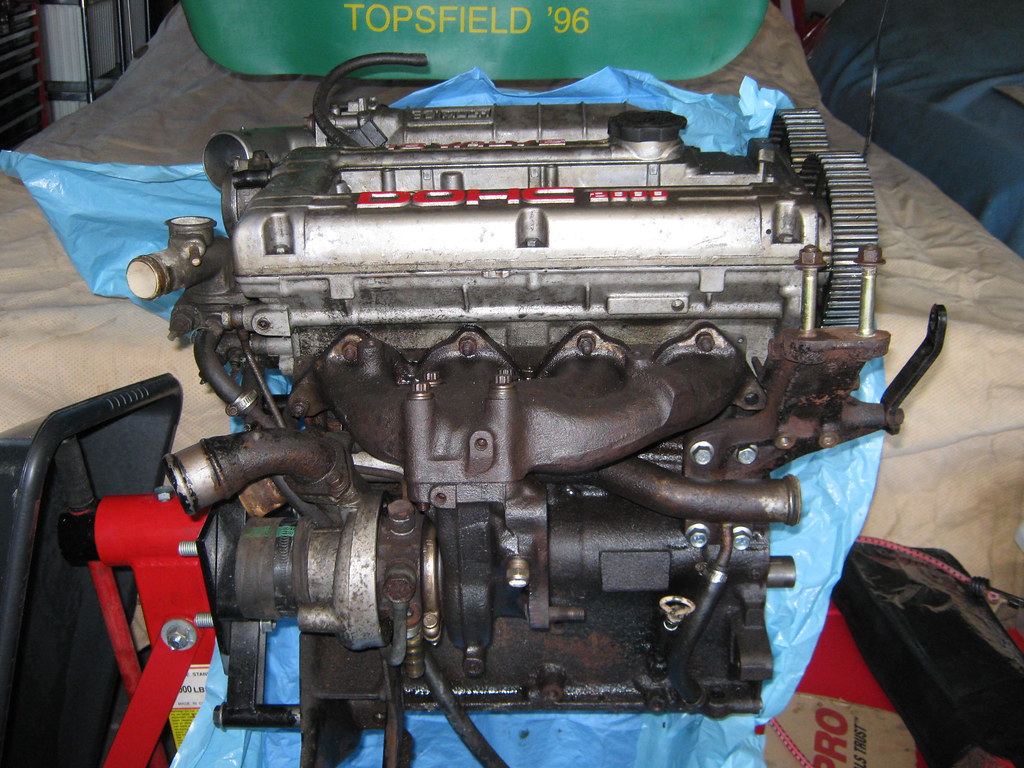
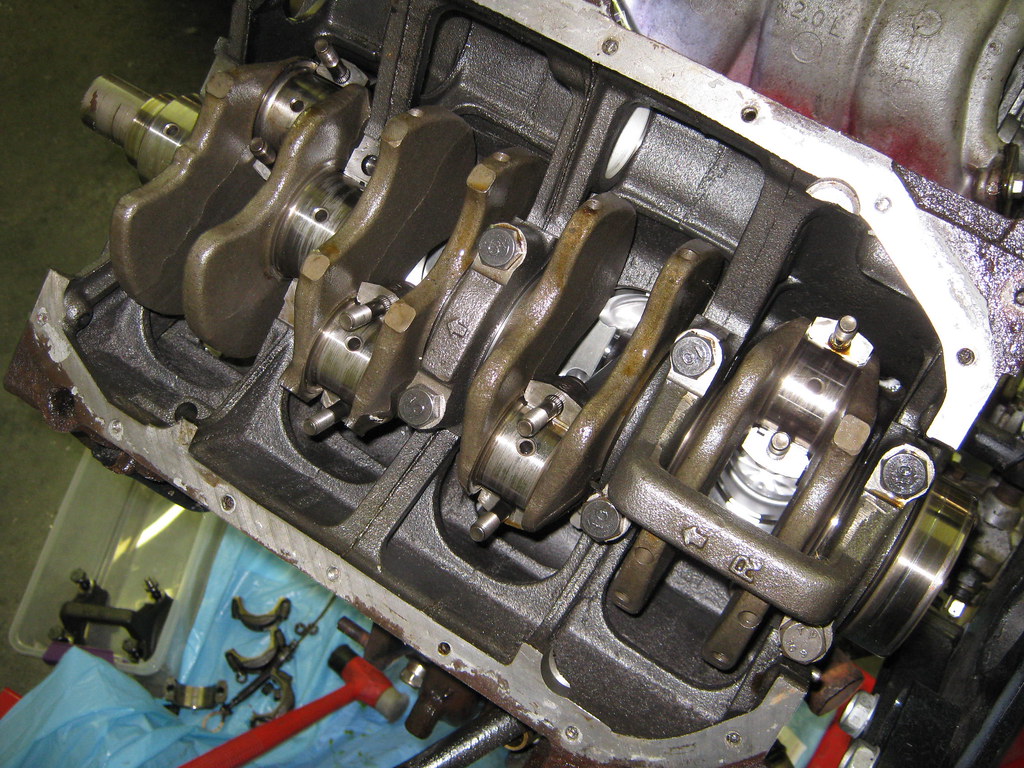
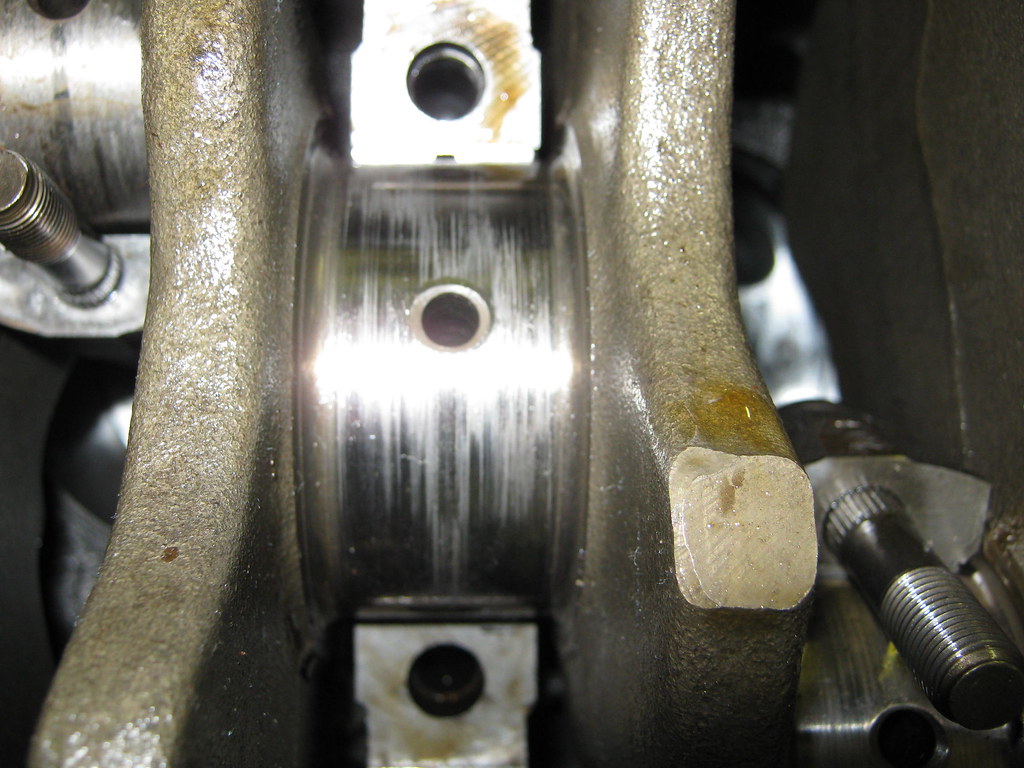
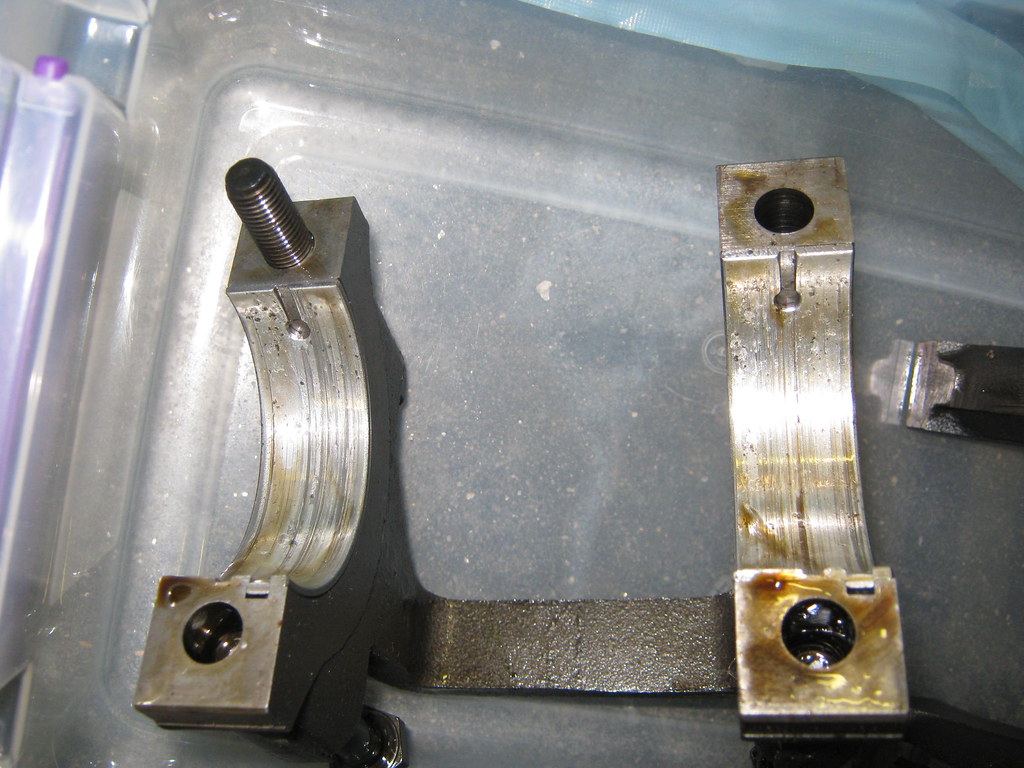
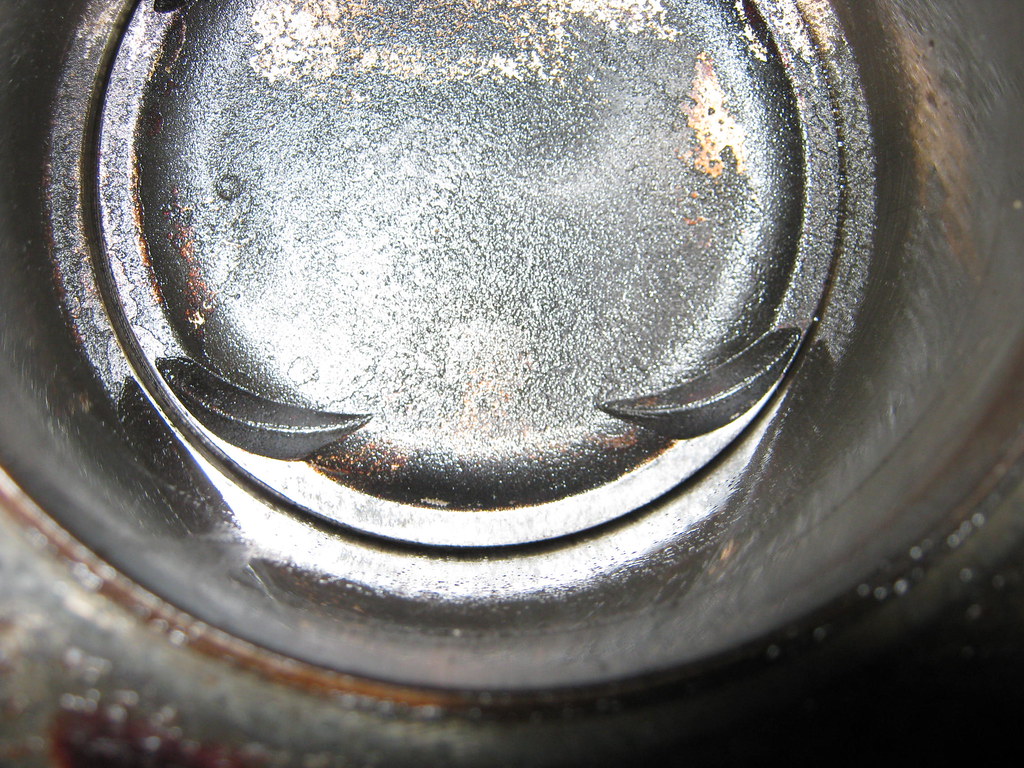
So we (my Dad and I) tore down the engine last night. The last time we were inside one of these engines was back in 2004 when we rebuilt my Talon. The head looks to be in nice shape. This engine wasn’t together long before it ran out of oil. I guess the Tech damaged the front crank seal when installing it. Then at one point his “friend” borrowed the car and it ran low on oil. He did tell me he had put Crower valve springs and retainers in with stock cams. Those where there. He also put Arias low compression pistons. They look wicked sloppy in the cylinders. I don’t think I can save those. This block doesn’t appear to have been bore out before, but I’m really doubting the round ness of the cylinder walls. Inspecting the lower end it appears most of the damage was done to the 1 rod bearing. It completely spun out of the rod and damaged it. So I need a new rod. I think I have a set in my attic from the donor block I used in my Talon. The crank needs to be polished but it’s not too bad. Just have to get both over to the machine shop and have it inspected. It does have ARP head studs which if I remember correctly can be reused ?

IMG_0451 by Andrew Pascarella, on Flickr

IMG_0452 by Andrew Pascarella, on Flickr

IMG_0453 by Andrew Pascarella, on Flickr

IMG_0457 by Andrew Pascarella, on Flickr

IMG_0460 by Andrew Pascarella, on Flickr

1 Like

Finally got some stuff done, a small amount of work but progress none the less. The motor was at the machinist for a month. Mostly because I told him I wasn’t in a hurry. Had the engine bored .20 and the crank polished. Today we installed the main bearings and and crank. I also wire wheeled the crusty stuff off the block and gave it a coat of flat black. On my Talon I painted the engine block a nice cast gray color. Only to never be able to see the block while its in the car. So basic black did the trick for this car.

IMG_0466 by Andrew Pascarella, on Flickr

IMG_0469 by Andrew Pascarella, on Flickr

IMG_0471 by Andrew Pascarella, on Flickr

The engine block surface rusted again, but I would just paint a 4G63 flat black again, it’s so covered by all the accessories don’t waste time with painting it some wild color.

1 Like

Here’s a great trick I learned while repairing this harness. You see the cardboard, grab a big piece of cardboard, one that can lay between the fenders, this gives you a bit of a work surface. Even if the engine is in place, you can lay the harness over the top and it will make it way easier to work on. The other thing, were you can, stagger splices, it makes a cleaner look. The harness doesn’t look like a snake that swallowed a mouse.

I finally made some major progress on the wiring. I started by unwrapping it and cleaning it.


IMG_0619 by Drew84(PASCARPHOTO), on Flickr

Ughh, what a mess

IMG_0620 by Andrew Pascarella, on Flickr

Found some interesting stuff as I unwrapped the wires. Butt connectors are cheap, was twisting them together by hand really the only way?

IMG_0623 by Andrew Pascarella, on Flickr

At least this one was twisted and soldered. We used uninsulated butt connectors. Then soldered and heat shrinked the wires. JDM pink yo !

IMG_0767 by Andrew Pascarella, on Flickr

All wrapped up, we couldn’t stagger the splices because the wires where already cut. but much better.

IMG_0770 by Andrew Pascarella, on Flickr

Ignitor connector also FUBAR

IMG_0774 by Andrew Pascarella, on Flickr

IMG_0775 by Andrew Pascarella, on Flickr

Spliced in the Coil pack and ignitor harness, also added new injector plugs

IMG_0777 by Andrew Pascarella, on Flickr

Knock sensor wiring, this had to be cleaned up too.

IMG_0776 by Andrew Pascarella, on Flickr

Coolant temp senor wires and o2 sensor wires. Left the o2 cut, since I’m going to run a wide band.

IMG_0779 by Andrew Pascarella, on Flickr

MAF sensor plug, with the wires cut wicked close to the connector.

IMG_0784 by Andrew Pascarella, on Flickr

Spliced in one from the donor harness and rewrapped it.

IMG_0785 by Andrew Pascarella, on Flickr

Added the the plastic housing from the parts car that froms the harness around the factory intake manifold. This was missing from the car.

IMG_0786 by Andrew Pascarella, on Flickr

Getting closer to putting the engine in.
IMG_0778 by Andrew Pascarella, on Flickr

I’ve got a few more wiring repairs to make inside the car but I made some major progress over the weekend.

So I didn’t make it clear in this original post, but I bought a used front body harness from a Galant VR4 and used the engine harness from my 91 TSi parts car. Without those spares, this project would have been a lot harder

1 Like

Psst. What’s up with dead images? Flickr not playing nice?

Gotta love opening up a harness and finding some of those presents left behind by previous owners. I always love the old wire twist with electrical tape! A close second is the wire nut for household electrical work.

1 Like

@Brian I just have to re link them if they didn’t work. I’m copy pasta old build thread posts.

ARP head studs and Mitsu MLS head gasket installed

IMG_0578 by Andrew Pascarella, on Flickr

Head fully torqued down.
IMG_0579 by Andrew Pascarella, on Flickr

1 Like

2019 commentary
I made this from ASA CAPS parts catalog images

Exploded4G63 by Andrew Pascarella, on Flickr

Here on the crank, the donor engine had spun the #1 rod bearing when the front crank seal blew out on the previous owner. I was told to not grind the crank, just polish it since Mitsubishi cranks supposedly have a hardened coating. Maybe they do, maybe they don’t. The only way the machine shop could save this was to grind the bearing surface down, weld in new material and then polish it. After the machine shop sized the bearings for us, we then double checked the oil gaps using Plasti-gauge and the factory specs. It all lined up so we put it together. I’ve driven the car like this for 35k miles, zero issues. In my opinion the only thing that matters is minding the oil gaps.

IMG_0452 by Andrew Pascarella, on Flickr

The other casualty of low oil was a damaged oil pump and front case, I had to replace it and the oil pump gears. Yes this car runs the balance shafts (GASP) 4 cylinders have nasty secondary vibrations. I live in the very small camp that believes having the balance shafts actually helps save the fragile transmissions in these cars by not transferring the secondary vibrations down the drive train. For me the downsides of removing the shafts out weight the supposed benefits.

IMG_0568 by Andrew Pascarella, on Flickr

A $100 sandblasting cabinet from Harbor Freight works pretty good.

Cleaned up the positive battery cable
IMG_0793 by Andrew Pascarella, on Flickr

After sand blasting
IMG_0796 by Andrew Pascarella, on Flickr

I repaired all the wire to the positive battery terminal
IMG_0798 by Andrew Pascarella, on Flickr

I managed to find a place that sells the replacement ECU connectors, which was ultra helpful.

This is the ECU wiring I was working with
IMG_0803 by Andrew Pascarella, on Flickr

IMG_0804 by Andrew Pascarella, on Flickr

IMG_0809 by Andrew Pascarella, on Flickr

This is how I repaired all of them
IMG_0817 by Andrew Pascarella, on Flickr

The cut white will be connected to my Wideband 02 sensor for the narrow band input.
IMG_0819 by Andrew Pascarella, on Flickr

All wrapped up good as new
IMG_0825 by Andrew Pascarella, on Flickr

Some beauty shots here
Before I sealed the oil pan up

IMG_8415 by Andrew Pascarella, on Flickr

IMG_8422 by Andrew Pascarella, on Flickr
IMG_8423 by Andrew Pascarella, on Flickr

Fan resistor bracket
IMG_0828 by Andrew Pascarella, on Flickr

After sand blasting
IMG_0829 by Andrew Pascarella, on Flickr

Cleaned up the radiator fan wiring This fan would fail about 4 years later
IMG_0834 by Andrew Pascarella, on Flickr

Ran the wiring for my Wide band 02, Stock ECU installed
IMG_0886 by Andrew Pascarella, on Flickr

Ready to go in the car
IMG_0909 by Andrew Pascarella, on Flickr

Engine bay ready for an engine
IMG_0911 by Andrew Pascarella, on Flickr

Transmission all cleaned up, clutch fork and TB bearing installed.
IMG_0913 by Andrew Pascarella, on Flickr

Engine installed, I’ve got a DSM front engine bracket. It’s making crooked, I didn’t realize this till after we put it in. I’ll have to find the correct one and swap it out. Eventually I did, wicked annoying
IMG_0914 by Andrew Pascarella, on Flickr

Wiring harness at set up on the engine.
IMG_0915 by Andrew Pascarella, on Flickr

Factory clutch and stock flywheel installed
IMG_0919 by Andrew Pascarella, on Flickr

IMG_0920 by Andrew Pascarella, on Flickr

Trans and transfer case waiting to be put in. Finished and painted the trans mount.
IMG_0921 by Andrew Pascarella, on Flickr

I really like the italic commentary additions. The perspective of hindsight really completes the story.

Installed the Trans last week, and slave cylinder. Years ago now, and I’ve had it out once since. I never changed the seal between the t/case and transmission. It was not a good move, it ended up leaking and I had to pull it the whole thing out and change it.

IMG_0922 by Andrew Pascarella, on Flickr

IMG_0932 by Andrew Pascarella, on Flickr

Test fitted the JDM RS intercooler, I had to order some silicone hoses to make it fit, I’ll have more on that later. As it turns out, I wouldn’t install this till much much later, I actually used a USDM intercooler to get the car up and running

IMG_0931 by Andrew Pascarella, on Flickr

Intermediate shaft installed, starter installed.

IMG_0933 by Andrew Pascarella, on Flickr

While putting the axles in, I noticed the ball joints are junk, I’ll have to change the lower control arms over. The tie rods don’t look so hot either and the strut bump stop fell out in my hand. The front end will need some work before the car goes out on the road.

IMG_0934 by Andrew Pascarella, on Flickr

I don’t have the original air can so I took the one from my parts car and started to modify it to fit.

IMG_0935 by Andrew Pascarella, on Flickr

IMG_0936 by Andrew Pascarella, on Flickr

Cut the can up, sand blasted it a bit and my Dad fabbed up some brackets. Almost finished with it.
Eventually I came across an HKS air can for a DSM, which was a close fit and gave the car more of a period look.

IMG_0941 by Andrew Pascarella, on Flickr

We removed the sending unit because I had a feeling there was no pump in it. The car had an external set up… The car had a custom sumped fuel tank with an external pump, I capped the -10an fitting on it and used the sumped tank for many years. The sending units are also extremtly rare even back in 2011.

IMG_0937 by Andrew Pascarella, on Flickr

This is the cleanest sending unit I’ve ever seen
IMG_0939 by Andrew Pascarella, on Flickr

IMG_0940 by Andrew Pascarella, on Flickr

Except the feed line was welded closed
IMG_0938 by Andrew Pascarella, on Flickr

So I have to figure out what to do with that. Some other issues that I ran into is the transfer case out of the parts car; even thought it looked nice. Had two failed bearings. When we went to change the output seal the oil that came out was thick with metal shavings. So I’ll rebuild that one, because the t-case that came with the Galant has a bad input shaft bearing, but ok enough to put on the car and move it in the driveway. The car is coming along, I’ll have the CM exhaust in this week, hopefully I can get it started soon.

2 Likes

I see the surface rust on those transmission bolts and I feel so sorry for you, man. Not sure if it would be helpful or not, but back in the day, azdave would give the entire transmission a single, light coat of high-temp, ceramic silver spray paint before installation. It made everything look bright and new. Maybe it could protect your bolts a bit?

I don’t really mind. Actually this reminds me. That transmission came out of the parts car, that I paid $400 for. It’s a real Shep Stage 1. So at some point it was painted silver by his shop.

1 Like

This exhaust still sounds great after 8 years. I love it. Now, I would buy a down pipe and fab the rest, but at the time I didn’t have the confidence to. Exhaust is so low risk as far as welding goes, definitely a good place to start learning.

I got the exhaust Tuesday from CM Performance. I’m a little bummed that the dual outlet system is a Y pipe not dual tips. But as far as fitment goes its really nice. Since I’m not a fan of polished exhausts I painted with heat paint yesterday in the morning while the turkey was cooking. (Did this on a nice Thanksgiving Day)

IMG_0942 by Andrew Pascarella, on Flickr

Not a fan of this either, I will sand and polish this off.
IMG_0943 by Andrew Pascarella, on Flickr

IMG_0944 by Andrew Pascarella, on Flickr

IMG_0945 by Andrew Pascarella, on Flickr

All painted up
IMG_0946 by Andrew Pascarella, on Flickr

Much better looking
IMG_0948 by Andrew Pascarella, on Flickr

2 Likes

Much better!

1 Like

This new puppy, now 8 years old

I pretty much took a break from the car for the last month. Plus I got a new puppy that’s been taking up much of my free time.

I decided to tackle the front control arms, ball joints, and bumper. I picked up an uncut front bumper in sweet condition for short money. Including fog lights.

This is the before ride height, I don’t have an after picture yet.
IMG_0982 by Andrew Pascarella, on Flickr

Removing the mystery springs with the rotten bumpstops.
IMG_0984 by Andrew Pascarella, on Flickr

They had the consistency of sponge cake.
IMG_0985 by Andrew Pascarella, on Flickr

Very strange blue paint. These are not Eibachs as I was told when I bought the car.
IMG_0986 by Andrew Pascarella, on Flickr

Side by side with the new H&Rs.
IMG_0987 by Andrew Pascarella, on Flickr

All swapped over with remnants of the old ABS sensor.
IMG_0992 by Andrew Pascarella, on Flickr

All re-installed
IMG_0988 by Andrew Pascarella, on Flickr

Mystery solved, these are Whitelines. The finish is in really rough shape. I’ve never seen springs rust like this. A/M or factory. Considering how nearly rust free the rest of the car is.

IMG_0997 by Andrew Pascarella, on Flickr

Before You can see my makeshift piping to use the stock intercooler
IMG_1016 by Andrew Pascarella, on Flickr

During
IMG_1019 by Andrew Pascarella, on Flickr

After
IMG_1020 by Andrew Pascarella, on Flickr

I didn’t finish the front lower arms yet. The big bolt through the subframe up into the body on both sides was stubborn. We didn’t get it free till late in the evening. I’m going to finish those up tonight. Along with the outer tie rods.

1 Like

Weird things that give me anxiety; not having the chassis of the car completely perfectly restored and then it not staying that way because it gets driven.

We got the bolts loose and pulled the arms out. Old rear bushings

IMG_1027 by Andrew Pascarella, on Flickr

Old ball joints
IMG_1024 by Andrew Pascarella, on Flickr

New Dorman arms
IMG_1021 by Andrew Pascarella, on Flickr

I pulled those bushings and replaced them with the Whiteline extra caster bushings.
IMG_1023 by Andrew Pascarella, on Flickr

IMG_1028 by Andrew Pascarella, on Flickr

Arms are installed
IMG_1029 by Andrew Pascarella, on Flickr

IMG_1049 by Andrew Pascarella, on Flickr

The Wheel bearings had to much play so we replaced them.
IMG_1046 by Andrew Pascarella, on Flickr

Old tie rod ends
IMG_1018 by Andrew Pascarella, on Flickr

IMG_1048 by Andrew Pascarella, on Flickr

I also swapped out the rear whiteline springs for the H&Rs, I like the rake and I like the softer ride.
IMG_1069 by Andrew Pascarella, on Flickr

My dad and I are having some drama with the T-case, both spares had seized center bearings that ruined the Aluminum case. It made the center bearings too loose in the housing. Instead of having to press them in they could slide in and out by hand. So I ordered a new center t-case section from Mitsubishi. So the next time I update this the car should have plates and be on the road.

2 Likes

Wow, dude. There’s so little rust on that car, compared to some I’ve seen your neck of the woods, but how you don’t all have WD40 wading pools at the entrance to your garages to dunk the undercarriage in every time you leave and return is beyond me. Wow.

1 Like

Simply avoiding driving in the winter goes a long way. I have found recently the bottom of the fenders toward the front doors has some rot. We have so many trees here that if you forget to clean out the space between the fender and the body, organic material falls down the cowl and holds water. After a bunch of years you can end up with rotted fenders. I’m lucky the plastic VR4 trim hides that and it’s not structural, so I just clean it out and spray Fluid film in there to preserve how it currently is.

Ooh! Ooh! Have you ever looked into how the hellaflush cars mount their bumpers for quick release when they need to, you know, drive anywhere?

From the Things We Can Learn From Others Department, suppose you could quickly remove your fenders and whatnot with a simple, slotted screwdriver in 60 seconds or less. Driving on salty roads would still trash the entire undercarriage, but if you could pop a fender off real quick, maybe spray it down with a deck sprayer full of filtered water, and. let it air dry, that might be a nice way to both prolong the driving season and preserve the chassis beneath.

Just a random thought.