I just blast in there with a pressure washer and the car lives in my garage 90% of the time. So it’s not a huge deal. Minor annoyance that eats at my subconscious knowing there’s some rust in there lol.
I think you’re thinking of Dzus fasteners
I just blast in there with a pressure washer and the car lives in my garage 90% of the time. So it’s not a huge deal. Minor annoyance that eats at my subconscious knowing there’s some rust in there lol.
I think you’re thinking of Dzus fasteners
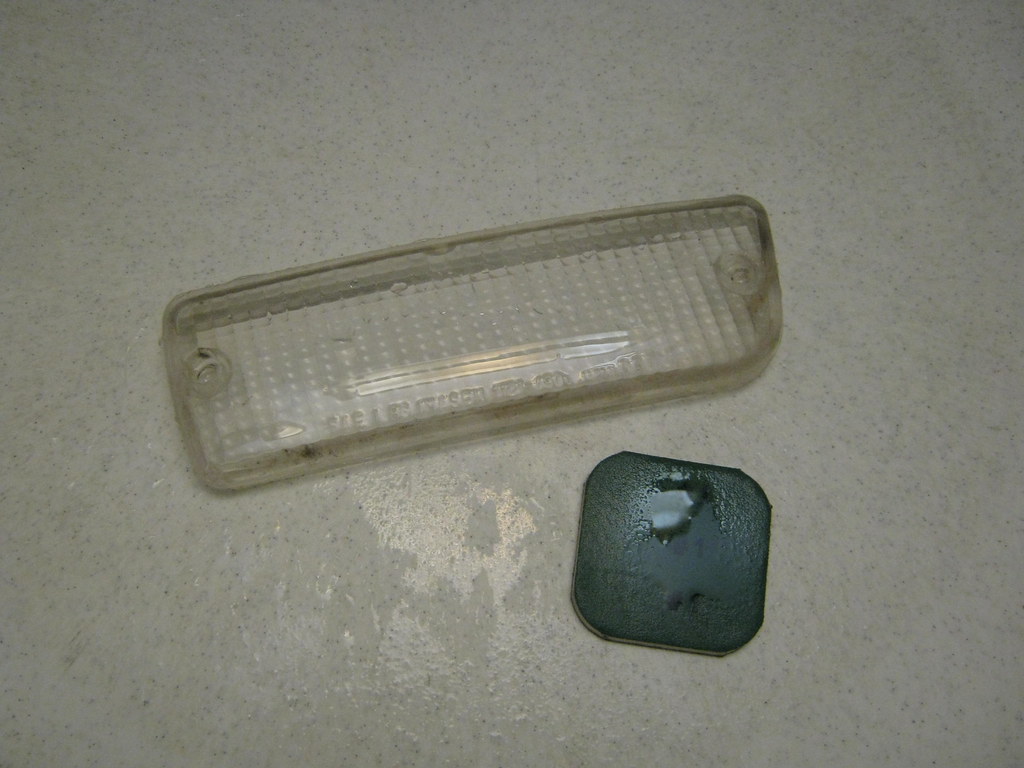
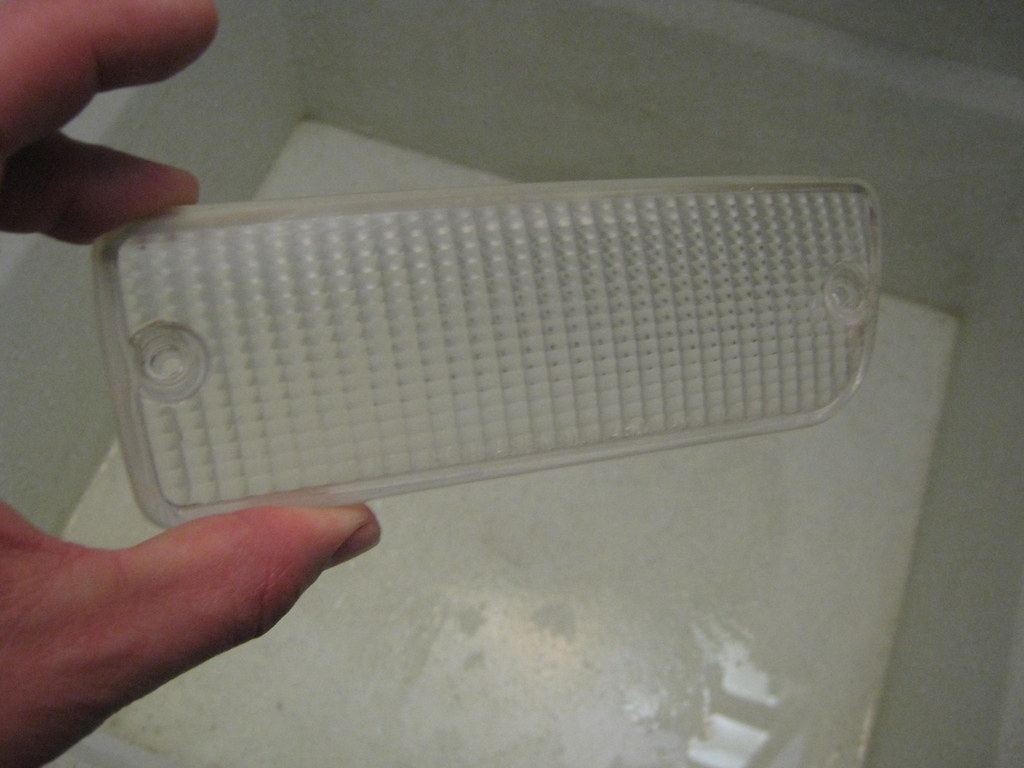
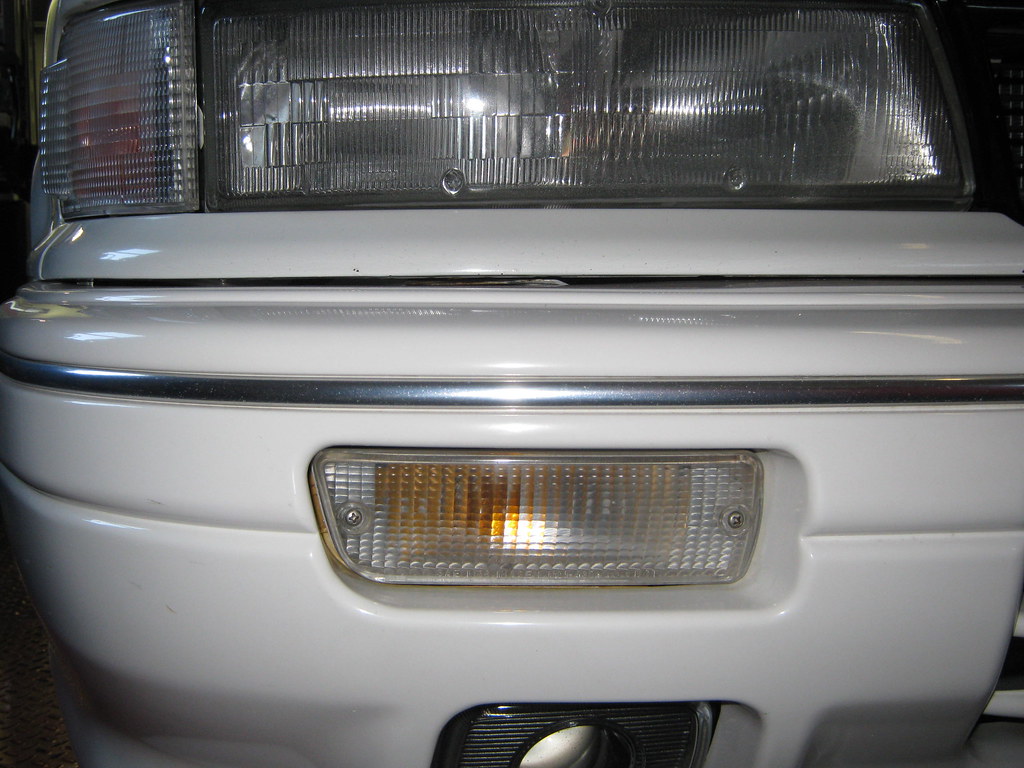
I wet sanded and polished the turn signals,
 IMG_1085 by Andrew Pascarella, on Flickr
 IMG_1086 by Andrew Pascarella, on Flickr
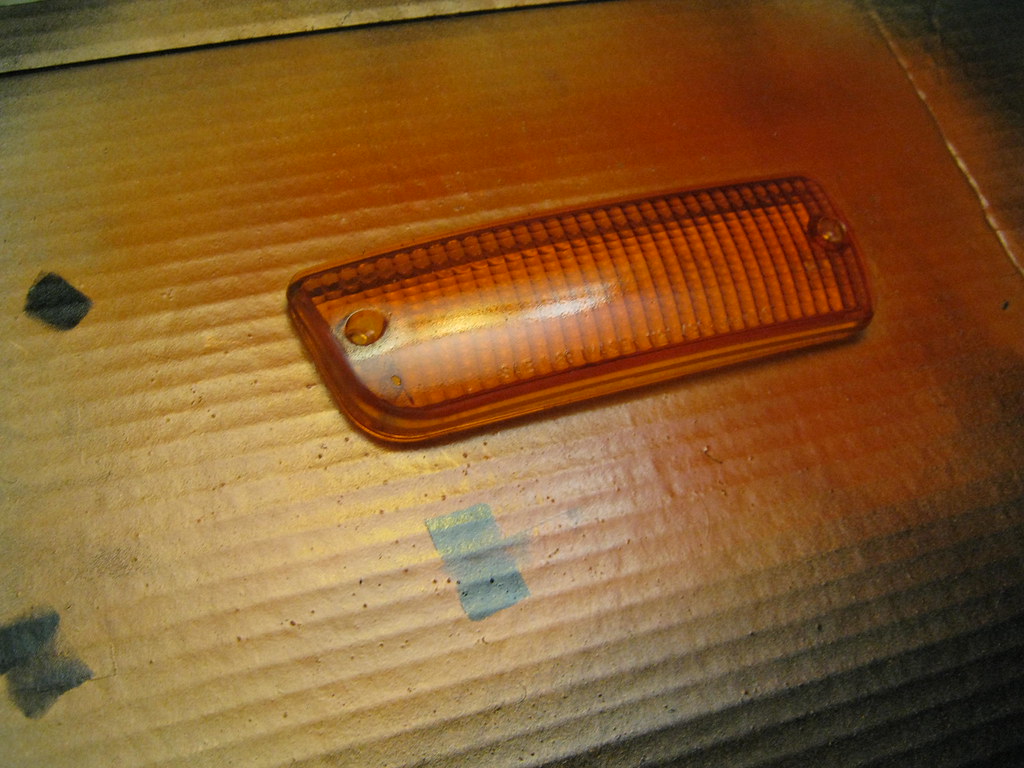
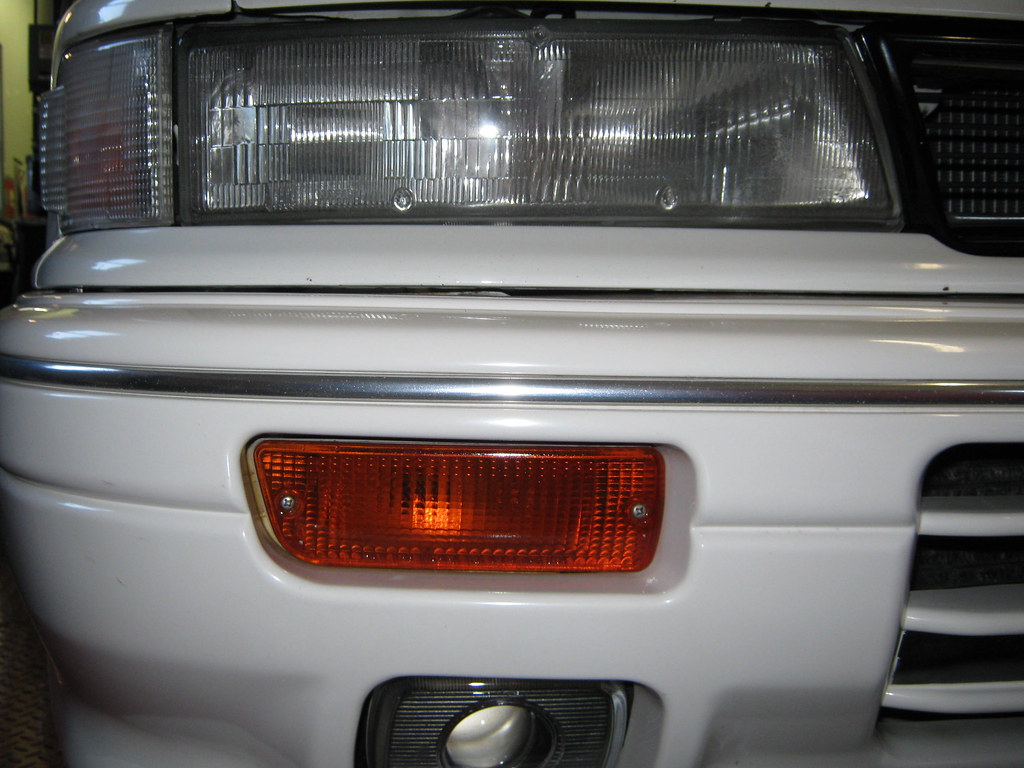
Then I used Dupilcolor Metalcast orange and painted them Amber.
 IMG_1087 by Andrew Pascarella, on Flickr
Before
 IMG_1088 by Andrew Pascarella, on Flickr
After
 IMG_1090 by Andrew Pascarella, on Flickr
USDM side markers installed.
 USDM side markers installed by Andrew Pascarella, on Flickr
After 30k and 8 years; these held up OK from painting. They have some pitting now, and I think what I should do is find another set and use Lamin-x film instead, because I do like the Amber look.
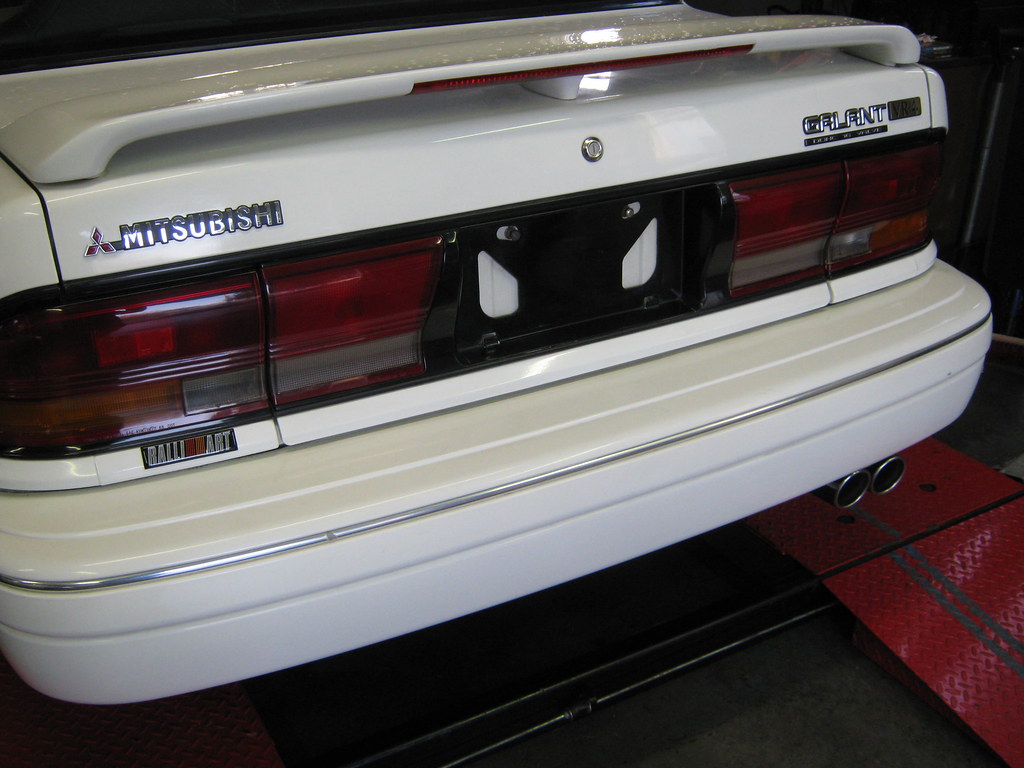
Also I am a fan of the stock badges so I put them all back on and polished up the tailights. I also added a Late model Galant Ralliart badge.
 IMG_1109 by Andrew Pascarella, on Flickr
Yeah so that VR4 badge at the time was the LAST NOS one in the US.
IIRC I had multiple t-case spares from the parts car and what the Galant owner gave me, I think this one with the bad case was the best, I can’t exactly remember why we fixed this, but we did.
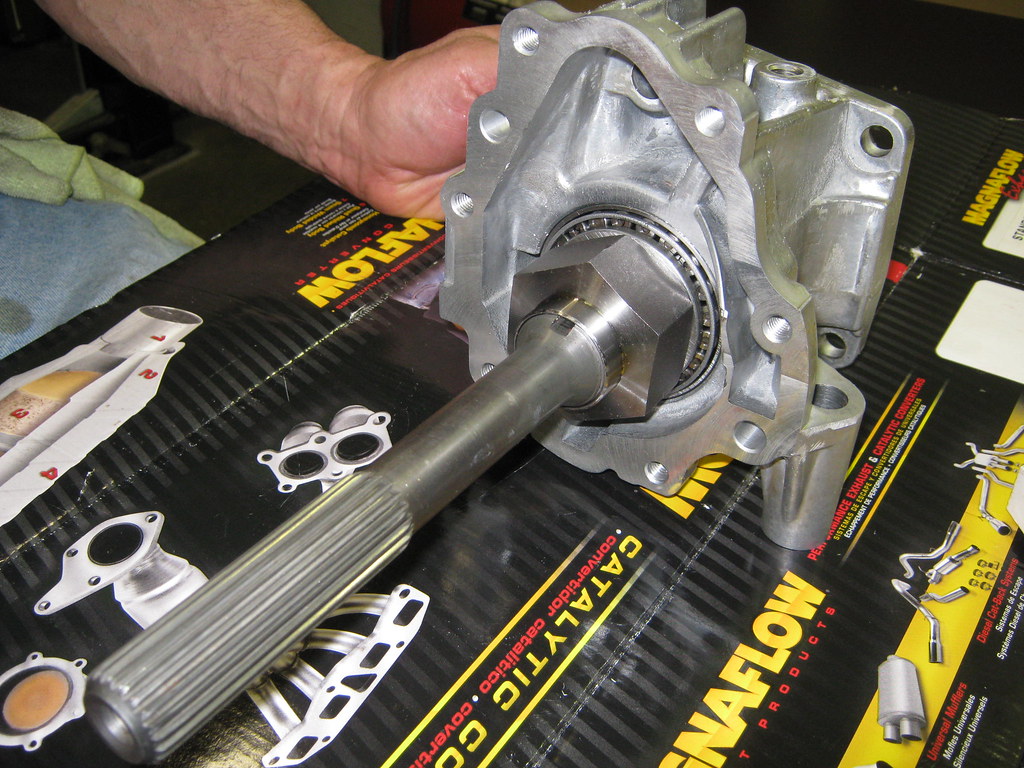
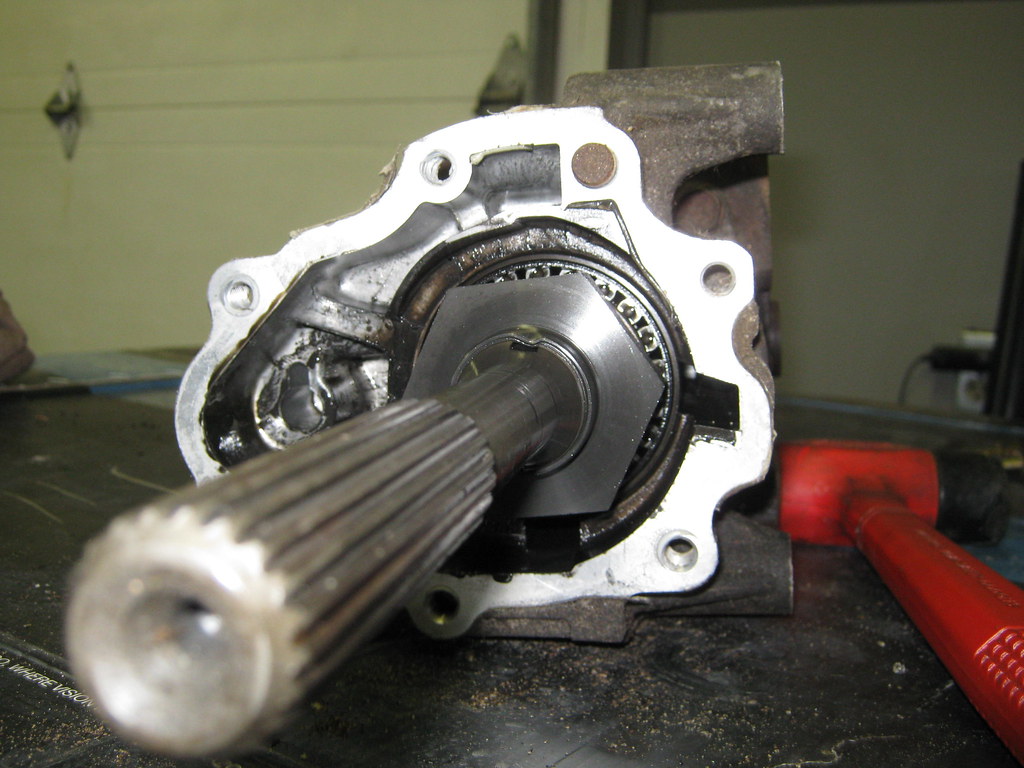
Brand new center section for the T-case. The other case had the center bearing seize and spin inside the race and wear the aluminum away.
 IMG_1124 by Andrew Pascarella, on Flickr
New Lock nut
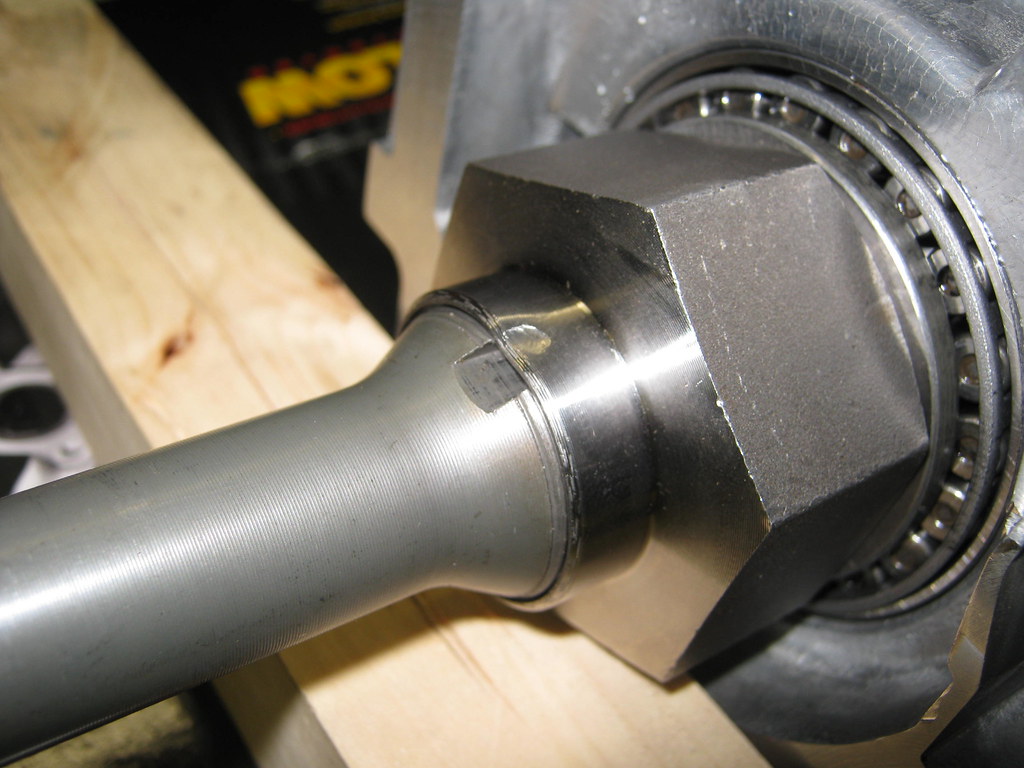 IMG_1125 by Andrew Pascarella, on Flickr
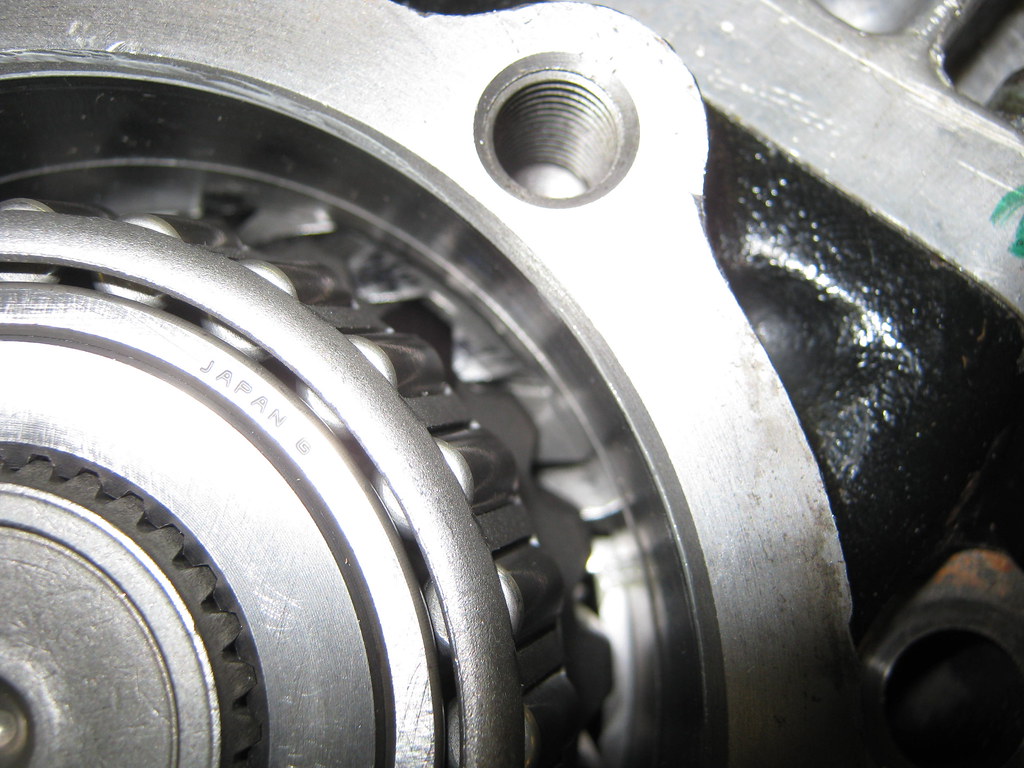
 IMG_1126 by Andrew Pascarella, on Flickr
Difficult to tell from the picture but the gears are not 1:1, when you line them up at the marks and spin them. 1 revolution does not bring it back to the same spot. I think it took three spins, I should have counted but I didn’t.
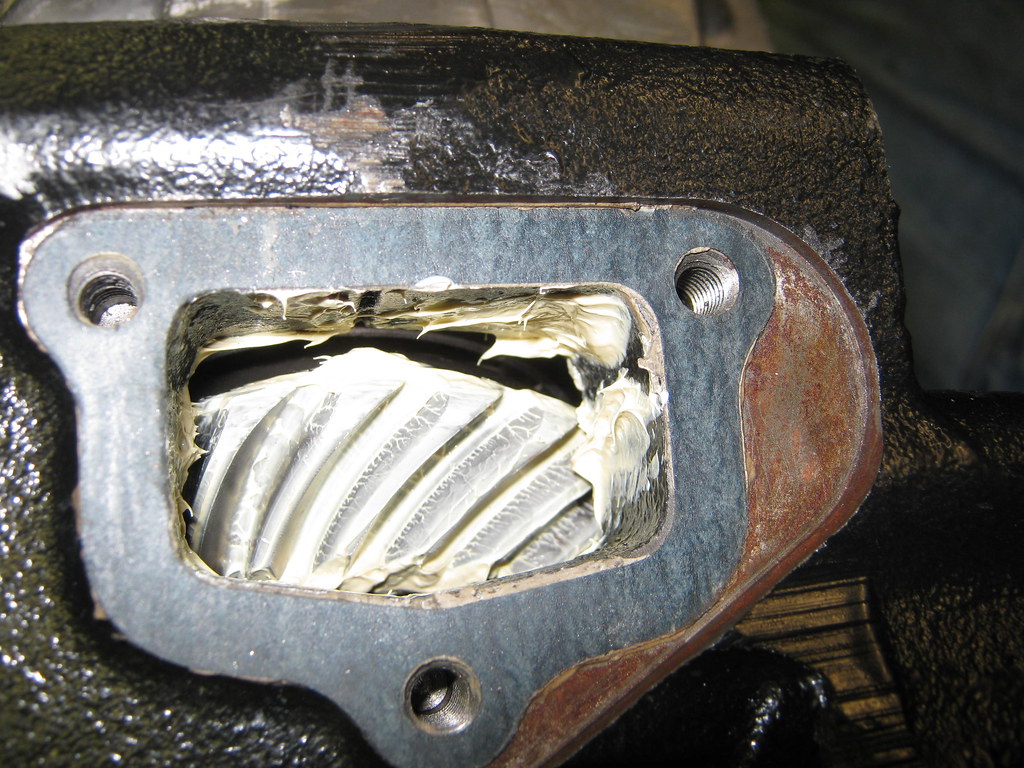
 IMG_1127 by Andrew Pascarella, on Flickr
The input gears had a nice mesh pattern,
 IMG_1129 by Andrew Pascarella, on Flickr
All assembled back up. New seals on both ends. Spins nice and smooth.
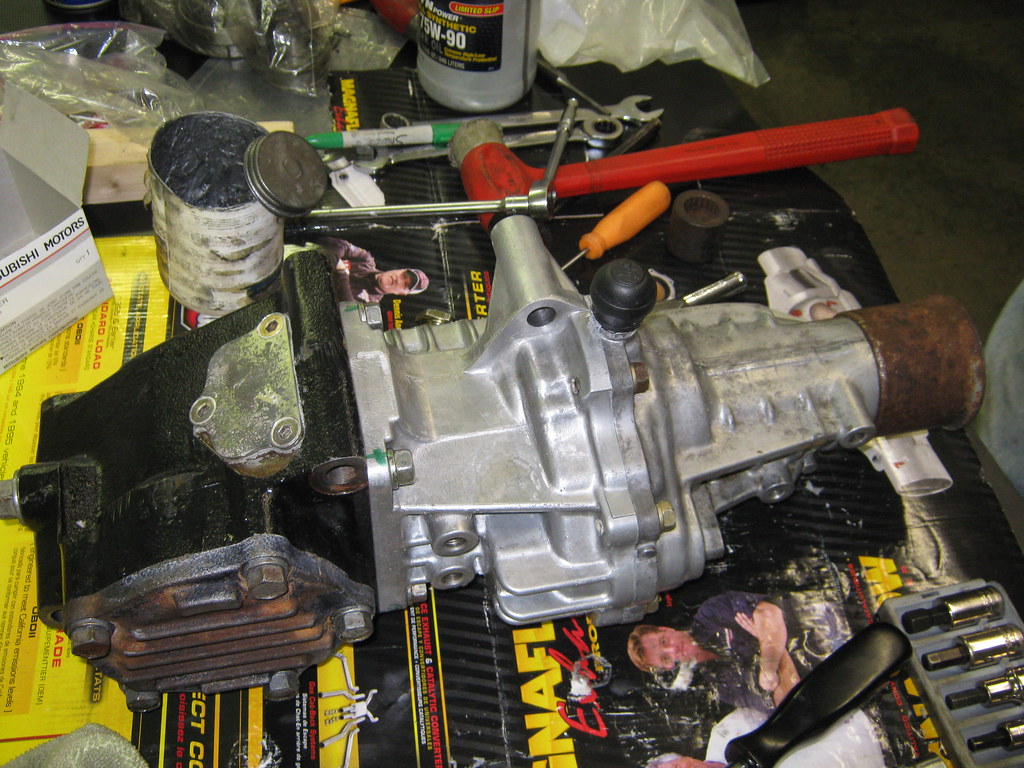 IMG_1130 by Andrew Pascarella, on Flickr
 IMG_1131[1] by Andrew Pascarella, on Flickr
April 7th 2012
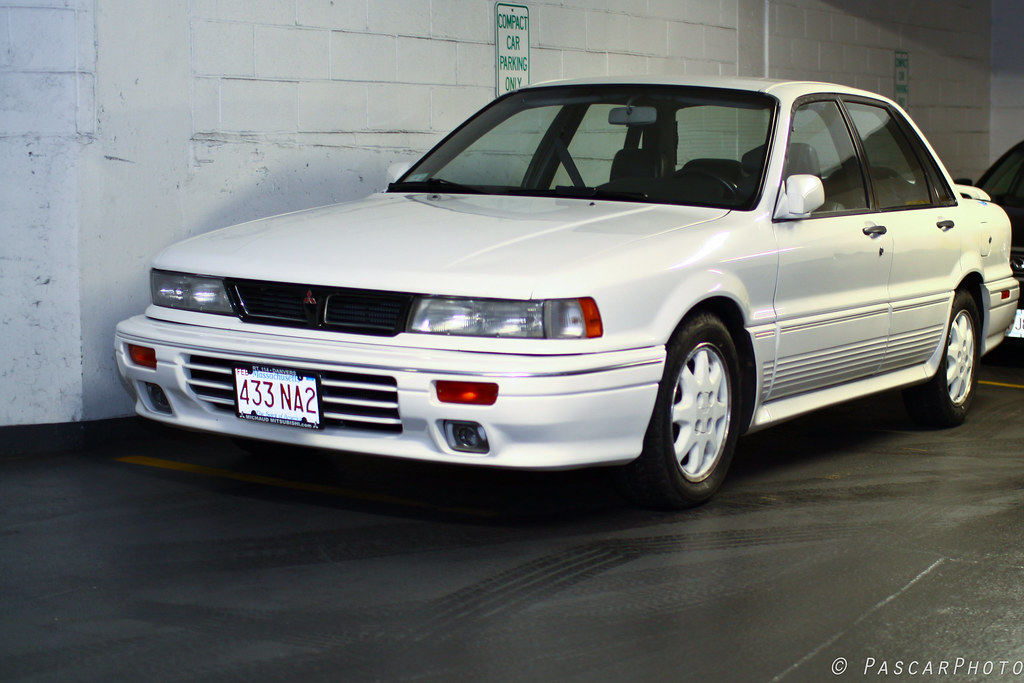
At a local meet over the weekend. This car is so much fun to drive.
 Masstuning-9904 by Andrew Pascarella, on Flickr
 Masstuning-9916 by Andrew Pascarella, on Flickr
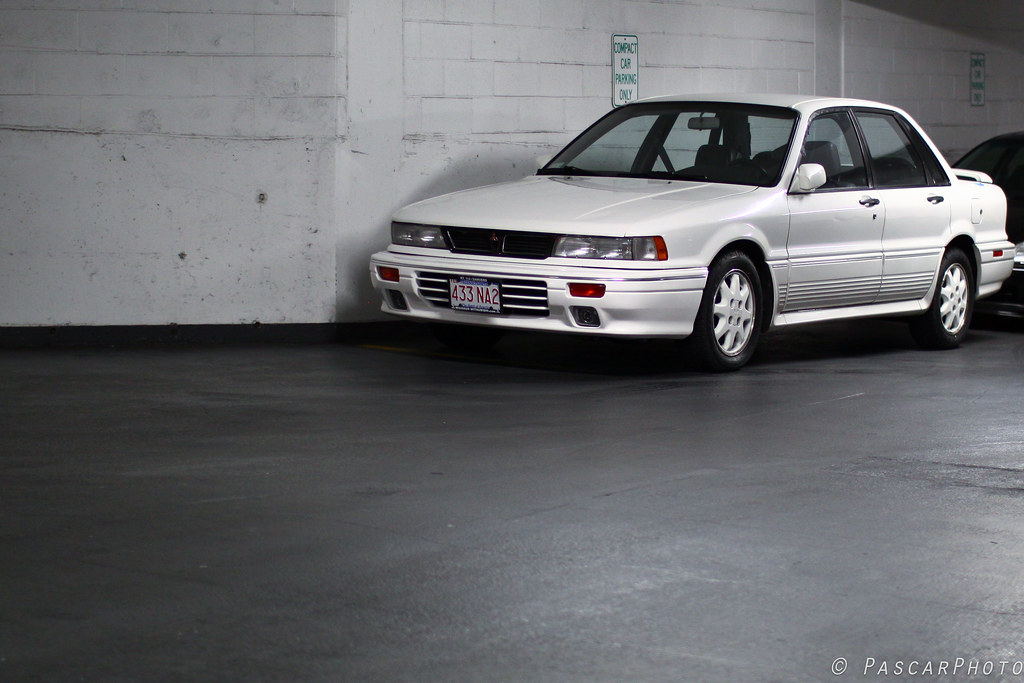
This shot was from a Photographer that eventually, 5 years later shot my wedding. I don’t even think he was a pro at the time.
 GVR4 by andrewjsan, on Flickr
Love reading this. And the later perspective makes it absolutely epic!
Fun fact… At one time, in the just prior to Evo 4 period, I had an Eagle 2000gtx. It was an awd model but the previous owner (three buddies owned it before me… Wait. Four buddies) had killed the engine (another story) and had swapped in a 1.8 L instead so the car was a hoot in the winter but dismal the rest of the year. So slow… Even with a dramatic clutch dump at revs you couldn’t even get so much as a tire squeak. But boy that thing handled…
Behind the plastic cladding on the lower fenders there was… Nothing. Nada. No metal left. I used to get a fair amount of dust coming in as I bombed down gravel roads.
Sorry. Back to yours… with boost and goodies.
Its very fun reading back through this build. It feels like a lifetime ago!
That’s a big nut!
I don’t think I’ve ever seen the inside of one of those tcases. That’s pretty crazy. Had one fail back in the day, too. Didn’t lock up, but the car wouldn’t move. I wonder what happened…
@haolepinoy It’s in the 32-35mm range IIRC, I actually swipped the special tool from the dealer I used to work at. Otherwise it would have gotten lost or thrown away. This way I can at least rebuild another one.
@Brian since you guys are so interested in it, I found one image I took of the original, I believe this actually ran out of oil. A t/case has three parts that make up the case part. The cast iron “head piece” from MY91+ (MY90 Cars used aluminum) Then an aluminum center and and tail section. It’s really not much different in operation as say a rear diff. This large bearing in the middle would be like a pinion bearing. This case leaked all the oil out, it seized and spun the bearing inside of the aluminum housing and destroyed that part of the t/case. I actually had to “overnight it from Japan”. One didn’t exist in the Mitsubishi supply chain when I ordered. (I was a parts guy at a dealer for a 7 years). After I put it on the highest priority order level, one suddenly showed up a week later in a box, wrapped in JDM newspaper. I don’t know how they willed it into existence, but I got lol. $150 as what it cost seems to stick in my mind. We also had to shim it too, to set the gear lash. I suppose you could buy used cases for that, but this way I figured it was pretty much brand new.
 IMG_1073 by Andrew Pascarella, on Flickr
Grooved timing belt anybody ?
 oh snap by Andrew Pascarella, on Flickr
I pulled the plastic cover off for pure vanity reasons. It got scratched by the hood insulator and I wanted to repaint it. I found one of the rubber seals had turned to hard plastic from all the years of heat cycles. It fell and jammed against the belt and wore a groove in it. Crazy :roll:
WRONG, so wrong. If you’ve spent anytime with these cars and rebuilt a 4G63 or at least done an oil pan. There are like 10-12 bolts that hold it on. Say for example 10 are 8 mm long and 2 are 6mm long. Well kids, the two short ones go on the timing belt side for belt clearance. I am not the first or the last person to make this mistake. Super annoying when the belt has like 2k miles on it and now you have to do it in the car.
 Untitled by Andrew Pascarella, on Flickr
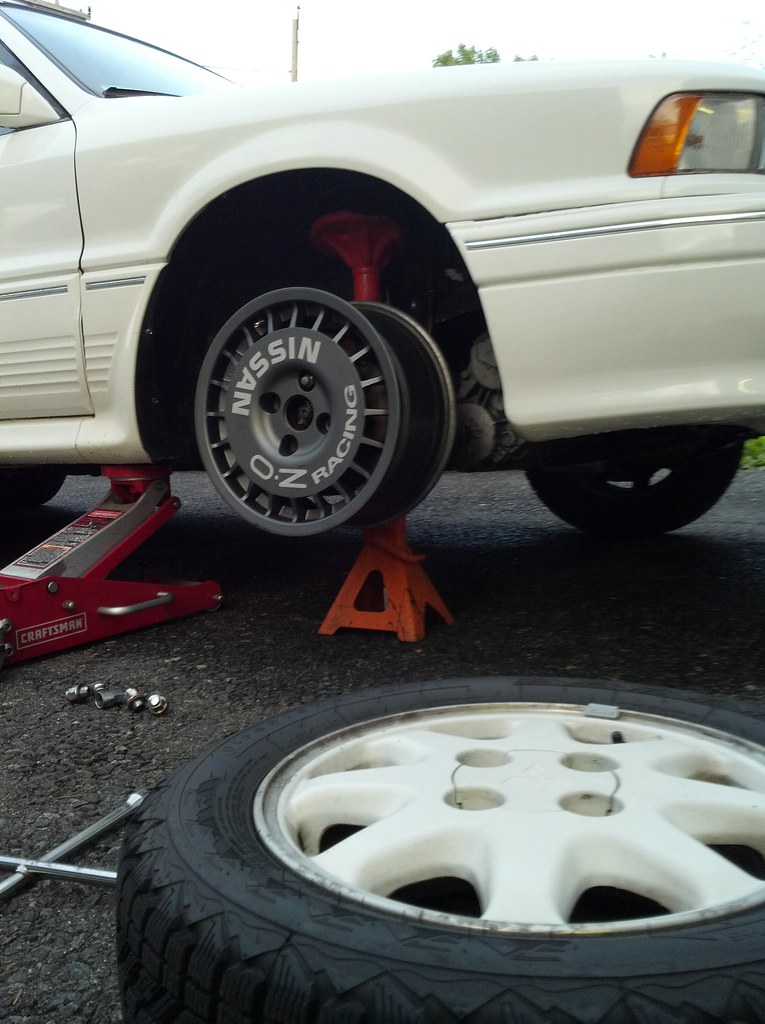
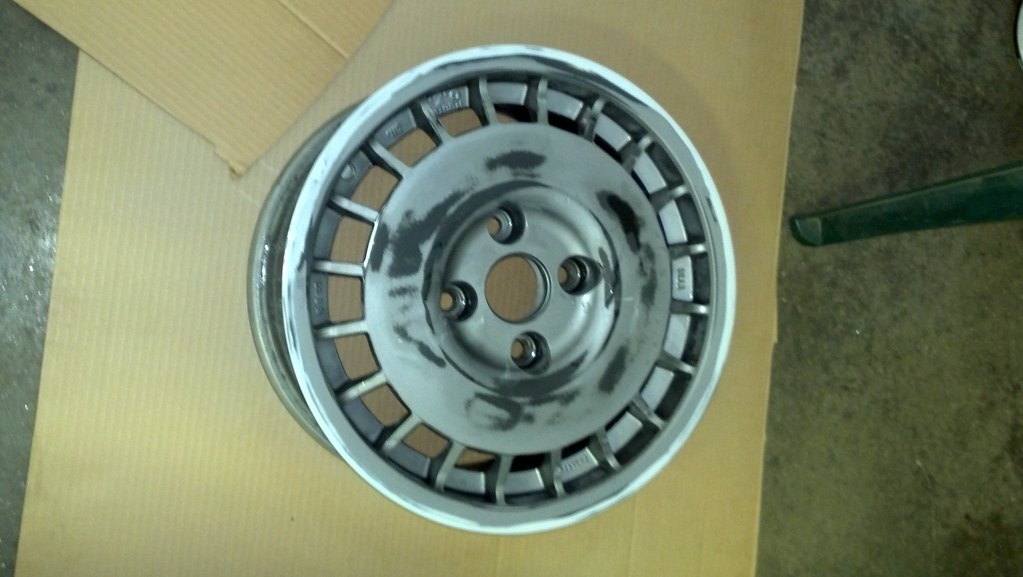
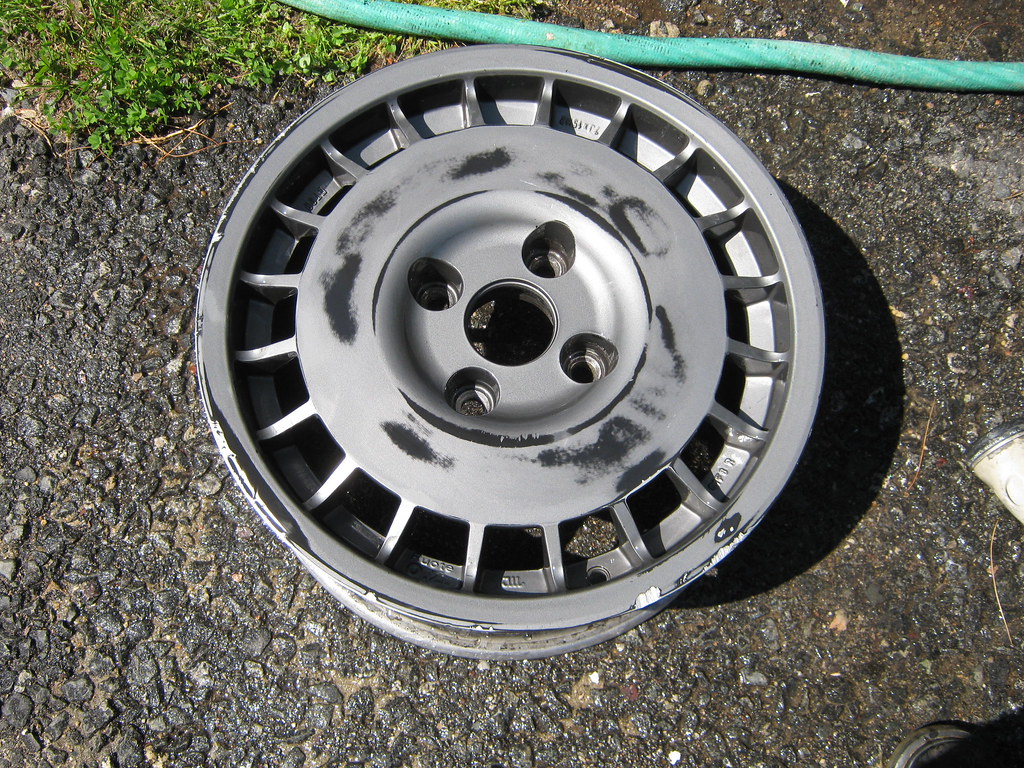
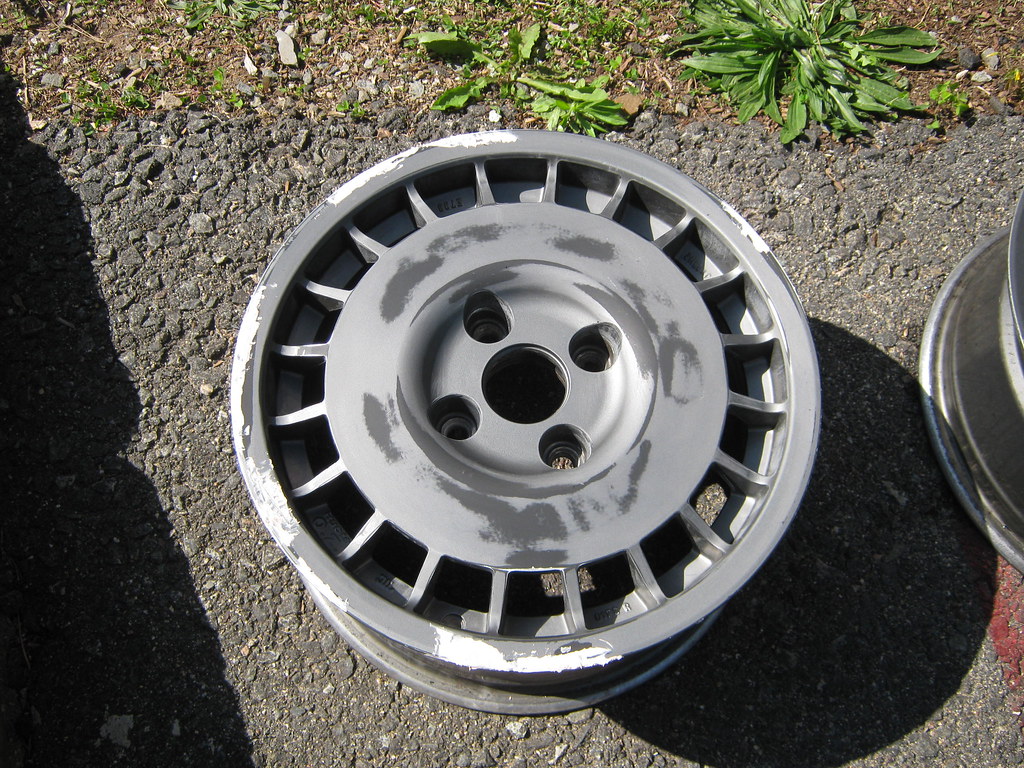
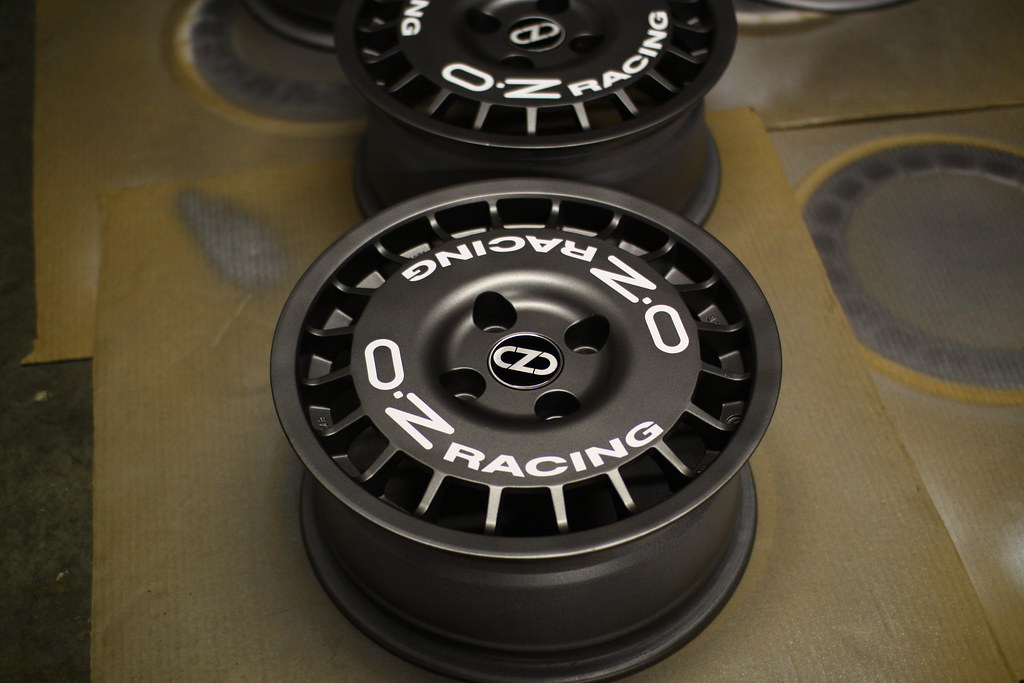
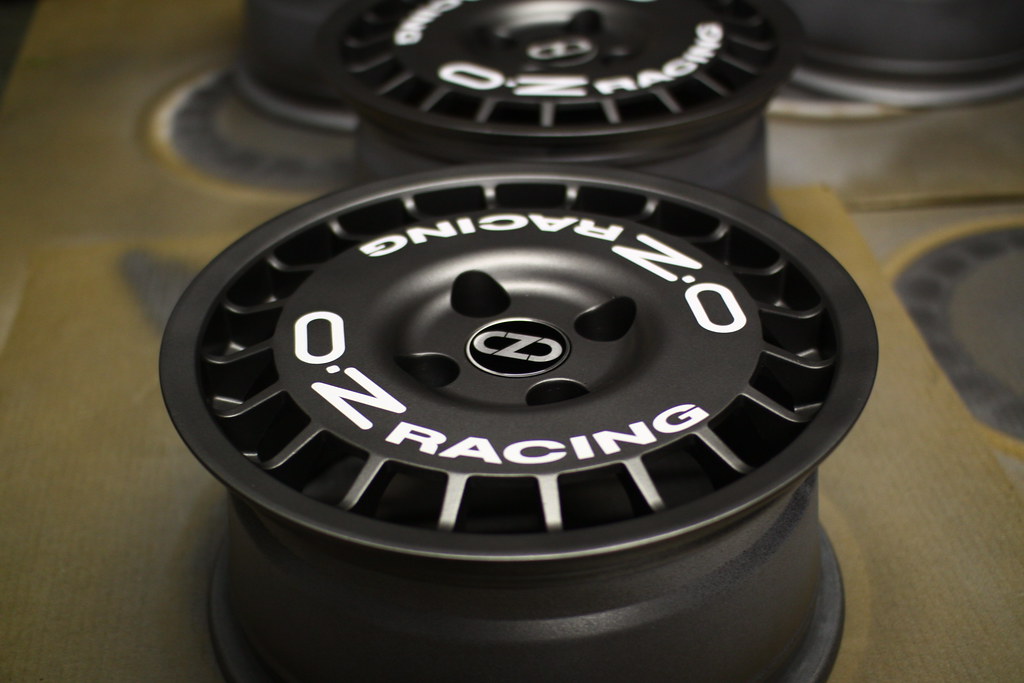
I was working on these wheels this weekend. I had them sent from Poland. Yes they say Nissan. But, the wheels are 4x114.3, the hub bore is 66.1 a Nissan hub bore, so I bought an extra Galant hub to send to the machine shop. So these can be opened up to 67.1. Specs on the wheels are 4x114.3, 15x7, et38, 20lbs each. A nice sturdy rally wheel.
 Untitled by Andrew Pascarella, on Flickr
 Untitled by Andrew Pascarella, on Flickr
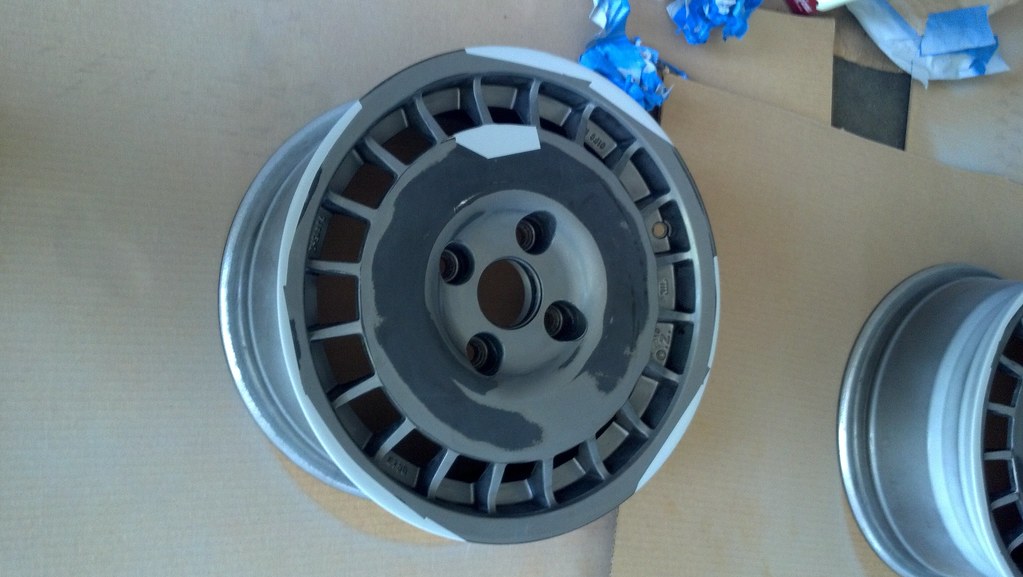
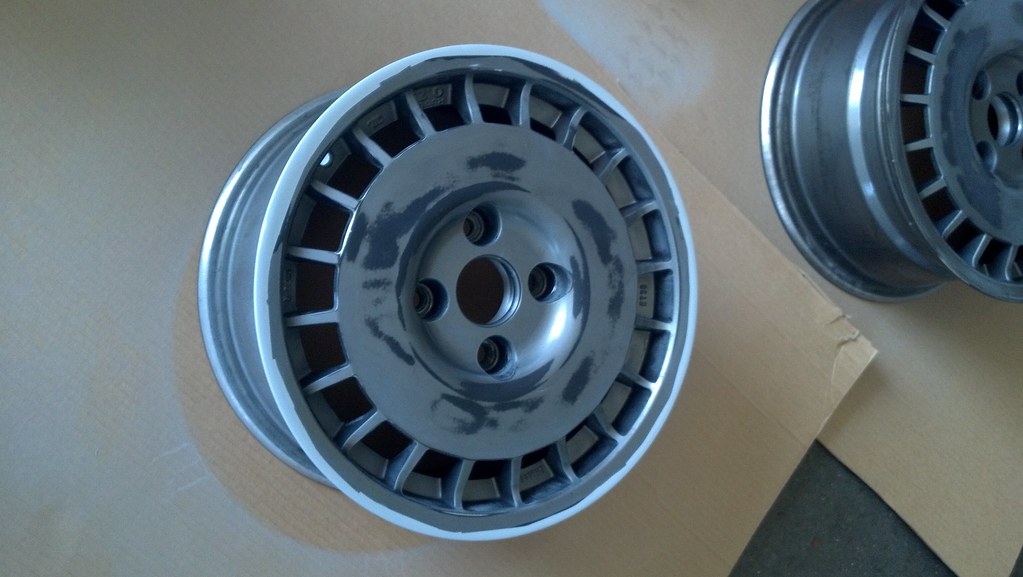
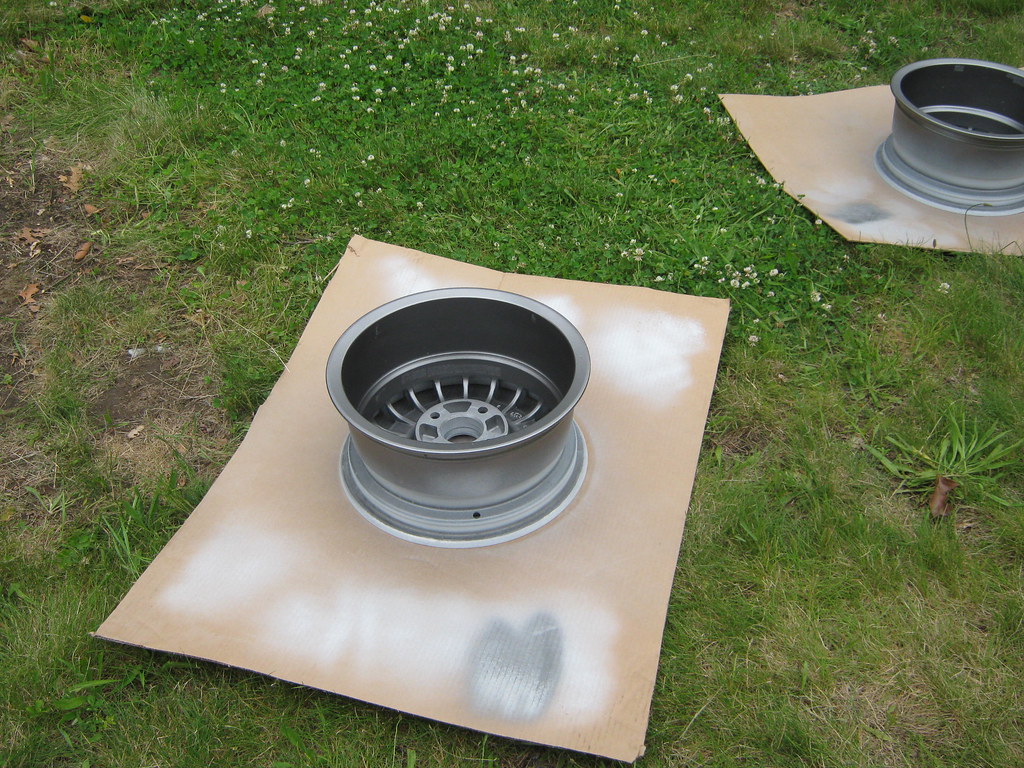
More finish sanding, some filler primer over the putty.
 Untitled by Andrew Pascarella, on Flickr
 Untitled by Andrew Pascarella, on Flickr
Feathered down the filler primer
 Untitled by Andrew Pascarella, on Flickr
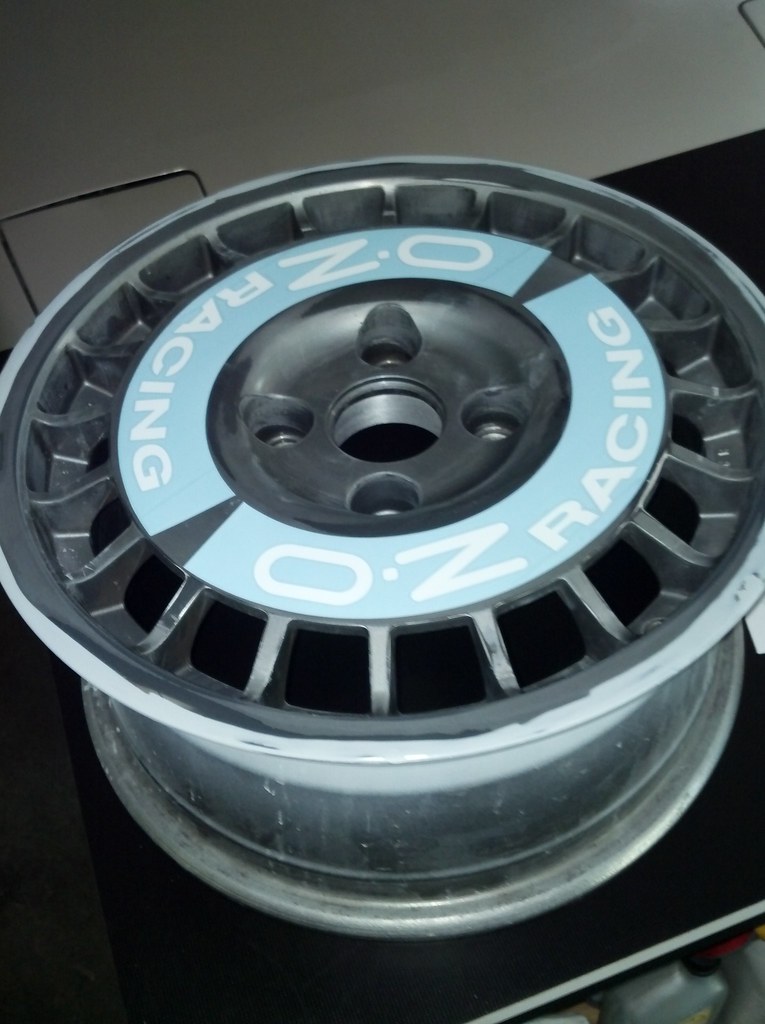
I found the decals on ebay
 Untitled by Andrew Pascarella, on Flickr
 Untitled by Andrew Pascarella, on Flickr
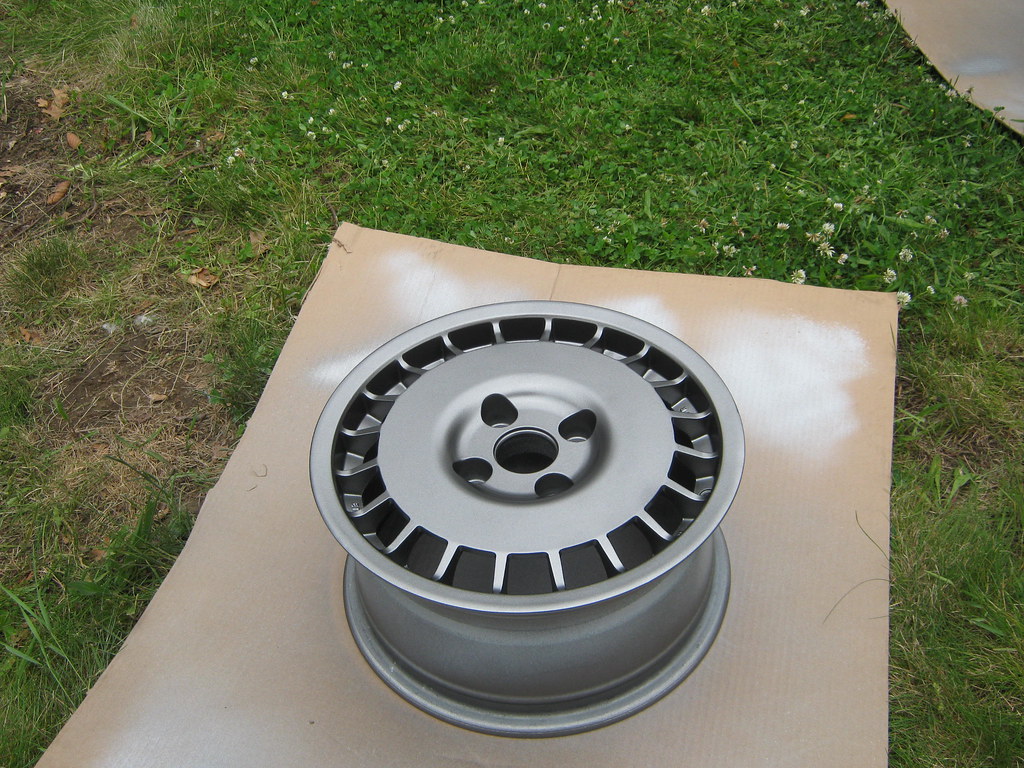
The gun started to goop up so I stopped at two coats for now. I think three will do.
 Untitled by Andrew Pascarella, on Flickr
Believe it or not I’m using Duplicolor Paint shop paints. The stuff works really nice, it’s all pre thinned and ready to shoot.
Some more wheel restoration pictures
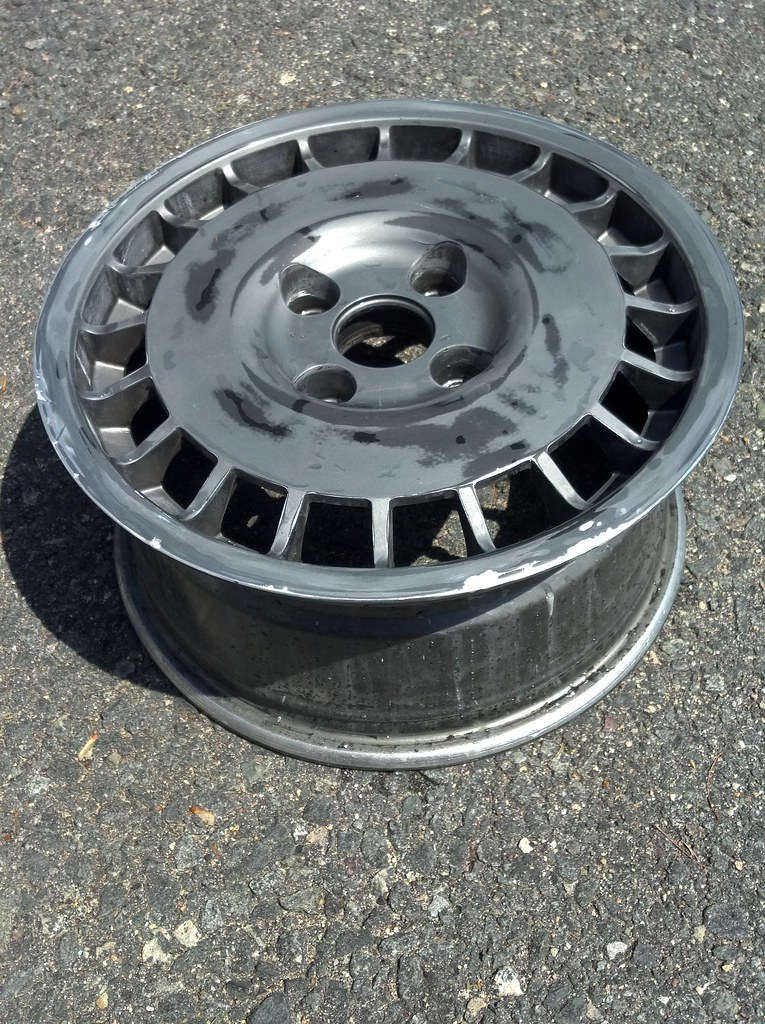
Before
 IMG_1149 by Andrew Pascarella, on Flickr
 IMG_1151 by Andrew Pascarella, on Flickr
Filler putty
 IMG_1152 by Andrew Pascarella, on Flickr
 IMG_1160 by Andrew Pascarella, on Flickr
 IMG_1161 by Andrew Pascarella, on Flickr
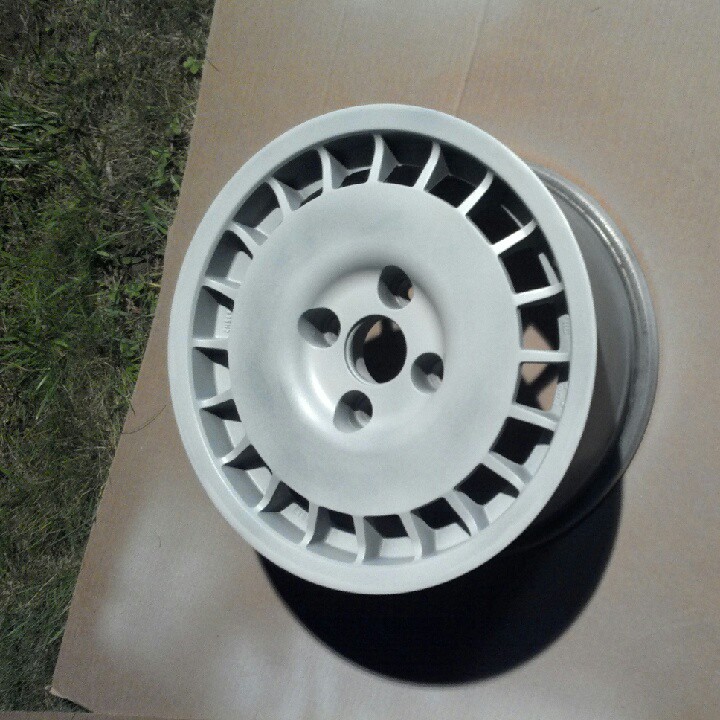
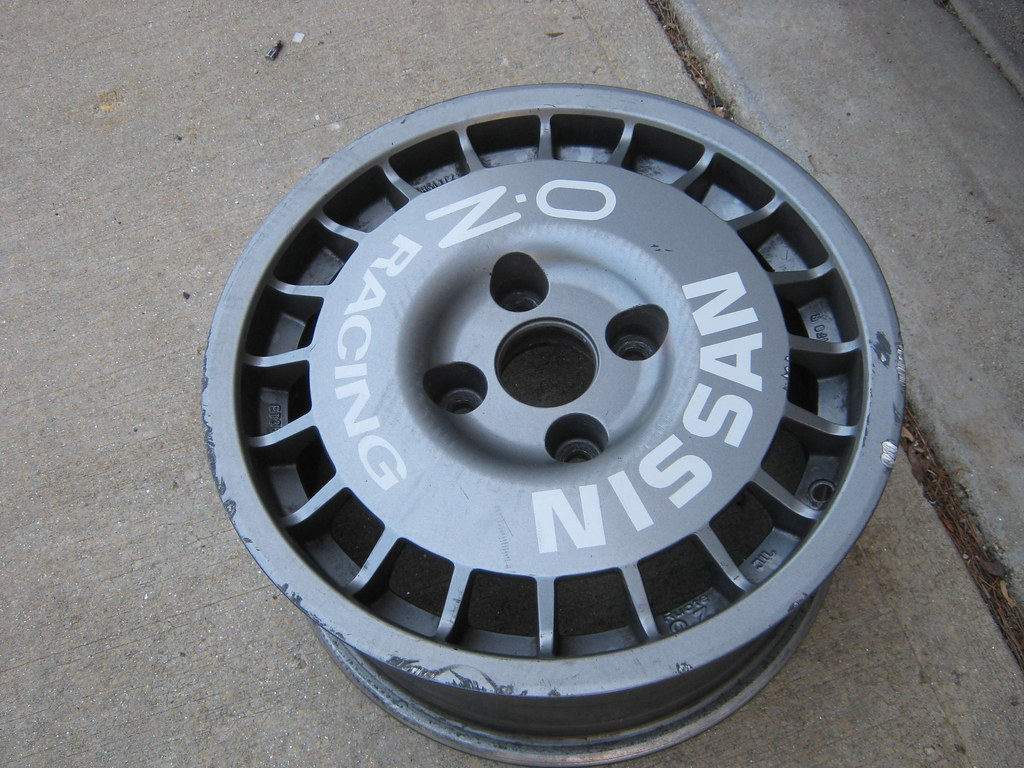
Finished product
 IMG_2256 by Andrew Pascarella, on Flickr
 IMG_2257 by Andrew Pascarella, on Flickr
Thanks for sharing, dude. That’s really cool to finally understand how that thing worked.
And those wheels are dope! I always wanted a set of white Superturismo Corsas on my Talon.
My thread over on GVR4.org slows after this. I basically put the car together and enjoyed the hell out of it.
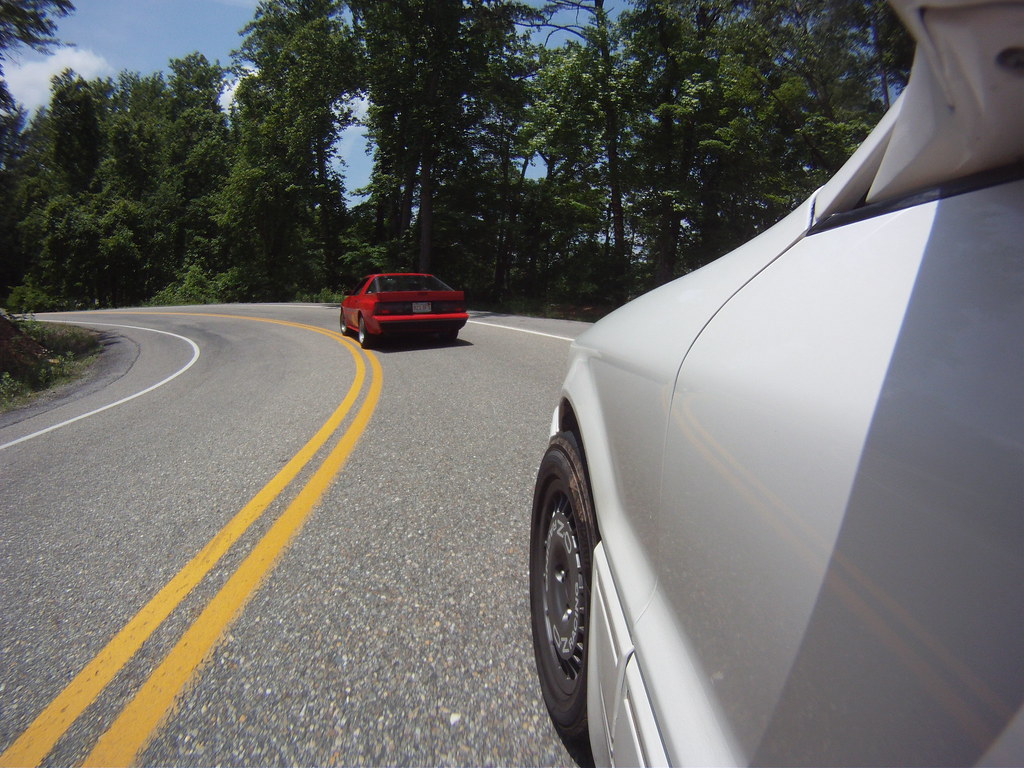
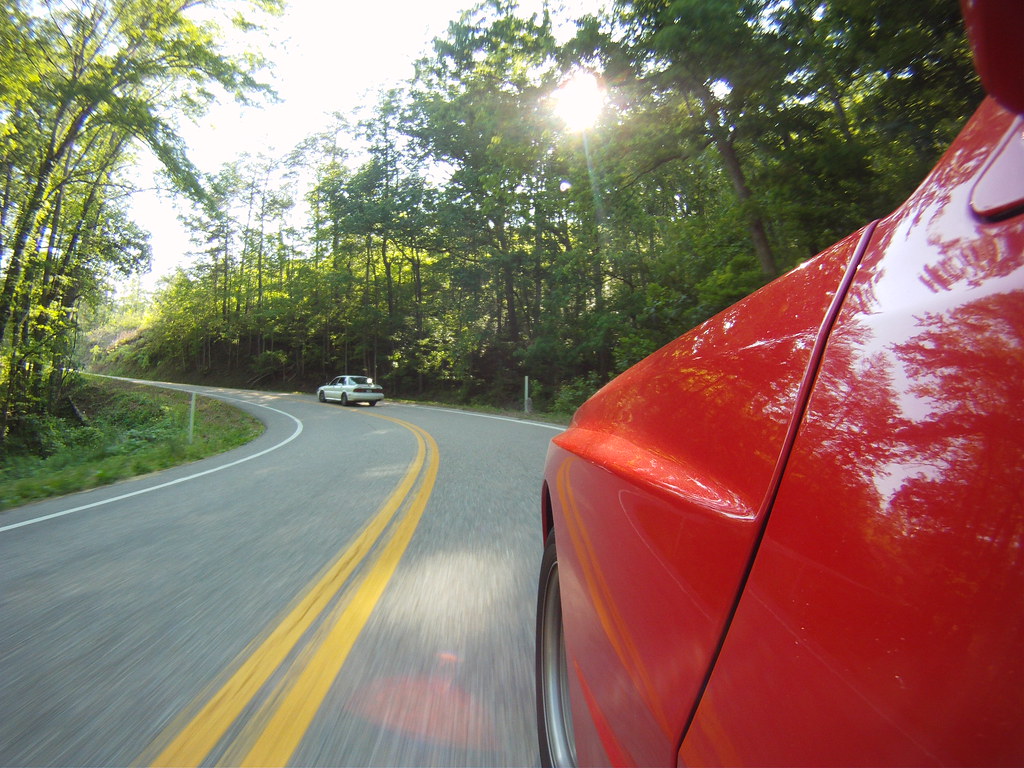
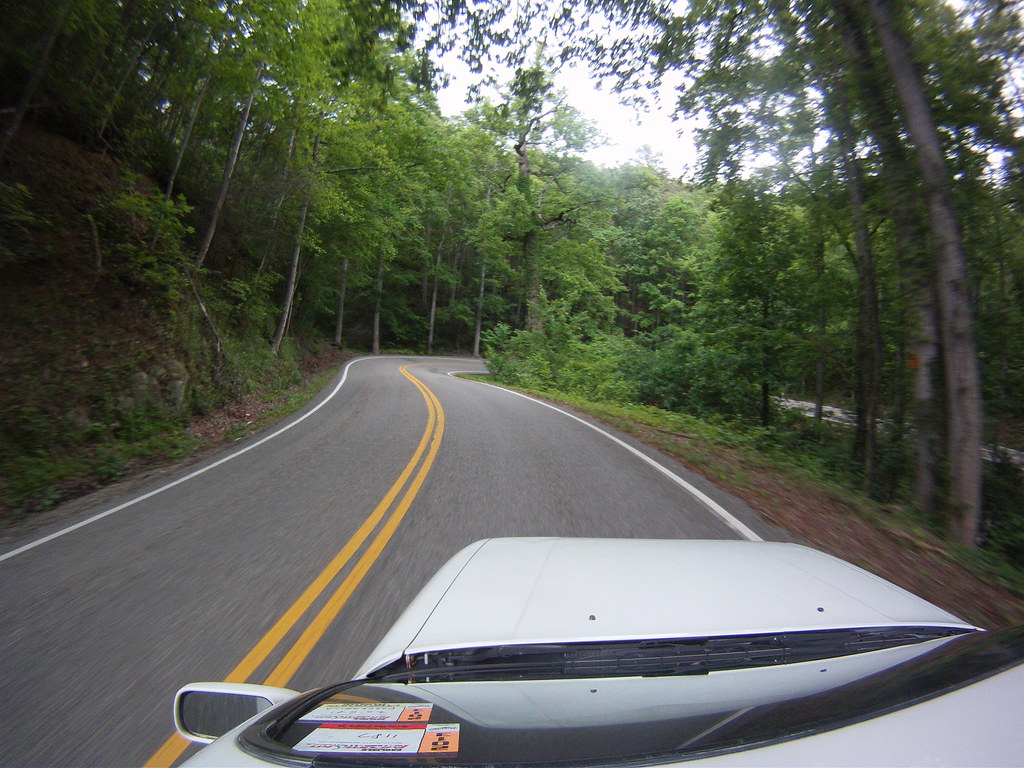
From 2012-2014 I ran the OZs. The car also ran great, with no issues at all and I logged a bunch of miles, including driving the Tail of the Dragon and then going to Austin Tx and back.
Chasing @BradD 's Conquest. This was so much fun.
 GOPR3804.JPG by Andrew Pascarella, on Flickr
 GOPR4788.JPG by Andrew Pascarella, on Flickr
 GOPR5841.JPG by Andrew Pascarella, on Flickr
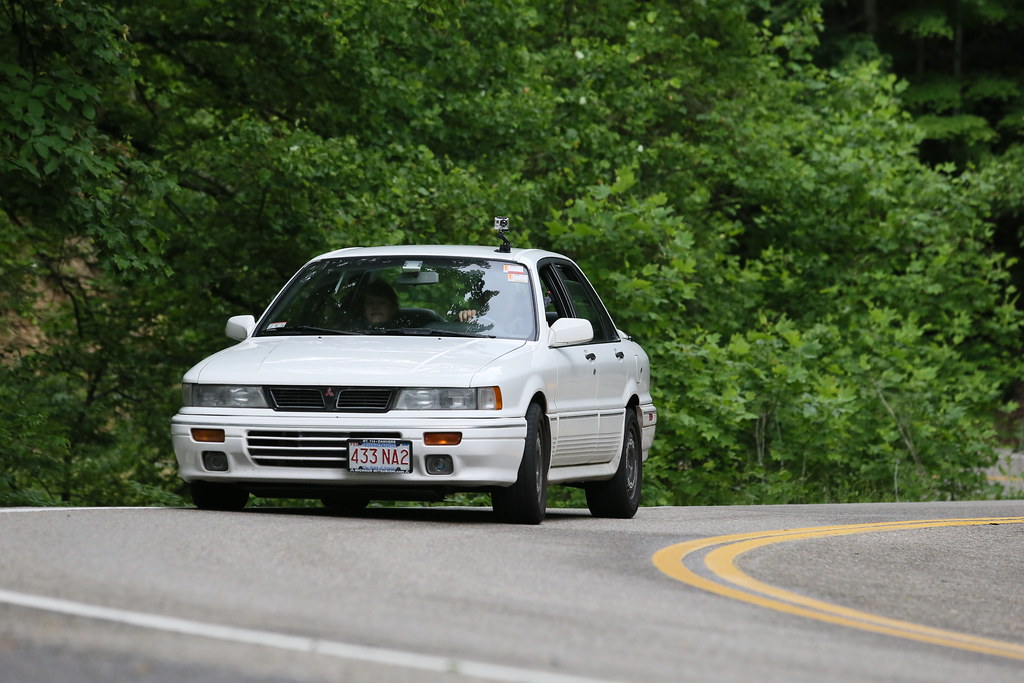
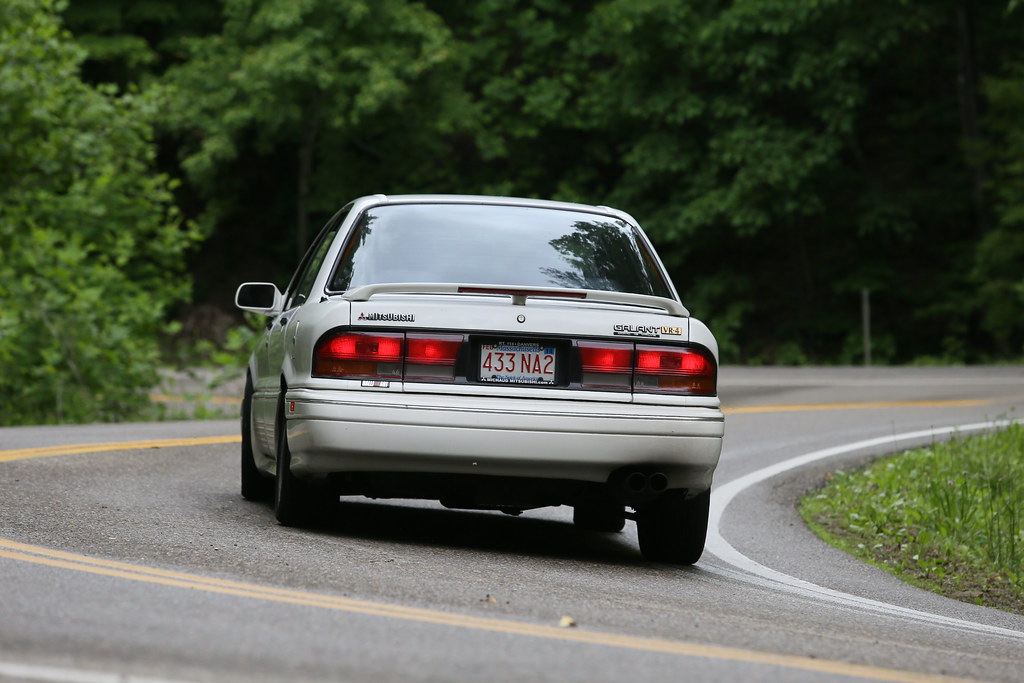 Galant at US RT 129 by Andrew Pascarella, on Flickr
 Galant at US RT 129 by Andrew Pascarella, on Flickr
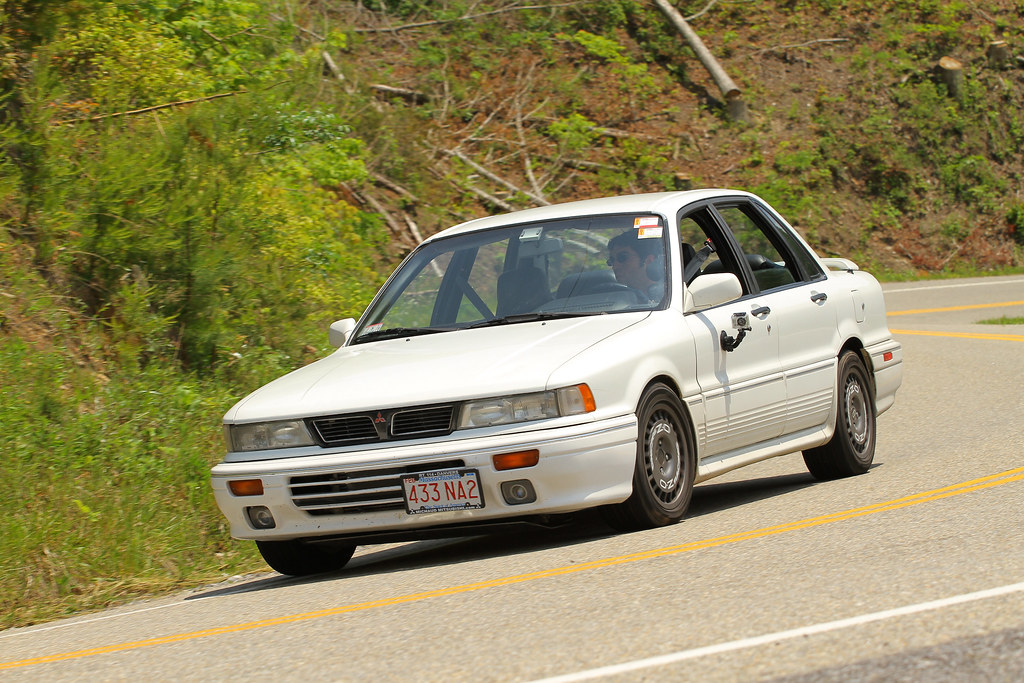 Galant at the Dragon by Andrew Pascarella, on Flickr
At the end of 2014 I noticed a large puddle of oil in the garage. The original steering rack seals let go, so it was pretty much the same day I was parking it for the winter. The next spring I put in a DSM rack because this car no longer has AWS.
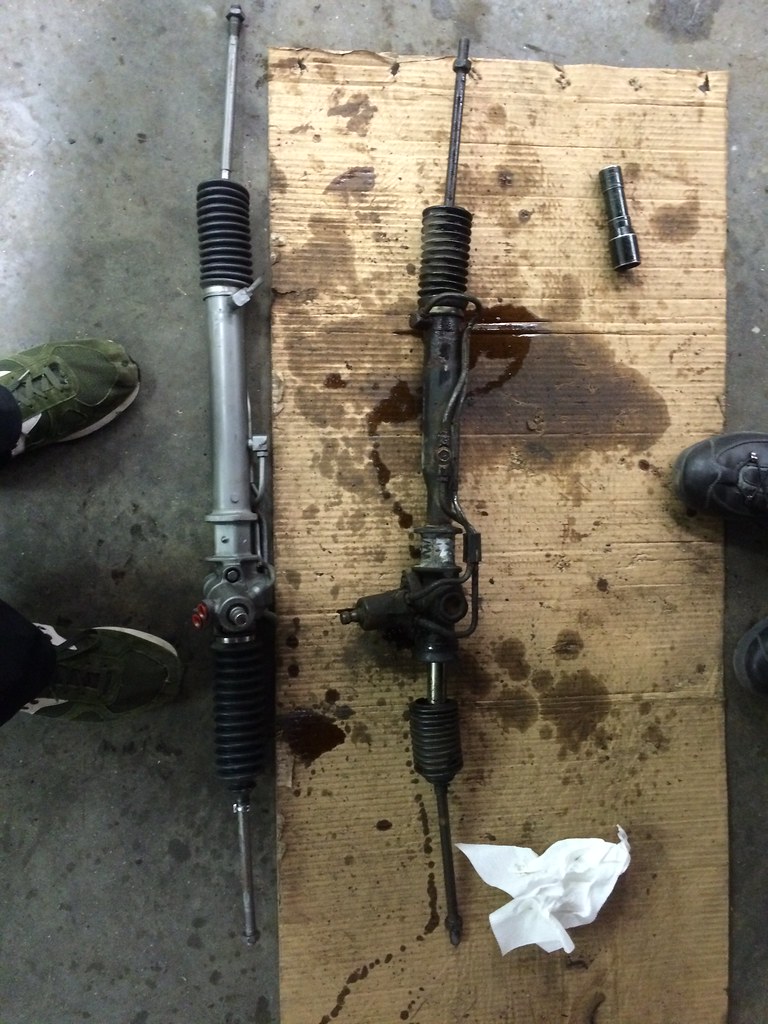 IMG_1998 by Andrew Pascarella, on Flickr
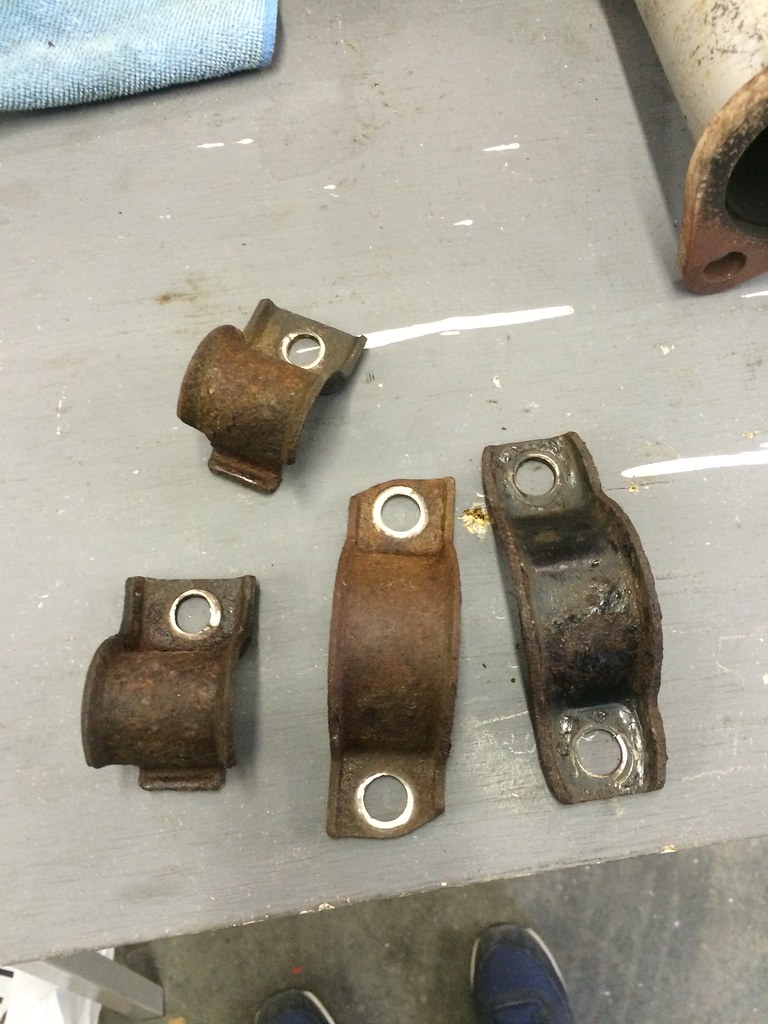
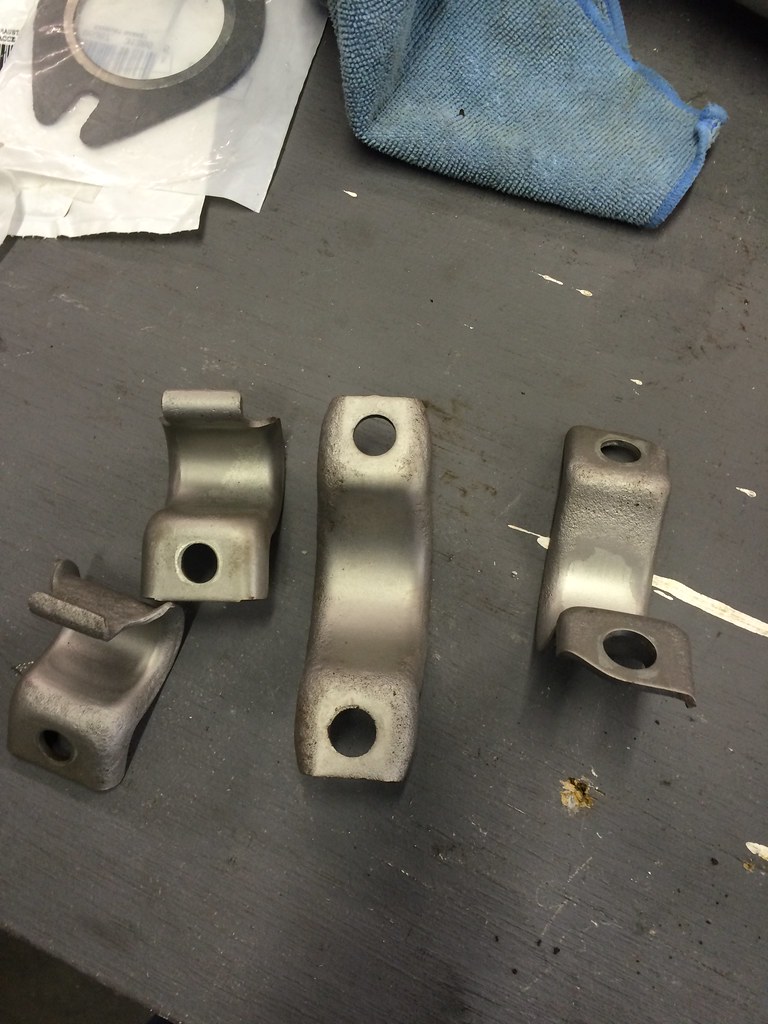
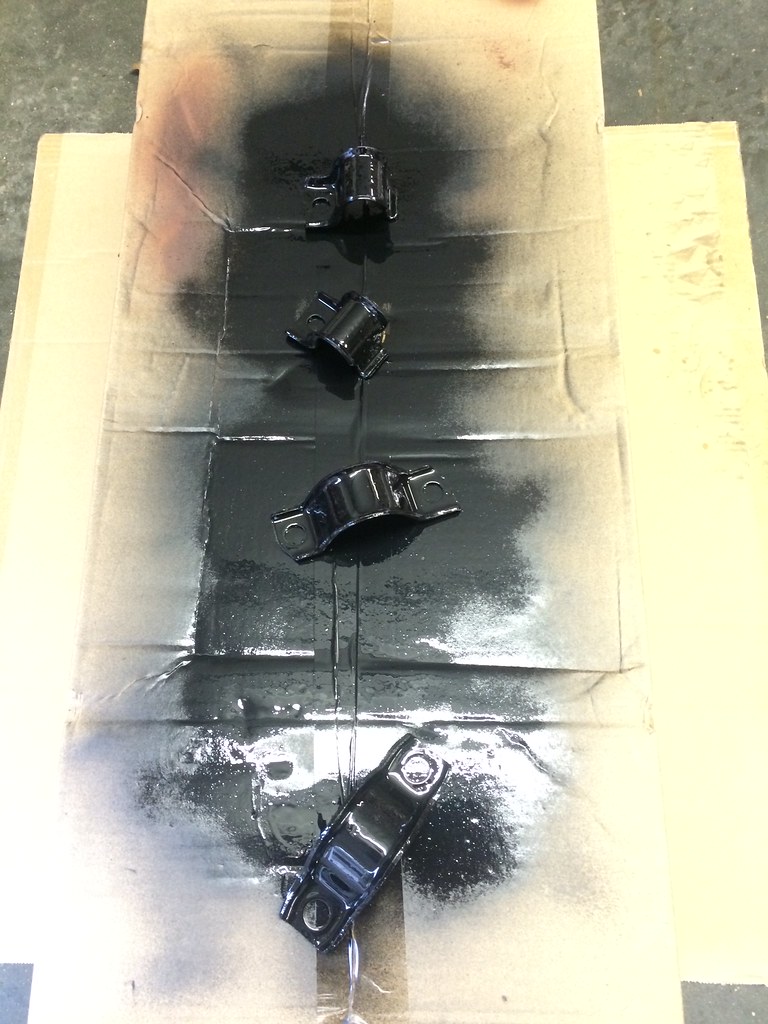
Can I talk to you about the Harbor Freight sand blasting cabinet. For like $200, if you’ve got the space, these are fantastic tools to restore stuff. I cleaned up and painted the steering rack brackets and added new OEM bushings.
 IMG_2006 by Andrew Pascarella, on Flickr
 IMG_2007 by Andrew Pascarella, on Flickr
 IMG_2008 by Andrew Pascarella, on Flickr
You don’t realize how worn a rack gets until you have a new one in there. I had replace the outer tie rods, but the inners or the rack it self had some wear. Because after this was installed, a front end vibration I though was a bent wheel disappeared.
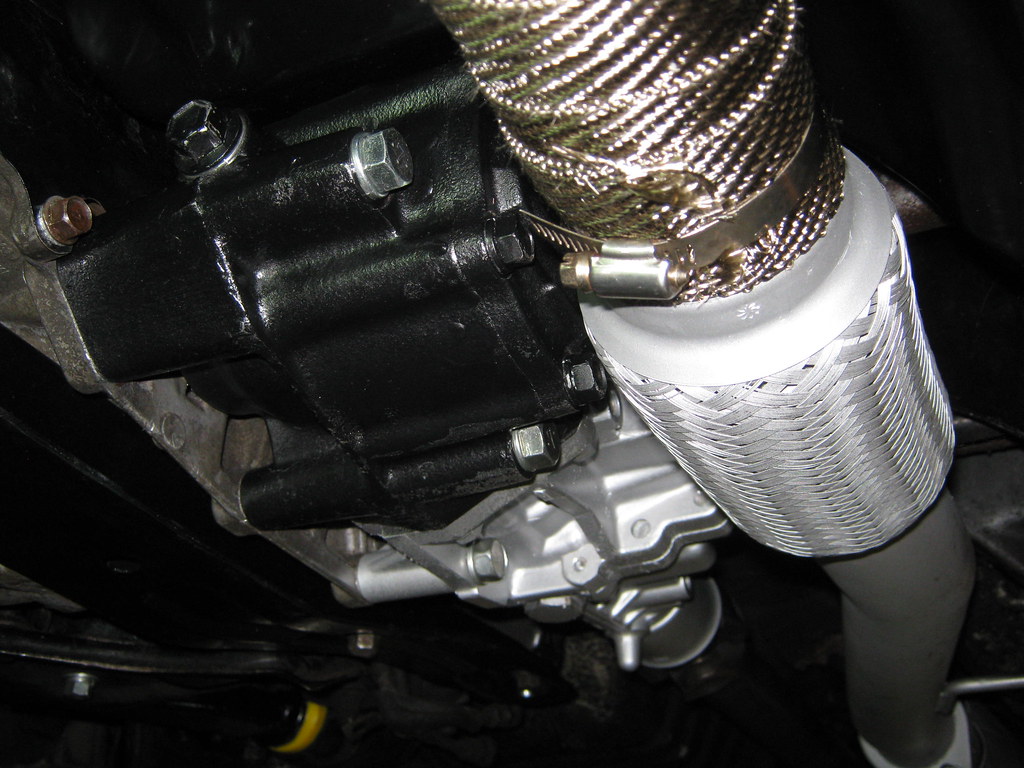
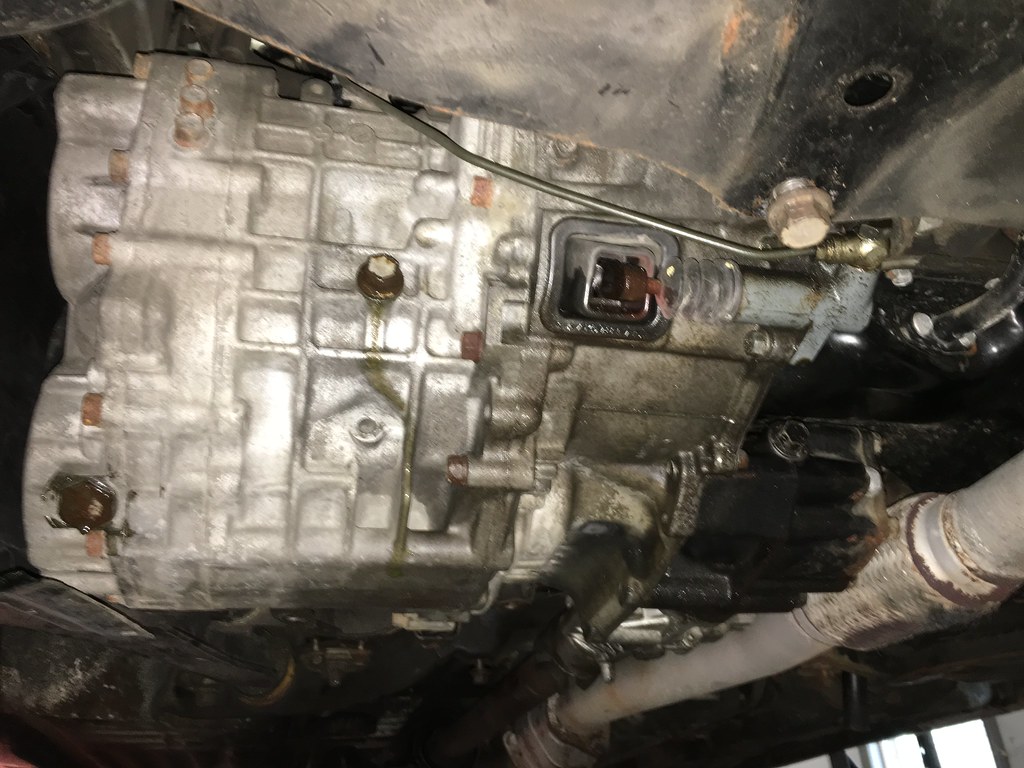
Used the car for the summer season just fine. Then in 2016 I noticed some leaking around the transmission / T/case area, which on these cars is no good.
I believe I mentioned this earlier in the thread, how I ignored the output shaft seal on this used Shep Trans. I will never do that again when assembling these cars.
 IMG_5324 by Andrew Pascarella, on Flickr
 IMG_5327 by Andrew Pascarella, on Flickr
I was also having clutch slipping at full boost (15 PSI) on the stock clutch in 5th gear. The clutch only had 30k on it, which shouldn’t be too much power for it. So maybe it was wet with oil.
What a mess.
 IMG_5330 by Andrew Pascarella, on Flickr
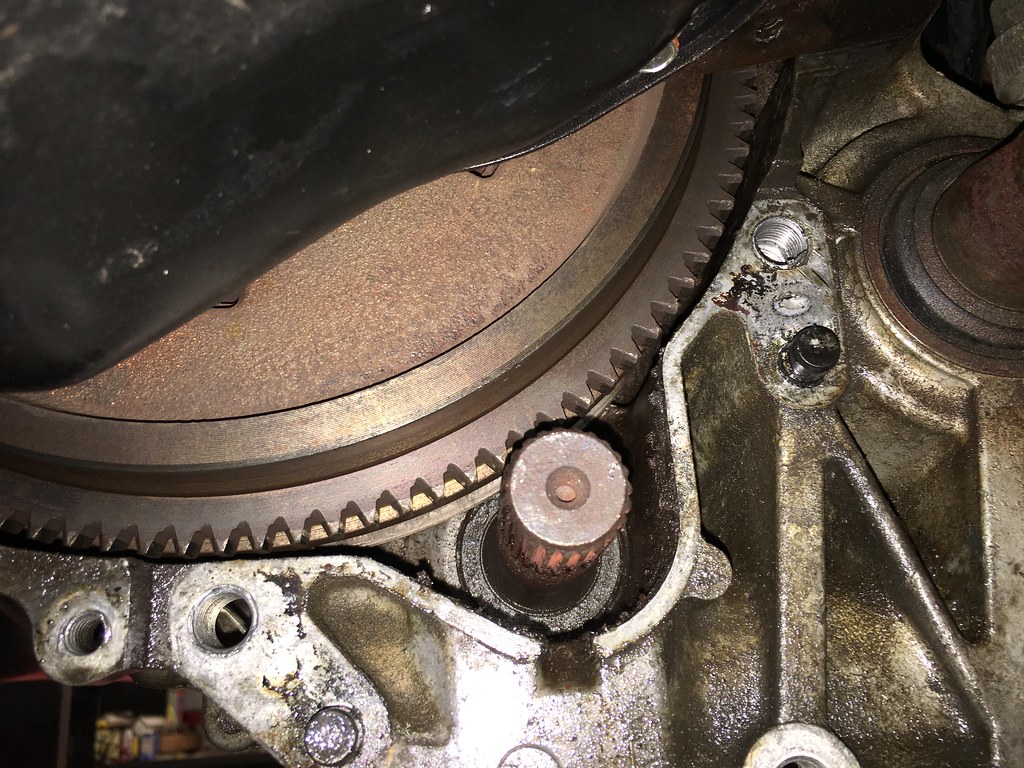
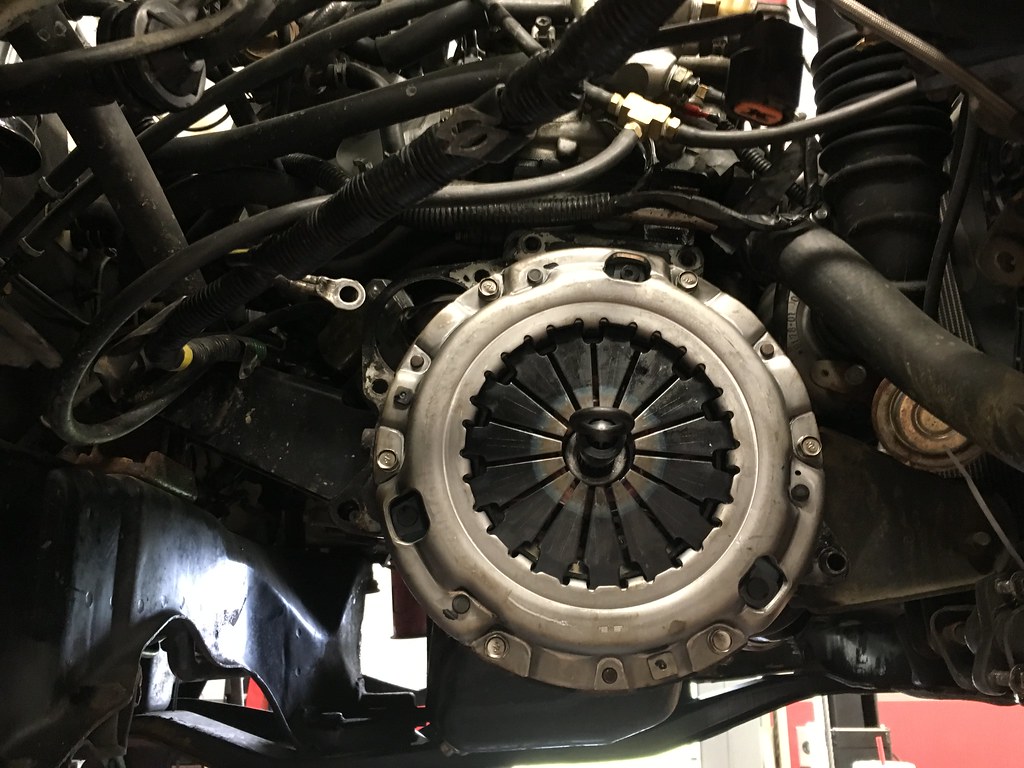
Out came the transmission, new seal, new clutch and pressure plate. The original looked dry, but whatever, a stock clutch is $100. We salvaged the one that came out and it will go in to @BradD project Galant. It should be fine.
 IMG_5335 by Andrew Pascarella, on Flickr
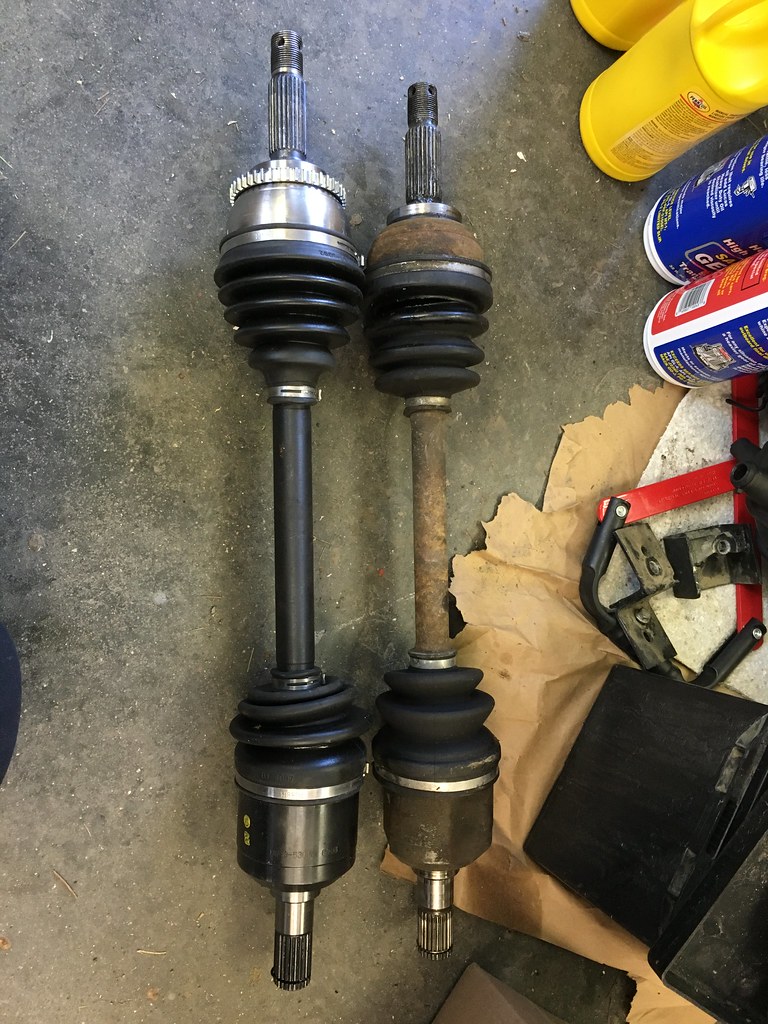
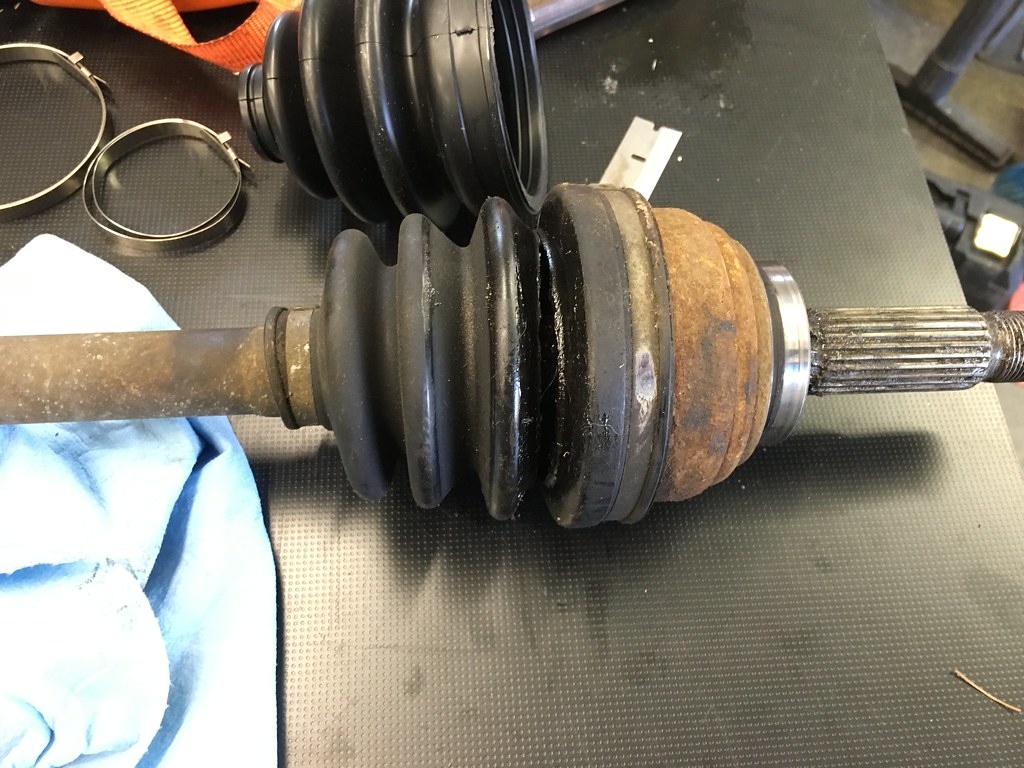
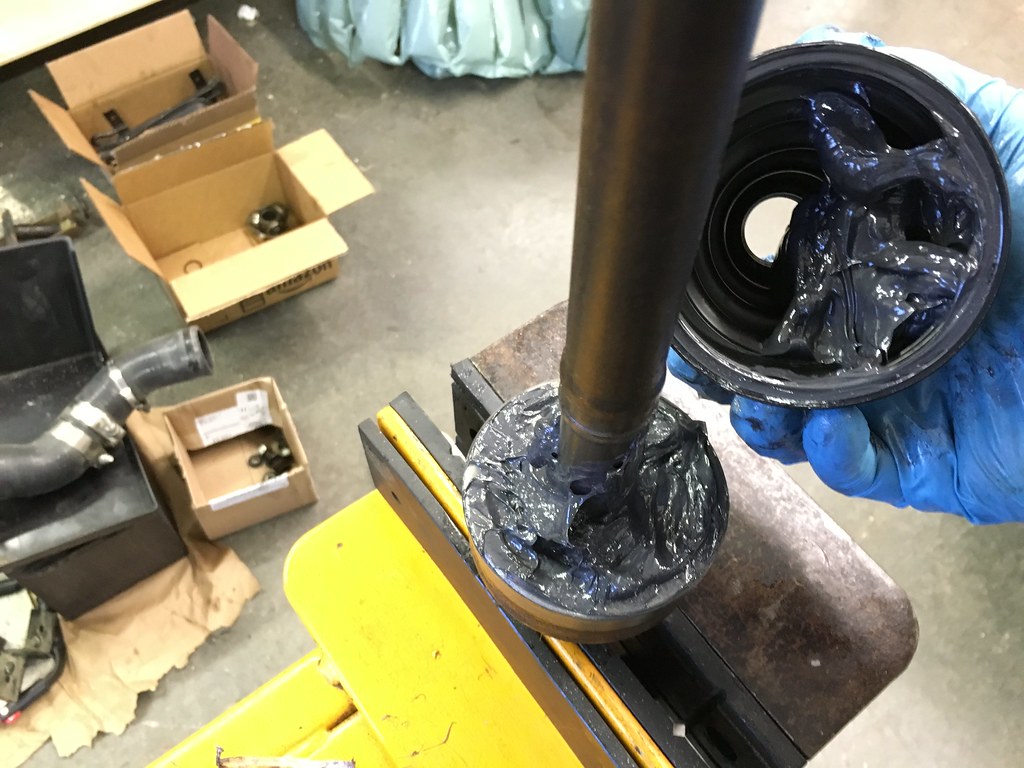
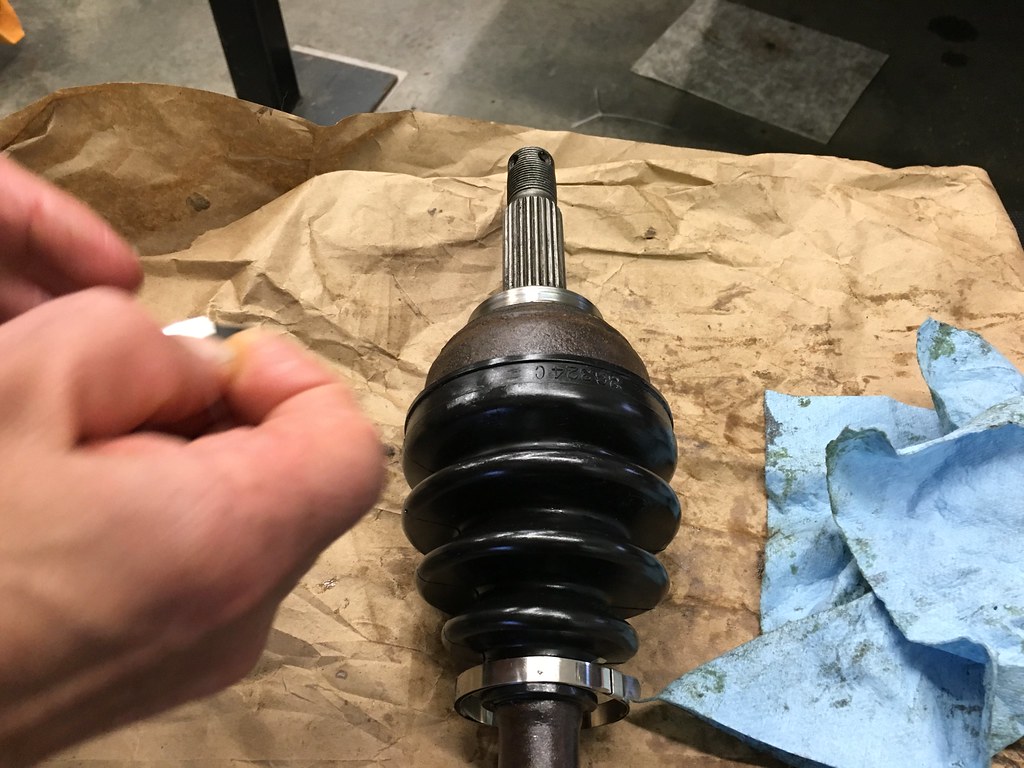
Now, I used to just buy reman CVs, now, for some reason, it’s tricky to get the right axles. I don’t know why, supply issues, stock issues, not making fitment checks?
The axle on the left is new from Rock auto. Since mine just had a ripped boot and wasn’t making noise, I got some new boots for it. It’s messy, but I’ve done this for a few cars and I like it better than slapping brand X axles in.
 IMG_5358 by Andrew Pascarella, on Flickr
 IMG_5362 by Andrew Pascarella, on Flickr
 IMG_5367 by Andrew Pascarella, on Flickr
 IMG_5369 by Andrew Pascarella, on Flickr
A sand/media blasting cabinet would be a very nice thing to have in the garage. No doubt. Brother Keith has one at the shop and I’ve used it to clean more parts than I can count. There’s something very satisfying about watching old gnar vanish before your eyes.
Also, I love those wheels. And, also, I see pictures of your car taken from Brad’s car. Does this mean these are some of Brad’s pictures? (The ones he never shows?) 
@Brian WELLLLLLLL
That was my Gopro lol.
I just looked, I do have some pics from that day. Now I wont share them though ![]()
Andrew, we need to go back!
Eventually in 2014 this car ended up on Team Dynamics ProRace 3s. I think they are a pretty good imitation of the 5 spoke Ralliart MAGs the Group A cars ran.
 20140909-IMG_9939 by Andrew Pascarella, on Flickr
 20140909-IMG_9948 by Andrew Pascarella, on Flickr
Drove the car for much of '17 but at the end of 2016 it started to run hot randomly, well the factory fan seized. I tried a cheapest slim fan, short story. It didn’t move enough air and I eventually found an A/M replacement for the cooling fan. The car has also come with the original brass radiator, those are always better than a plastic tank one. I had it refurbished.
In between some of this I ended up with some drivability issues, car would fuel cut during a hard acceleration in 1st or 2nd. Poor idle. Just acting super strange.
I don’t have pictures of it, turns out the waste gate, which was an aftermarket Ebay one, had seized. I couldn’t find the nice OEM one I had stashed away when I build the car since I took several turbos to make one. So I got a Kinguara turbo one off ebay. That solved one issue, car was boost spiking and hitting knock, pulling timing and falling on it’s face.
In general because of the poor idle and other drivability issues that were hard to diag with the crappy OBD1, I sprung for ECMlink.
In my opinion, even if you have a stock or mildly modified DSM or GVR4, you need ECMlink. There’s standalones now like LinkG4, but for $500, it’s worth it. After installing ECMlink the car began to run much better now.
I spend most of 2018 and 2019 chasing a crappy surging idle. I did the usual and tested for leaks, even rebuilt the T/b myself. I do NOT recommend, it sucks. After all that, I rechecked the stupid throttle cable and it was too tight 
I also swapped the weird summed drag racing tank for a stock tank, It really cleaned up the back of the car.
And a some point the rear brake seized and had to be replaced.
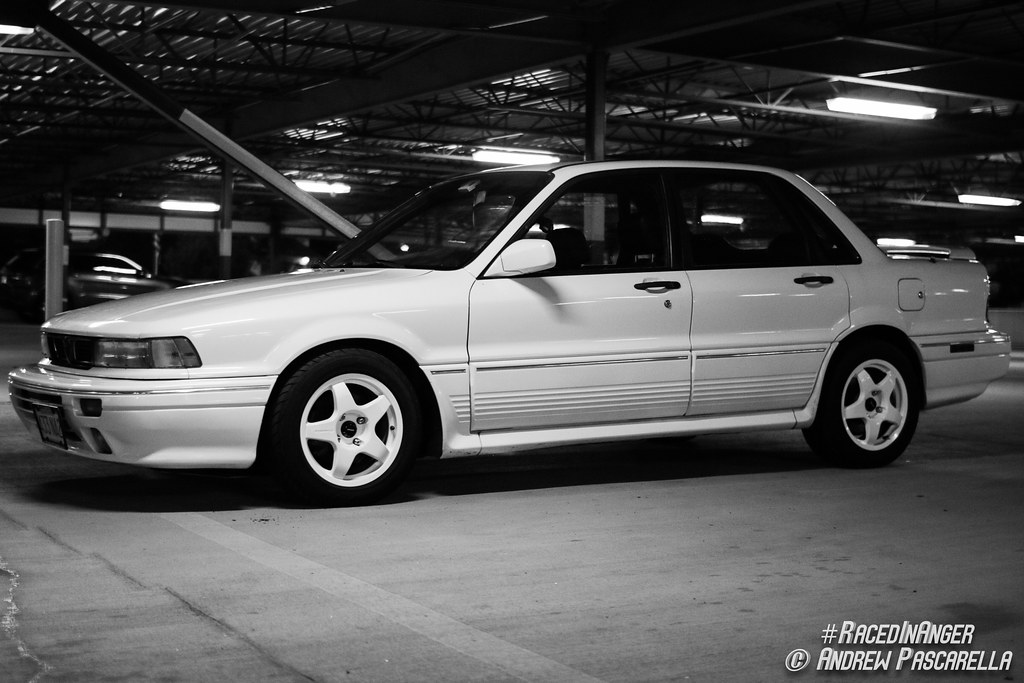
I also added some JDM style side decals, every car should be proud of it’s options.
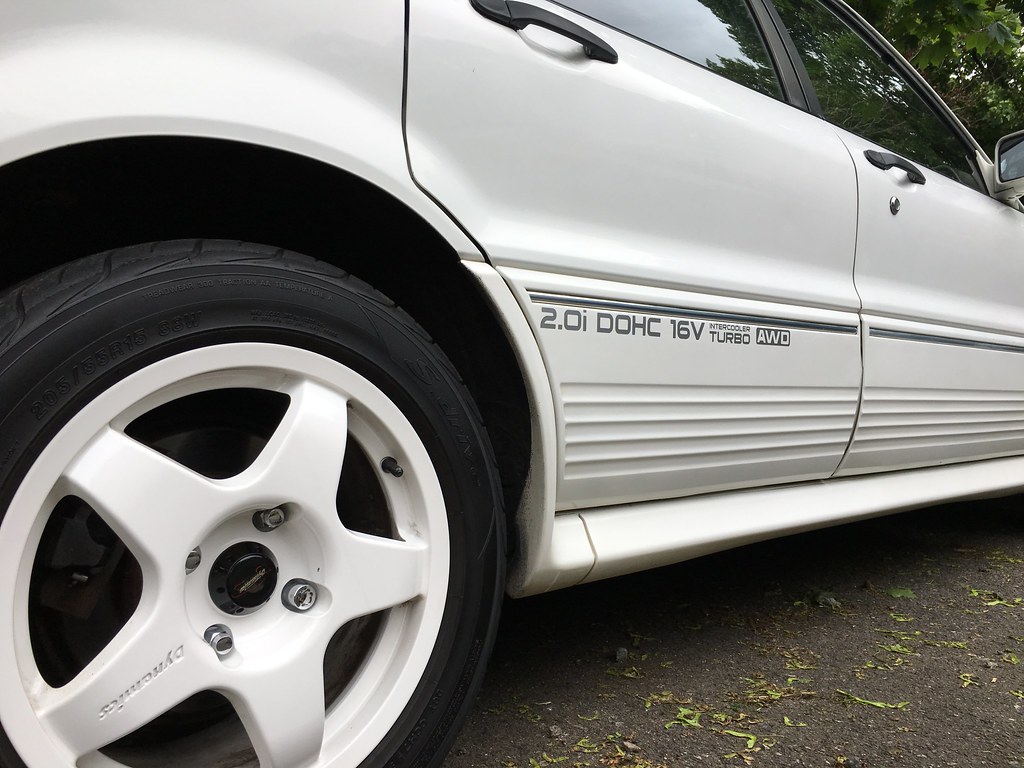 Untitled by Andrew Pascarella, on Flickr