If I could’ve managed mounts for $50… I likely would’ve gone that route. but up here in the Great White North, we get hosed on almost everything, so…
Next task? CB mounting. I know it’s crappy comms, but combined with my ham and GMRS’s, I should be well covered. I unbolted the ashtray the other day, and it looks to be a perfect spot. The irony that my voice will sound like a veteran smoker over the CB isn’t lost on me!
CBs aren’t as clear but they operate on a much longer wavelength than GMRS and most handheld ham units so they have the potential to reach a lot farther.
This is true, but a $35 Baofeng pushing 5W on the FRS frequencies is pretty bomb.
See also, I’ve been sitting under a shade 60 miles away and picked up Chazz coming down the mountain from Prescott on his 10W mobile unit. I couldn’t get back to him from there, but a bit better than CB.
Still, ain’t nothing wrong with running whatcha brung!
The trick with HAM is repeaters, a literal force multiplier that can let you talk globally from a handheld…if you’re nerdy enough and have lots of free tinker time. That said, I use my HAM like a CB, and also have CB/FRS/GMRS since they’re way more common. Doesn’t matter how good it works if no one else has it.
There may or may not be half a dozen unlicensed operators running around with all the AZ repeaters, FRS, and DPS frequencies programmed into their Baofeng UV5Rs who know to only use them if they’re licensed or somebody needs a helicopter.
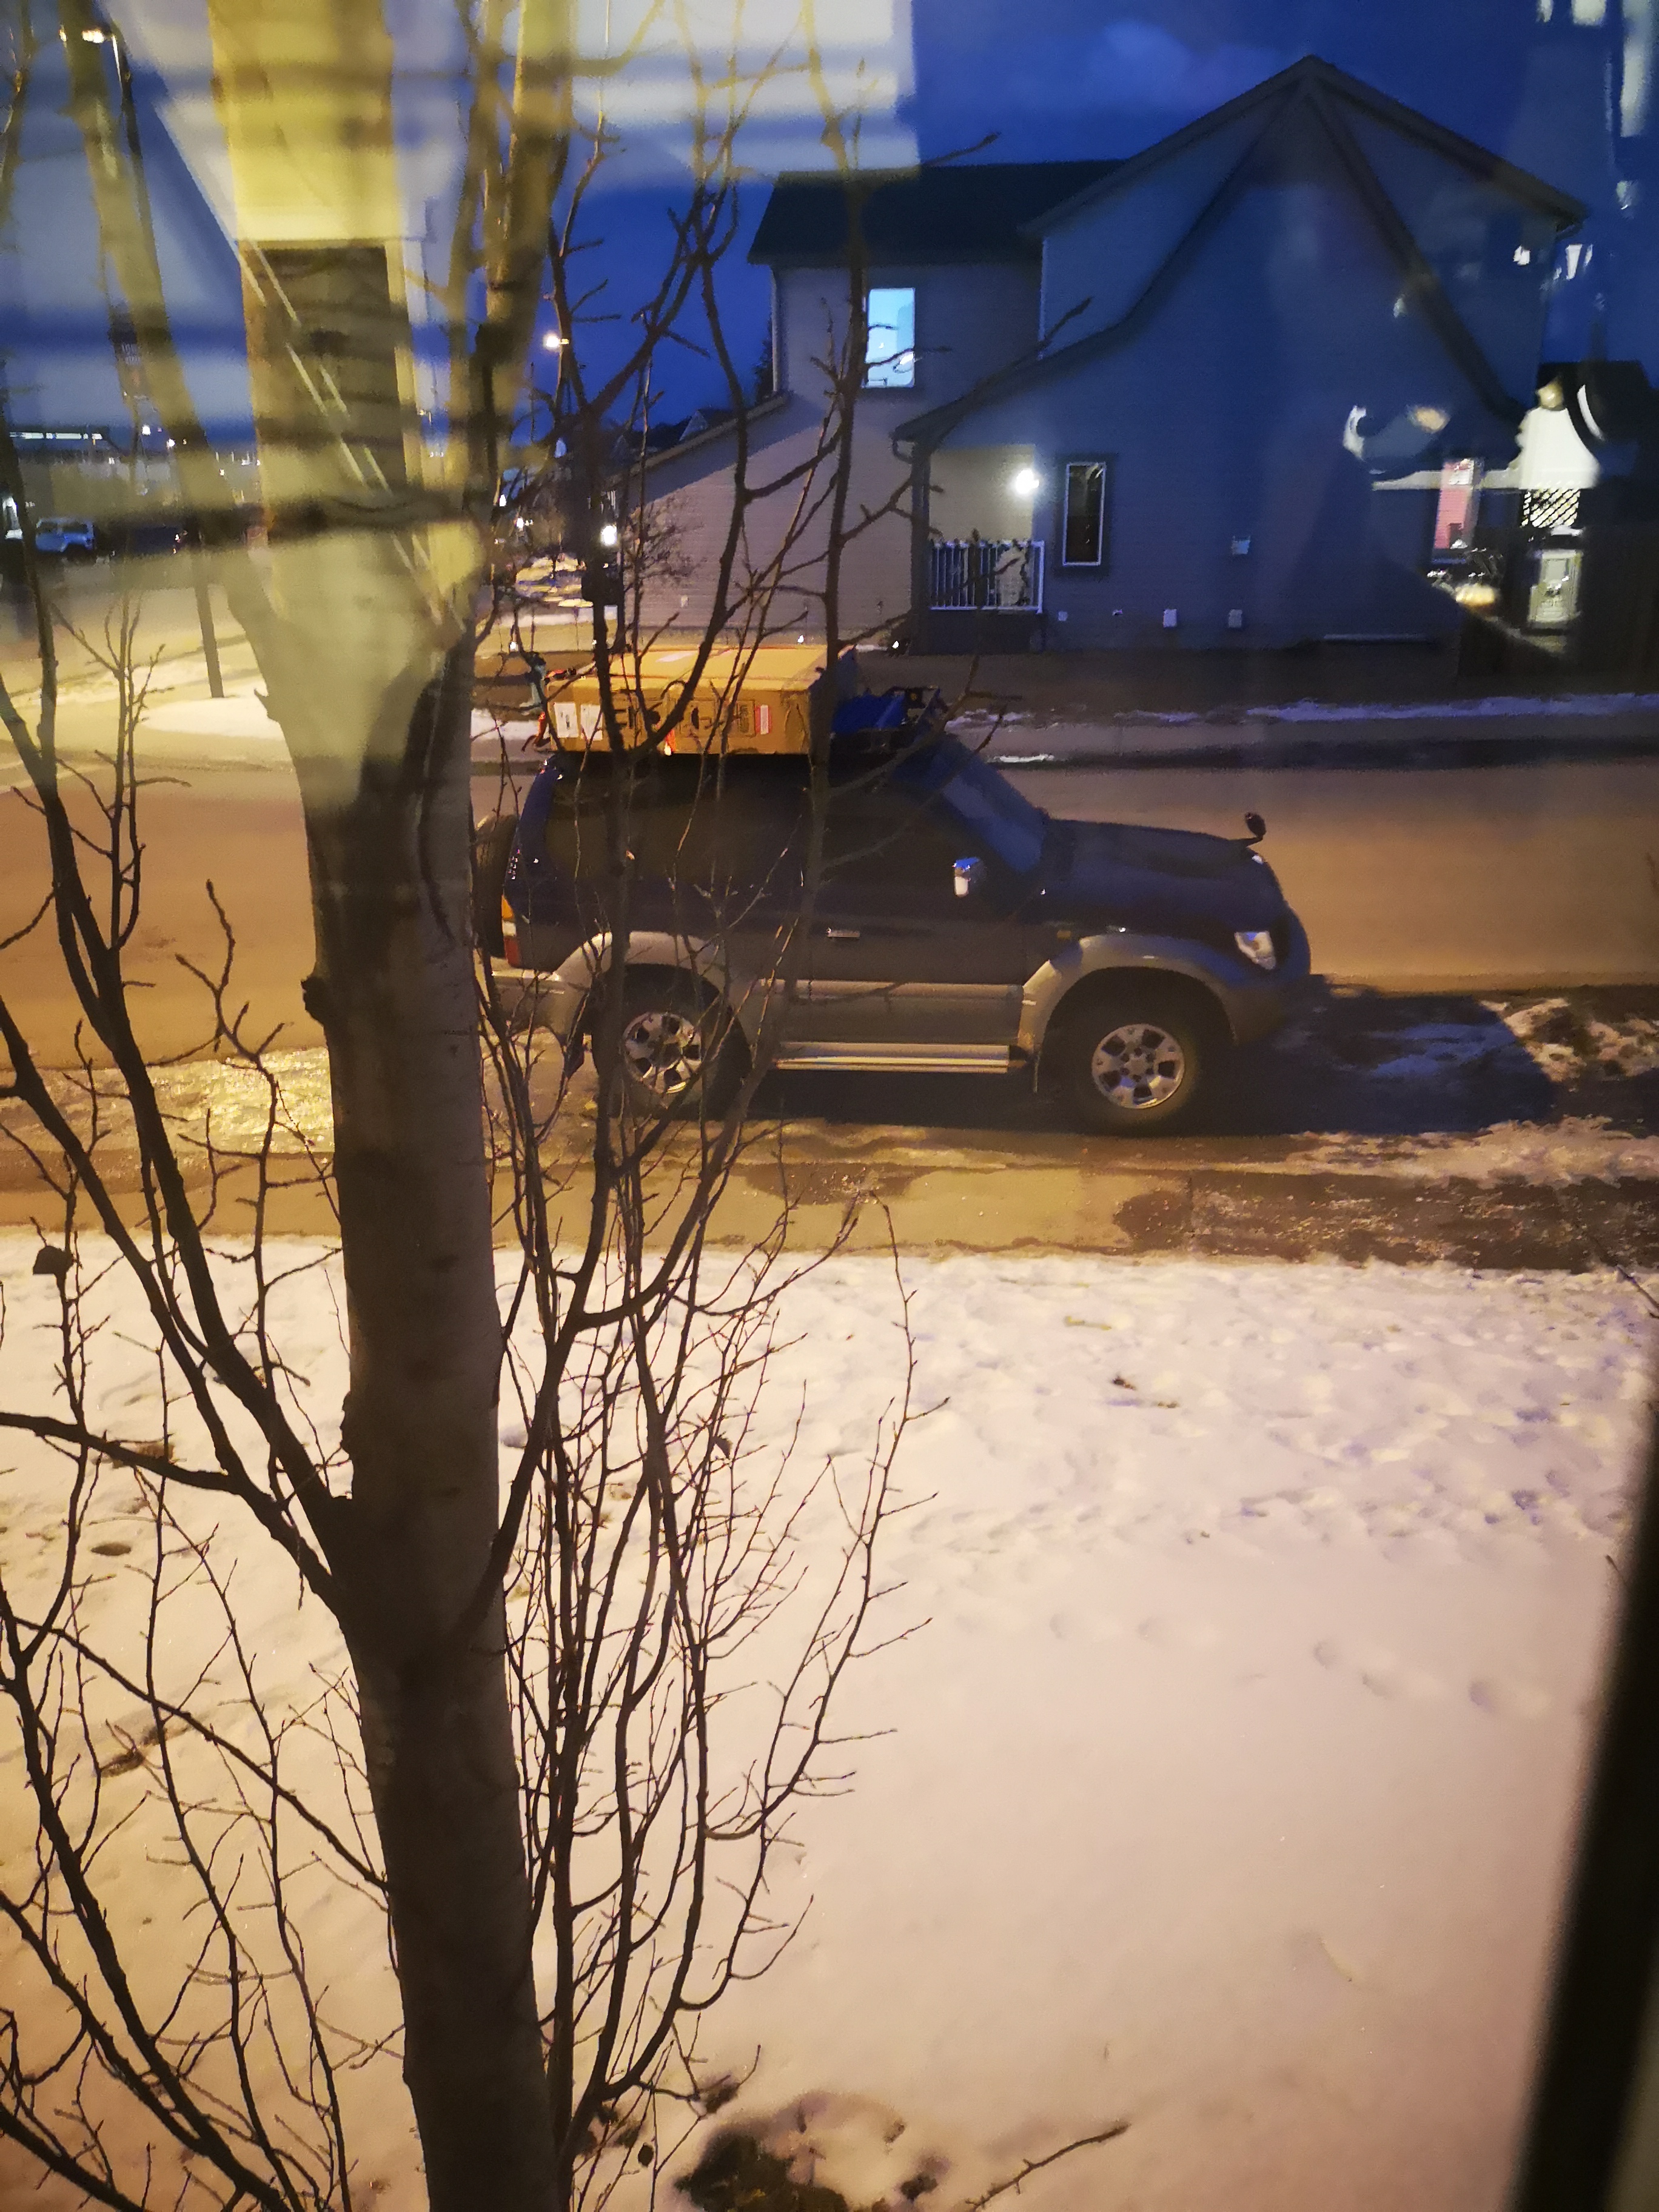
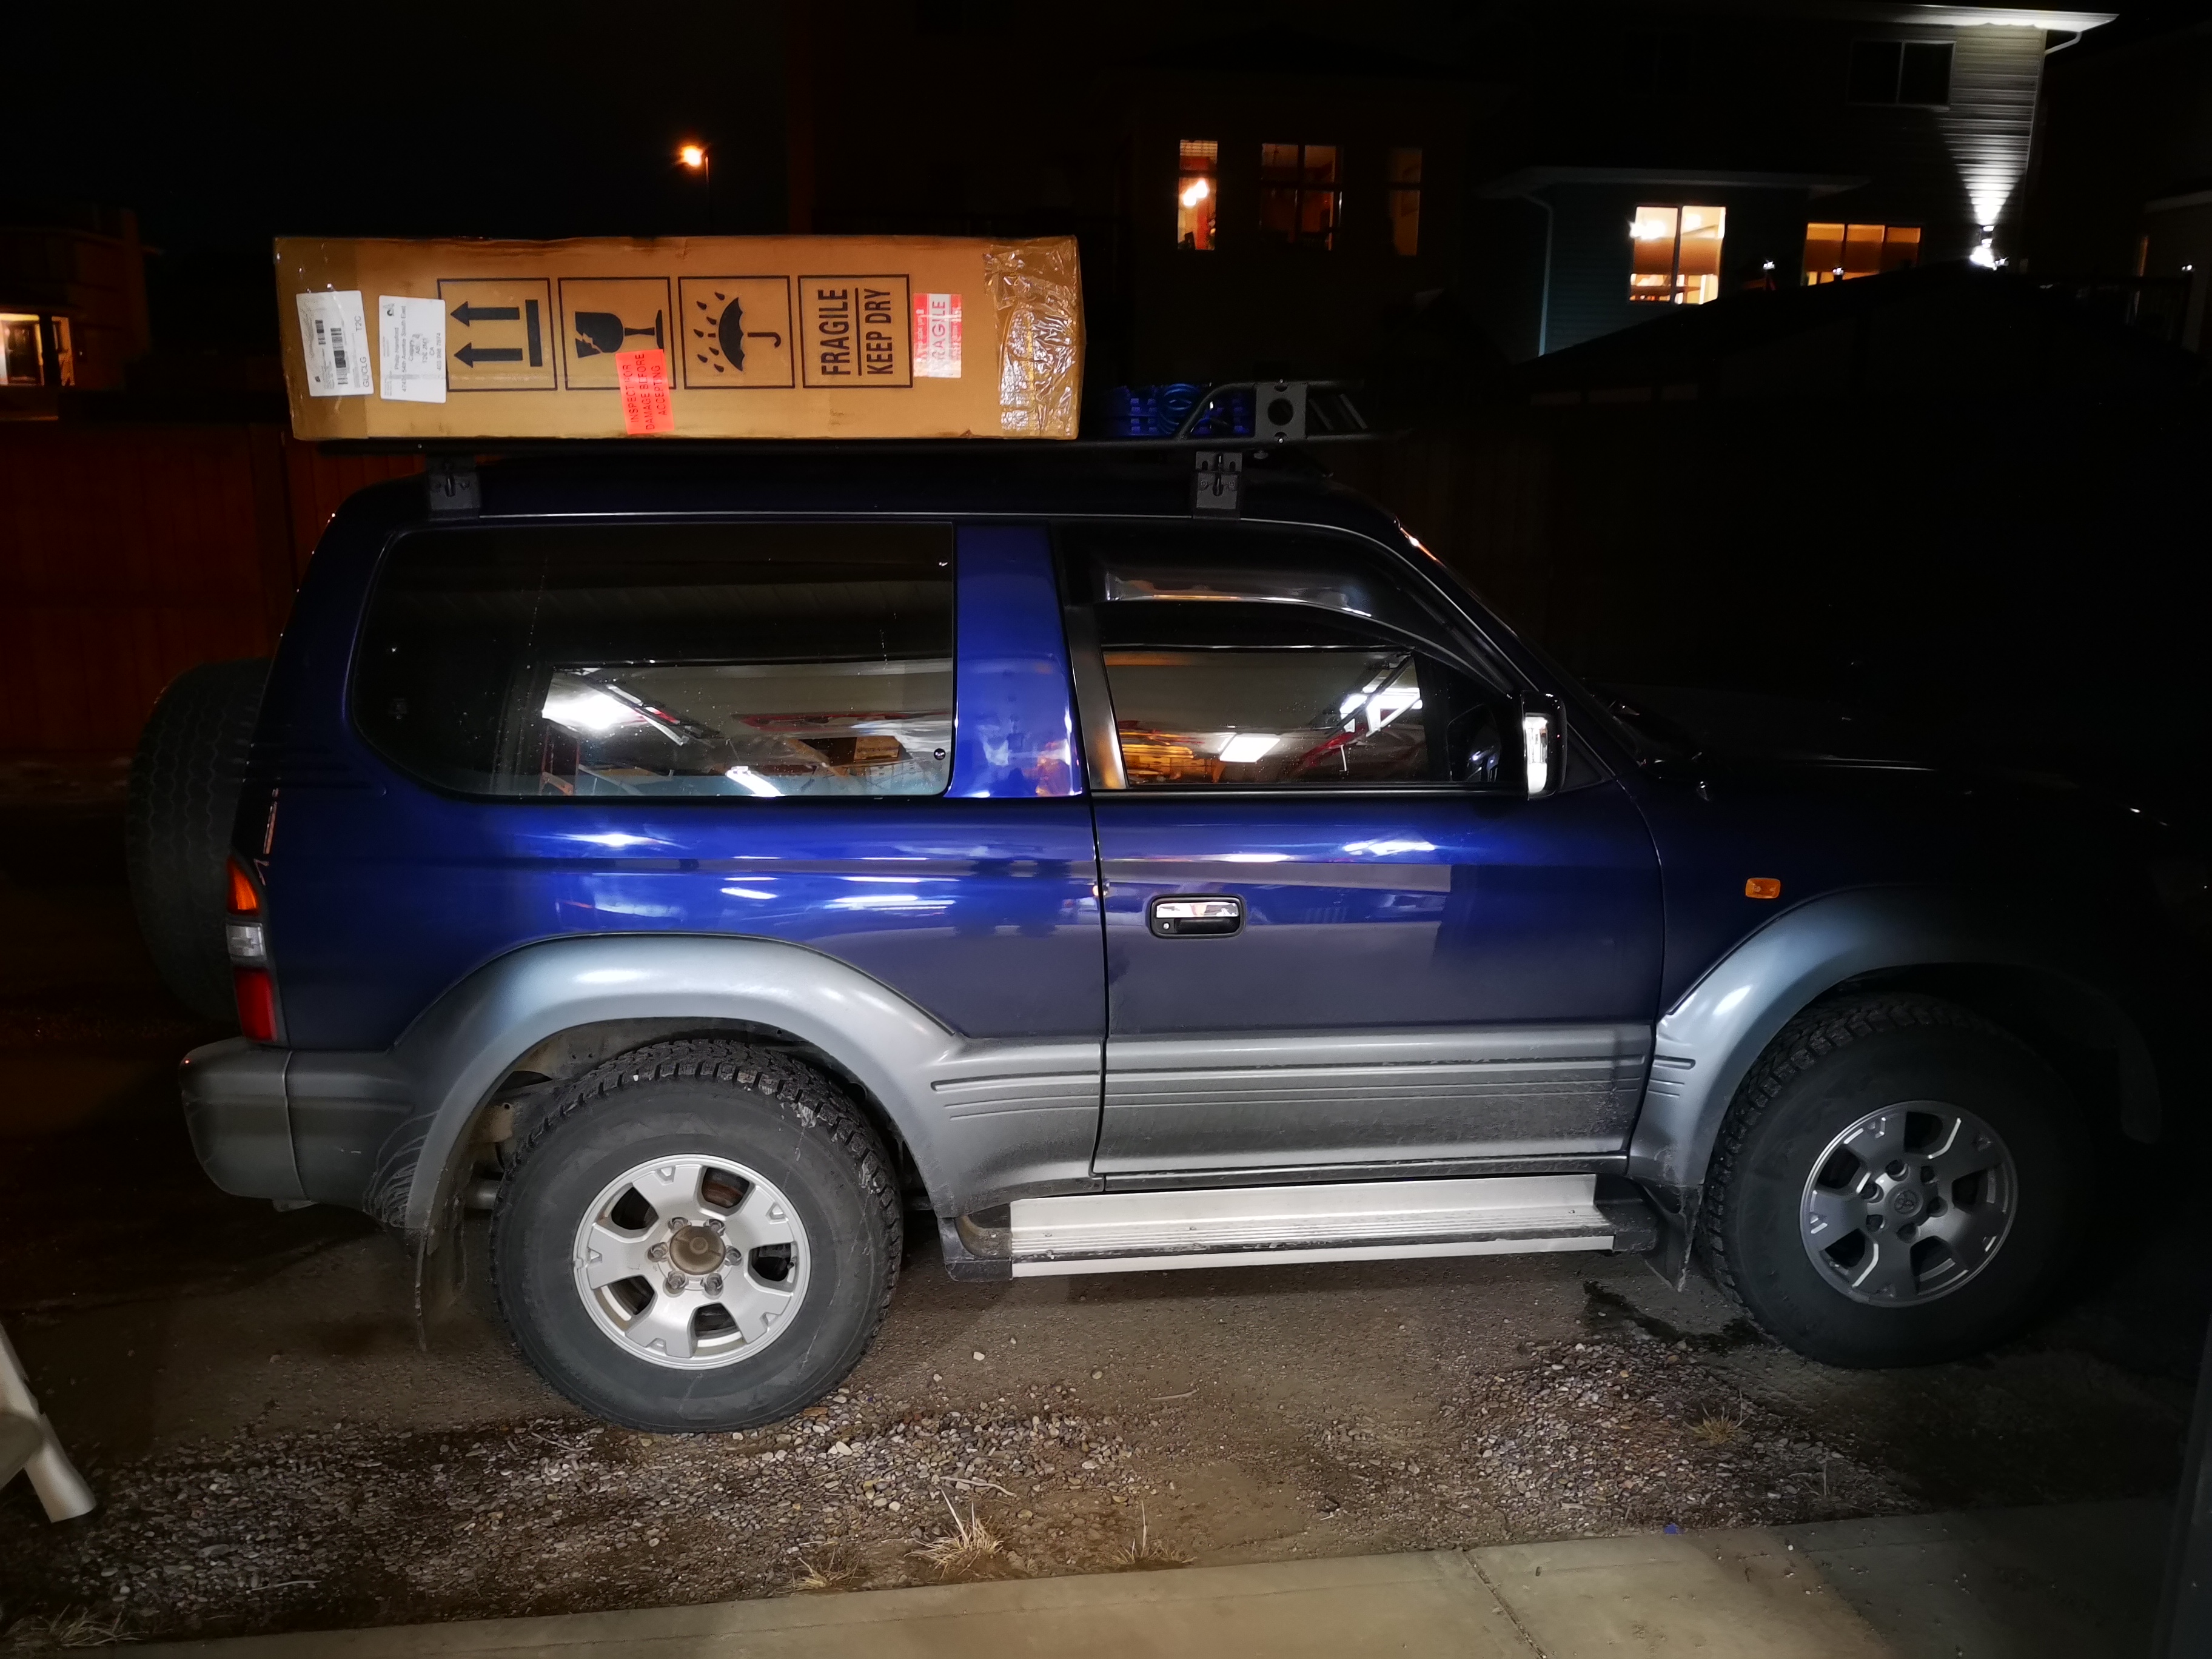
Just brought home the RTT. On the R. But with ratchet straps. On many highways. At 110kmh. Through construction zones. A major accident. Giant traffic jams. And other stuff. But it’s home. Won’t be living permanently on top of course, but will be important on adventures. Thus it belongs with the build thread.
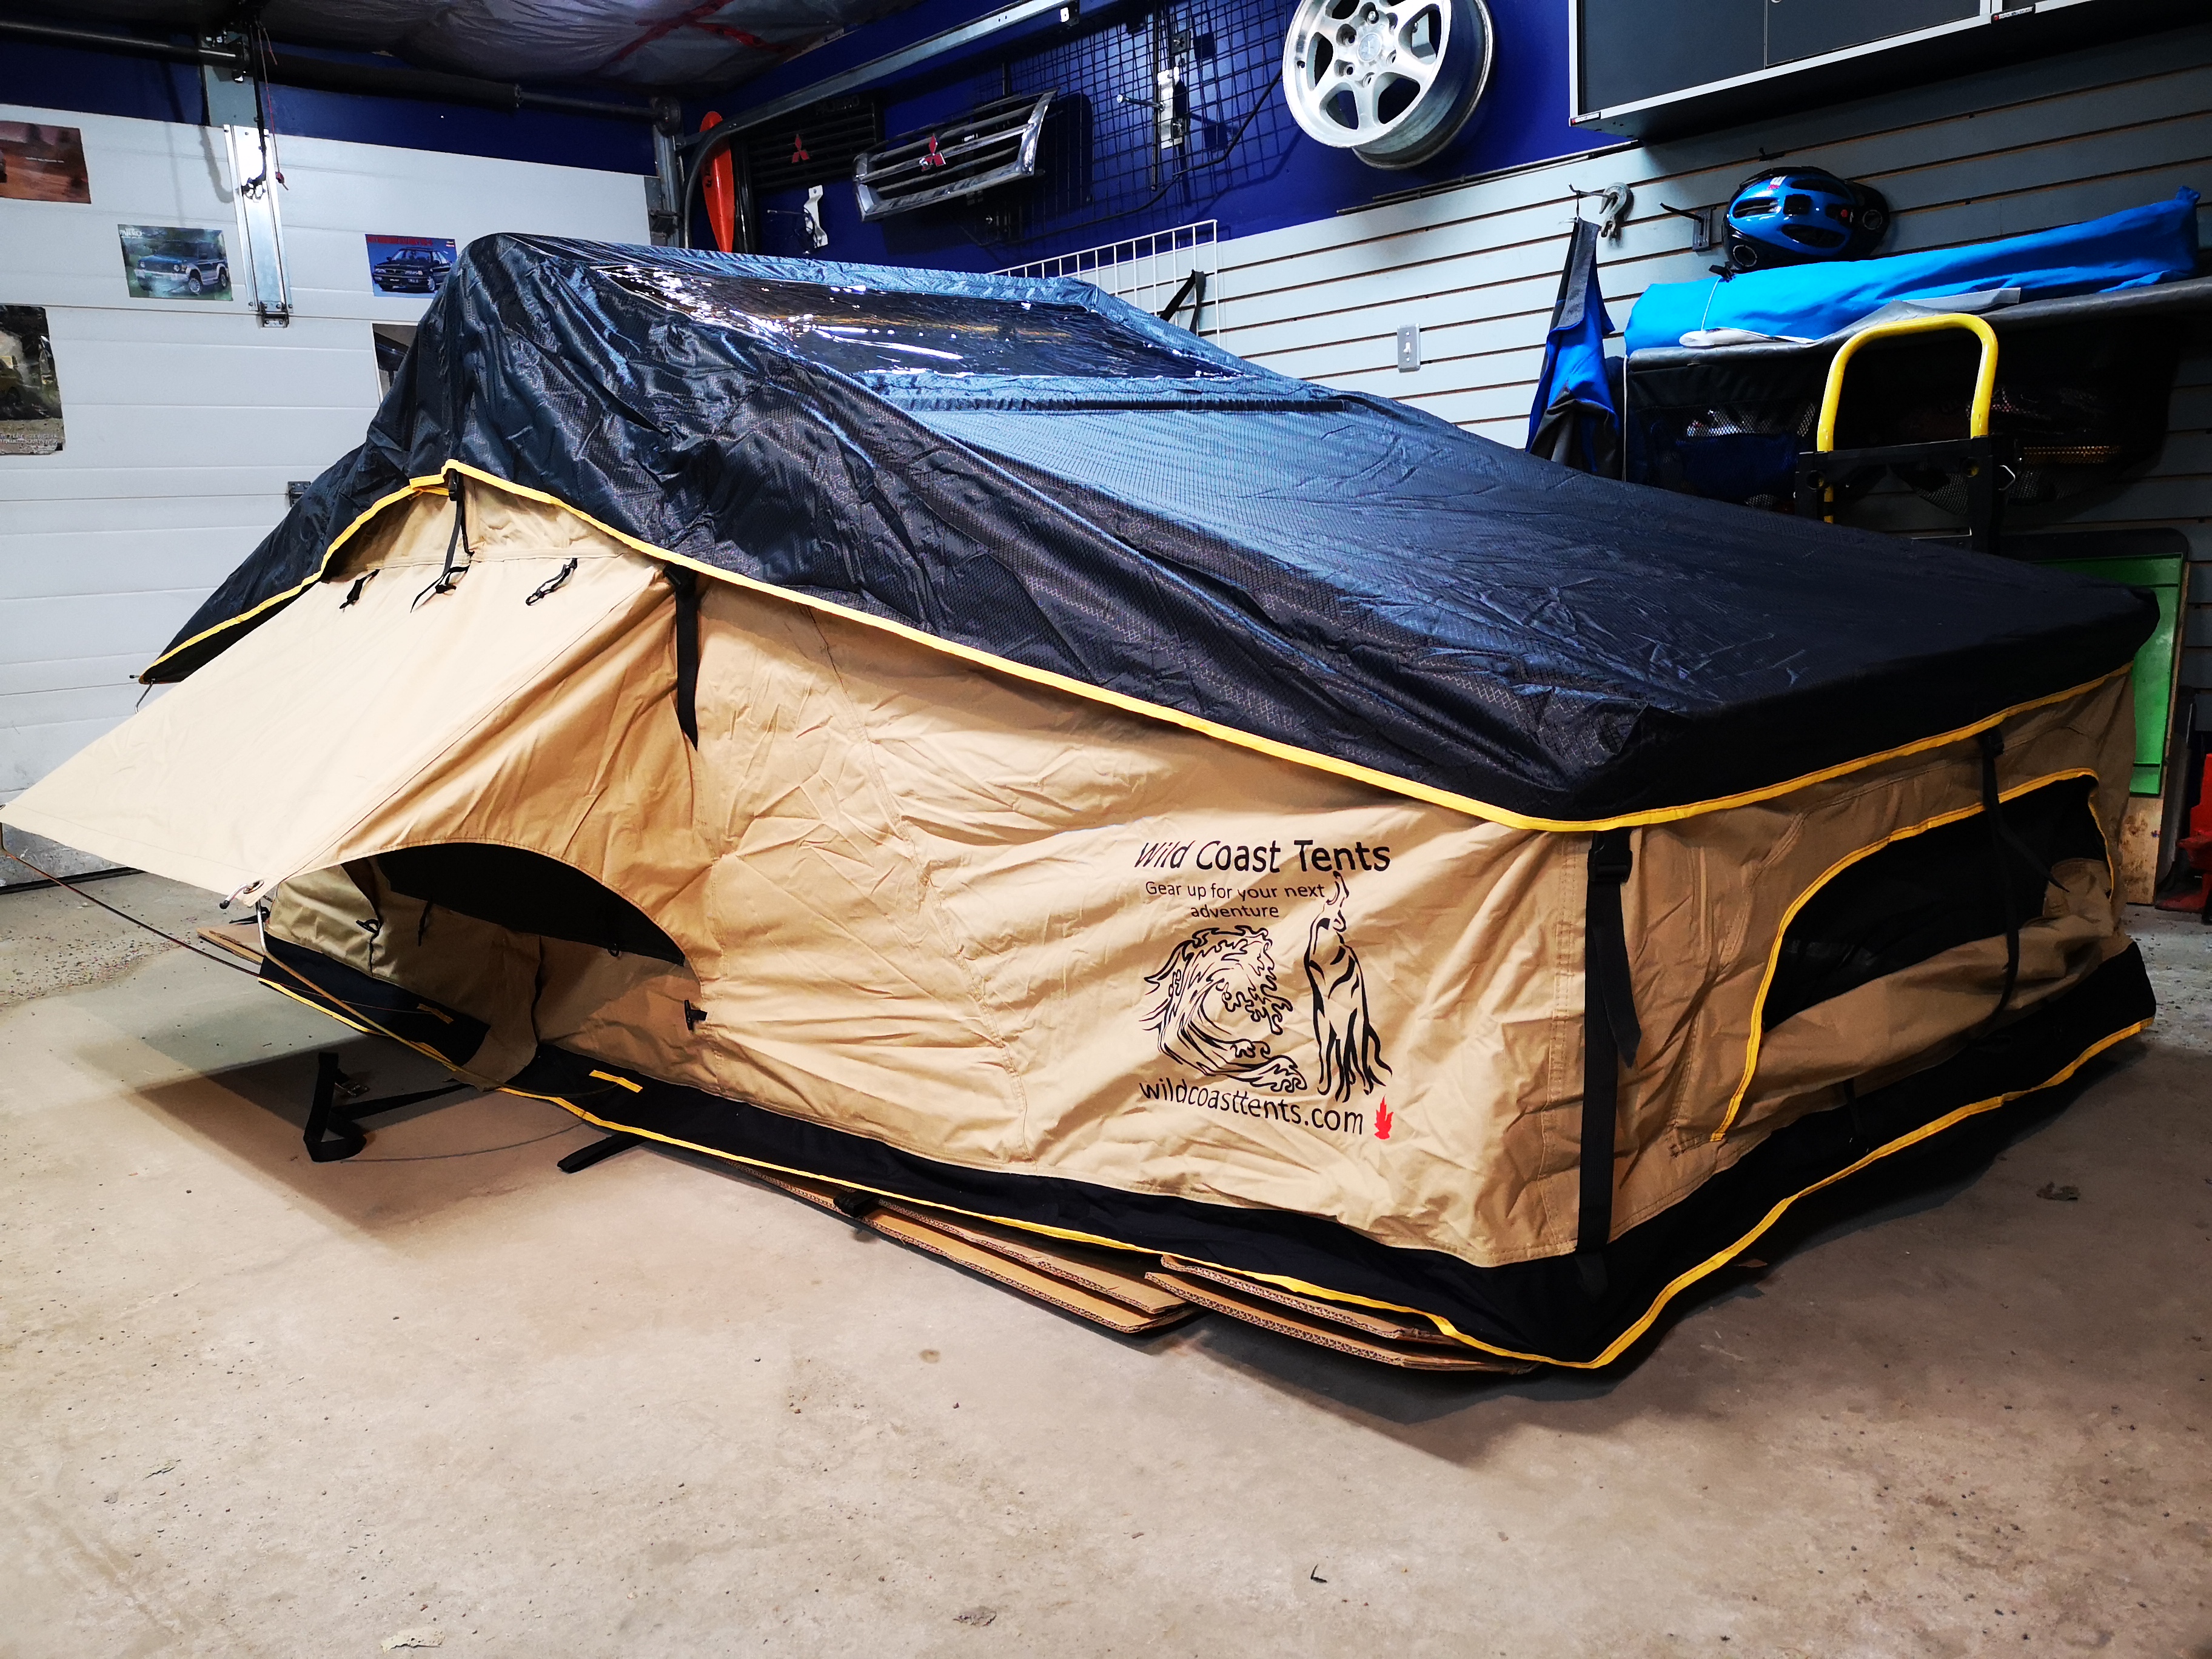
Super happy with it. Very high quality and being from a small Canadian company makes it even more special. The owner was telling me some trails to cjeck out while in Moab. Talk about personalized service! Lol
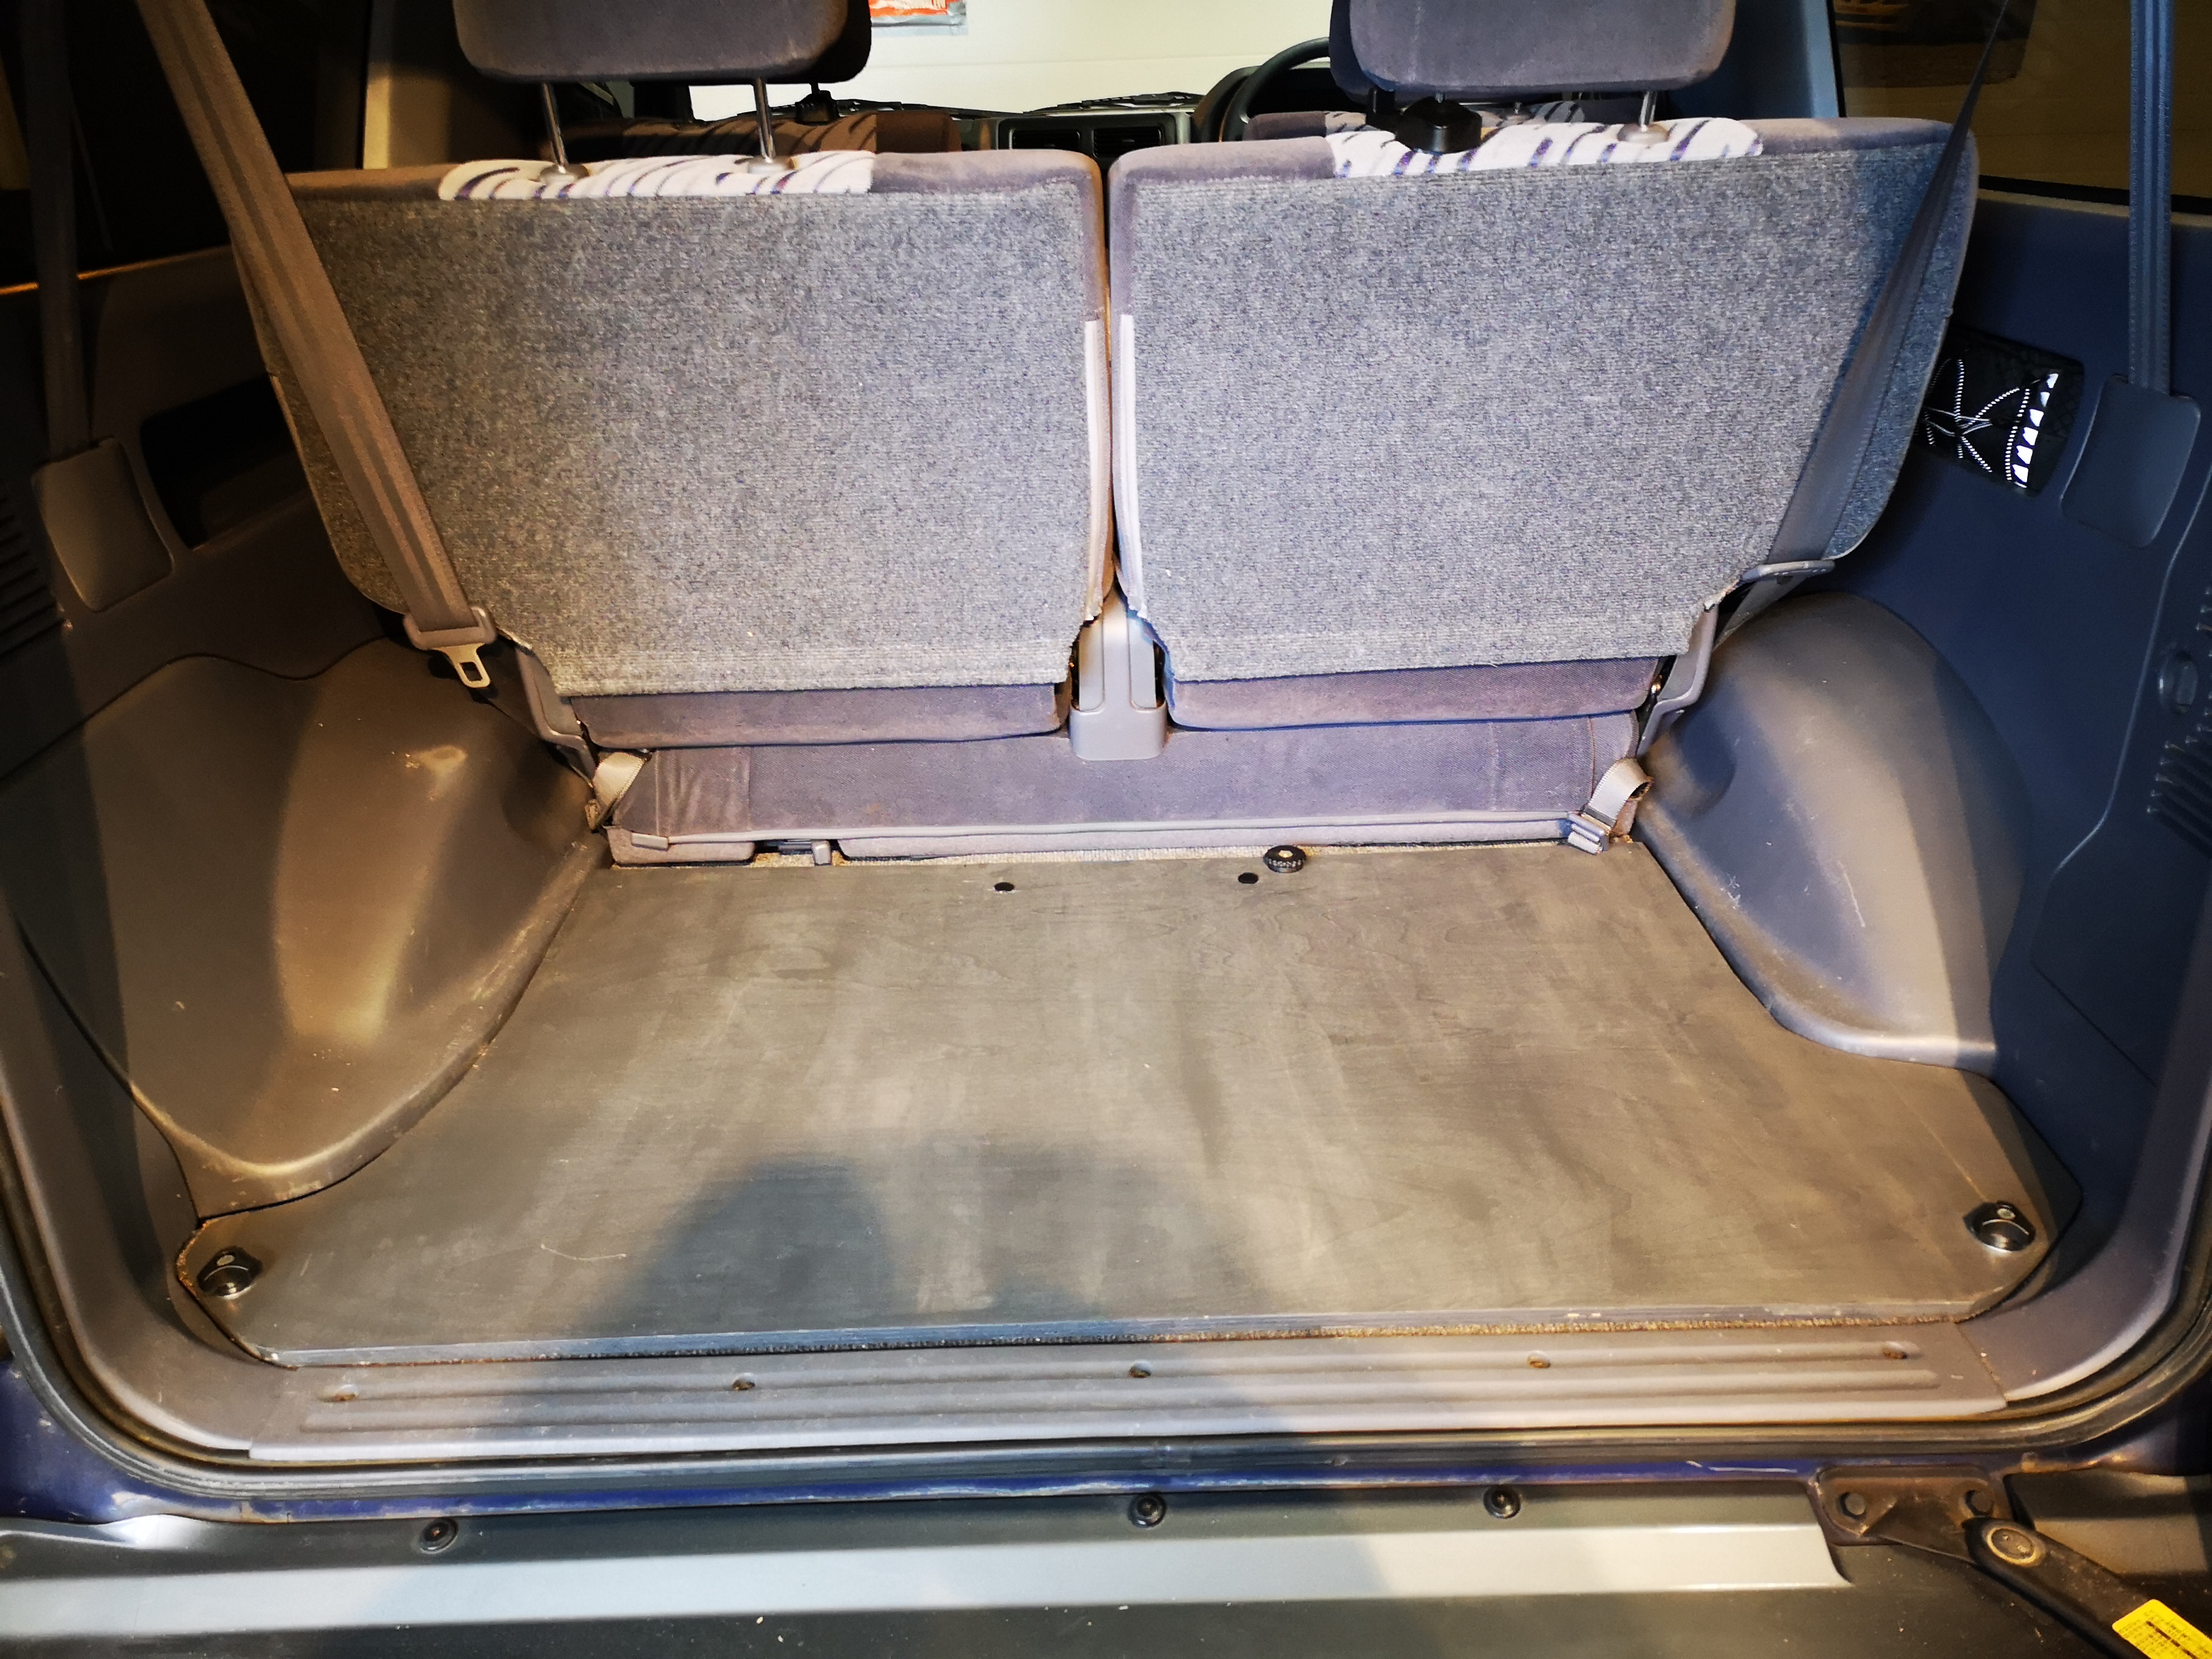
Meanwhile… I’m back… To the back. I’ve spent way too much time trying to make the cargo area work on my shorties, but this time around I think I’ve got it figured out.
Let’s start with a blank slate. Overland camping is the goal, with storage, room for a fridge, etc, while keeping the rear seat in place. Tall order in a truck this small.
Nice that you were able to get something domestic. Is it really made in Canada or more a white label affair?
Looking forward to seeing what you come up with for the back. I’ve always like what Goose Gear does. It’s like they make their own floor panel so they can install any special mounts/brackets/etc they need to that, for a slide-out package.
It’s made overseas but the owner takes an active role in QC, and changes as needed to keep it top notch.
Goose gear is beauty, but I’ve always subscribed to spending a little more upfront on the vehicle, and then recover costs in the “after-spend”.
So my fridge for the last ten years has been a Whynter/Edgestar budget version. My platform rack is smittybilt. My ARB bumper is used and beat.
These choices allow me to spend where imho, it really counts: the vehicular foundation. Thus my rig is low kms, one-owner since new, and was religiously maintained.
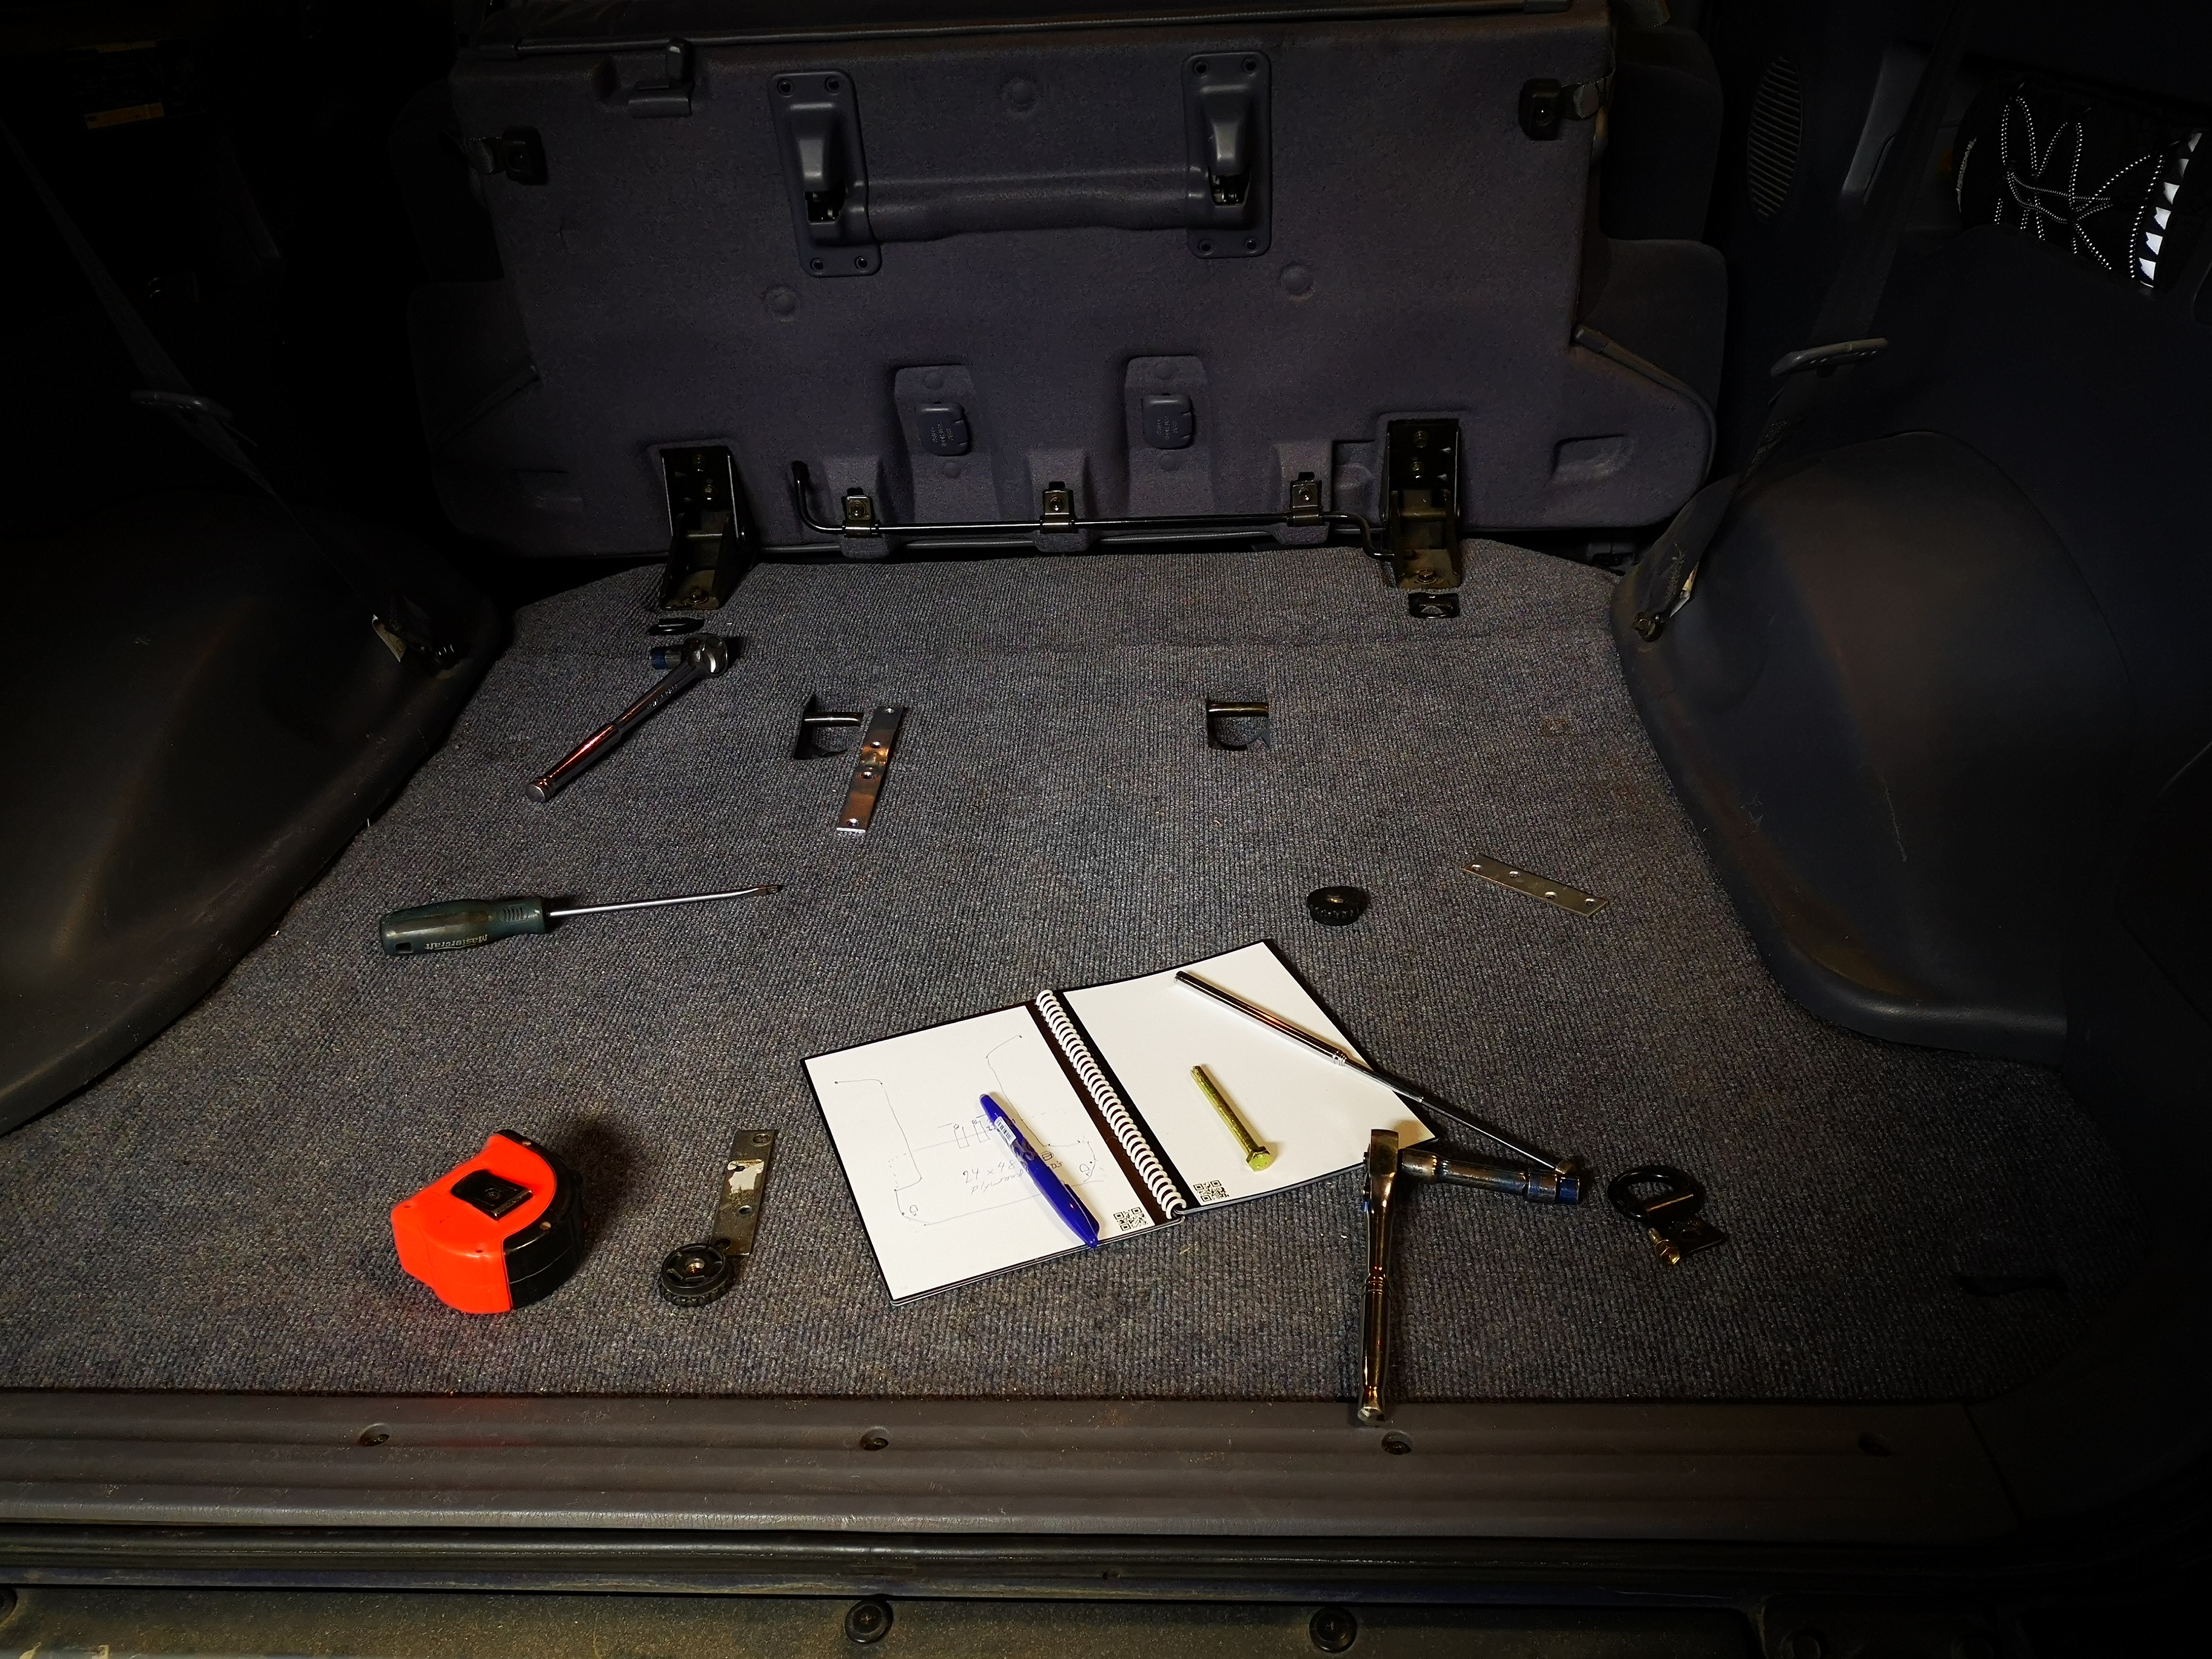
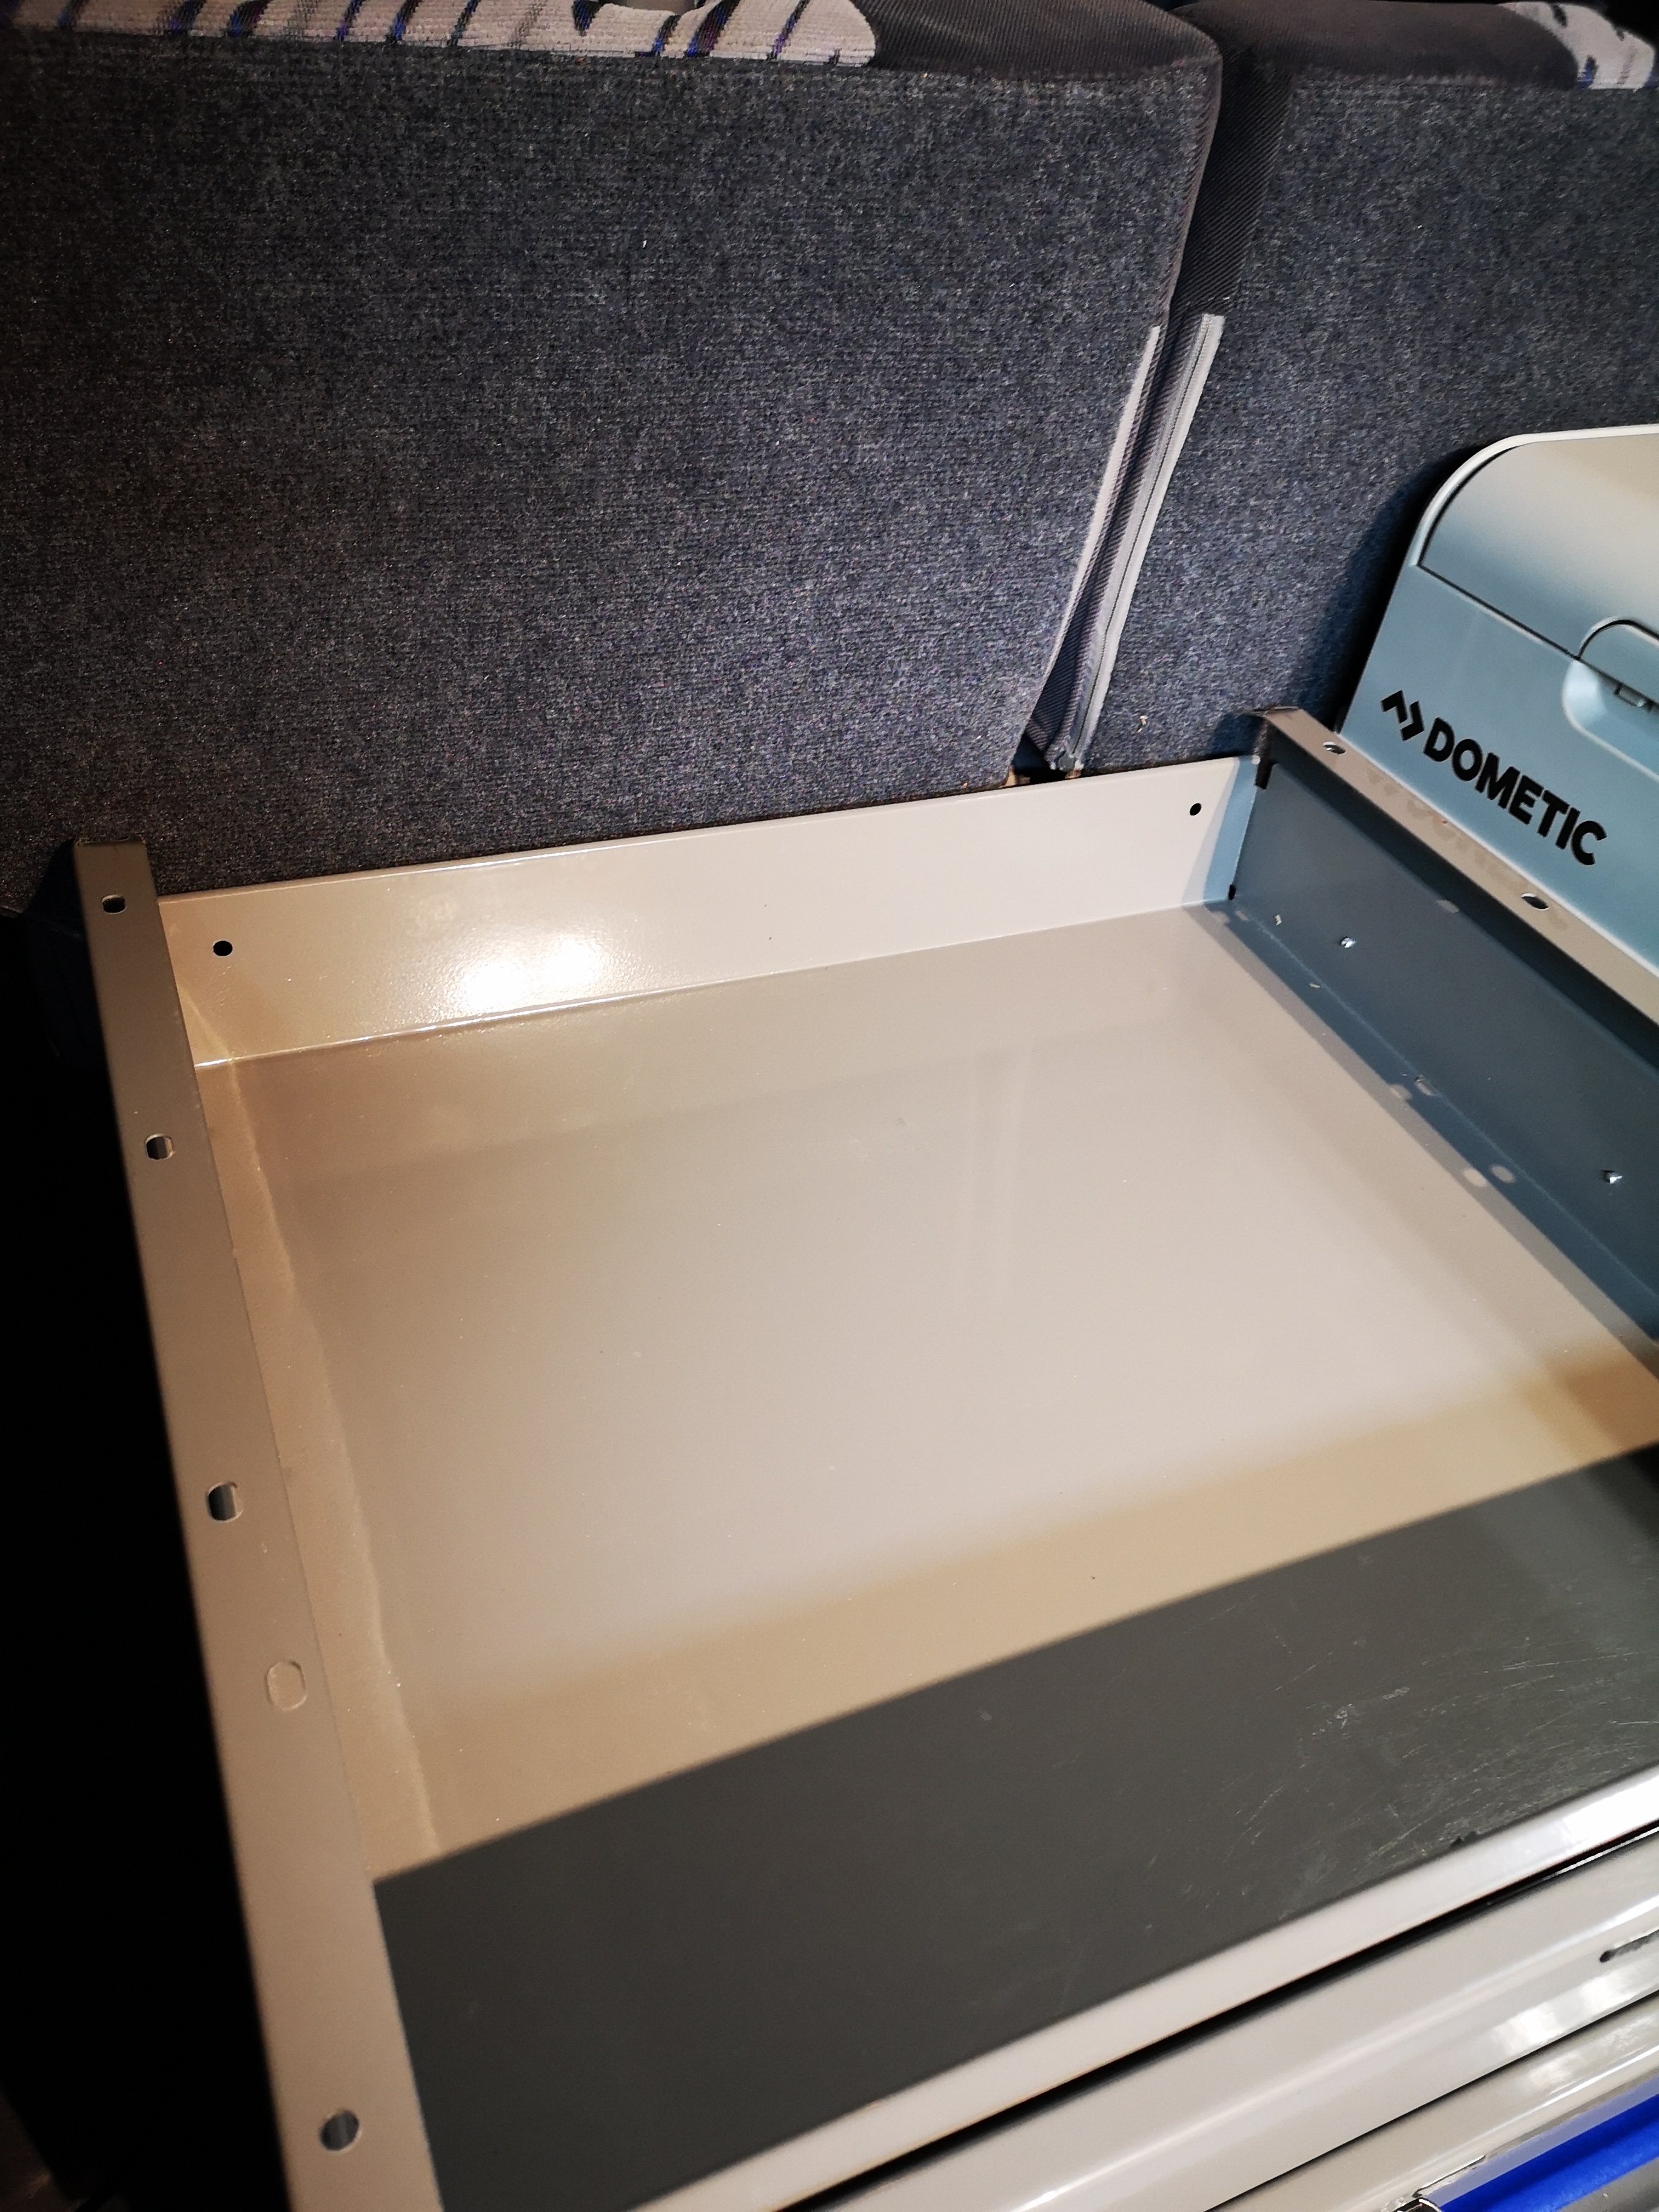
So moving forward… I’ve got steel drawers that I bought from an industrial office supply company. My base will be plywood, custom made in the garage… Let’s see how this goes?
The base is done. Three plastic knobs lock it down. The rearmost two simply replaced the tie downs. The front was trickier. I used some metal plates to connect to the rear seat mounting bolts. These extend under the carpet to a piece of 1/2 birch plywood (to help level the whole base). Coming up through the carpet is a bolt which ties down the back of the plate.
Rear seats are left in place, and are fully functional and intact. When the base plate is pulled, the only sign of mounting is the short single bolt coming up through the carpet. I’ll put a cap on it if necessary.
Next step is to cut down one of my steel drawers so a double stack will fit in the back with the rear seats fully usable. It’s close already, but the rake on the seat back is too close, hence only the upper drawer needs shortening.
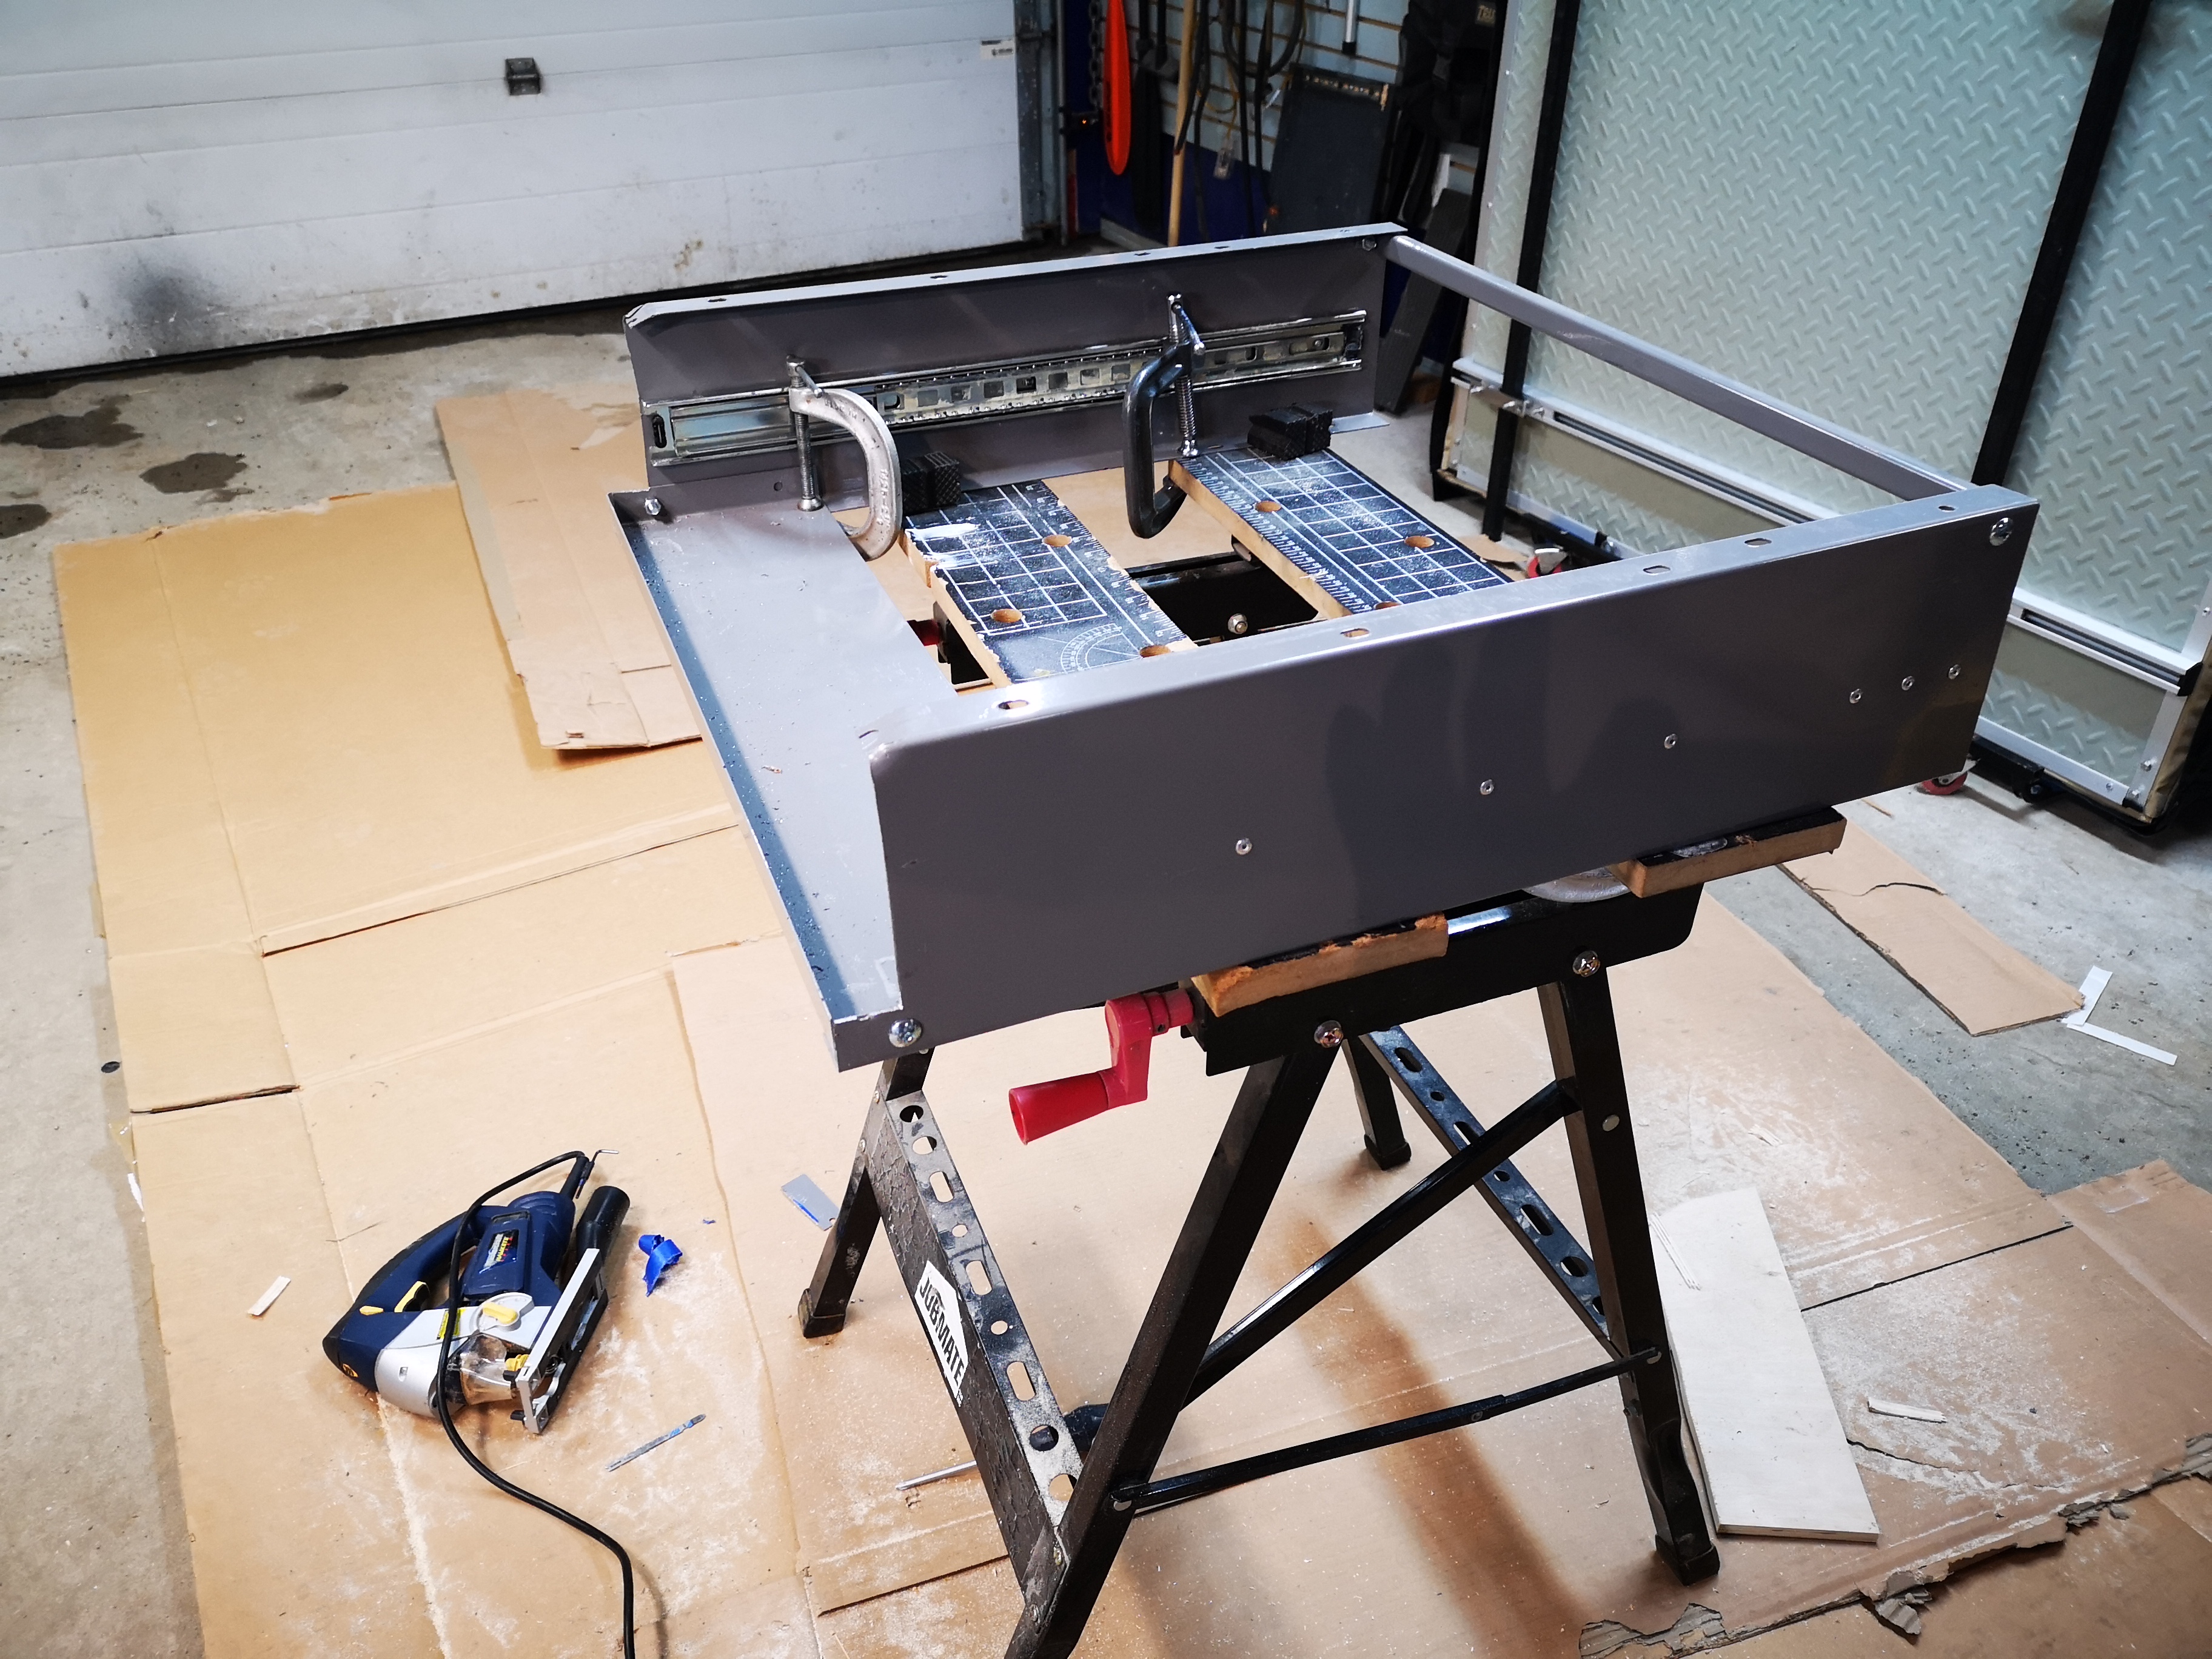
I removed the back plate, inverted it, and it still worked to provide structure. Then careful application of my jigsaw cut through the metal and made the upper part shorter. A quick test fit appears to show success!
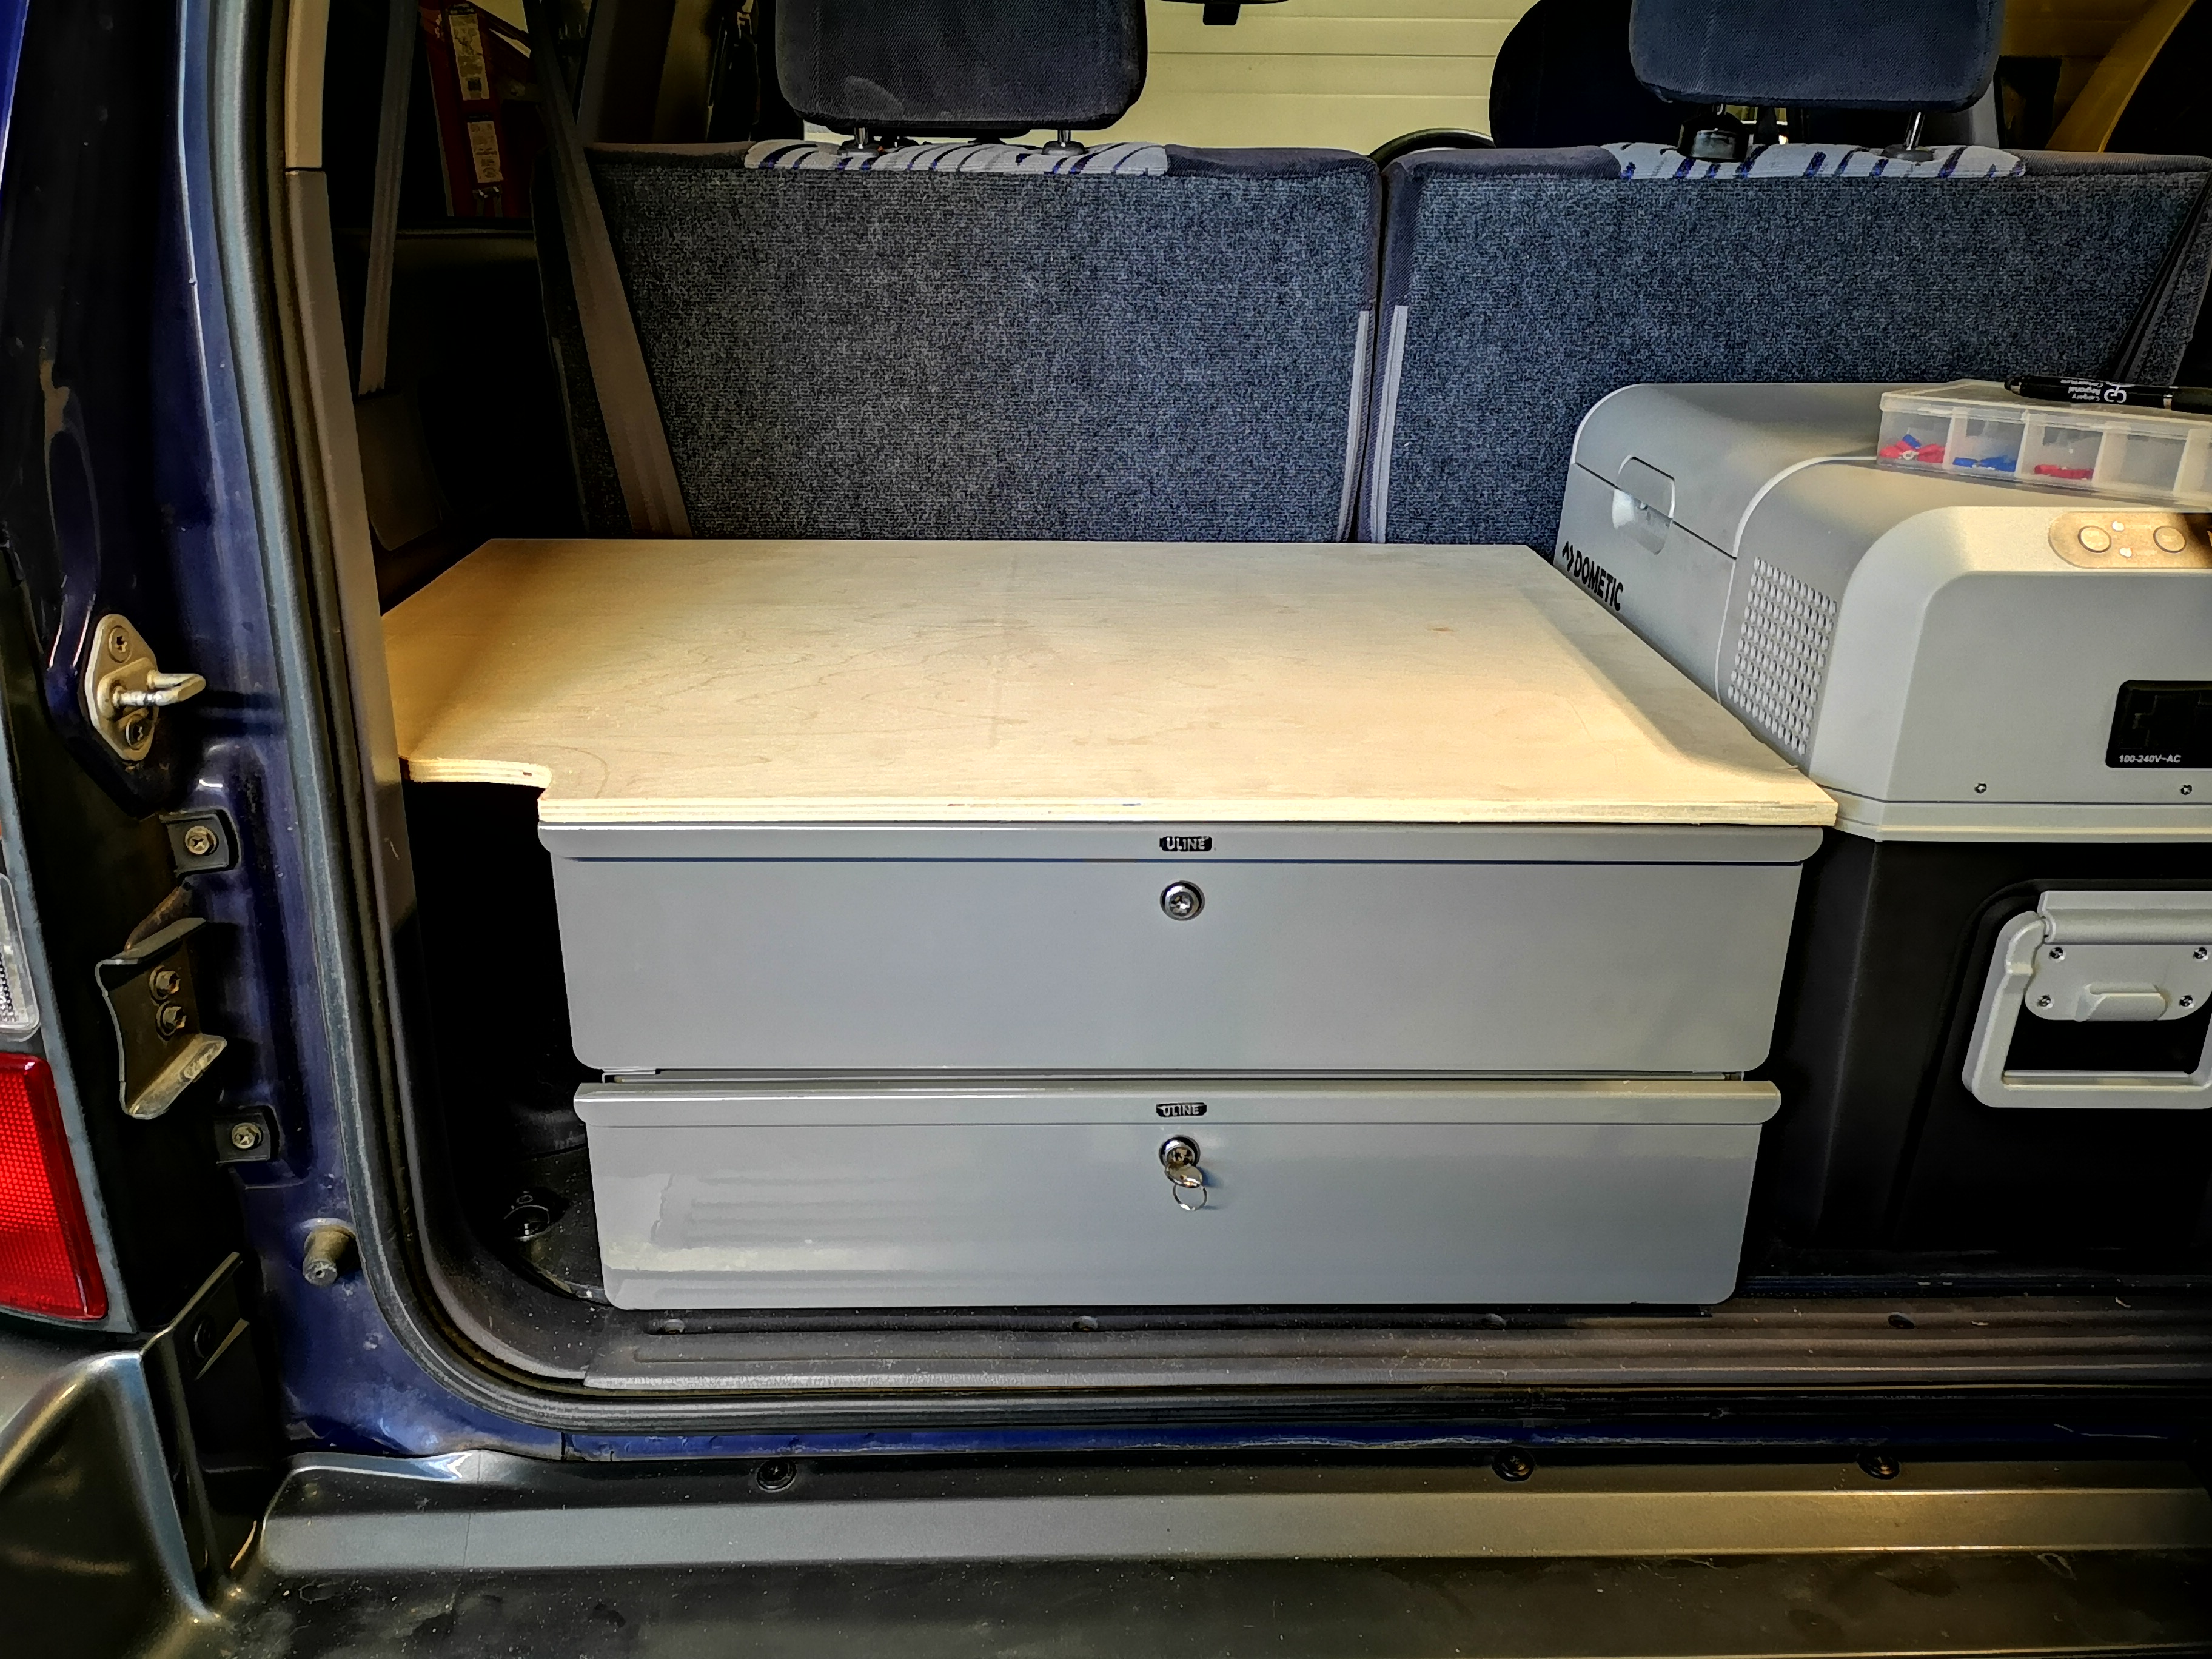
Next up: wood top. More cardboard templating needed.
I wonder, how sturdy are the drawers when extended? Could you install tabs inside allowing you to park, say, a custom fit cutting board or light duty countertop into one/both of them when open?
Then again, I’m seeing the fridge and thinking kitchen setup when you might have other plans. What are your plans, sir? (Or did I miss that somewhere.)
These drawers are all steel, with full extension slides, so very stout. I had them in the SWB gen3, but had to remove the back seats to fit them.
The plan is the upper one will hold the stove in the front half, which will (with the right sized stove) fit perfectly in the drawer, allowing for deployable kitchen. Bottom will be work surface, and can pull out all the way to be usable when stove is in action.
That’s awesome. Bonus points if you can hinge the top for stove access with the back door closed. Could come in real handy if you got stuck somewhere in a blizzard. “Oh, it’s okay, honey. I’m making a hot toddy while I wait for the tractor to come and un-stuck me.”
Lol. I’m thinking that lighting a propane stove in a shortwheelbase with the doors closed is orders of magnitude more dangerous than a blizzard.
I am thinking about hinging the top, but I do tend to complicate things sometimes, and I’m trying to keep this one light and simple. The drawers have no tops or bottoms, which keeps them strong but light.
But it does necessitate making a top. So hinging it only makes it heavier by virtue of a lightweight piano hinge. Insignificant. Just wondering what I gain? How about having the top lift off instead? I shall have to ponder if I’d ever use that feature?
 but up here in the Great White North, we get hosed on almost everything, so…
 is pretty bomb.