Landcruiser 70 series Rust-o-Mod: "OLBETSY ZX"

That’s HUGE dude! I bet you’re just itching to take it for a drive again, too. Too much body work has gone into it to risk the finish with road grime, though.

How long before you think you’ll be done and driving again? Seems like the todo list is getting manageable, eh?

1 Like

Yeah it’s definitely getting closer. I have a bunch of updates from yesterday to add too.

In a week or two the roads could be completely dry here, or we could have a foot of snow. Who really knows. So tempting to go for a rip, but it needs to be sealed first. My wife has agreed to come out today and help me spread some filler. That in itself is a big deal, since garage work is not her thing, but she’s a professional chef and has done lots of pastry work over the years so her skills with a spatula (putty knife?) are significant… So hopefully today will yield some more progress.

But I’m getting ahead. Need to document yesterday first. :joy:

2 Likes

Big day yesterday, as I alluded…

First off, some more cleaning. I could see a pile of leaves, etc behind the windshield cowl, almost since i got the truck. They were compacted enough that my shop vac couldn’t extract them through the screen, so I had to pull the cowl. The wiper arms, and then six screws, and some maneuvering, and off it came. Here’s what awaited underneath:

Thankfully, being mostly dry or cold Alberta, this detritus was not holding moisture. So some more vacuuming, cleaning, scrubbing and scraping yielded this!

Much better! And since I had the cowl off, better address that blister under the windshield gasket. POR15 to the rescue! I’ll likely go after it more completely when I get my windshield replaced, but at least for now its AR-RUSTED. :slight_smile:


Okay, last vestiges of rust are now in front of me. The rockers. They ain’t horrible, and the main runs are solid, with just a surface patina, not holed. But the corners? Through the outer skin, both sides. Out comes the cutting wheel!

Did this on both sides, and then after some work with the flap disc, I slathered on my favorite miracle cure!

Much better! I will make some new rocker corners to put overtop, but for now I wanted to stop the oxidation in its tracks. While i was down there, I coated the entire underside of each rocker, end to end, which officially finishes my battle with the tin worm. Now its just a matter of making it pretty, with top coatings, etc.

As I’ve said before, the goal here is to make this thing last into the distant future. I believe I am heading in that direction now.

3 Likes

Got out the filler this afternoon. Then the spot putty. Suddenly… I’m priming. And painting! In between coats now on last layer of clear!

Closer to perfect than purfunctory, if enthusiasm counts? :joy: More later. But here’s a sneak peek:

4 Likes

Man, that’s looking awesome, Phil. Gonna be ready just in time for summer.

FYI: I’ve got Moab penciled in for March 2022. Assuming the borders open sooner and you’re headed this way with Wade at @8jvega before then, please loop me in as soon as plans start coming back into the conversations up there. :wink:

1 Like

A skim of filler on both sides…

Then sand. Repeat.

Then spot putty…

Sand. Repeat.

At this point I’m back to primer again. Lol.

Only much smoother. Not perfect. But definitely pretty good. I was about to call it a night, but then I just wanted it done. So… Two coats of base (10 mins in between). Two coats of clear with a paper towel hanging untapped at the edge to allow some blending…

And these corners are DONE.

Right side:

And just a reminder about how the left side started life with me…

And now…

5 Likes

@Brian we usually go in May… But a lot has to happen in the next year eh? Sure hope it does. I’d LOVE to meet you down there. Its one of my favorite places in the world.

2 Likes

So much awesome. I wonder if this technique would work to take care of some rock rash (and resulting surface rust) on a door I really don’t want to reskin? I’m in a similar situation, doesn’t need to be perfect just good, and the vehicle needs repainting anyhow.

4 Likes

@PajEvo please keep me in the loop too!

2 Likes

I think you’d be more than happy with it @ChazzLayne

I’d love to see all you guys when they finally let my sorry ass cross the border again. It’ll happen…

4 Likes

Whoa. This thread got REAL exciting pretty quick!

I love it when plans come together. We’ll make something happen for sure.

Phil, truck is looking bomb. The before picture really puts it in perspective. I mean, wow.

1 Like

Thanks buddy! What really makes me happy is that it’s not just covered up with fibreglass and filler, and be likely revisited sometime within two years. As far as I can tell (and I’m by no means qualified to make this call) there is no avenue for moisture to exploit, to compromise the repair. And it’s almost entirely metal, which is how it started. So despite my negligible credentials, my school of hard knocks tells me this is solid. :joy:

It’s wierd to have so much time and effort into something that I’ve barely driven yet. Like… I test drove it. Then drove it home. Then I drove it down to AJ’s house and back. That’s it. That’s the extent of my driving experience with the 70 series. Maybe 60kms total?

I sure hope it lives up to my expectations. :see_no_evil: Which are pretty low but only in terms of handling, power, acceleration, and braking. So i guess that leaves it a lot of latitude to pleasantly surprise me? :rofl:

3 Likes

Lots done today. To the point where I can actually say the rear end of the truck is finished. Done. Finito.

I did a little more priming inside my new quarters, and then reinstated the interior, starting with the jack.


Then I needed to replace the inside fresh air grilles - factory new parts!


Clips went on easily when I used a 7mm deep socket to press them in place…

All back together!

More to come…

4 Likes

Okay… So I put the rear bumper on.

This meant I could fasten the endcaps, size up for flares and flaps, and generally get close to buttoning things up. It also illustrated how little of my new corners was actually visible.

But its done. Once I have the flare hangers in place, this rig is totally waterproof again for the first time in who knows how many years.

I still need to reskin the rear rocker corners but that should be a pretty small job compared to where we’ve come :wink:

4 Likes

Back at it this afternoon. Not quite finishing touches but getting closer… Corners of outer rocker corners are now fabbed.

4 Likes

Is it just me or do these look nicer sooner than the last outing? Practice making perfect?

2 Likes

Well, it’s been a banner weekend. The exterior is now fully sealed and ready for the road. Not pretty, but all holes are sealed and all rust is cut out and replaced. Woohoo!

So, let’s get caught up…

Friday I made the panels. Yes, they were much faster. Partly because they weren’t complicated, but I suppose Brian you’re right, I might be getting a little faster? In any event, I painted them front and back, leaving the mating surfaces raw. On Saturday I broke out the last of my panel adhesive and clamped and glued these bad boys in place.

Then I had to let it dry. I did have a partsouq order arrive, so I got busy on my rear bumper. I had to drill out two broken bolts, and then tap them (got lucky and managed to tap them to the M8 that they had orginally). THEN… I bolted on some brand new split trays. Usually the 70 comes with a tray that goes all the way across, but this impeded a trailer hitch. There was an option for split trays, so I ordered a set. Here’s a crappy pic until I get her outside…

3 Likes

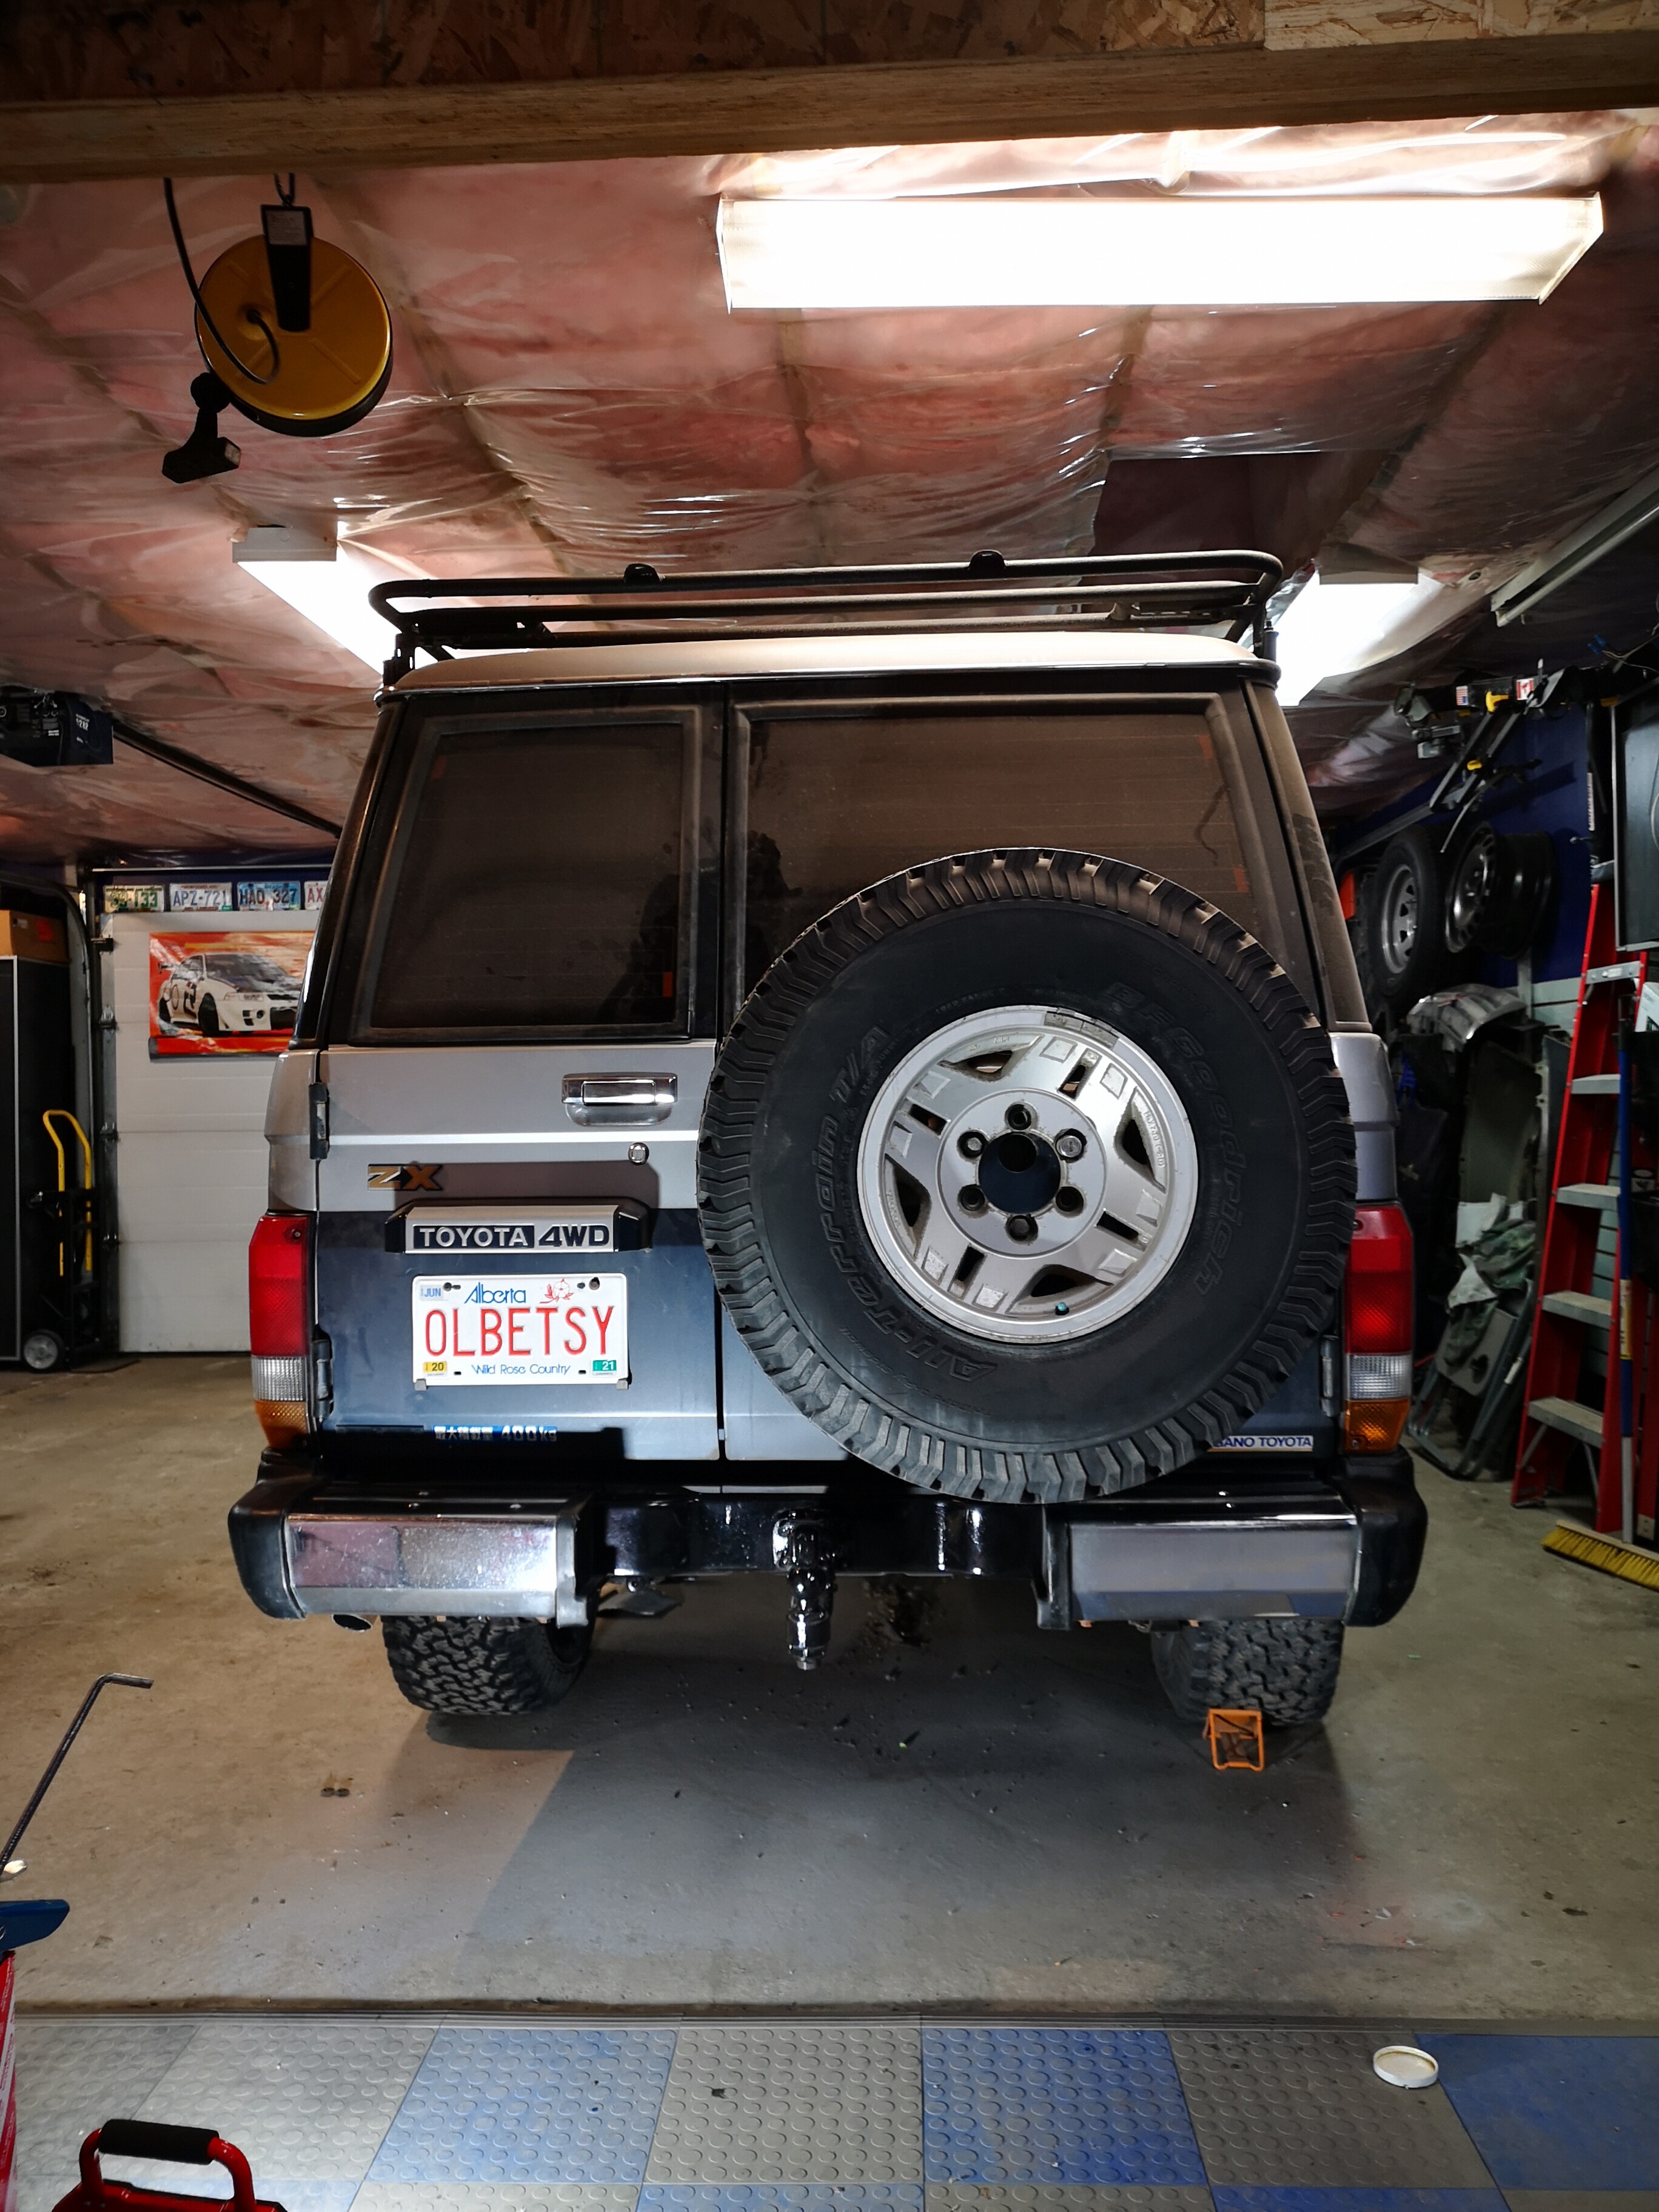
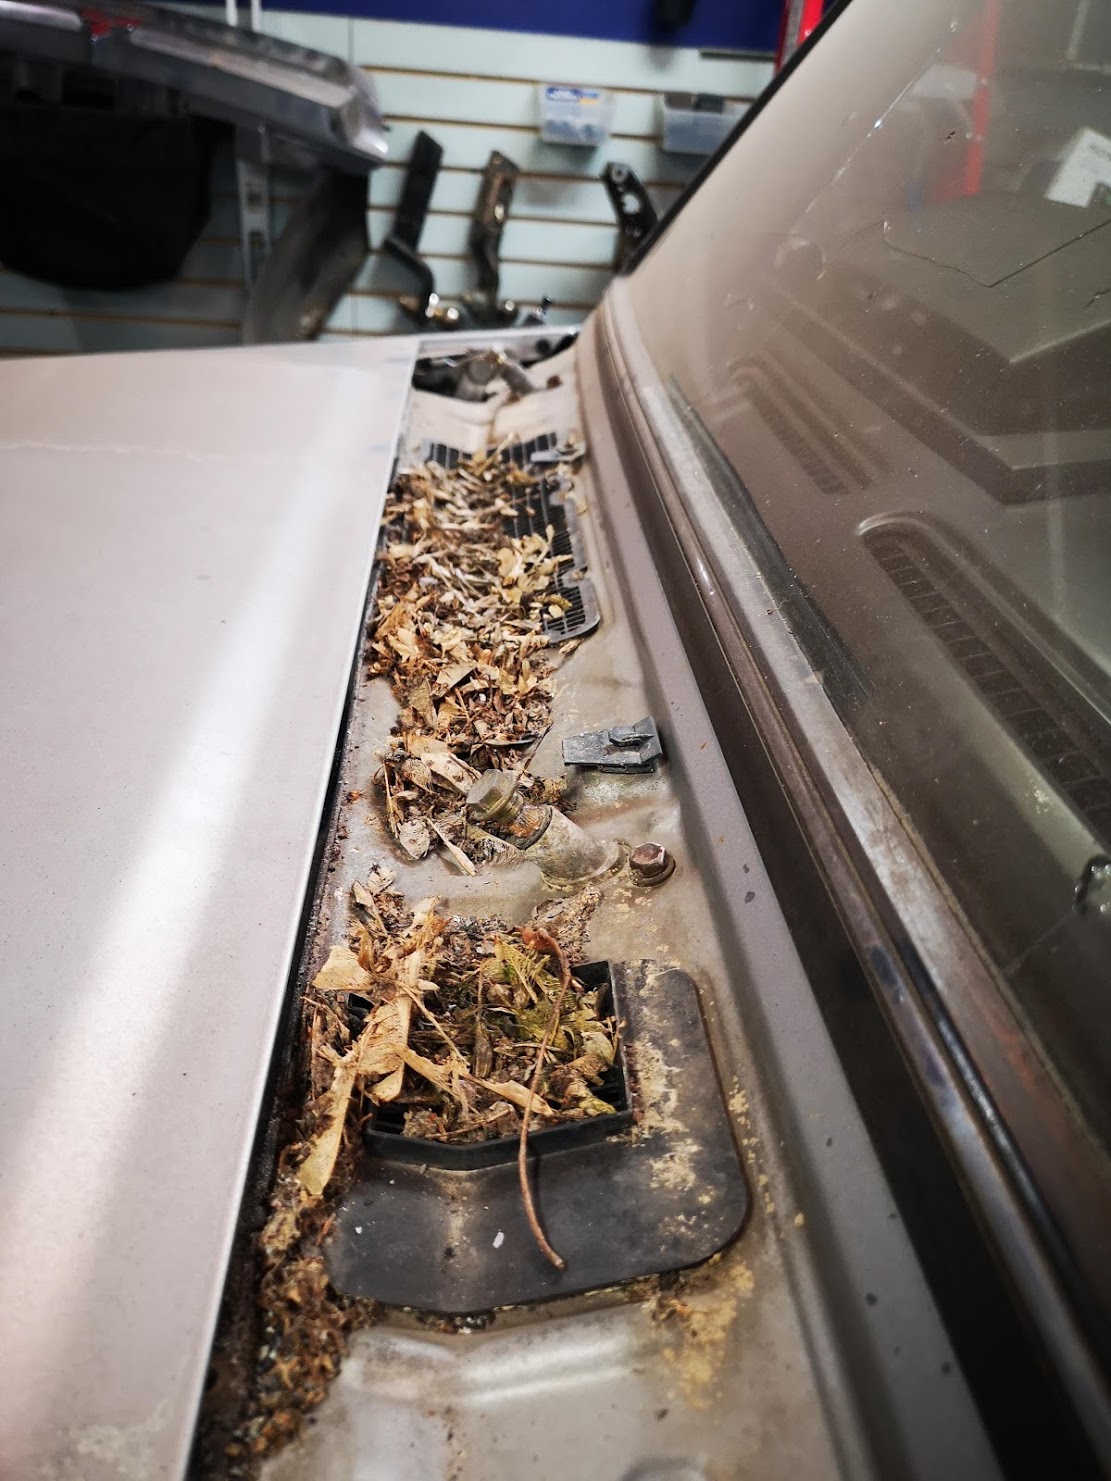
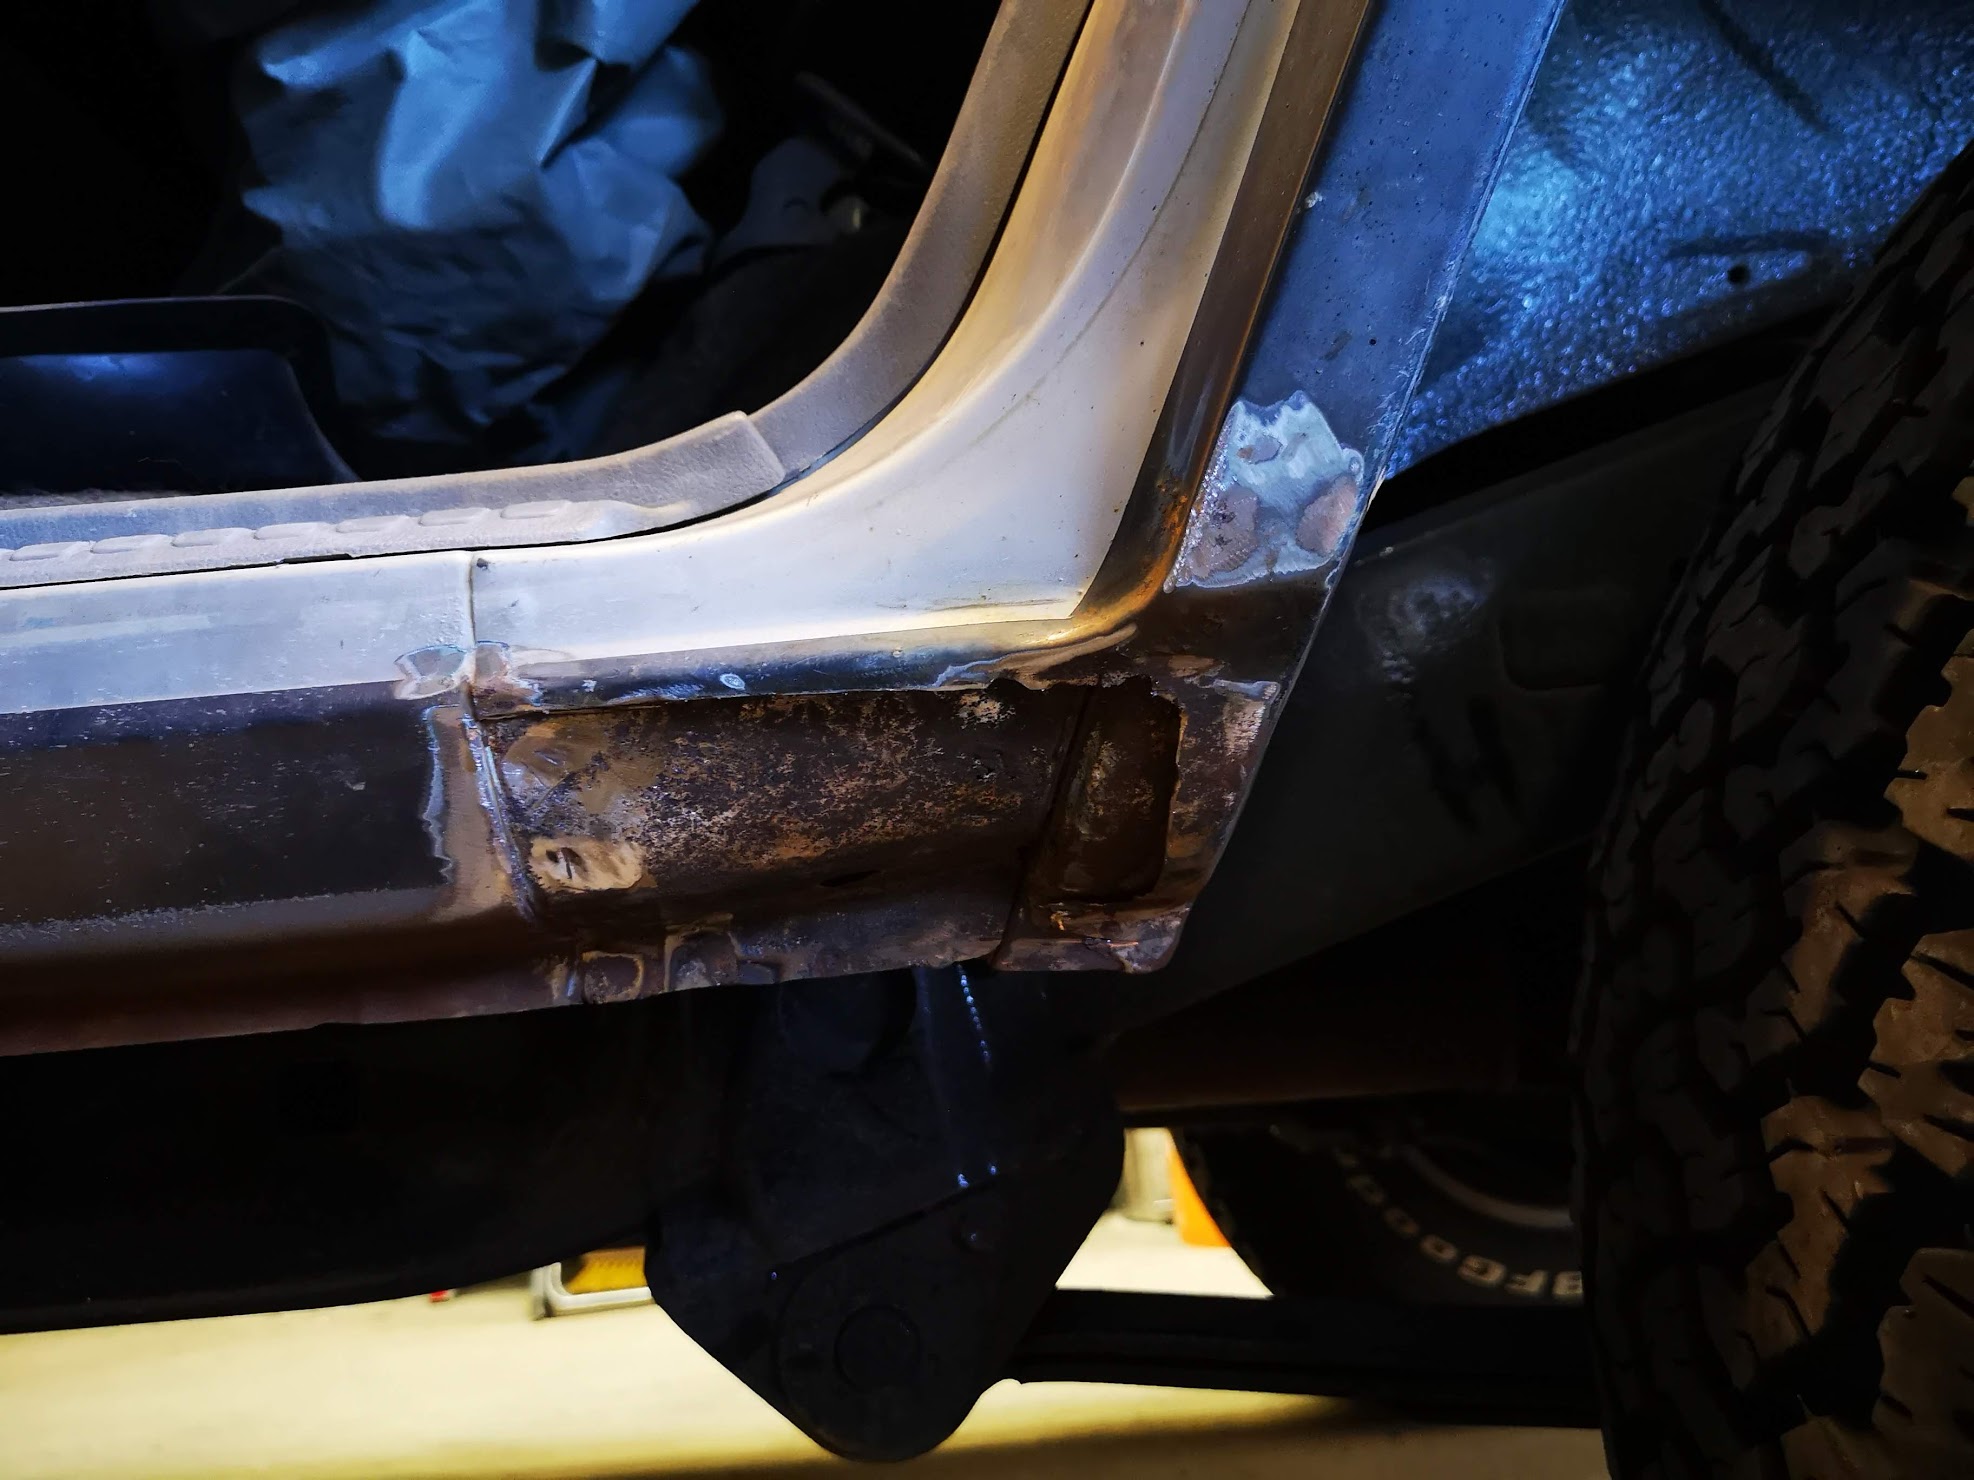
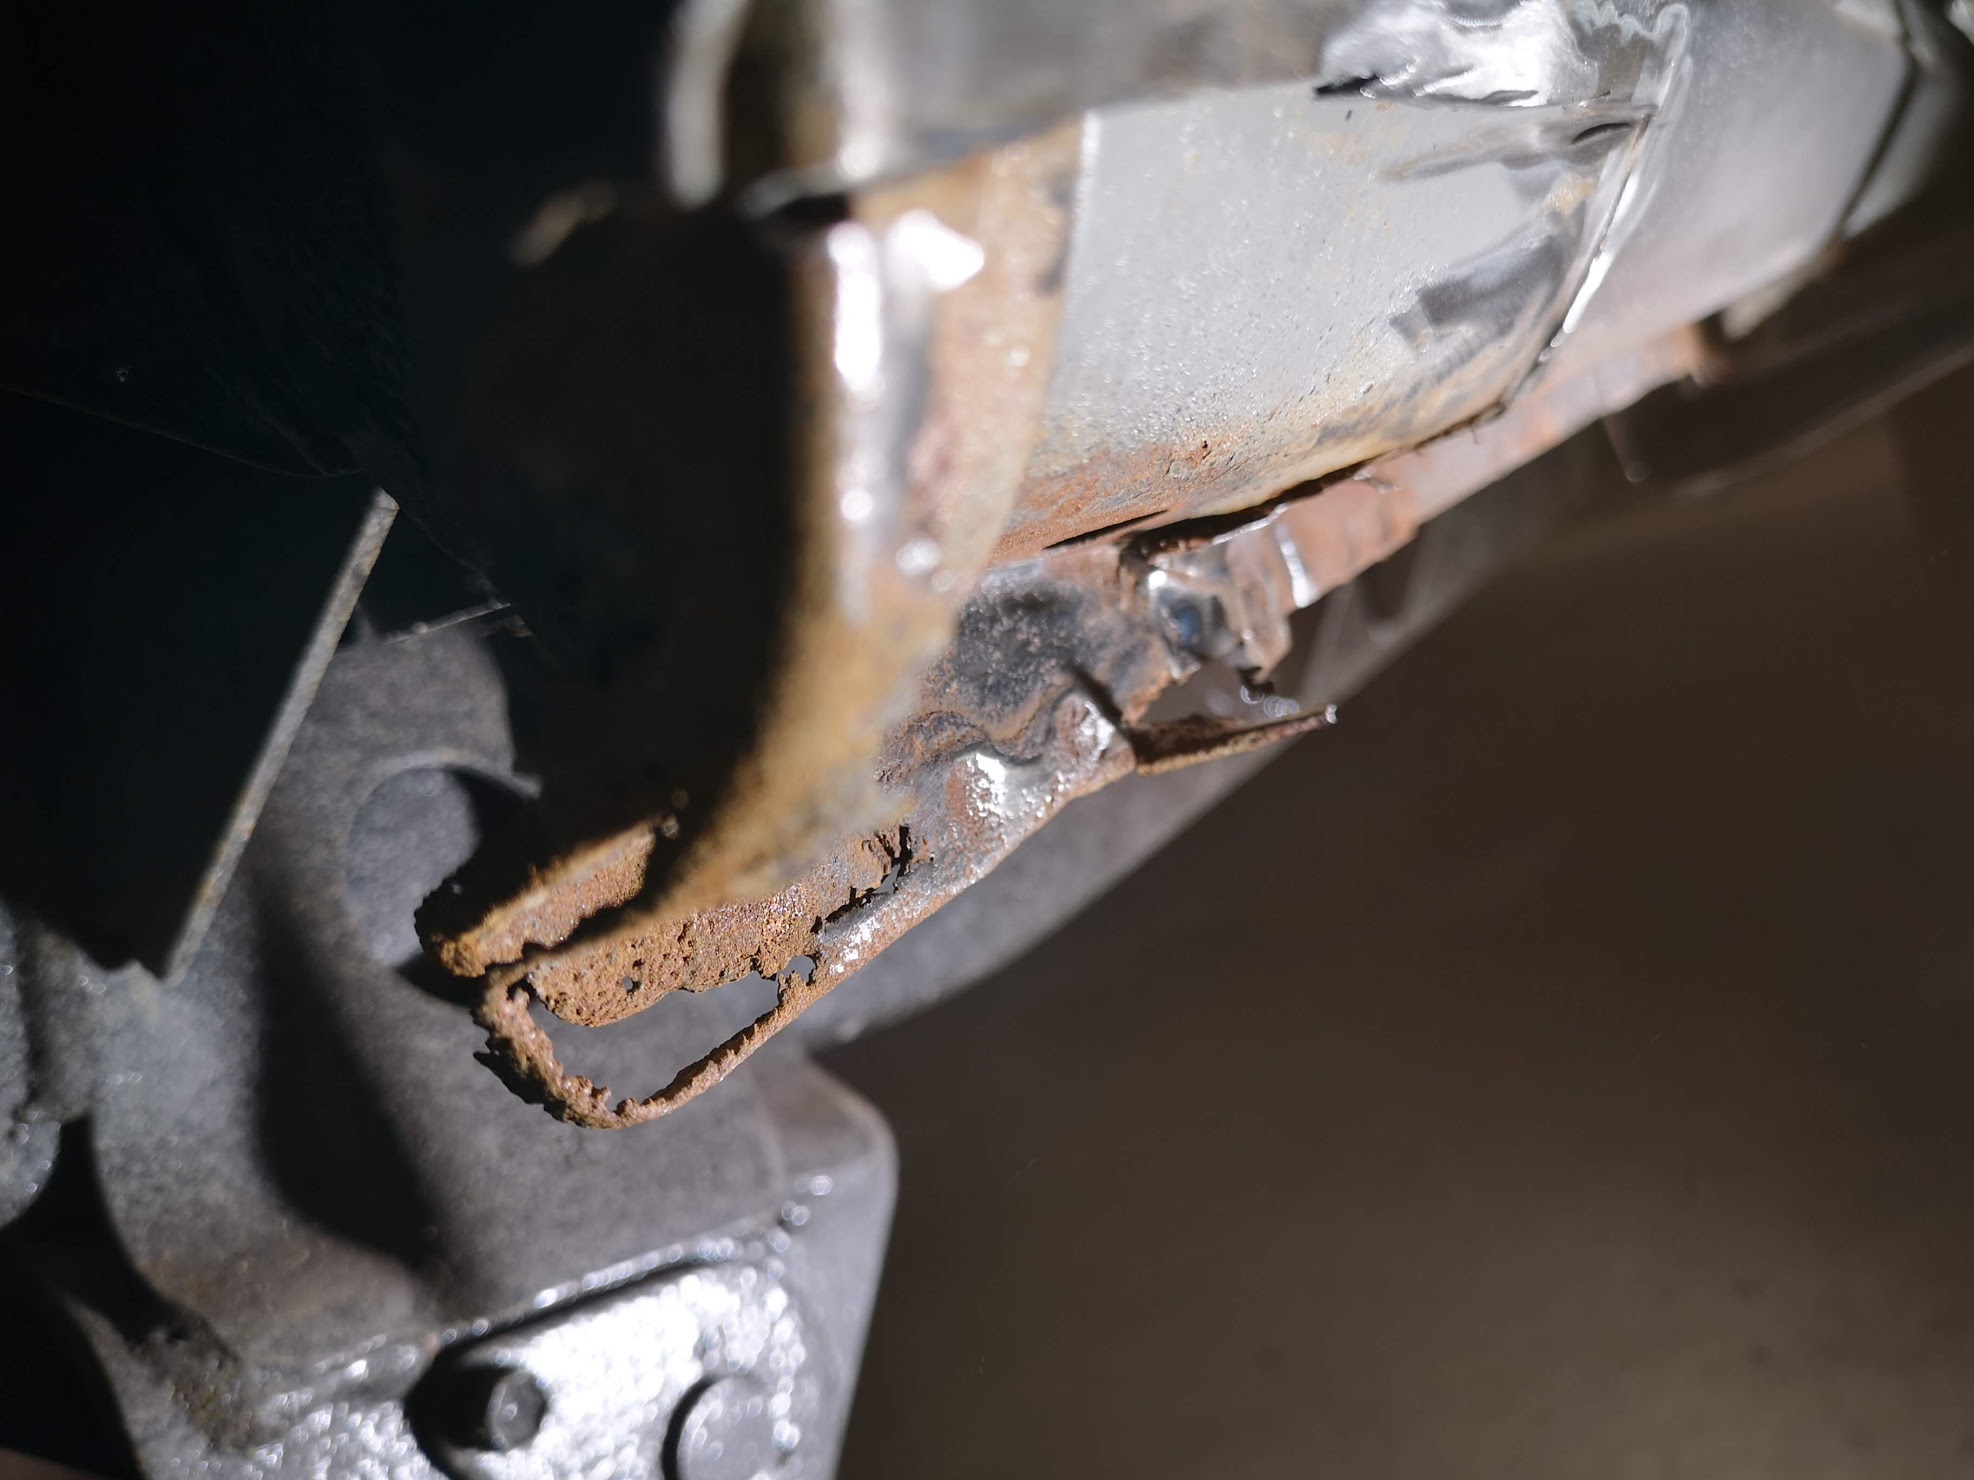
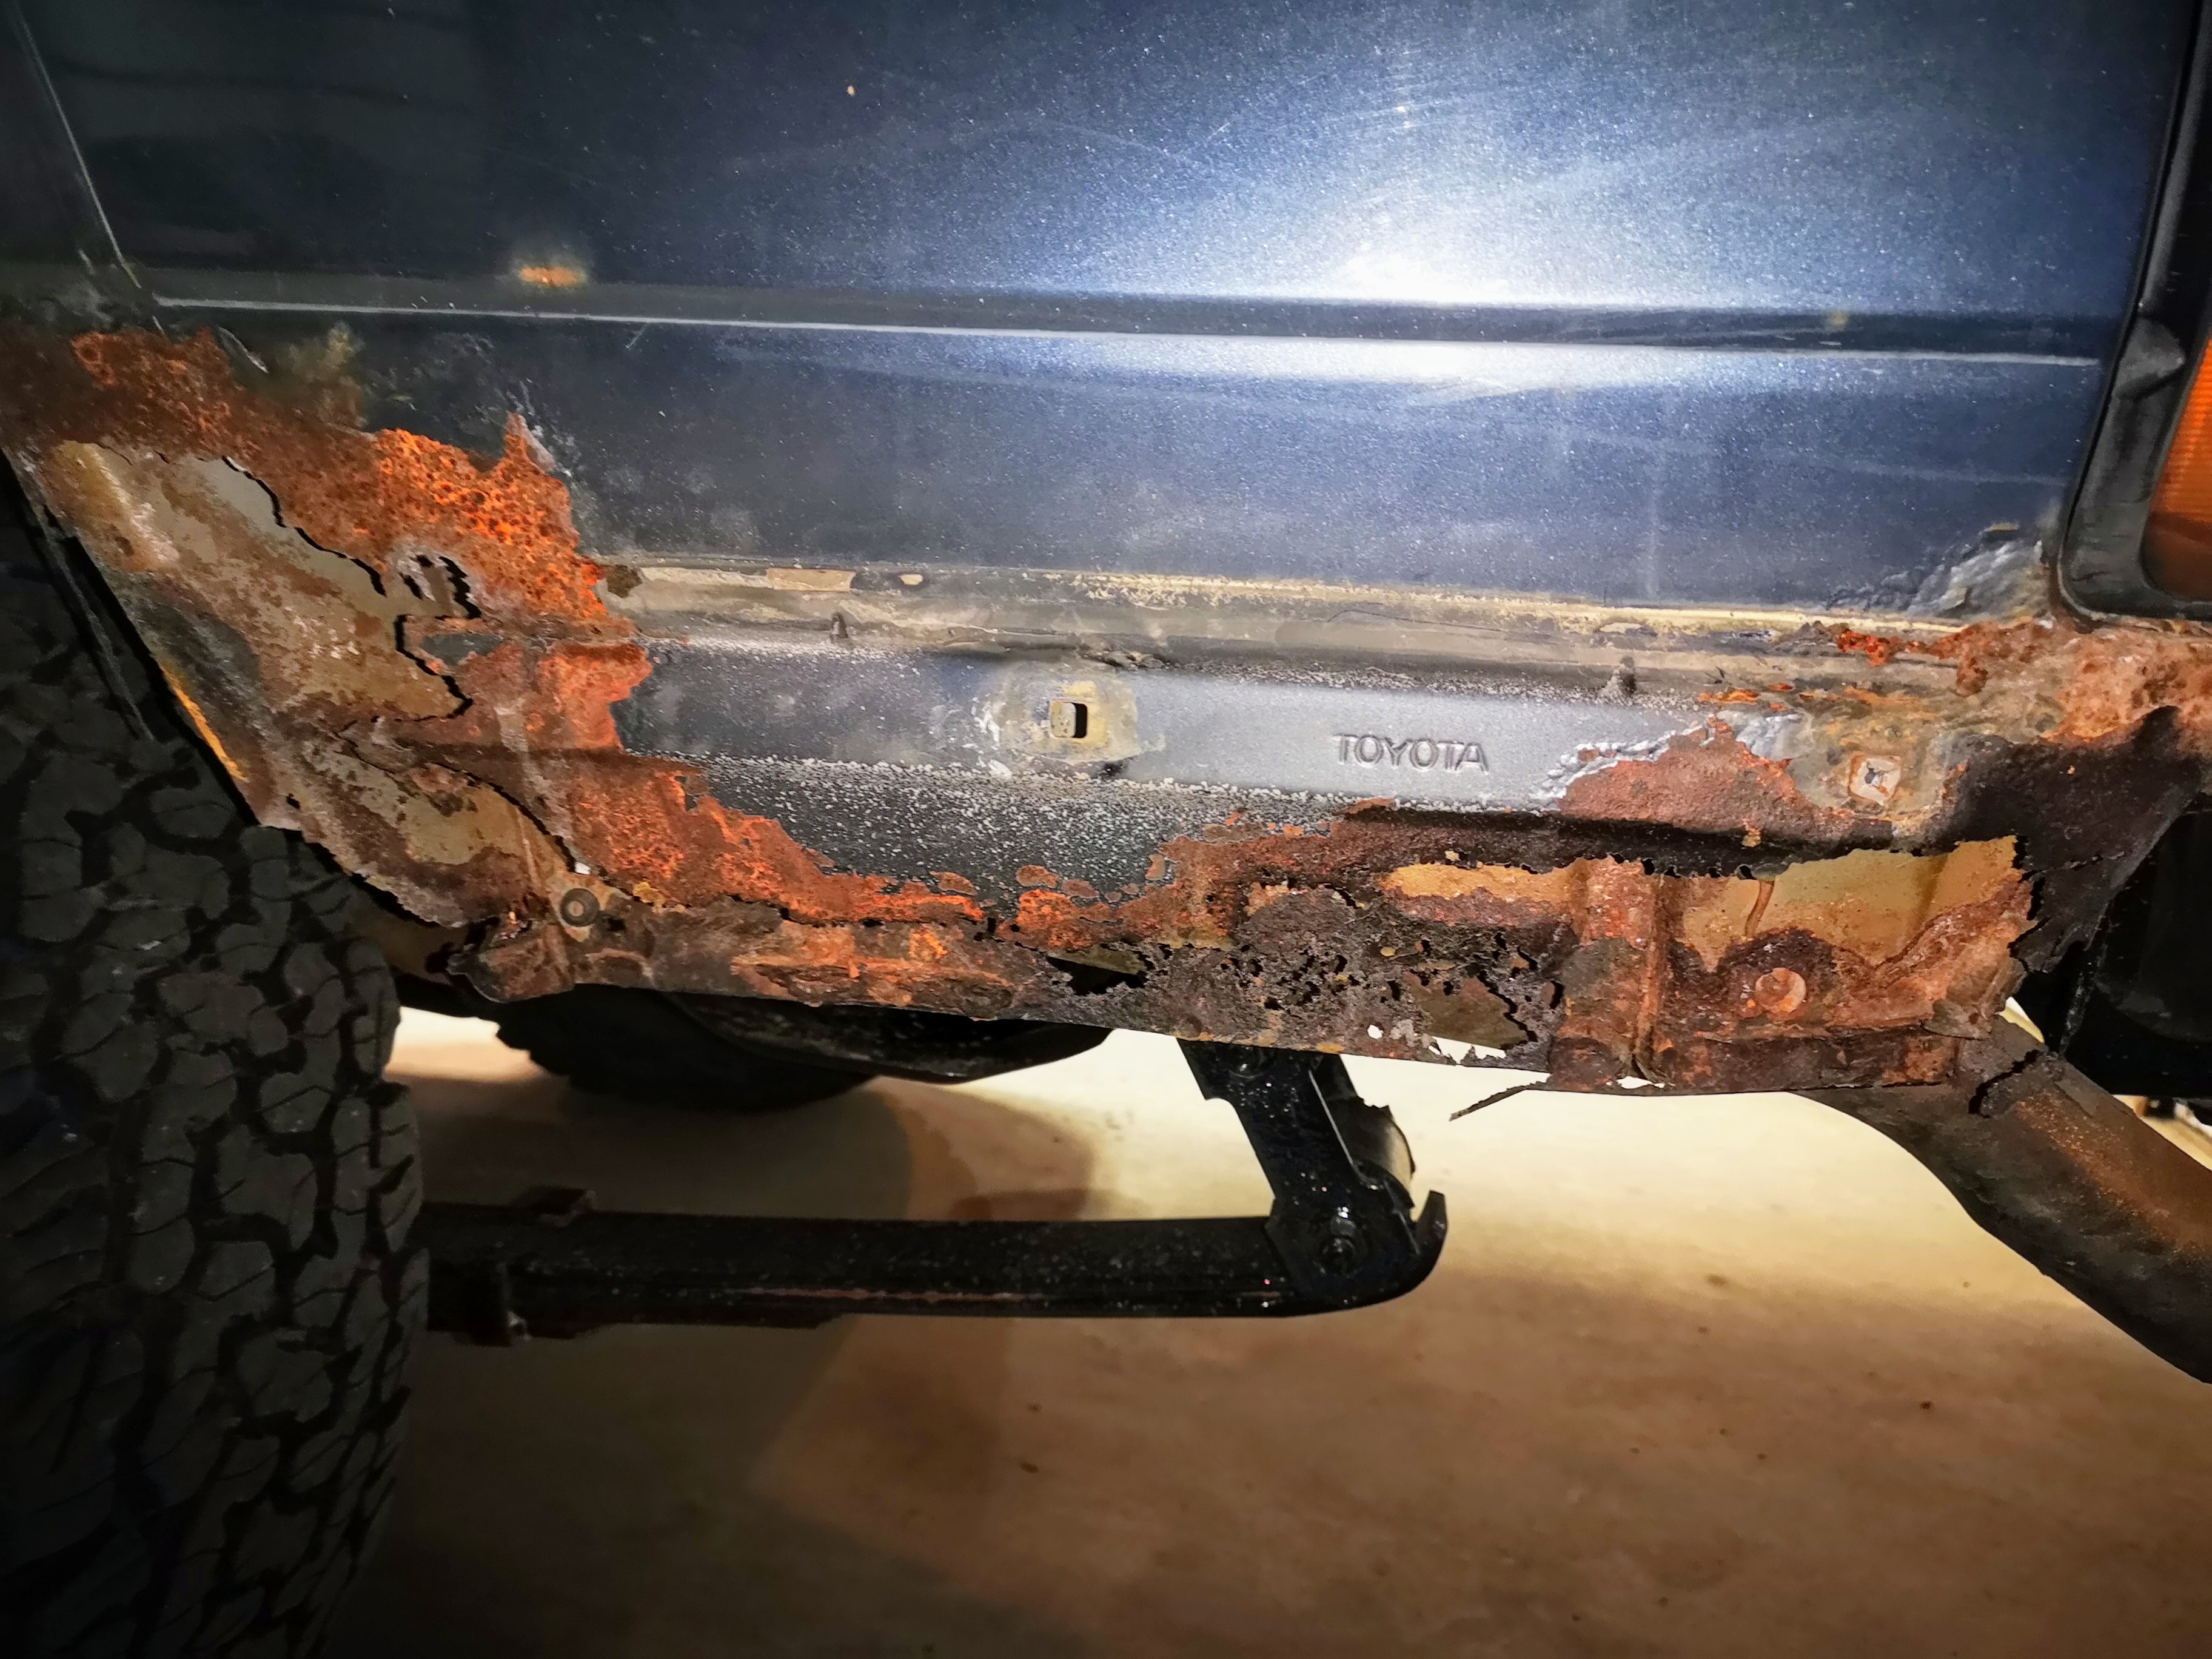
So it was time to get back to the flares. These were in the back when i got the truck, and the hangers were all rusty, and in some cases twisted, broken or missing. One flare was cracked. And the fenders underneath the brackets on the front were rusted through. So back in nov. I began making a list of the hangers I’d need. There are 7 different ones on the front and six unique ones on the back. In some cases left and right are different. It really felt like a puzzle.

But it was time to solve it!

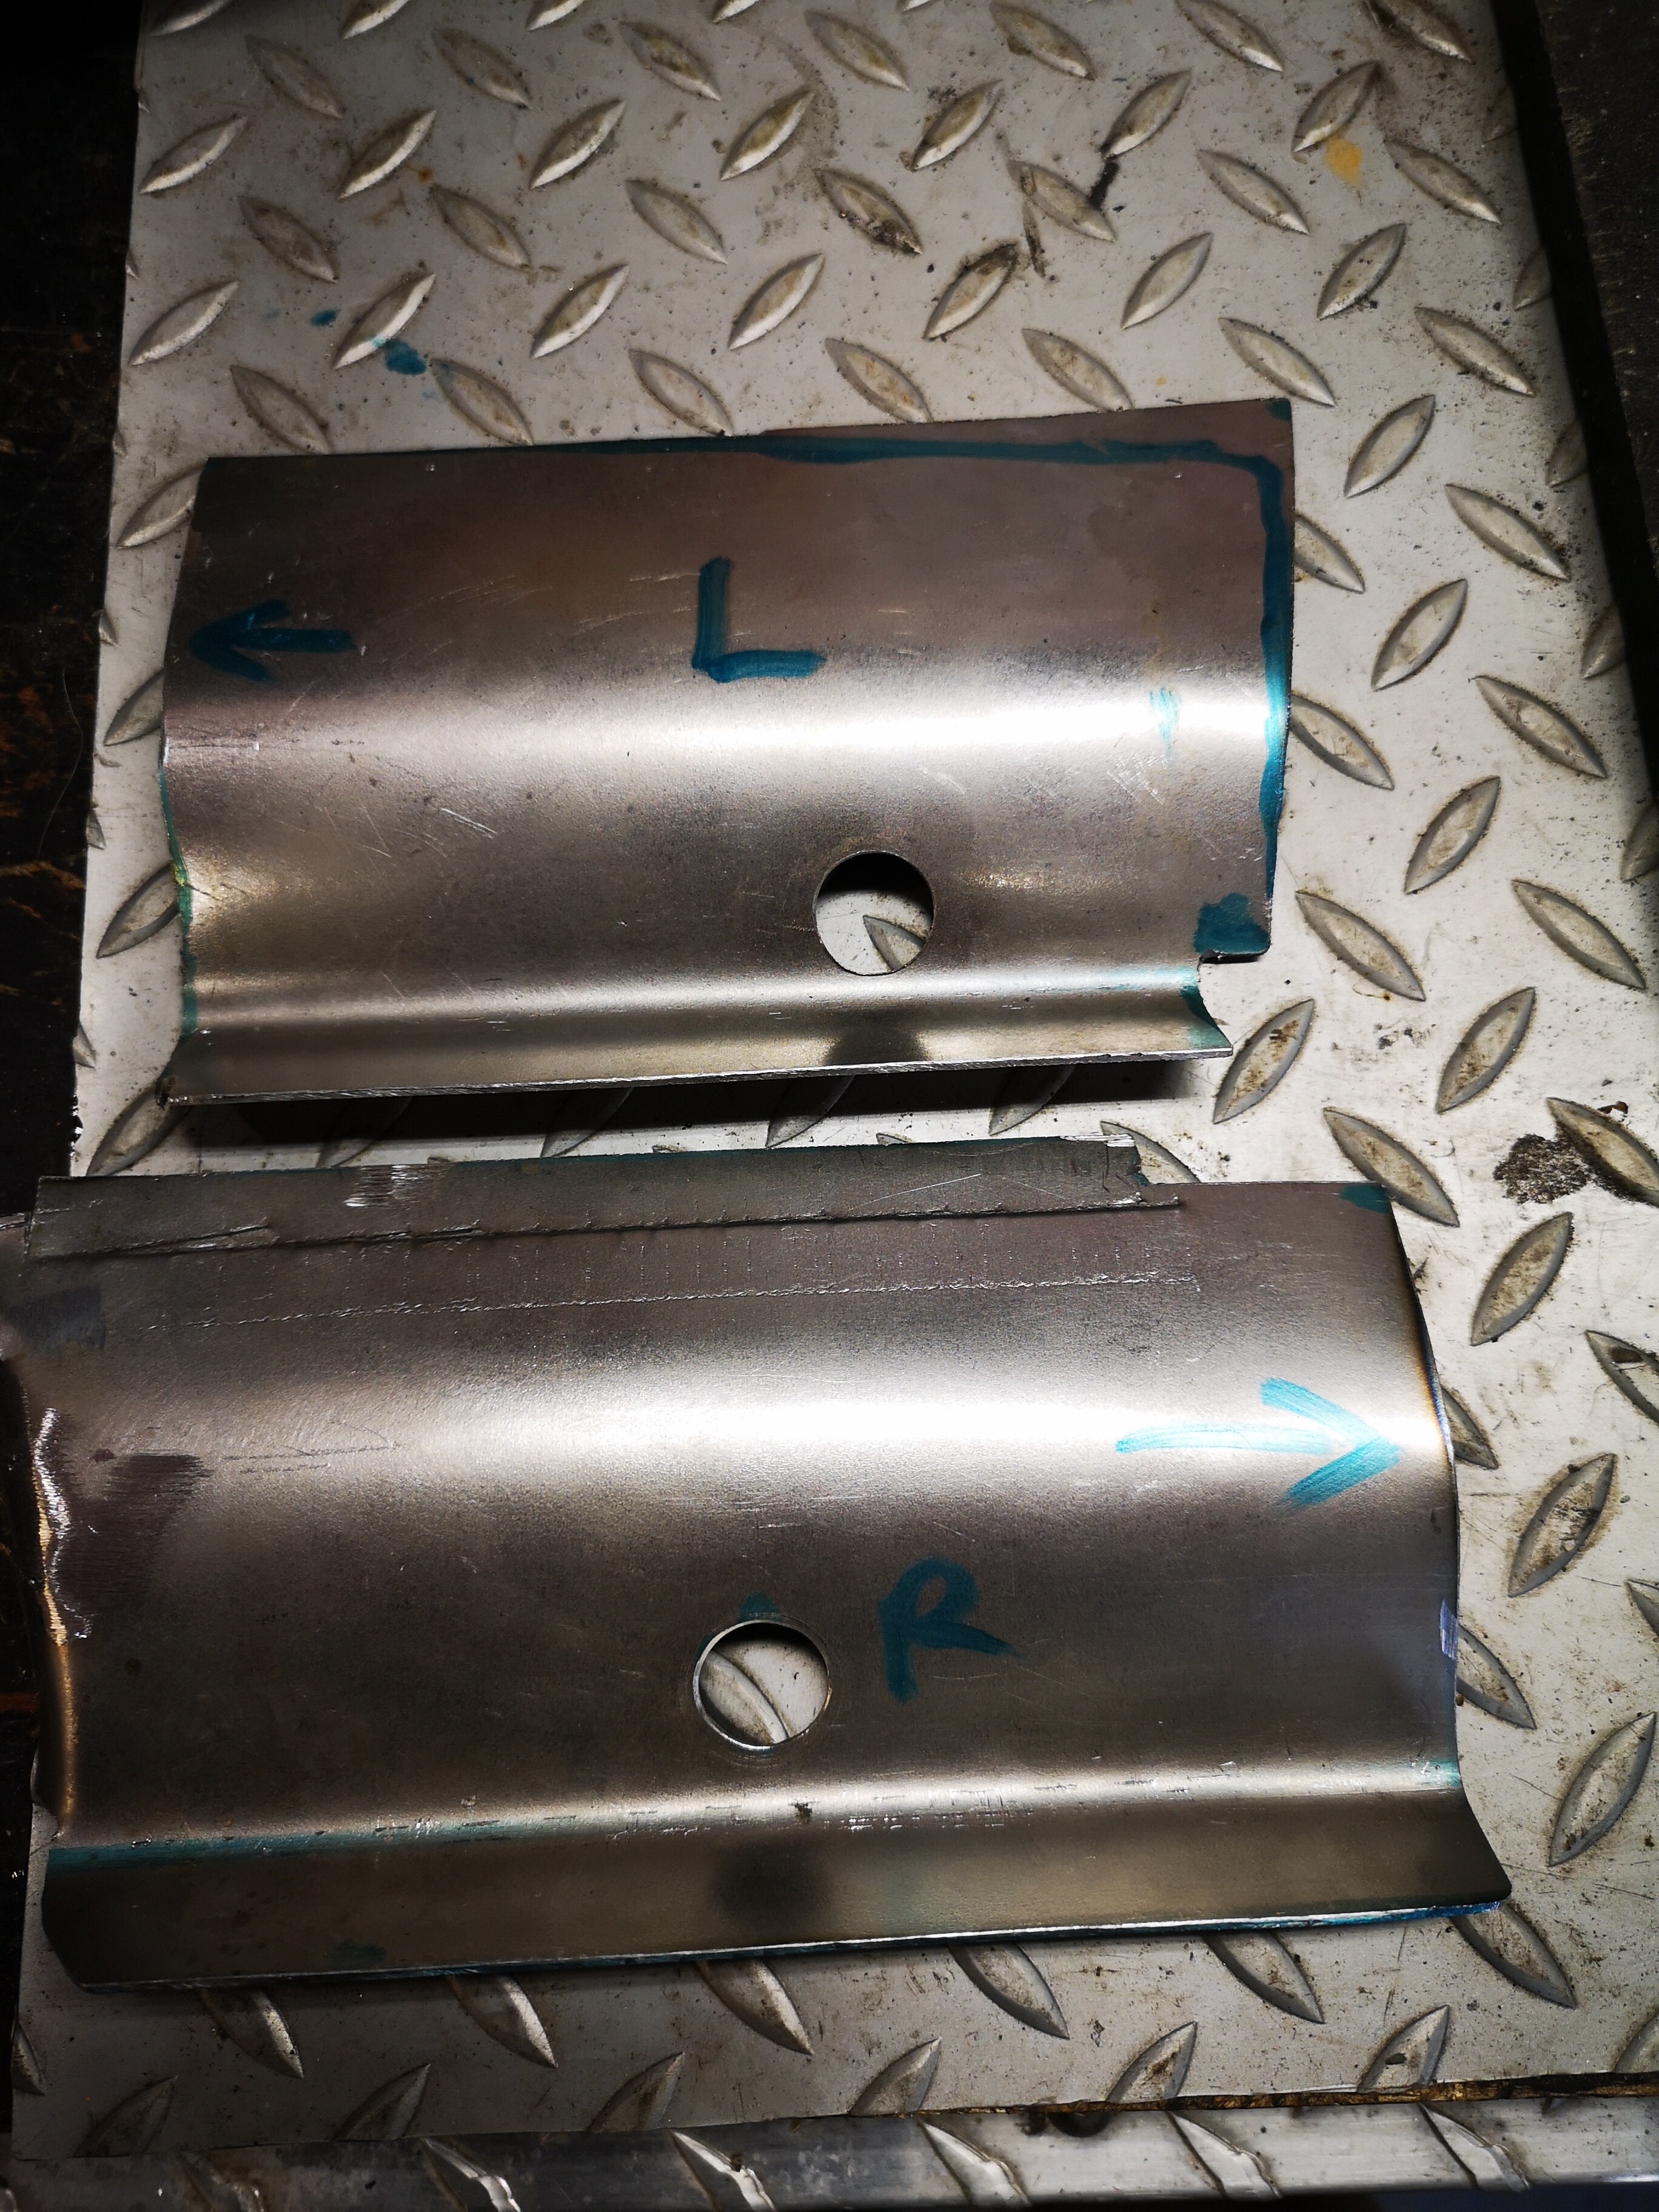
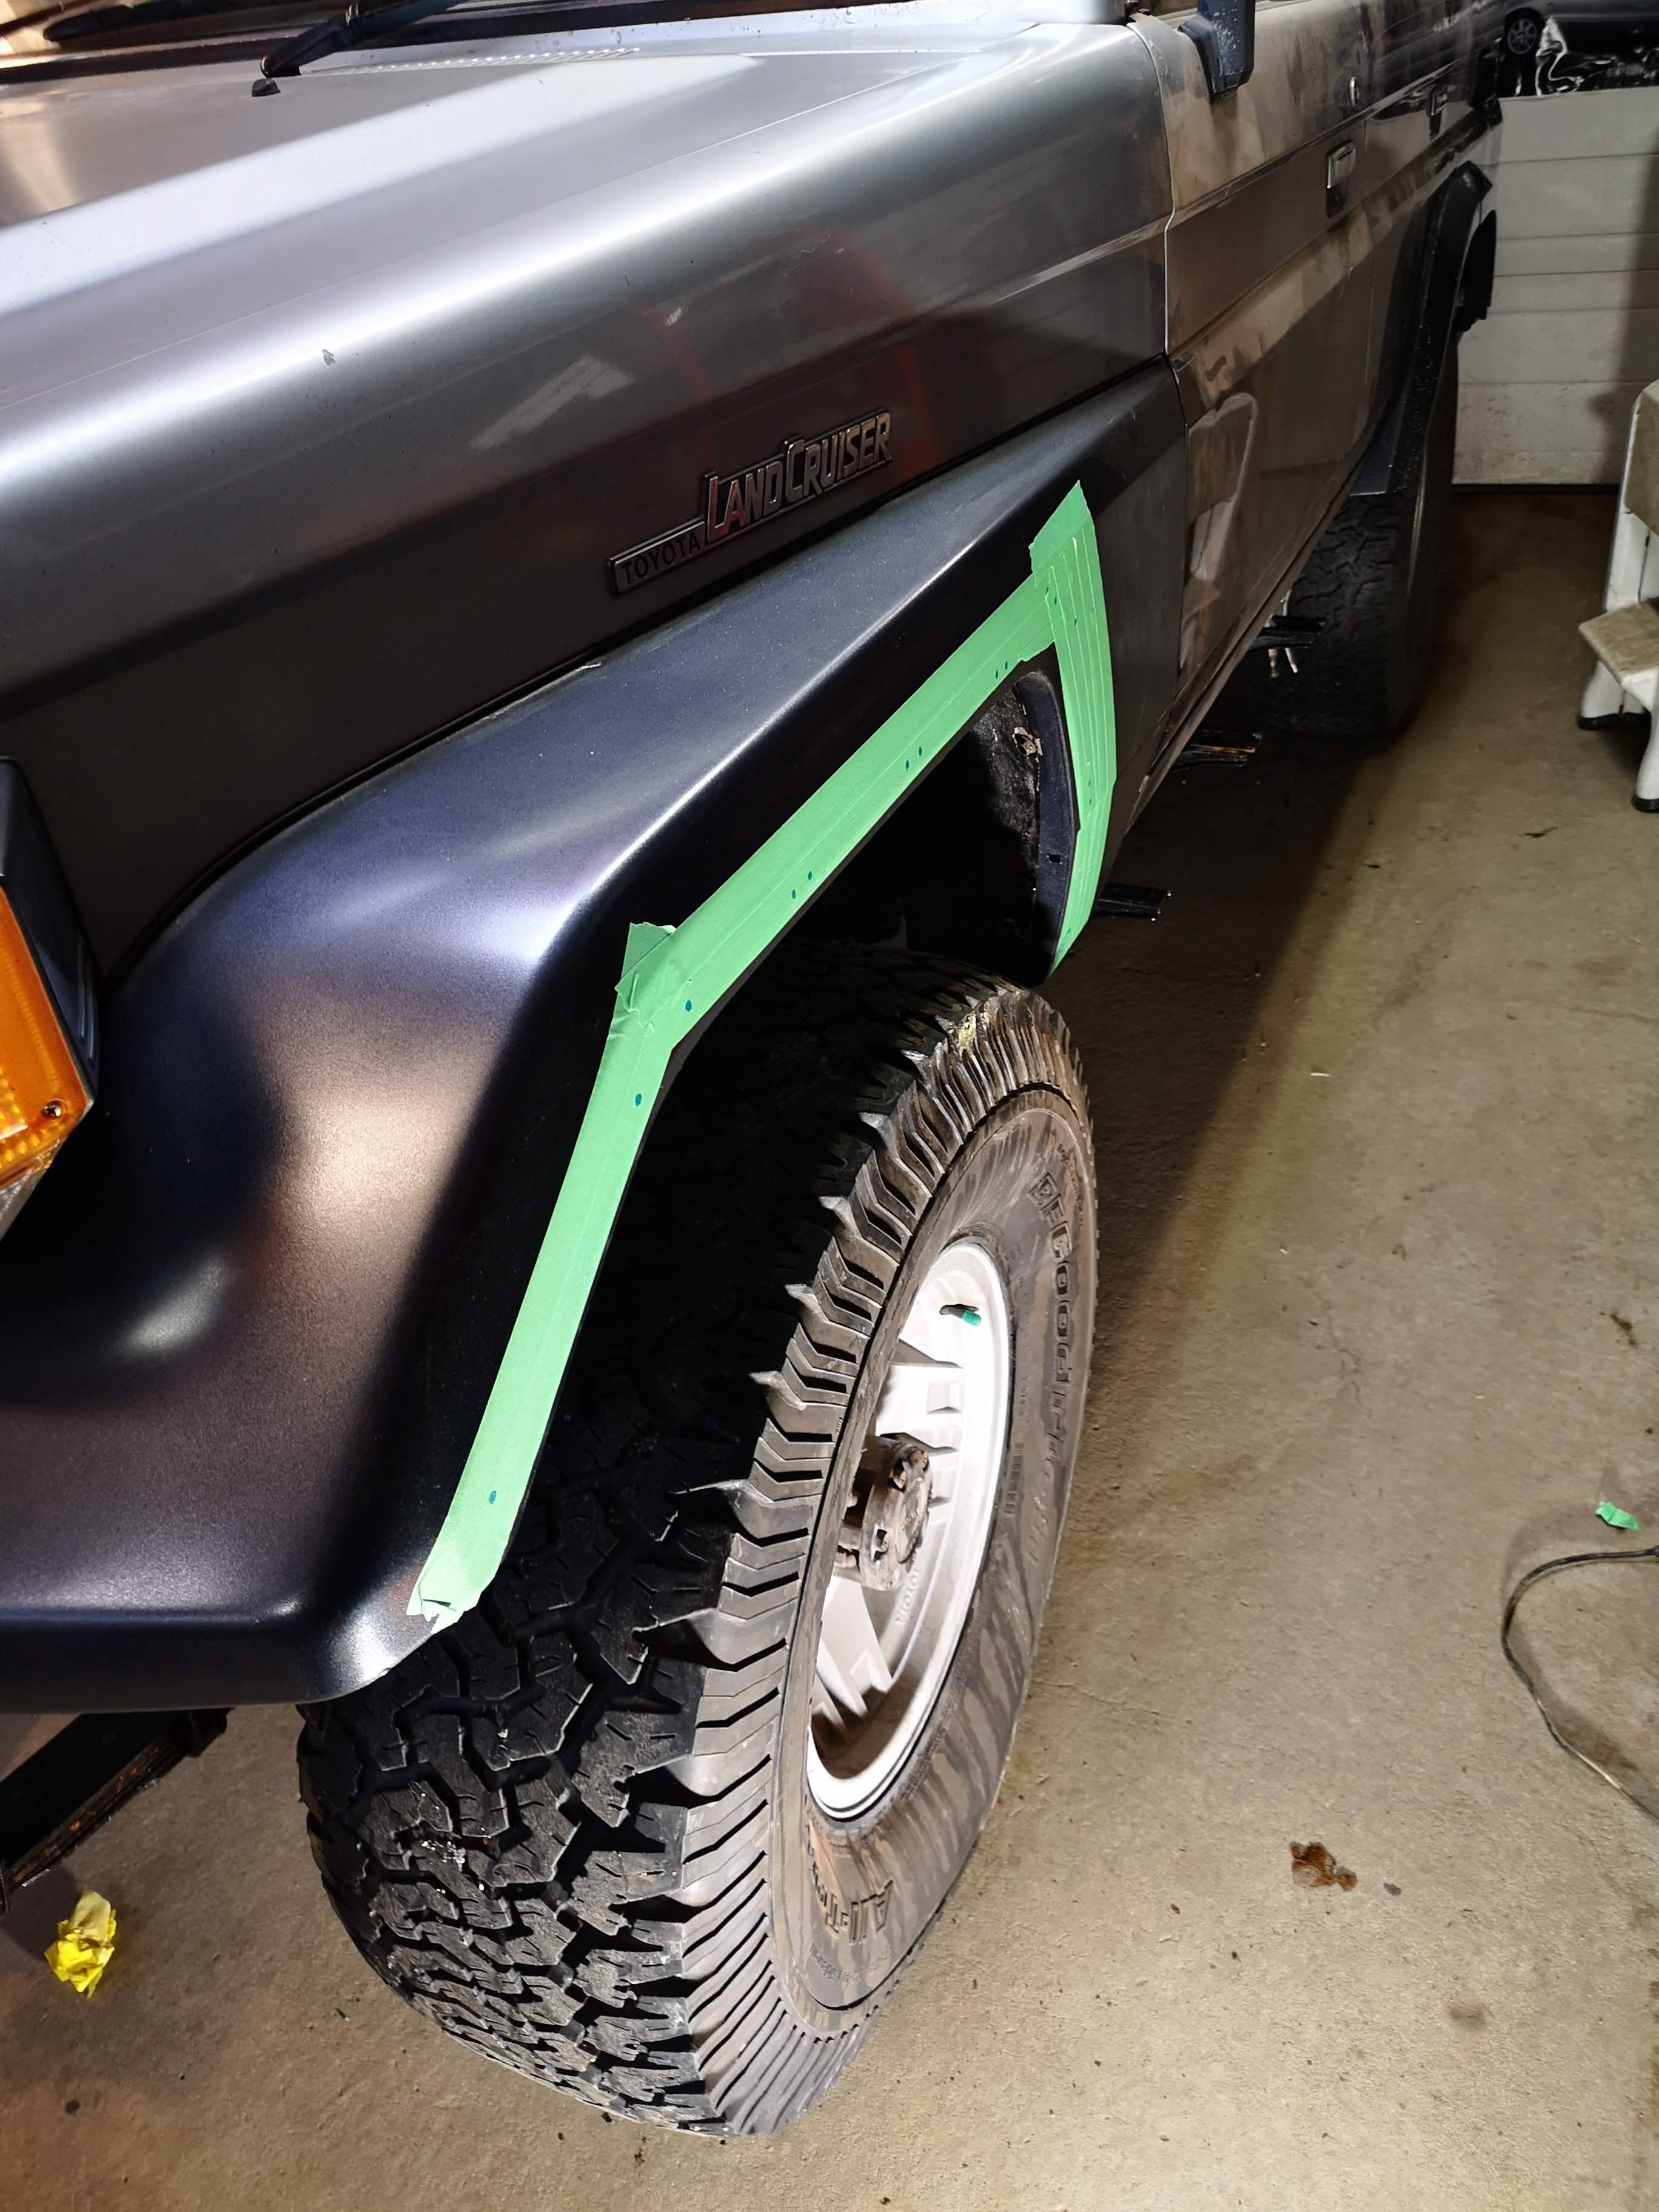
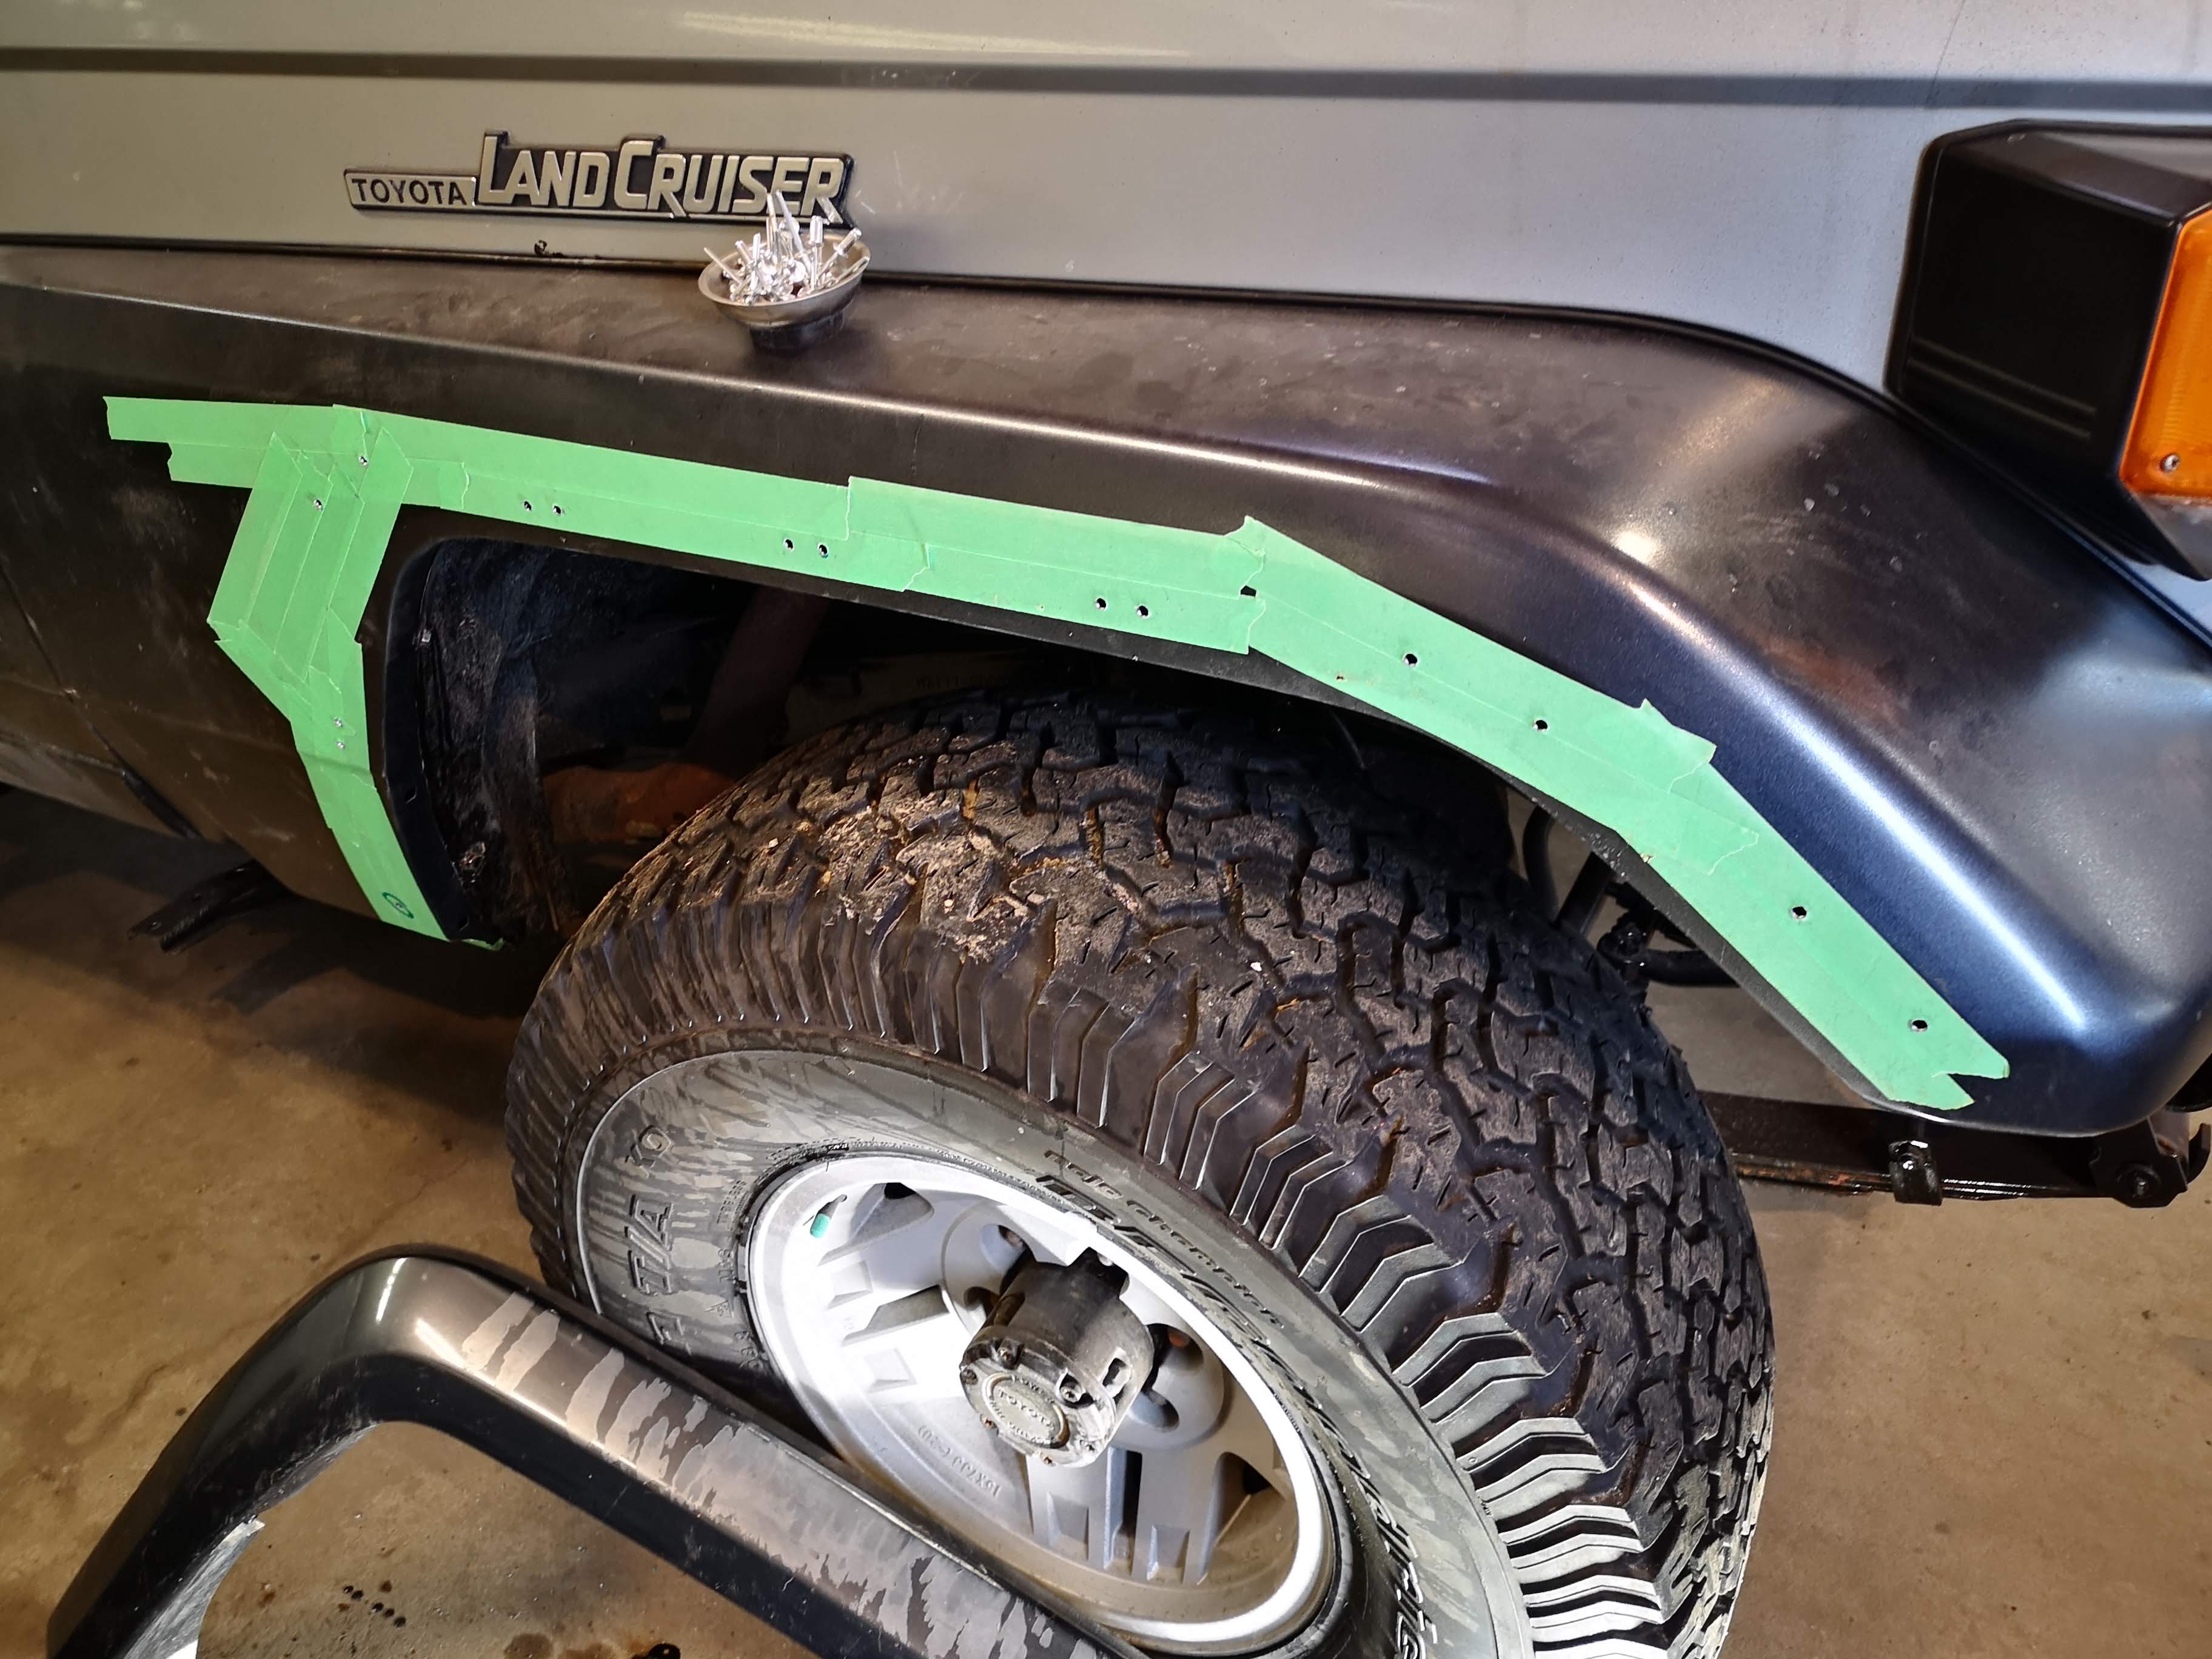
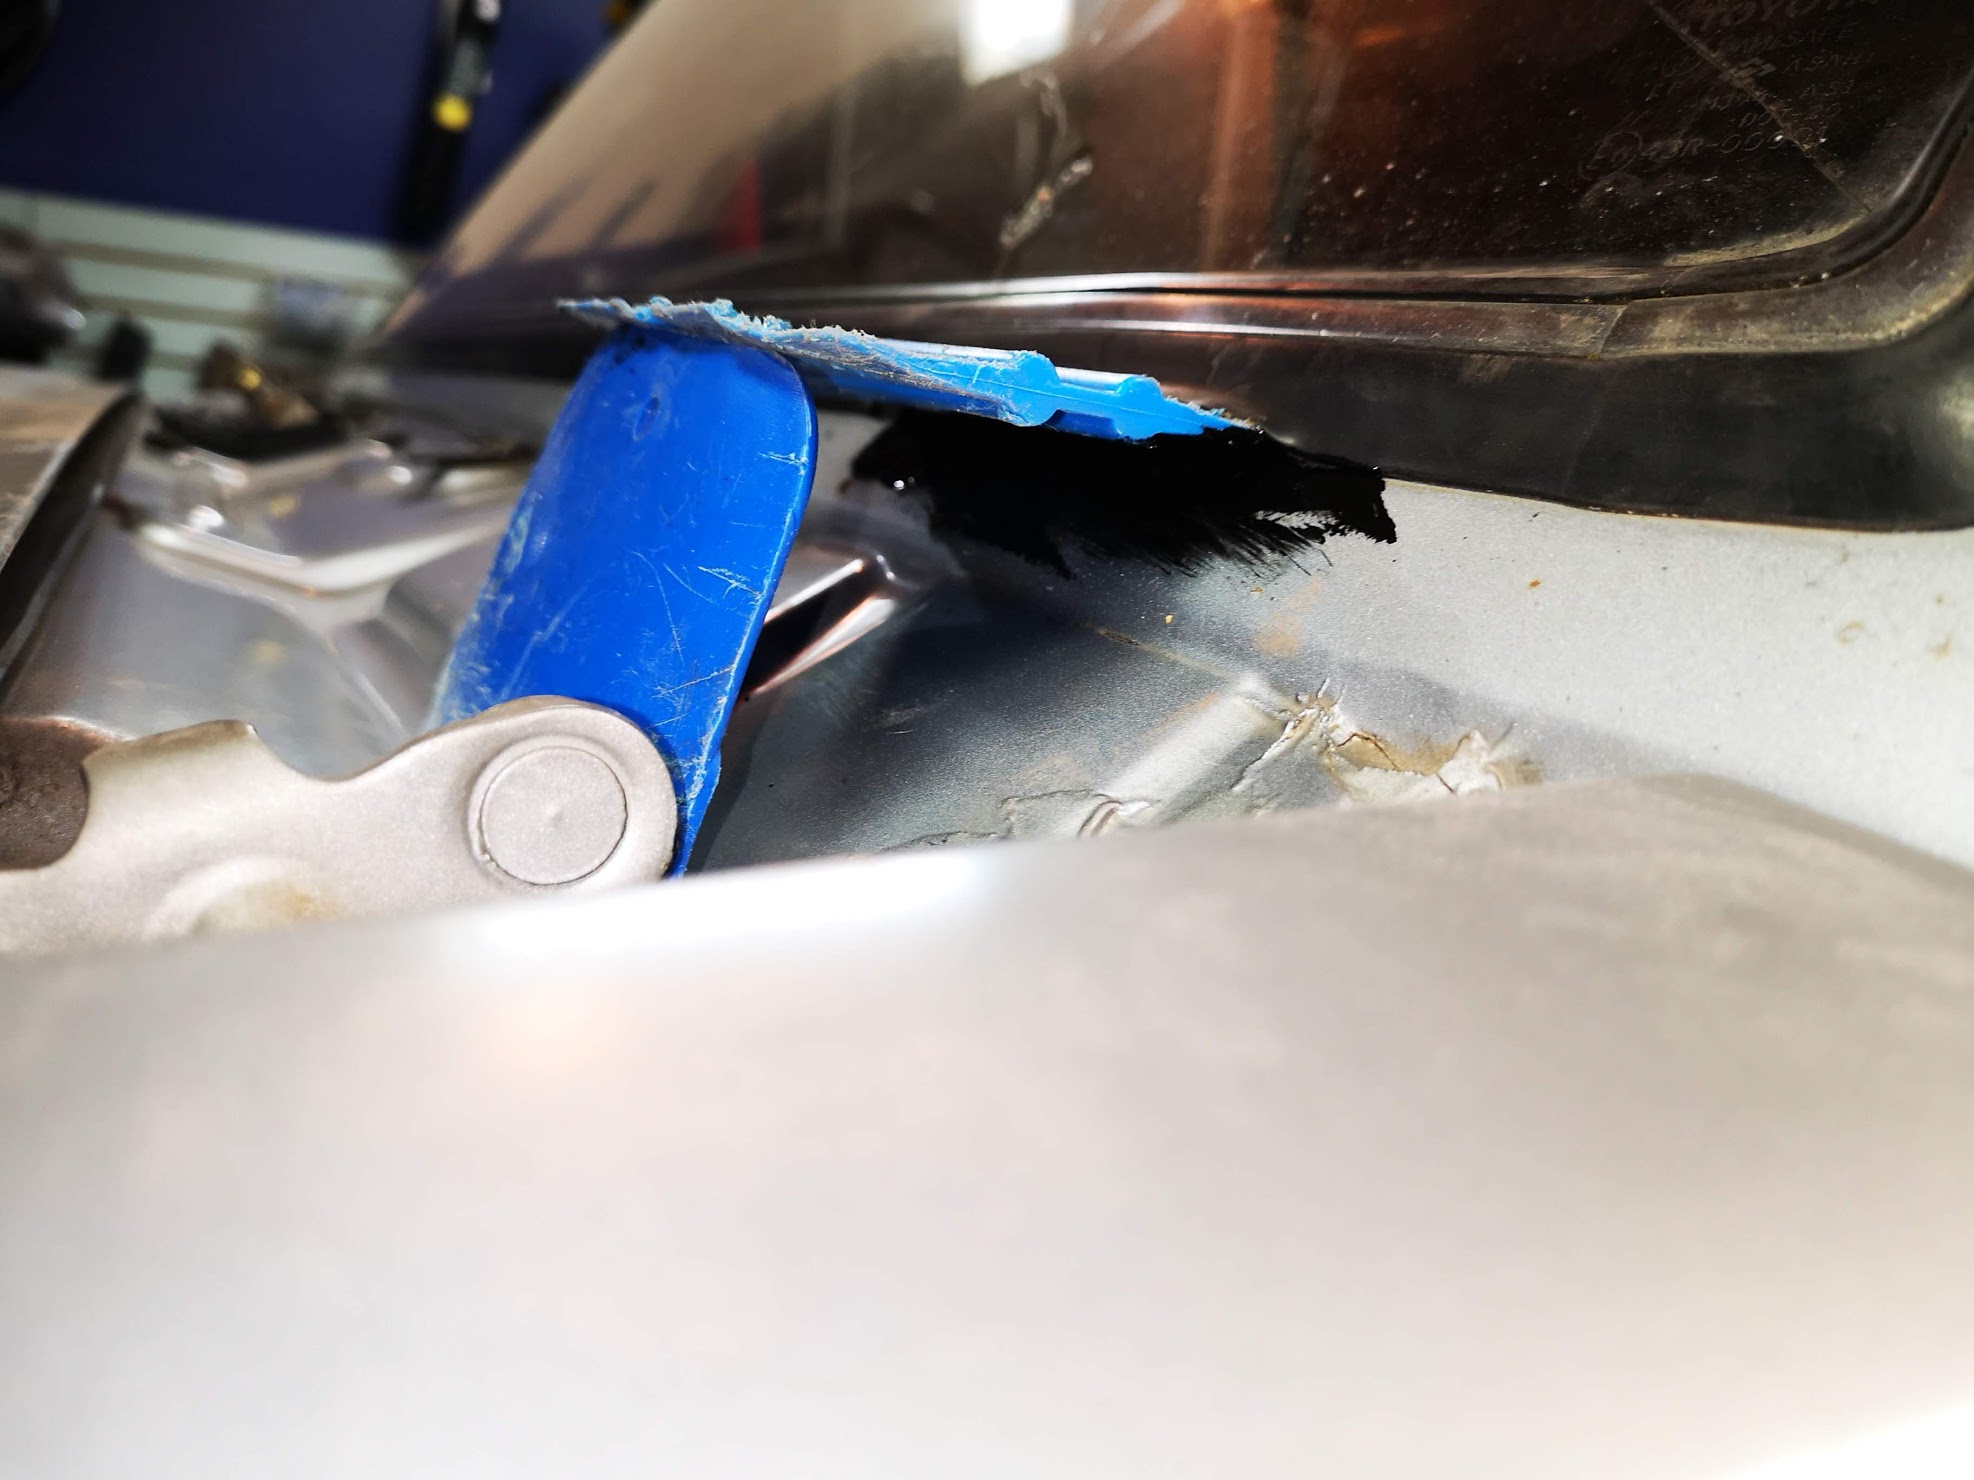
Unfortunately, the new front fenders didn’t come with the holes needed for the flares. So first order of business was to drill 16 holes per side into my brand new pristine fenders. Arggg… Luckily my wife was willing to help mark the holes. I kept the old crusty fenders for just this reason - i held up each one as she marked them. I used the left inside out against the RHS fender, and vice versa to get them as close as possible. Thankfully she didn’t mark ALL the holes, since the old fenders had lots of extra ventilation. LOL

But of course now I had to drill. 16 holes in a pristine brand new fender - worse than installing a snorkel, methinks.

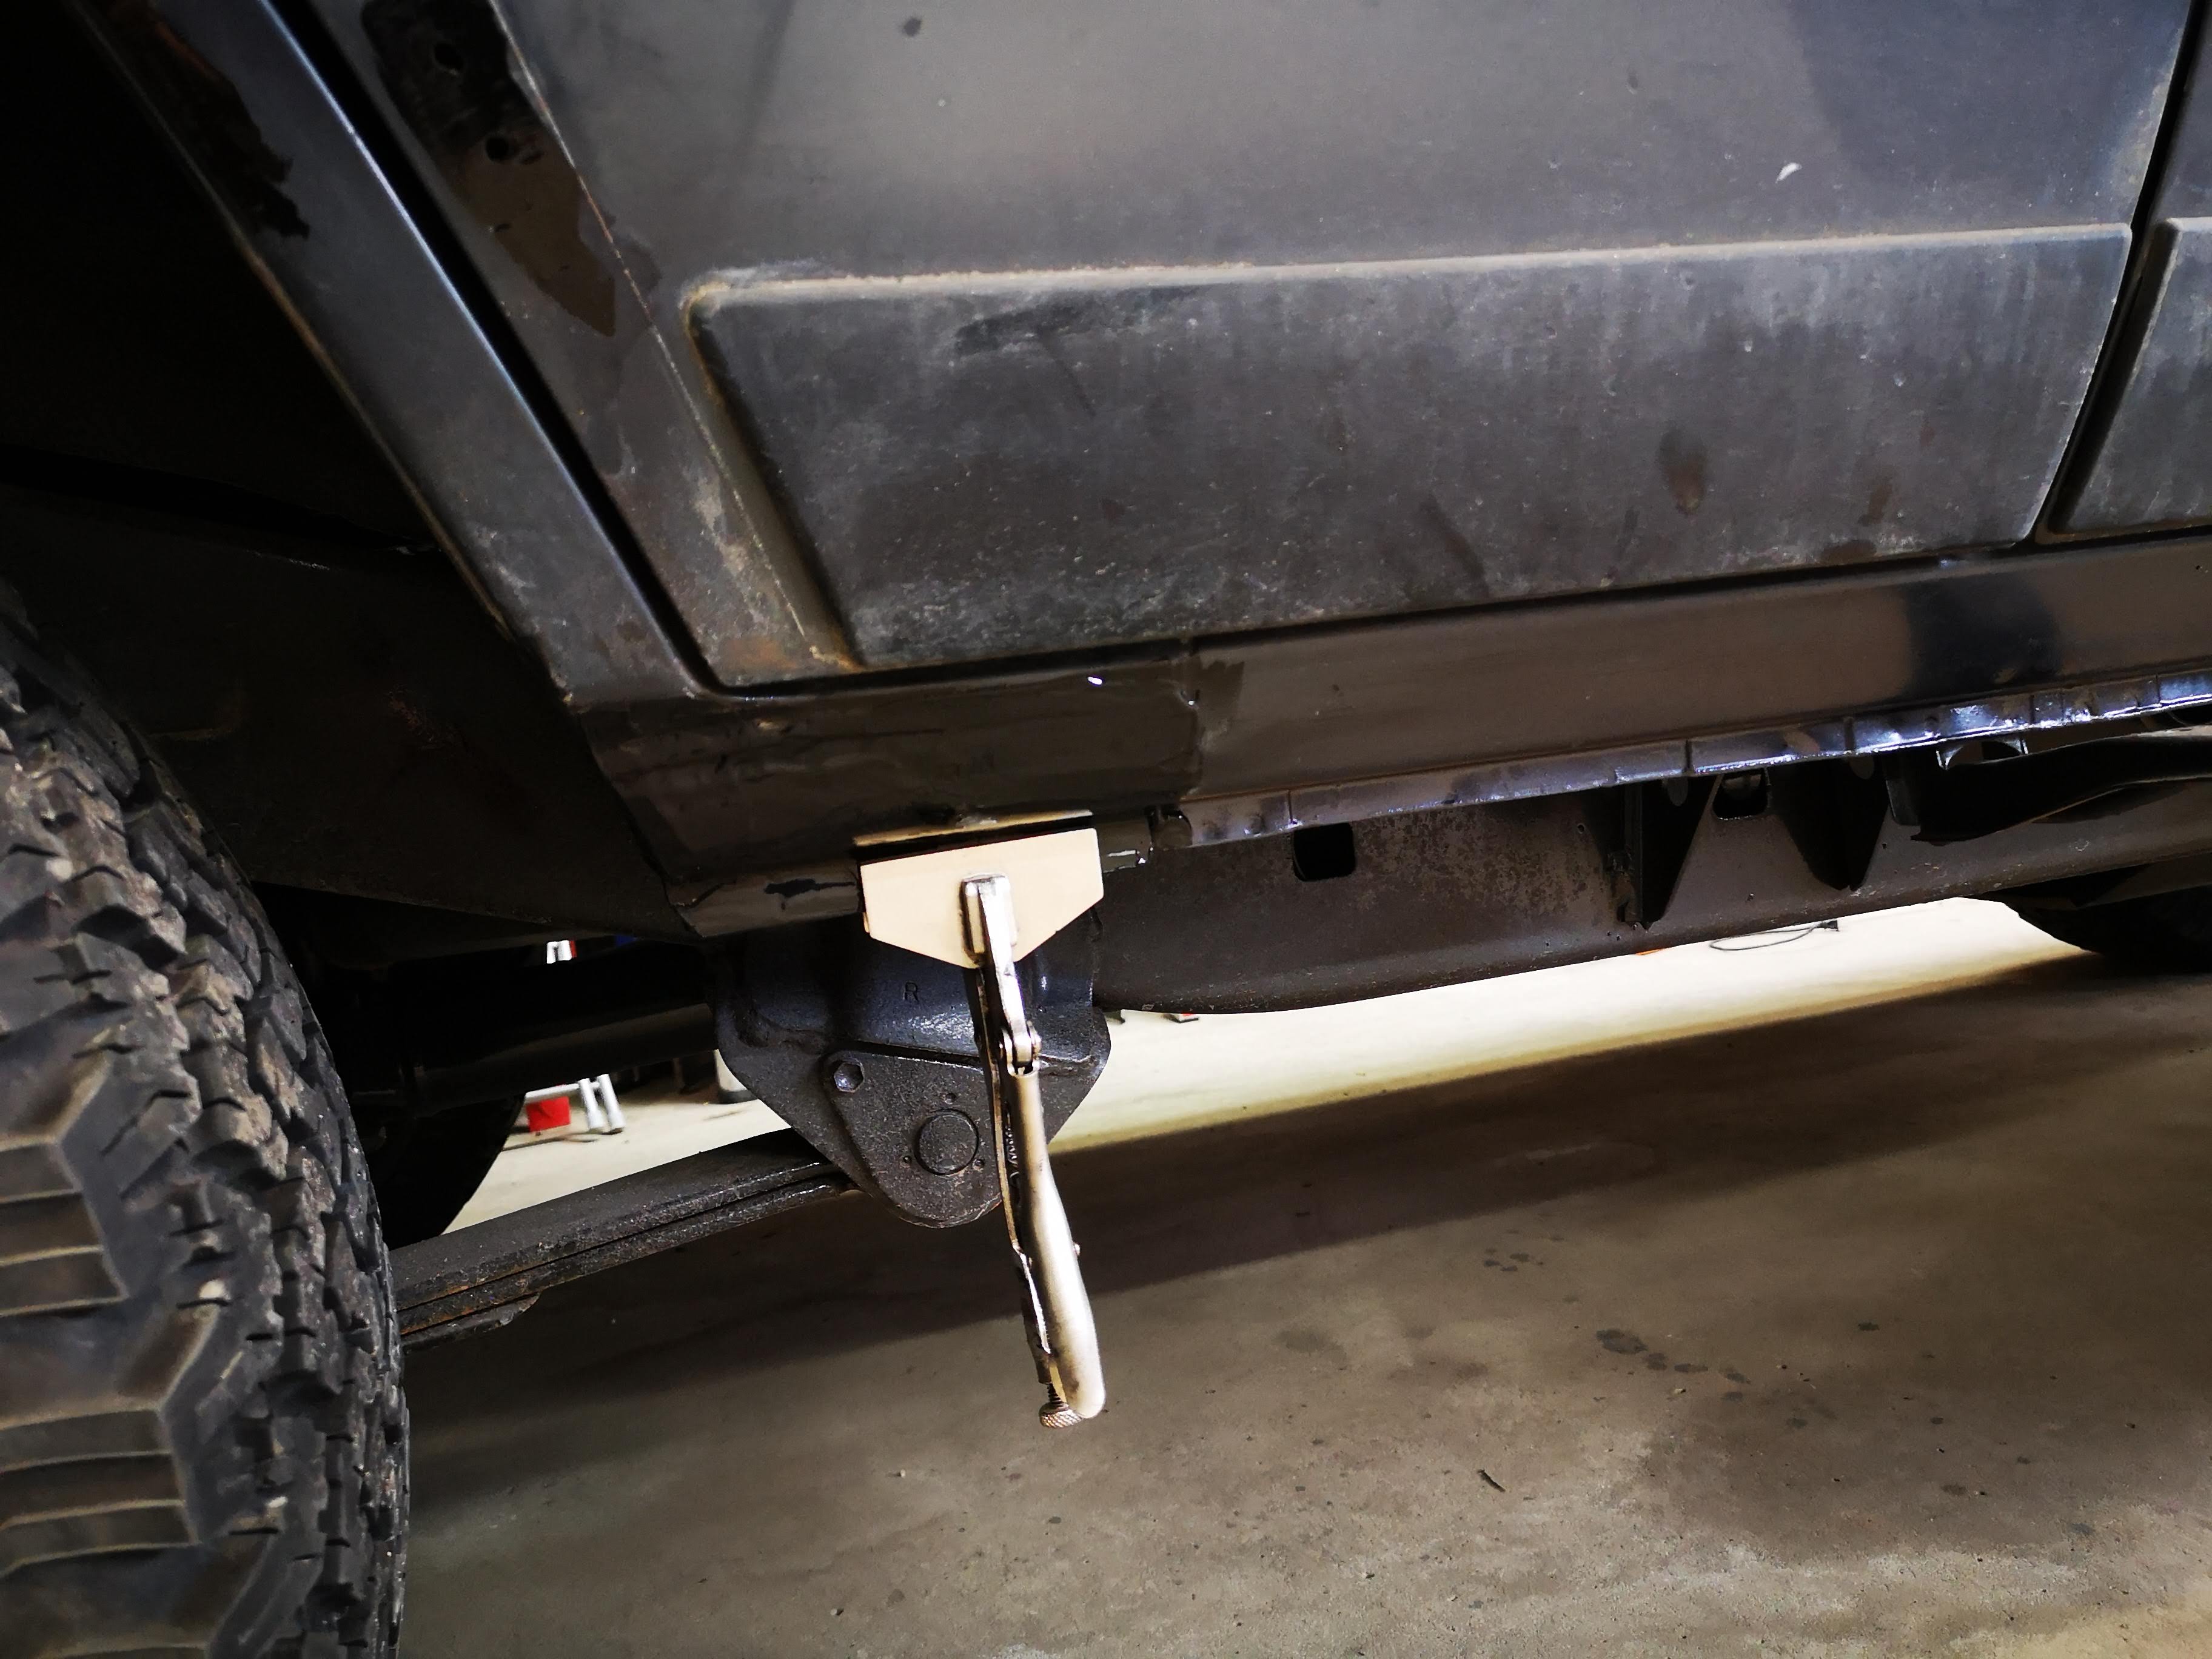
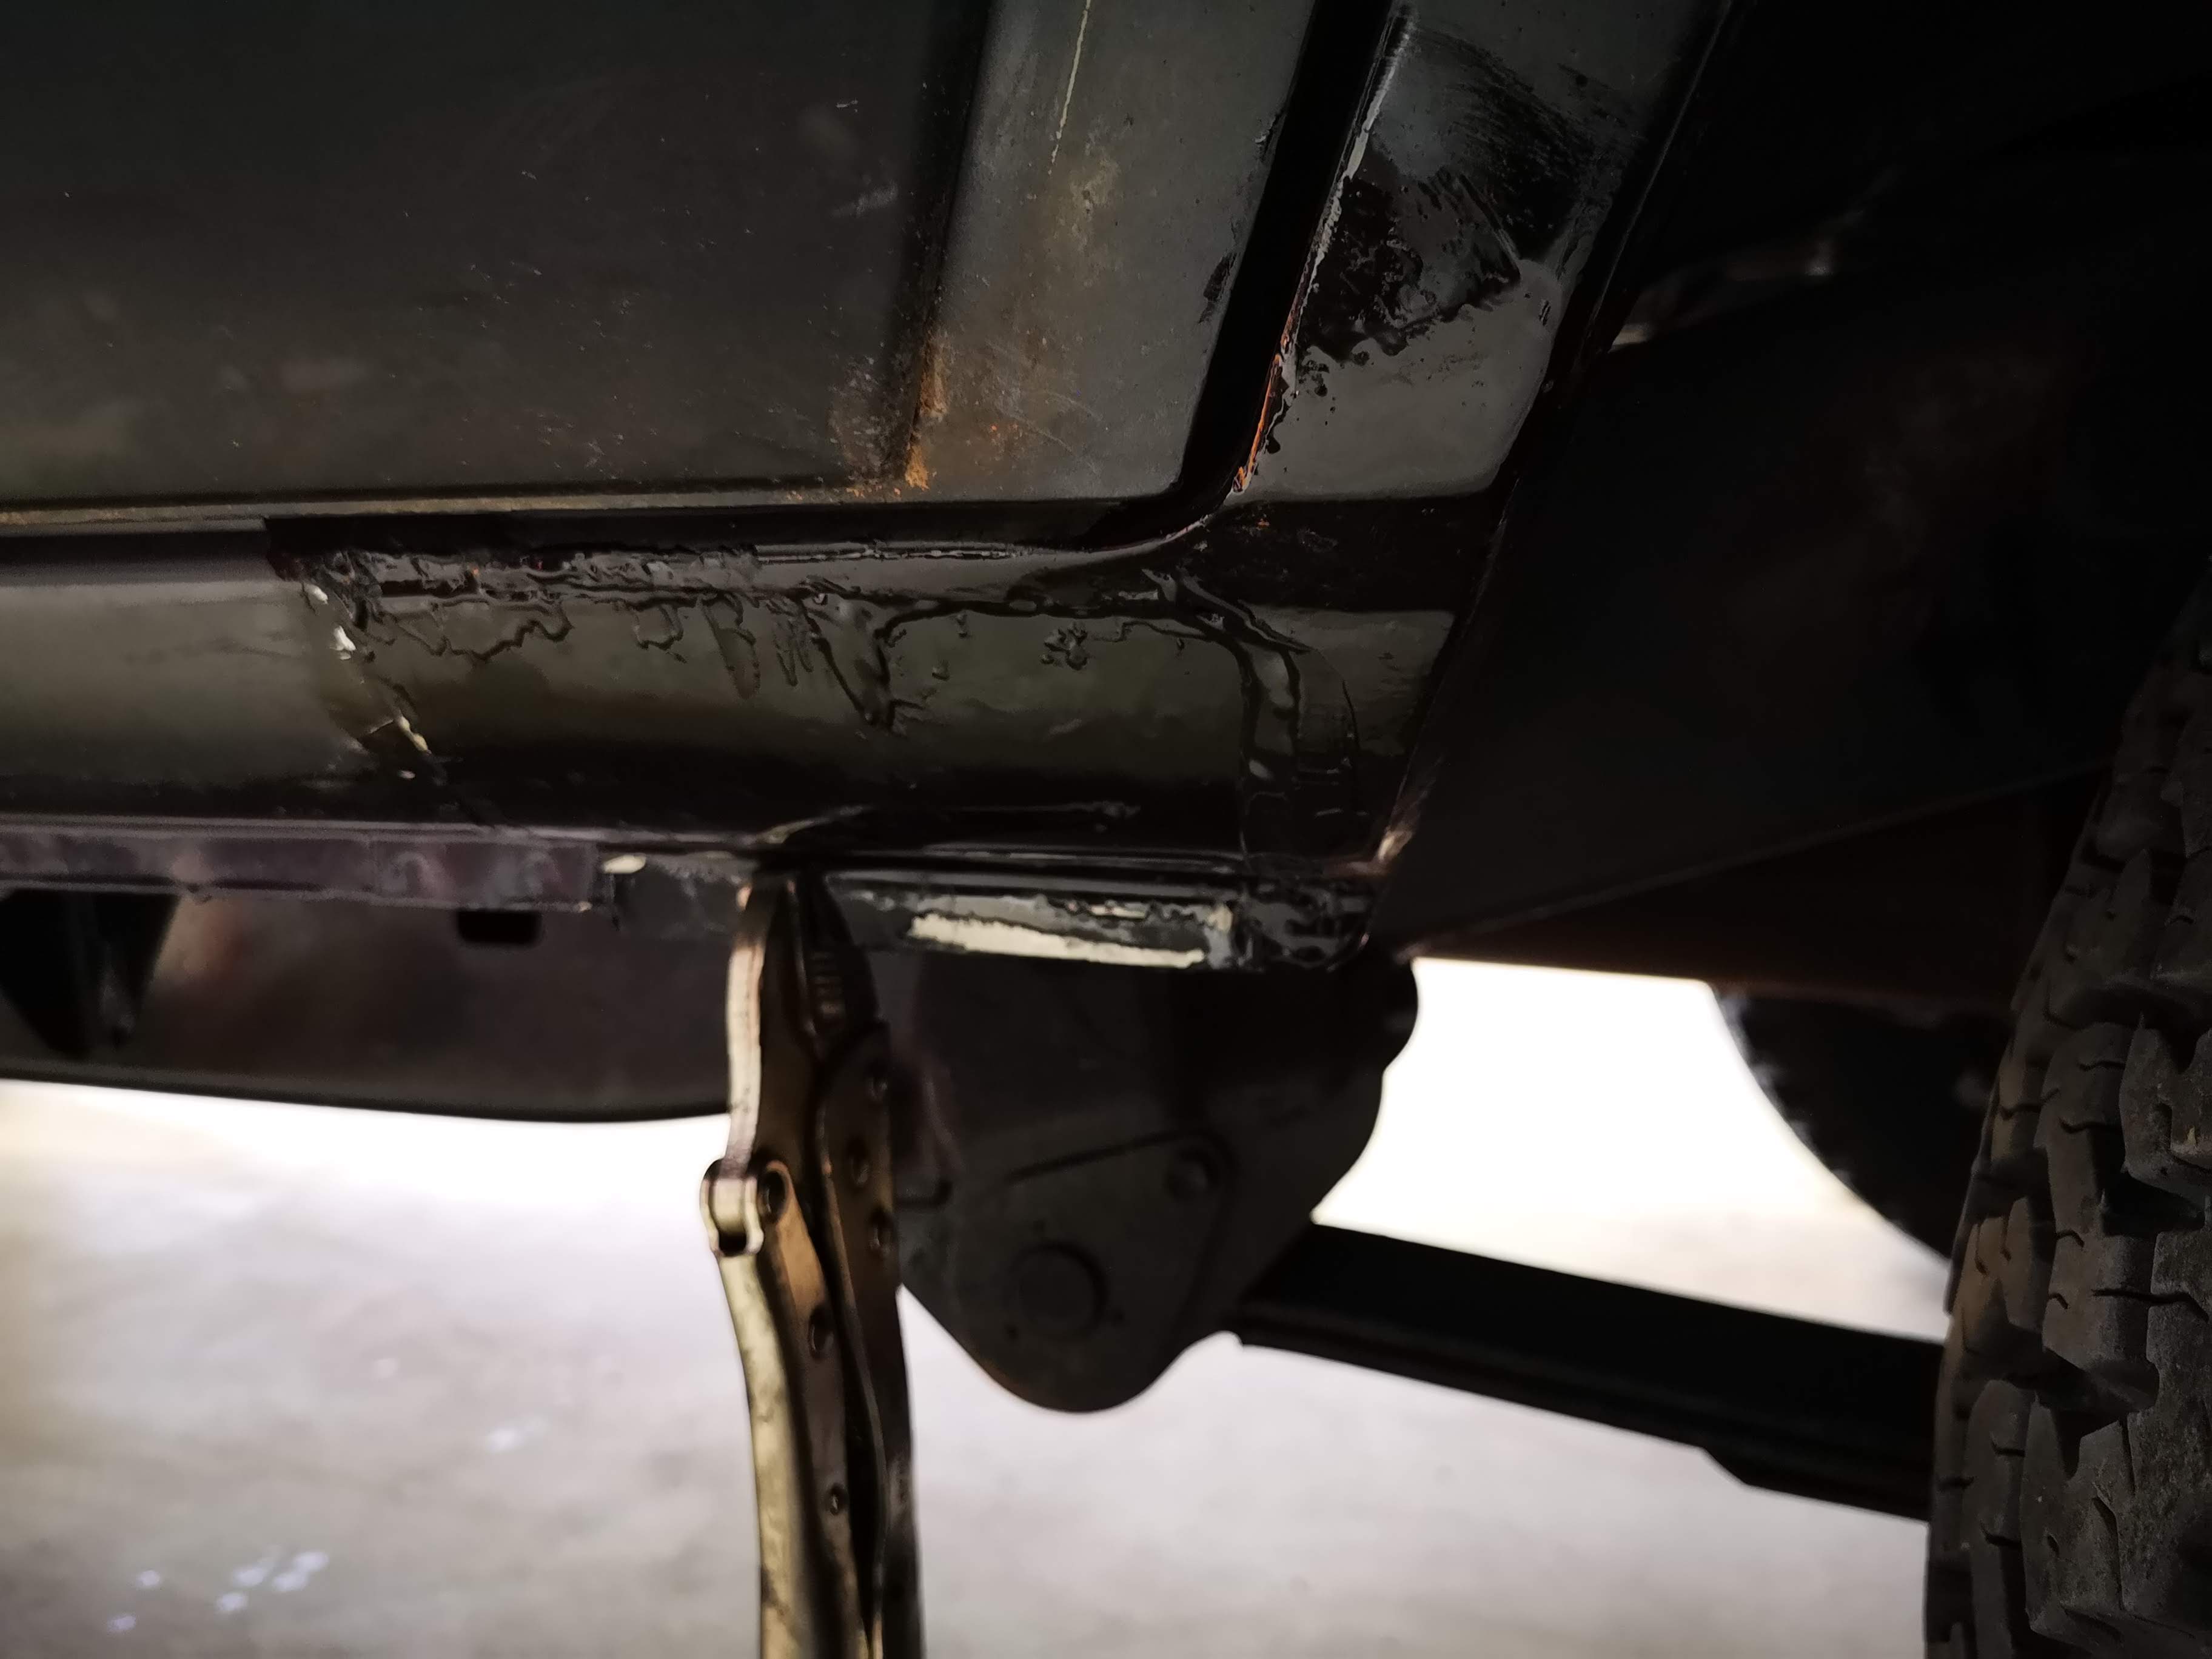
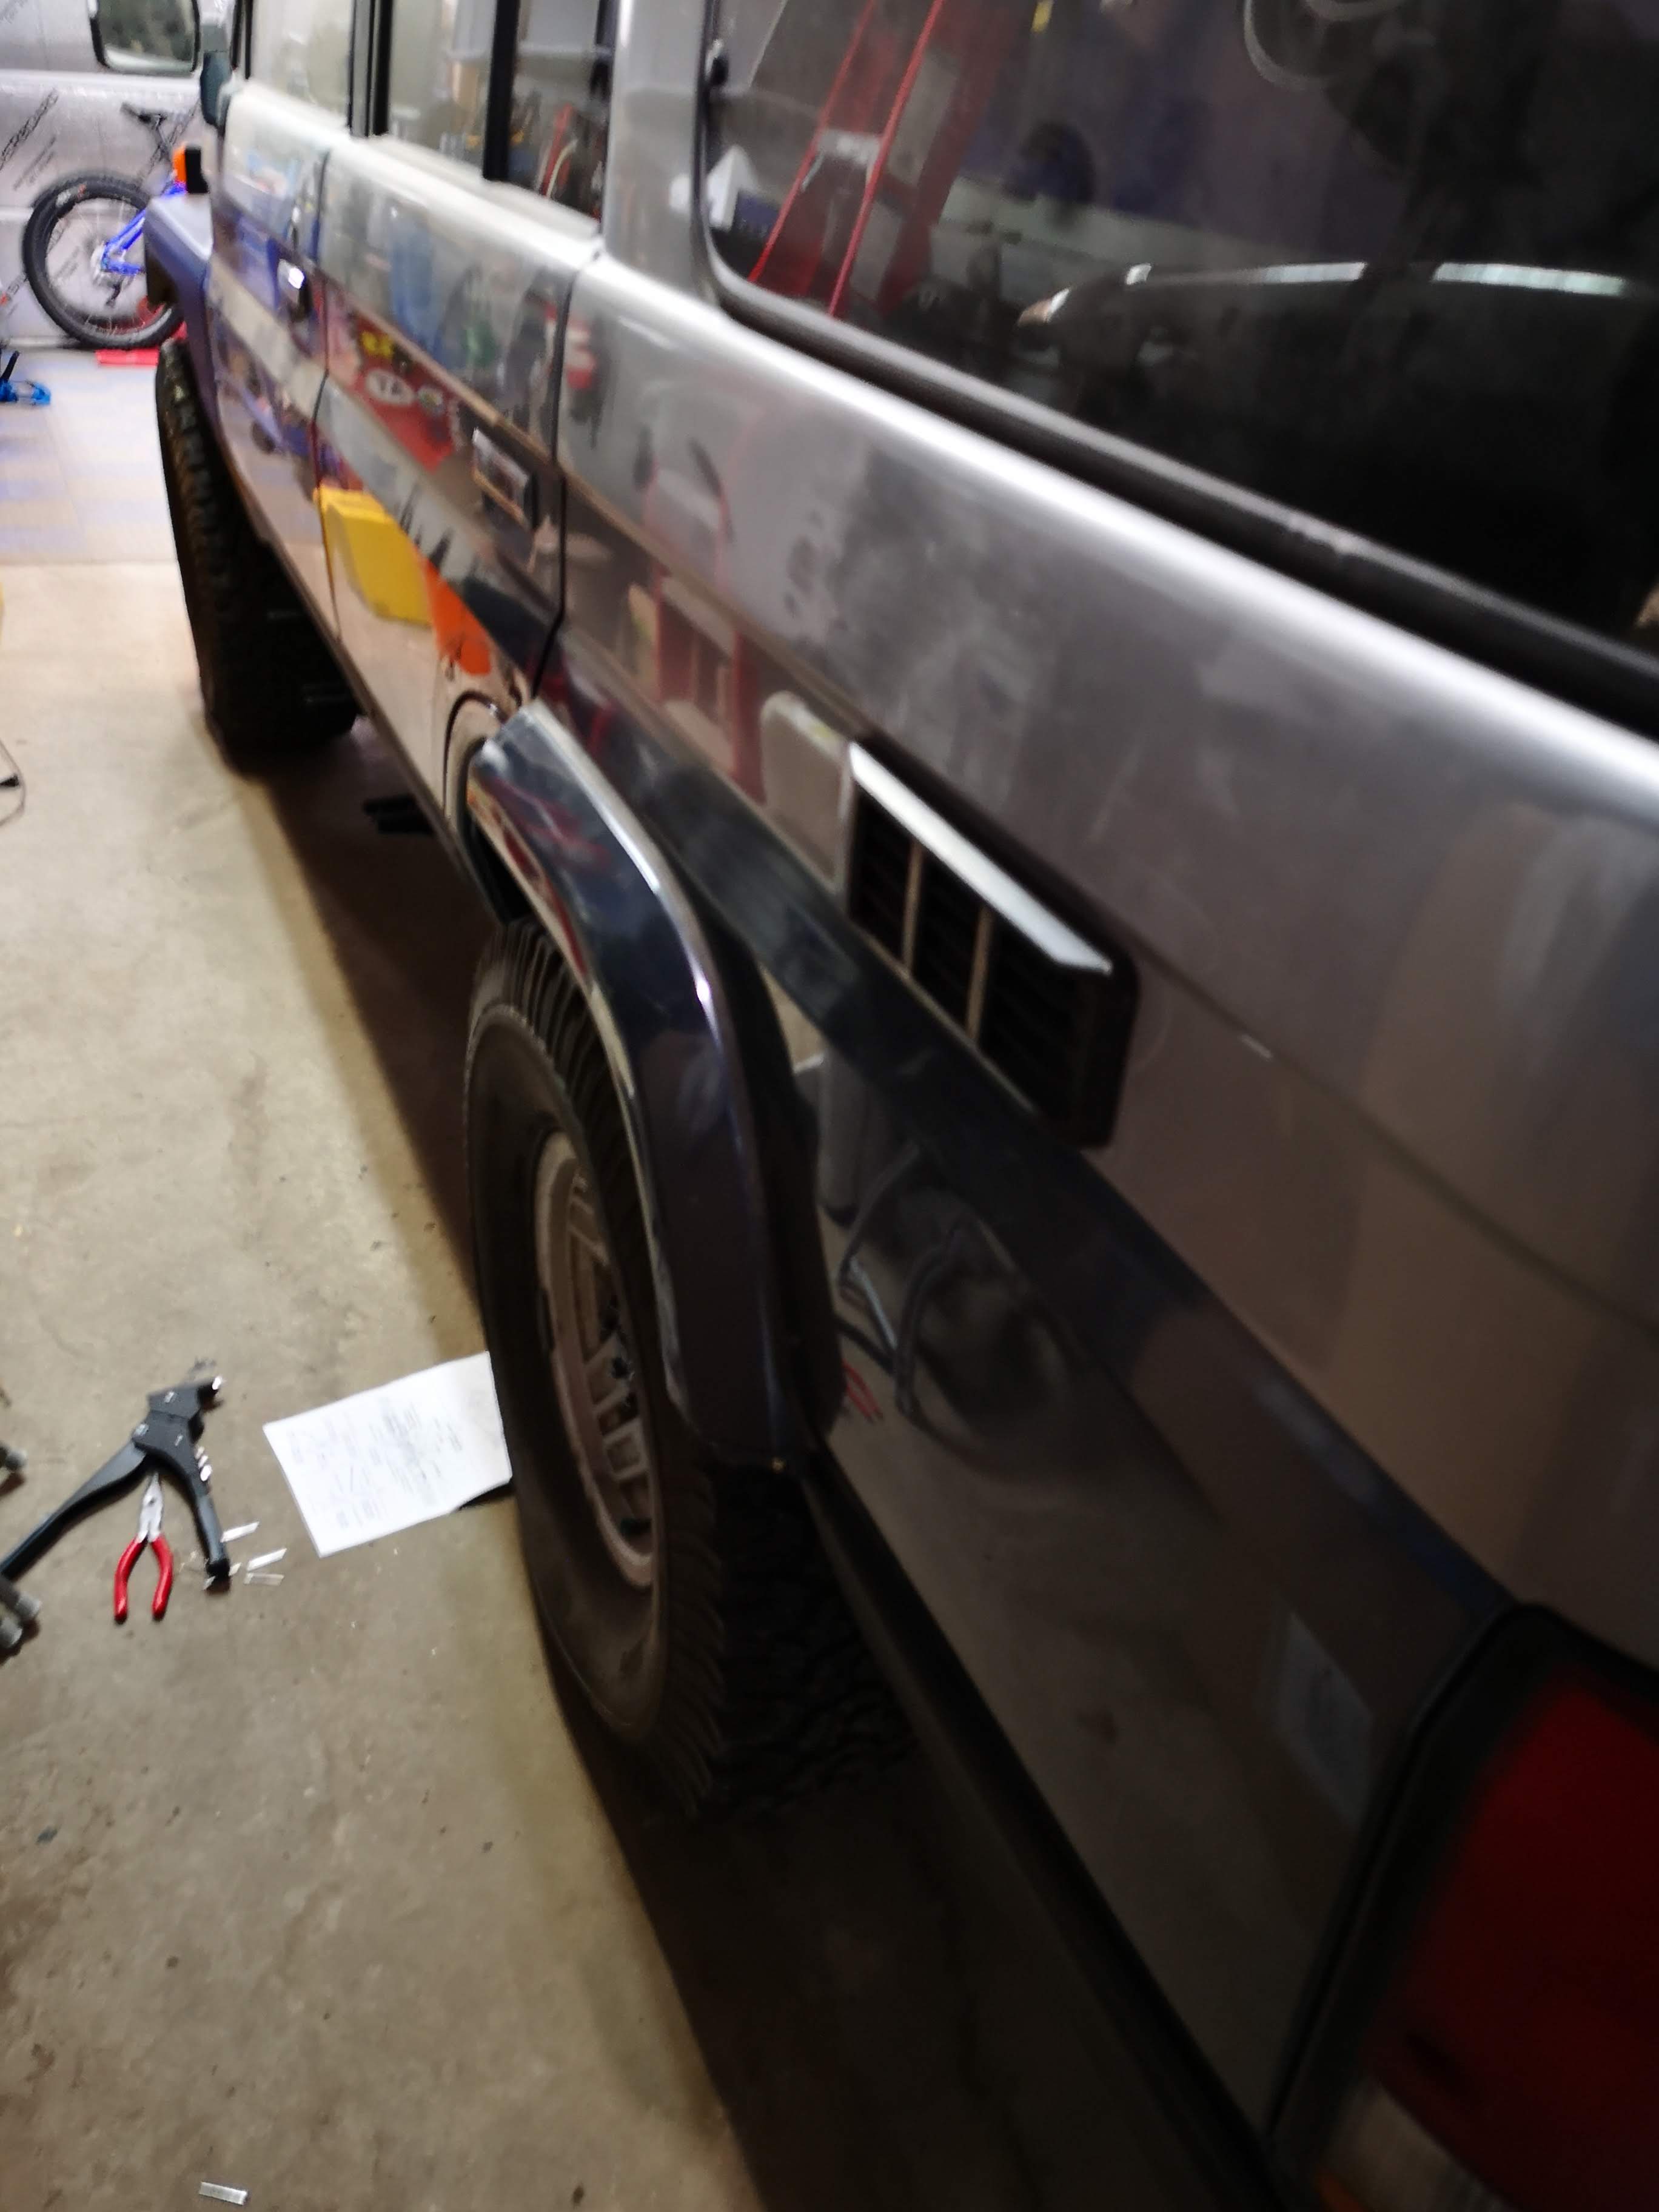
POR15 was used in the holes to seal them up. Then I began riveting. It was not riveting entertainment. And my gun is a manual type, so I can barely feel my hands this evening. But I began painstakingly attaching the clamps. The rear holes were still intact, so I started there.

Hangtime!

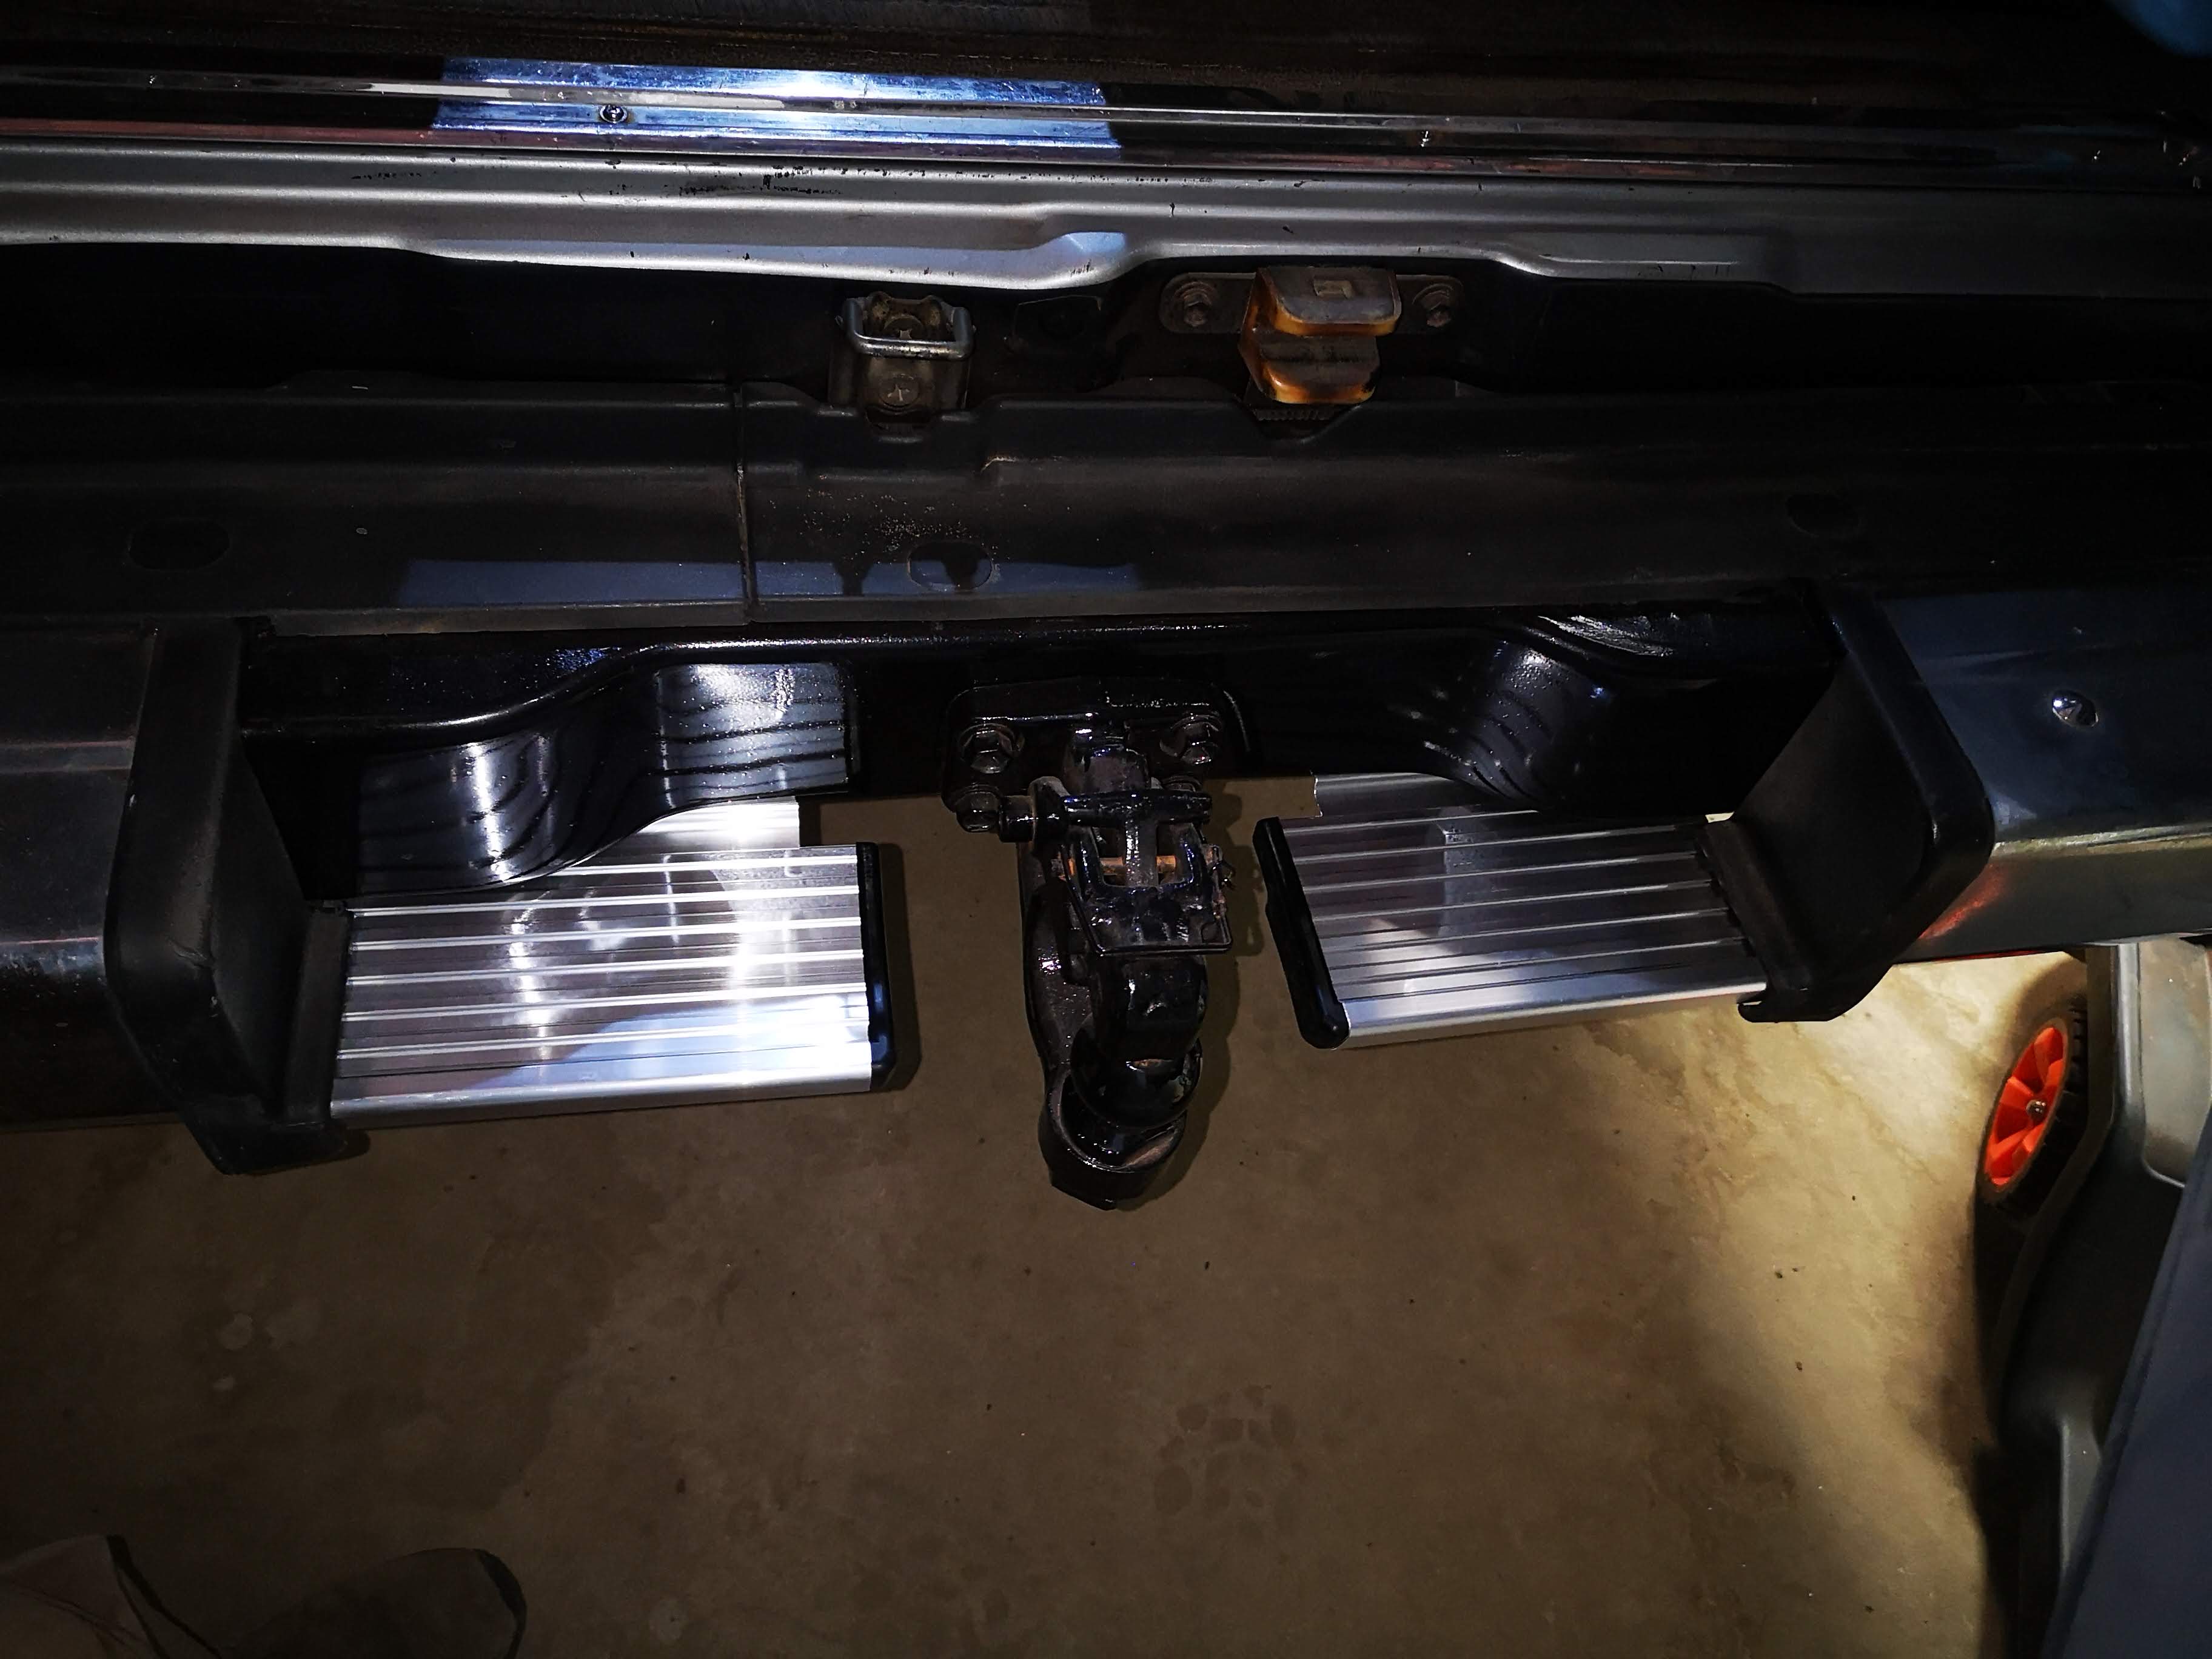
The rears went mostly according to plan and I managed to put all the new hangers in the right place. One flare was broken, so I bought a new one. I still need to get one gasket, so one rear piece is going without until my next order.

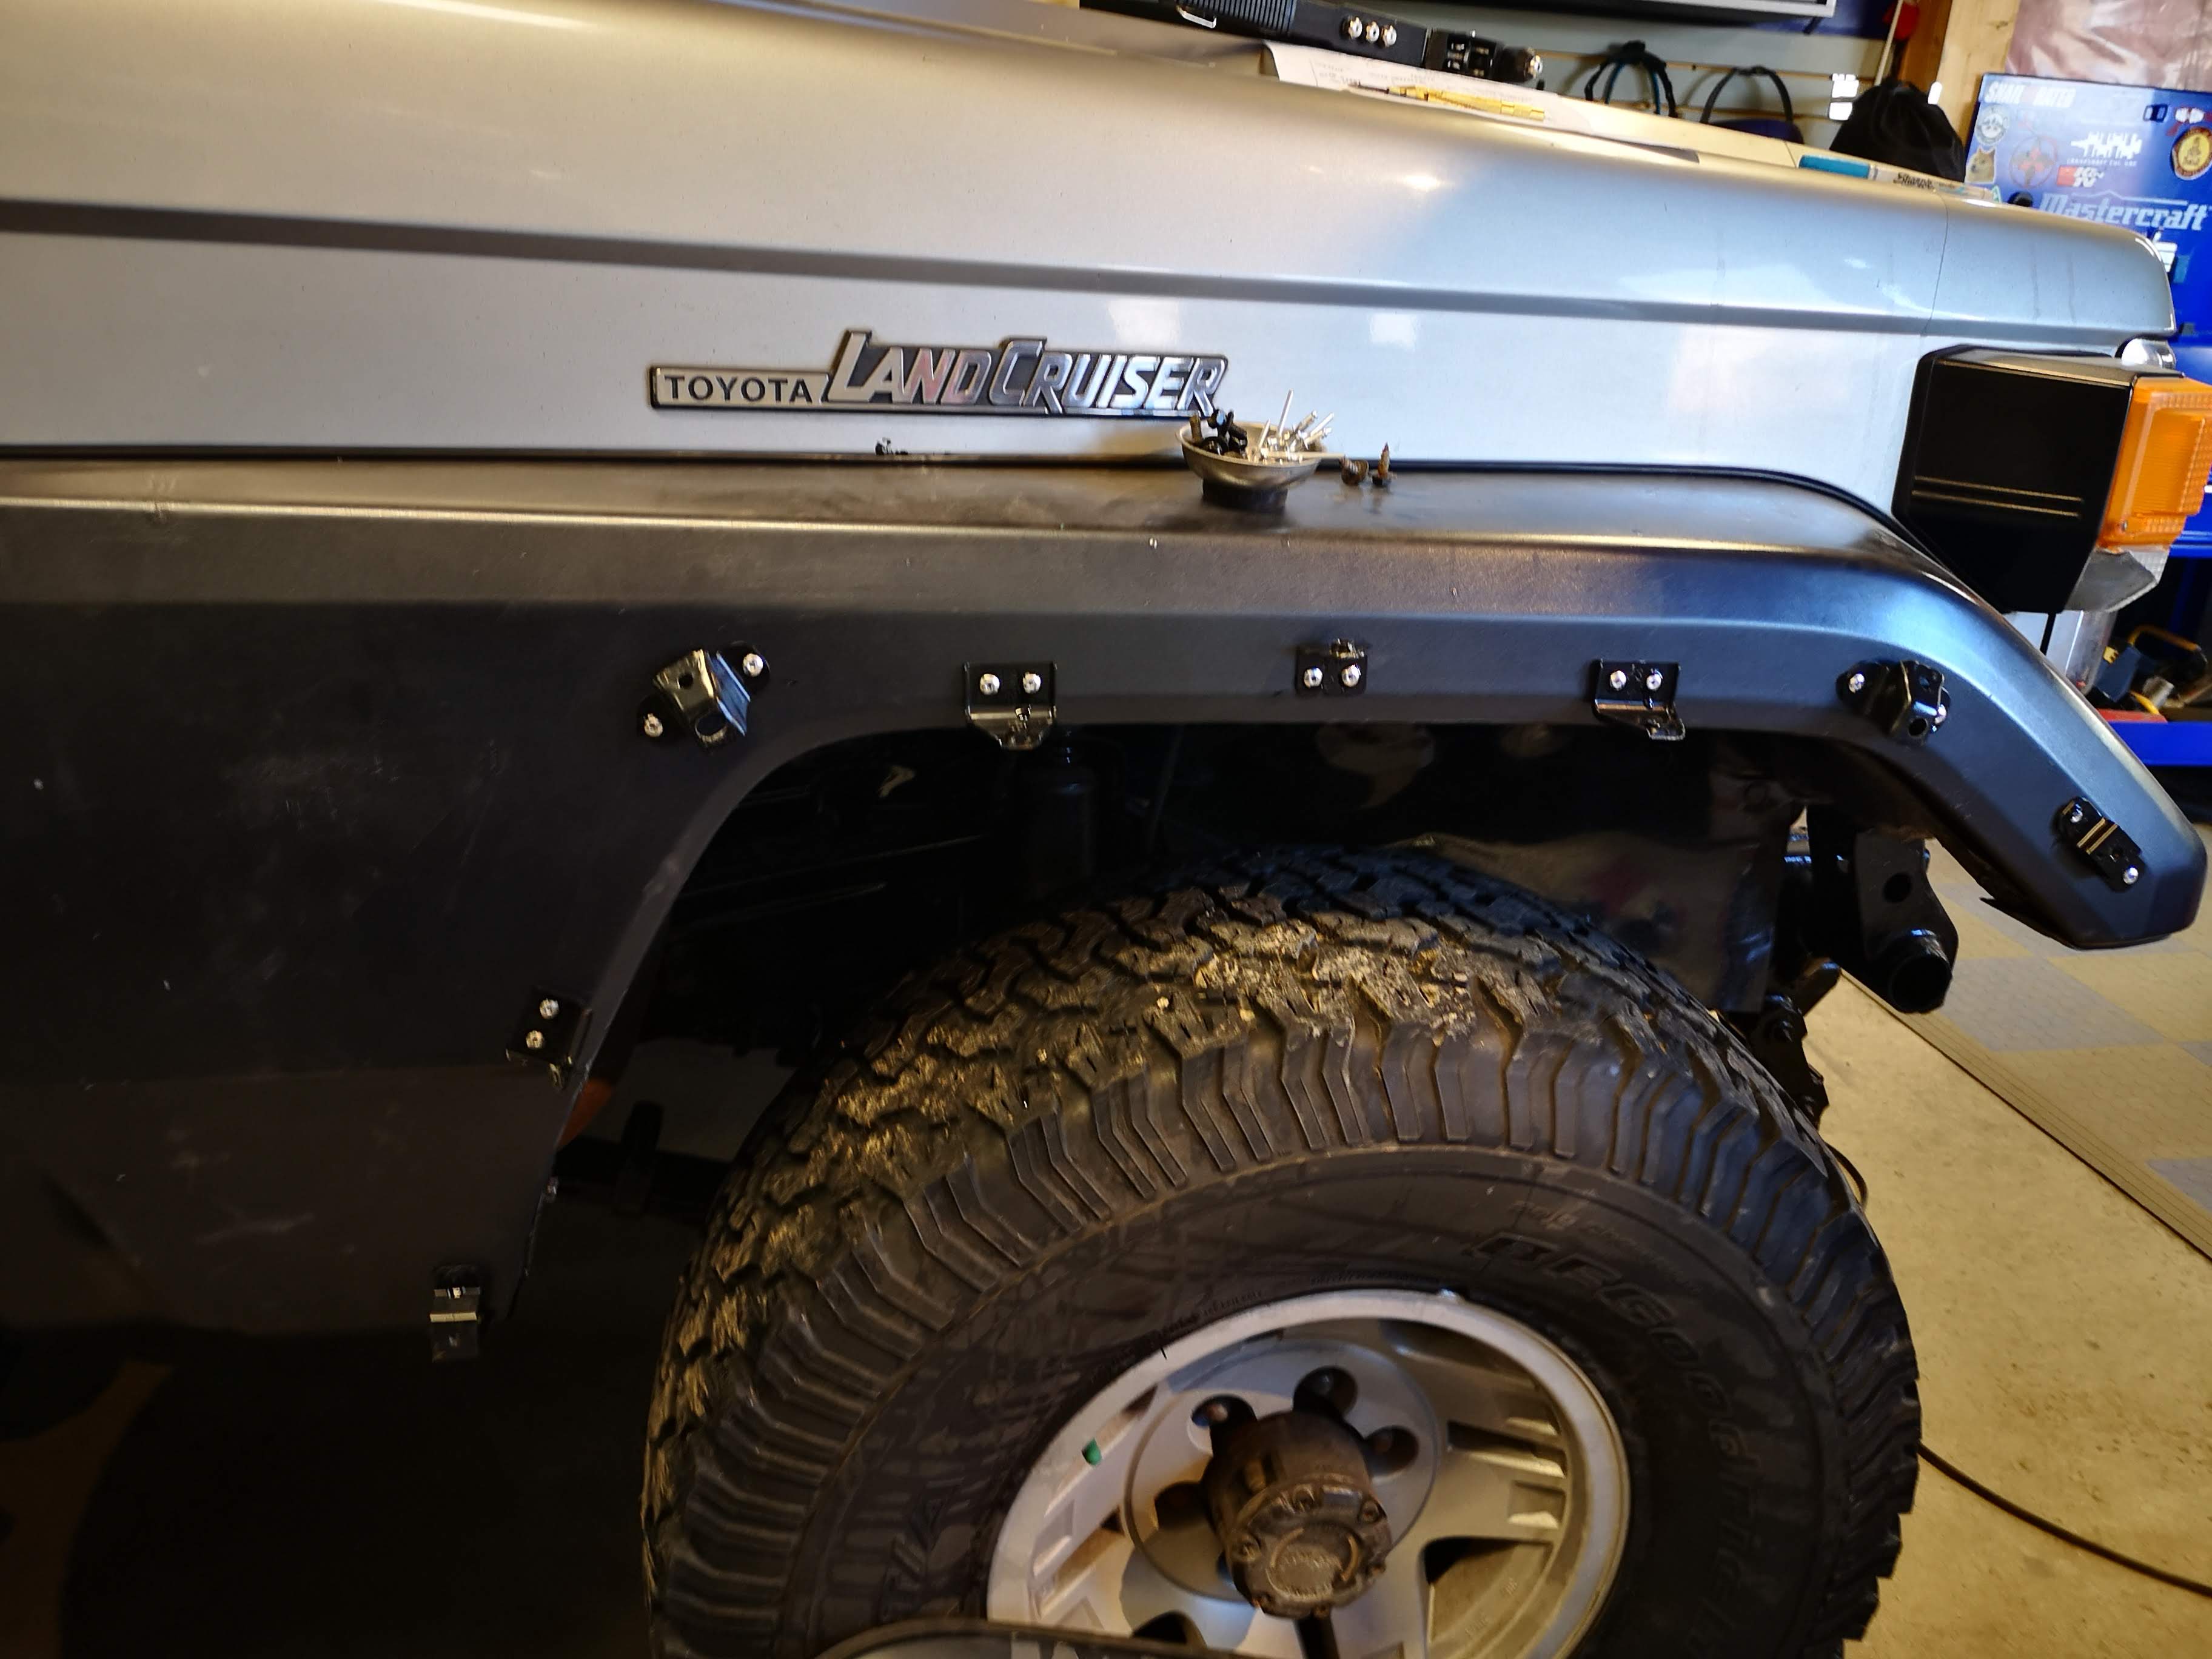
But the fronts were a little more stressful. What if I drilled the holes wrong? What if I slipped a little when holding one up? What if I put the hangers backwards or in the wrong place? Here we go…

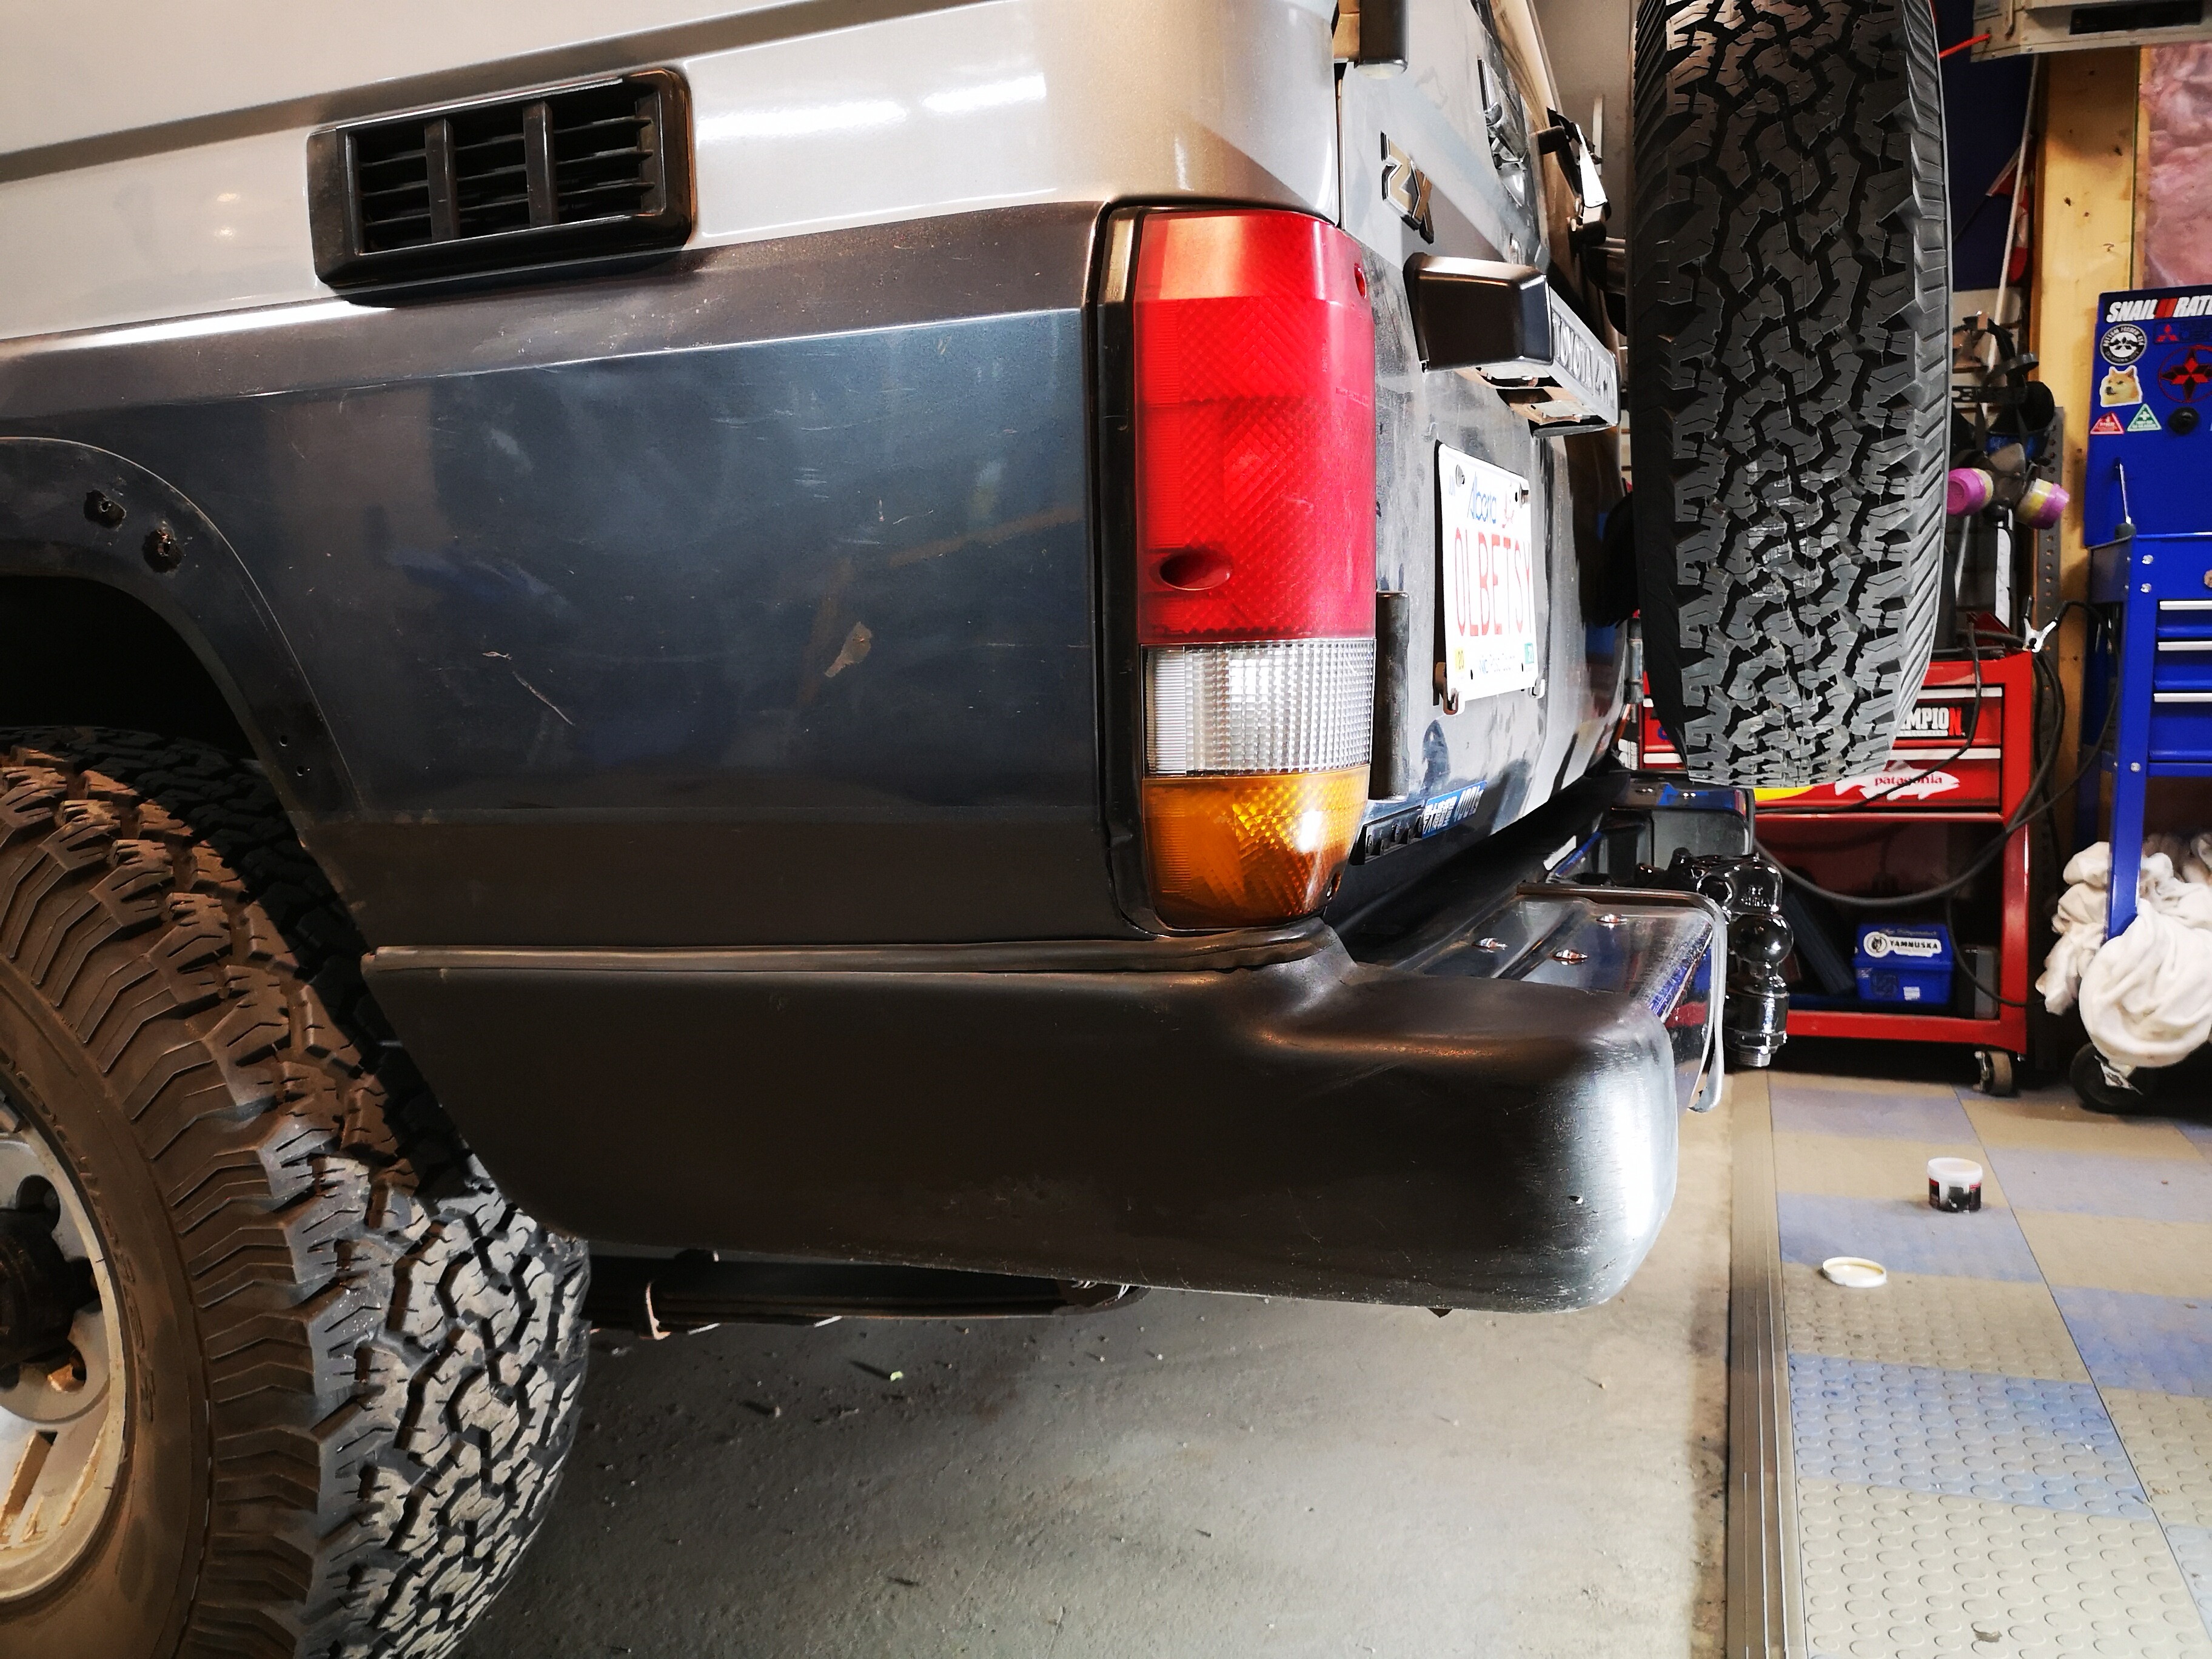
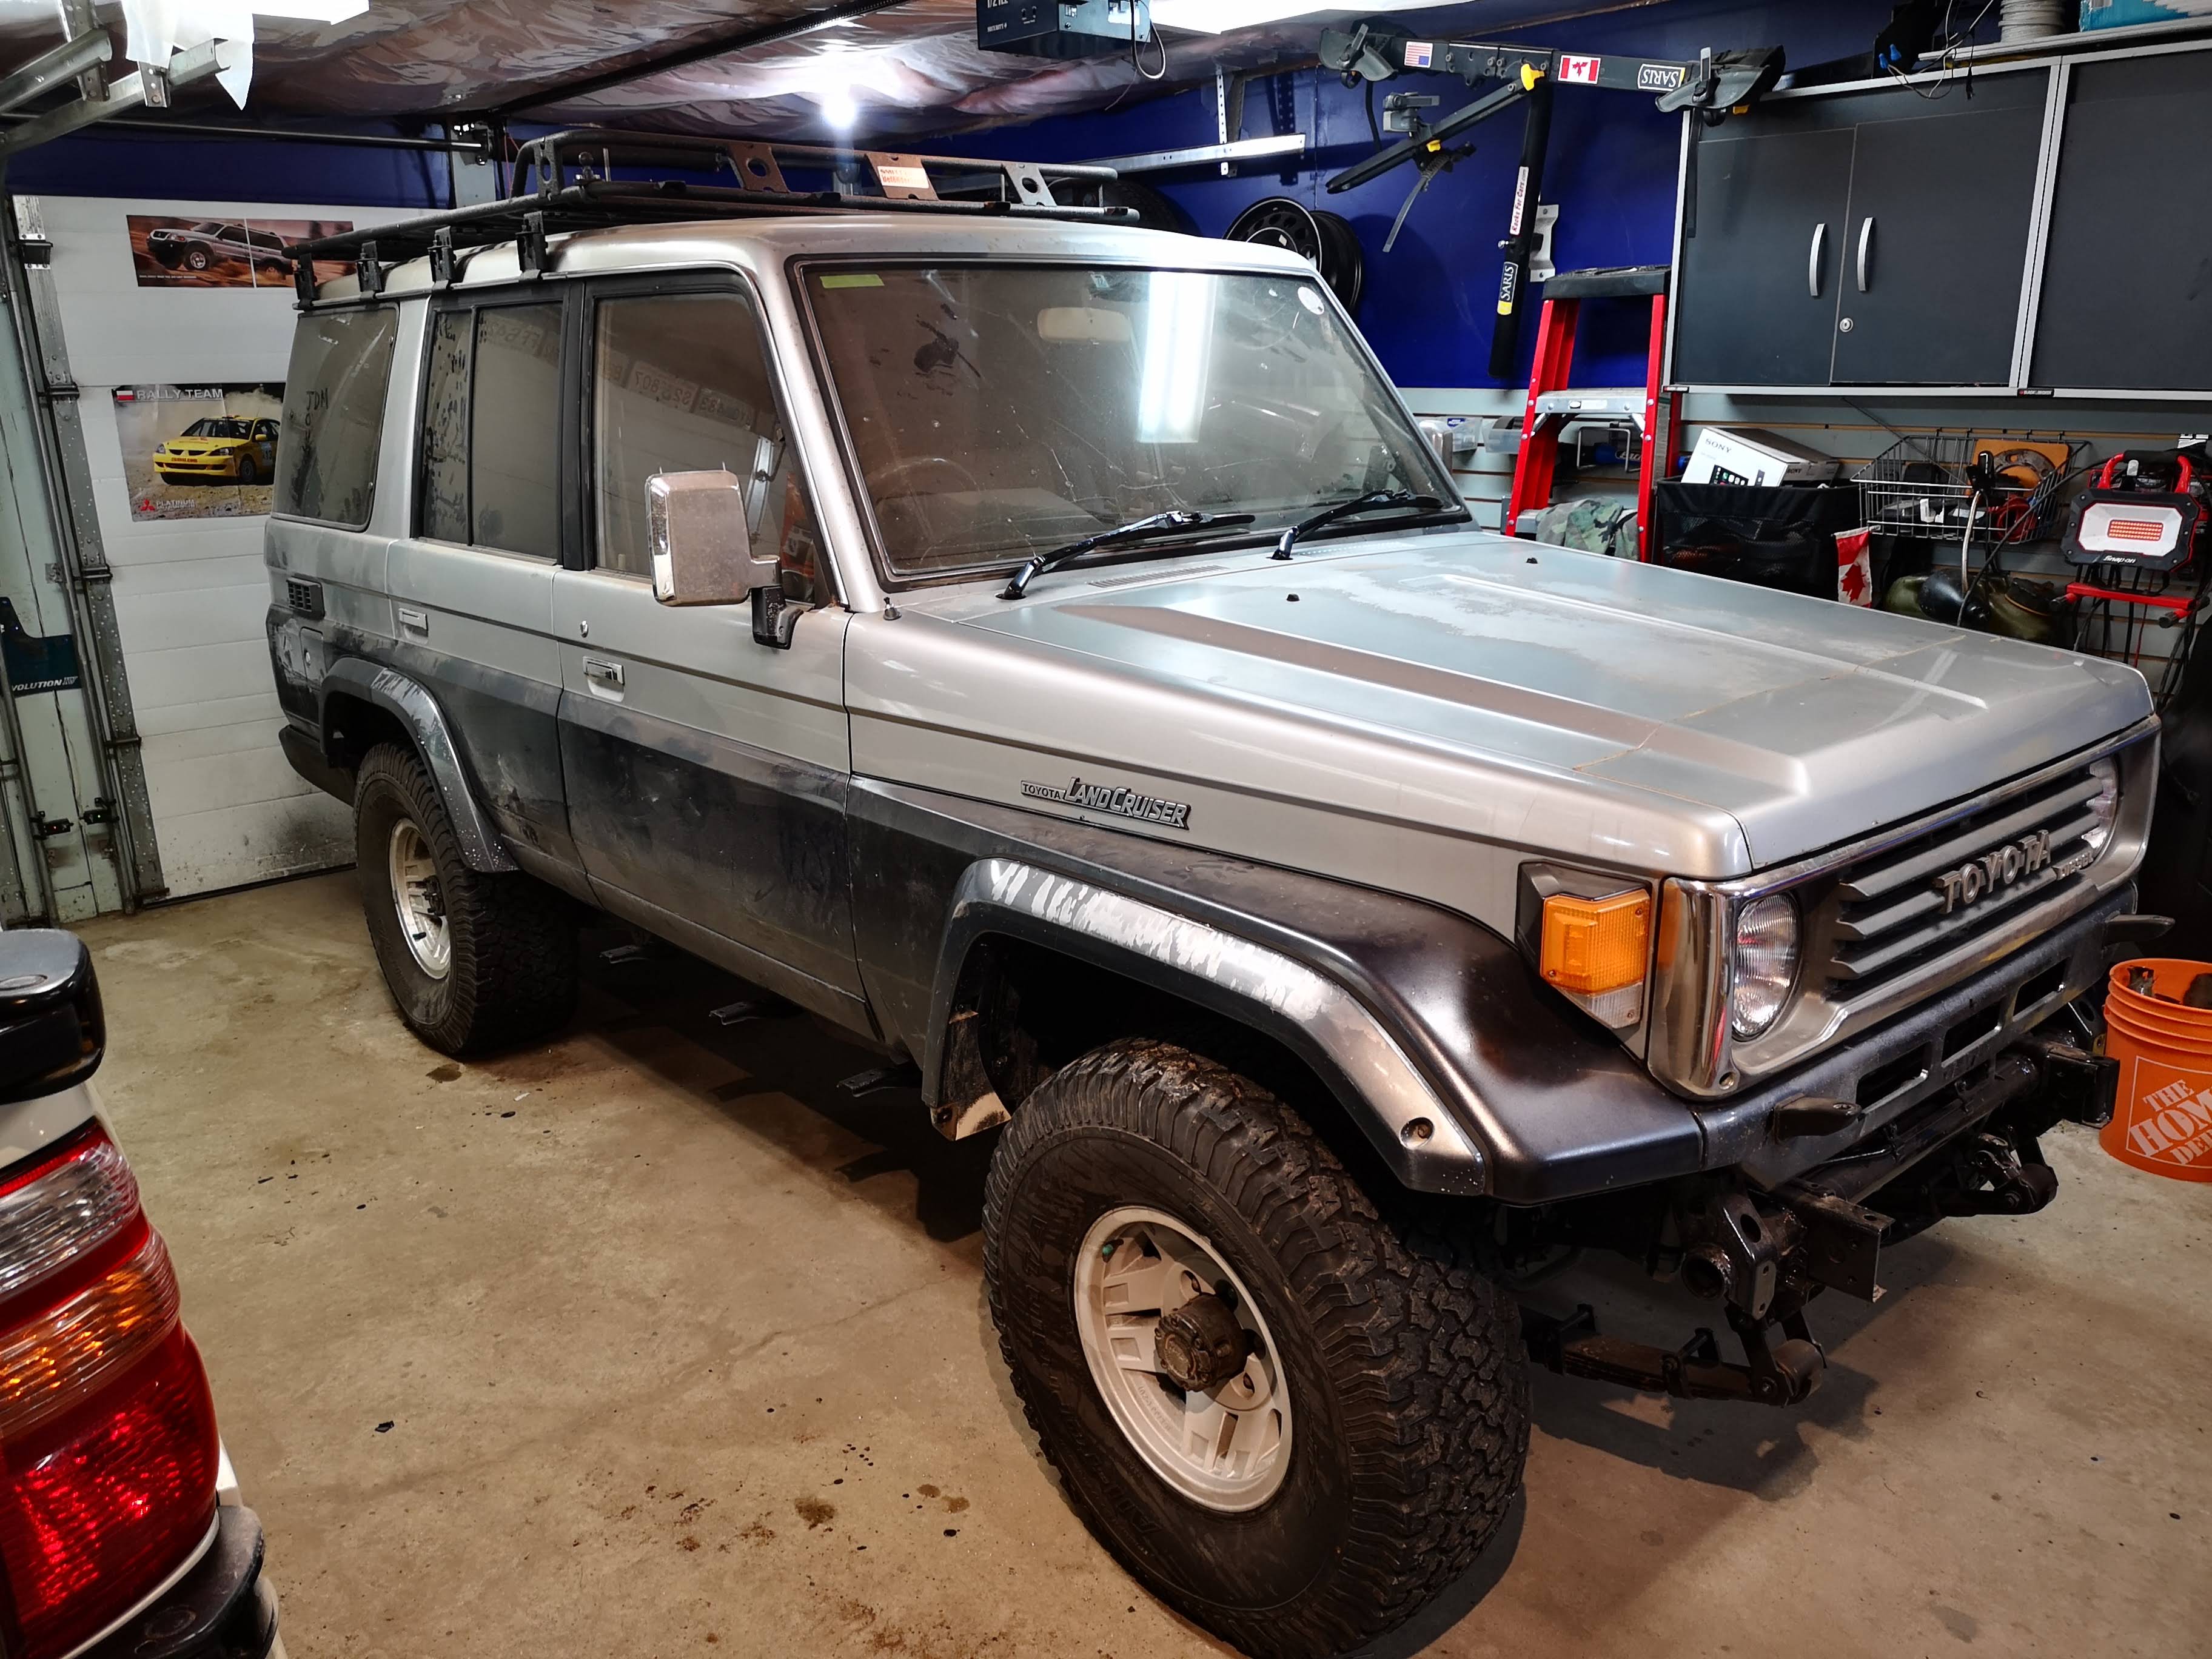
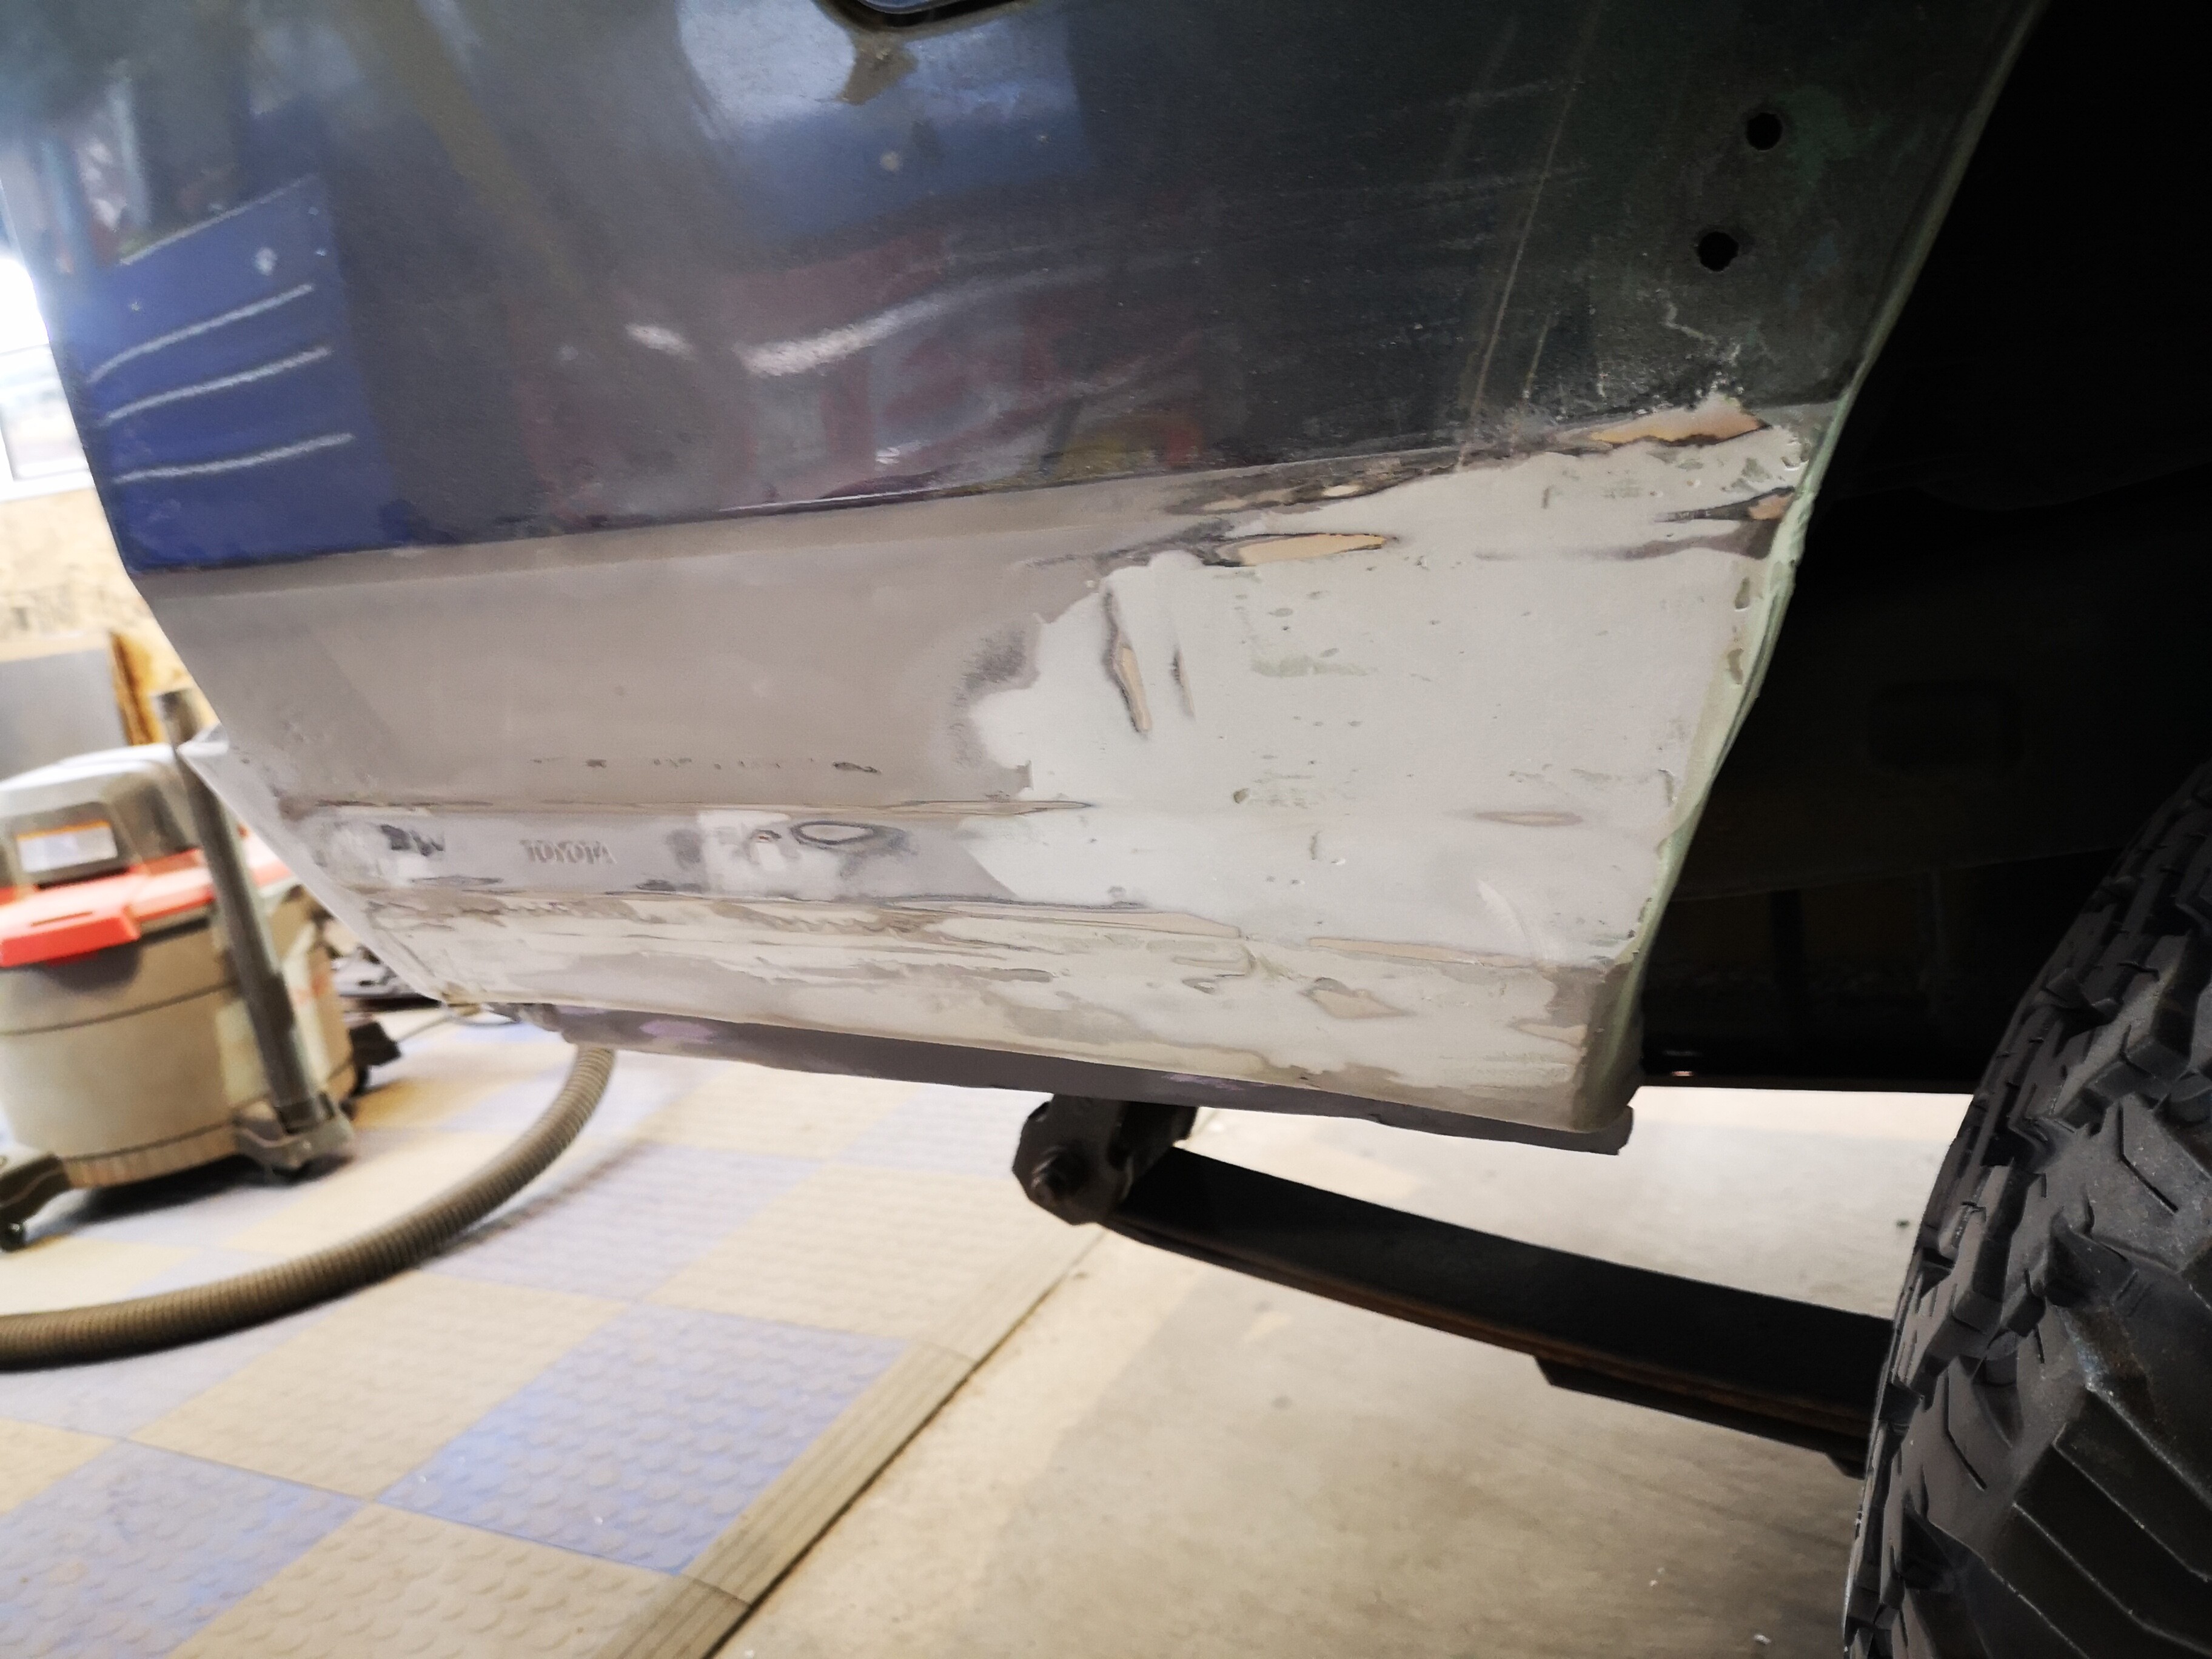
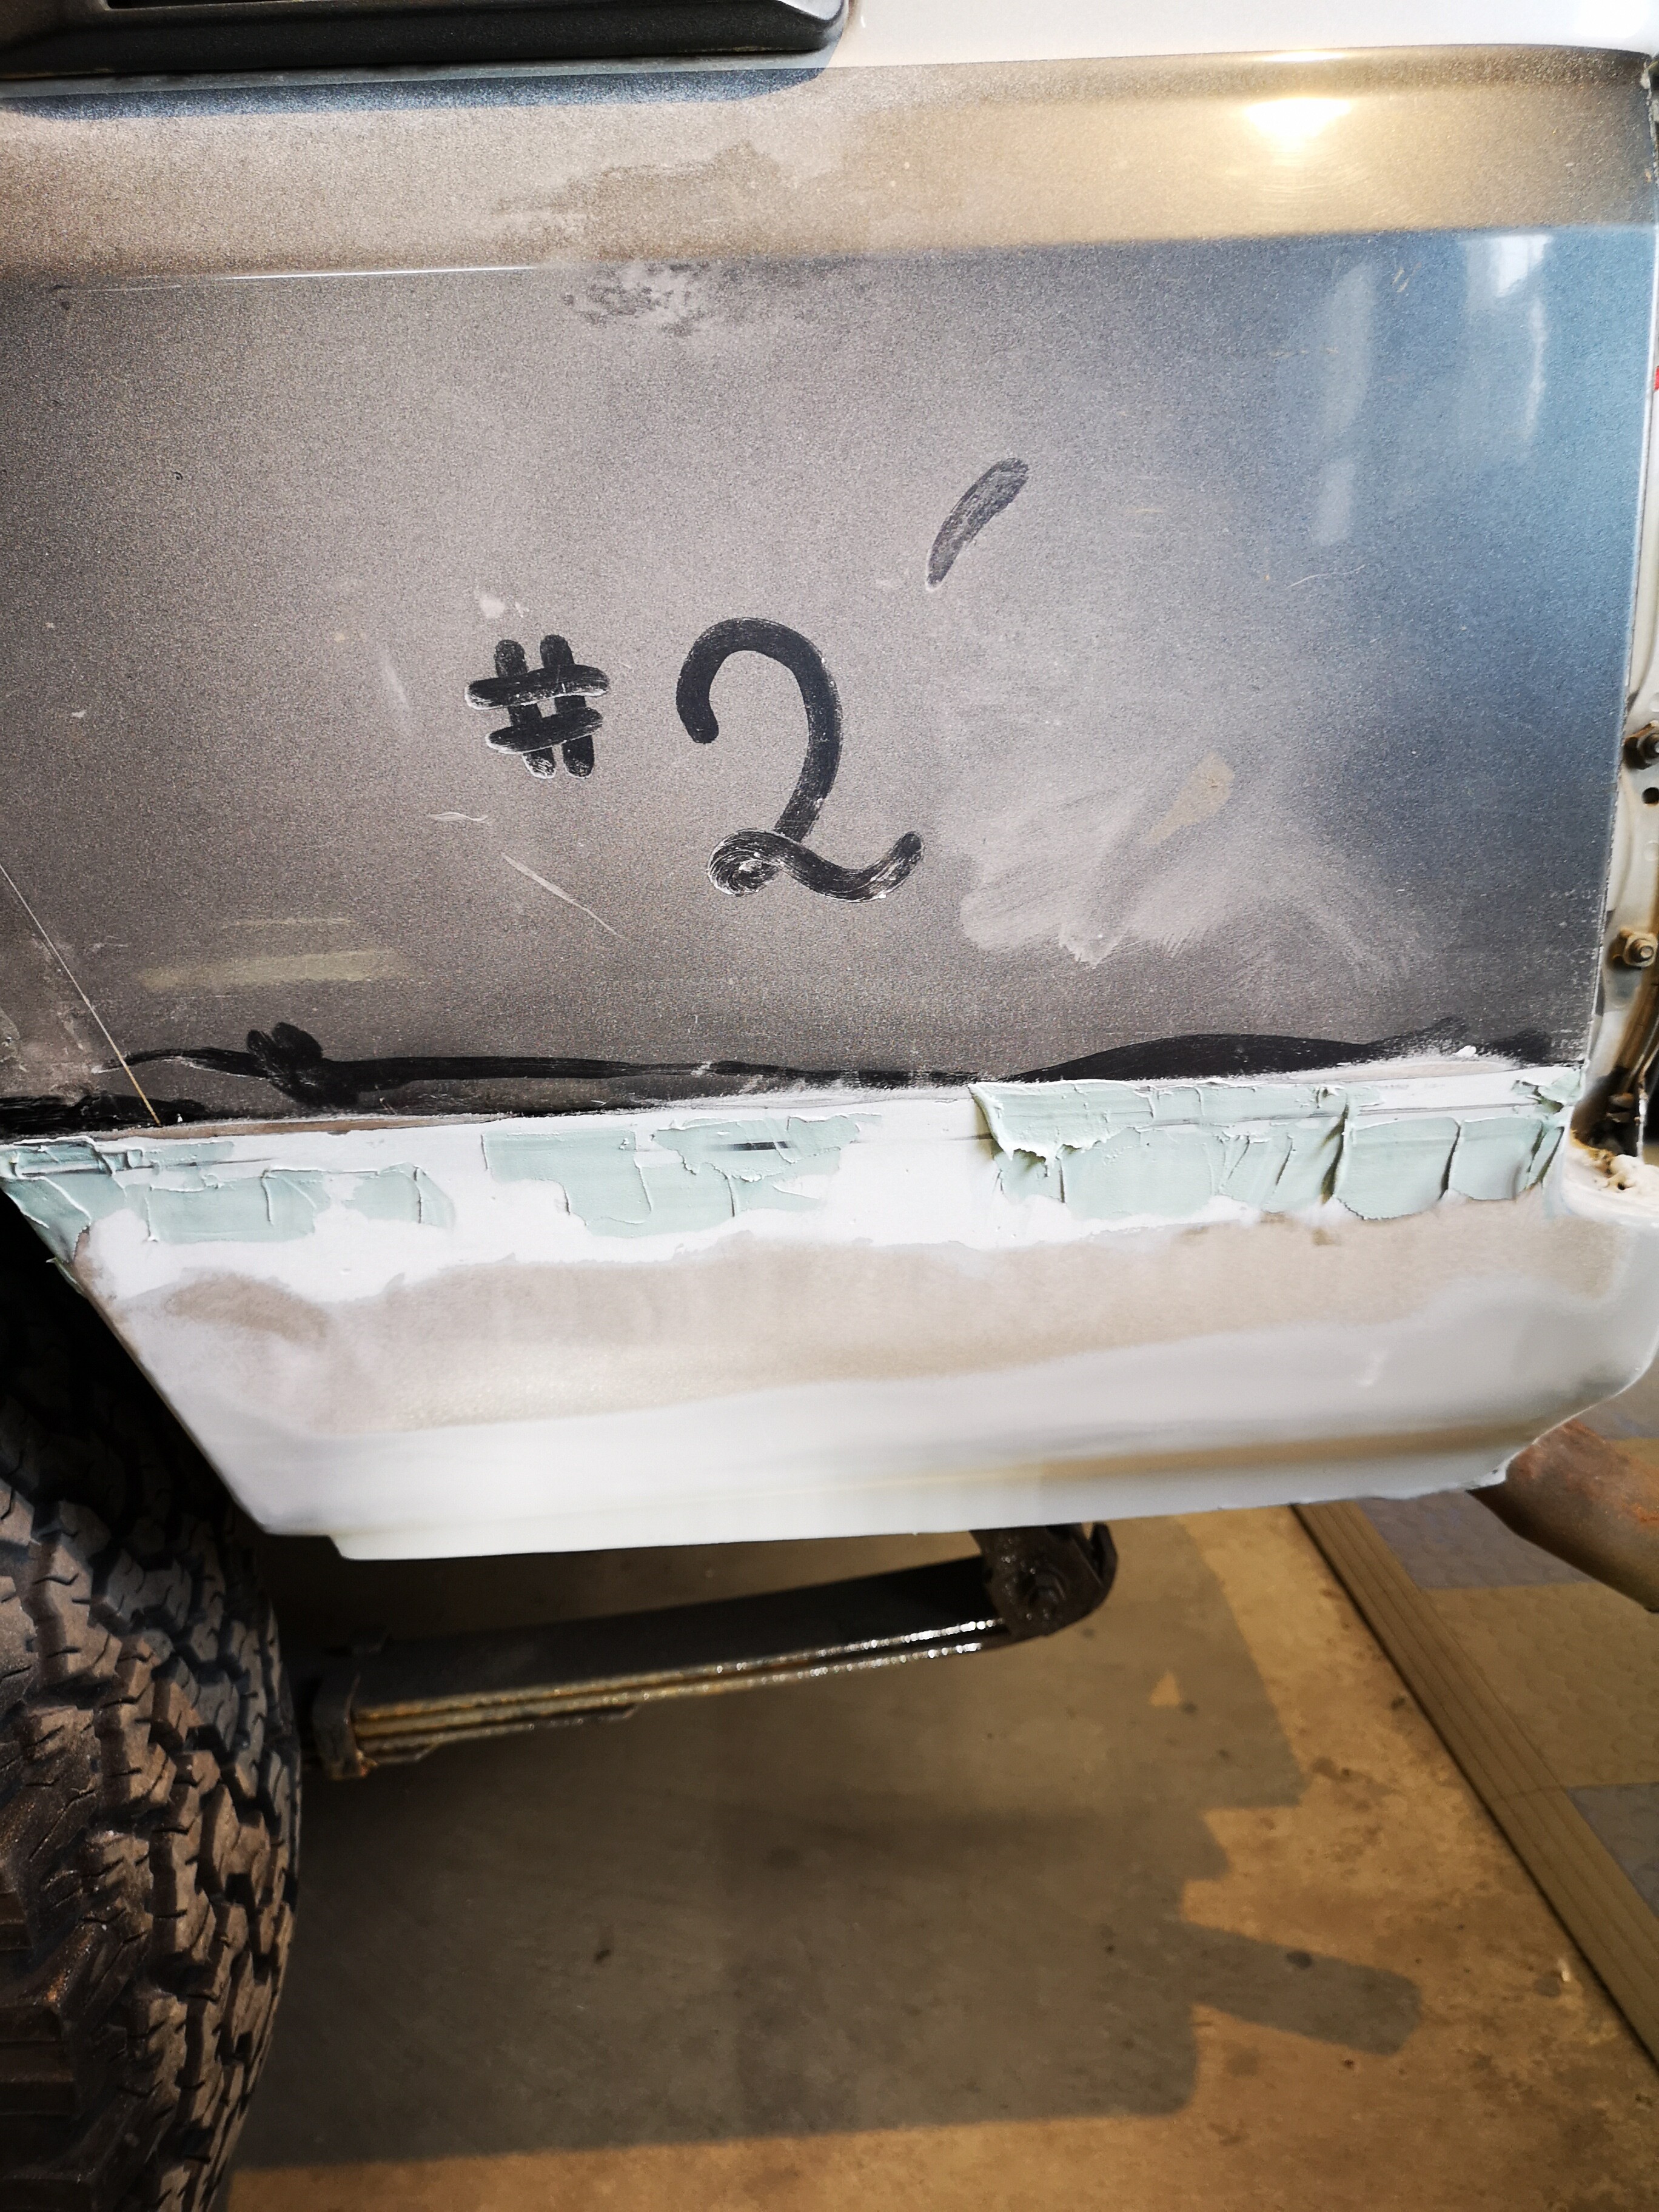
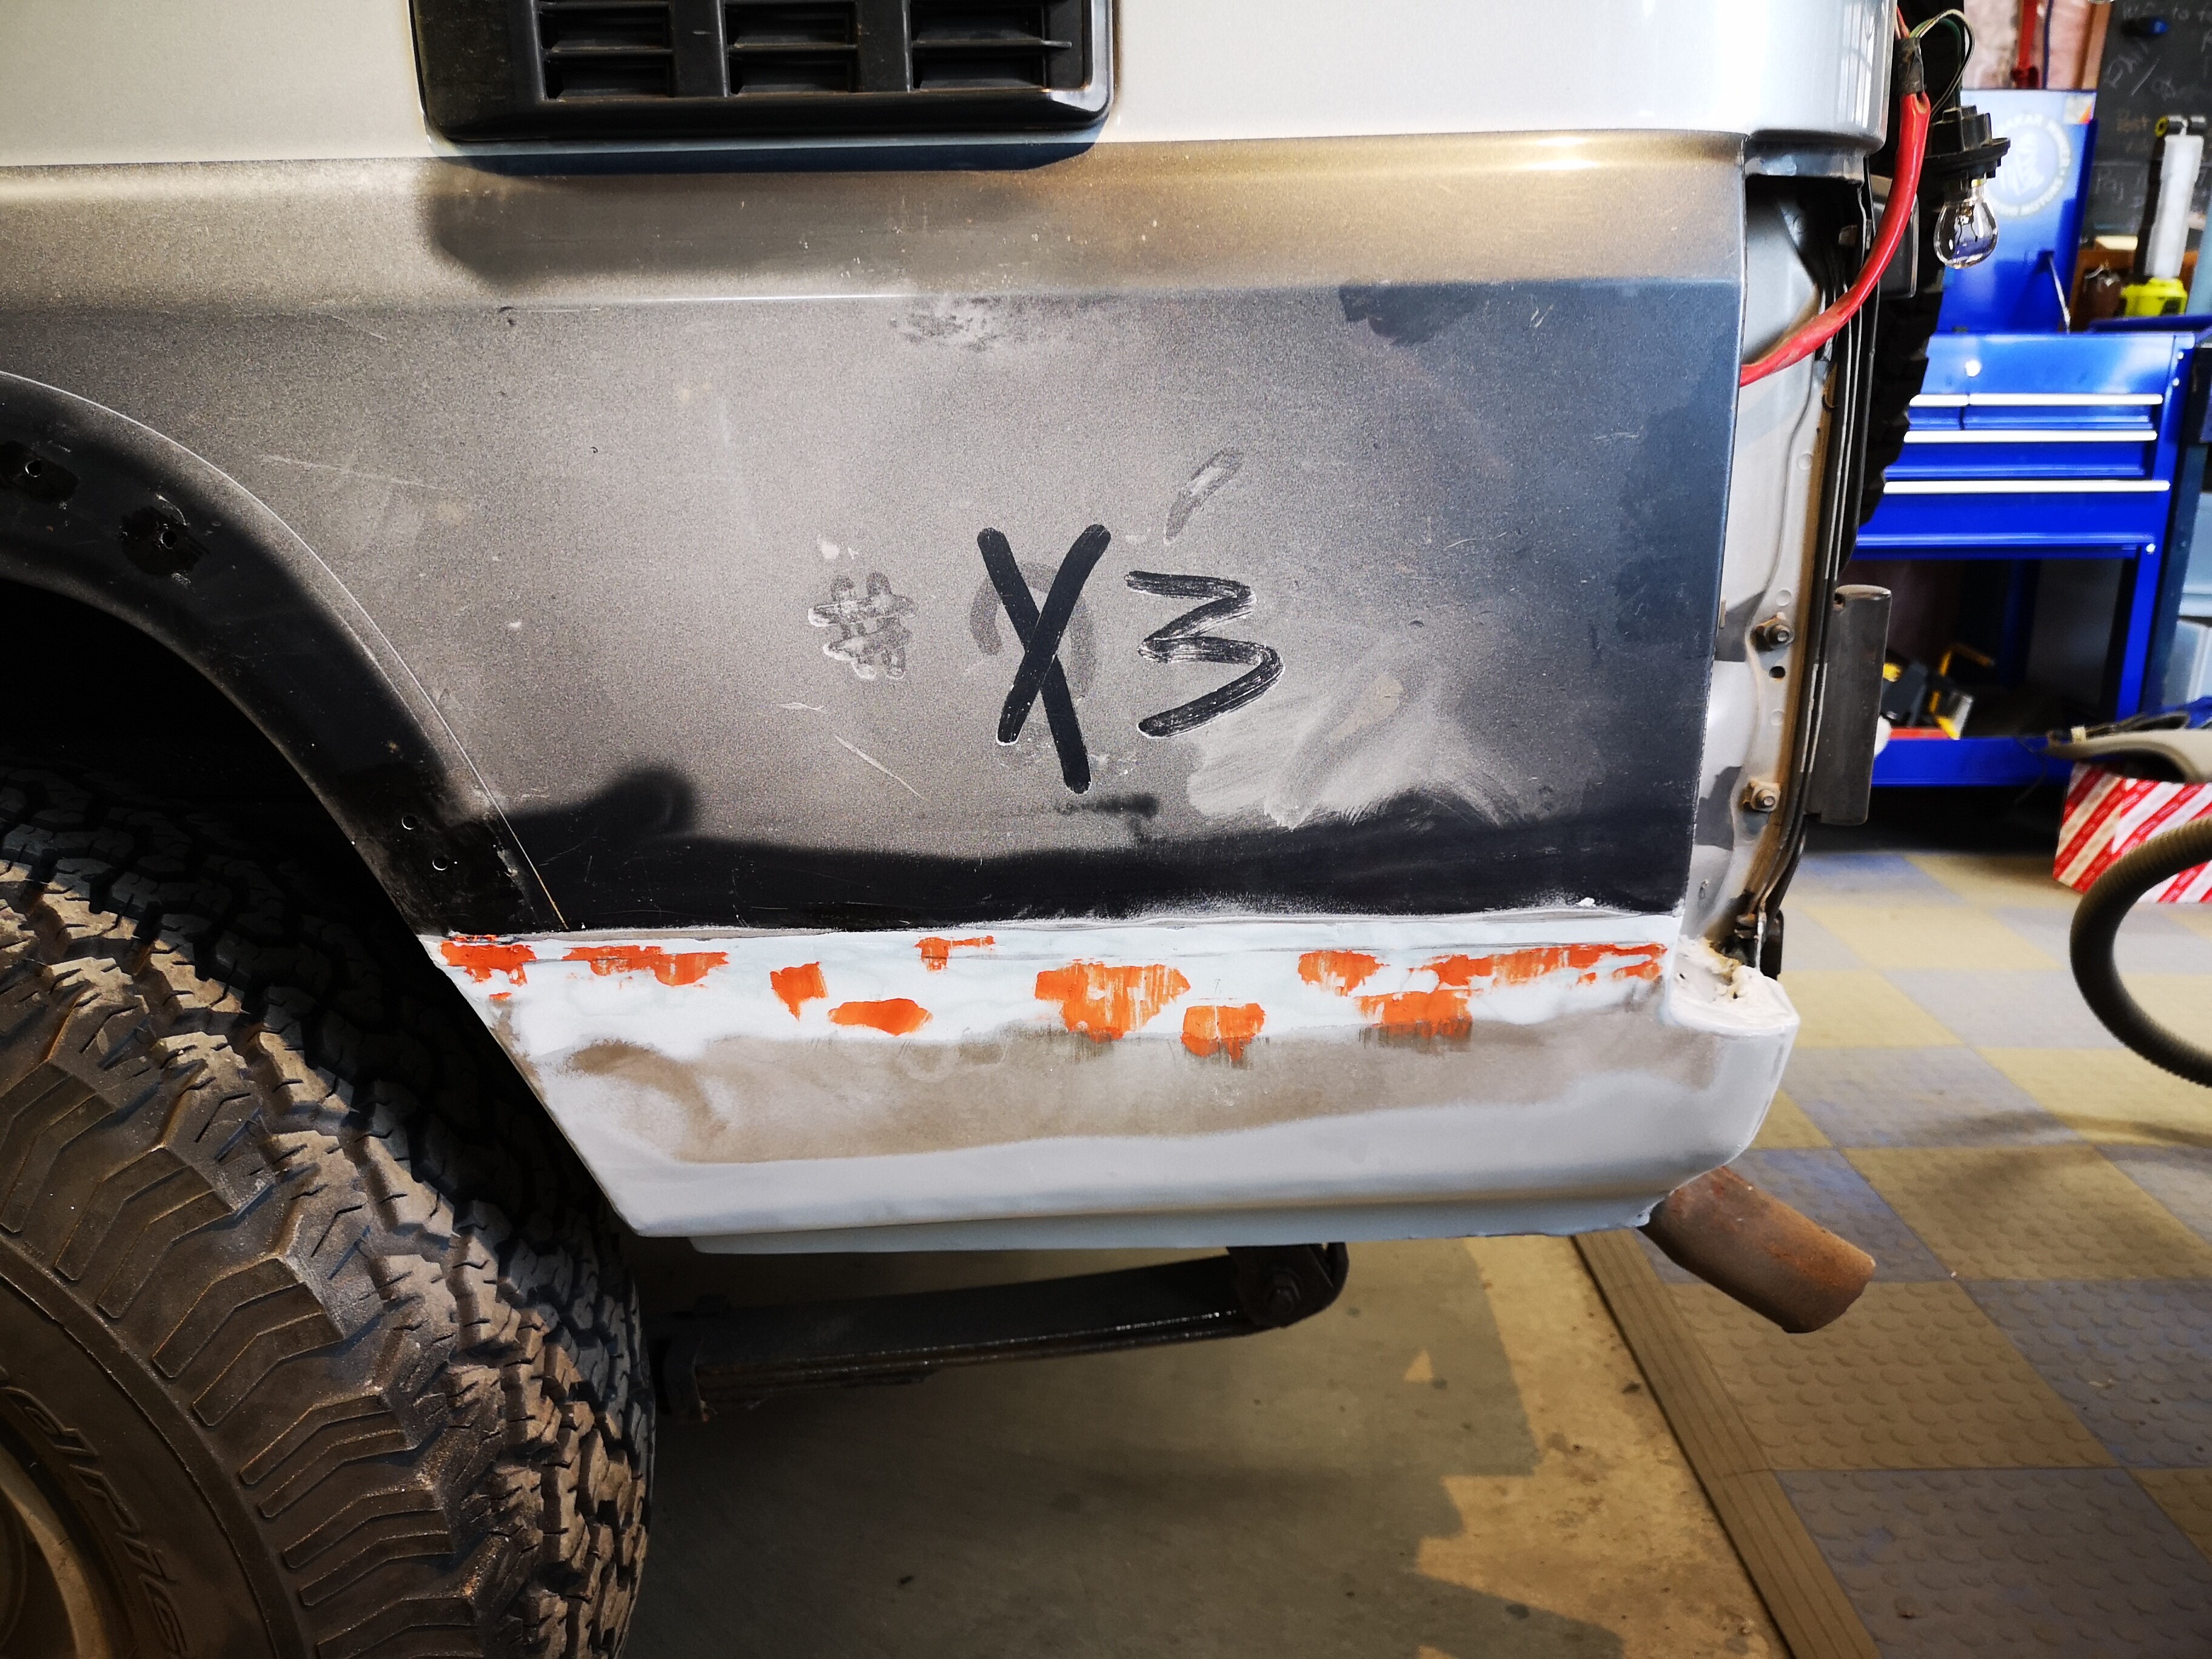
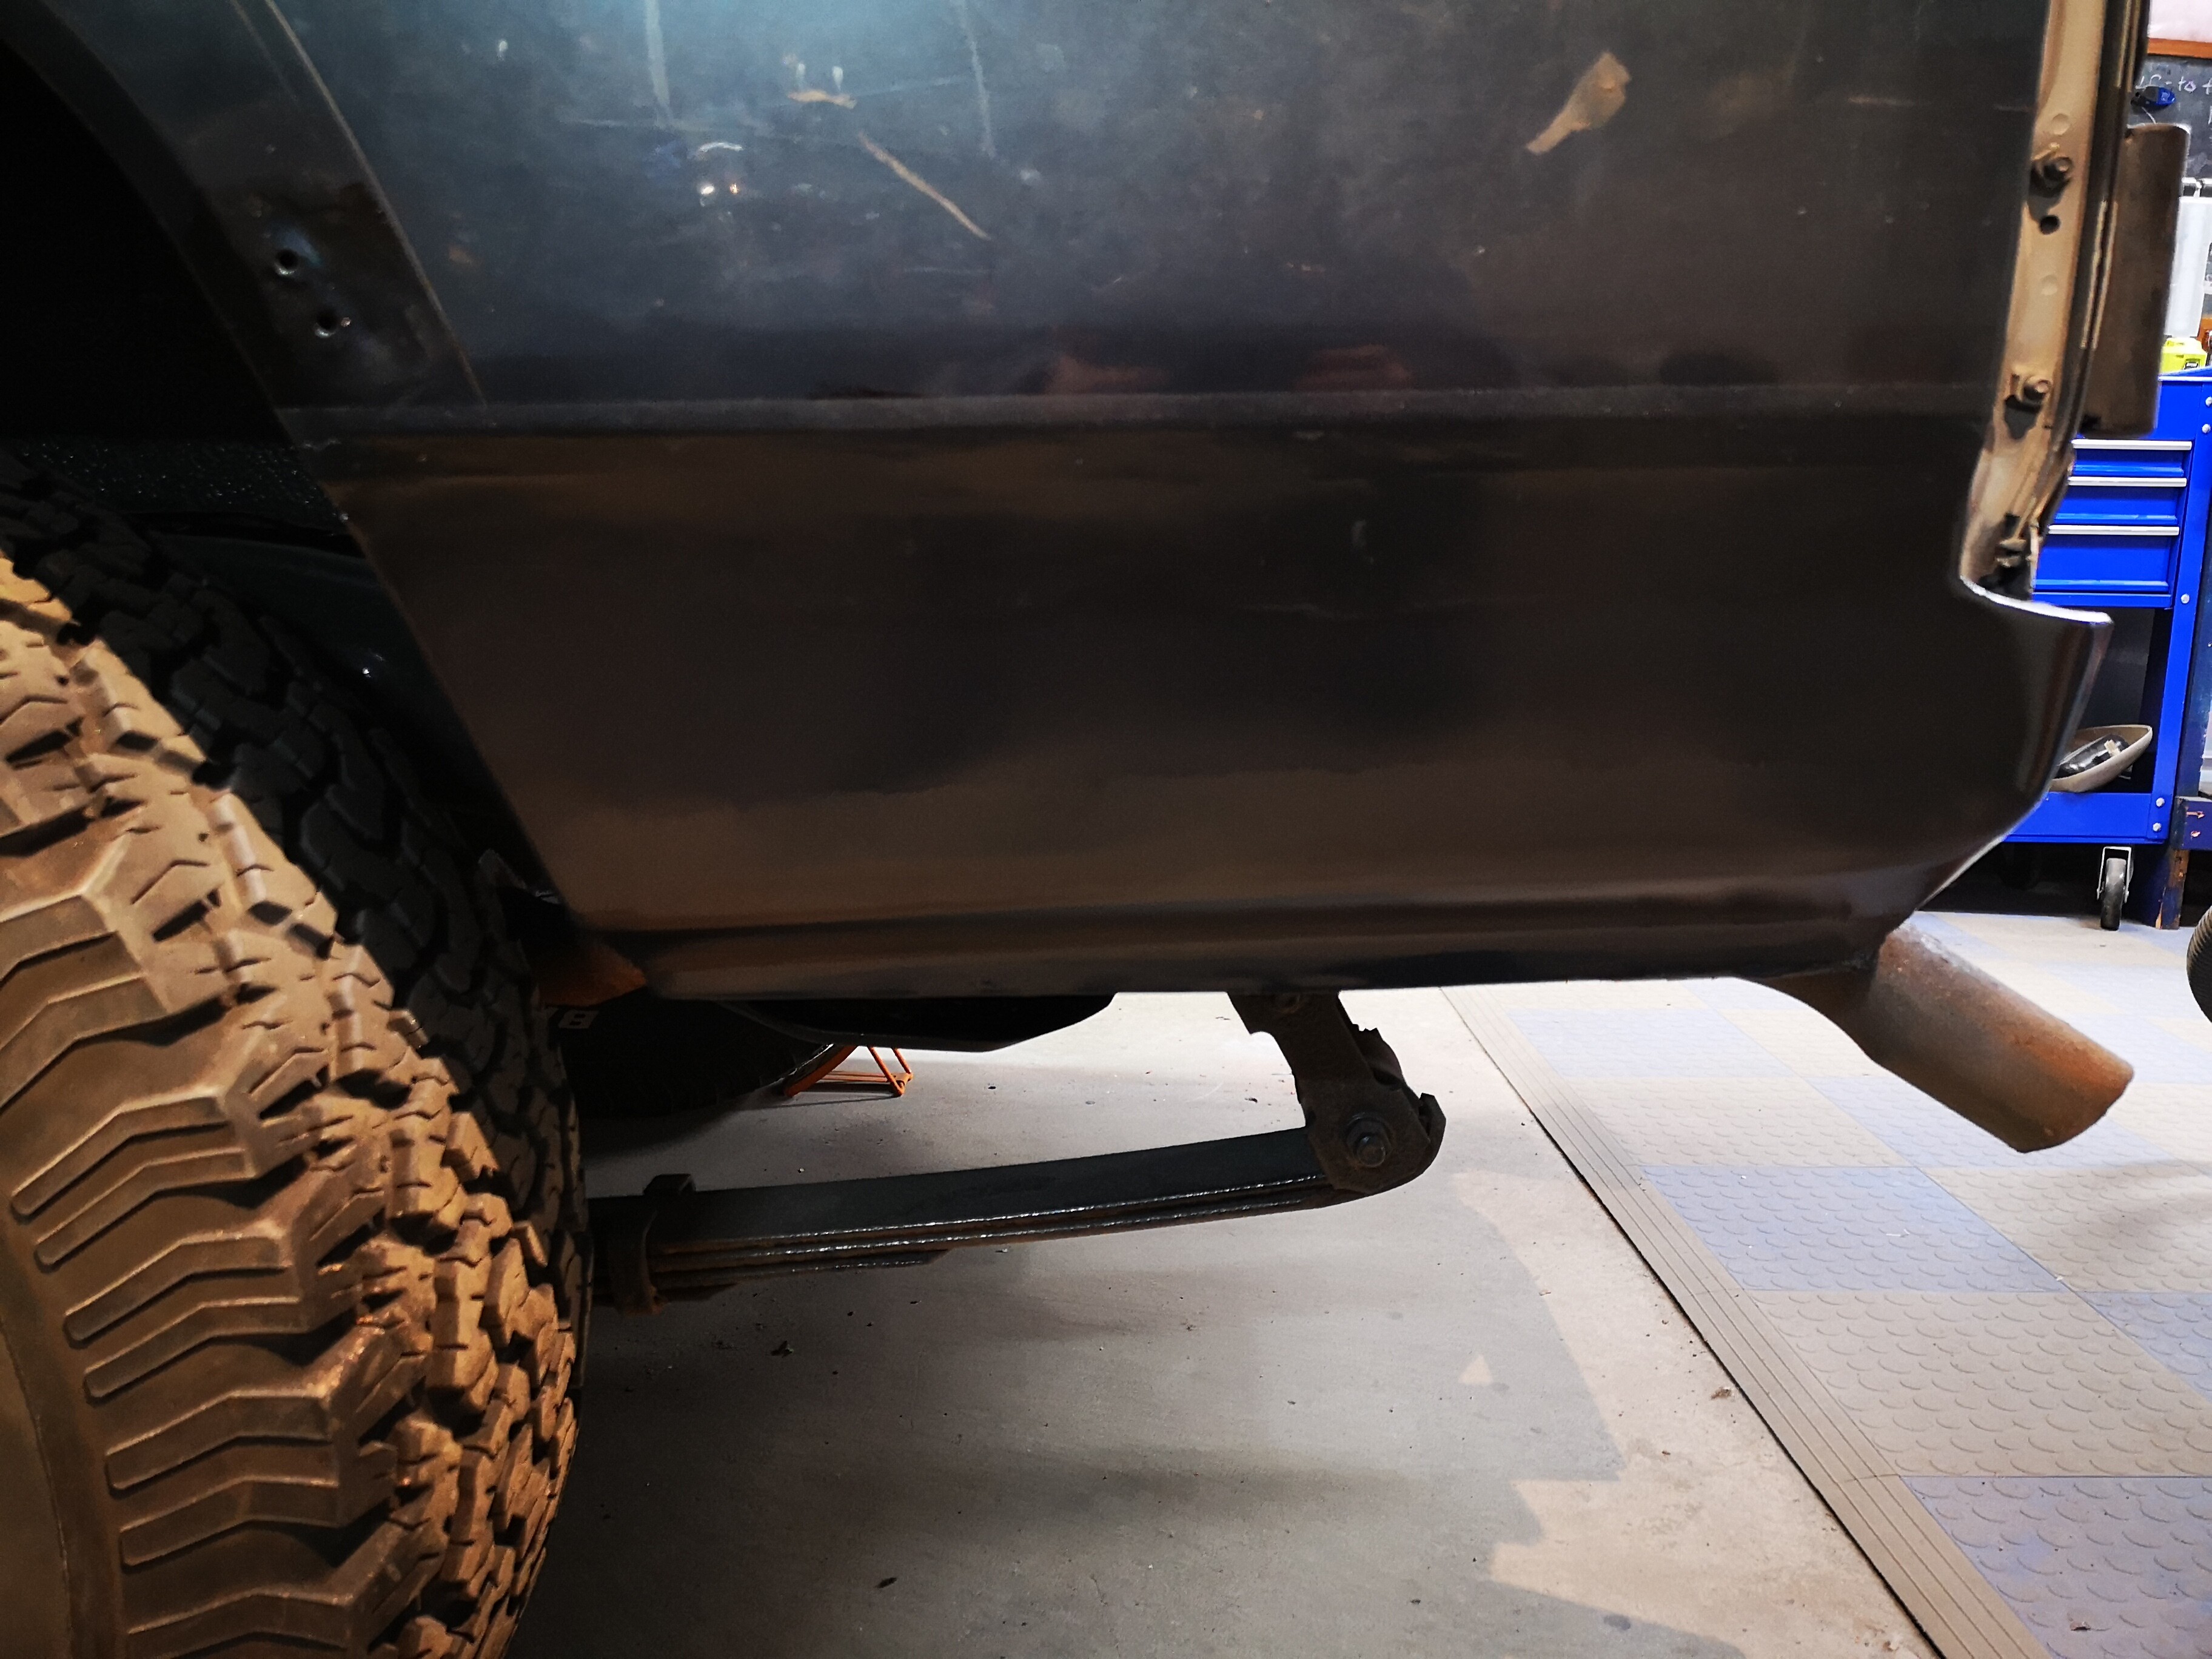
And after many rivets, lots more POR15, and some really sore arms and hands, the flares are all in place. For the first time in probably many years, this thing can actually go on the road with NO HOLES through the bodywork.

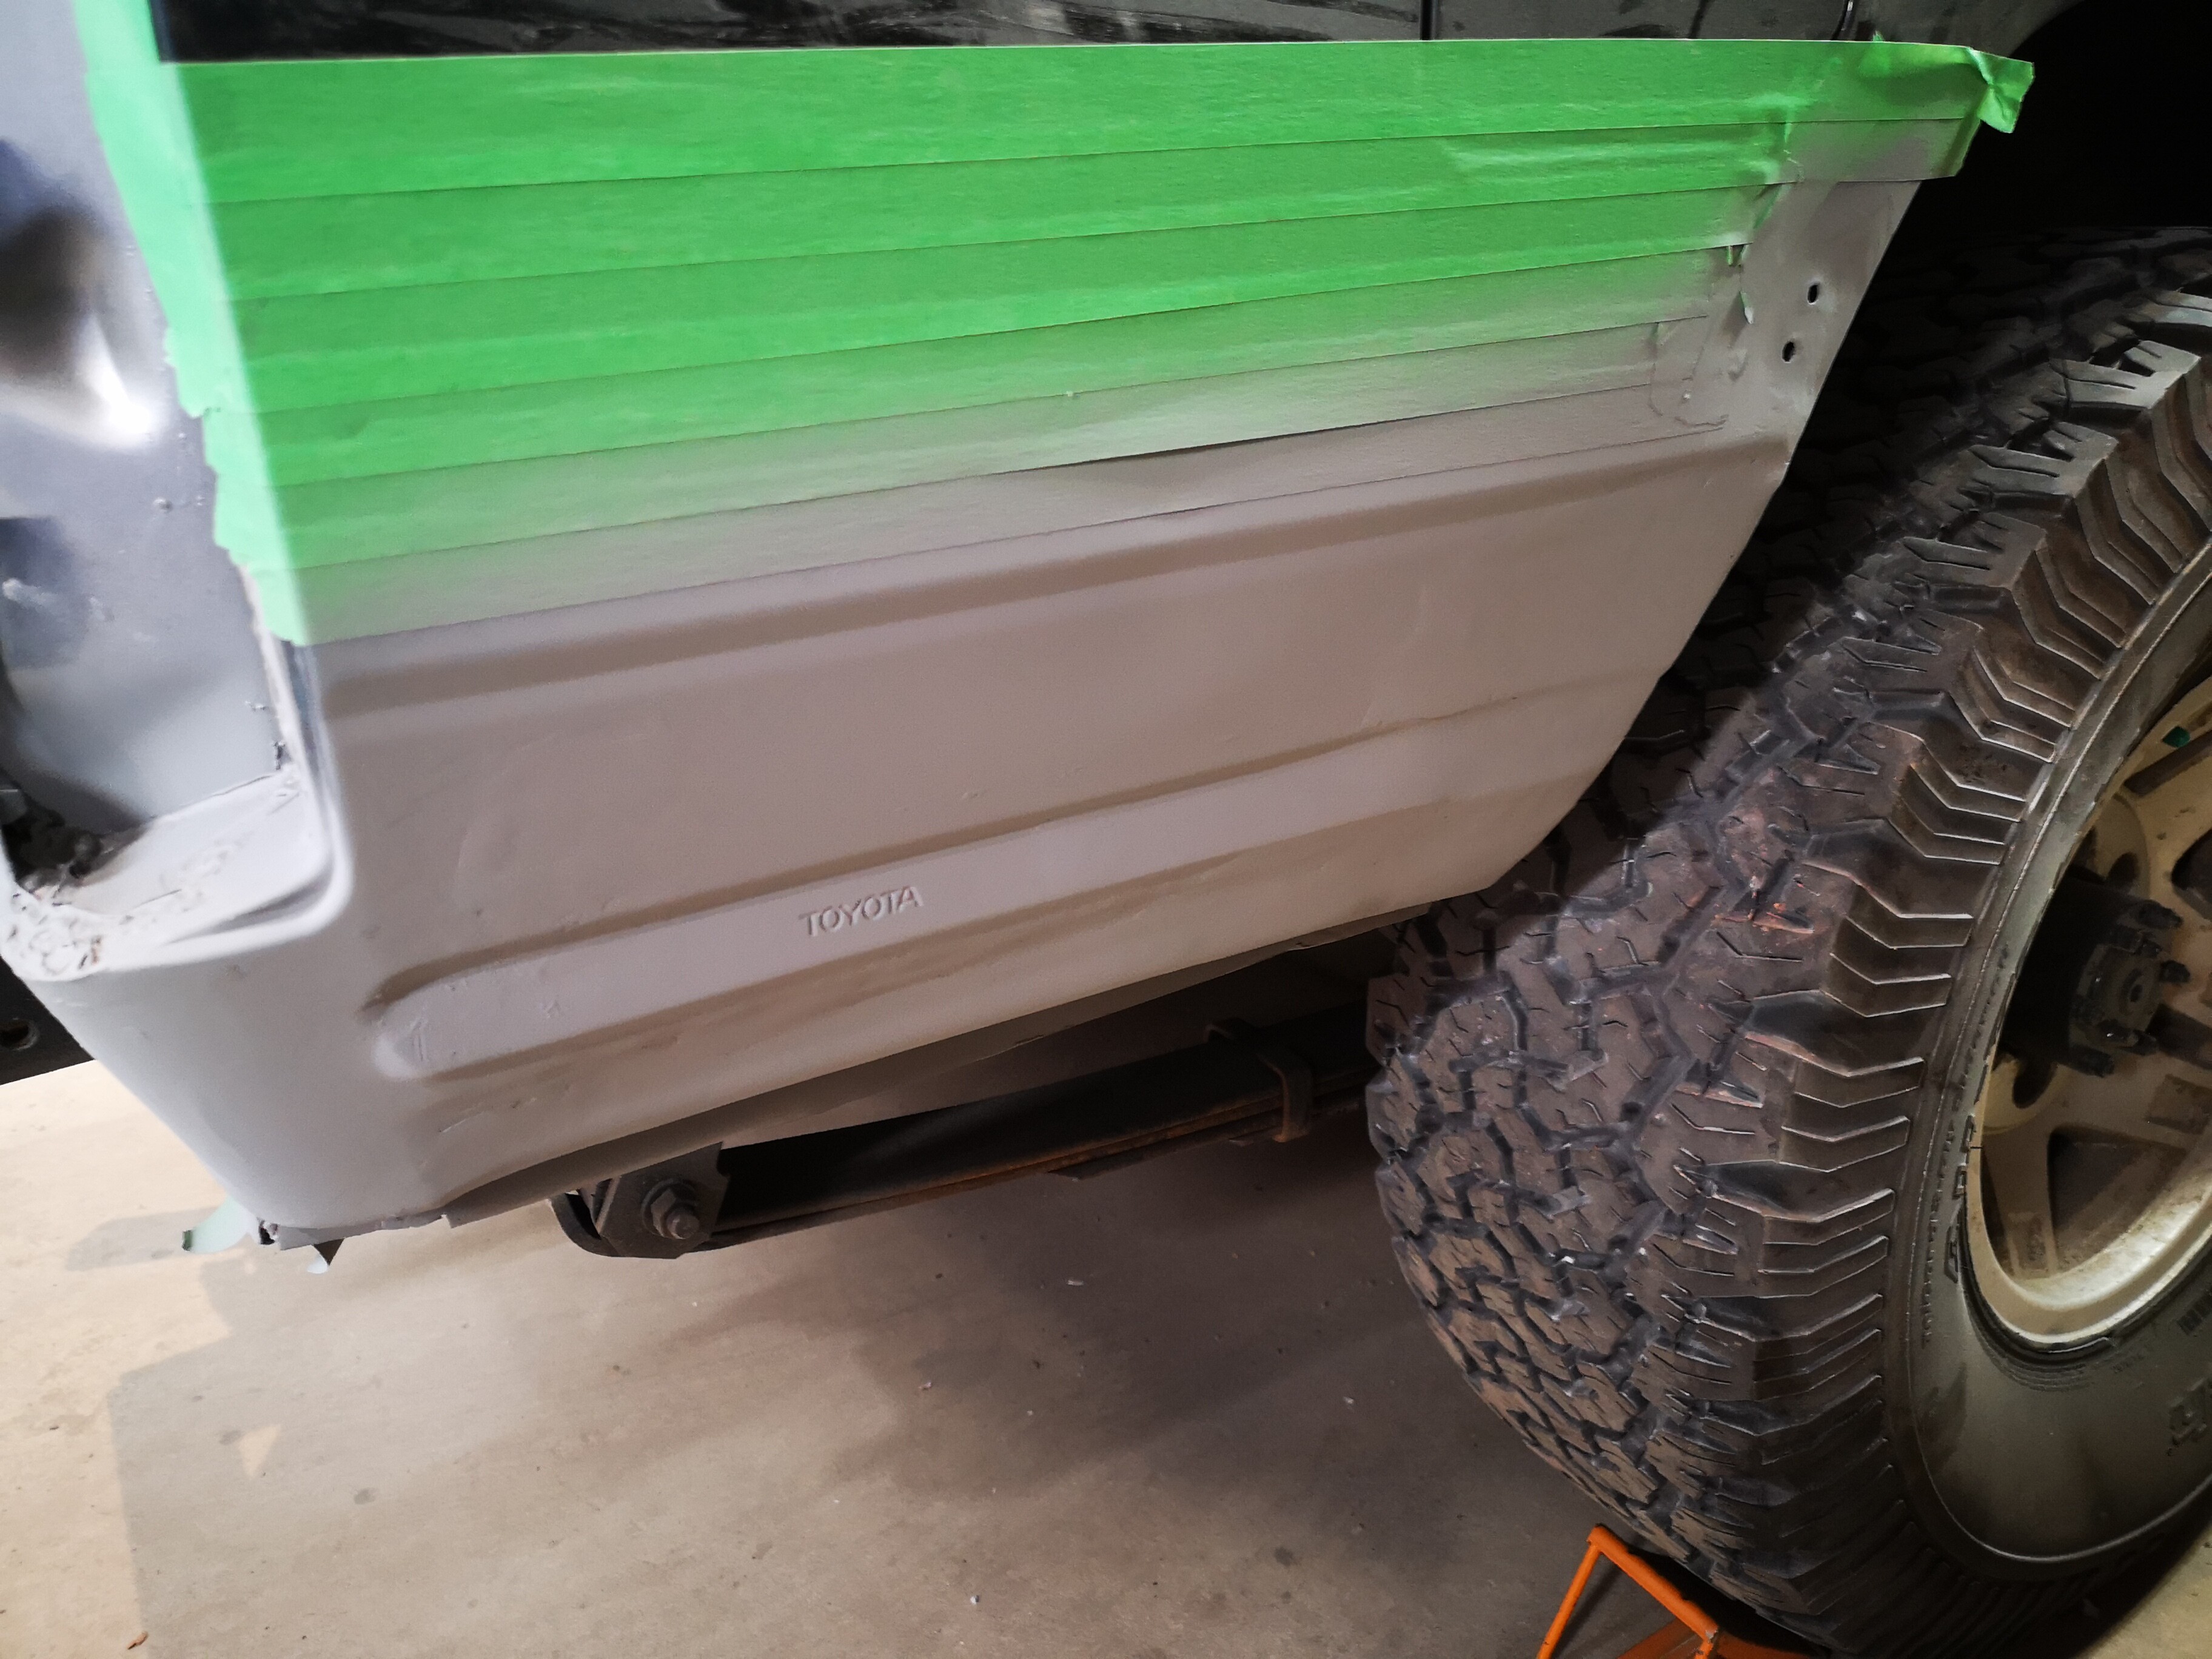
I feel like I’ve reached a milestone at this point. Still long way to go, and it looks like crap to the uninitiated, but I know how it is underneath. Still need to sand, finish and paint the rocker corners, but that’s just details.

Ahhhh… beer time.

4 Likes

Outstanding, Phil. Good on ya, mate!

Just in time for summer, right?

2 Likes

So in the vein of POR15’ing all the things, tonight I did my mudflaps. That may sound strange but the metal inside the mudflaps is beginning to bleed through and stain the rubber outside. So… I scraped what I could, and then covered the laminated metal with inky blackness. Also took the opportunity to do the metal hangers etc. Tomorrow, if all dry, I’ll be reinstating them in their rightful place. These are some of the few things not available new, so I’m having to fix em as best I can. I also made some small brackets to sandwich a holes on each side that tore out of the hanger. We’ll see if they work.

Still need to paint the rocker corners, now that they’re cured, and then drill out a few bolts that snapped when I removed the side steps, which I believe are going back on. They are so high that I’m not concerned about smashing them like i would a traditional running board. A few of the brackets need reattaching too.

After that? I guess I need to look at the front bumper situation, and figure out something to hang there.

3 Likes