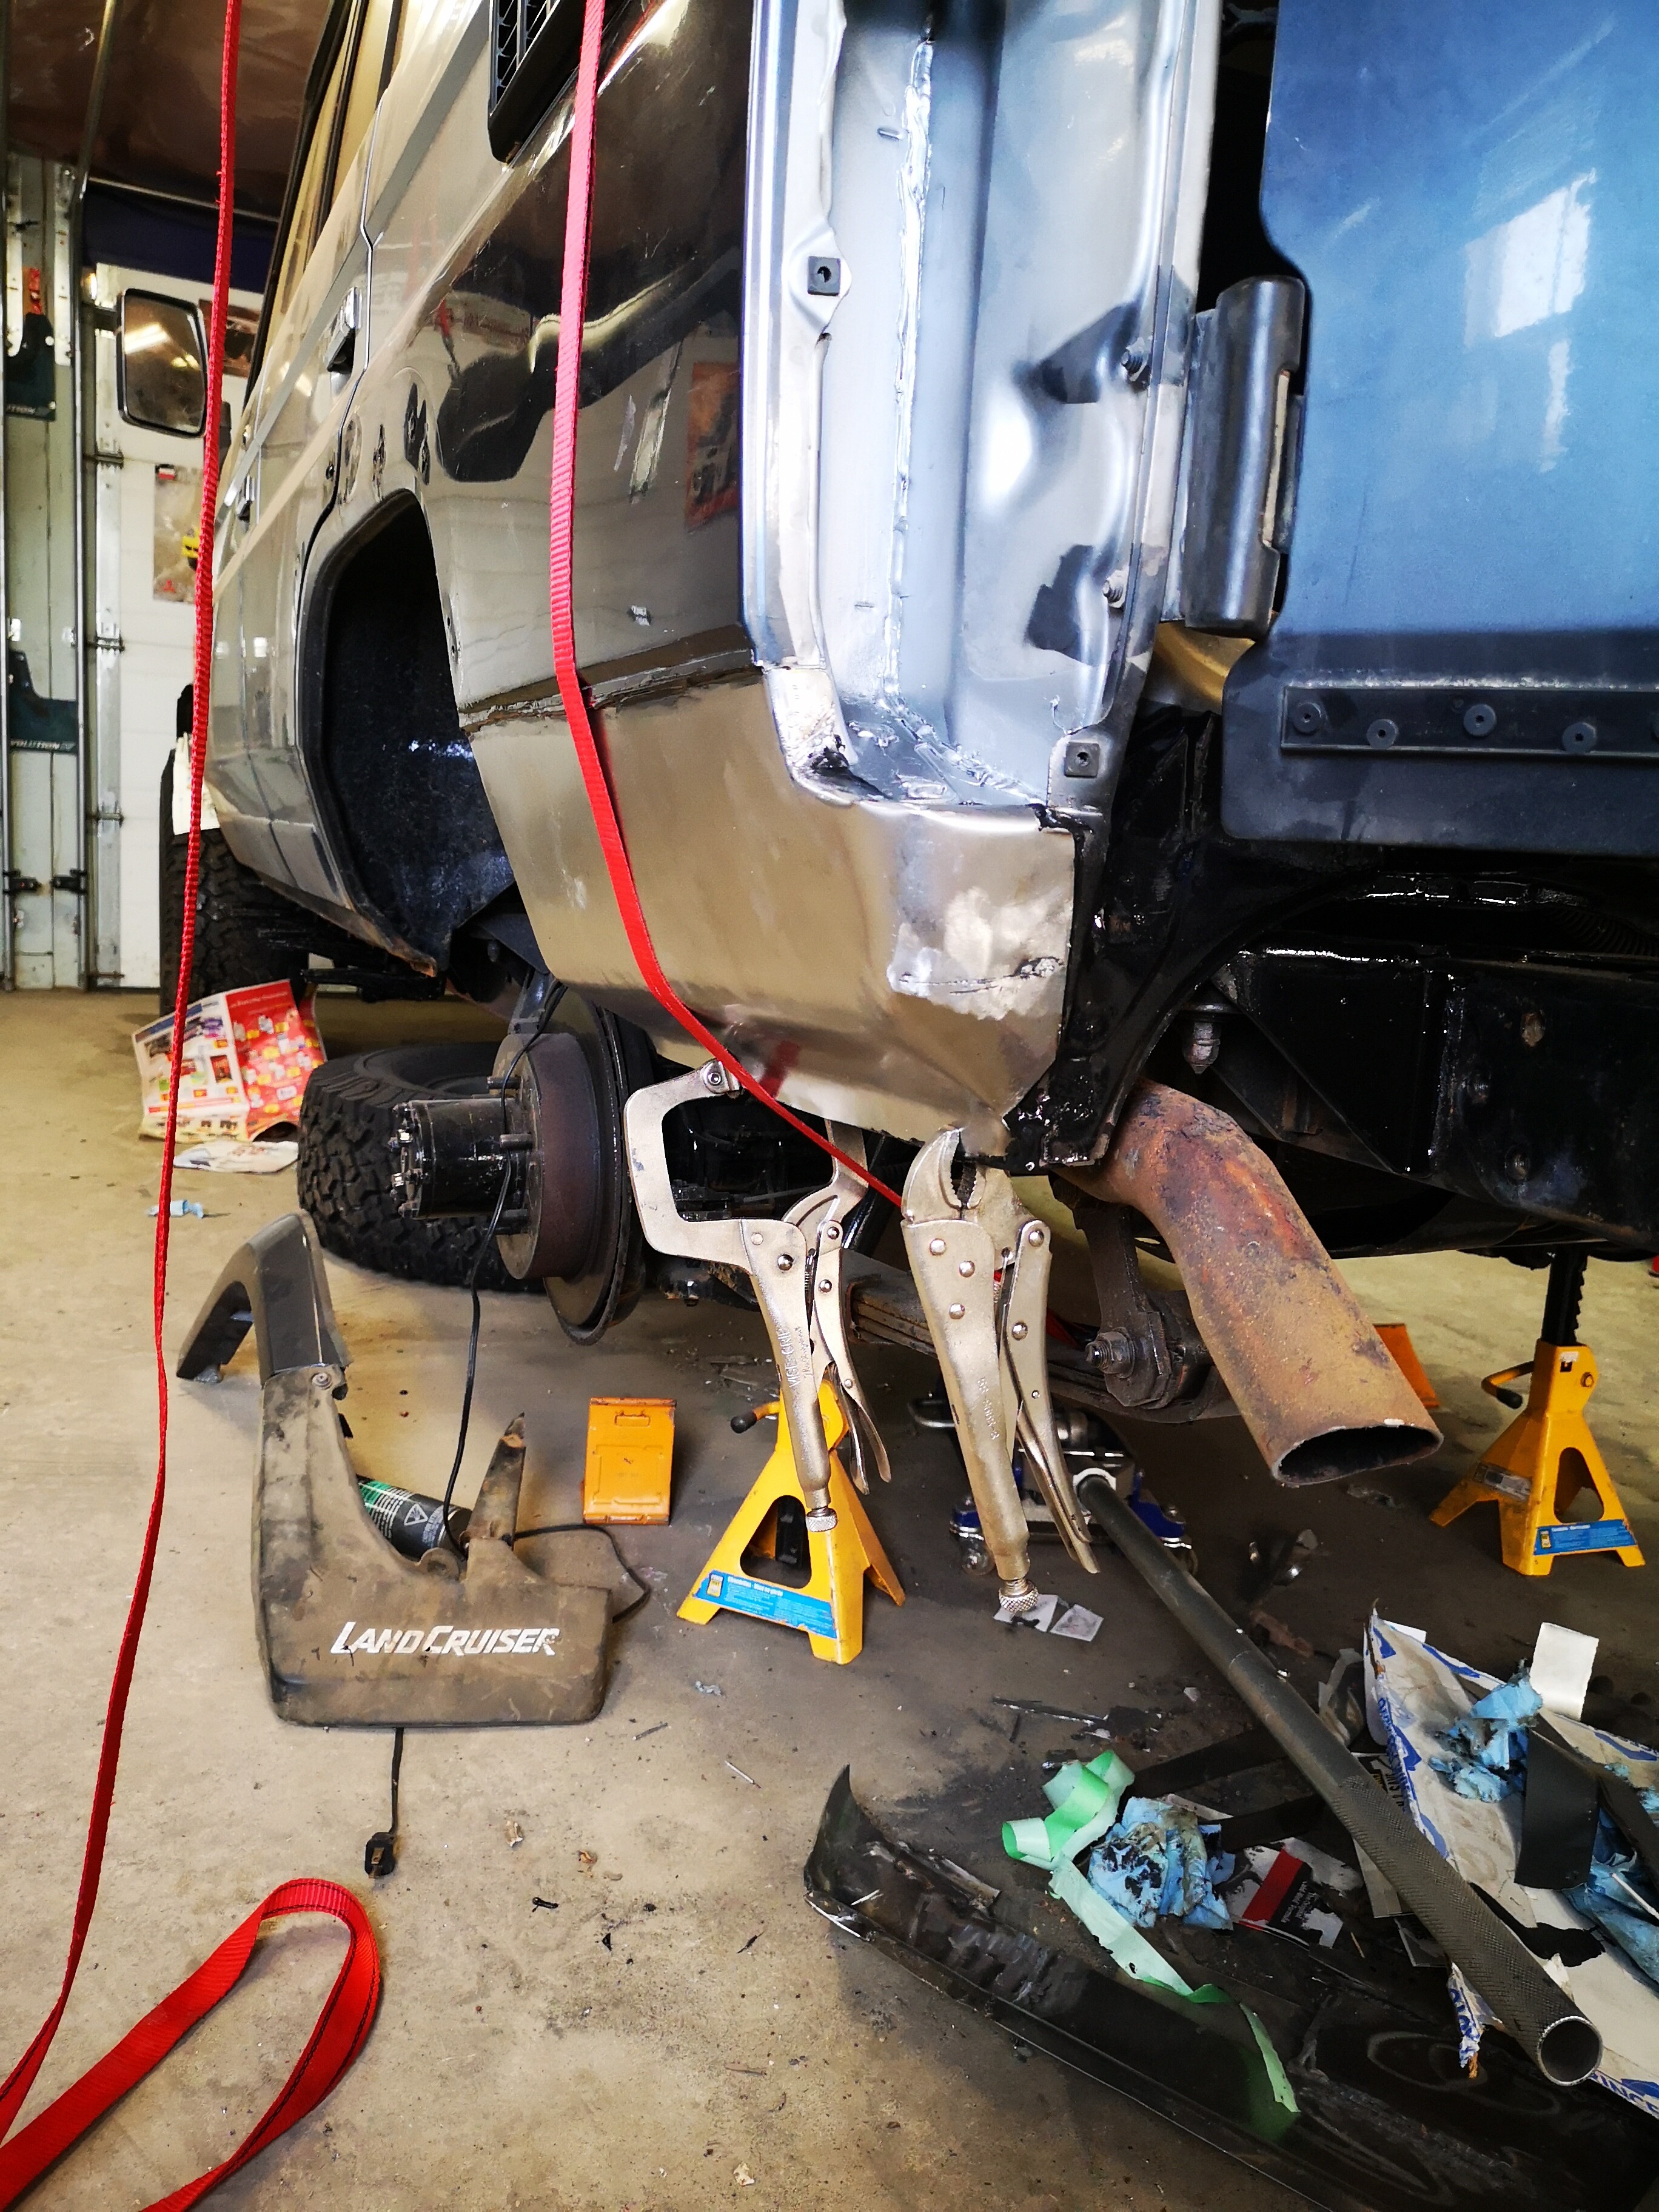
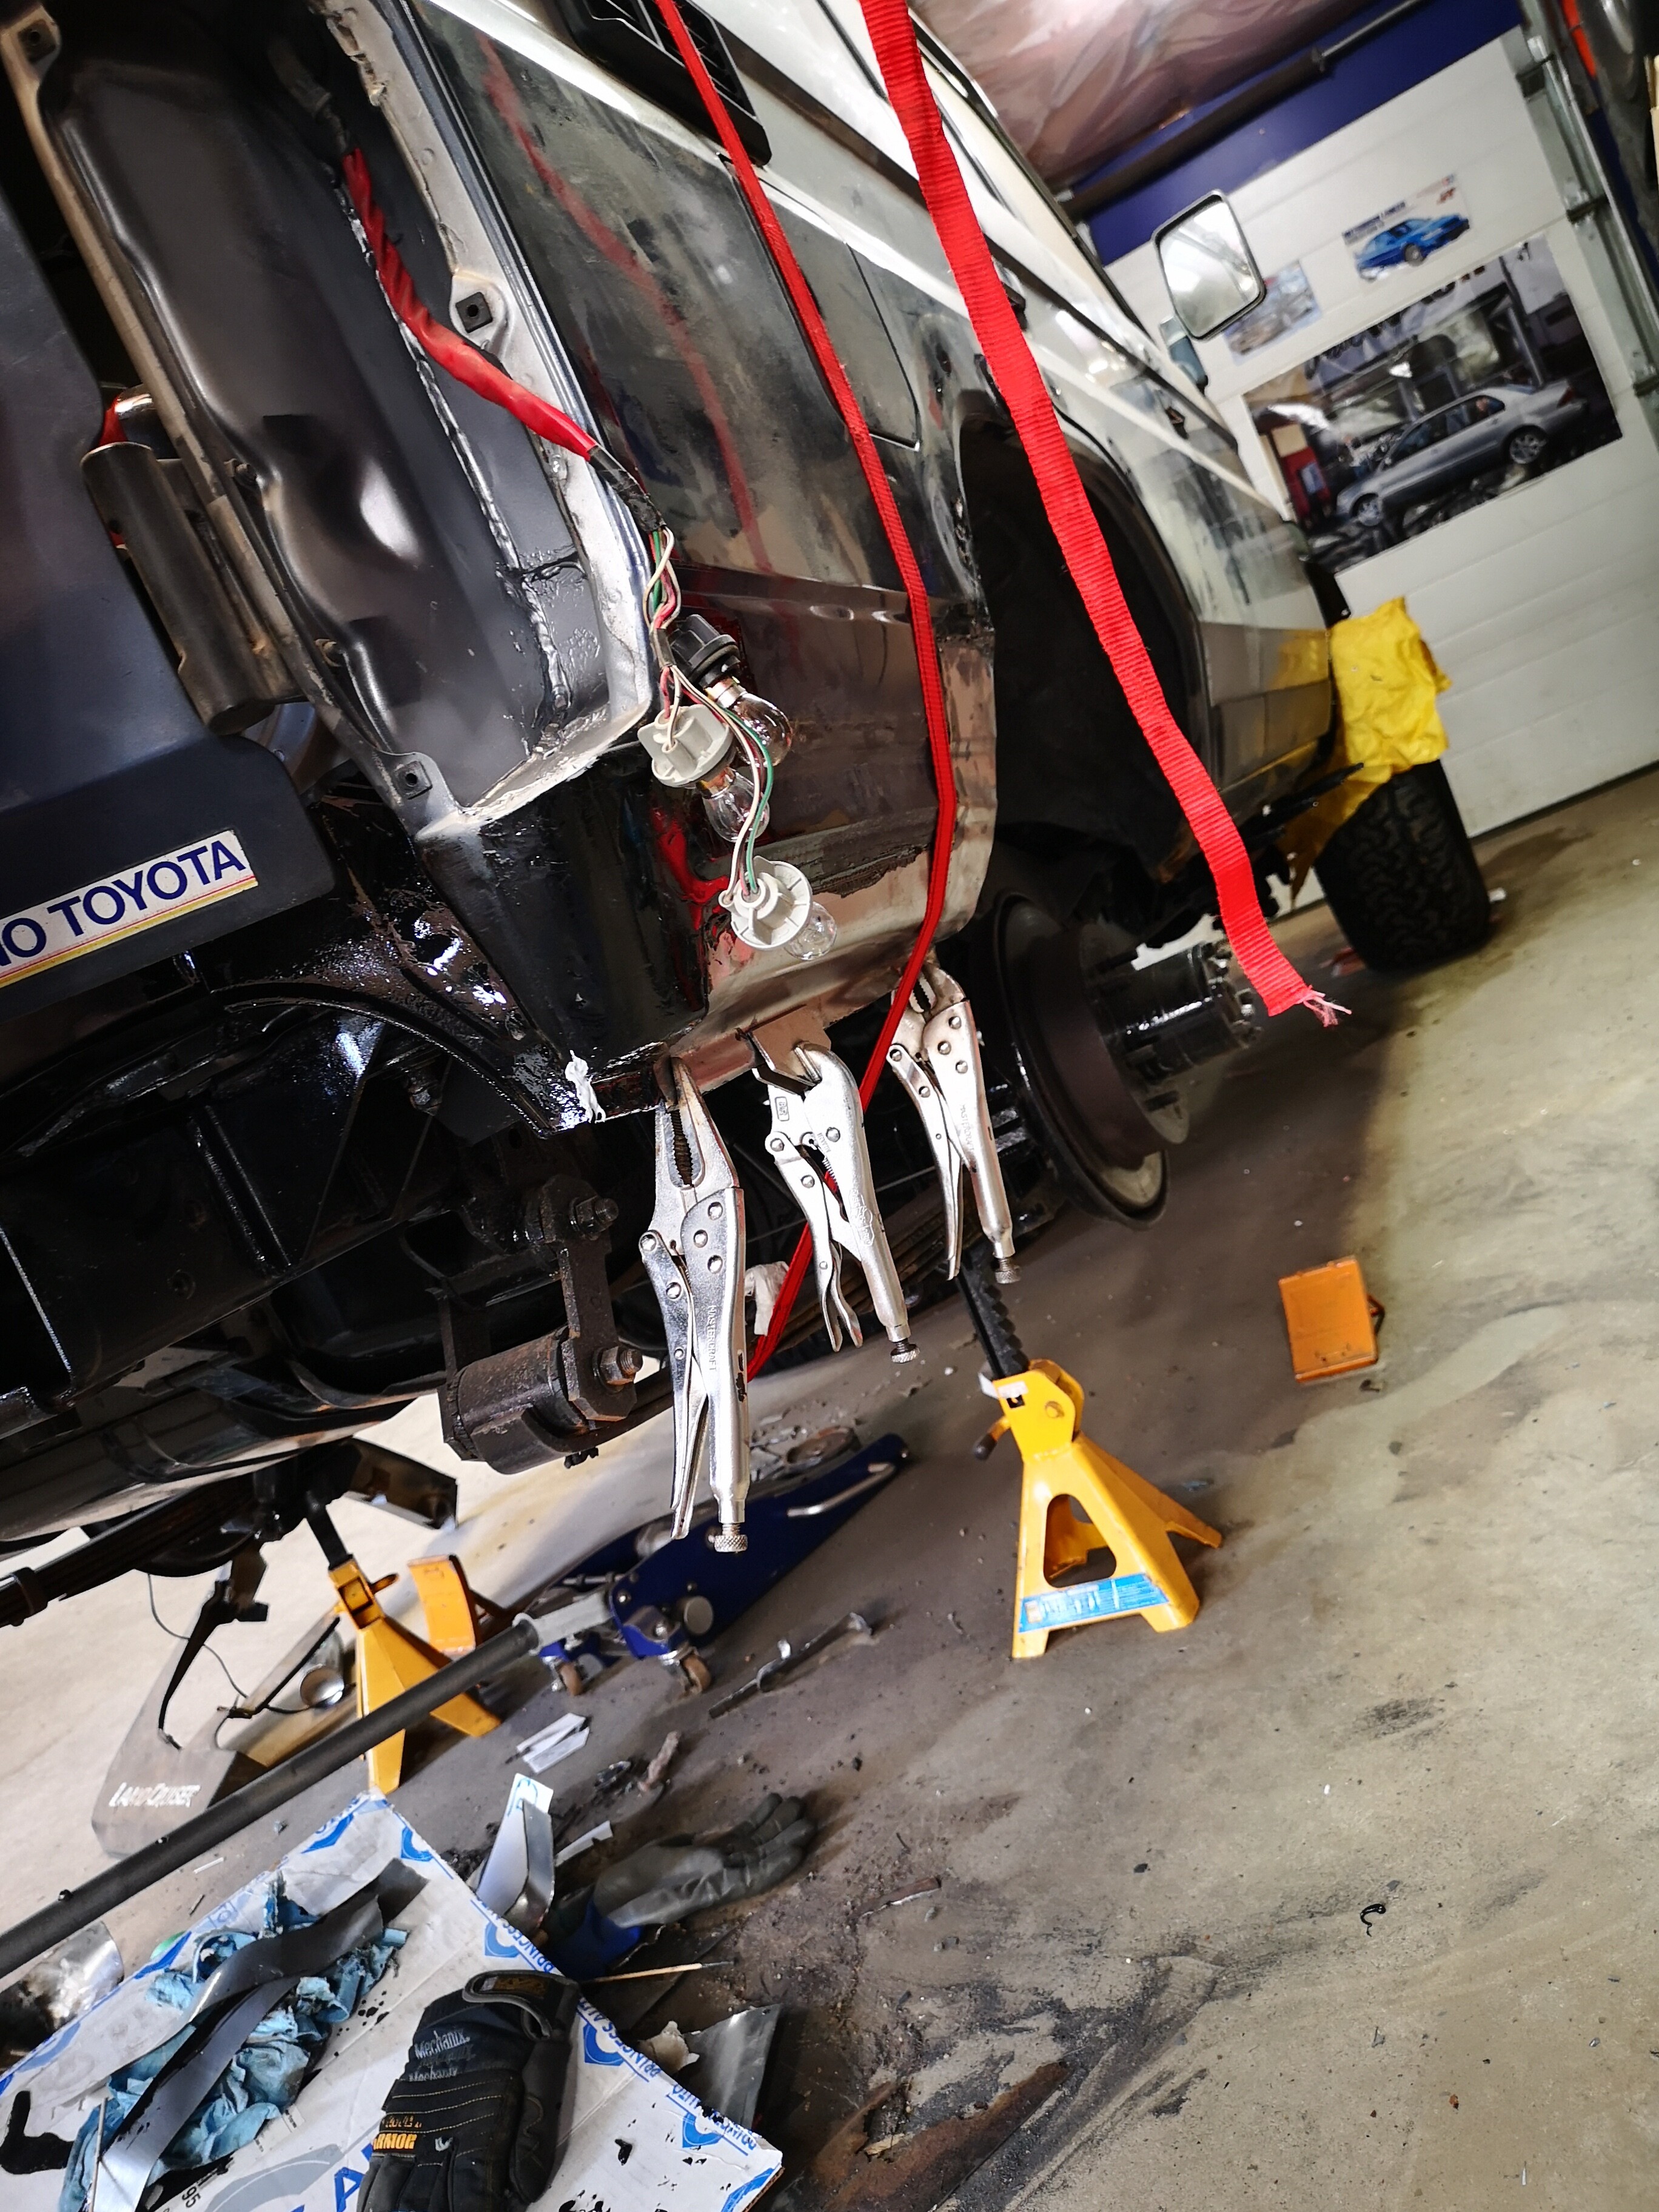
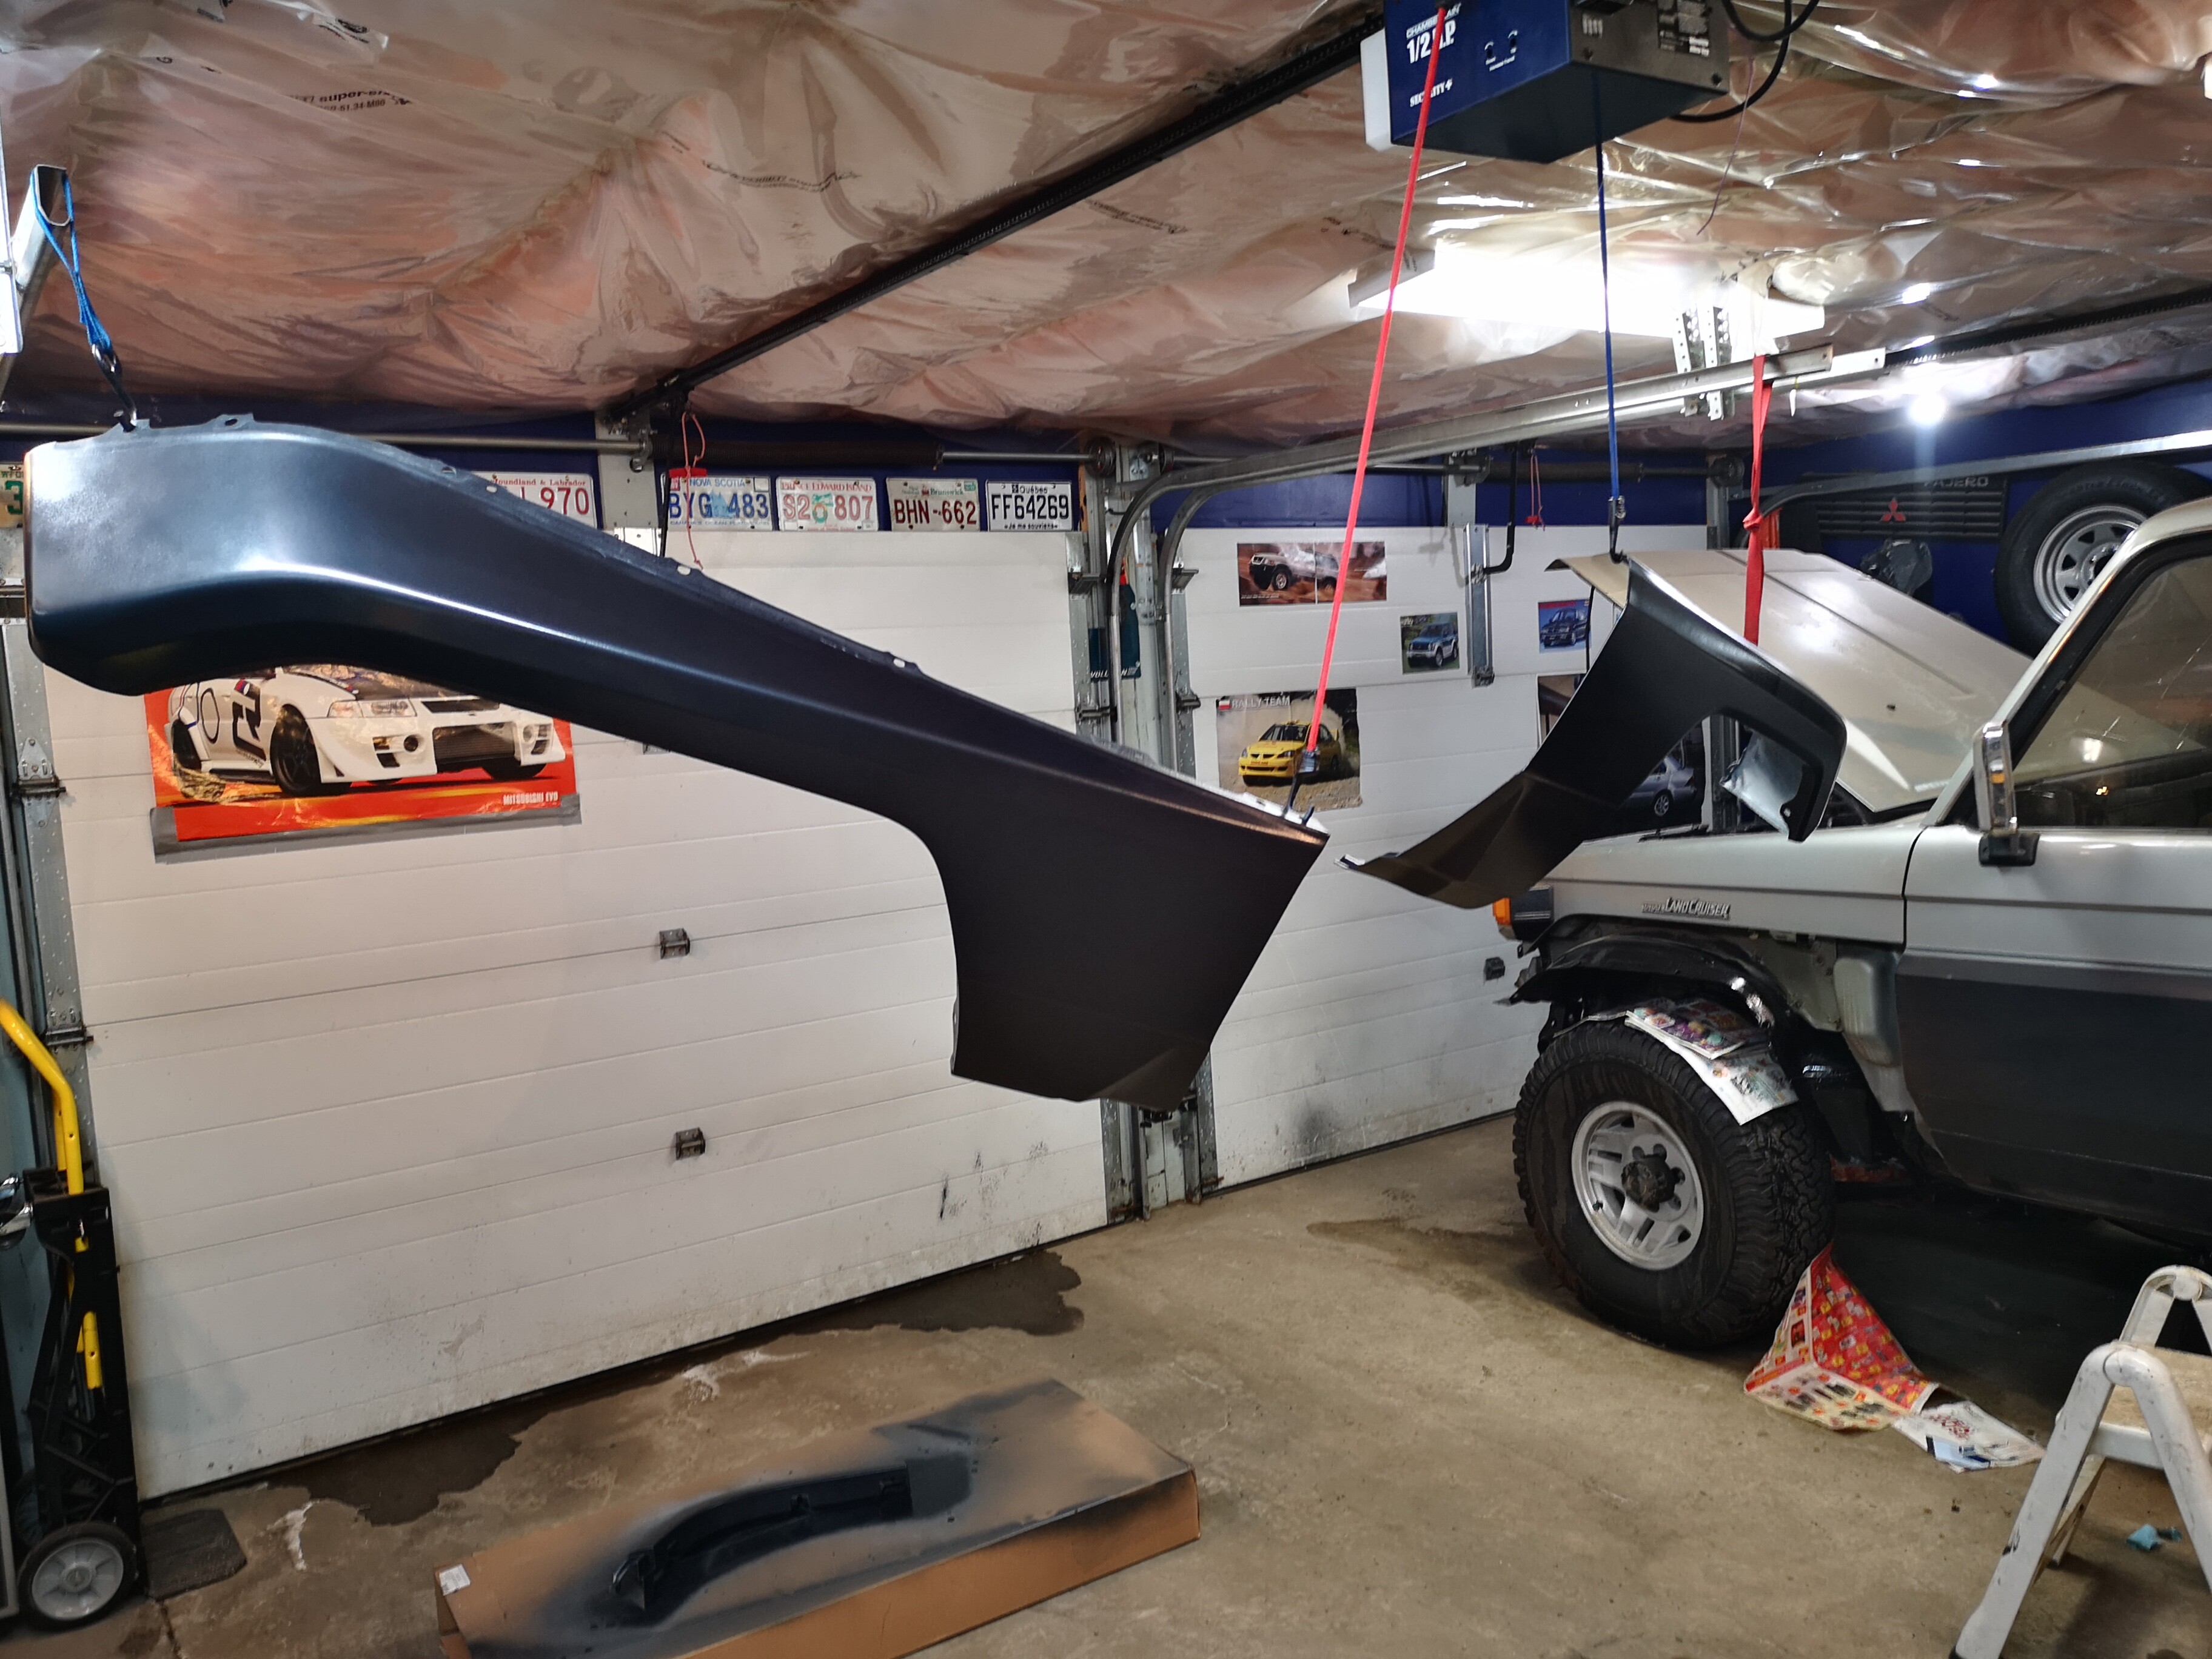
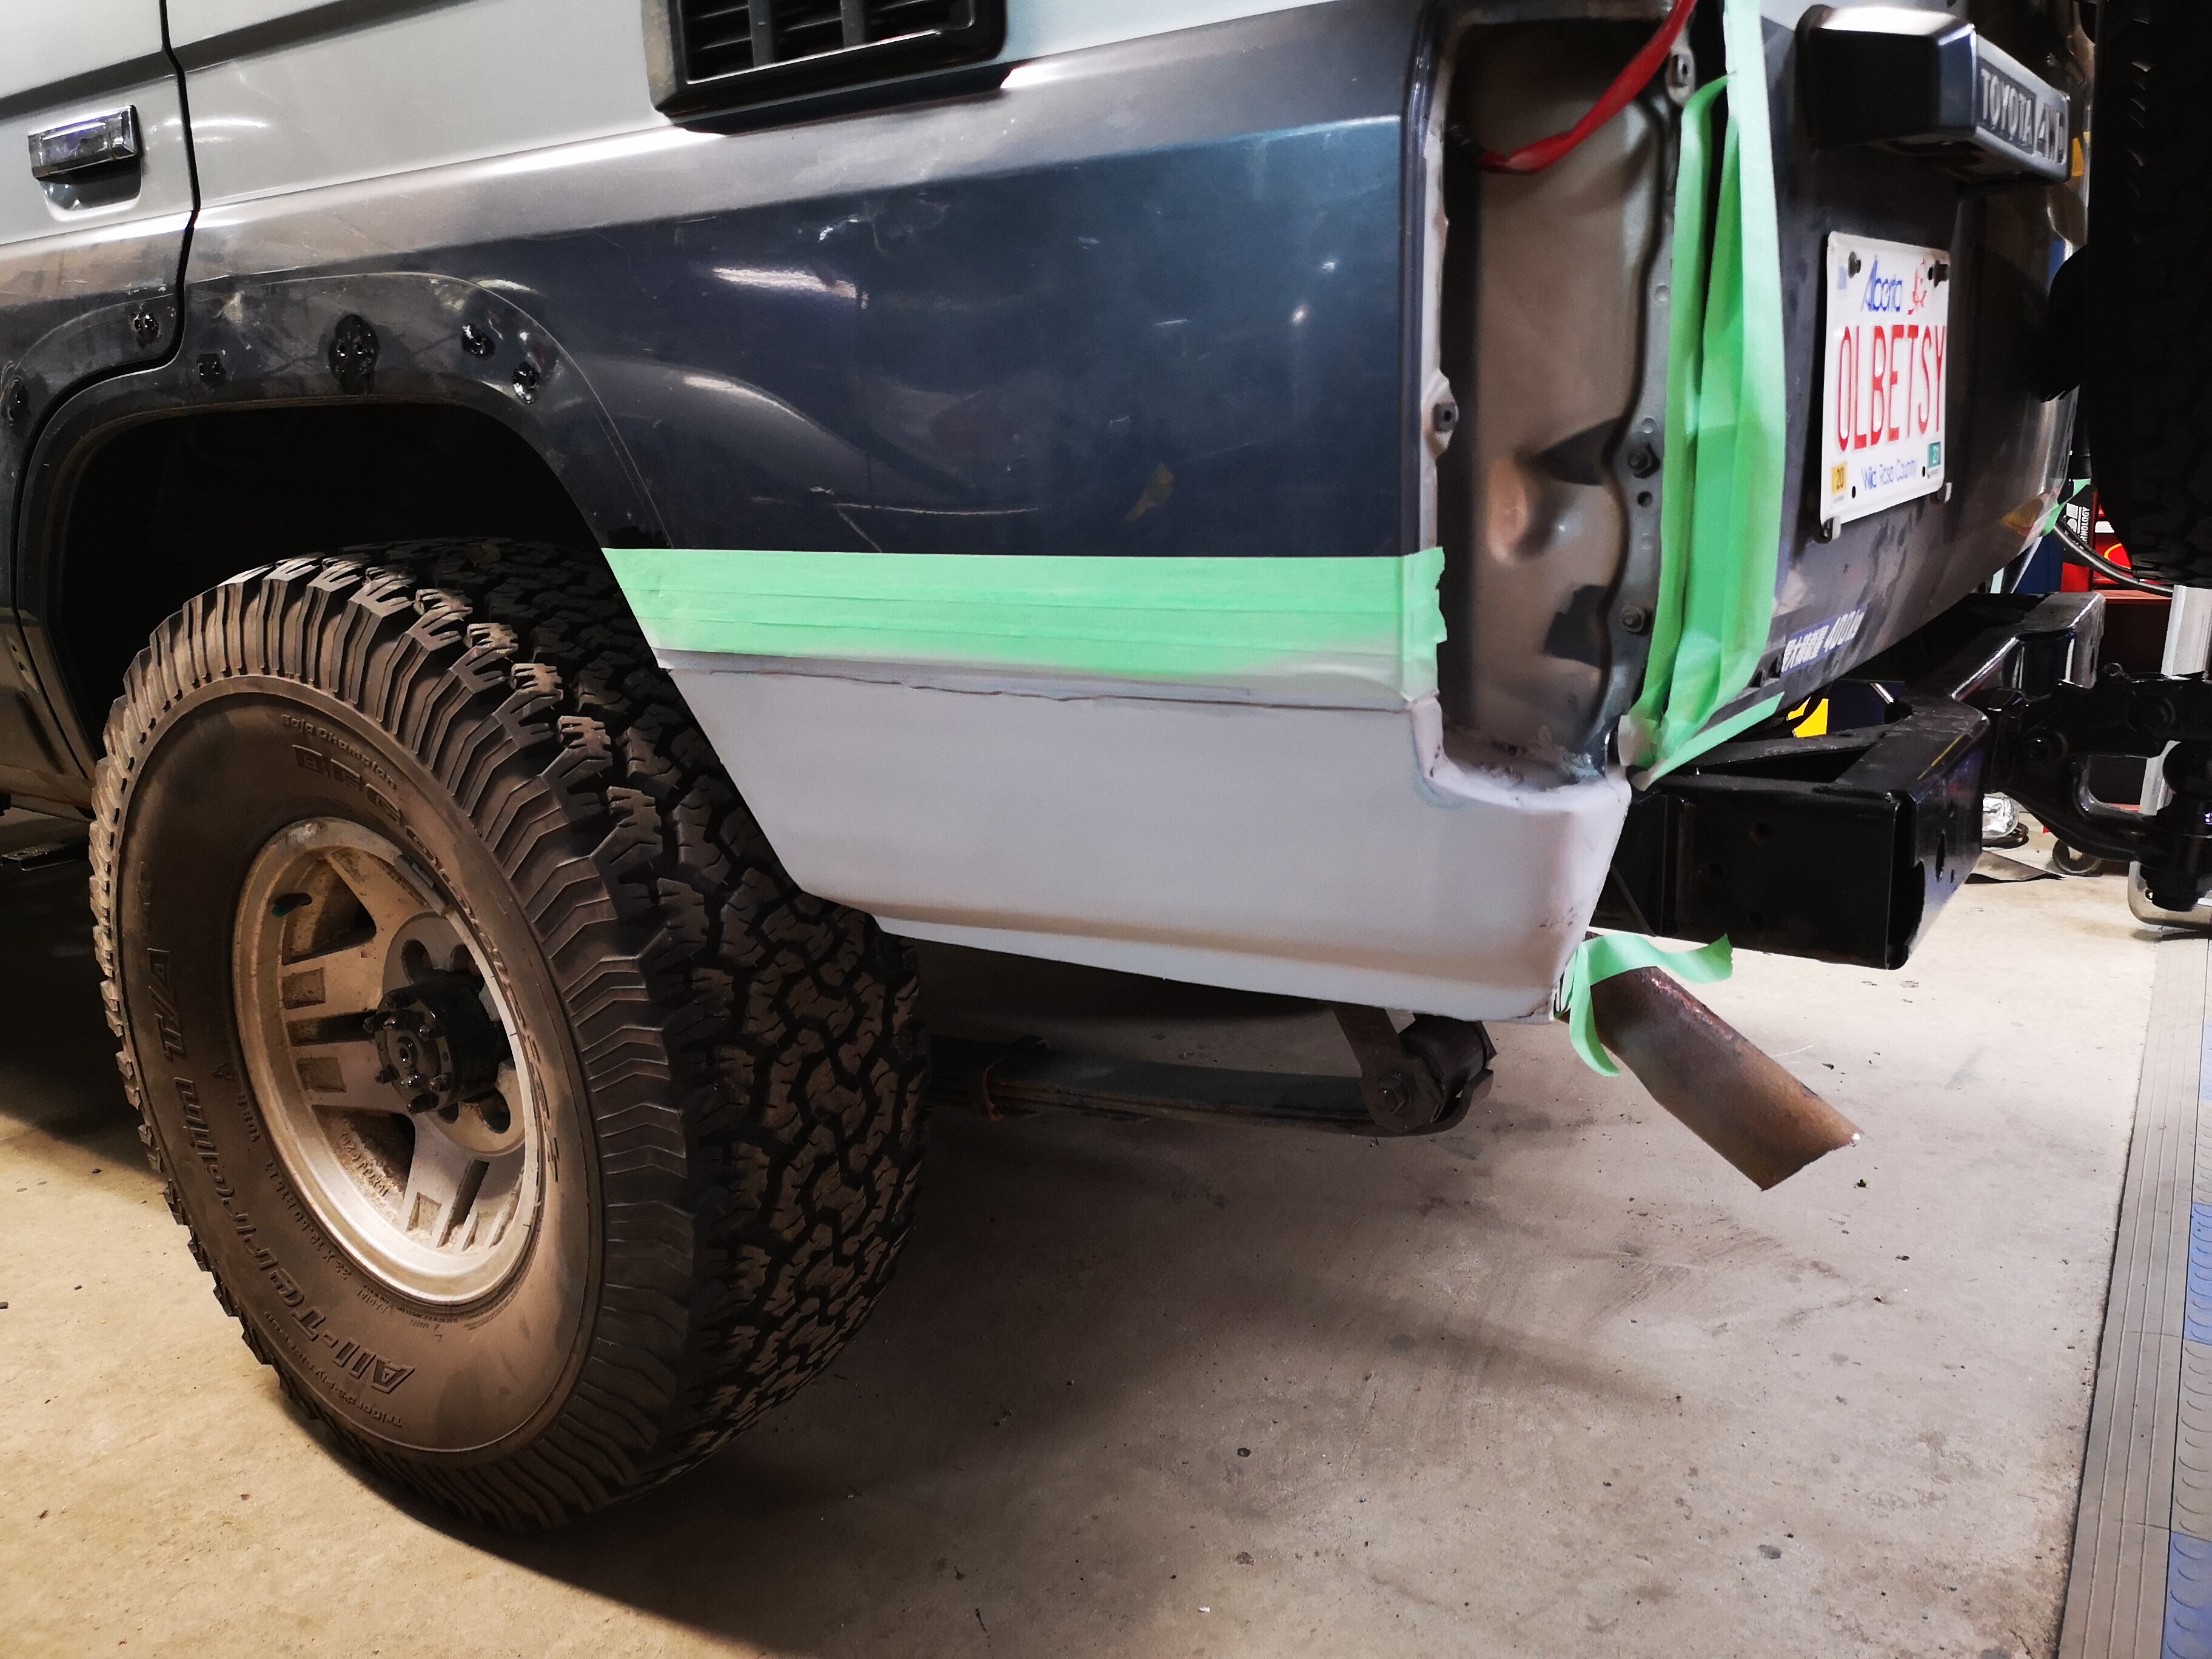
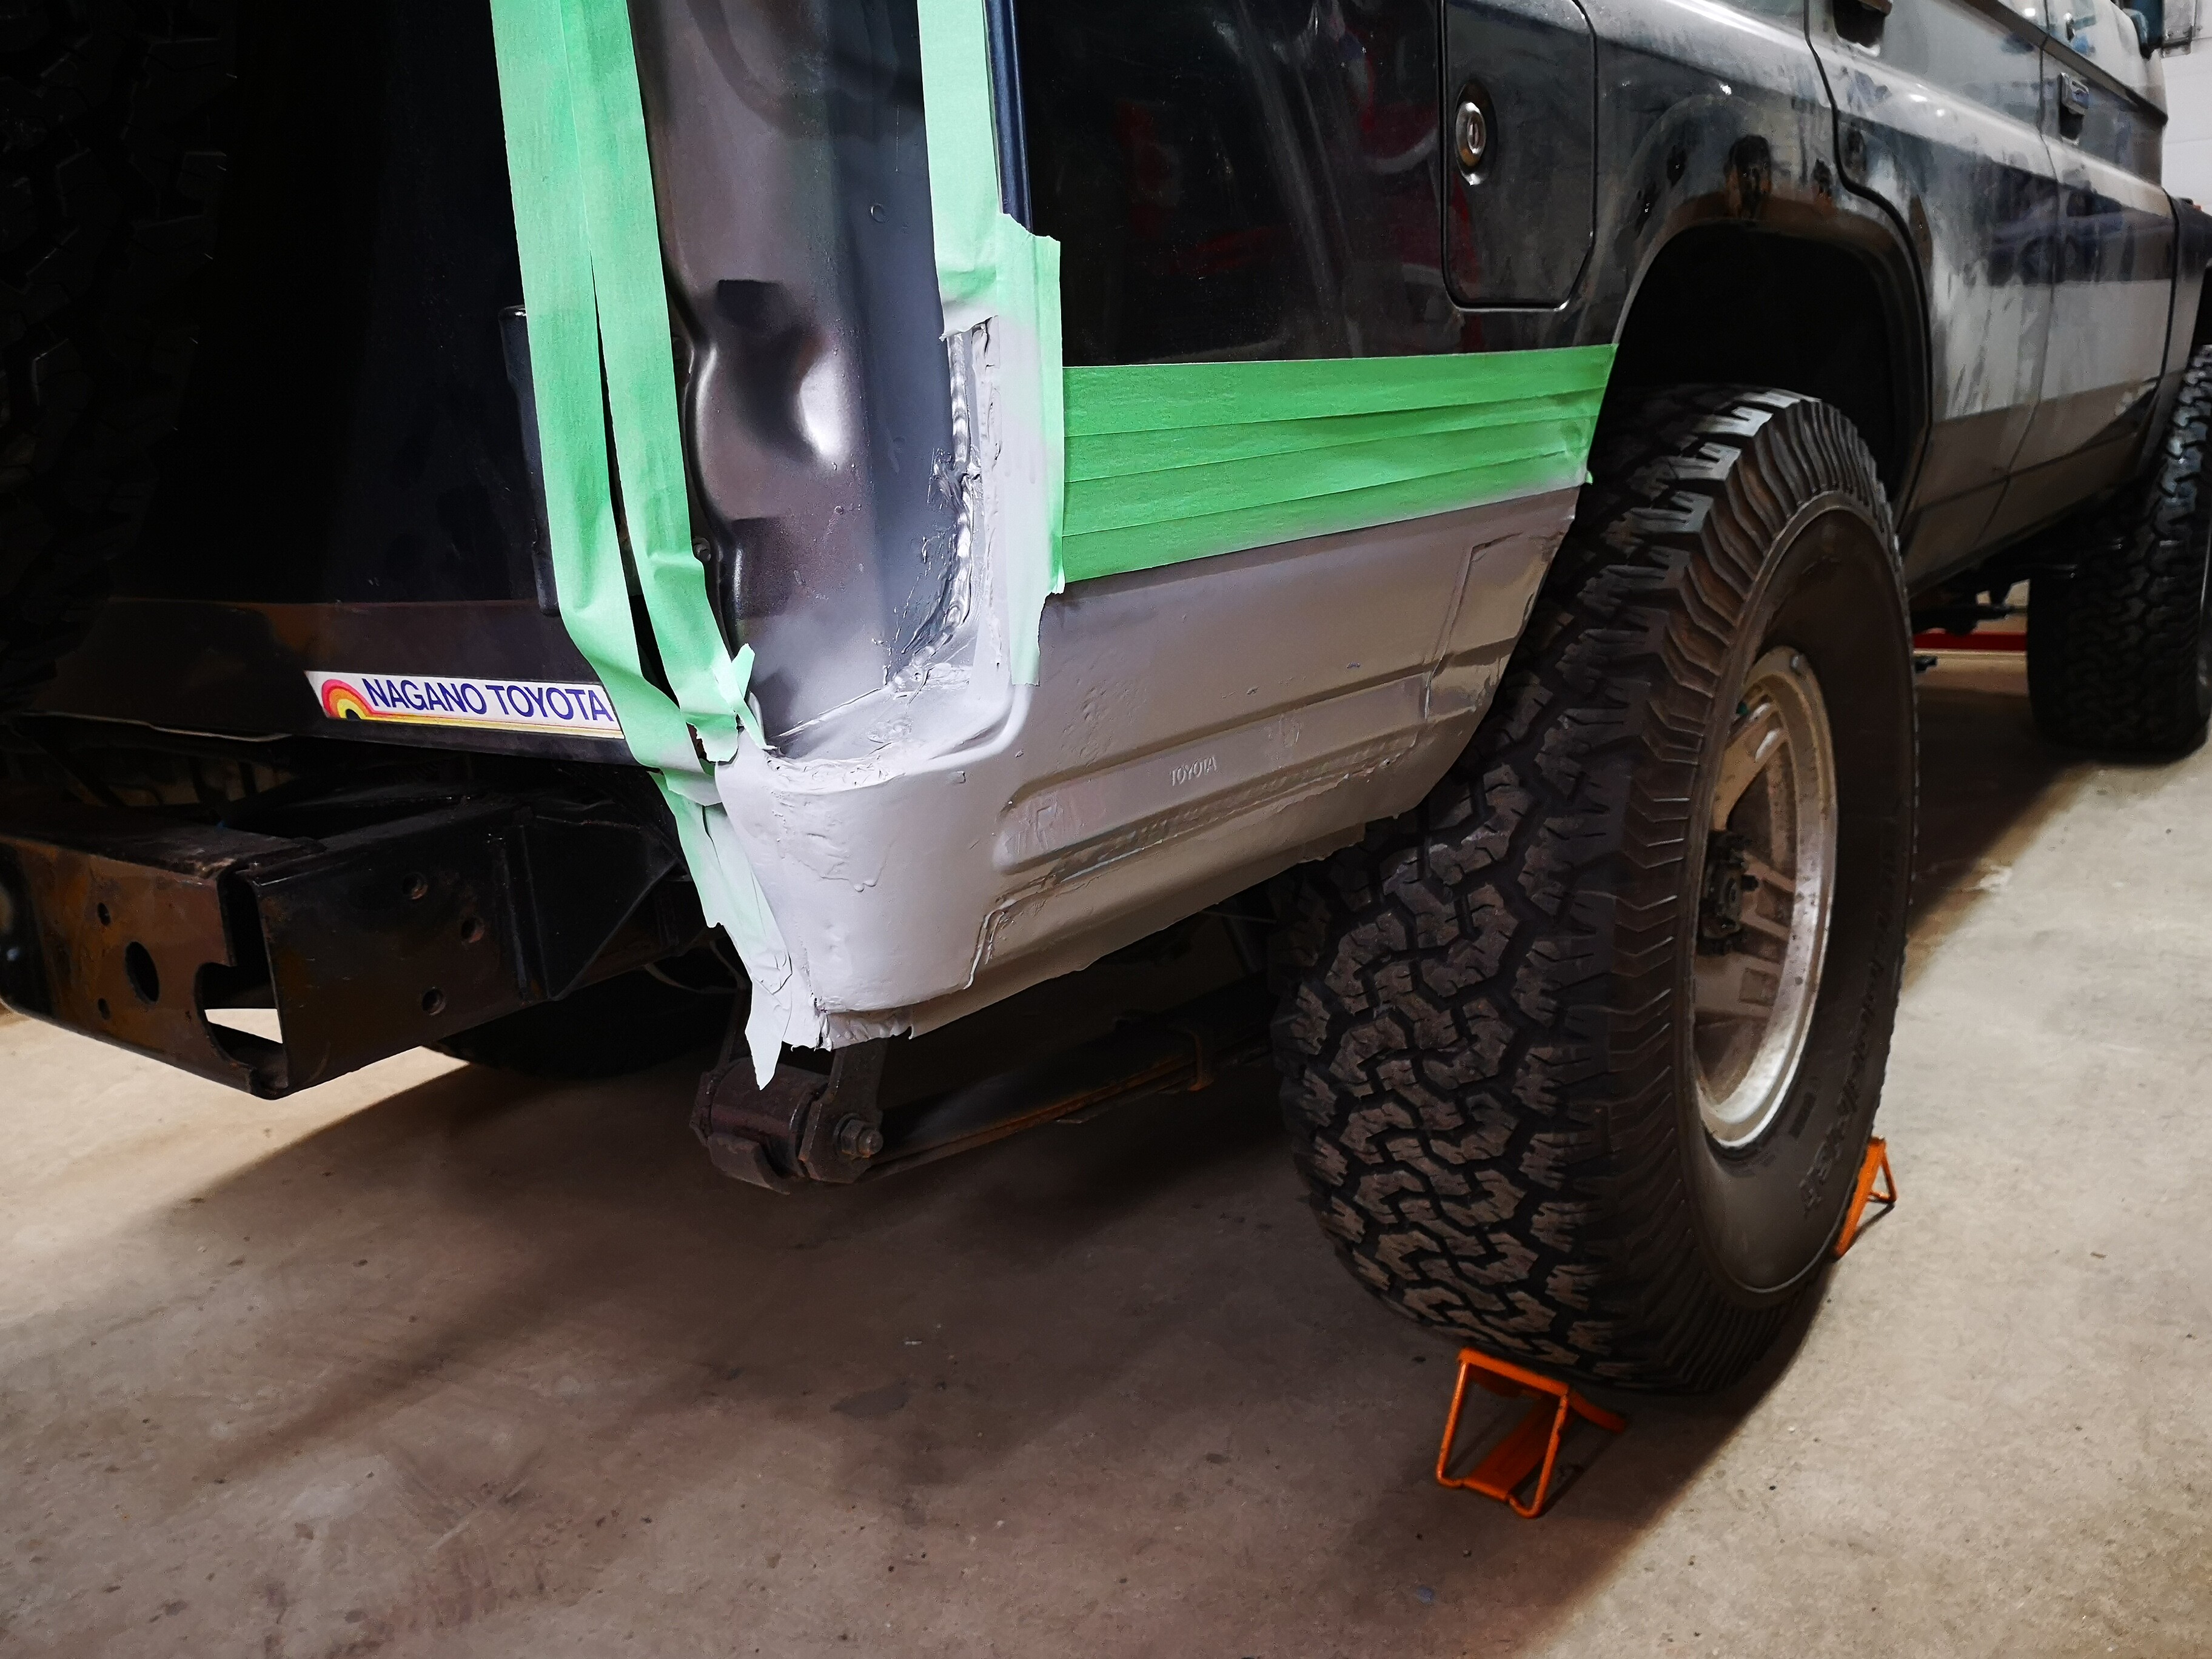
Left rear quarter is DONE. Not glued in yet. But the panel is finished. Third time’s the charm?
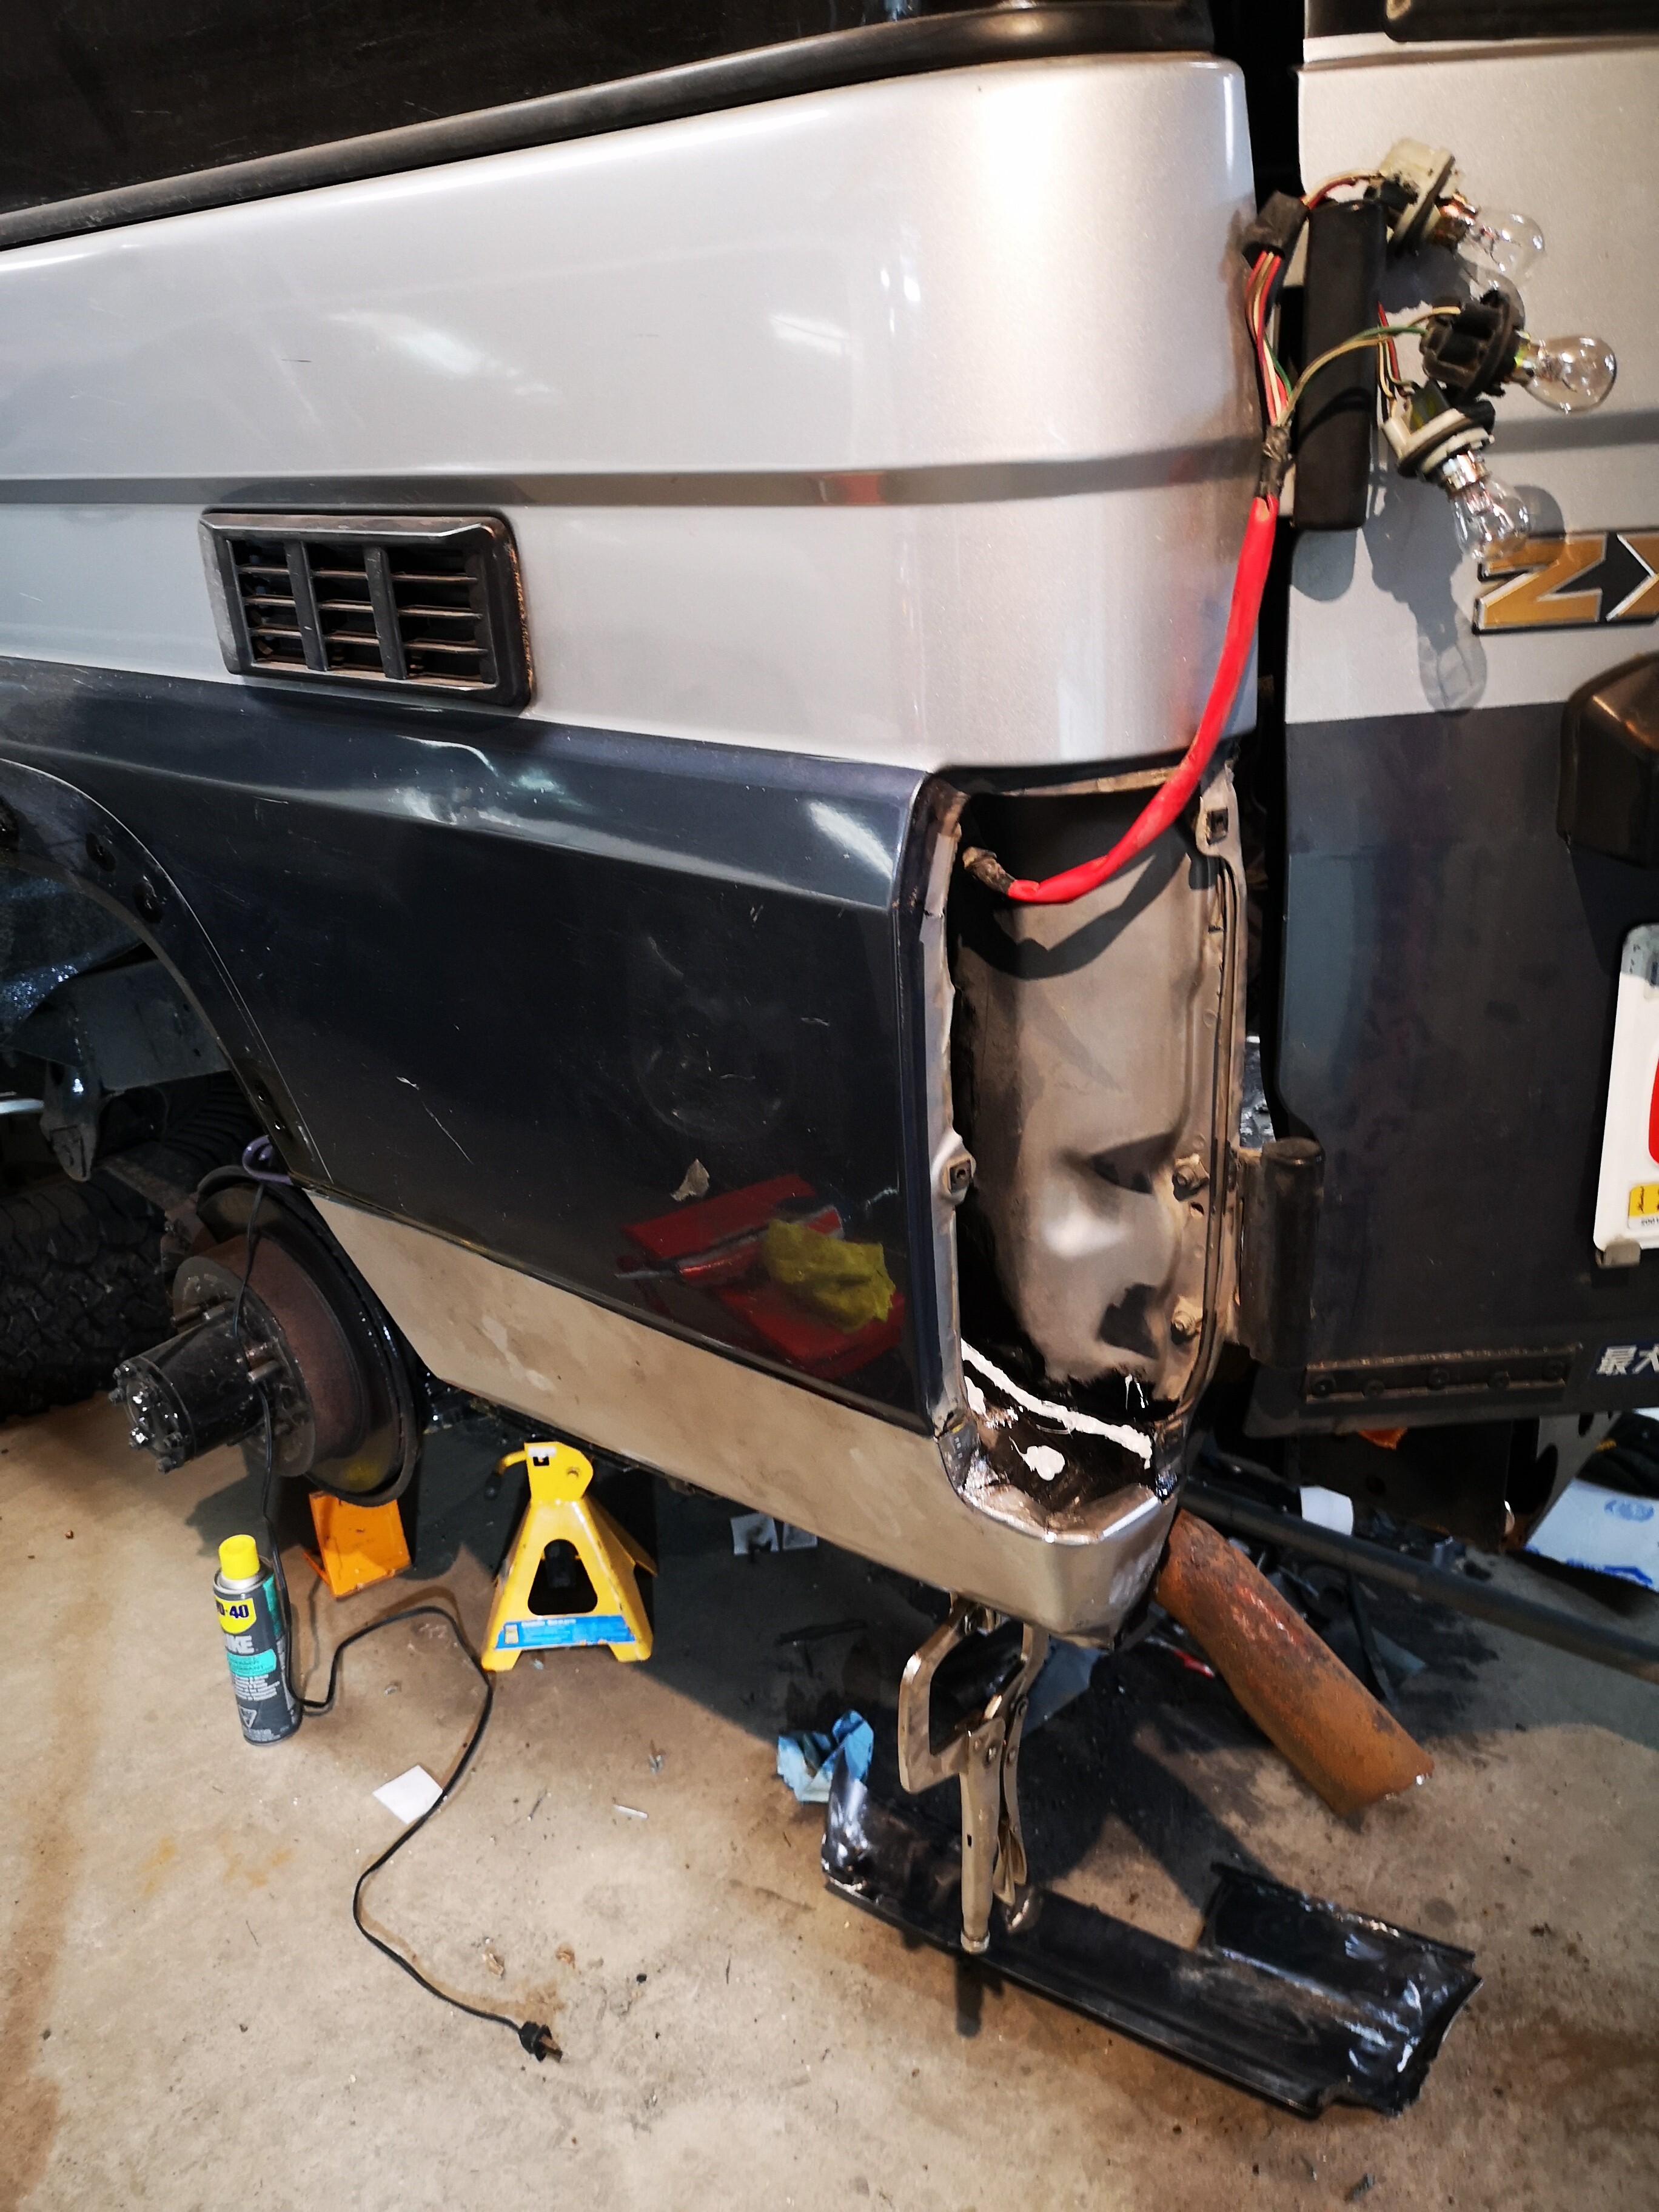
This piece of metal was the inspiration behind the latest project entry… Part 3, which was published last night.
Left rear quarter is DONE. Not glued in yet. But the panel is finished. Third time’s the charm?
This piece of metal was the inspiration behind the latest project entry… Part 3, which was published last night.
That looks great! And I swear I saw you posted a picture of an axle assembly with fresh POR15 on it. Your rough and tumble Betsy is going to be looking good as new just in time to get it dirty again!
Yeah por15 is getting a good test for this one.
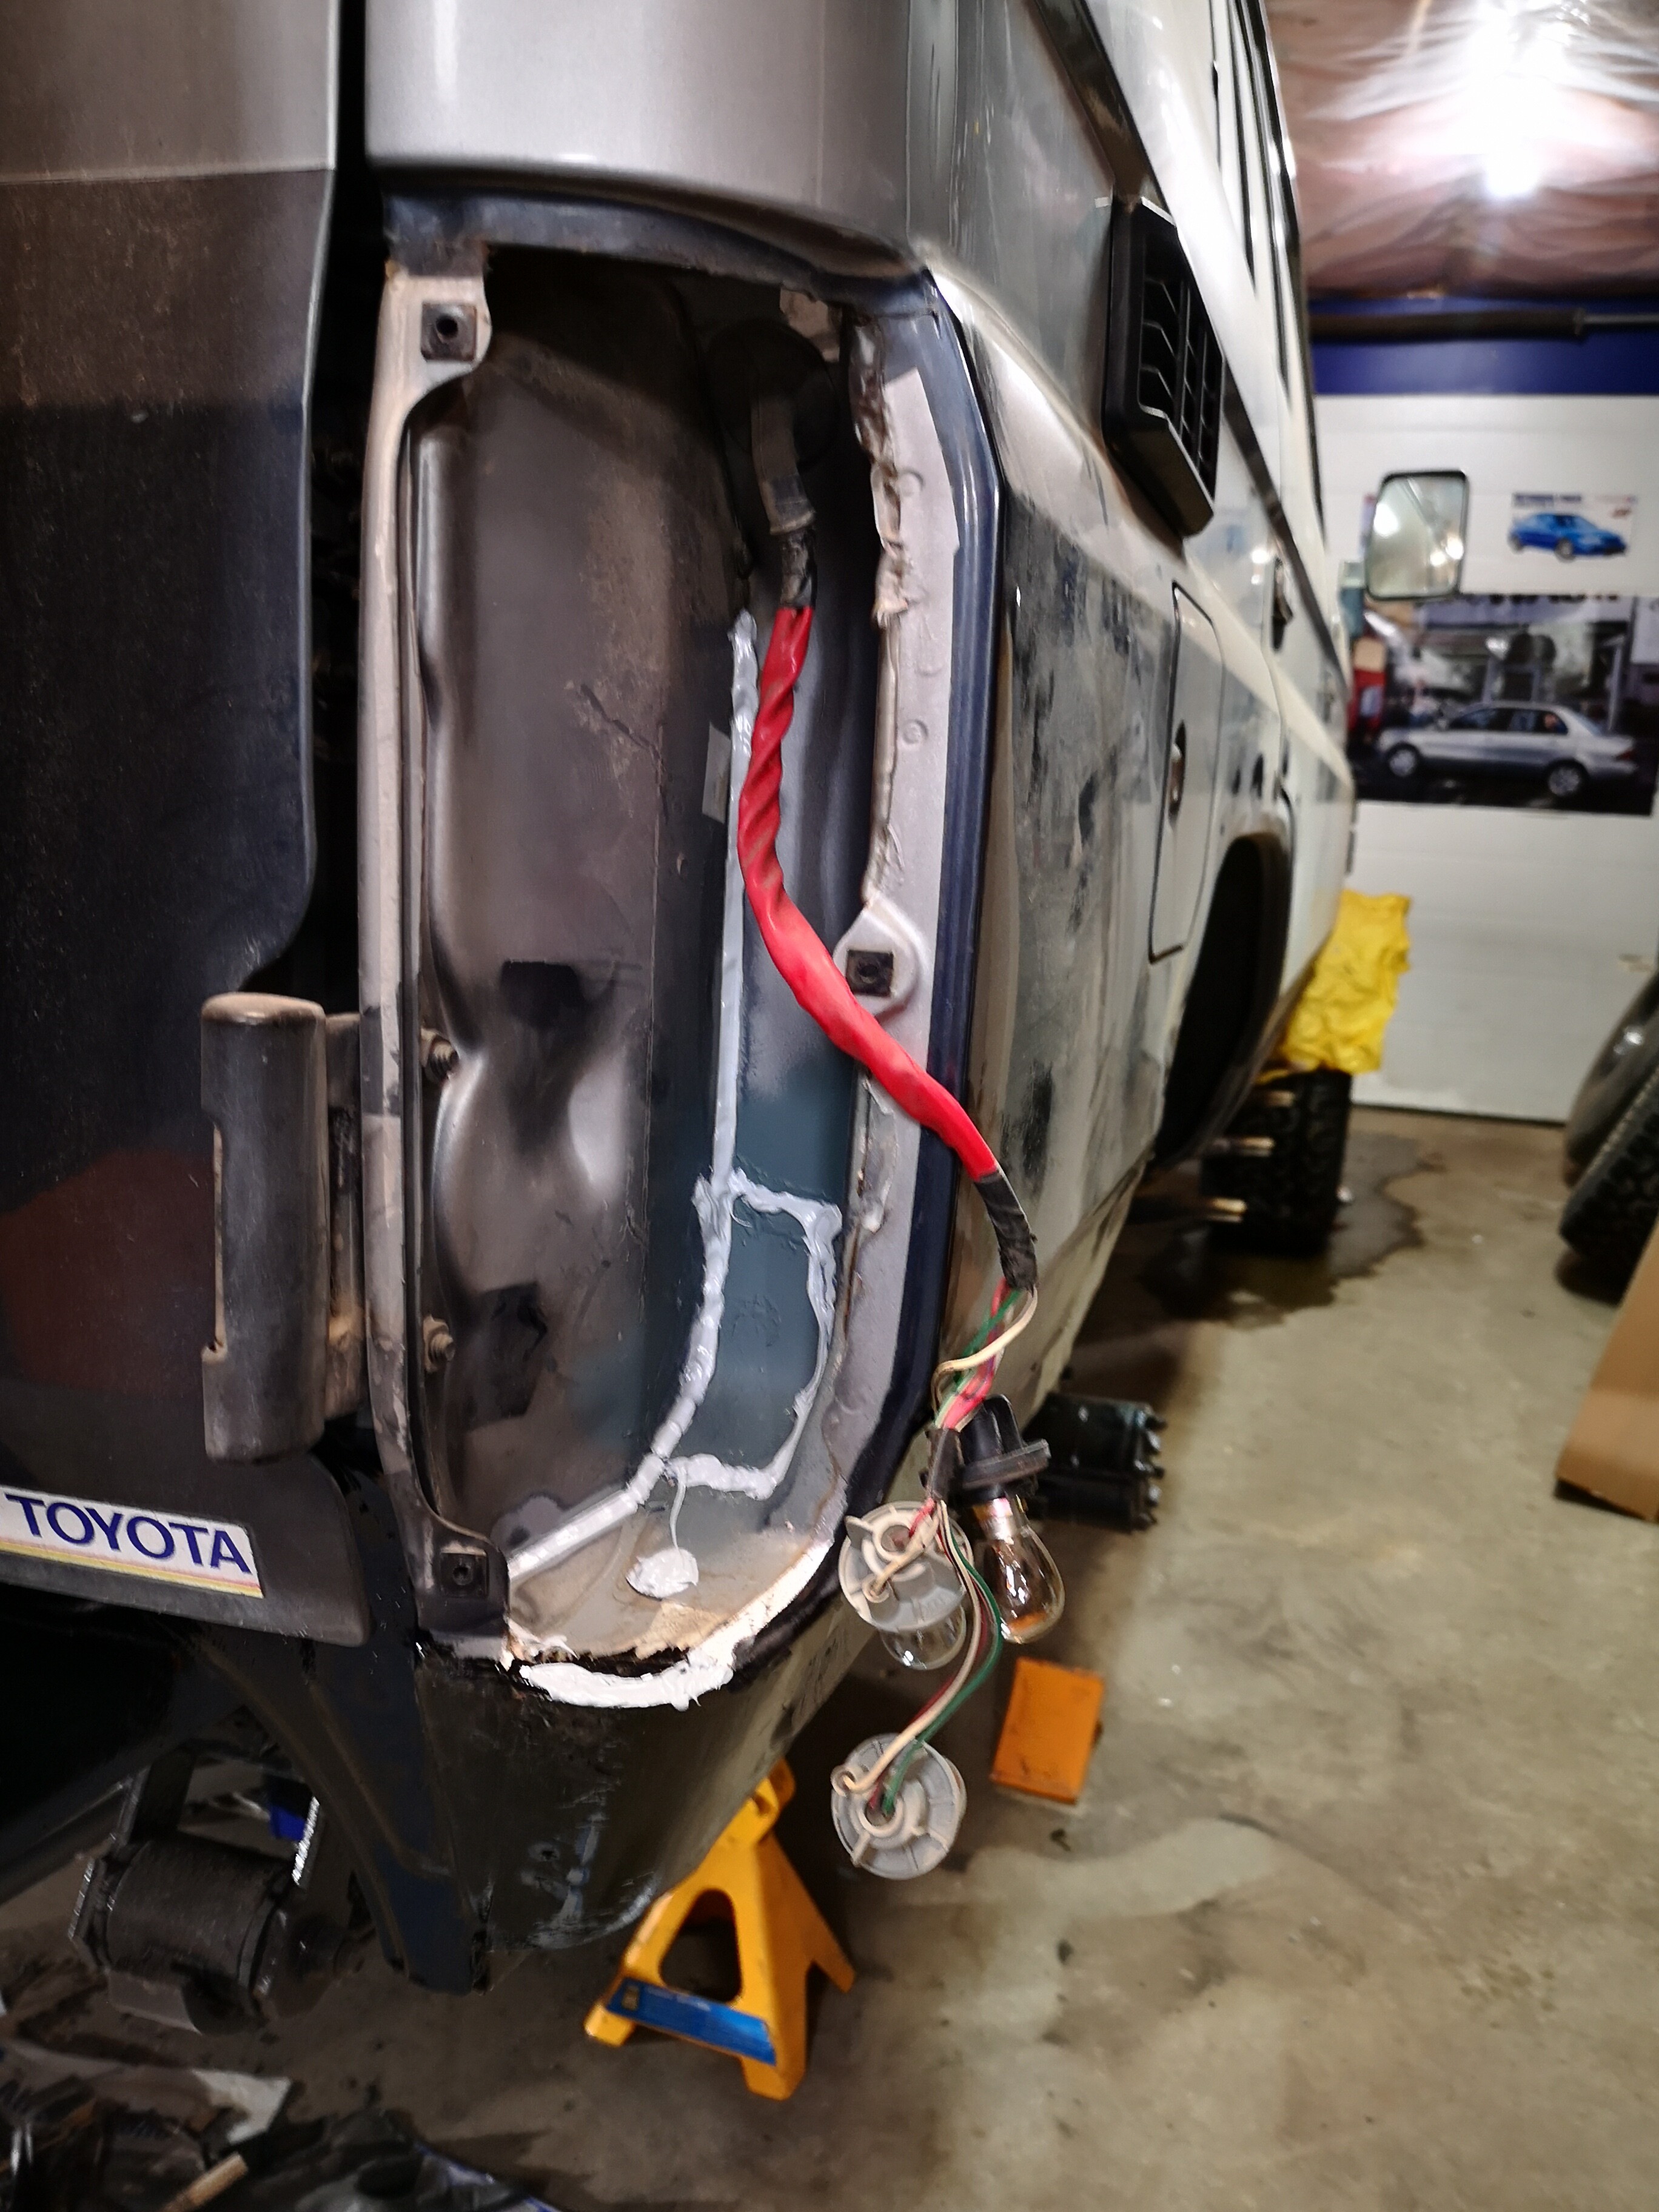
The frame, suspension and underside are all coated. There were some small rusty parts where the seam sealer had worn out inside the tailights, etc. I coated these as well, and then applied new seam sealer. I’ll paint over top of it. And then out the tailights back in so no one will ever see my handiwork. Bahaha.
Every single piece I touch on this build is with an eye towards keeping it away from the ravages of the elements. Sometimes this will make it look more functional than beautiful. But this beast wasn’t a beauty off the showroom floor so no point in starting now. 
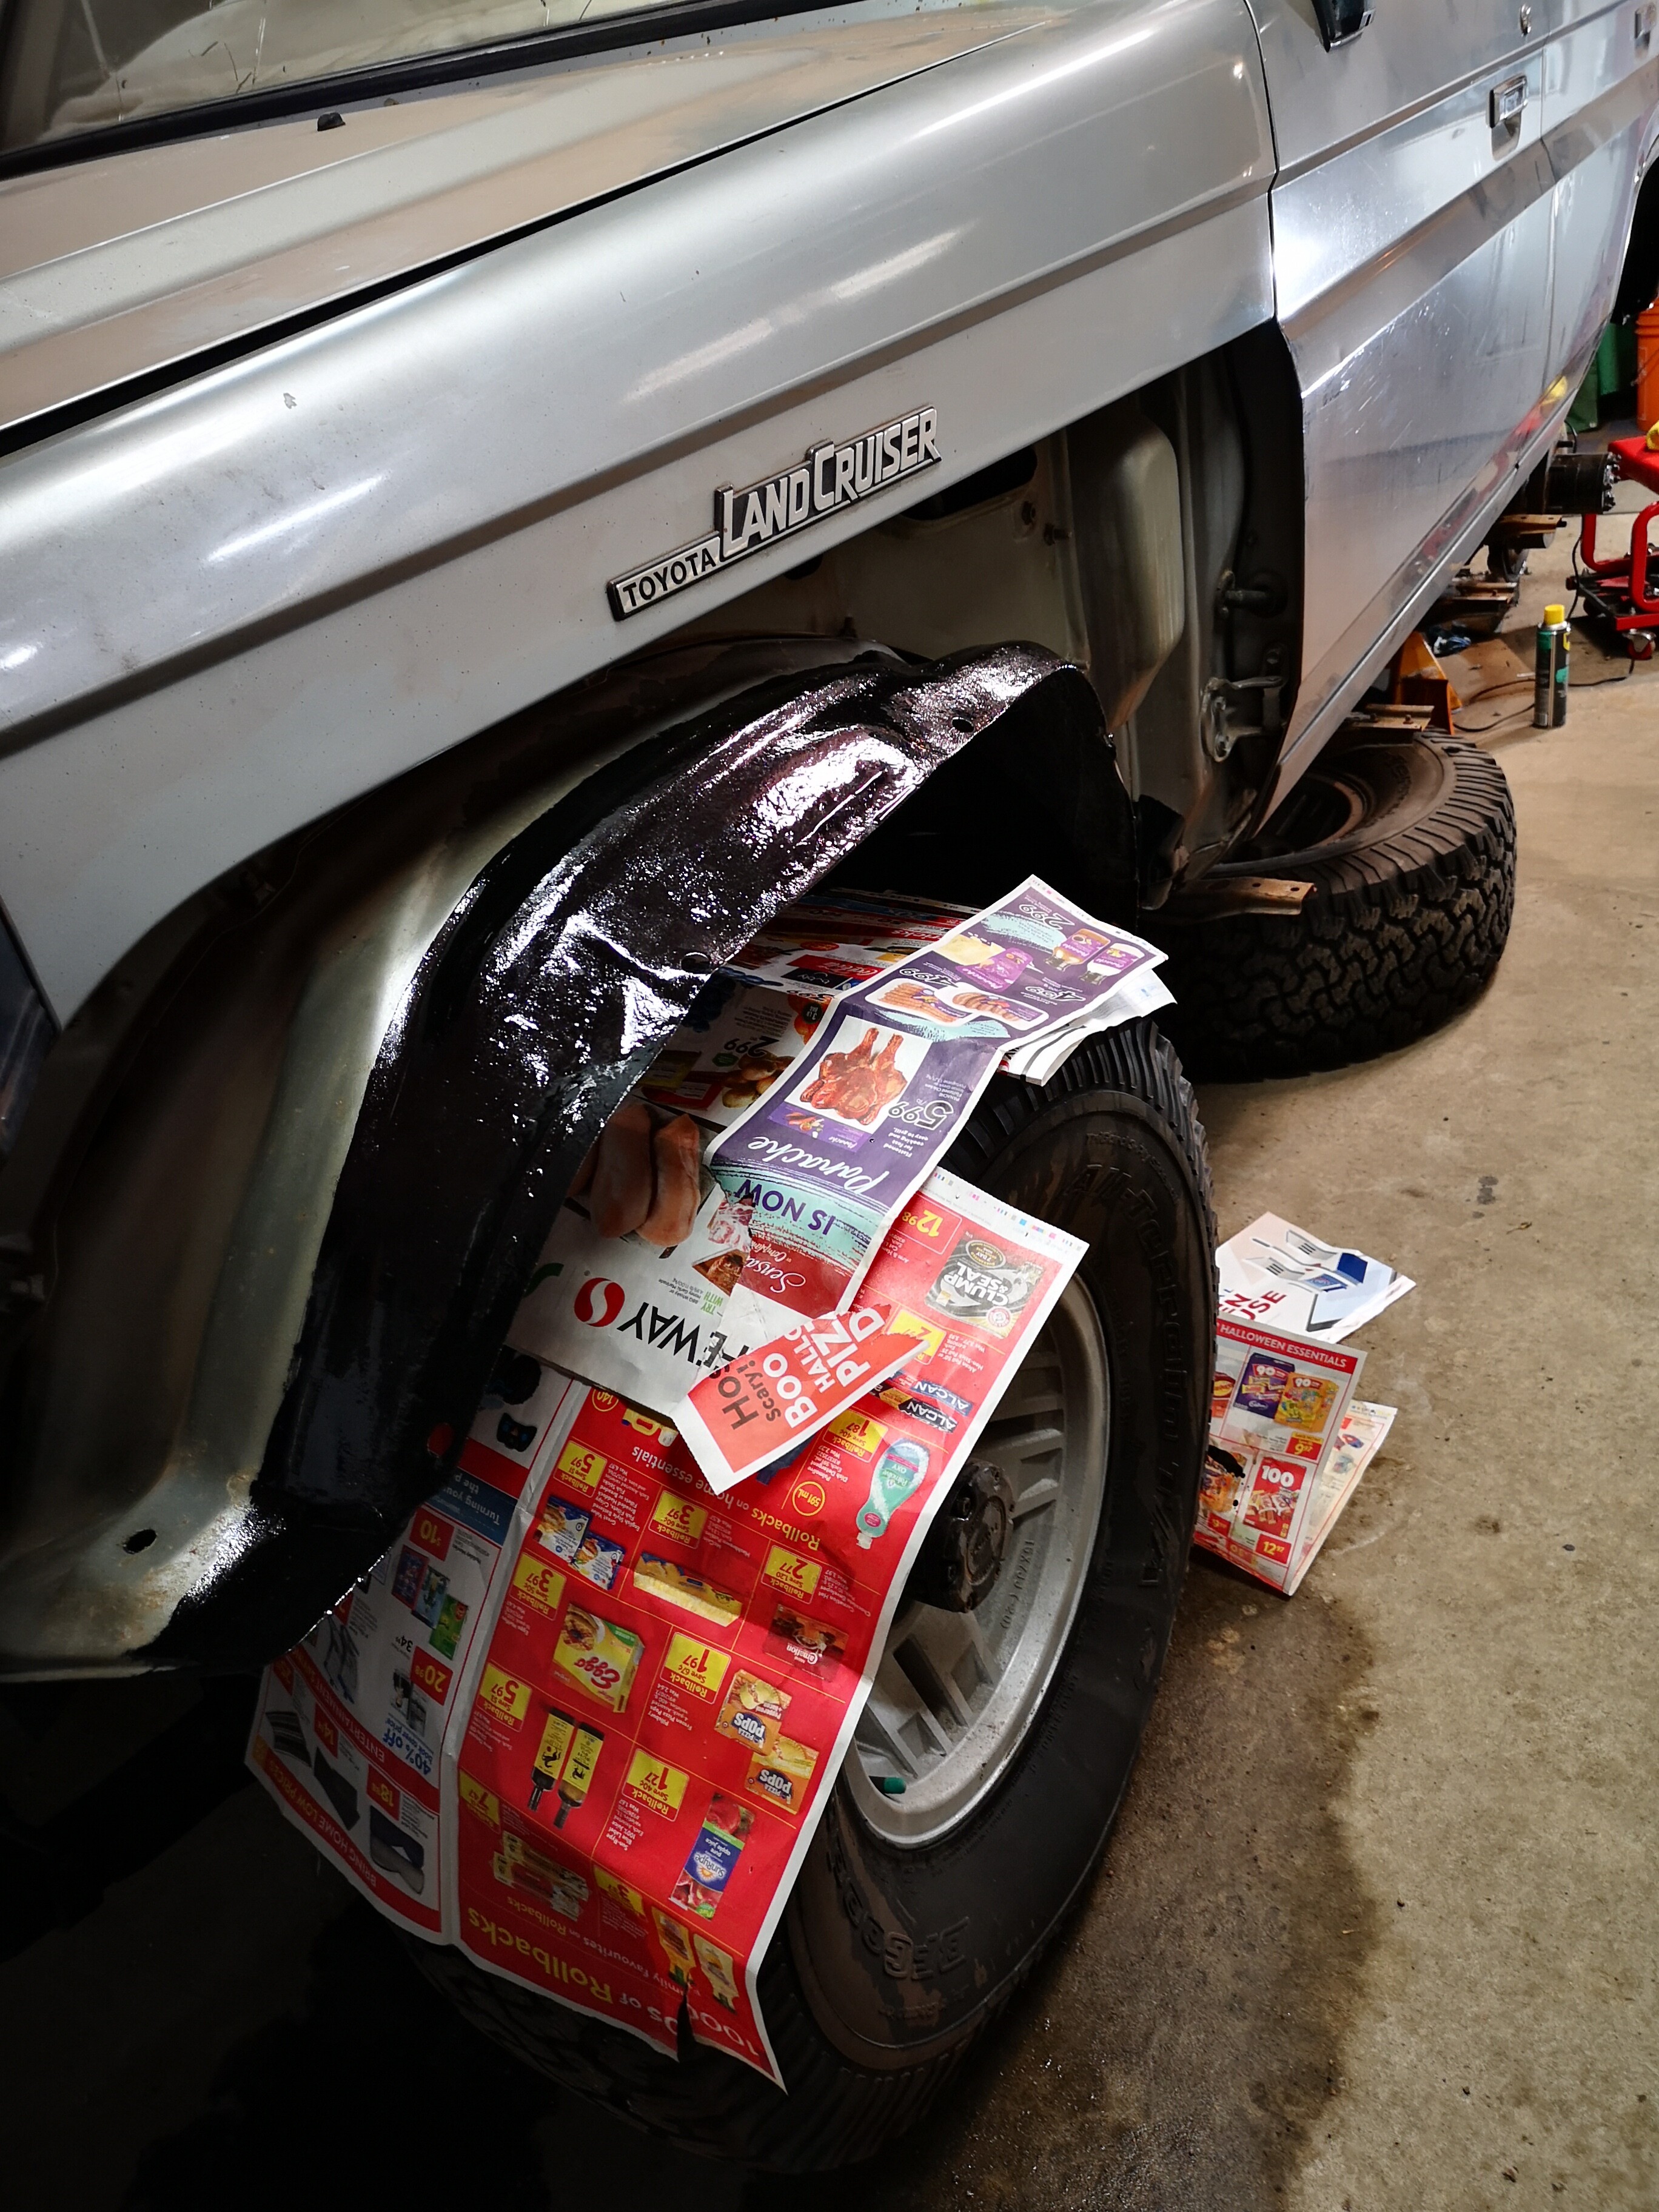
Inner wheelwells under front fenders are a good example of unseen protection. There was no rust through, just some surface staining etc. After wire wheel, evapo-rust washing, I por15’ed them. Soon the fenders will go back on and they’ll be forgotten again.
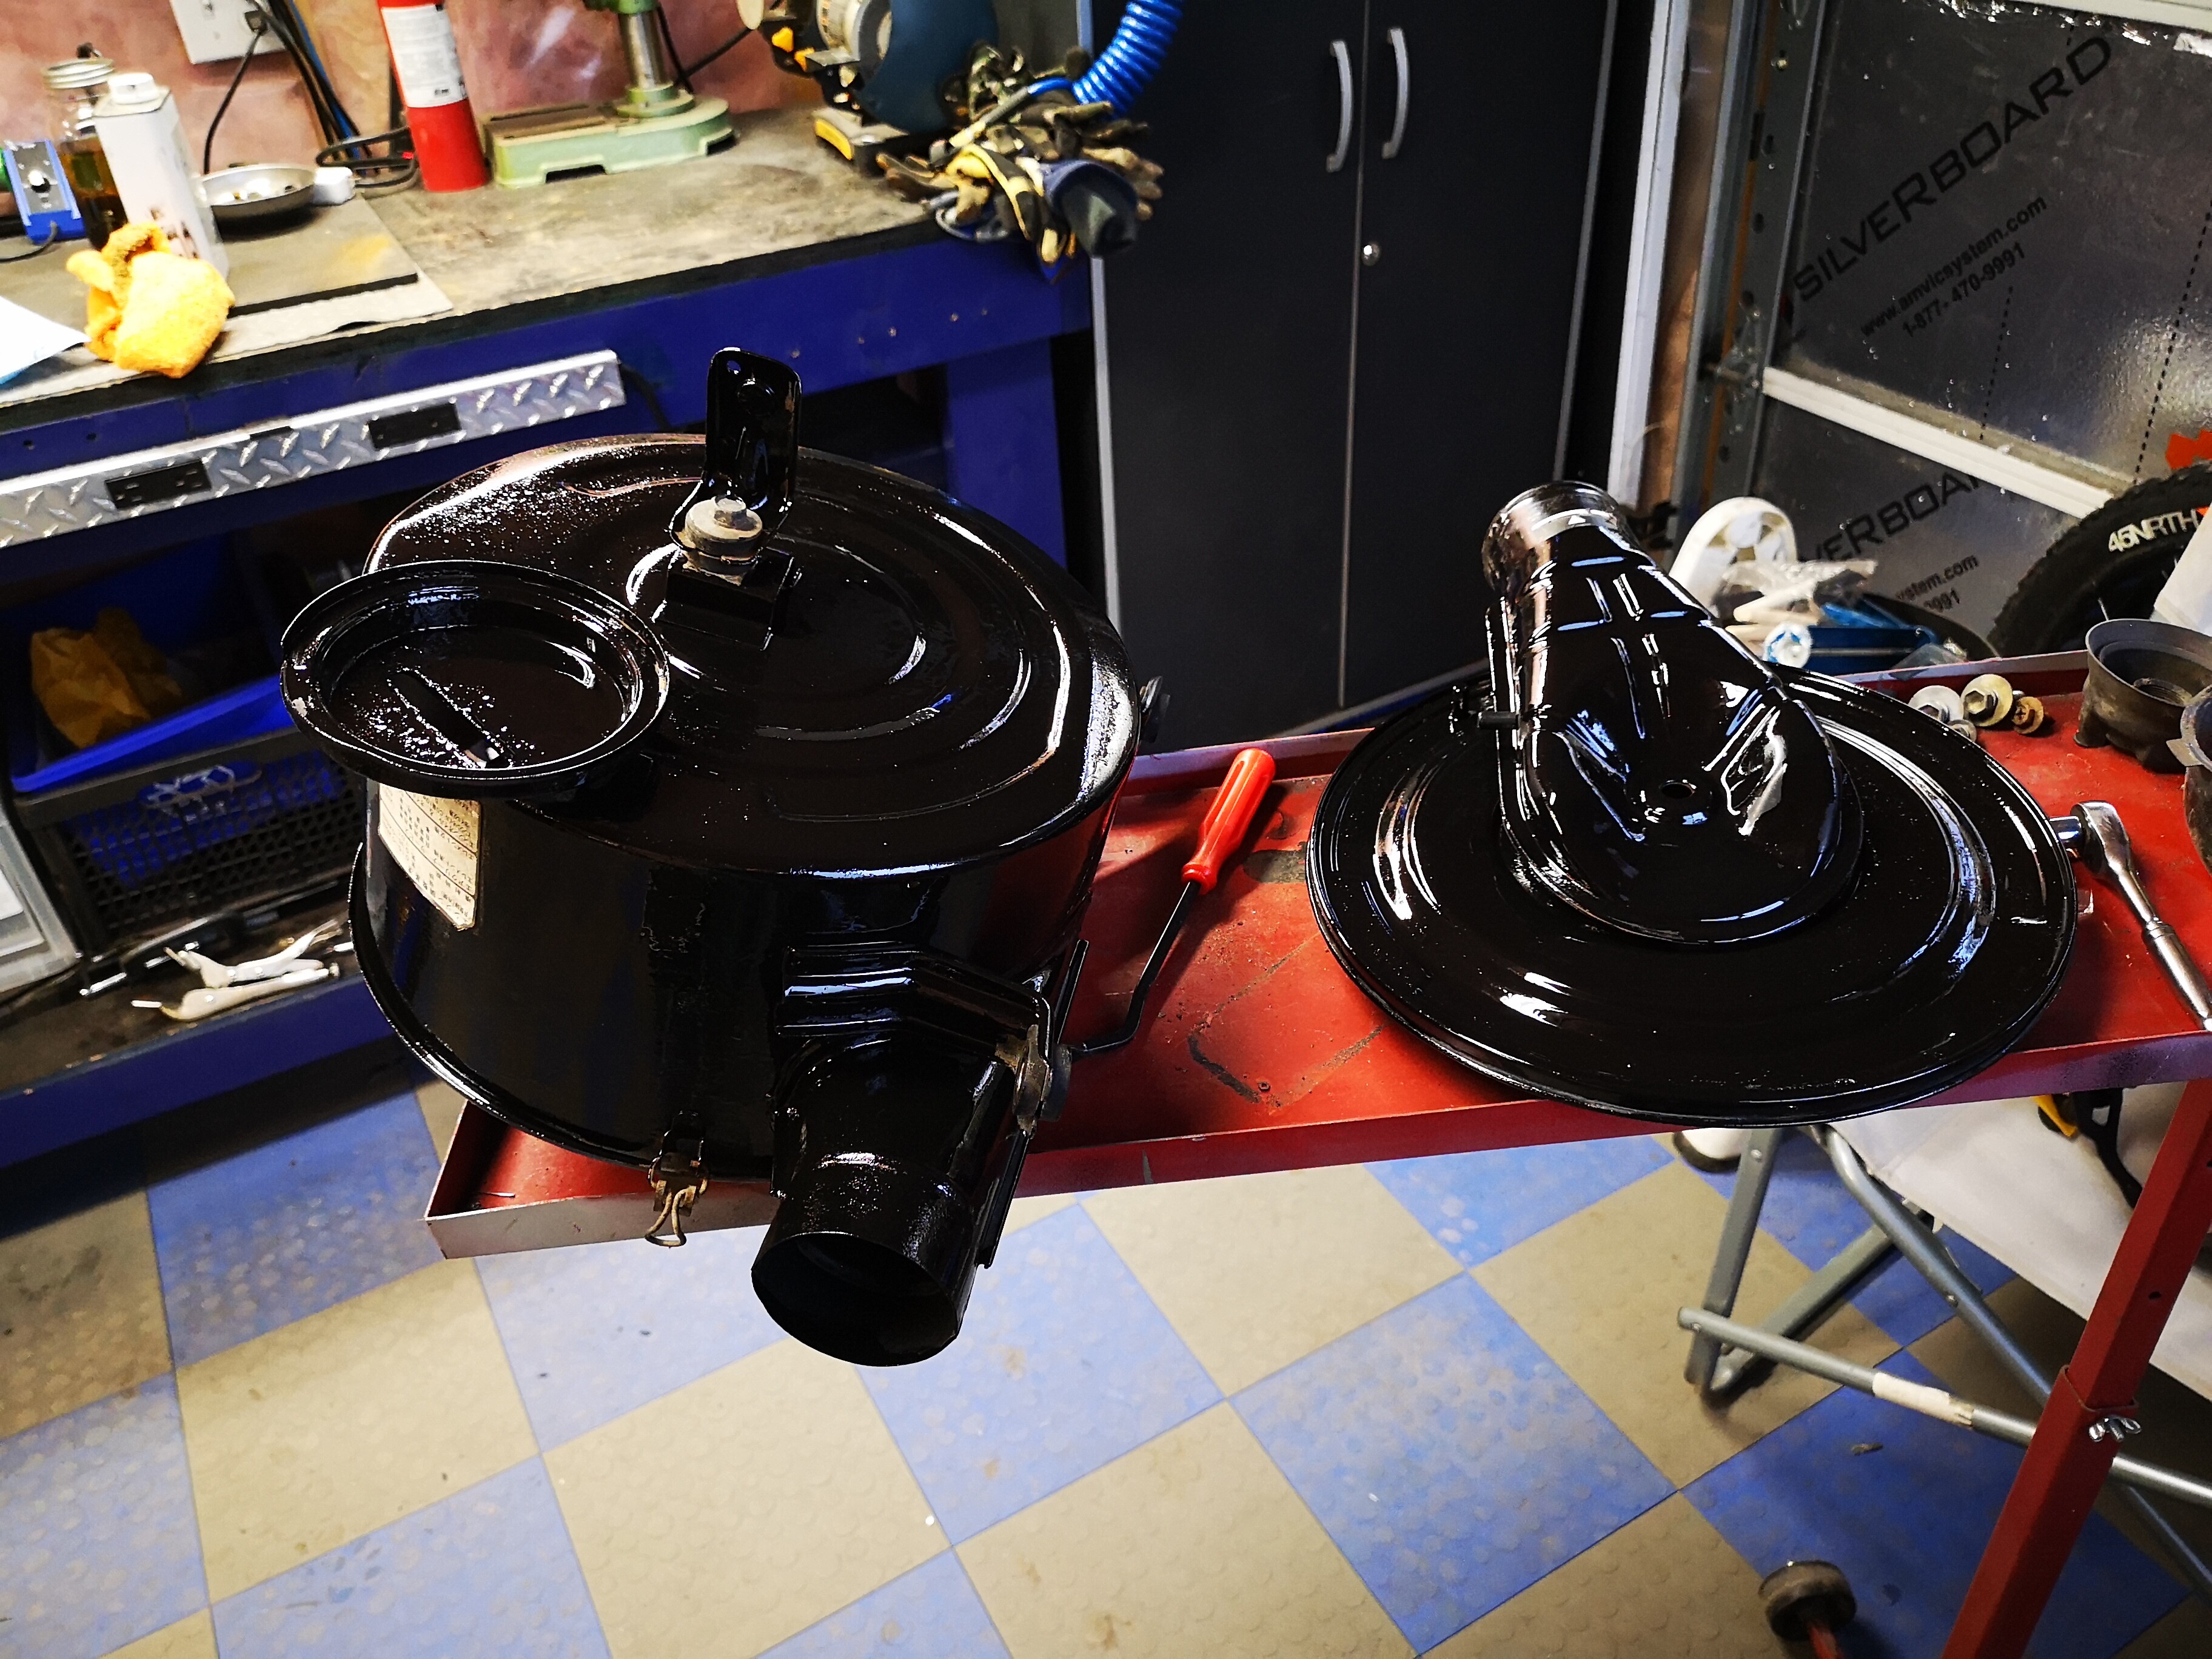
The air box had a tiny bit of patina as well. And so while I had it out…
Beautiful, Phil.
So the plan of attack is pressure wash, wire brush, Evapo-Rust, then POR15. Correct? Would you do the wheel wells of a Montero? Any thoughts on POR15 in a spray can vs. applying with a brush or roller?
Sounds right. Bear in mind that POR15 is not UV stable so if it will see the sun then you will likely want to paint over it.
I’ve never seen it in a can and not sure it’s offered that way. The folks I know of who’ve sprayed it used a gun. It self levels really quickly and dries in a mirror finish so I’m not sure spray is necessary anyway for most flat surfaces. The guy who did my chassis before I bought it from him used a gun, bit he was doing a lot of real estate so a brush would’ve taken way longer.
I’ve been using foam brushes with good result. Be prepared for how you’re going to handle part cans, as this stuff forms a skin really quickly once opened. You may need a can opener to open the tin the second time. Mine’s in a yoghurt container so I squeeze it and then remove the skinned over surface before using…
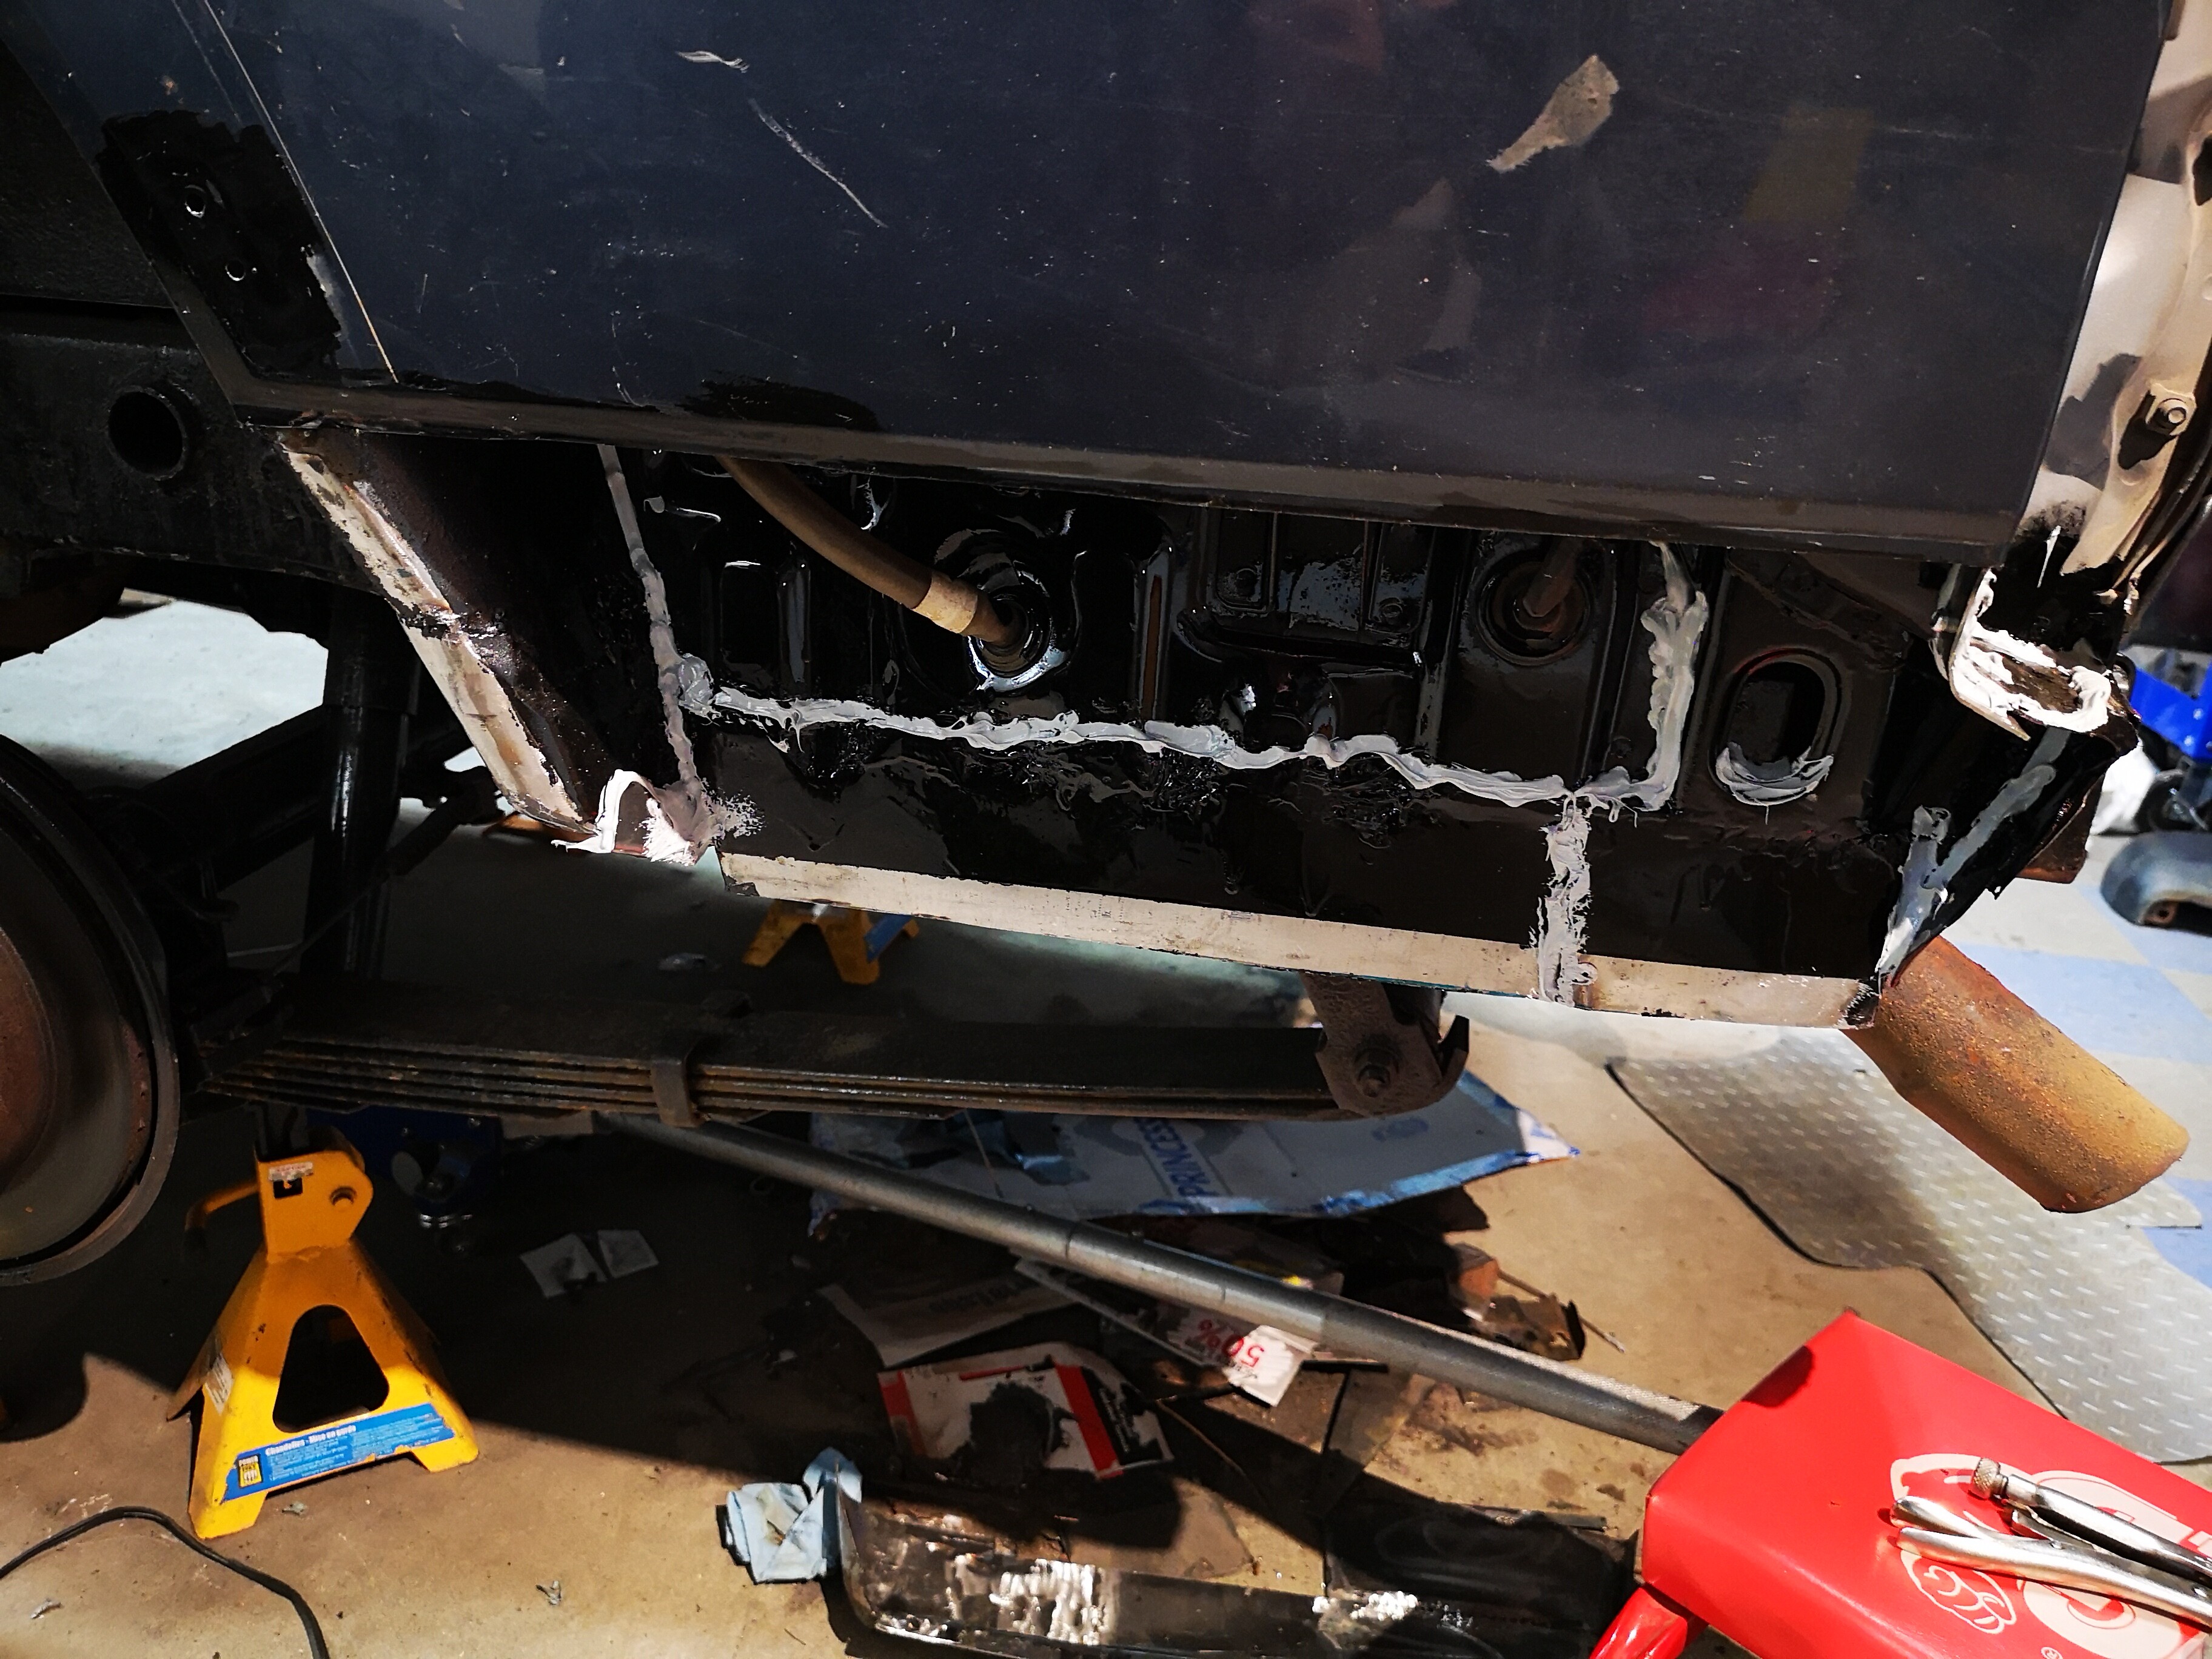
Seam sealer!
Went over my seams and sealed em up with a fancy modern seam sealer. Also removed and redid some of the factory s/s. Once it’s cured I’ll paint over it and call it good for another (hopefully) 30 years.
I realized something yesterday. After thinking back on all the “builds” that I’ve done over the years, I’ve always been searching and modding with an eye for the elusive do-it-all 4WD/Camping rig. This rig might… just might… turn out to be the culmination and execution of expereince of all the things I’ve tried/failed, and liked/hated over the years, in terms of upgrades, mods, and things I’ll leave alone.
I have things in mind for this thing that could span years forward. I think that’s a good thing. It’ll keep me interested. Also, it has qualities that remind me of some of my favorites, yet it also has qualities that depart from ALL of them, that I am happy about, and have always wanted.
Front solid axle and split rear doors are in the latter category. Yet it harkens back to my third gen1 pajero LWB, has an old school feel like the Strada, is painted very similarly to Betsy 5 the 2800 LWB…
I feel like I have the long view on this. No rush at all, since it has the feel of a long termer…
Anyways, these are random musings that don’t belong in a build thread, even one that’s already convoluted with this stuff already. LOL.
More progress planned for this weekend!
That’s fantastic. I hope I get to that point some day. I don’t think the trooper is that vehicle for me.
I disagree. This is exactly the kind of stuff that belongs in a build thread. I mean, how can others be helpful if we we don’t have a good idea where you’re headed. The long game is a good game, imo. Play it.
I can see what you mean about how it reminds you of past good times. It’s got an old school charm. And yet it’s being produced for so many years means it’s still very contemporary, too. That’s pretty rare when you think about it. Means you should be able to keep it up and running—and improving—over the course of several years.
The question now becomes what happens to the wee Prado once this thing is dialed in?
You make valid points.
The 70 feels special for its beefy suspension, retro exterior, and old school diesel, yet it’s still produced, engine and all, to this day.
So is the Prado suddenly redundant?
I don’t think so. I see it as perfect for its primary purpose. As a daily, it is fuel efficient (for a permanent 4wd with high clearance)… has great range with a 90L tank, is simple, reliable, small, nimble, and fun to drive (ie manual). Great in all weather. Admittedly, had I known how things would’ve gone, it would probably be a 2 door 2800 late gen2 Pajero… But it’s practically the same thing, with the advantage (or disadvantage depending on your perspective) of permanent AWD, slightly better fuel efficiency, and coilovers instead of torsion bars. So… I won’t be switching it out for the foreseeable future.
The big beast would likely get old if it was a daily. With leaf springs front and rear, probable bump steer, and an N/A diesel, it’s not necessarily where I’d want to spend 2.5 hours a day, 240 days a year. Although that hasn’t been proven or disproven yet…
An adventure rig when it’s for an adventure, feels adventurous. Lol. But when it’s part of the day to day, that excitement can turn into inconvenience. At least that’s how I’ve found it, over time?
That doesn’t mean I won’t take it on Fridays in spring and fall. My students can’t wait to see it. And a long shakedown once a week is the perfect way to ensure its ready for big trips, and to get used to what’s normal and what needs attention, over roads that I’m intimately familiar with.
Then again, when I’m done… Perhaps I won’t wanna drive anything else? Lol.
Update…
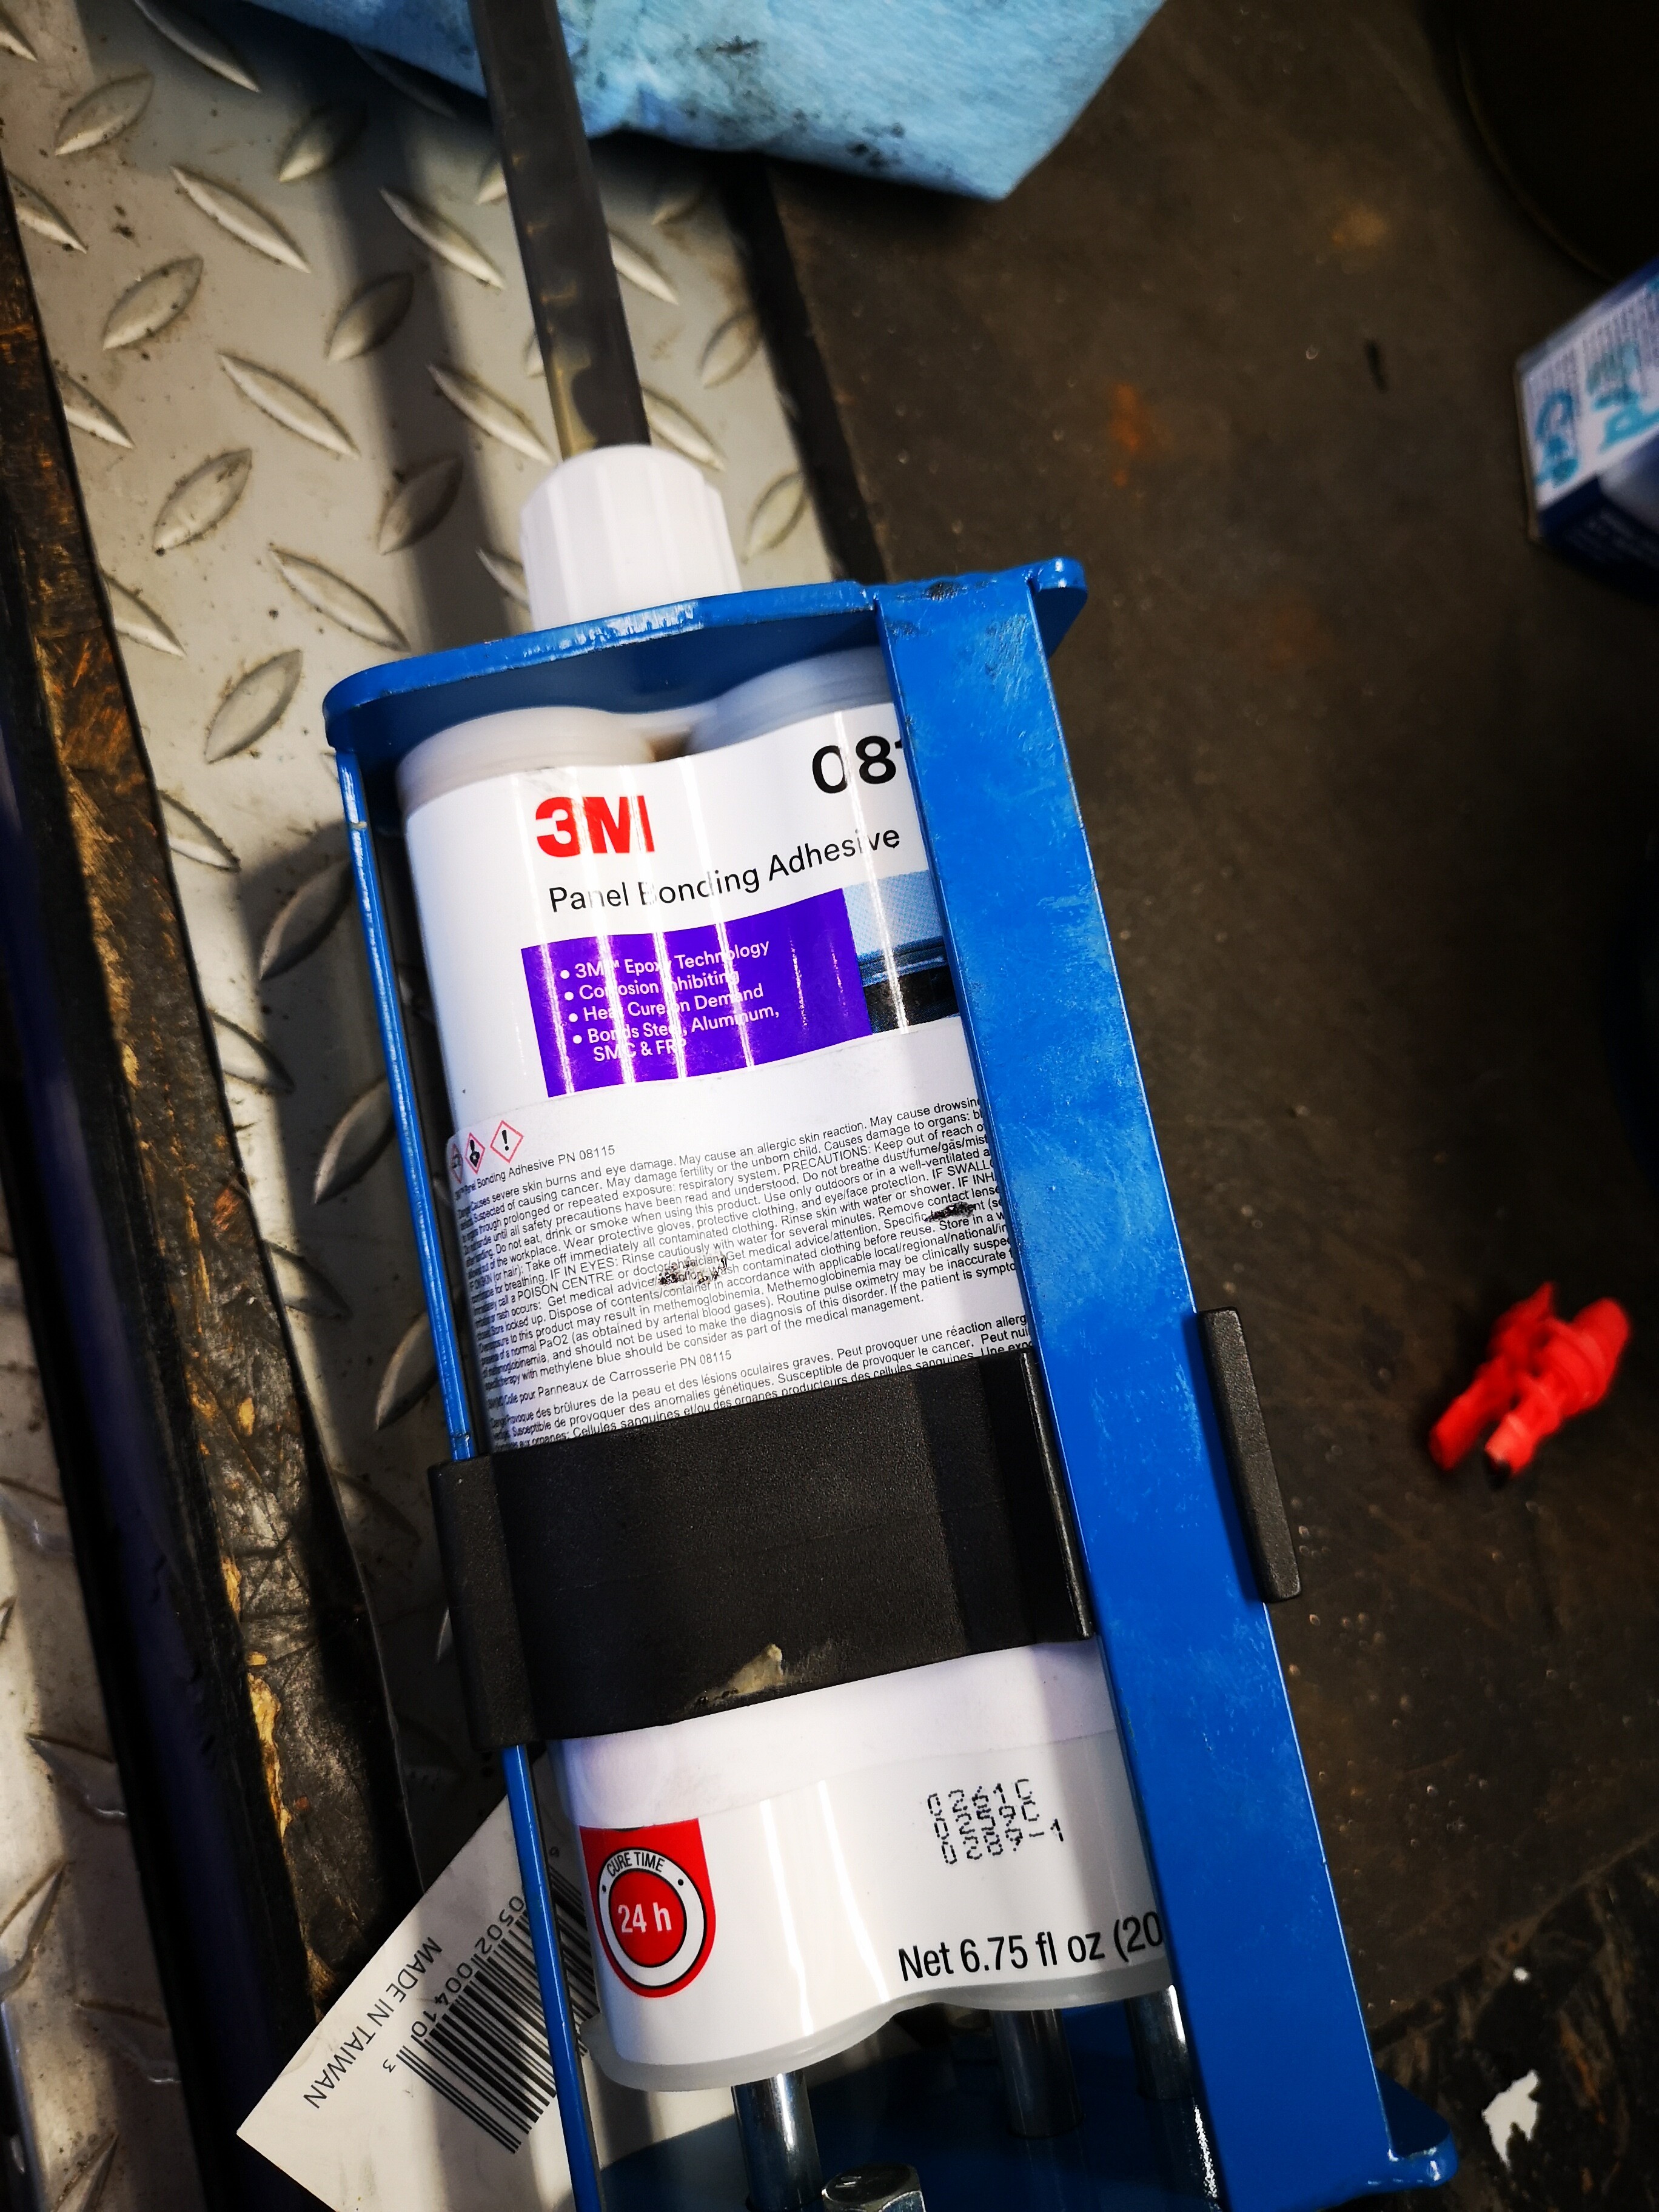
Rear quarters are glued in. Portable heater is pointed at them for the evening. So far they’re curing nicely. That 3m stiff is pretty amazing so far.
I painted the front fenders last night. Quick splash but better than nothing. The first one is mostly installed except two bolts that I spent an hour on before coming in to make supper. getting them out was torture. Back in is going to be worse.
I get what you mean. Would be nice if you could drop 4WD when it wasn’t needed, but smaller, nimble, efficient–hard to beat.
And it’s excellent seeing OLBETSY going back together. Your hard work is paying off!
Can’t wait to go for a ride.
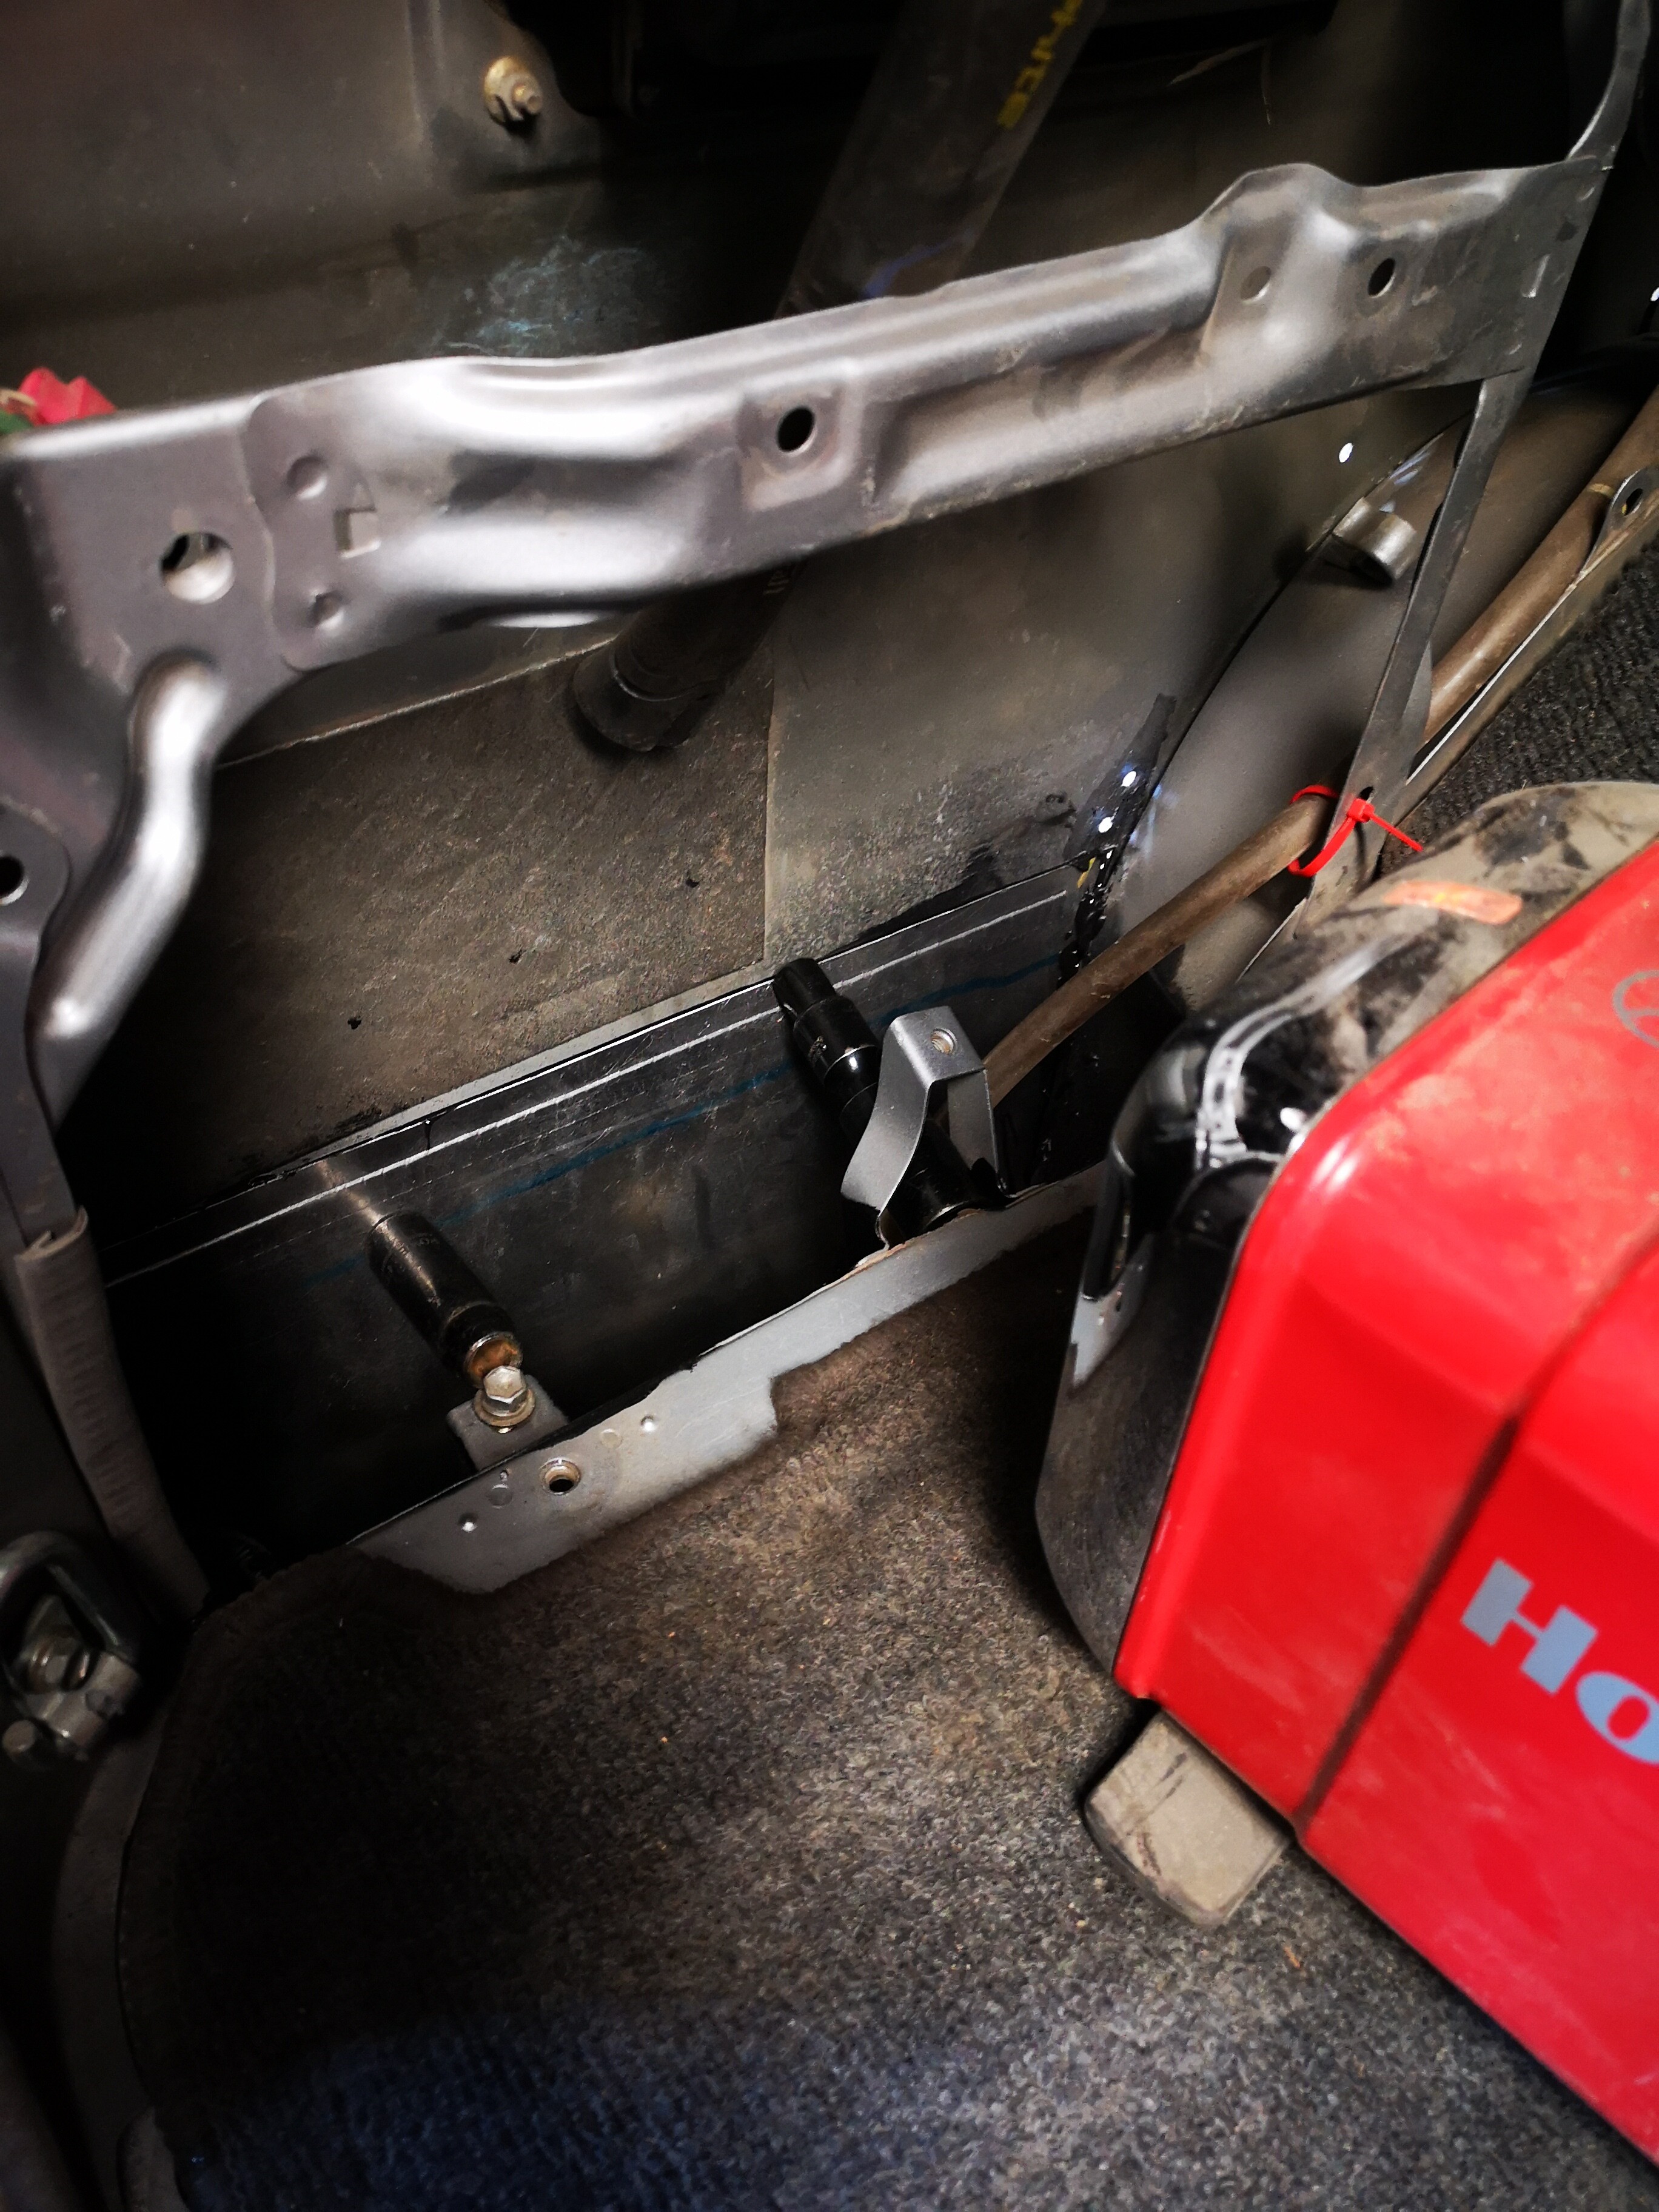
3m for the win. Panels are solid. Rapping your knuckles along the rear corners now resounds a satisfying thunk. And when you look in through the jack compartment, all is quiet and dark. 
Everything appeared to stick where it was supposed to and I see no holes, gaps, or holidays in my joins. Just to be thorough, I went around today with seam sealer and did the back side seams again, just in case.
Once it dries the inside panels will get a coat of primer, and the outside might get a skim of filler where the panels meet. Undecided on that. I’d really like to use as little as possible, but I don’t want it to look too patched together either. Then of course needs prime and paint…
Then it’s on to the fenders. Front one is partially in place. But I need six speed nuts (clip nuts?) Also started chasing the threads in the fender bolts.
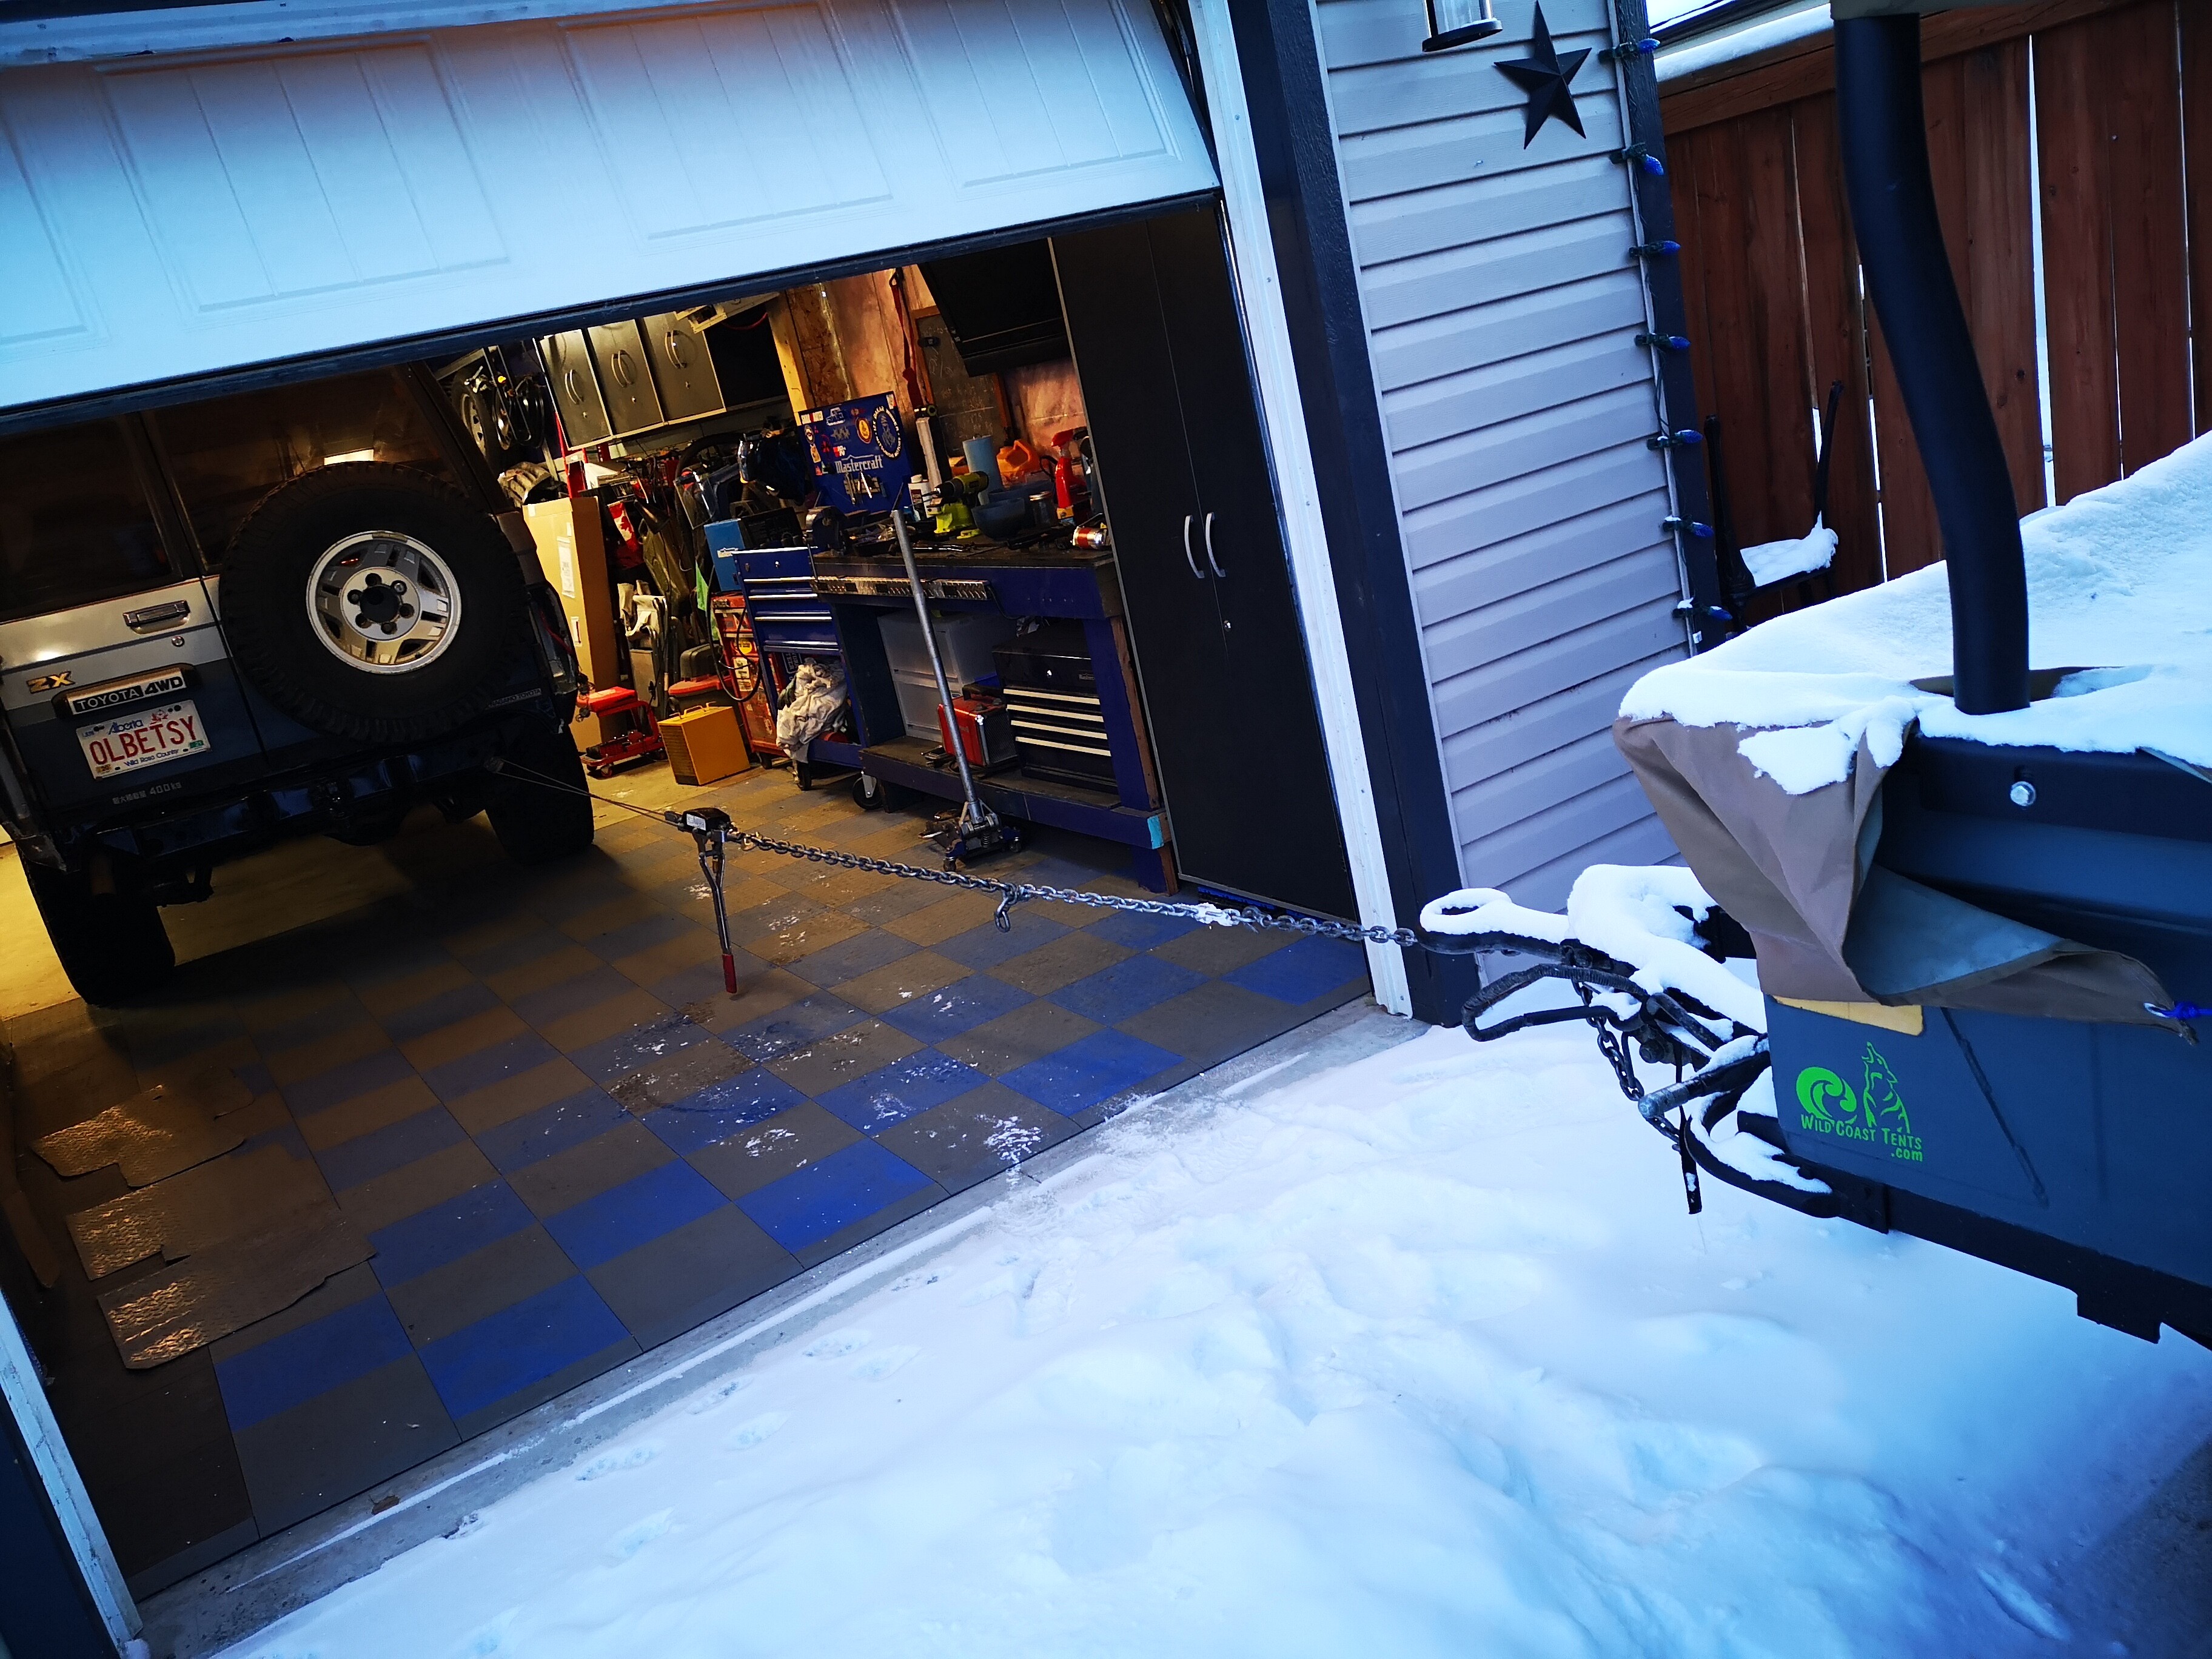
So even with heat, it’s so cold out right now that I’ve been staying inside. We are currently sitting in a weather phenomena called a polar vortex, and so far it’s brought us temps in the mid -30°c range, BEFORE windchill, and tonight is supposed to be -42°c. Not even sensible…
So. In this kind of conditions you want all your rigs to be as warm as possible, and the garage is still sitting at -6… even without the heaters running.
But there’s a problem.: The big rig is fully blocking one side. And she has no batteries, much of the engine compartment is dismantled, and therefore can’t move under her own power right now.
Solution? Well. I thought maybe I could use the little trailer, currently on the back deck to pull it in. Ironic yes that the trailer will pull the truck before the truck pulls the trailer, but there it is!
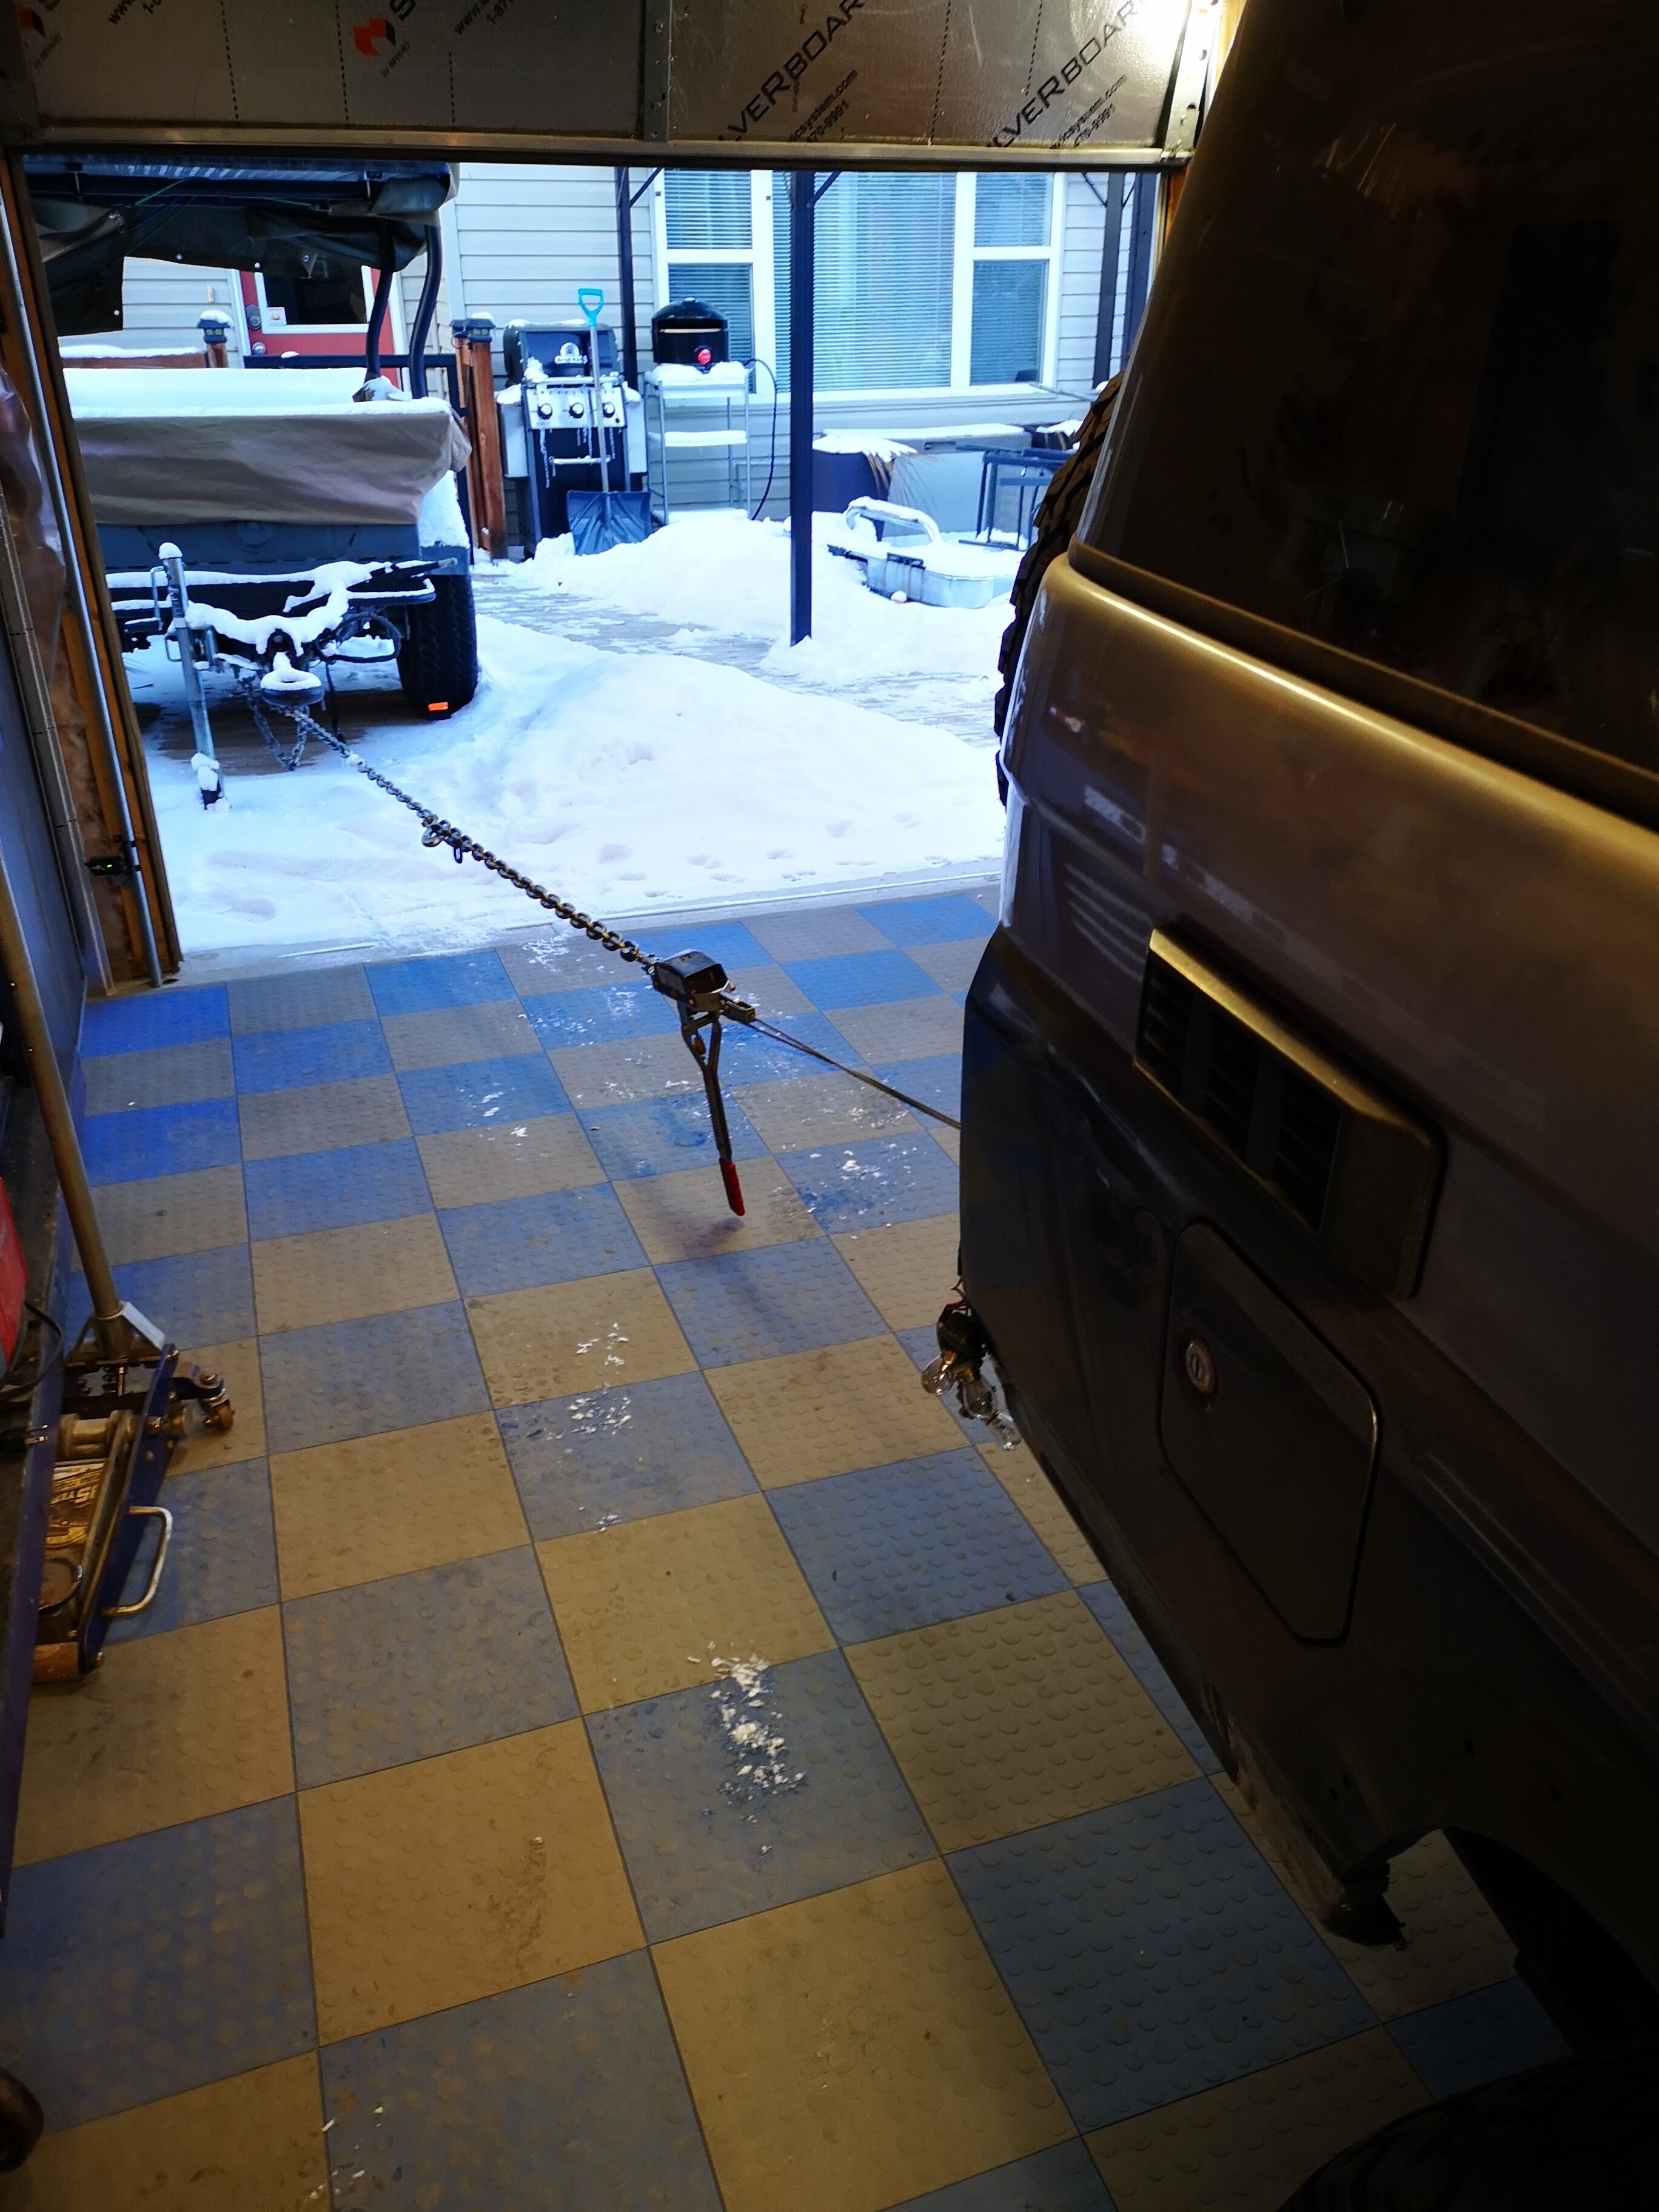
Using my trusty come-along, some chain, and some wheel chocks and the handbrake on the trailer, I was just able to winch it toward the garden side overhead door.
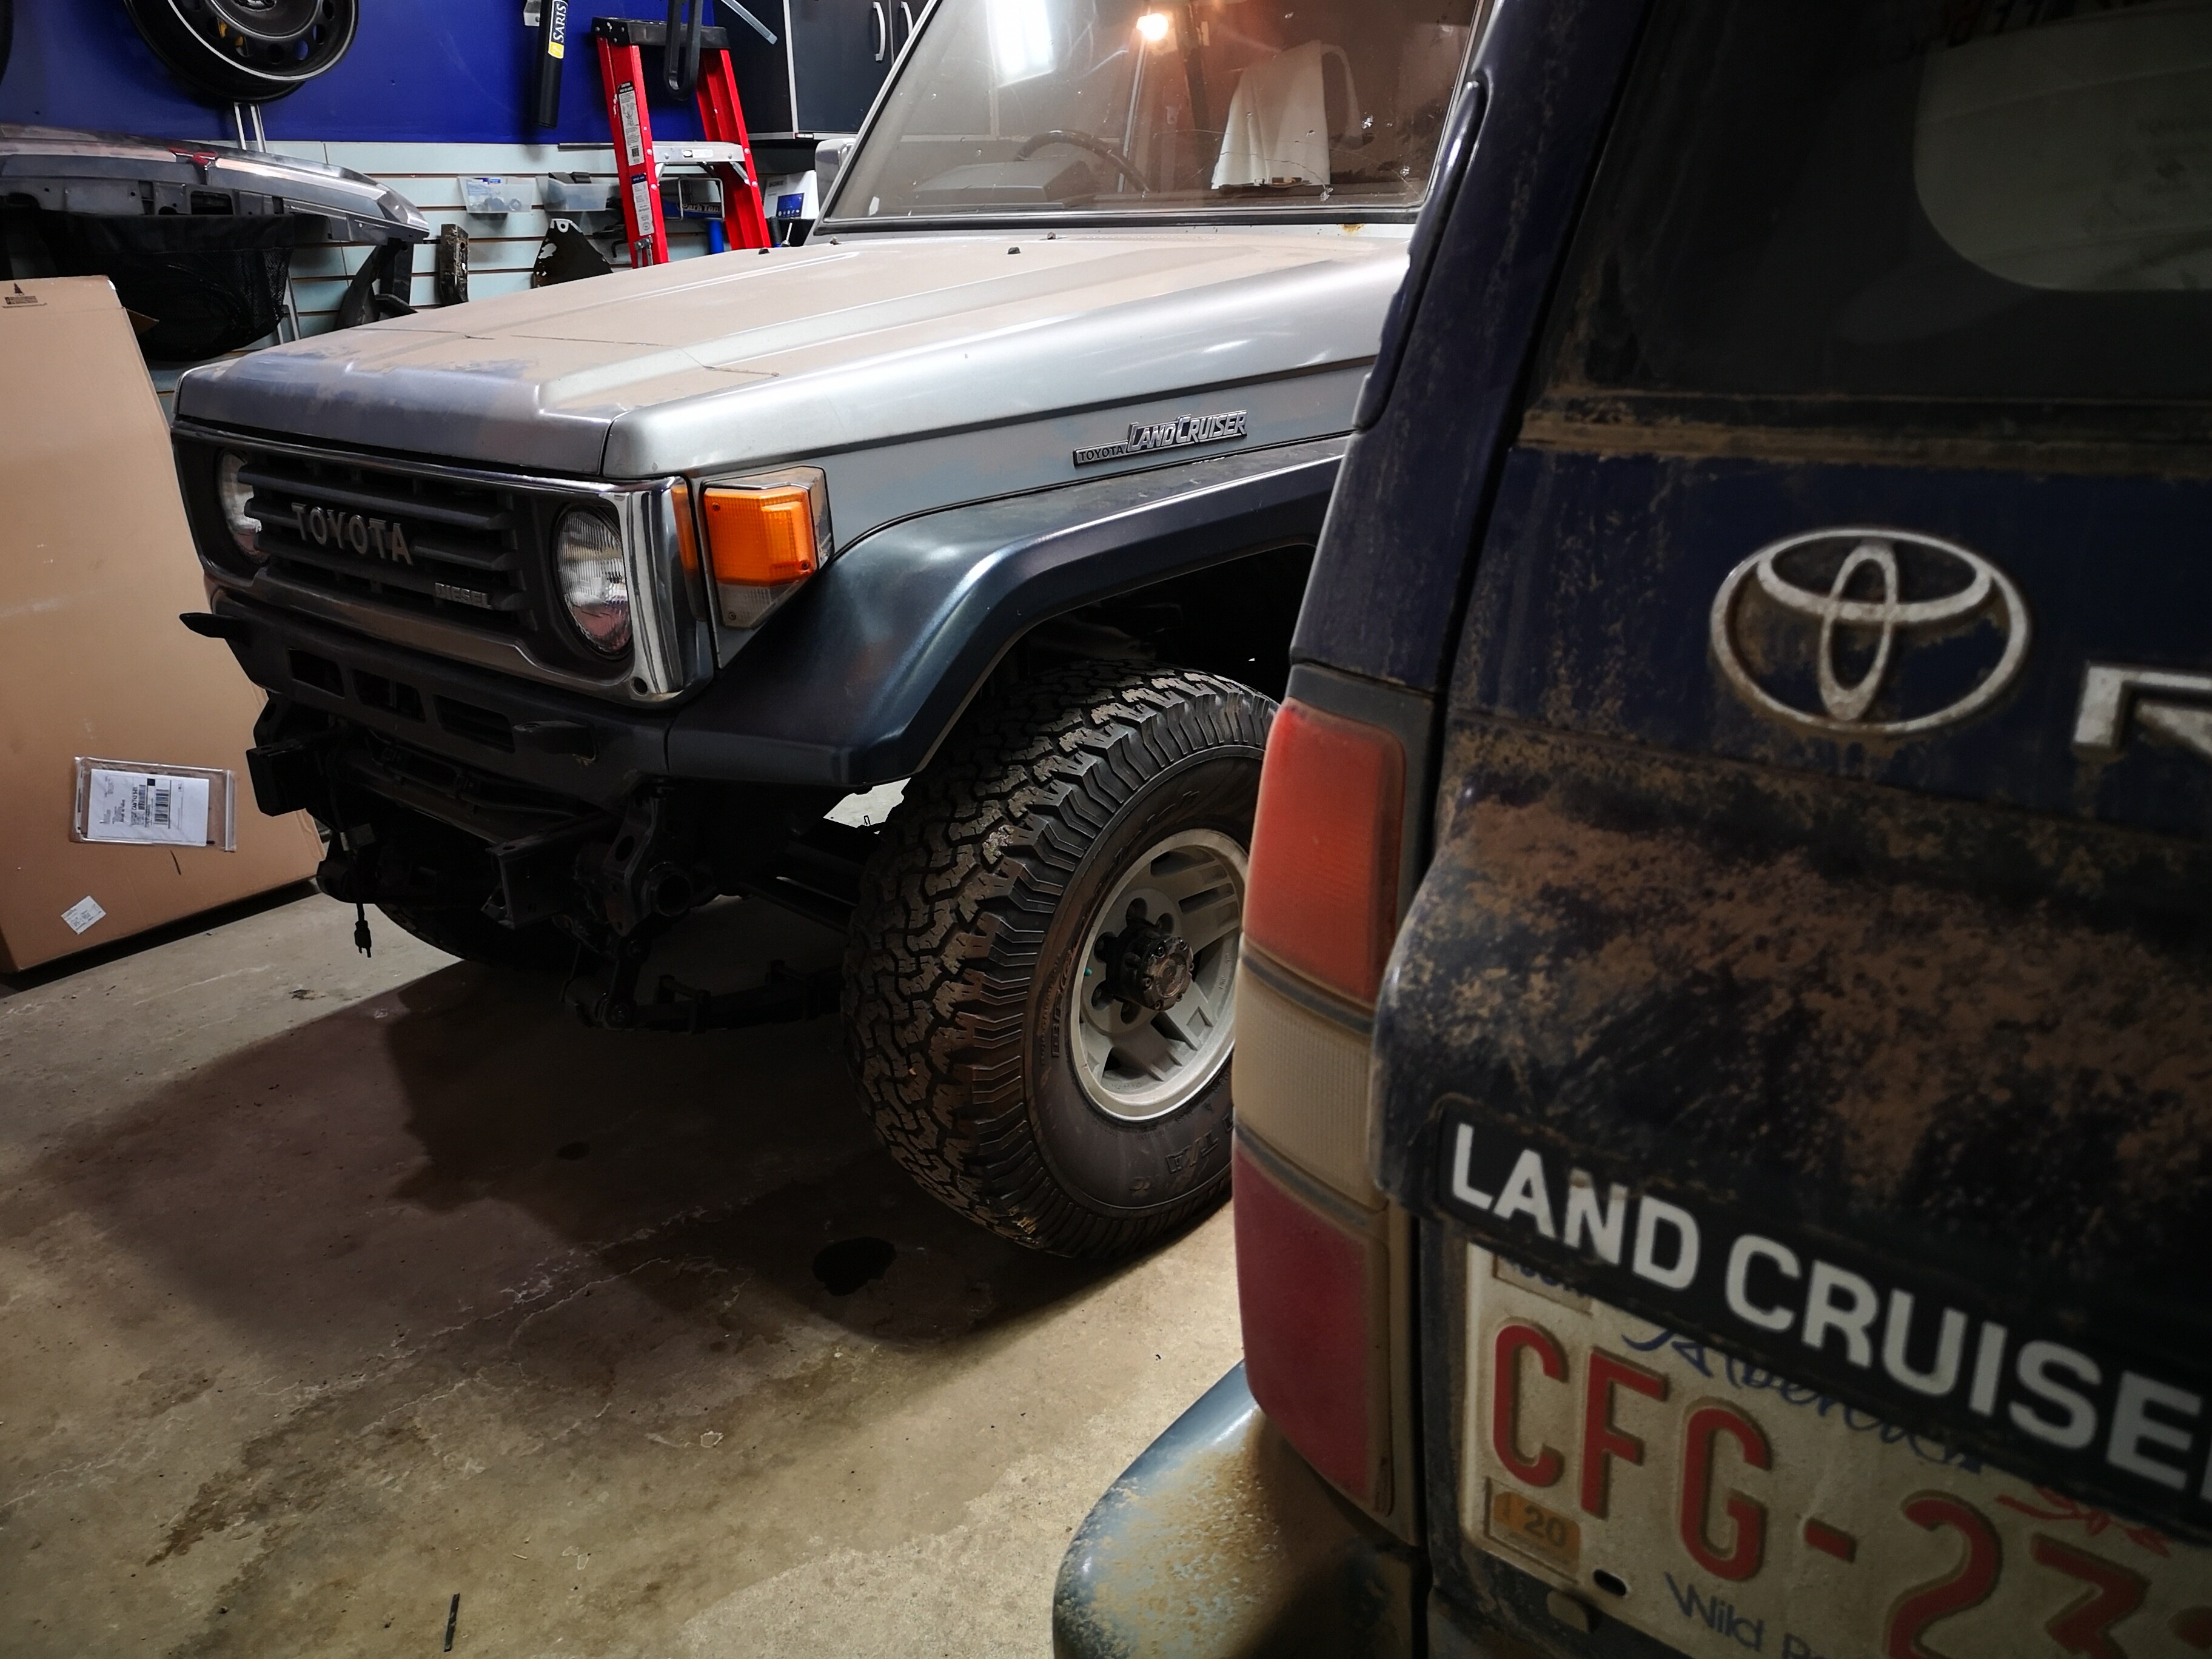
Then her younger sister could join her, along with the big rig in the other stall.
All 3 cruisers are now fitting in the garage again. -6 is a hell of a lot better than -42.
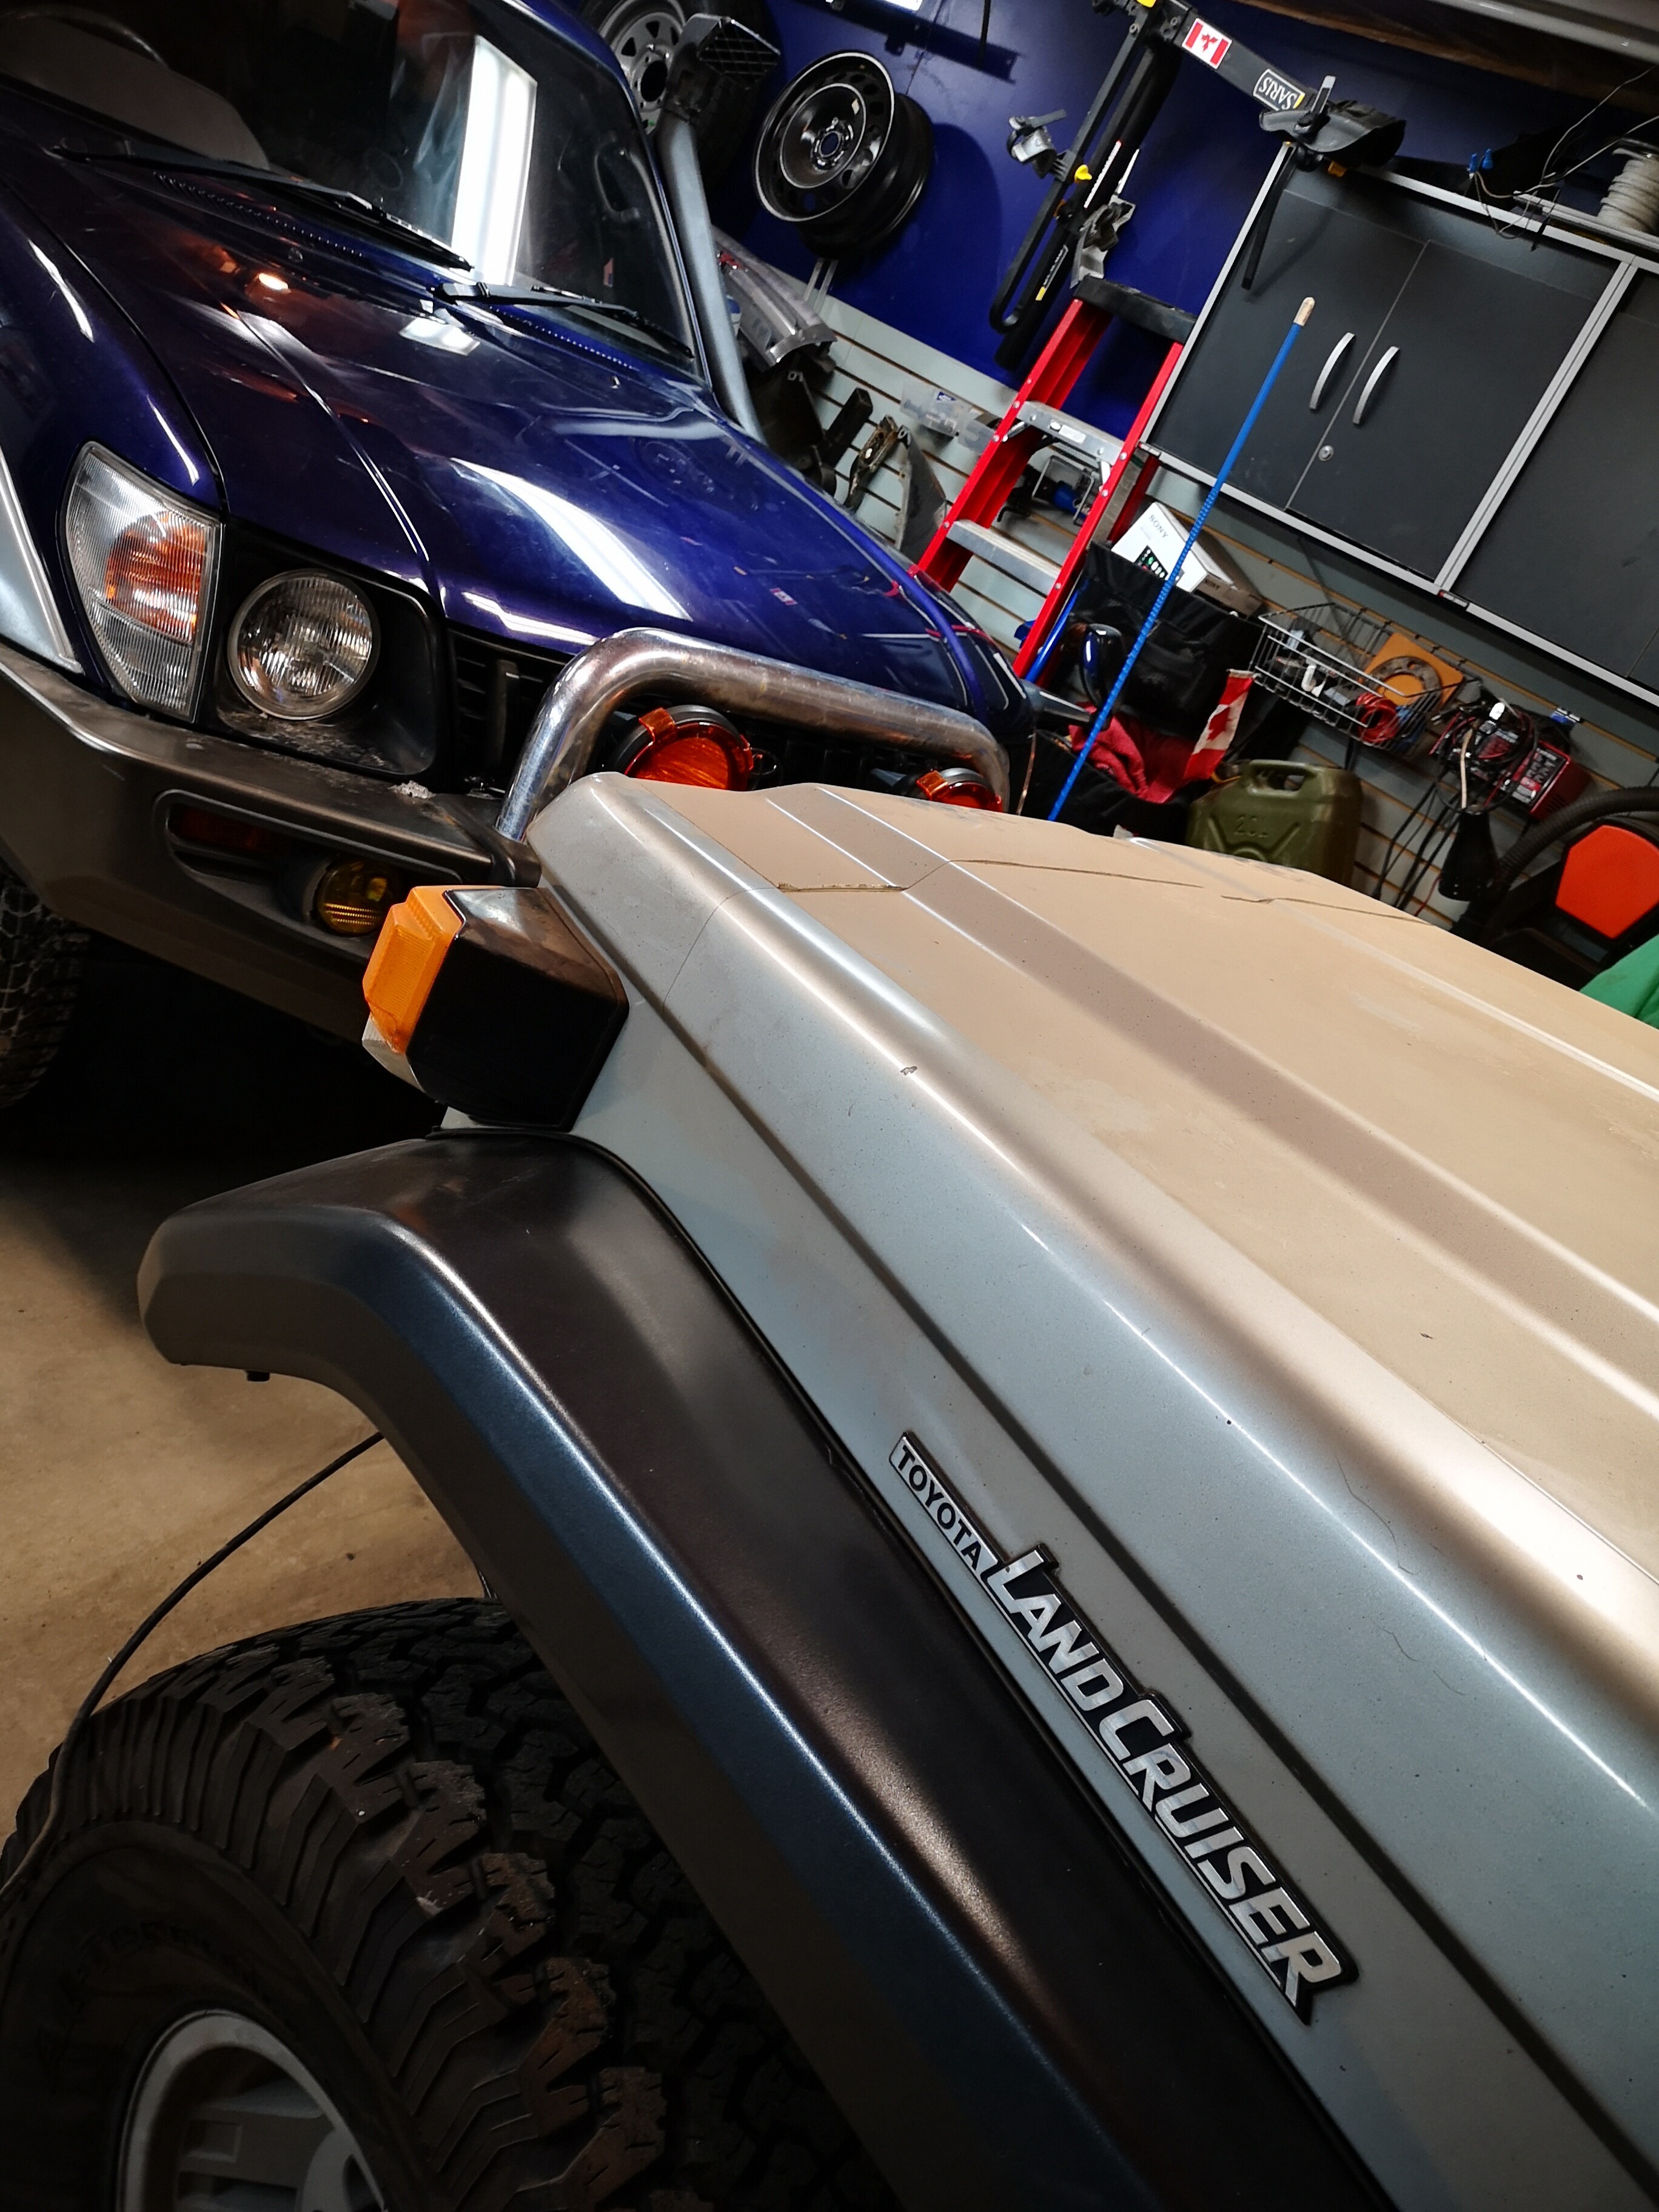
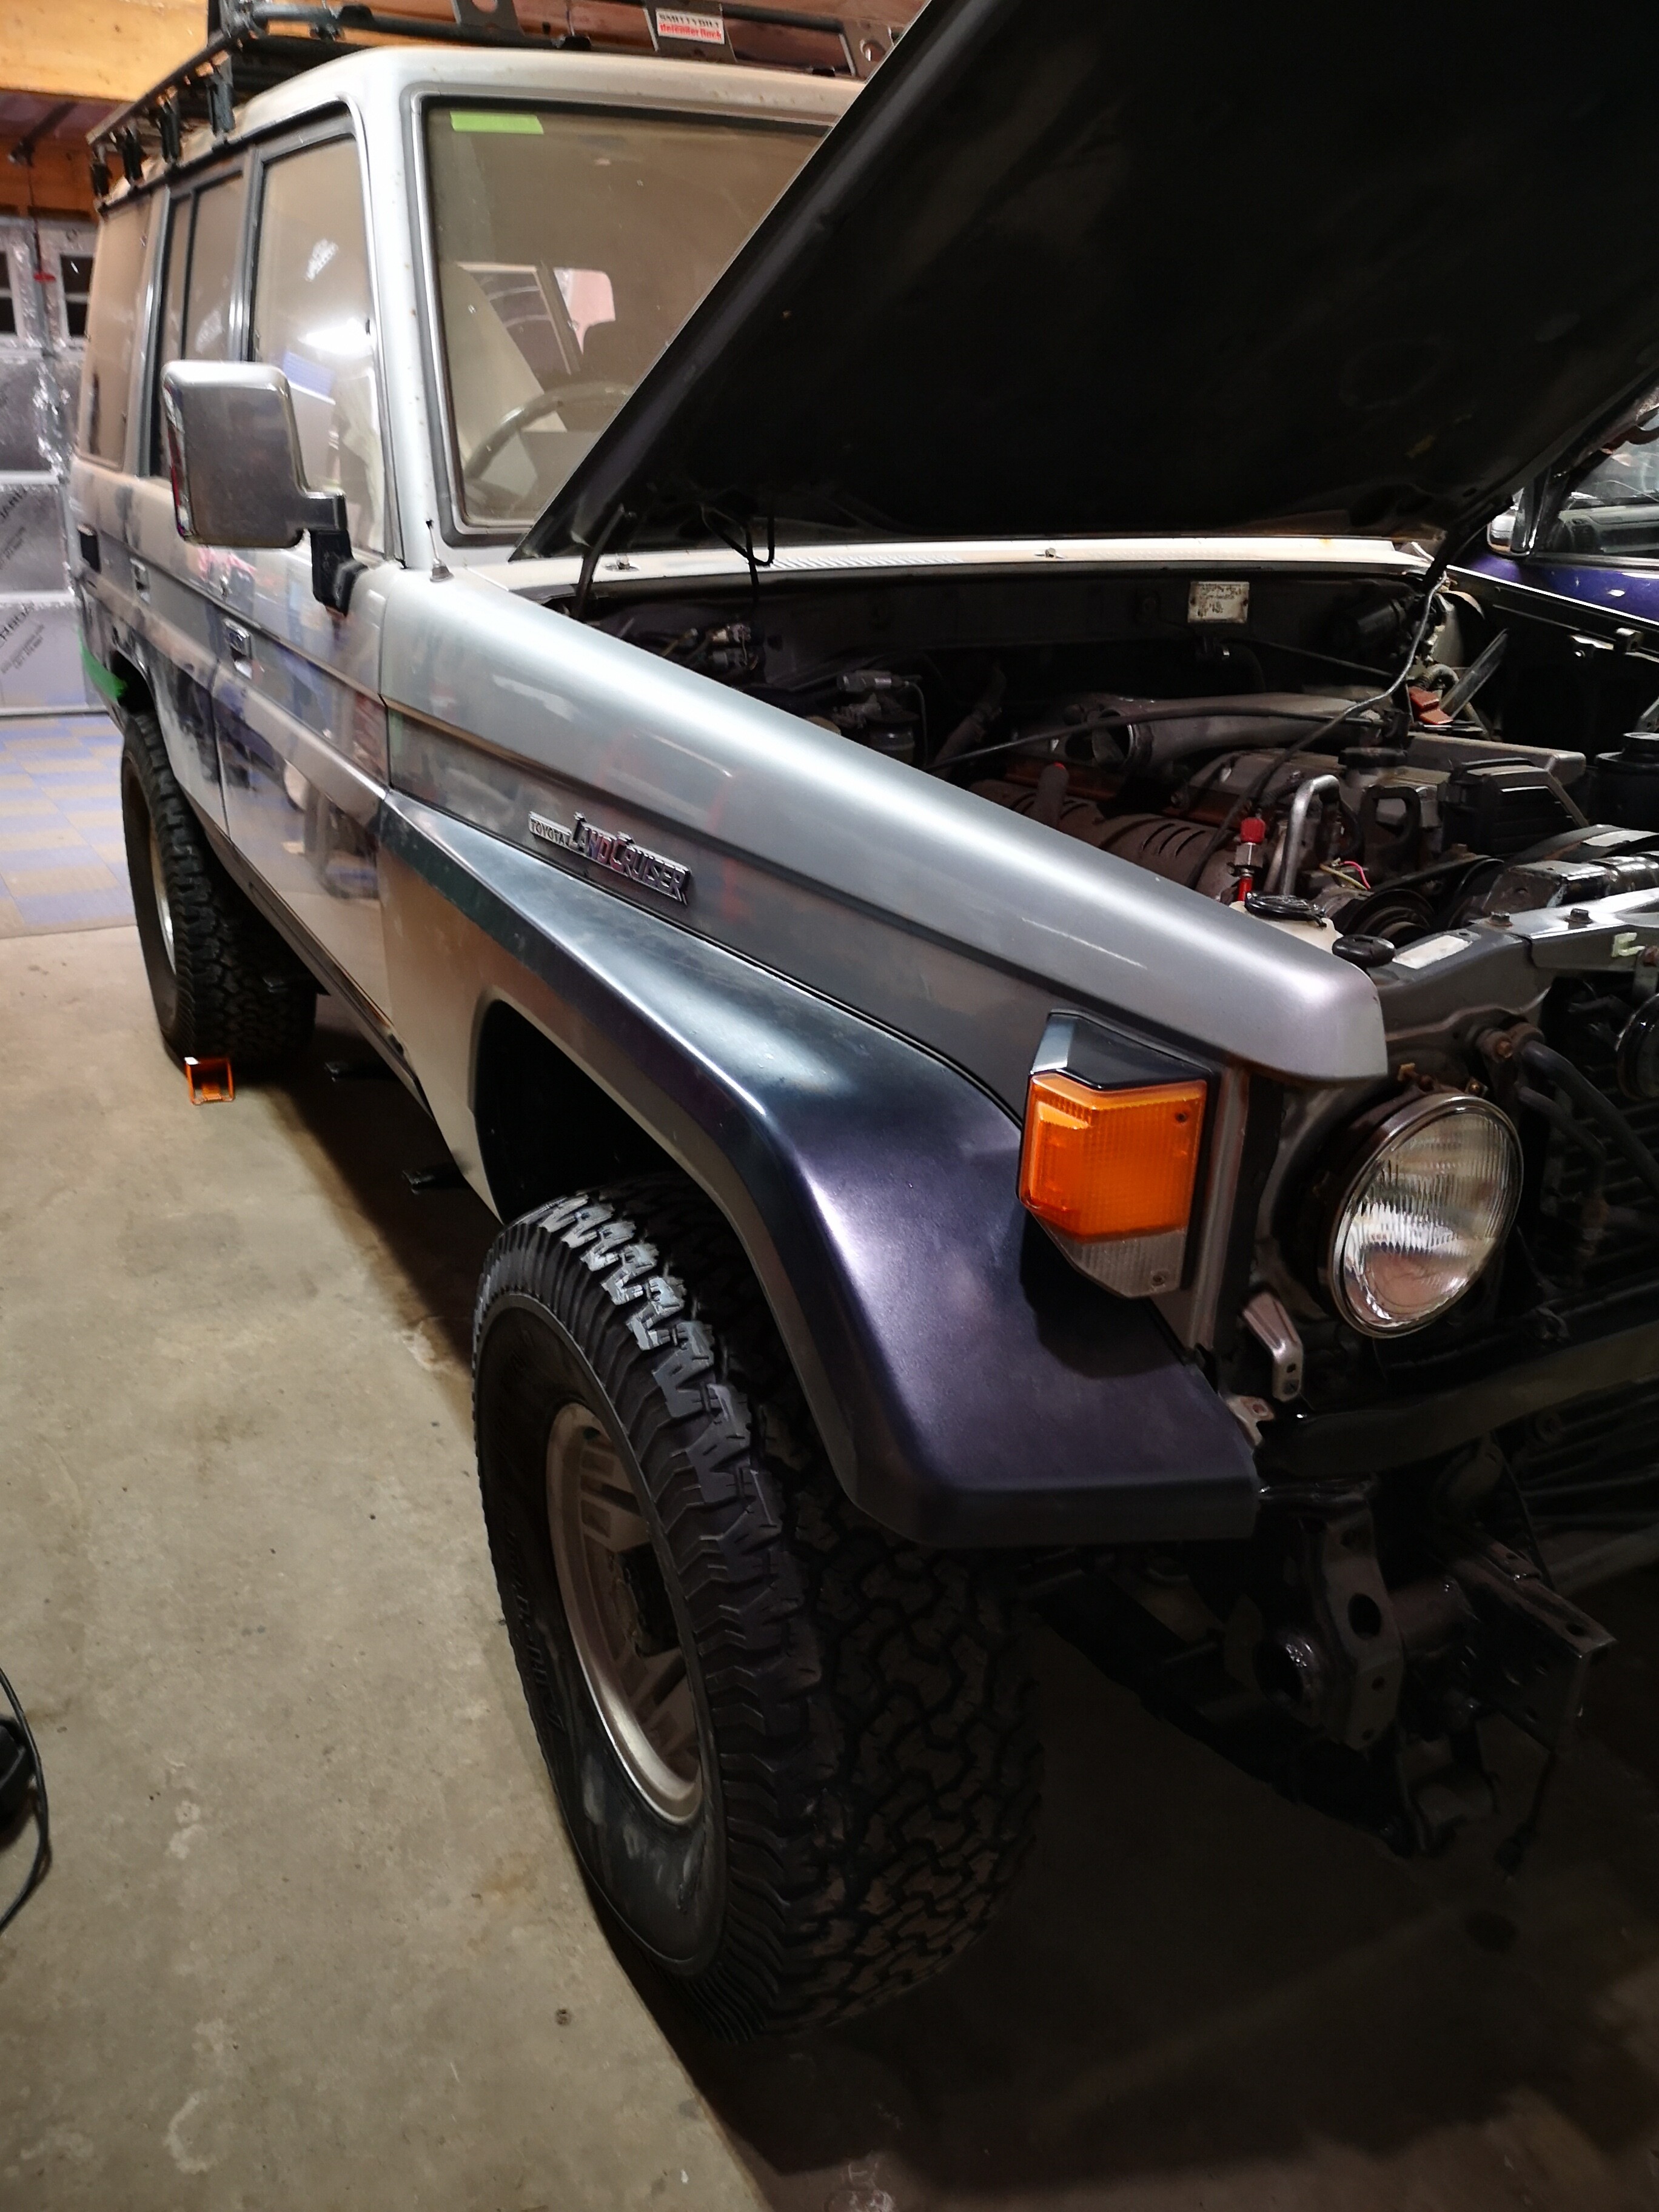
Oh btw. In the interest of it still being a build… The last pic shows one new front fender color matched and partially in place.
Wow. I’m embarrassed by these pictures.
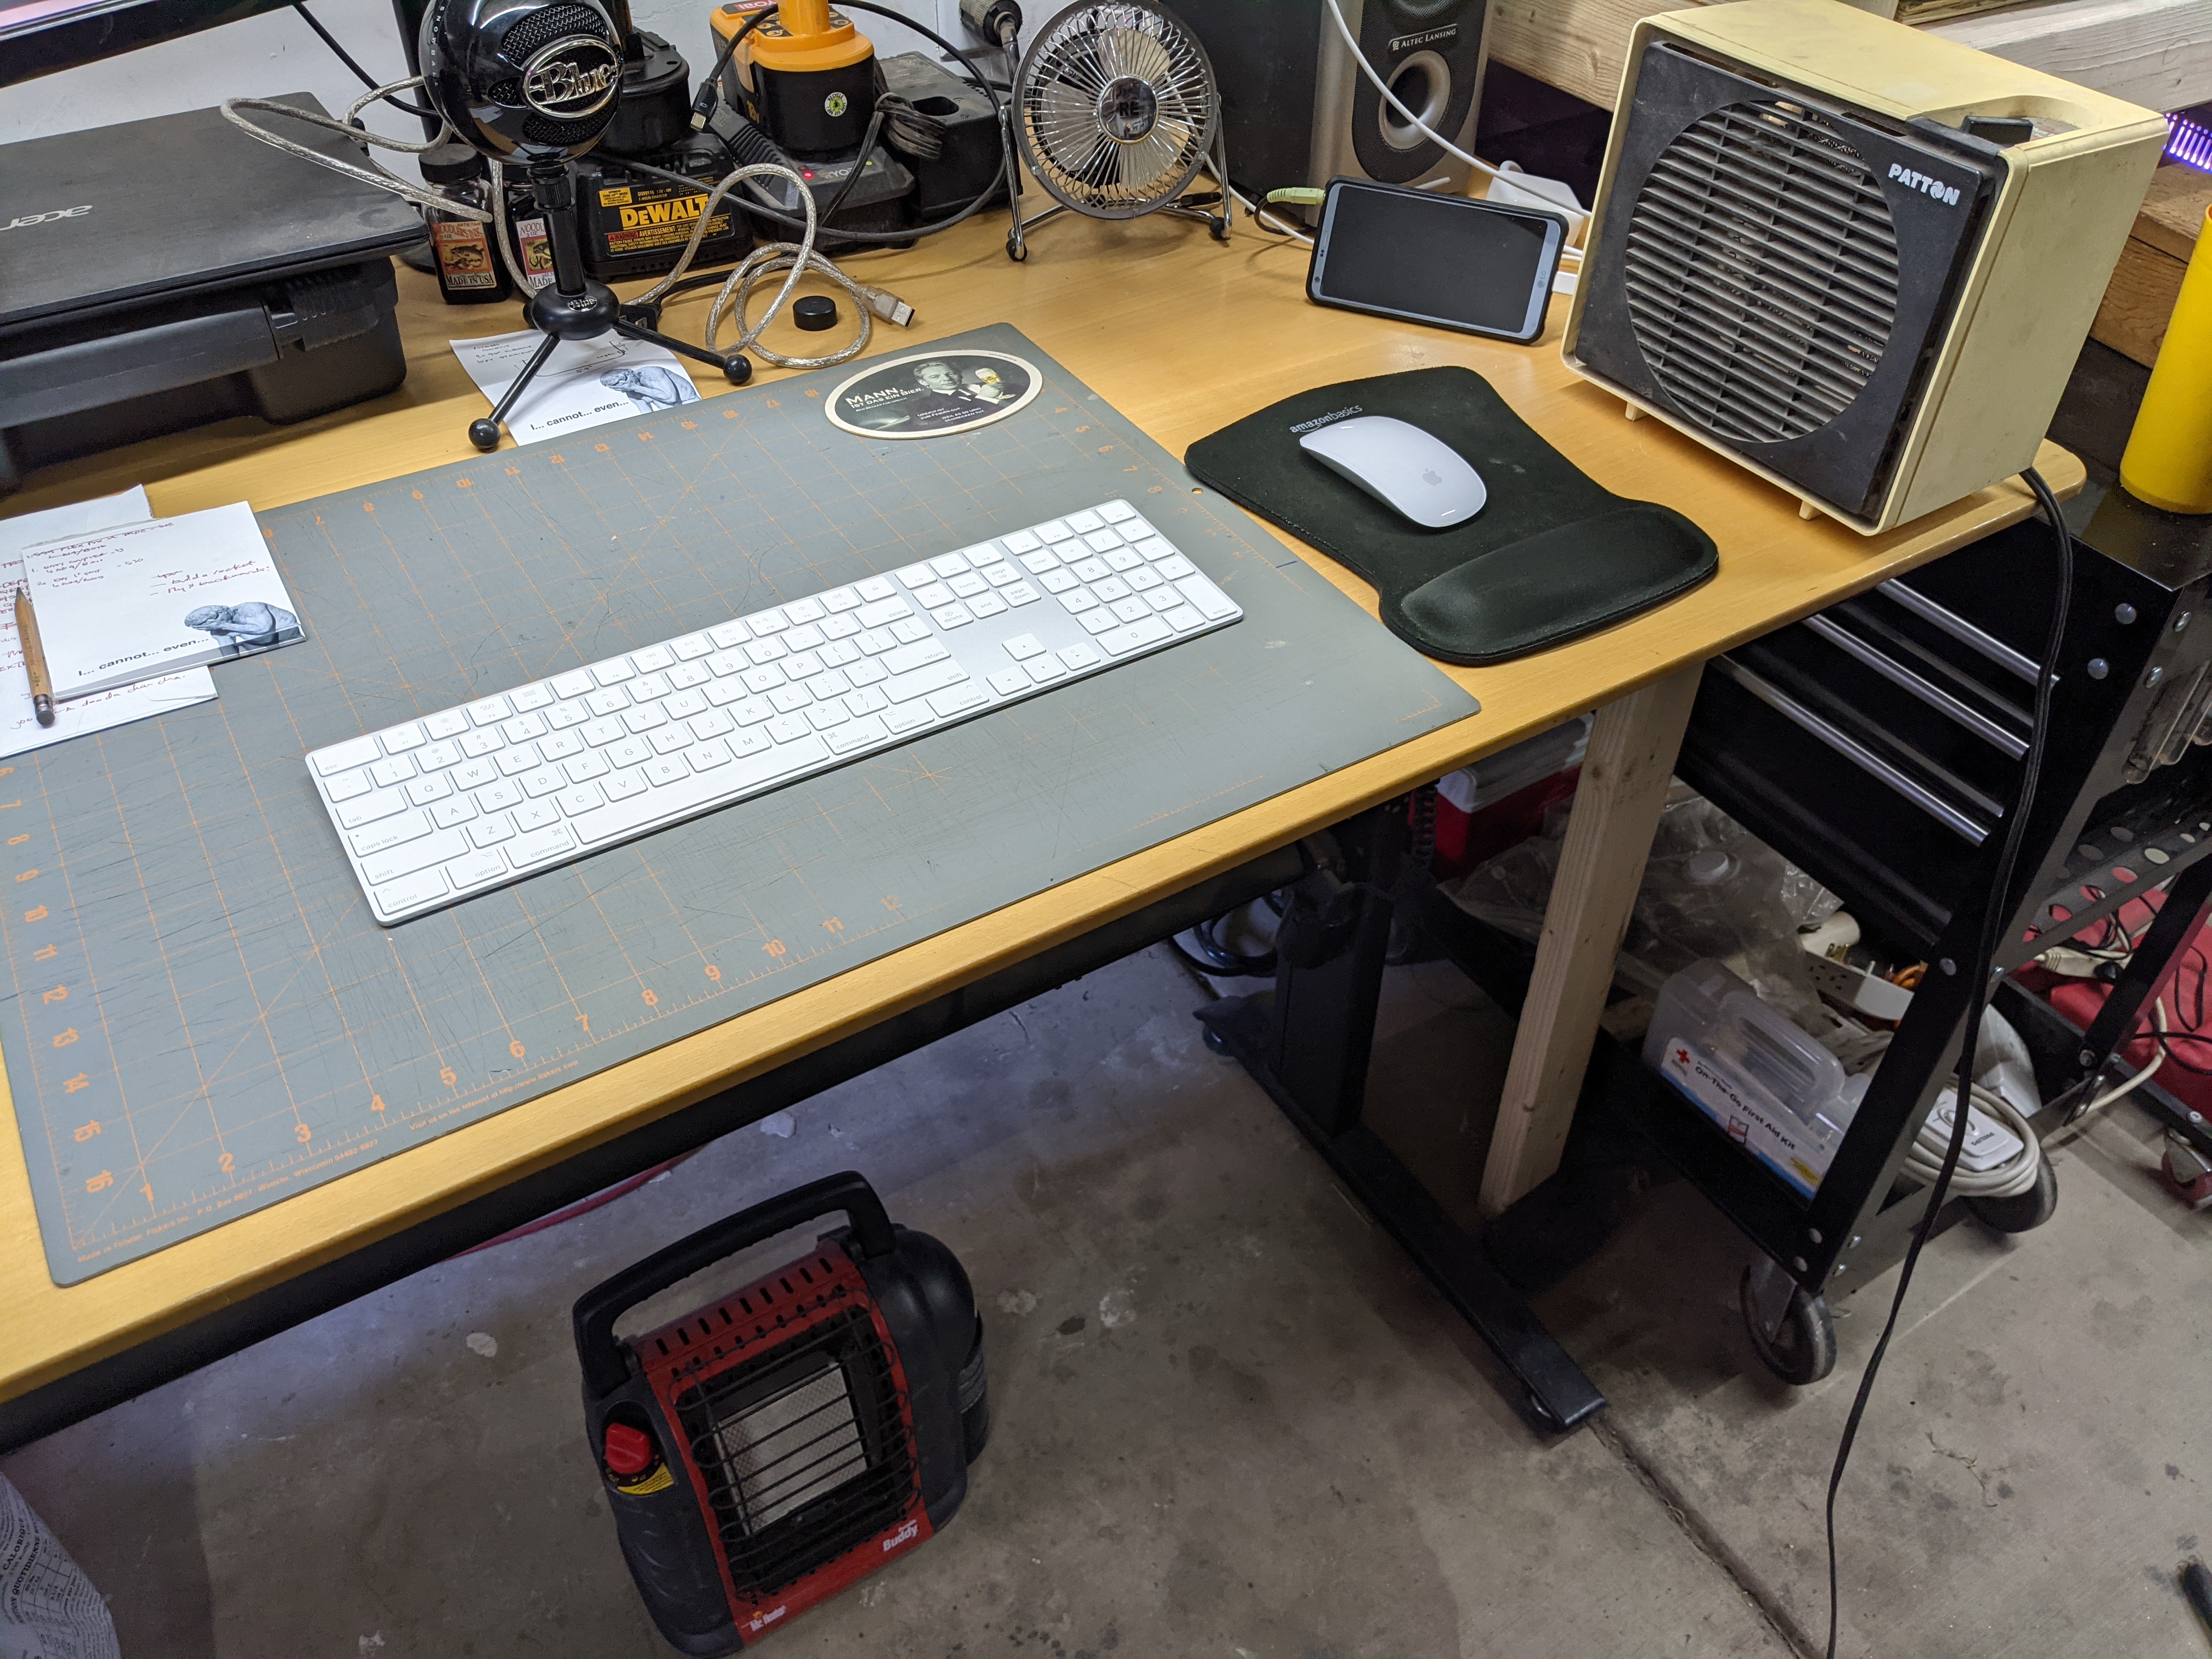
See my current setup this morning in my garage…
1500W heater fan on the desk and 4,000/9,000btu propane heater underneath. Also have hand warmers in my pockets.
It’s about 65F/18C in the garage right now.
Us desert dwellers definitely have thin skin
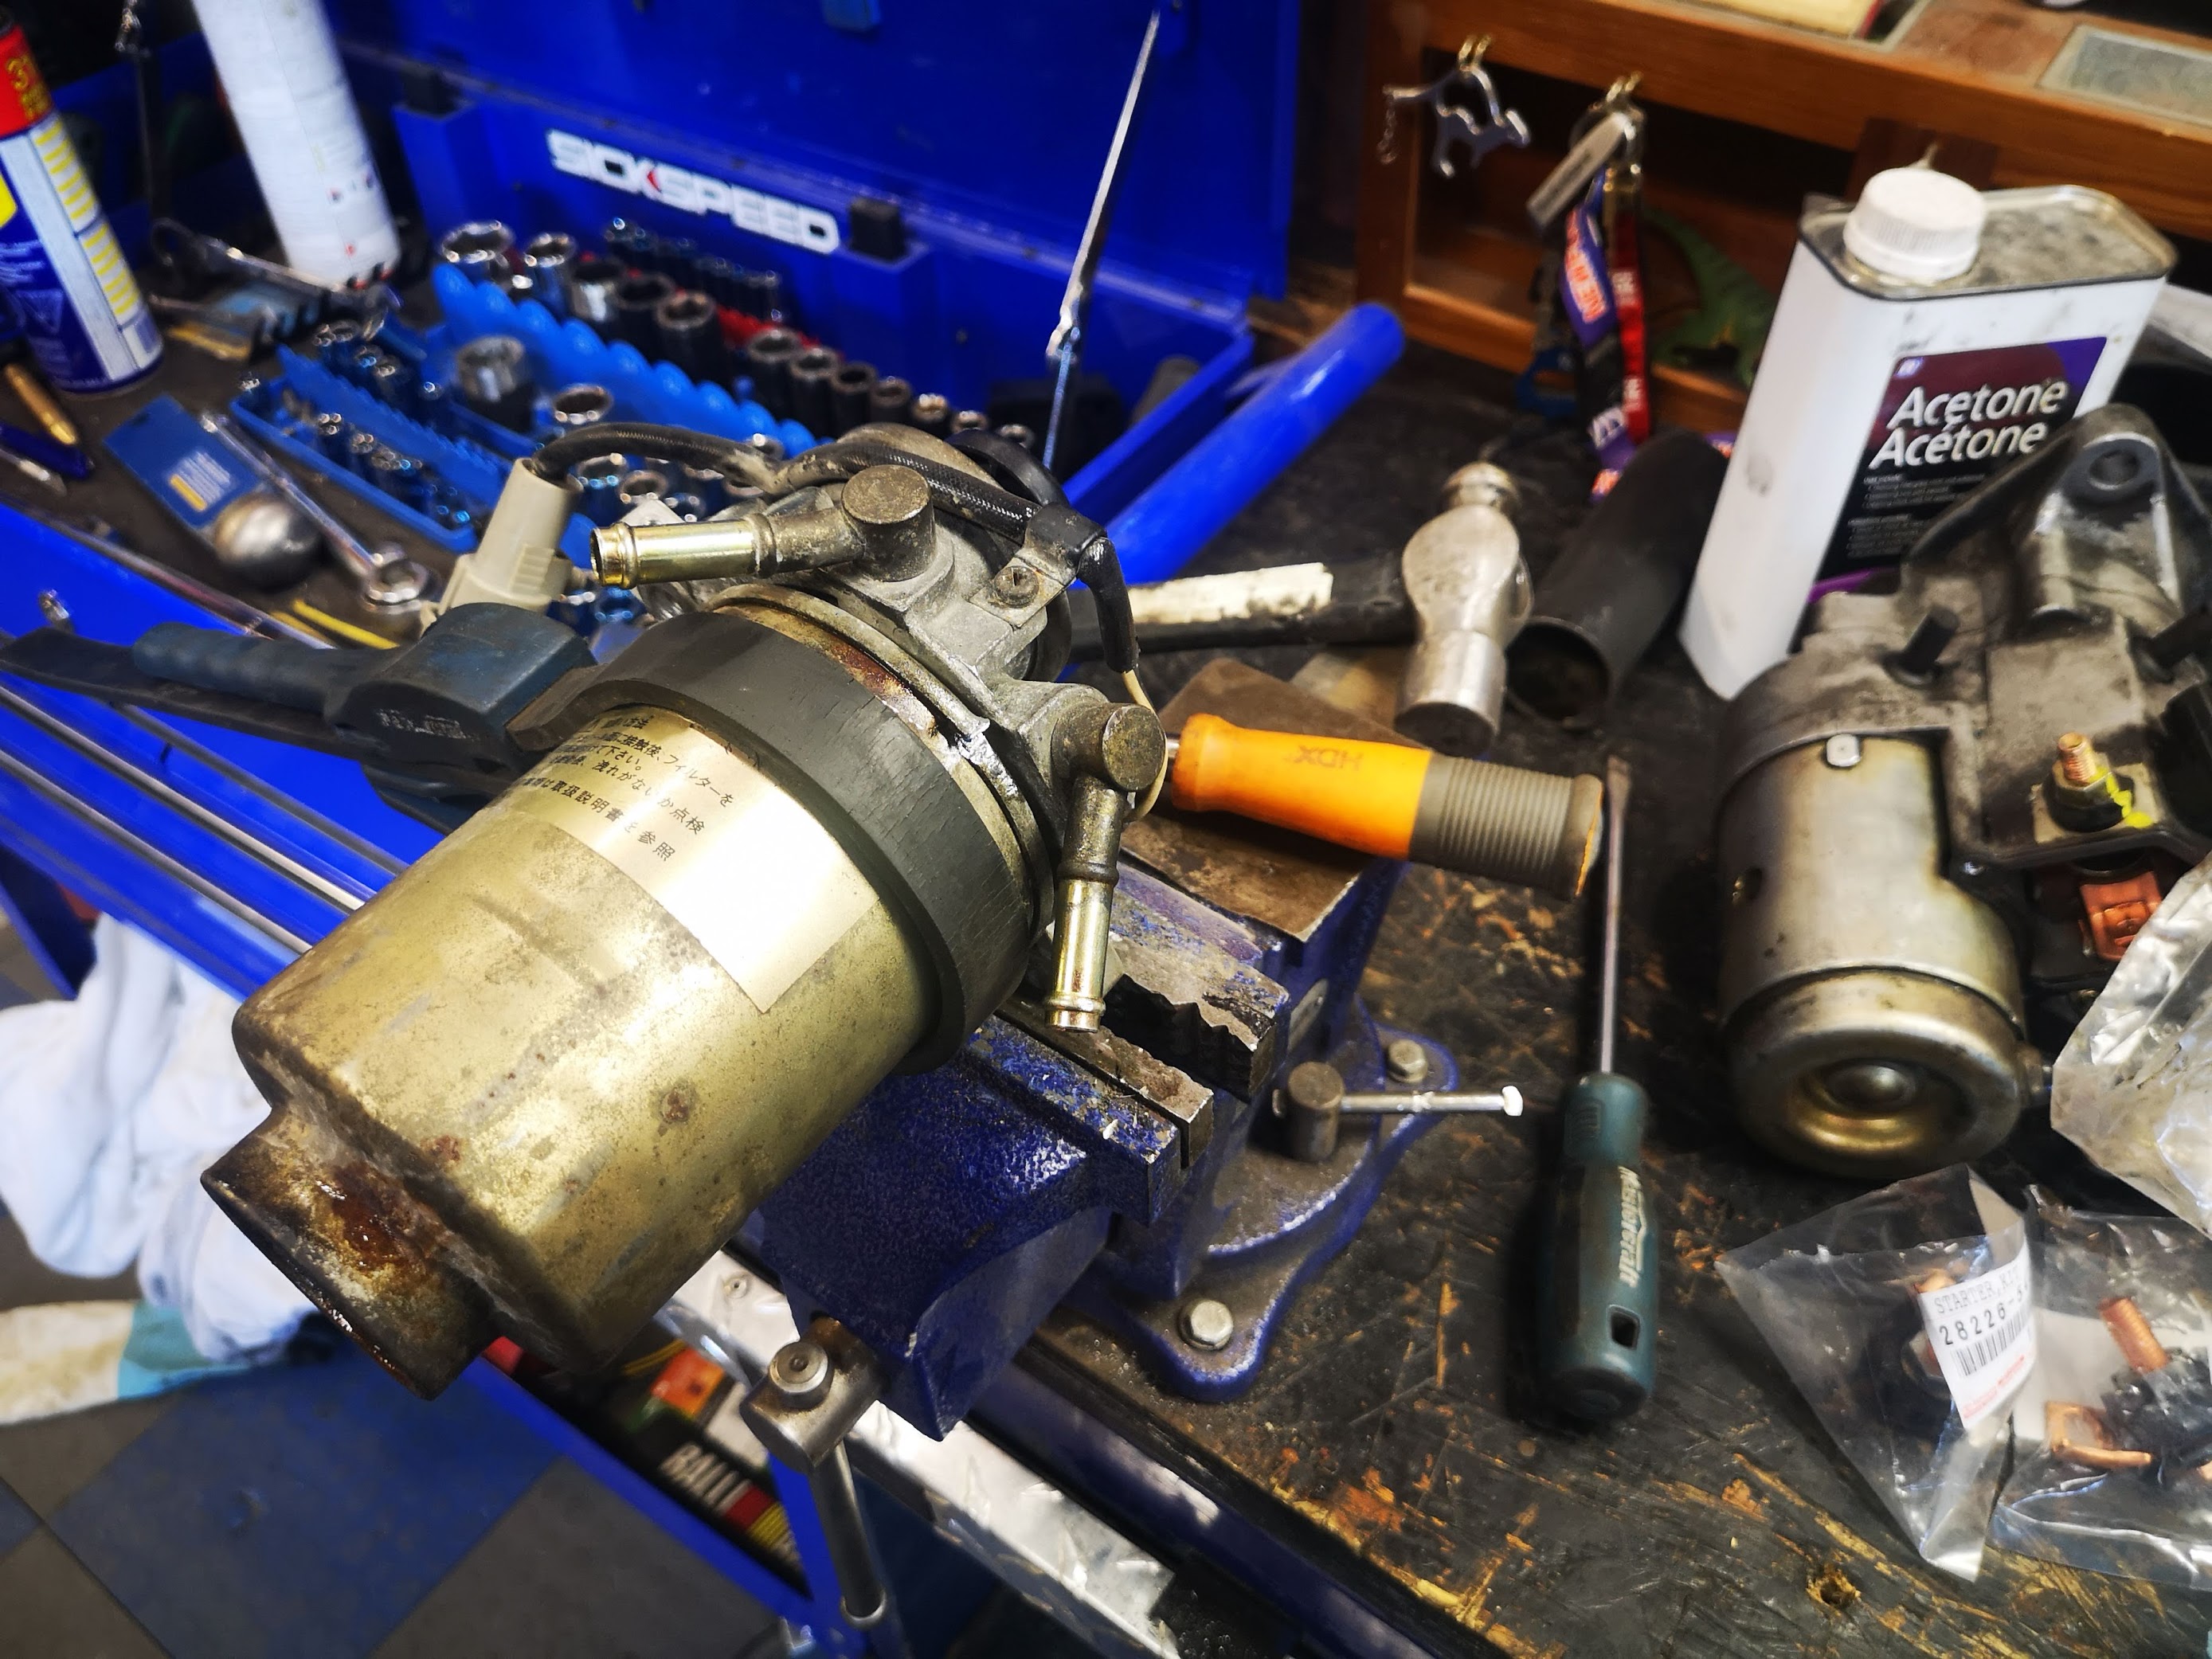
Little progress of late. The polar vortex is finally loosening its grip… but the Prado has been screaming for attention. Almost literally. My quick fix starter solenoid contacts fix last year using universal parts? Not so permanent. The extreme cold brought out the five times click/fizzle before actually turning it over so I’m having to go back in there… Argh it’s not a fun starter to pull. It’s not 2.6 mitsu “fun” but still a bear.
Meanwhile… Hoping to make fender progress today. Speed nuts are in. Still need to figure out a way to turn those two bolts that are unreachable…
Finally moving forward again. Woot woot!
Today, despite being a work day (work from home teachers convention this year)… I was able to get out to the garage after and get after it.
Primed my raw metal patch panels finally, inside and out.
And then I got down and dirty with the fenders. Such a painful job to finish. But they are finished! All bolted up! One side is not 100% aligned to my satisfaction, but its gonna have to do for now.
I had to tap some of the captive bolts. Had to chase some of the bolt threads. Had one section on each side with zero access and had to resort to 24 inches of extensions and wobble sockets to tighten the bolts. But I got it done. Times two!
I even put the grille back on!
Even got picky with the hood alignment which was sitting a bit low when latched. Spent a few minutes and got that looking much better.
A good afternoon spent on the project.
Two steps forward. Two steps back. Good on ya, mate! Nice to see it looking like a complete machine again!
Running!! Woohoo!
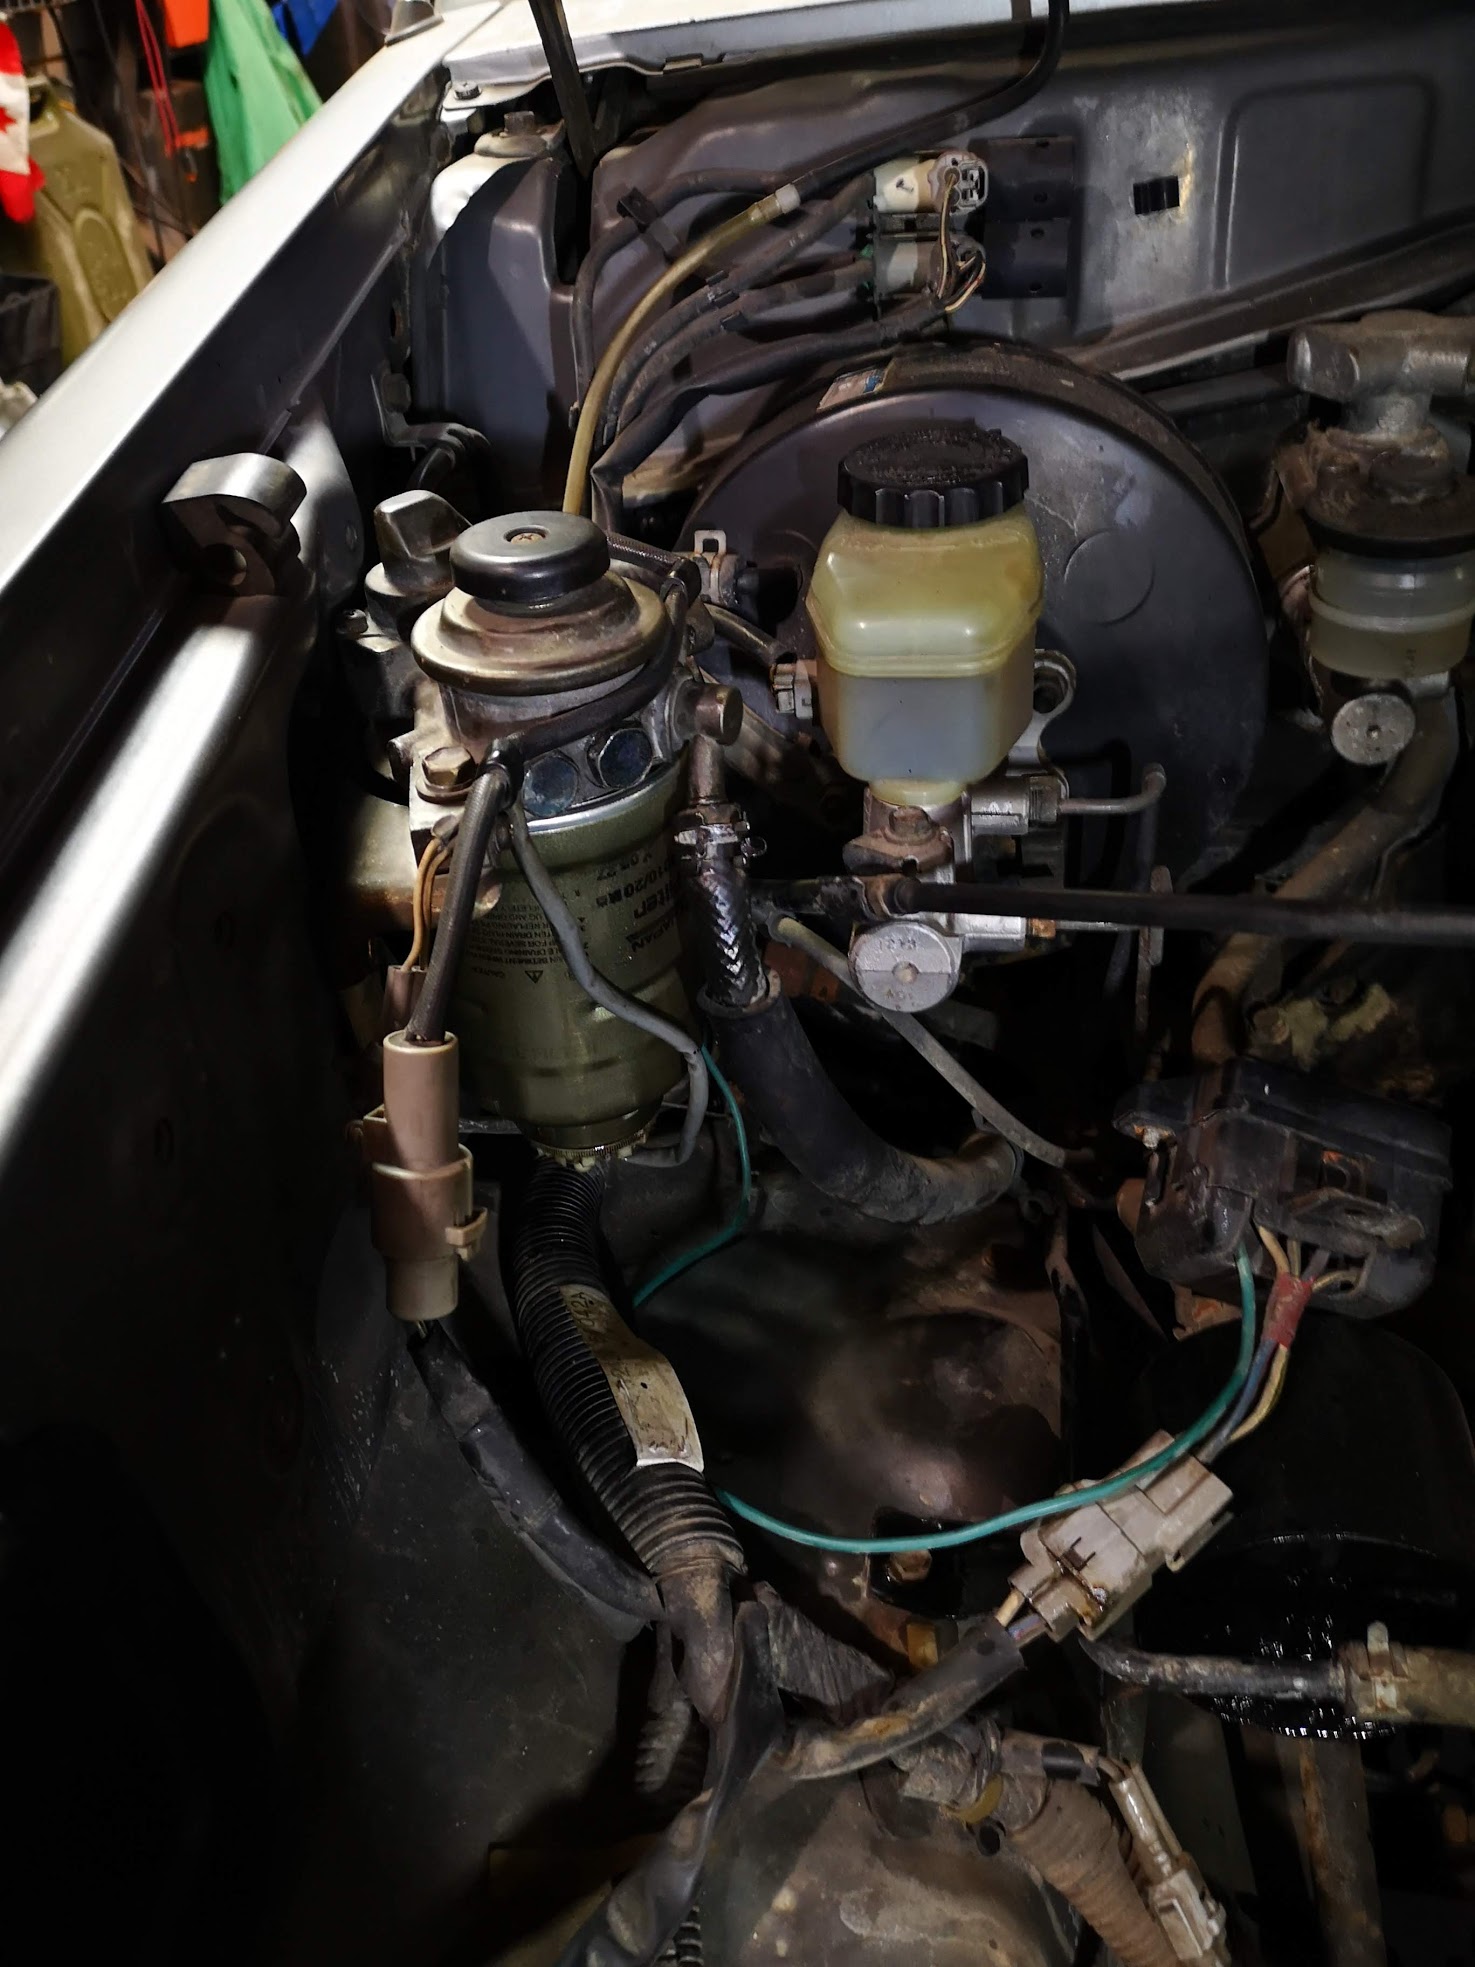
Started putting the engine compartment back together today, now that the fenders are on. The fuel filter looked as old as the truck, so rather than put it back, I decided to change it for a new one. But getting the old one off was difficult and required a chisel, a vise, a hammer, and finally a strap wrench, once I got it loosened.
Bled it as best i could, and then continued with putting things back in place…
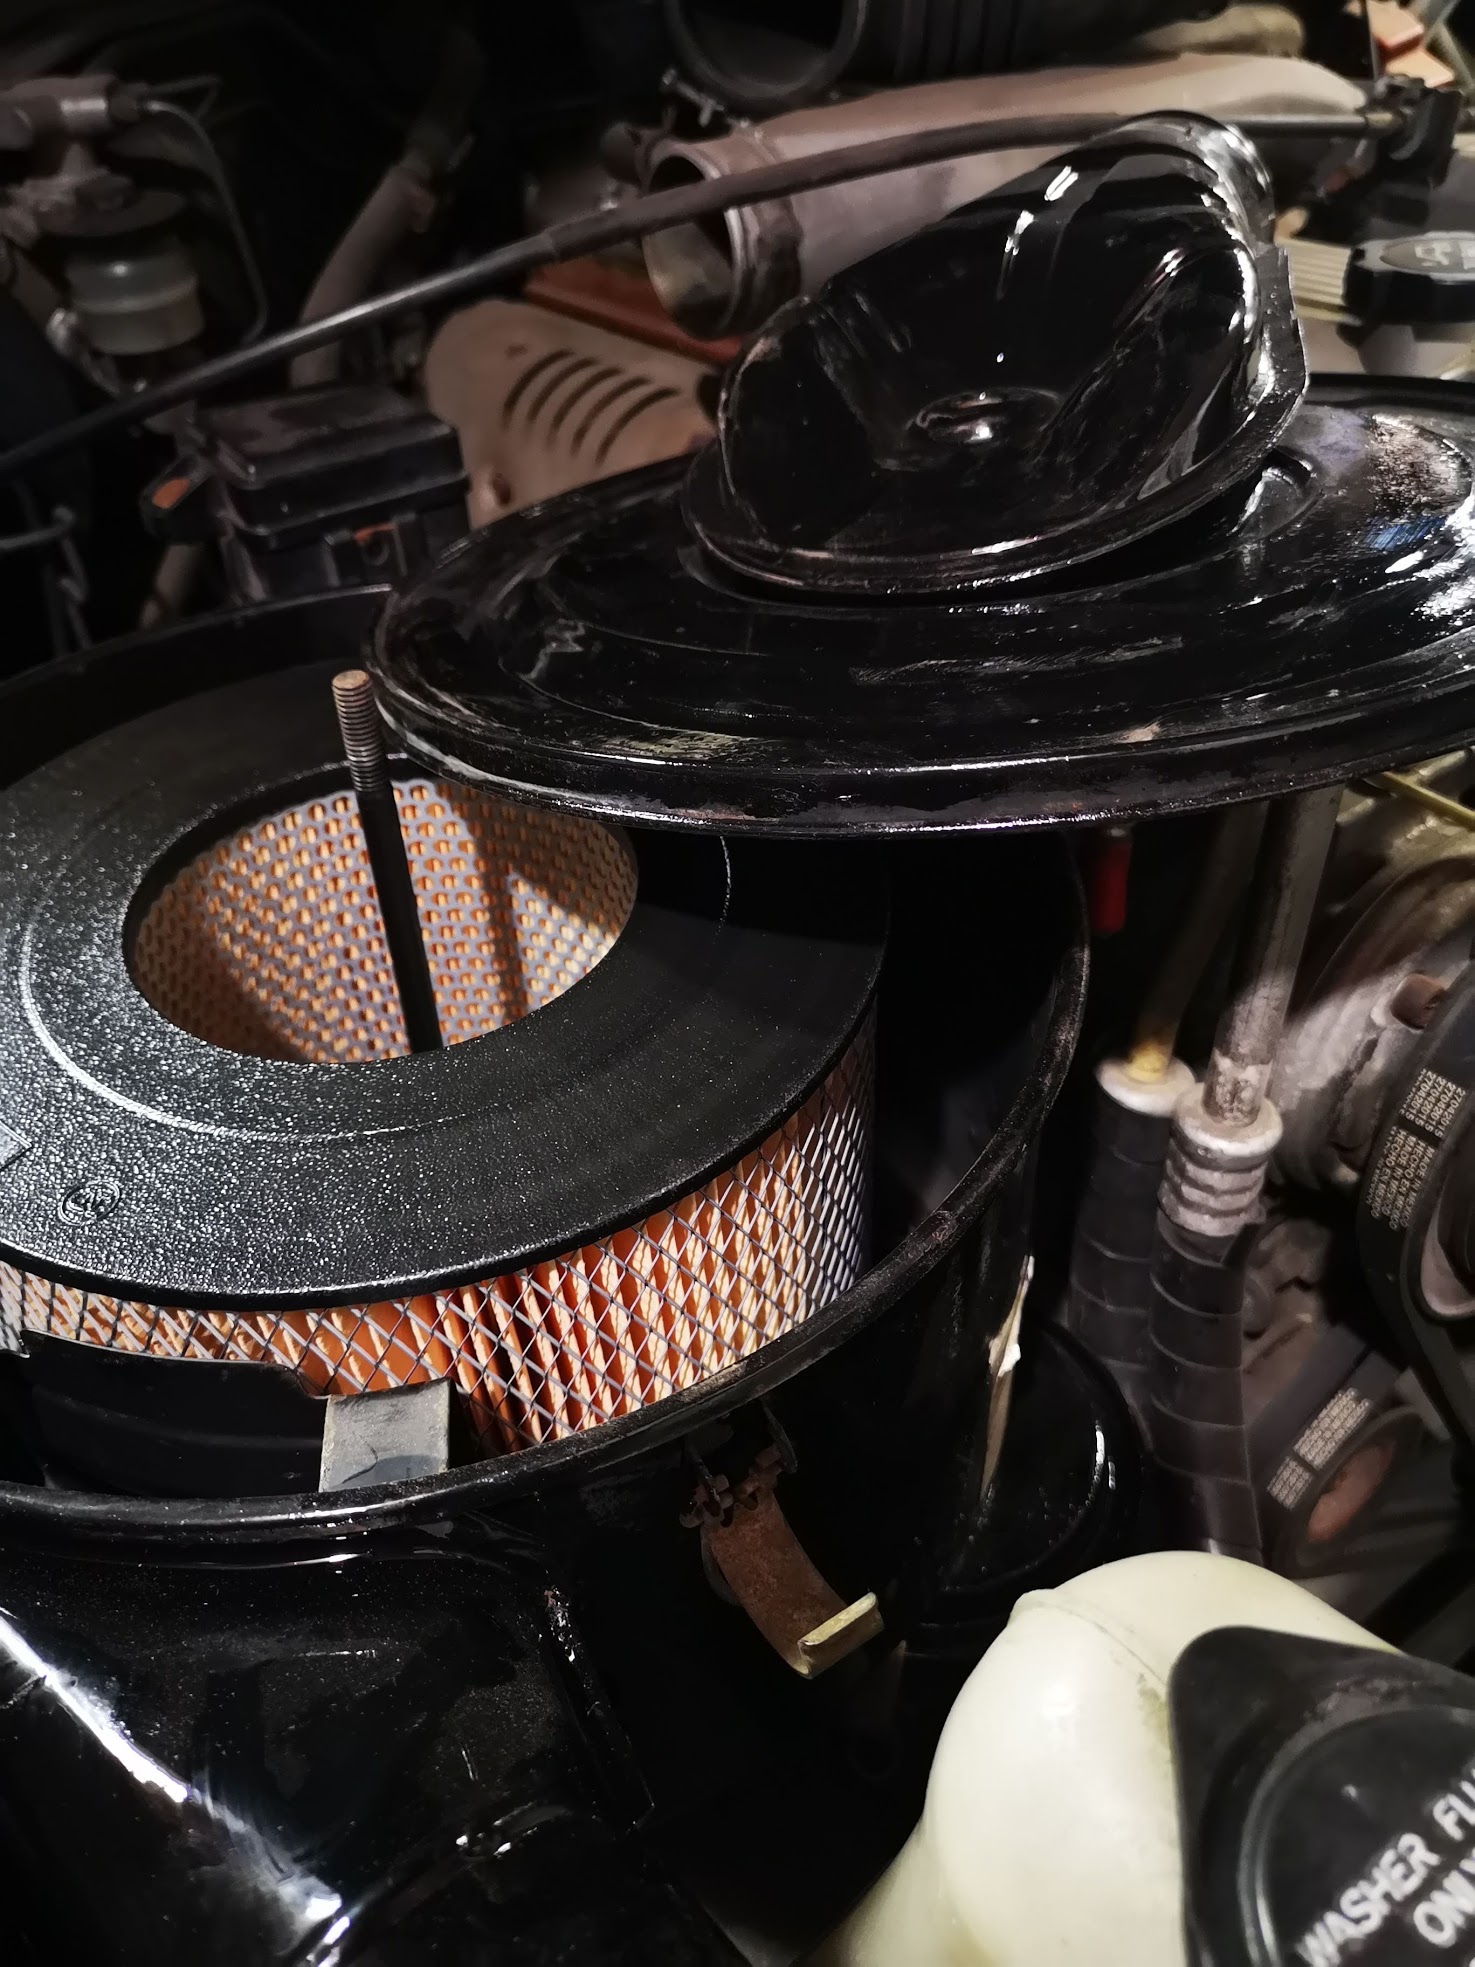
Until I got to the airbox. I had cleaned up and coated the air cleaner housing, but the filter was sad and tired. So out it came, and a fresh OE one took it’s place.
I kept cleaning, refastening things, and suddenly I was two batteries (in series) away from starting it up for the first time in MONTHS. So I’m sure you can figure out what happened next? Yes, I fired it up. It started like brand new, and clattered away while I sat aboard and just revelled in the fact that it is mobile again. Woohoo! I still need to finish paintwork on the rear fenders, etc, etc. But at least I can now move it without having to attach a chain to it? I’d call that a win!