Definitely the shnizz when it comes to stuff that catches on fire. They do breed a certain amount of complacency though. I was welding the other day and saw flames out of the corner of my eye. An errant blue paper towel on the end of my metal welding table was happily burning away. Hehehe. Meanwhile no parts of me were on fire.
This evening was a little more moving slowly forward…
Closed up the little access hatch I had made last week, and welded a small plate over it. Finished it up with some sealer that I’ll smooth out with sand paper once it’s cured.
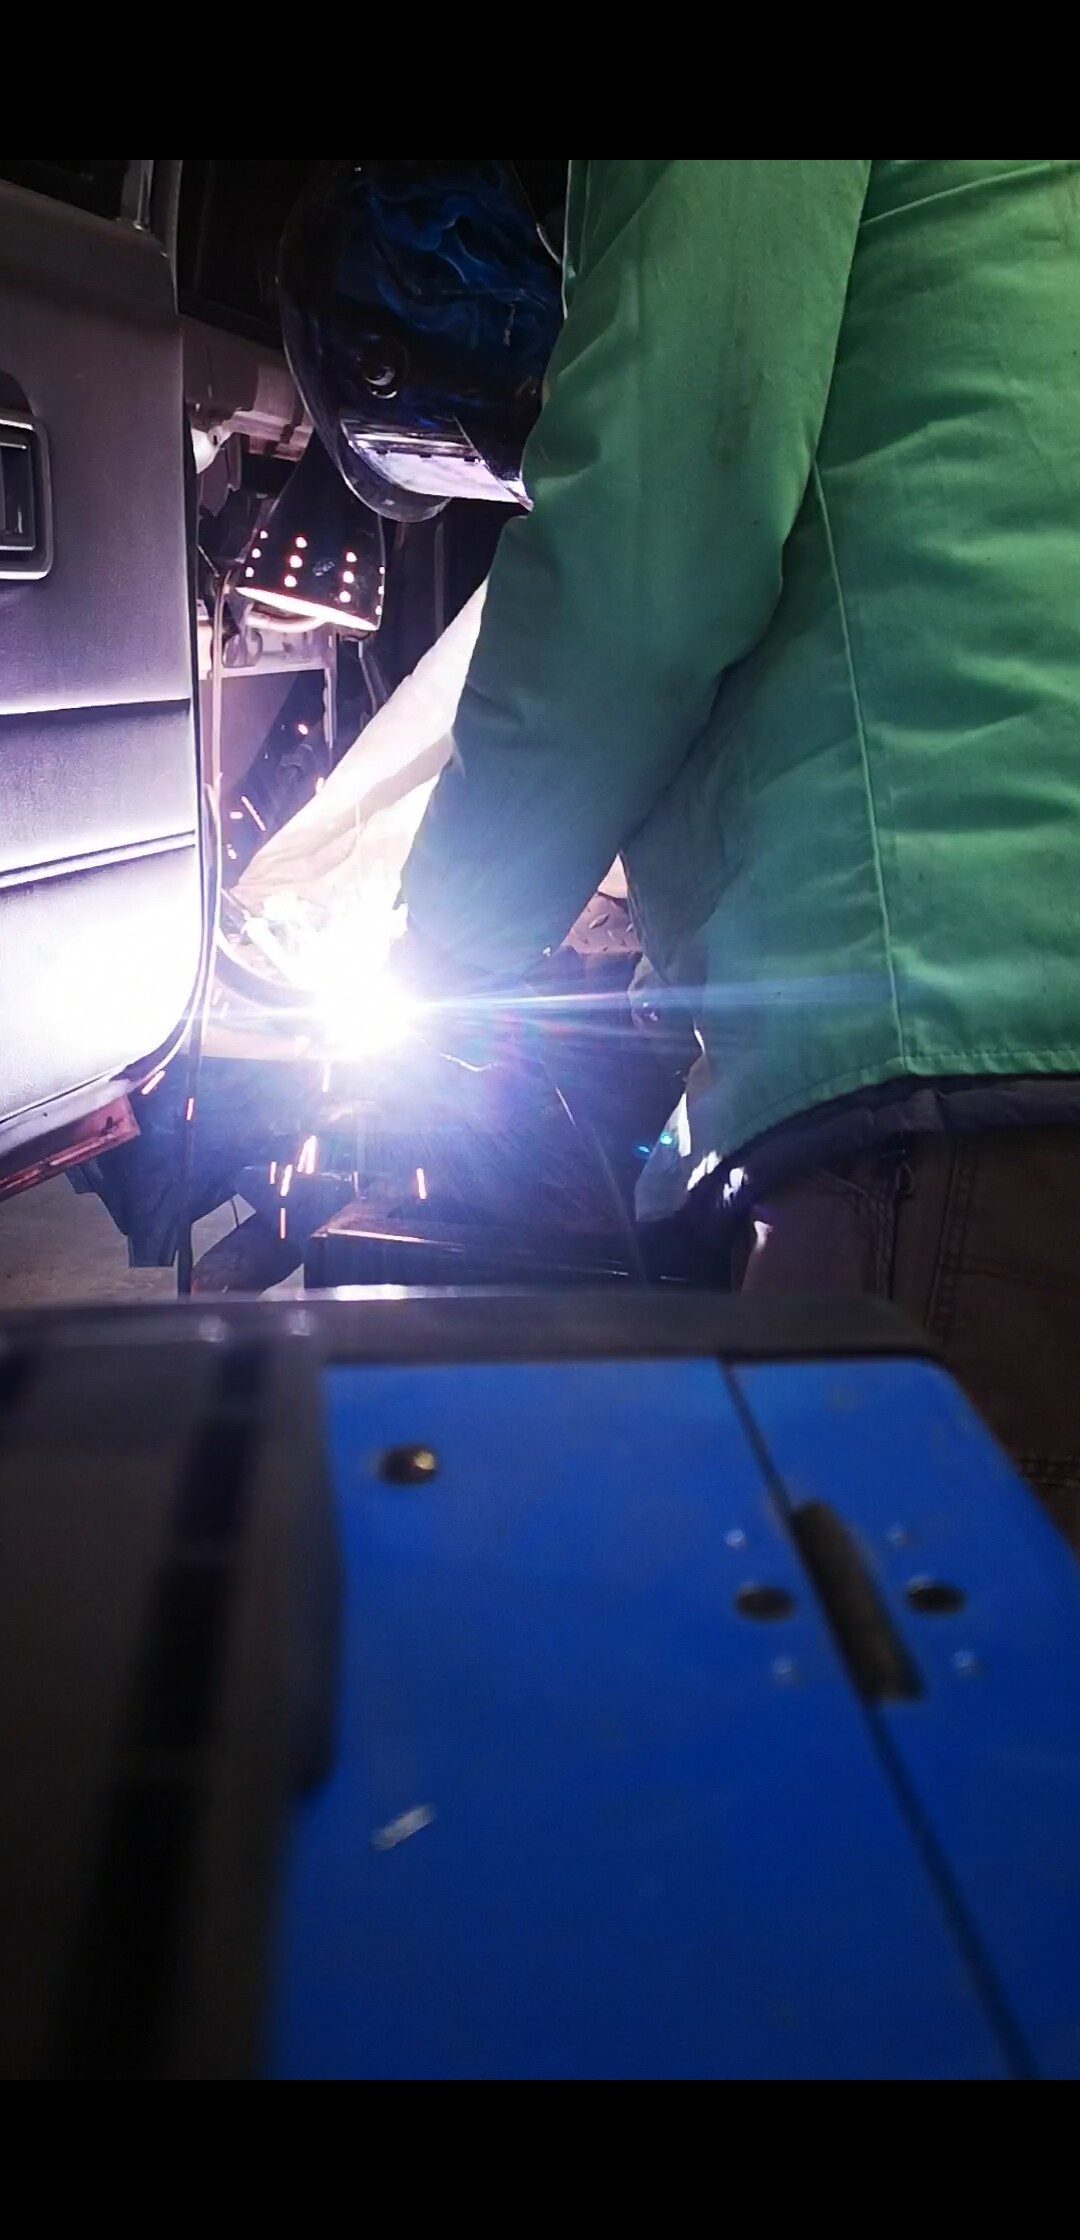
(I wasn’t wearing my nomex coveralls today and when I picked up the welder I realized I was wearing a light down jacket. Lol. Had to cover it up with a welding shirt. Whoops…)
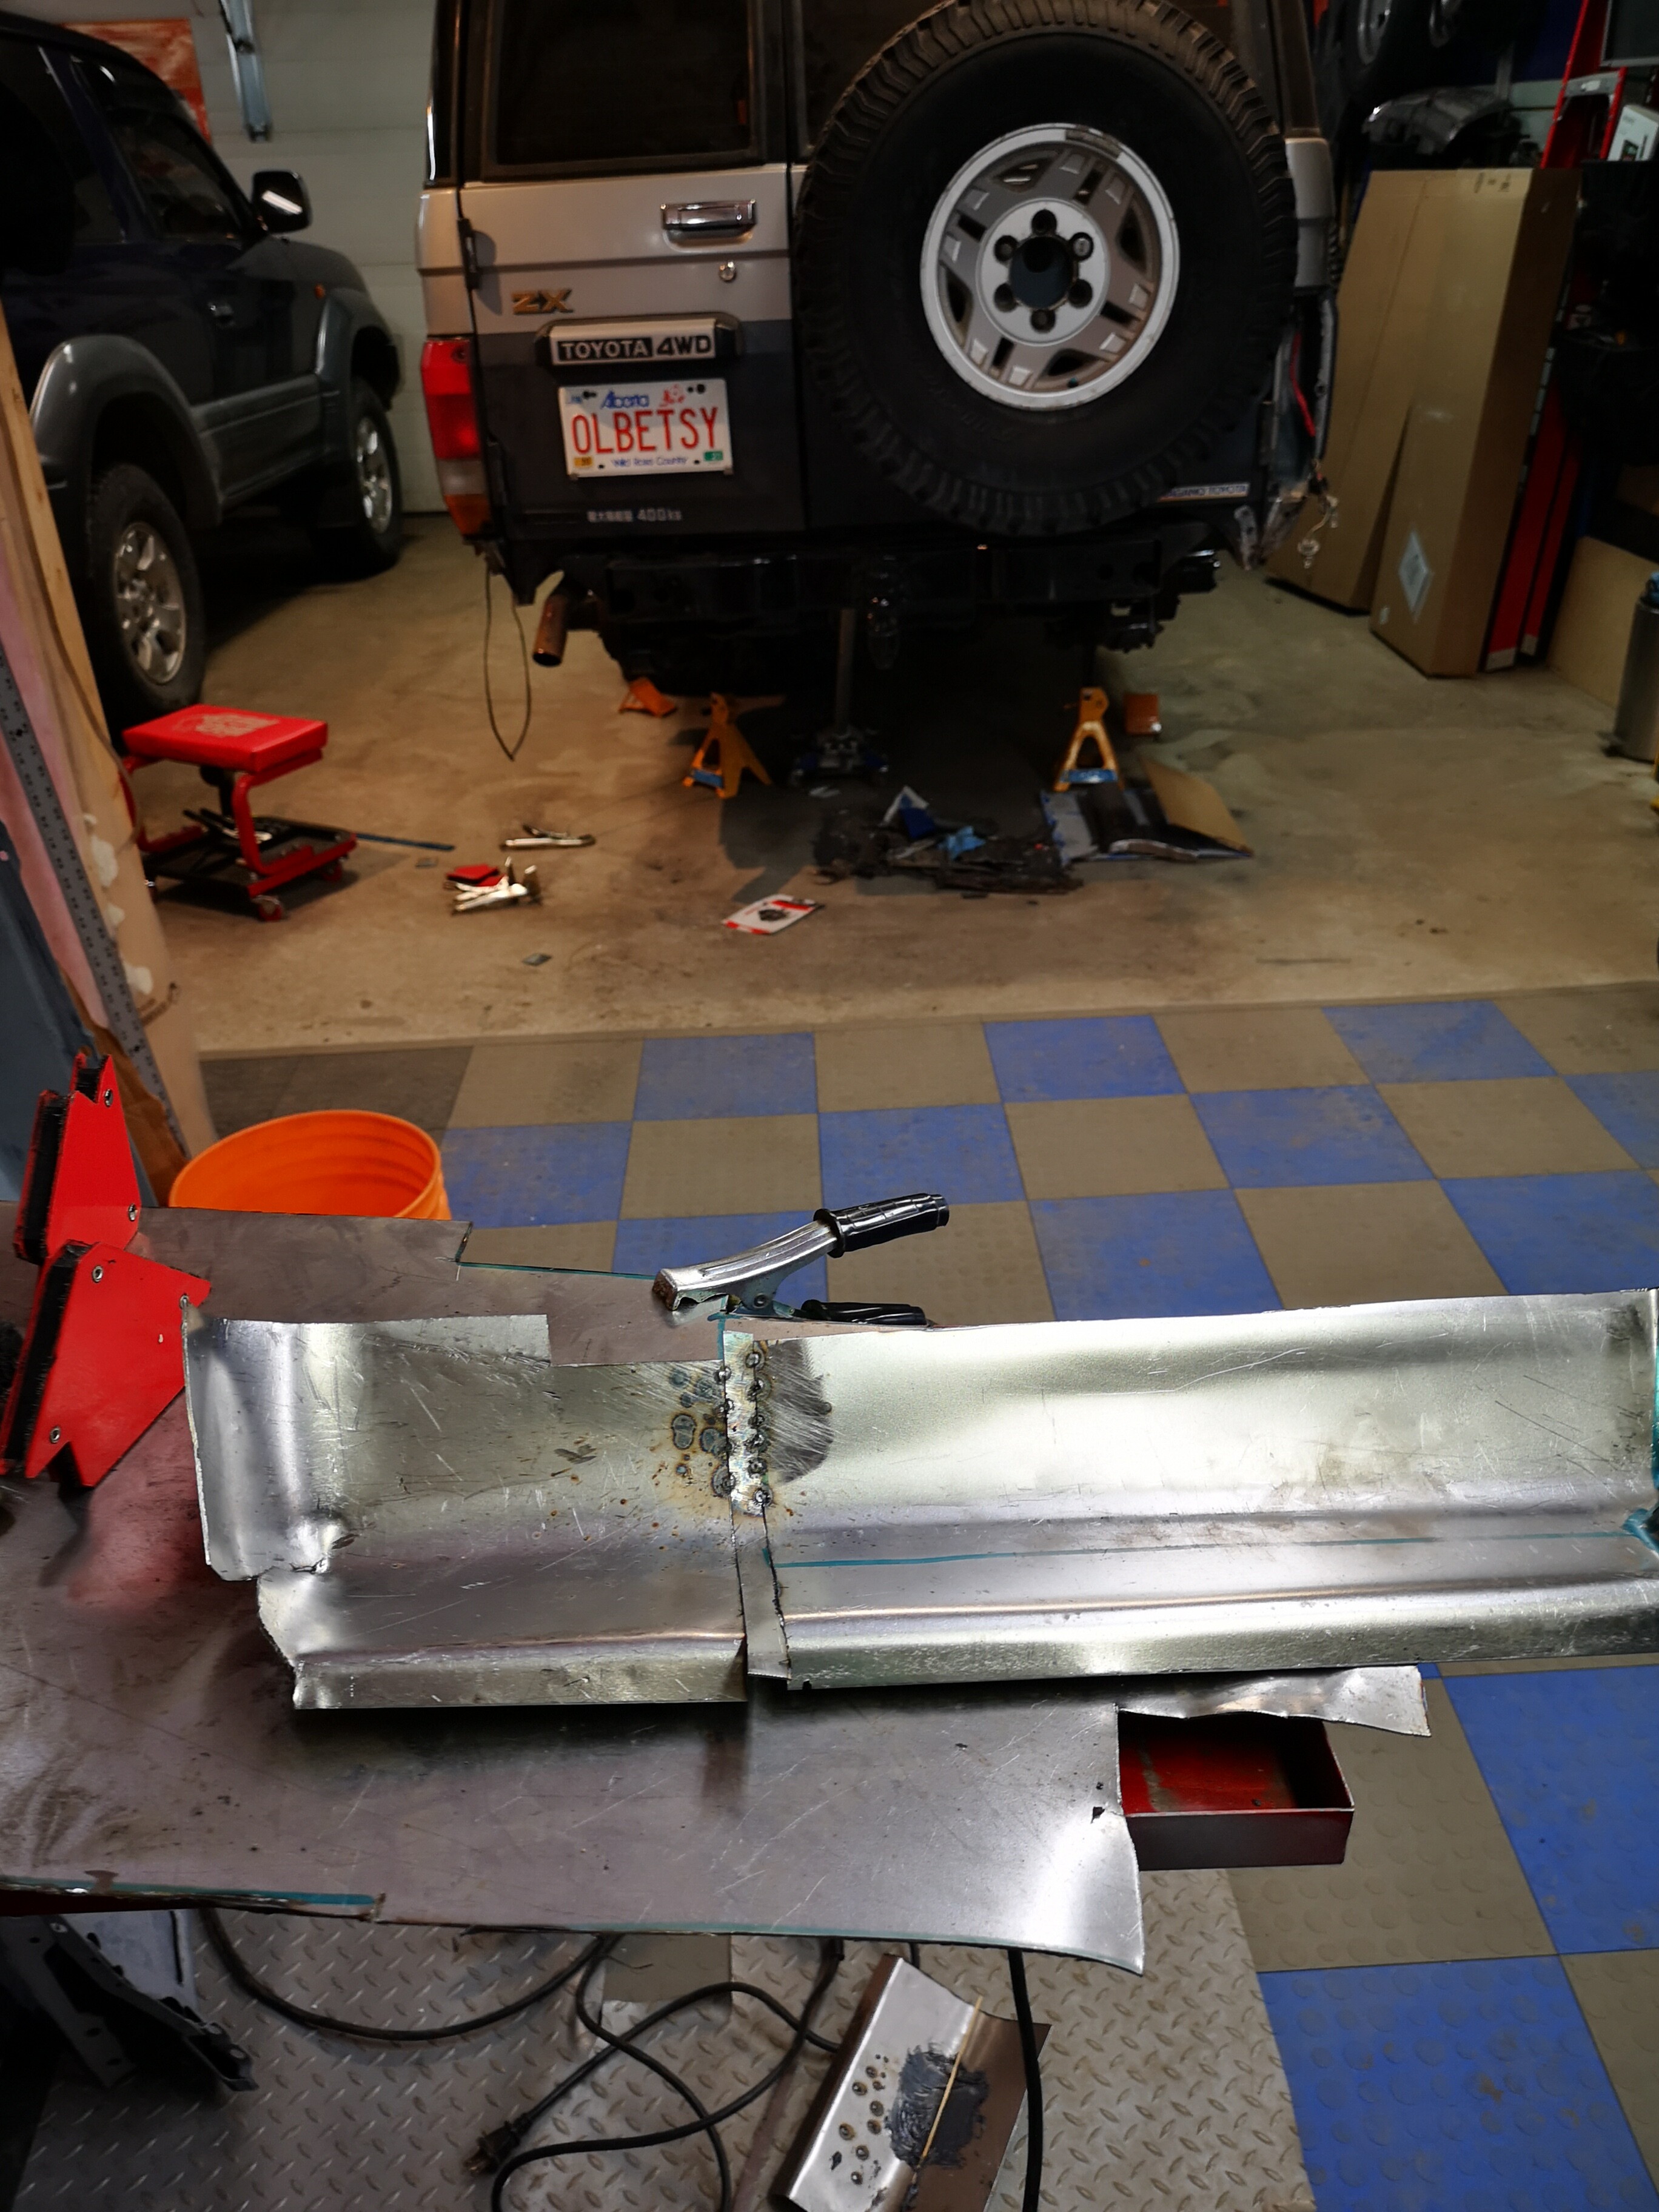
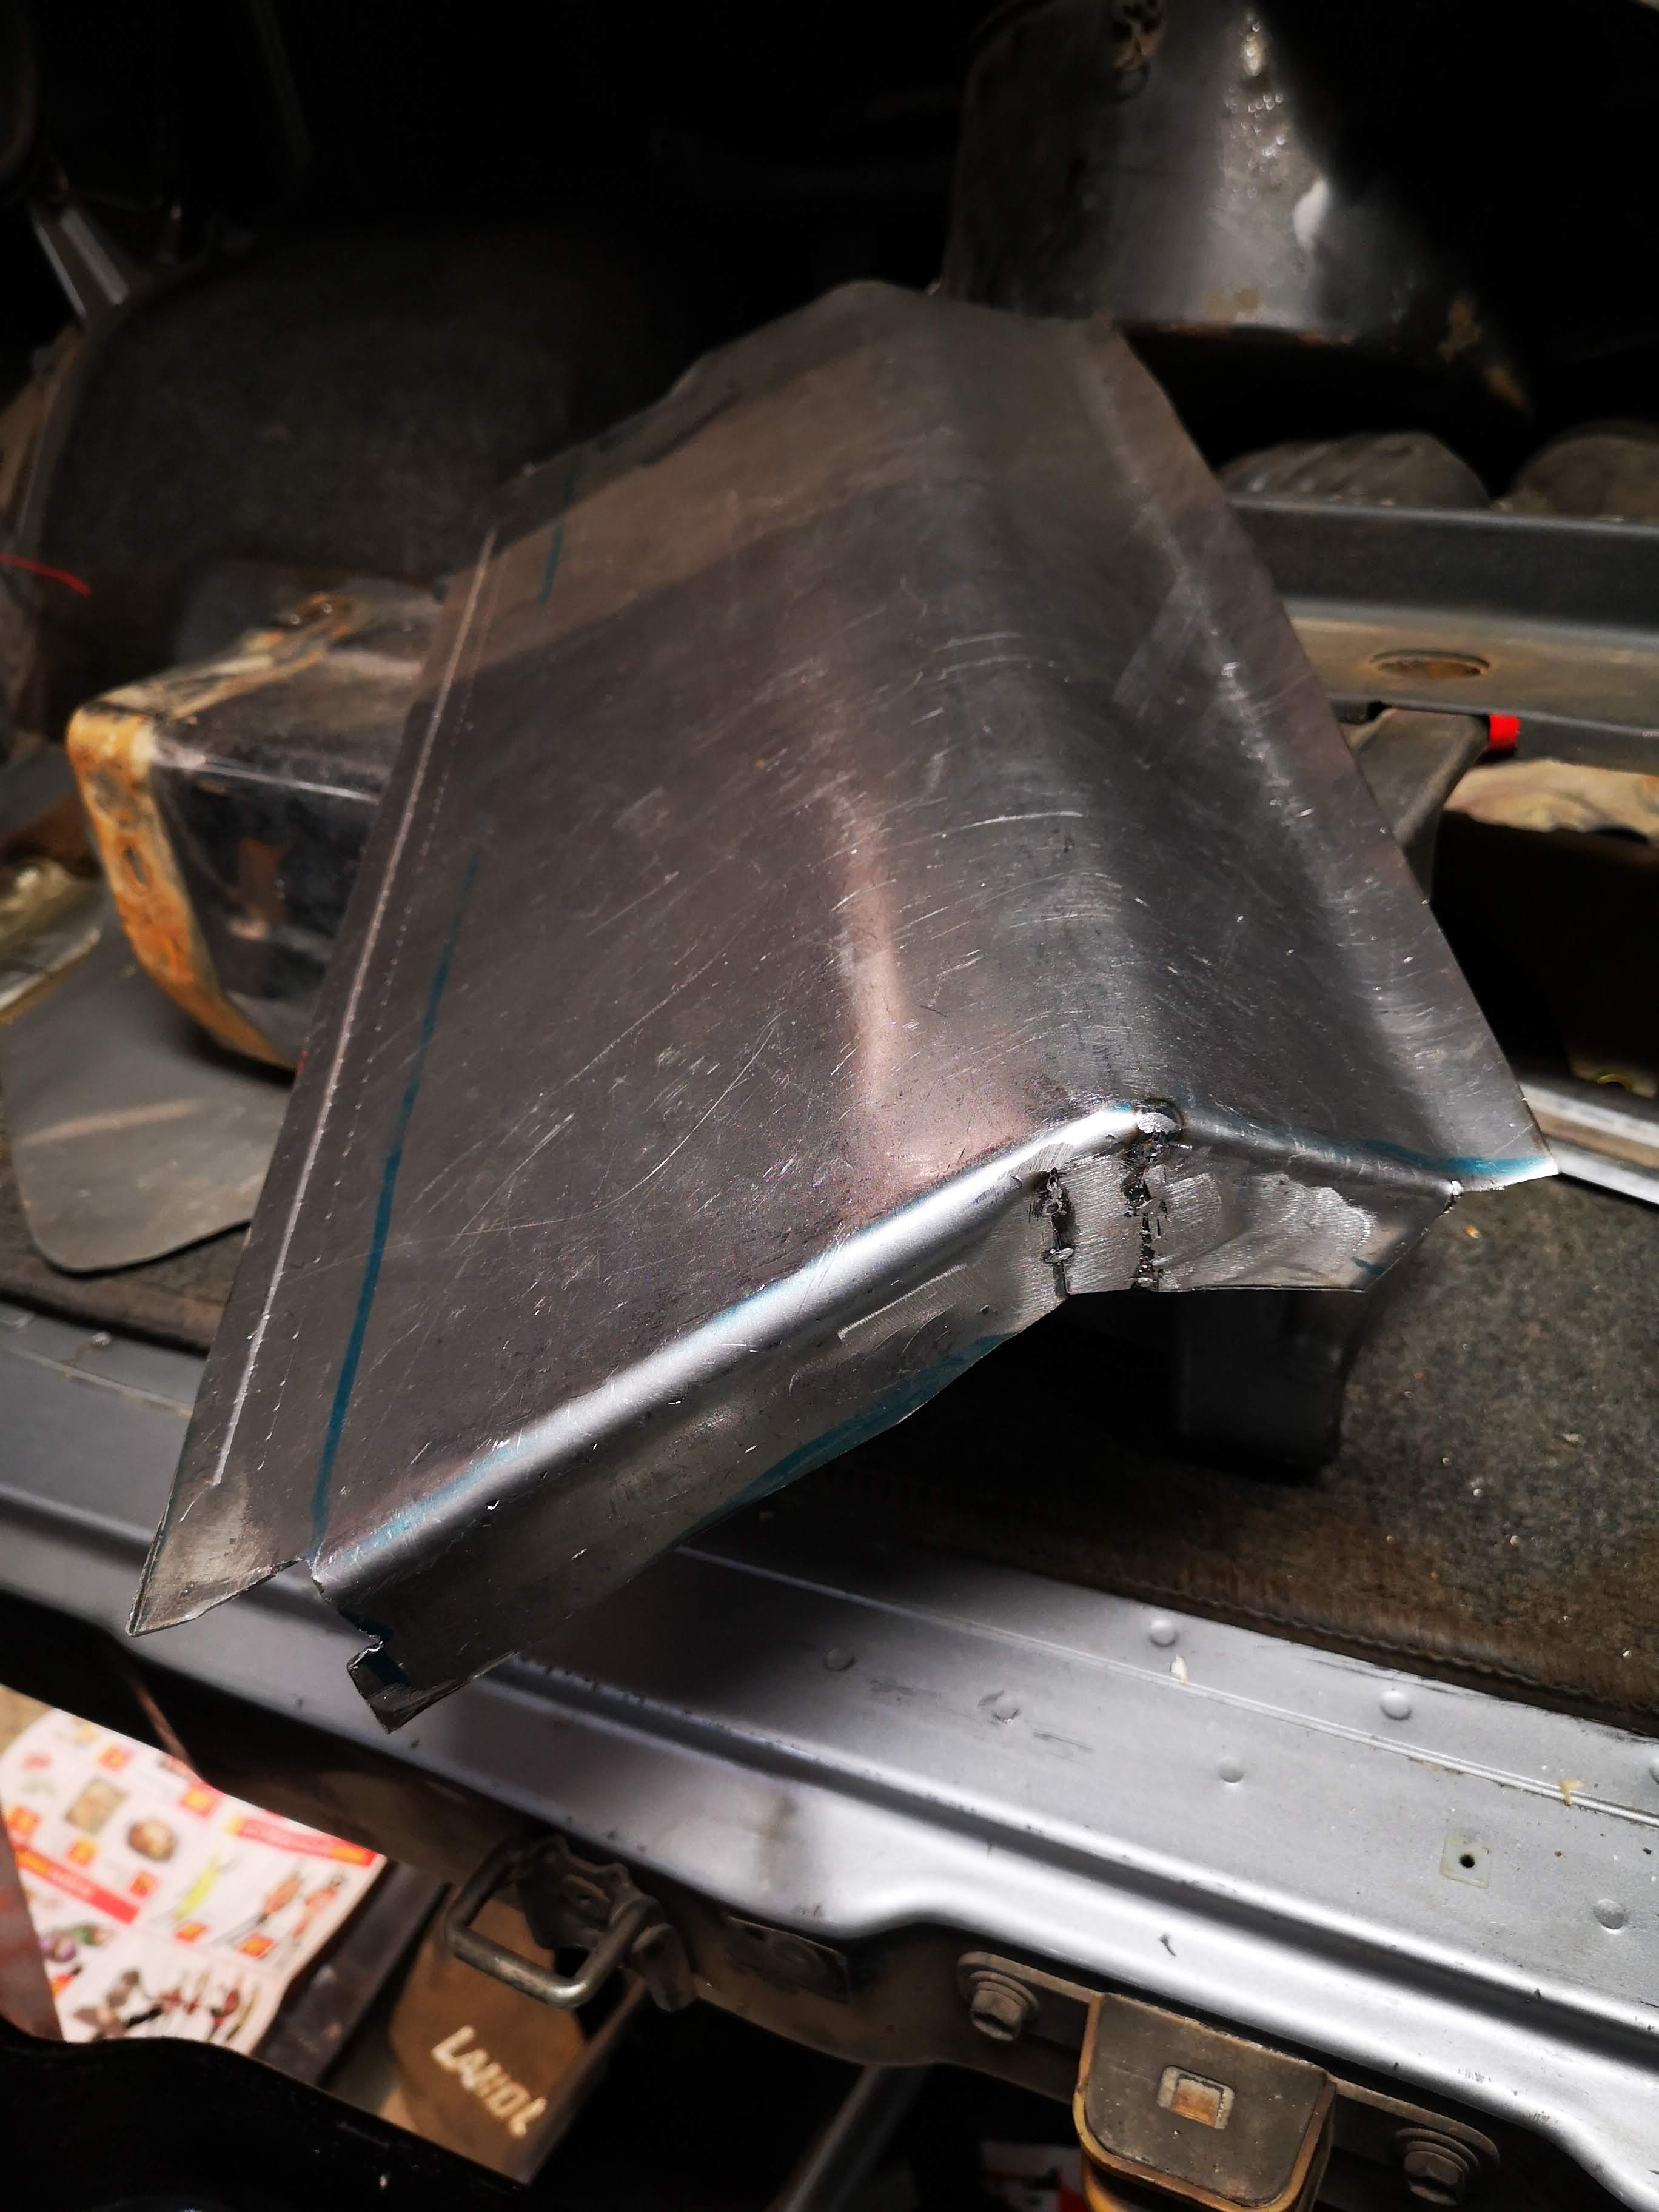
And then I got back to the other quarter I’ve been putting off. Took the two pieces I’d been constructing and welded them together. Still lots of molding and shaping and bending and cutting before it’s where I want it… But it is starting to look like a patch panel finally.
Dude. You gotta feel good about these panels. They look great. There’s something special about making things look nice even when you know nobody will ever see it.
Curious: How much time are you spending in the garage these days? (I’m working on action plans.)
Technically my kids were working from home this week but I gave them all their lessons before the holidays so I field calls from the garage when necessary… but I’m pretty sure most of them completed their work last week. We are back in class next week so I’ll be back to evenings and weekends again.
I have been able to get out there 4 hours or so per day lately, after I get work done and a few things around the house.
Yeah I need to have things tidy behind the scenes for my own piece of mind. It’s probably taking me a million times longer than it should, but I don’t want to go back in there in a year or two and see all those hours undone by new rust…
My welds aren’t pro (maybe not even amateur yet lol) and using a flux core welder on sheetmetal is pretty challenging. So once I’m finished welding something, I grind it down and put a light behind it to look for holes.
Long afternoon of grinding, bending, welding, fitting, shaping and refitting. My rear quarter on the LHS is I’d say two thirds done at this point. Getting that radius corner to wrap around was pretty tricky. And then getting it to join up in the bend? My head hurts. I patched in three separate little pieces to make it work.
Man [quote=“PajEvo, post:65, topic:664”]
I don’t want to go back in there in a year or two and see all those hours undone by new rust…
[/quote]
Testify. I’m gonna have an entire sub-channel to my build thread about rust prevention. Maybe over the summer to really make it funny. “It’s the middle of summer in Phoenix. Brian’s rust-proofing his undercarriage.”
See also, it would be a shame to suddenly lose all this domestic flexibility and realize we could have done so much more. Hmmm… I wonder if there’s an angle in that sentiment for a future article…
Made some progress yesterday. I now have my panels fabbed to a point where I can actually close in the rear quarters! I finished last evening, stood back and realized, HEY. I need to order the supplies for the next stage. So… 300 dollars later…
Just placed my order for:
2 cans of colored matched blue
1 can of color matched silver
2 cans of 1k clear
1 can of high build primer
A tube of seam sealer
A twin tube of 3m panel adhesive…
That should do it! While waiting for that to ship, I’ll do some more massaging of my humble patch panels.
That’s funny. Thanks but I think you overestimate the level of my repairs. Good from far but far from good is likely where it will be when done…
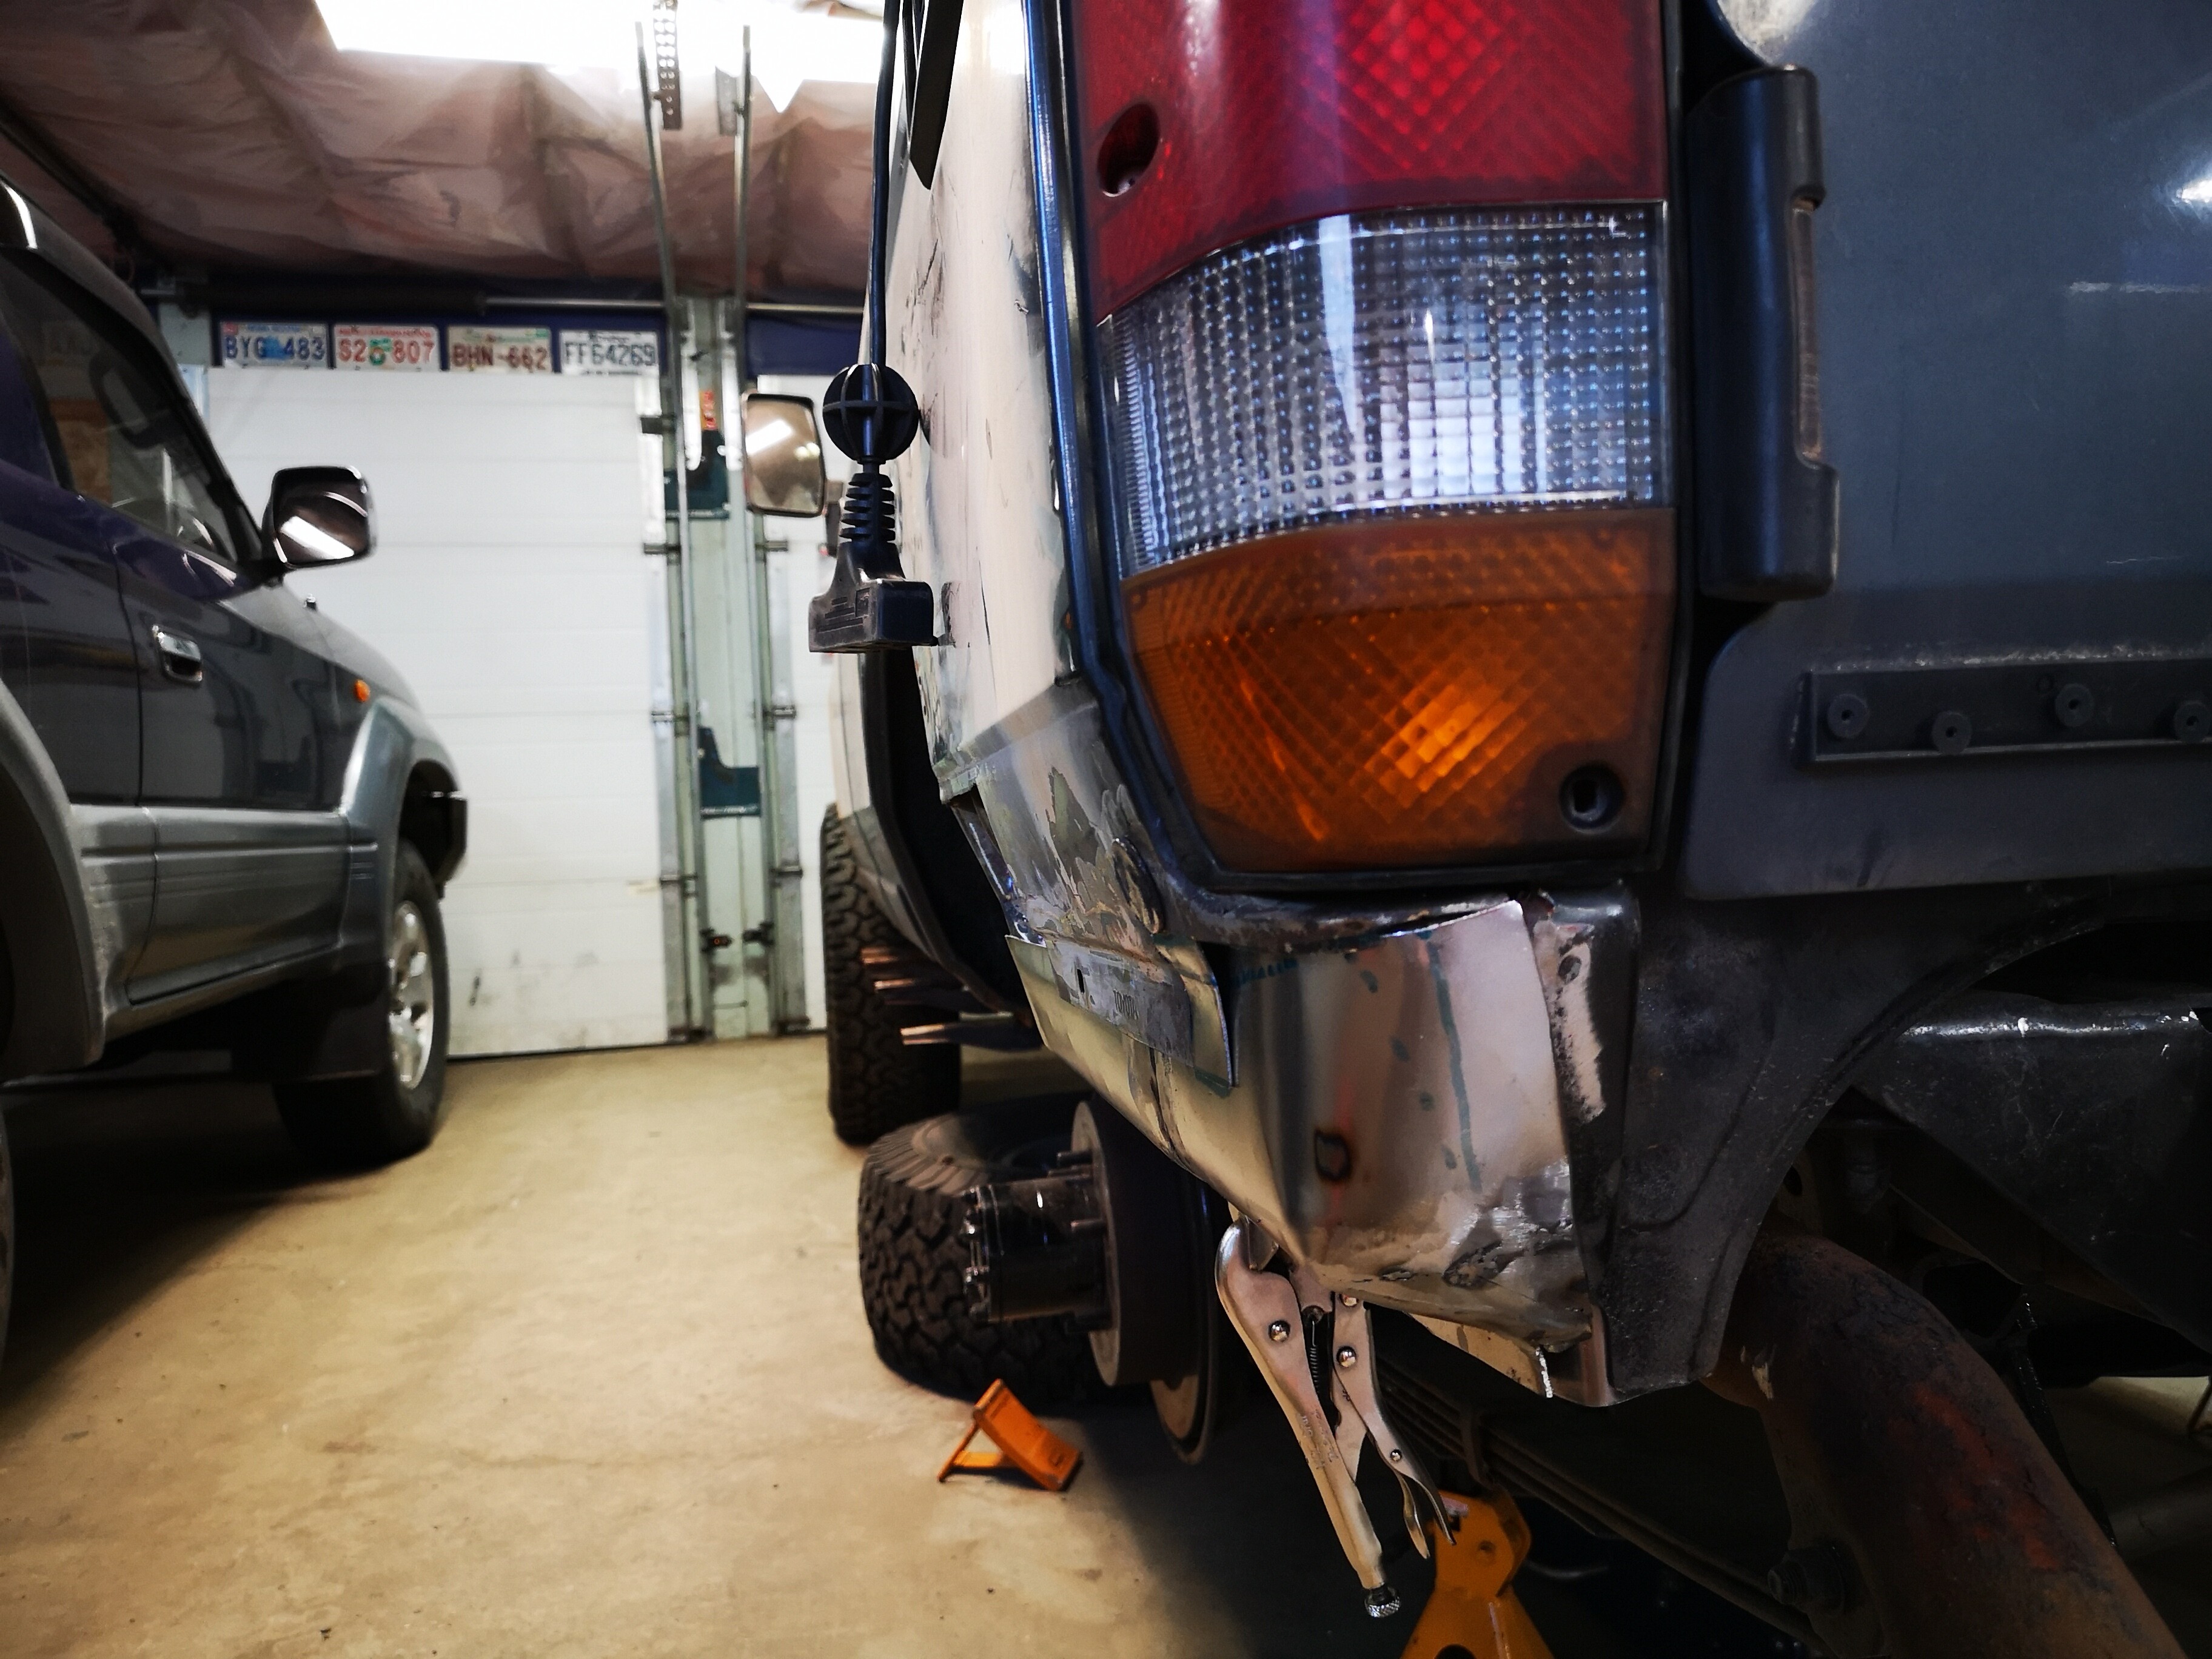
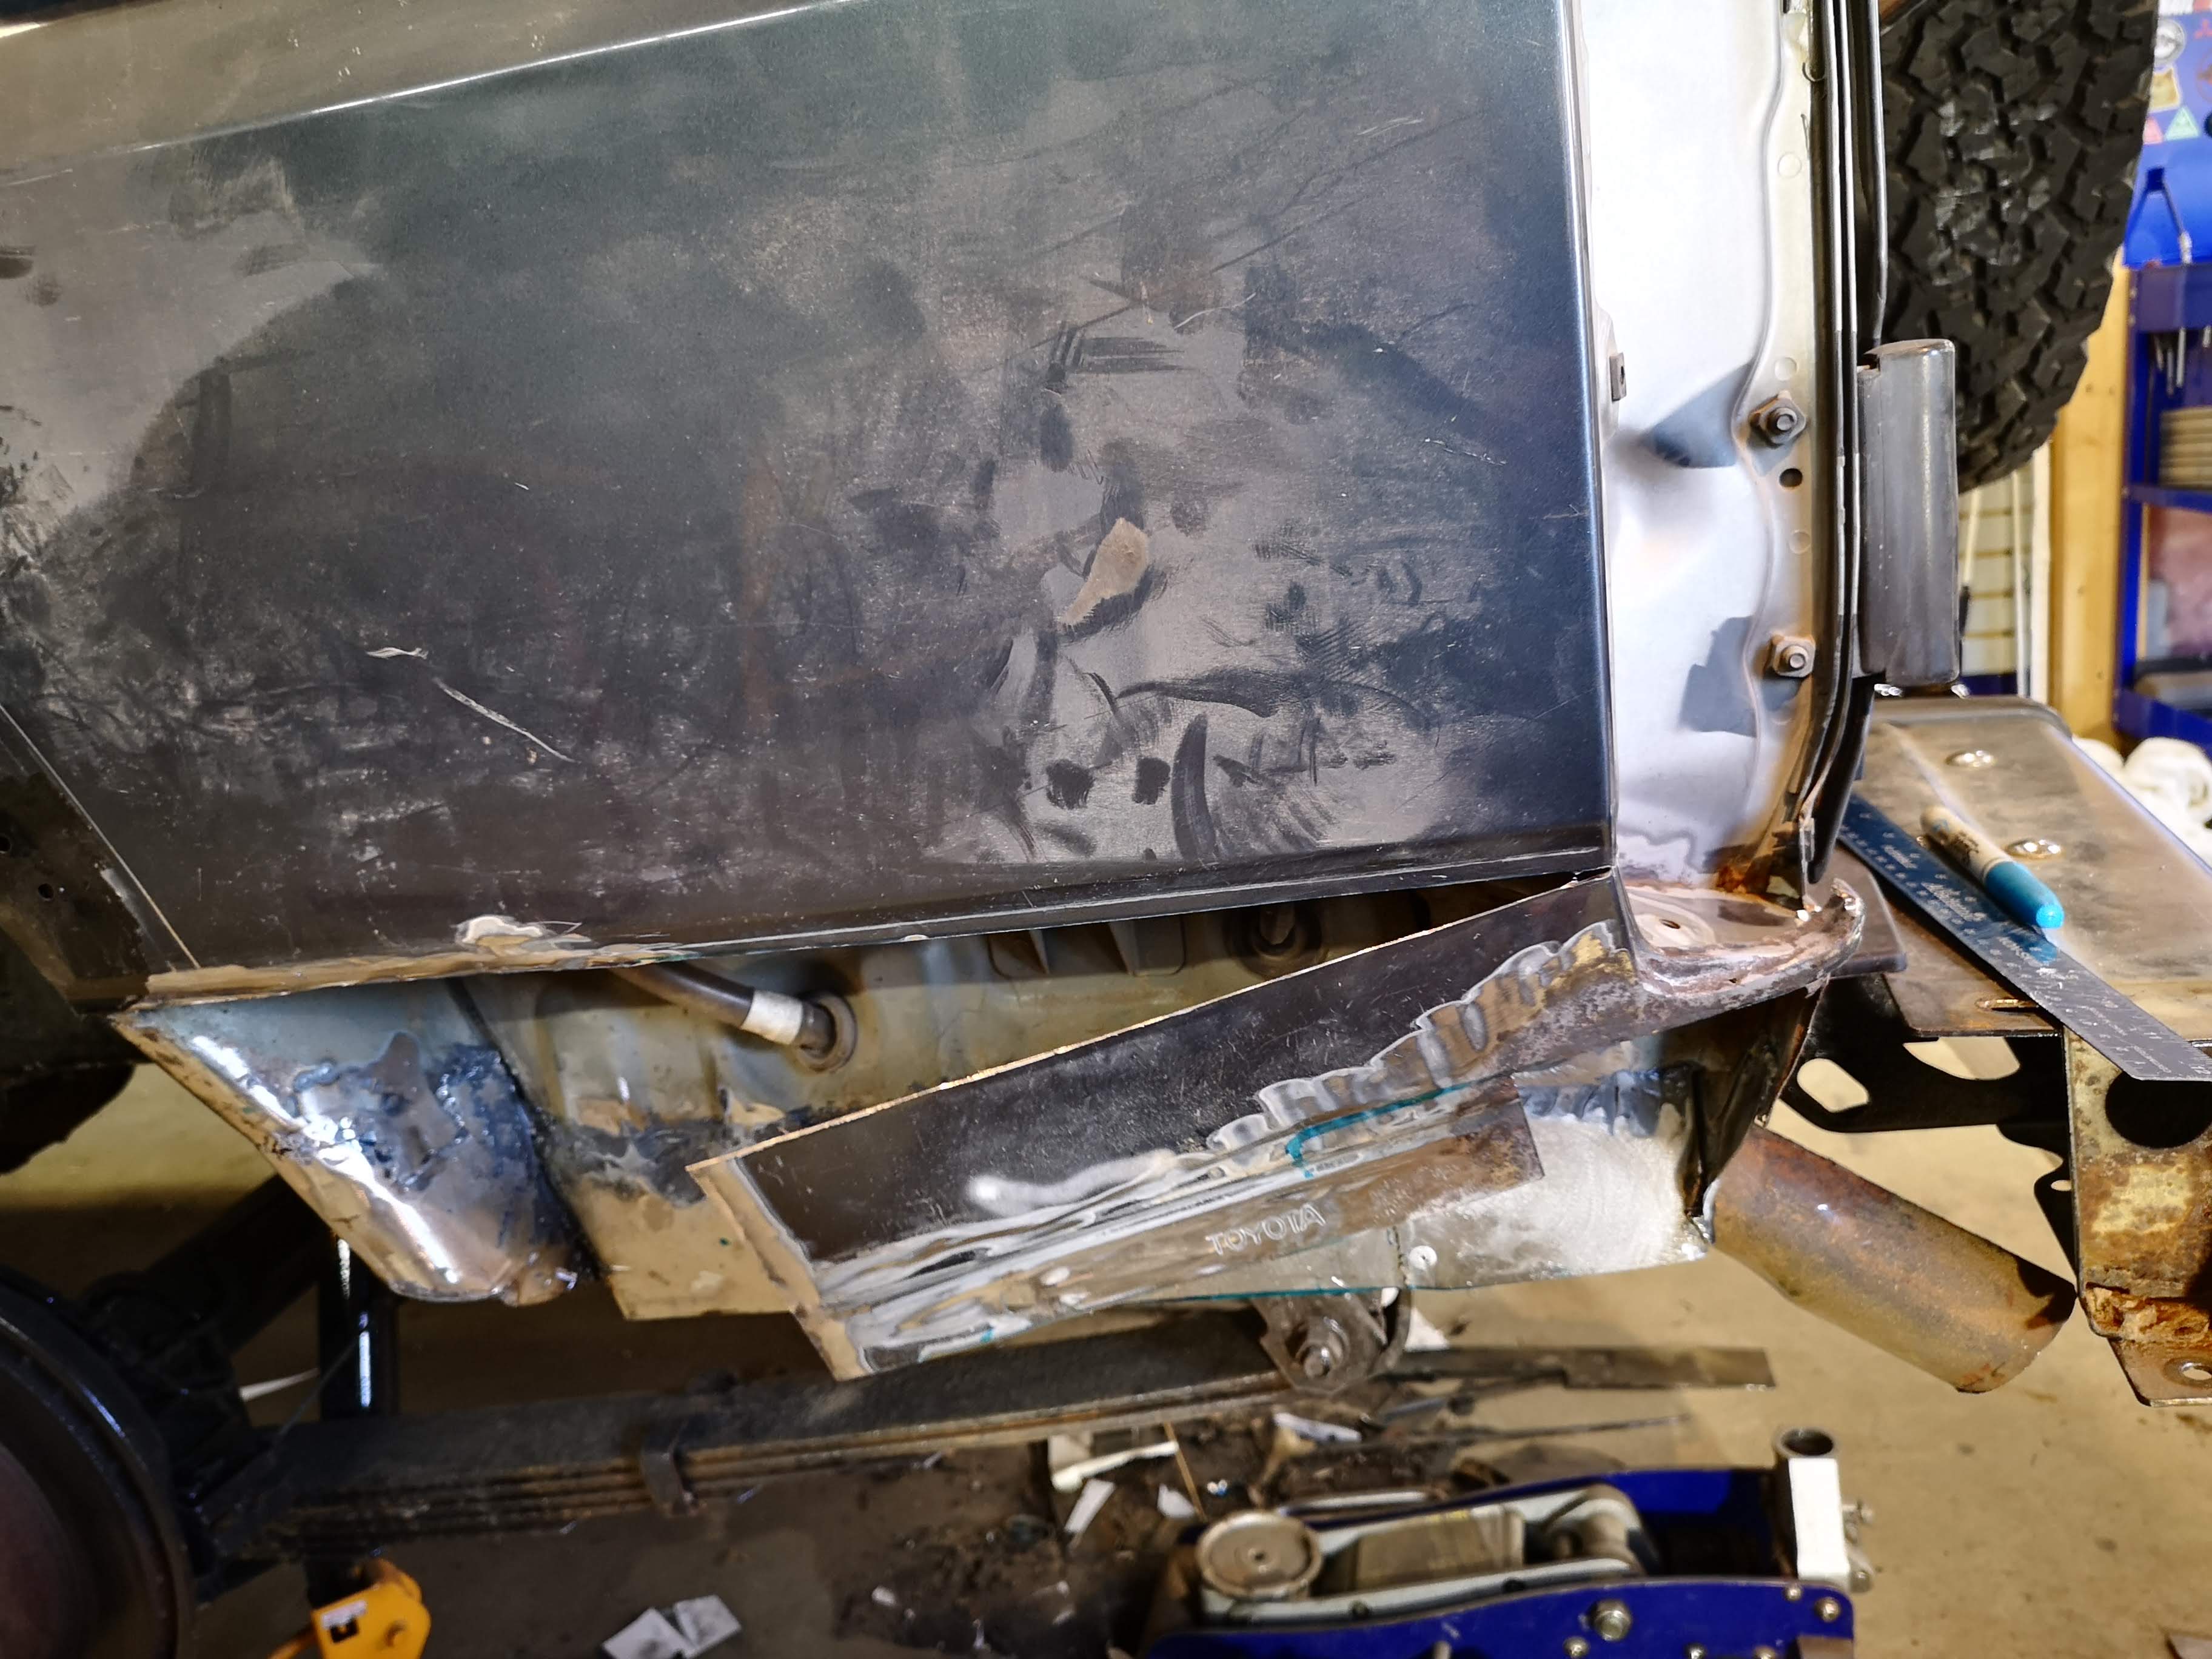
Last evening I did some dent repair. Since I could access the inside of the panel I massaged two rather large dents, one on each side in upper rear quarters. Not perfect, but better than they were, and won’t be as noticeable as before when hopefully the paint is shiny again, someday.
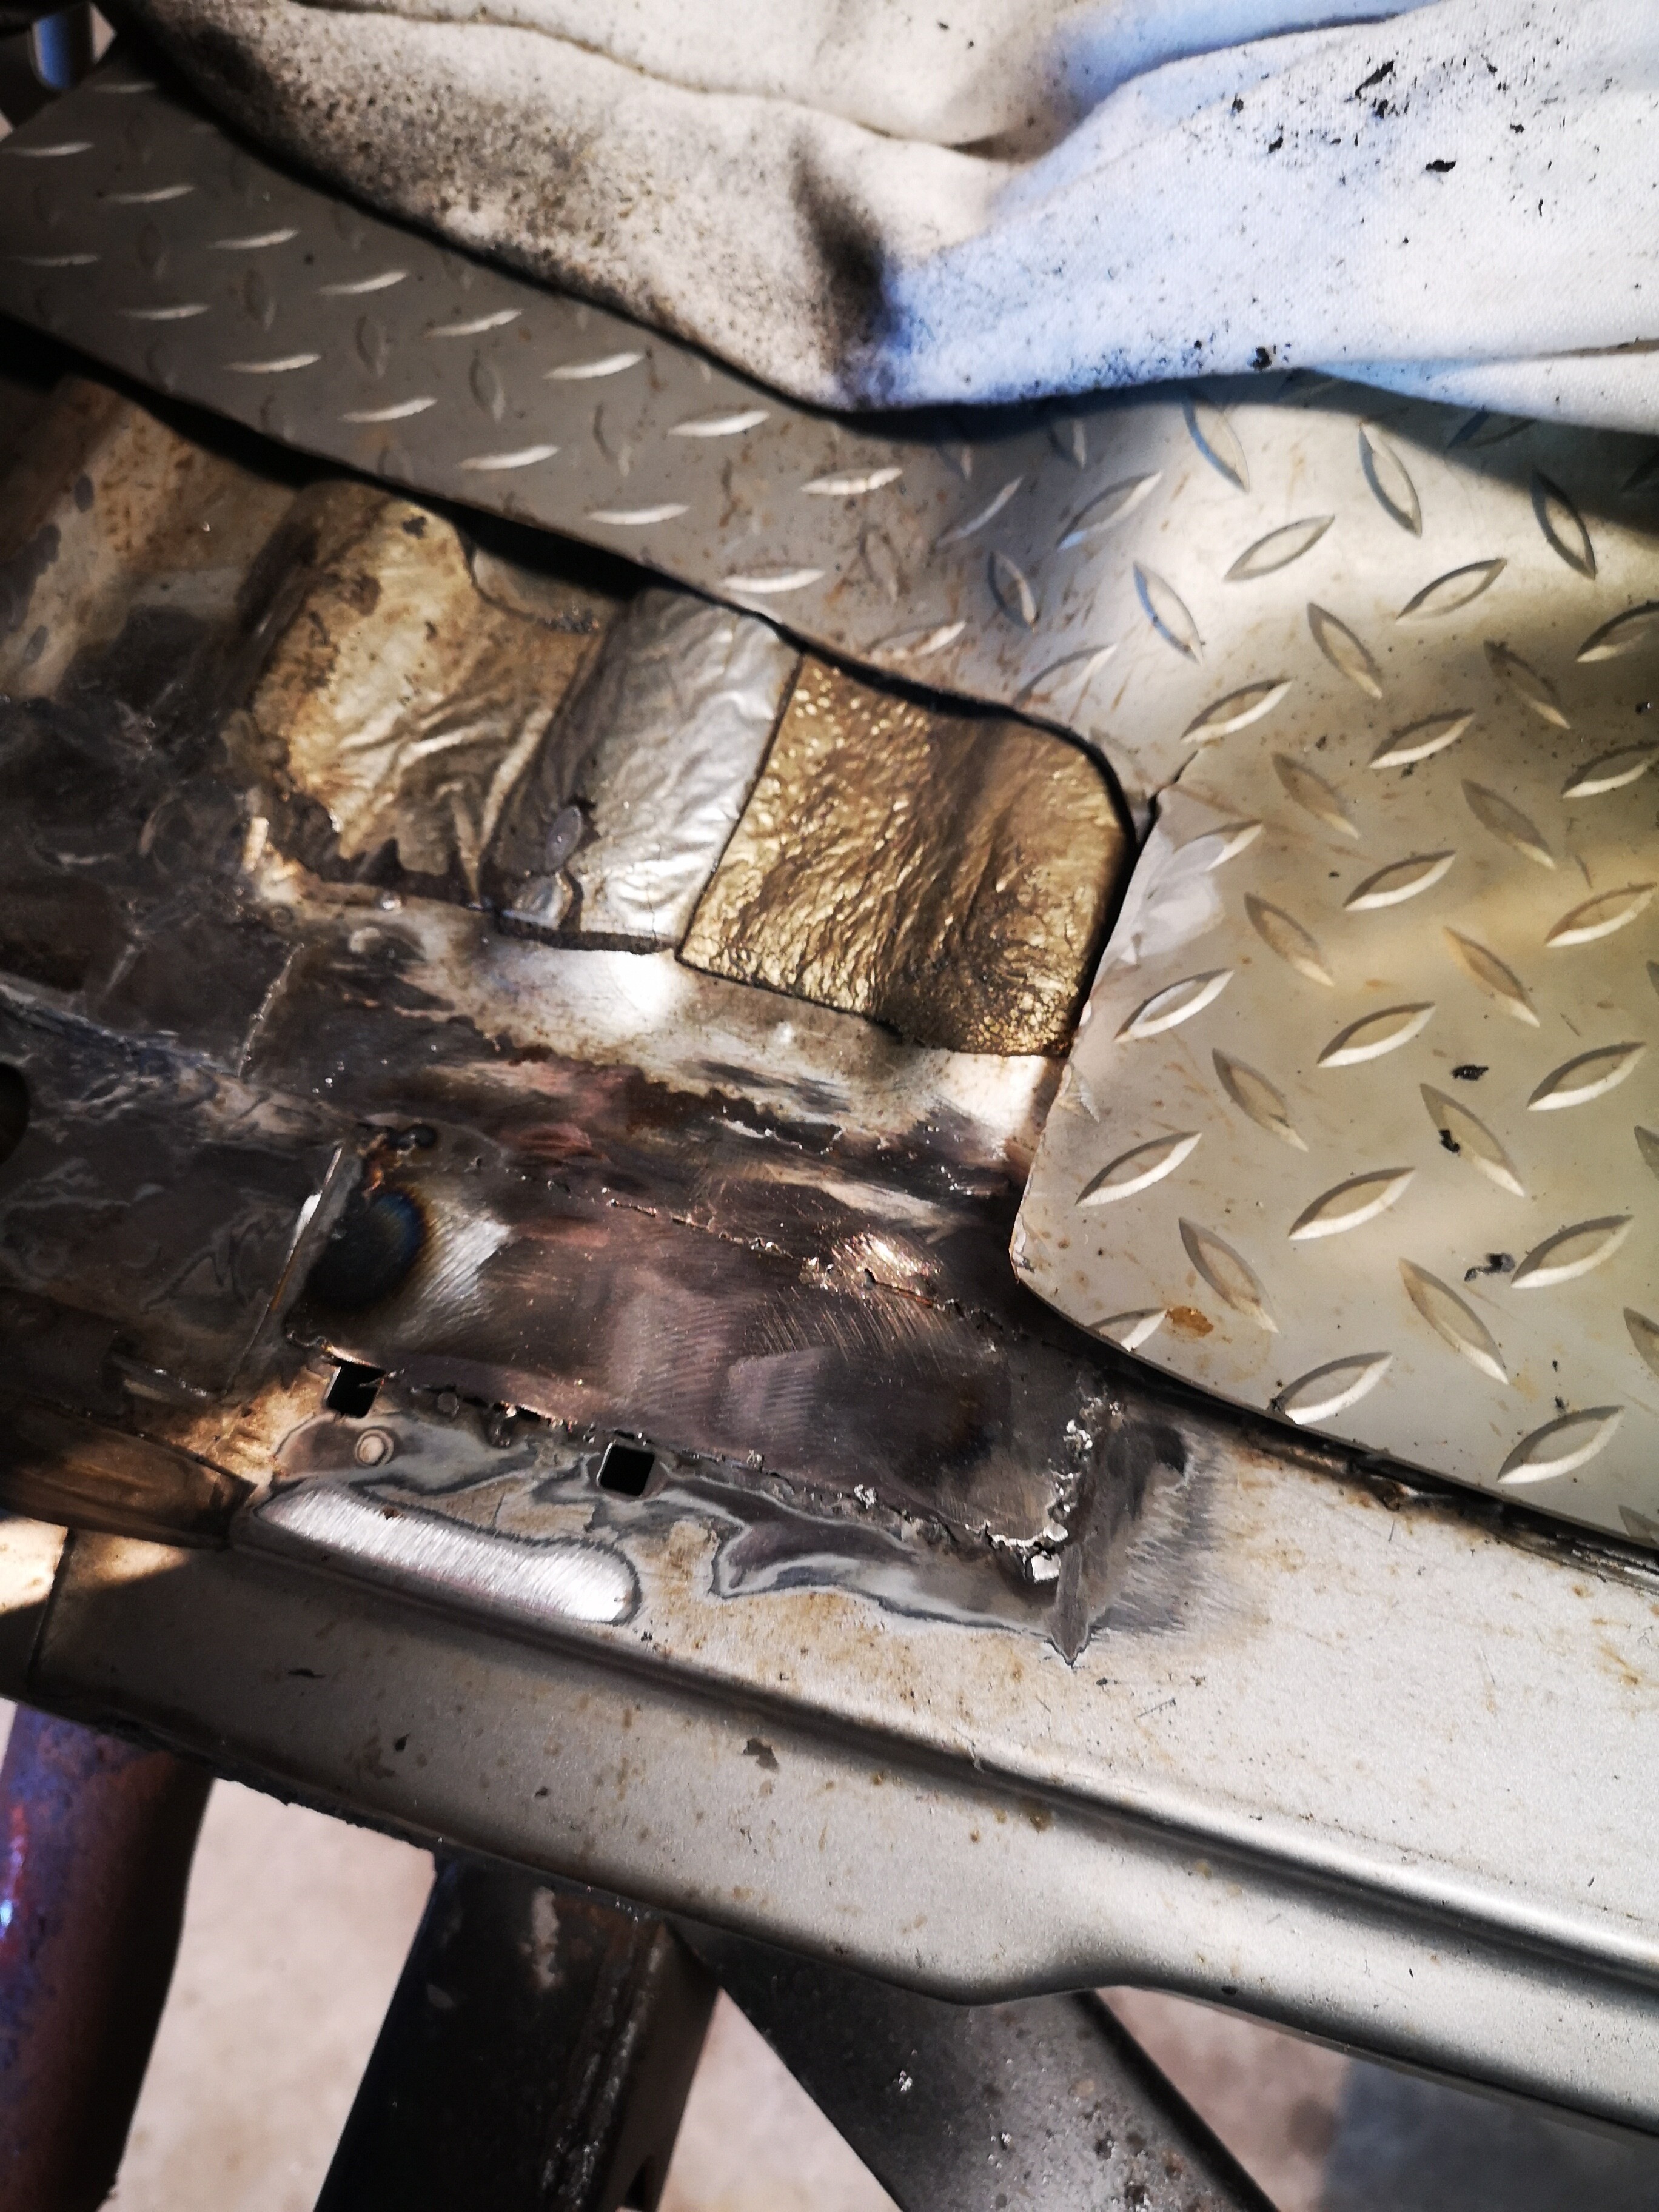
Still not happy where my one panel meets the body. The welds are blowing through the thin factory metal, which was pretty thin anyway, due to being ground down. I’m going to try lower settings and see if I can build up some material to fill the holes. Failing that, I may cut the seam again and start over. The tin termite look is not what I’m going for…
I had hours into it, but finally had to bite the bullet and cut the bastard back out again. Non shielded welding on sheetmetal is tricky at the best of times but this was just blasting holes. I tried many combinations of wire speed and power levels. But finally had to throw in the towel and weld the piece to my patch panel on the bench instead of onto the truck. Arggg…
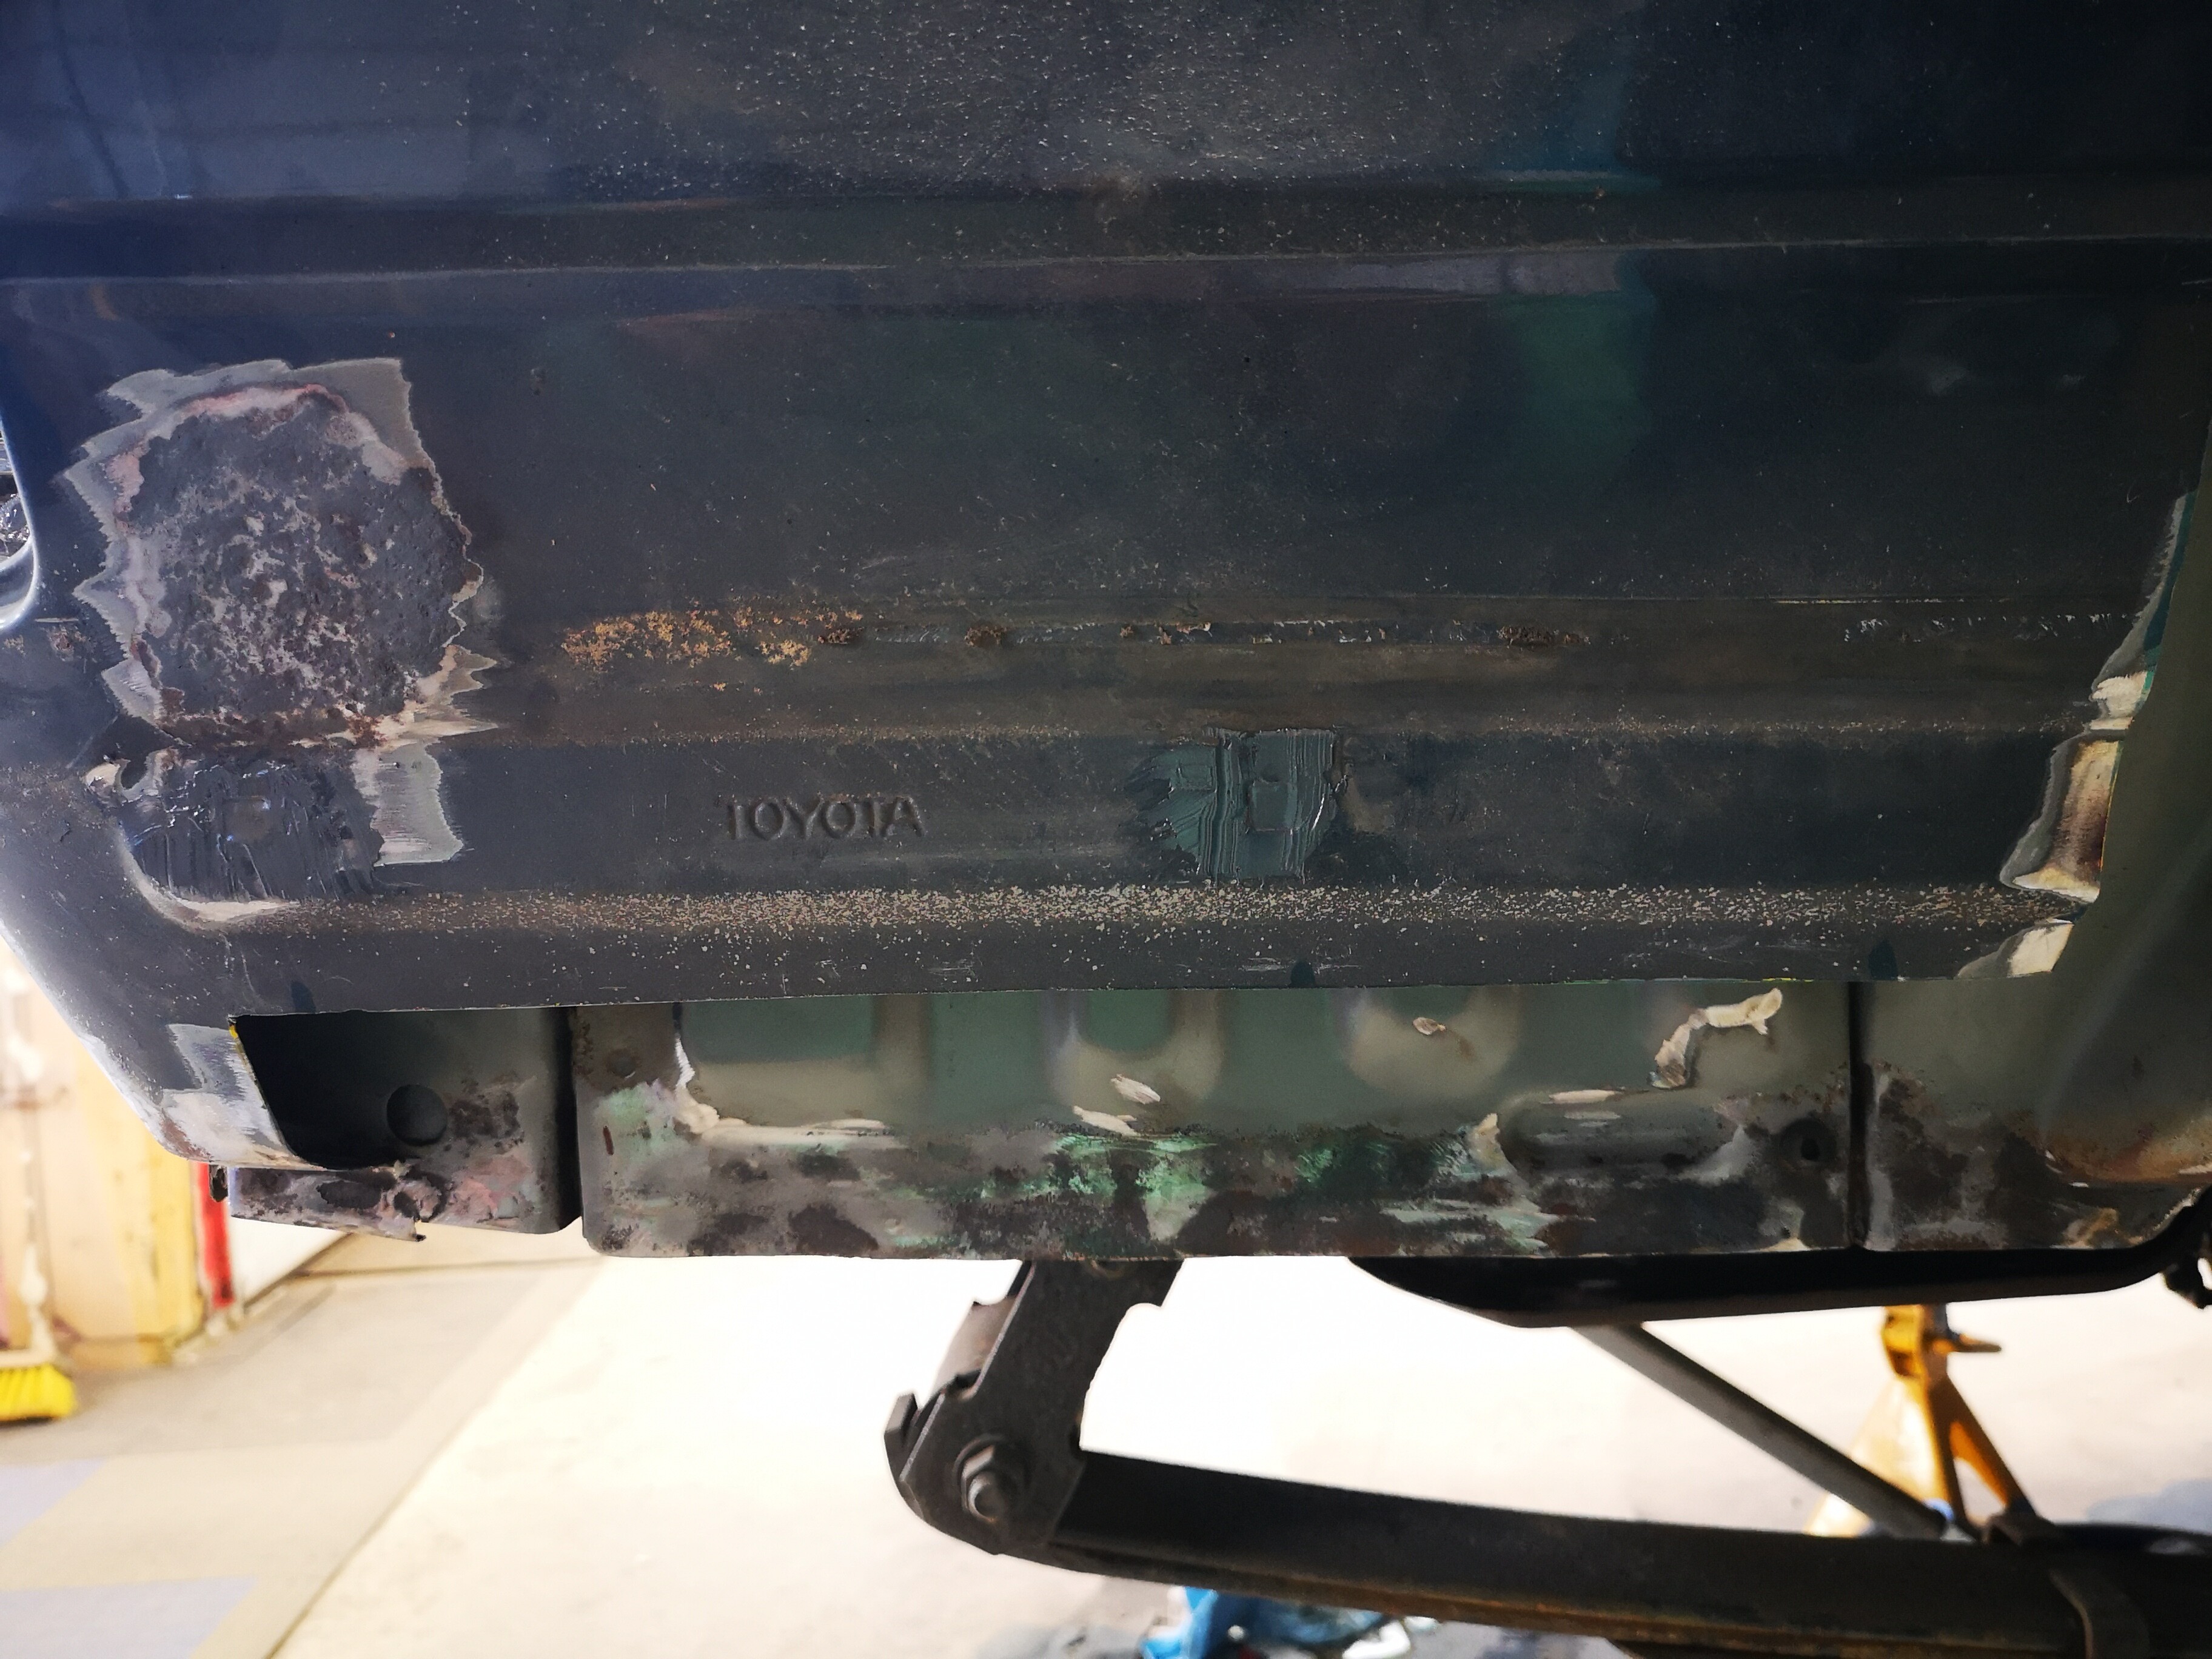
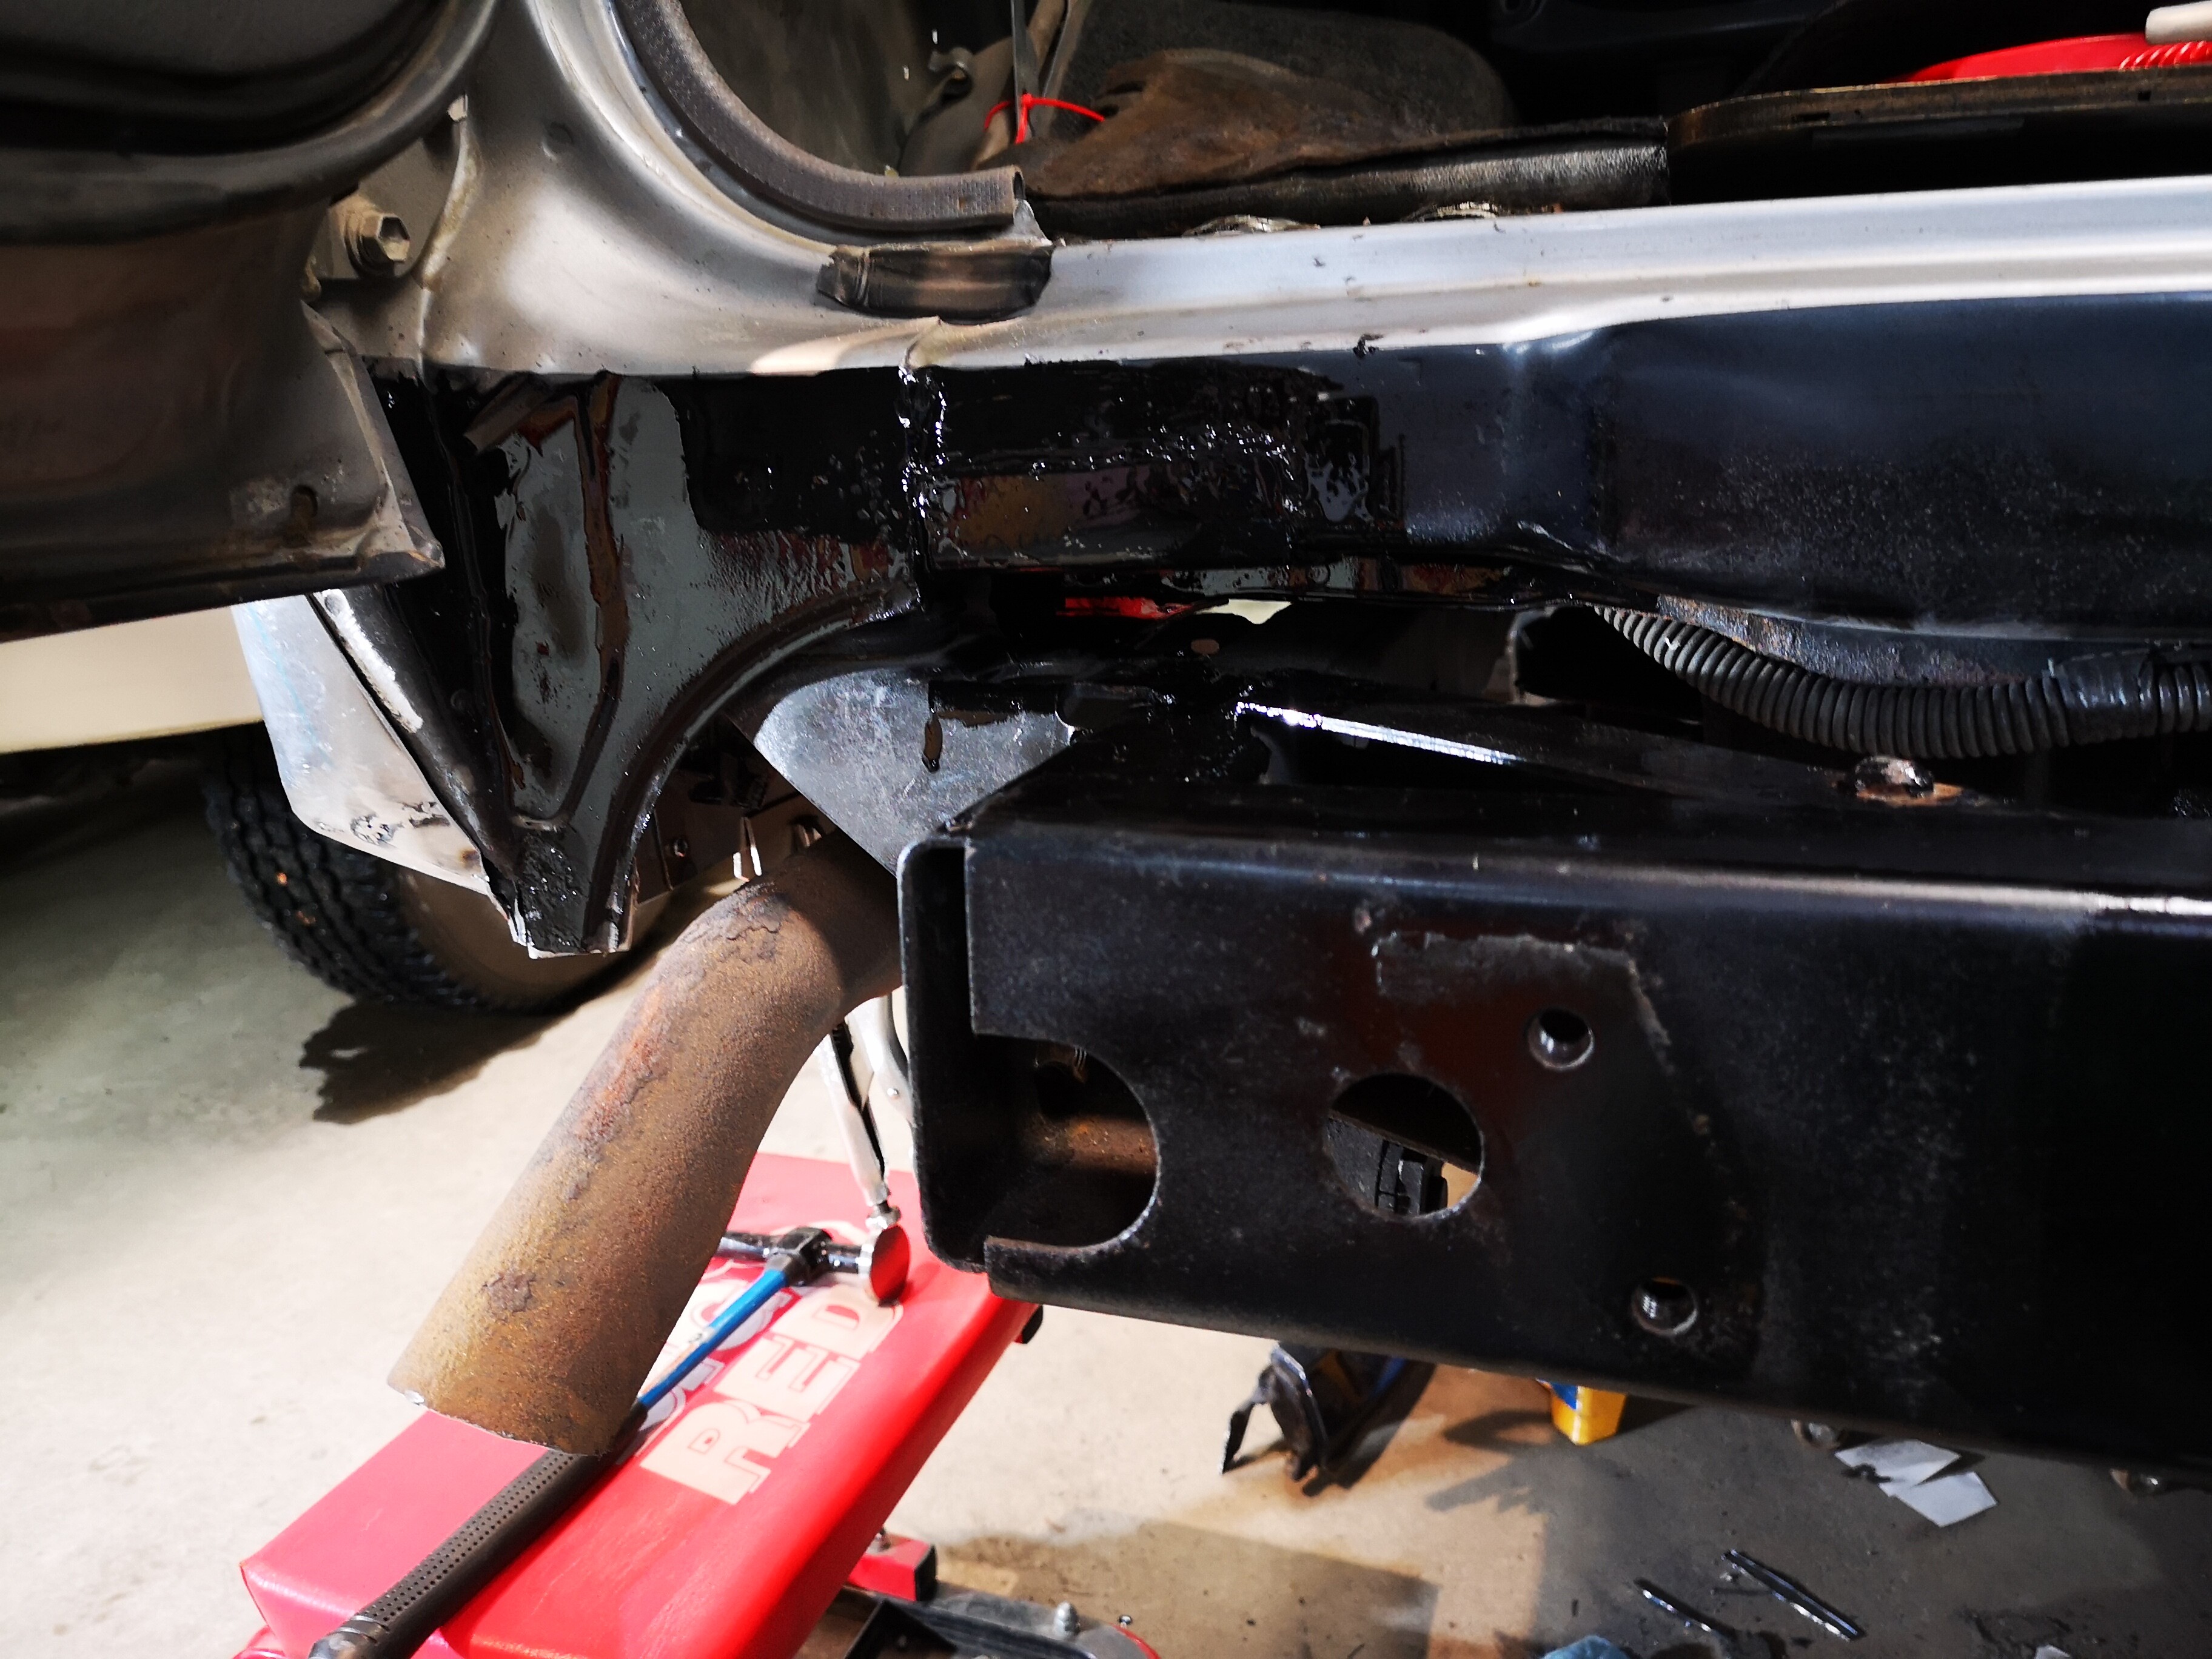
Meanwhile, I began some POR15 today. Newly built wheelwell looks better.
POR15, you say? I’ll have to look into this, but is it something you have to sand/strip away rust first or can it just be applied directly? Think: Montero driver-side wheel well shenanigans. Battery tray, steering linkages, frame rail, etc.
(And I STILL think your repairs look excellent, dude.)
There are some prep solvents you can buy but it’s called POR15 because POR means paint over rust. And you can, directly. It self levels very quickly, dries fast, and leaves a shiny smooth encapsulated coating. So far I’m amazed, and I’m already familiar with it.
This is the stuff that the PO applied to the frame and underside before I bought it. It’s expensive as hell, but I’d venture it’s worth every penny.
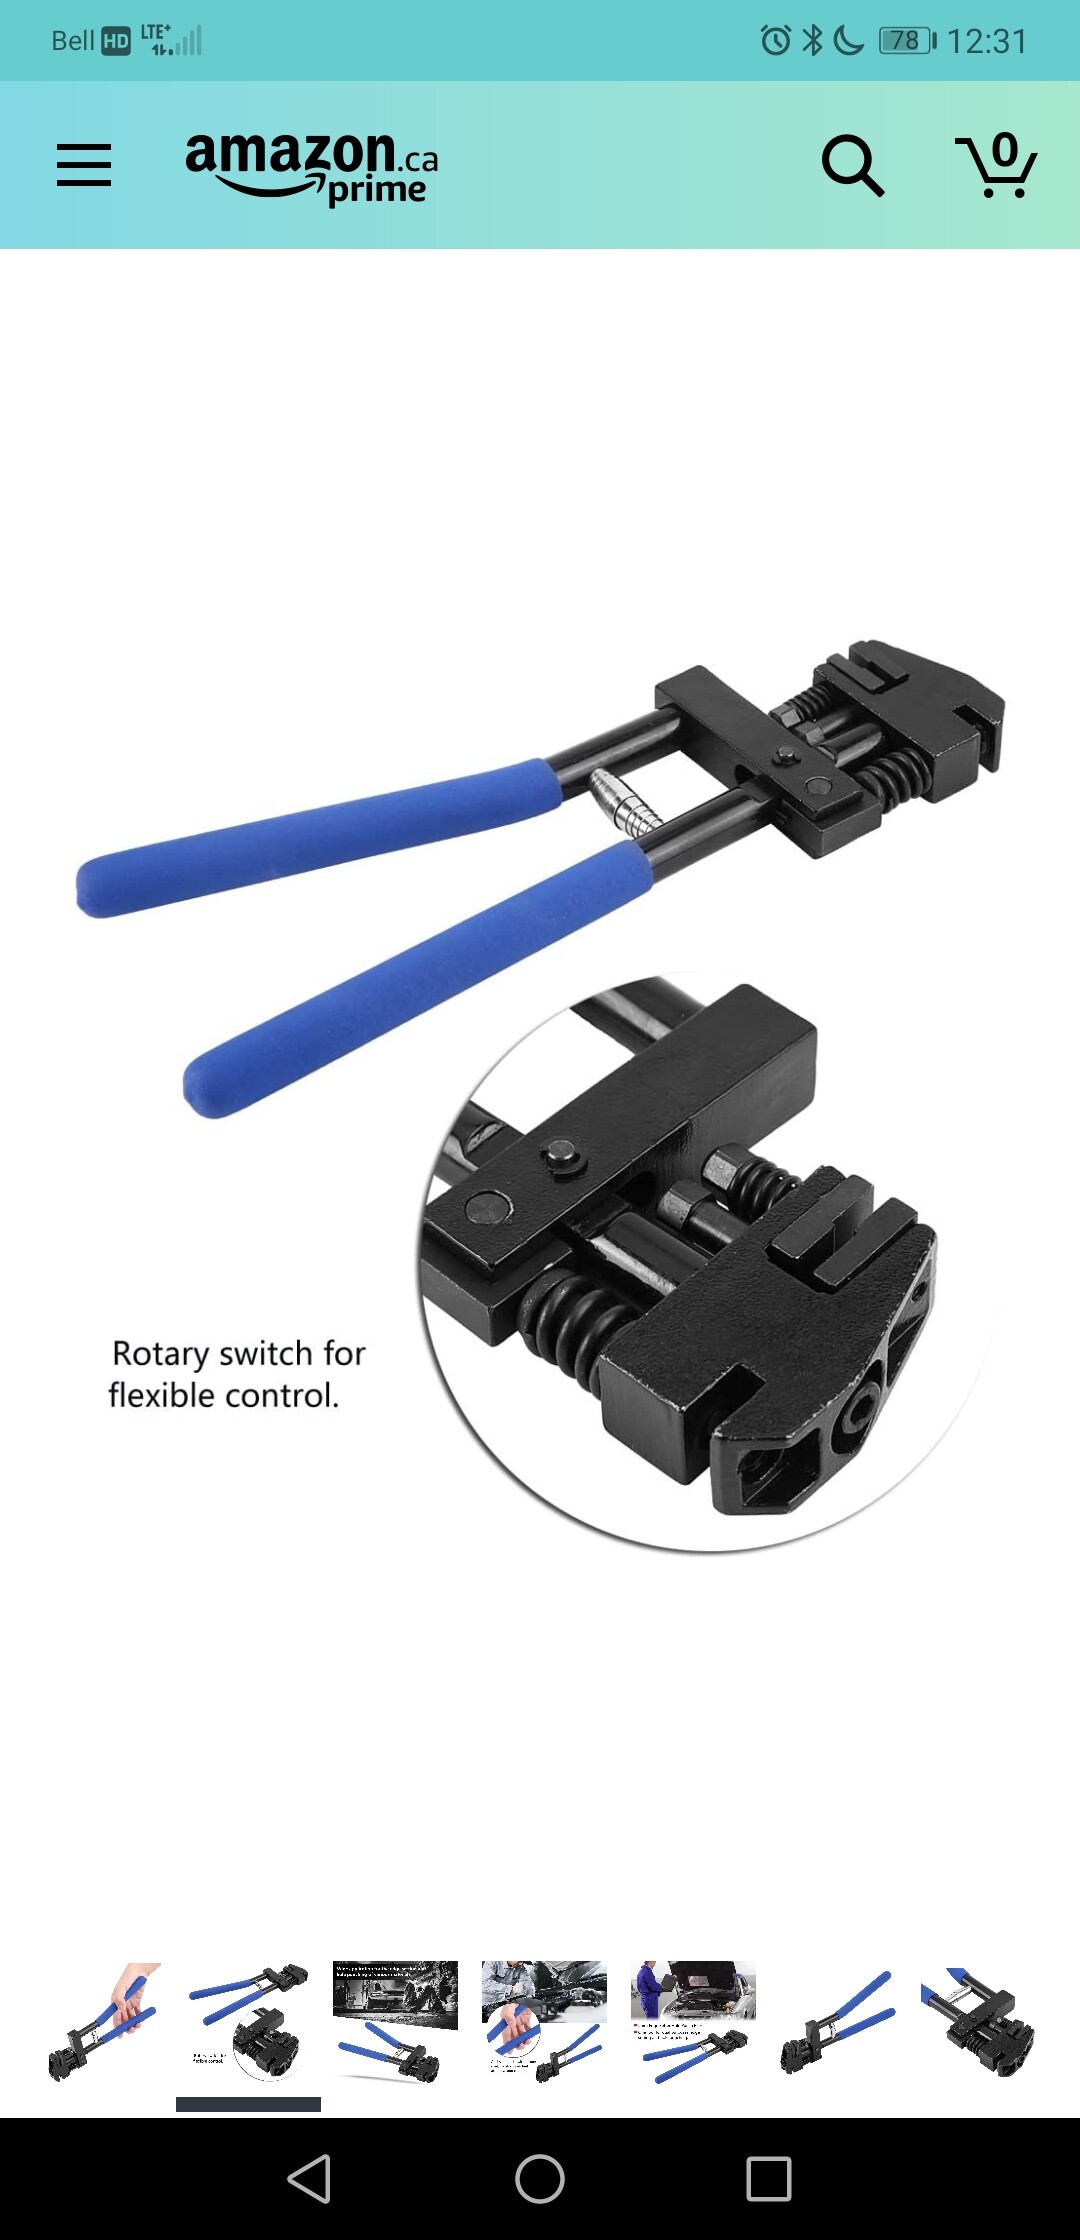
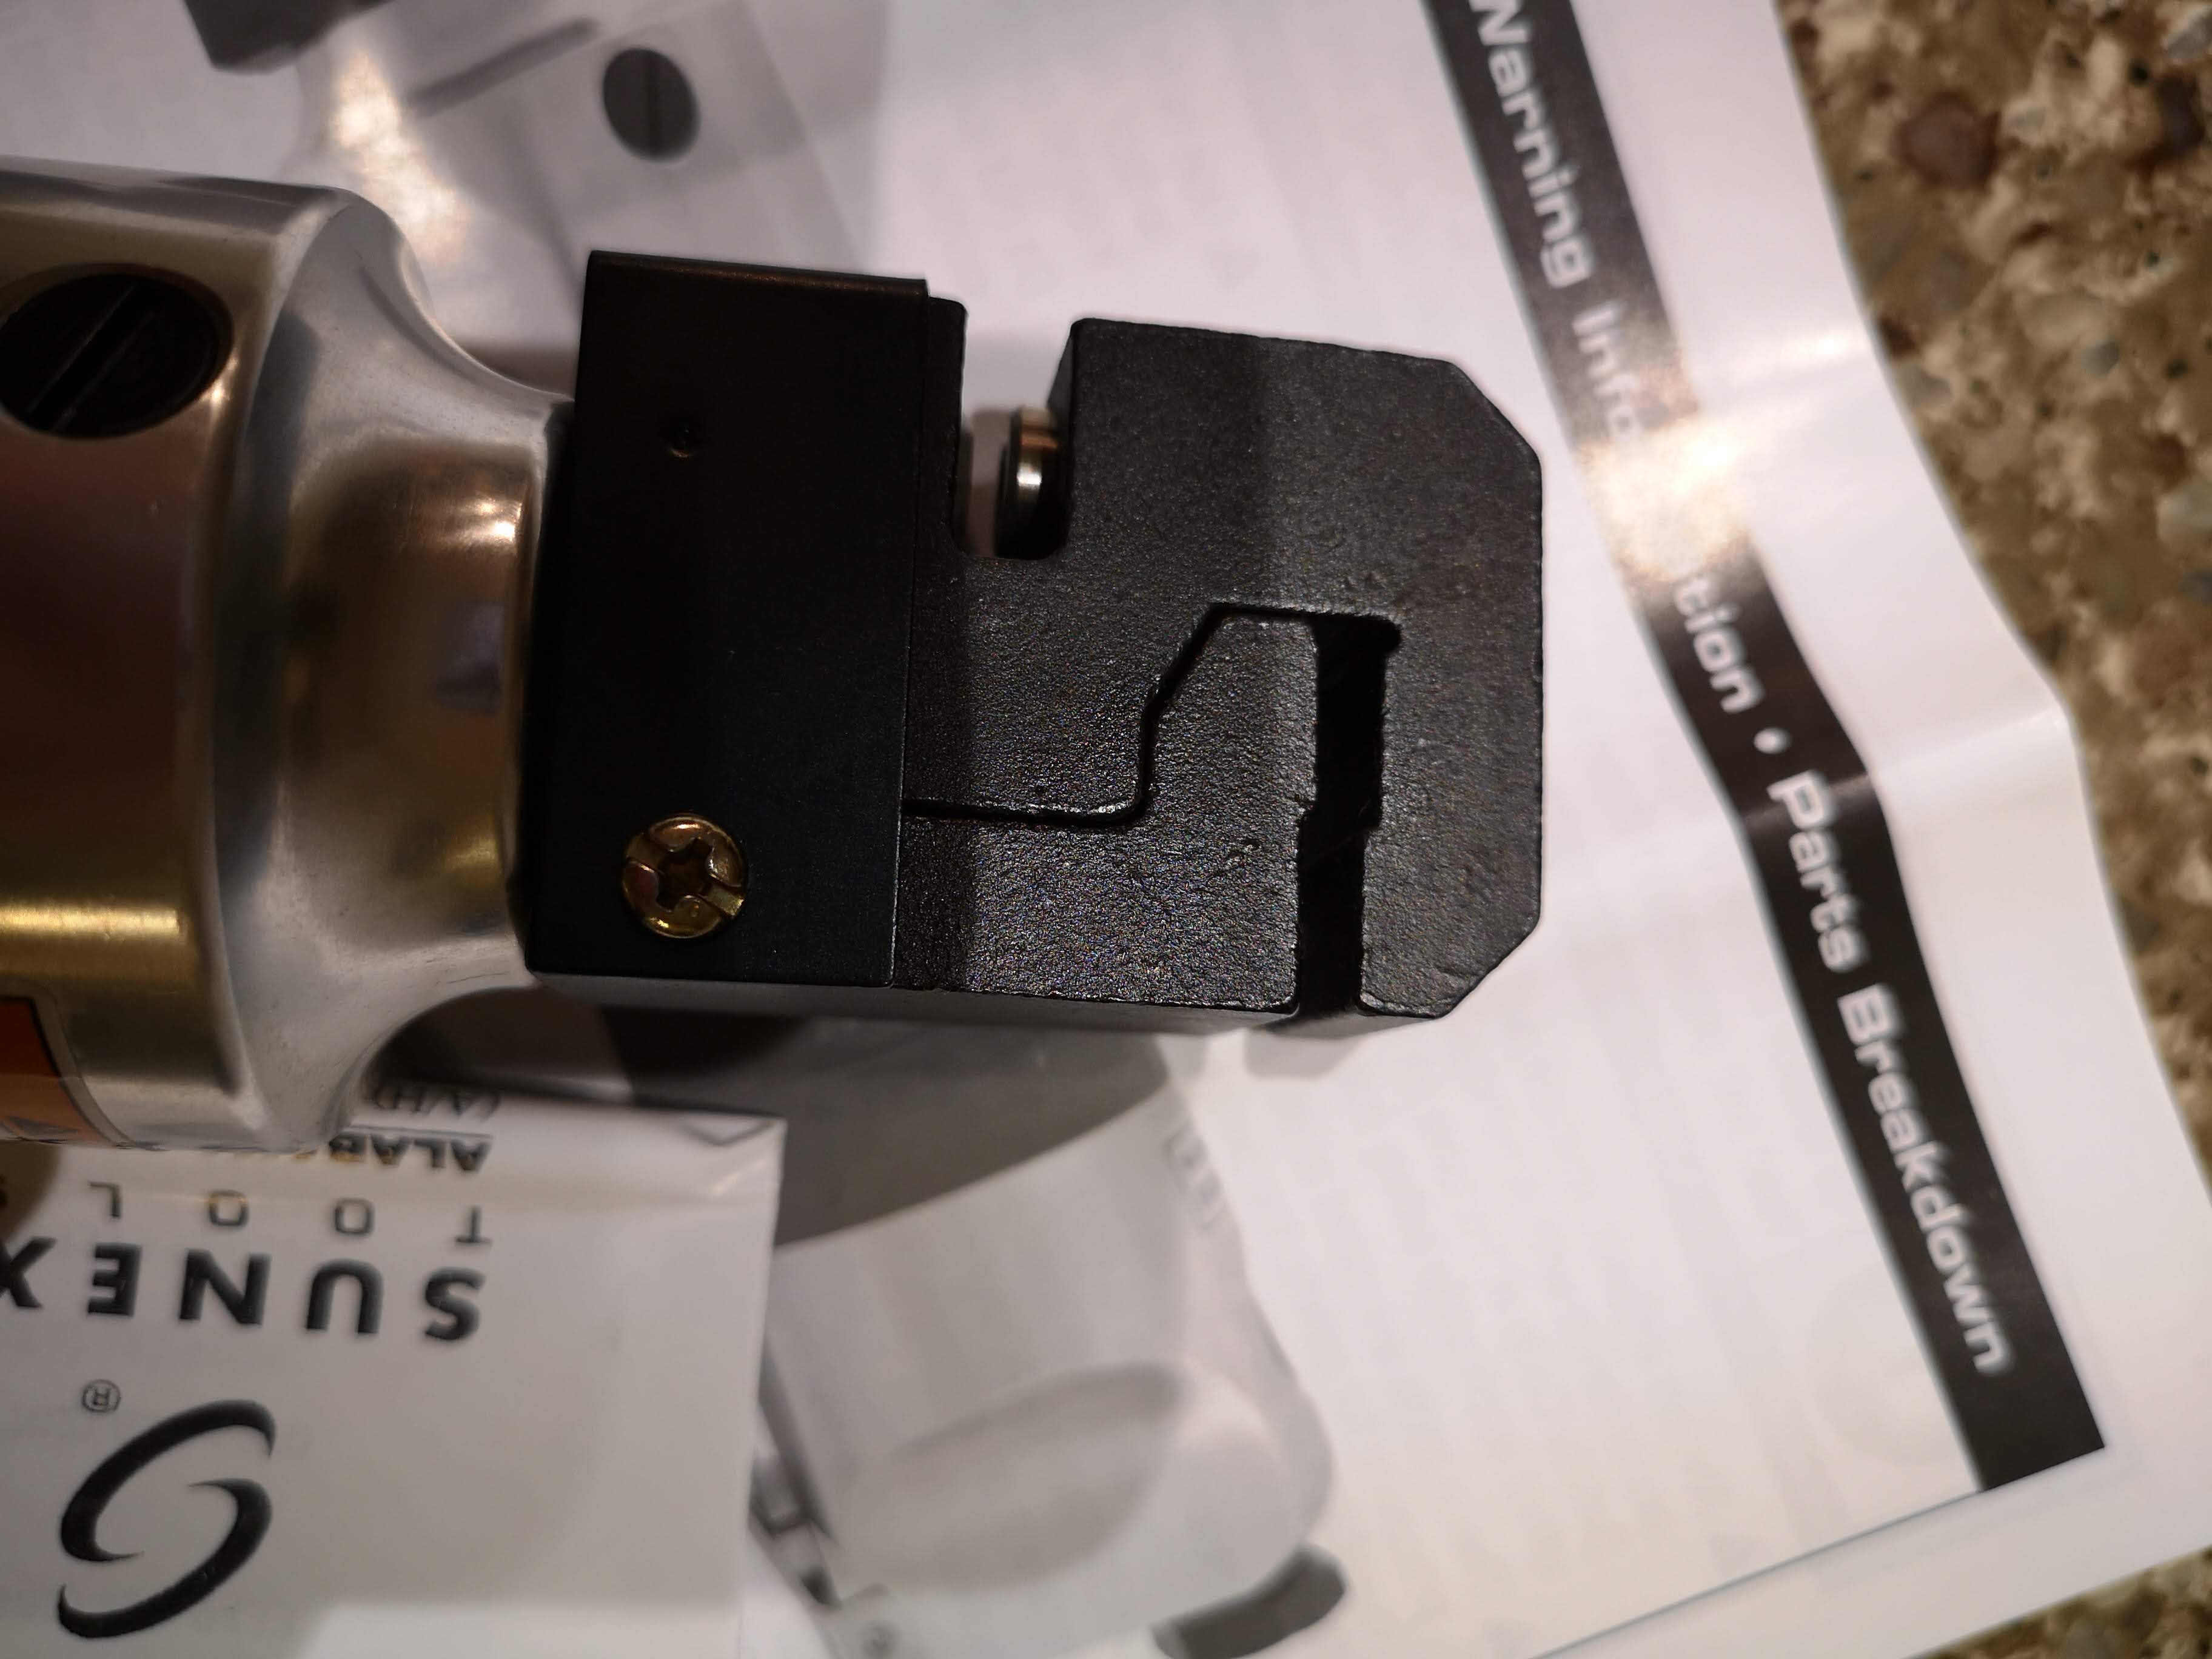
Bought another tool today. Panel flanger. I resisted for a while, but the way the homemade patch panels fit together with the existing sheet metal wasn’t really floating my boat. Tool should be here this evening so we’ll see if I can get it a little closer to acceptable.
Funny how your tolerances get tighter the longer you work with something, and your willingness to accept shoddy decreases proportionally. This may or may not affect the end result, though. It mostly just affects how happy or unhappy you are with it afterwards.
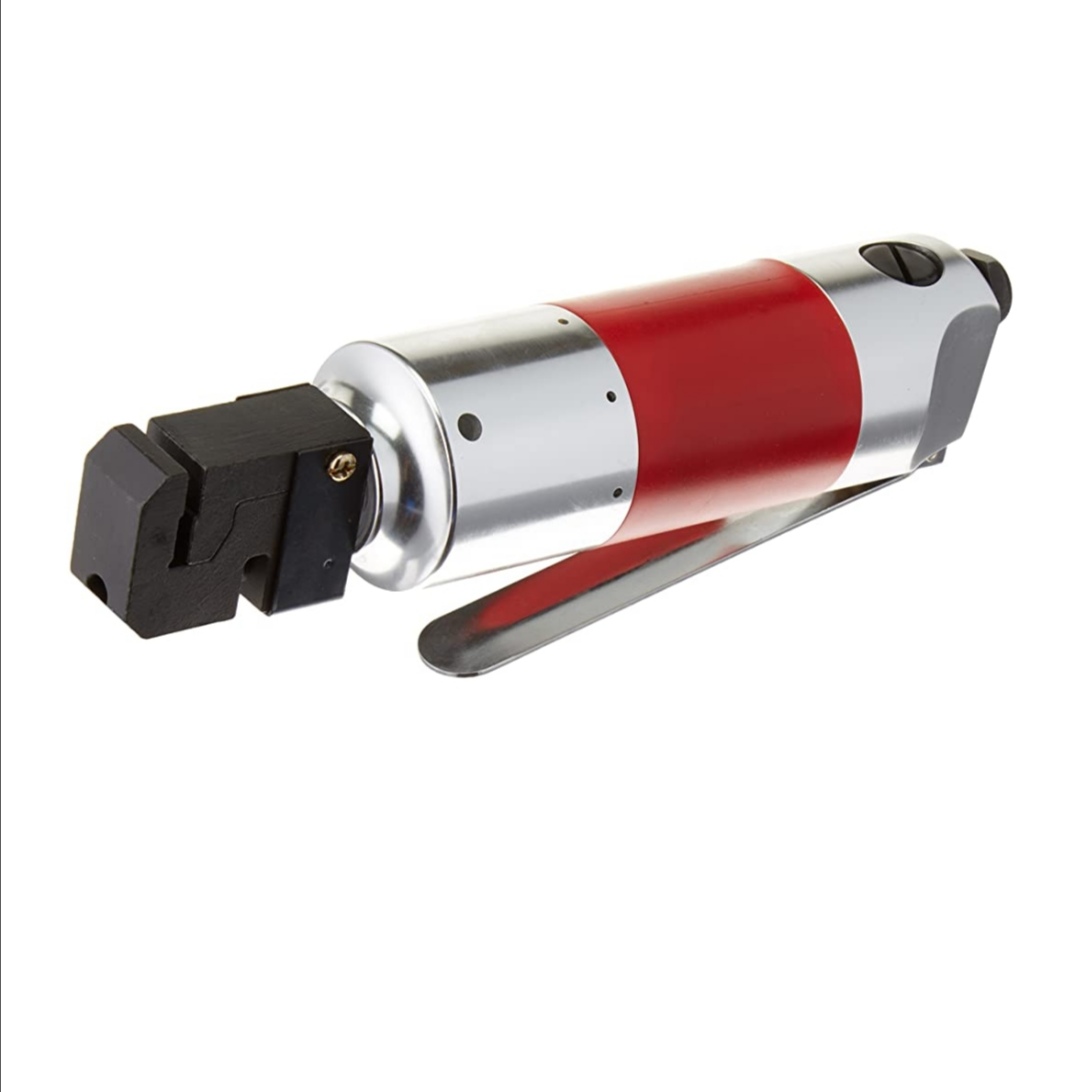
Well I should’ve known. The cheap way was crap. This panel edger is not up to the job. Already processing the refund. Arggg. Ordered the heavy duty pneumatic one after all, (at twice the price) and it will be here on Saturday.
When will I ever learn? (That was rhetorical obviously, since I will NEVER).
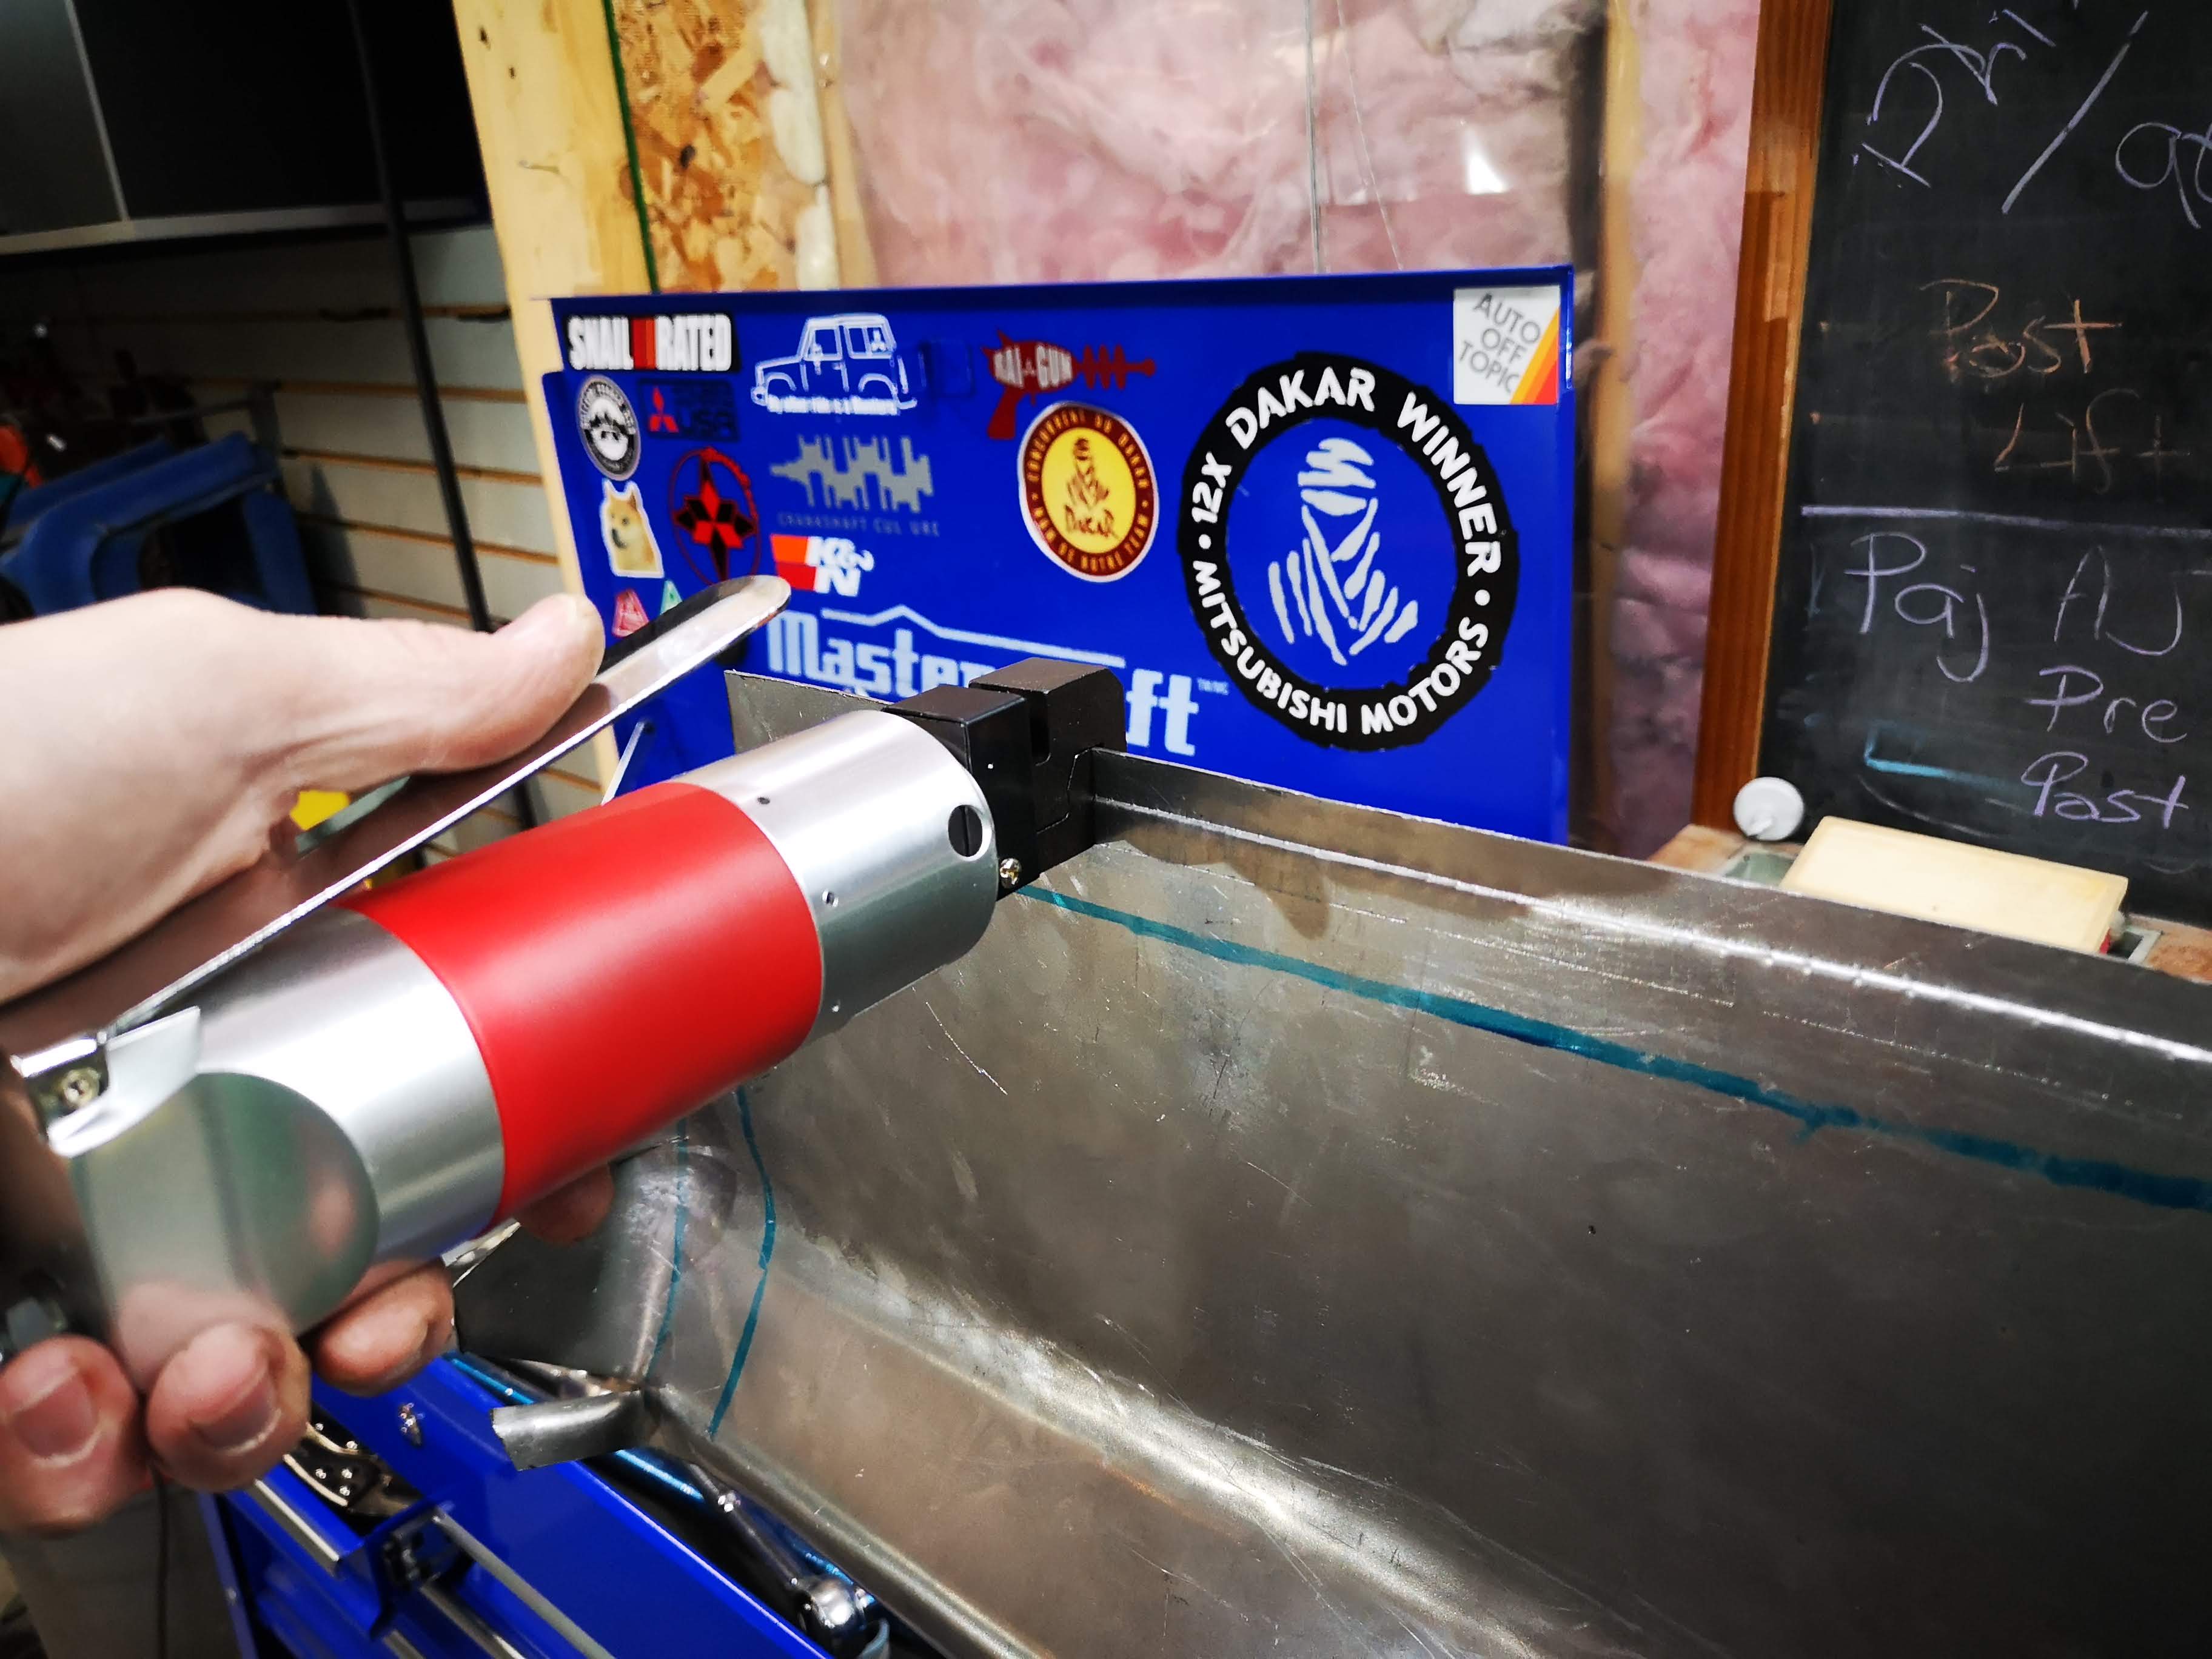
So the tool is meant to make a flange on the edge of the sheetmetal, so that you can tuck the edge under the existing bodywork, attach it via lap weld or panel adhesive, and the new panel is level with the existing, instead of over or under.
It does this by stretching/bending the edge into a sort of lip. This tool wasn’t able to manipulate my 18 guage steel panel whatsoever. Possibly it would be suitable for ductwork, but I ain’t using that shit. I’m building a 4x4, not a furnace filter.
So its going back. Tomorrow I’ll hopefully have a heavy duty version that will use my compressor to slam the jaws together and make the flange. And as a bonus, if you rotate the jaws 180 degrees, the tool makes a hole instead, suitable for spot welds, etc.
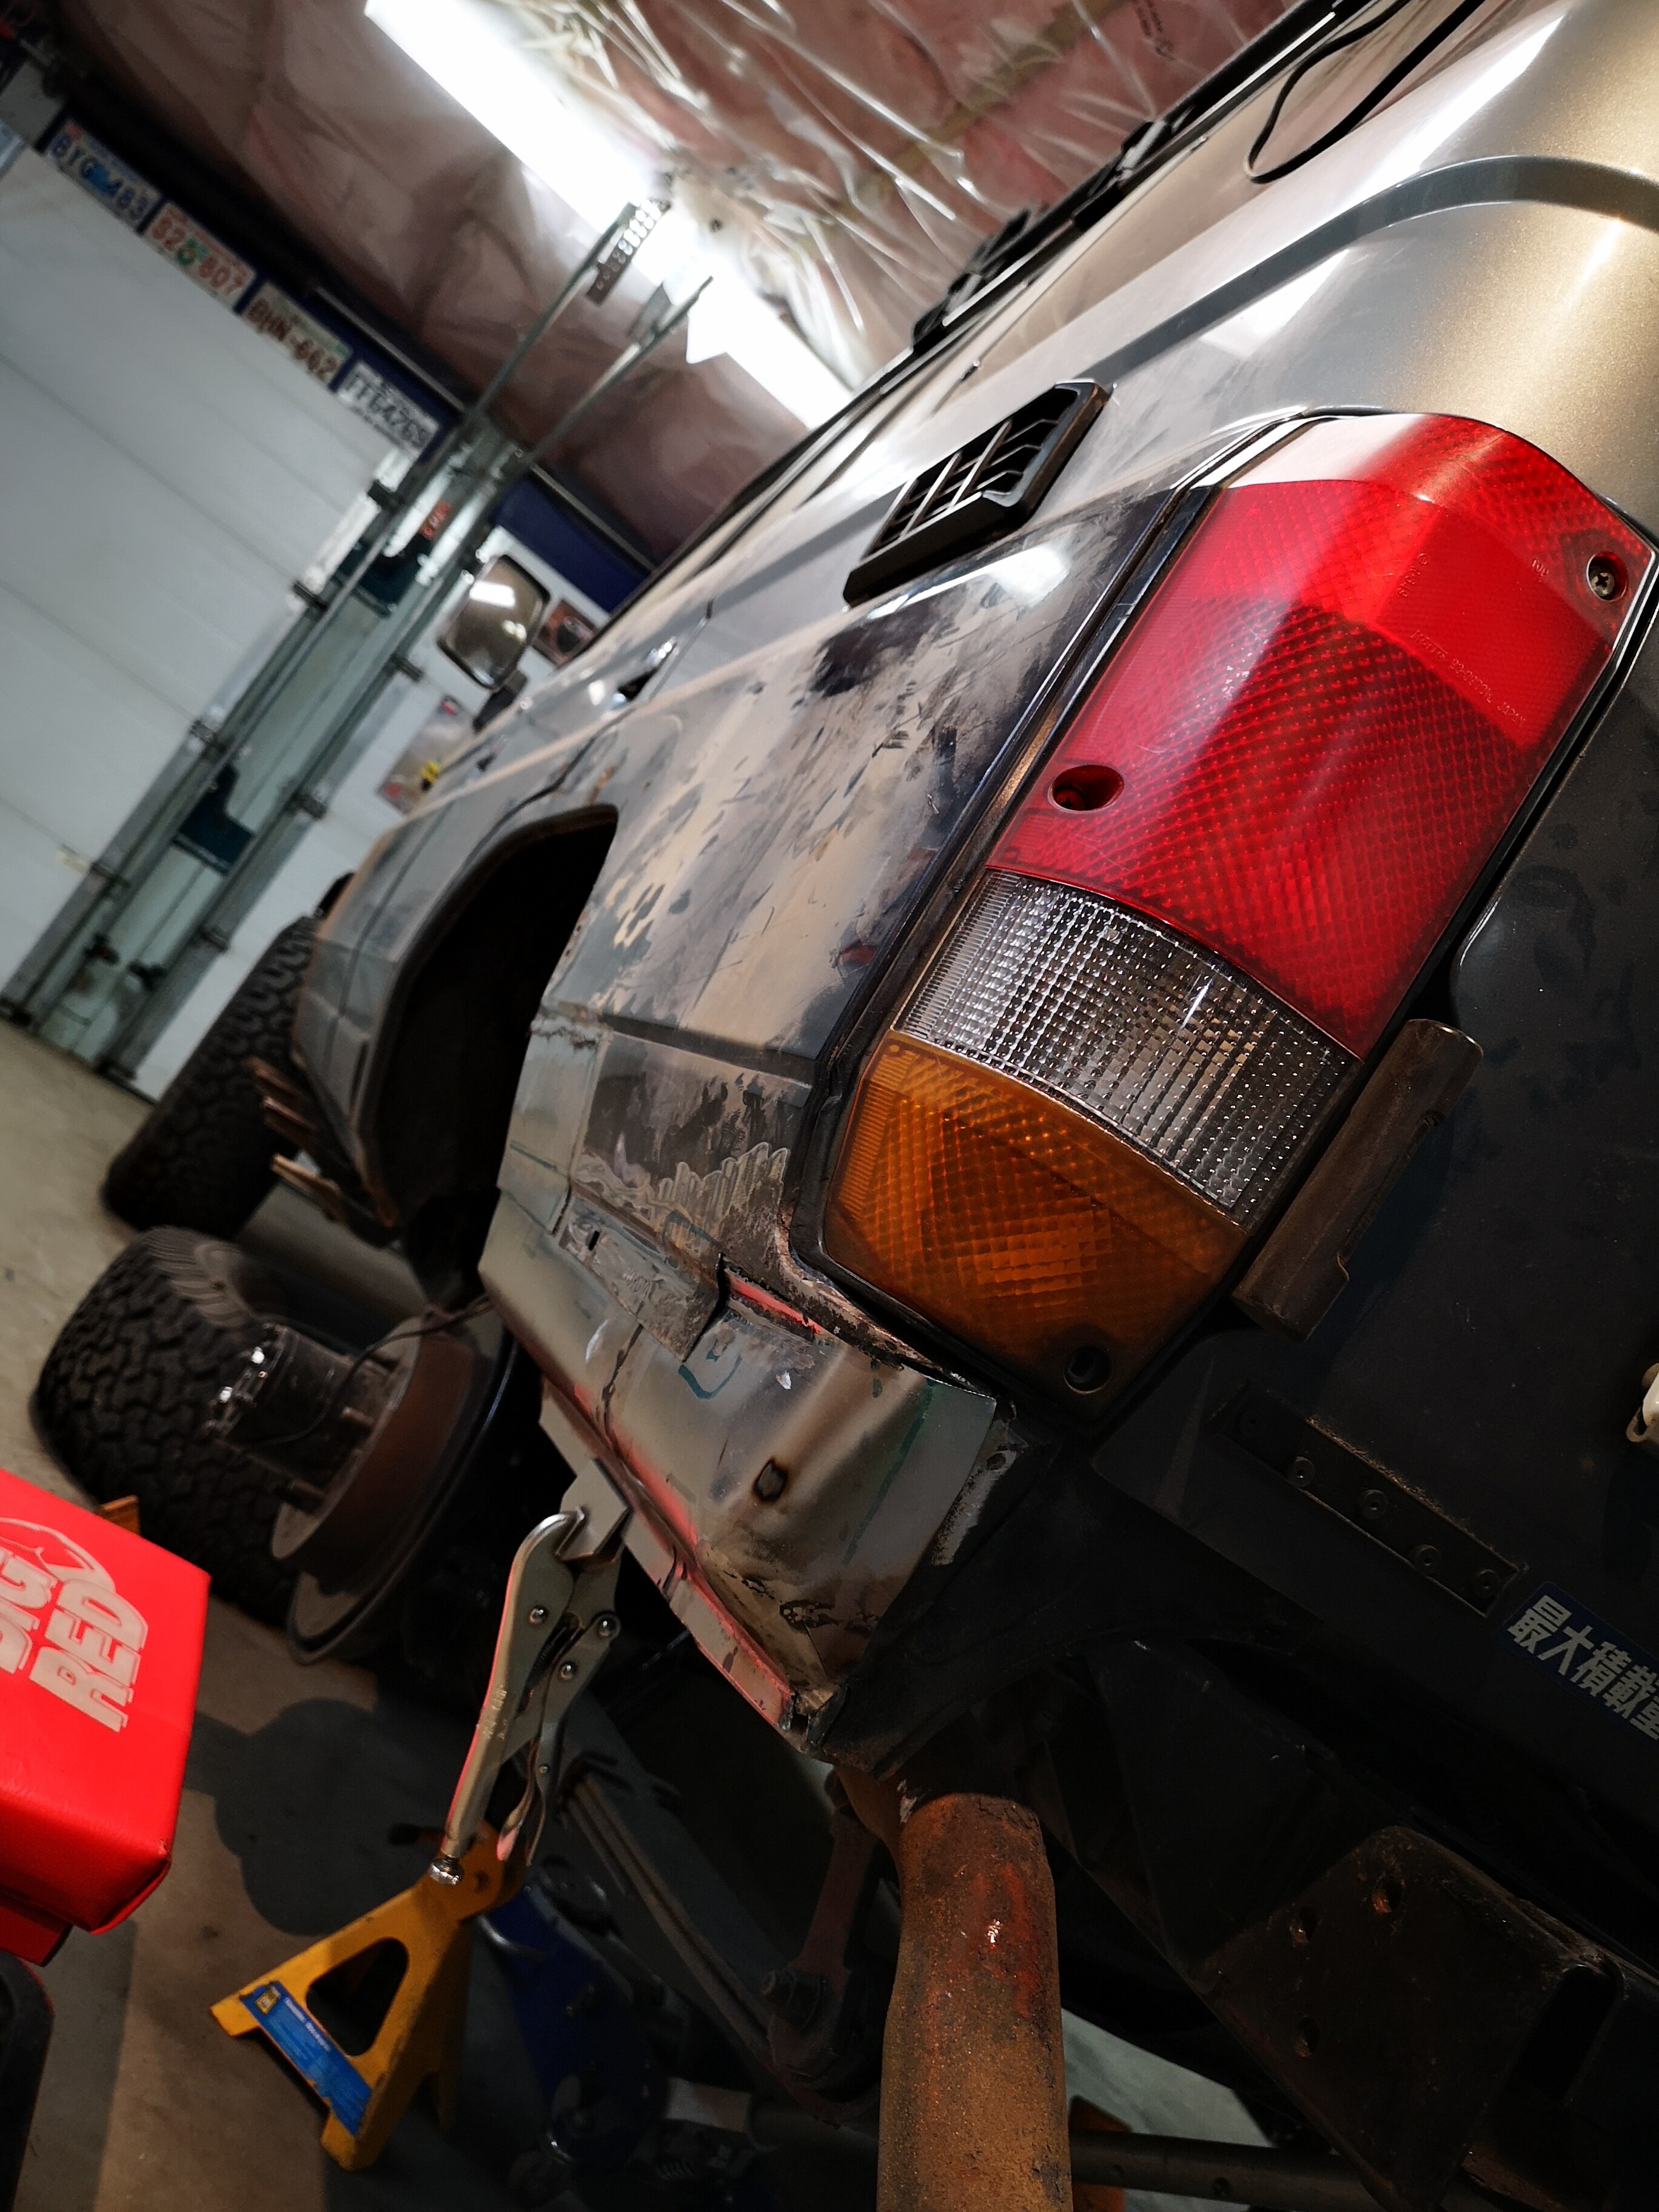
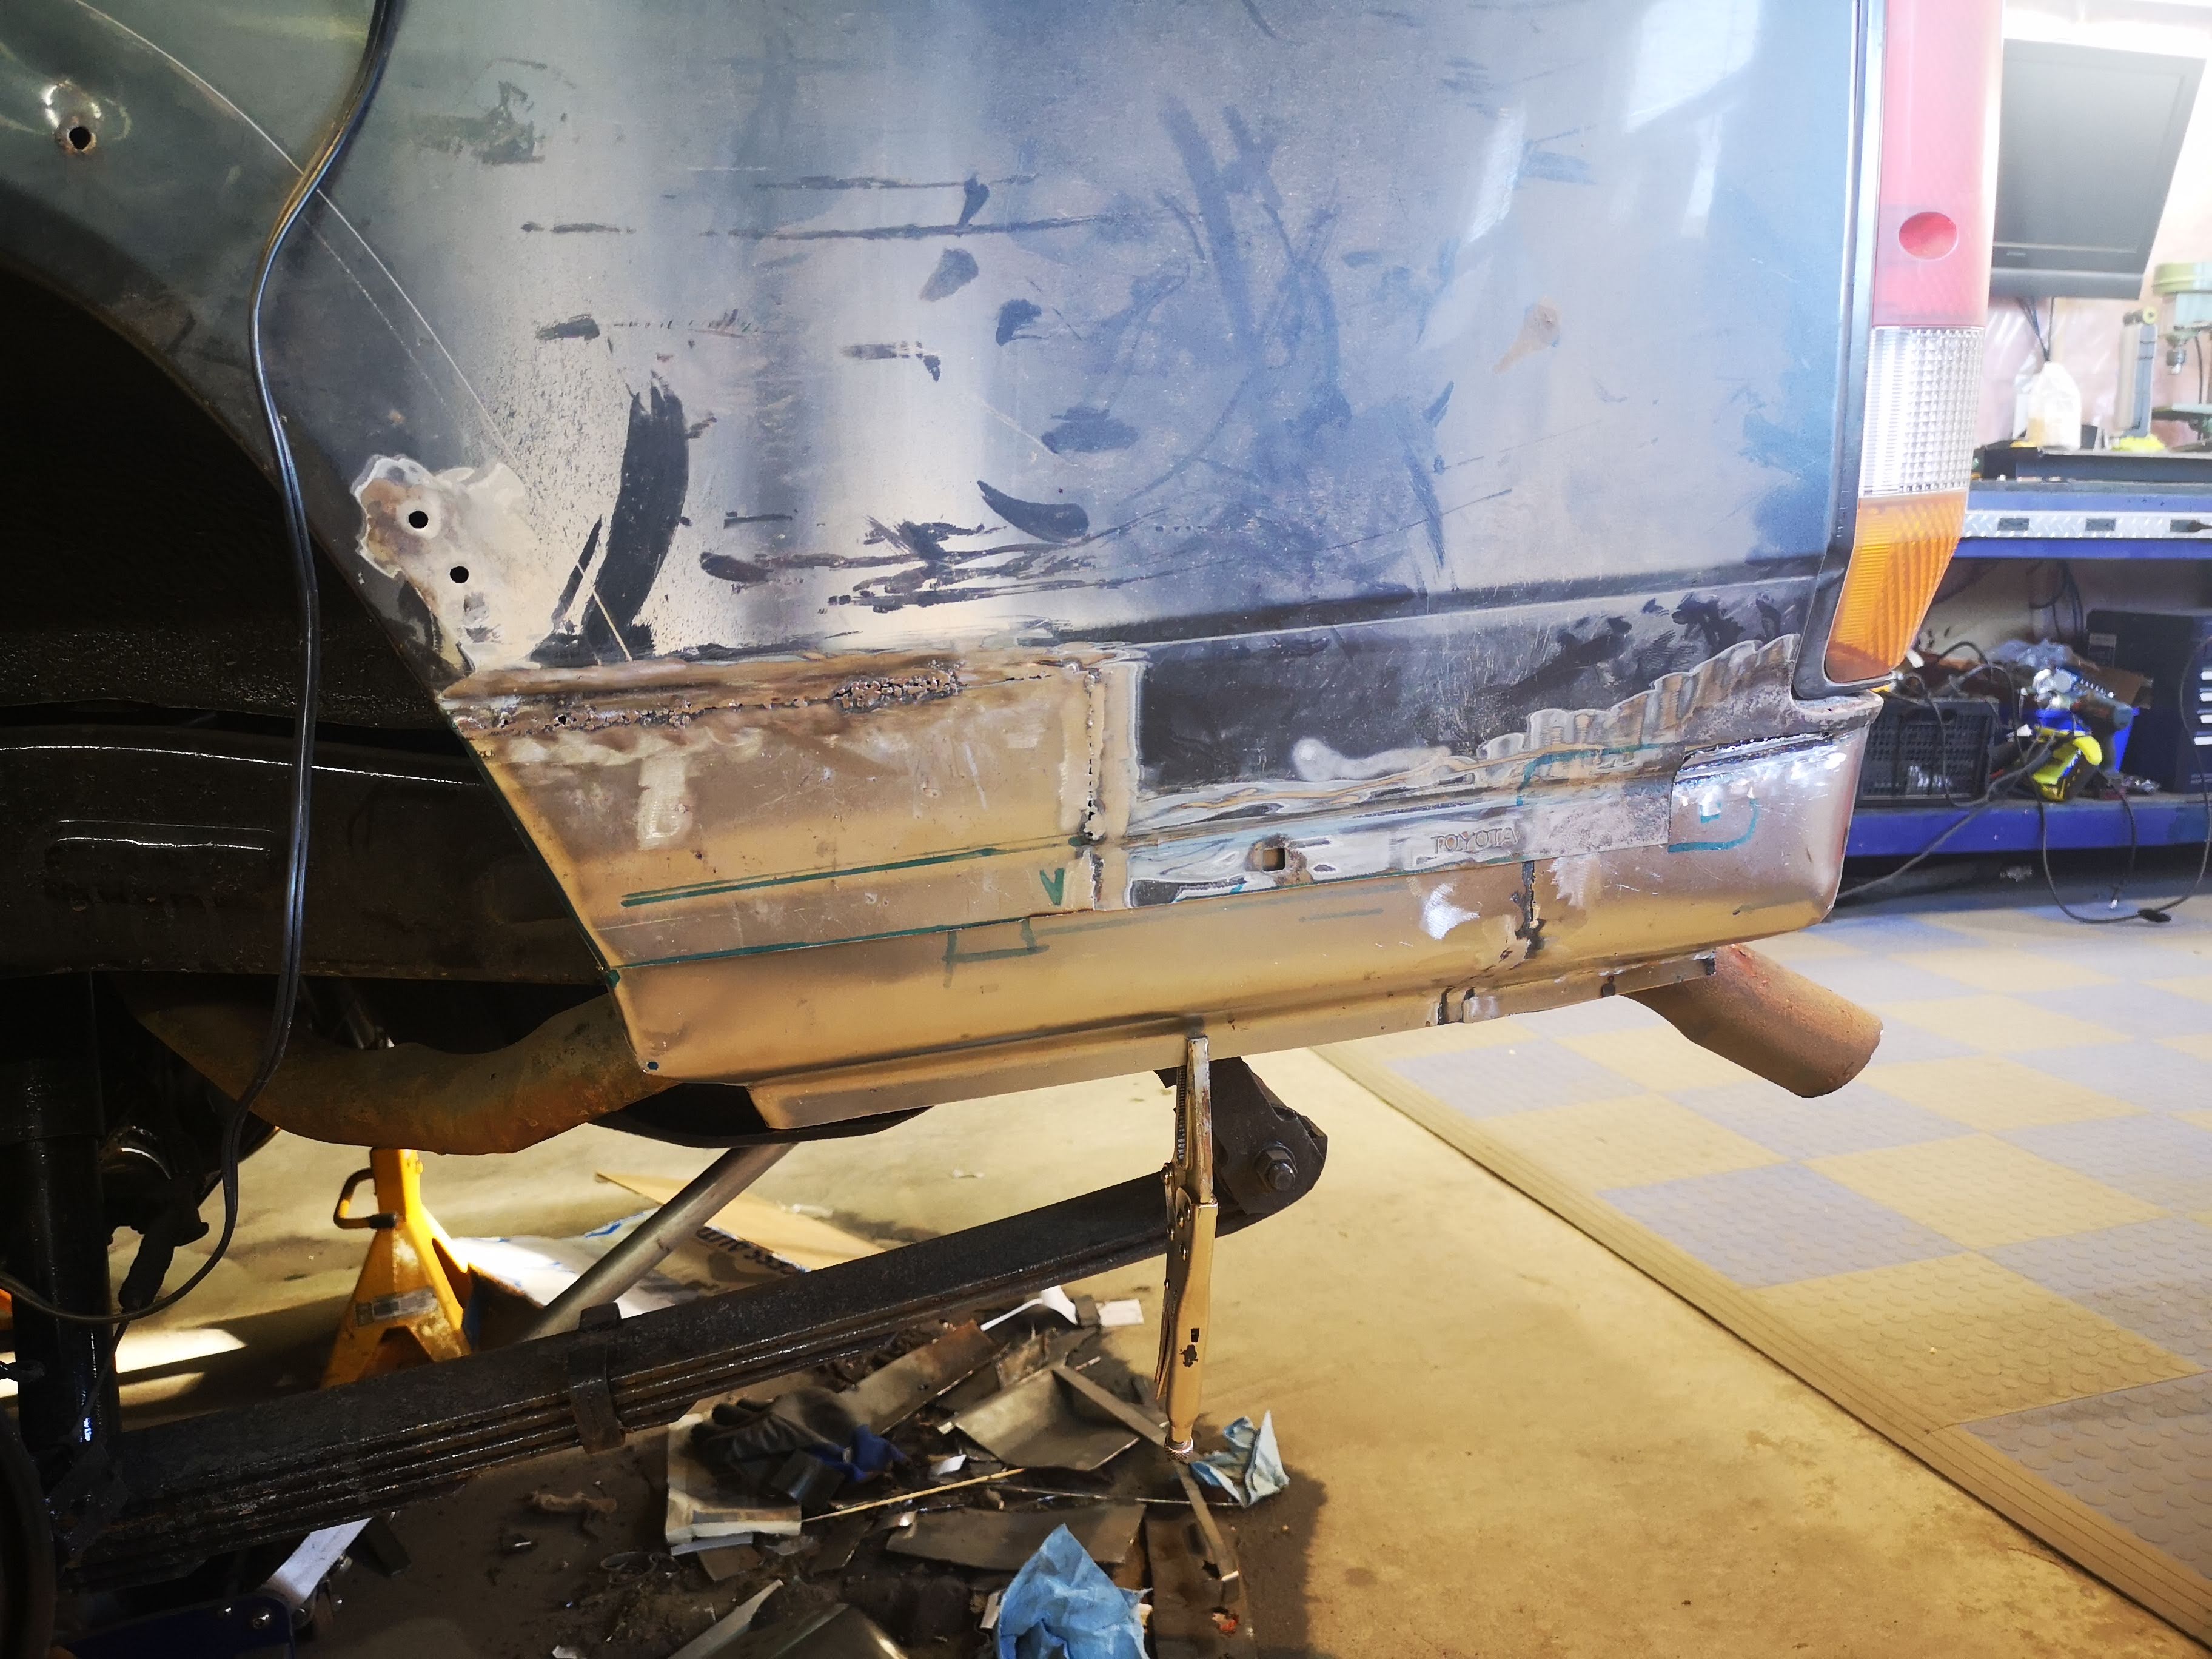
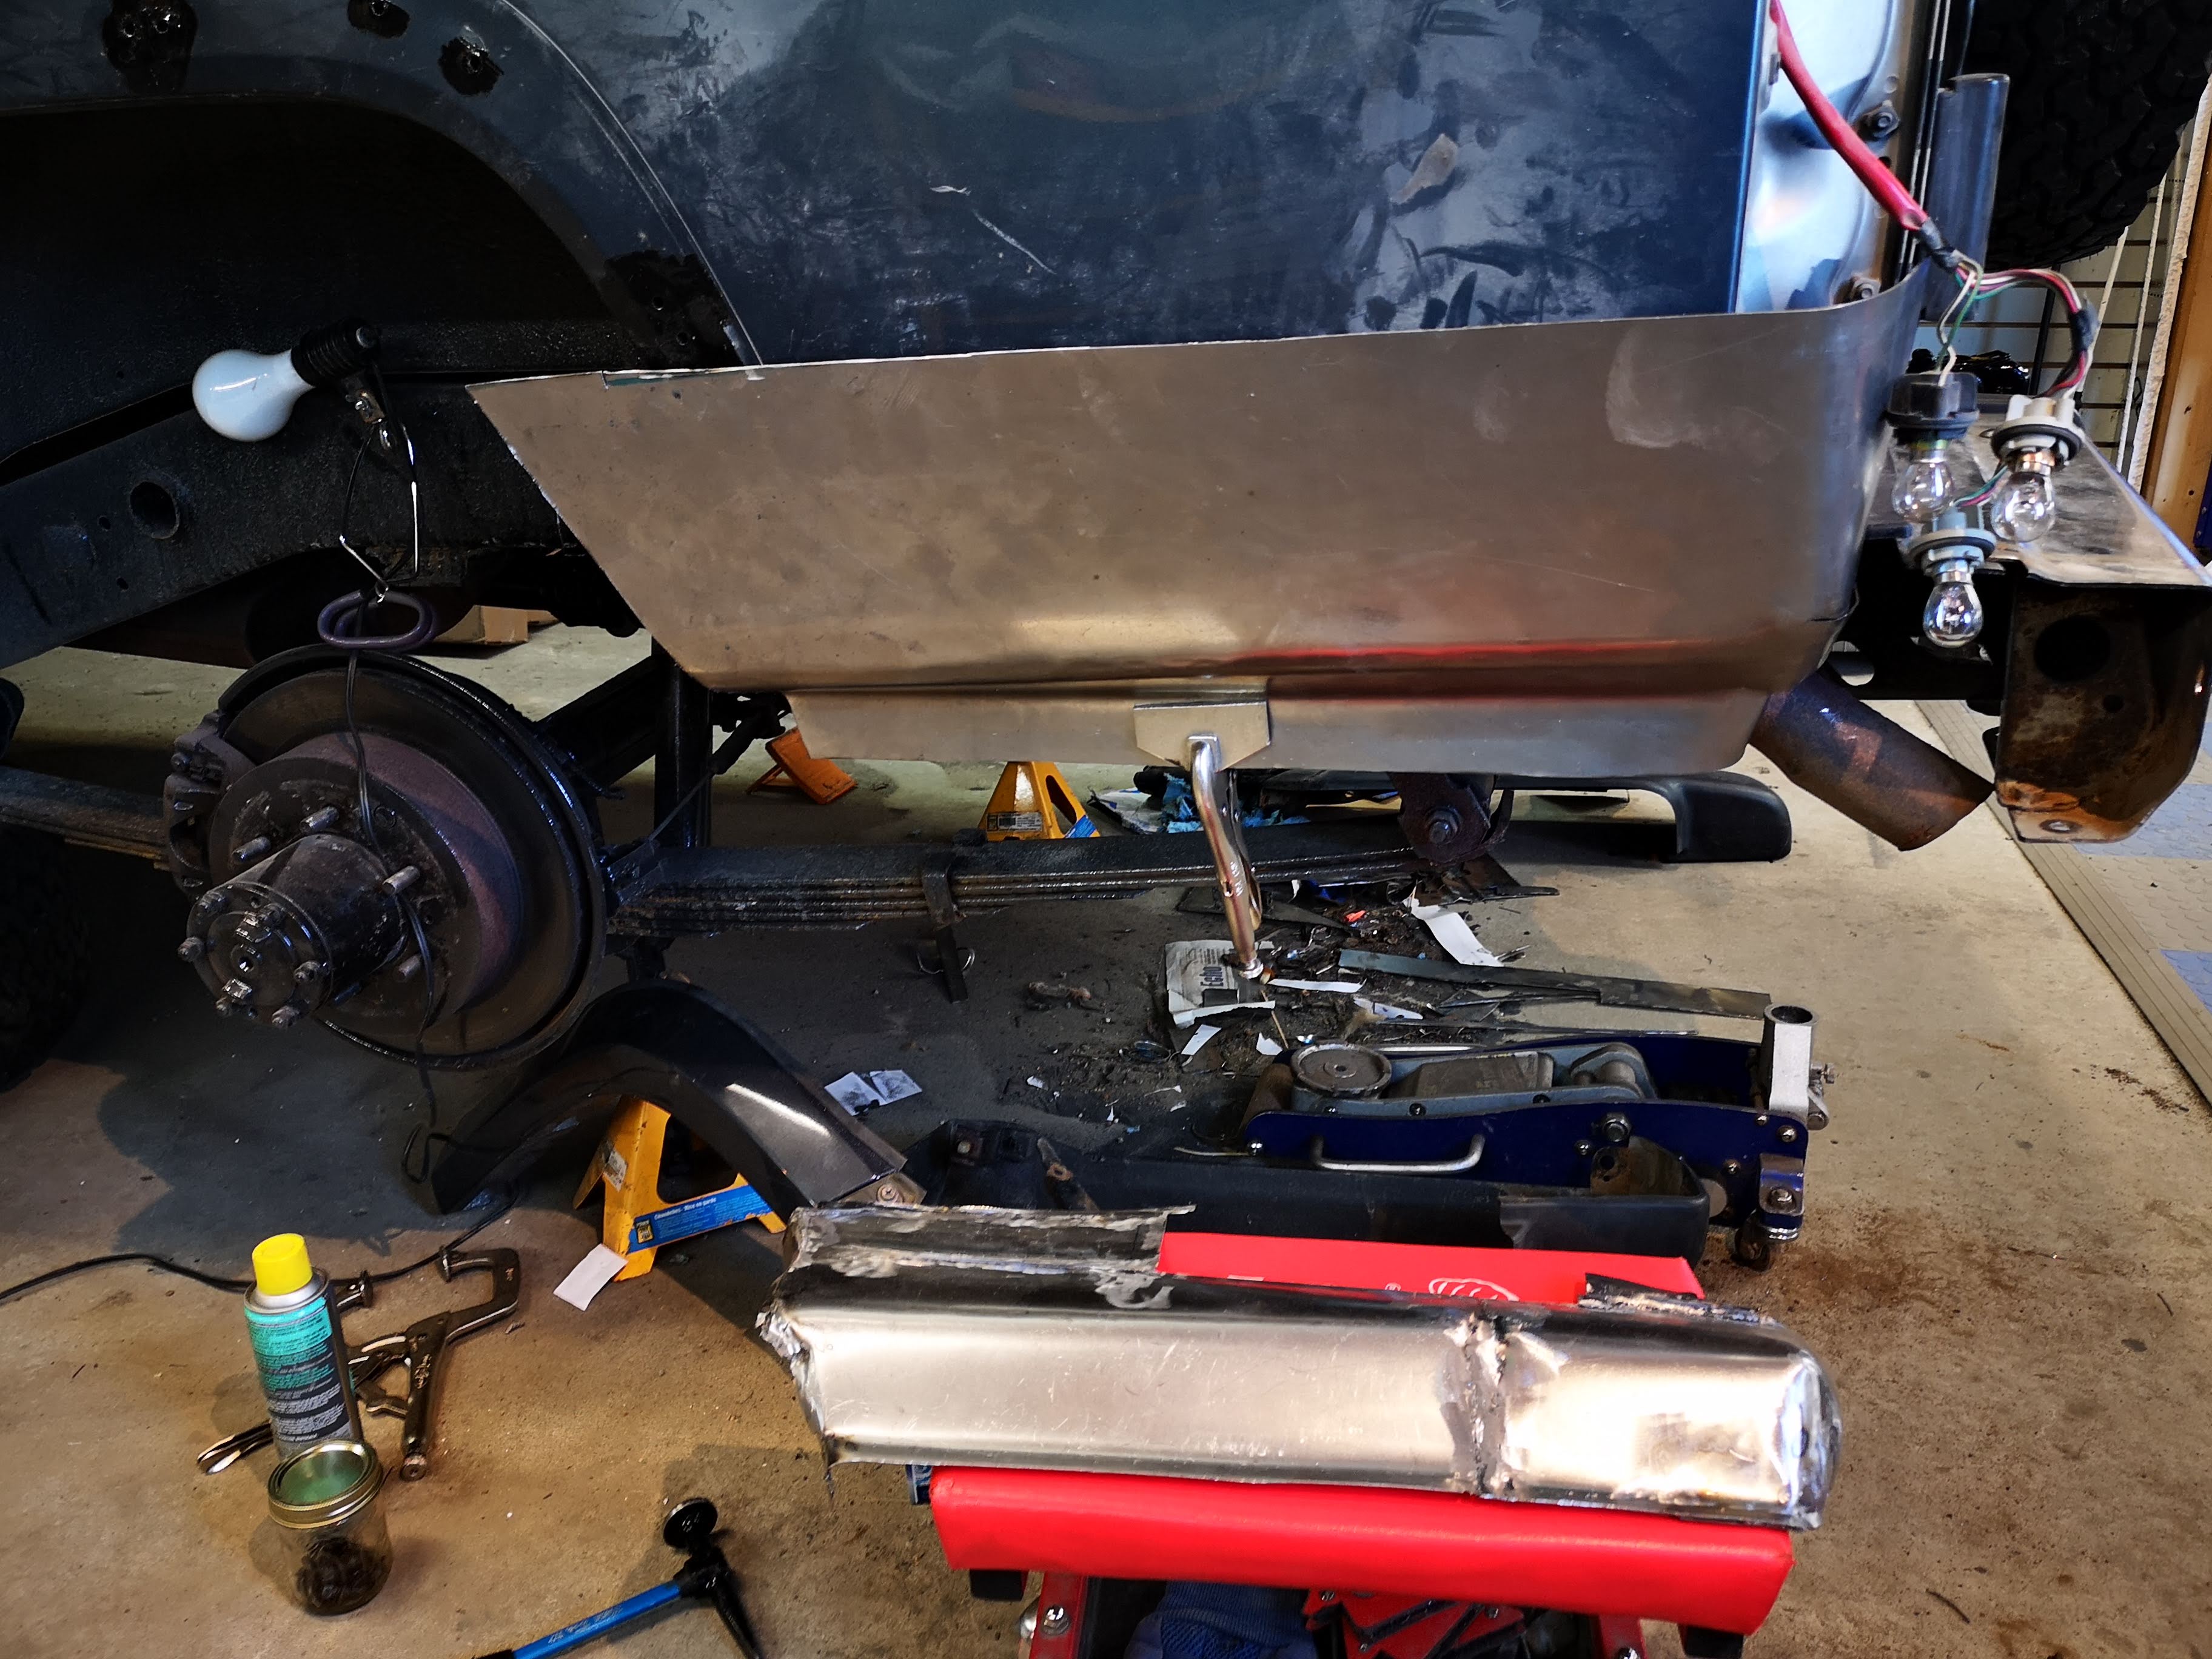
After spending the last two weekends working on the left rear quarter,… I felt like my result was a patchwork of sheet metal. Not the endearing quilt your grandmother gave you, but a patchwork of over-worked, heat stressed, distorted steel that didn’t belong on a Landcruiser.
So today,… Because my time is apparently worth very little on this truck, I started over. Again. This would be my third attempt, which makes me either really stubborn, or something else that starts with ‘s’ and rhymes with poop-head. Irony? Possibly.
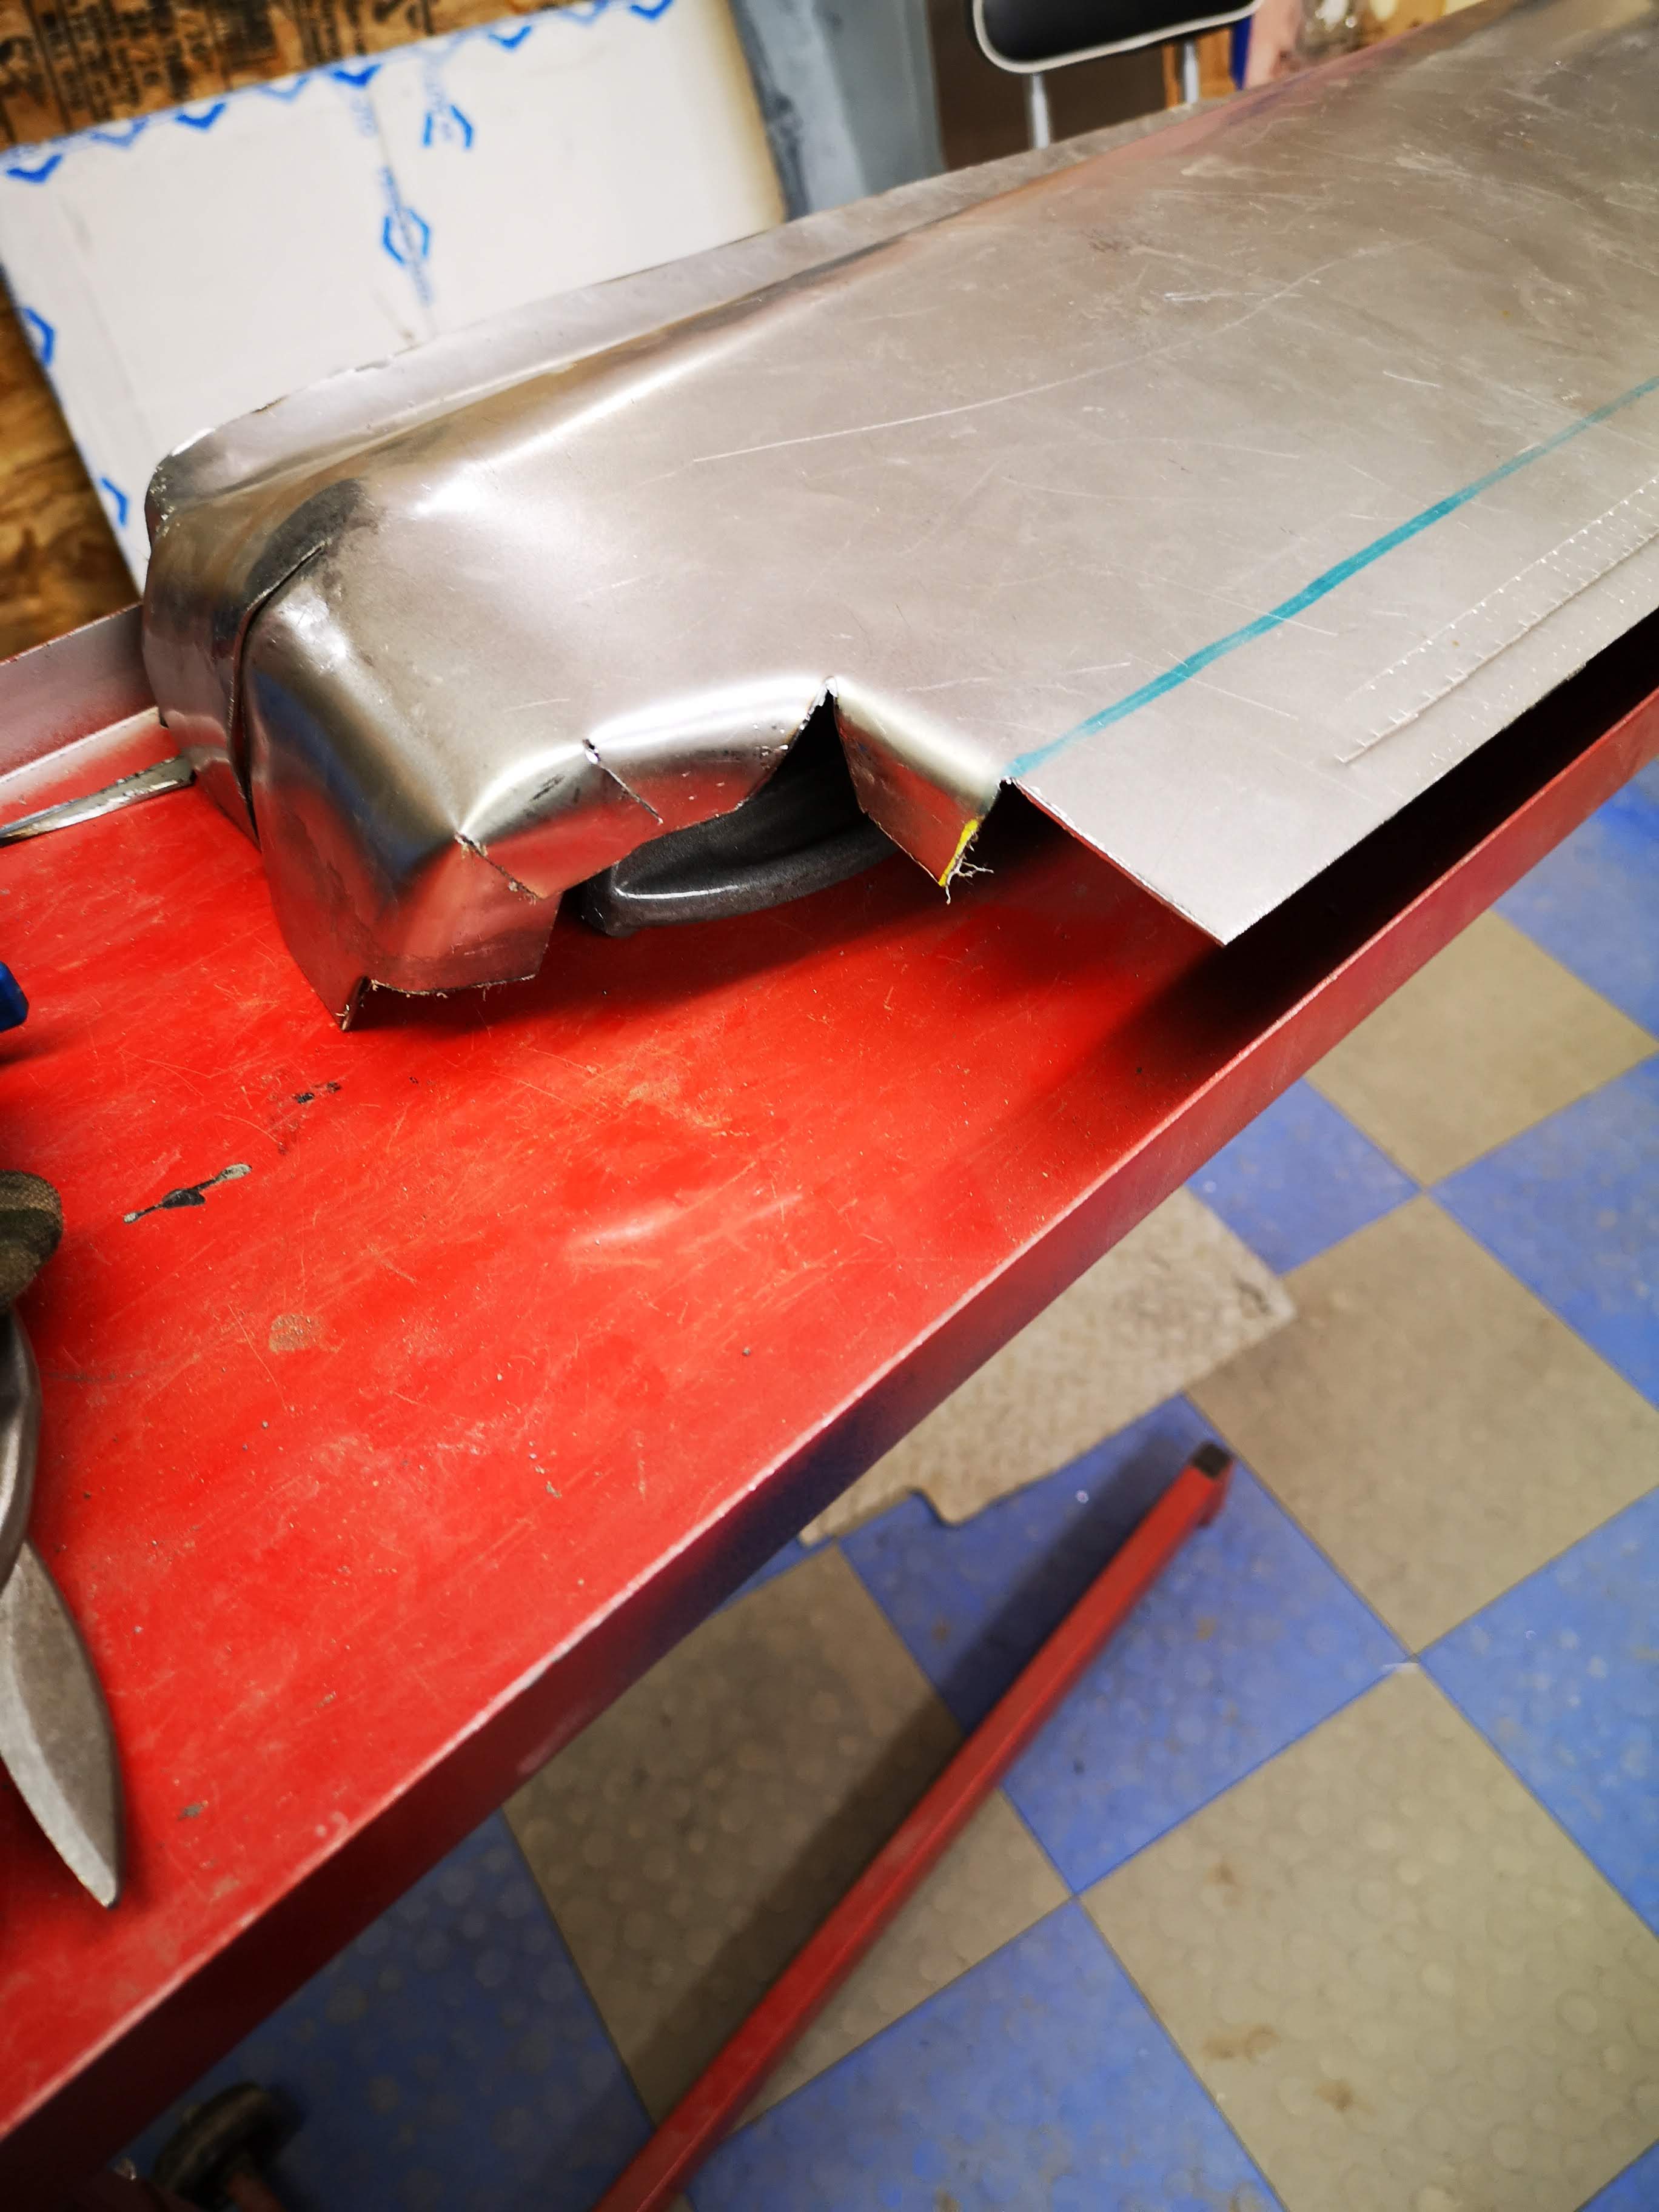
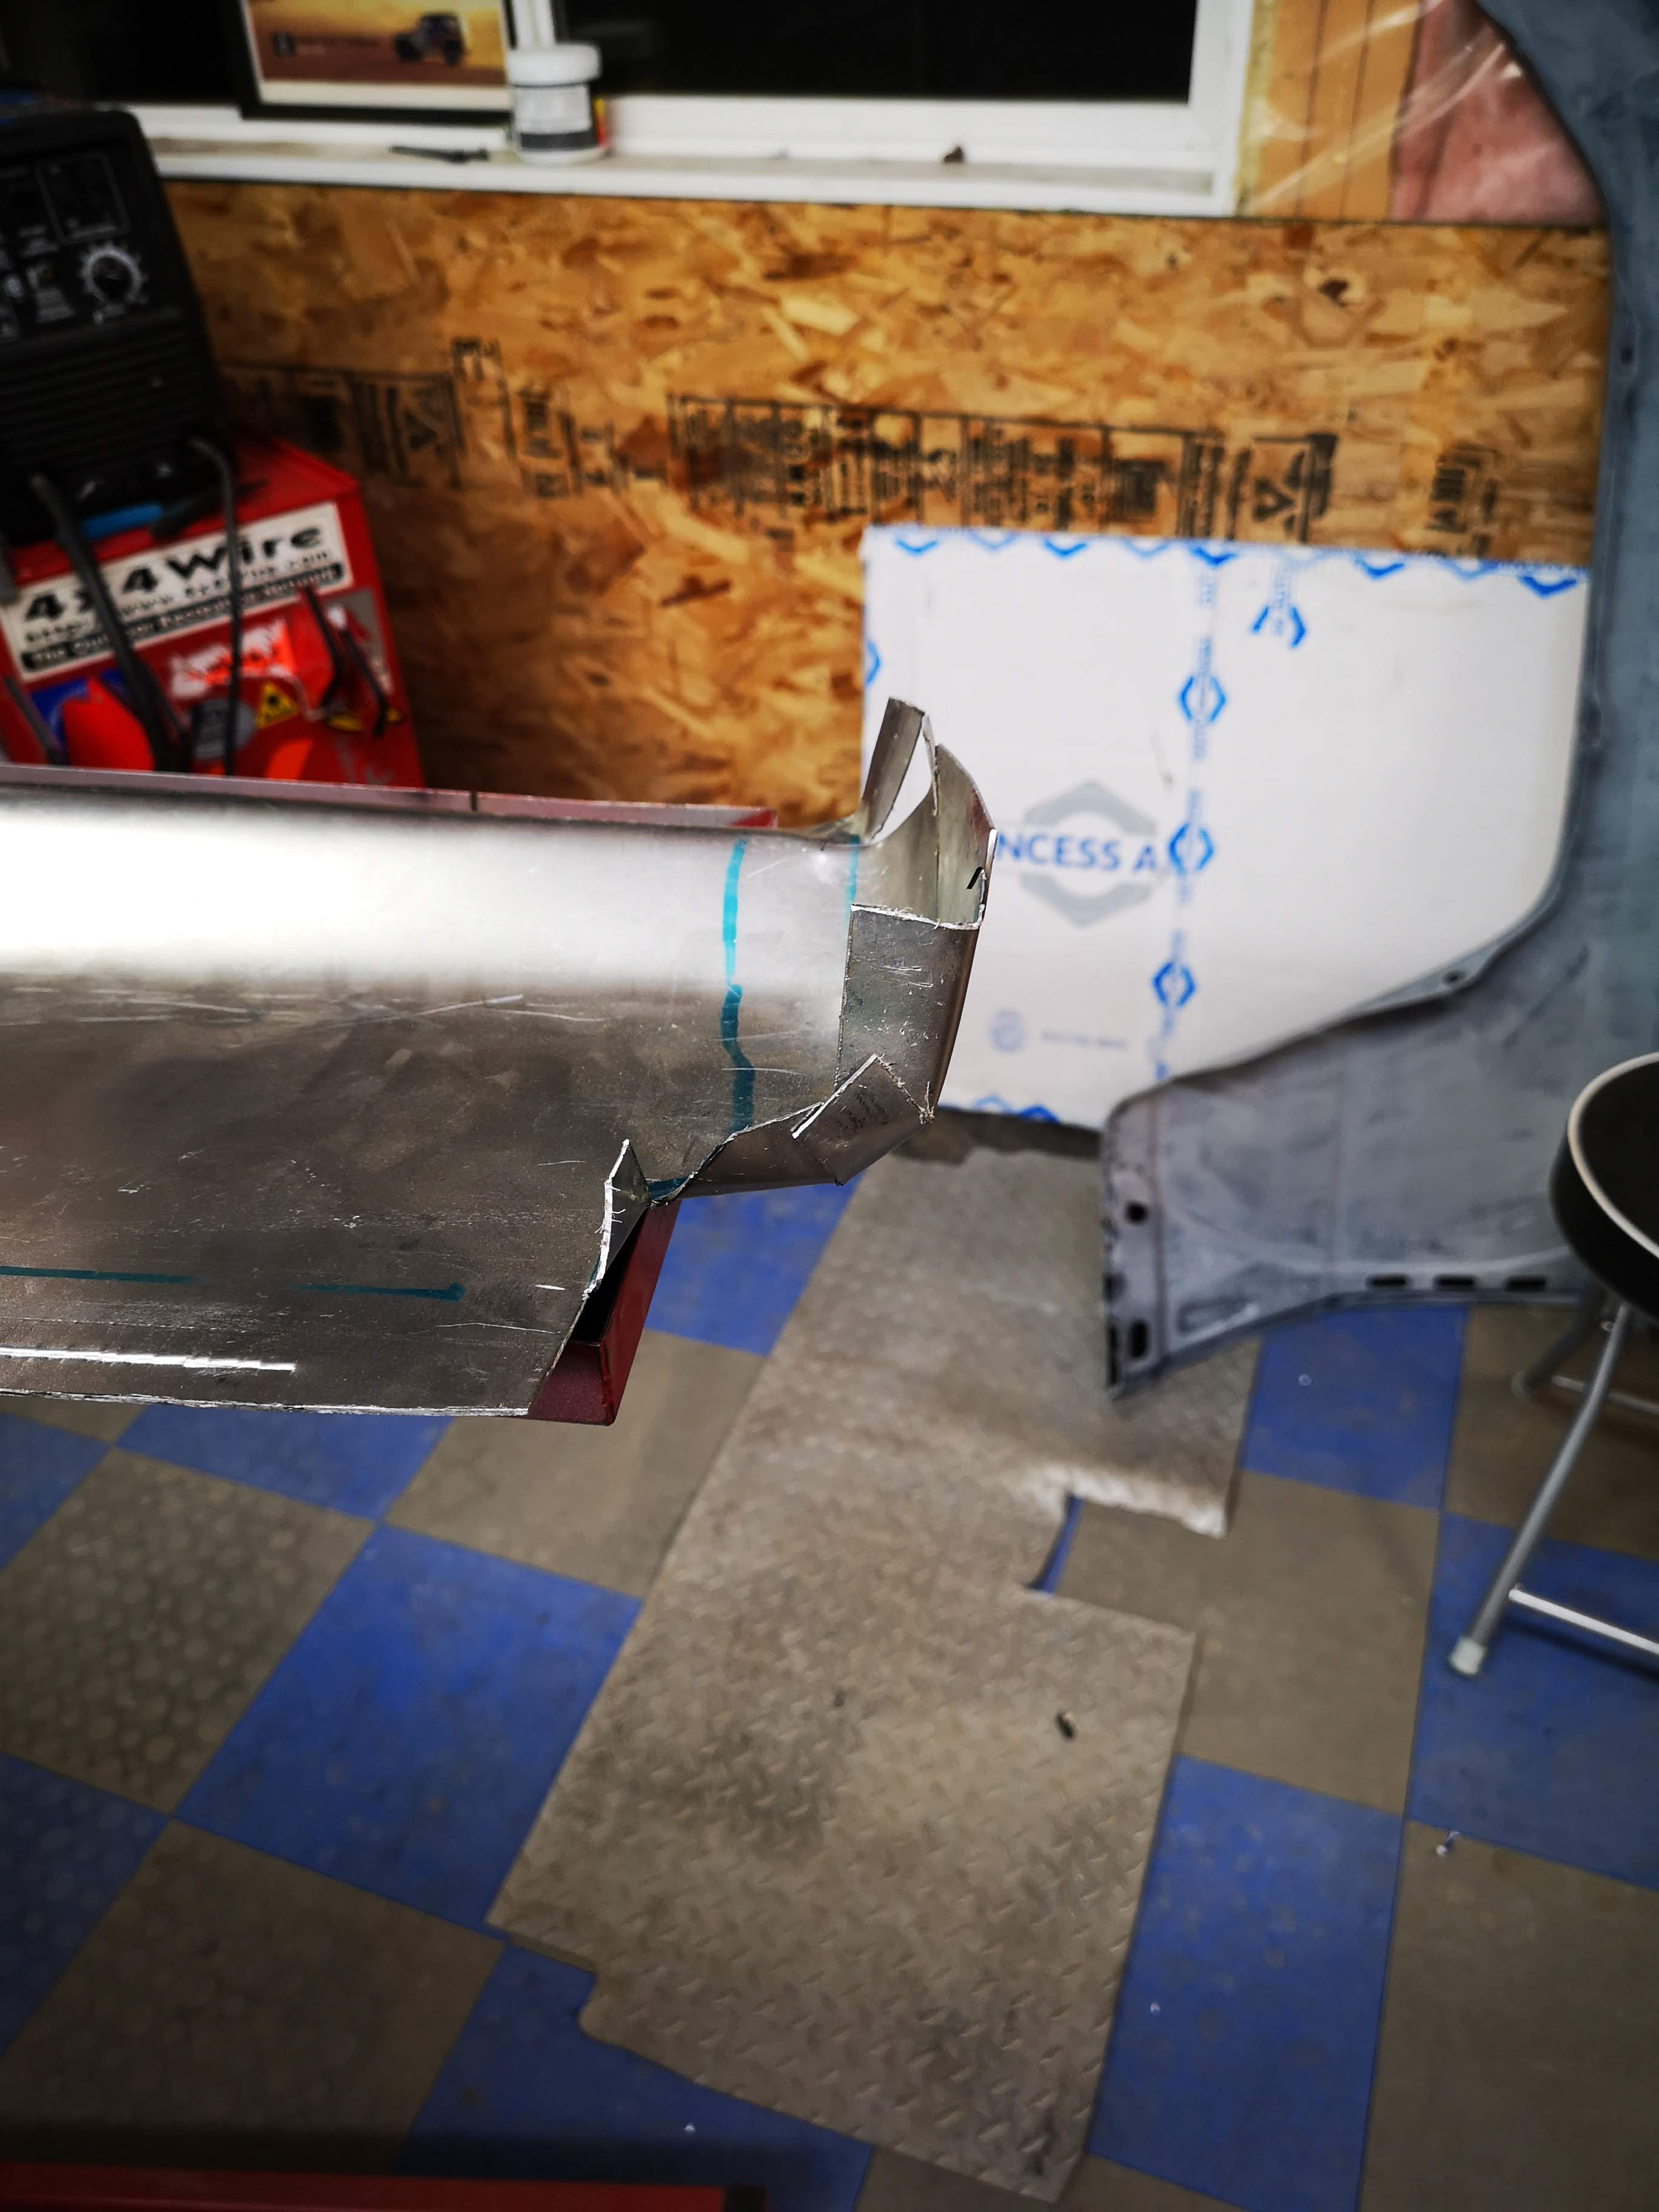
I figured I might as well make it harder and cut out the part that wraps under the tail light too, in addition to cutting a straight line
across, to avoid too many joins (assuming I could even fabricate the darn thing).
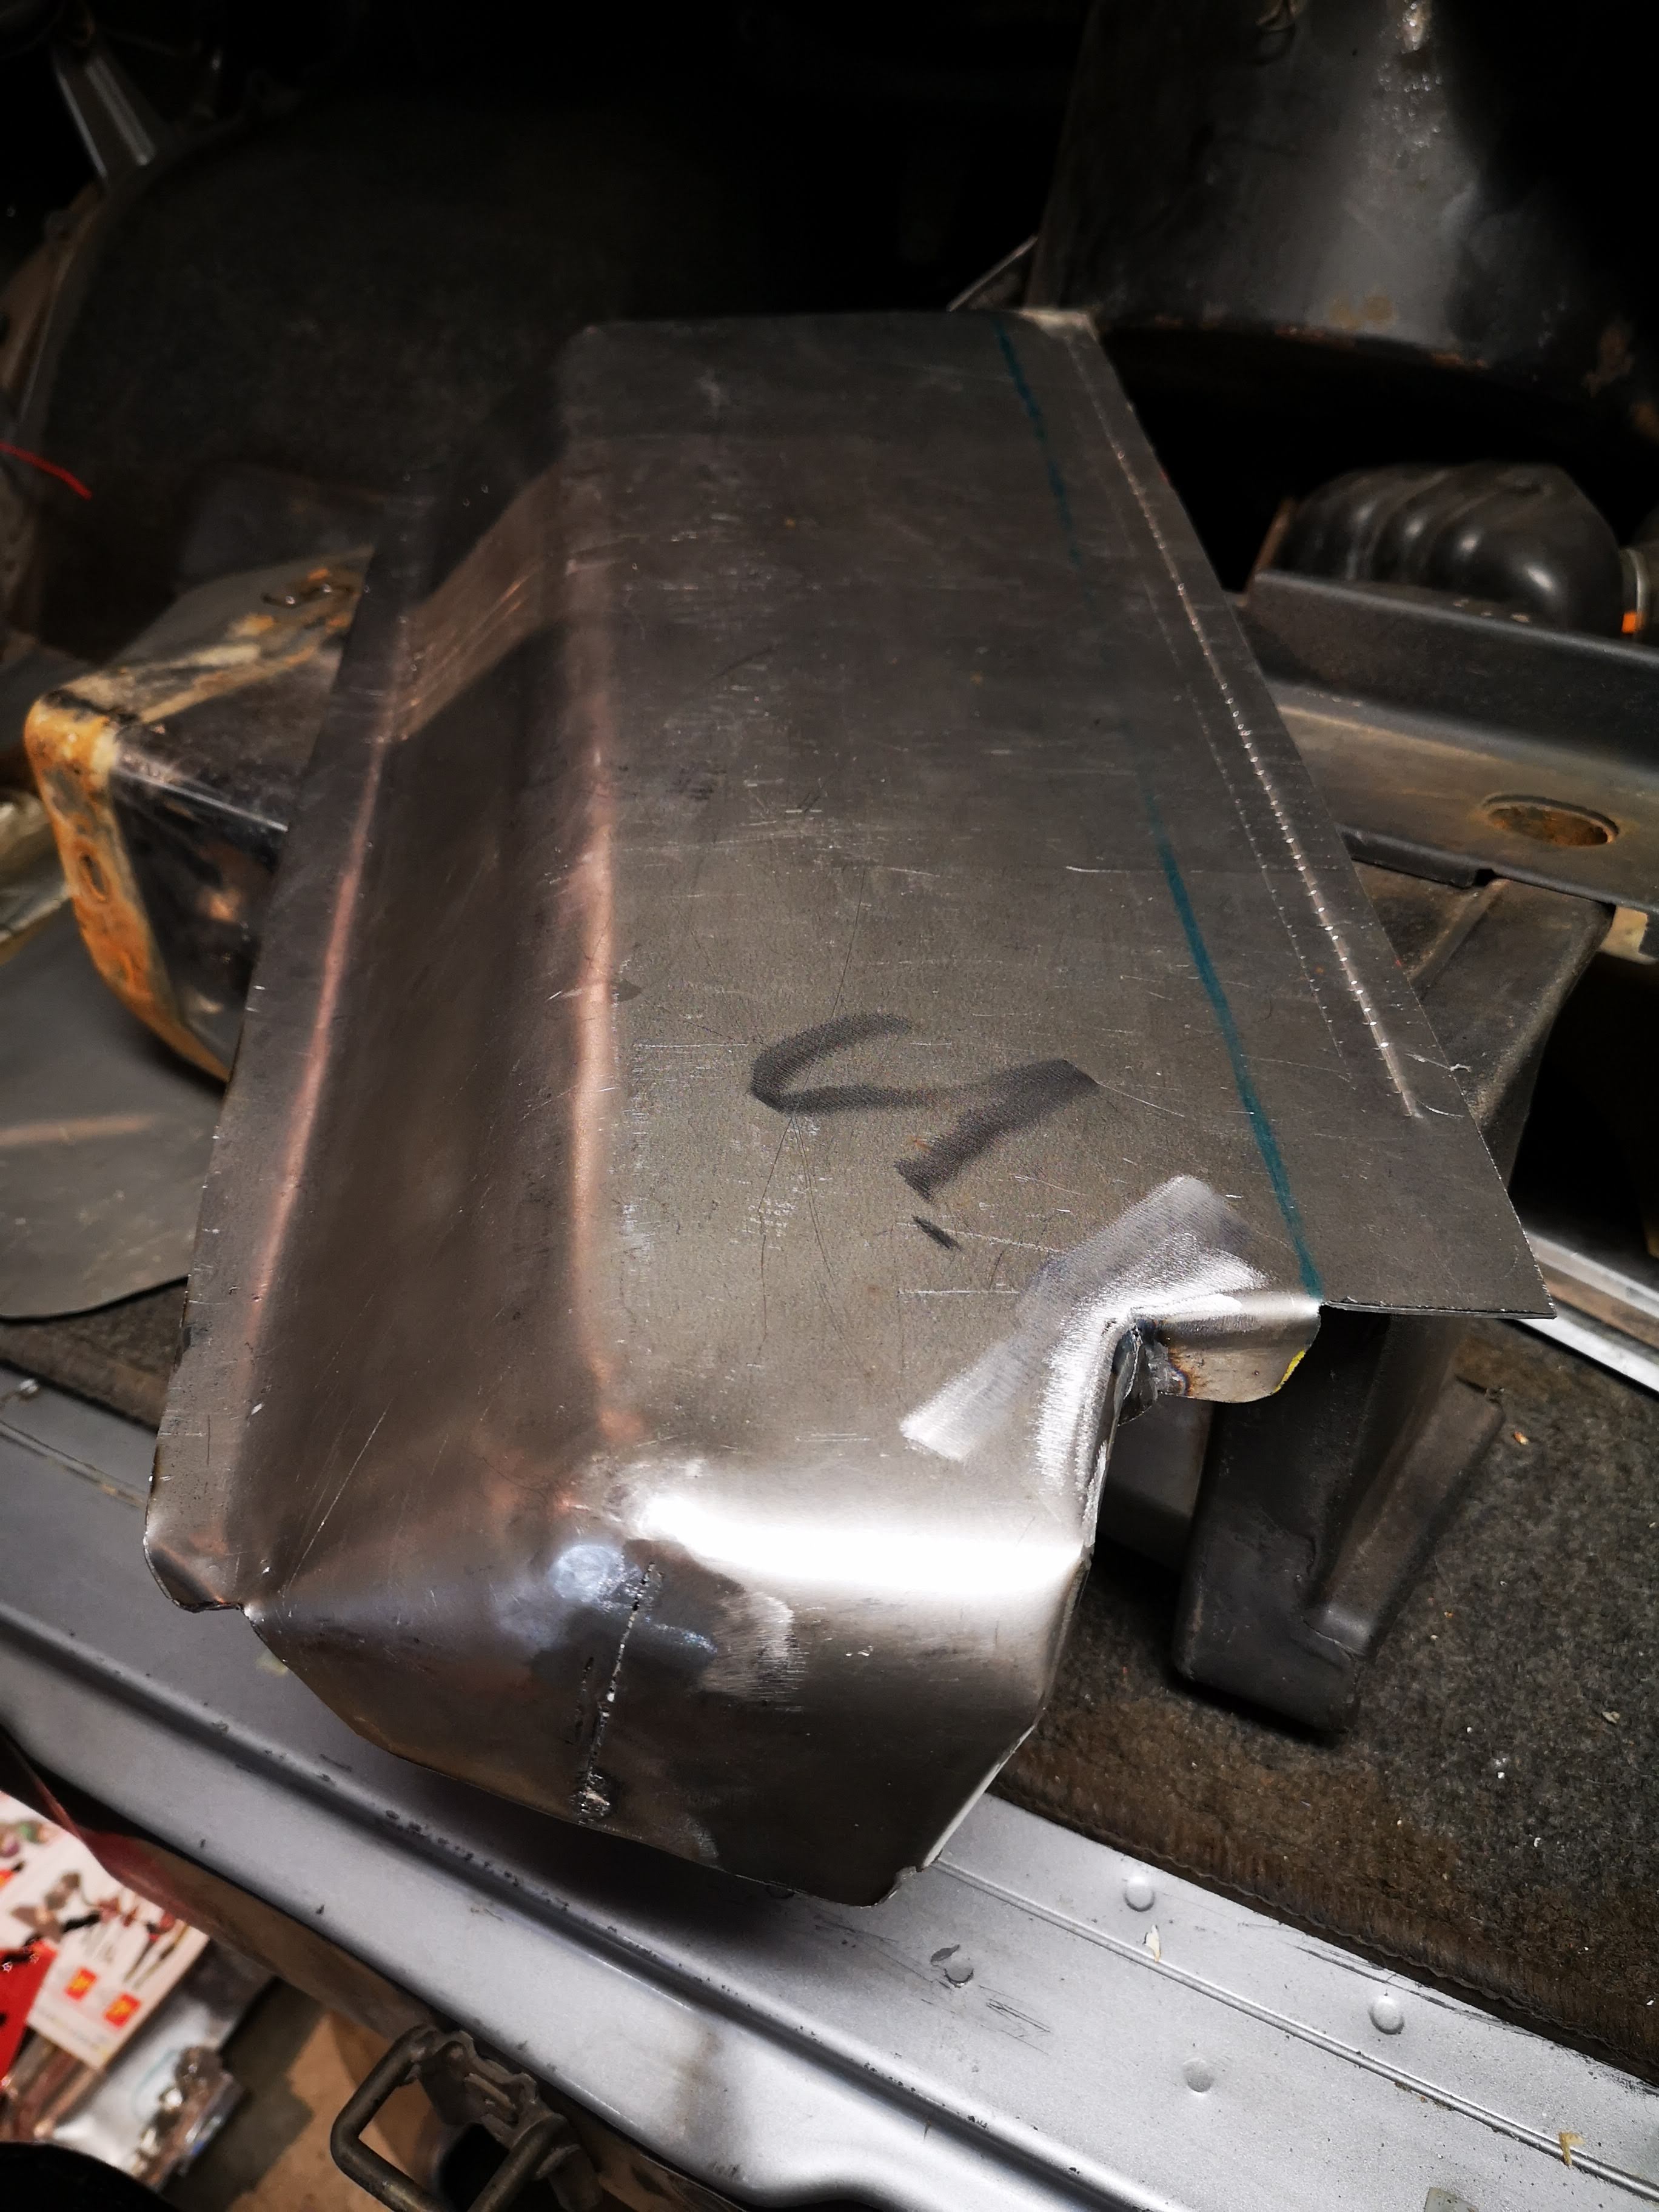
I’m going to finish this entry tomorrow, but spoiler alert: my newest new quarter is FINALLY FINISHED. And FABULOUS. Well…, compared to the previous iterations.
PS: You’re most definitely not a poop head. This is intricate, serious work. If you think it looks like sheiß, you’ll likely treat it like Sheiß. Next thing you know, you’re driving the 4WD version of @wreckedlancer, a twice-totalled, 9,000lb/4,000kg, post-apocalyptic commuter car.
Lol. I remember that one. It was cool… But not my thing.
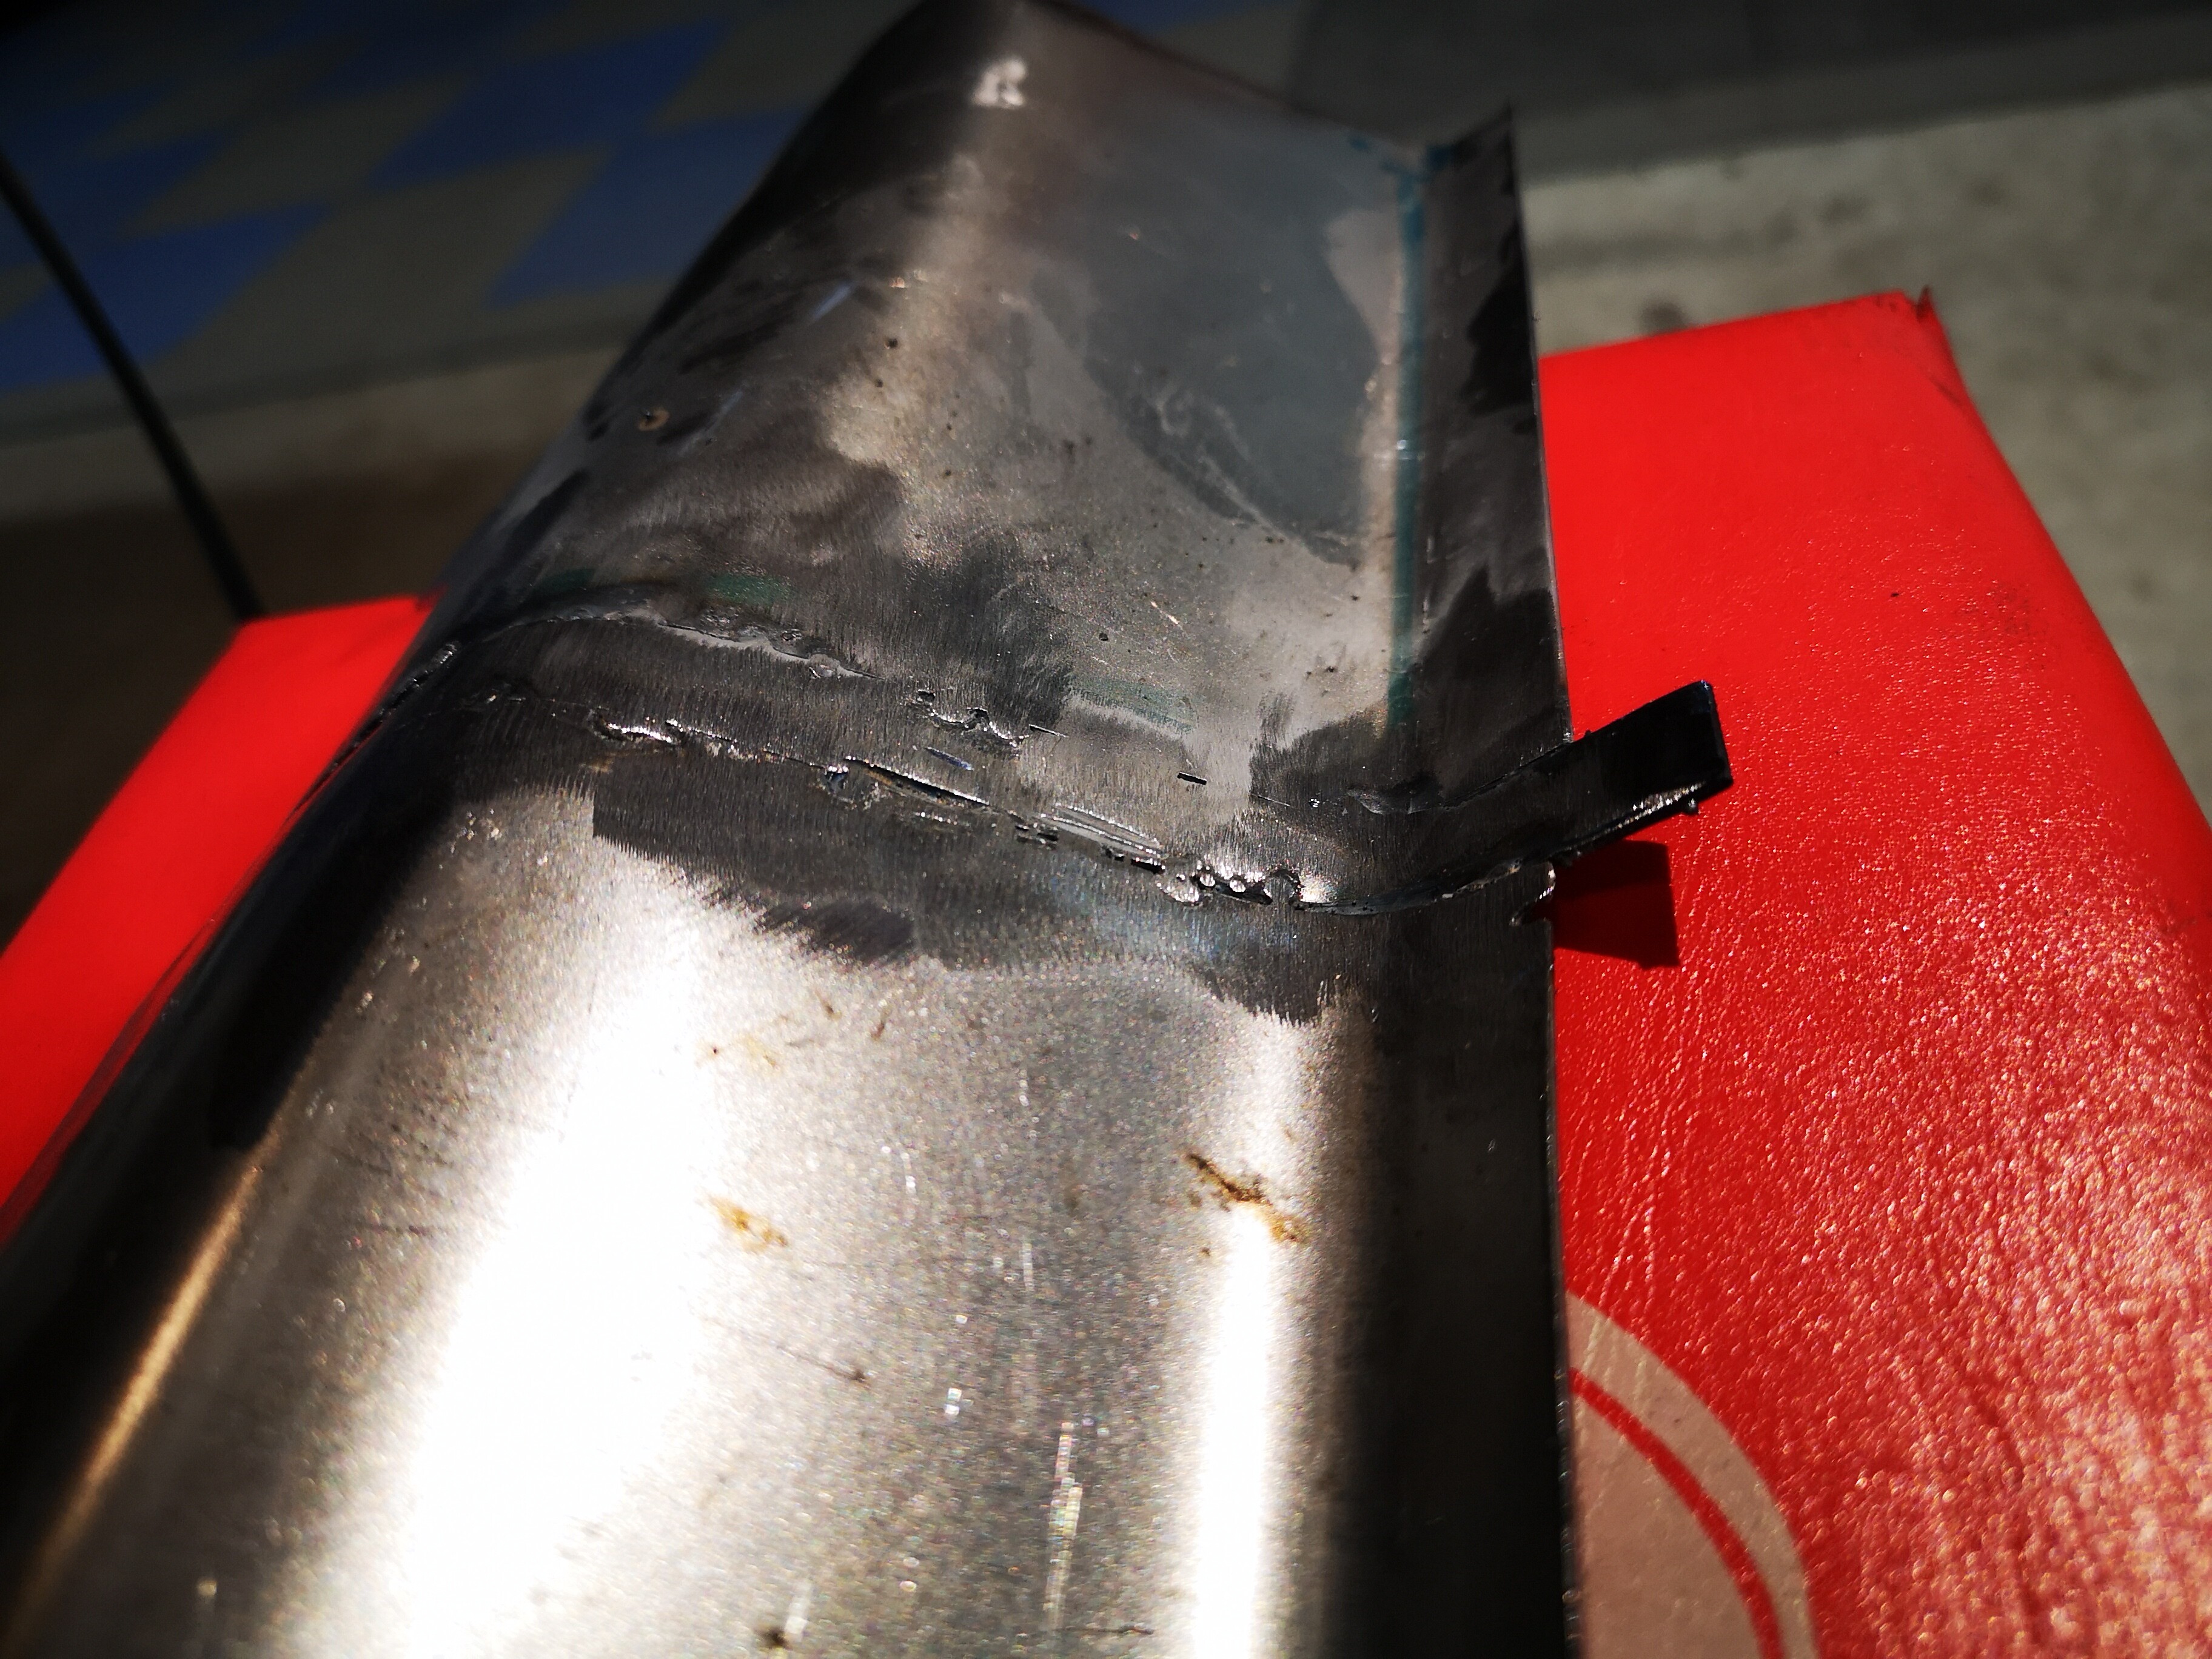
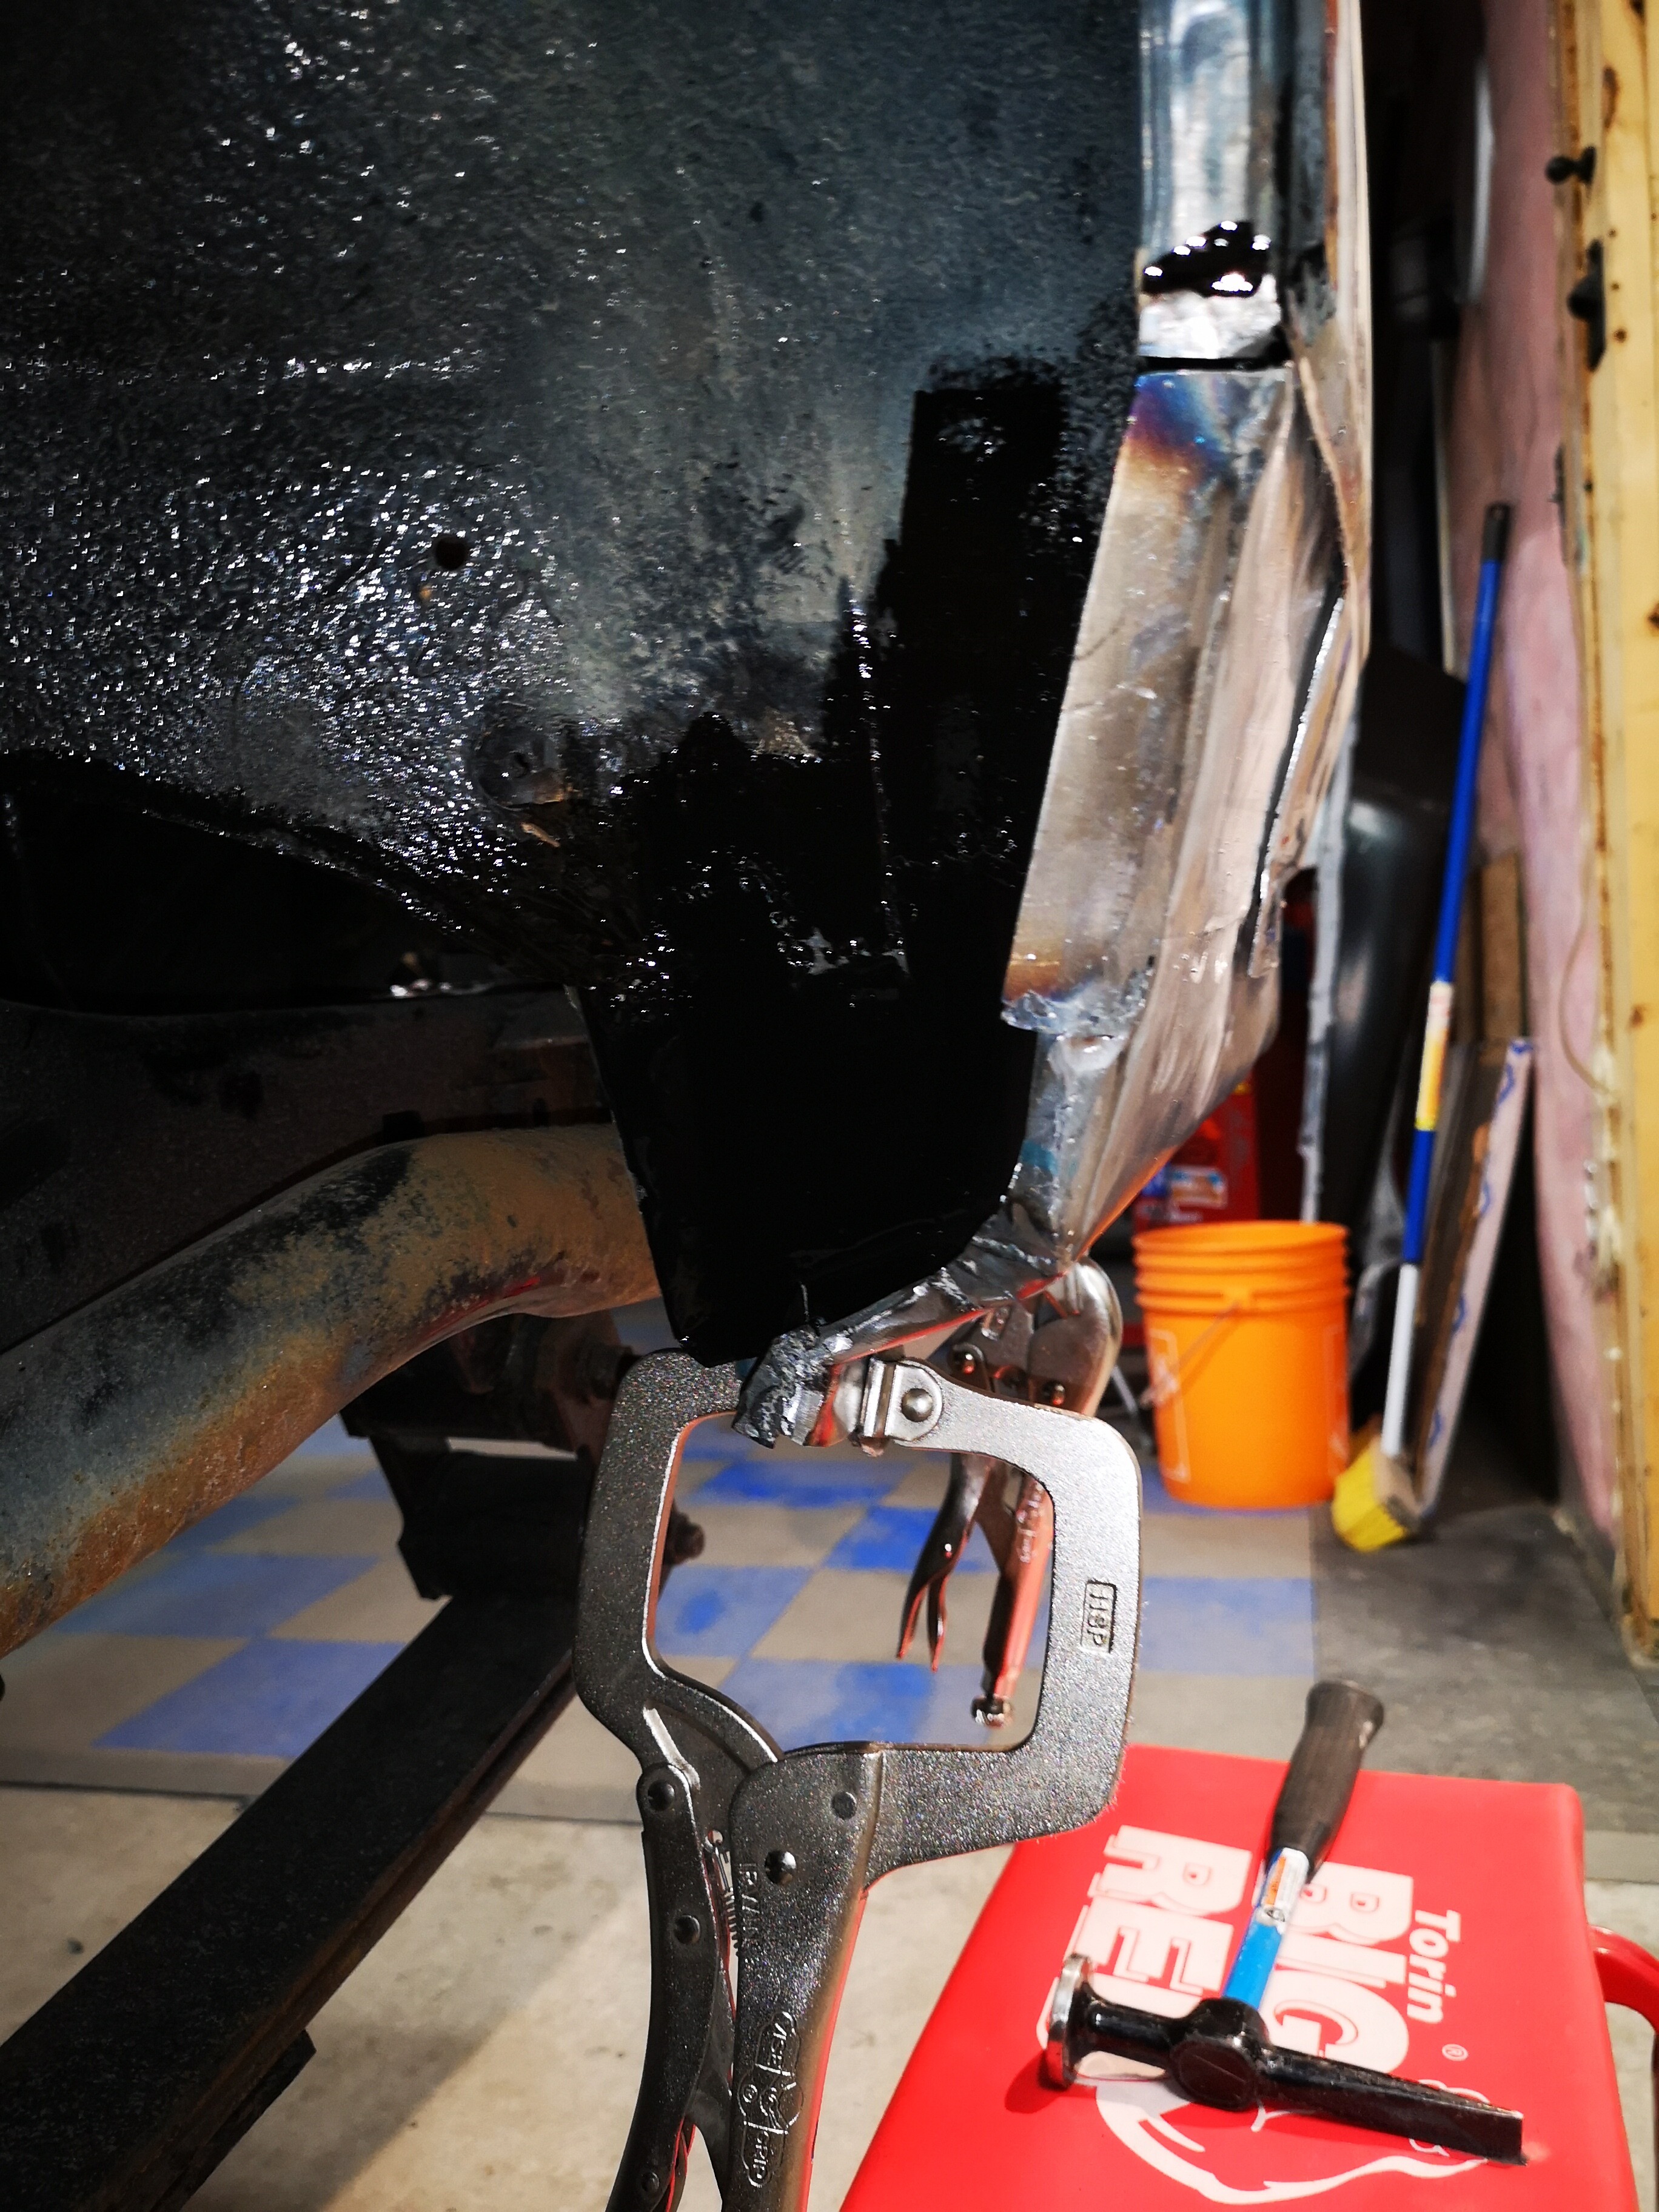
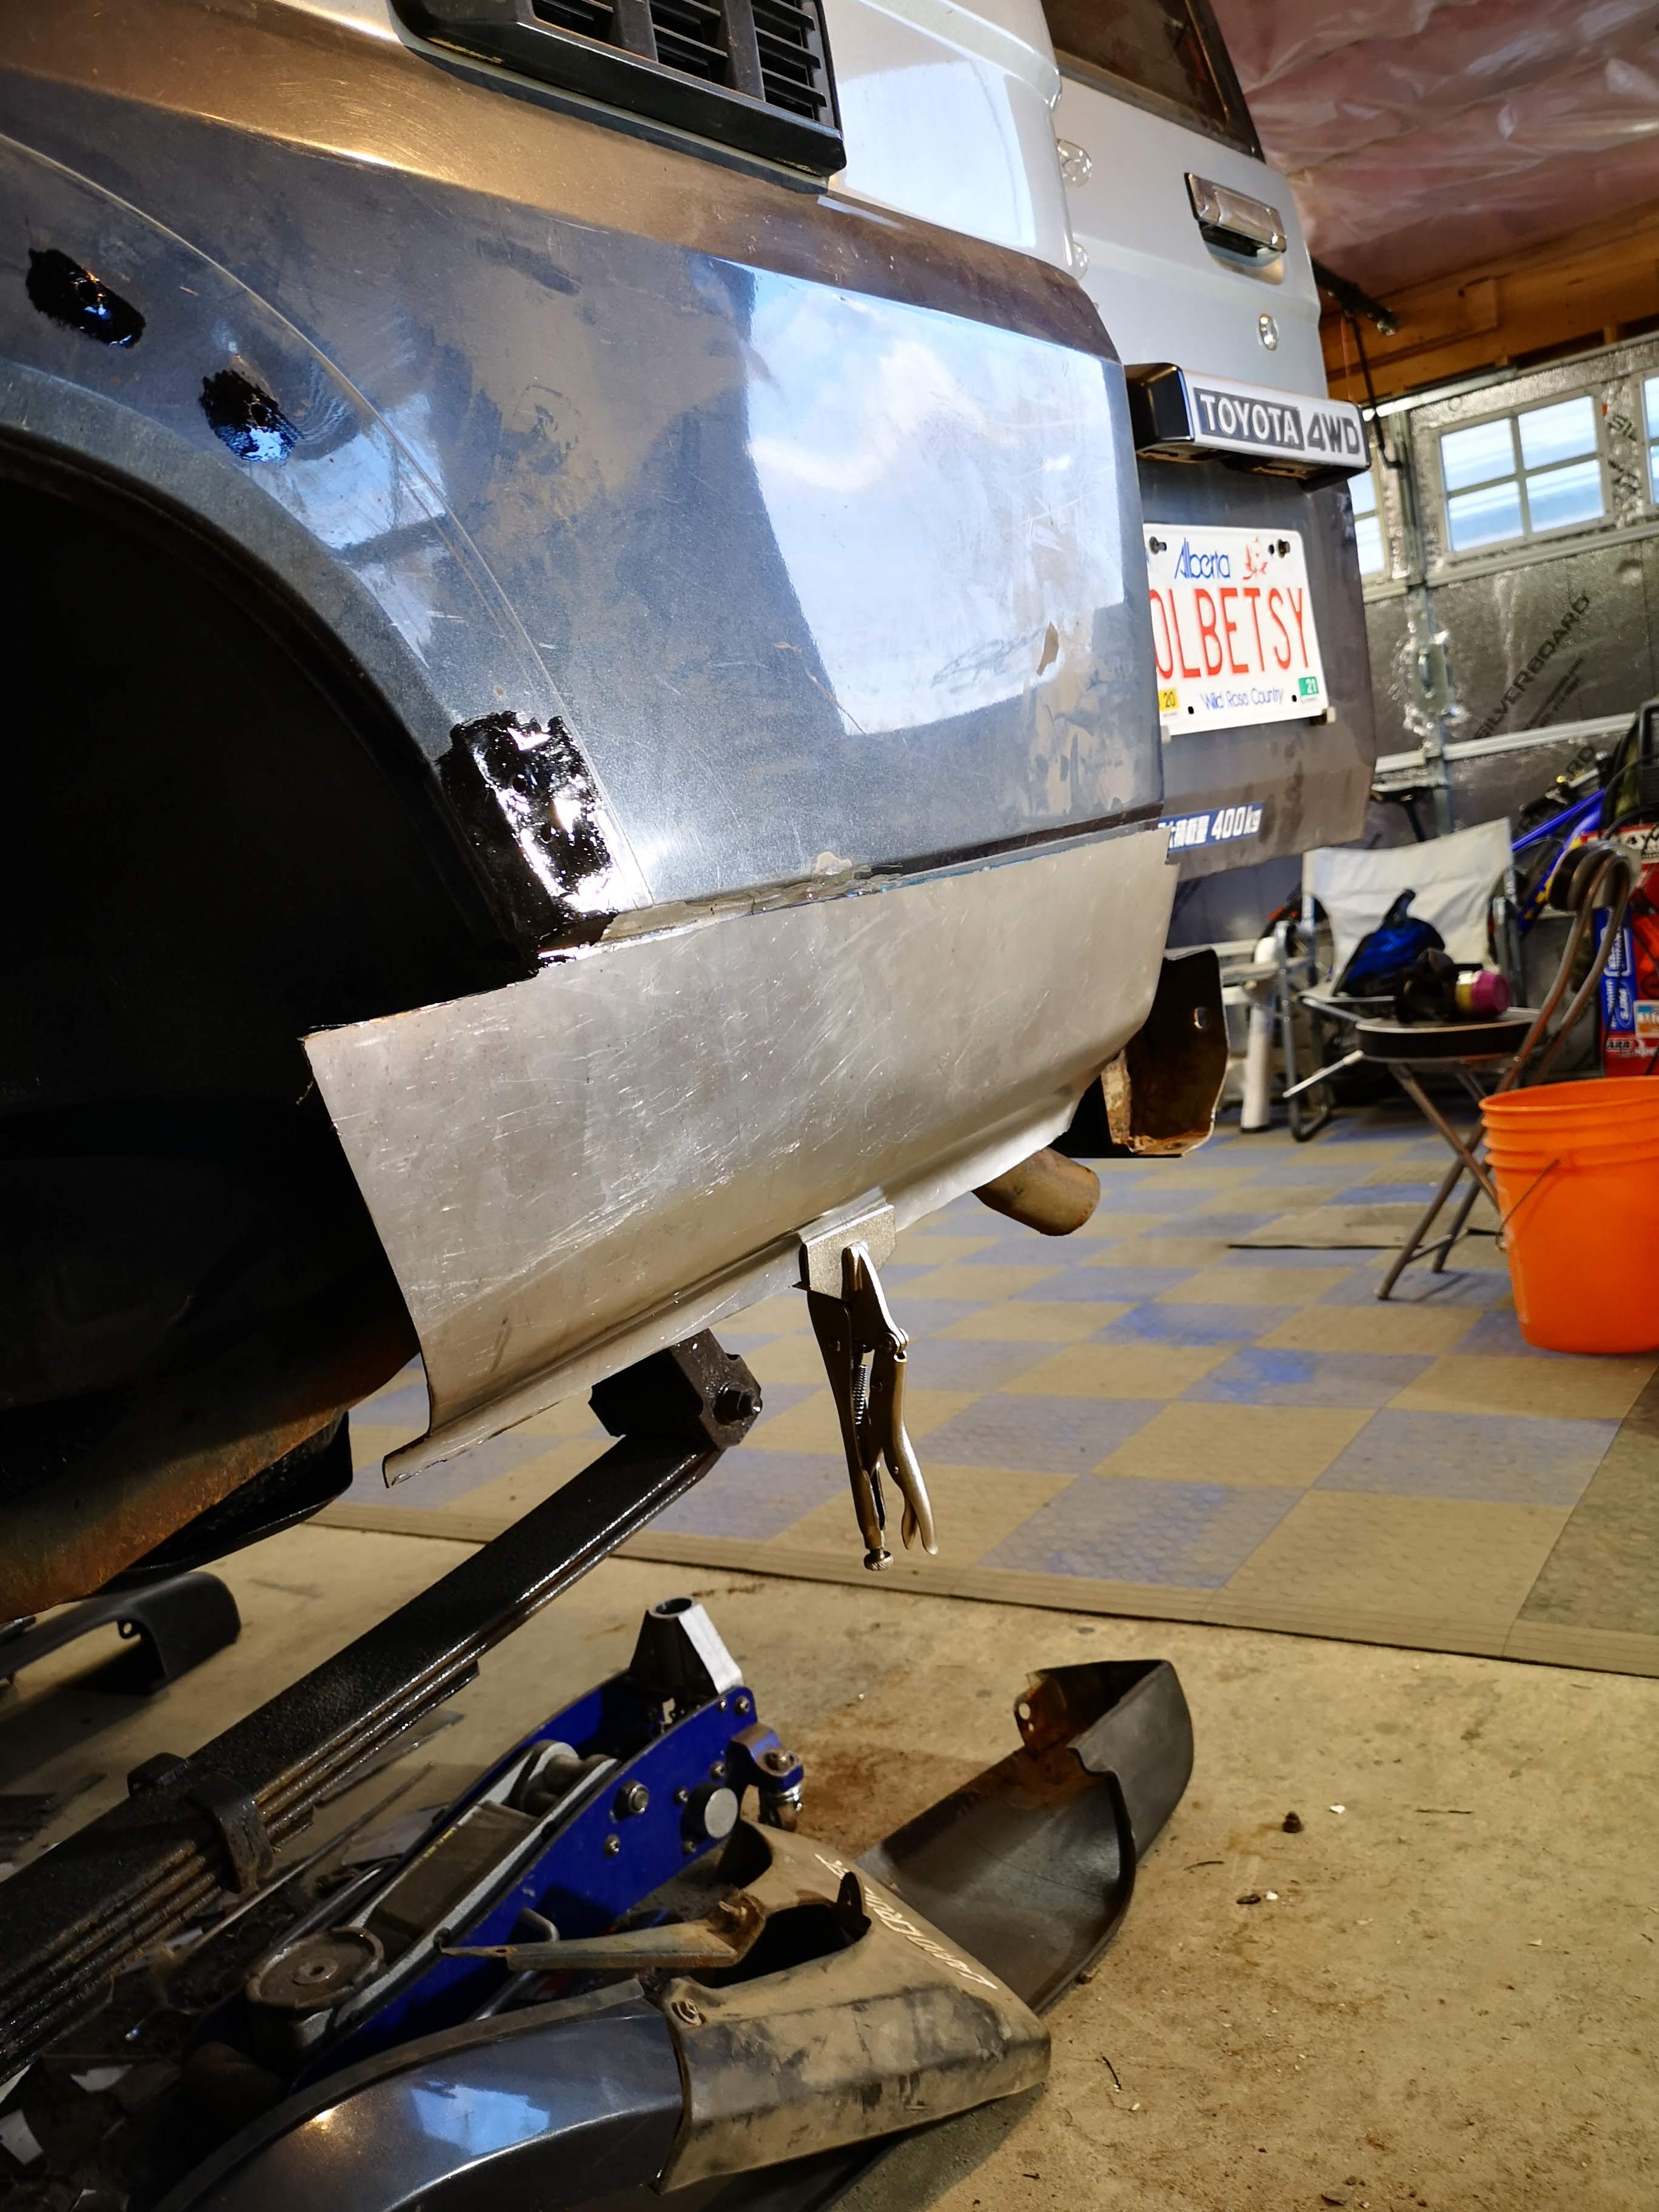
The panel is done. Not installed yet. That’s a whole other new learning thing, fraught with panel adhesive pitfalls, clamping., versus screws, sealing joints, etc. It’s coming. But none of that is possible without a patch panel.
Test fit after second bend. Then there were many many more bends and tweaks…