Stormy the isuzu trooper - way too much money and effort

Productive hour in the garage, got the radiator out and the new pusher fan mounted, might start to tackle the electrical for it in the morning.

Now I need to figure out my strategy for disassembly on the fan, shroud, and radiator, I did not keep taking it apart in mind when I put it together… Once I have a plan but before I take it apart I’ll do the first test of my science experiment.

2 Likes

Friends, warriors, good people of the internet, help me in my dilemma!

When I converted Stormy to have an electric fan I wired a switch that triggered a relay to power the fan, but that’s it, no sensors, nothing, just a switch in the cab, which got its power from keyed power. I did this so I could turn it off for water crossings, but otherwise it is always on.

Now that I’m adding a pusher fan I’m reevaluating that choice.

I have a Hayden fan controller I plan to pull out of another vehicle. This has a temp sensor, relay and fuse.

Currently, I’m thinking I will leave the primary fan on the switch, exactly as I have it currently wired, and I will wire the pusher fan to the AC switch in the cab. If the AC is on, the pusher is on. The only down side I can see is that if I turn the AC off while climbing a hill on the interstate, this shuts off the pusher too.

I could also just putting the pusher on its own relay but triggered by the same switch, which solves the hill problem but ups the hours on the AC fan considerably for the bit of the year that I’m running heat or windows down.

I could also use the fan controller for one fan or the other, or both, but I’m slightly hesitant to use it and I’m not totally sure why.

What say ye?

1 Like

I wish I could be more helpful with this one.

What about something super simple like a $50 Painless Thermostatic Switch?

I’m thinking you could install one of these in the radiator somewhere convenient. Suppose you put the manual override switch between the above and the fan and left it in the ON position all the time.

Left alone, the switch would activate the fan(s) when the temps crossed 190°F, but if you were doing a water crossing and wanted to turn off the pusher, you could do it by the override switch in the cabin. AC on/off wouldn’t matter.

It’s an idea, right?

1 Like

So I’ve decided to do exactly what Brian suggested and use a thermoswitch that I can interrupt with the cab switch, and the same, but with the AC ON /Off for the pusher.

Today I put in about 6 hours in the garage and got the wiring except the thermoswitch itself and everything undone and out of the way to remove the trans except the bellhousing bolts.

No pics for now, but hopefully I have the new trans in tomorrow and the trooper back on the road by the end of next week!

2 Likes

Right on, dude. How nice is it working in an AIR CONDITIONED garage?

1 Like

Oh I can’t even describe how nice it is lol. So amazing. To work for hours and not be drenched in sweat at the end is such a luxury.

1 Like

Probably feels a lot like this…

Finally got the trans out on Friday. Inspected the rear main seal and it’s not the source of my oil leak, I definitely have a leaking DS valve cover gasket, but also maybe the oil pan gasket.

I started work on my new fan shroud set up as well. I’m going to keep the old shroud, but add on a new panel for the new fan which is about 6 mm smaller than the old one. This will facilitate my fan comparison experiment nicely as well.

I’ve also realized the reason I go through CV boots so fast, my cv angles are terrible. This is a common problem when sitting higher than stock and the solution is to modify the diff brackets and the suspension cross member to lower the diff about 50mm. There is a guy who has this down to a science but I’m going to see if I can get him to share the secrets in exchange for some parts and then I can do it myself.

What good is owning a mill and a welder if I can’t do this sort of thing myself!?

That will have to wait though. Current priority is to get put back together to get out next weekend with a bunch of local isuzu owners.

2 Likes

Much as I know pulling the clutch to check the rear main can be a headache on Stormy, at least now you know it’s not leaking, right? (And maybe it was a little easier to get to it this time? You know, practice and whatnot.)

Fan shroud is looking real nice. I hope this solves your cooling issues once and for all!

1 Like

So I FINALLY got around to finishing up this tow hook project from post 17 in this thread. Not much to see other than some welding, but I thought it turned out pretty good and I’m always amazed how well I can penetrate thicker material with this little budget model Lincoln. I think my favorite thing about welding is seeing the parent material puddle and pushing the puddle along with the mig wire.

My other little welding project was welding bolts to my new fan shroud do that I can install the fan with the radiator already in the car.

3 Likes


New personal best, 45 minutes to go from on the floor to bell housing bolts all in. Now to slog through the rest of the reassembly.

2 Likes

See? You’re getting good at this truck! Next time you’ll be all, I’m gonna swap out the transmission on my lunch break. :clown_face:

1 Like

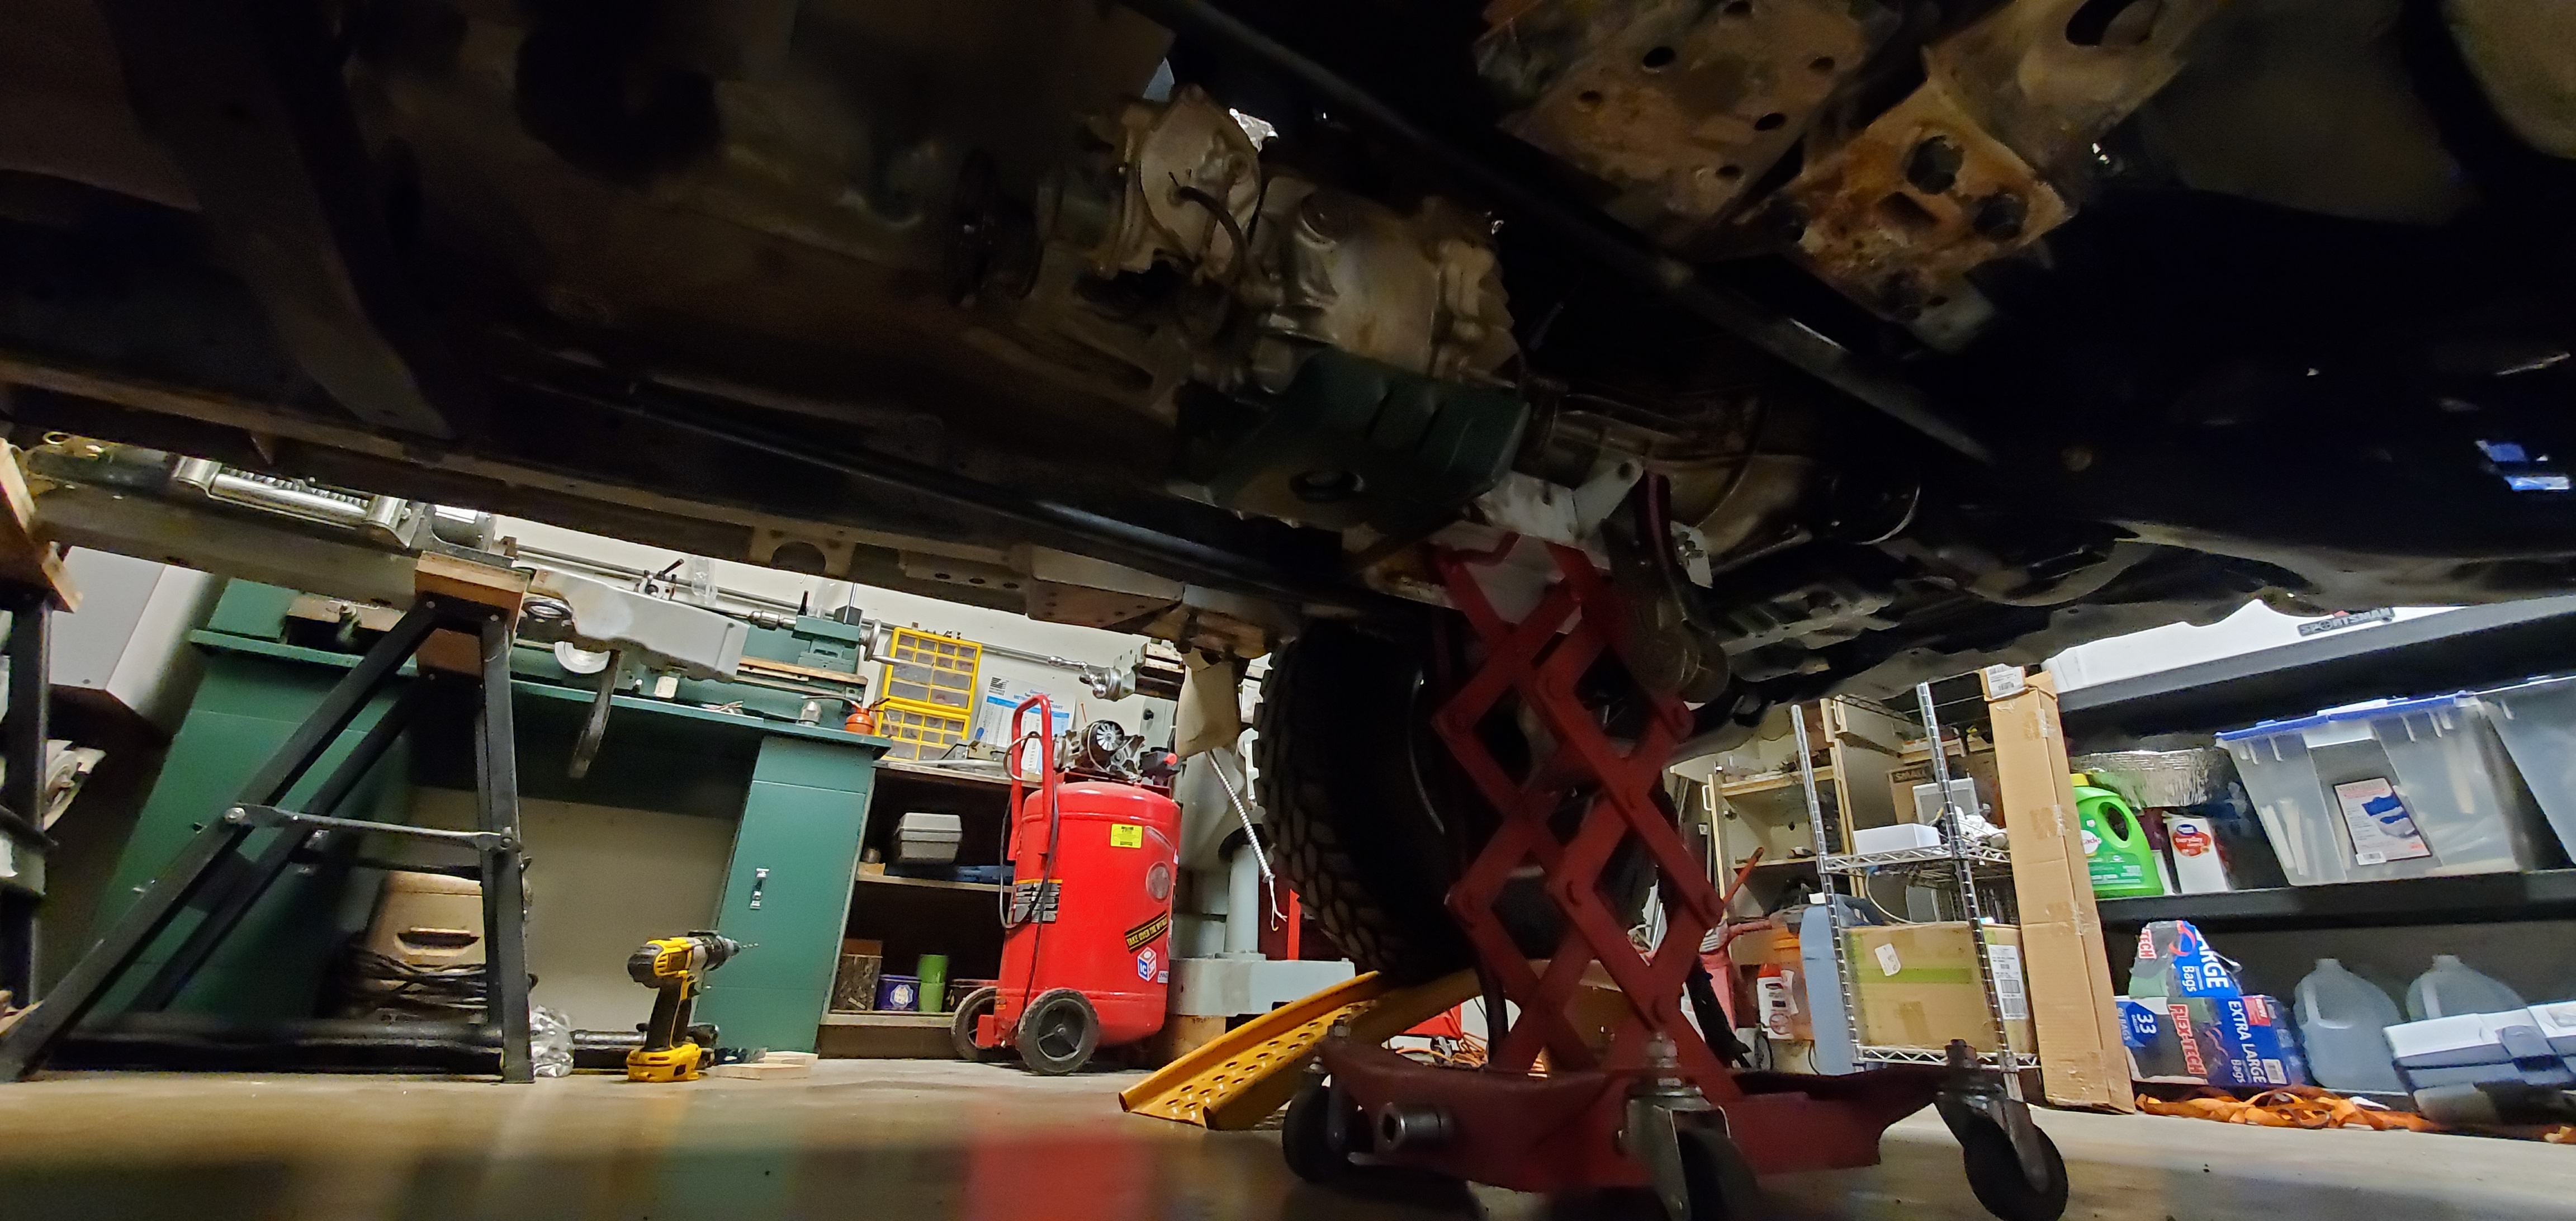
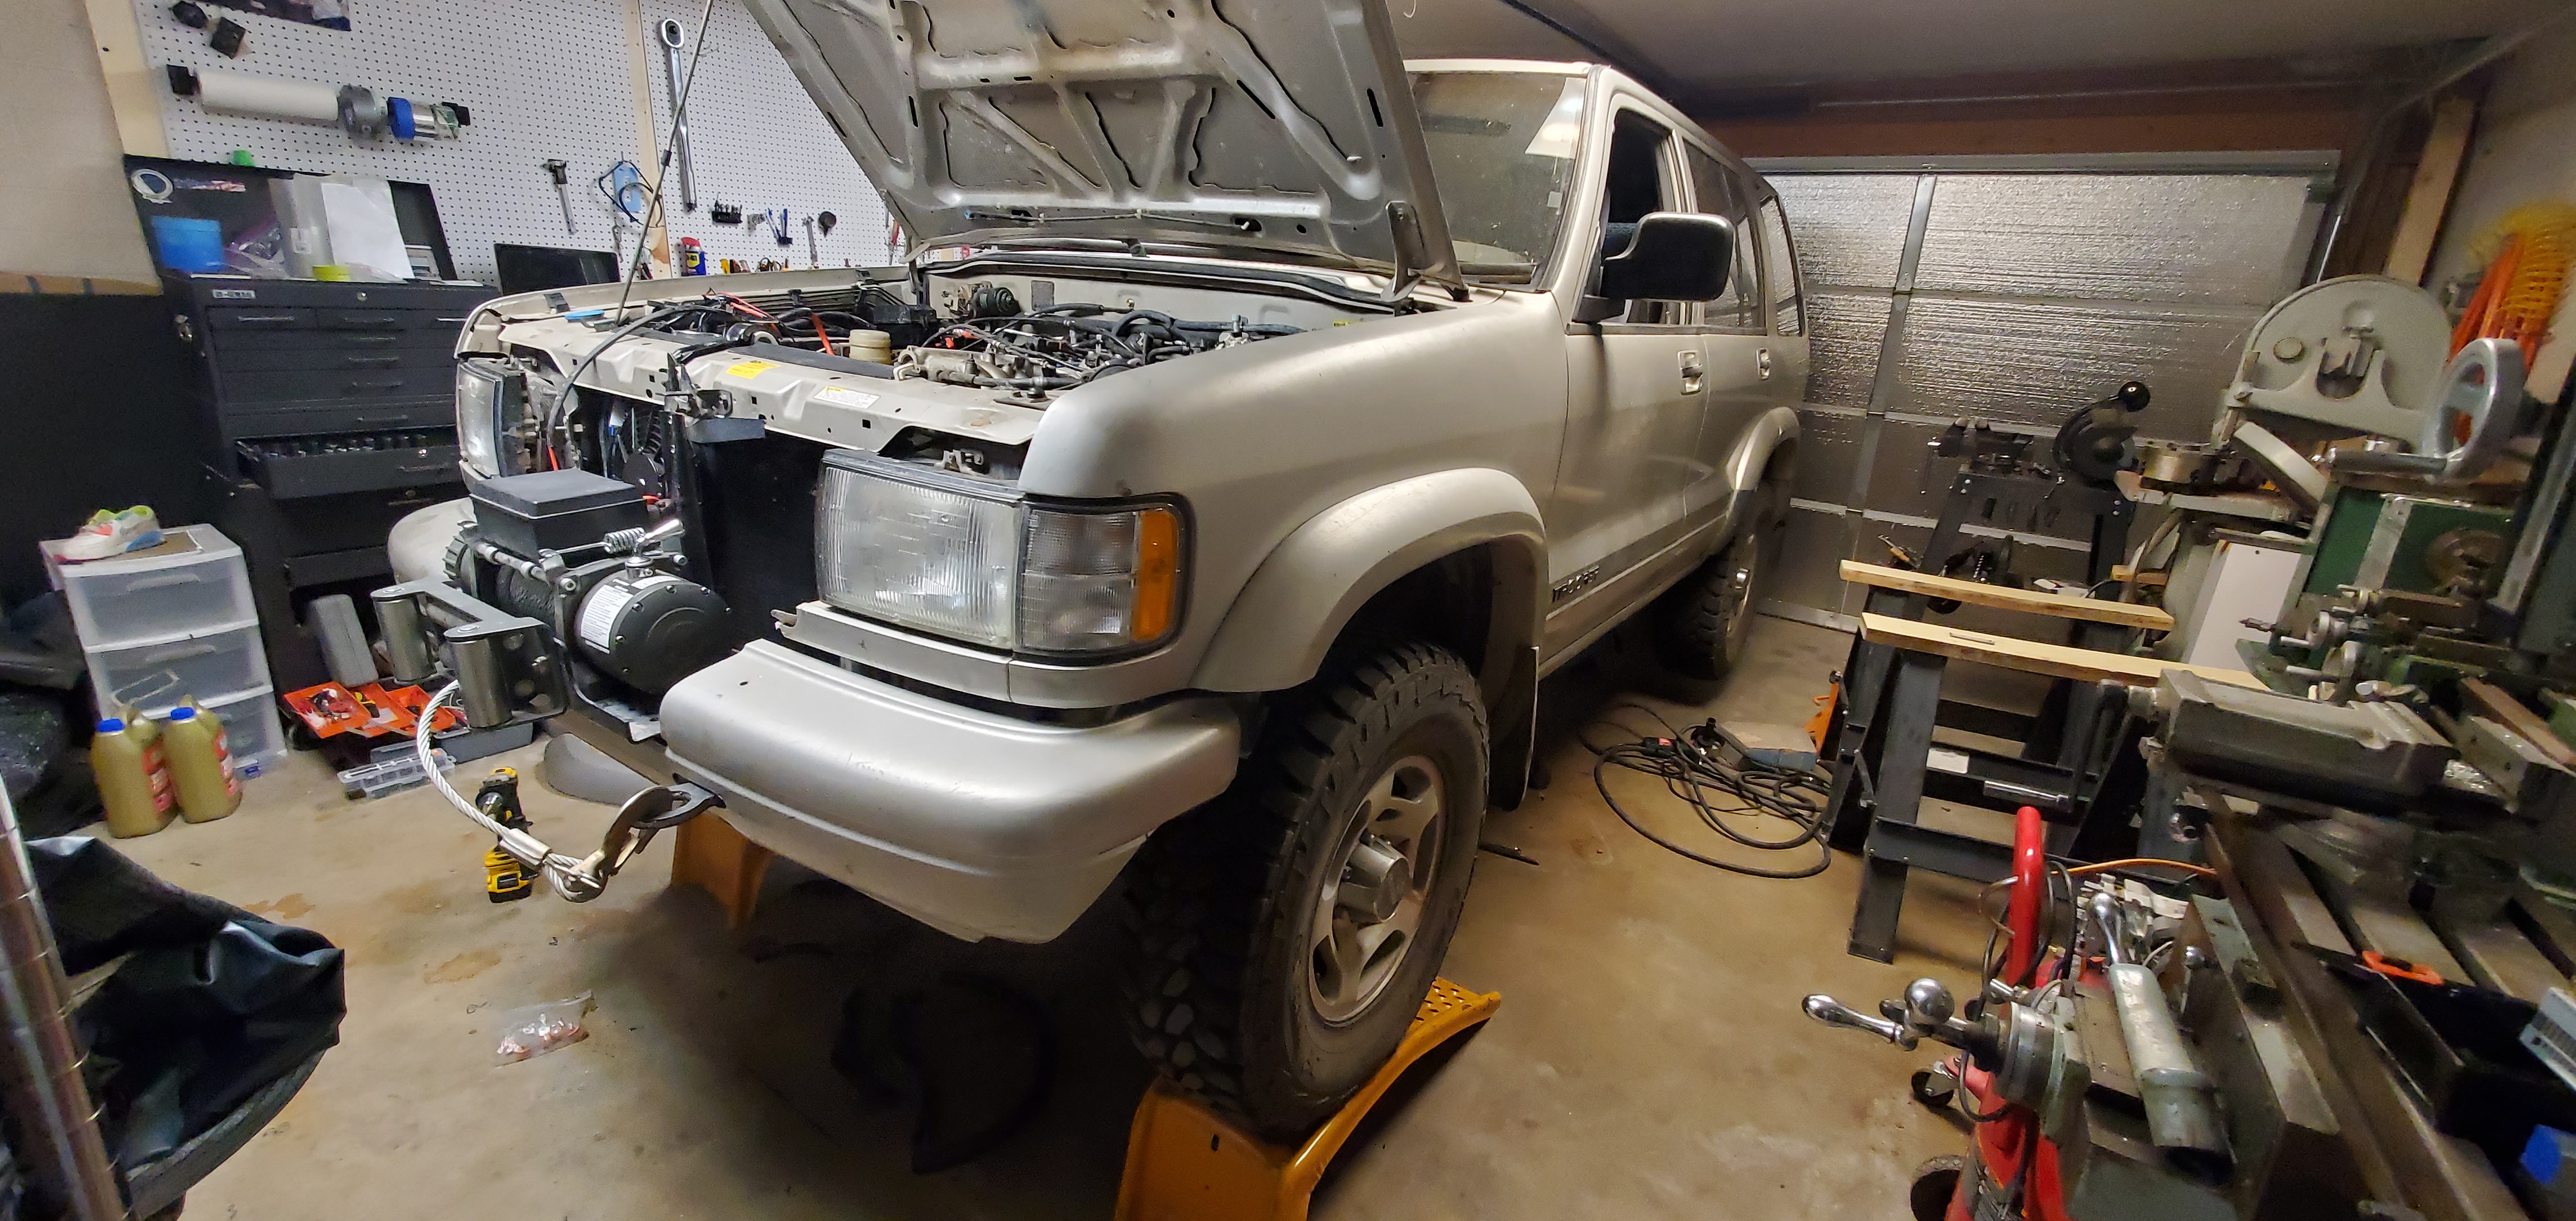
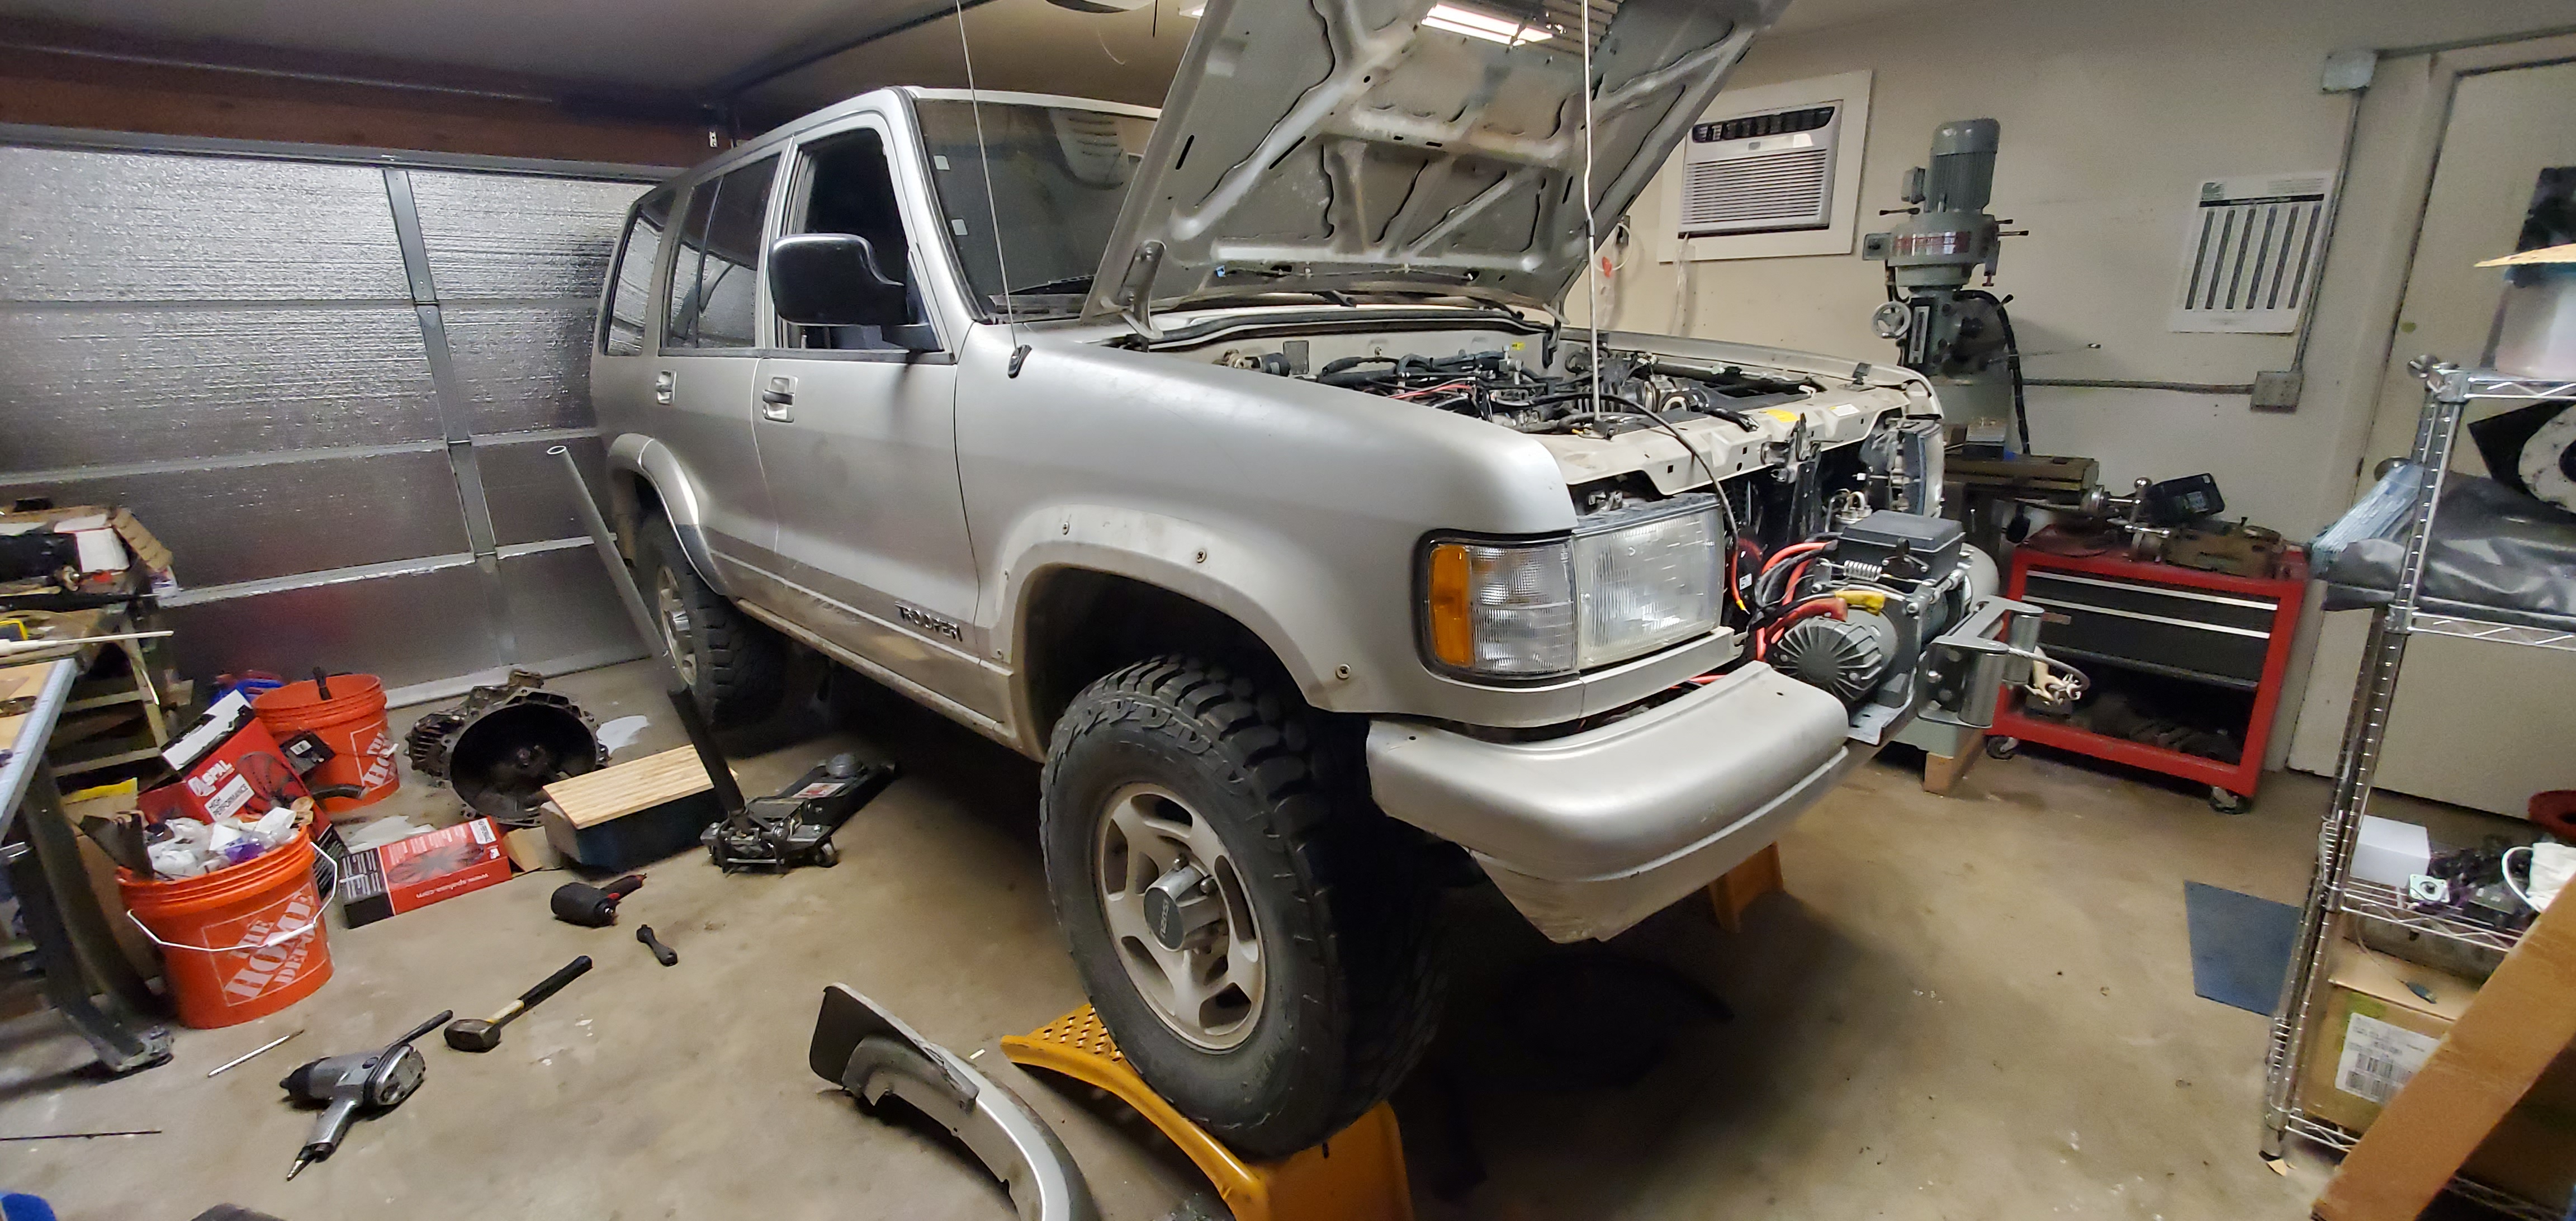
Alright, so I got the exhaust in, electrical routed, front driveshaft in, and trans crossmember in…
And then trouble.

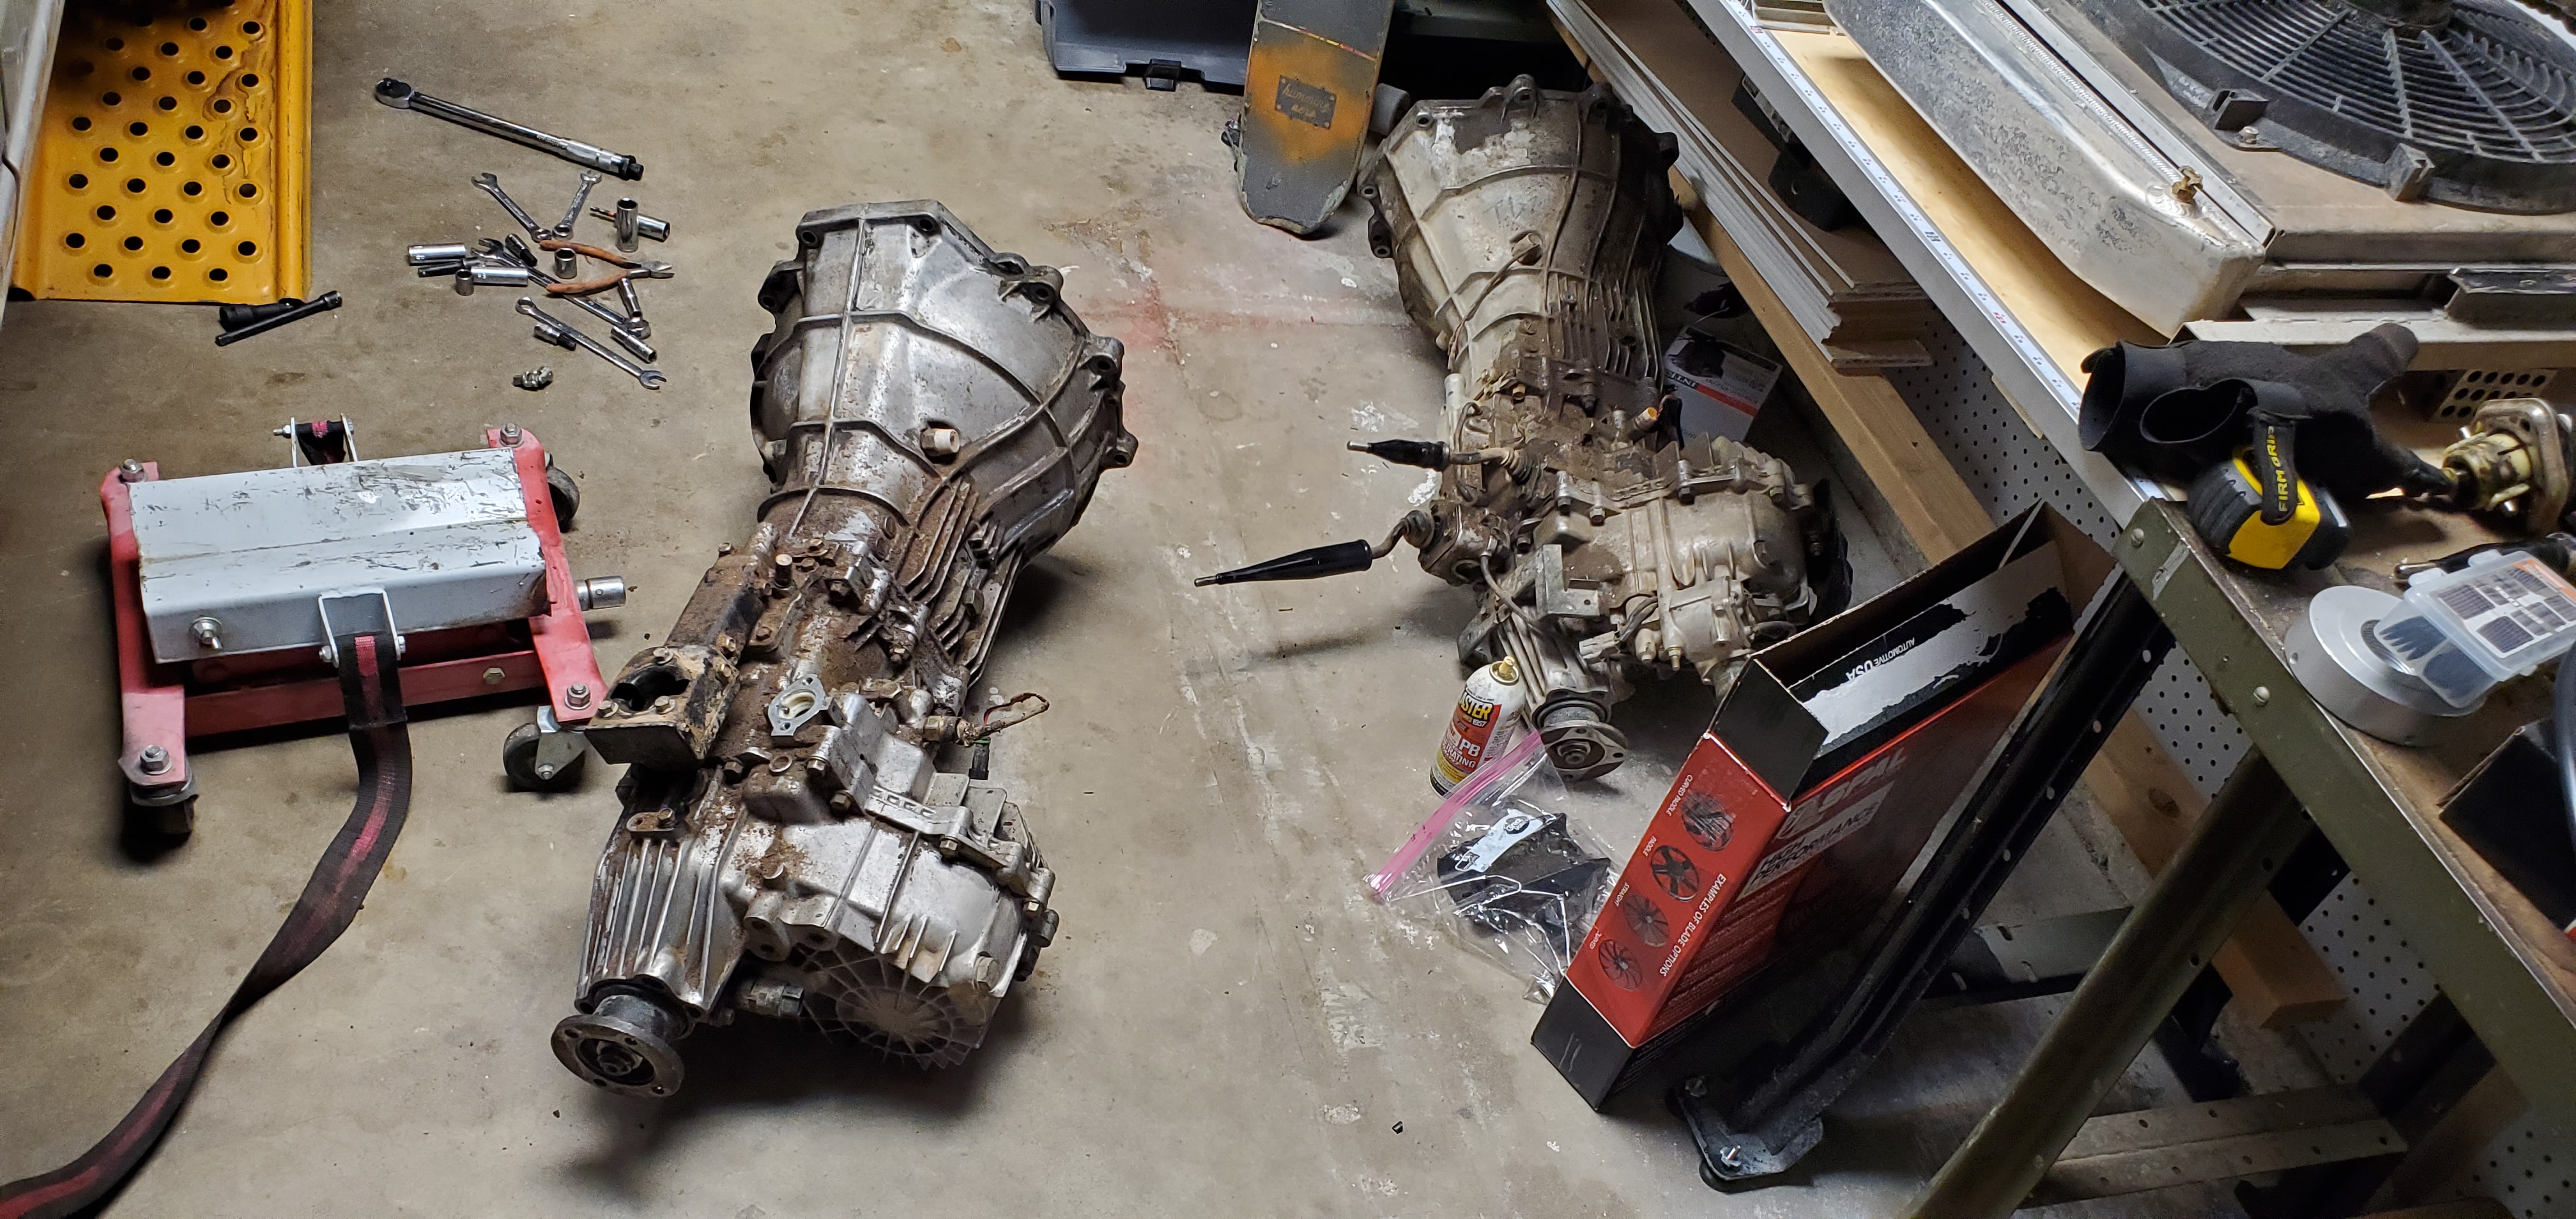
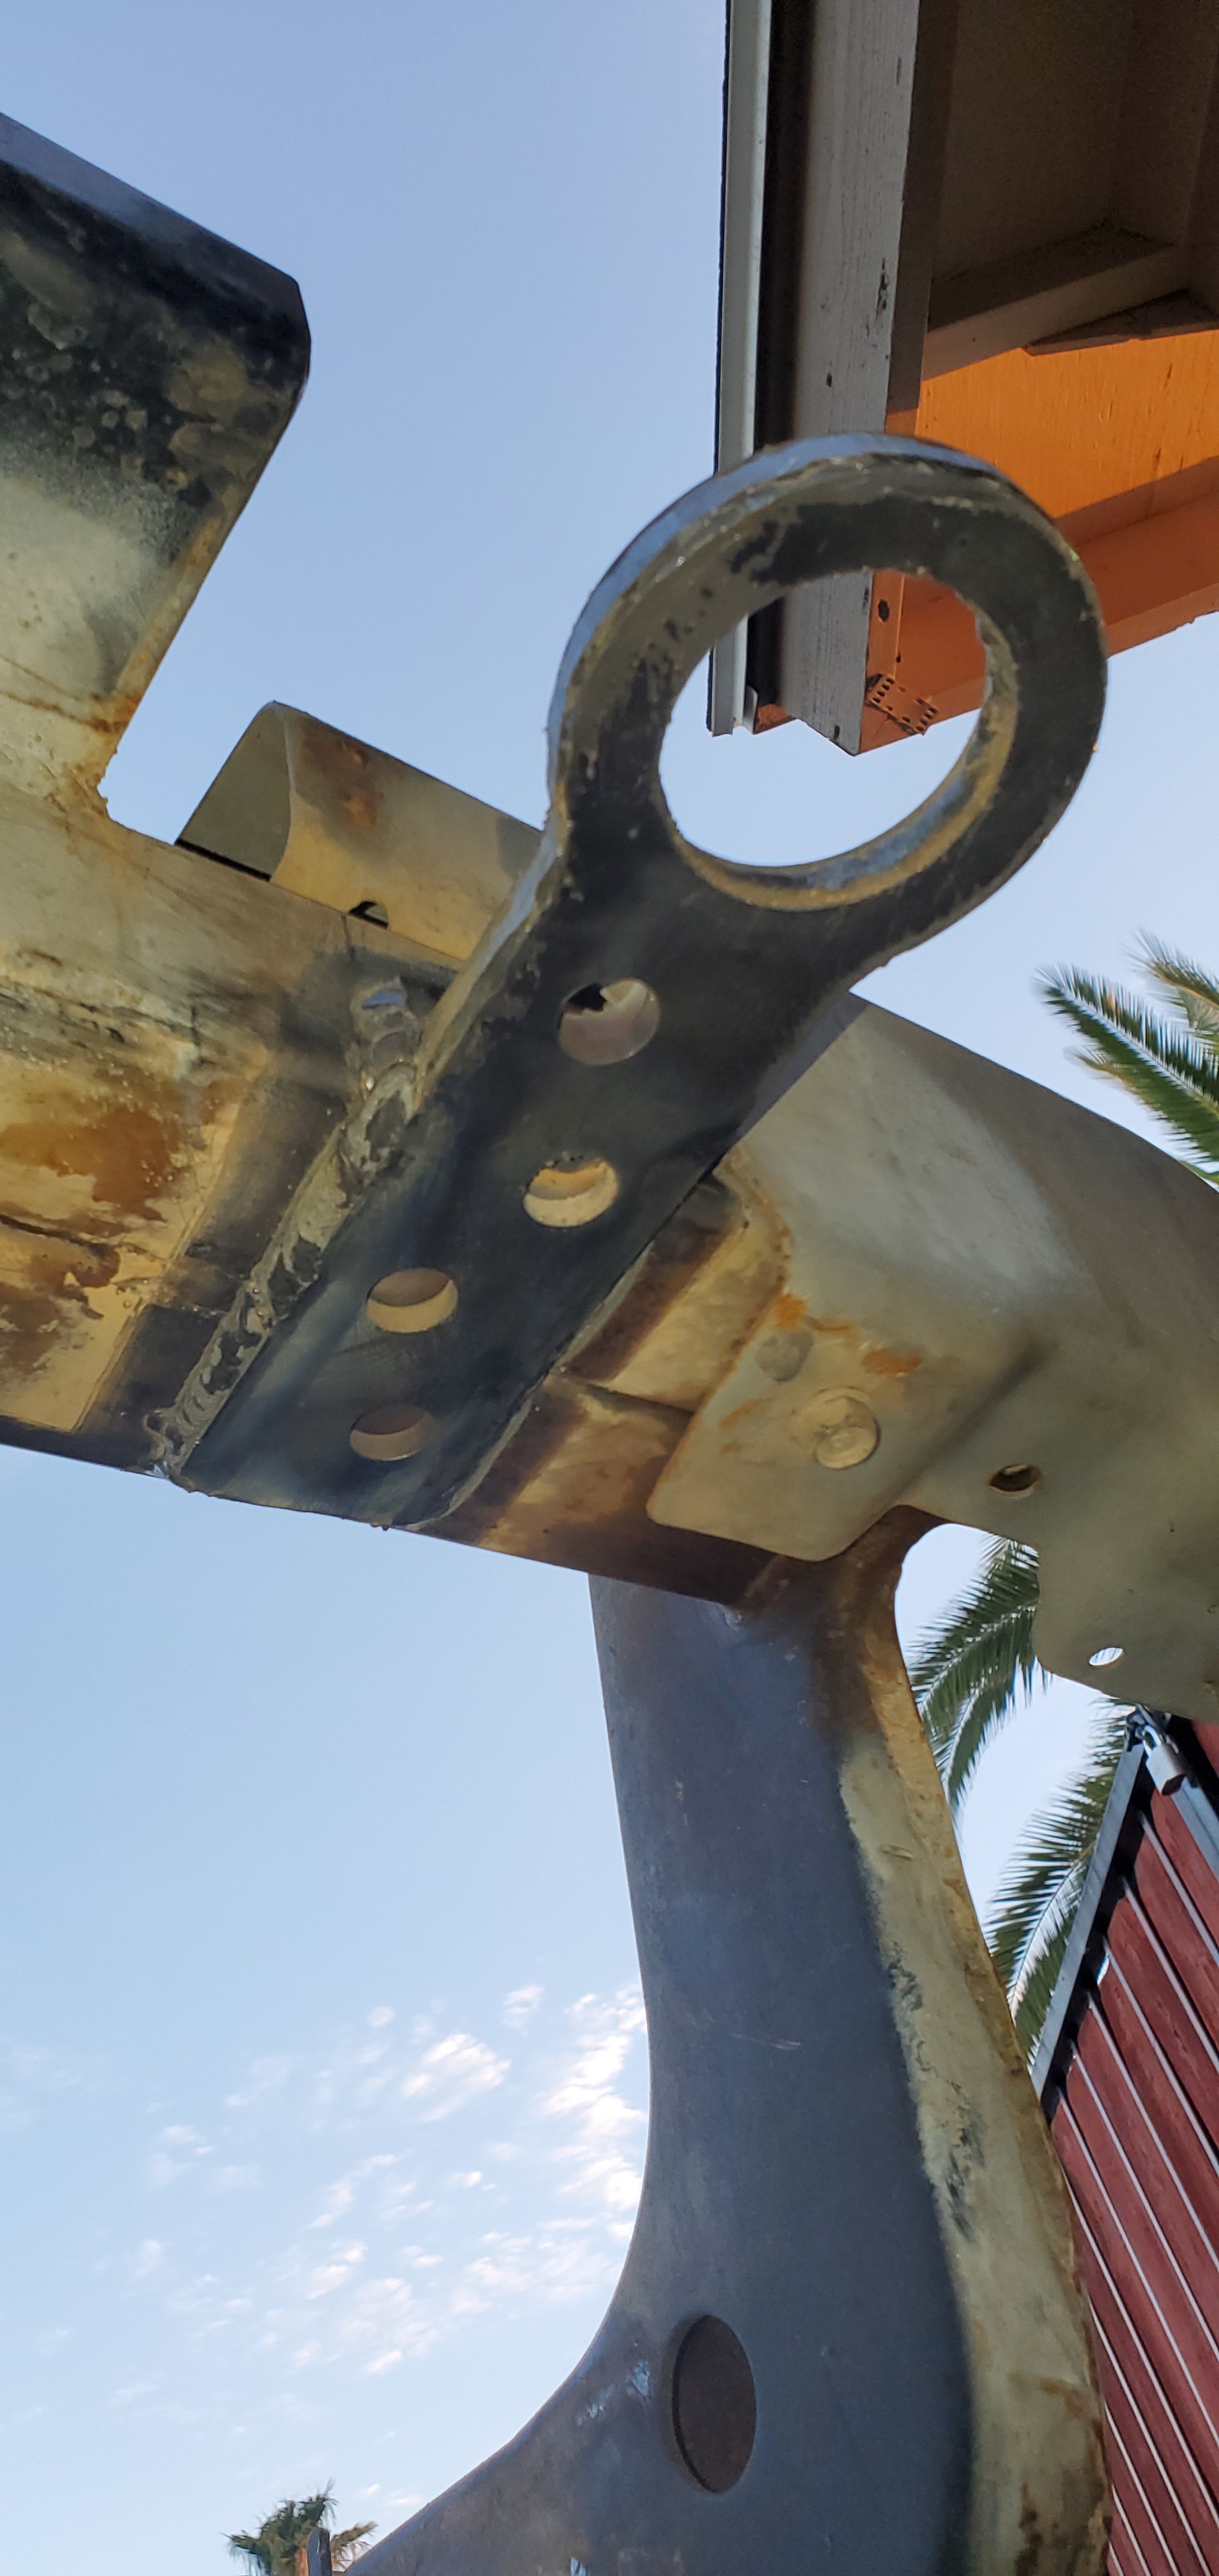
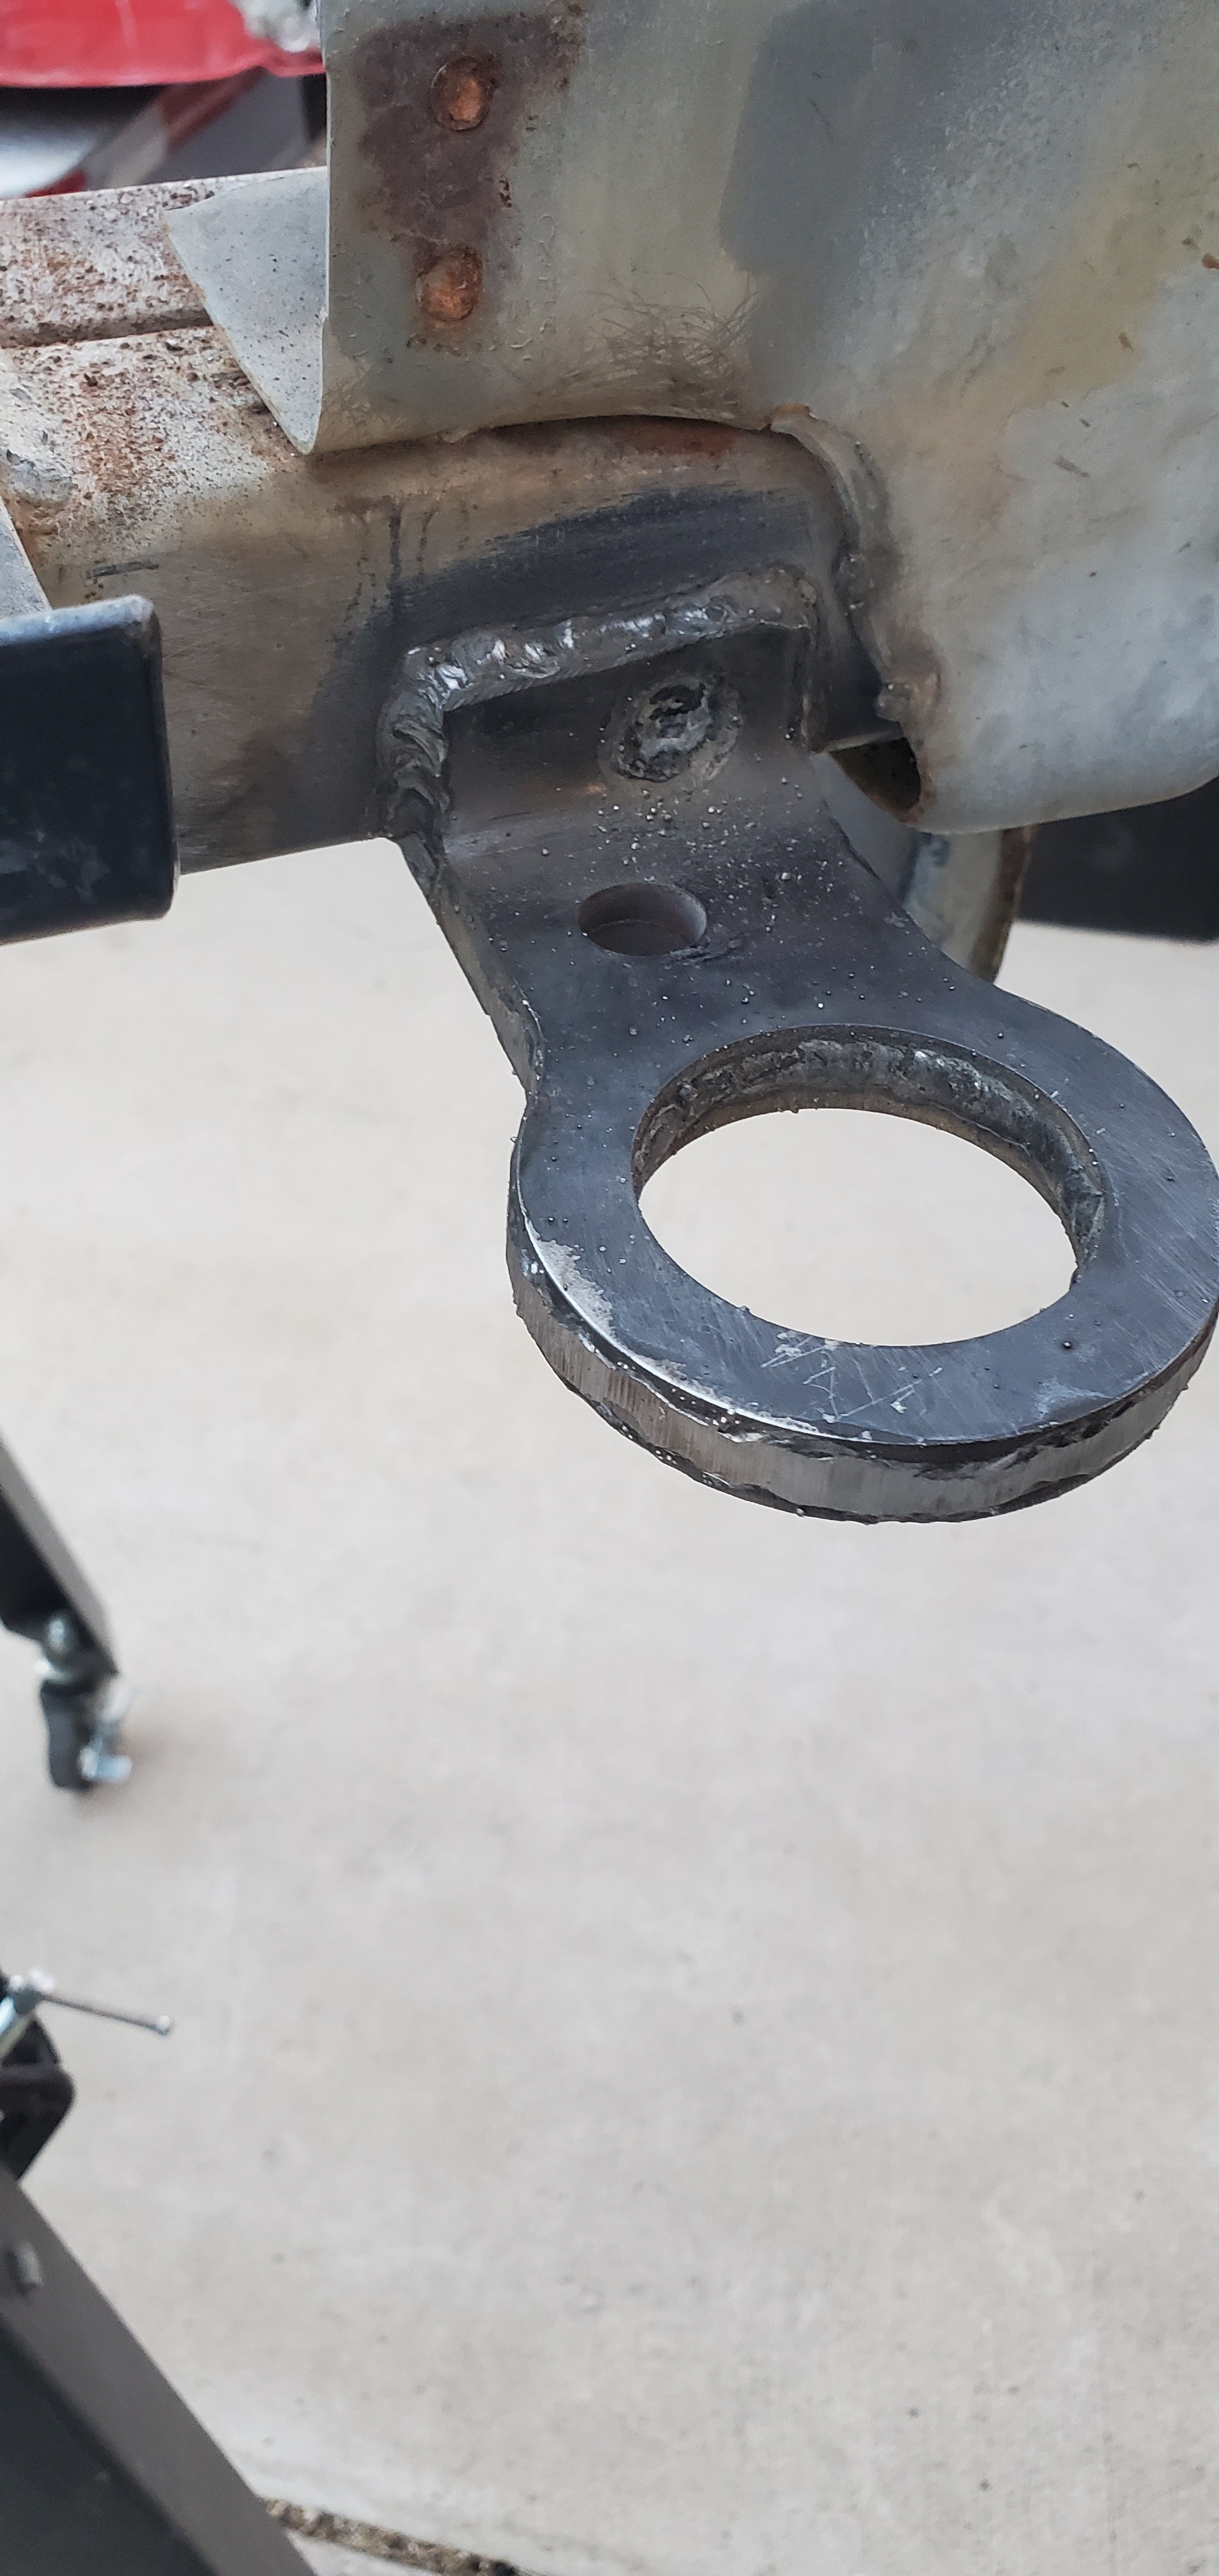
The tail flange on the new transmission had a bad pattern than my old transmission, and therefore my drive shaft. First I confirmed that I couldn’t just swap flanges on the driveshaft, they use different u-joints.

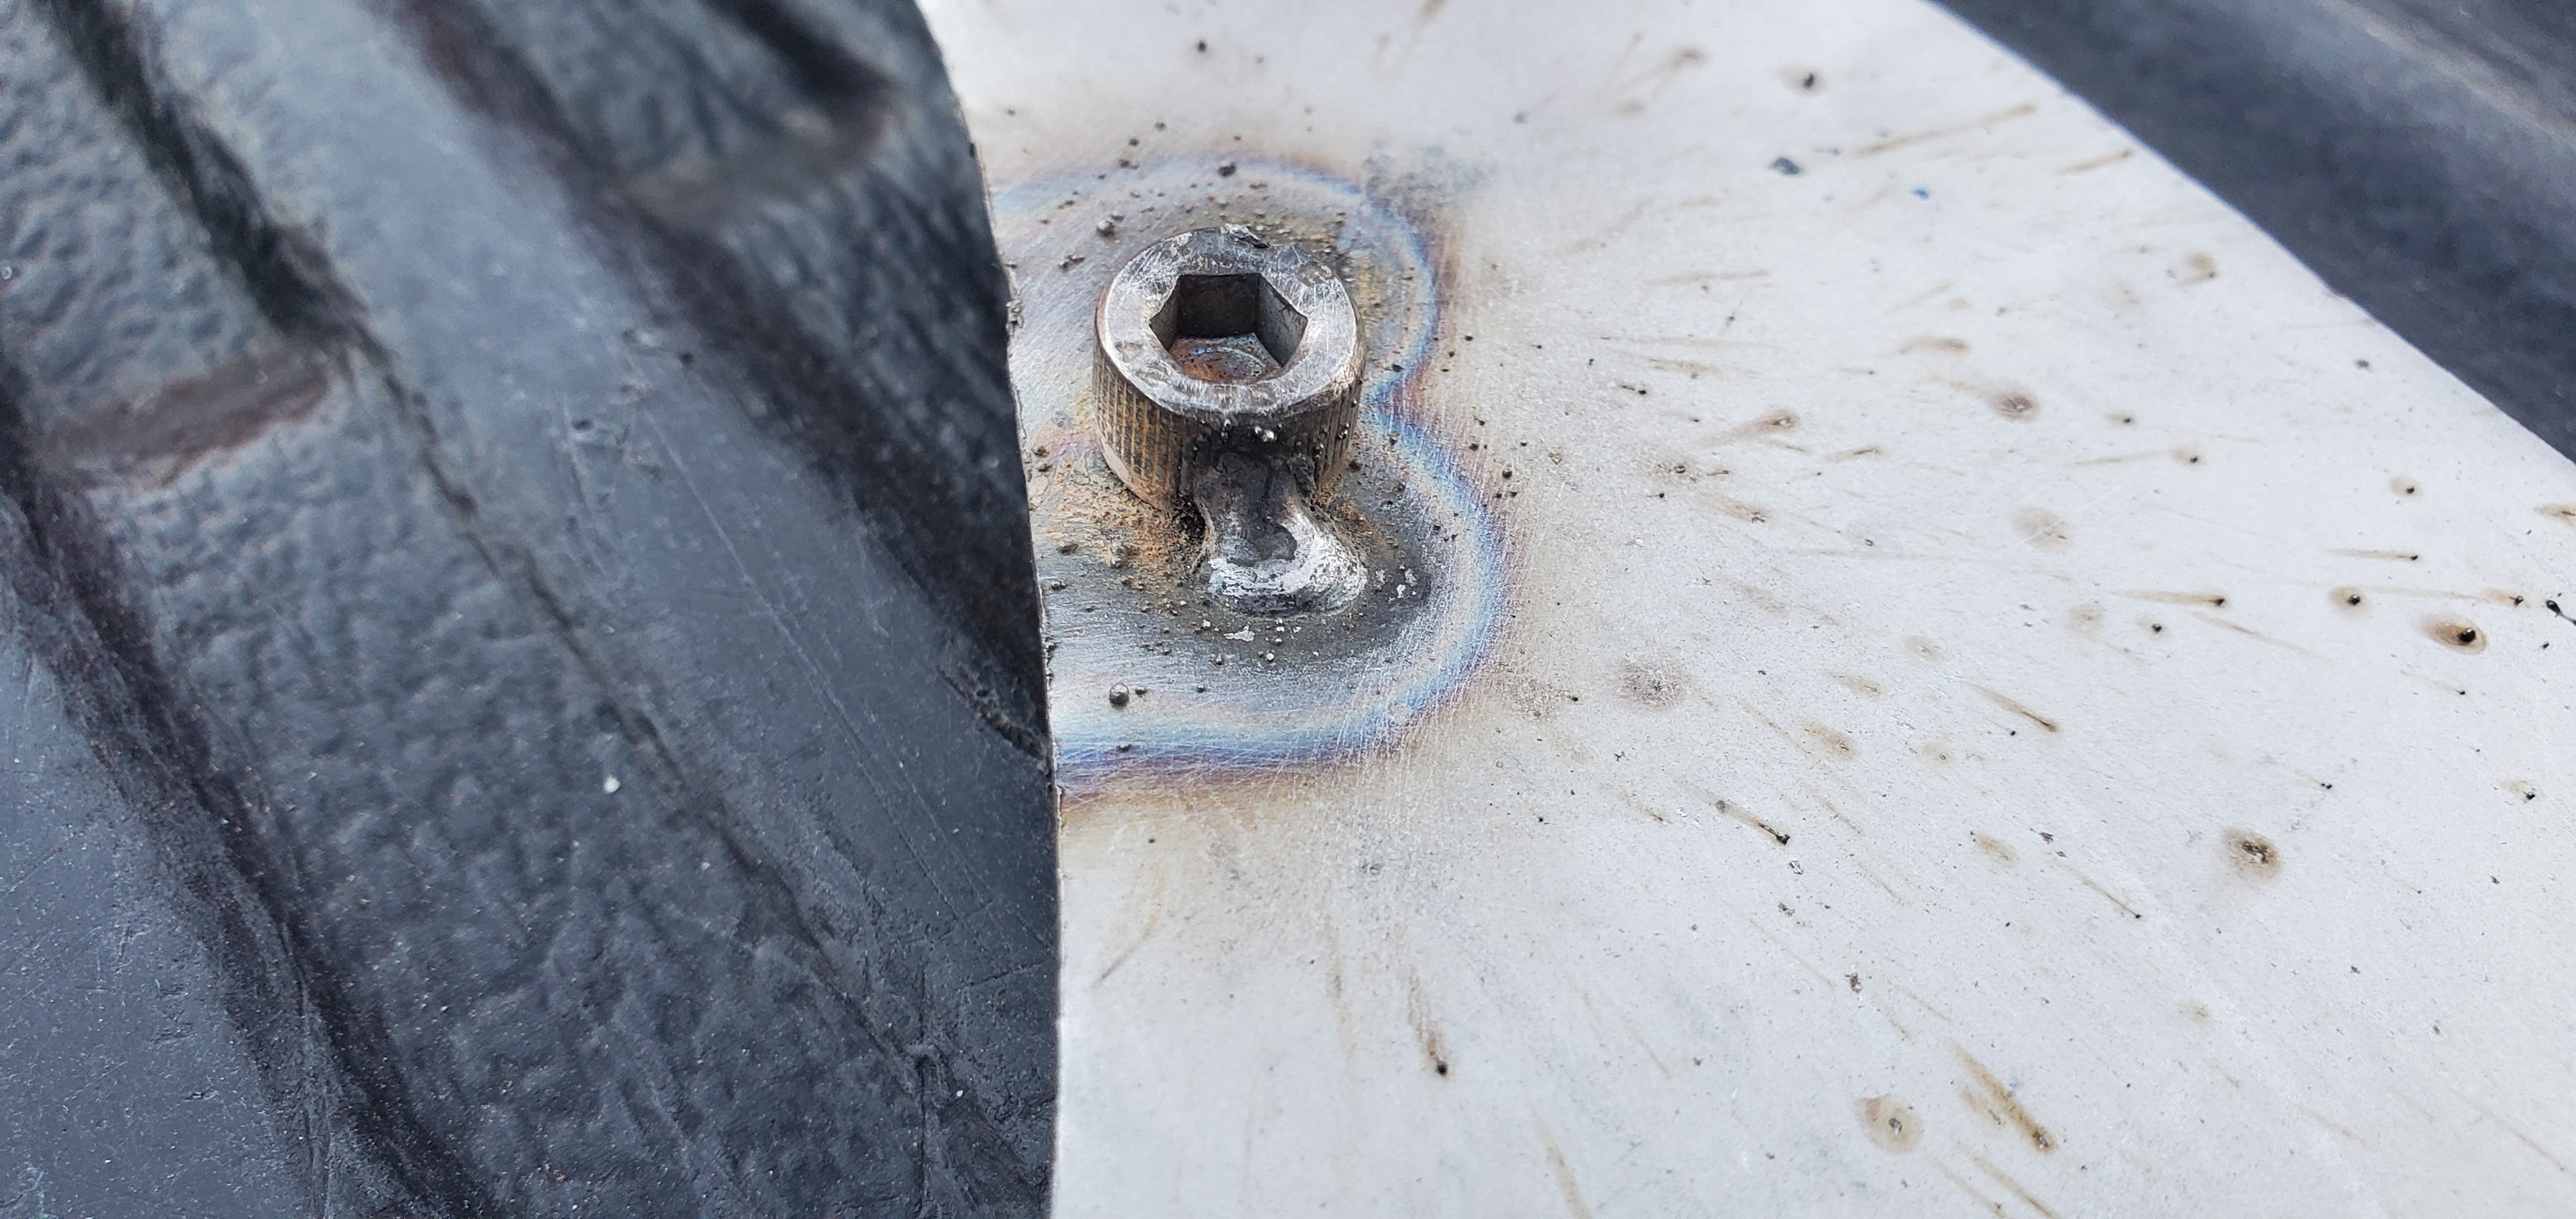
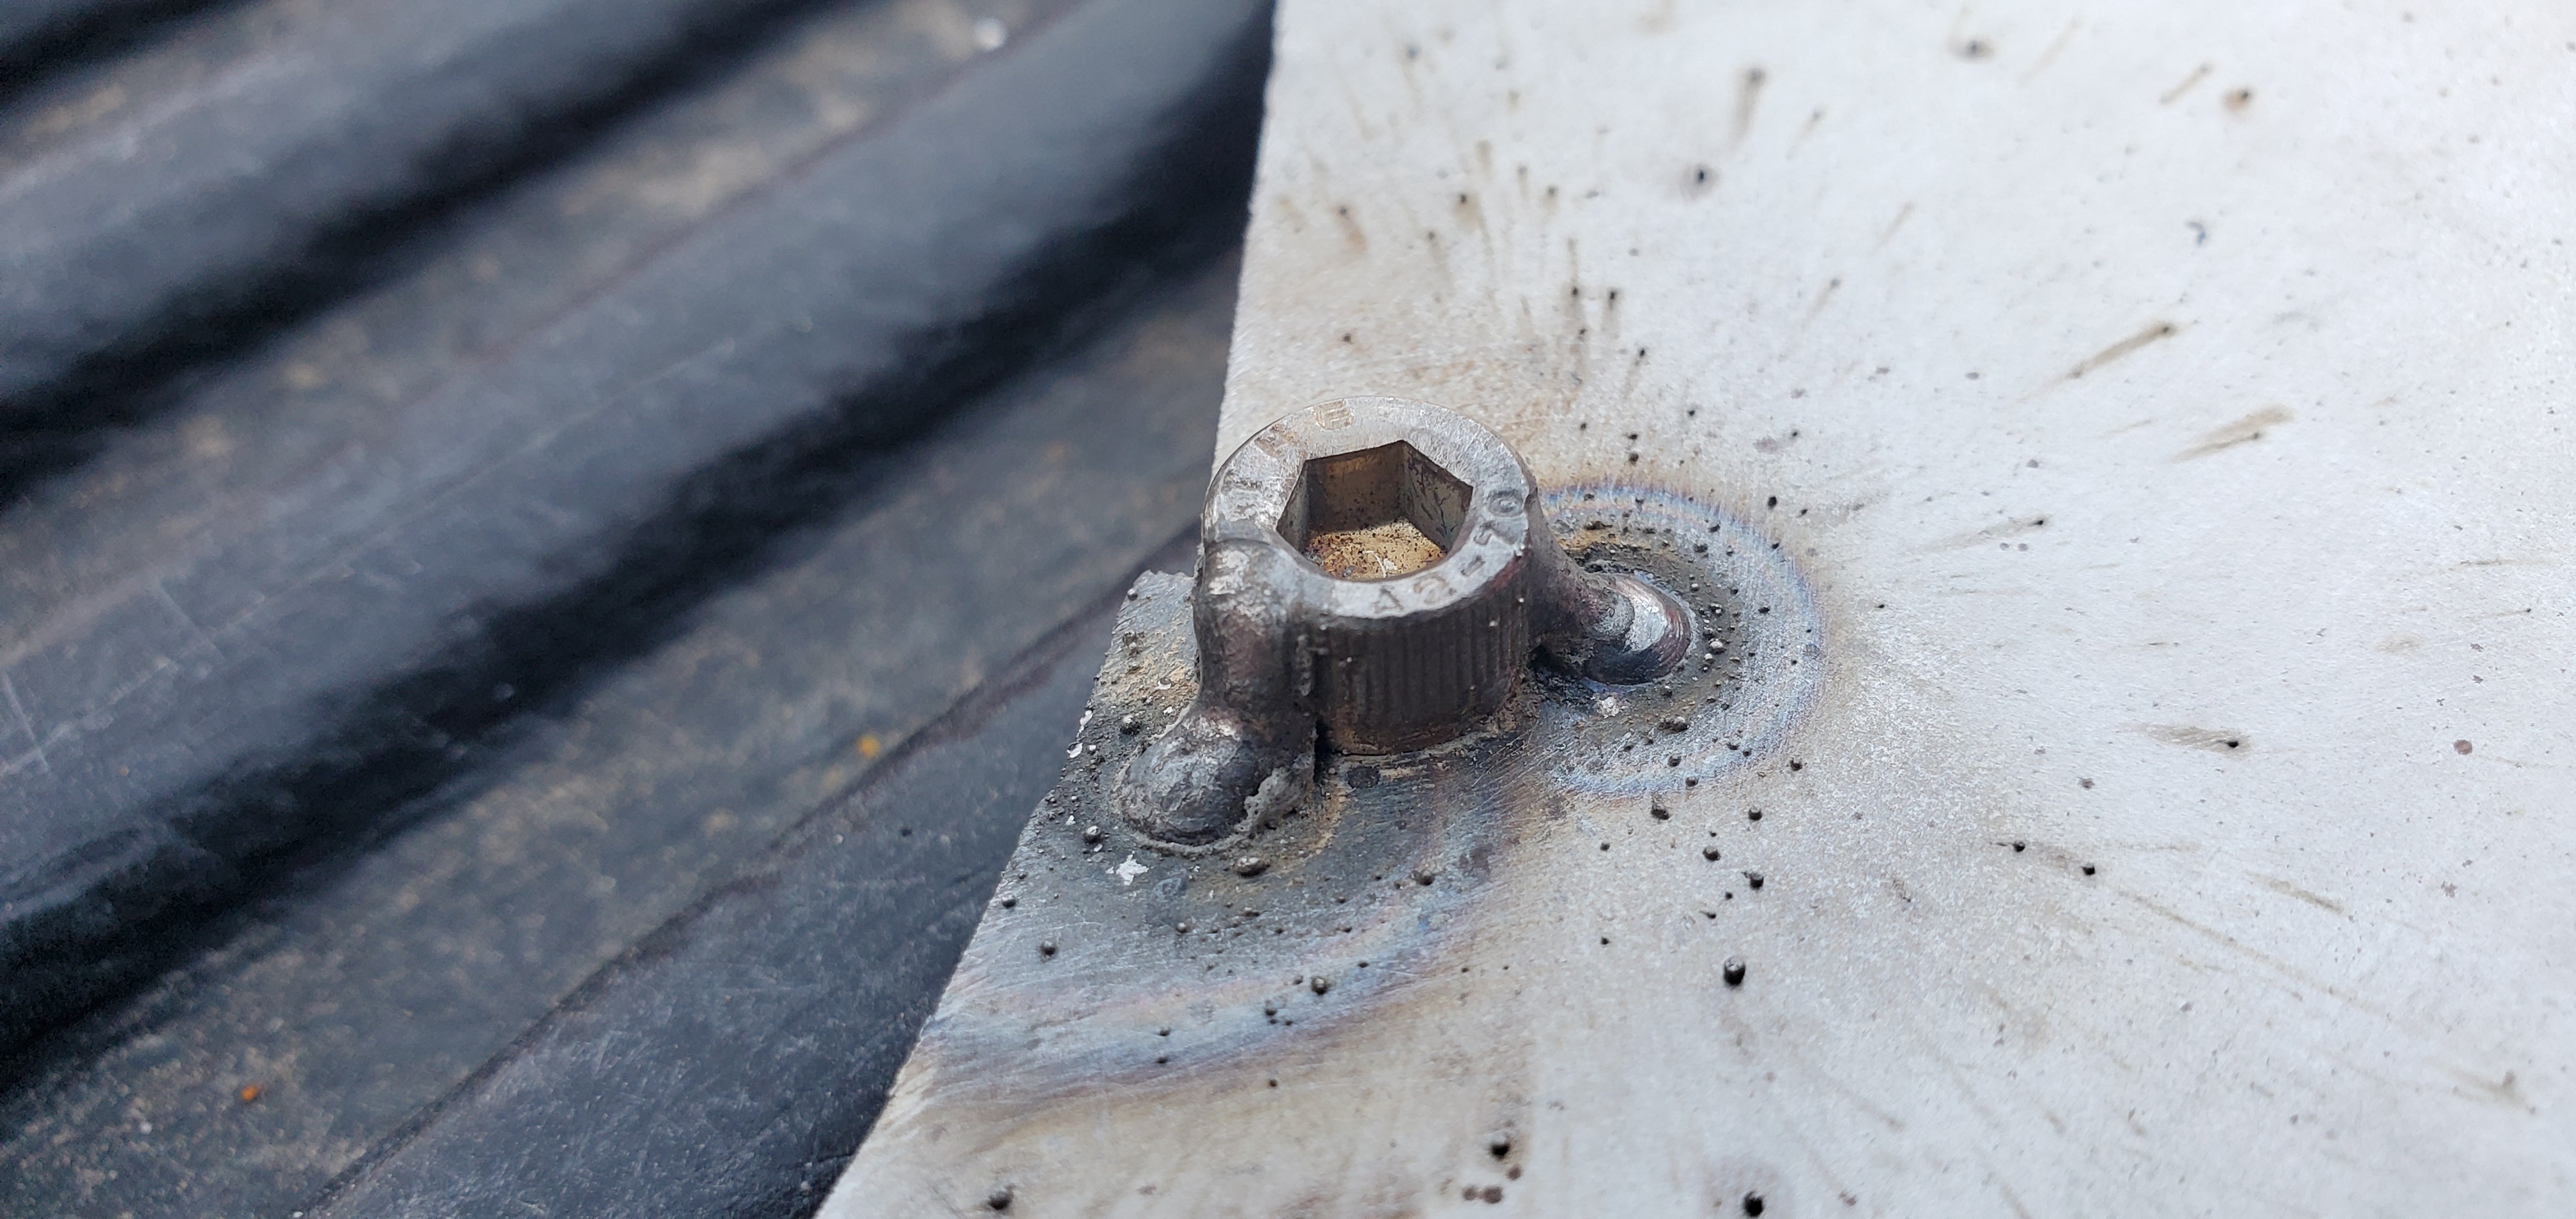
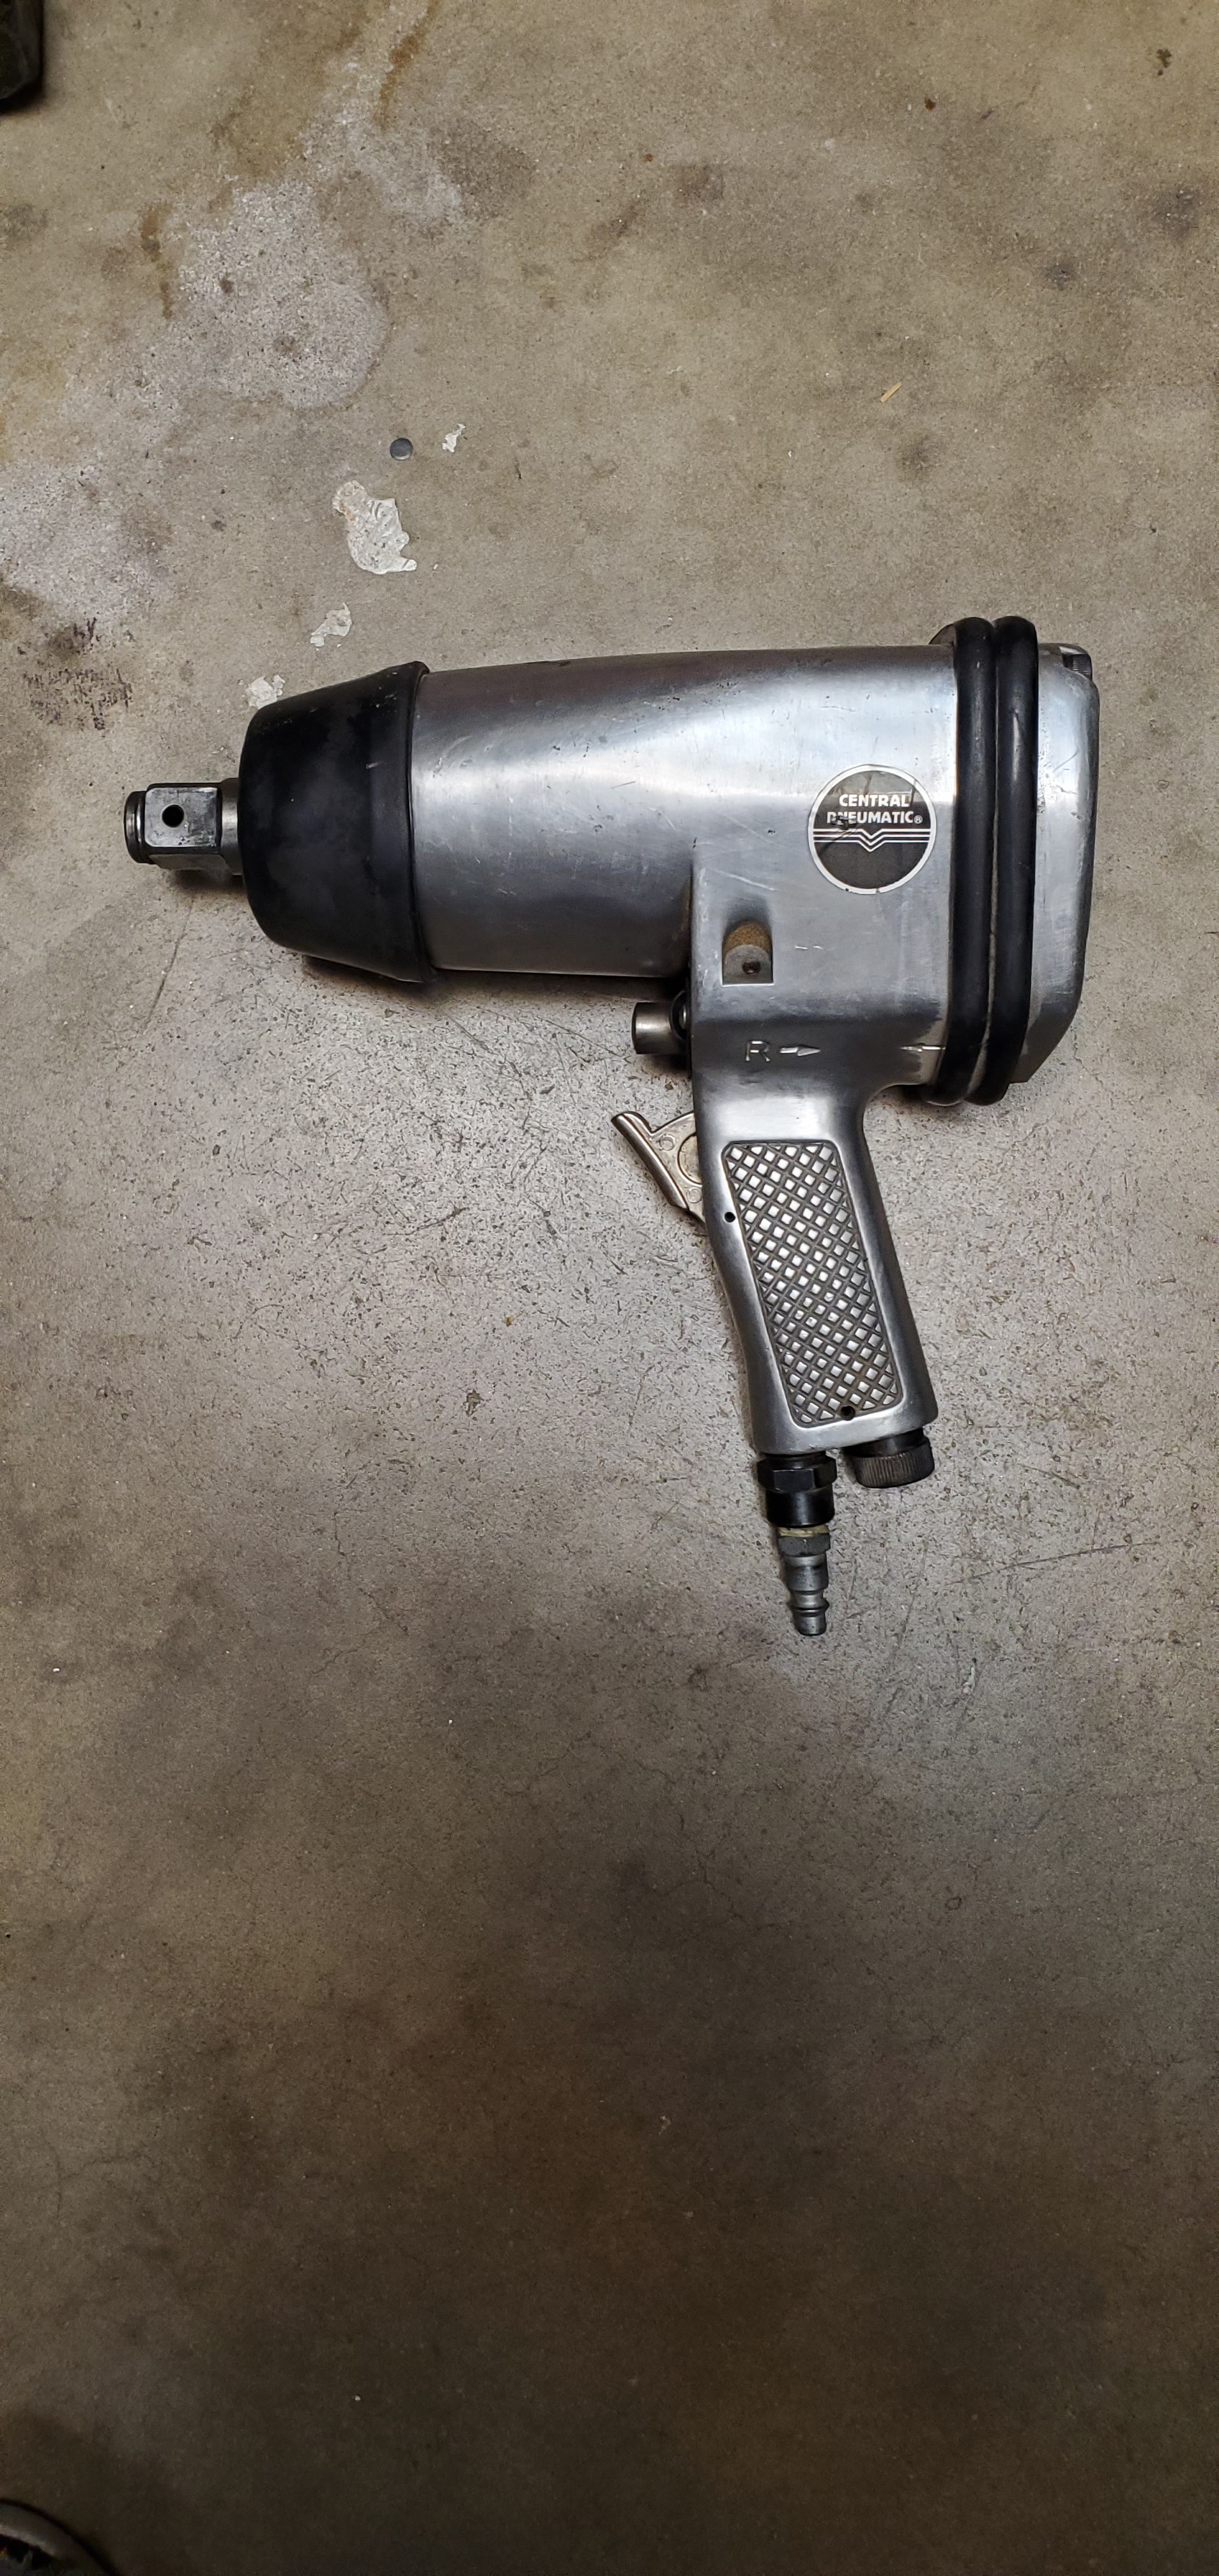
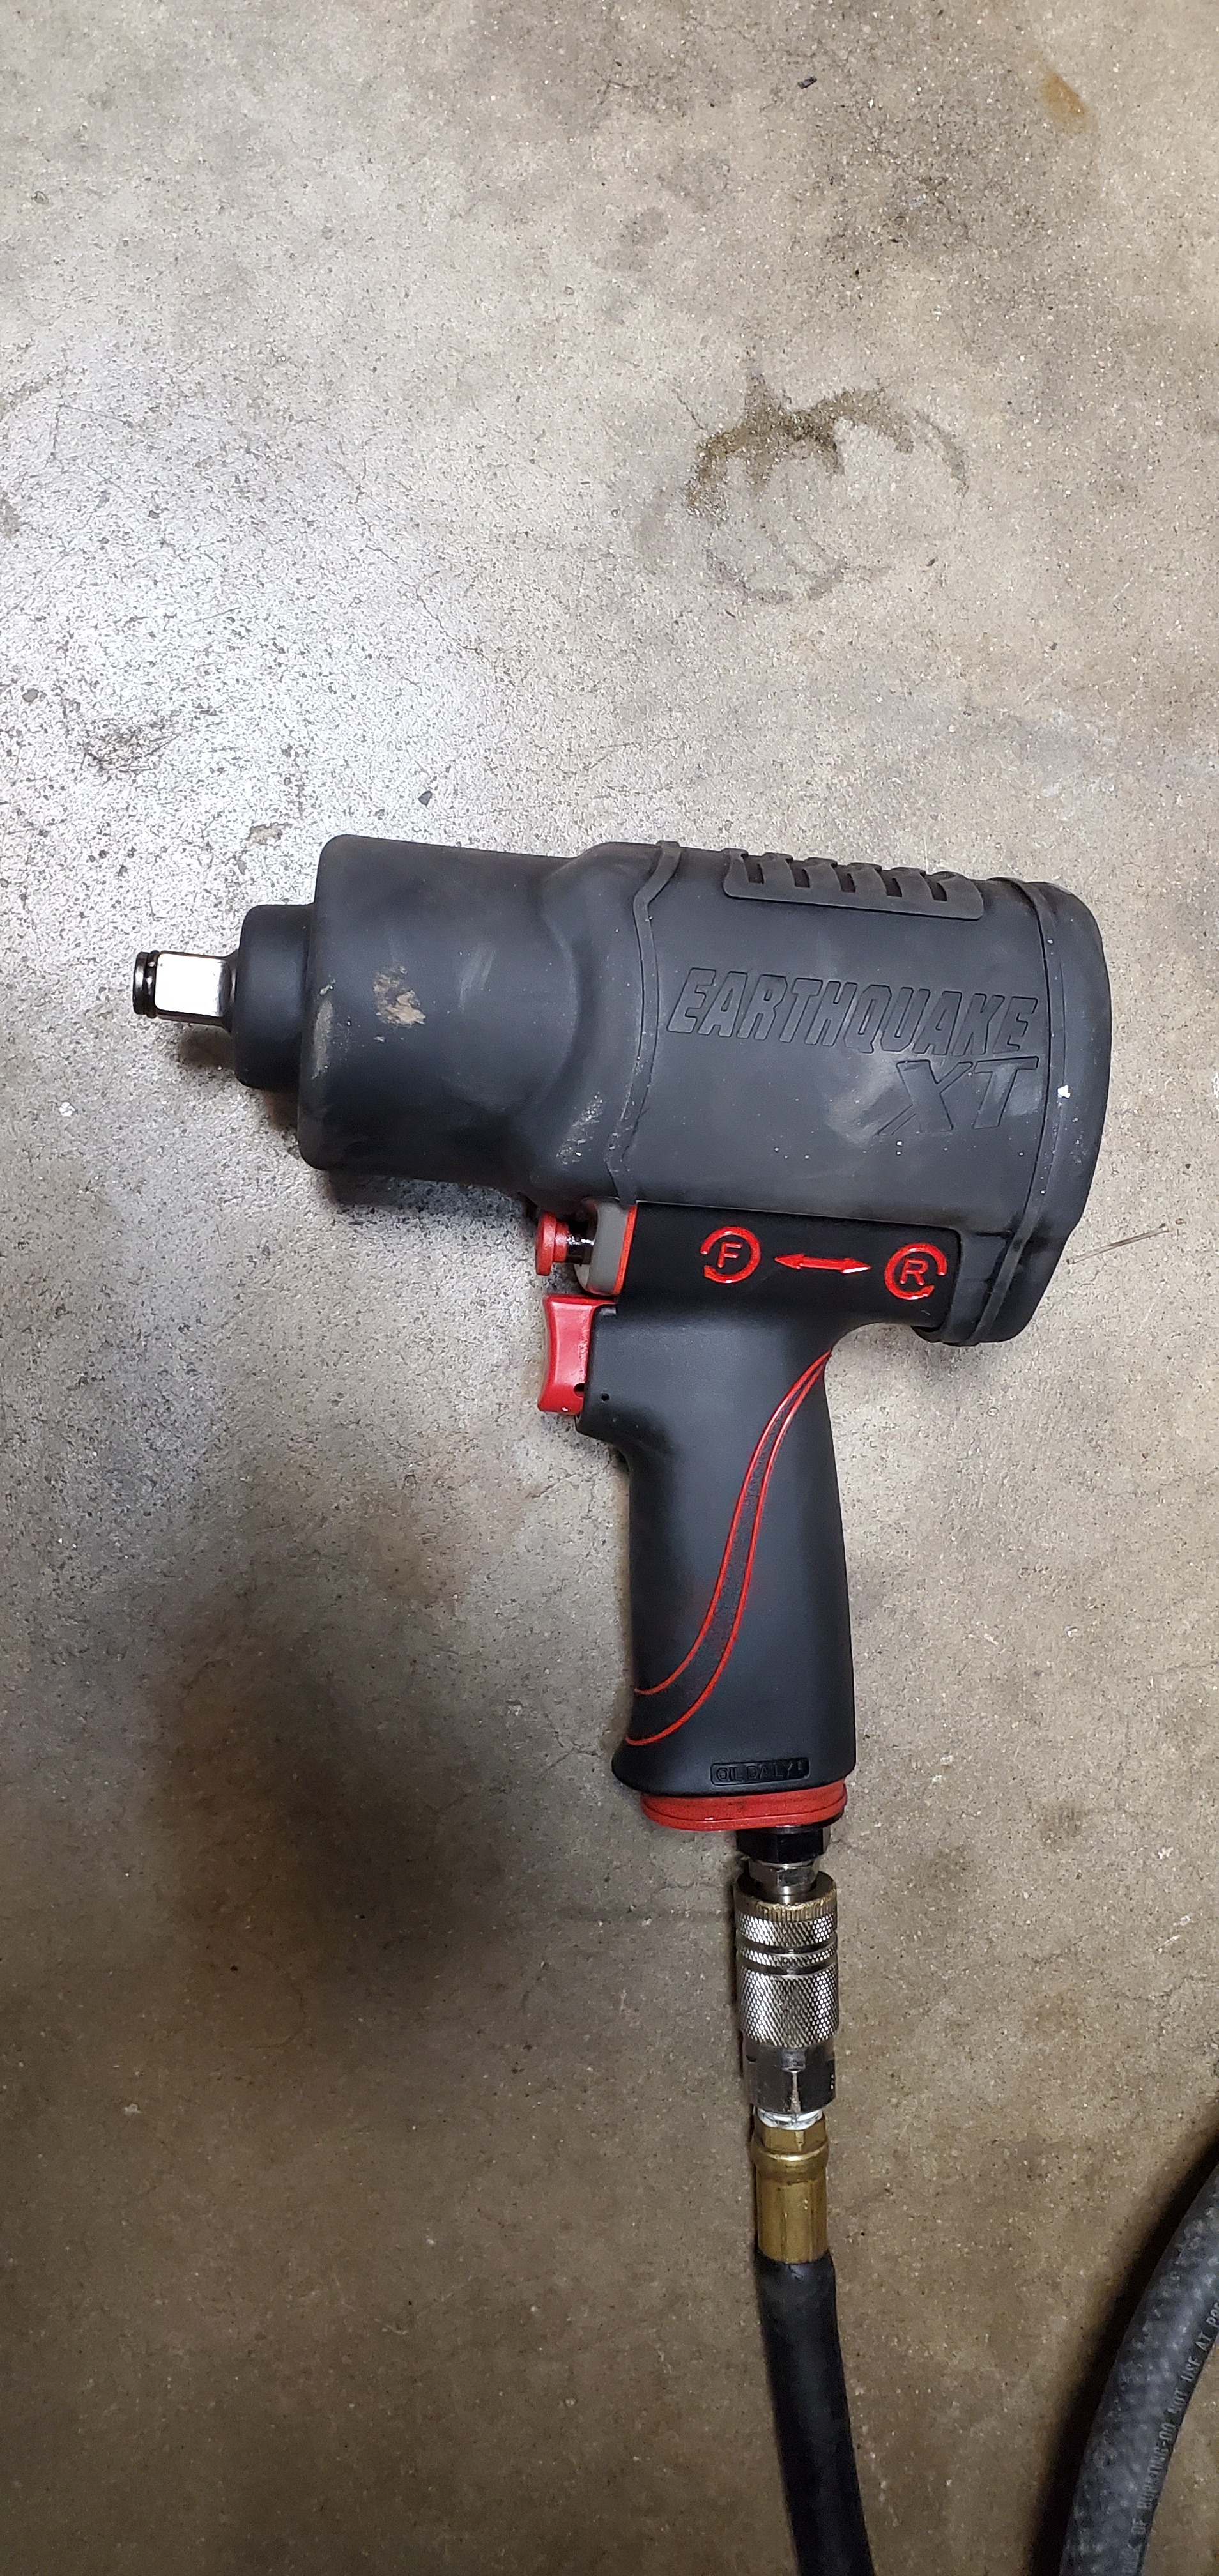
So swapping flanges it is. I used a punch and mallet to pound the indent on the nut back out, then tried to use an impact to back the nut off.
My little Cordless impact wasn’t up to the job, plus I didn’t have a 36mm socket, so I borrowed a big 3/4" drive impact from one friend and a 36mm socket from another.

It got the nut off the old trans already out on the ground no problem, but it wouldn’t budge the new trans. 500ftlbs reversing torque wasn’t enough apparently.

So I borrowed another impact, with 1200 ftlbs reversing torque, but only a 1/2" drive. I ordered a 36mm 1/2" drive socket, and this afternoon finally got it out.

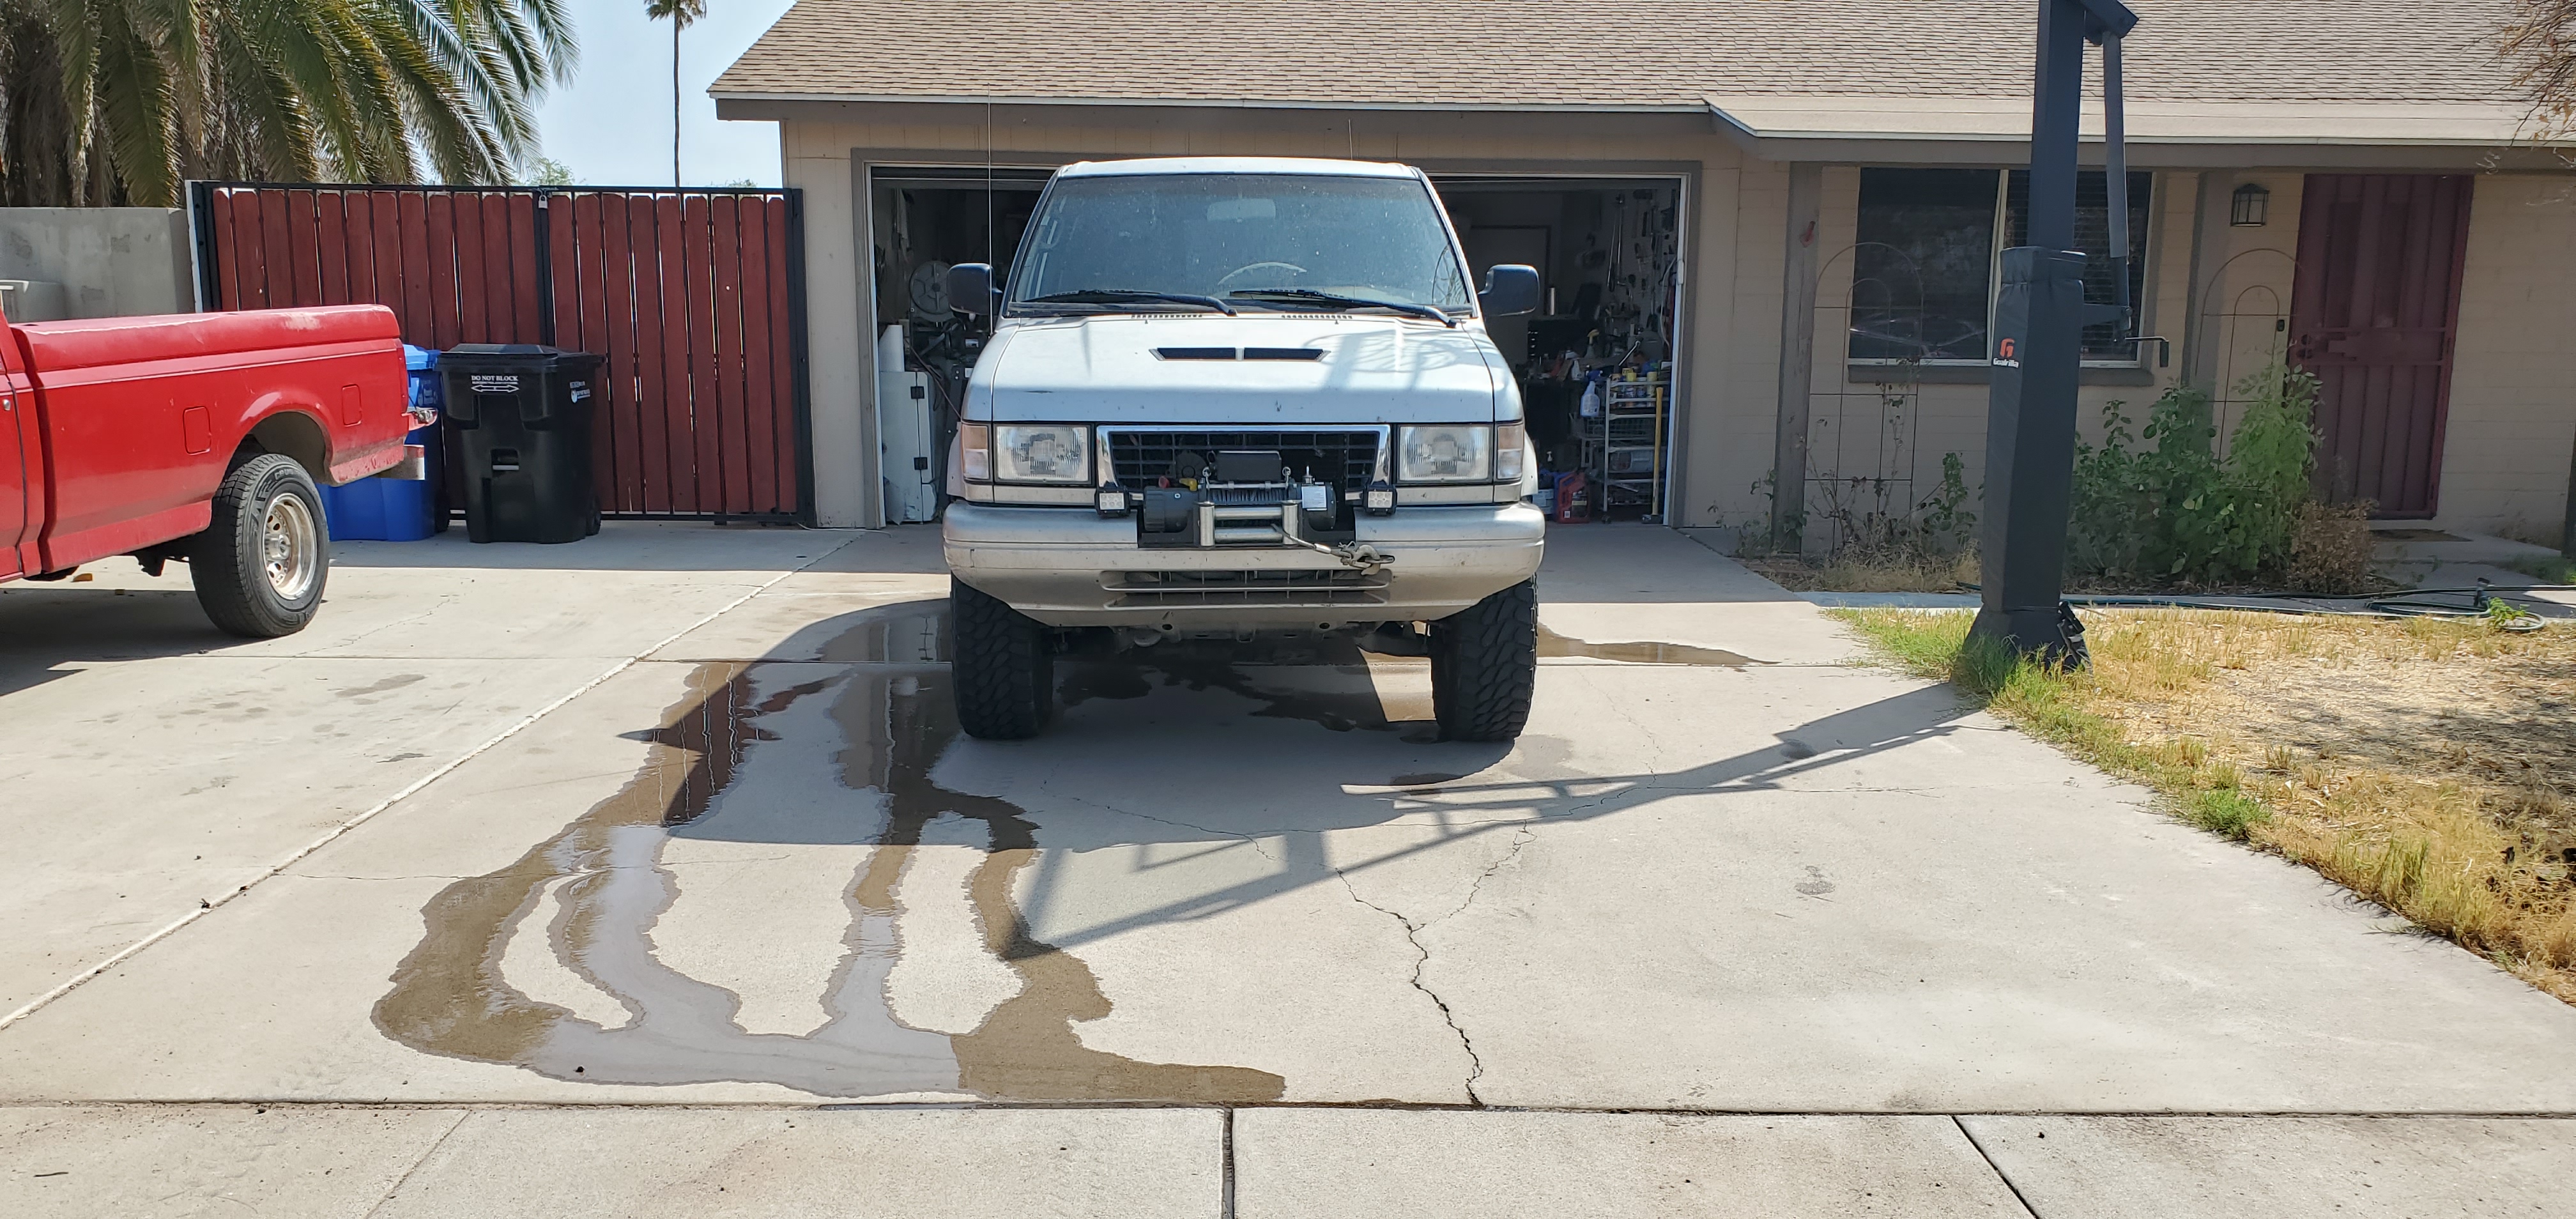
Putting the right one on was a trivial job and it’s all good now. Drive shafts are in now. Need to fill the trans and tcase, but other than that the job is done under the truck.

But wait theres more!

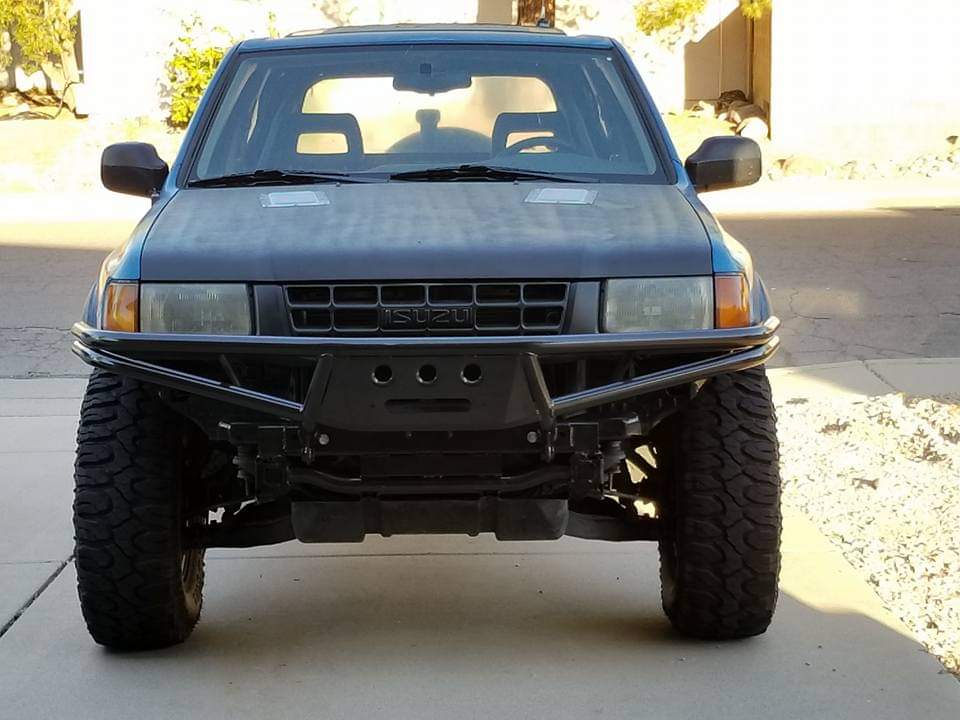
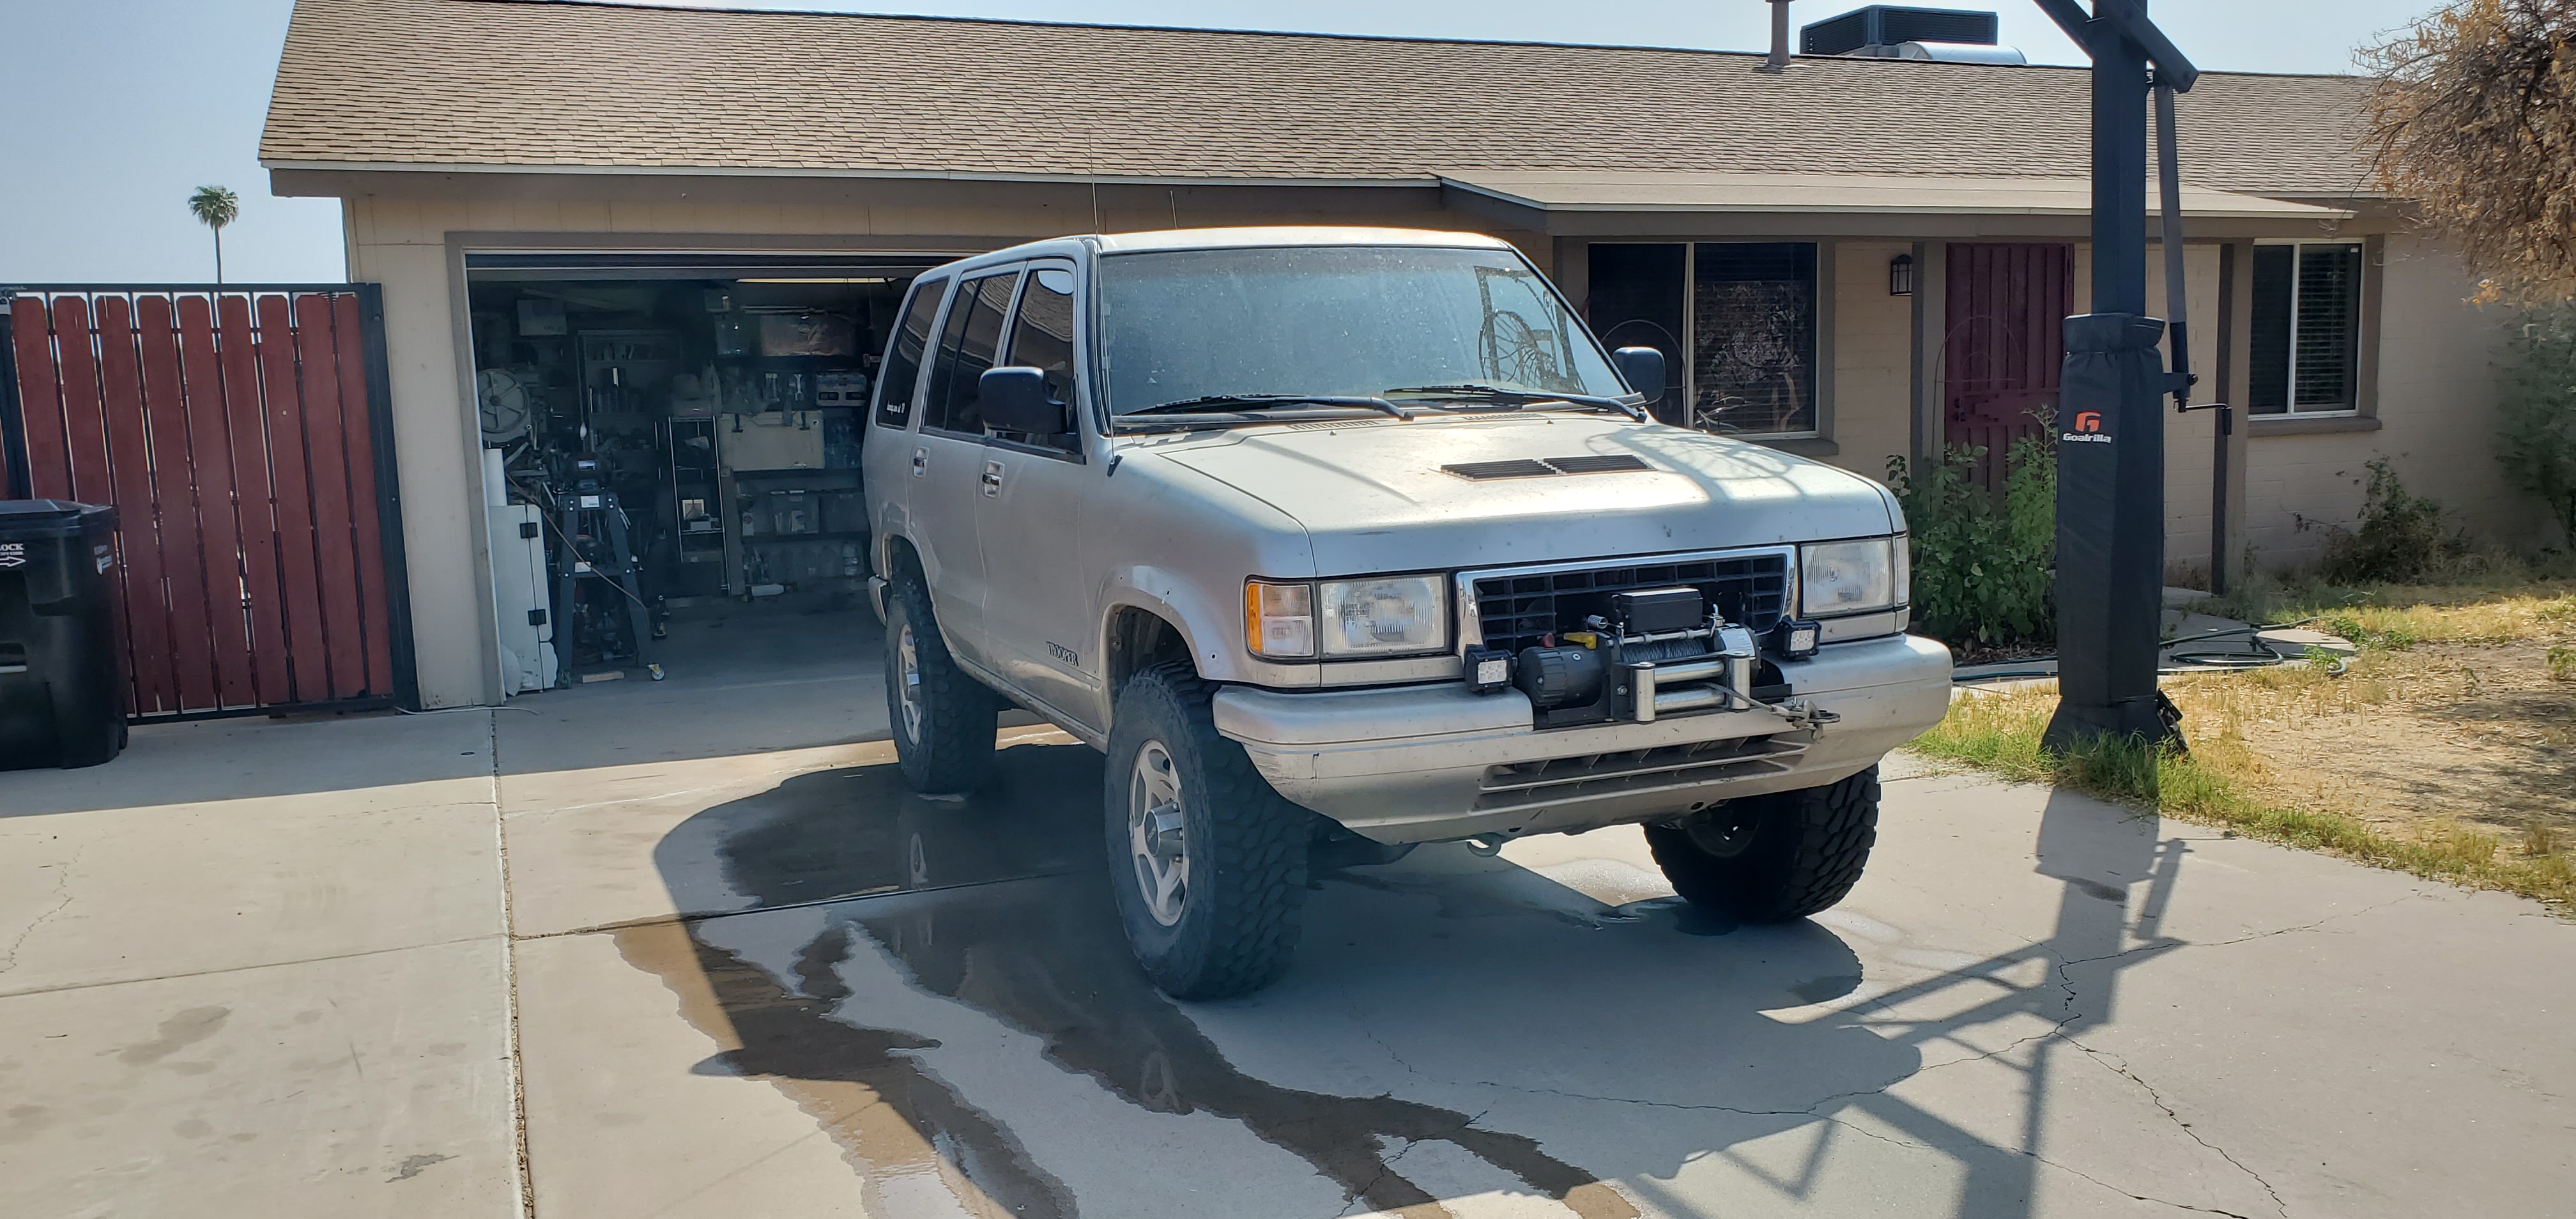
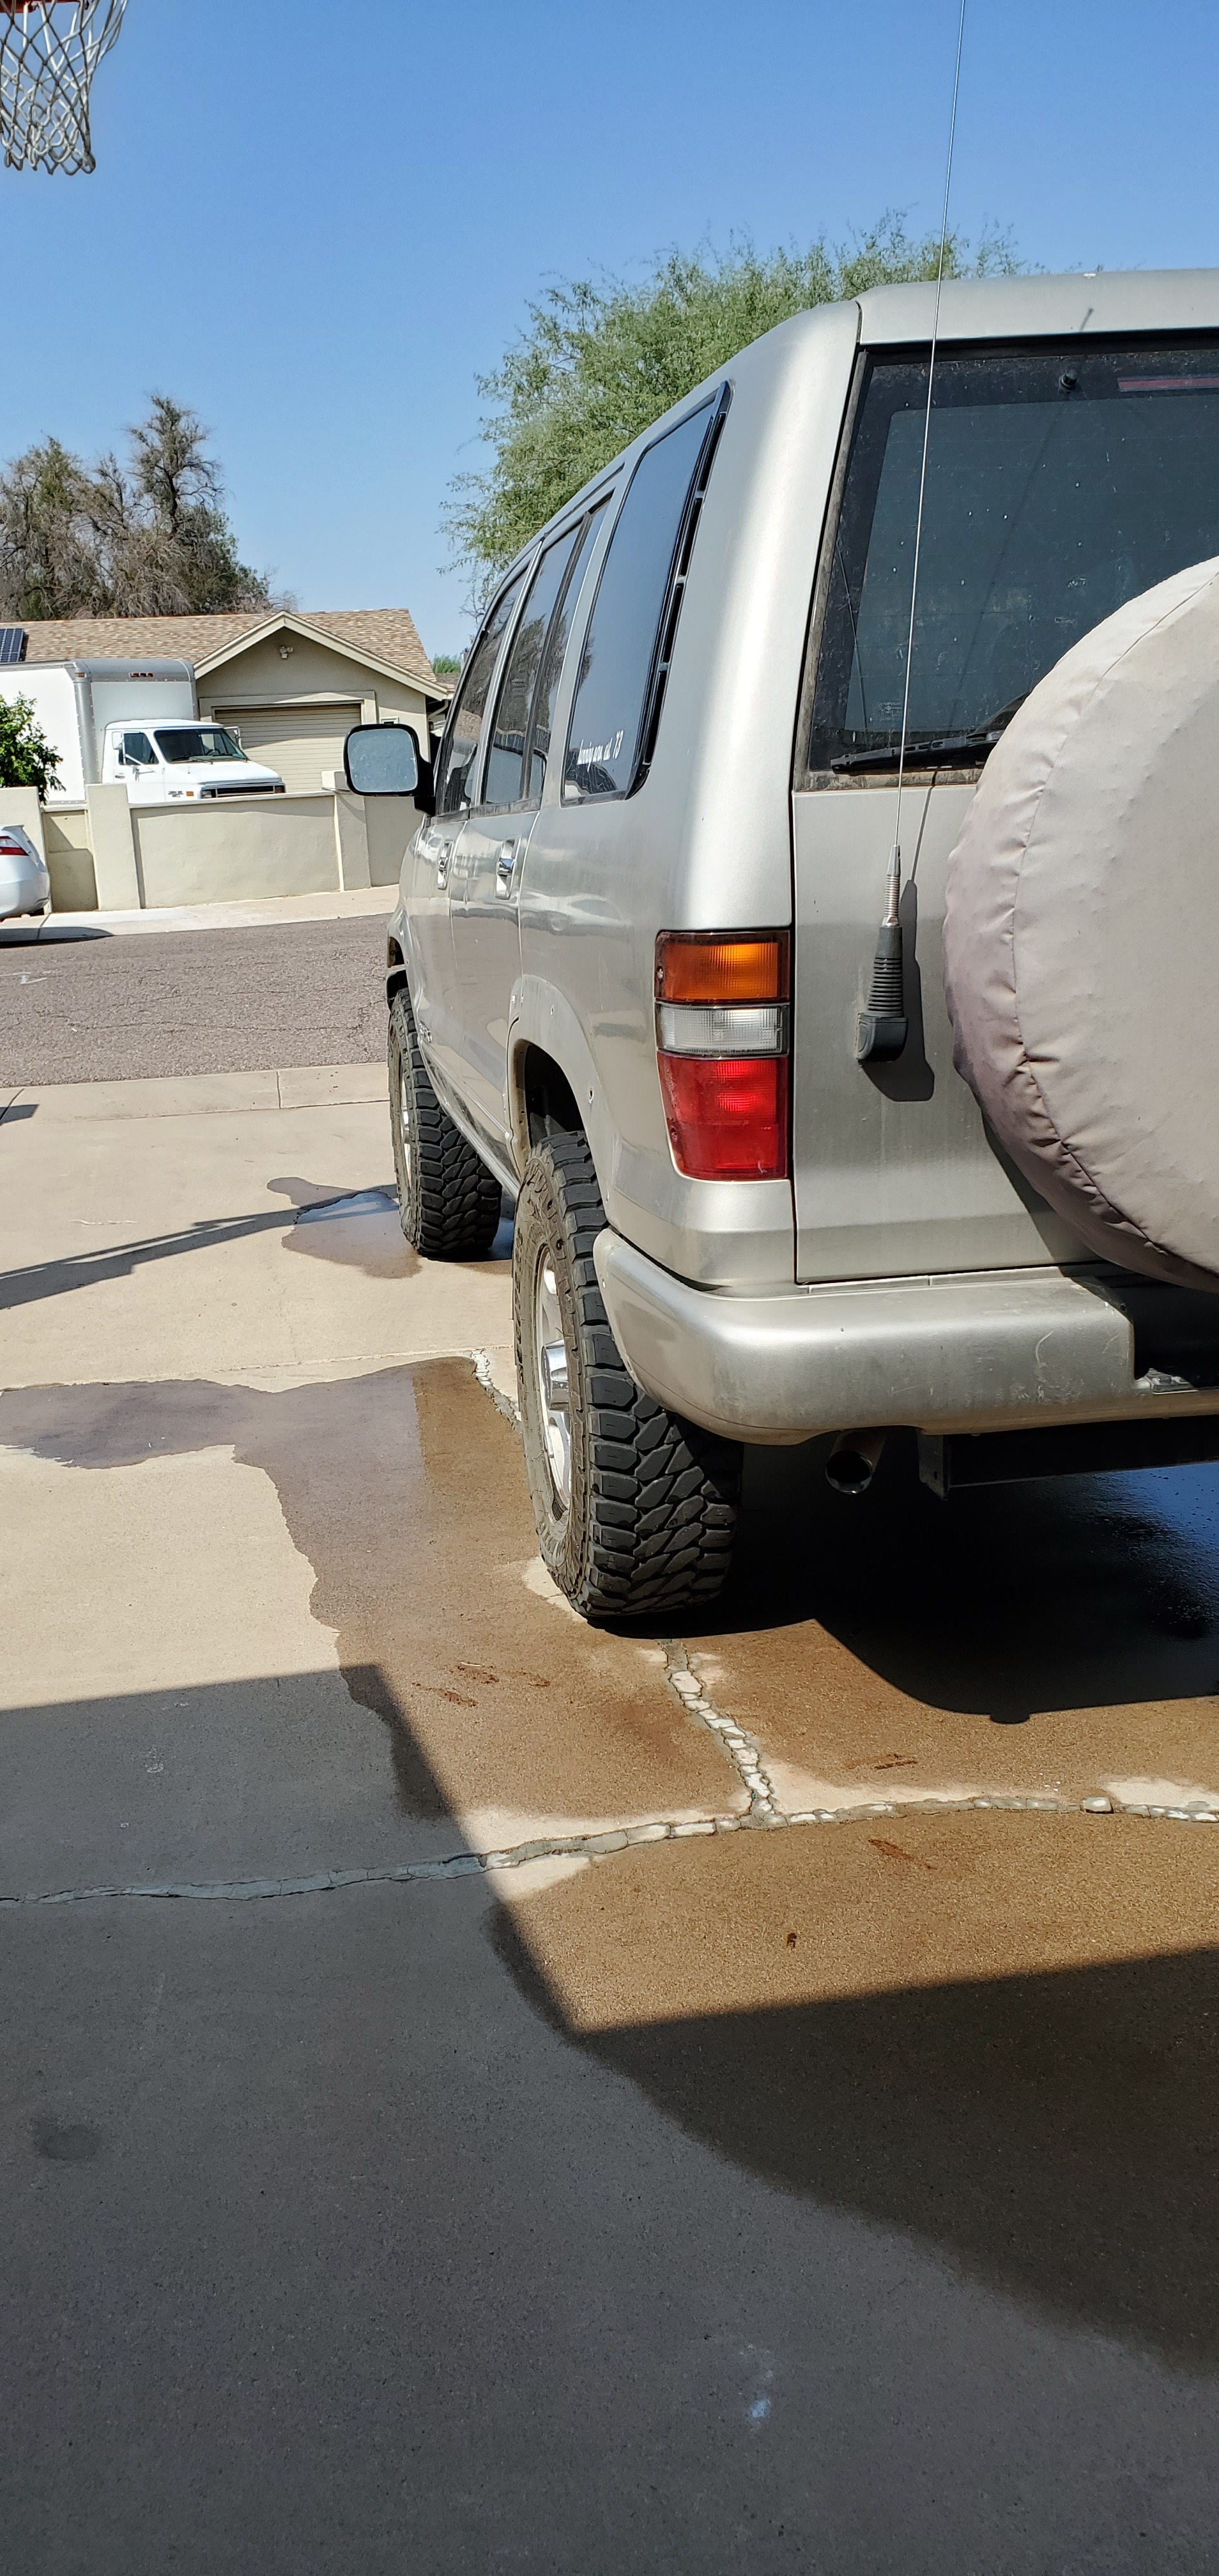
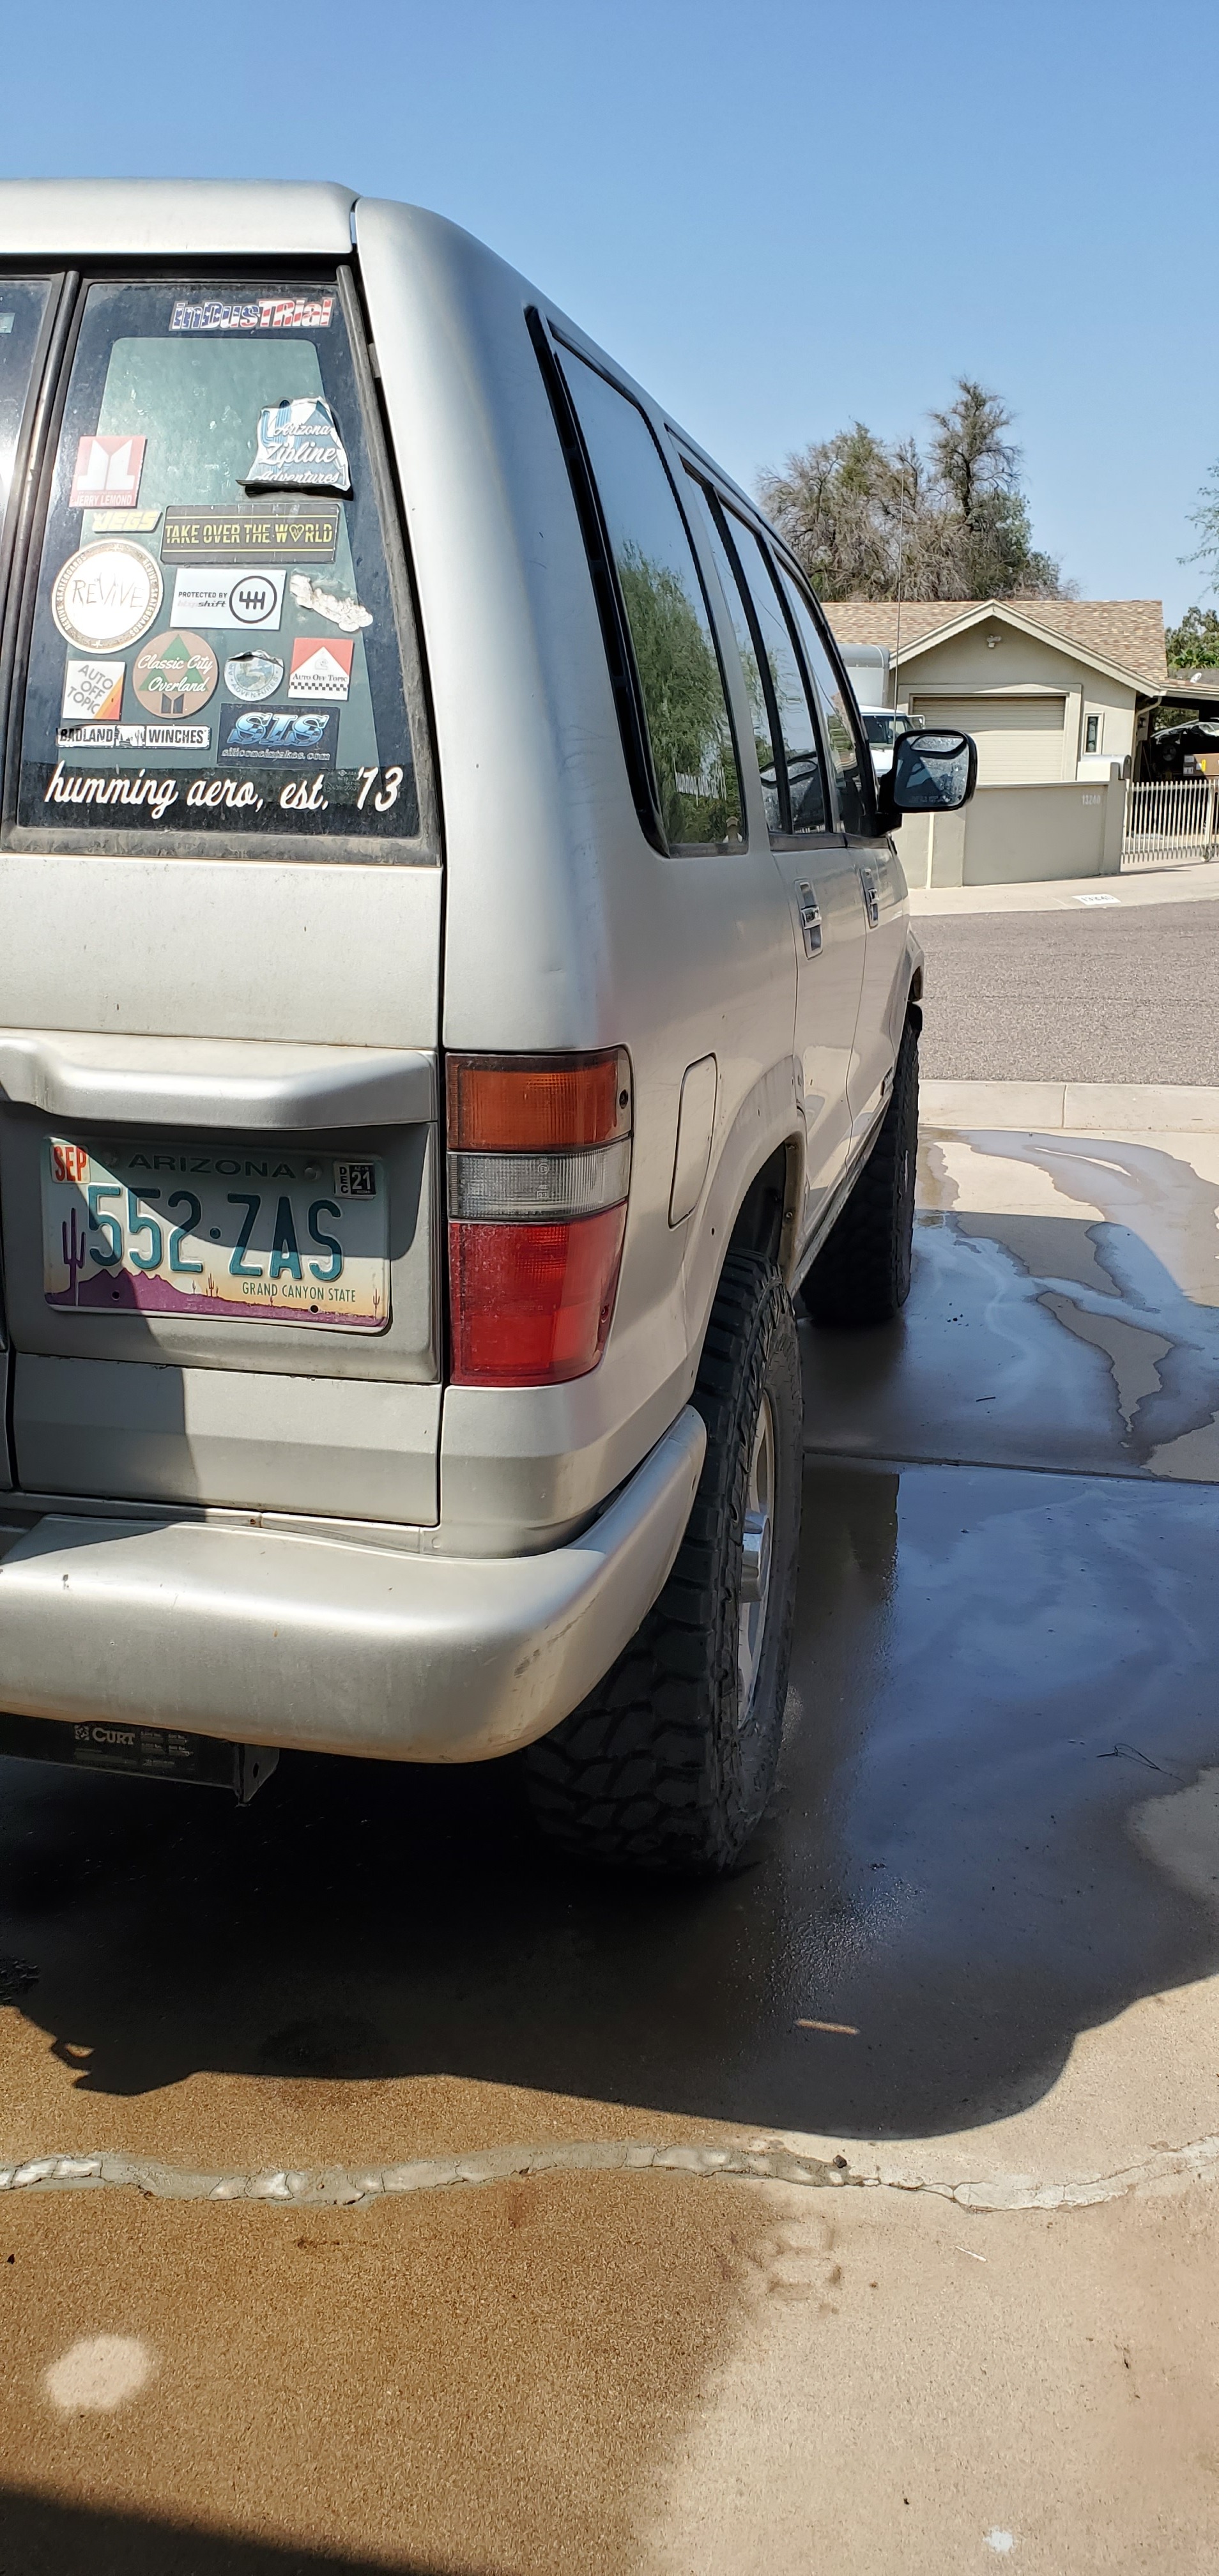
I’ve always disliked the plastic factory fender flares. On the 94/95 trucks it was just sheet metal and looked great, but for 96 and up they added plastic flares:

I took one off tonight and love it so much more, even with the holes in the fender:


You can see it really doesn’t impact the ability to cover the tires unless you are running spacers.

I was already feeling so/so about my bumper trim, but now without the fenders it looks really bad. So I’m gonna ditch the plastic and build a tube bumper, one of the friends I borrowed tools from has a hydraulic tube bender, so I’m going to use that and make a tube bumper similar to @_radmigo on Instagram:

Next up is full the trans and tcase, reassemble the center console and shifters, and flush, fill, and bleed the coolant.

3 Likes

Alright, you asked, I delivered, my electric fan comparison is here!

Humming Aero Electric Fan Comparison

If you guys wouldn’t mind subscribing to my YouTube channel I’ll be adding a bunch of videos coming up, some automotive, others engineering related.

1 Like

Output shaft/flange project looks like it was Type 2 Fun—stressful, complicated, challenging, and yet rewarding in the end. Those situations are always memorable. Glad you had friends who made an impact, you might say.

I’ve got too many meetings this morning, but will check out the video soon. I’m curious how the fans turned out. We need more data-driven mods these days.

Wo0t!

1 Like


So I dig the bumper cut from the front…

But that’s the only angle. DIY tube bumpers front and rear, here we come!

First test drive tonight, fan wiring worked well, turned on at 200, off again at 185, did the job perfectly. In the middle of a coolant flush, going to drain it tonight in a little bit, then fill. New trans shifts perfectly, synchro feel good. I’ll try crawling down the street in 4lo/1st tomorrow.

1 Like

#YES! :partying_face:

That’s a whole lotta success in one shot. Gotta feel good. And well-earned, I’d add! It’s been a frustrating summer.

Looking forward to seeing the next chapter of Stormy.

1 Like

Hopefully the next chapter is more wheeling and less wrenching.

  1. Lower front Differential to correct CV angles
  2. Install 3rd row seat
  3. Tube bumpers and sliders
  4. Drive!
1 Like

A few more pictures in the daylight with all the flares off.

1 Like

I, too, like it without the flares. Very nice, man!

And I hope you get to spend more time wheeling with it soon. (The weather’s gonna get better!)

1 Like