Fezzik: Life Begins at 200K

243,382

  • #theroadtoRADwood begins
  • front end rebuild

Finished my first attempt at cosplay.

Then got out my tools.

And got started.

Fortune smiled upon me!

I stopped by Homie D’s for a can of termite spray and, on a whim, thought I’d price an extra battery for my old Ryobi. They had a 2-pack of batteries for $79–and a 1/2" 3-speed, 300ft-lbs Ryobi impact with a big battery and charger for $99.

Damn thing scares the bolts loose. It’s like an Uzi.

E:2140 - Banana Guard 16 was a hit. I didn’t cut eye holes so I was led around by a friend, and I was soaked in sweat after an hour, but it was worth it. This is our season.

And Fezzik looked pretty cool, too.

PROGRESS

Git it. GIT IT!


And I’m feeeeelin’… good.

1 Like

Got the driver side LCA out last night while the girls were at dance class. Would have got them both if the sleeve through the lower strut mount on the other side wasn’t fused to the bolt and holding everything in.


I mean, just look at the damn thing. It’s bending the mounting tab away. Gonna try hitting it with fire today real quick. We’re stealing away for our anniversary this weekend and it would be nice if I had both LCAs out before we left.

Grandma Obi was in town and gave us the better part of a weekend away. Came home Sunday rejuvenated and got back to work.

It’s almost like they knew it would pull this shit. Guess what. Still not out of that lower mounting bracket.


Next obstacle: Looks like I gotta disco the brake lines anyway. And the steering linkage at the box. And get new braided lines, rotors, and pads moving.


It’s gonna be a last minute jam sesh.

Sprayed everything down with Easy Off oven cleaner, then pressure washed. Got a call in to my mechanic about pressing bushings in/out of the arms while I focus on the lowers.


The Breakfast Club Reaction GIF

Damn. It’s gonna be close.

  • :heavy_check_mark: 11/09 - bushing & ball joint press kits arrived
  • :heavy_check_mark: 11/13 - brake pads arrived 3 days early!
  • :heavy_check_mark: 11/15 - brake lines arrived 5 days early! (From Kuala Lumpur!)
  • :heavy_check_mark: 11/10 - brake rotors arrive
  • 11/13 - strut mount bushings arrive
  • 11/17 - alignment appointment
  • 11/19 - leave for RADwood

And I still don’t have a press figured out.

gravity falls request GIF

Aaaaaaannnnnd I just ordered a ball joint press. And upper and lower strut mount bushings. From Russia.

will ferrell holy shit GIF

My first time pressing out bushings. Took a little finesse, but I’m feeling a bit more confident. Lower front bushings are out!


Next up, gotta try getting the lower rears out. Then I break the brake lines and get the uppers out. From there, it’s reassembly.

Fingers crossed.

The Road to RADwood ended here.

We started by pressing out the first UCA bushings. Piece of cake! Figured we’d be done and gone in about two hours.

Figured wrong.

season 5 to love a patty GIF by SpongeBob SquarePants


So first of all, I cleaned out the UCA bushing shells real good before I realized what I was doing and started peeling them out with a chisel point. #facepalm

Then we decided to warm up for pressing in new bushings by starting with the “easy” lower strut bushings. First, we’d just pop that one sticky bolt out.

Riiiiiight.

1 Like

Wo duder fezzik owes you big time. I think you’ve done more work on old fezz than I did on all three of my gen2s put together. Ouch.

Sunroof drains though. You do em yet? Super simple if you haven’t… I had to do them in the 100 after rain ran down the back of my neck on a trip last summer.

1 Like

Appreciate it, brother. Yeah, it’s been rough. Josh coined the term today:

The Fezzik Factor

It’s like Murphy’s Law–but worse. Lulz.

I haven’t done the sunroof drains, but that’s the next focus of my efforts. I want a twinkle headliner before Christmas.

Once the front end is sorted, I’m pulling the headliner and cleaning the sunroof tracks best I can without removing it before the fiber optics go in. Gonna install a couple more boxes of Noico while I’m at it.

These setbacks really suck, but Fezzik’s almost done. Rear bushings and brakes, tires, and then it’s a roof box away from being donezo.

And we’re gonna use him up after that. I don’t know if we’ll ever wheel Moab or run the AlCan together, but you’ve got a hell of a park in your backyard and I expect to go camping with you sooner than later.

dude. We are camping. Full stop. Not if, just WHEN.

Actually, we just go back from camping. Just a one nighter. Luxo barge, not rough and tumble. I’ll add a pic in the right place, so as not to clutter up fezziks drama. LOL

Get some sort of rigid nylon cable. Blue jacketed clothesline wire, thicker weed whacker line… Then find the hole at the top on each side, and run the line down and out through the drain in the bottom. I took the further step of blowing it out with a blow gun on lower pressure. Some say you run the risk of blowing the lines off altogether, but the memory of cold water running down the back of my neck was still fresh, and I didn’t take any chances with leaving anything in there that could block it up.

2 Likes

I will do that, man. Fezzik sleeps between a dying pine tree and a healthy ficus. There are needles and leaves everywhere all the time. And it seldom rains, so I’m sure things are in there.

1 Like

Reveleation: Fezzik Factor is ME. :open_mouth:

Thanksgiving Day

I went out to try pressing out the old lower control arm bushings. You know, the difficult ones everyone complains about because they’re pressed into the chassis. I’ll be damned if they weren’t the easiest of the 10 total bushings we pressed on this truck. Just took the right tools.


The driver side was a bit trickier as you can’t just remove the stub CV axle so cleanly. Fortunately, you put a jack under the diff, spin the rear diff carrier mount bolt out from the passenger wheel well with some of those 1/2" extensions you have left over from changing the starter on Rocinante, and your cut-with-a-Dremel-to-Pantera piece of exhaust coupling works a treat!


VICTORY!

Got the first upper control arm back in. Even got the steering linkage matched back up first try. With 10 minutes left before I needed to pack up and clean up for lunch and a movie—the new Ghostbusters is everything you want it to be, by the way—I was able to get them both installed.

The passenger side is a bit tighter than the driver, but I’m sure it will work itself out.


2 Likes

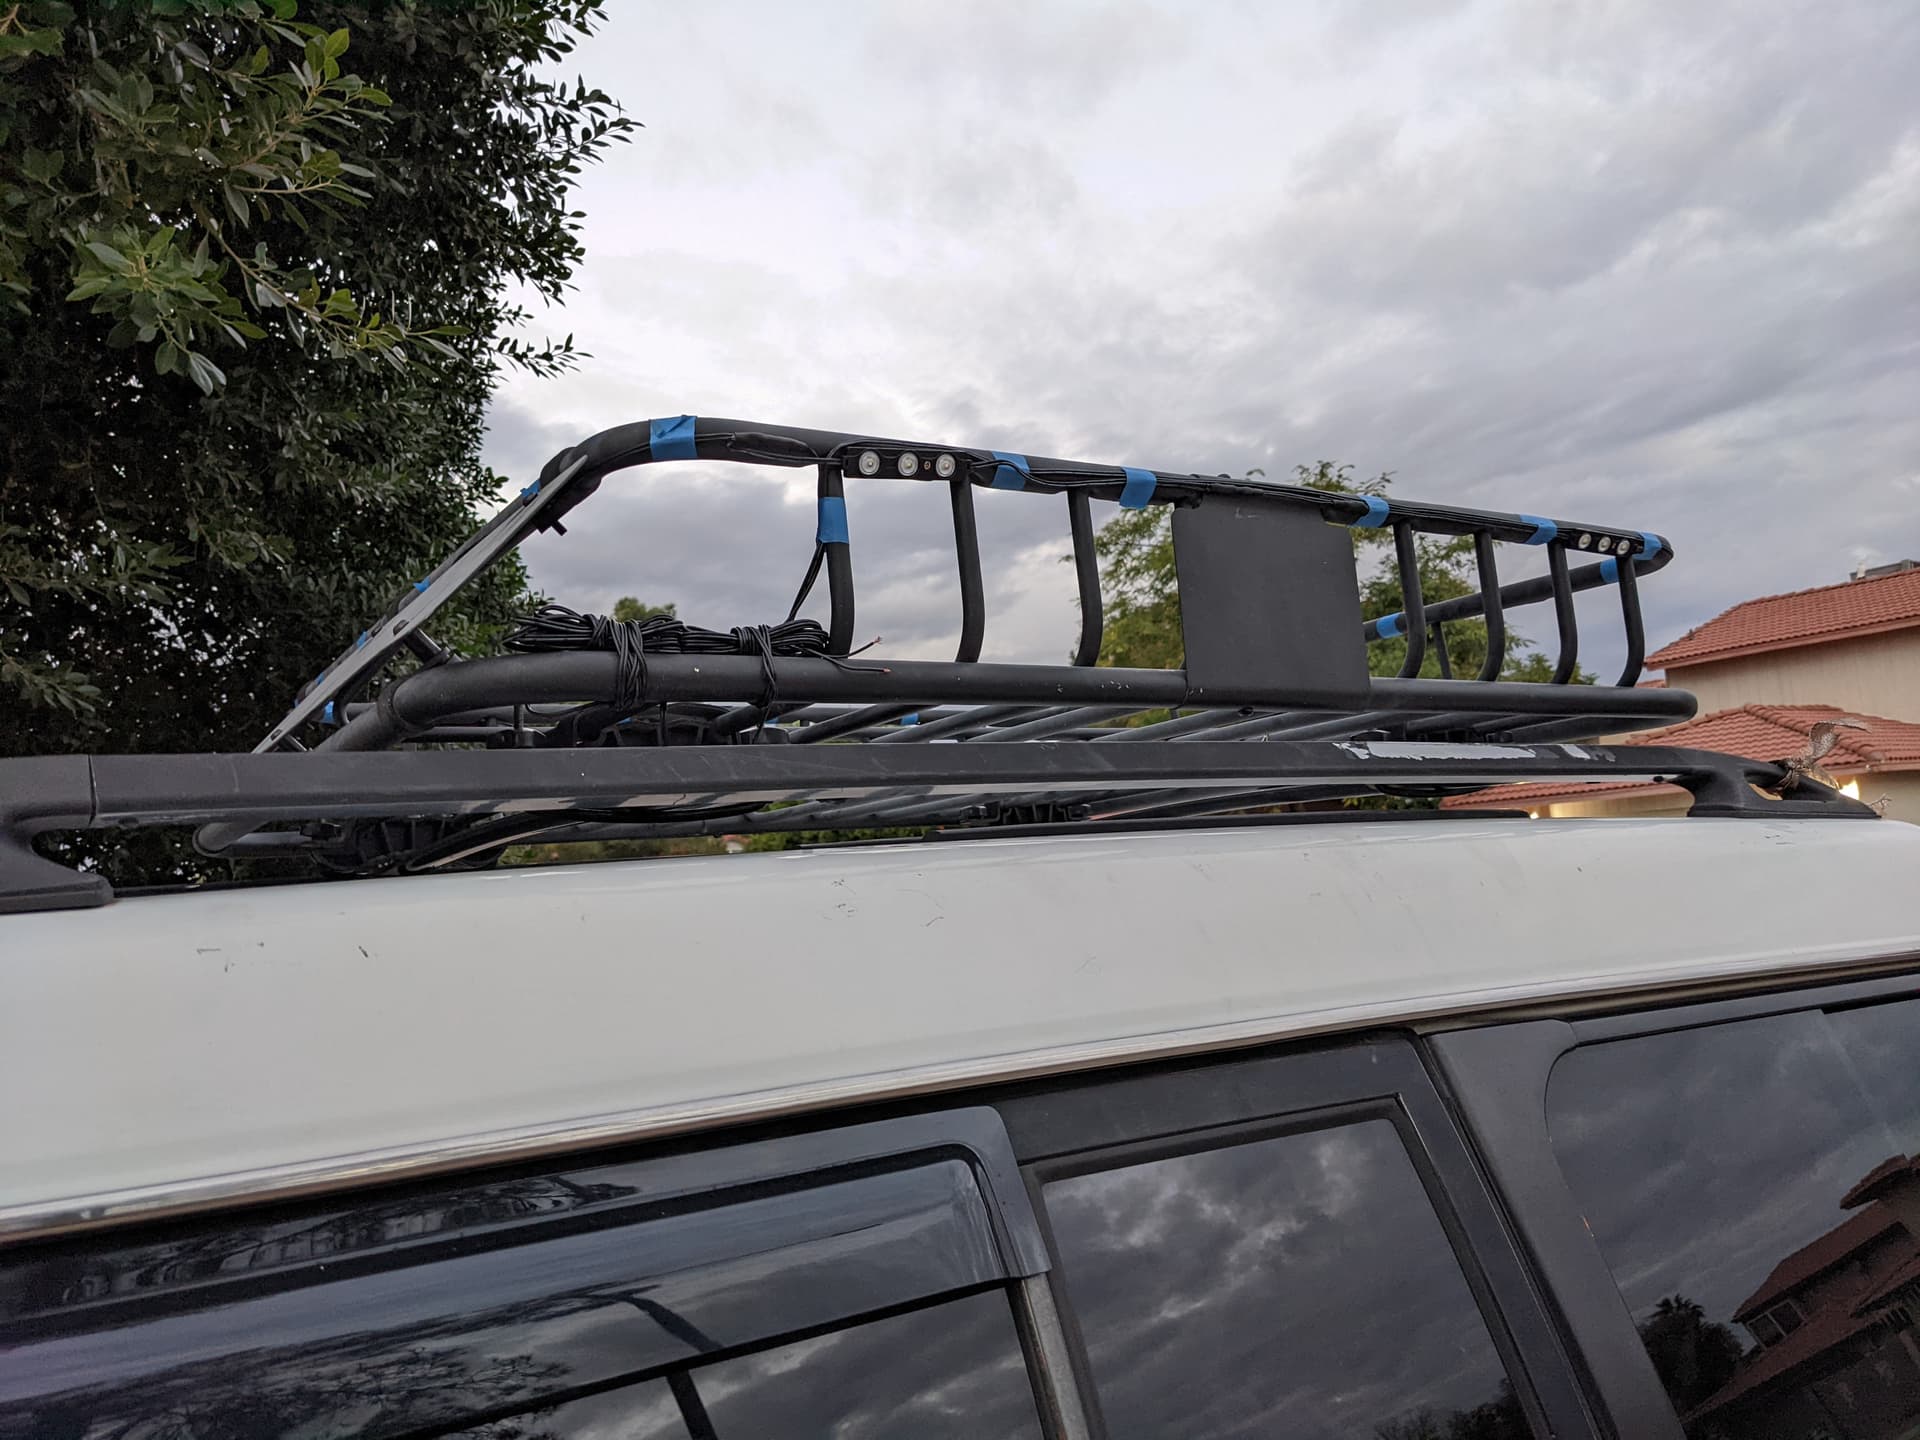
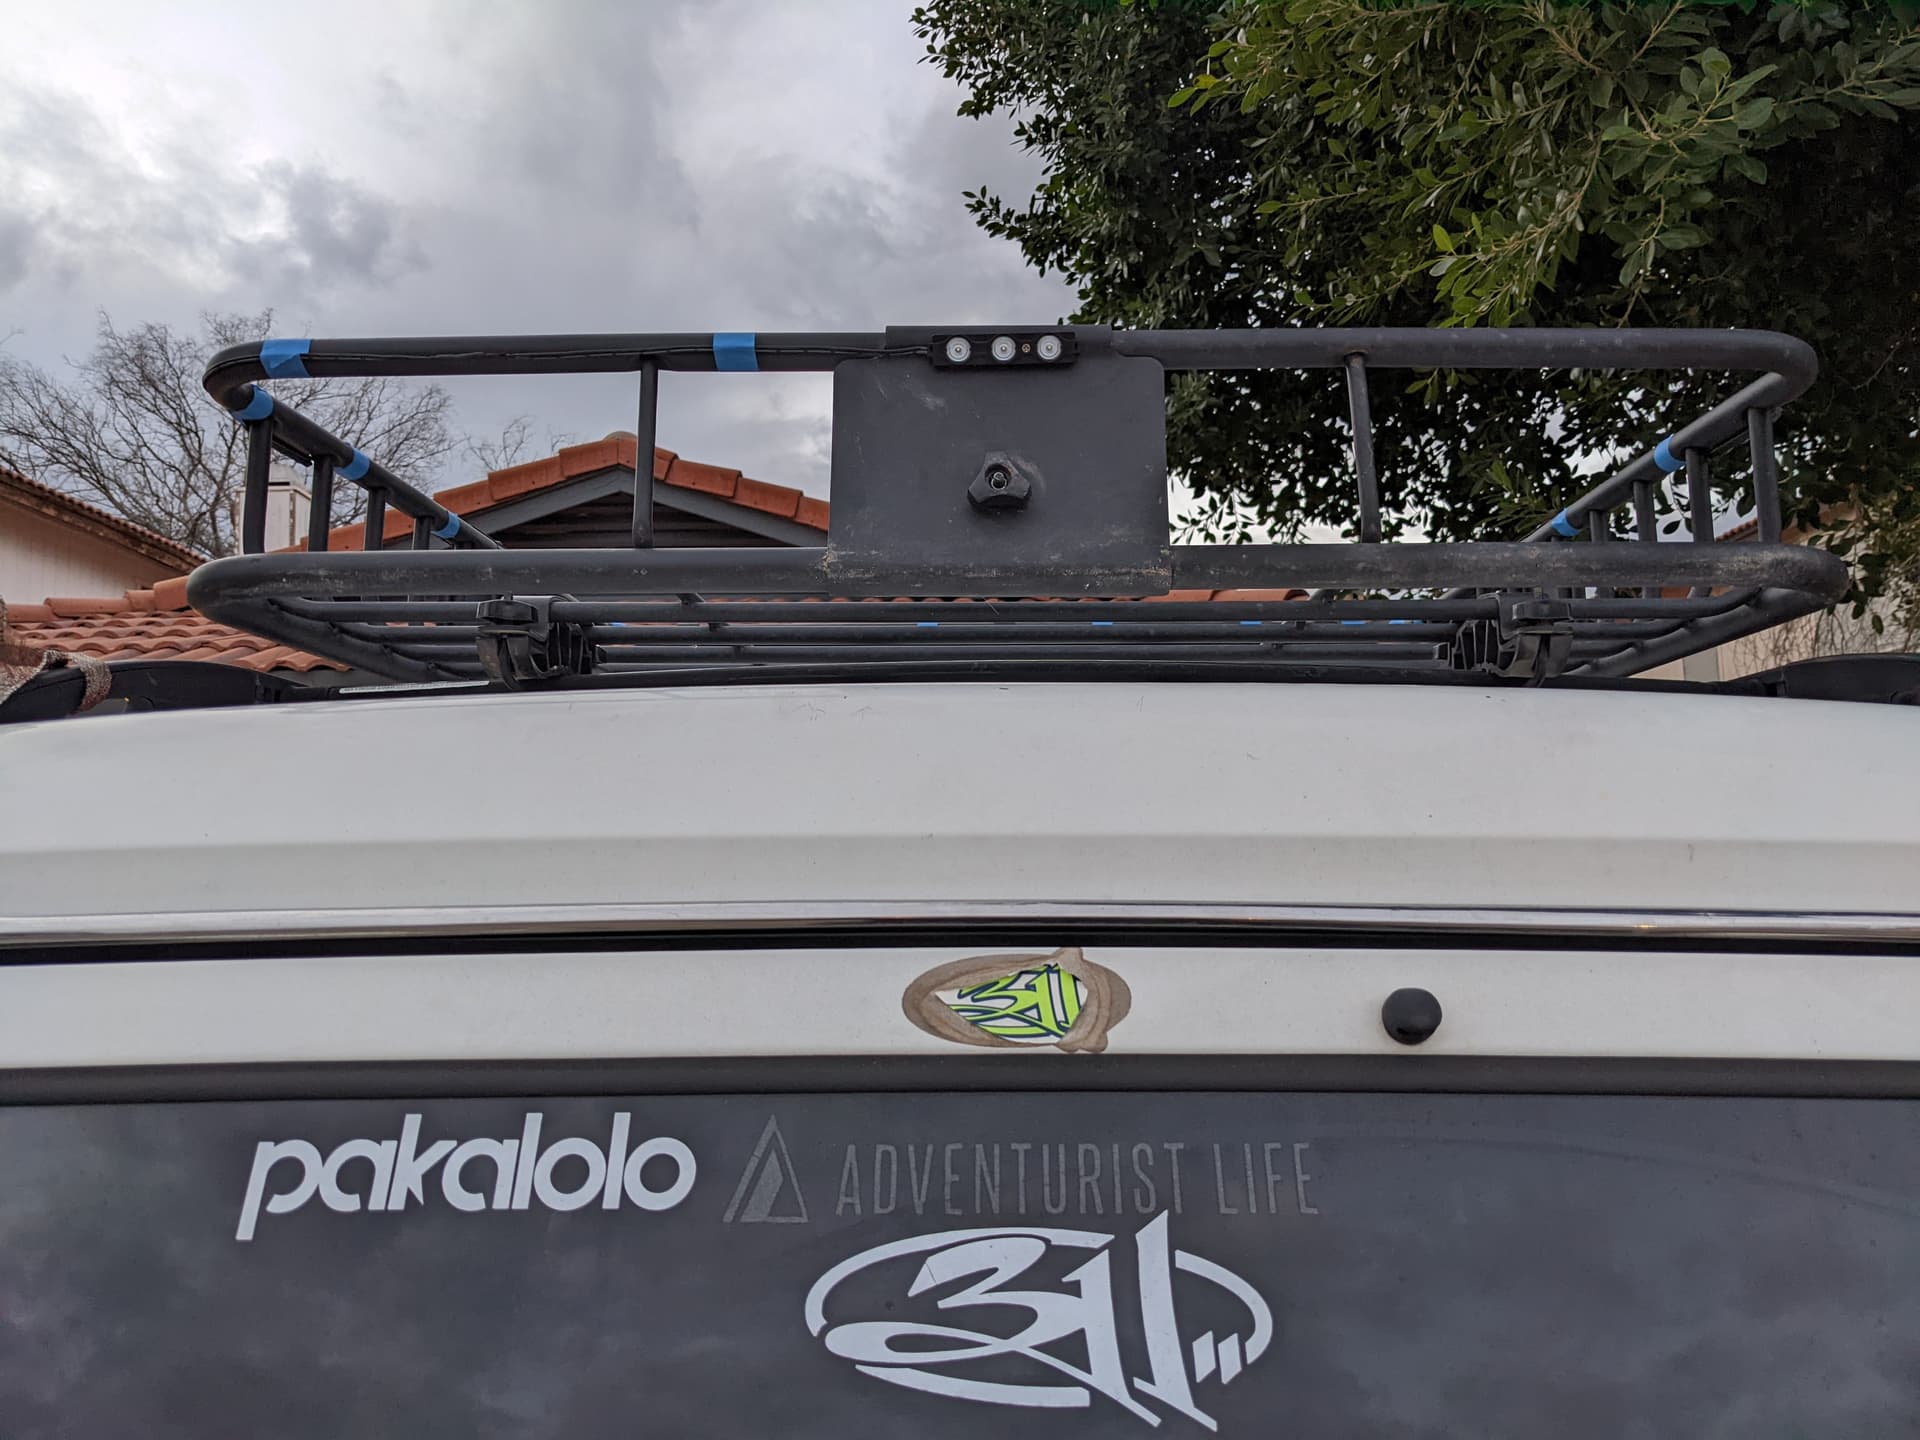
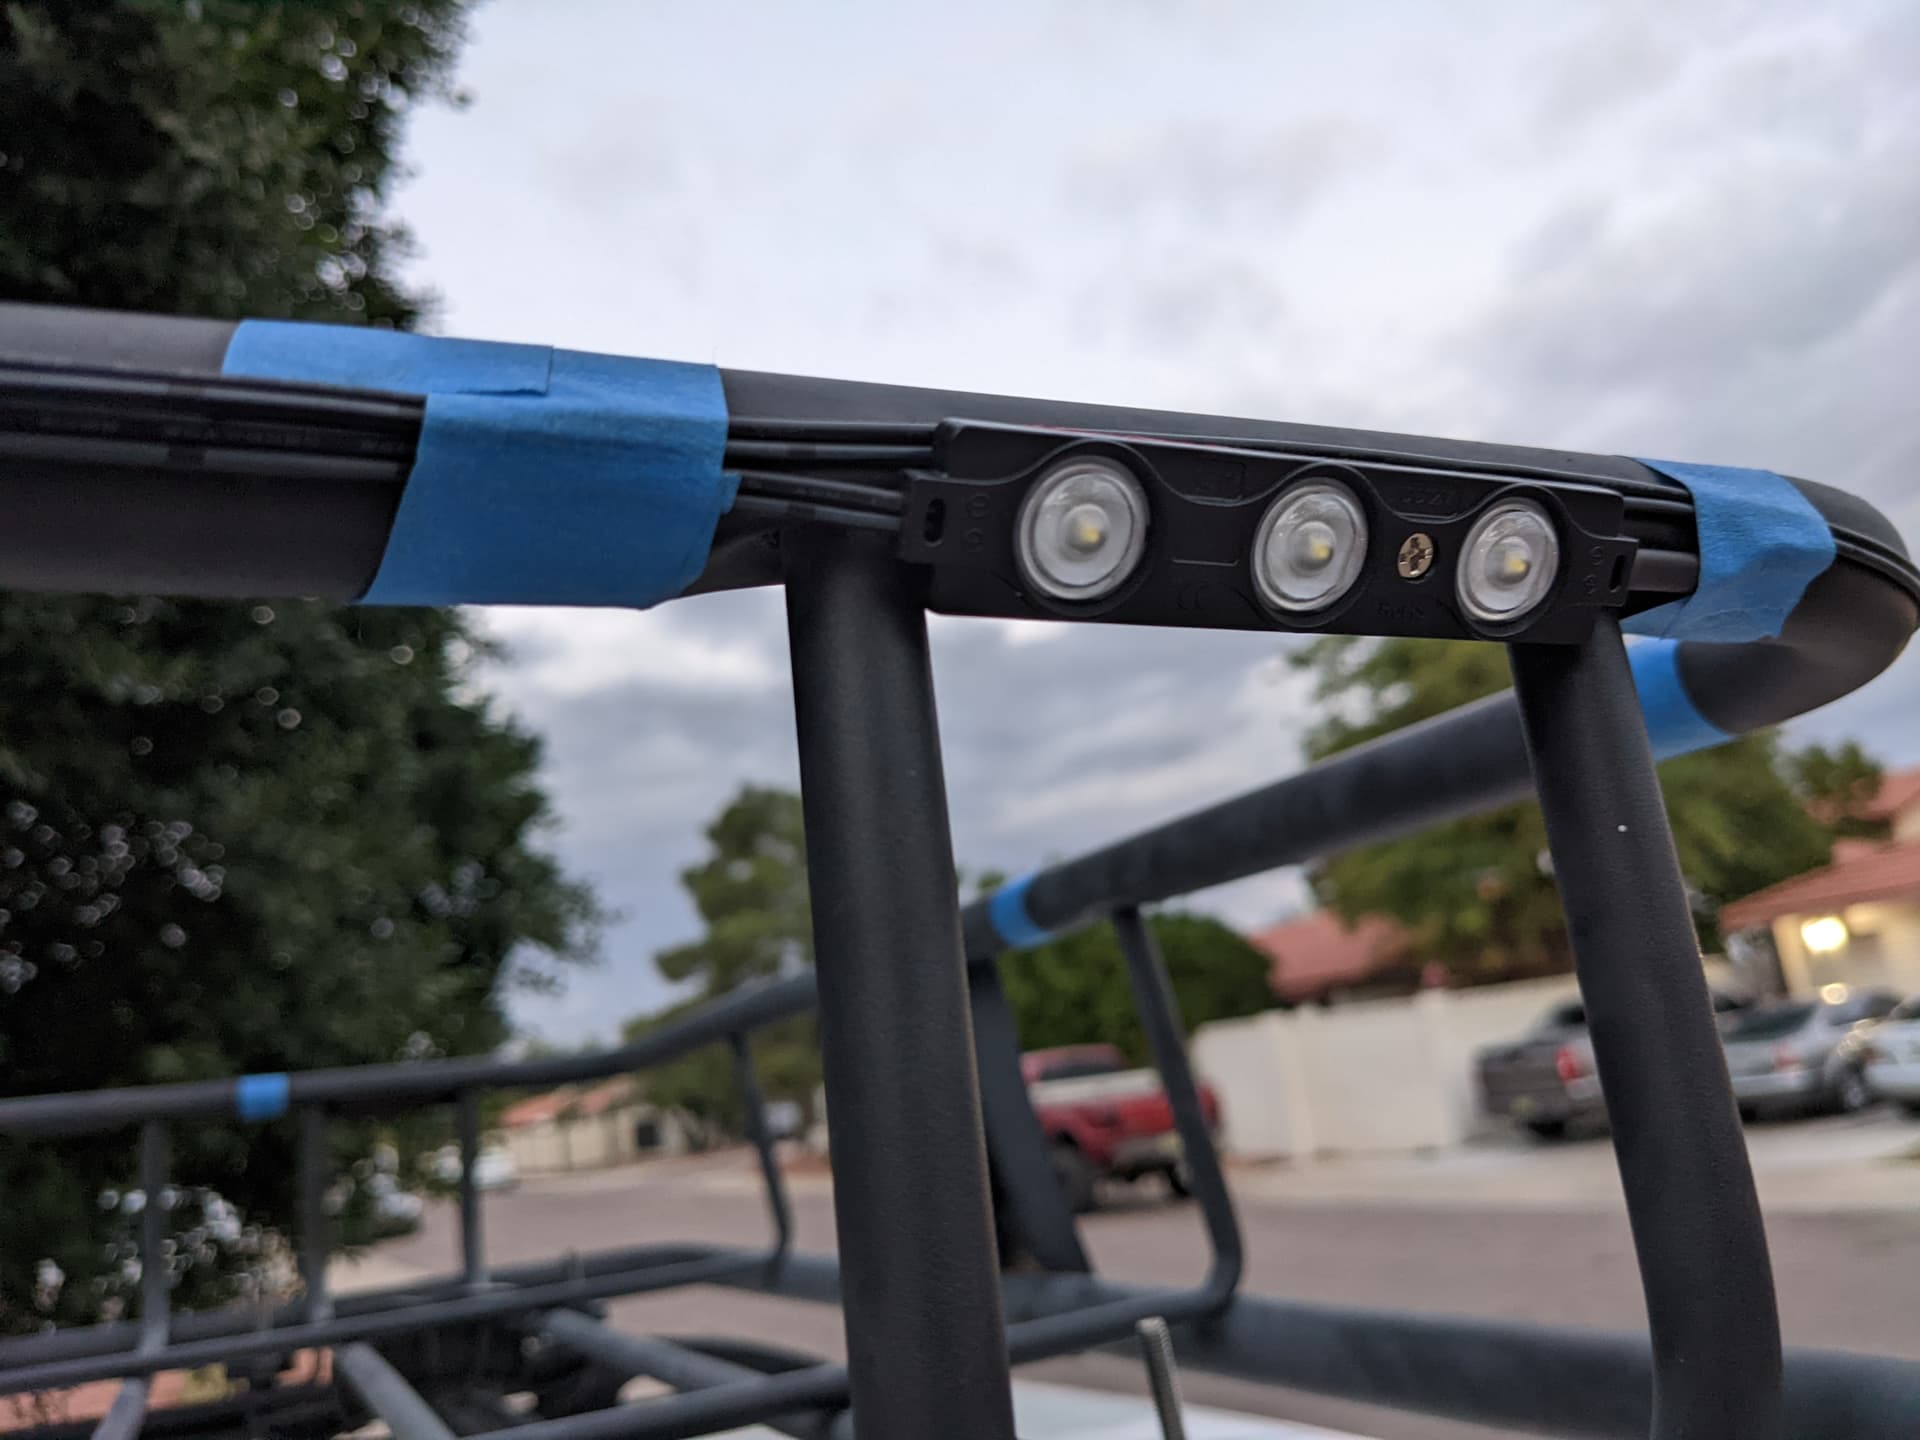
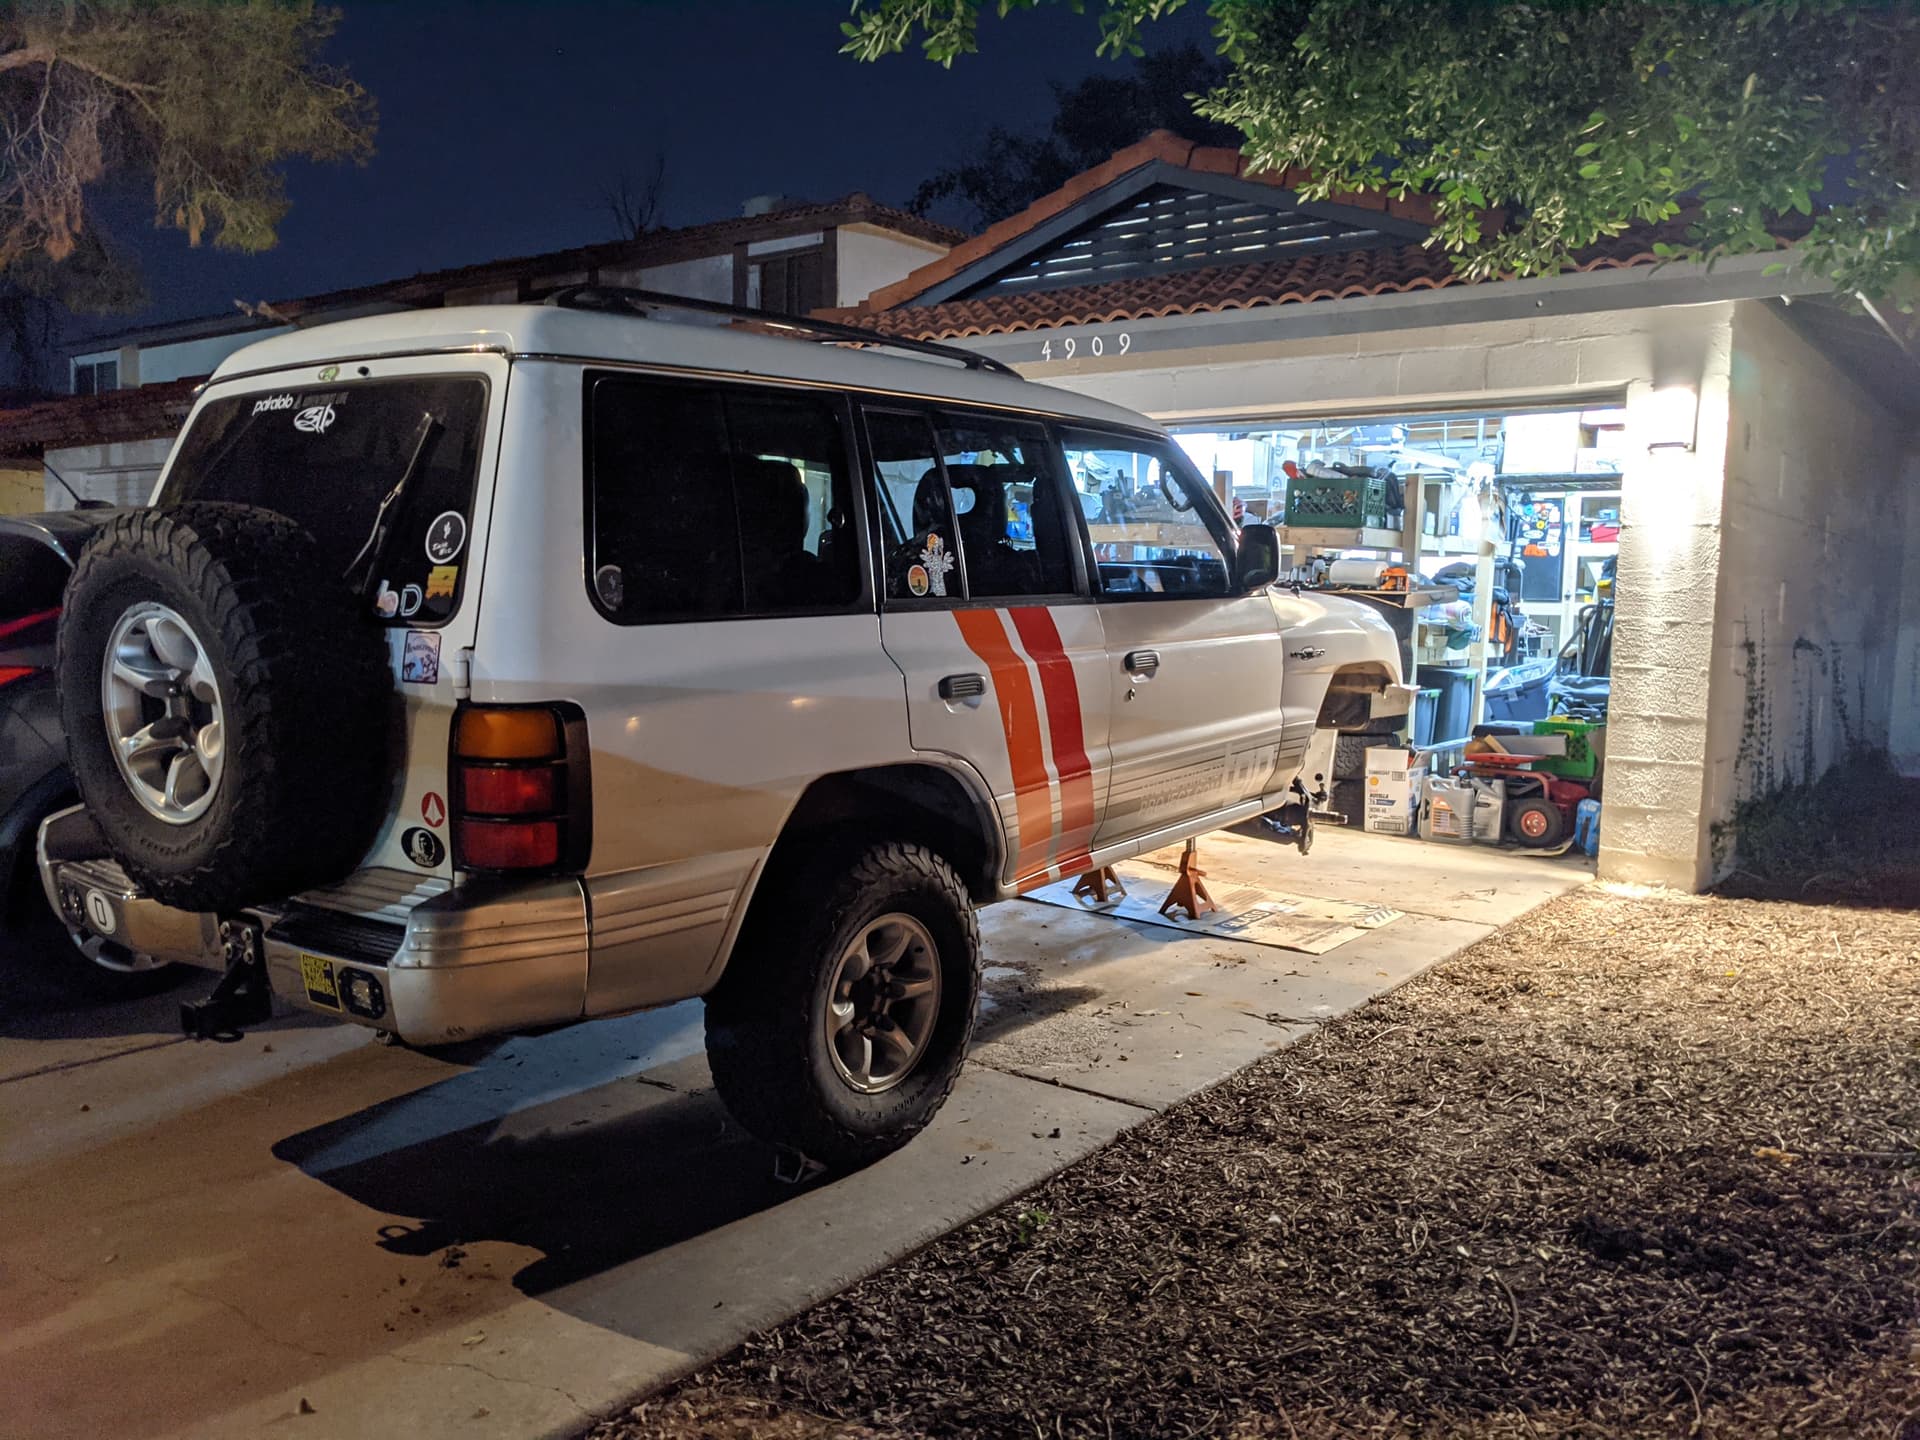
The Day After: I AM THE FEZZIK FACTOR NOW.

I can see it so clearly. @CrankshaftCulture The Universe was talking. I wasn’t listening. :wink:

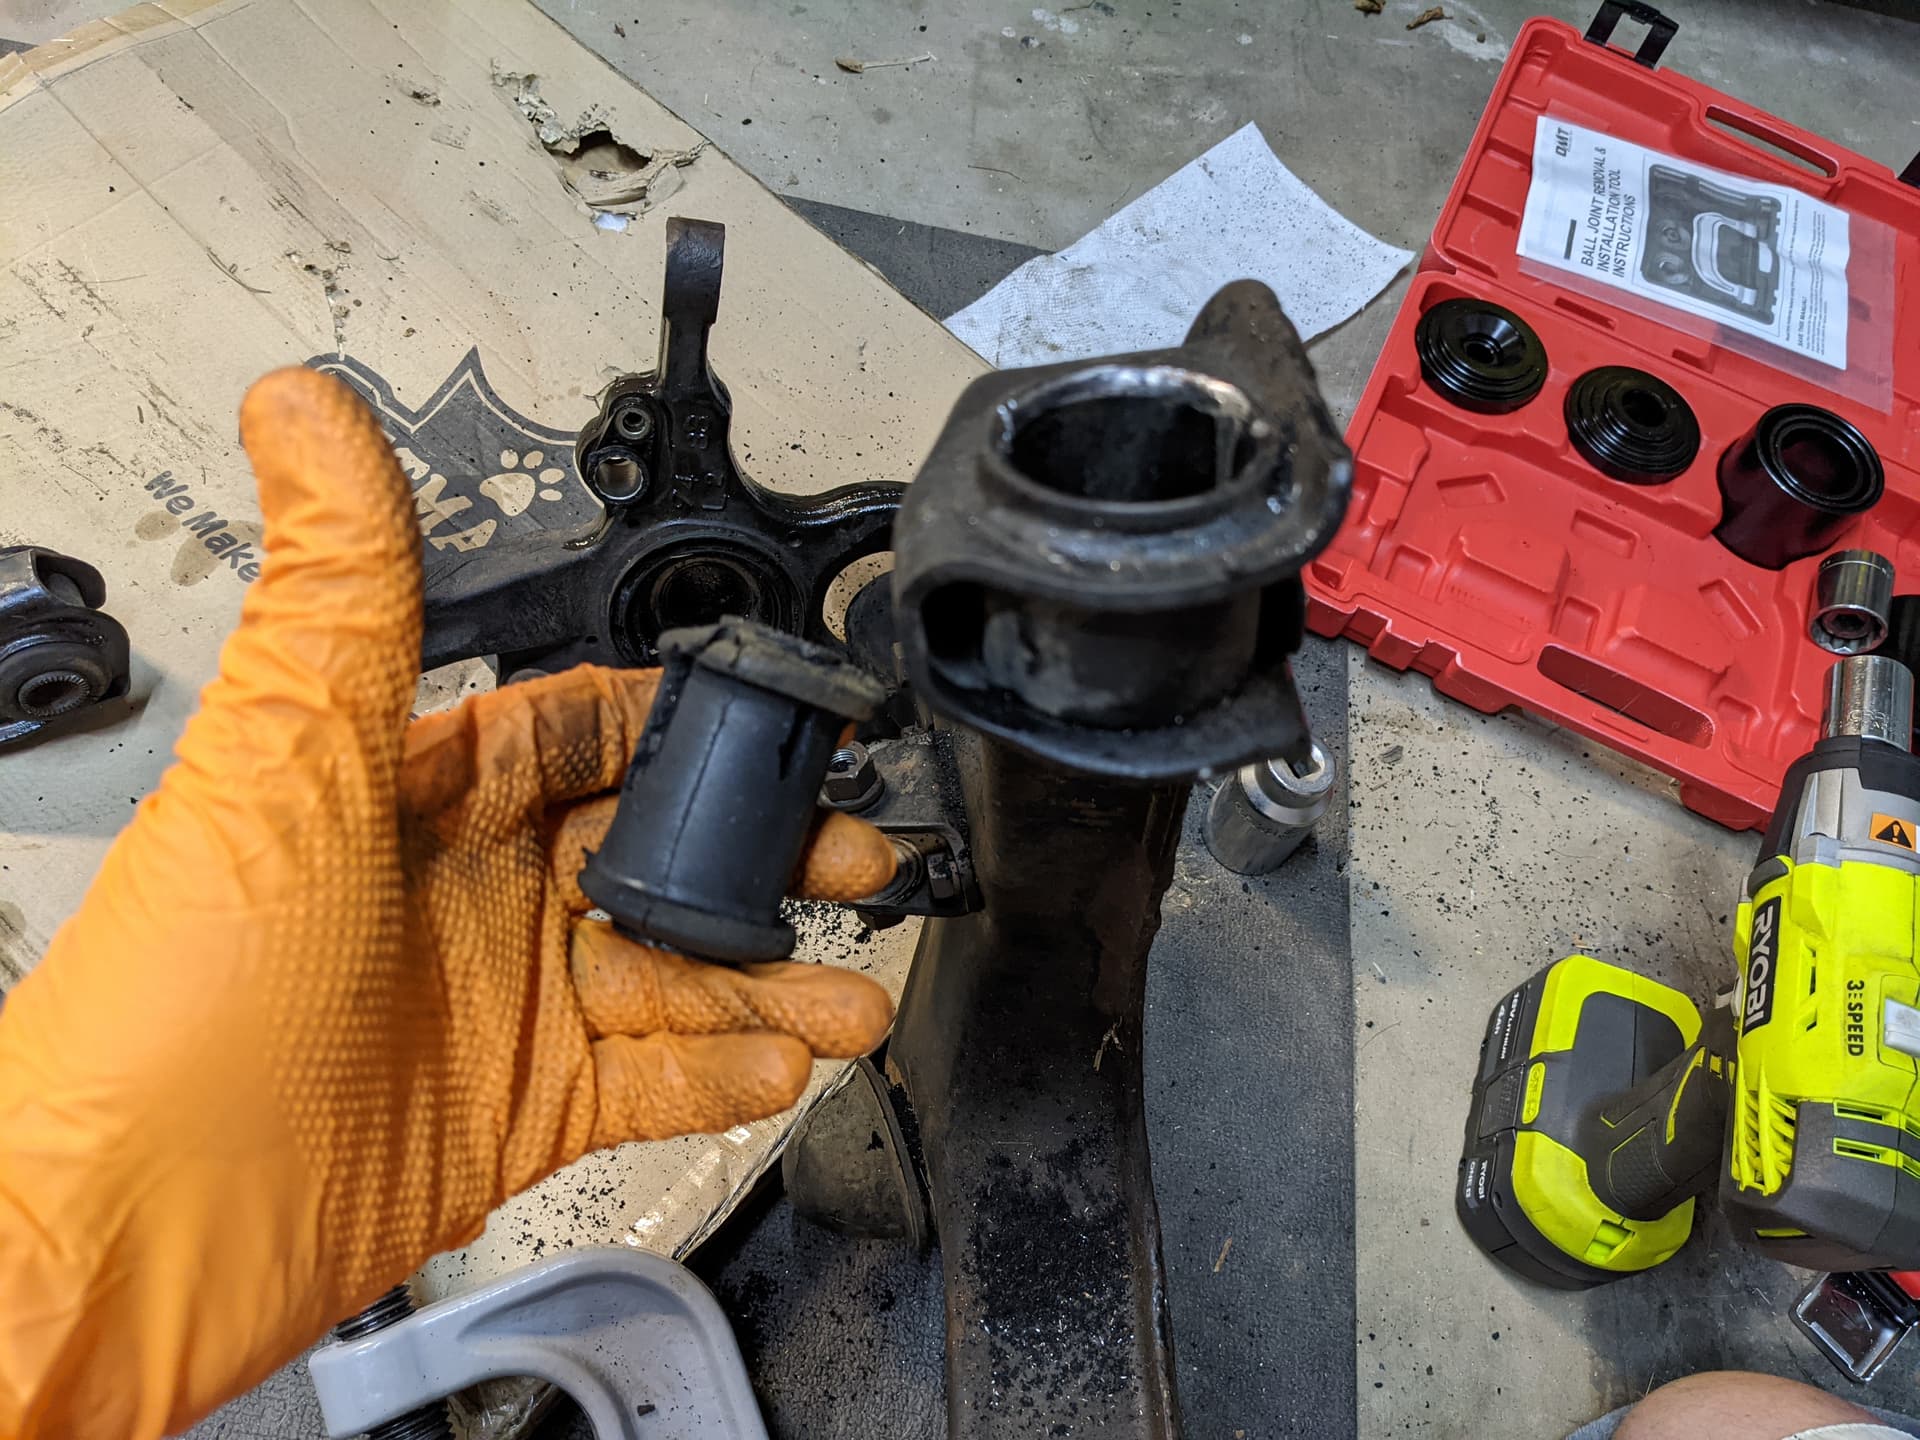
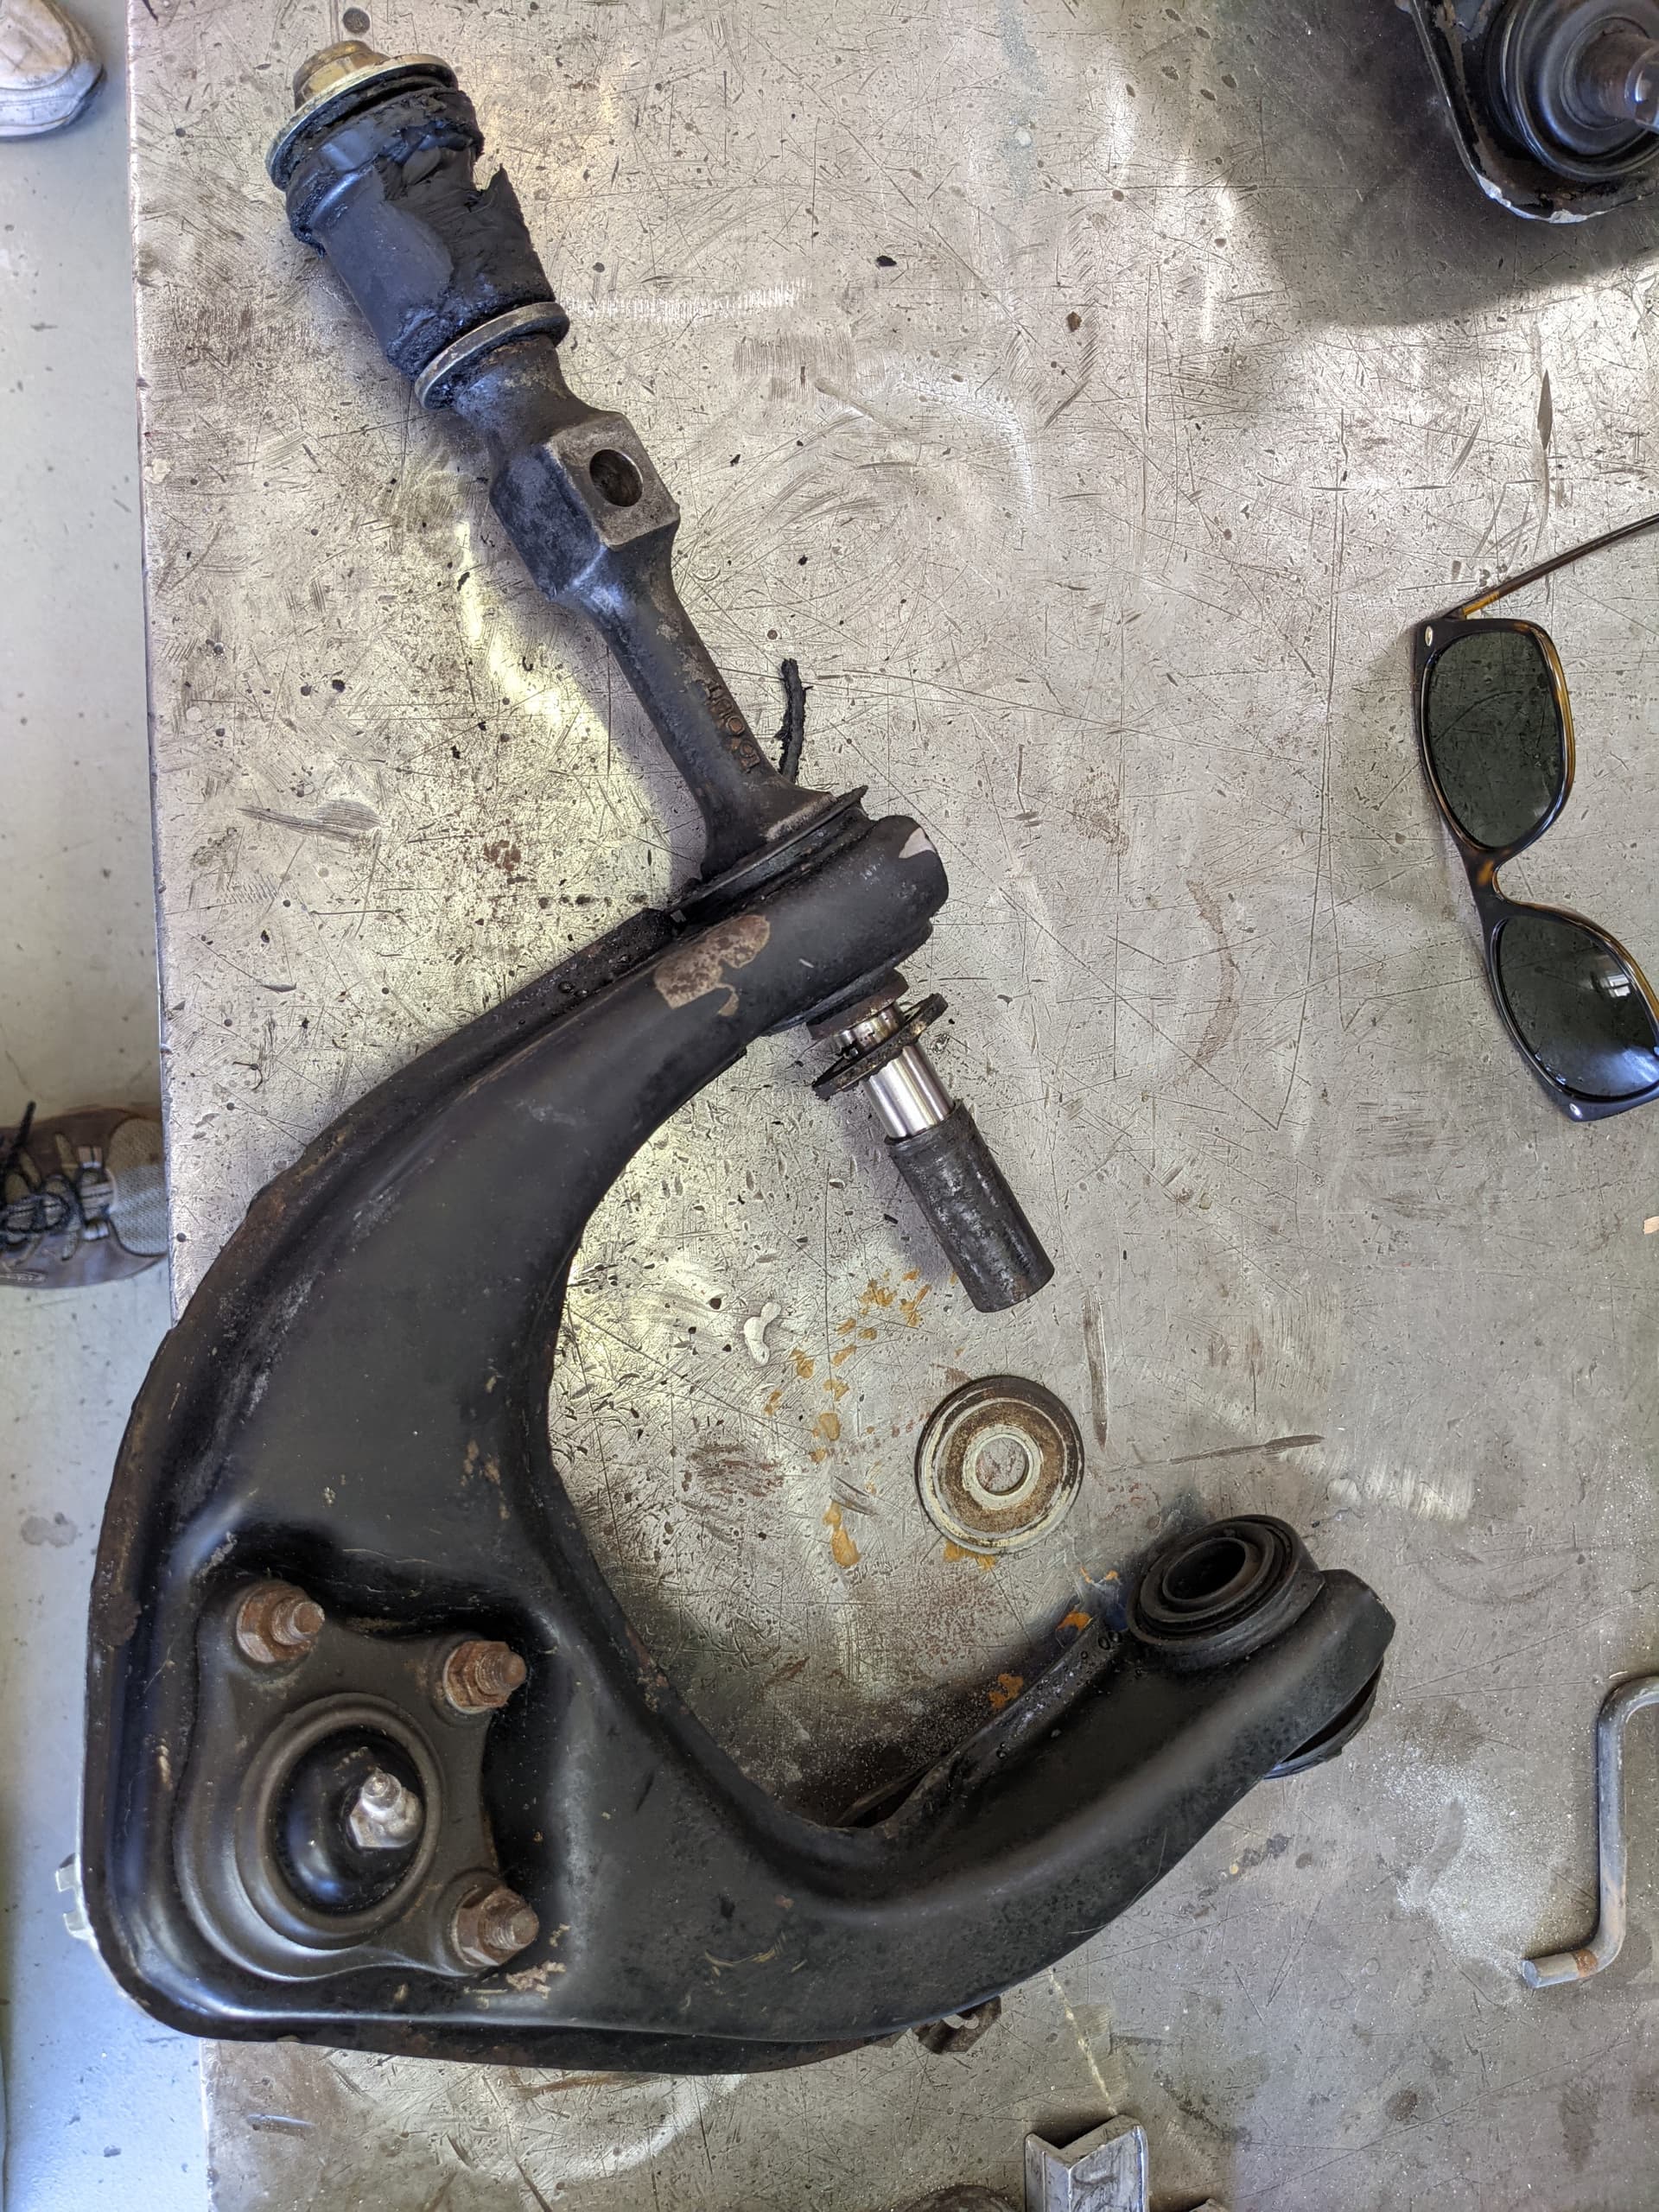
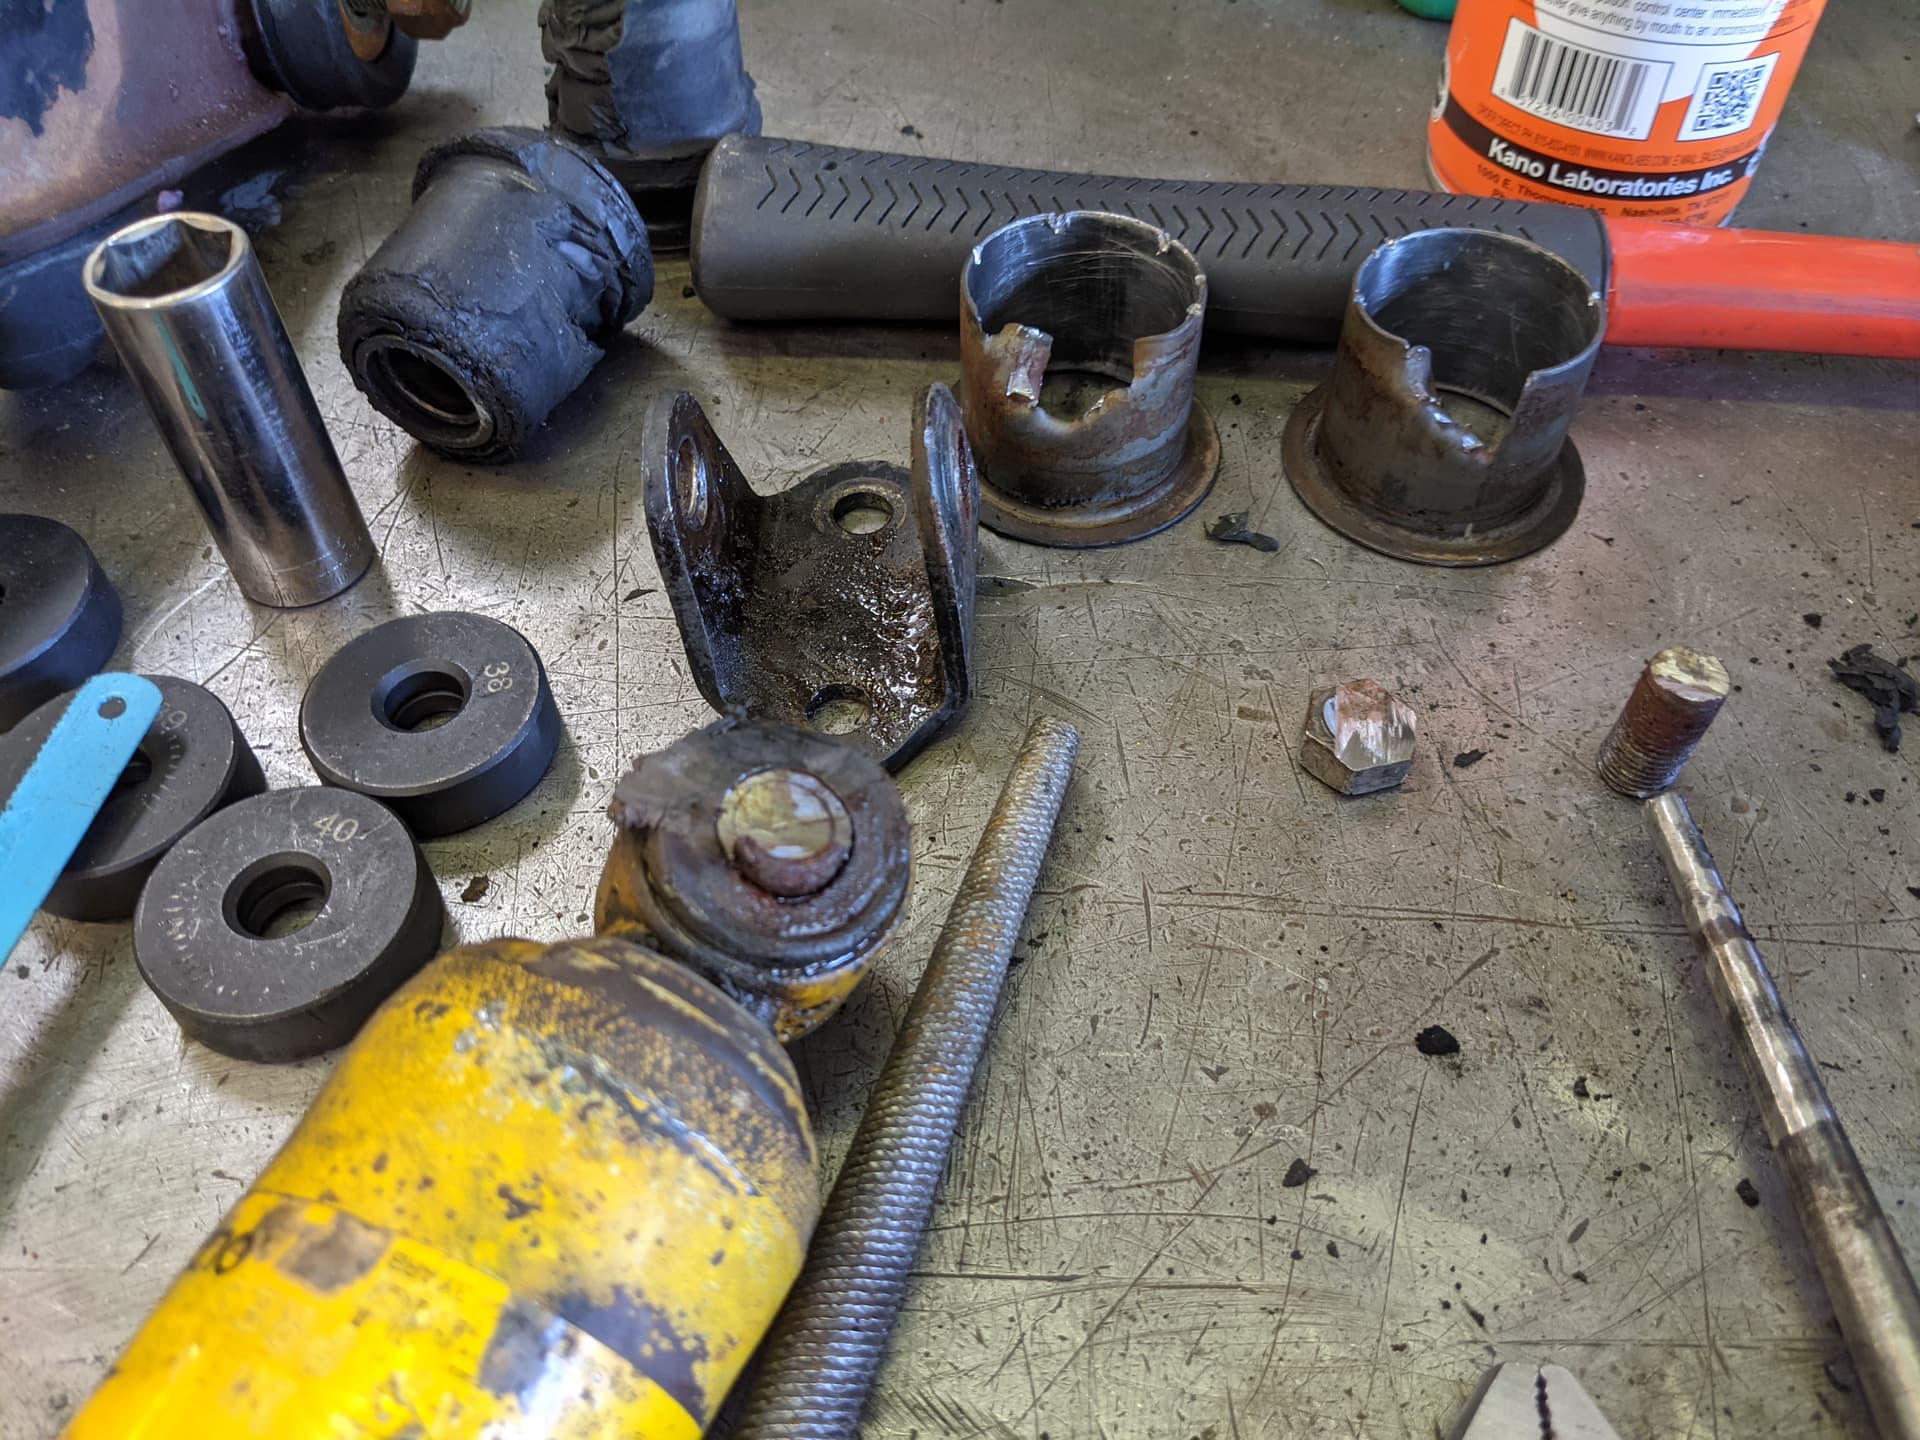
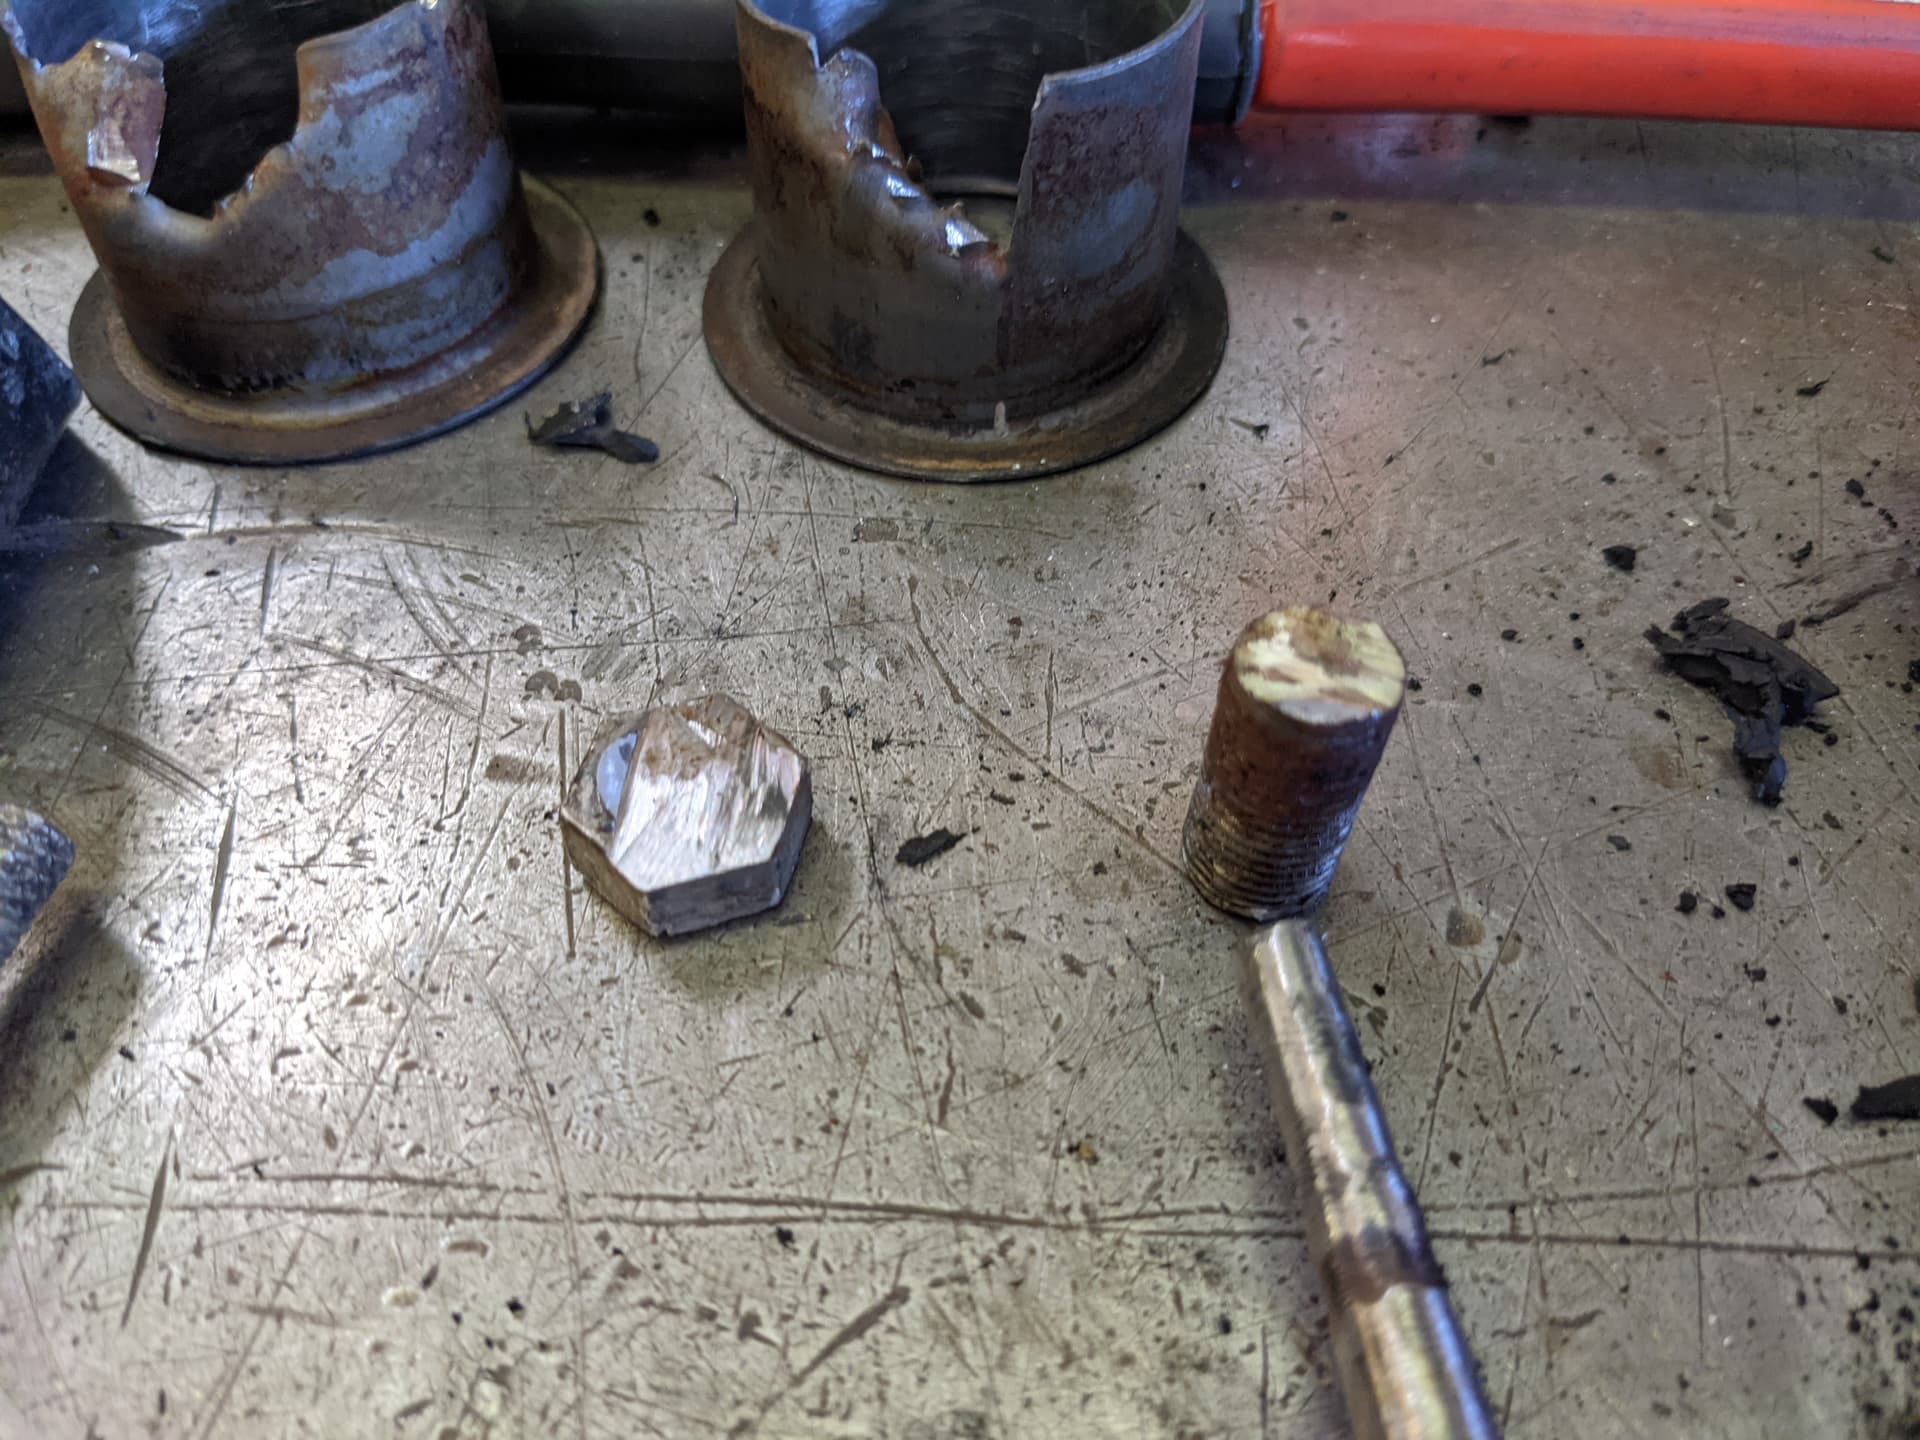
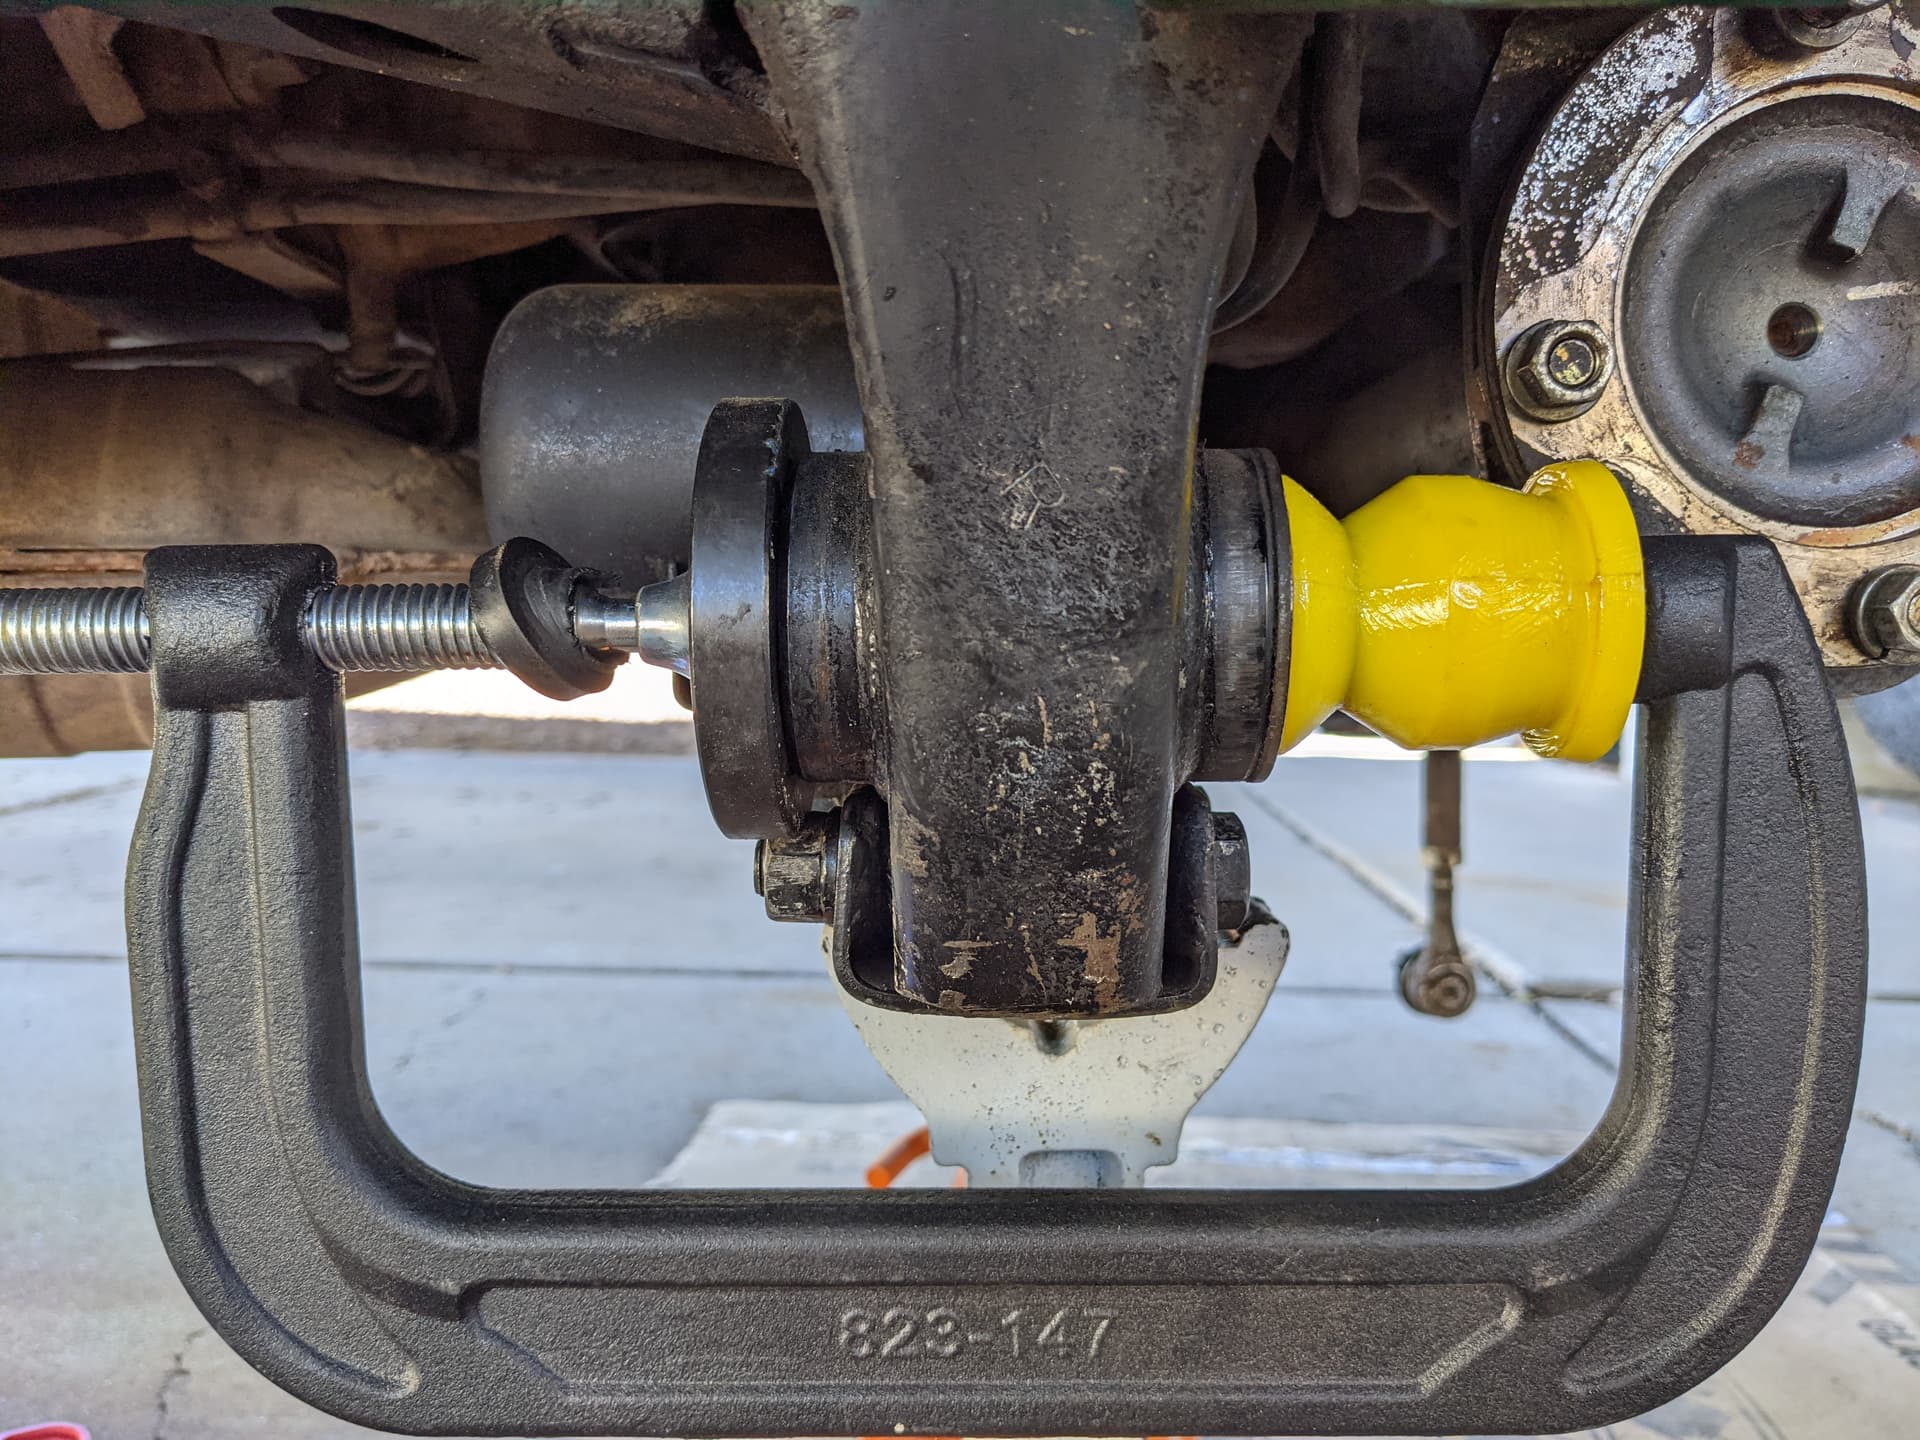
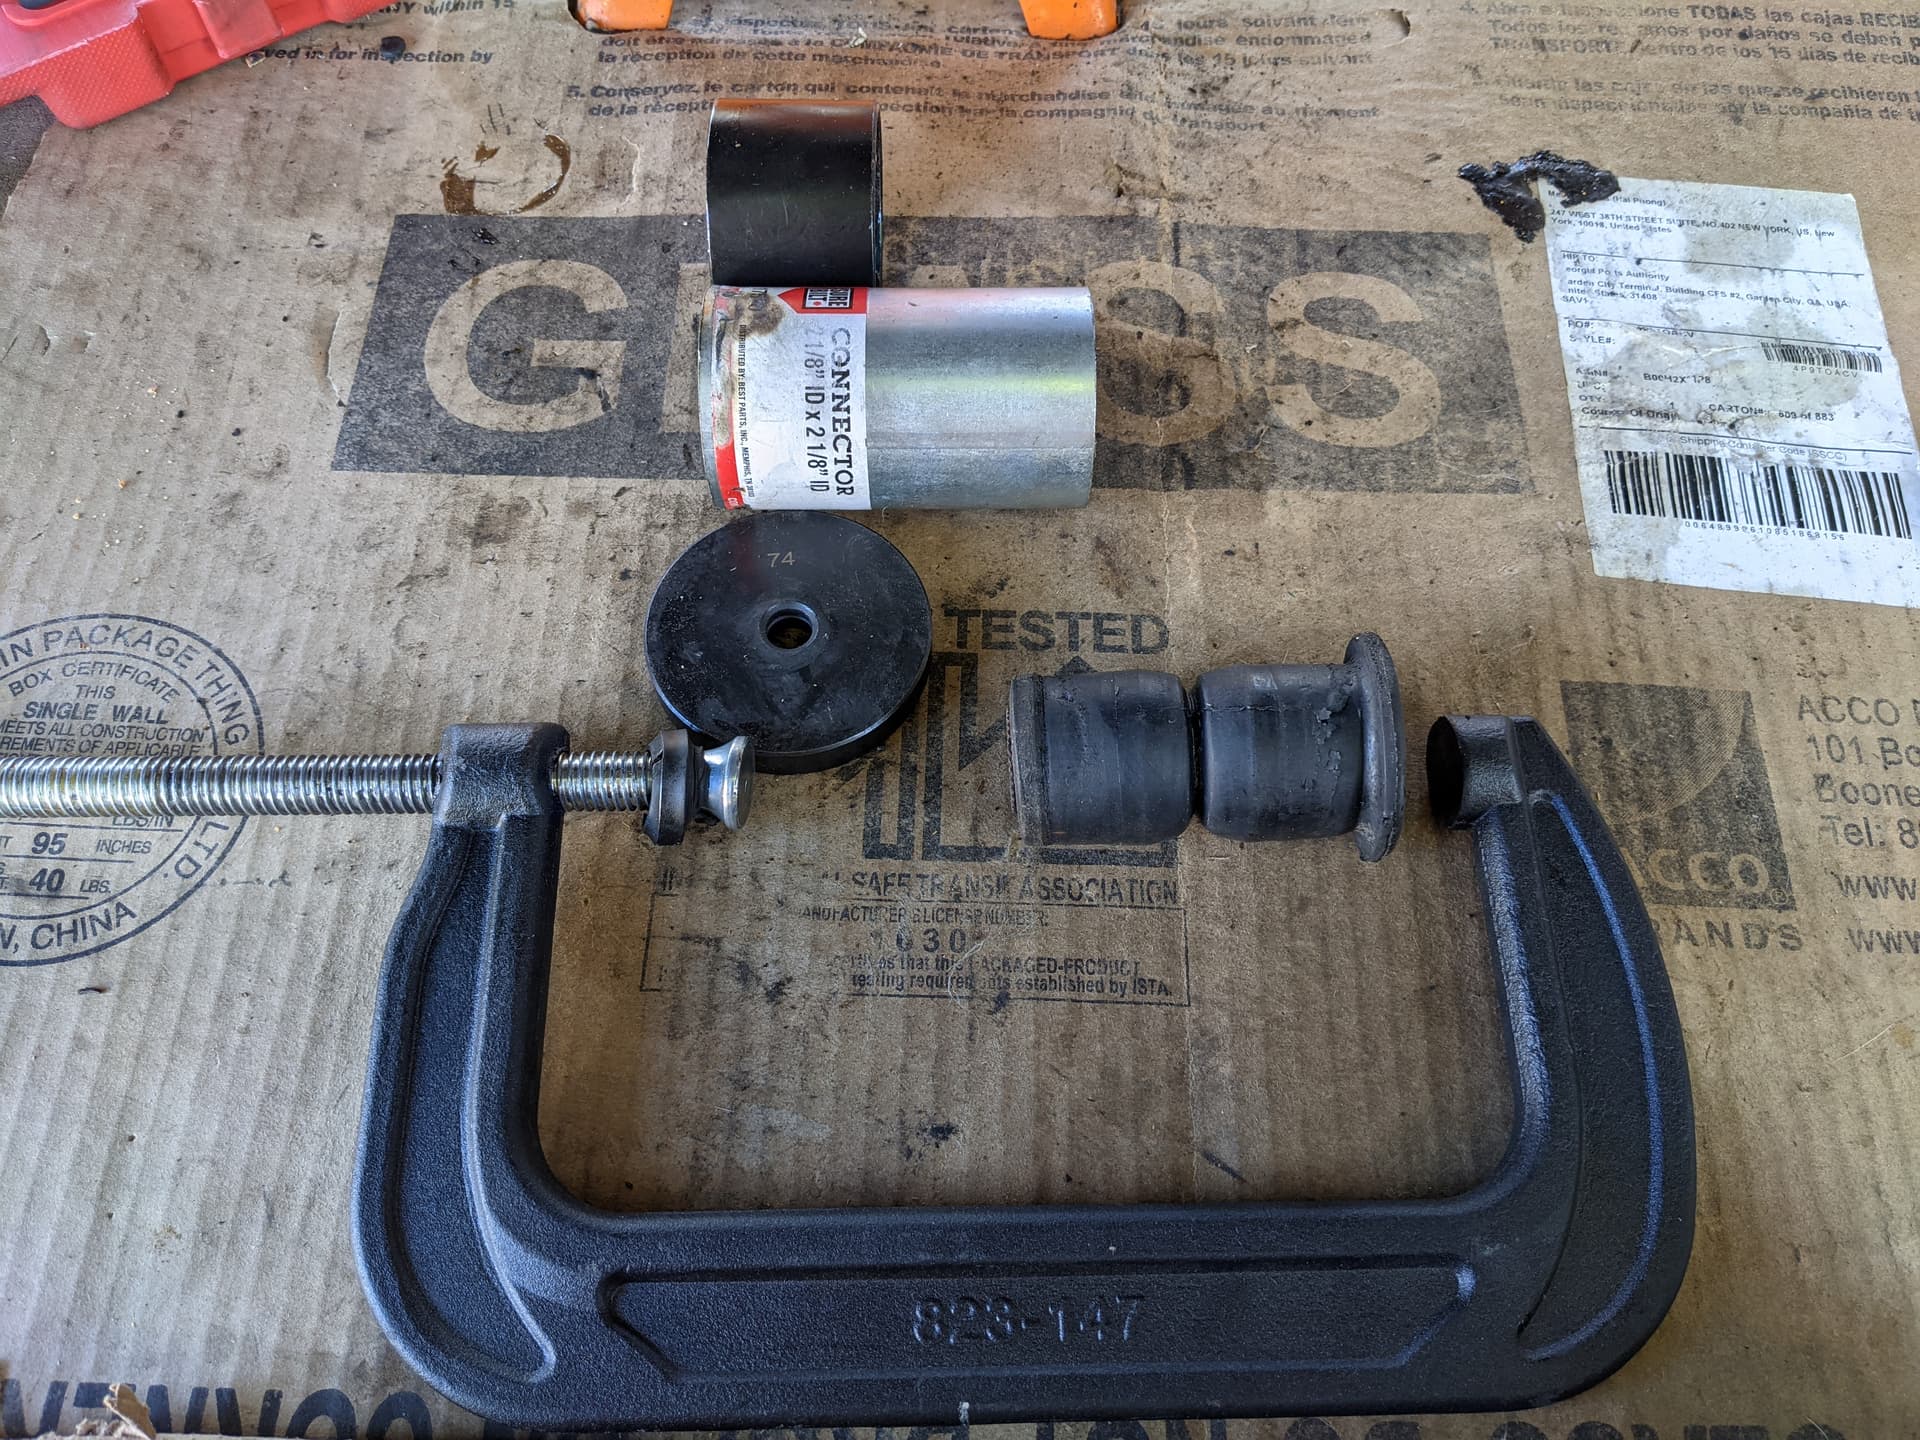
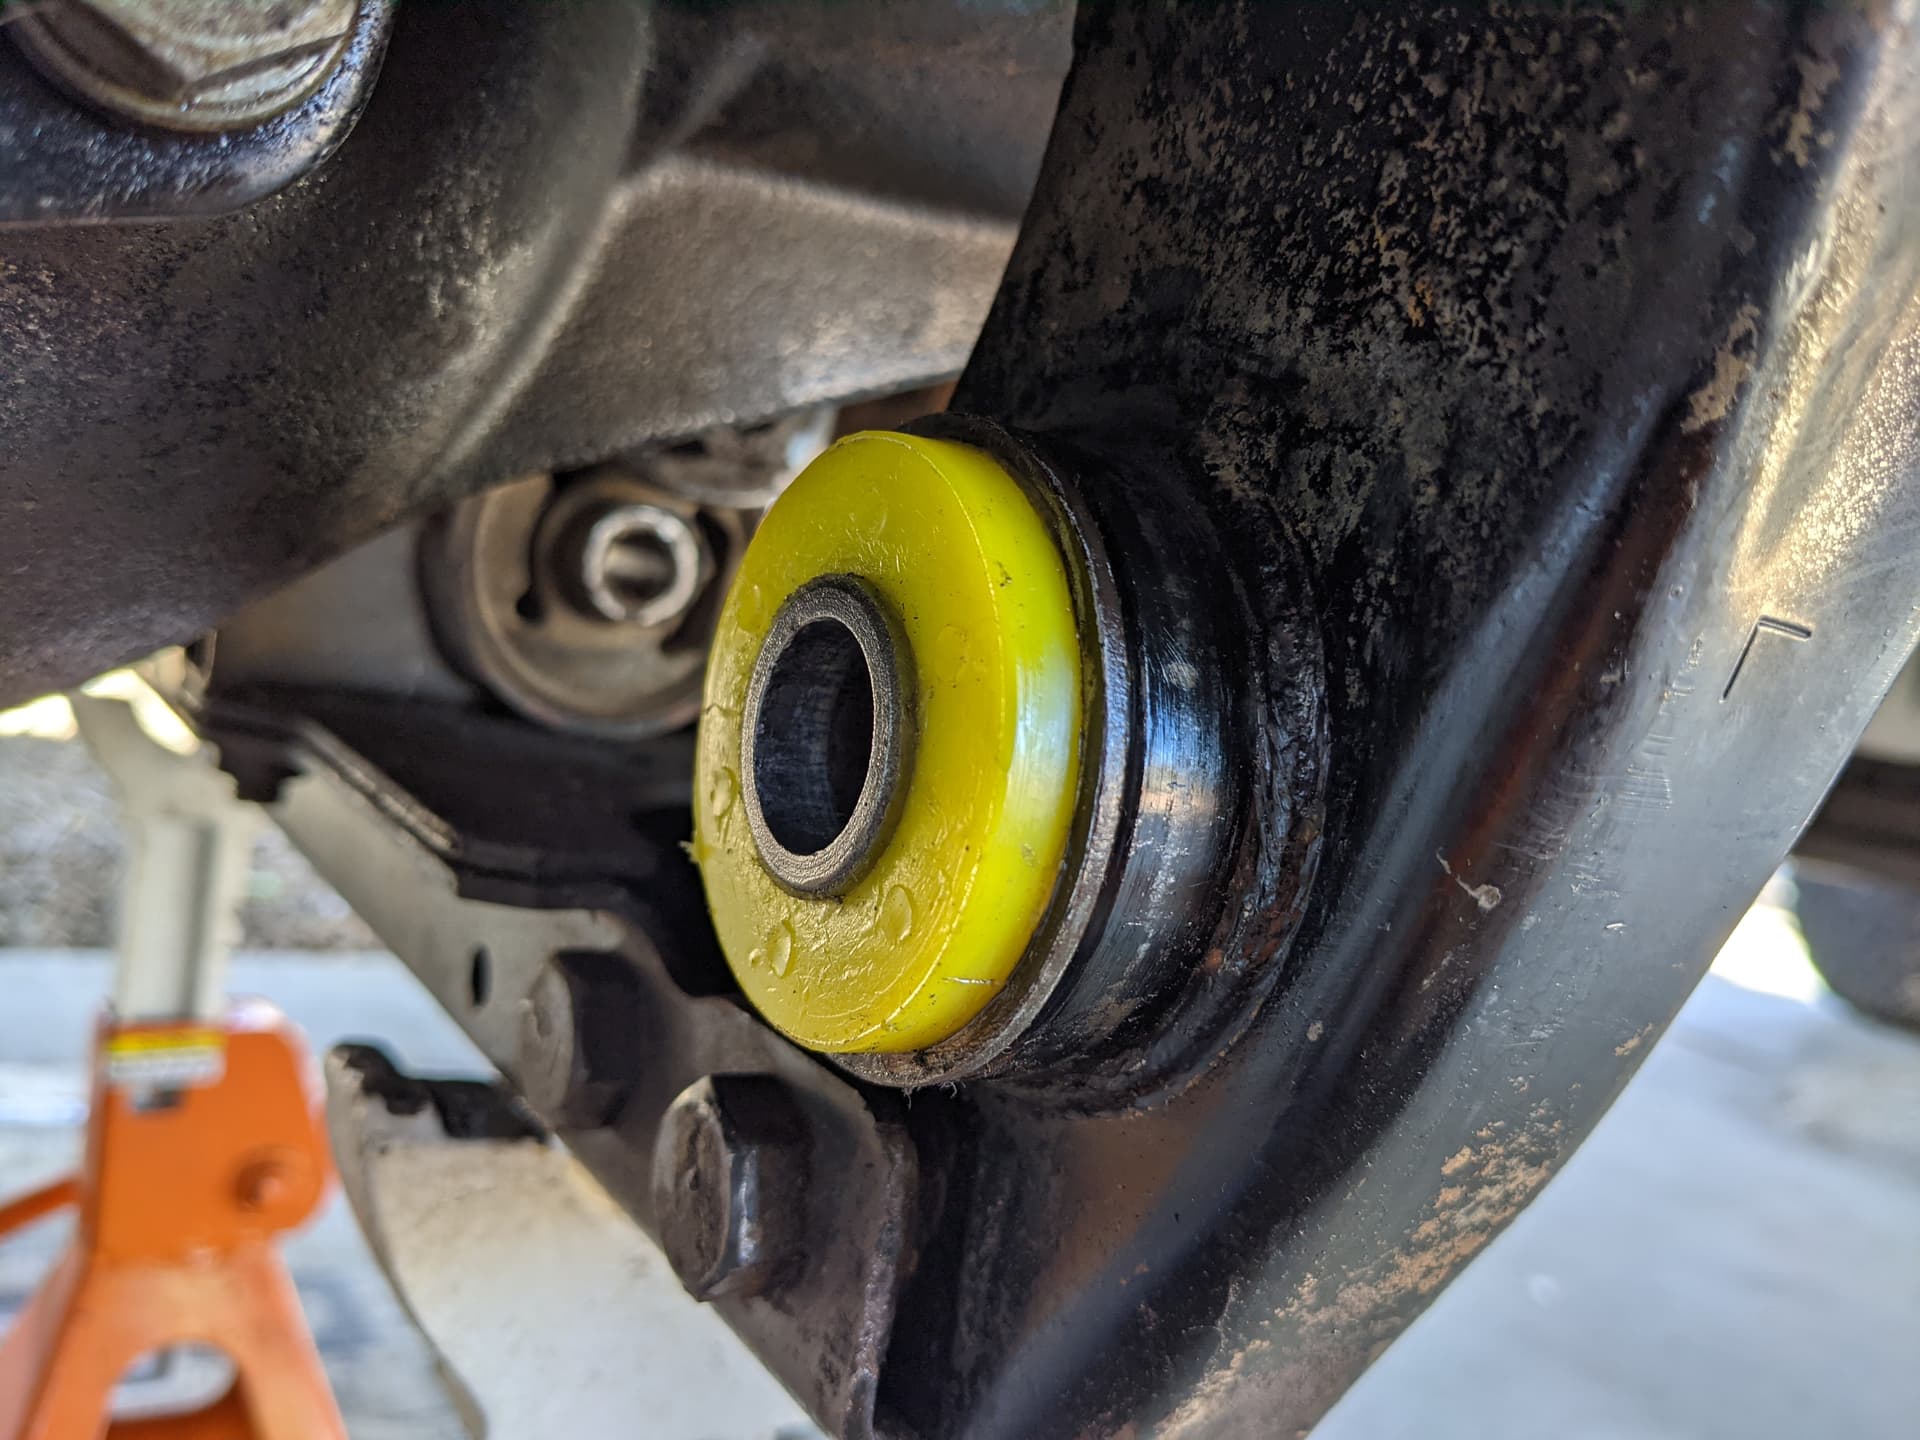
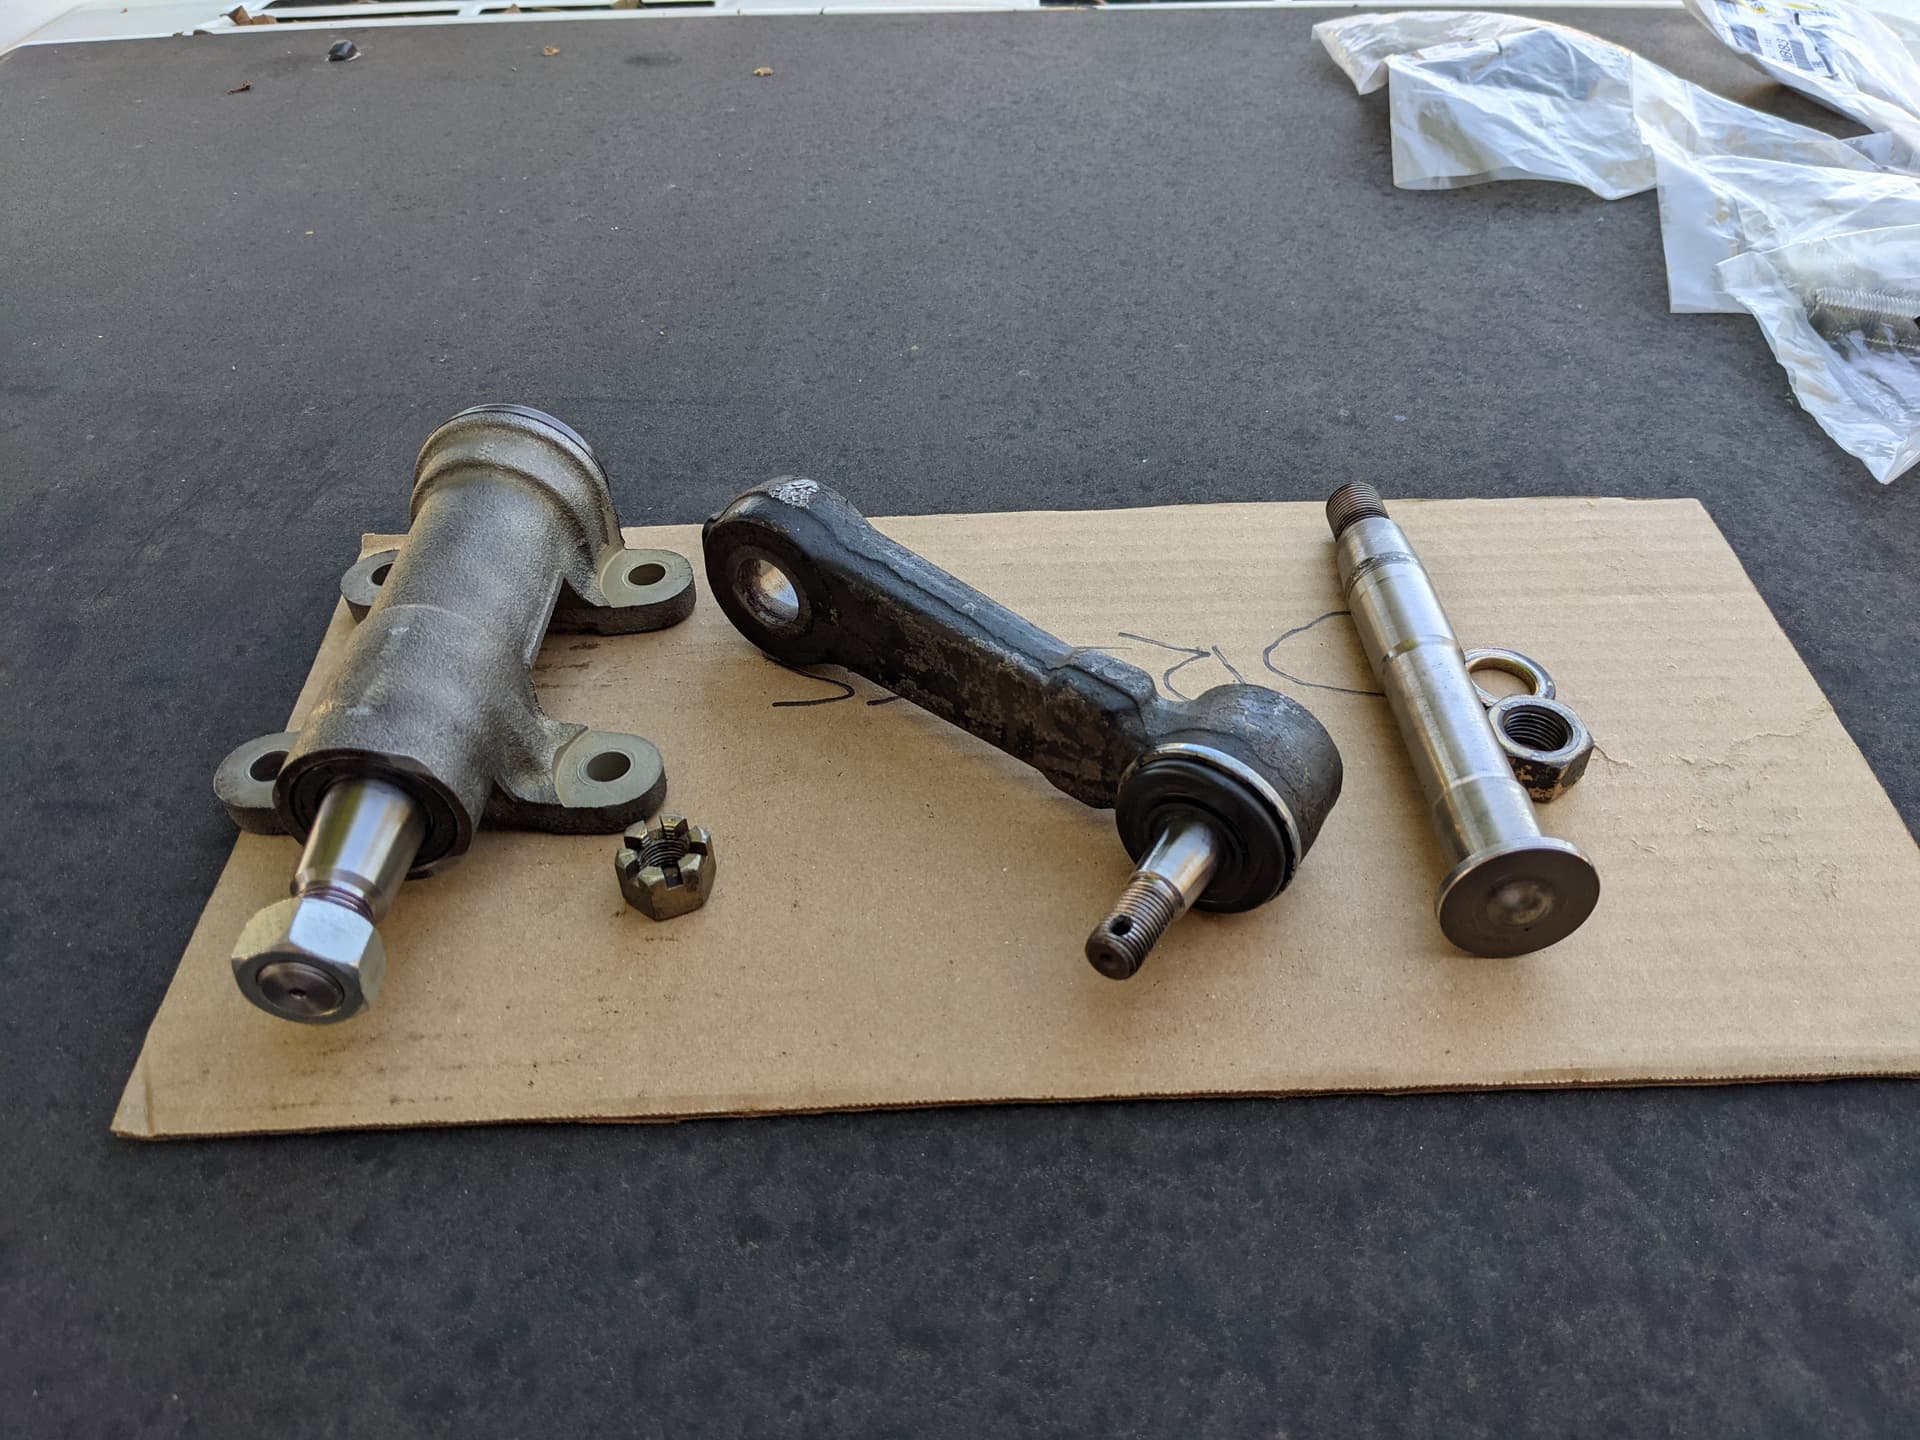
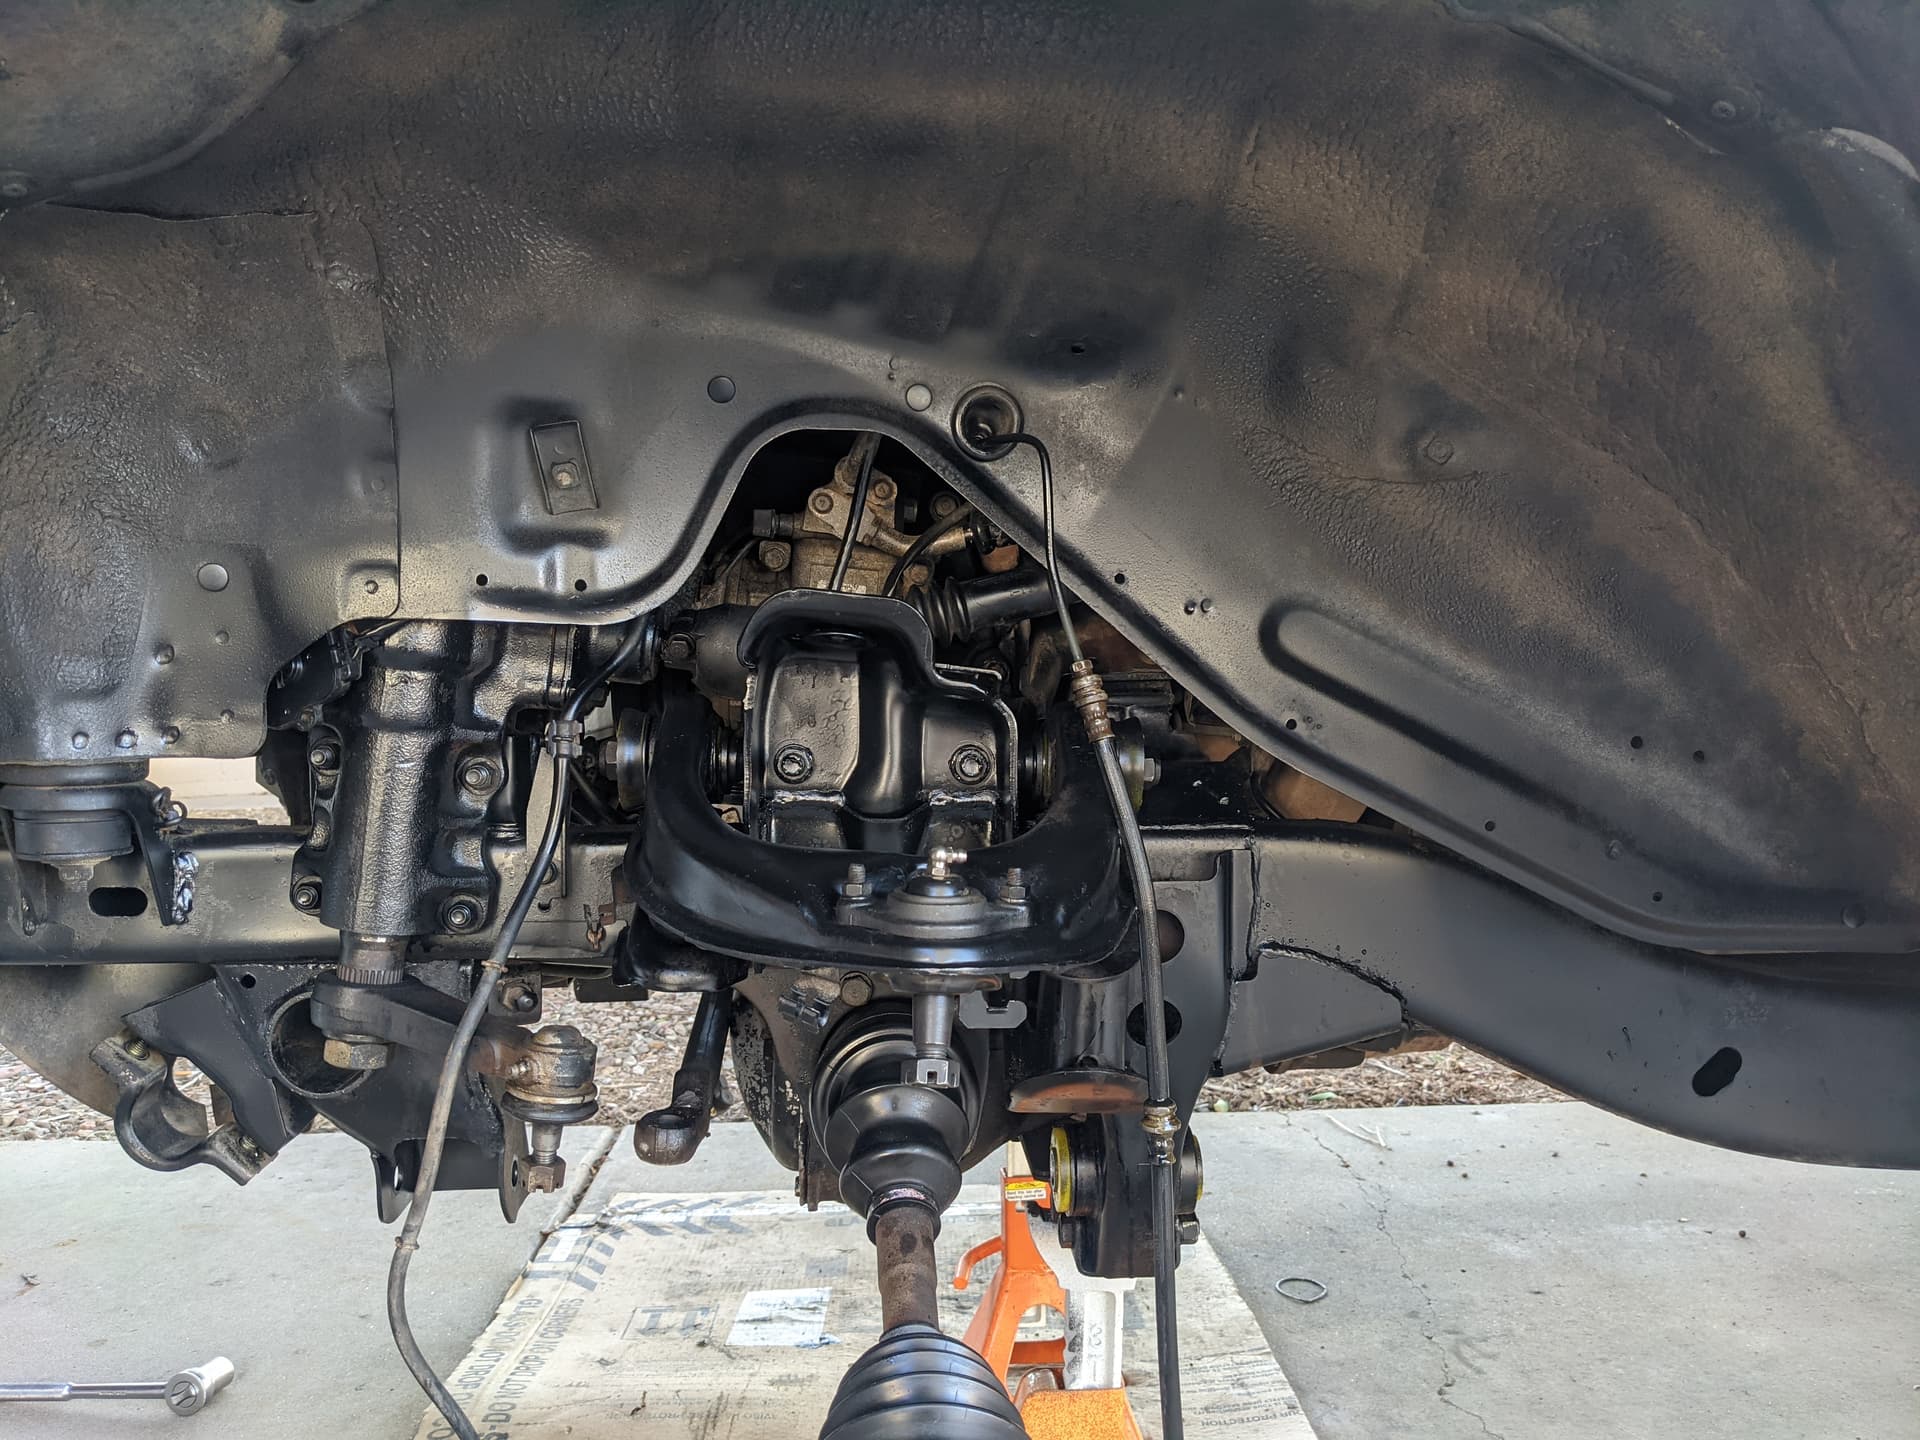
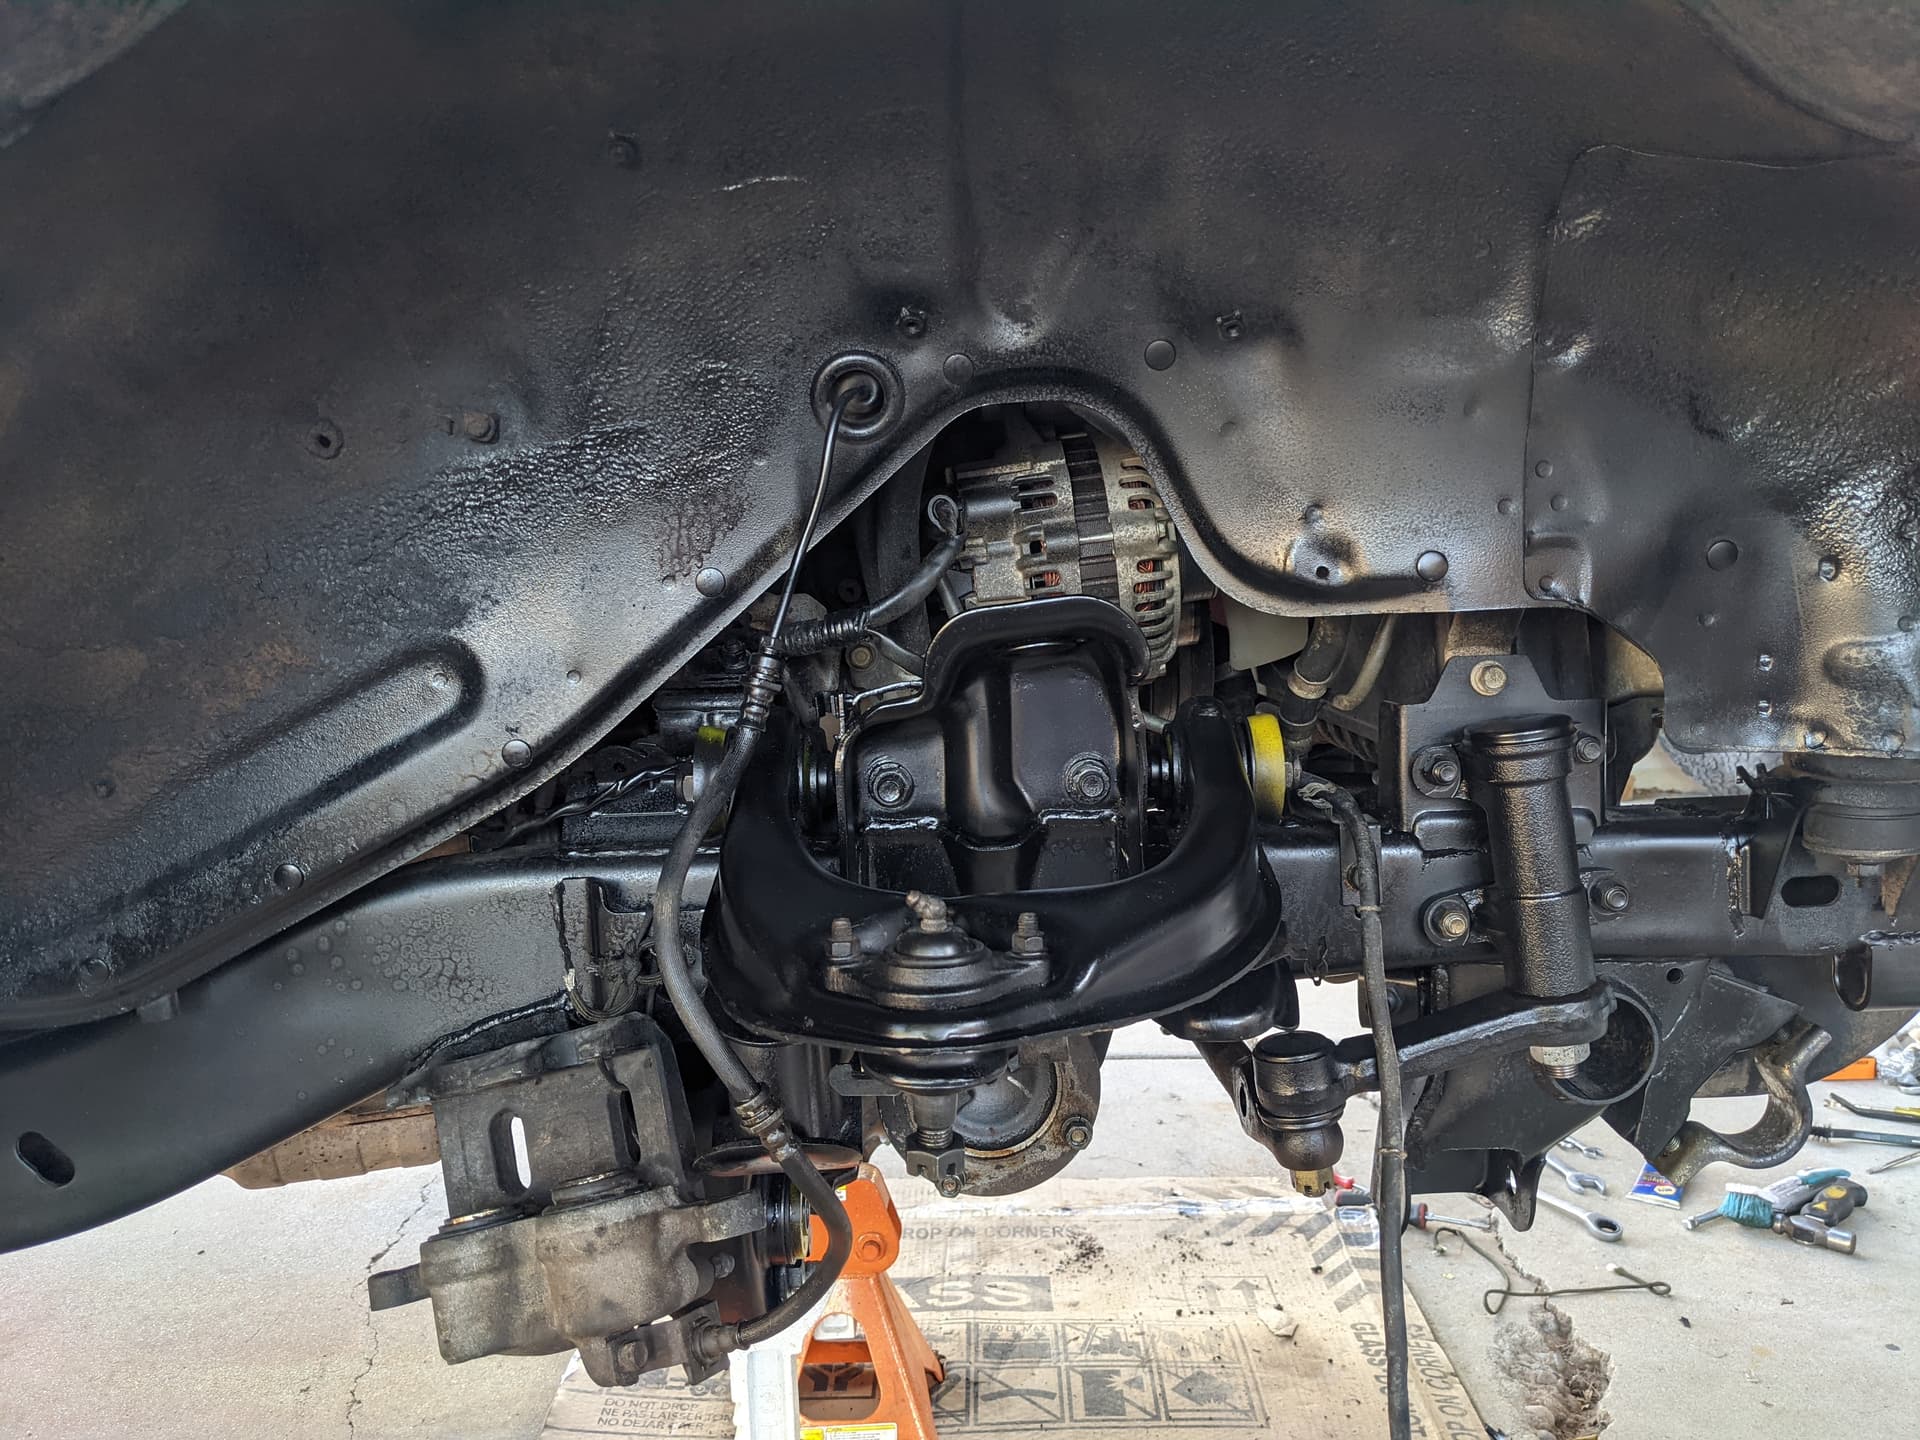
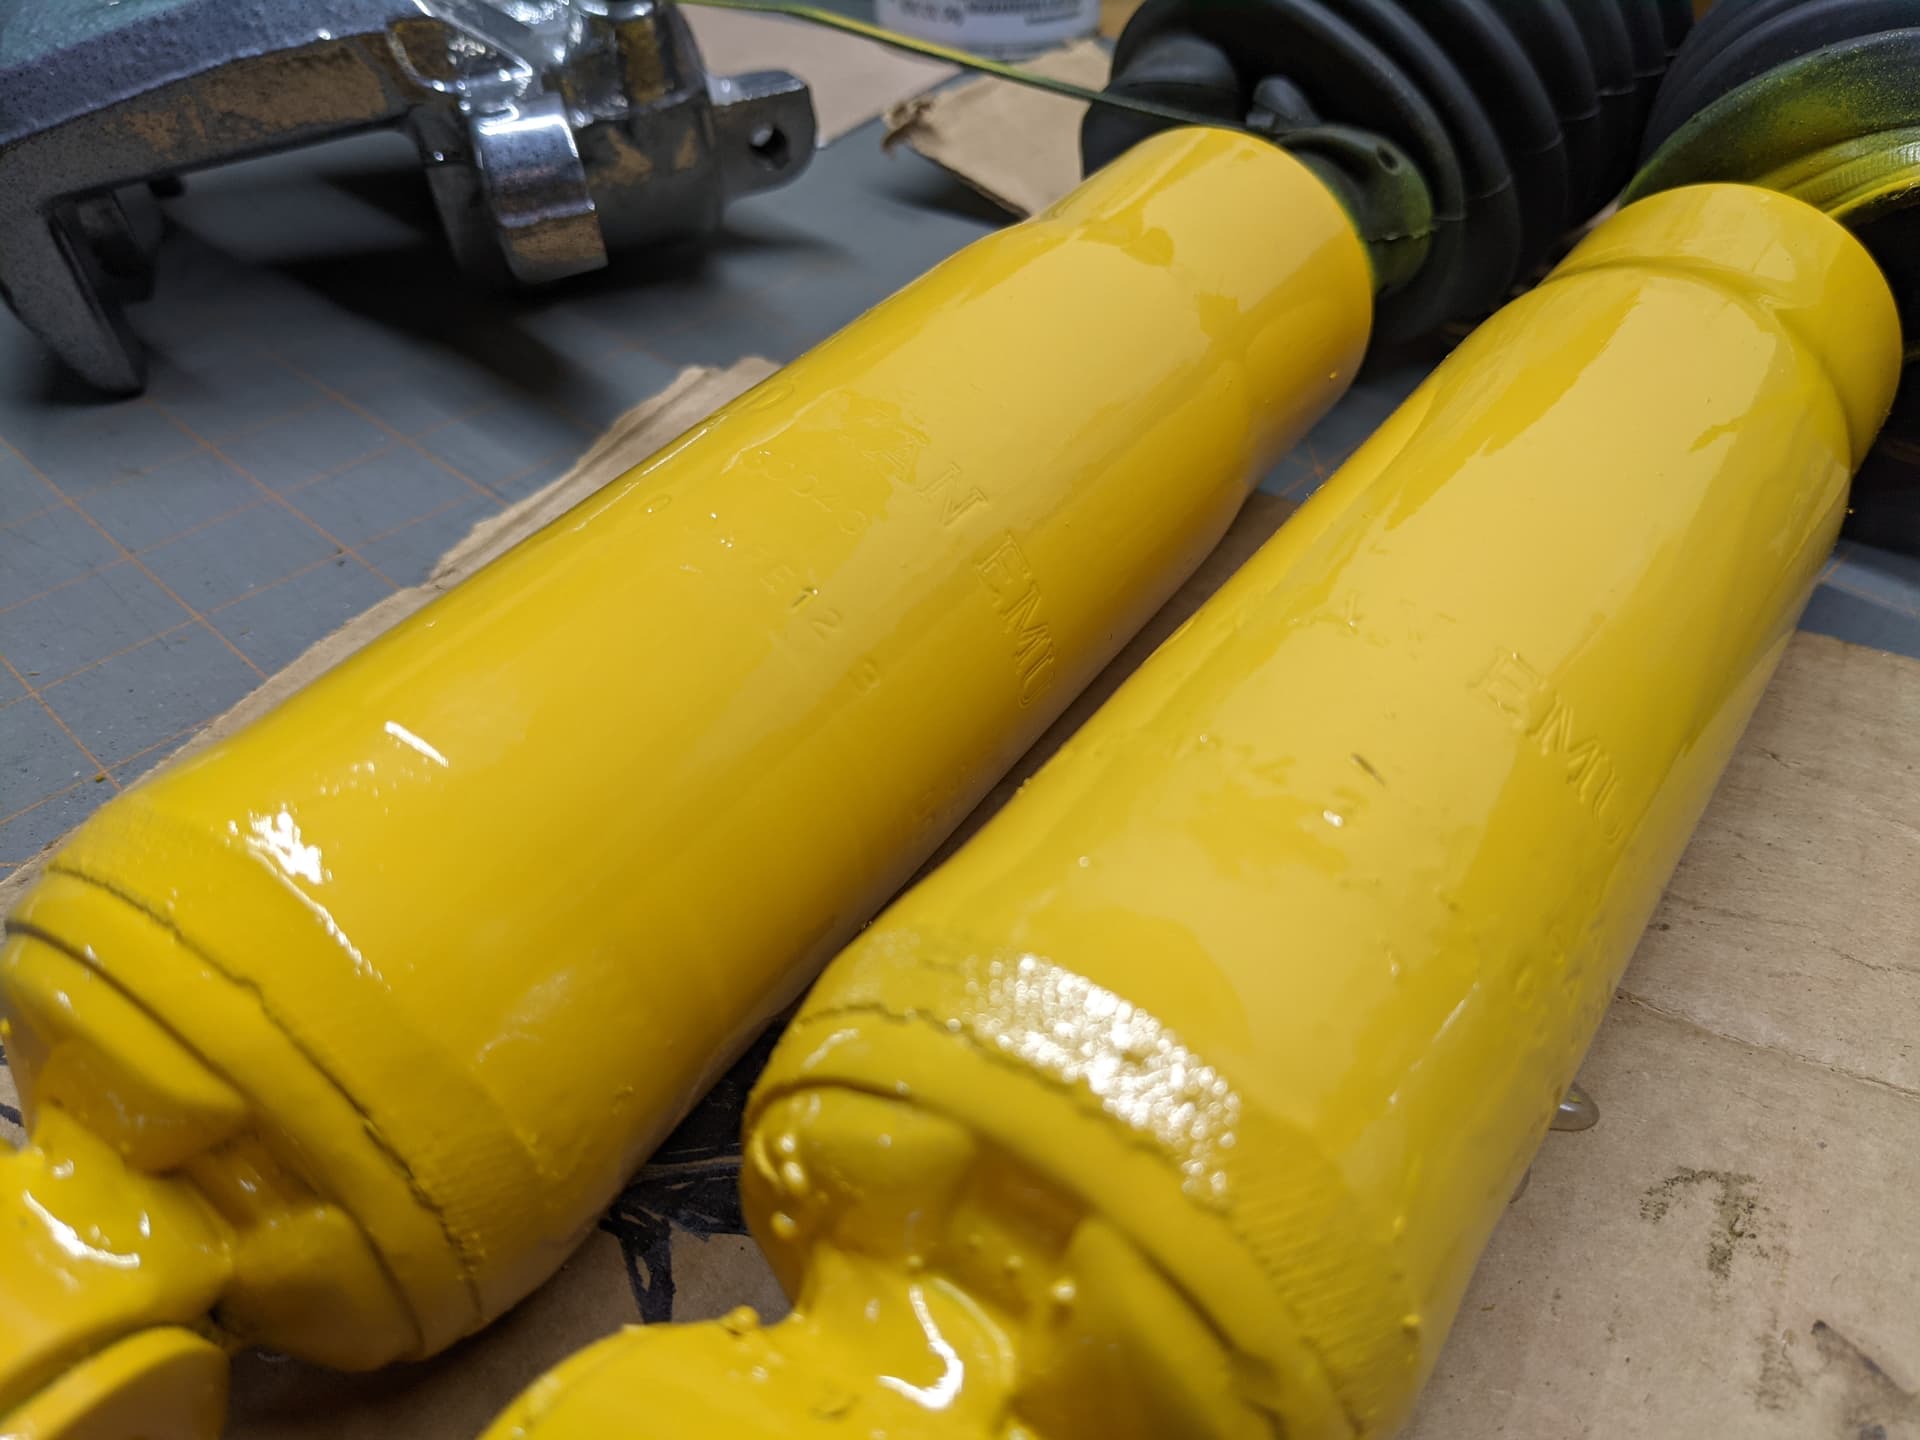
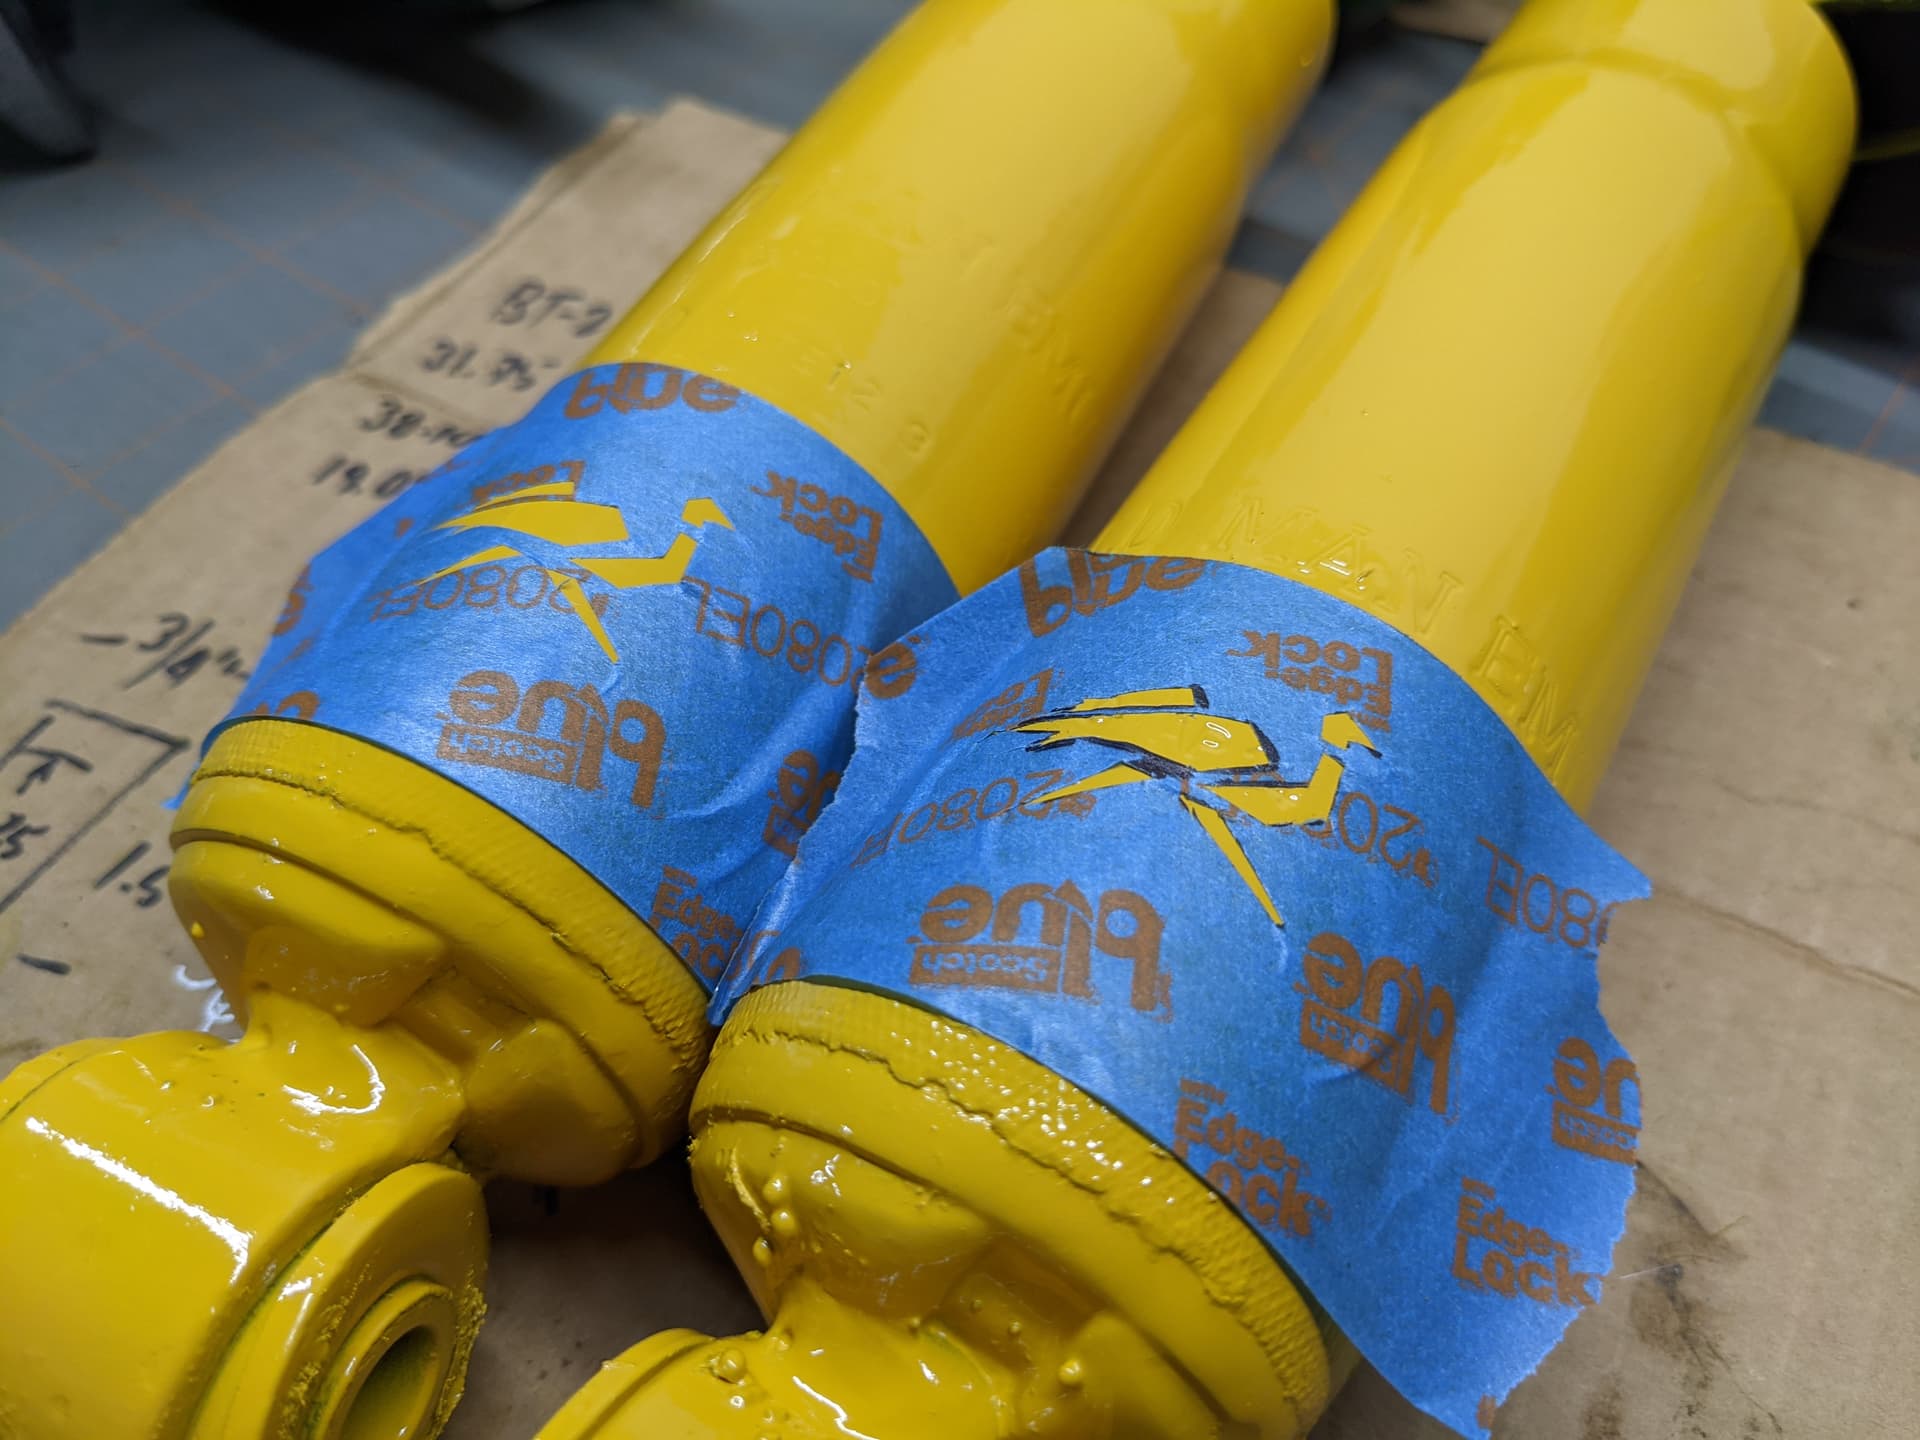
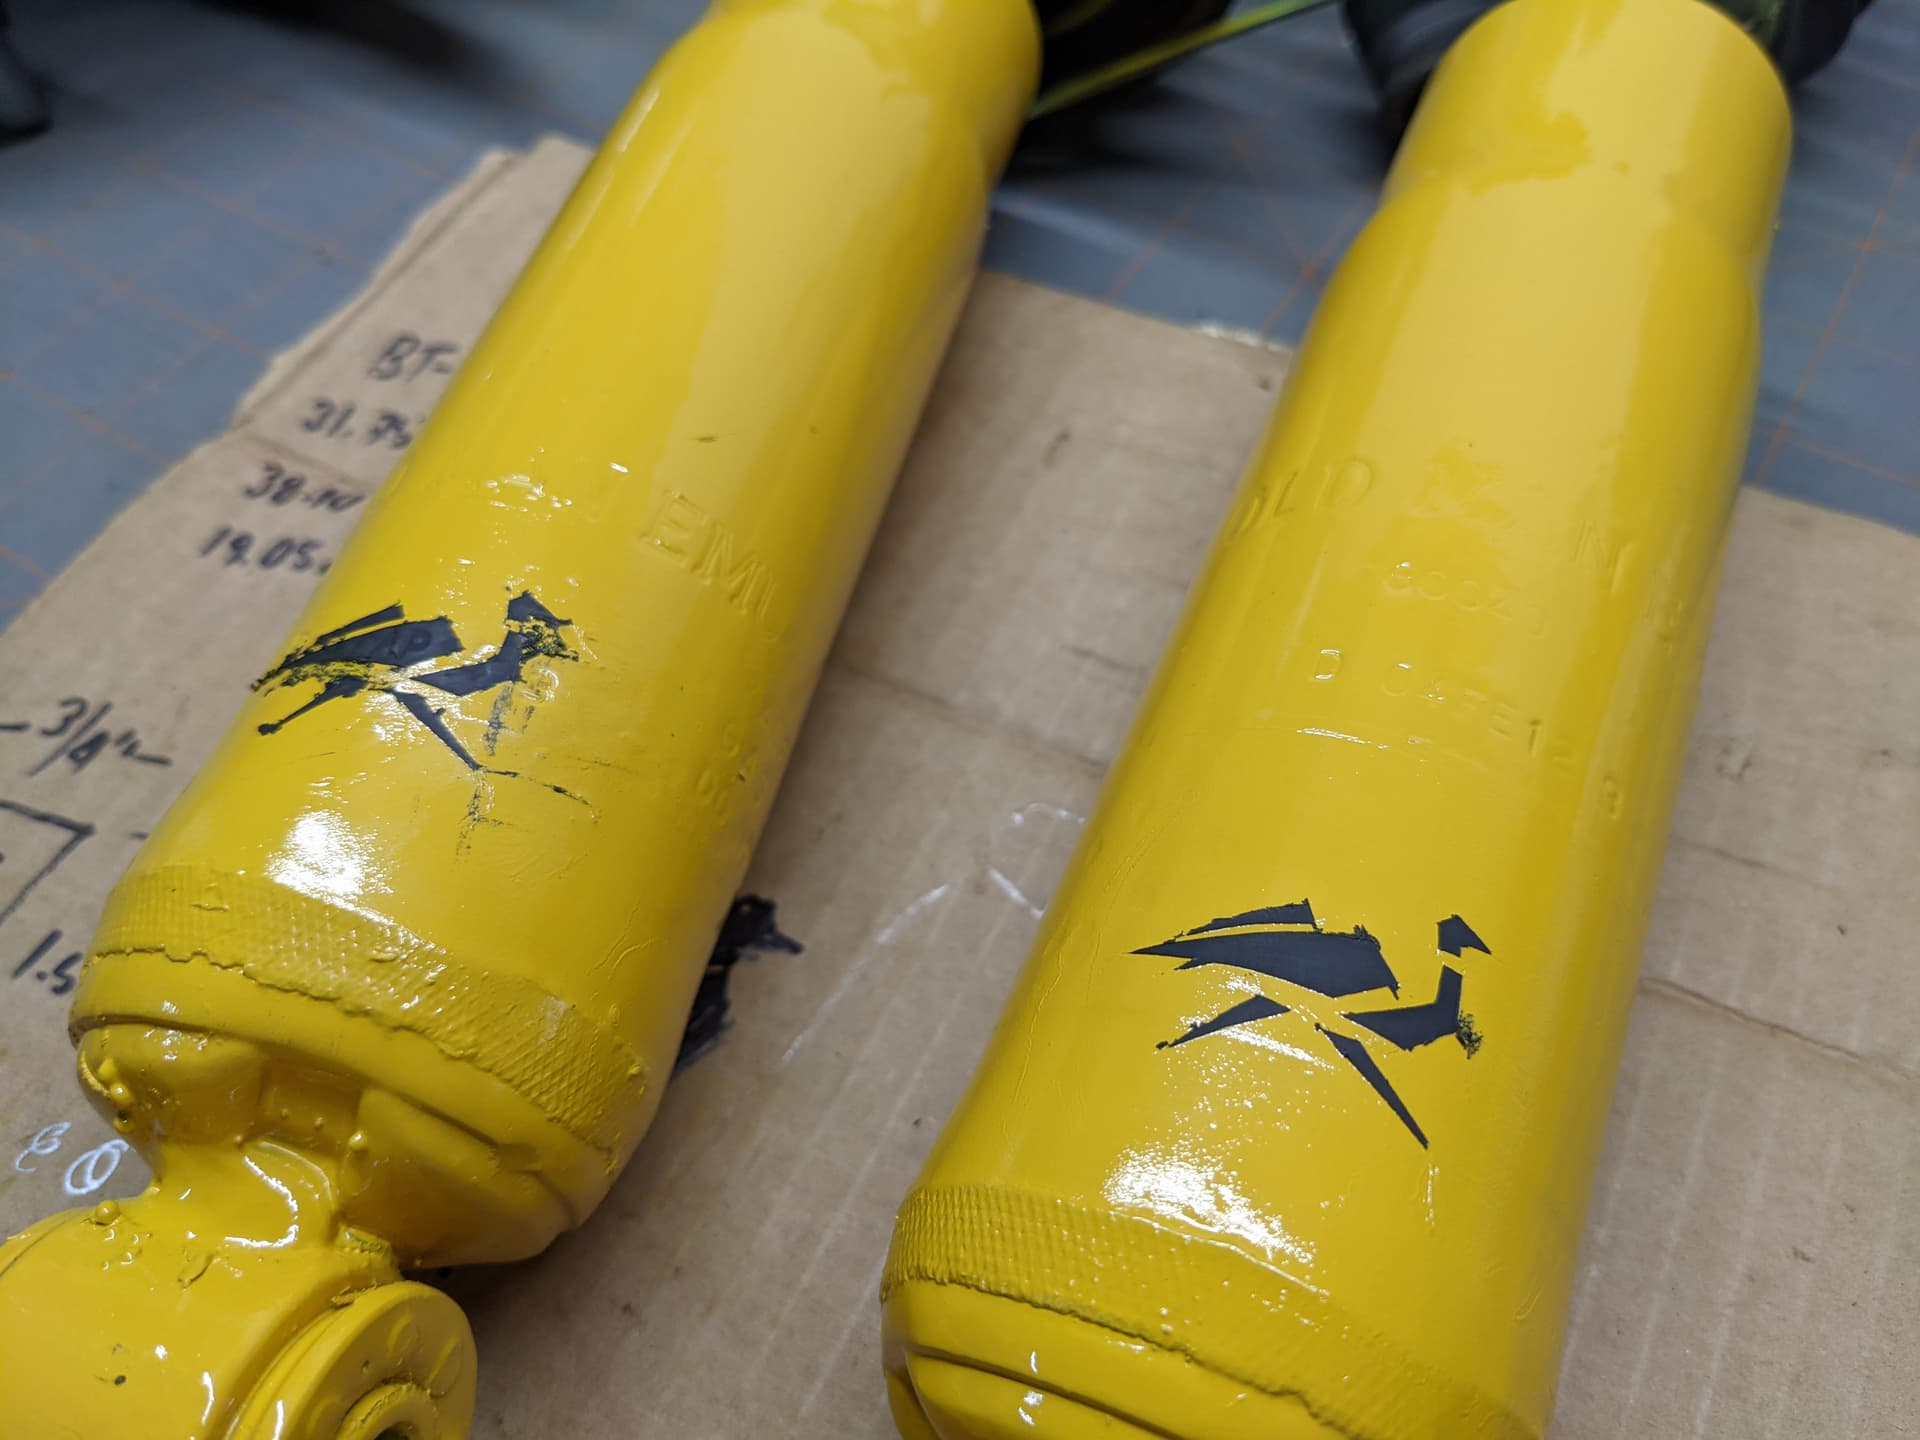
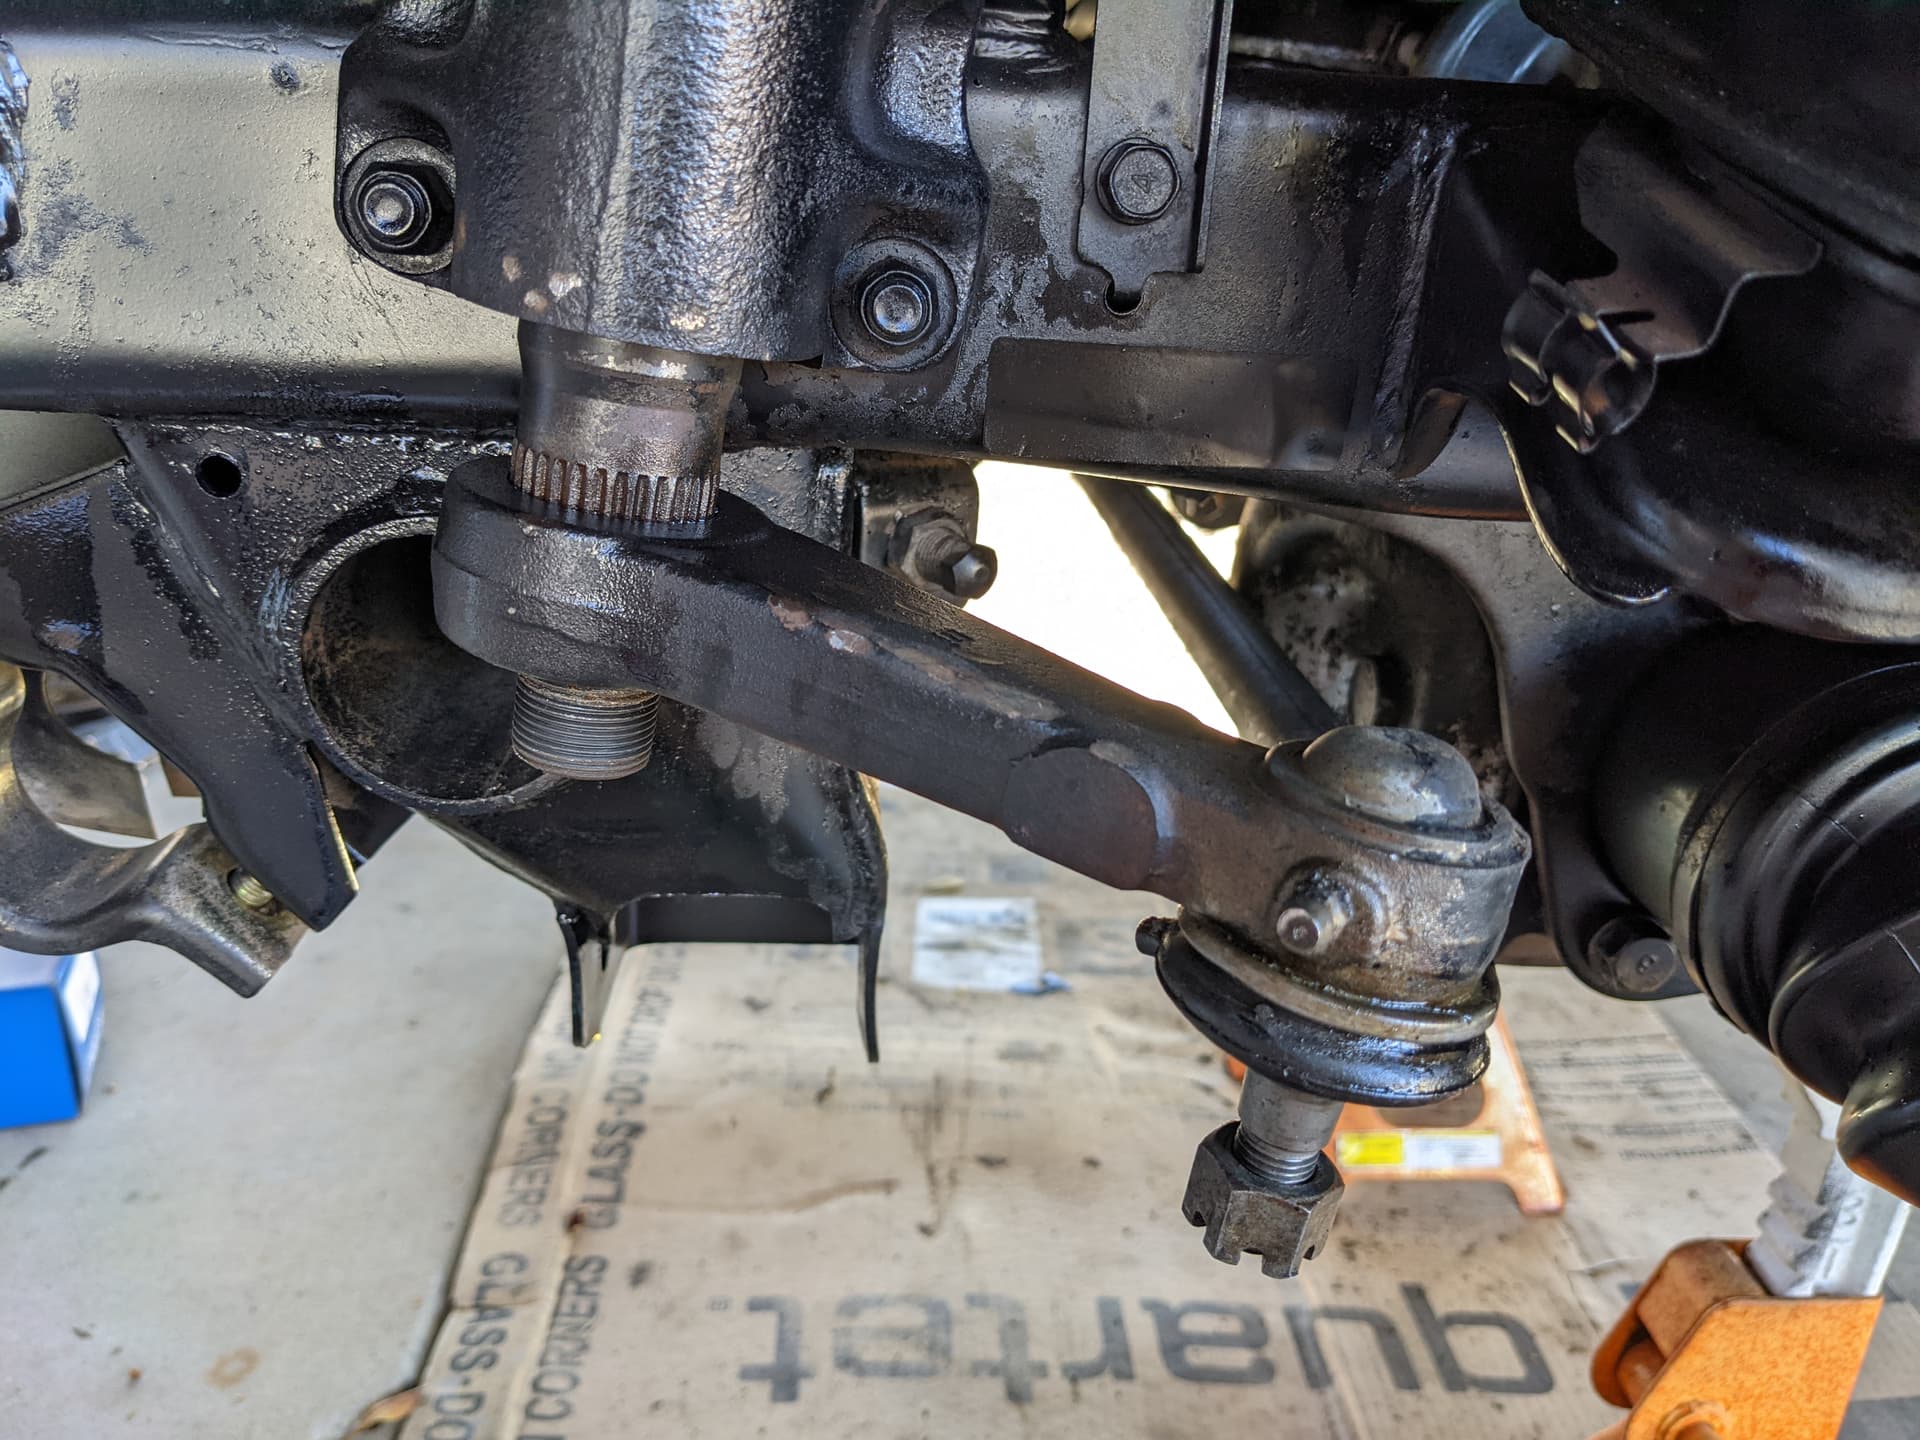
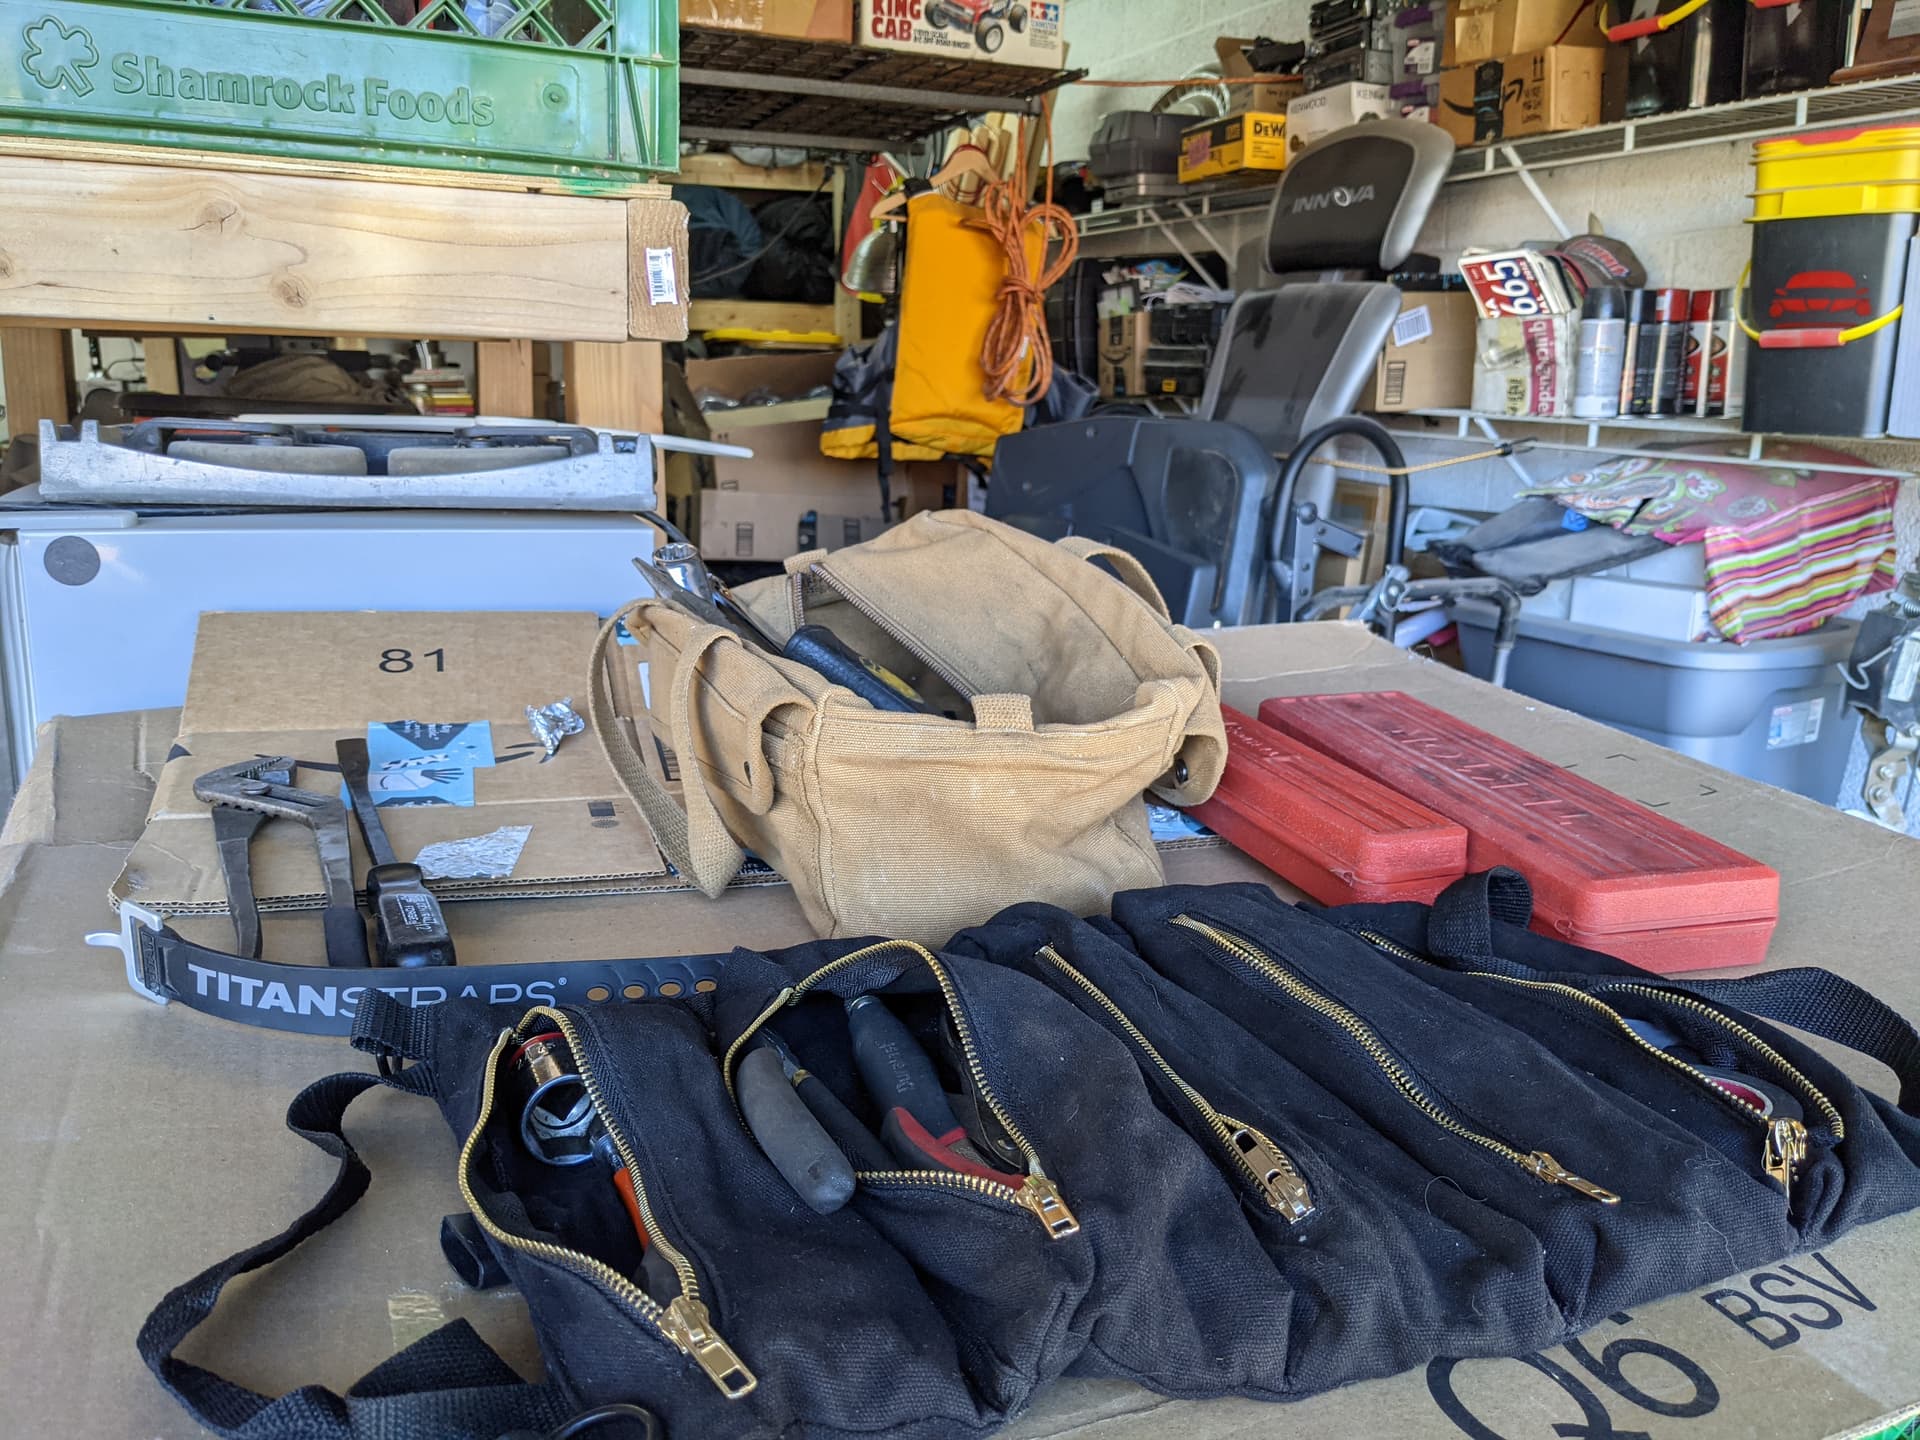
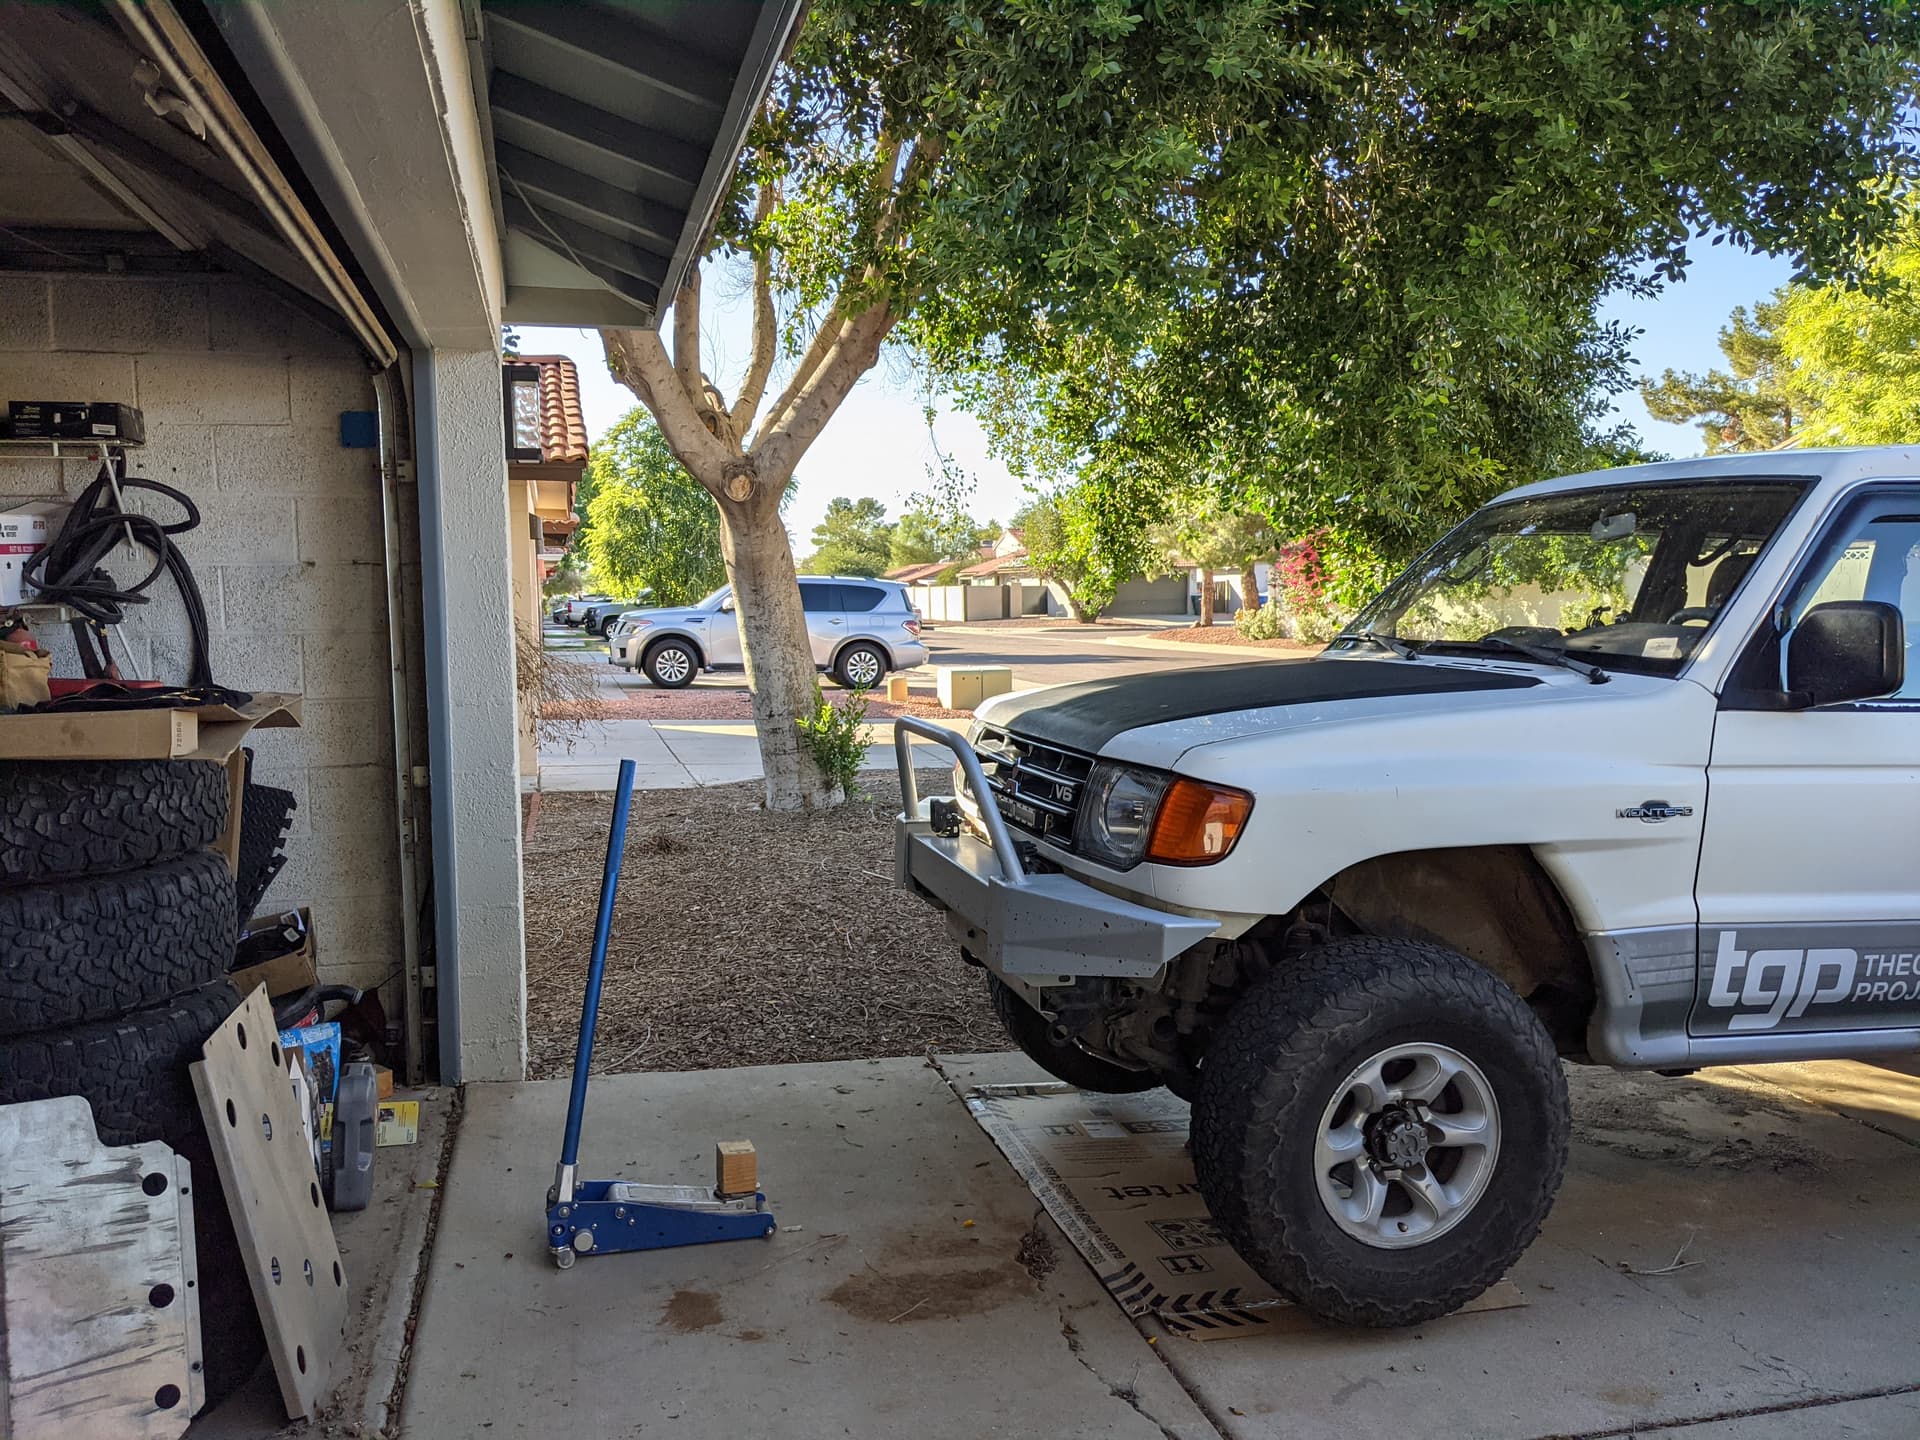
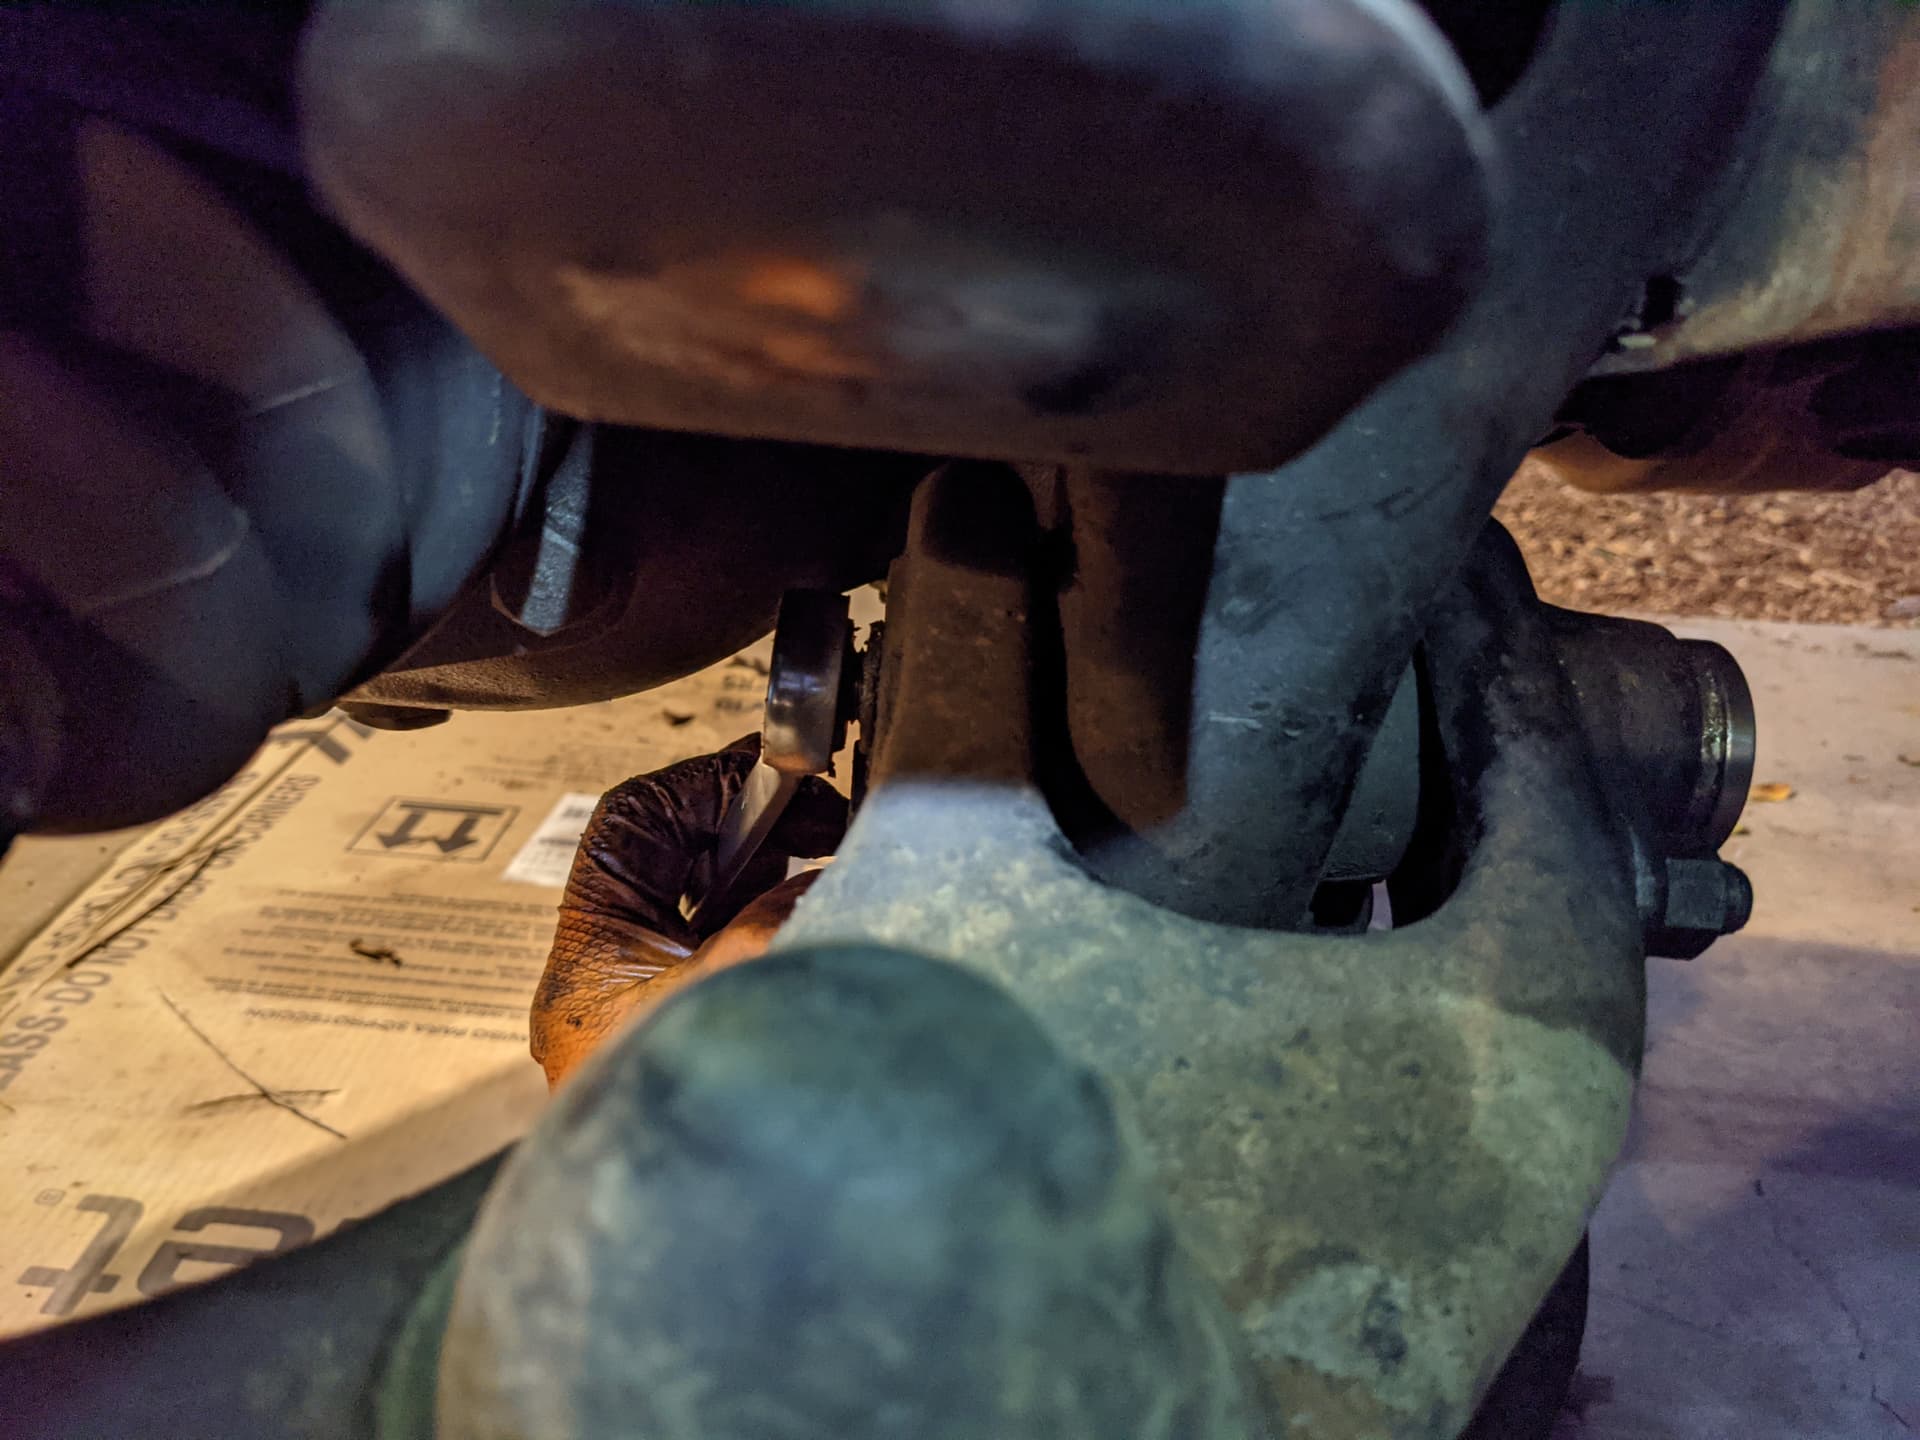
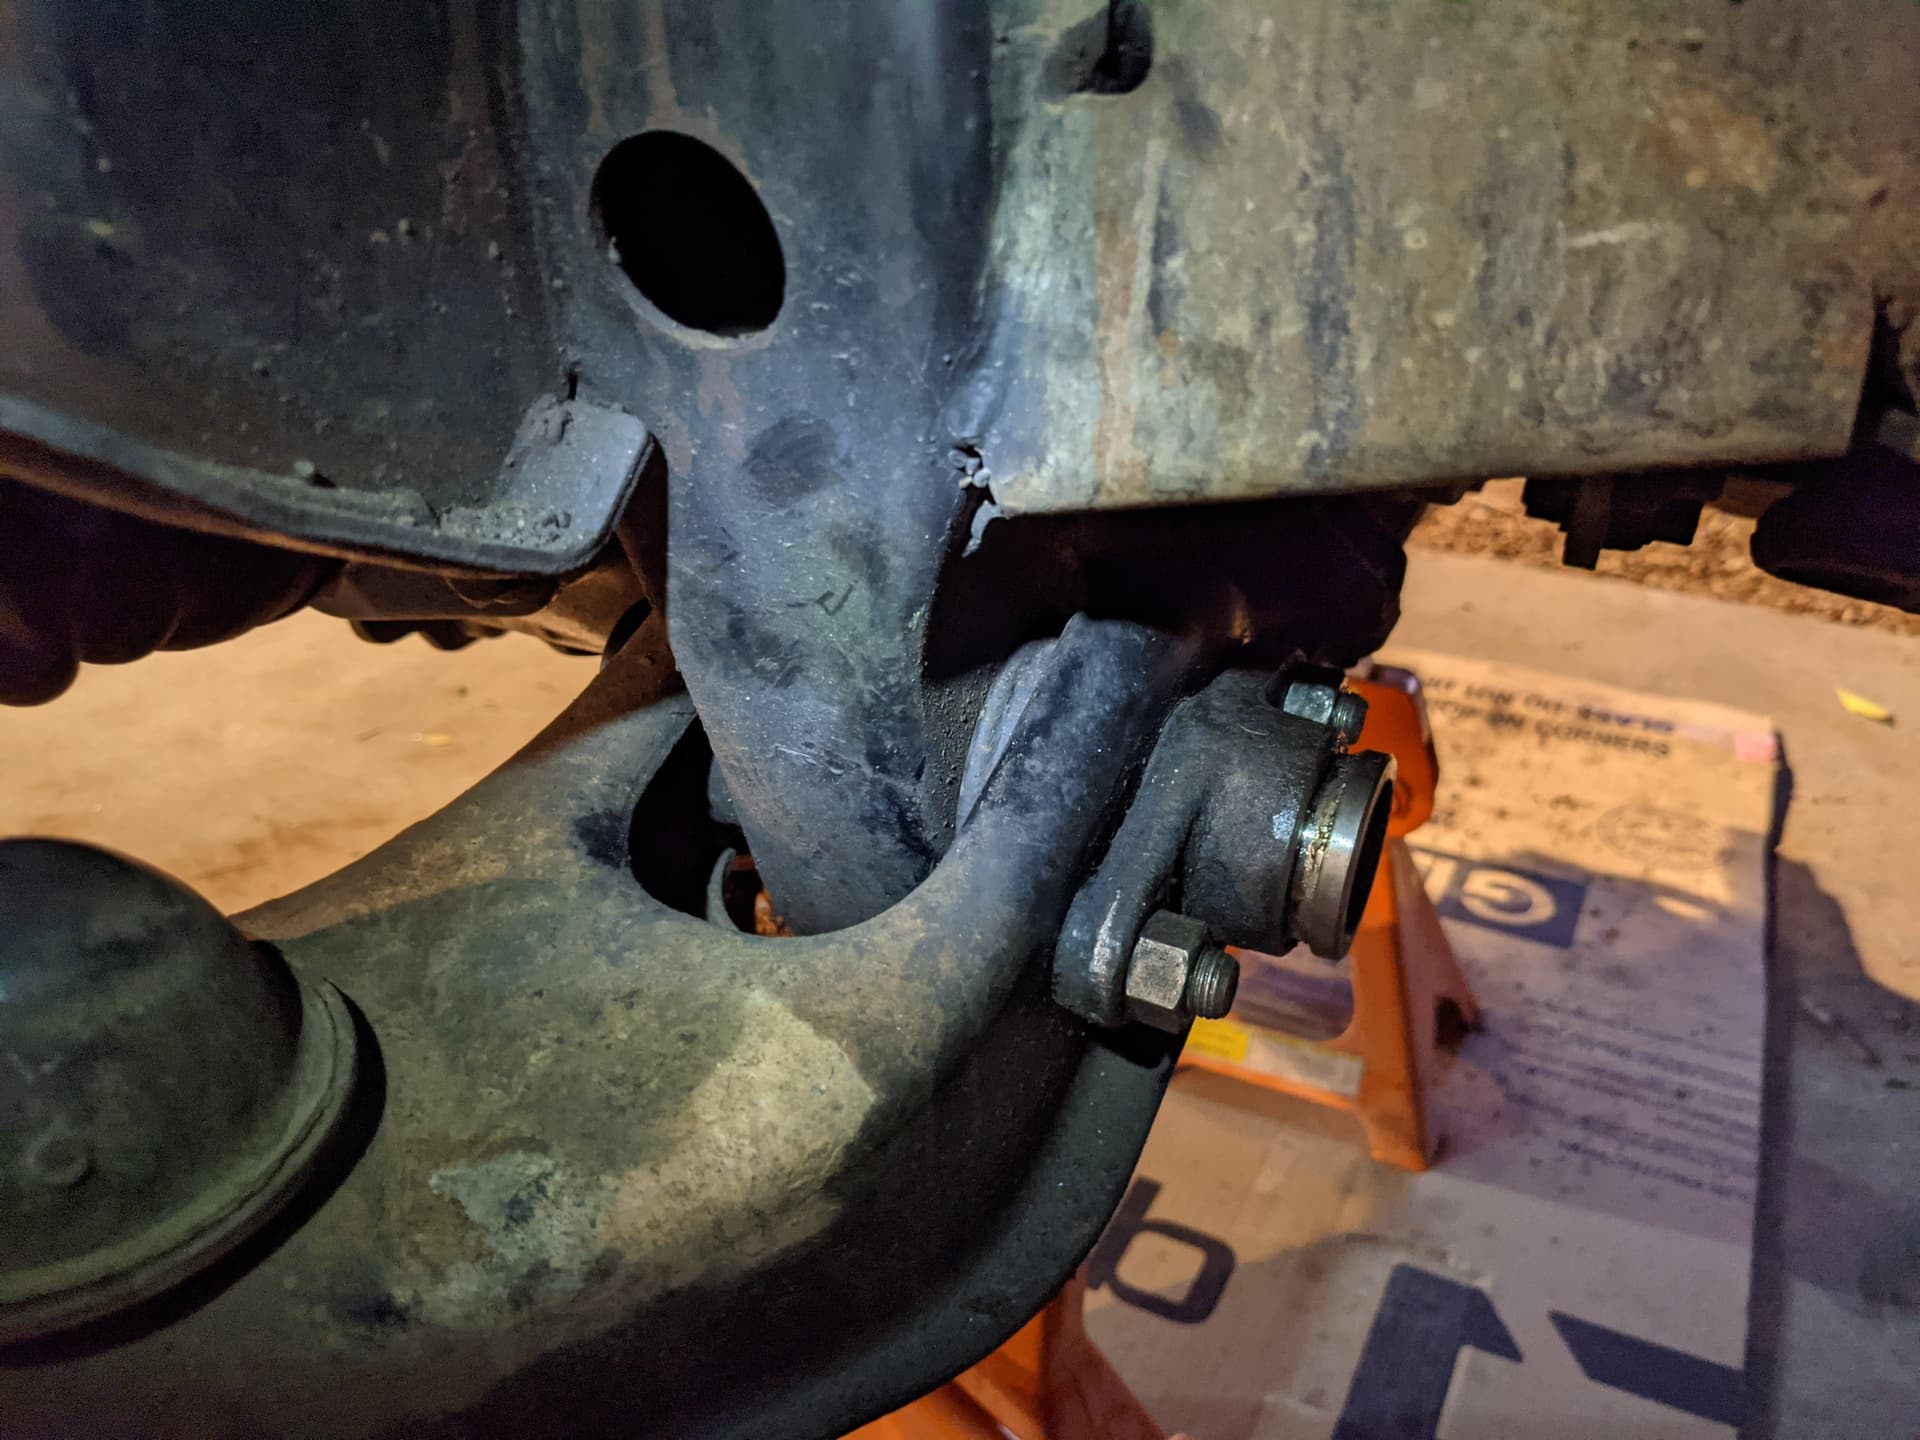
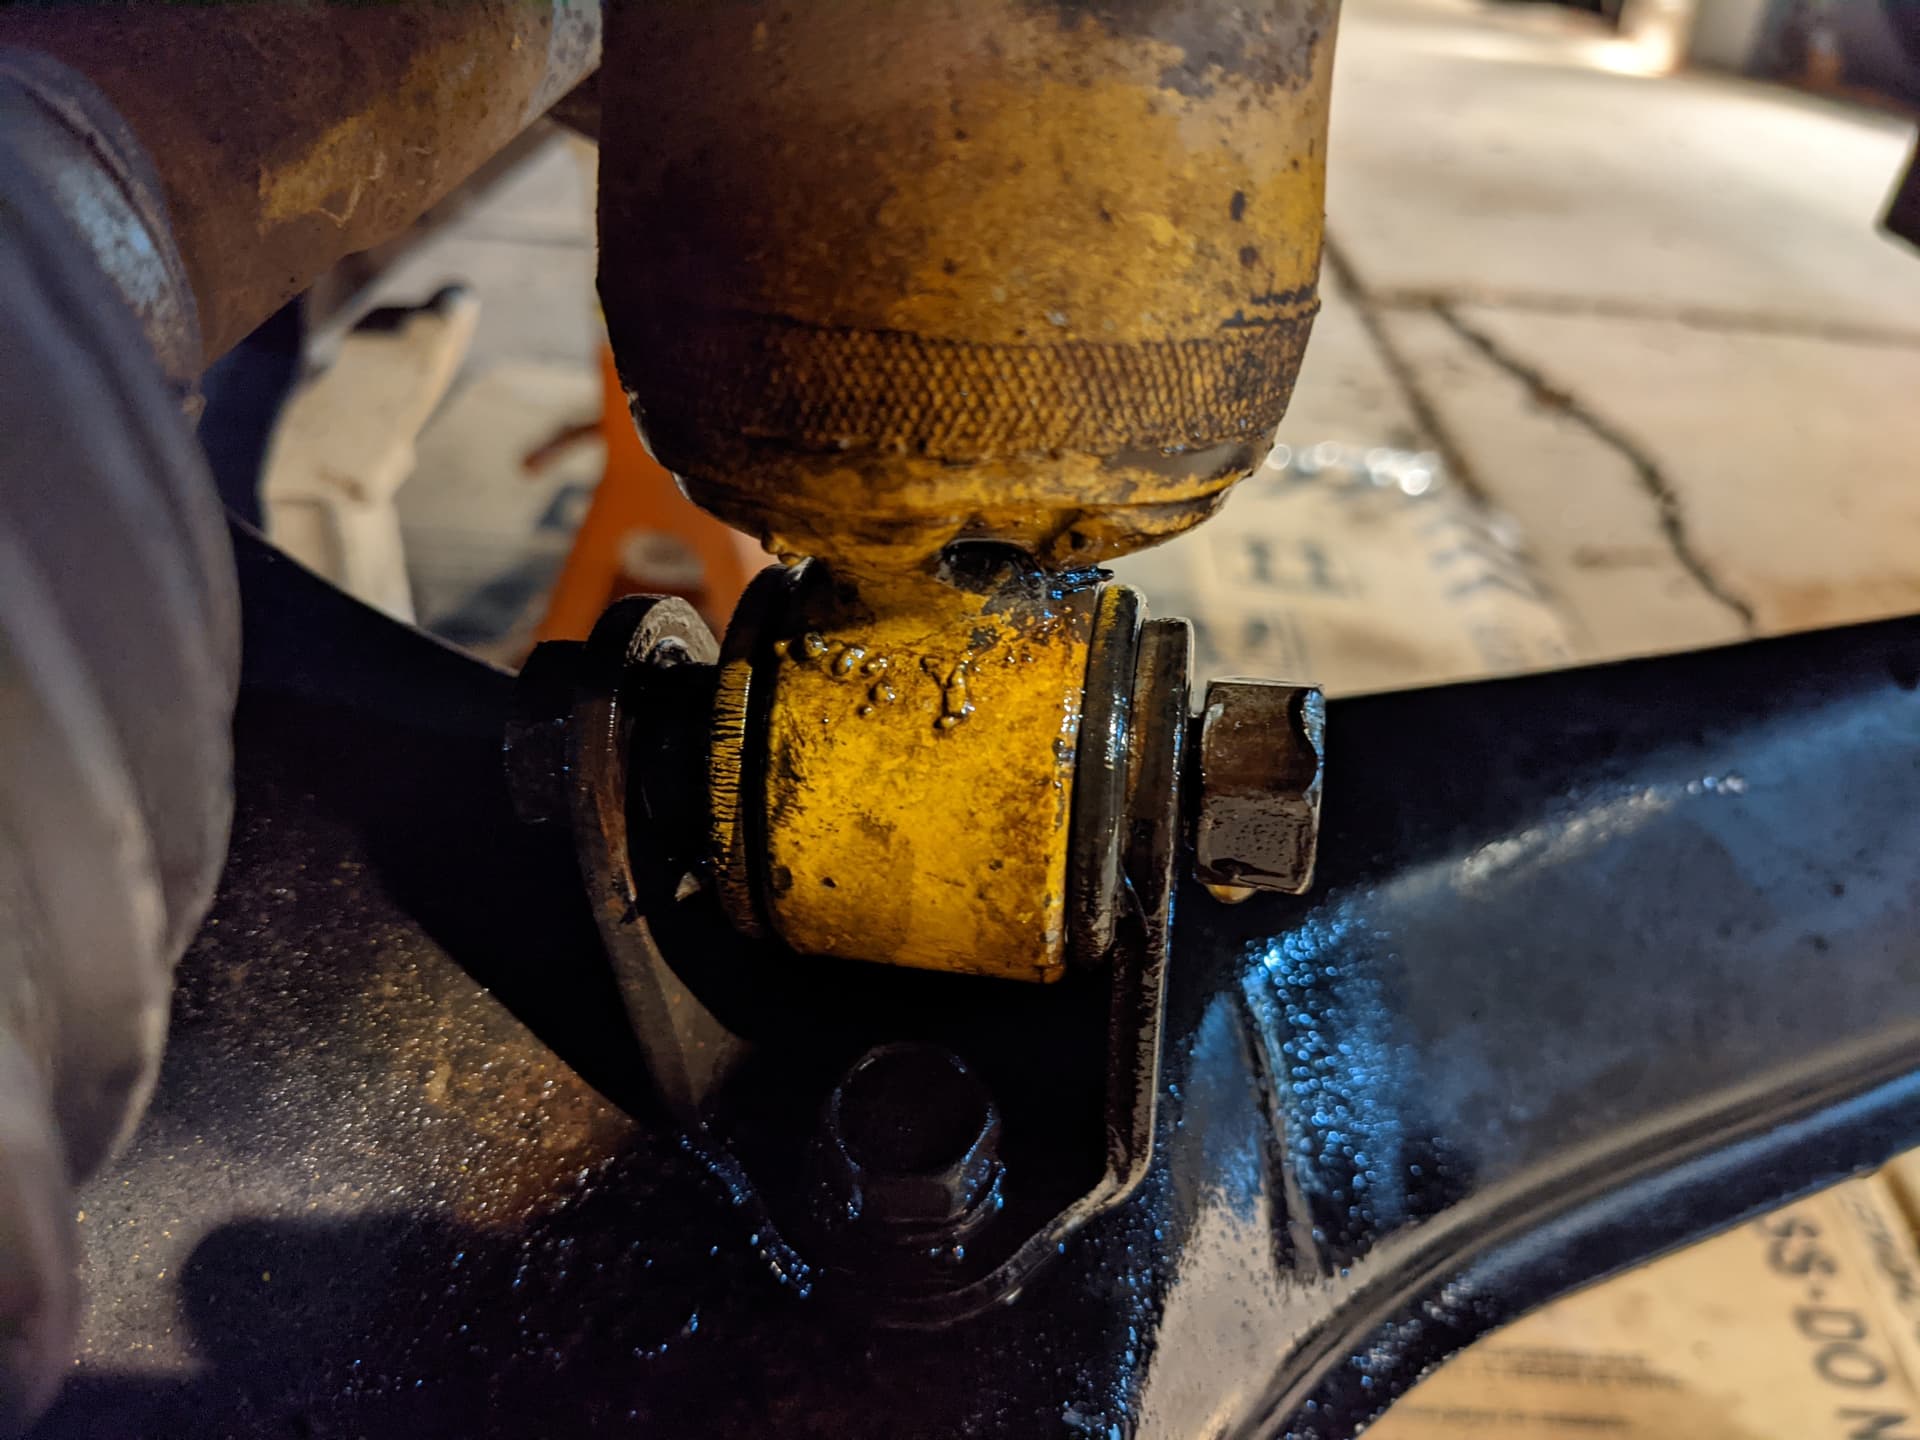
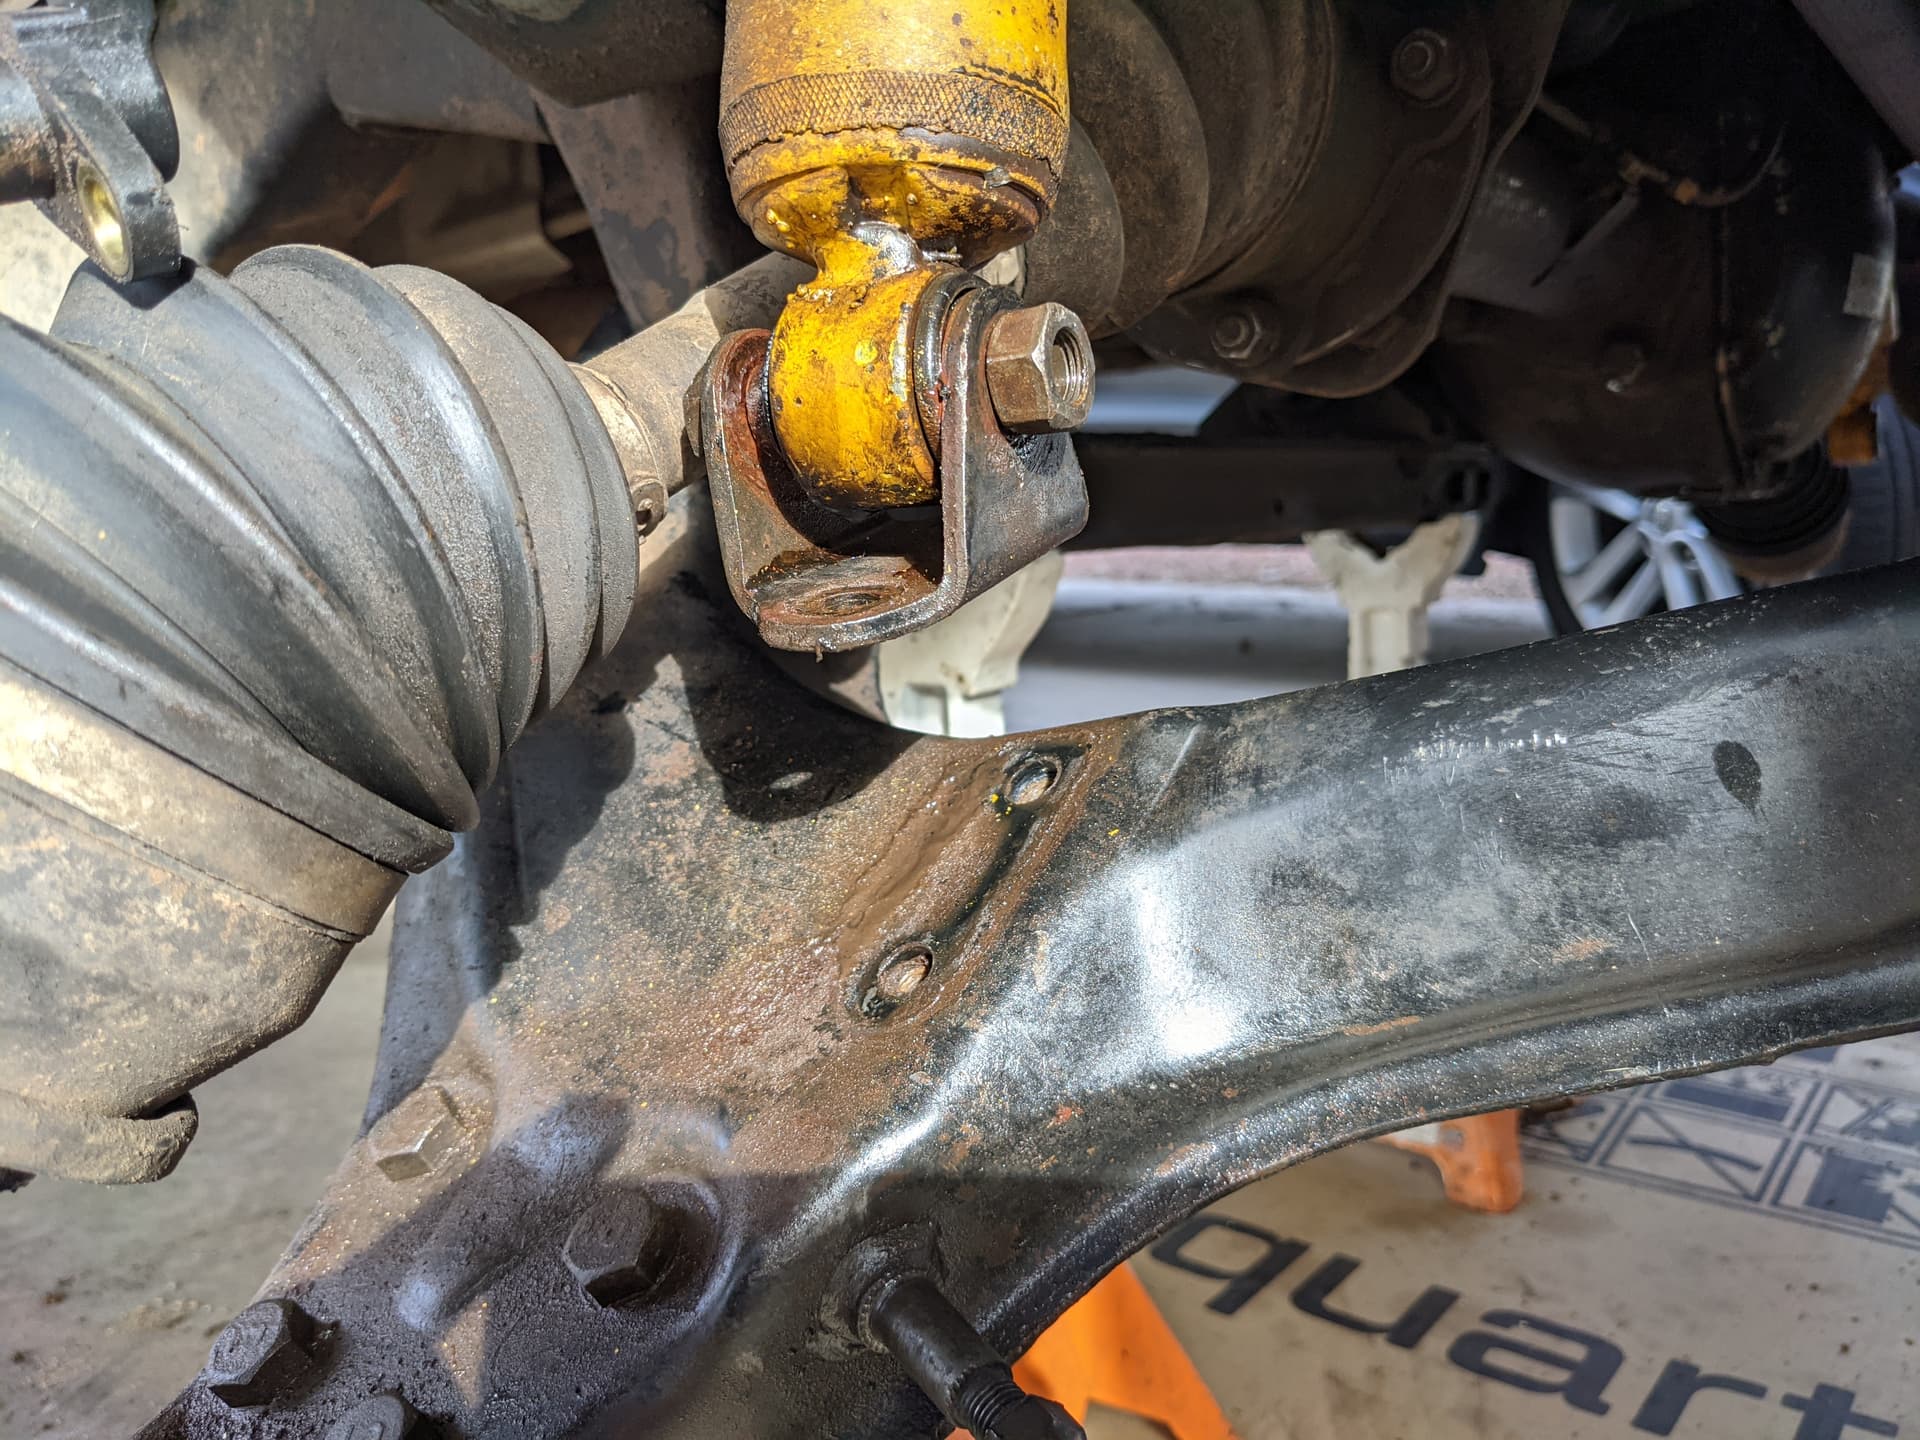
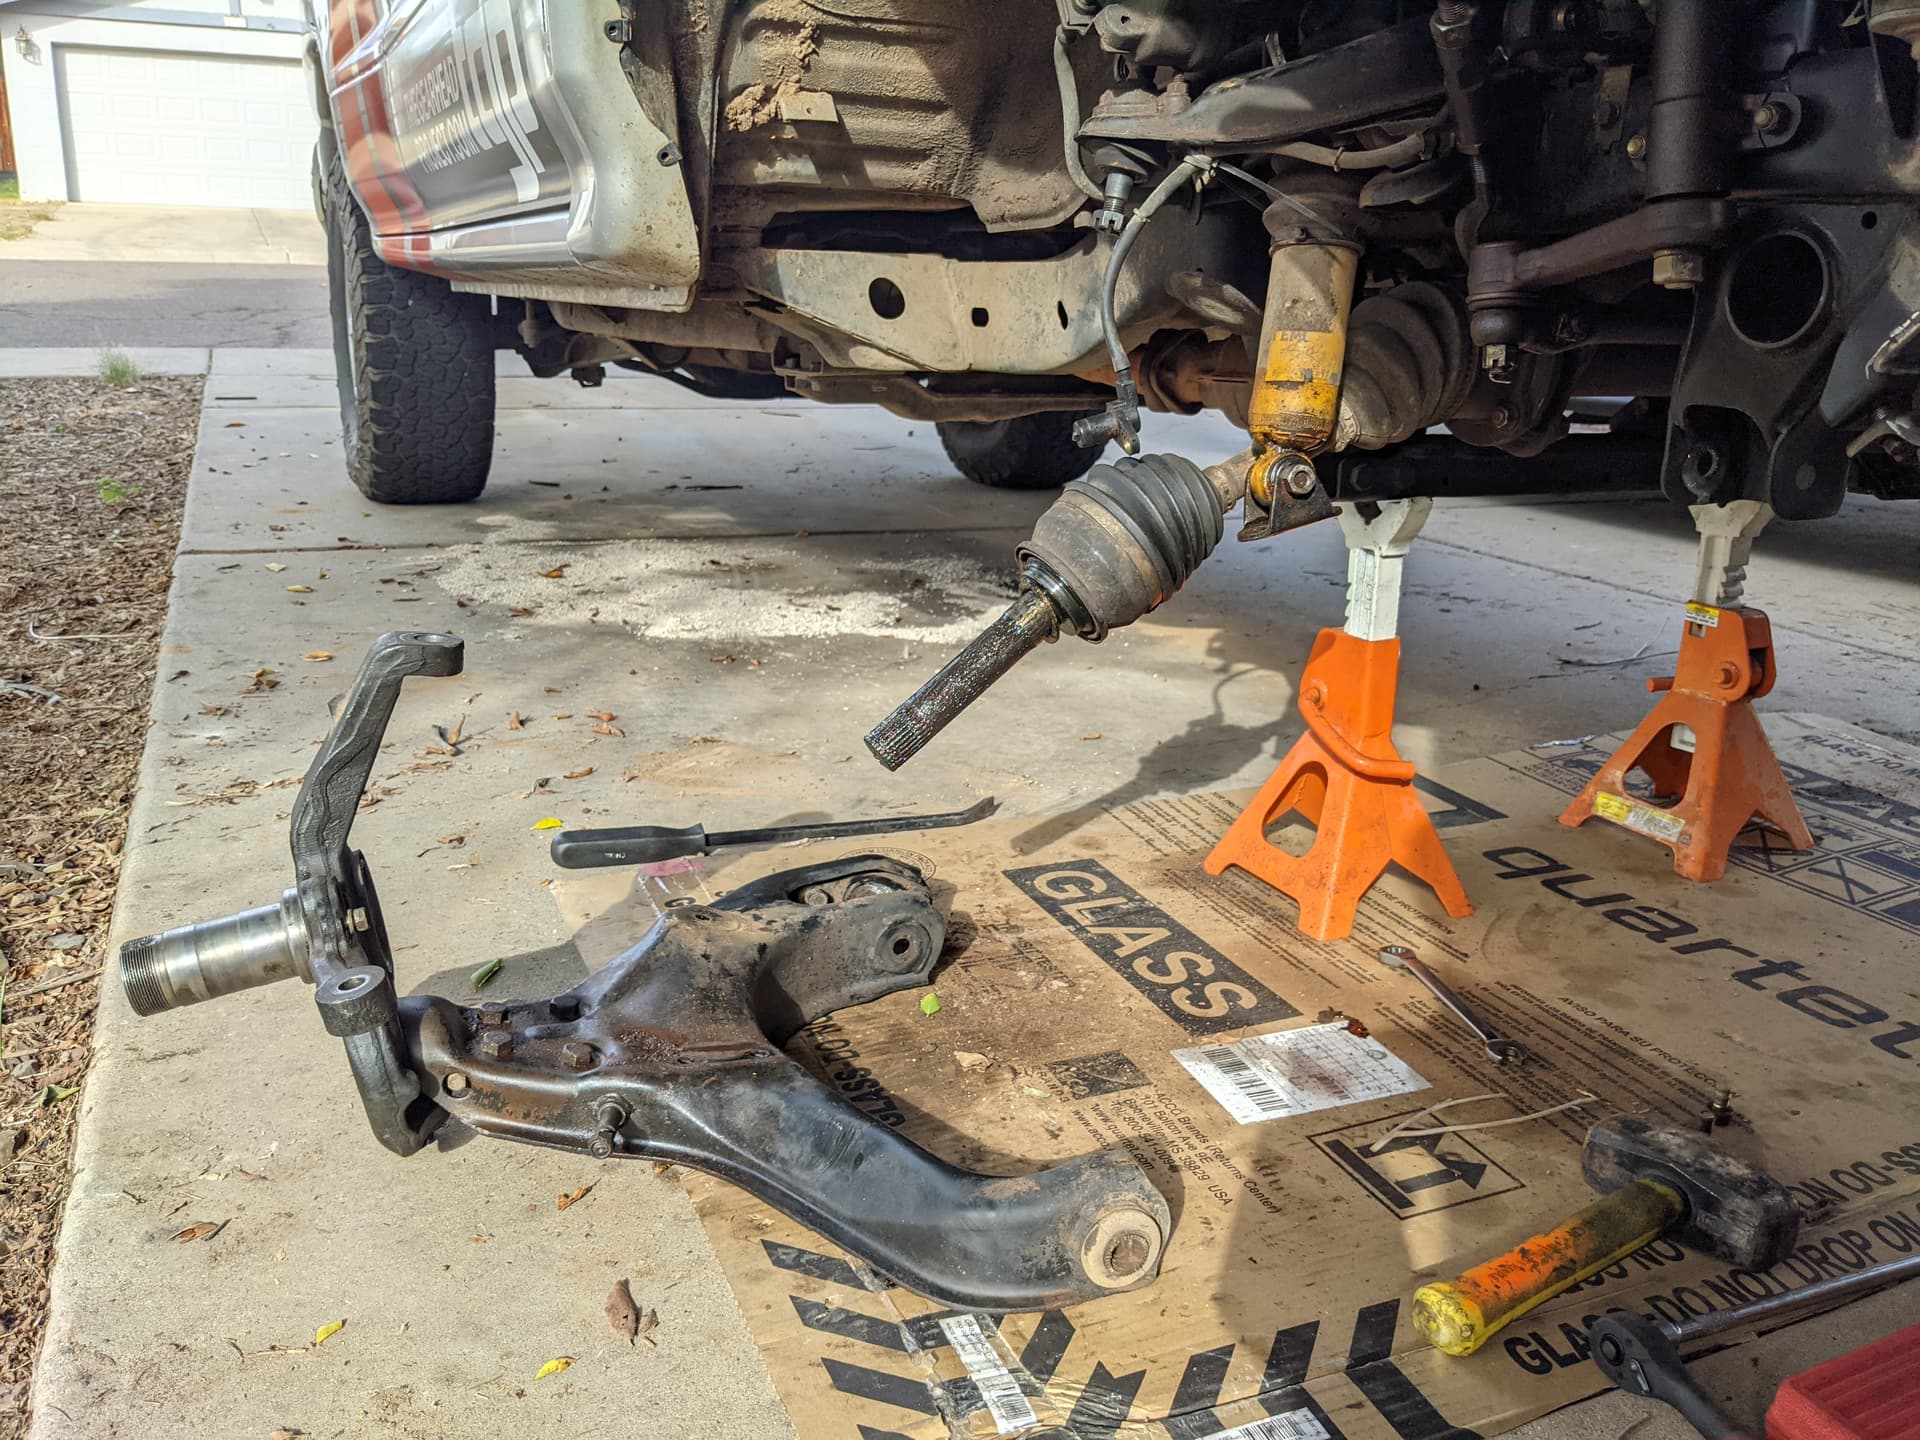
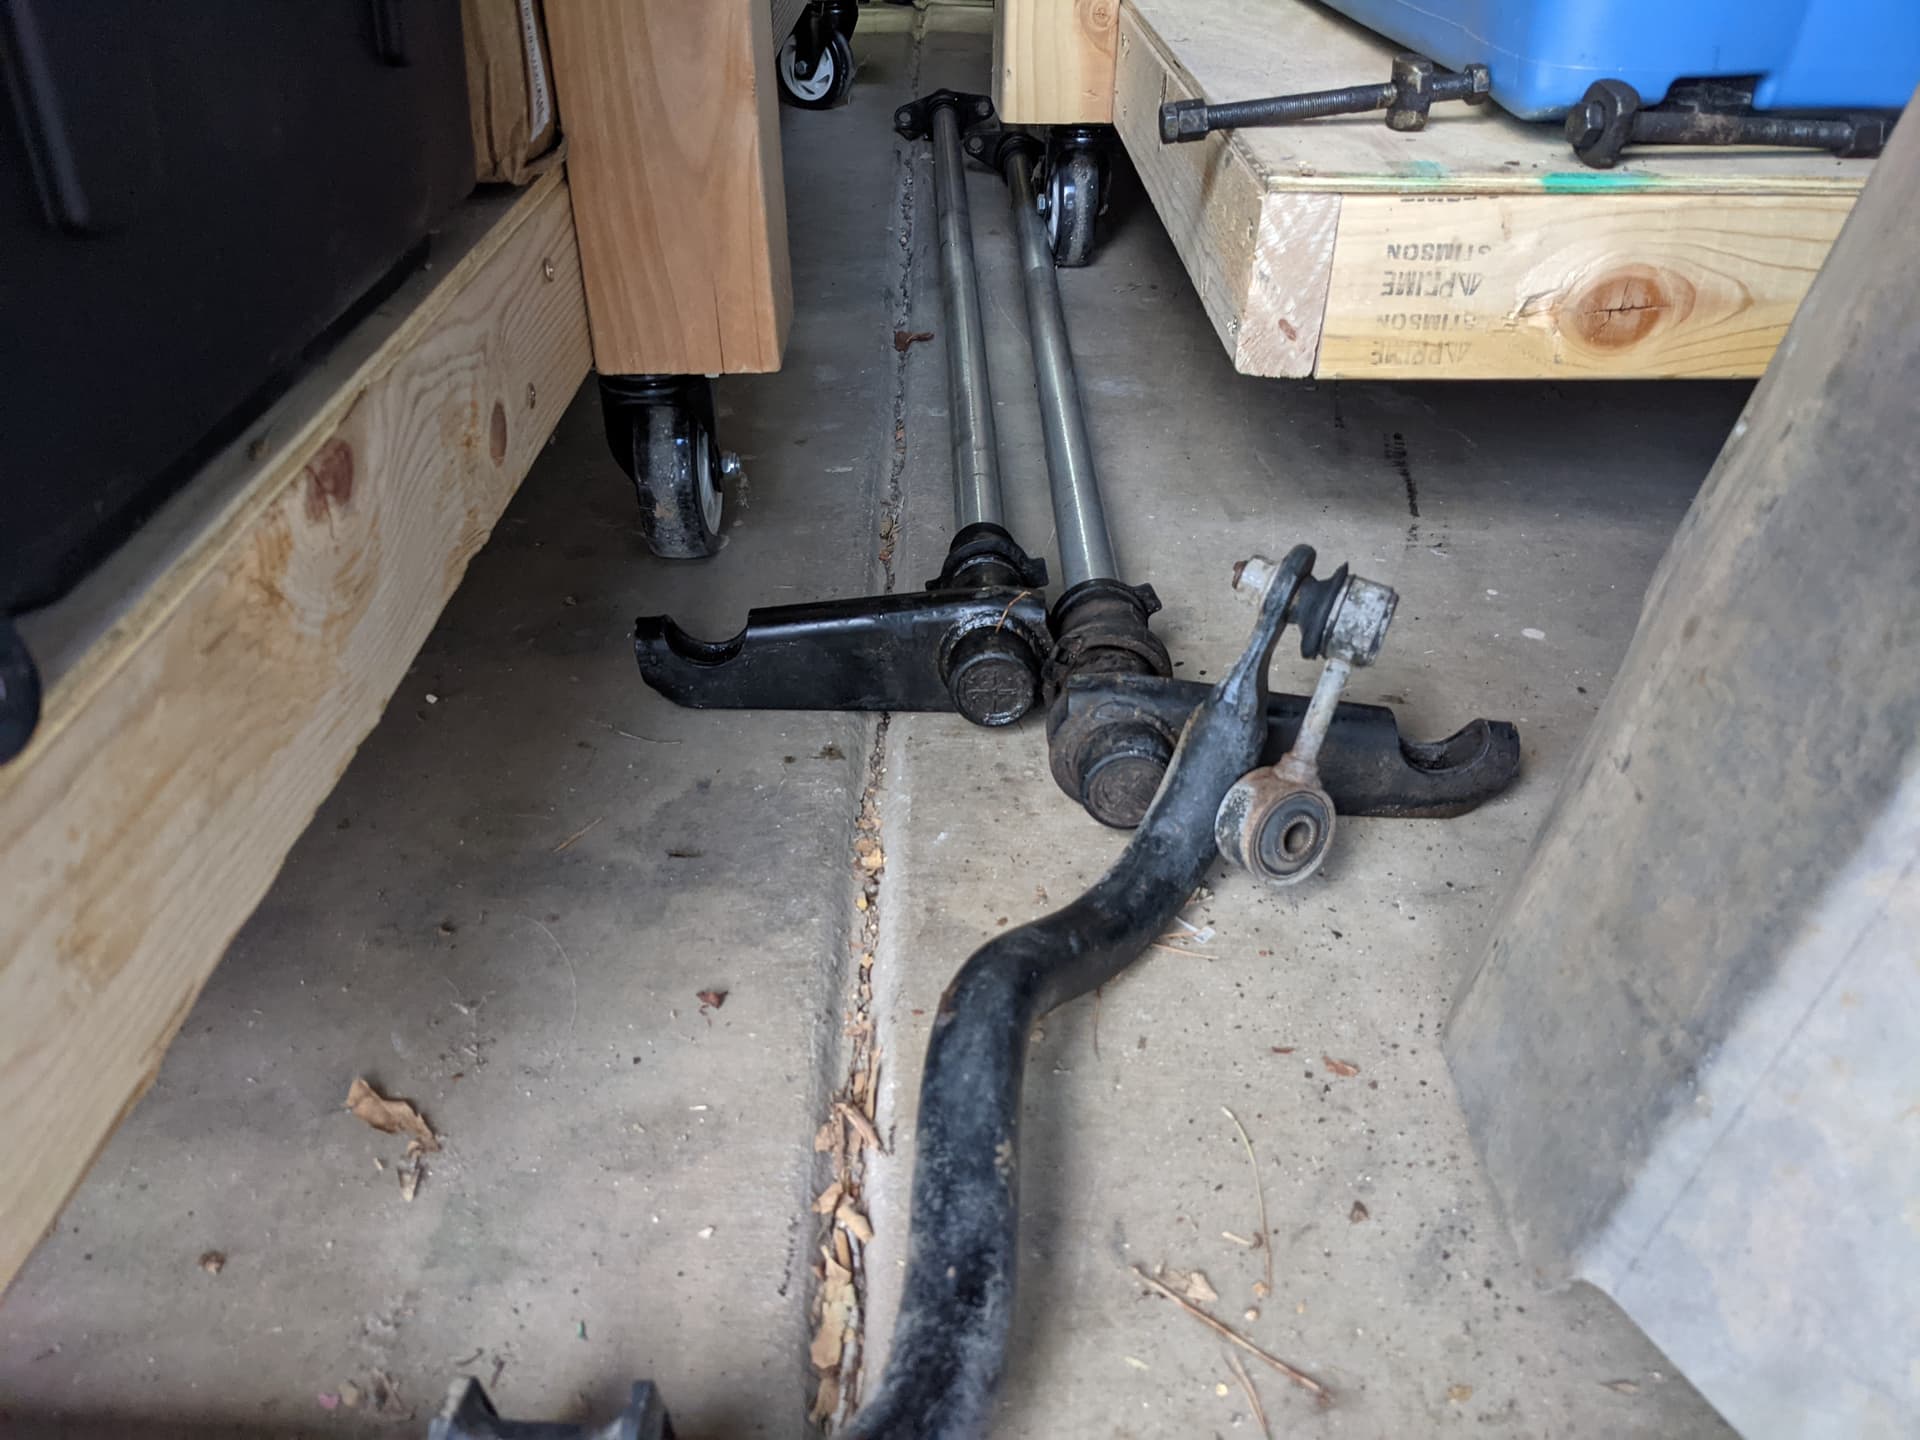
First, I set out my new Adventure Driven Design idler with the CrMo kingpin and bronze bushings. (Mechanical engineer approved!) After bead blasting the case at the shop, it was ready for a couple coats of Rustoleum. Josh was nice enough to include a spare idler arm and the OE kingpin, should I run into any trouble. Of course, then I damaged the tired old bushing on the tired old pitman arm while separating it from the steering, uh, bar. Didn’t have another one of those lying around, so I had to order one.

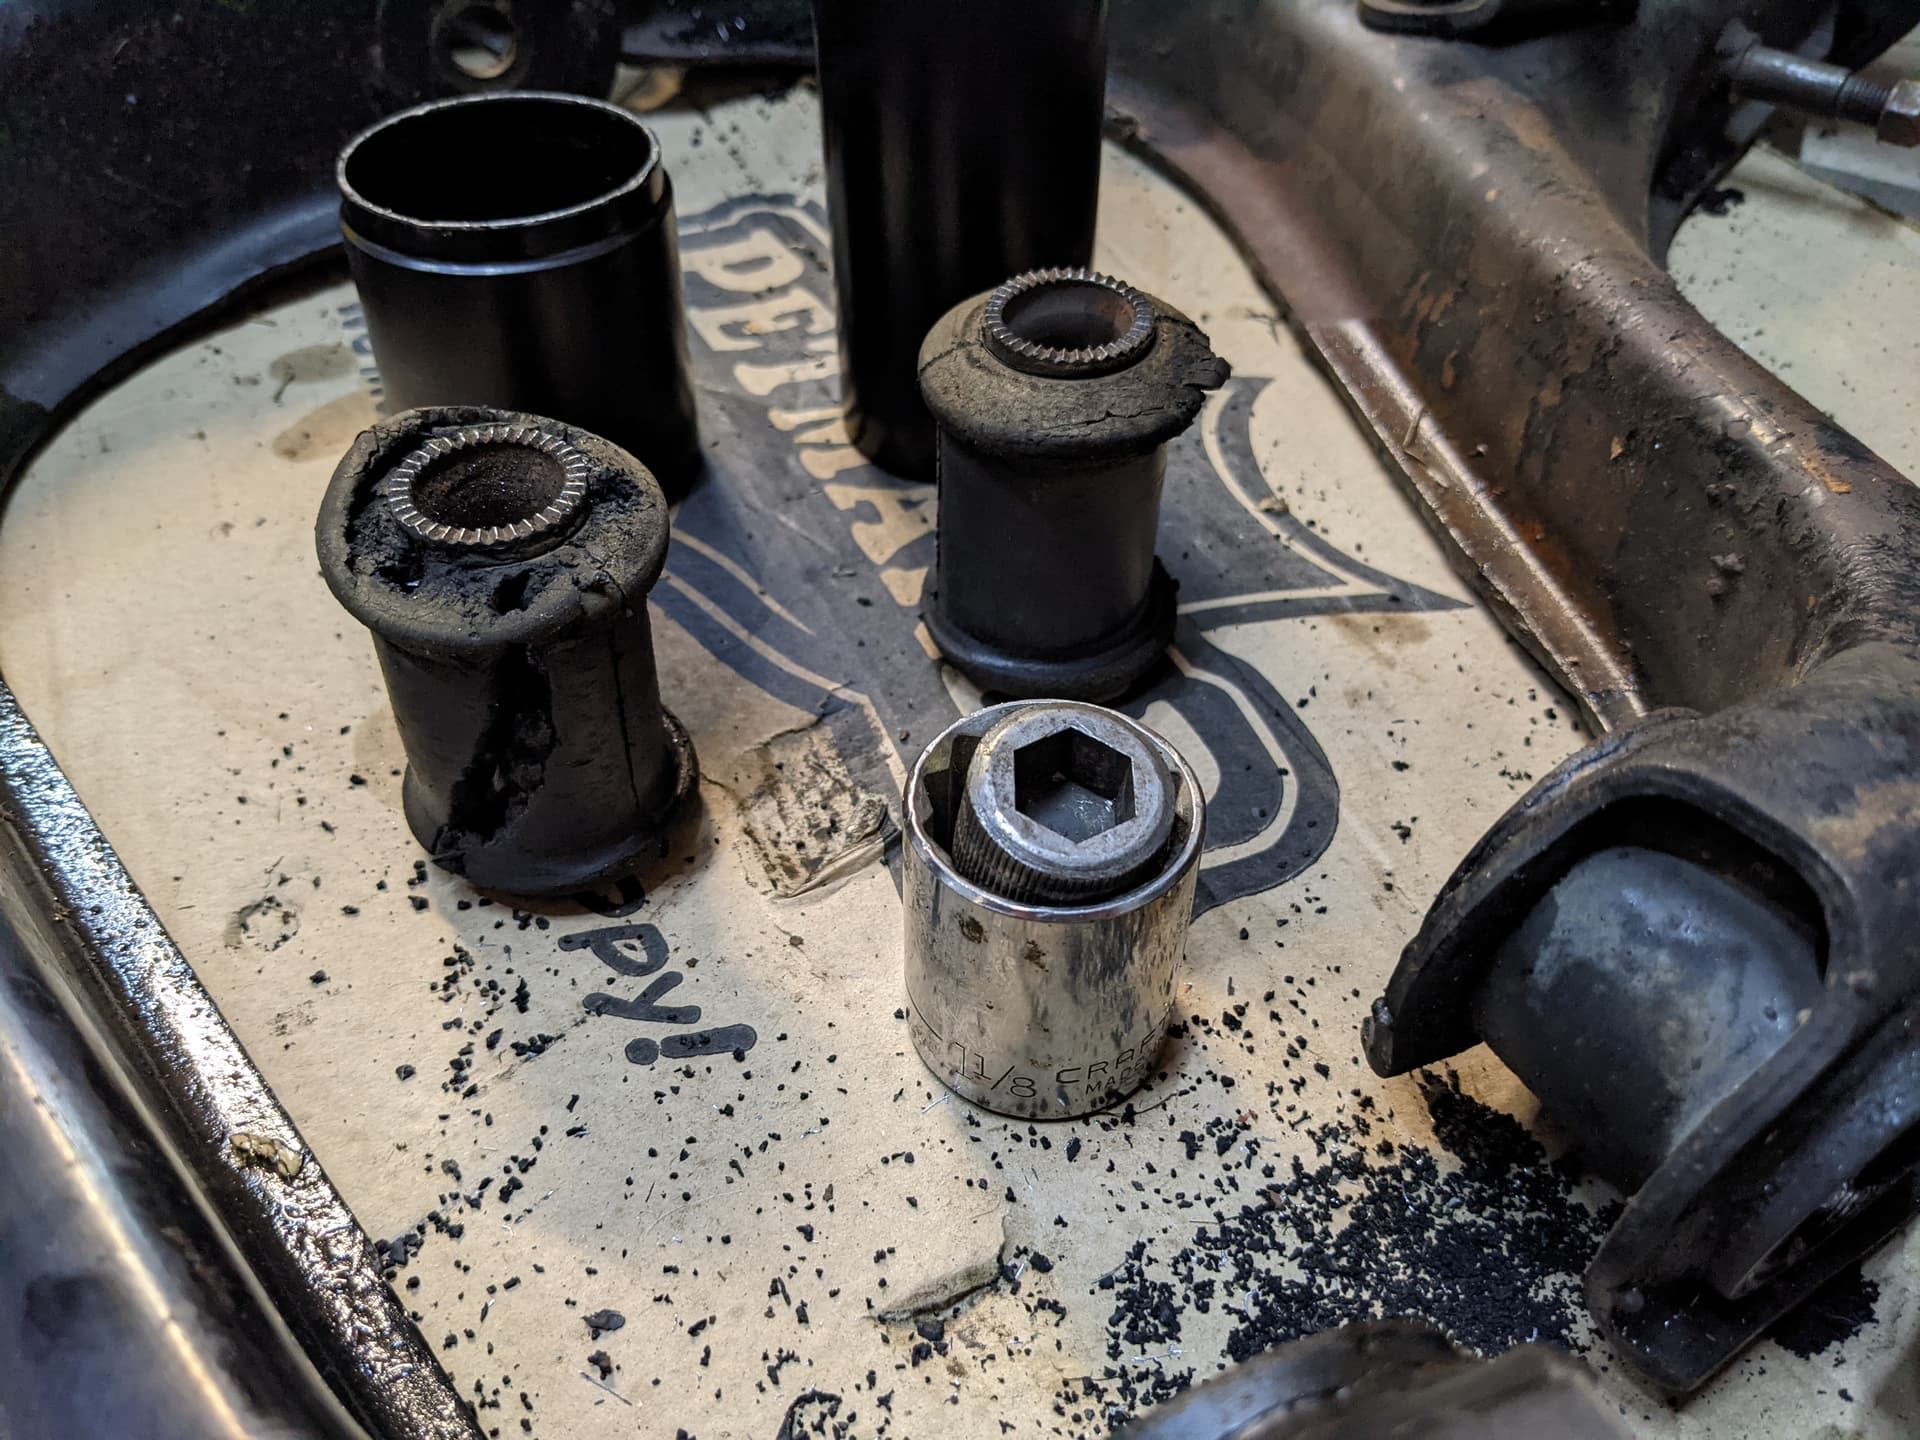
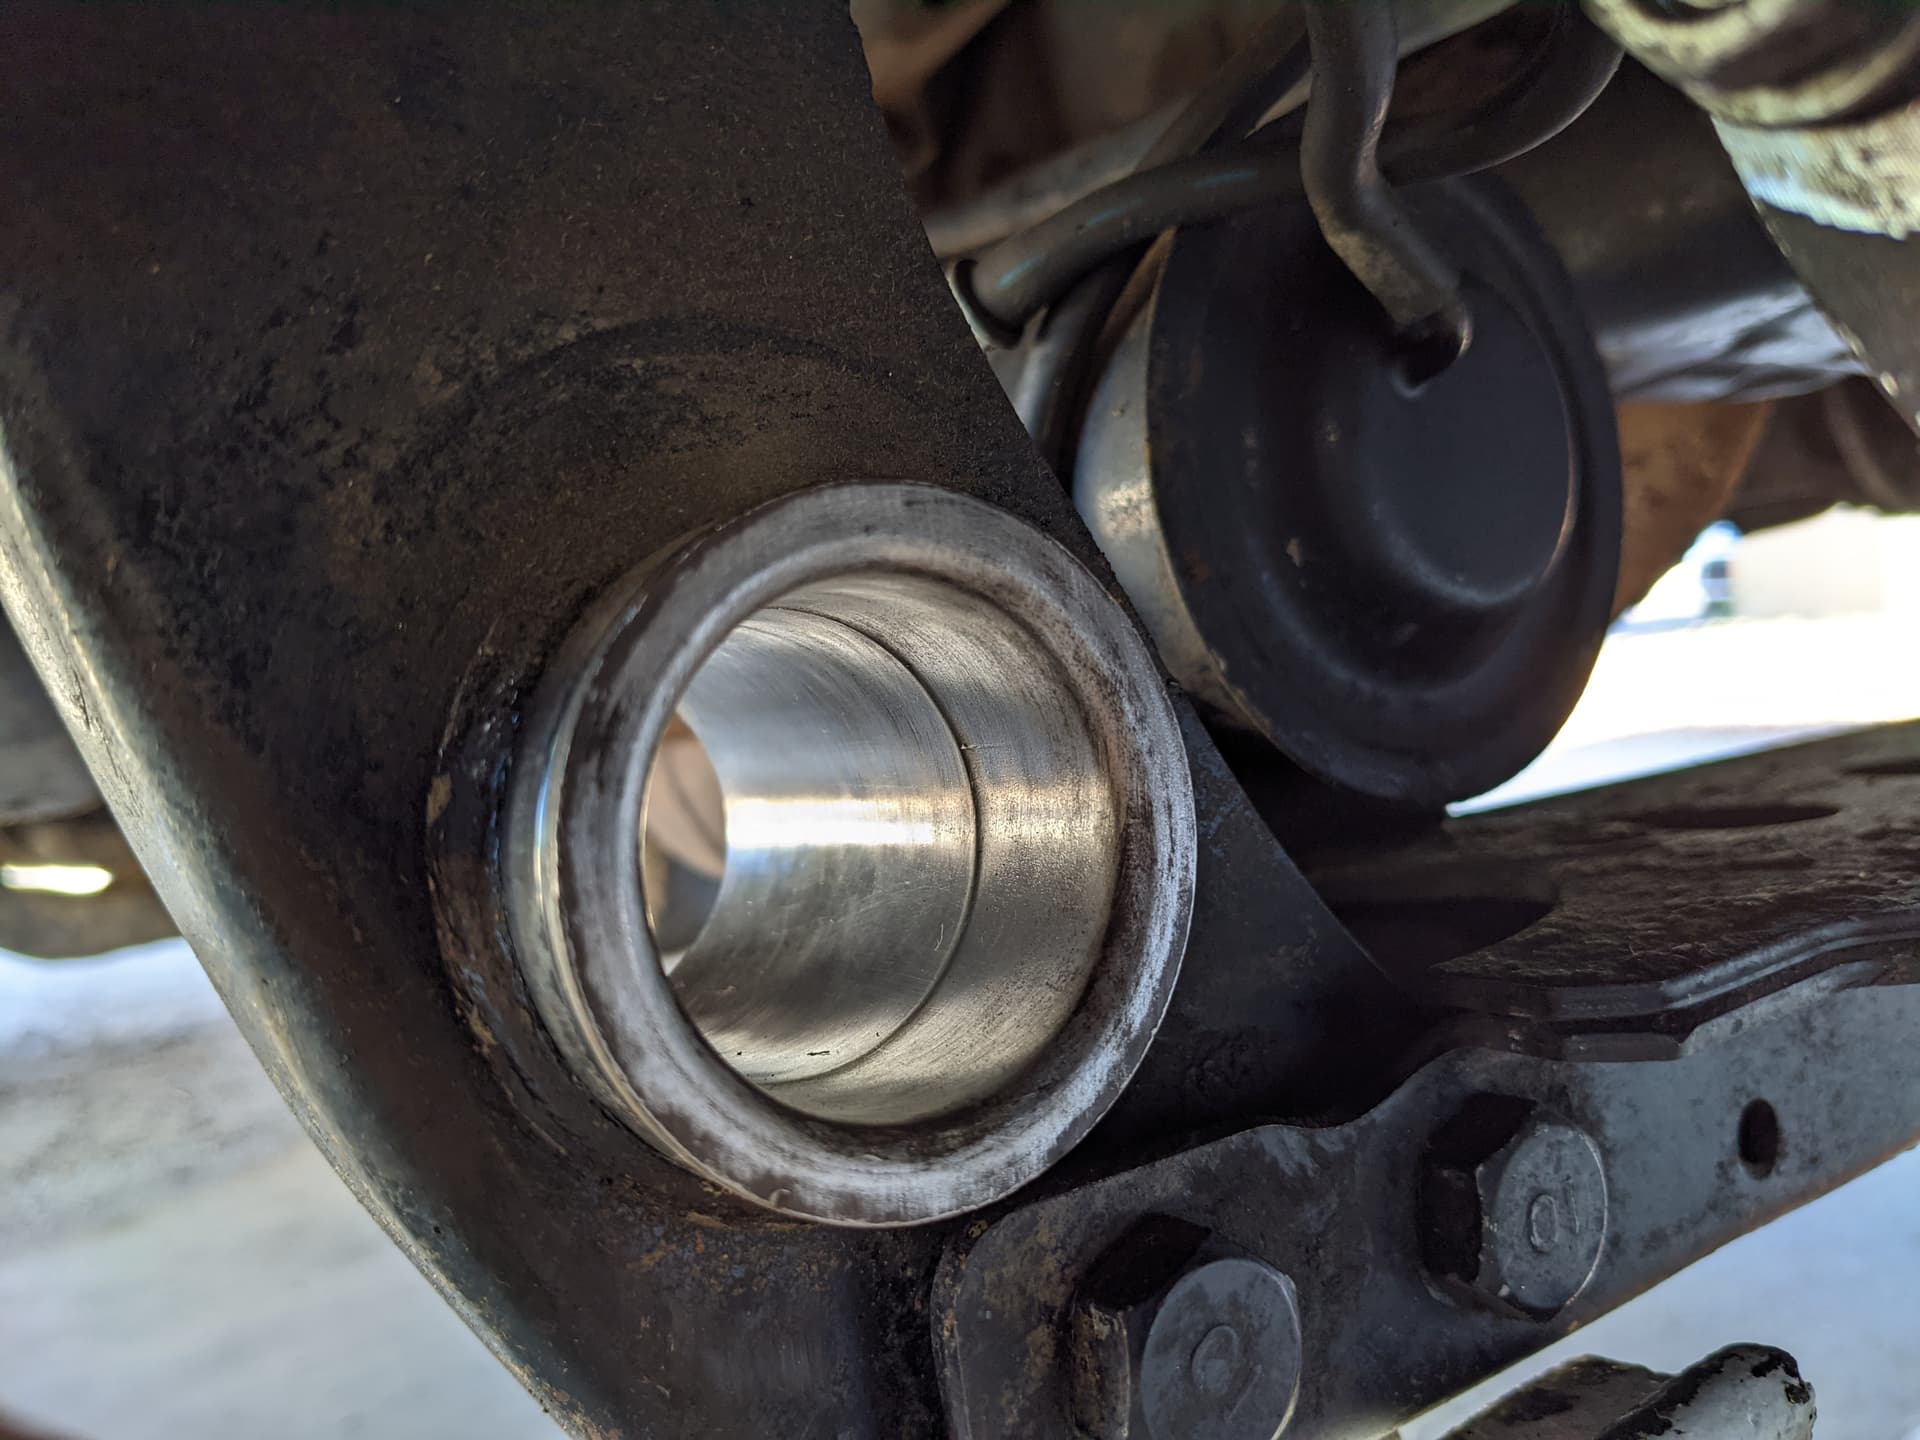
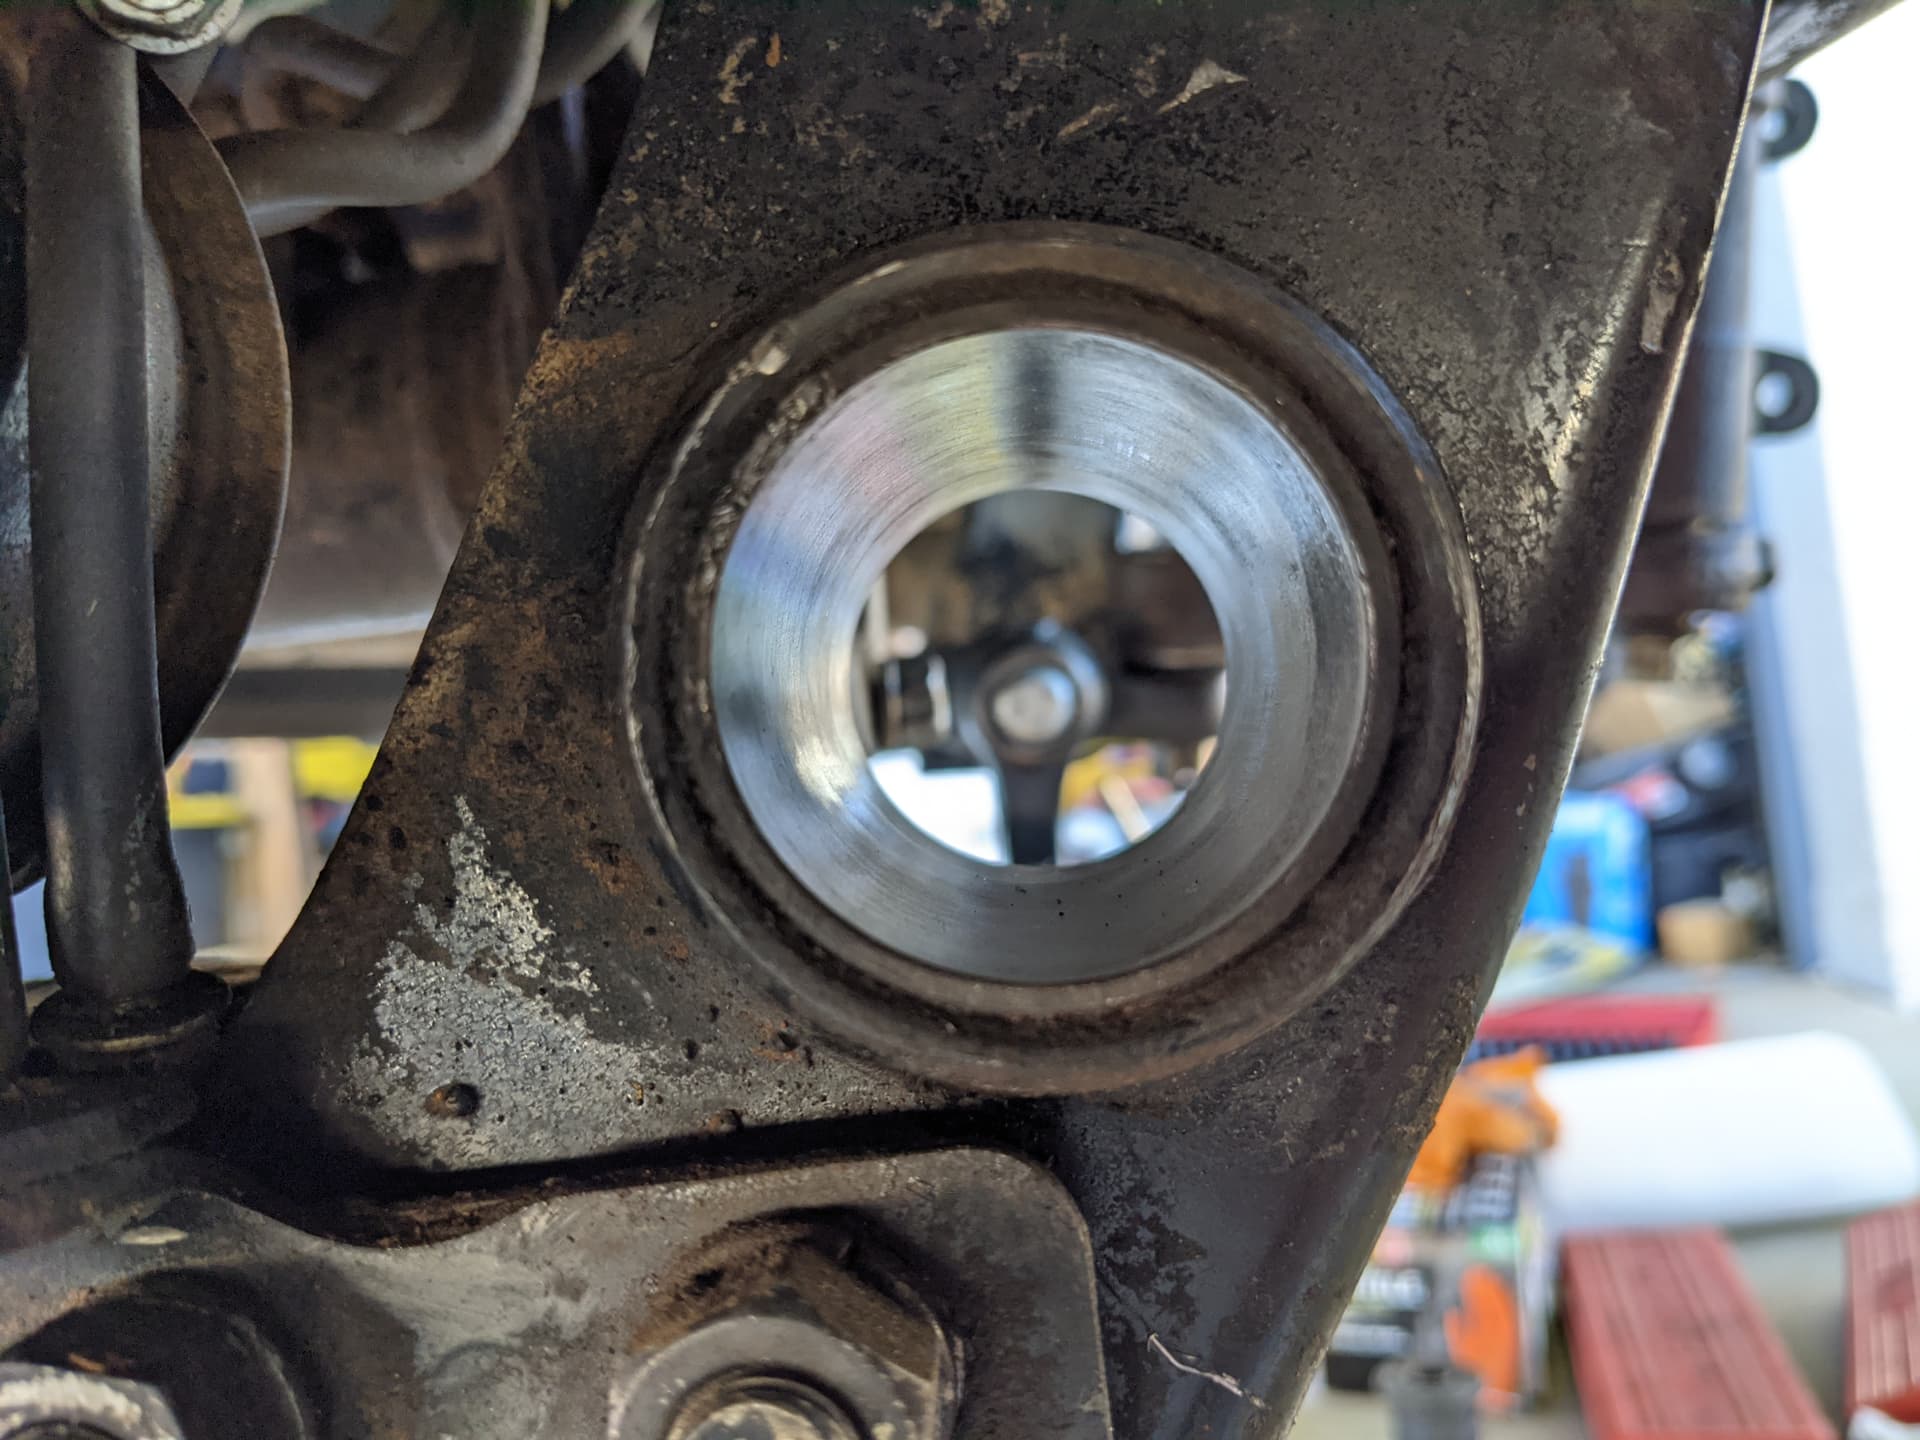
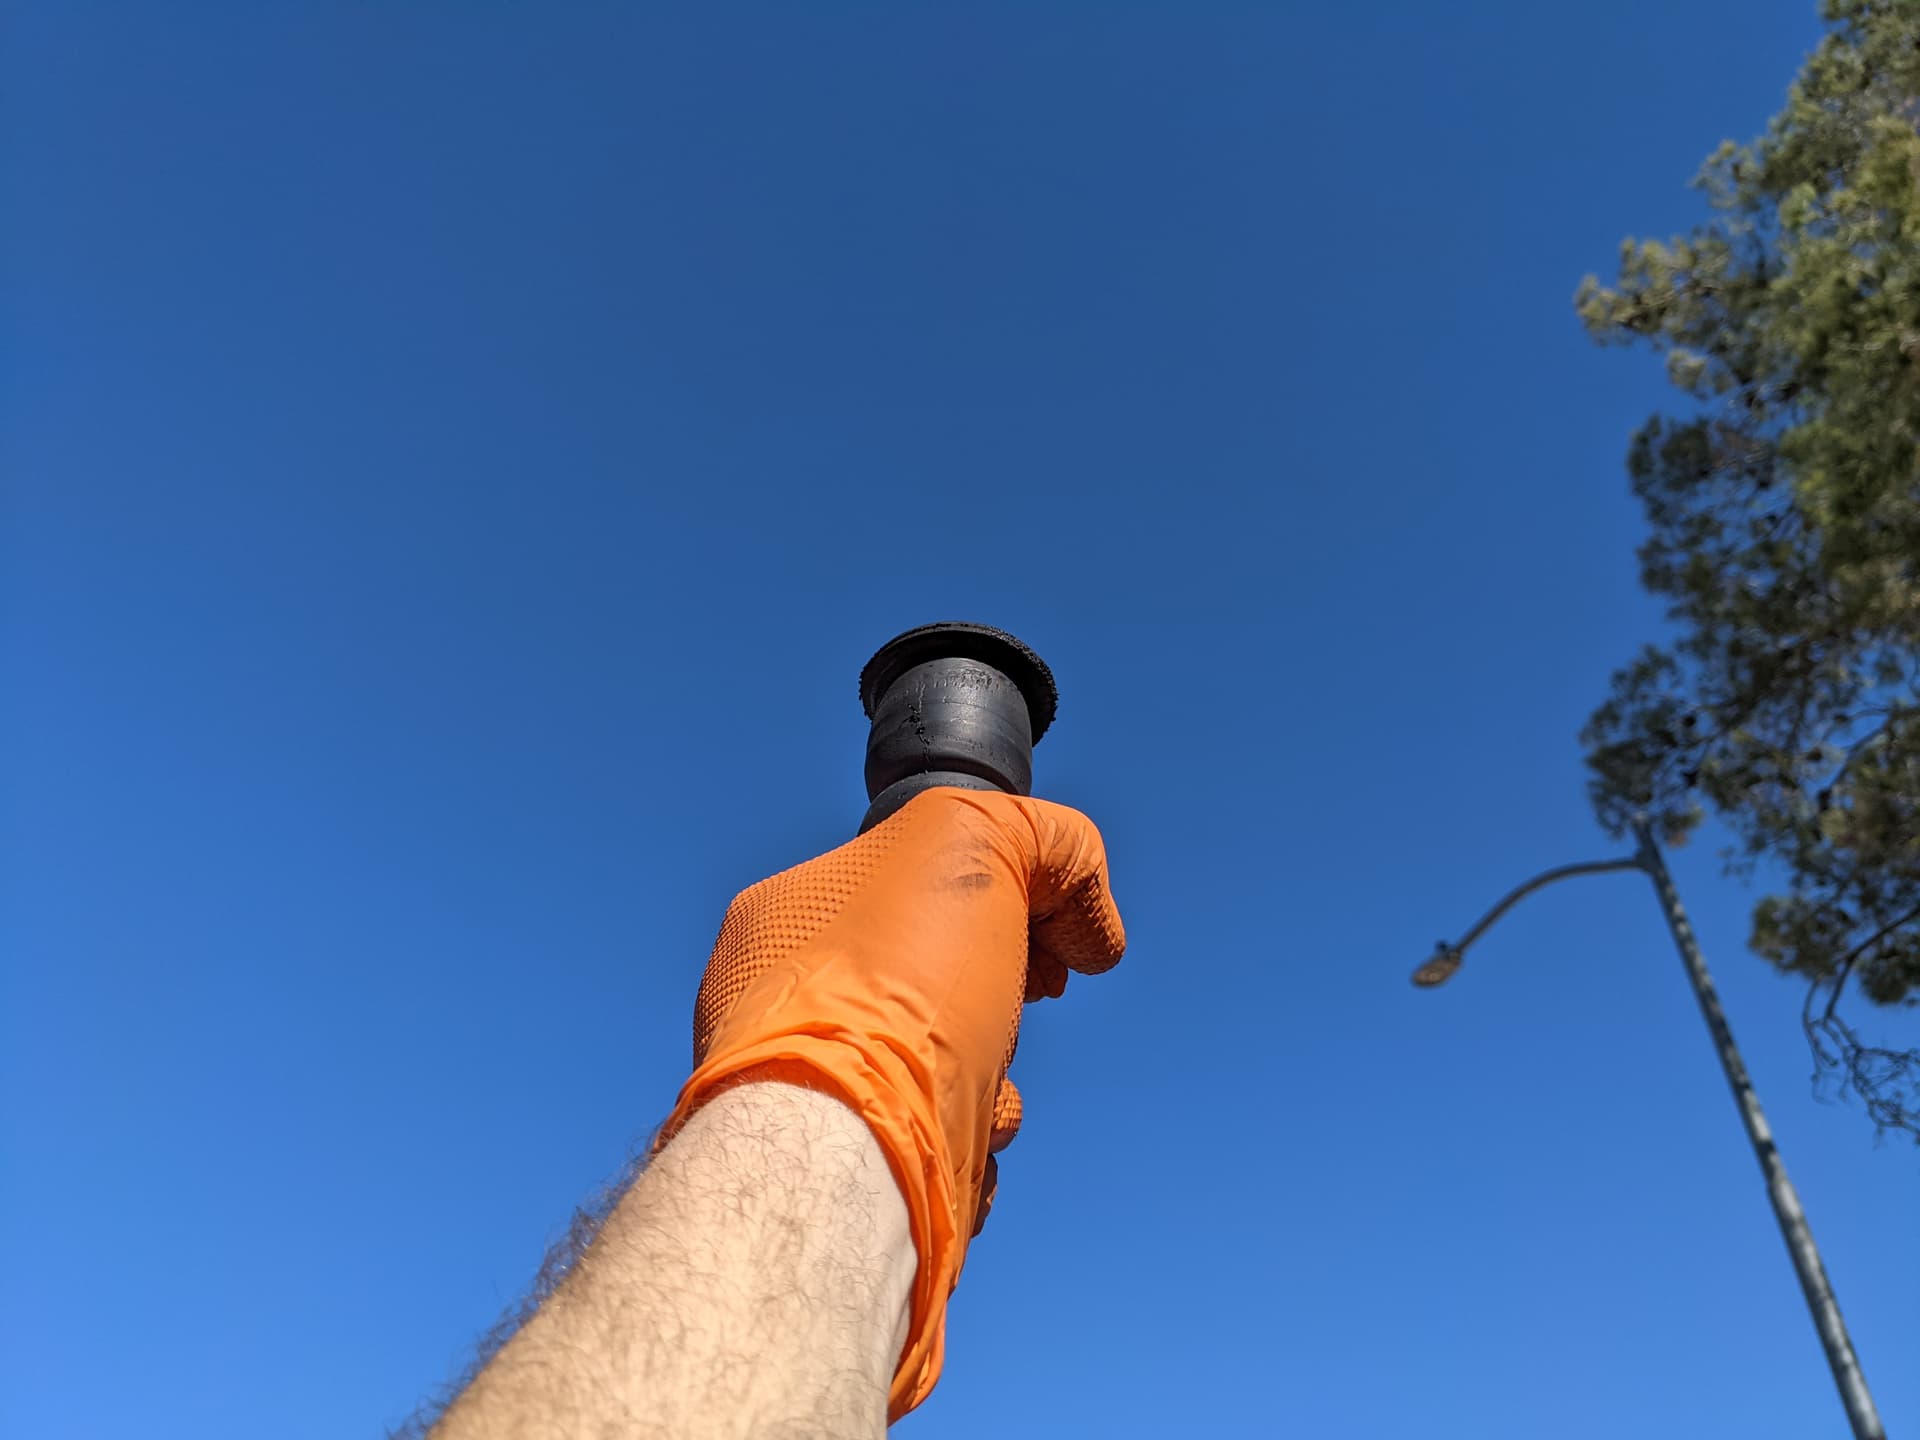
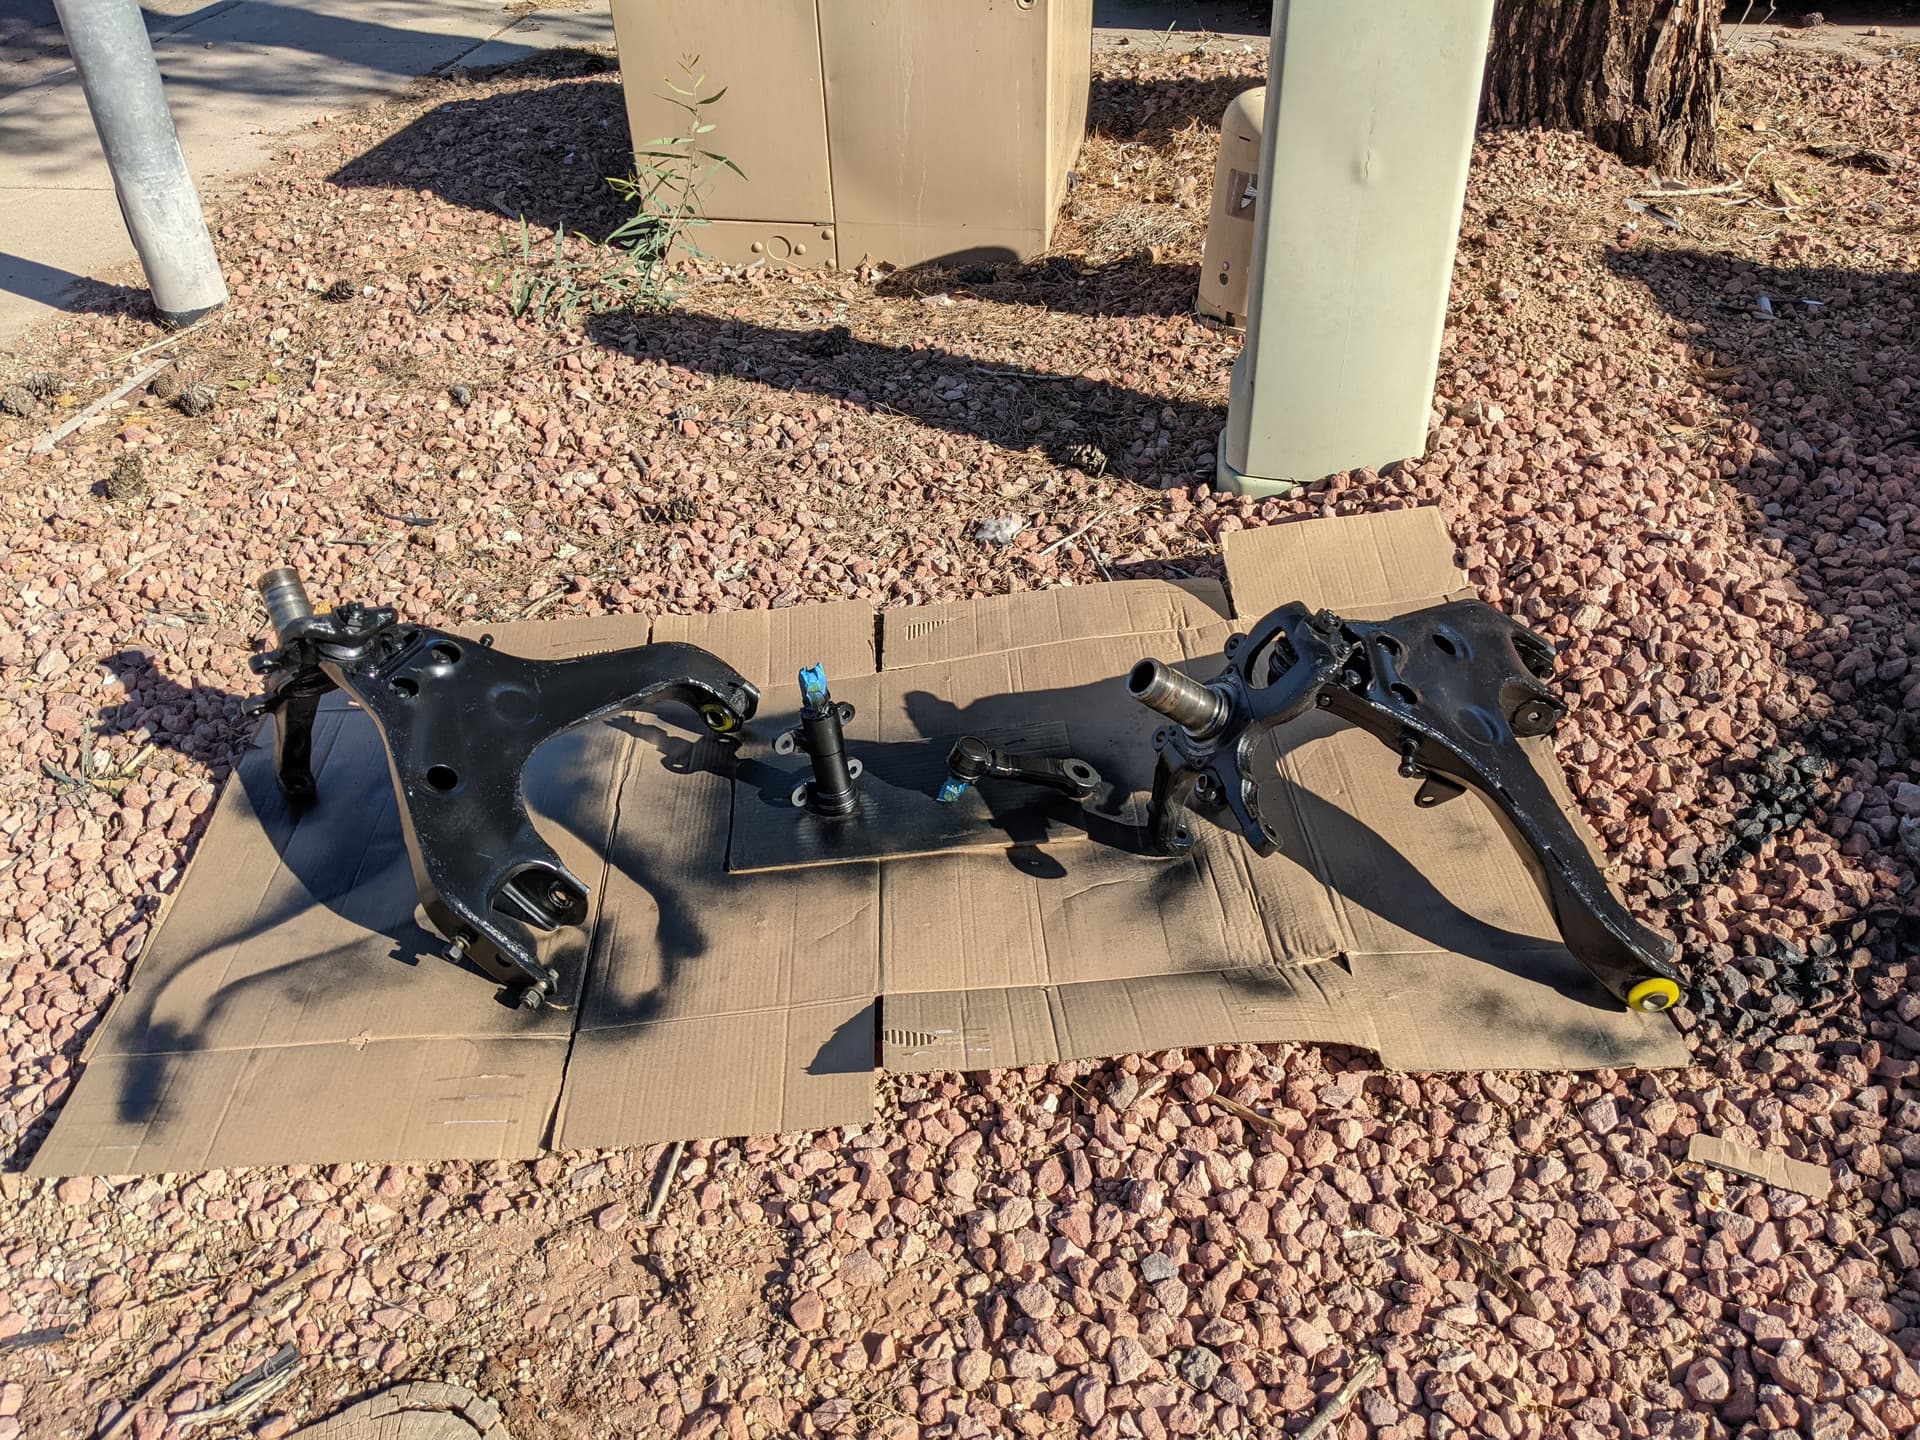
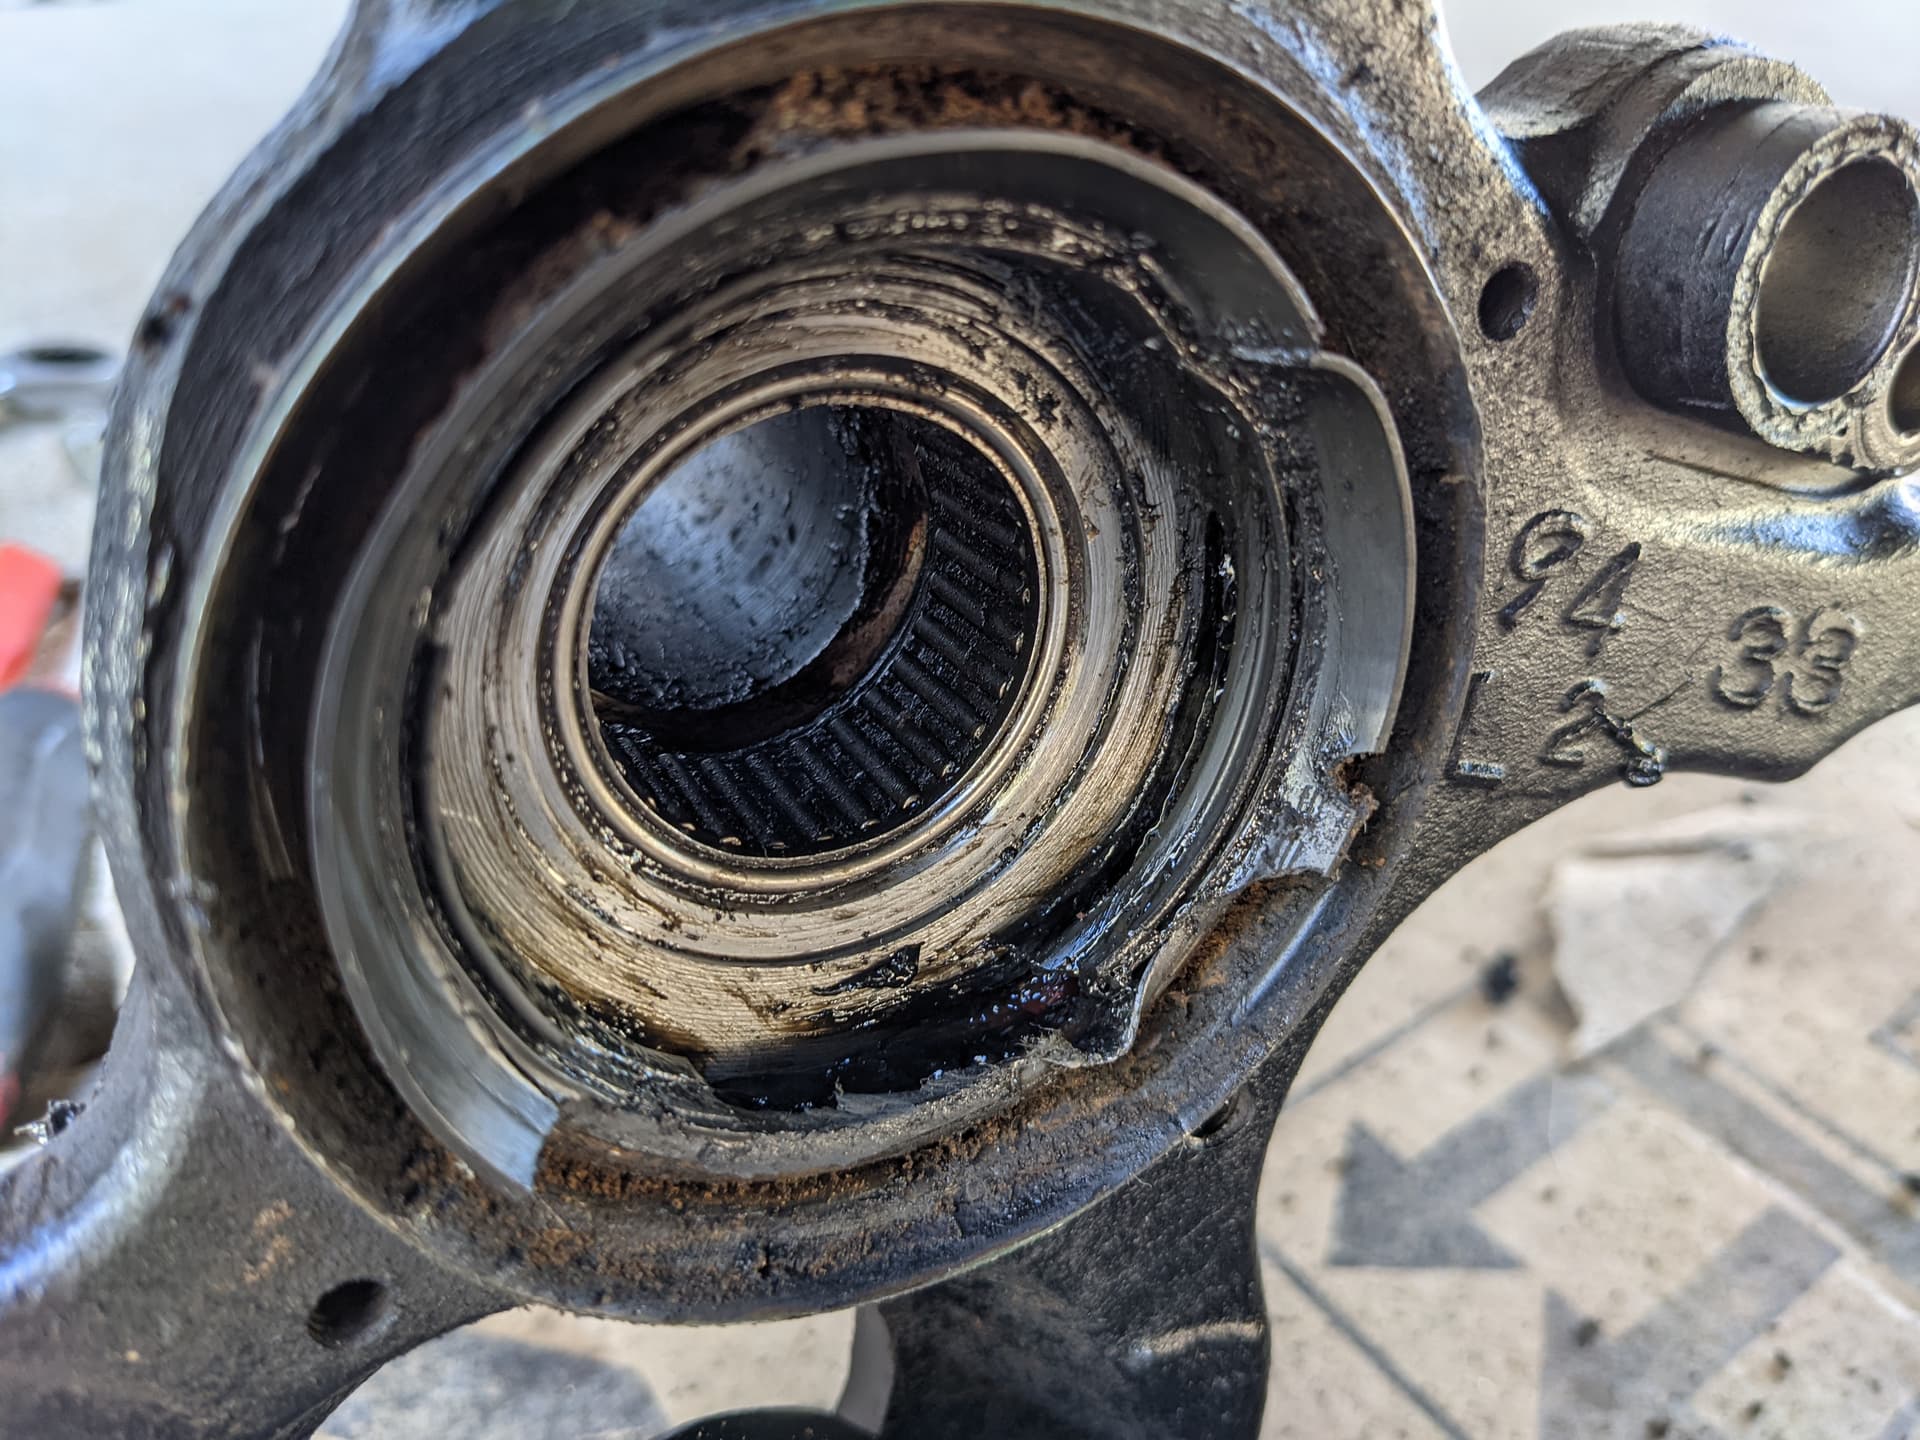
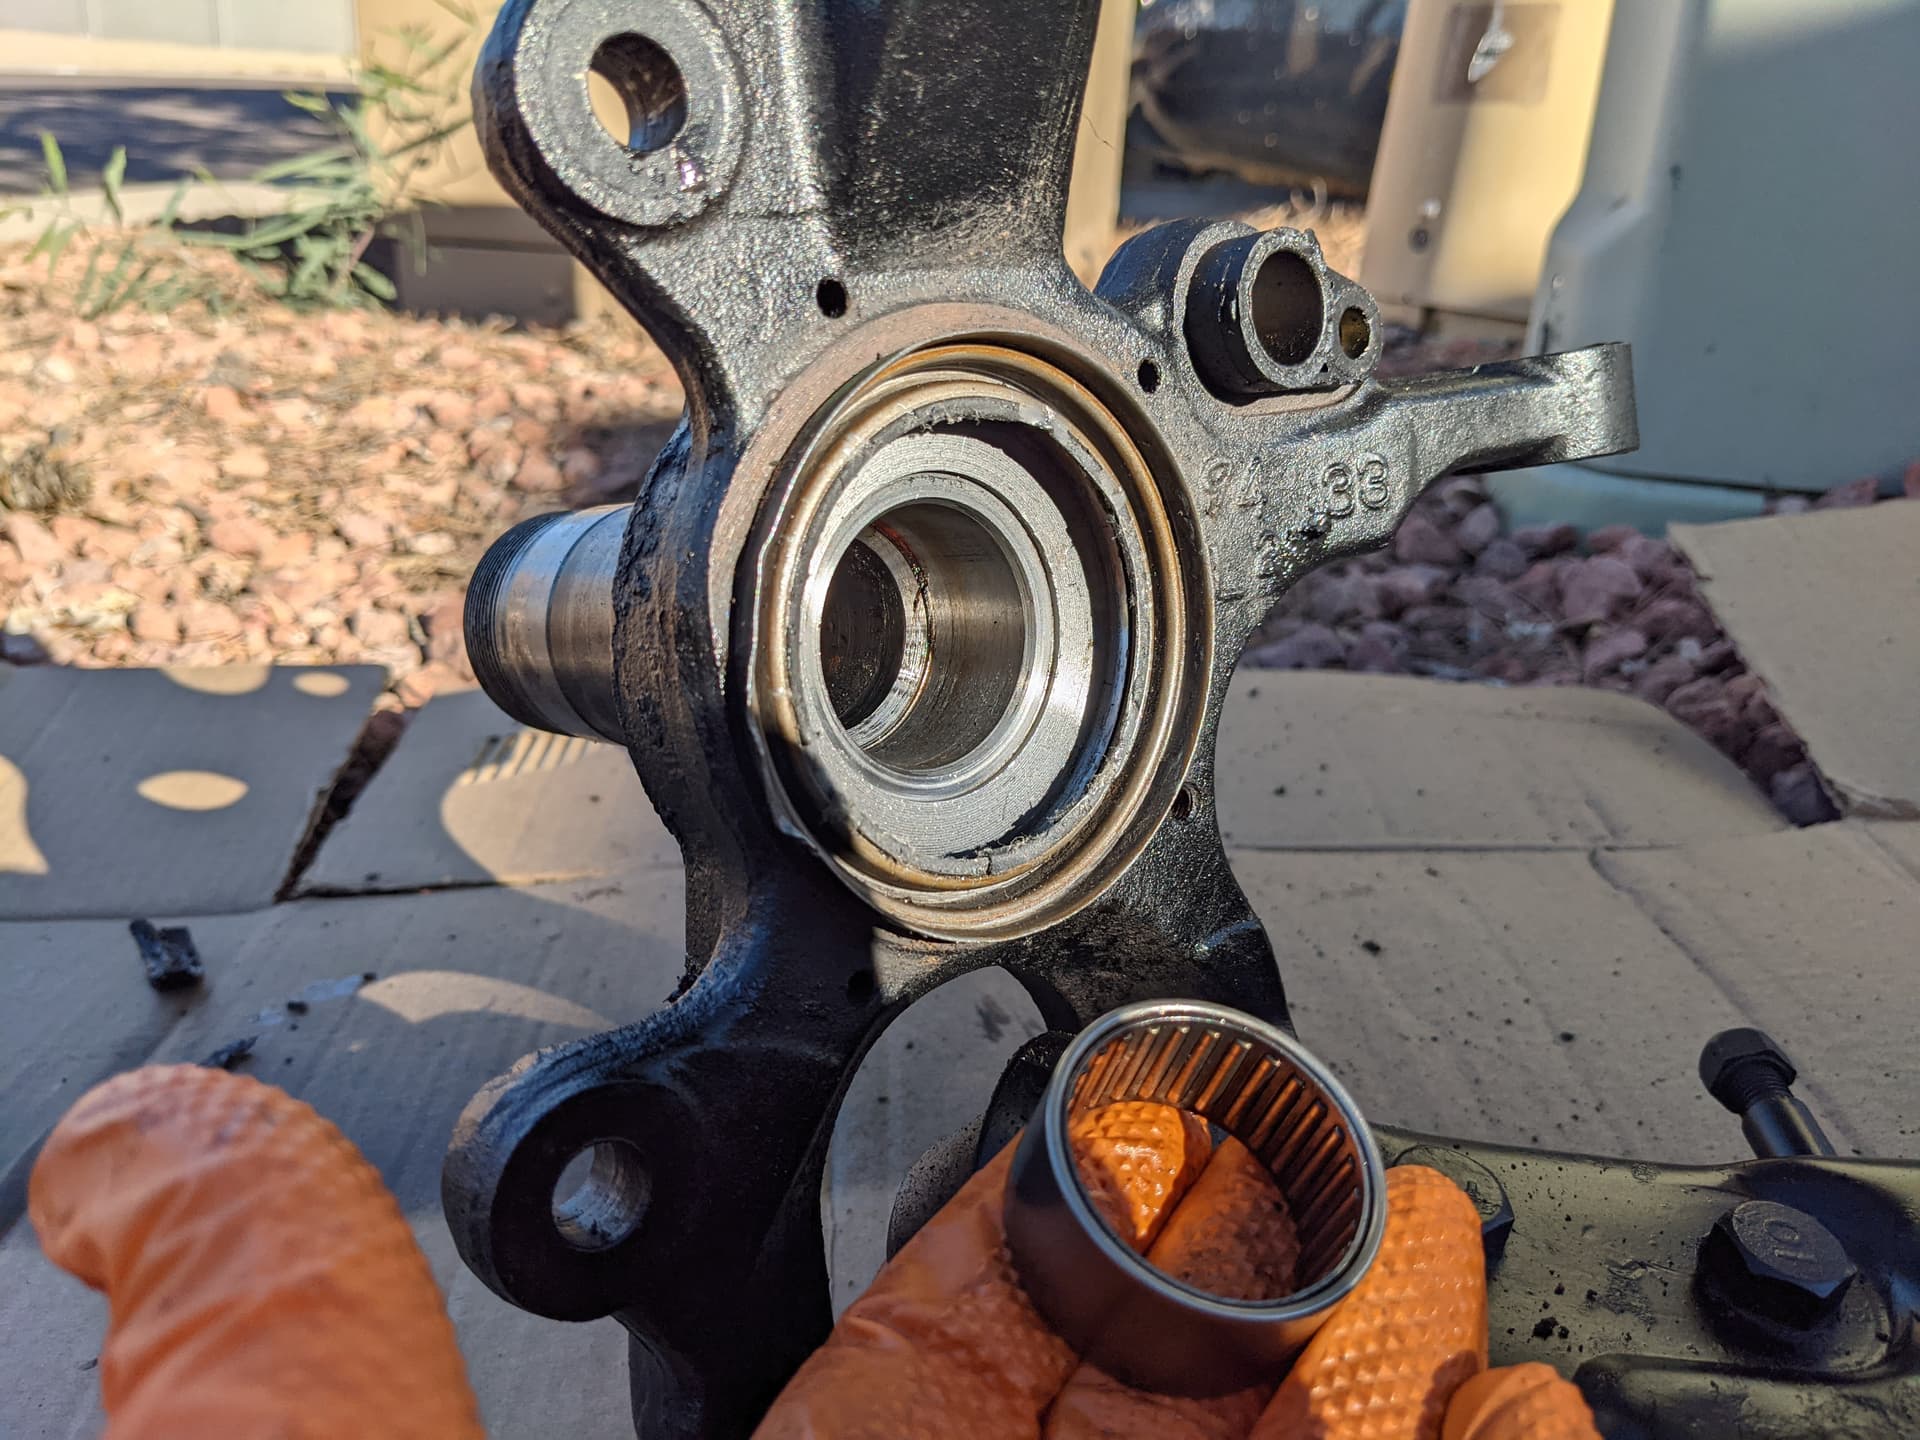
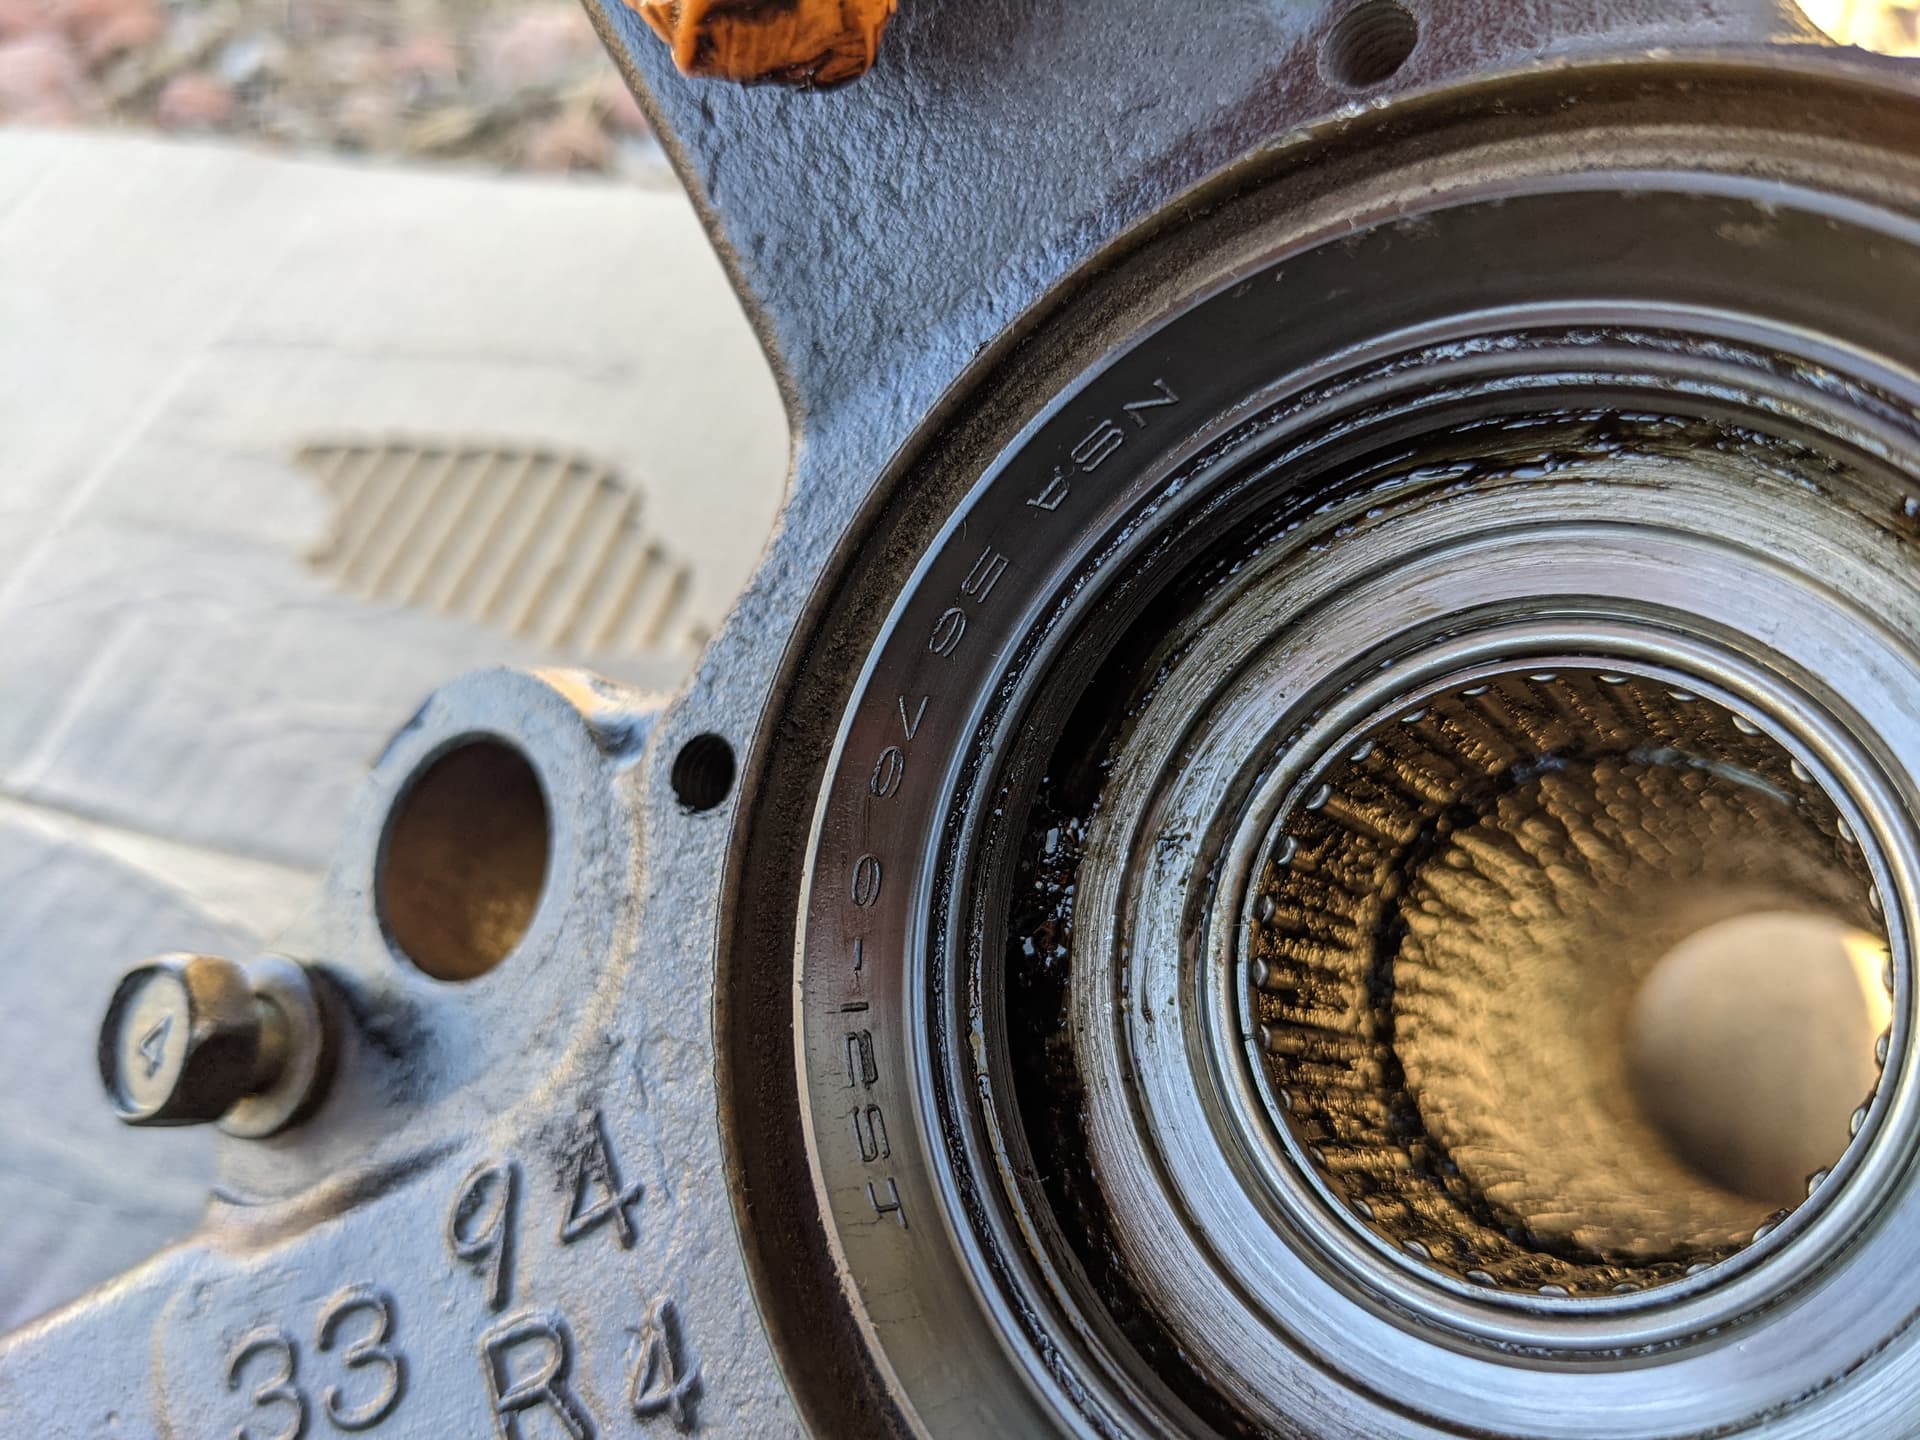
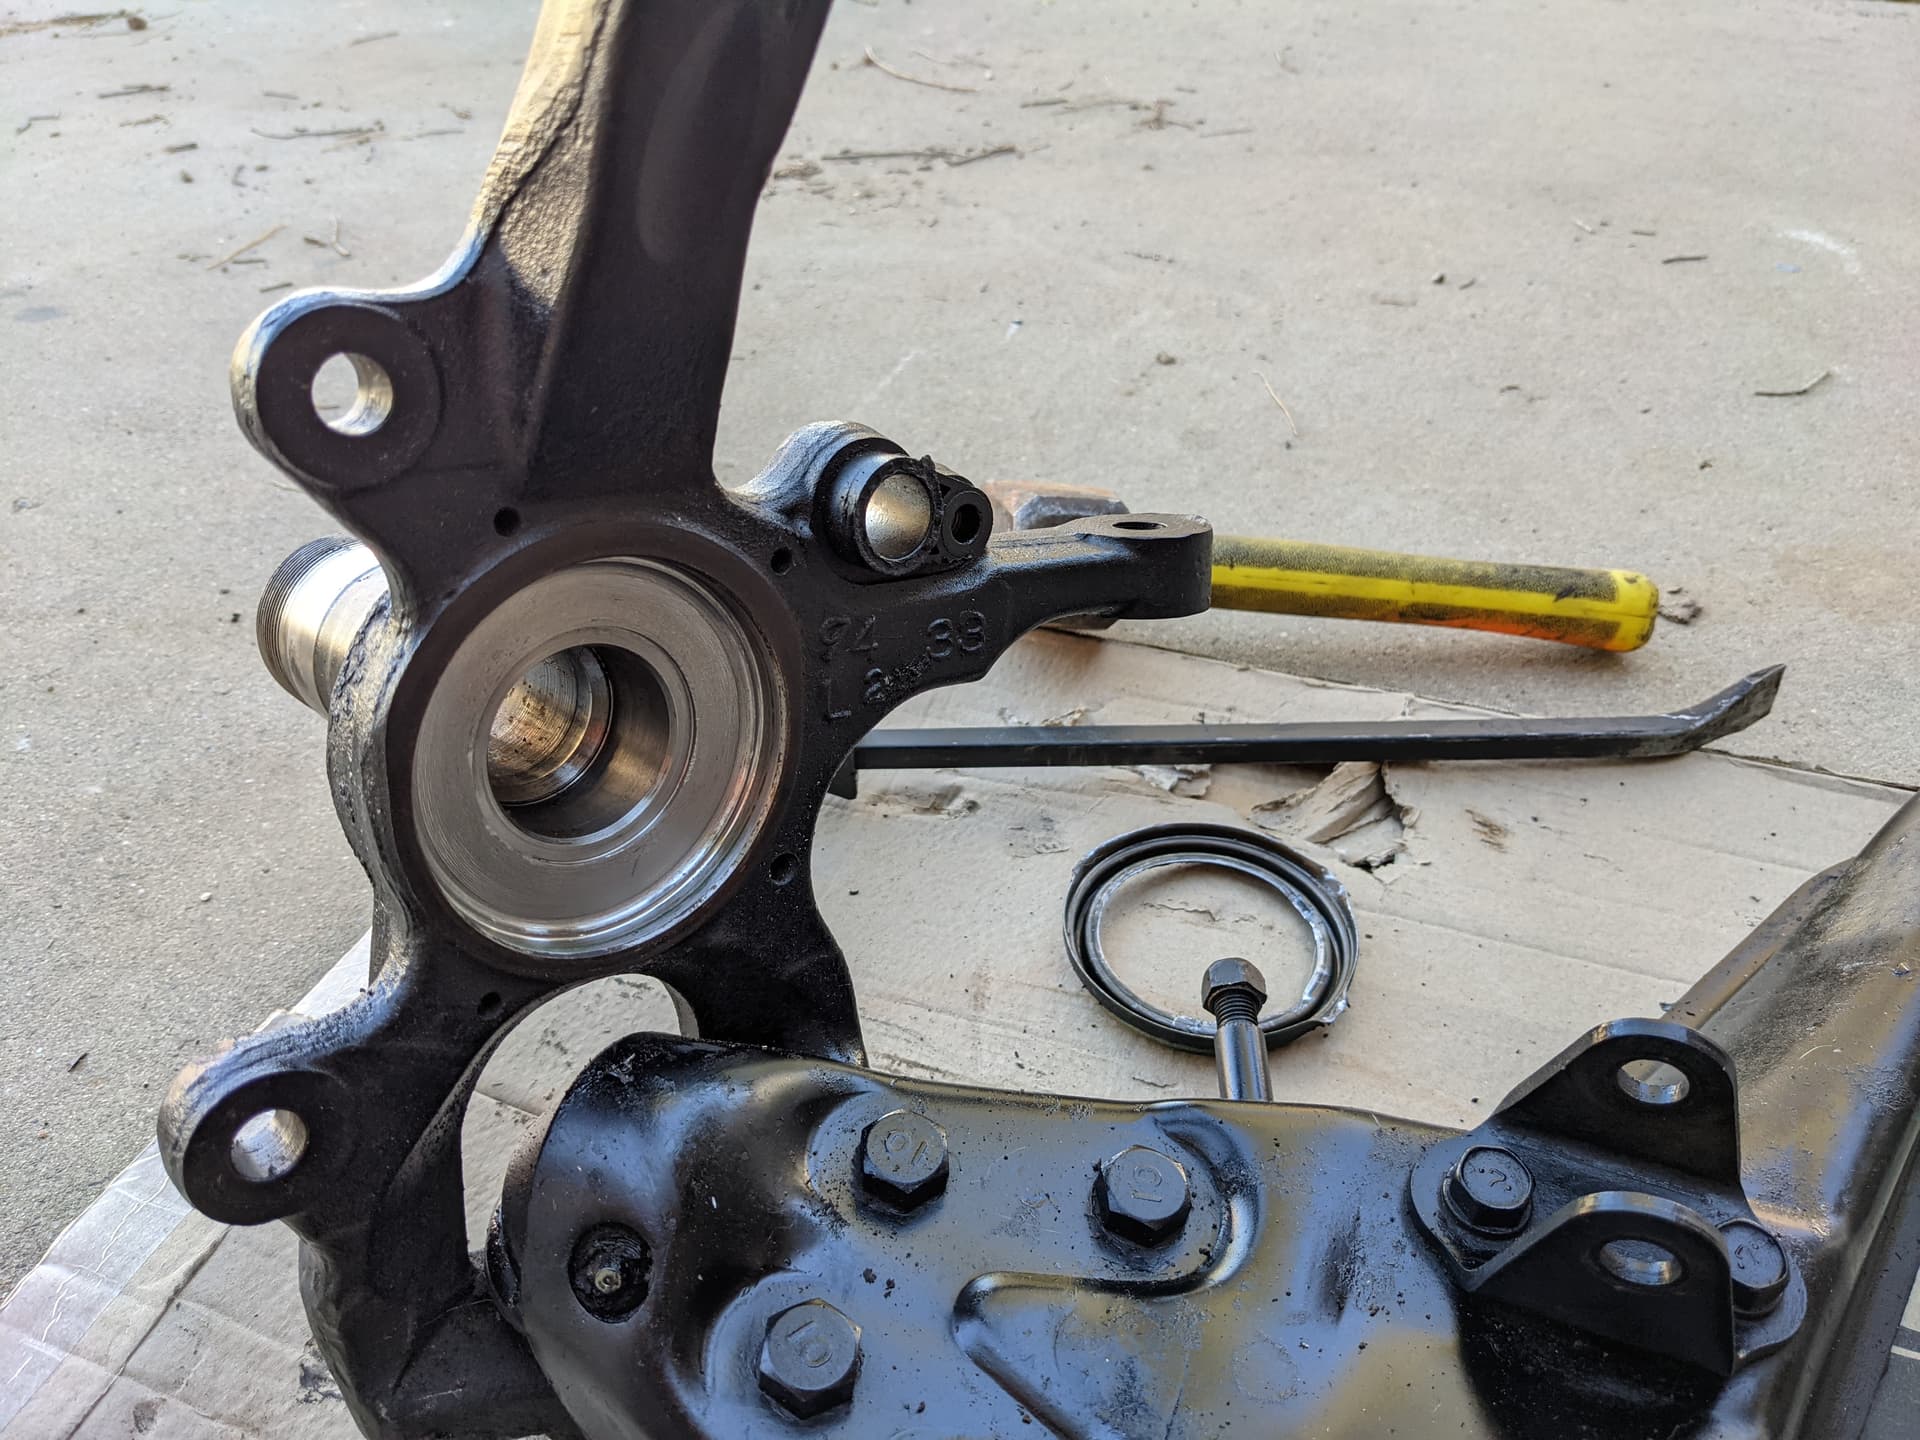
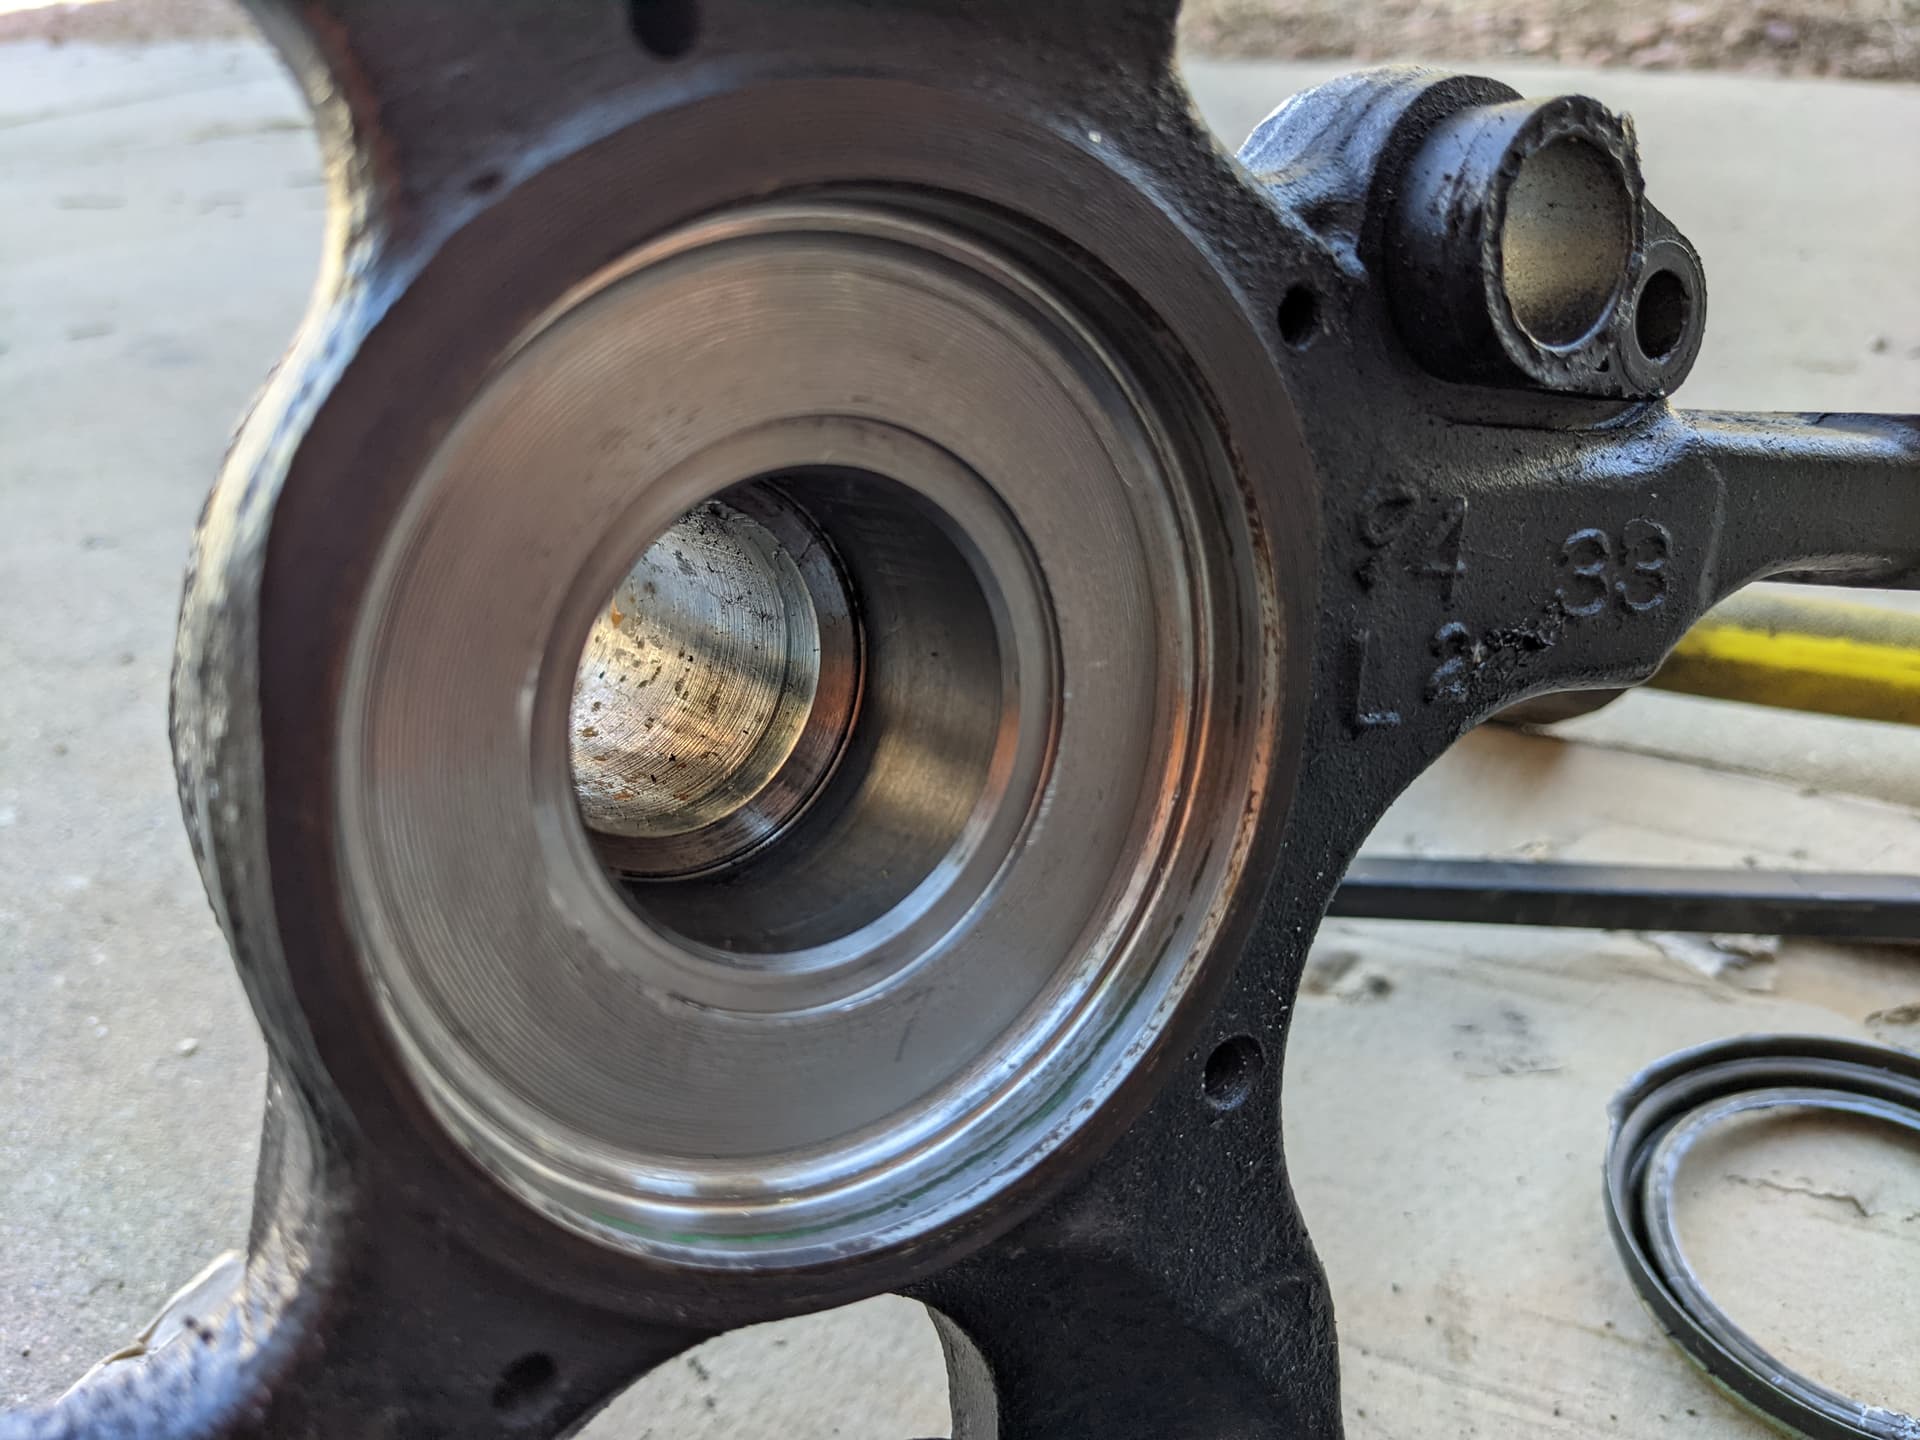
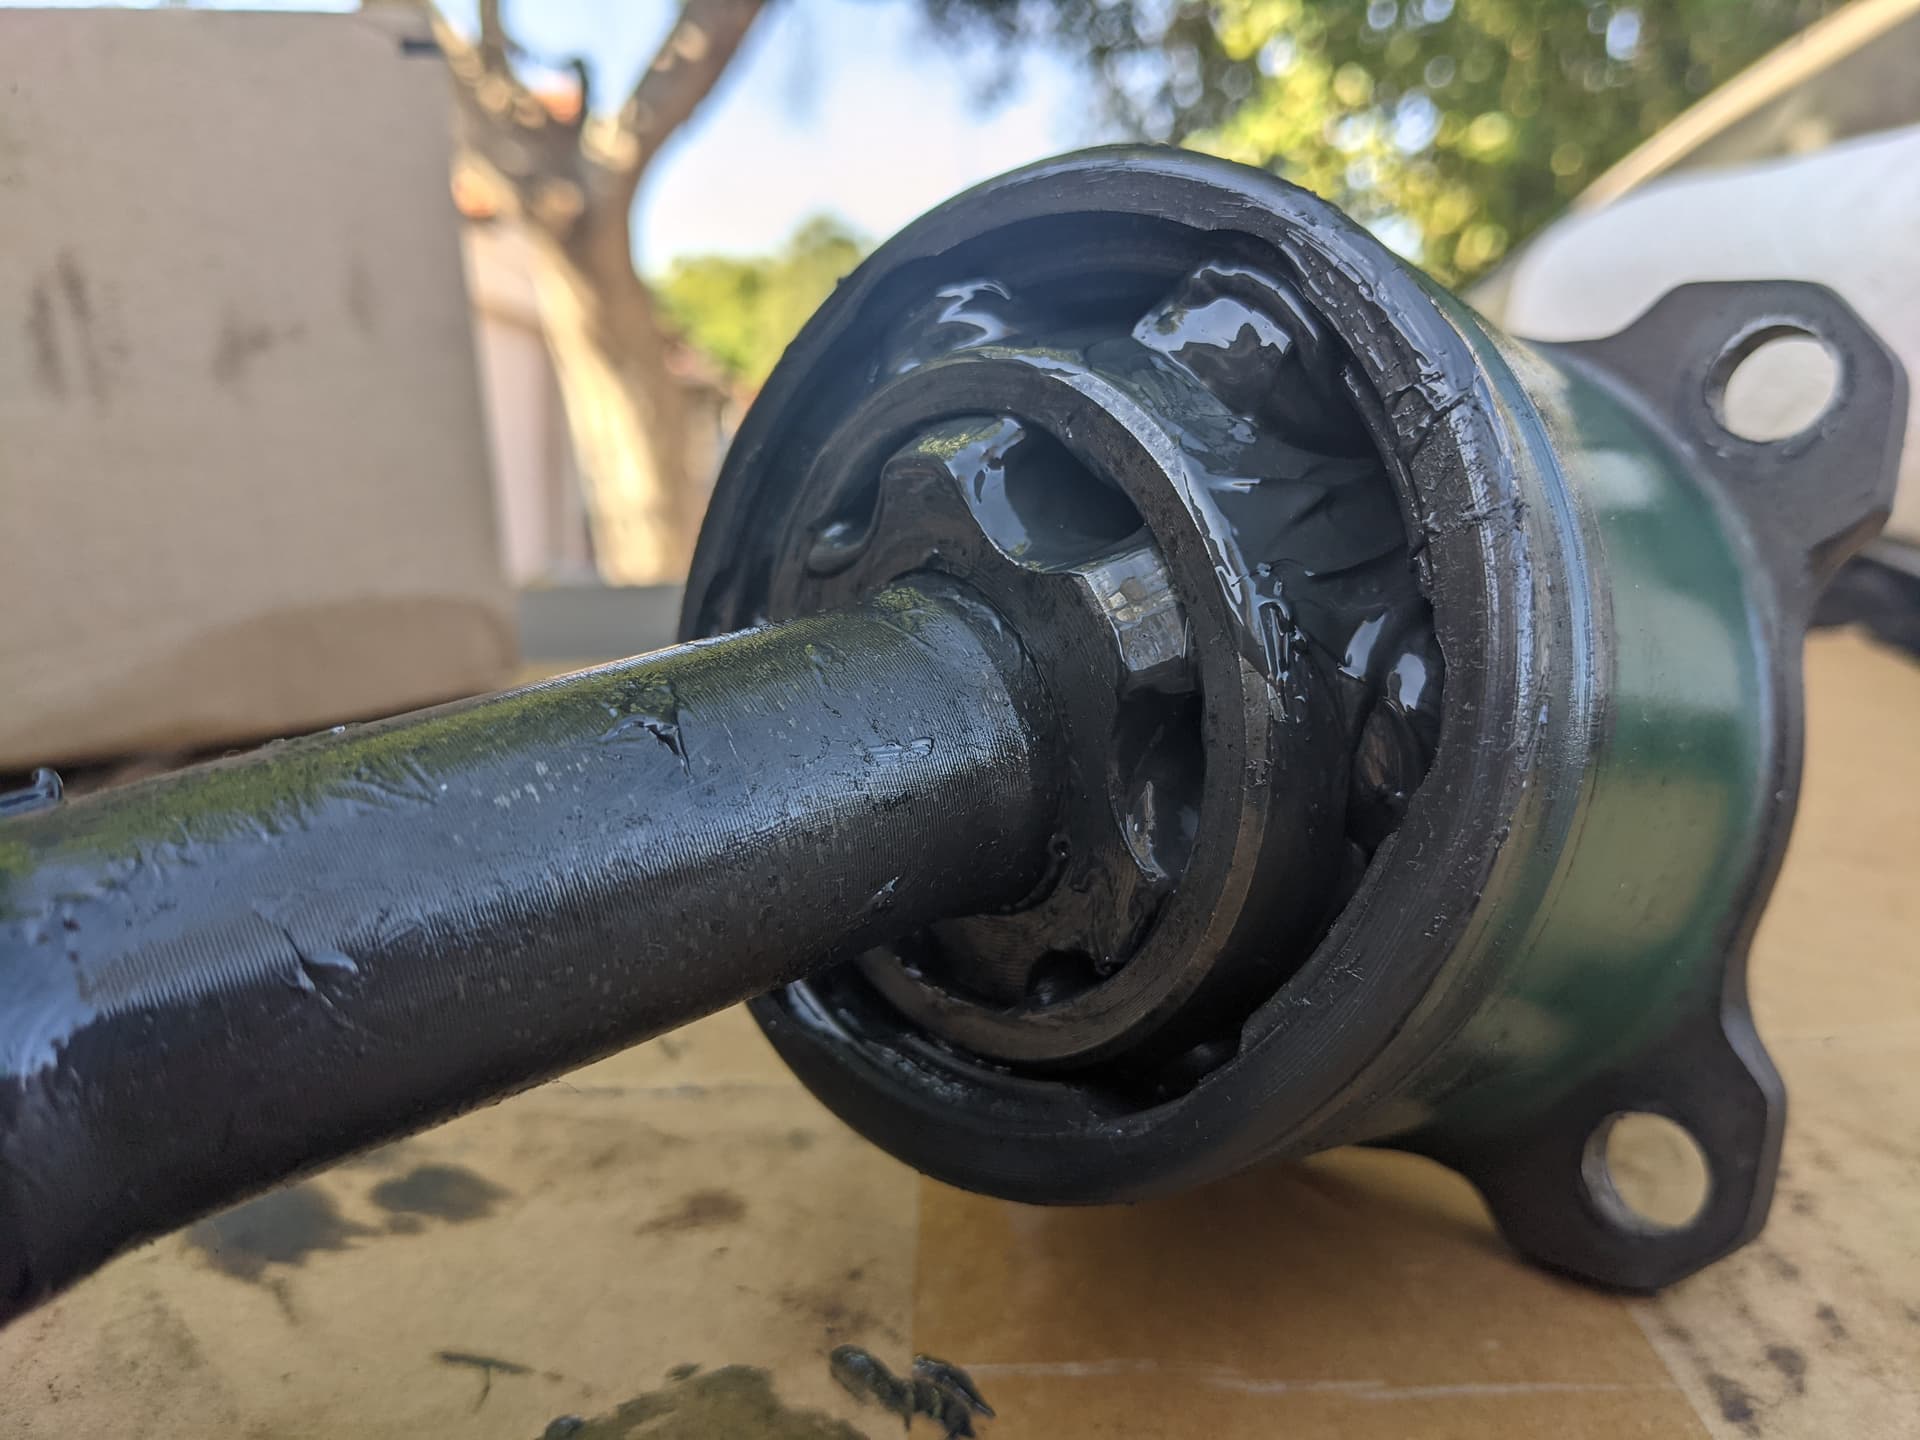
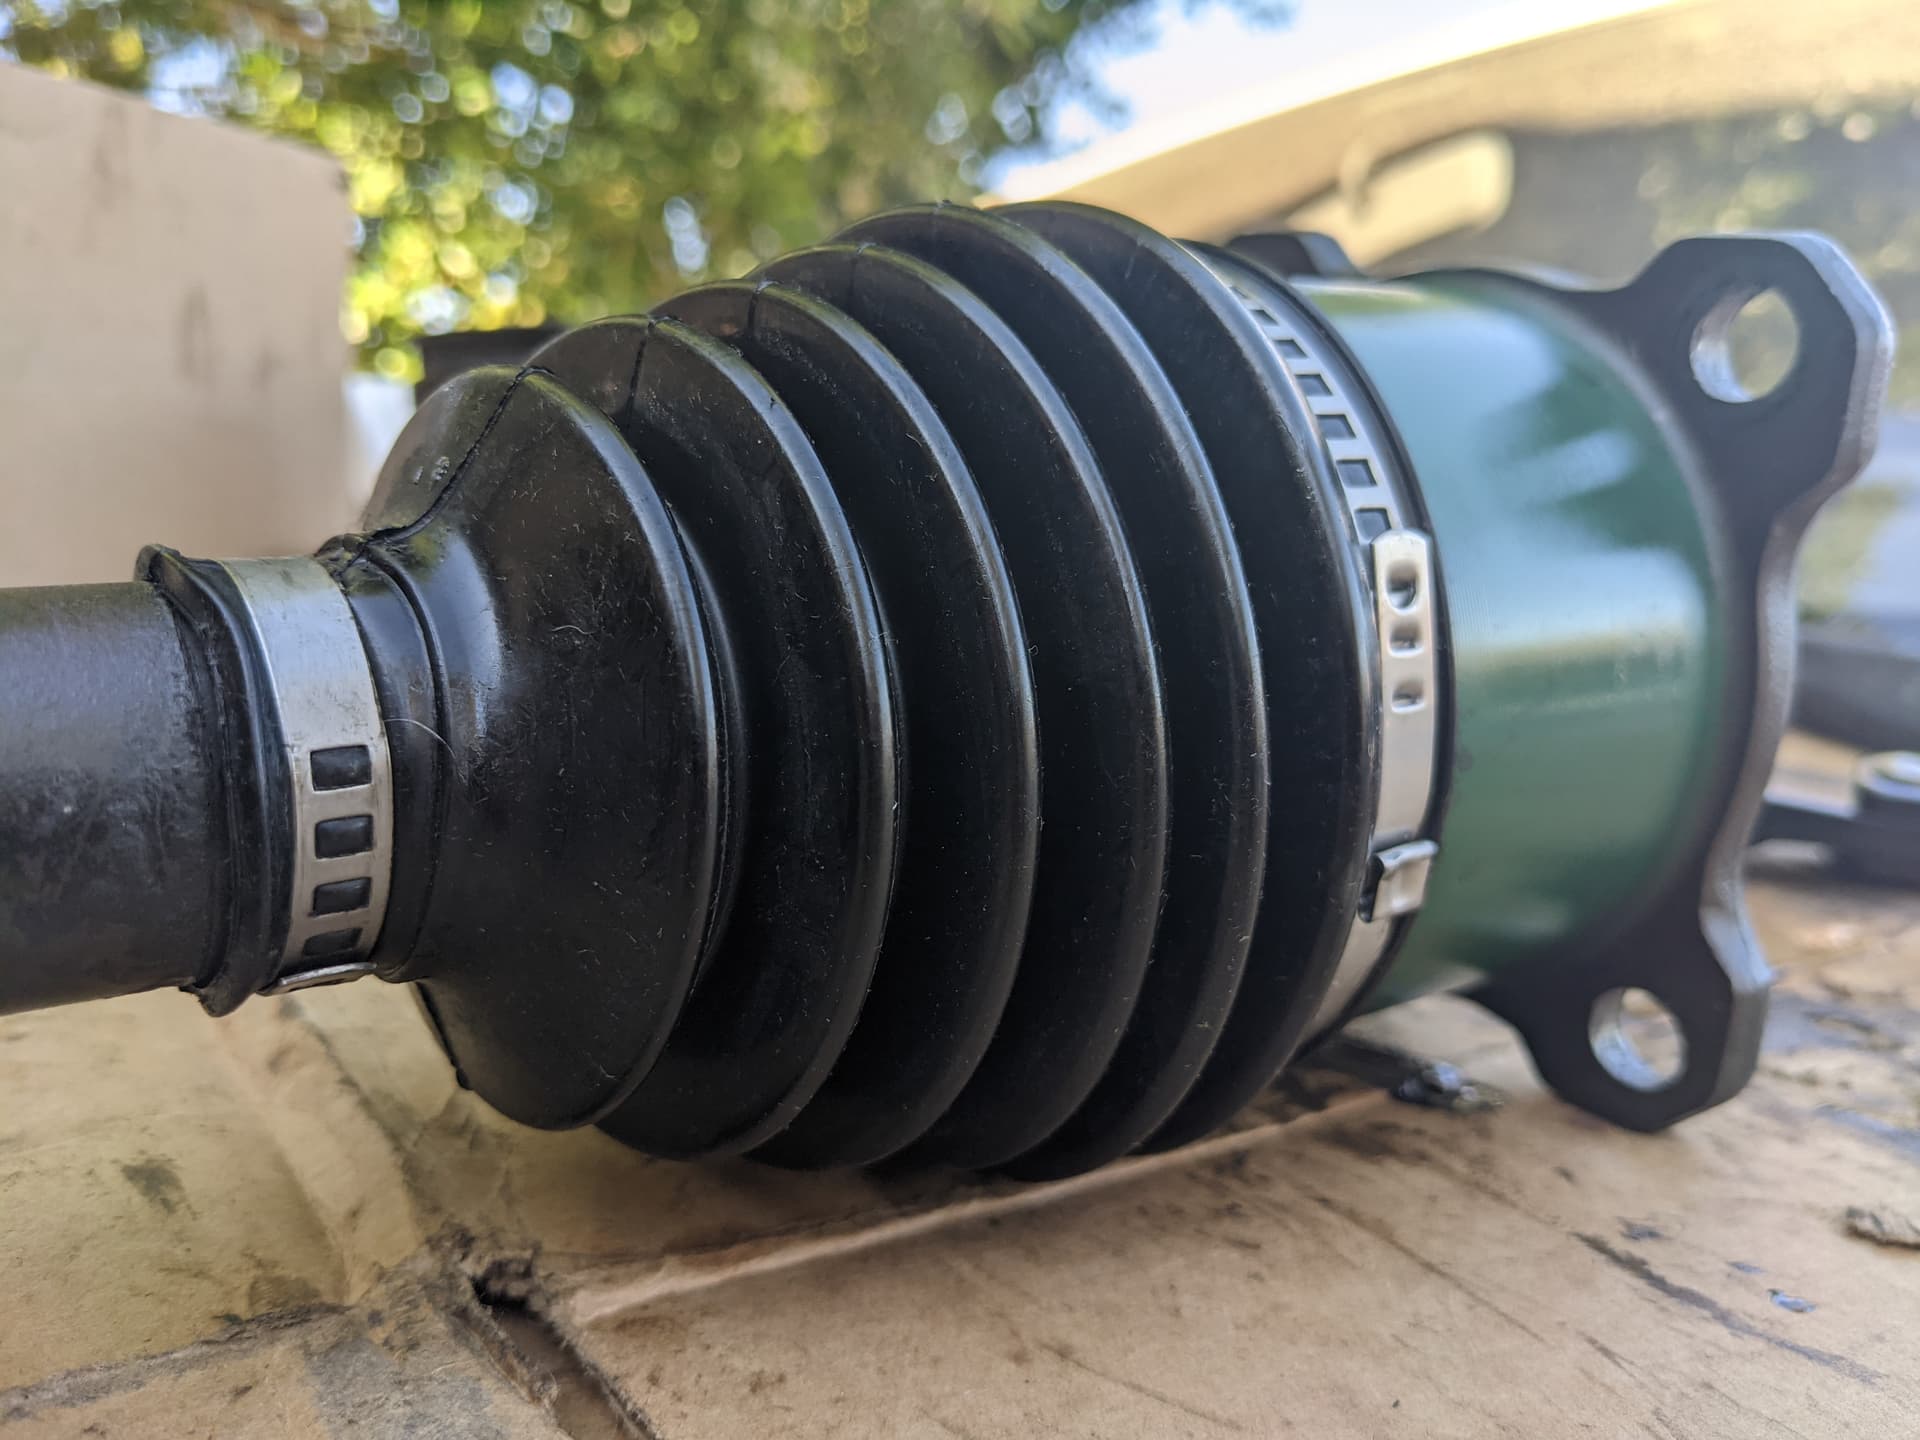
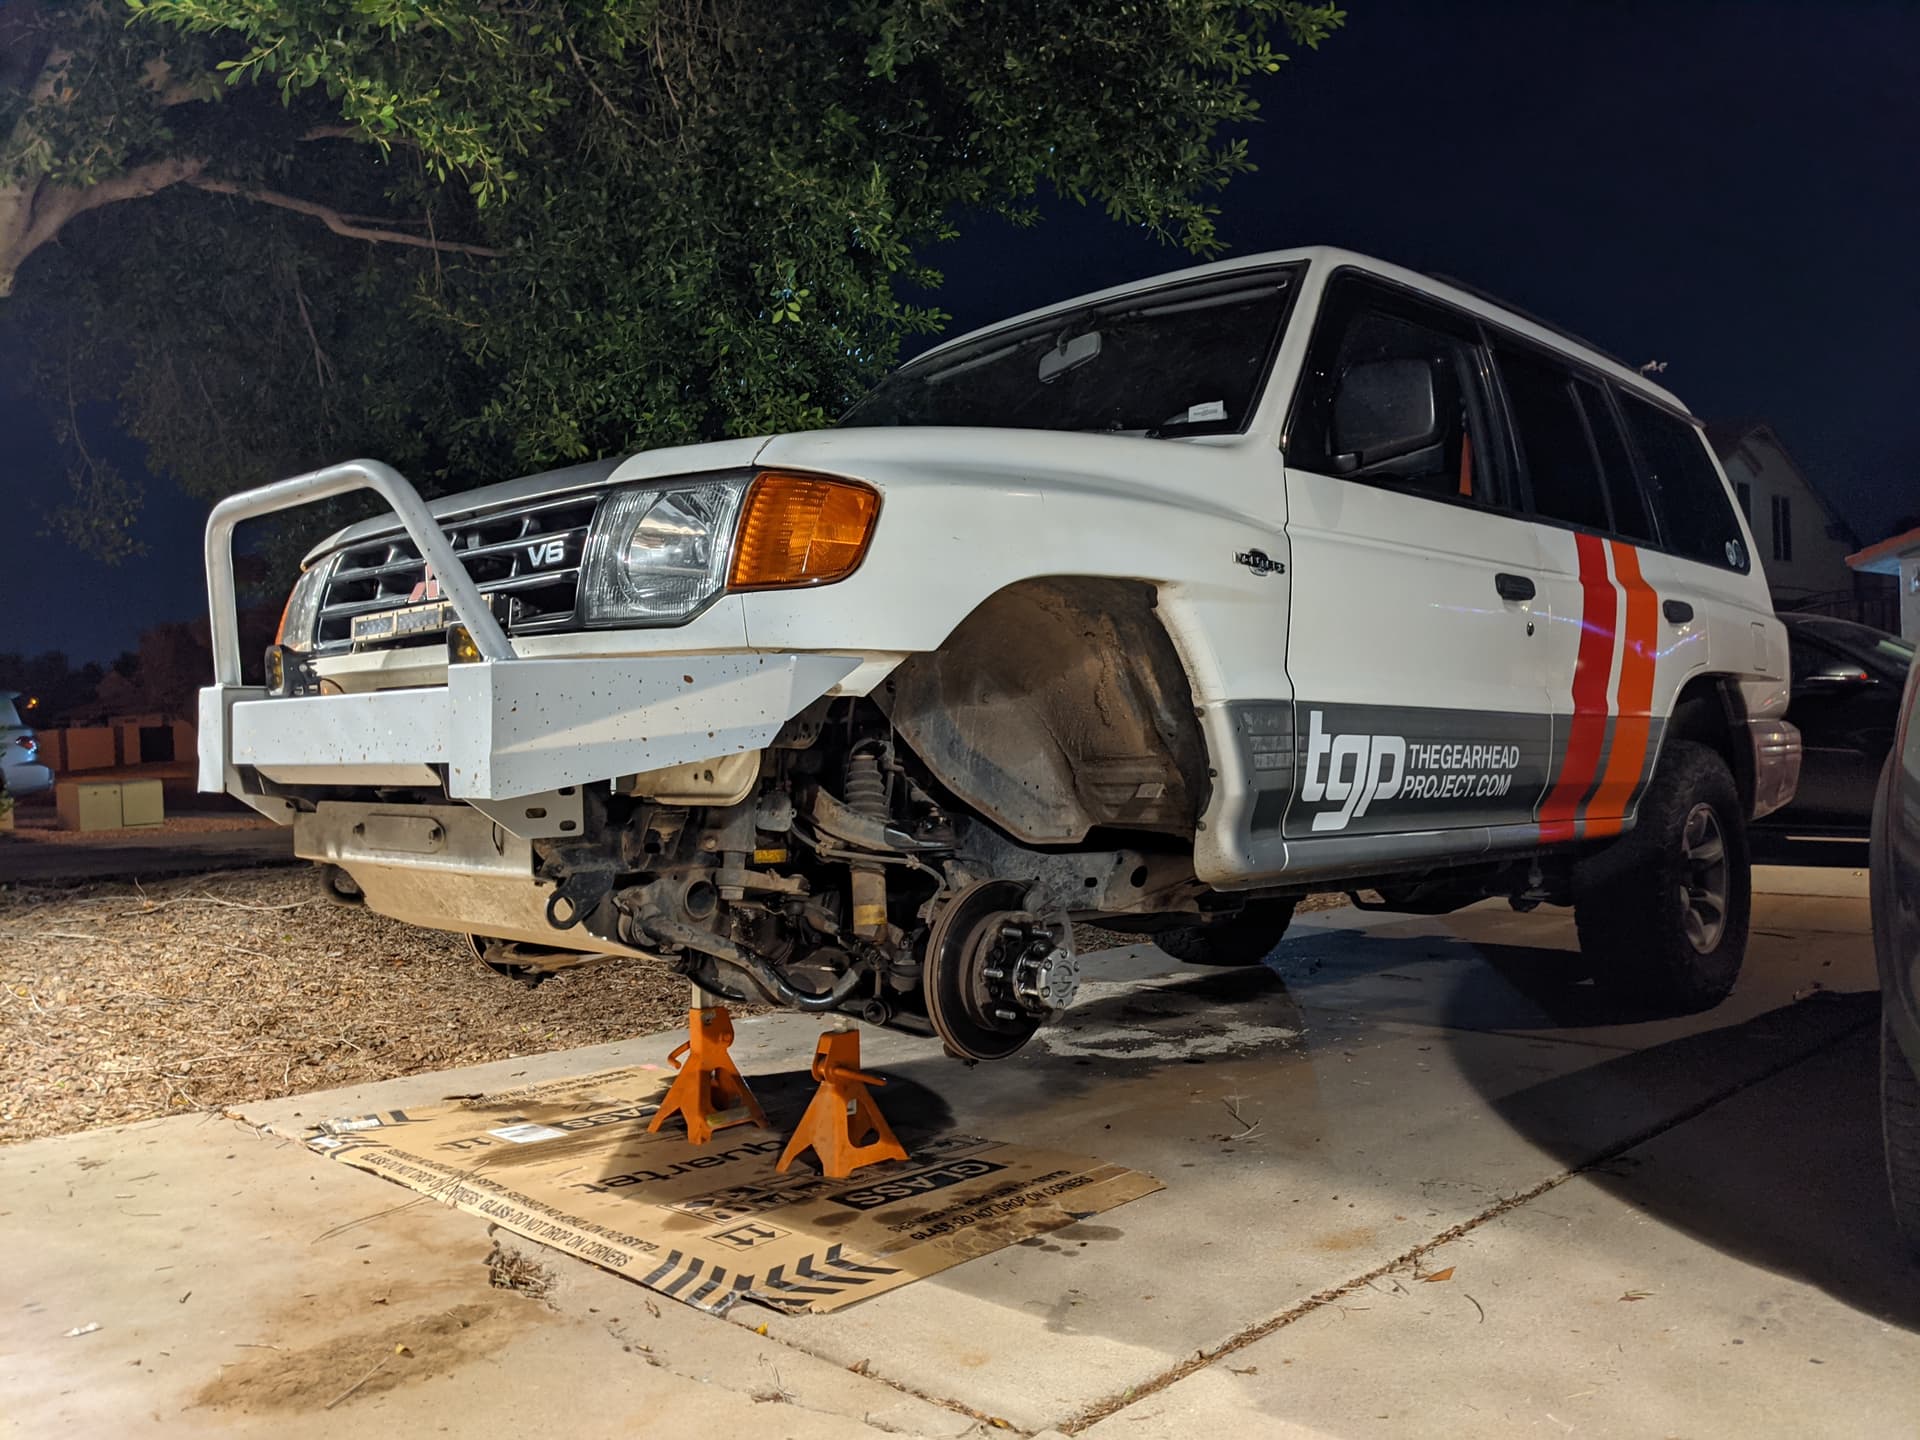
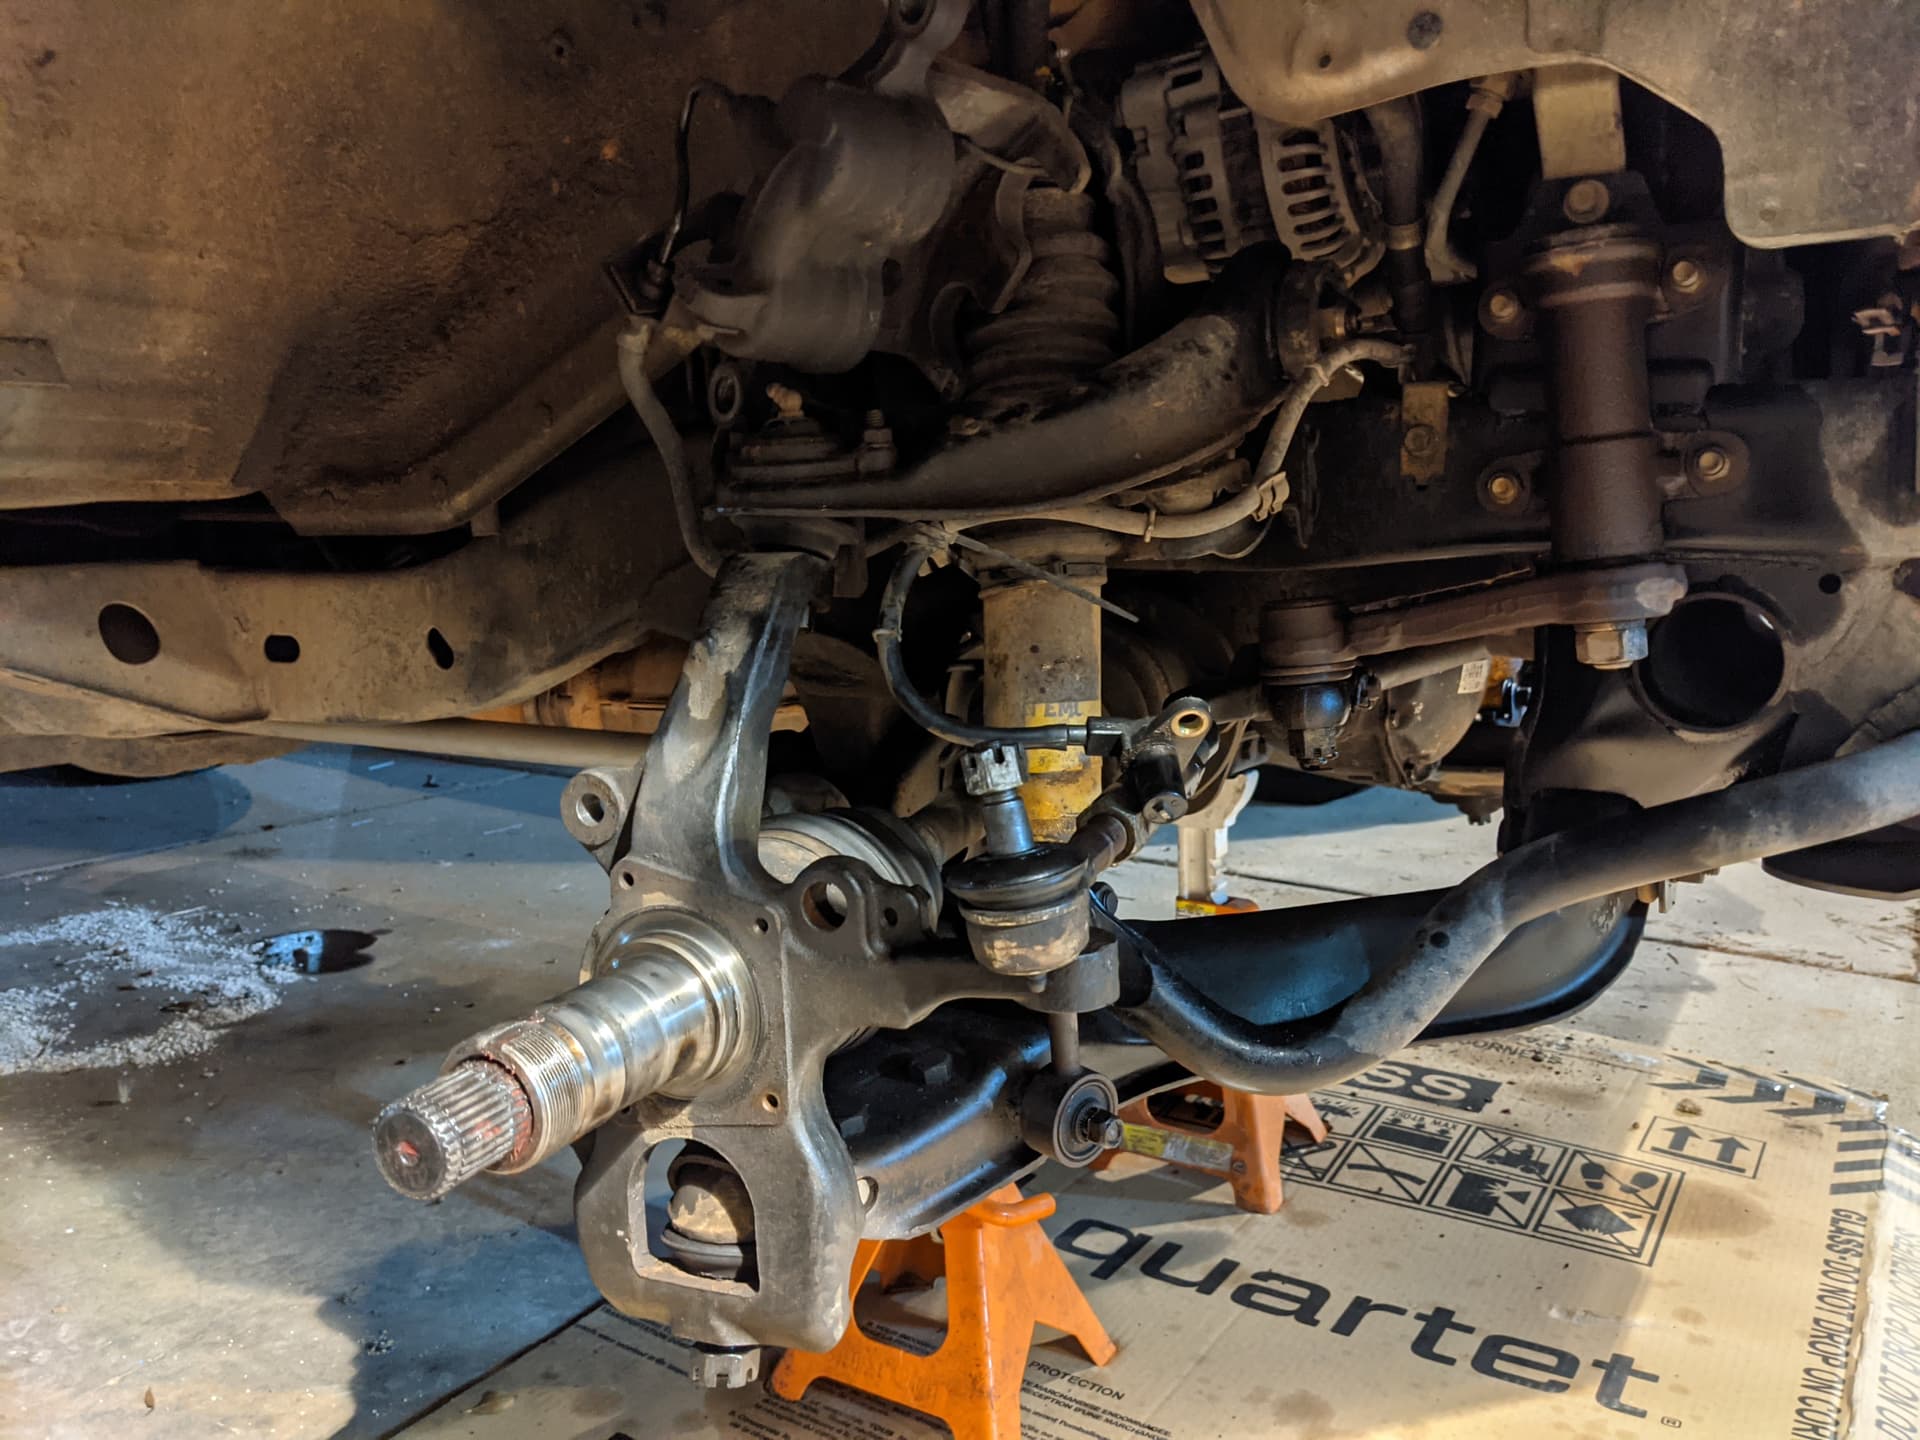
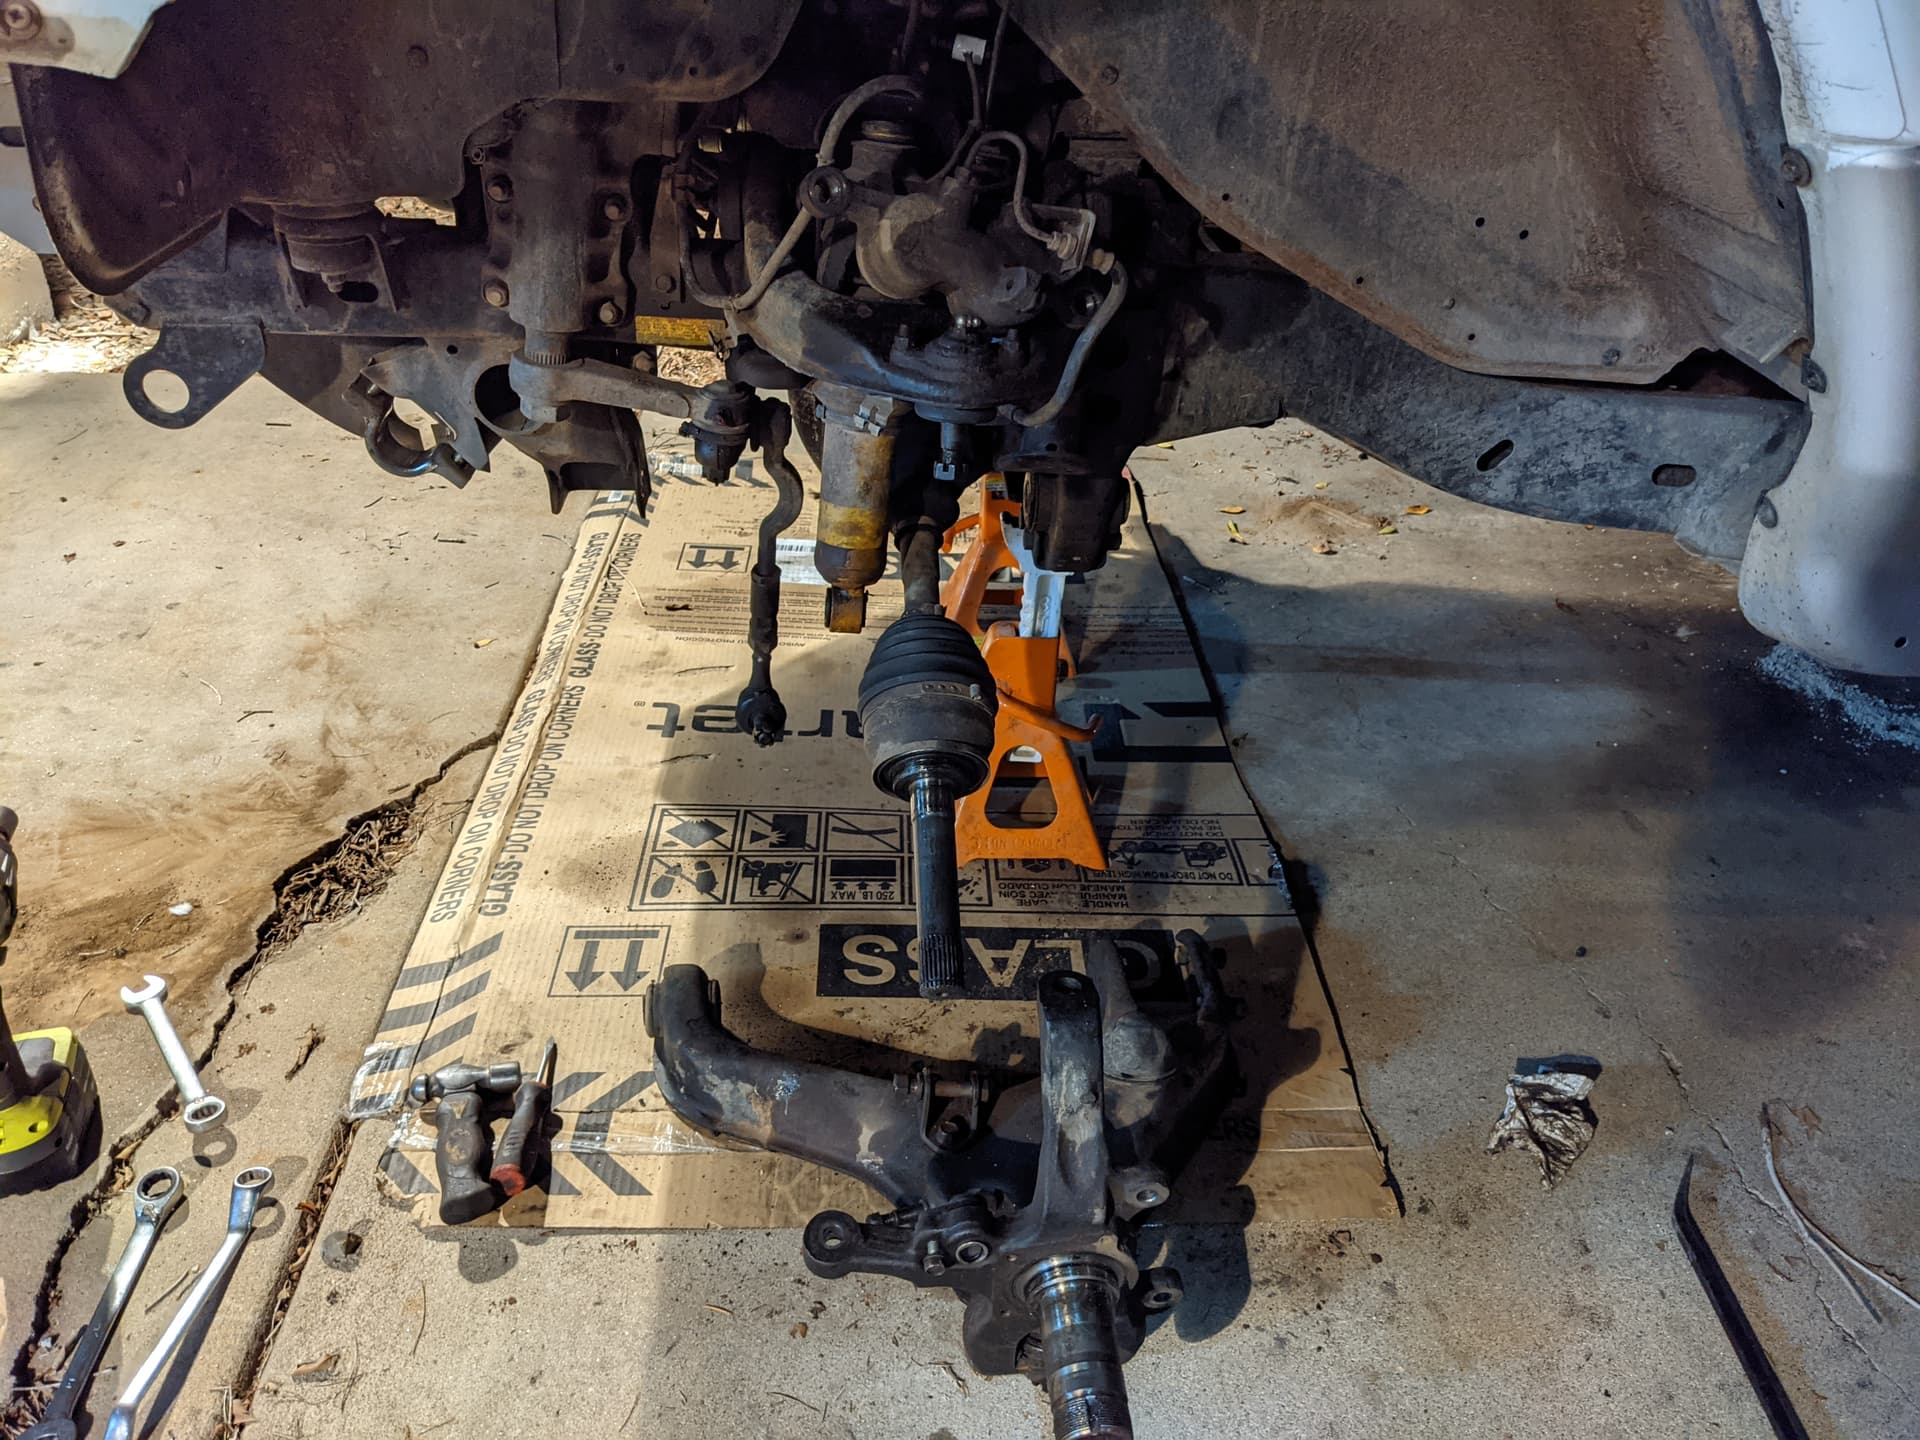
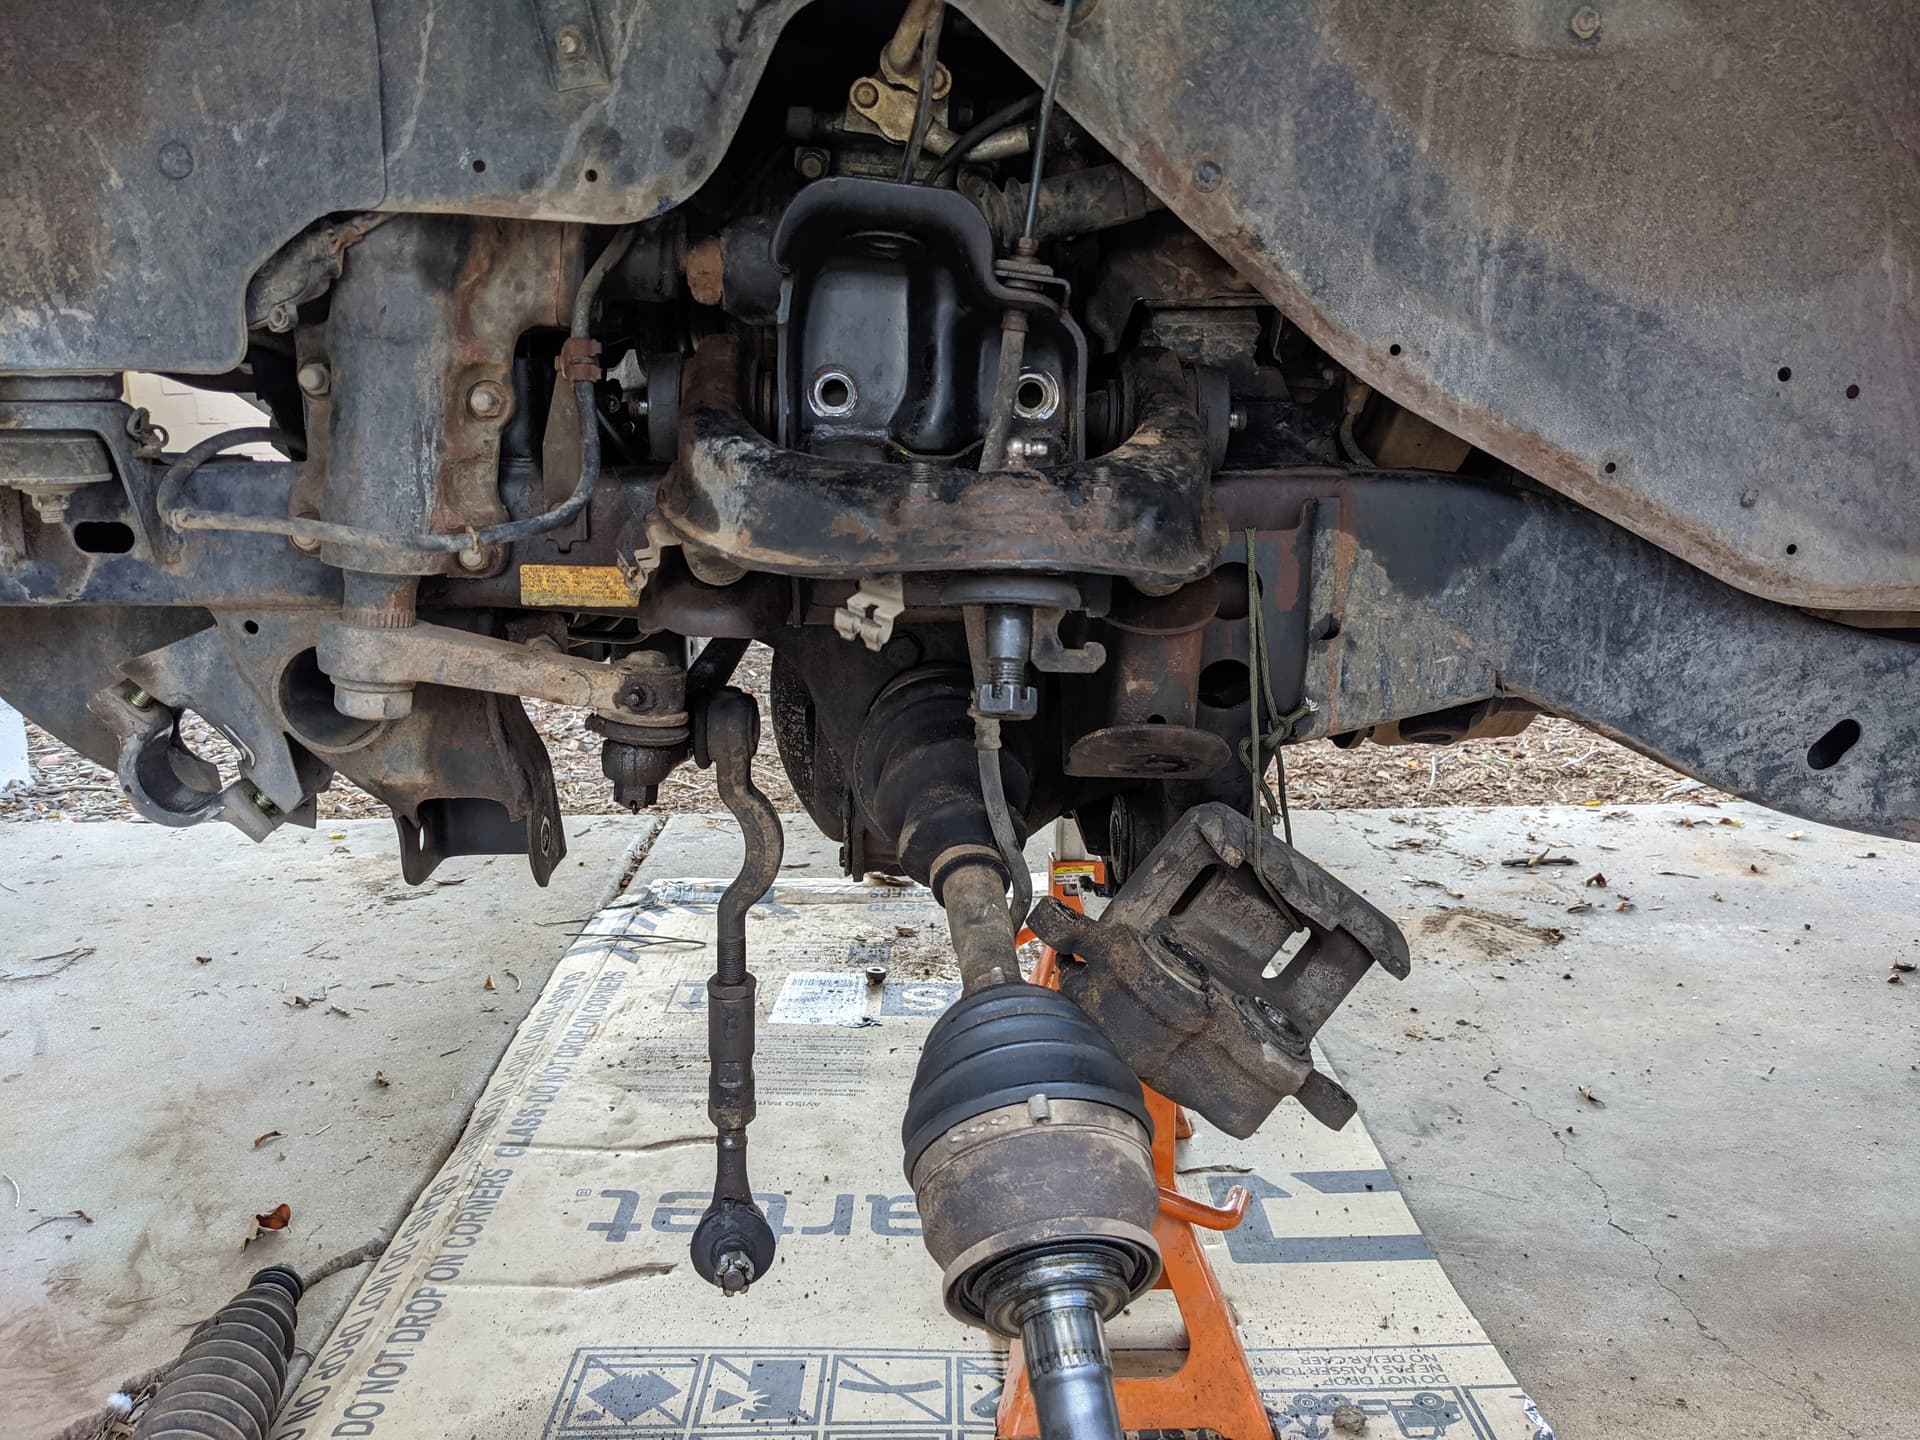
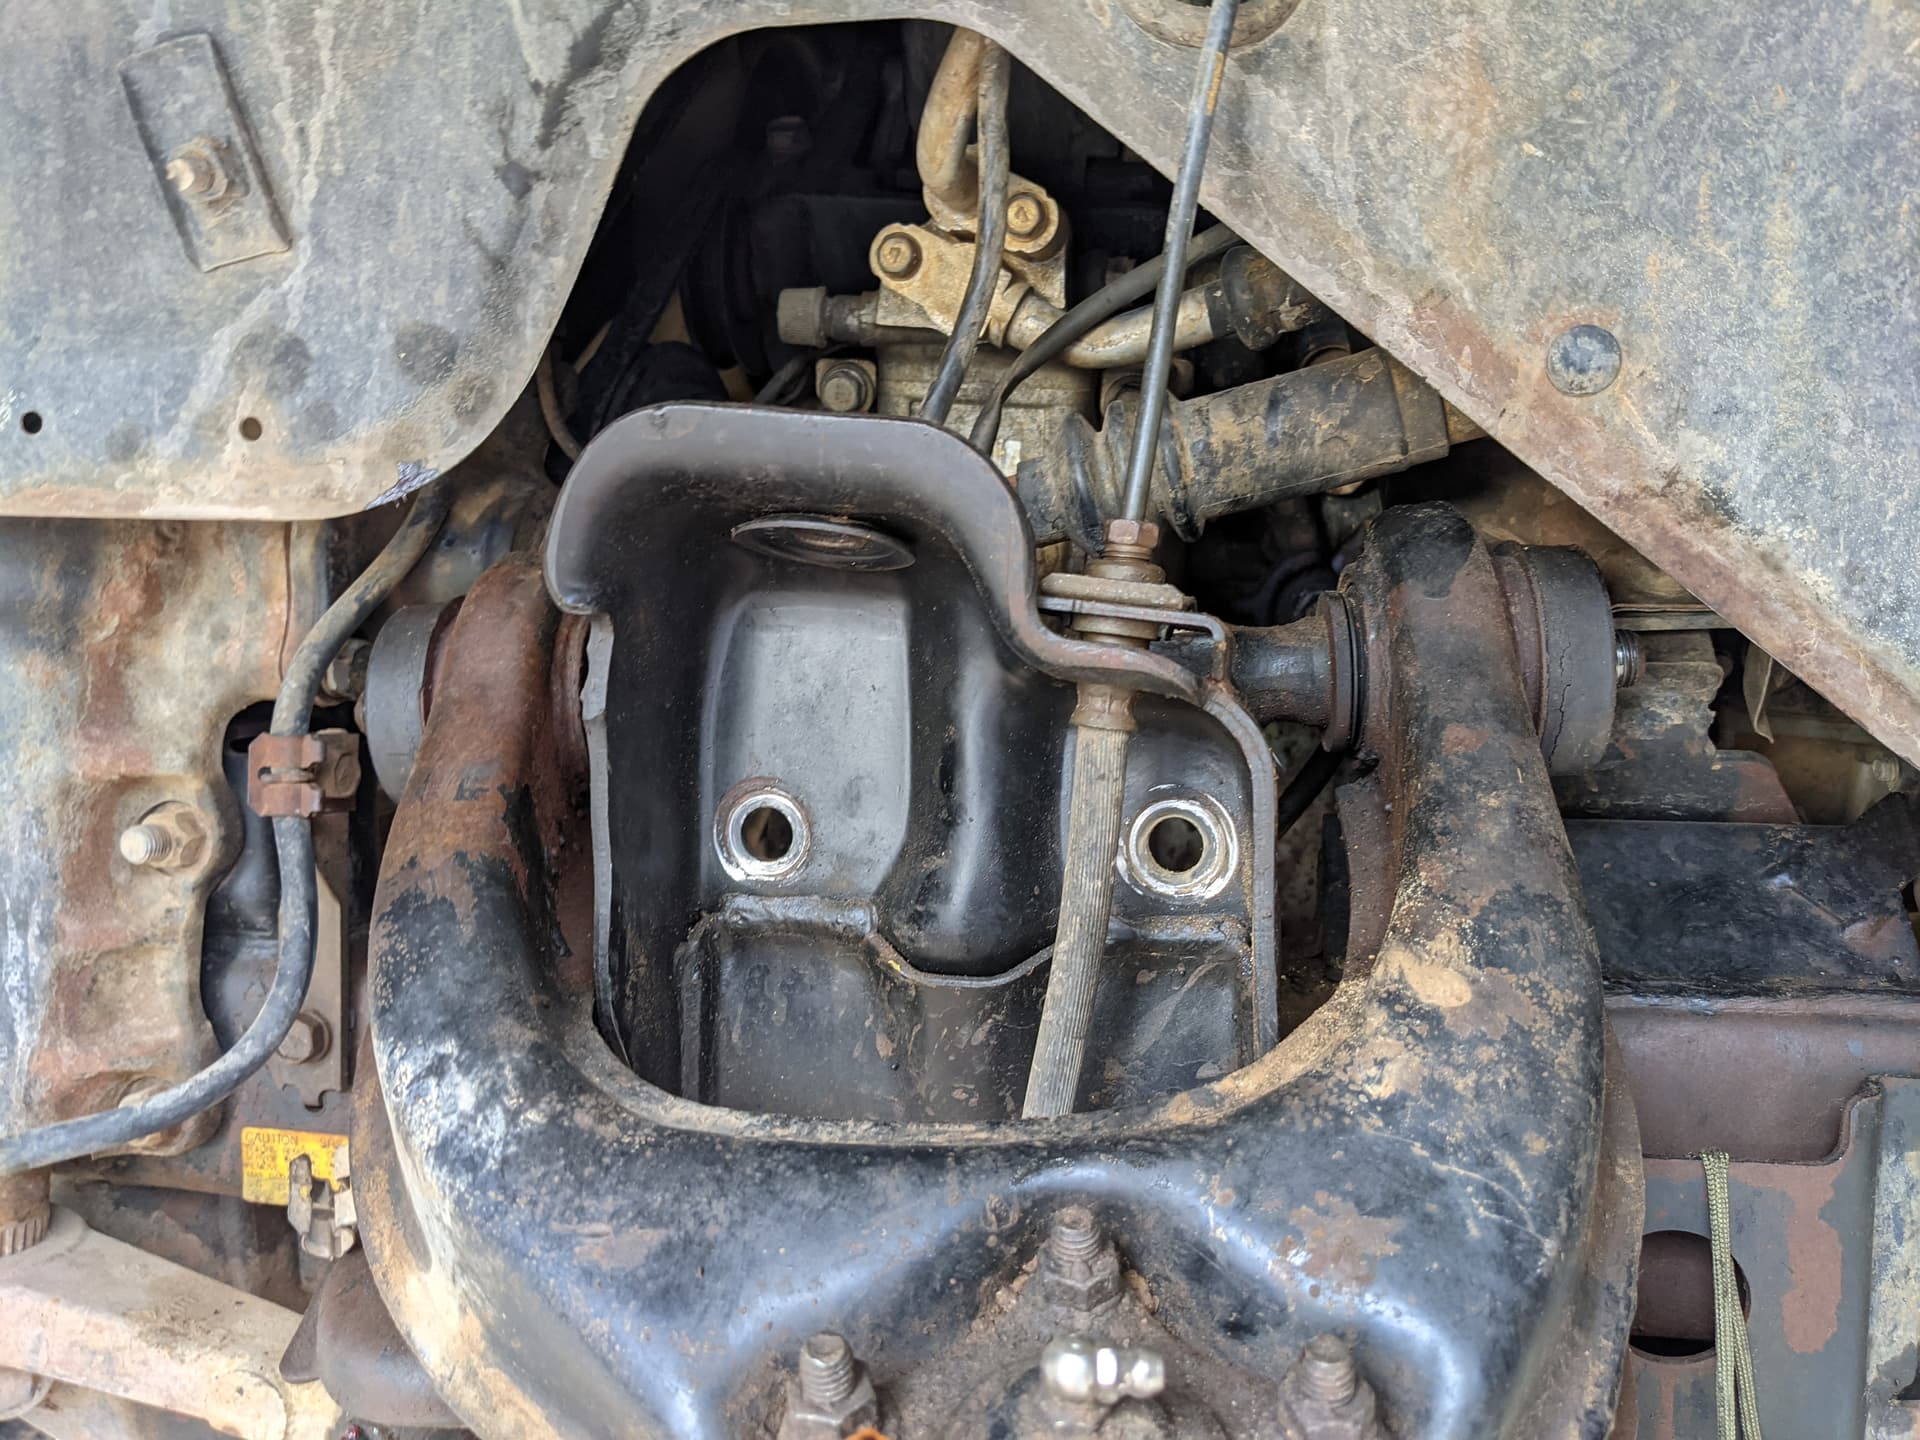
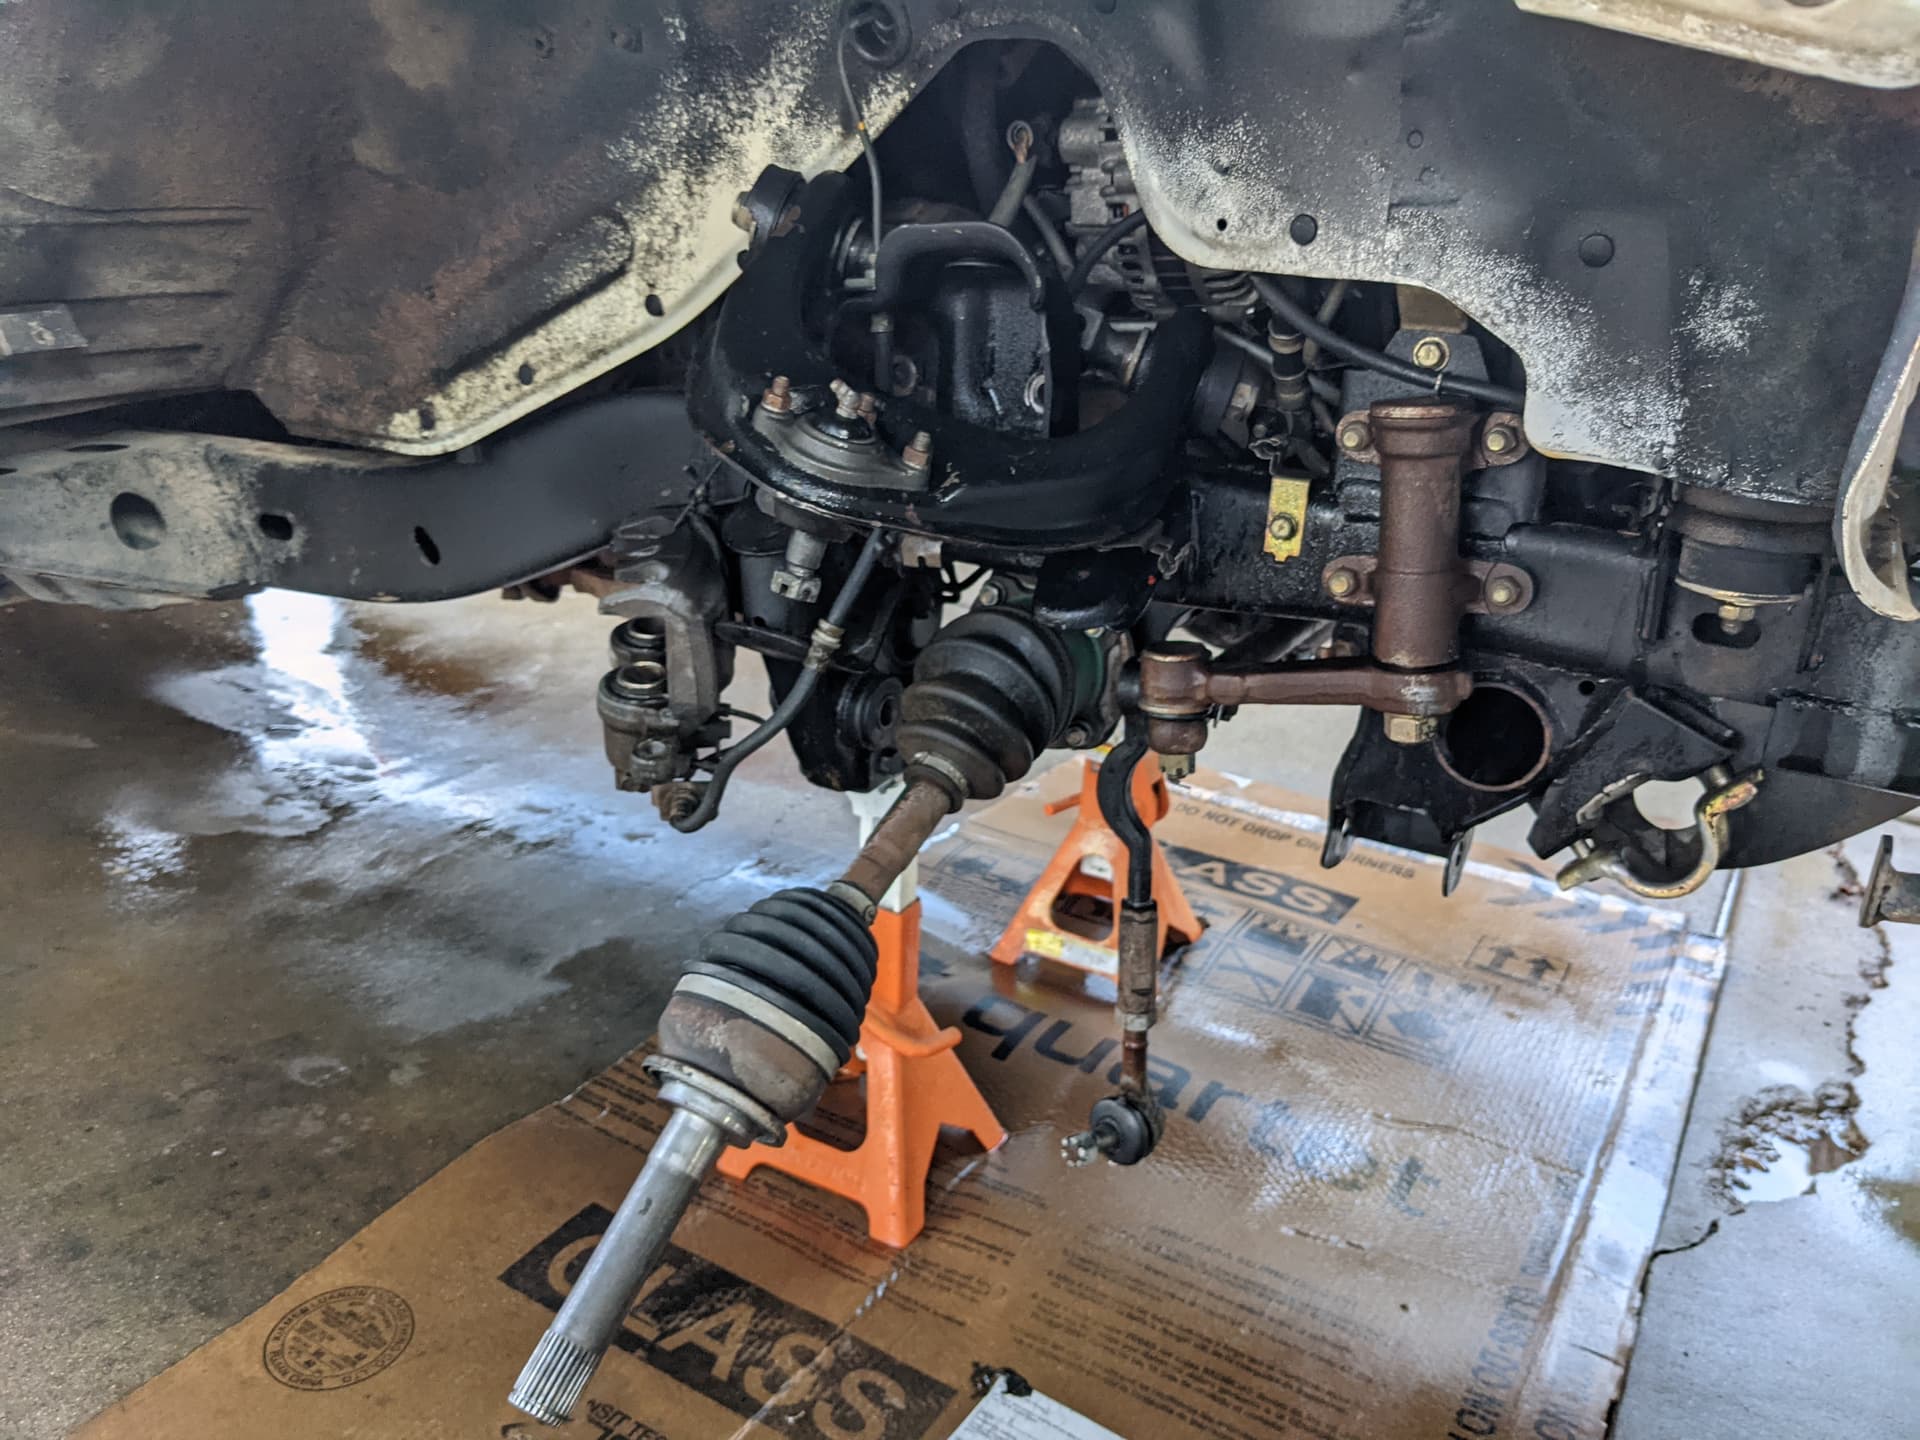
In the meantime, I set about cleaning and spraying everything with a couple fresh coats of paint to cover up the rust left over from the old lead acid battery days. I set aside the old idler assembly and tie rods, and set out to do the easy job of pulling the rear wheel bearing seals. Sharper eyes will notice there are wheel bearing pictures in the next grouping. No, instead, I tried prying out the MB160850 knuckle oil seal.

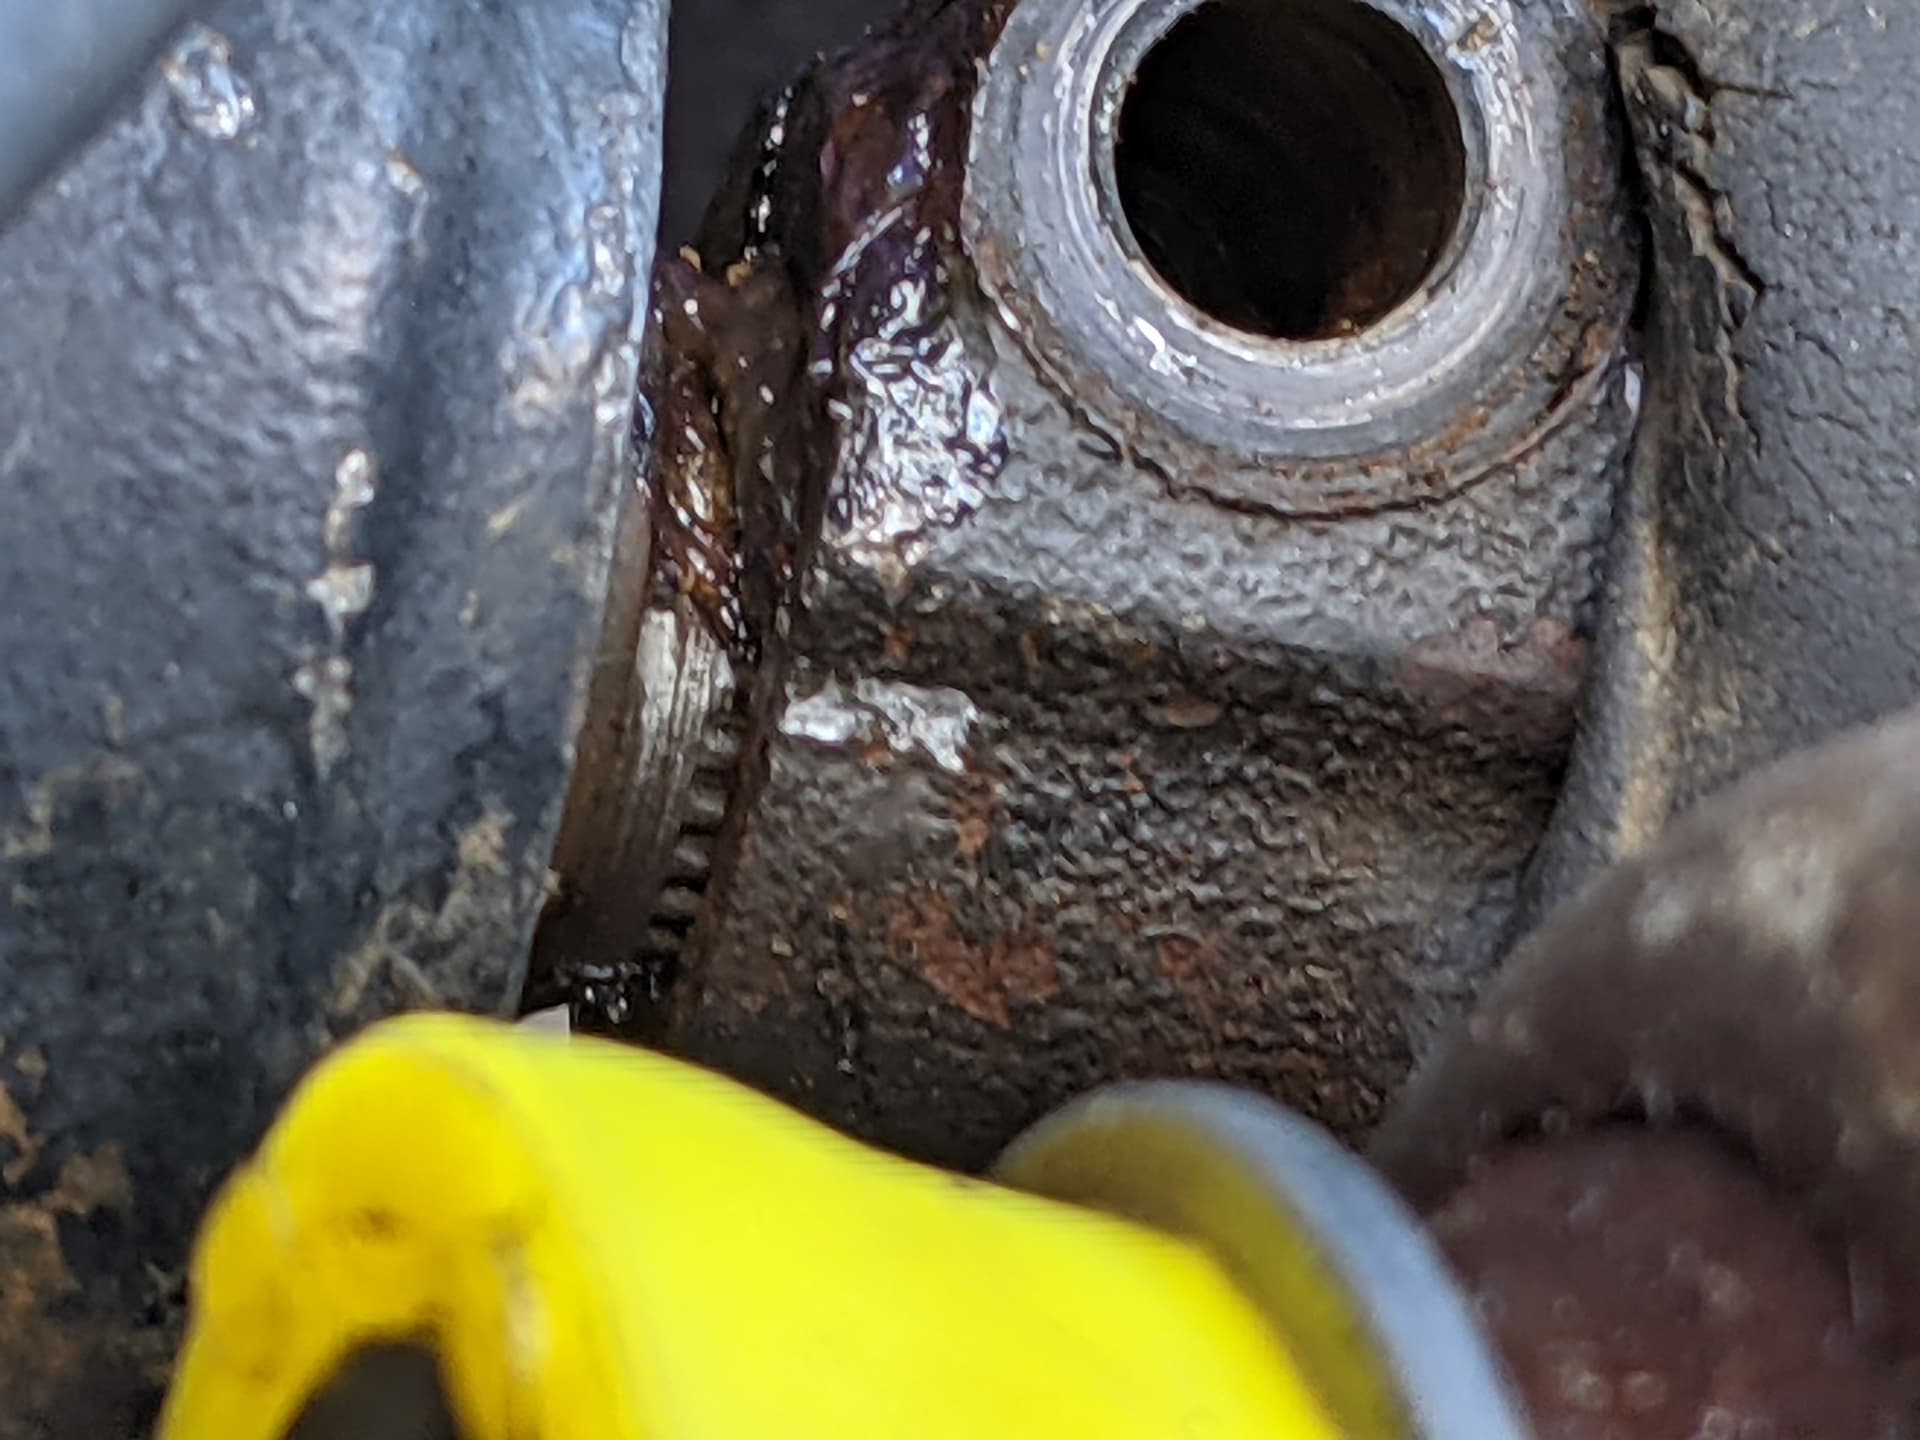
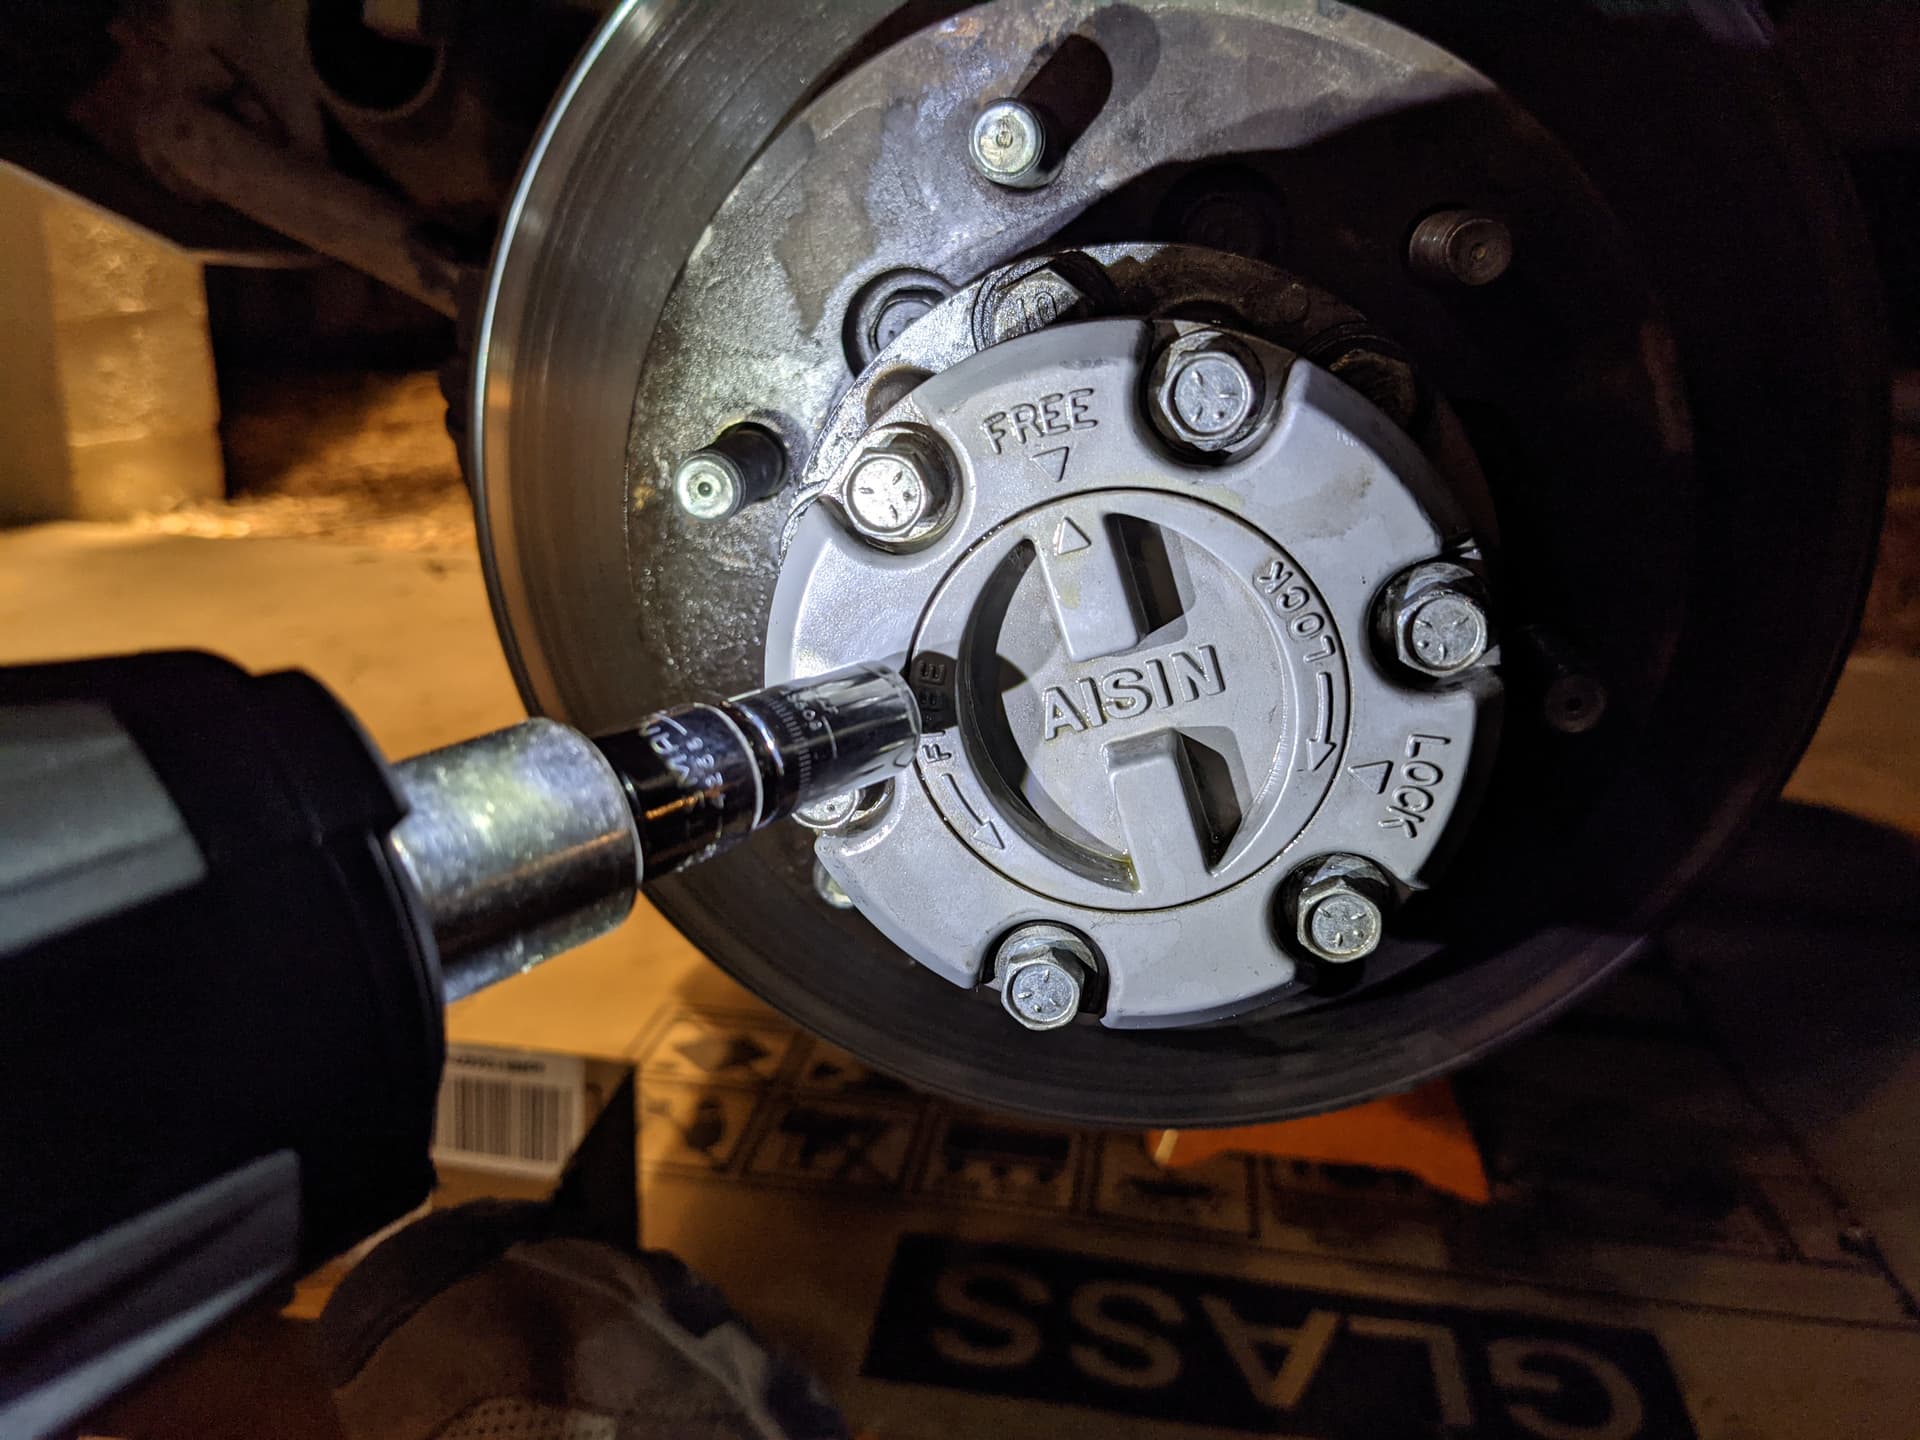
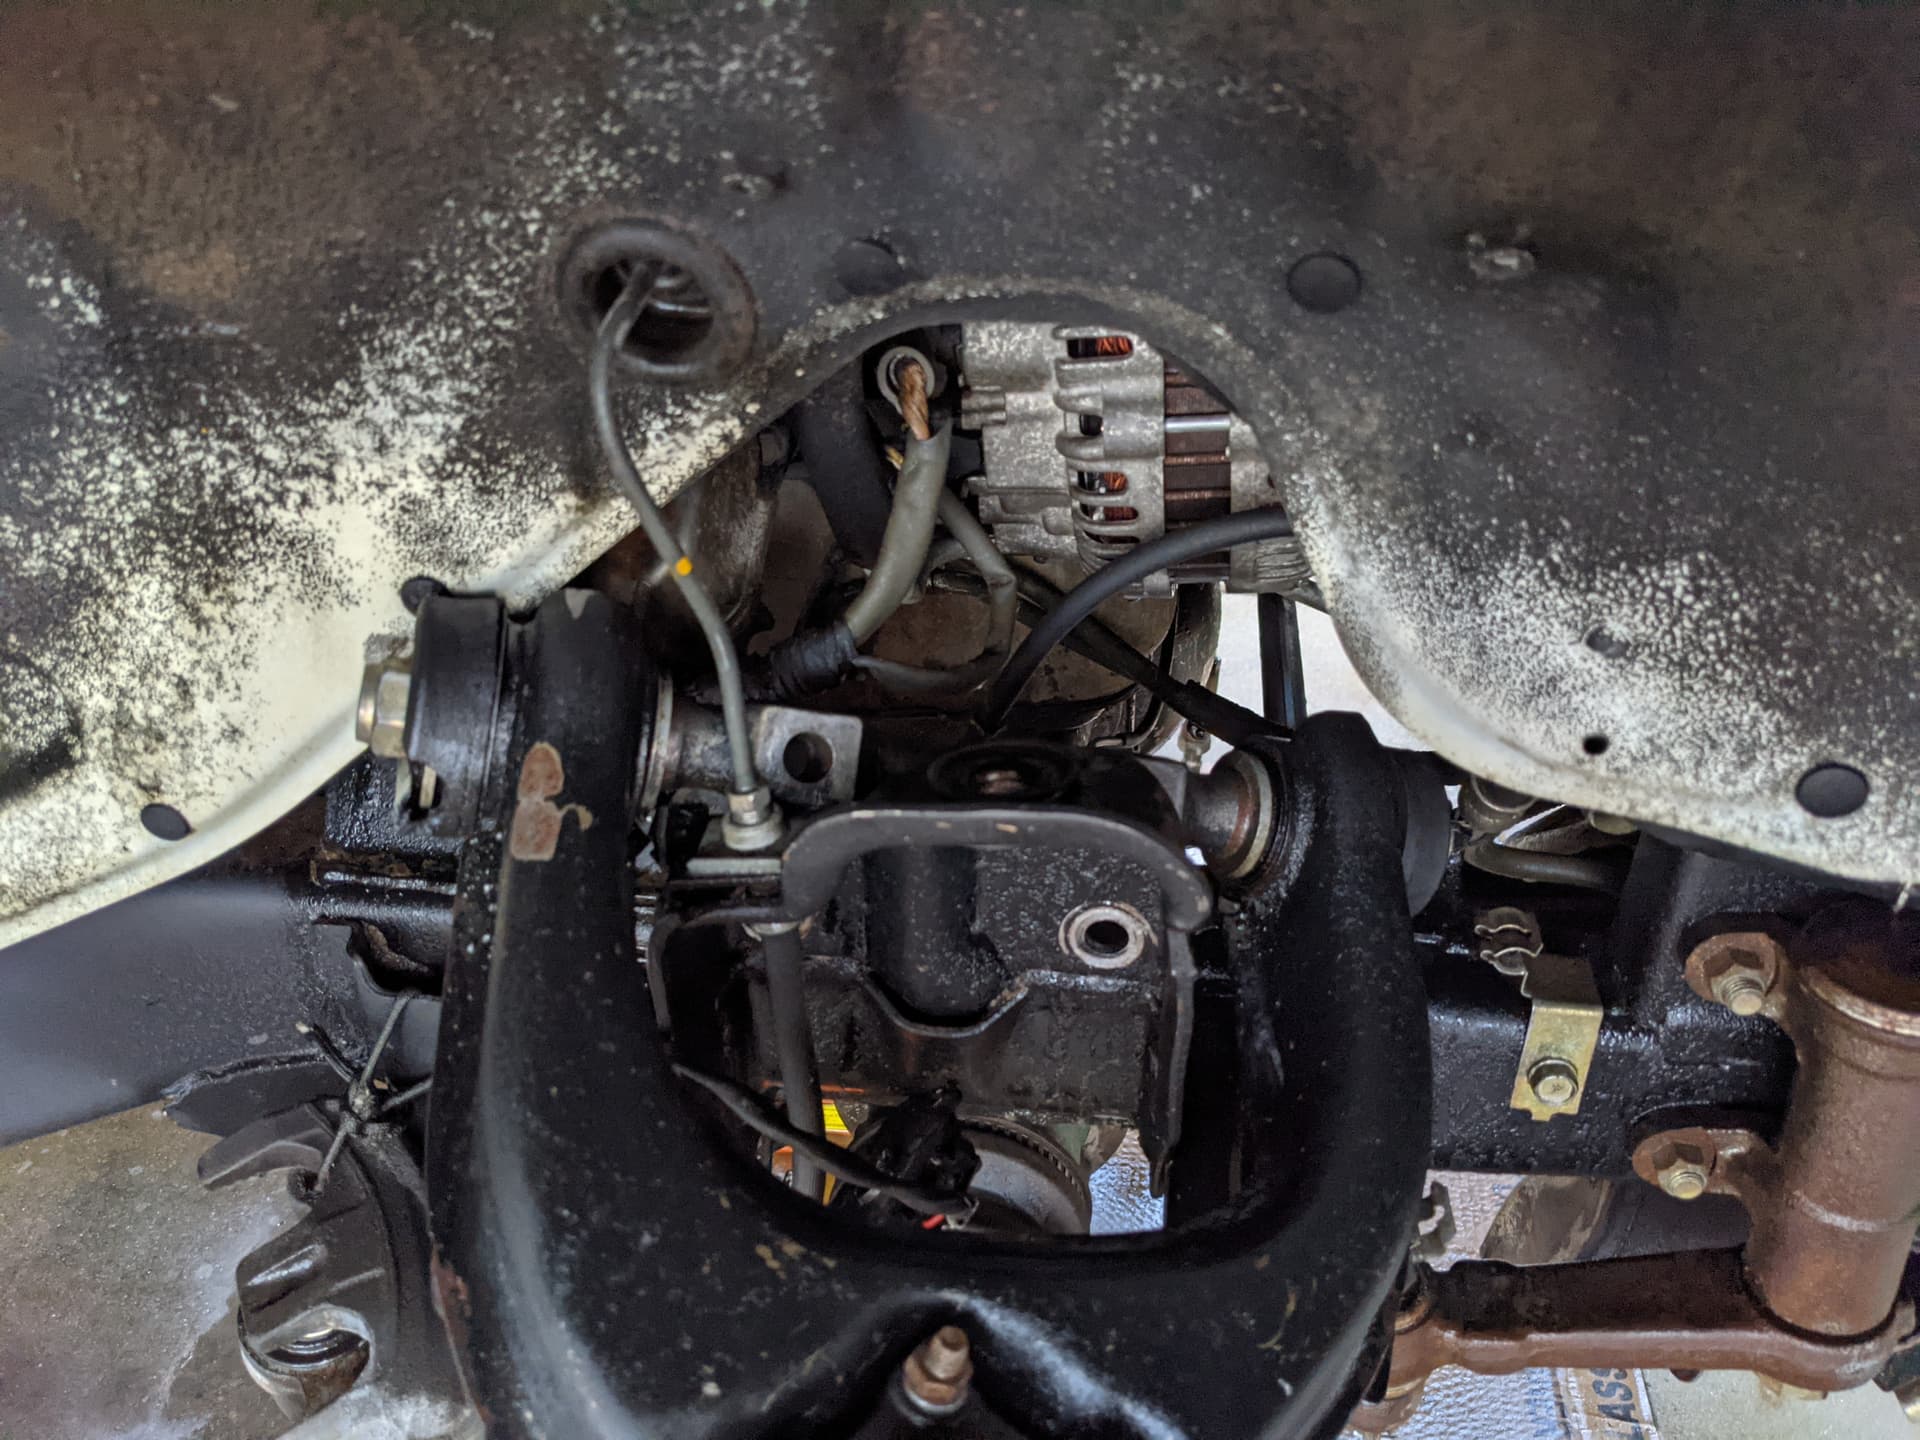
I feel like I might have damaged the mating surface, but it might also be I simply removed the rubber from the seal, leaving the shell behind once again. @PajEvo any thoughts here? I had to remove one of them anyway. It was crumbling apart, but now I’m not sure if I should be getting in there with a pry bar and popping those shells out or those are part of the knuckle. Jeez.


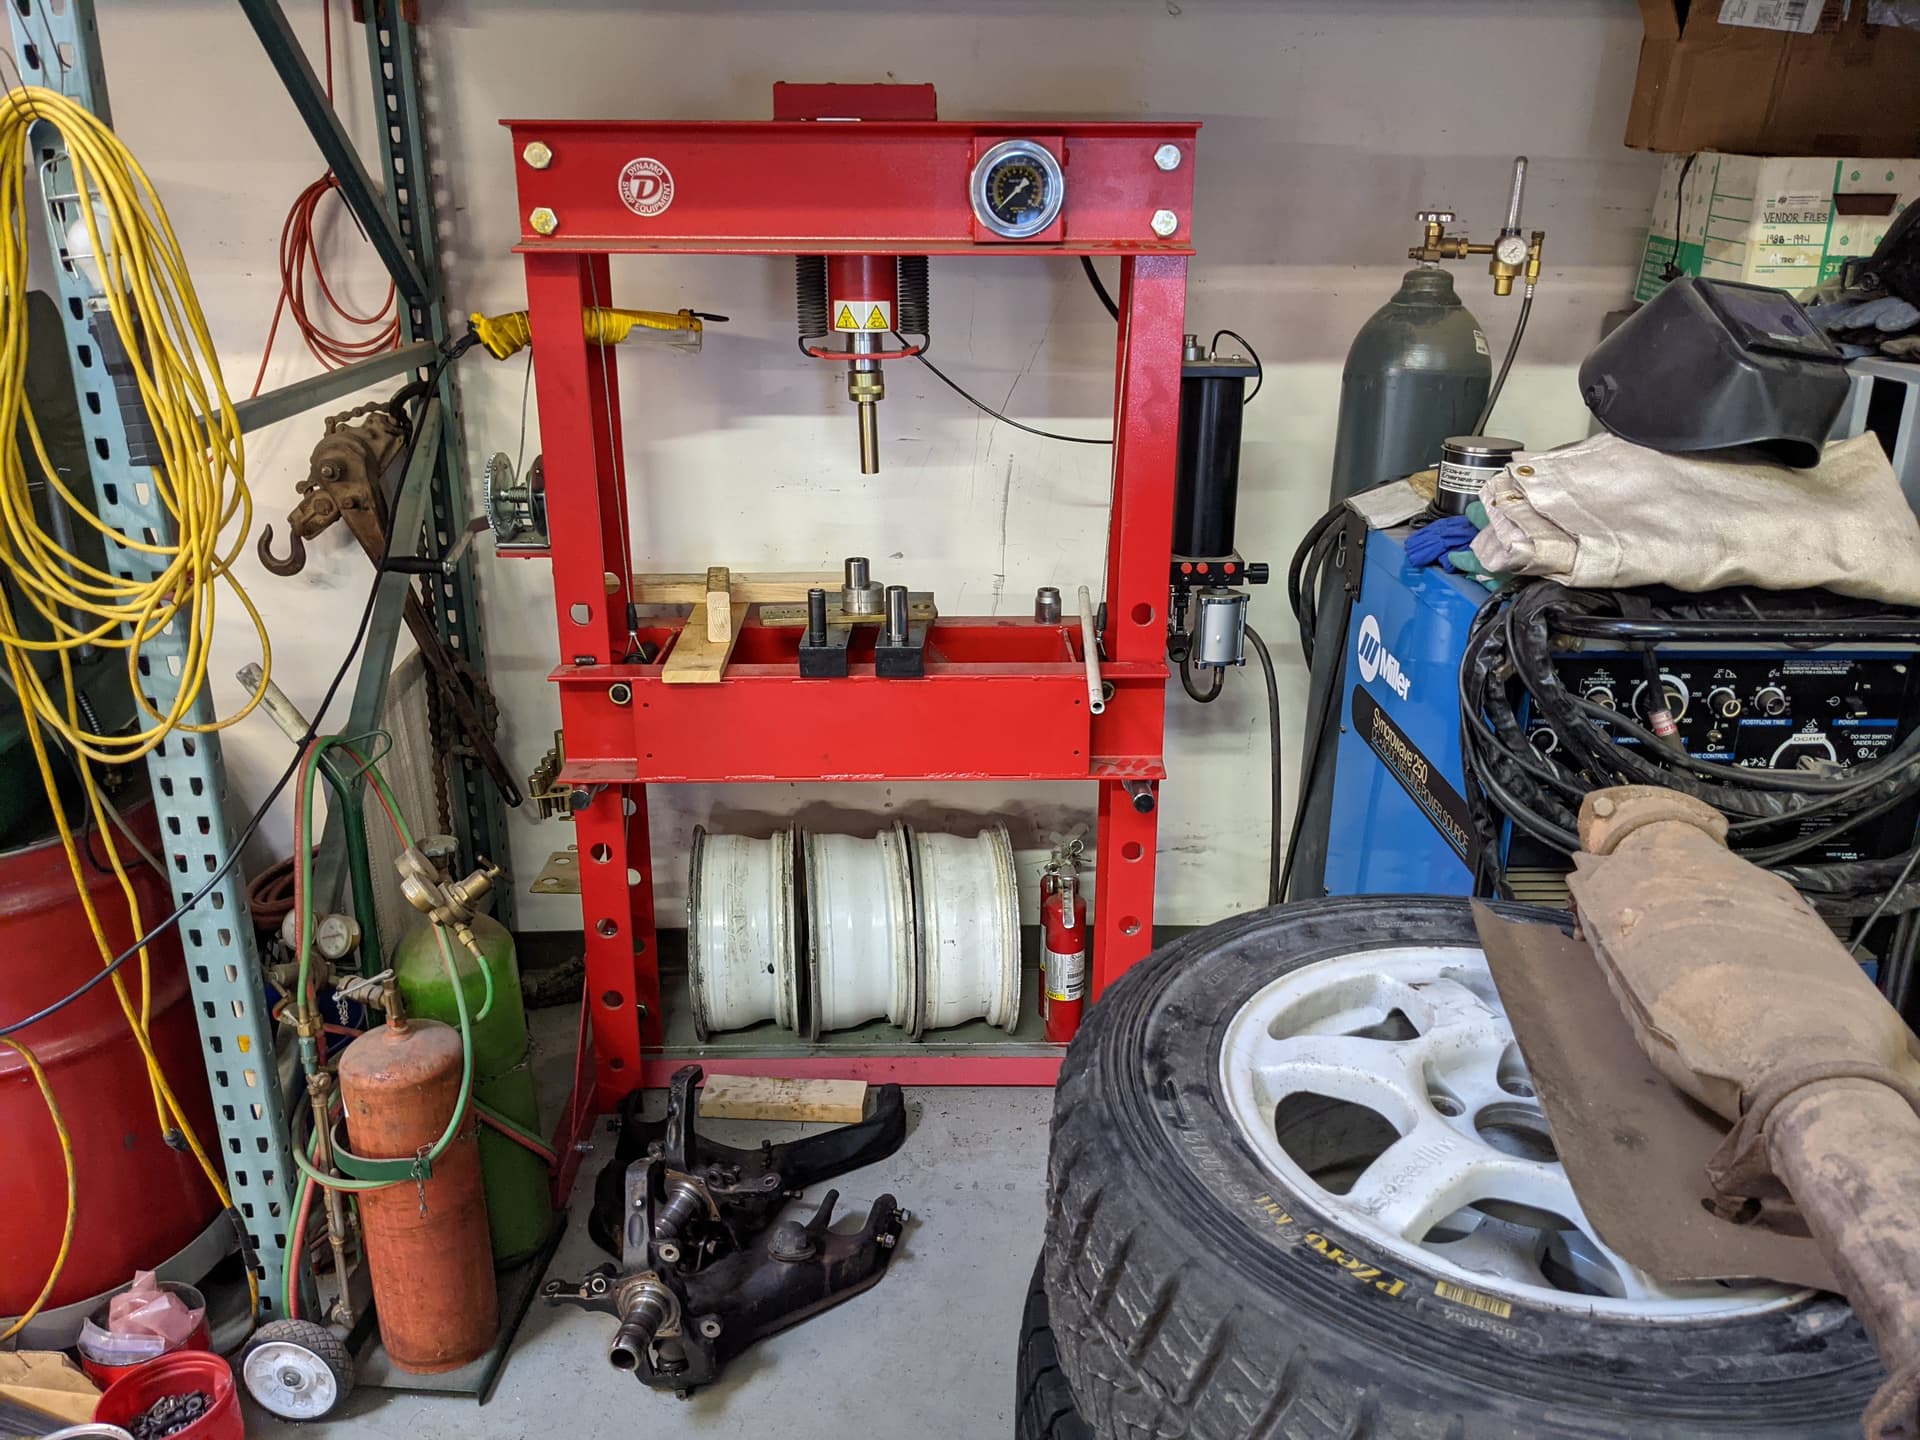
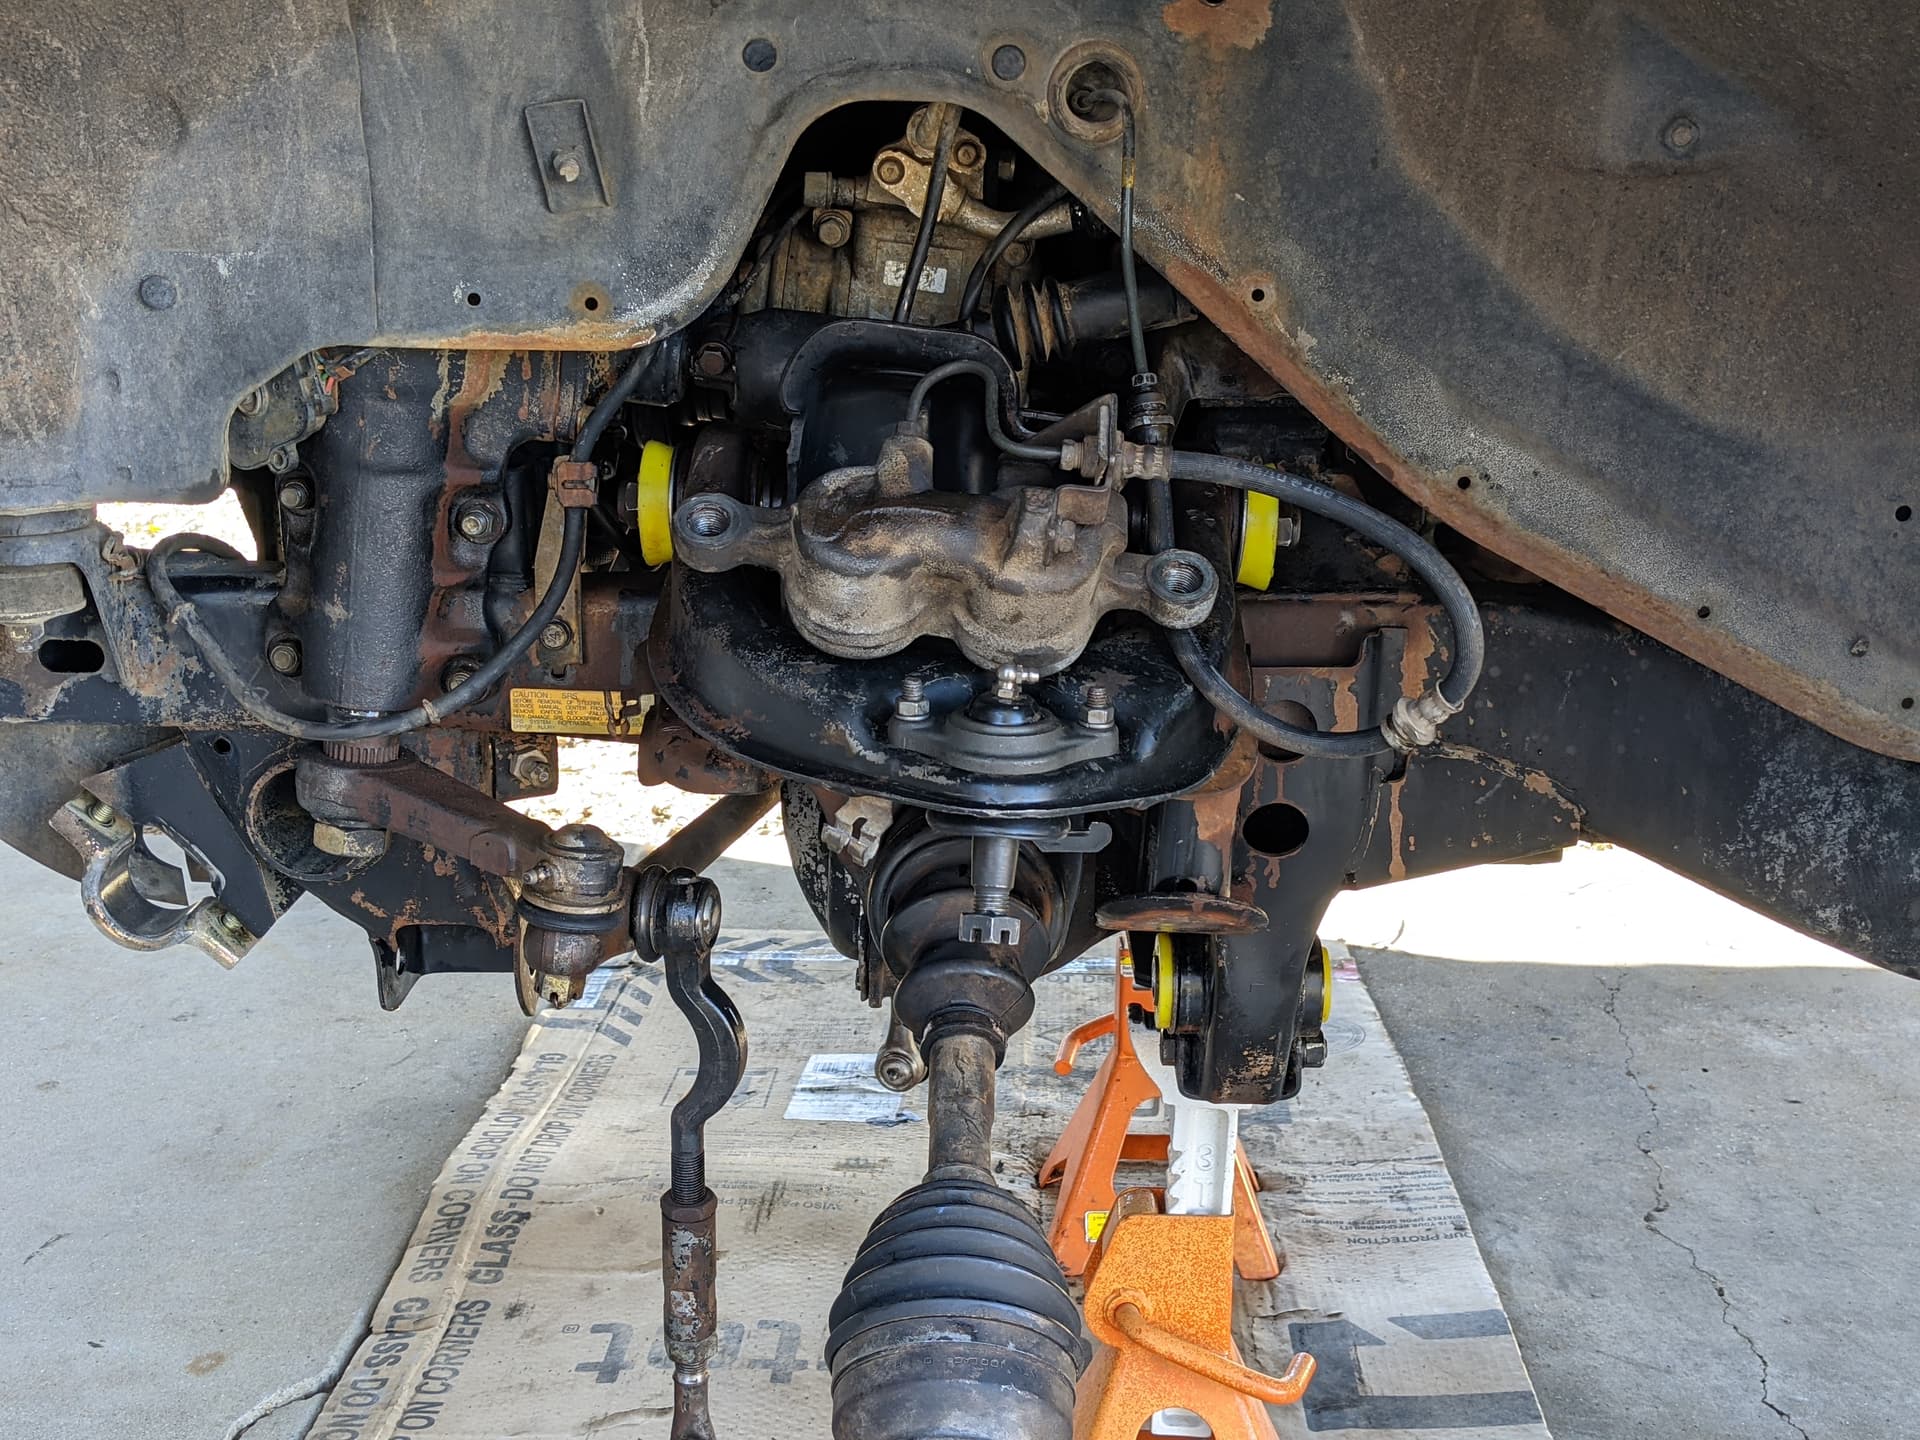
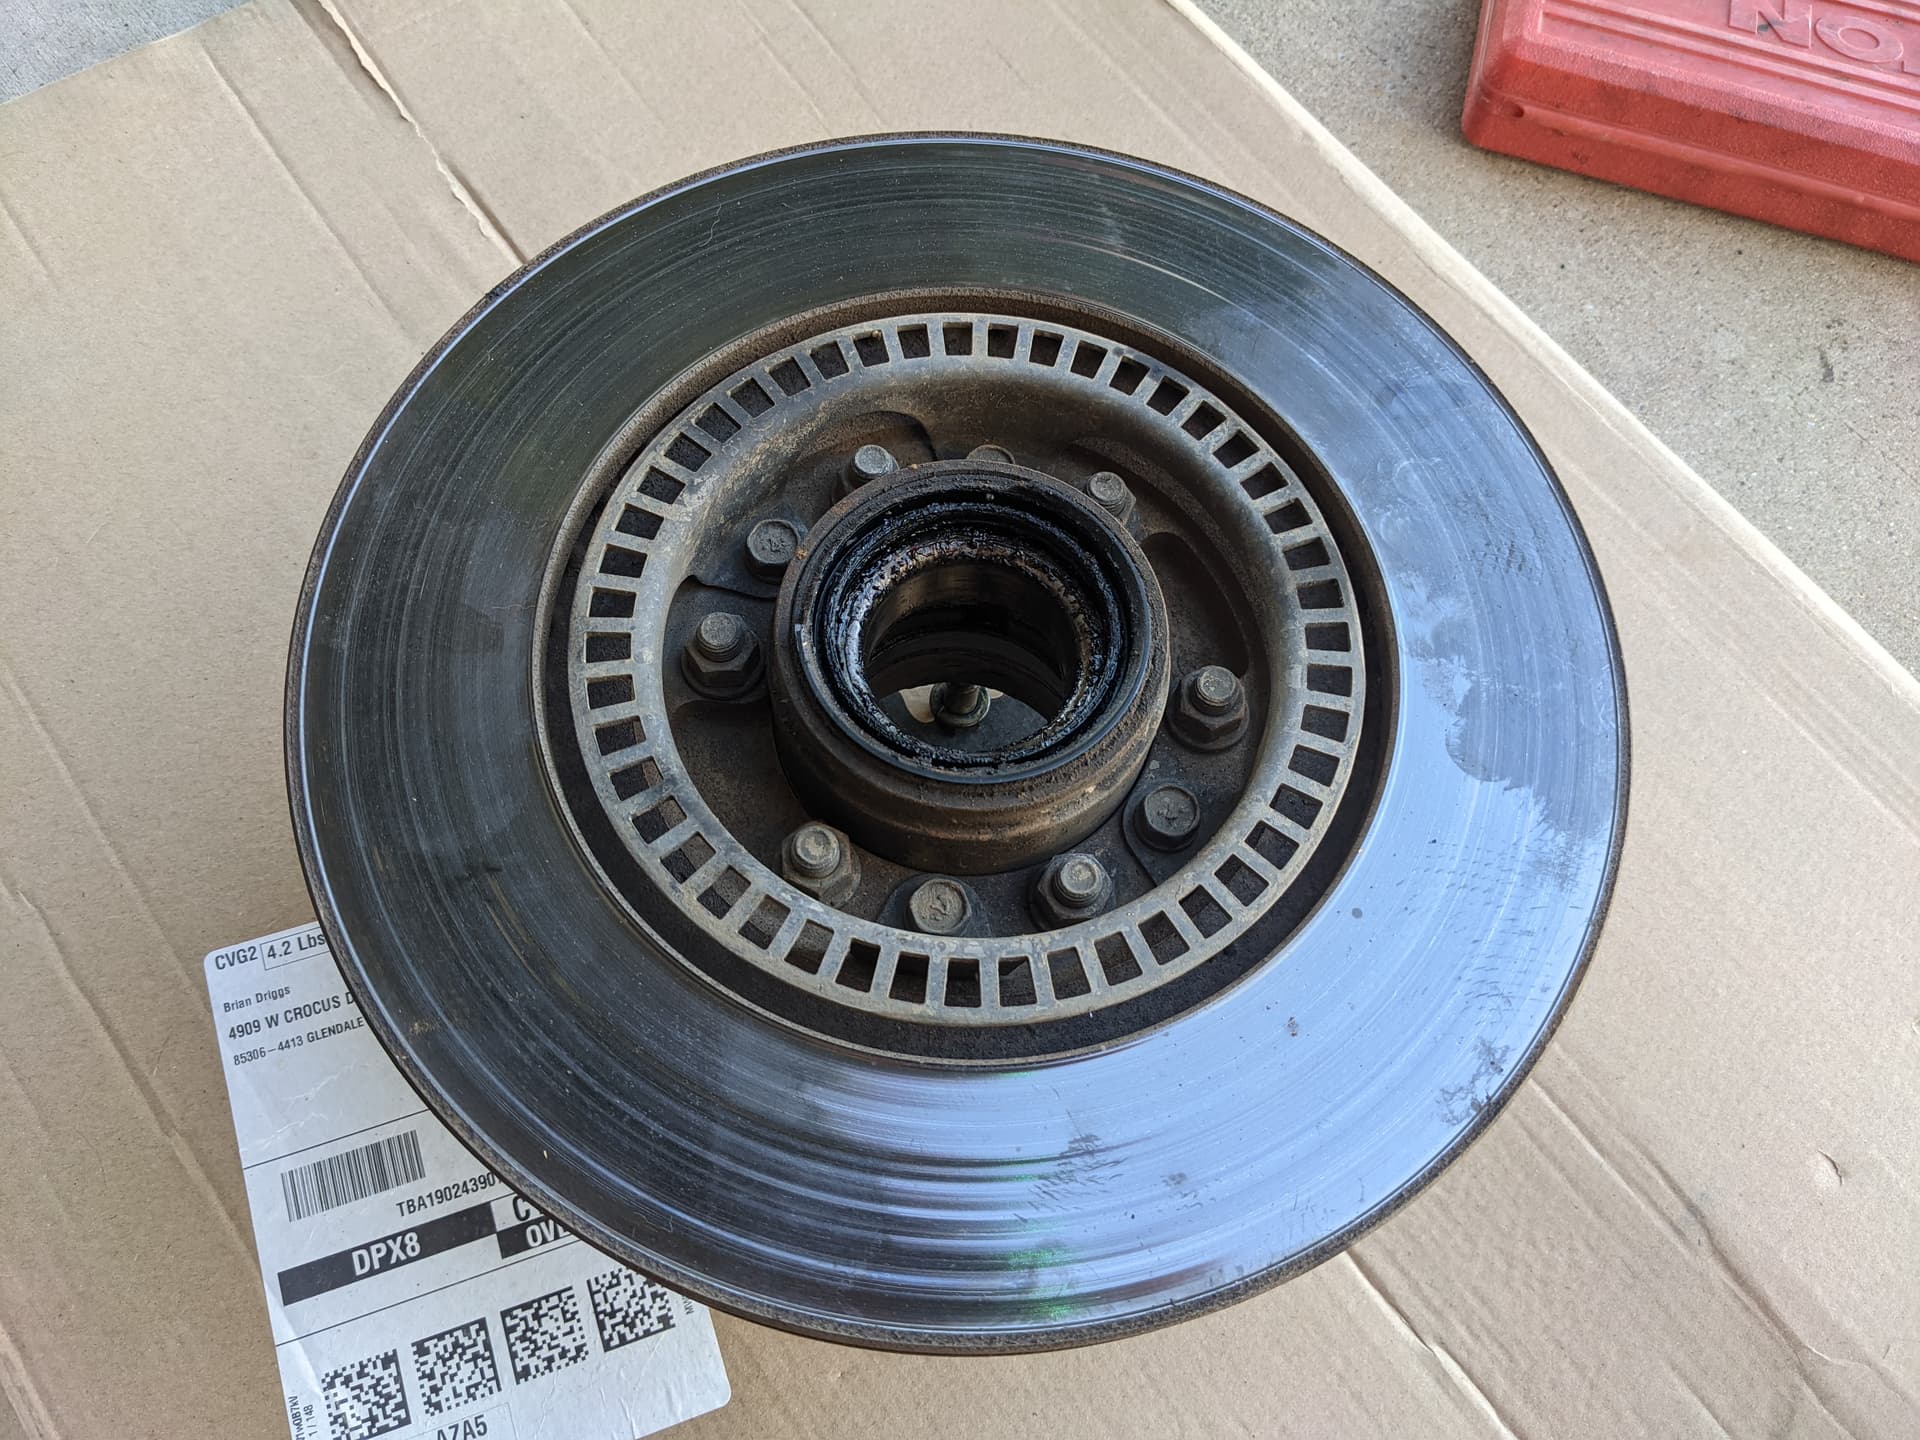
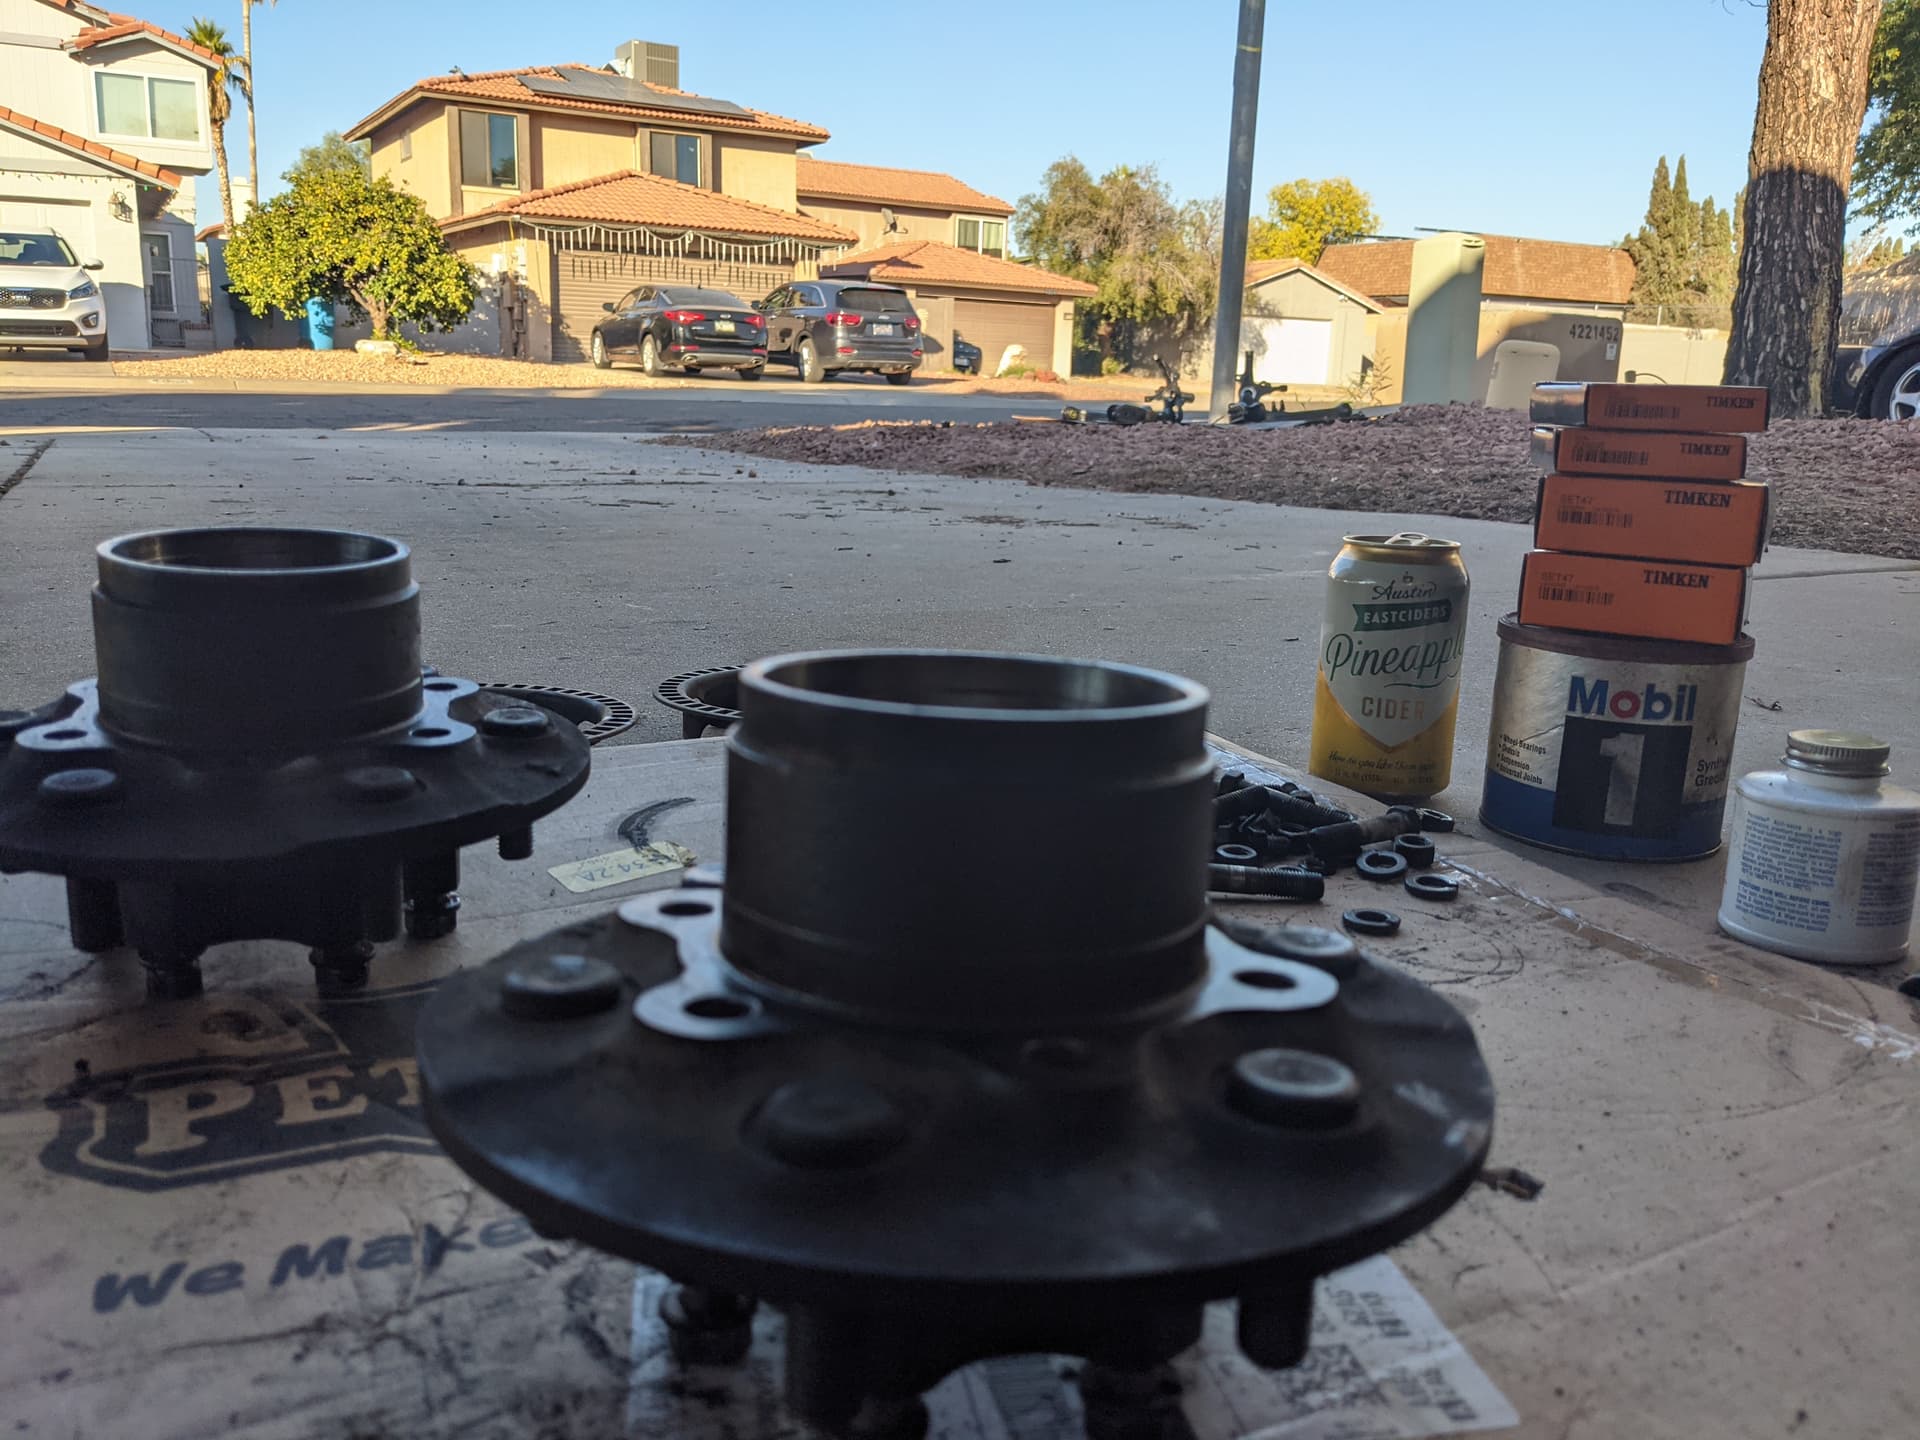
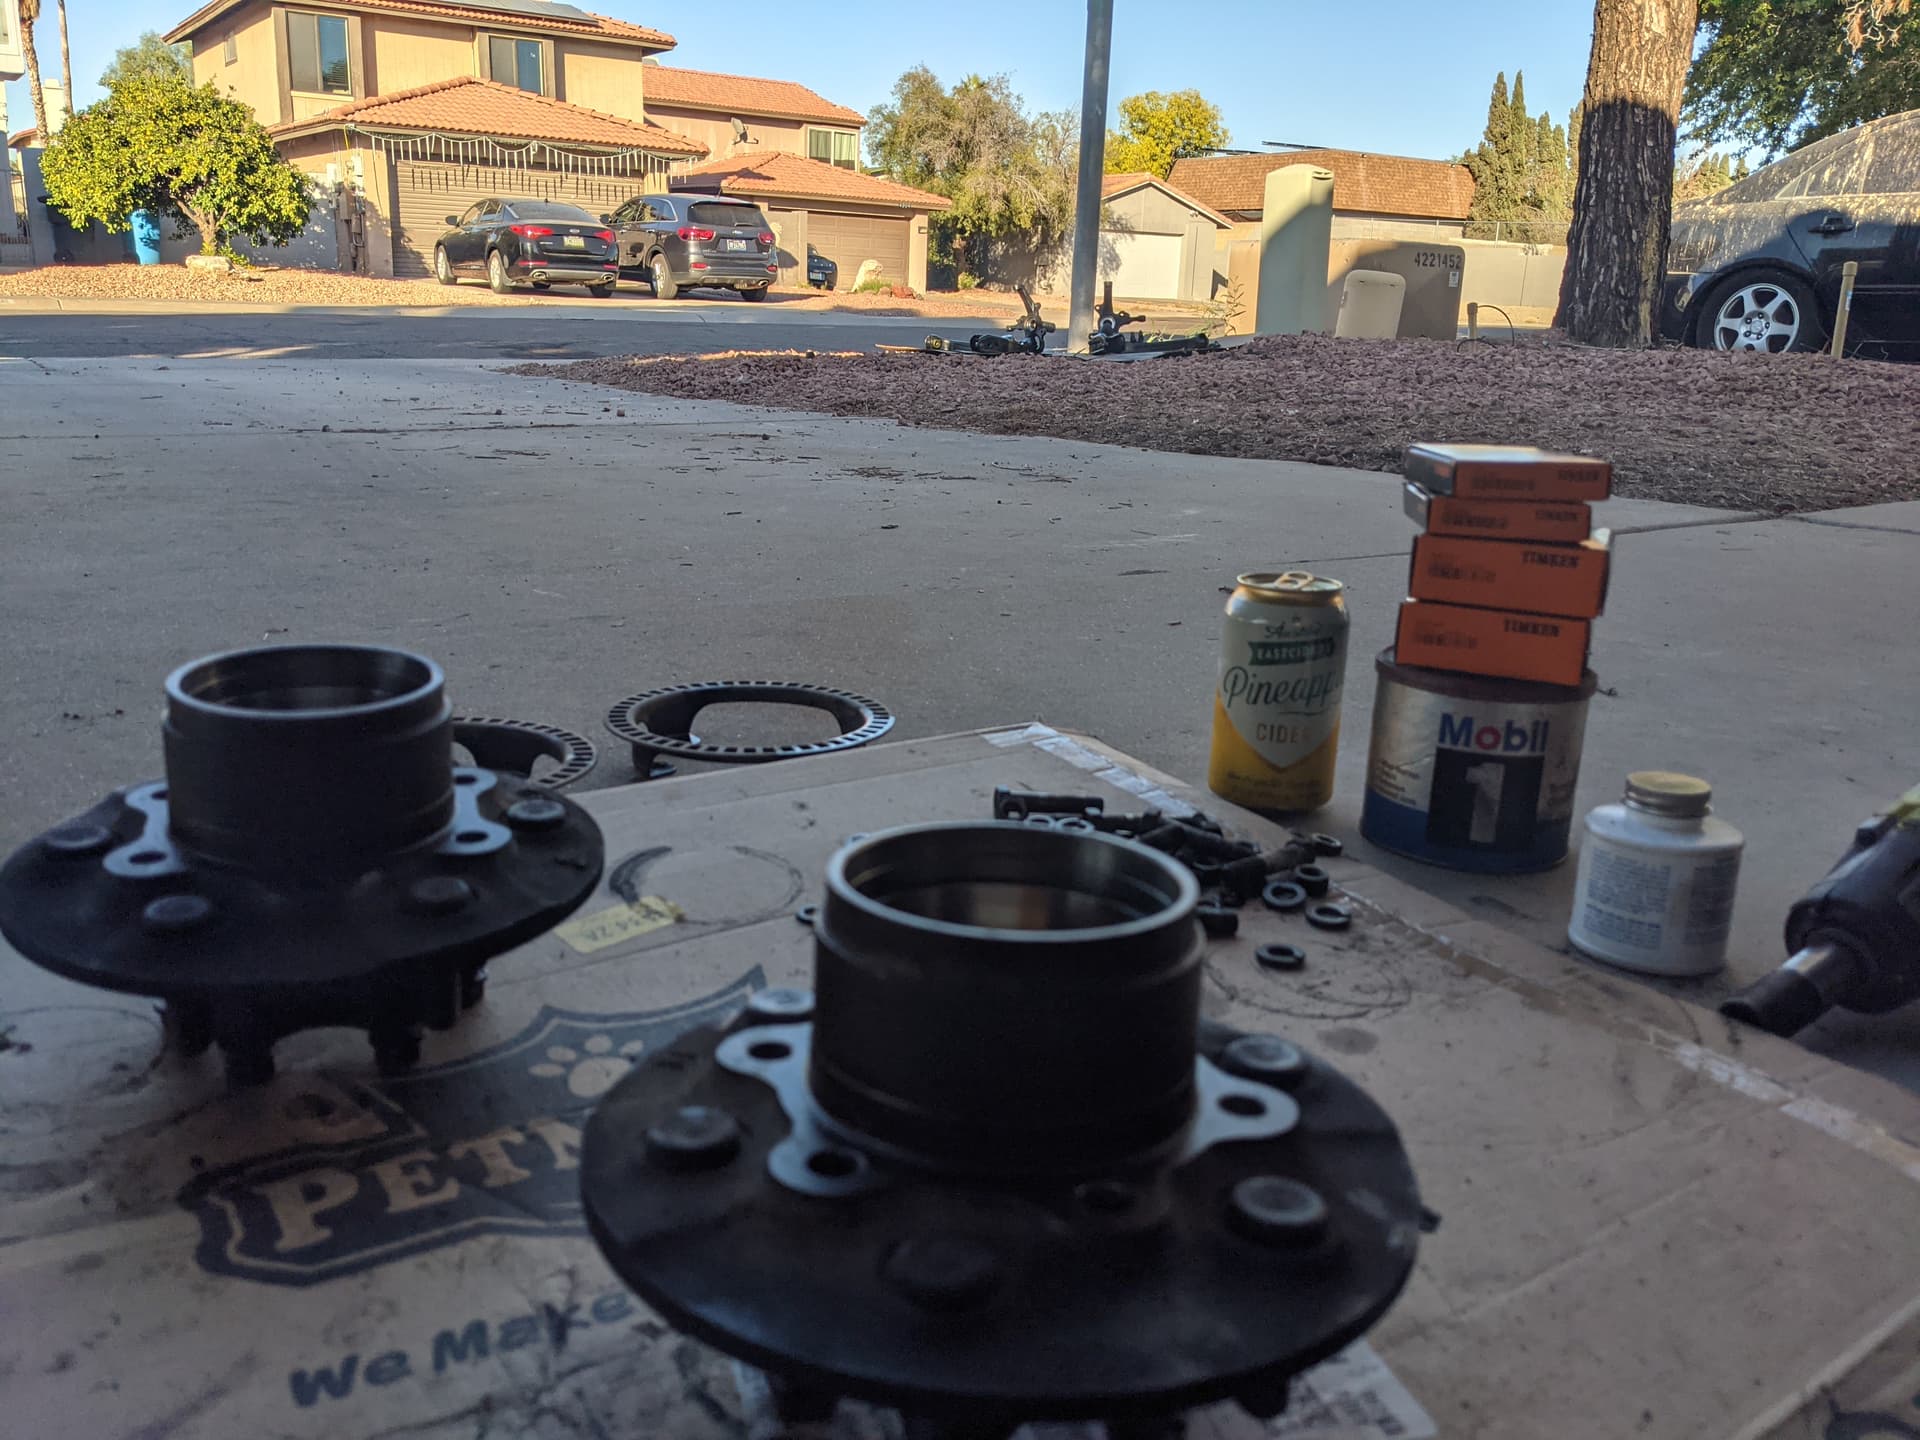
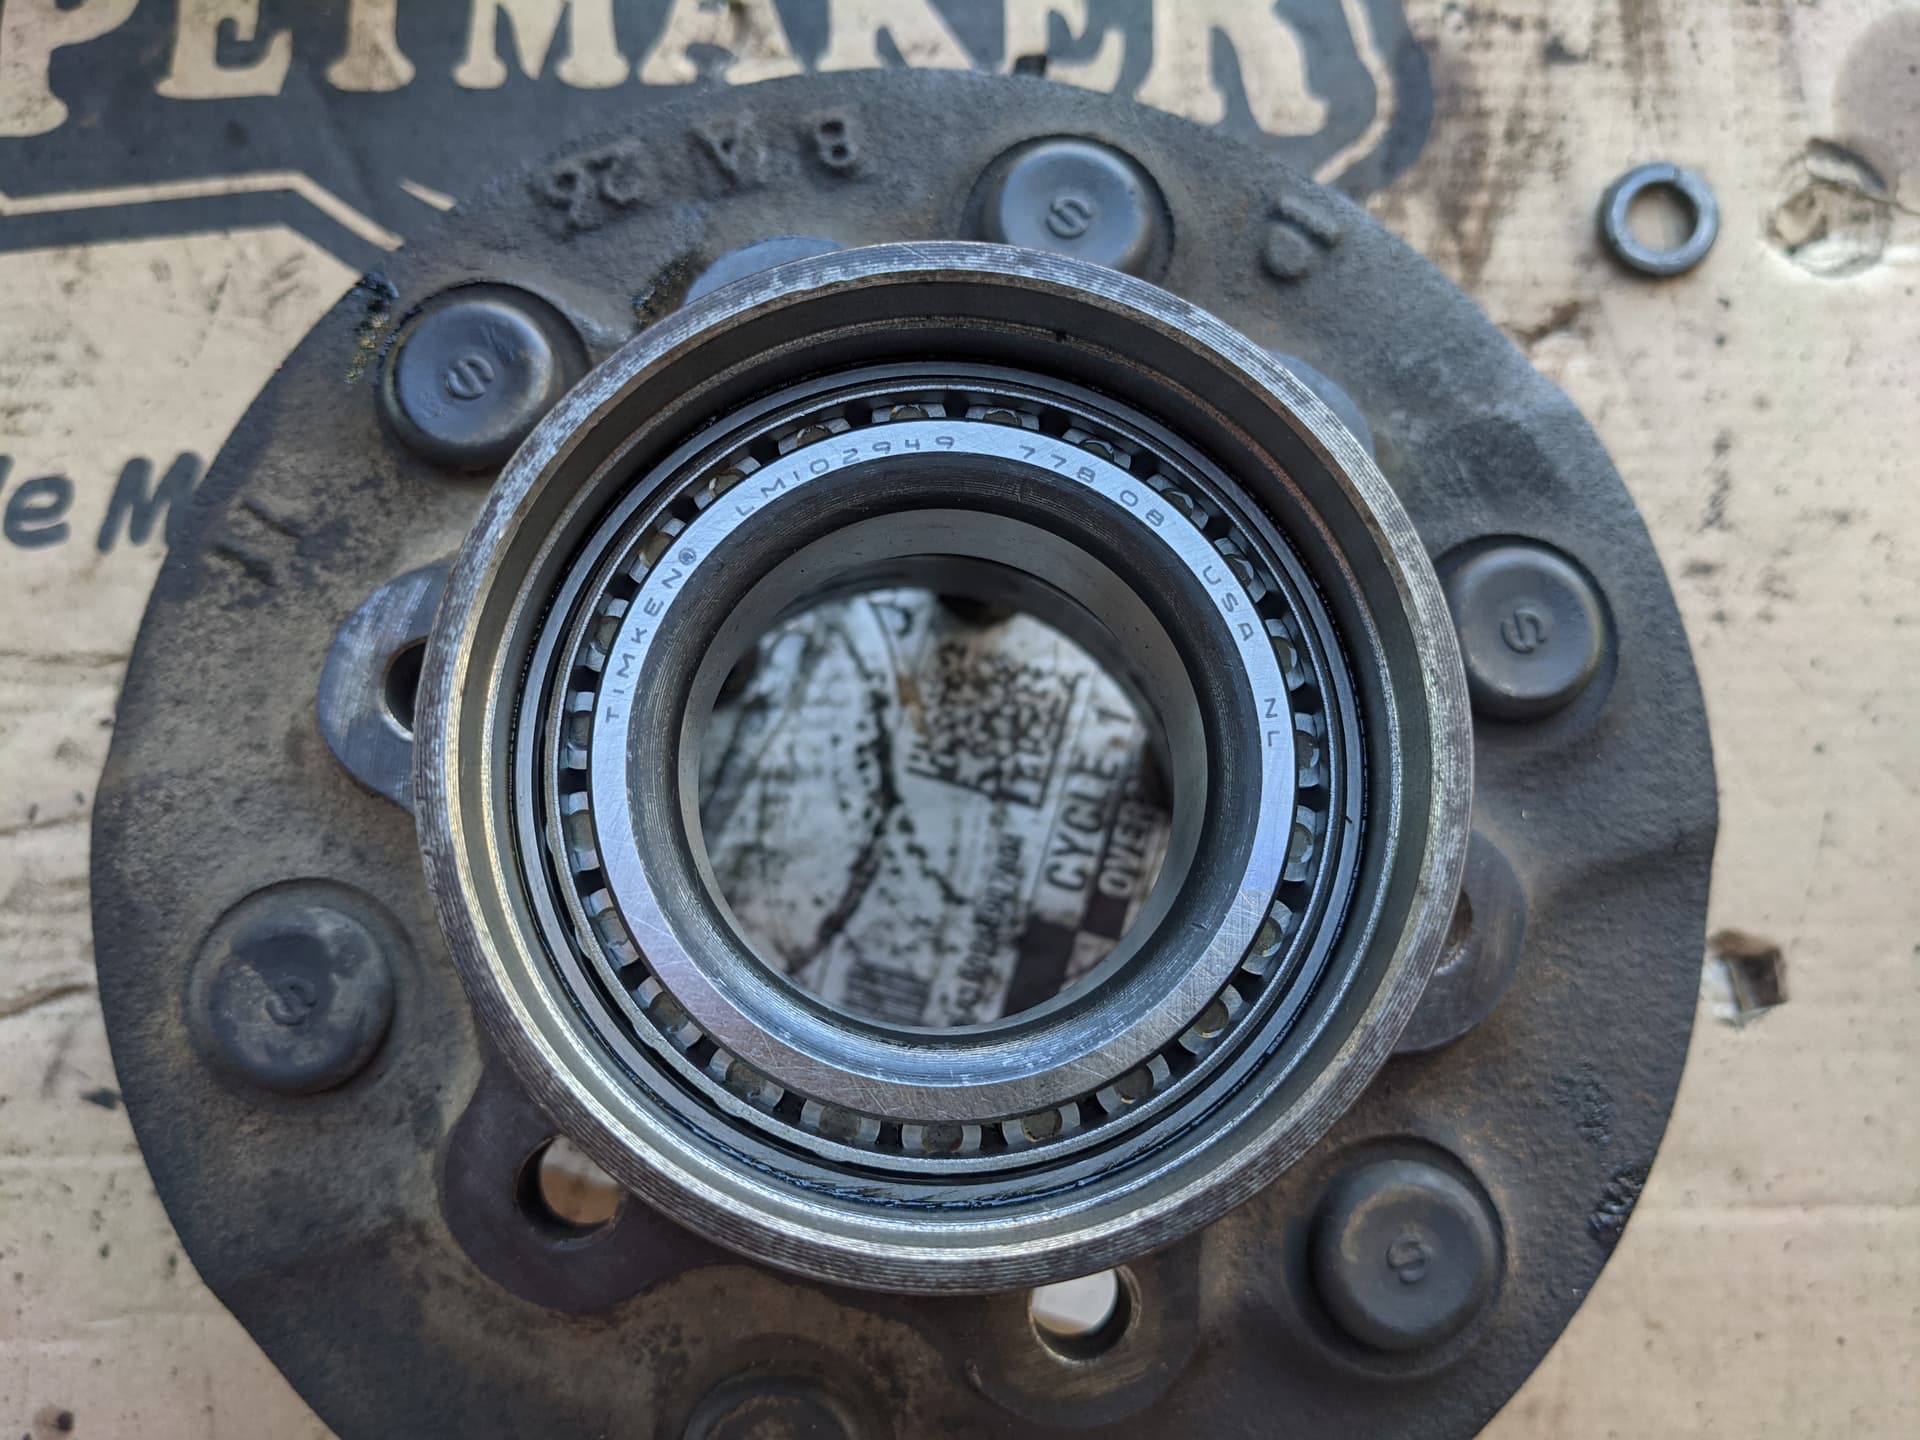
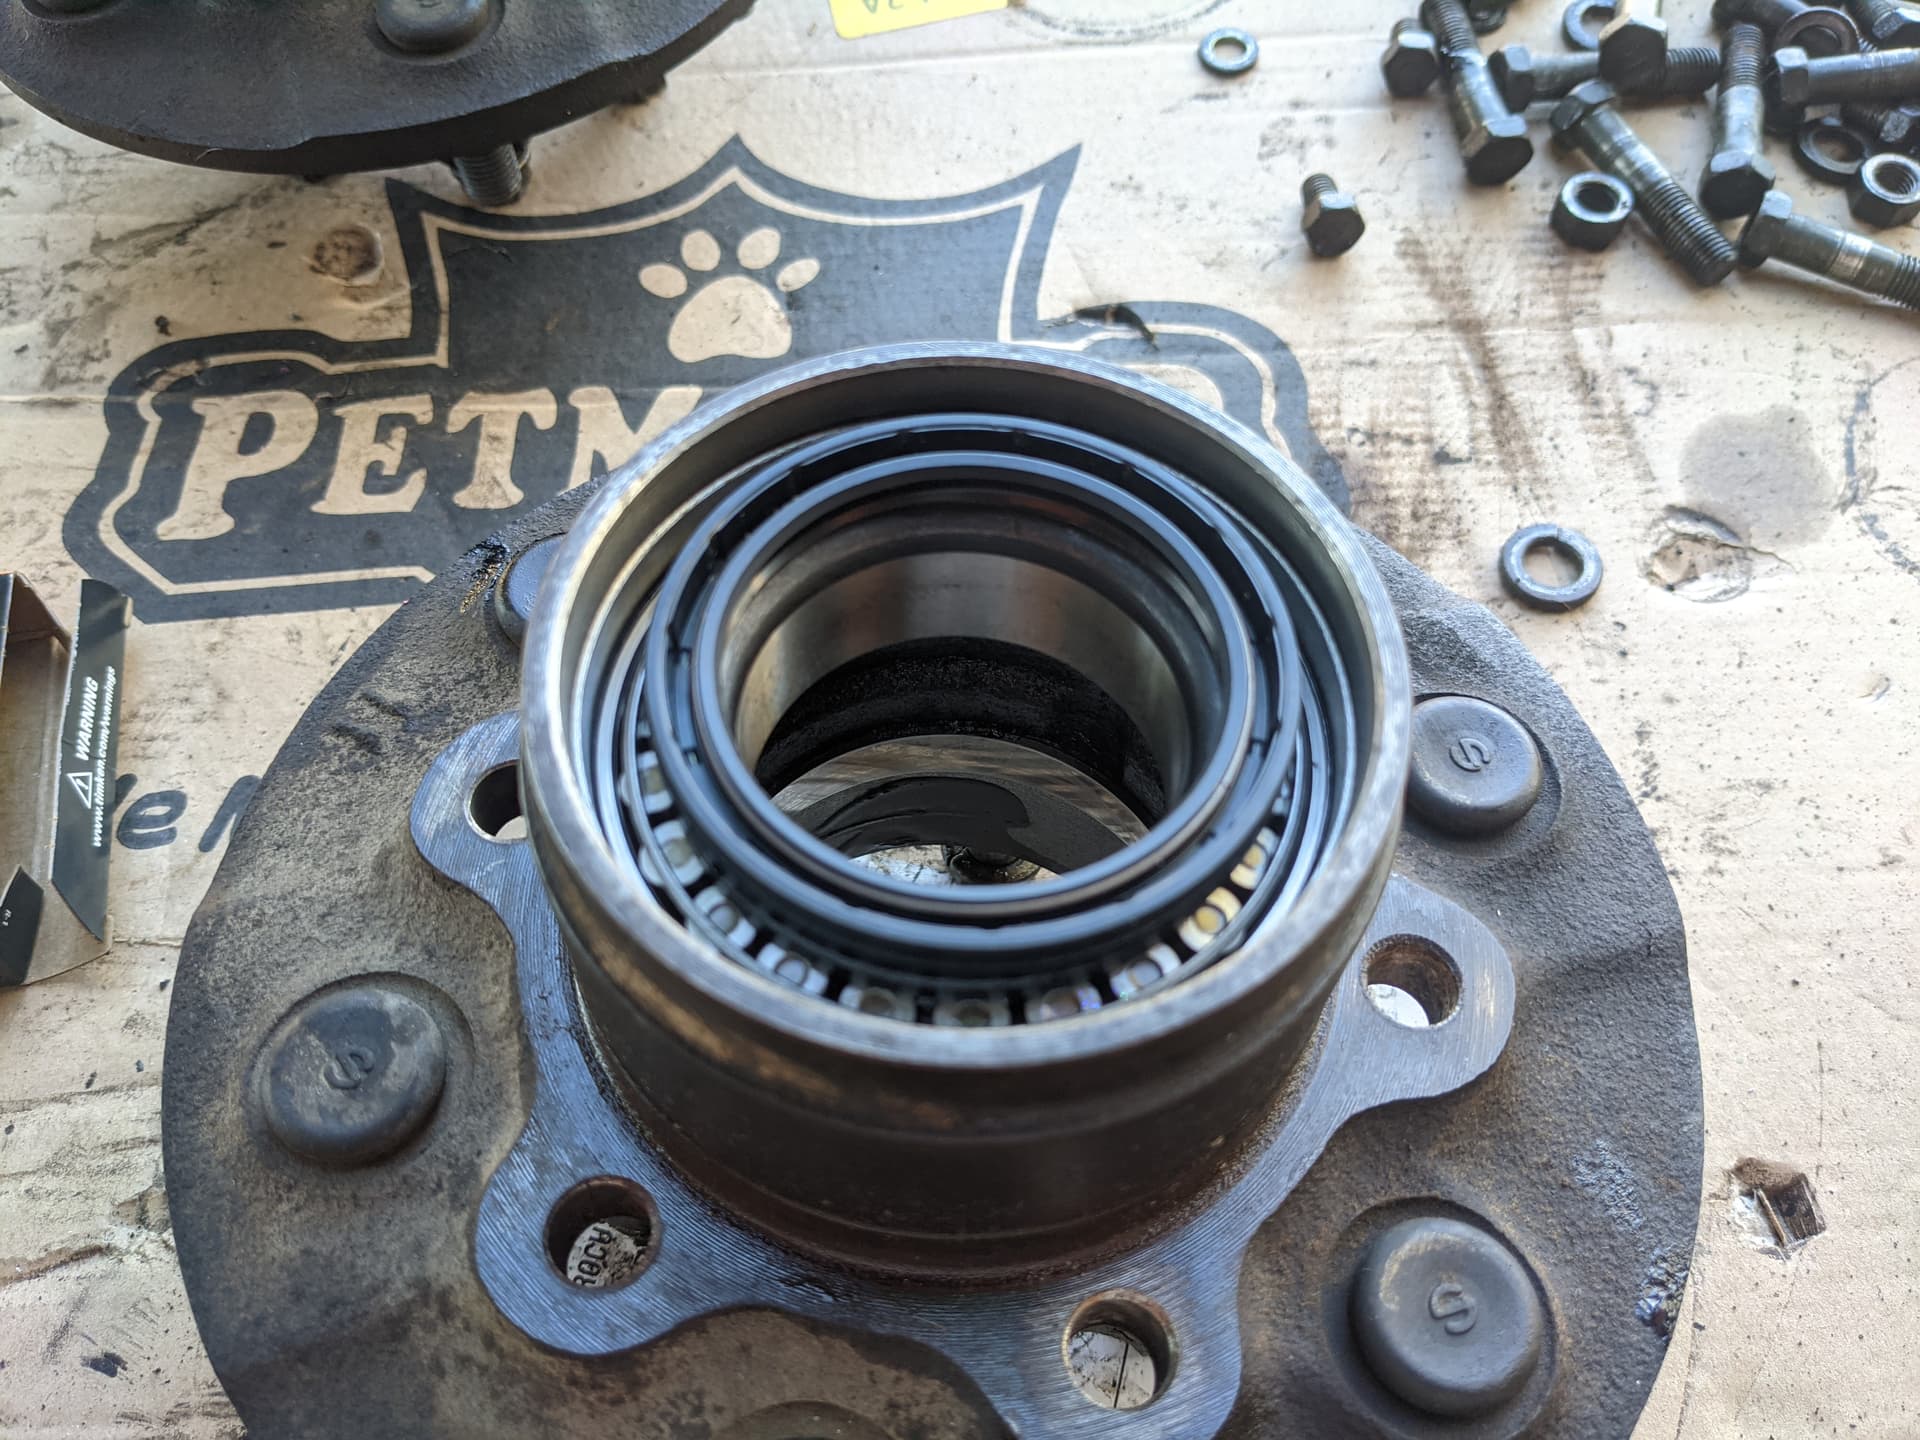
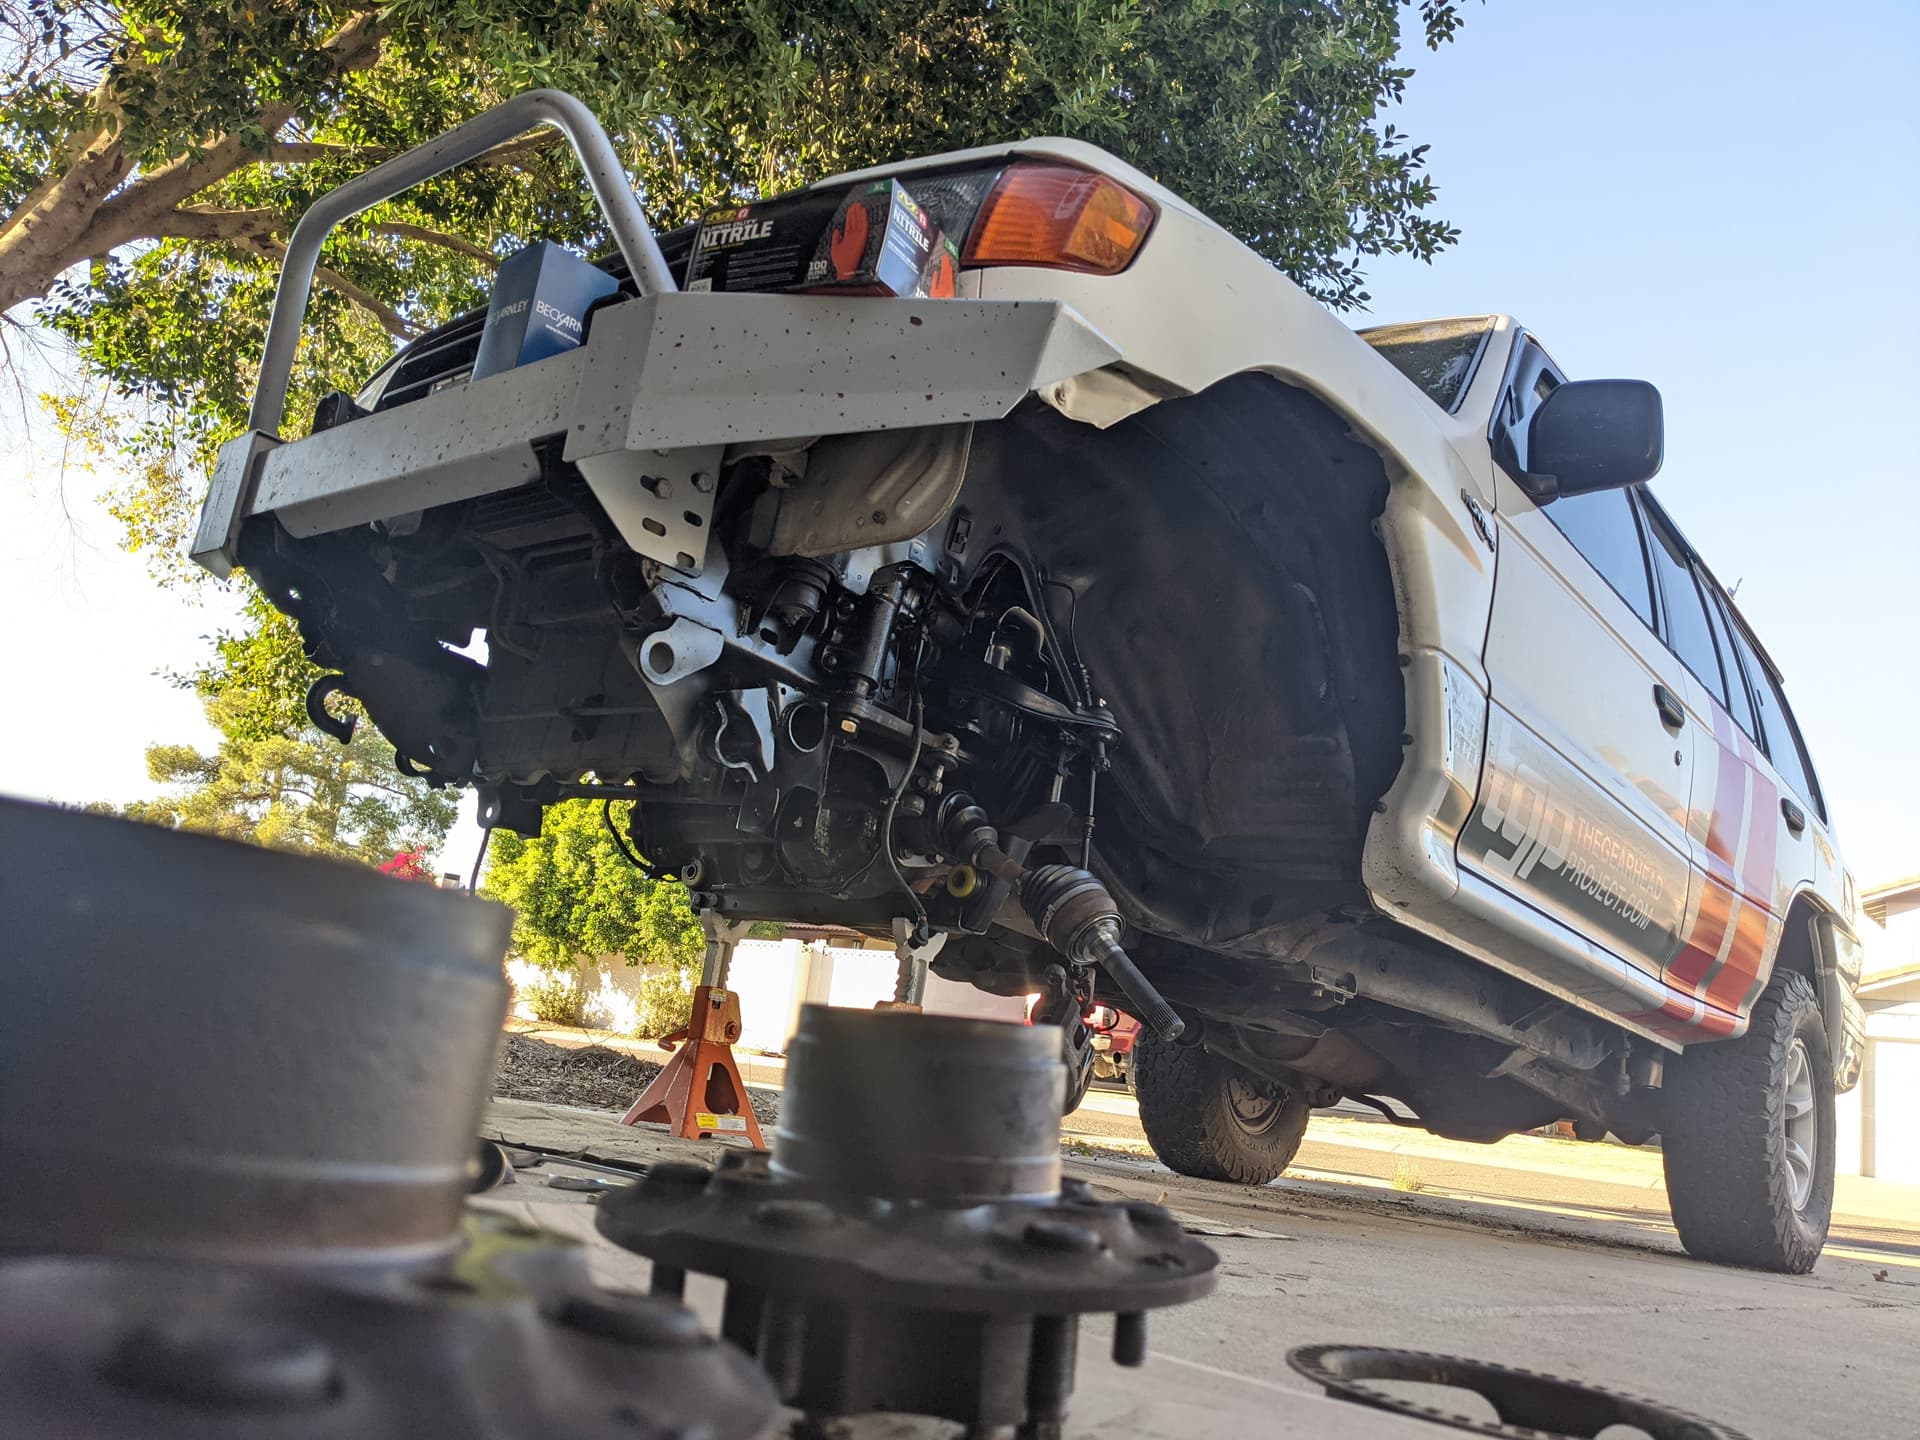
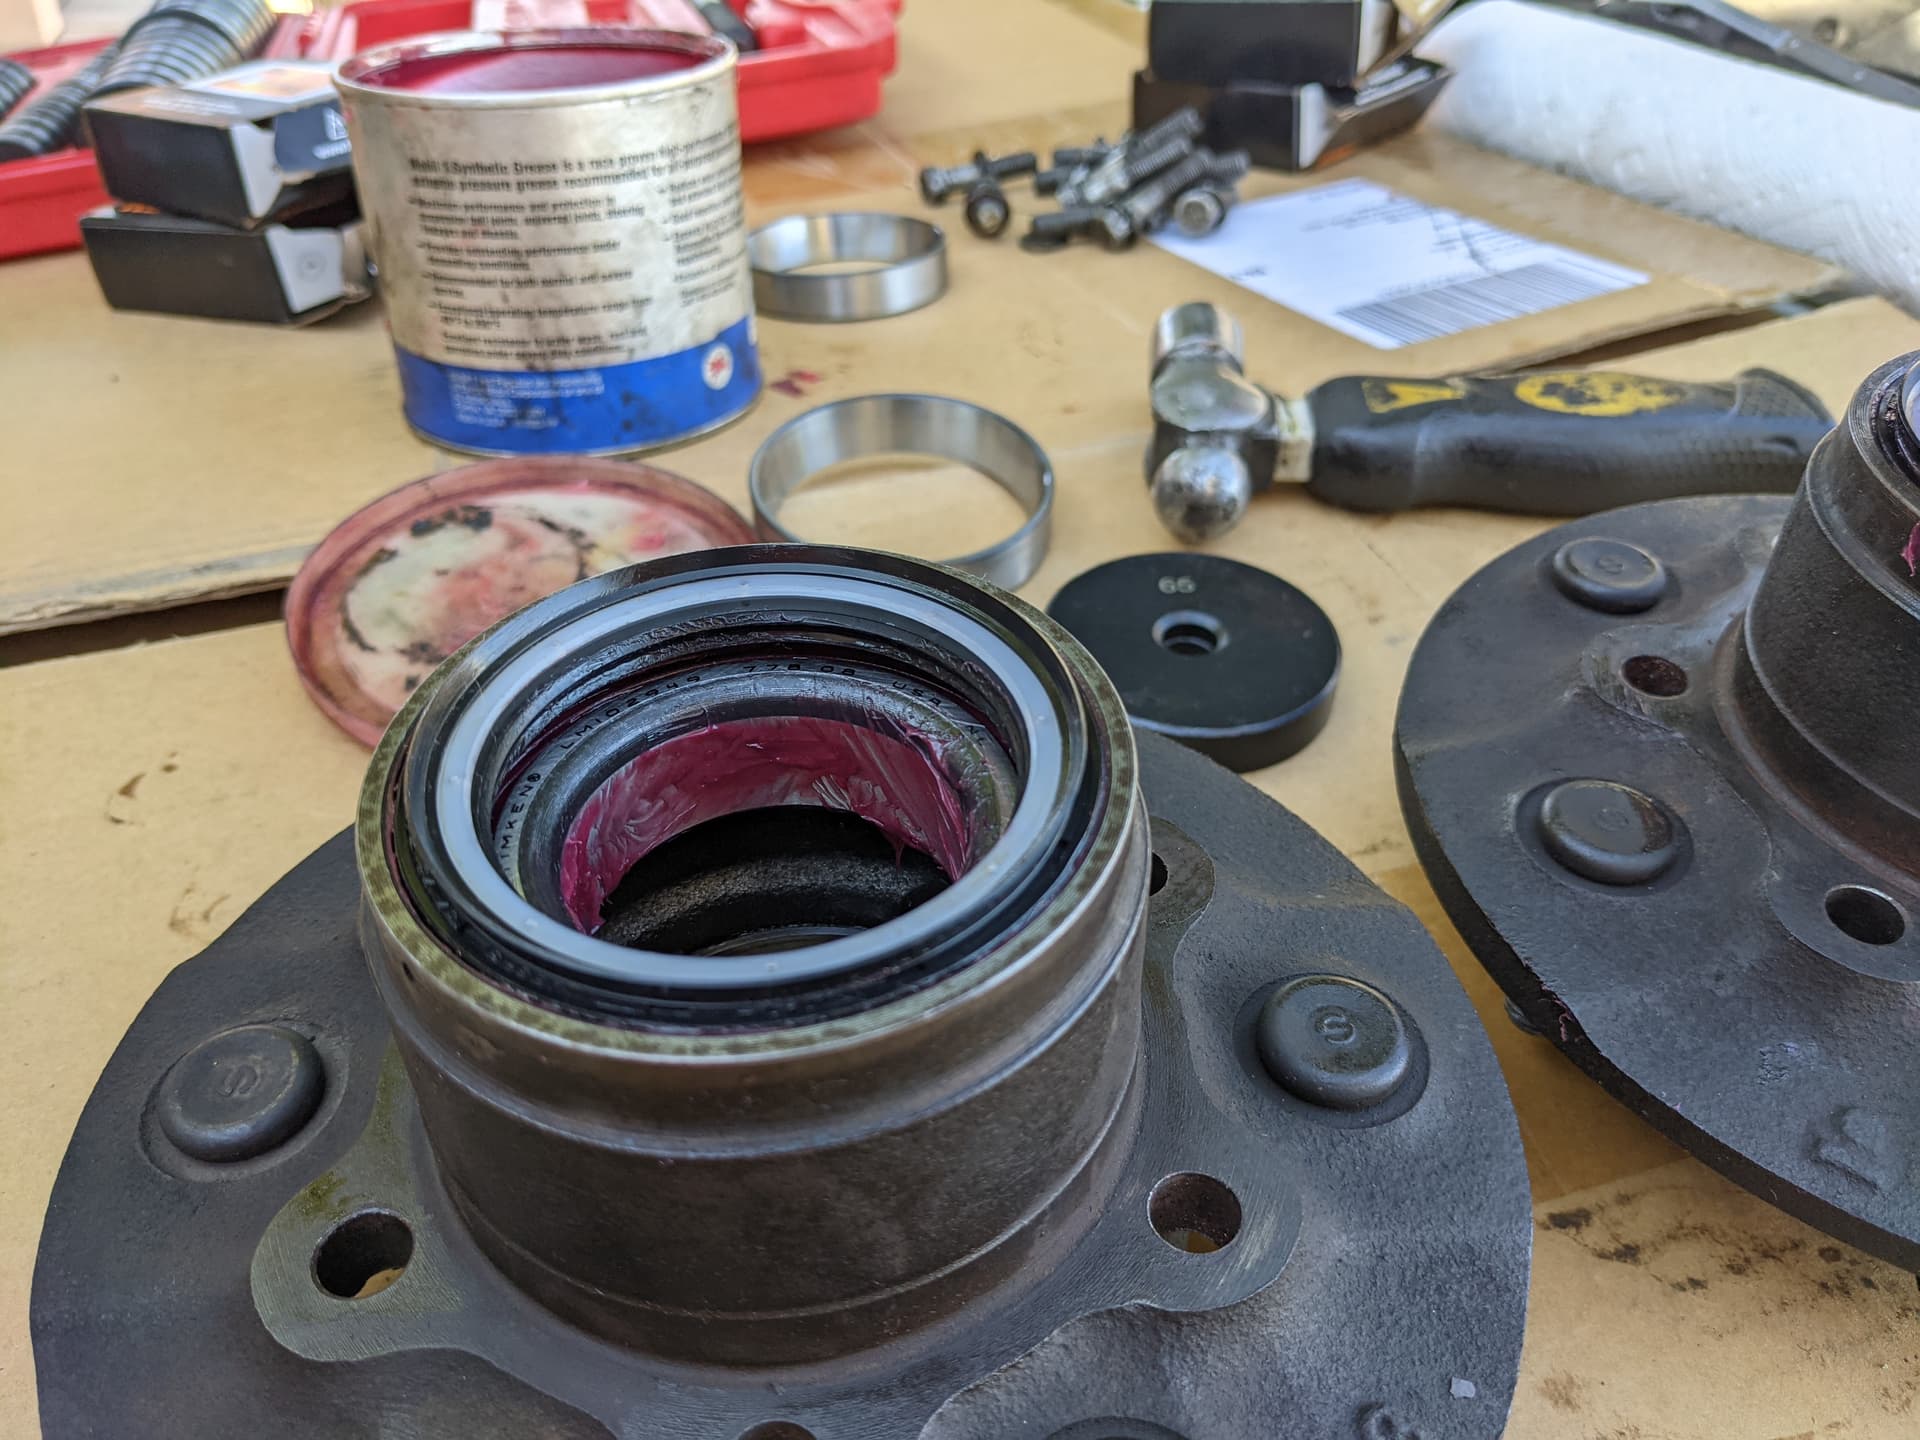
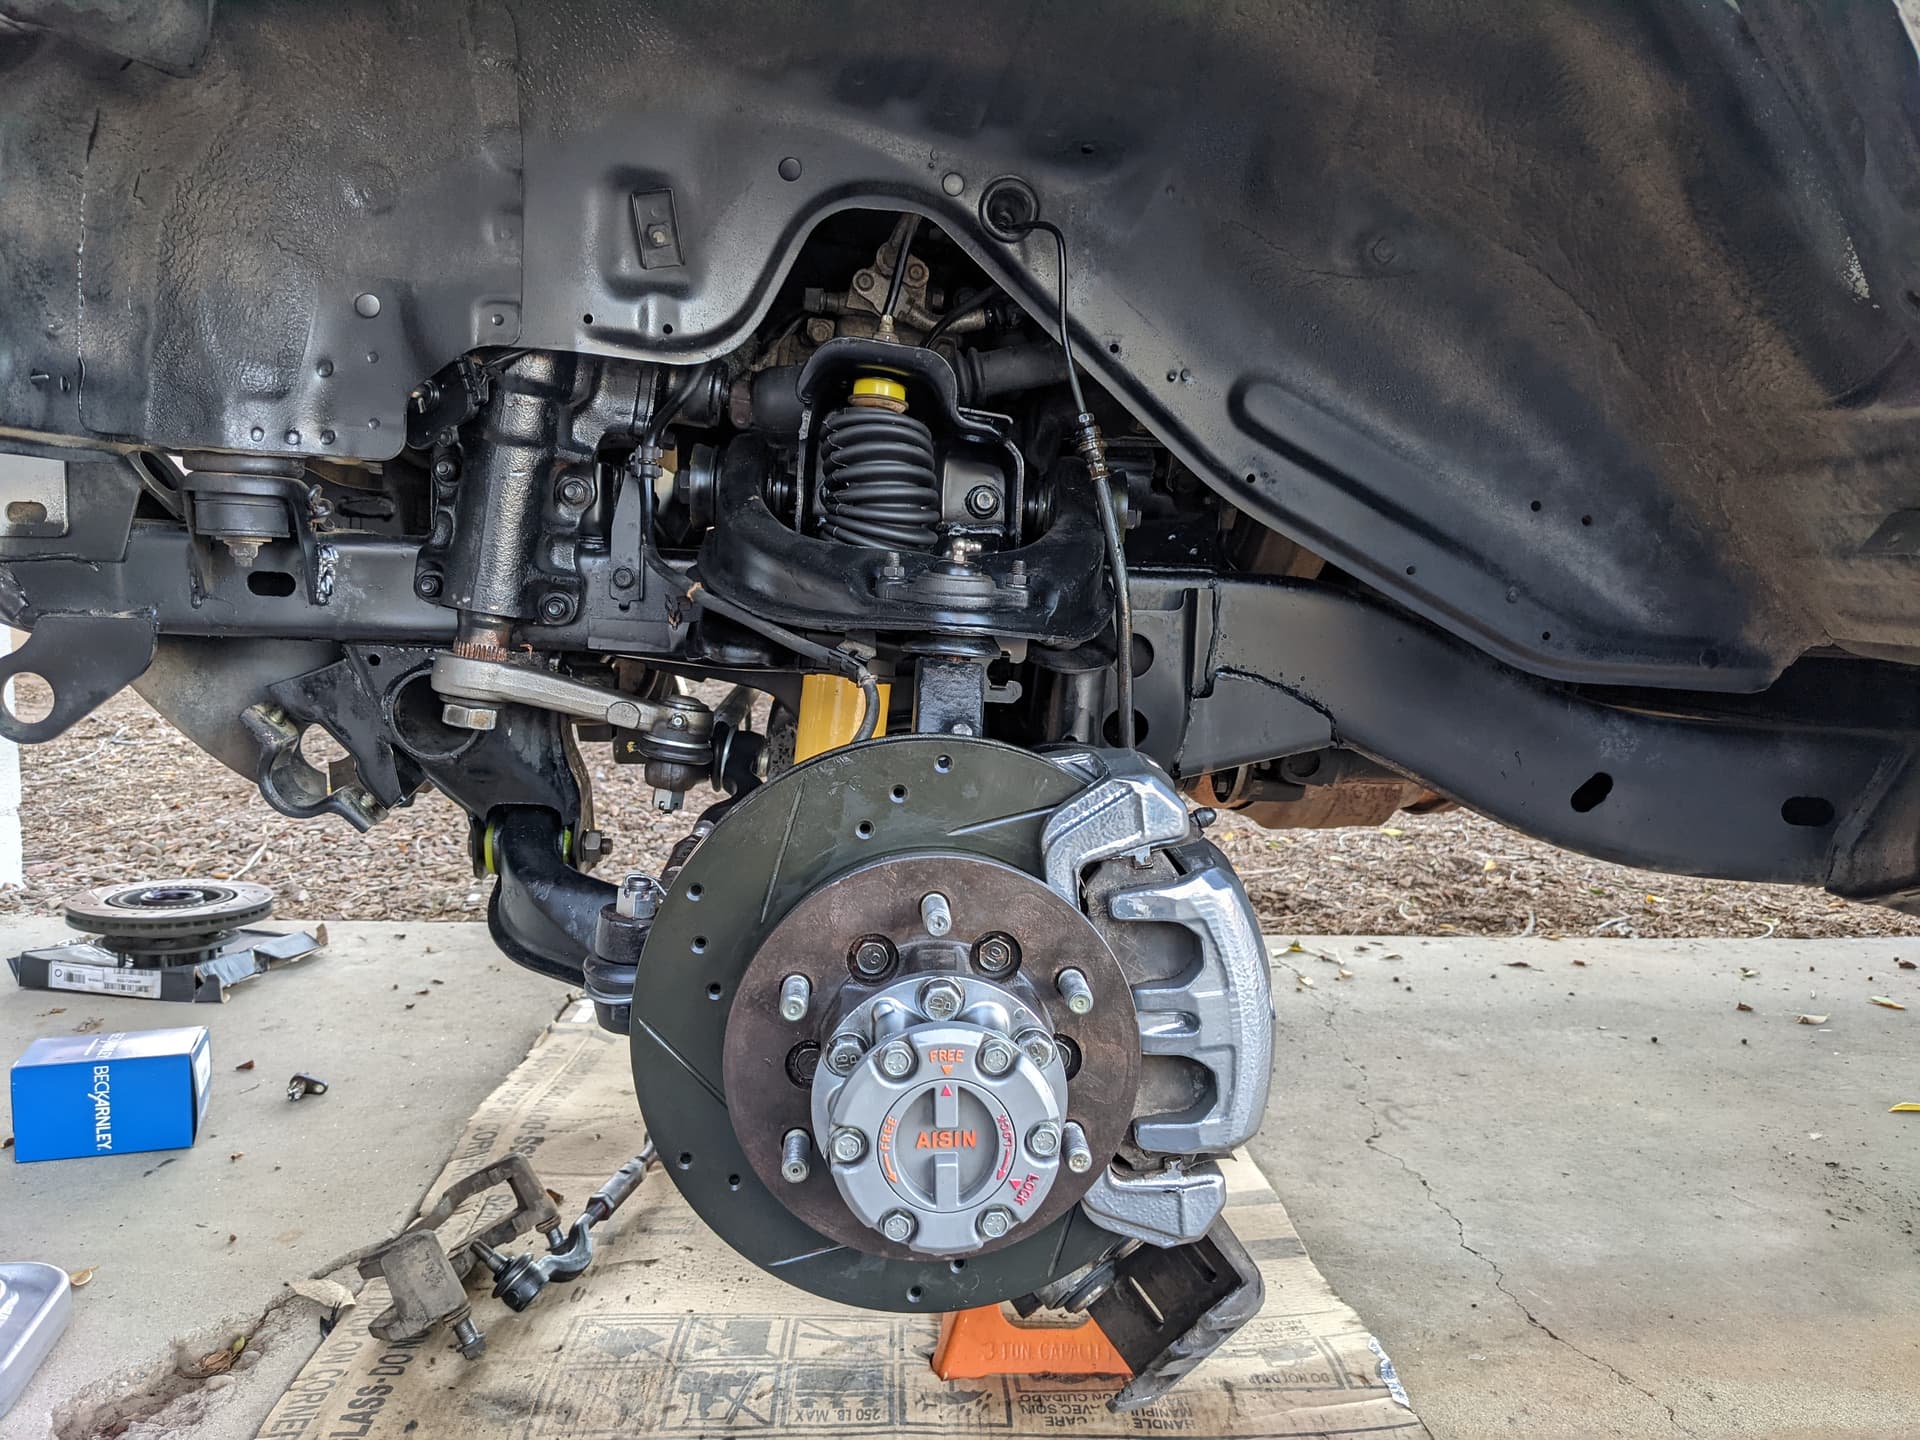
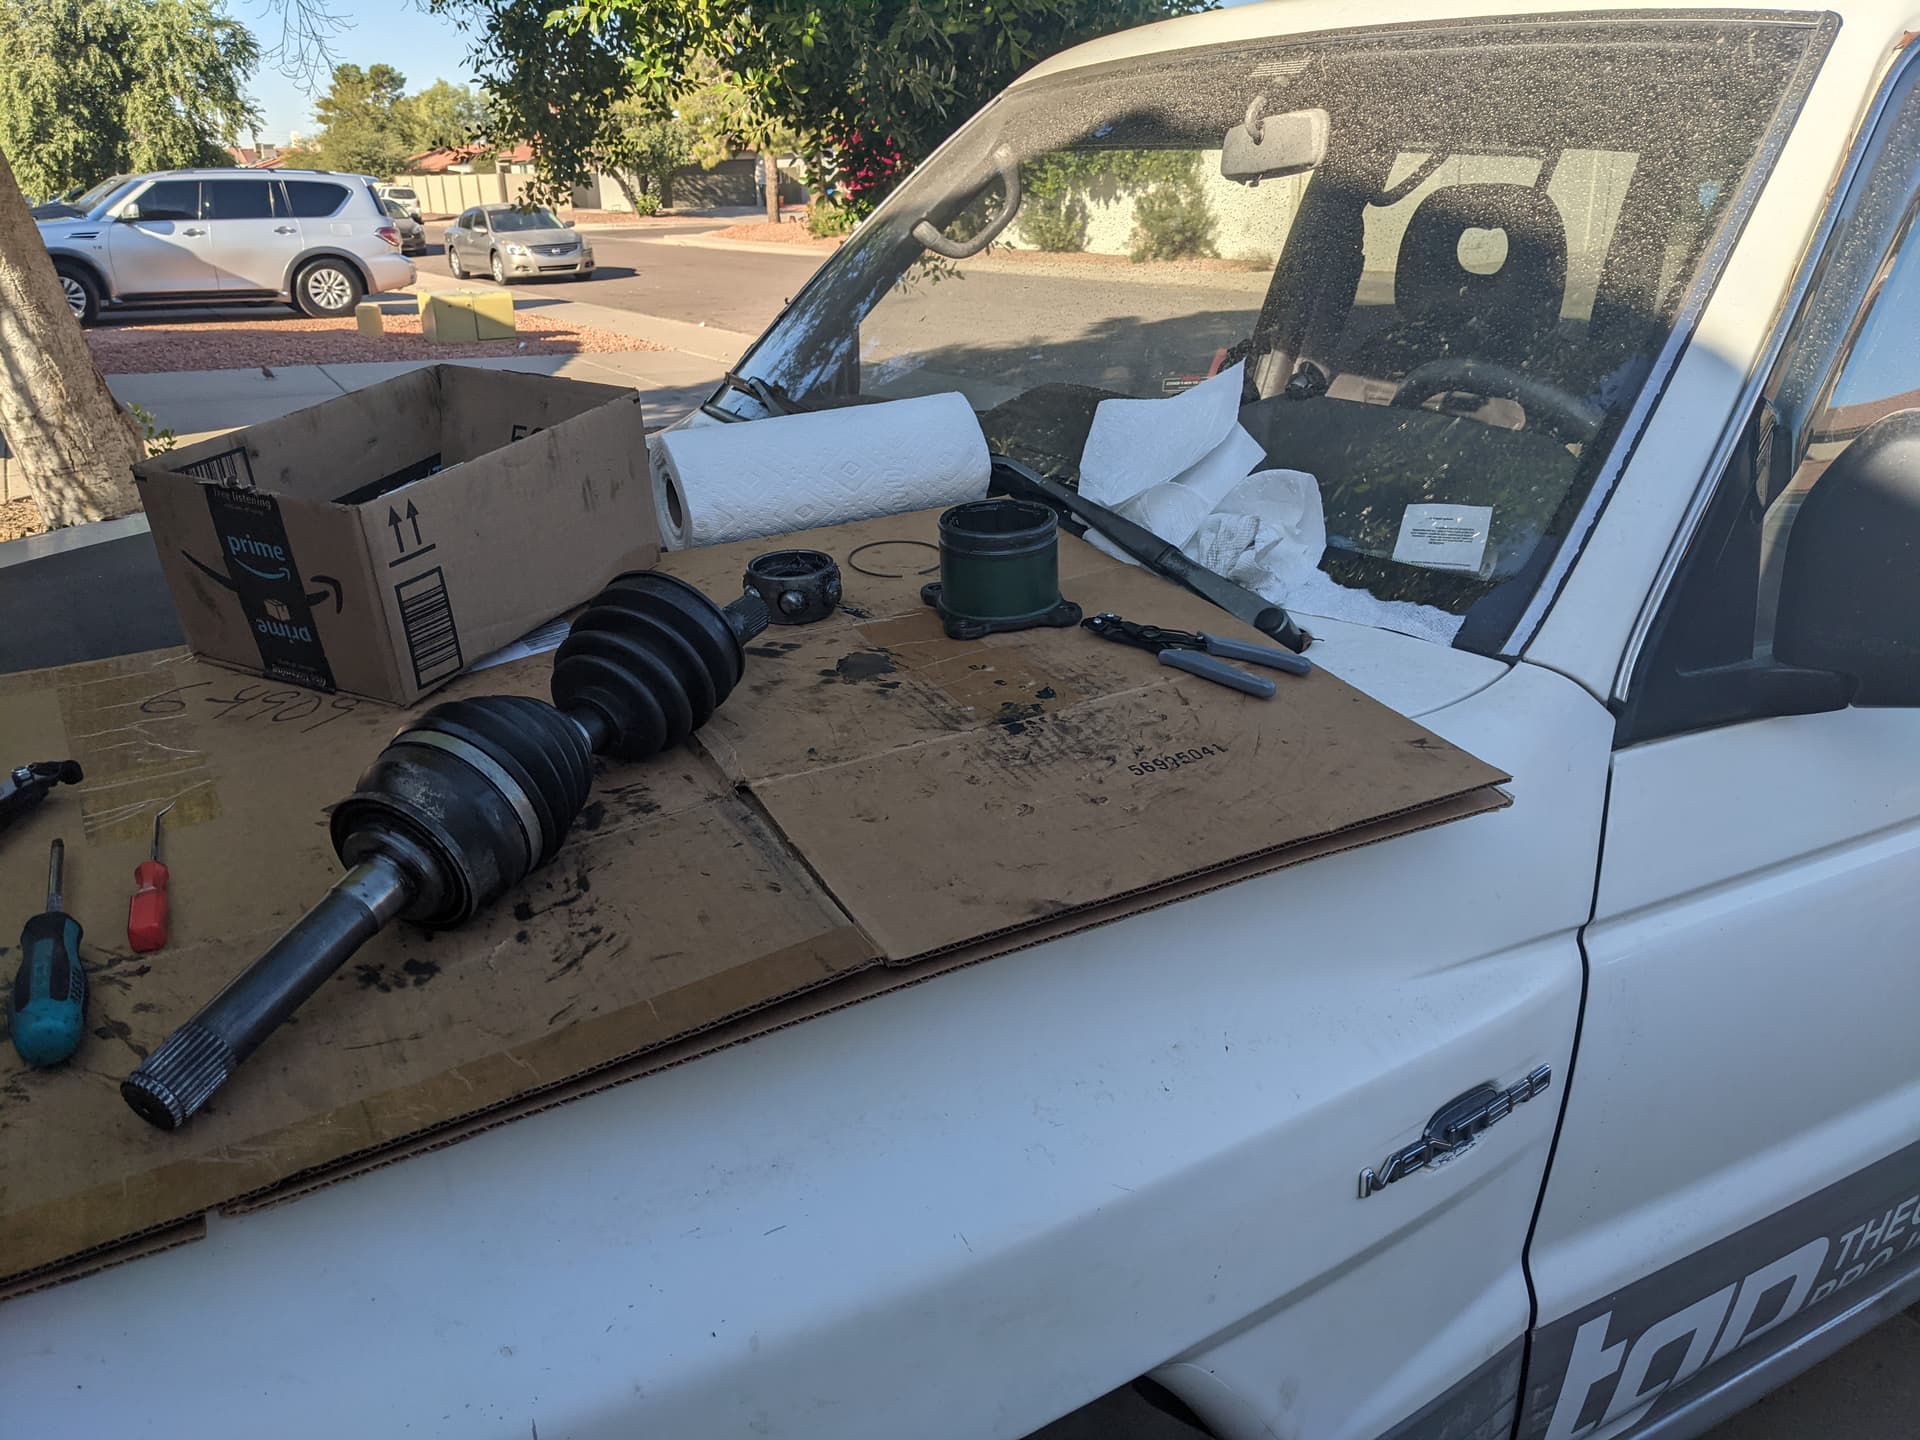
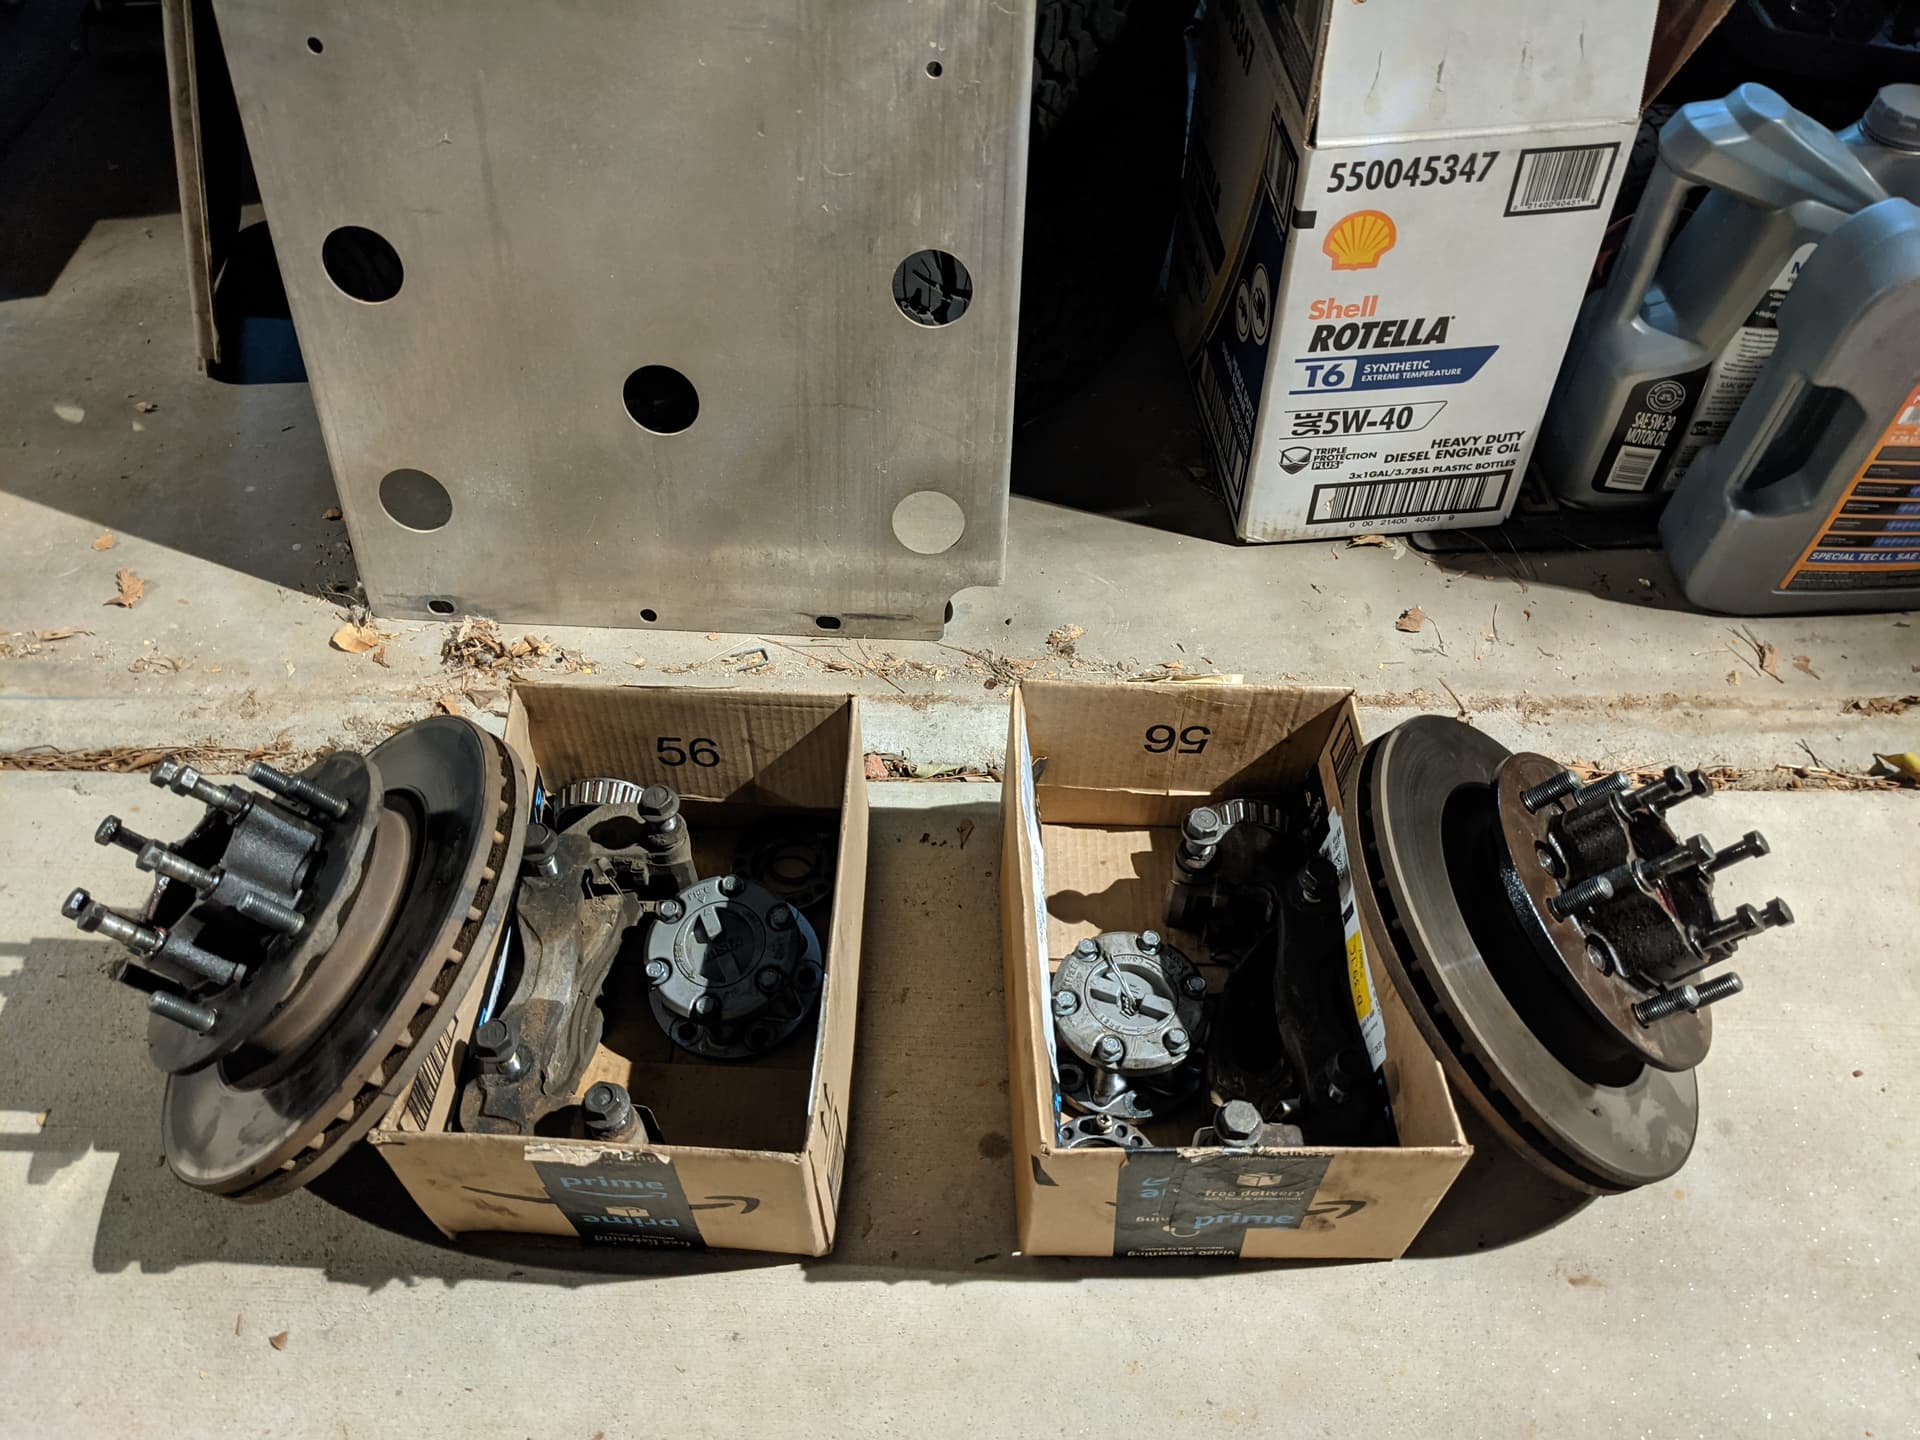
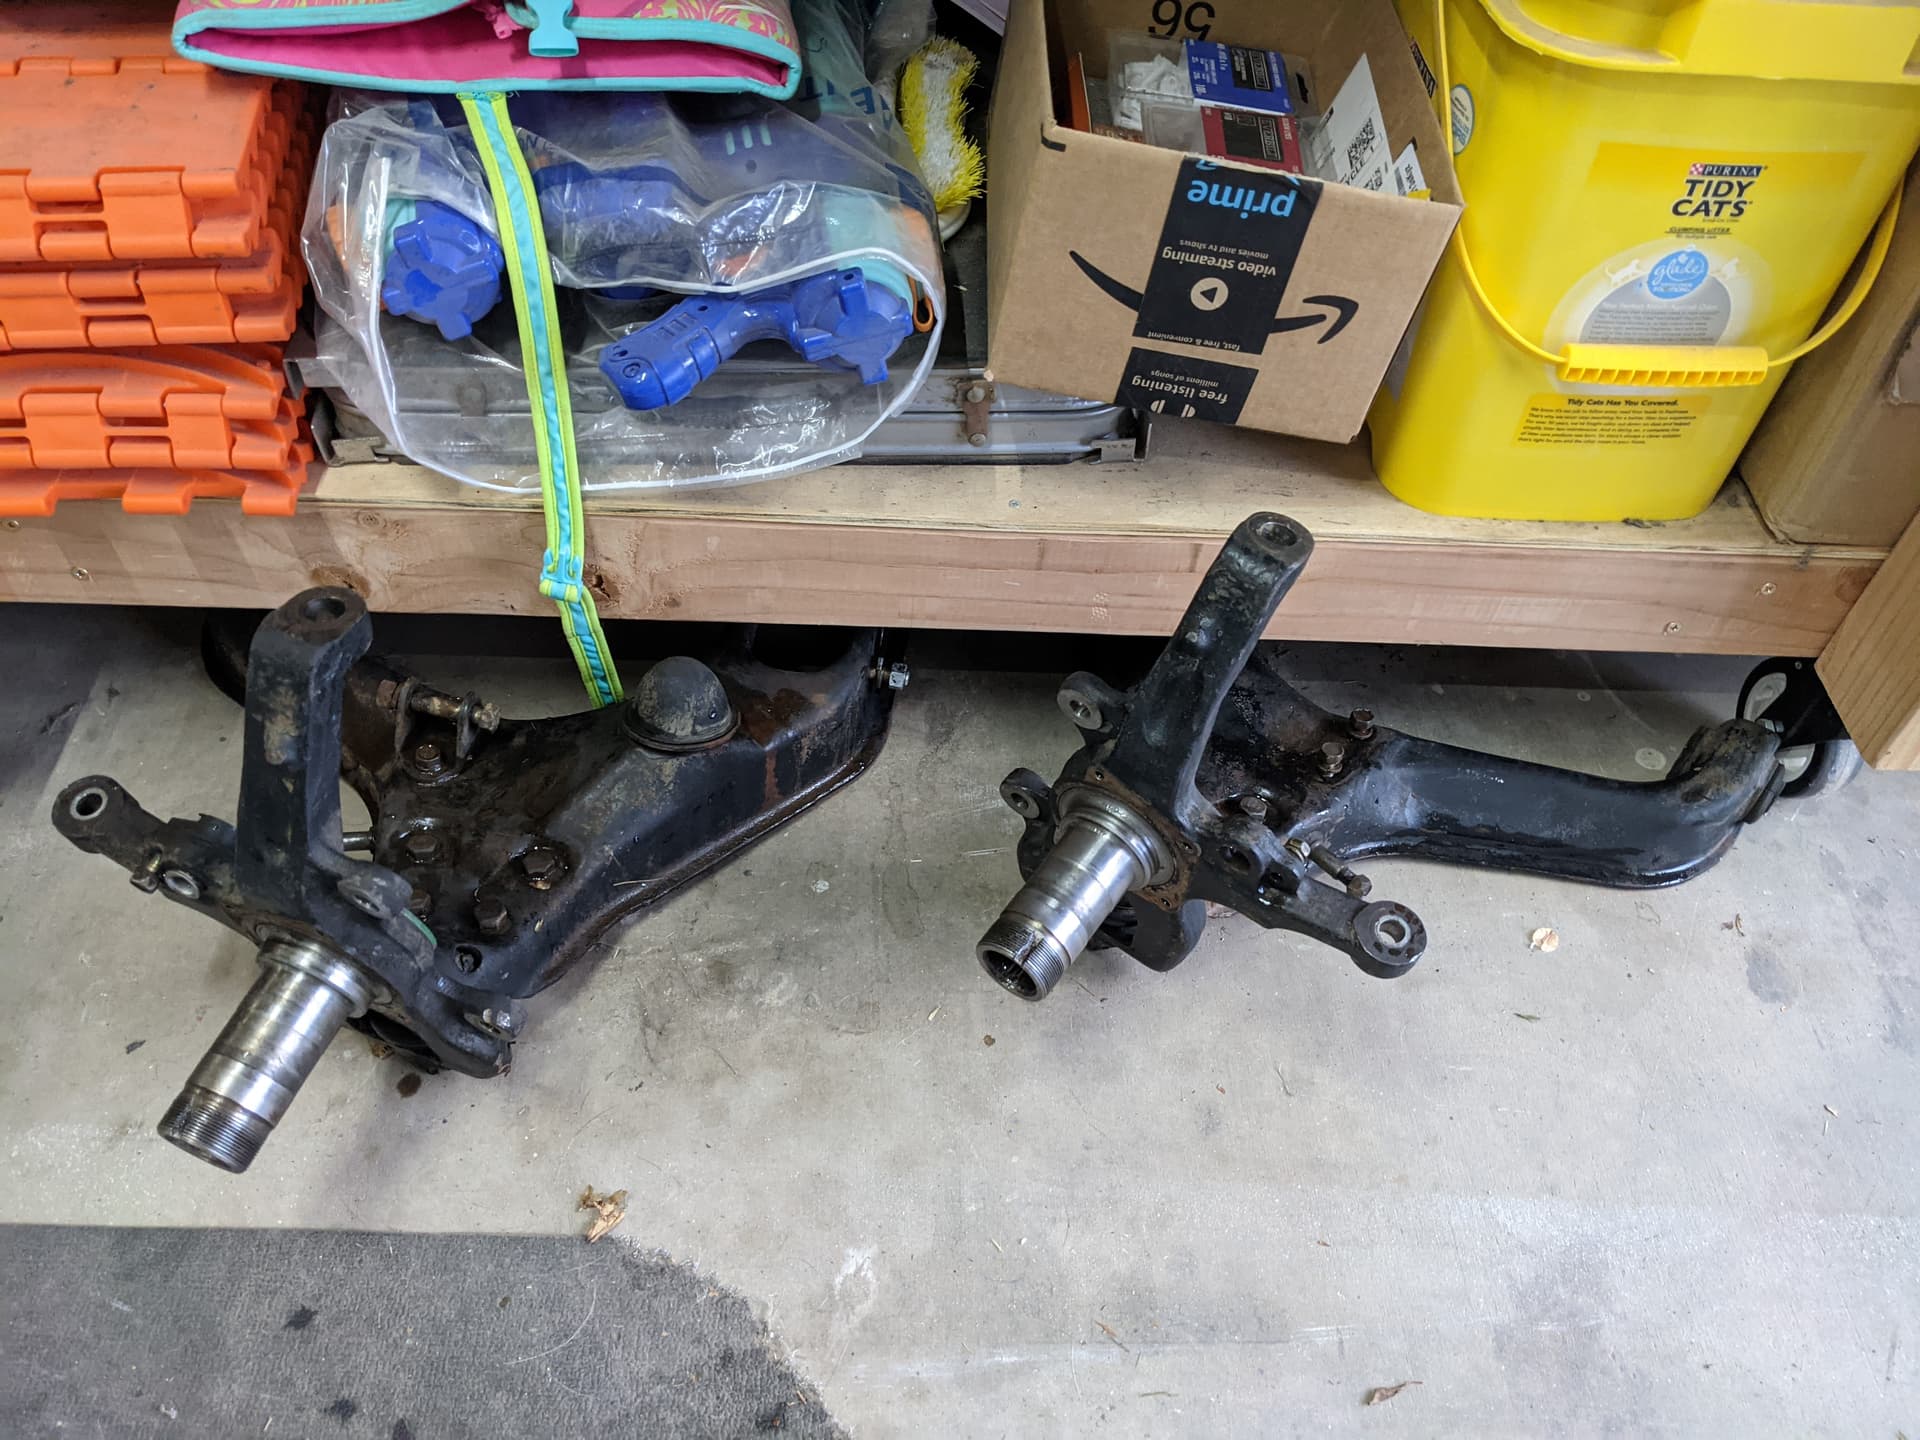
Knowing I wouldn’t be installing my LCAs today after all, I decided to see what I could get ready to install when the parts come in this week. I’ve got calipers, lines, rotors, and pads. I figured I could at least get the hubs cleaned up, add new bearings and seals, and mount the slick new rotors.

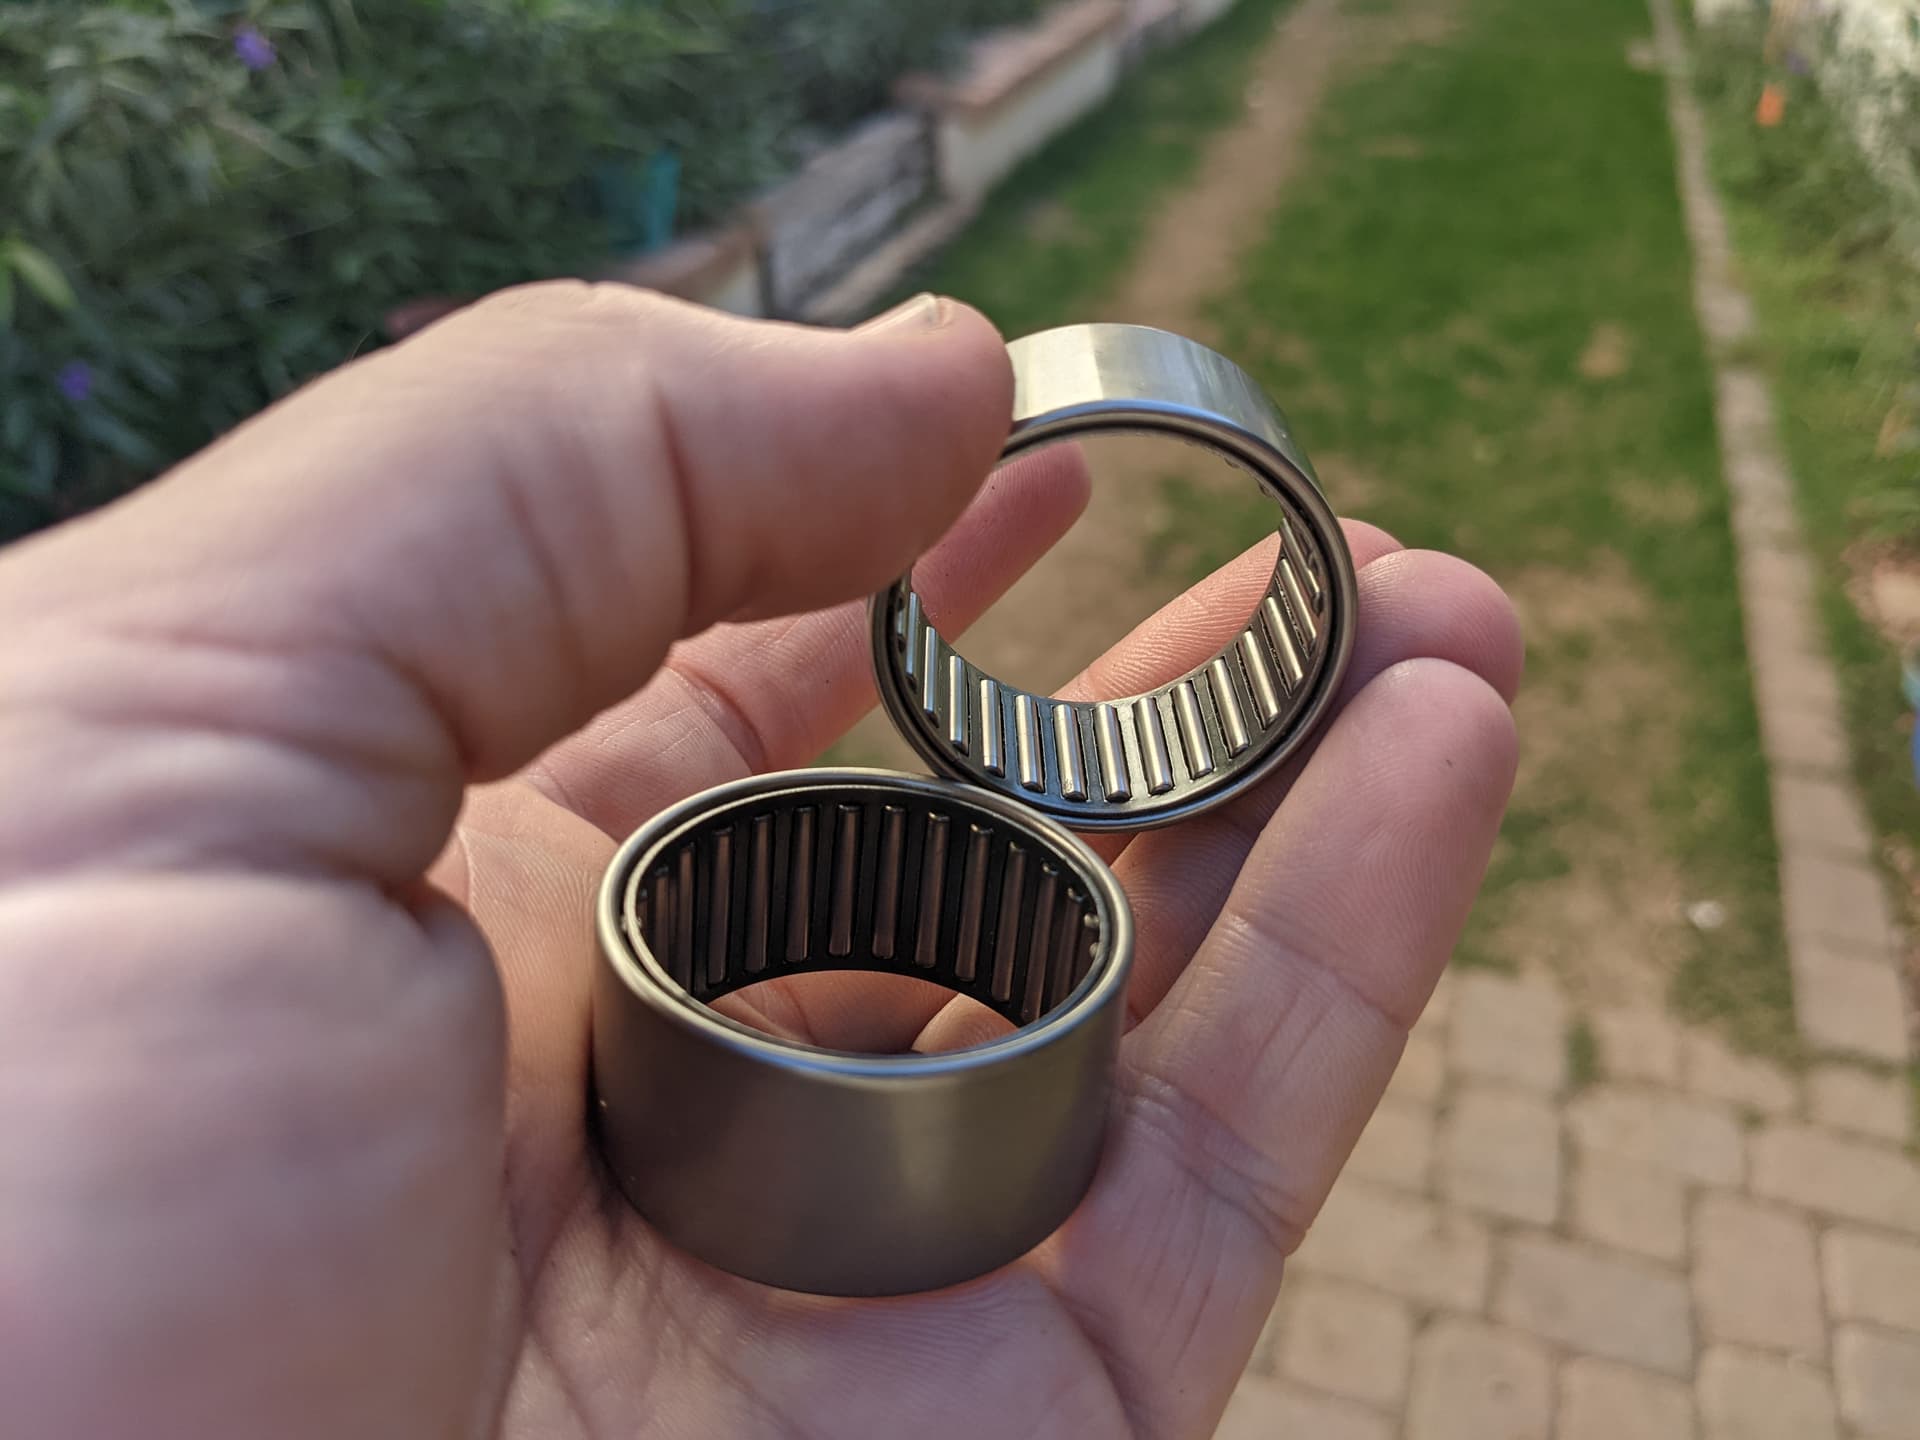
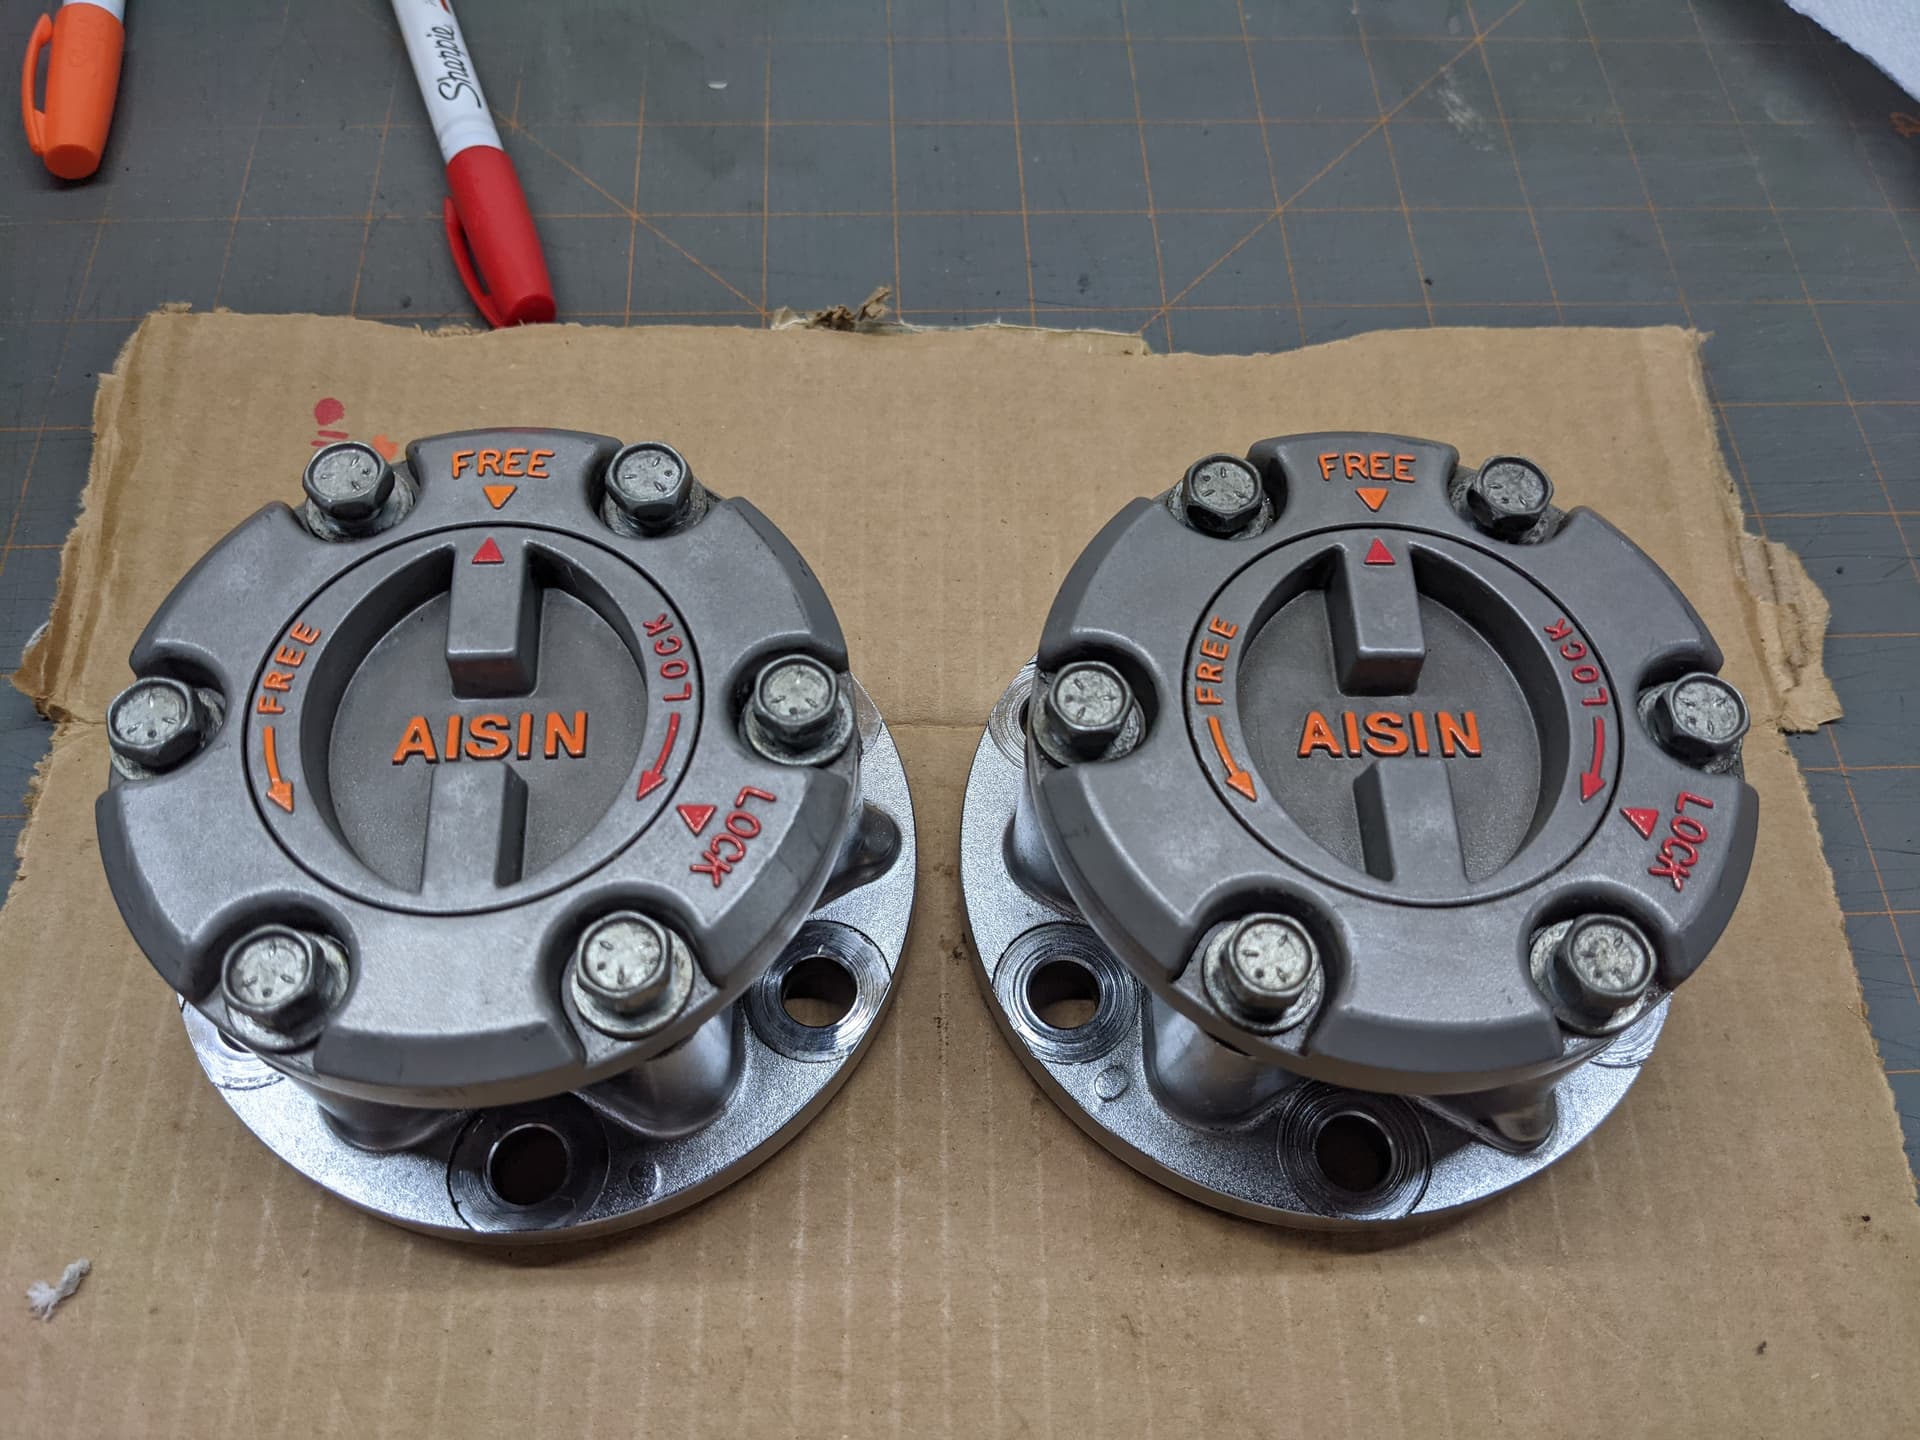
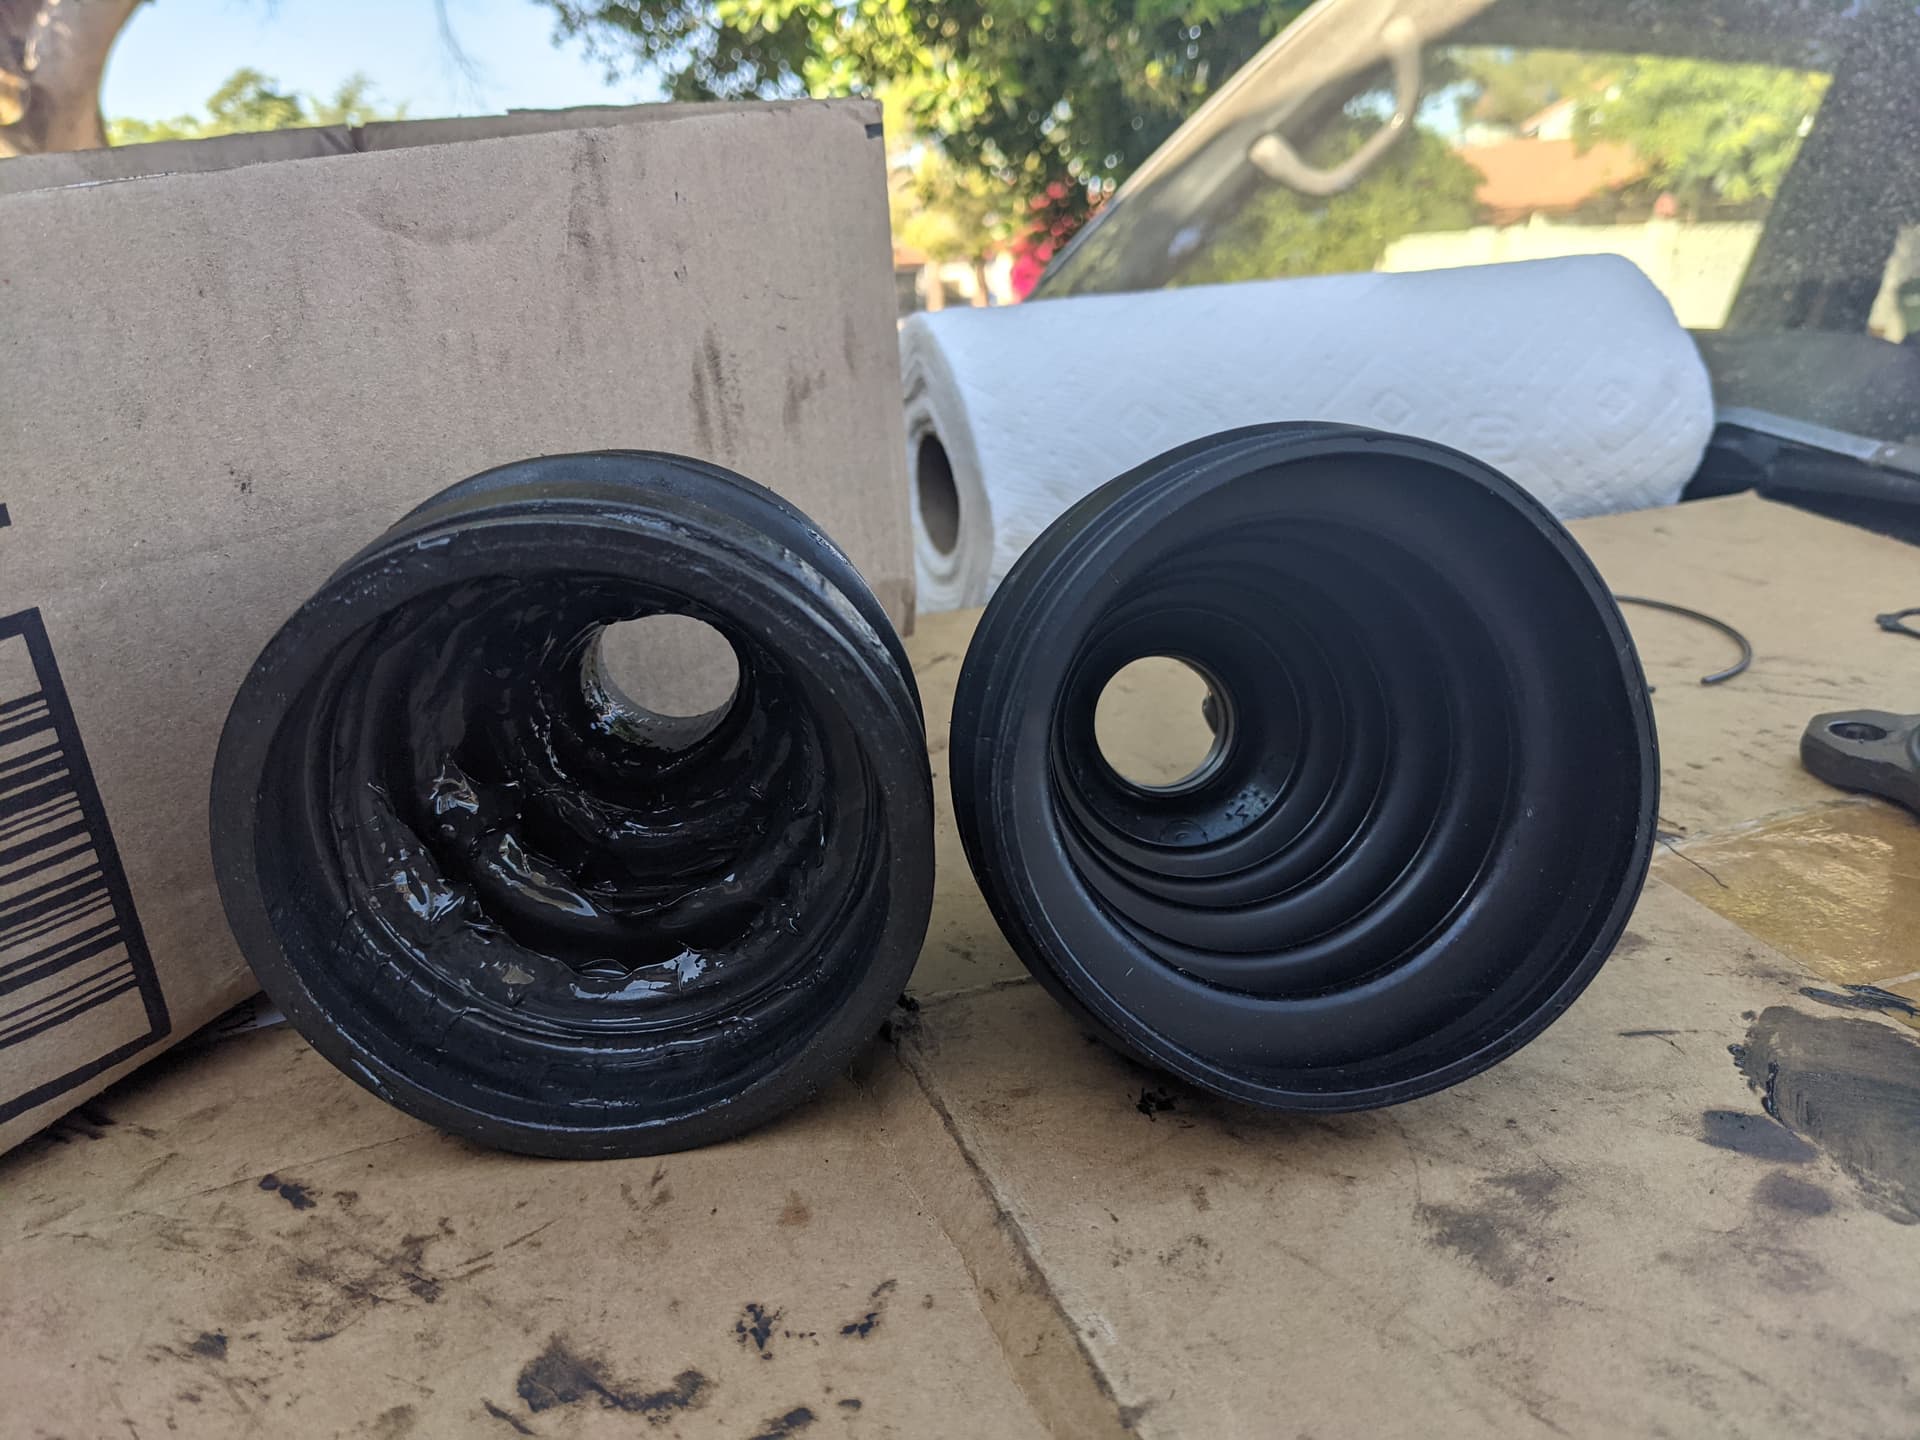
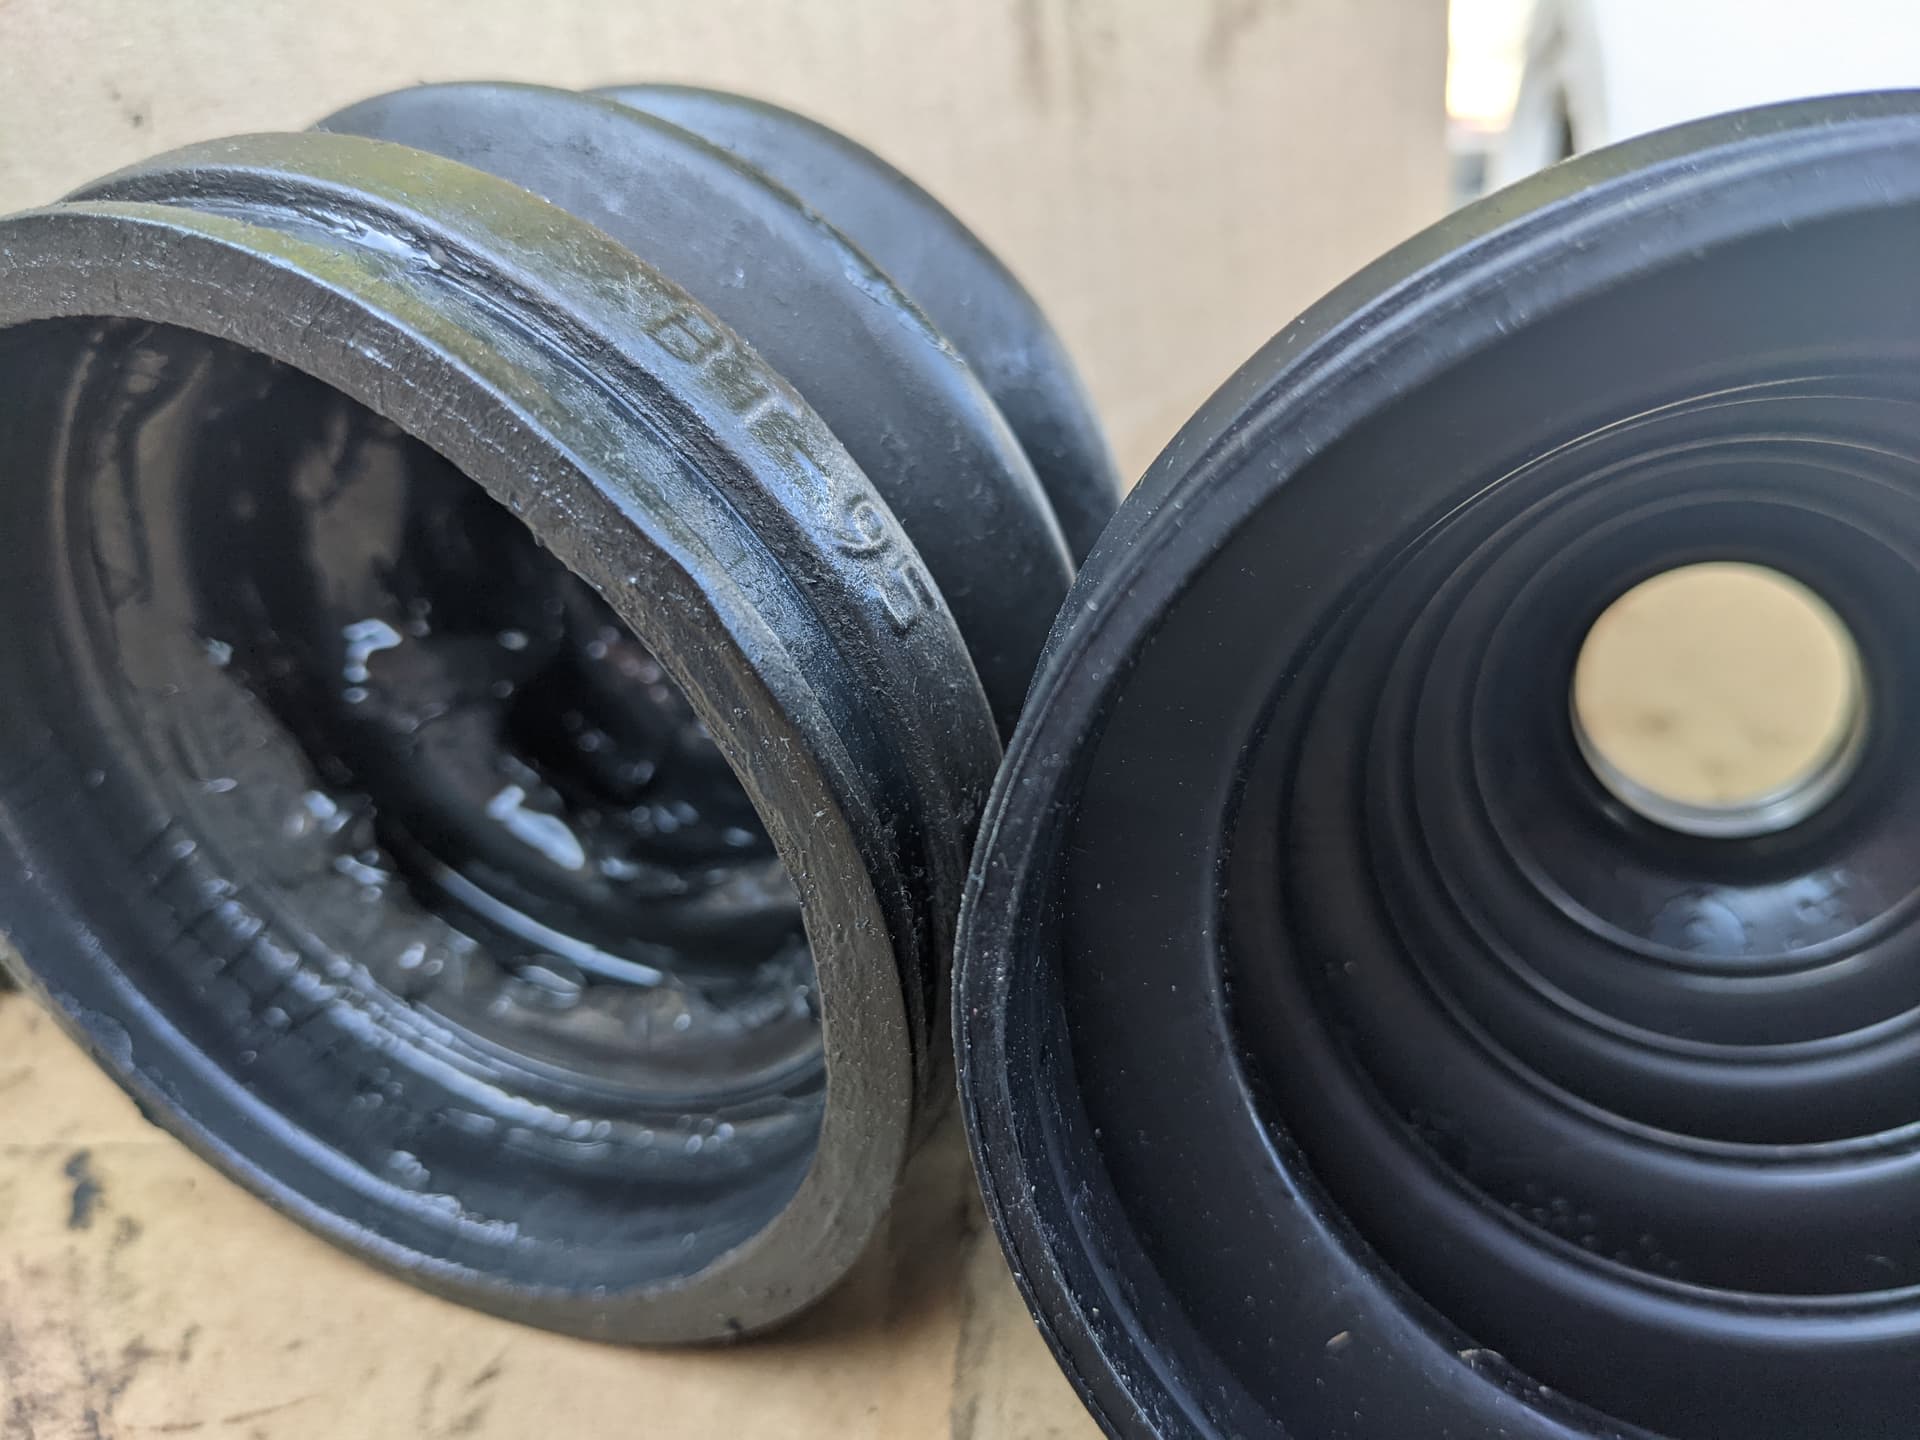
I may have had a drink at this point. Got the races cleaned out. (Have since noticed RTV remnants inside the race and need to clean it out anyway, but that’s another day’s work.) And then I noticed I had the wrong seals for the wheel hubs, too! Those new Timken bearings look real nice, though. It’s nice handling something mint and precise amidst all the greasy tomfoolery.


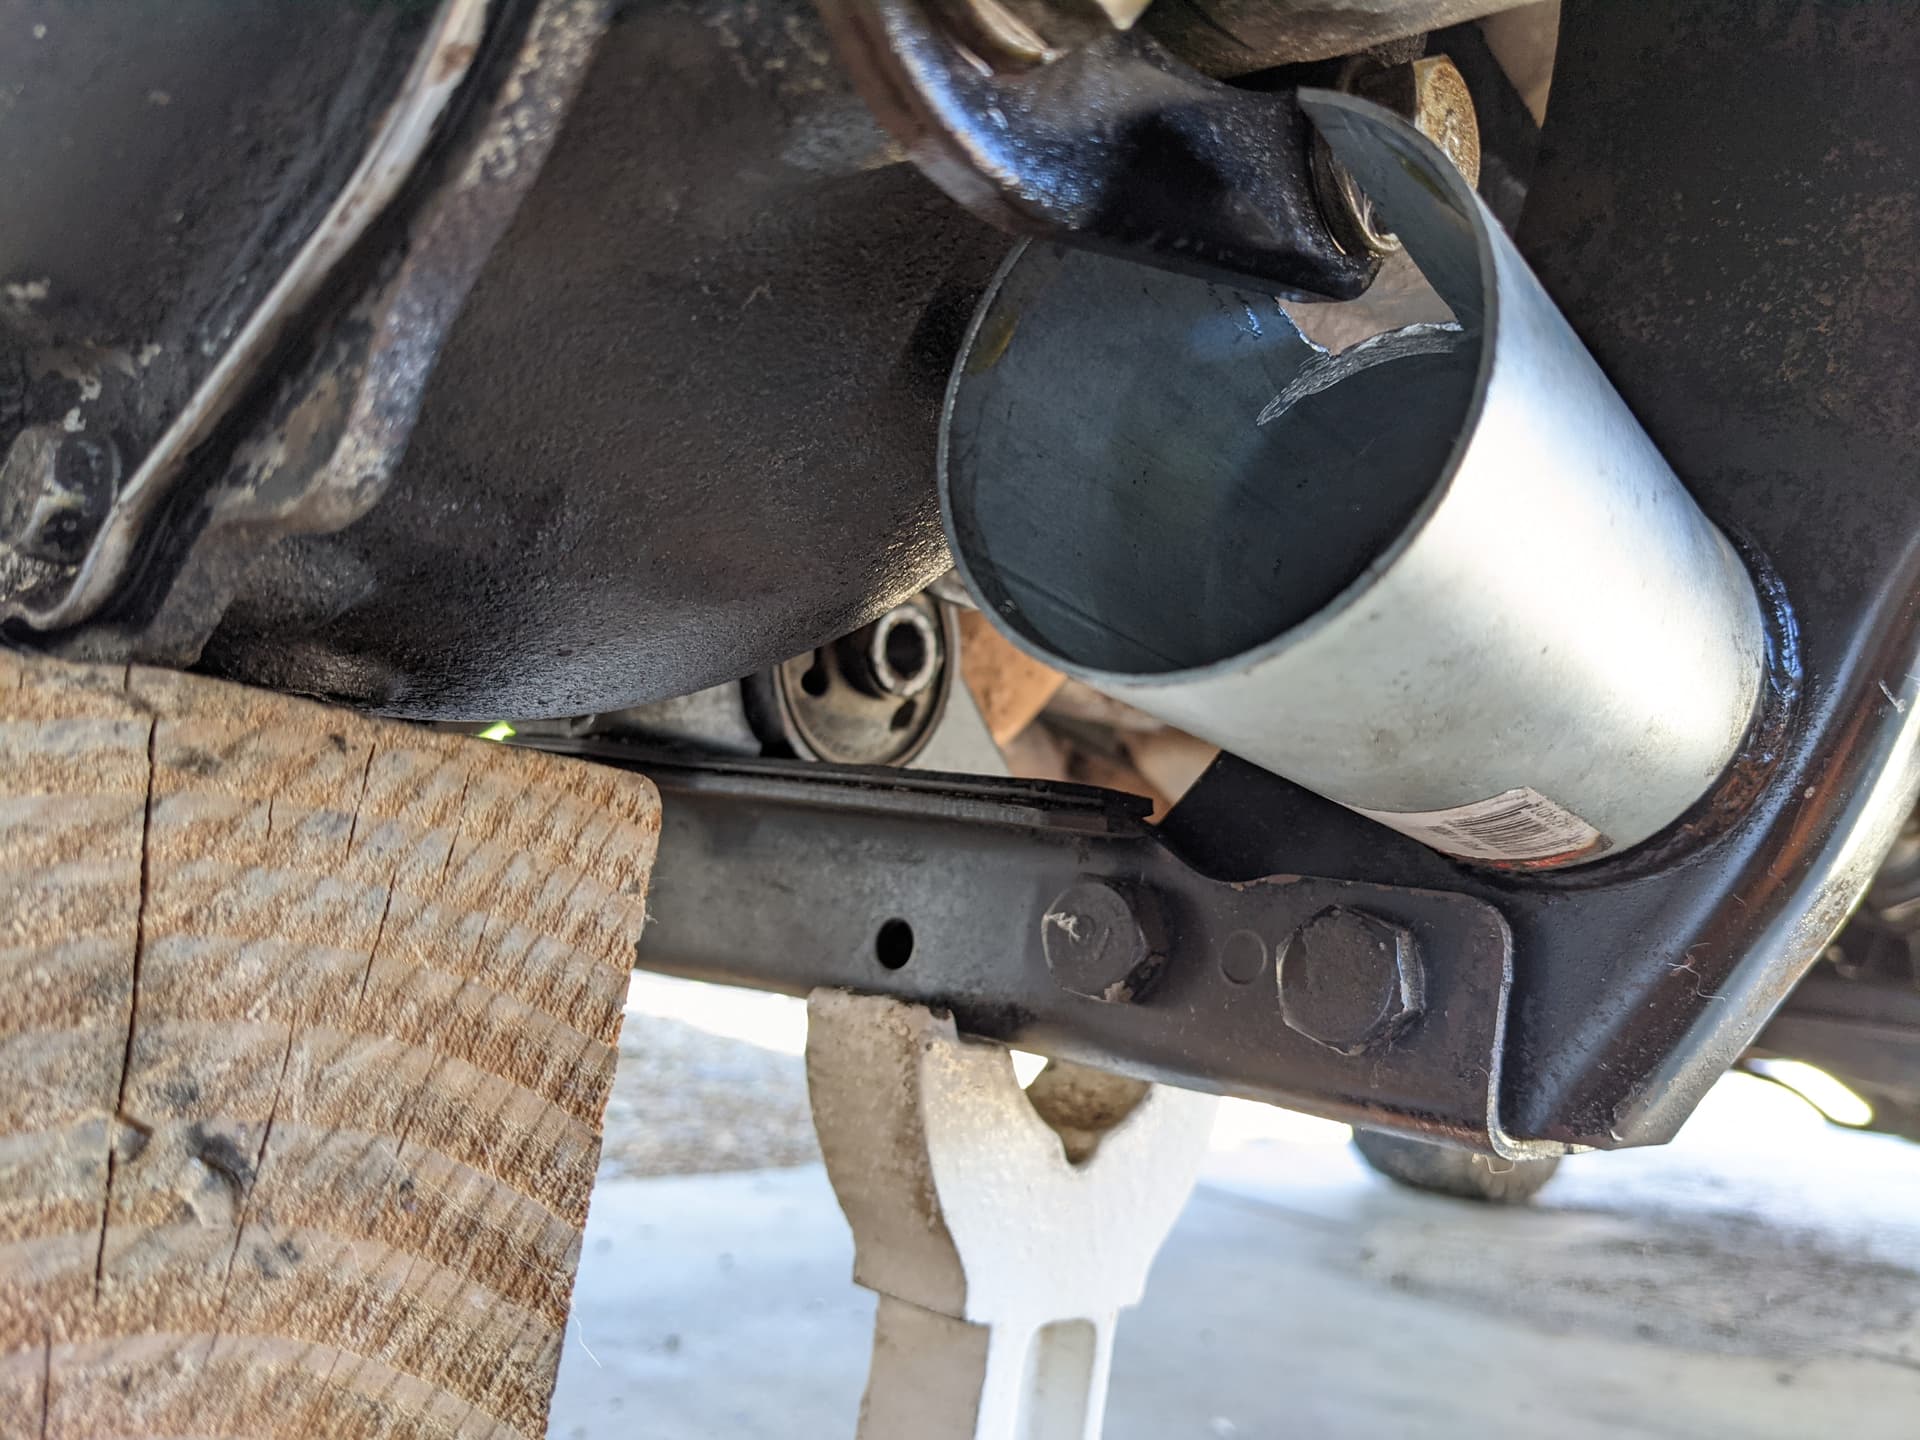
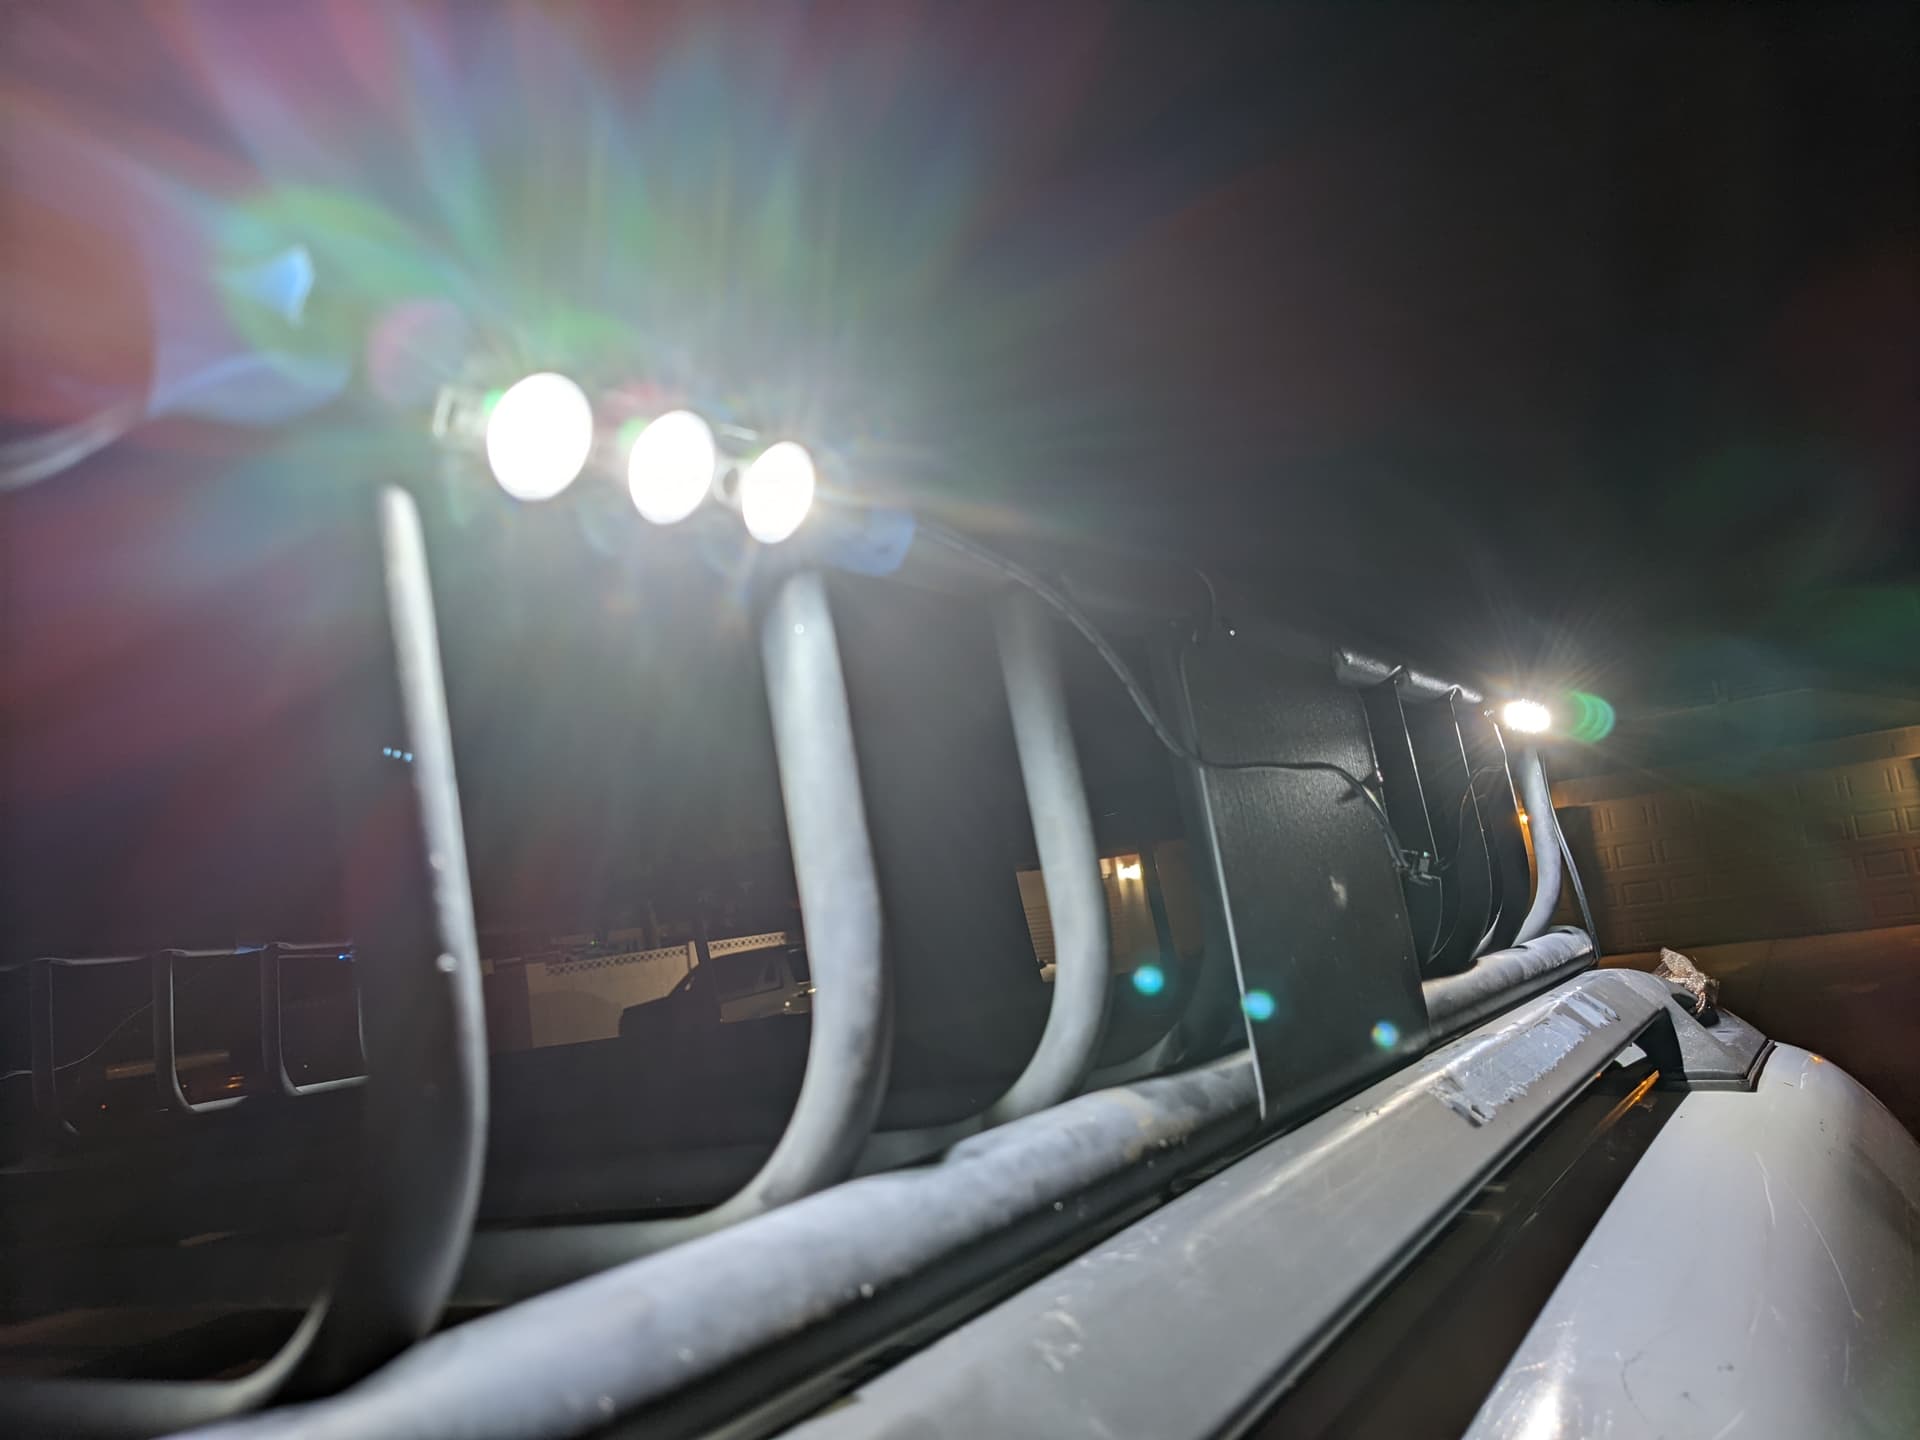
Finally, with the last of the satin black Rustoleum I used to paint the bed of my RC truck a month or so earlier, I hit the wheel wells to cover up any exposed metal. I’ll be showering everything in WD-40 a few times between now and next summer, but things are looking fresh now.

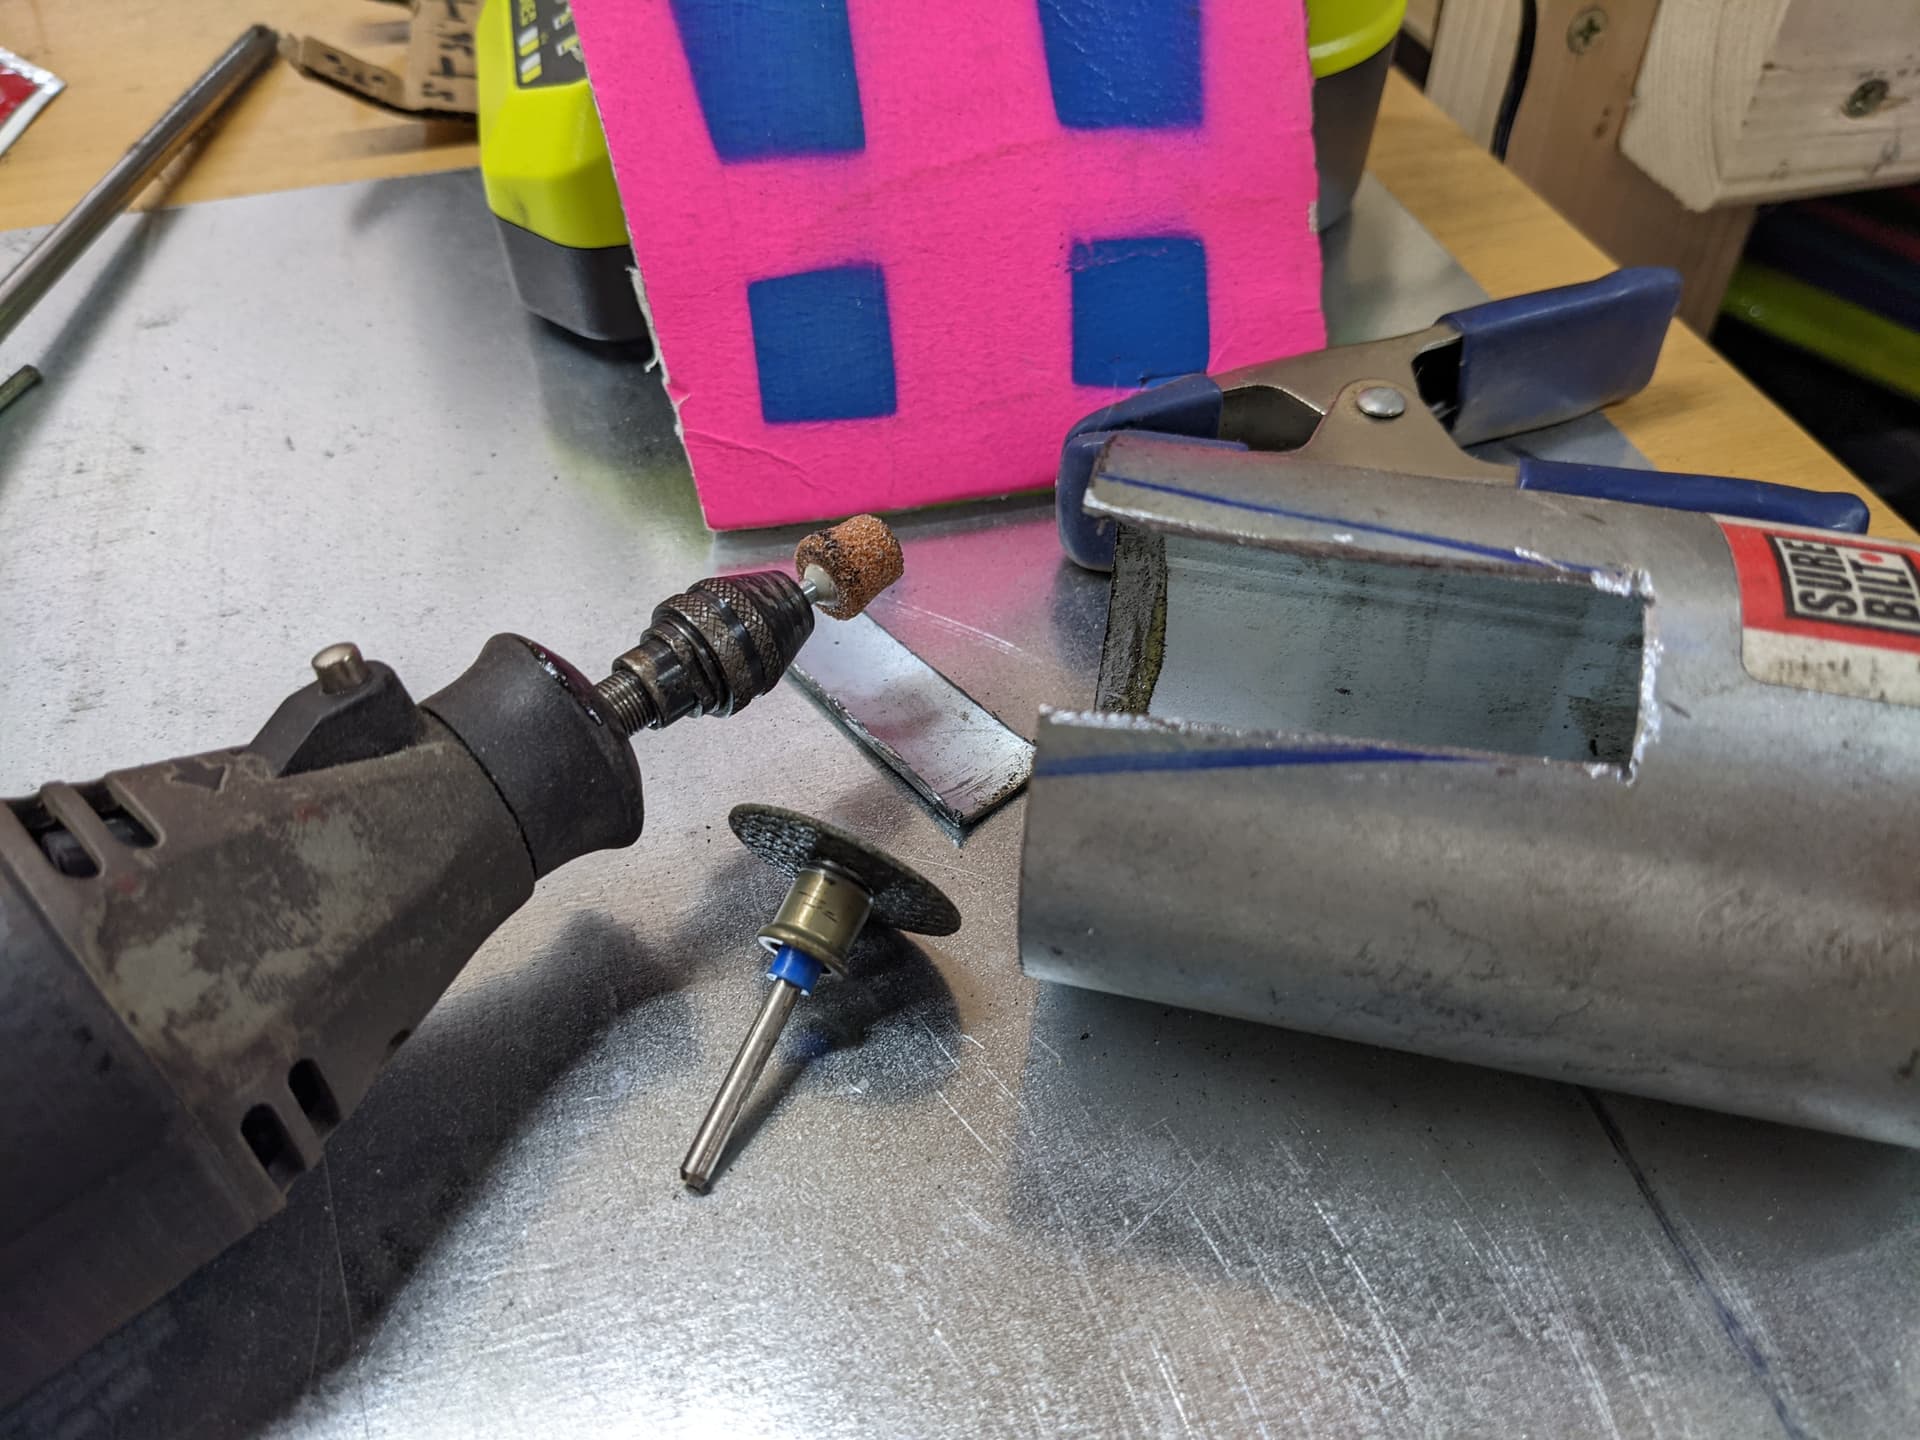
Also on order: three sheets of 12in x 24in x 1/16in HPDE so I can make skirts to keep shit out of the engine bay. I masked nothing off, but it looks great from six feet away and the rust is covered. What else do I need?


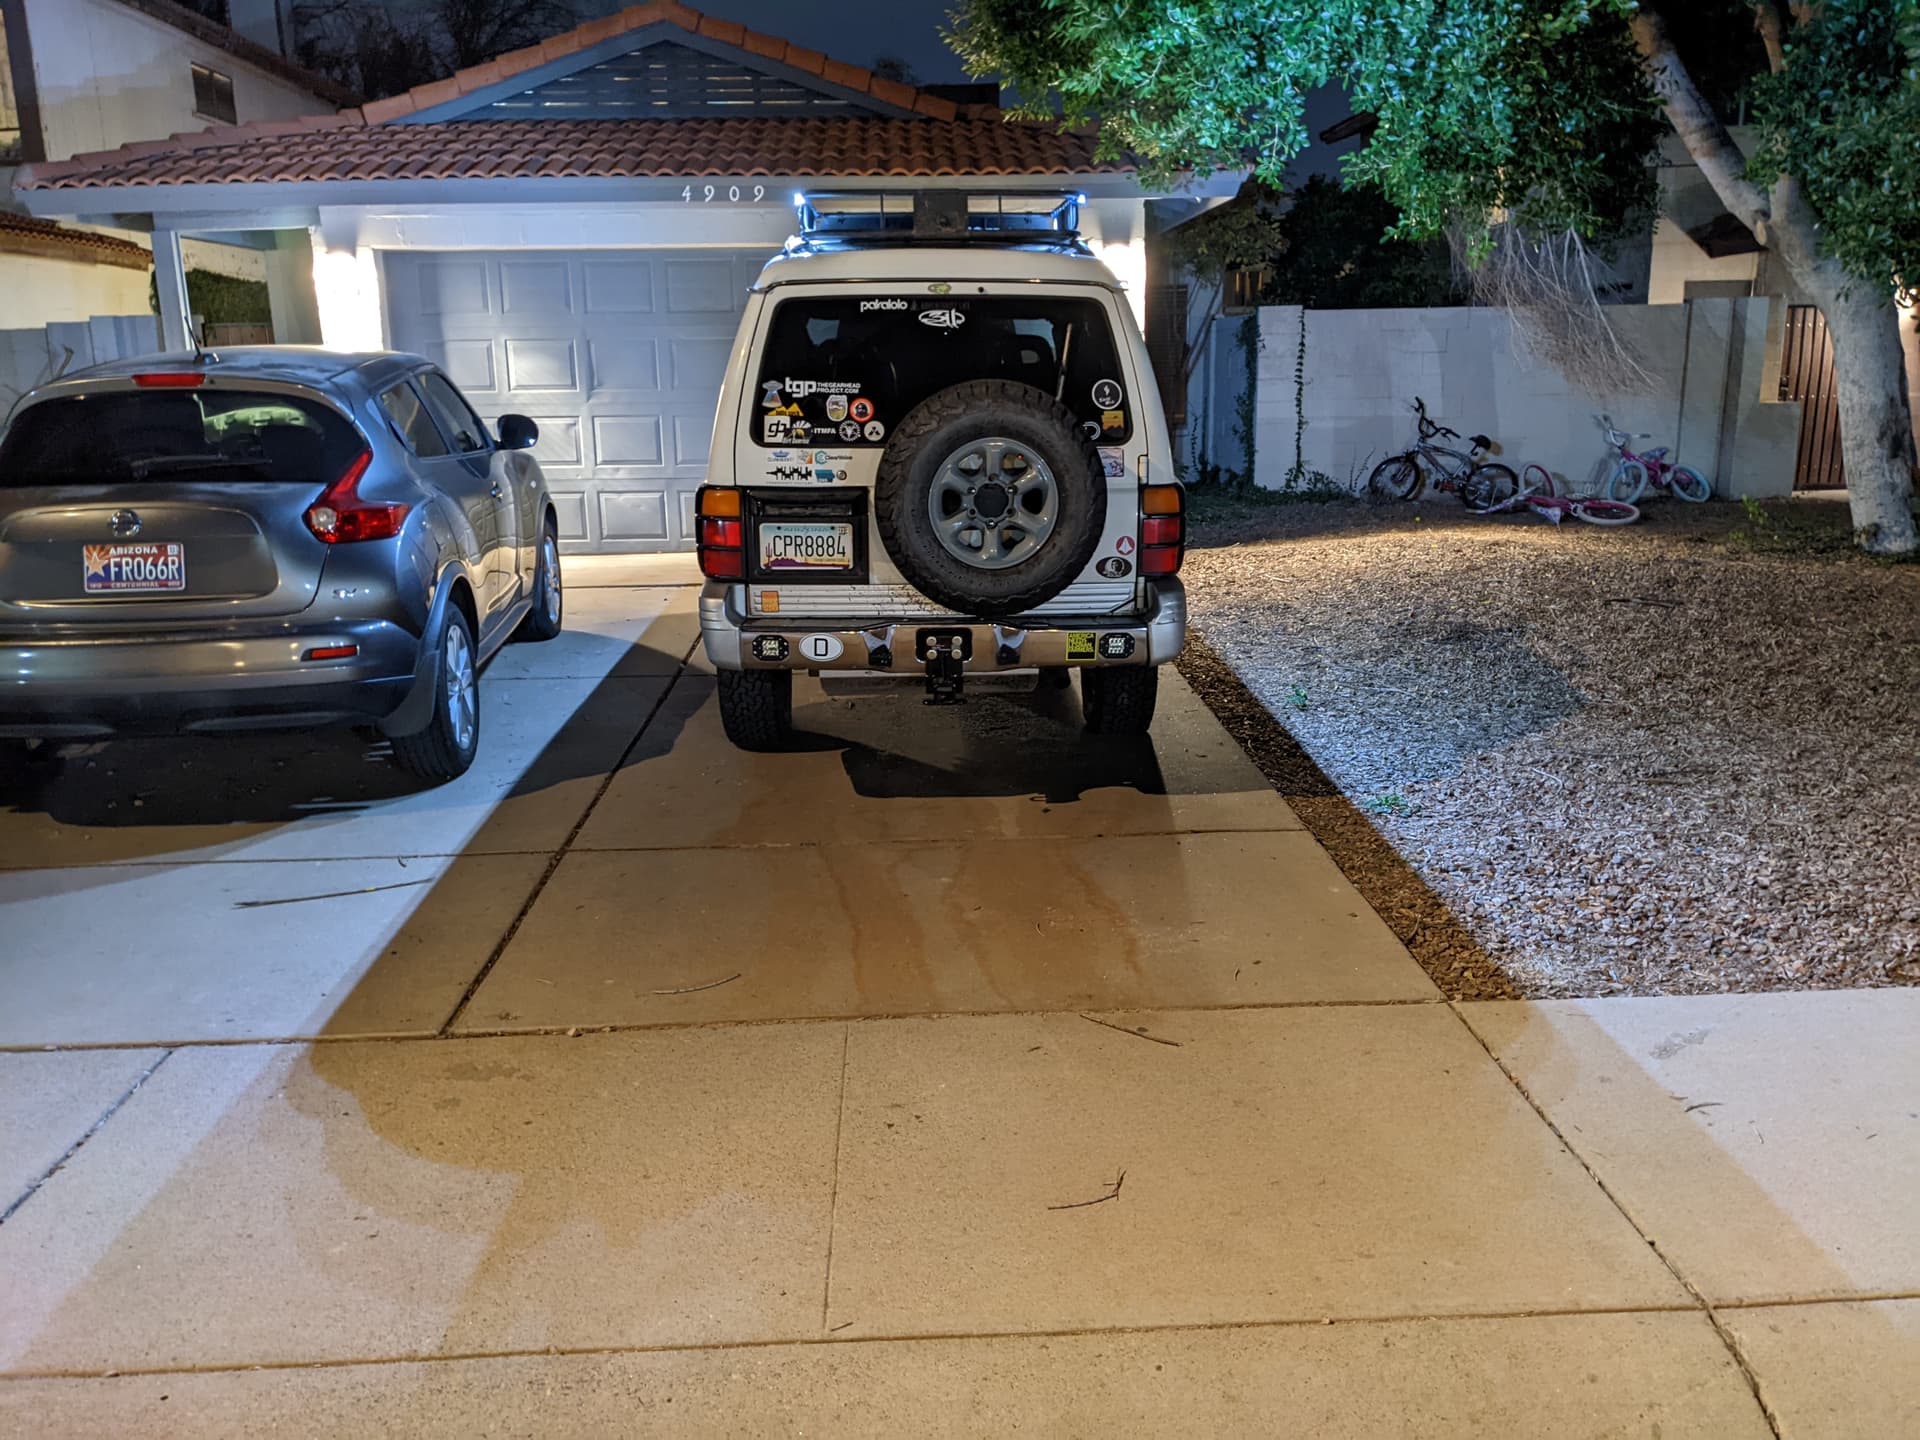
I love this picture.

Finished strong with another pineapple cider.

  • pitman arm and plastic sheets arrive 11/29
  • (2) Musashi MB526395 oil seal, fr hub arrive 12/01
  • (2) OE MB160850 oil seal, knuckle arrive 12/06-12/08

I’m gonna see if I can get those knuckle seals sooner locally. (Not holding my breath, though.)

1 Like

Wow buddy. You really are breaking through your barriers on this one. Good on you!

I feel like it’s the shell left there still, bit hard to say from a pic and it’s been a LONG time since I was that deep into a gen2… you’ll know as soon as you get the new seals, right?

Just… You know. Don’t order via Canada Post, unless you’d like to finish it in the spring.

Keep it up buddy. Really looking great!

1 Like

ALMOST DONE.

Got it all back together. Brakes still feel a little soft. Alignment tomorrow. But we went looking at Xmas lights last night.

Rewinding a bit, some simple cleanup pictures. I think a little better marking on the hubs might make it easier for me to make sure they’re locked, and the struts would look like shit in the new front end. Yes, those are hand-cut stencils.


More to come later…

2 Likes

Once I had all the seals and bearings, I could get started on assembling the hubs. And that’s just what I did. Including the scary knuckle bearings and seals, which were a little nerve wracking, considering I was taking a 5-pound hammer to a foot-long pry bar wedged under what I was reasonably certain was the old seal’s shell less than an inch from a 1-inch bearing race in the knuckle.


With new bearings and seals in the knuckle and a loaded hub and rotor assembly in hand, I could FINALLY start putting things back together again.

I reconnected with my buddy Toybreaker, who suggested that, maybe if my mantra was more righty tighty than lefty loosey, things might be more together-ish. Toybreaker’s the real deal. The kinda guy you know you can count on. Kinda like Brother Keith, who took his GVR4 down to NAPA, bought TWO different pitman arm pullers, and delivered them when I couldn’t find the one I’d bought during the week and lost while stranded at home with no car for the afternoon.

This bugger nearly cost me a day.

Things moved quickly from here. I mean, about 90 minutes later…

I opened the $50-worth-of-specialty-pliers I bought that morning before the girls left to re-boot the RF CV. It was my first time doing this. I did it on the hood. I could have done better. I could have done far worse. That said, I’m going to look for the best boots there are (Empi?) and prepare for a thorough refurb down the road. The thin Chinese boot is barely better than the dry, cracked, but twice-as-thick OE boot I removed.


More to come, but here’s a teaser…

2 Likes

So happy for you buddy. This is probably the best time Fezzik’s been since she was about kindergarten age?

Way to keep on it, and doing the “proper” fixes…

1 Like

200-something

  • rear end refresh begins
  • cheap roof basket lights

Rear end parts being ordered. And just in time too. Rear brakes started making noise this weekend.

I’m back to confusing myself over wiring up my lights and stuff. Tried laying out my relay box and additional lights the other day. Not much room to work with by the battery.

On a whim, I bought some cheap–like, $15-for-8-lights cheap–LED rock lights. They’re Nilight, which has done right by me on the reverse lights. I’ve got a little bit of condensation in one of them after two wet winters. (And they were maybe $40.)

Anyway, after many frustrating attempts at drawing out a wiring plan, I just started taping lights to the now well-aged (and never-used) Curt roof basket I asked for on my birthday back around the time everyone started moving to flat racks. I’m actually pretty excited about this one.

Roughly installed, now refining and cleaning up the wiring. I’d fish the cabling inside, but these racks are known for rusting to shit in a year, so I’m not looking to add further water ingress options.


These should be just right for camp and slow rolling through the woods at night. I’m going to wire the sides to one switch and the rear on its own. (Actually, I might run nicer wire to the rear in case I want to run something stronger down the road.) Five on the basket means 11 left. (I bought two sets of eight.)

I think I’m gonna mount one to the bottom of the third brake light, wired into the rear dome light on its own switch. Would be nice having a bright light back there for cooking, loading, whatever. That would leave me with 10 lights left.

Figure two under the hood for engine inspection, and I’ve got two for each wheel well as actual rock lights.

Breakfast Club Pace GIF

1 Like

Daytime pictures!


I went to see this setup in the dark somewhere before I finalize things. Then I’ll run the wires through mesh, seal and paint the rack, and wire it up official style.

Oh MAN she’s coming together. Yeah, dude!

You ever checked out those cheaper non s-pod switch panels? Auxbeam makes em, amongst others. Seems like it’d save a lot of work…

1 Like