Fezzik: Life Begins at 200K

Dude.

This was incredible. Thank you!

I’ve got all of it on an Amazon list for future reference and hope to move on it soon. Things like Anderson connectors (I used these 25 years ago :exploding_head: on my RC cars), heat shrink, and heat gun are easy investments to make immediately.

I hadn’t thought about military surplus for the basket box, but I will now. Probably cheaper than the Pelican, too.

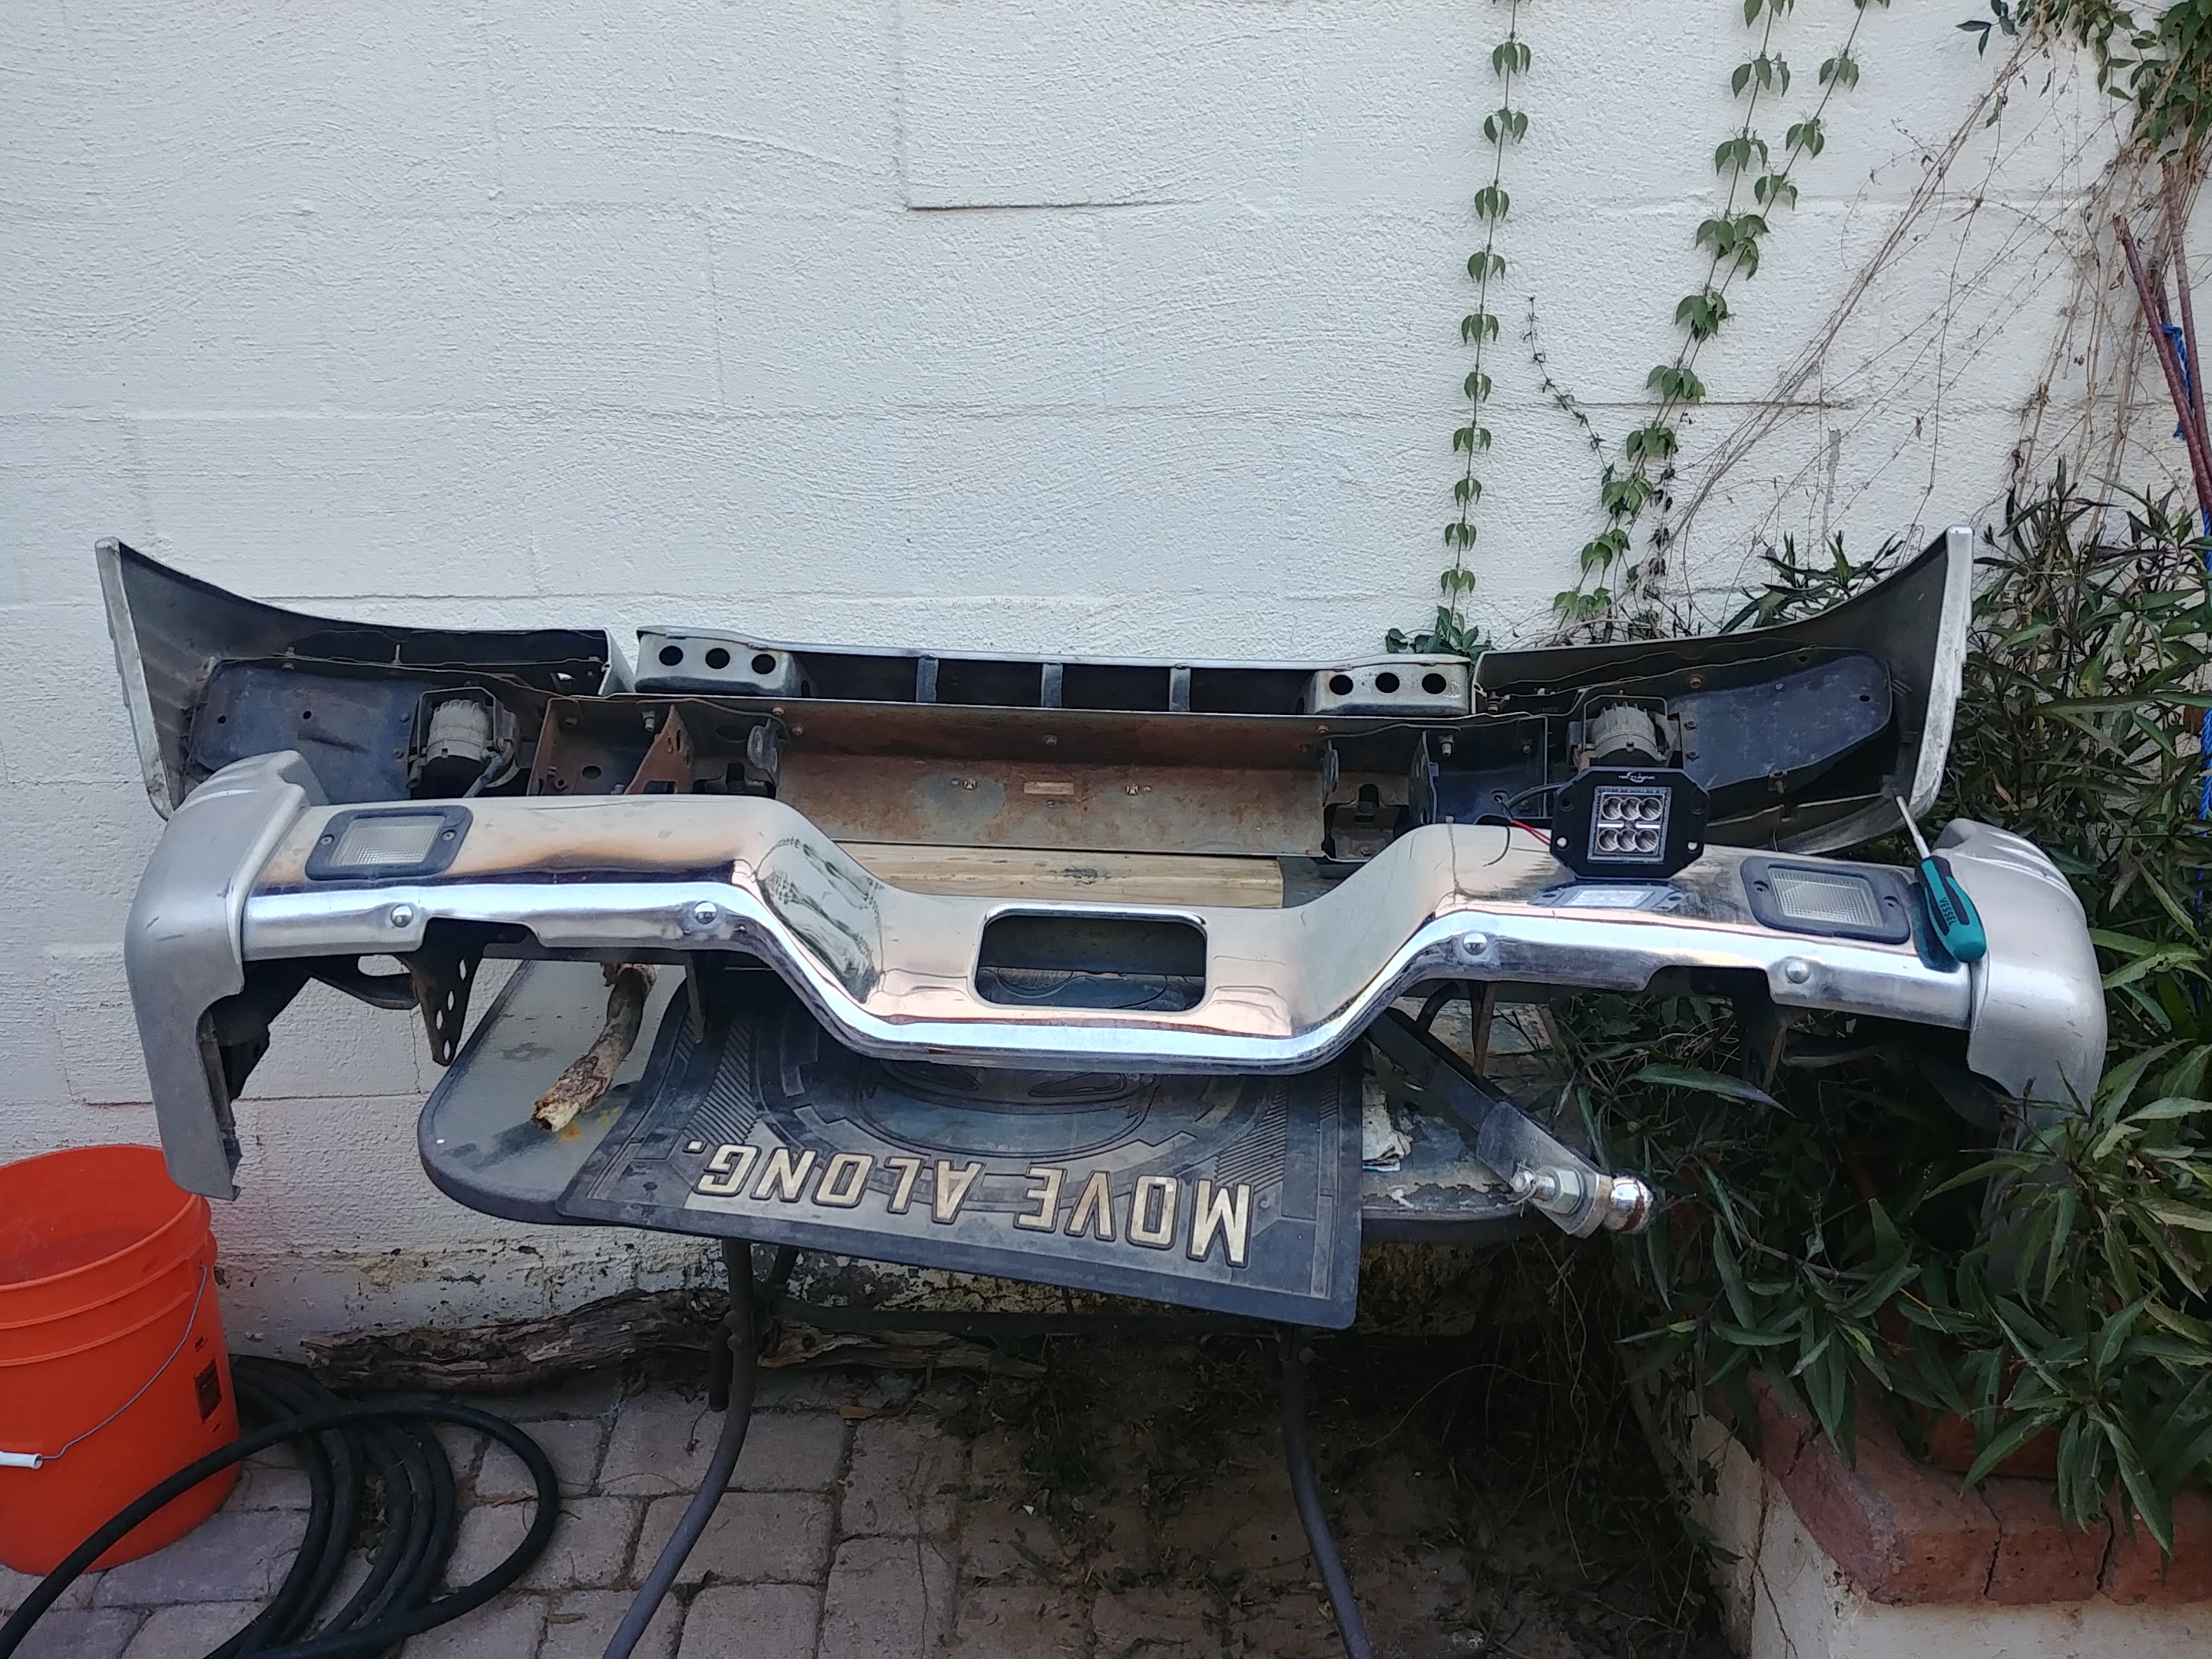
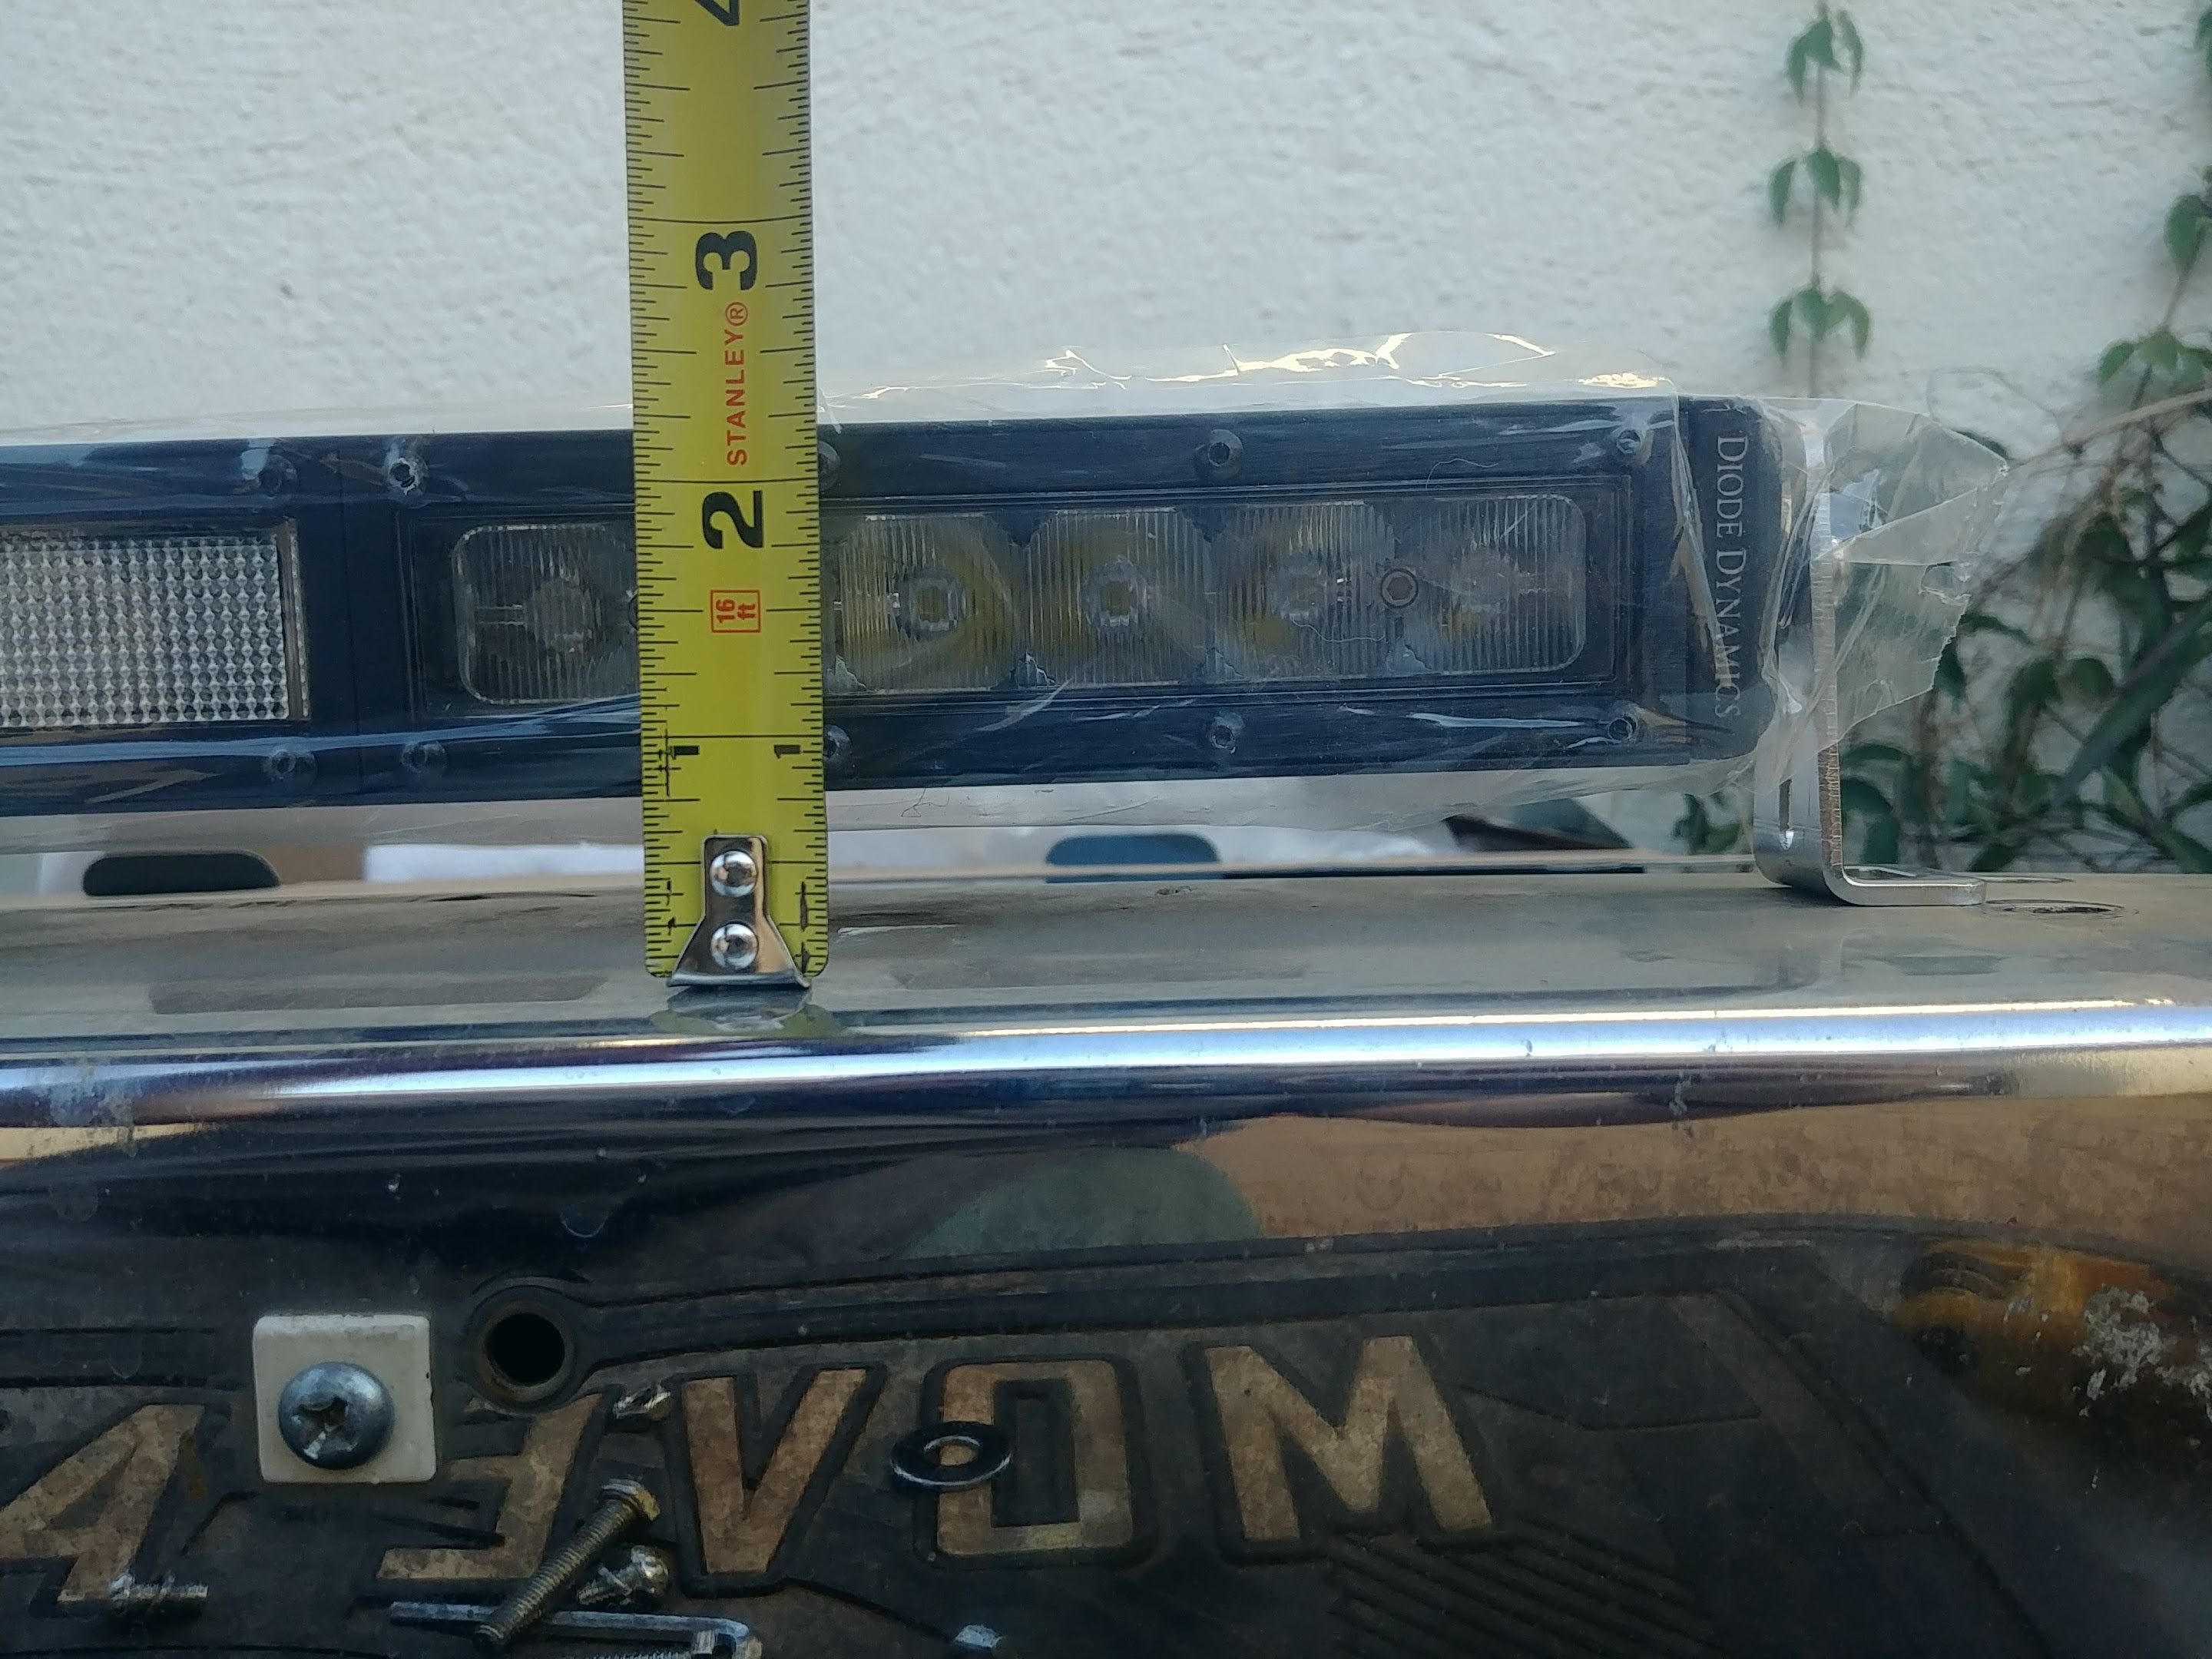
Forgot to include, last night, that my lighting plans are currently this far:
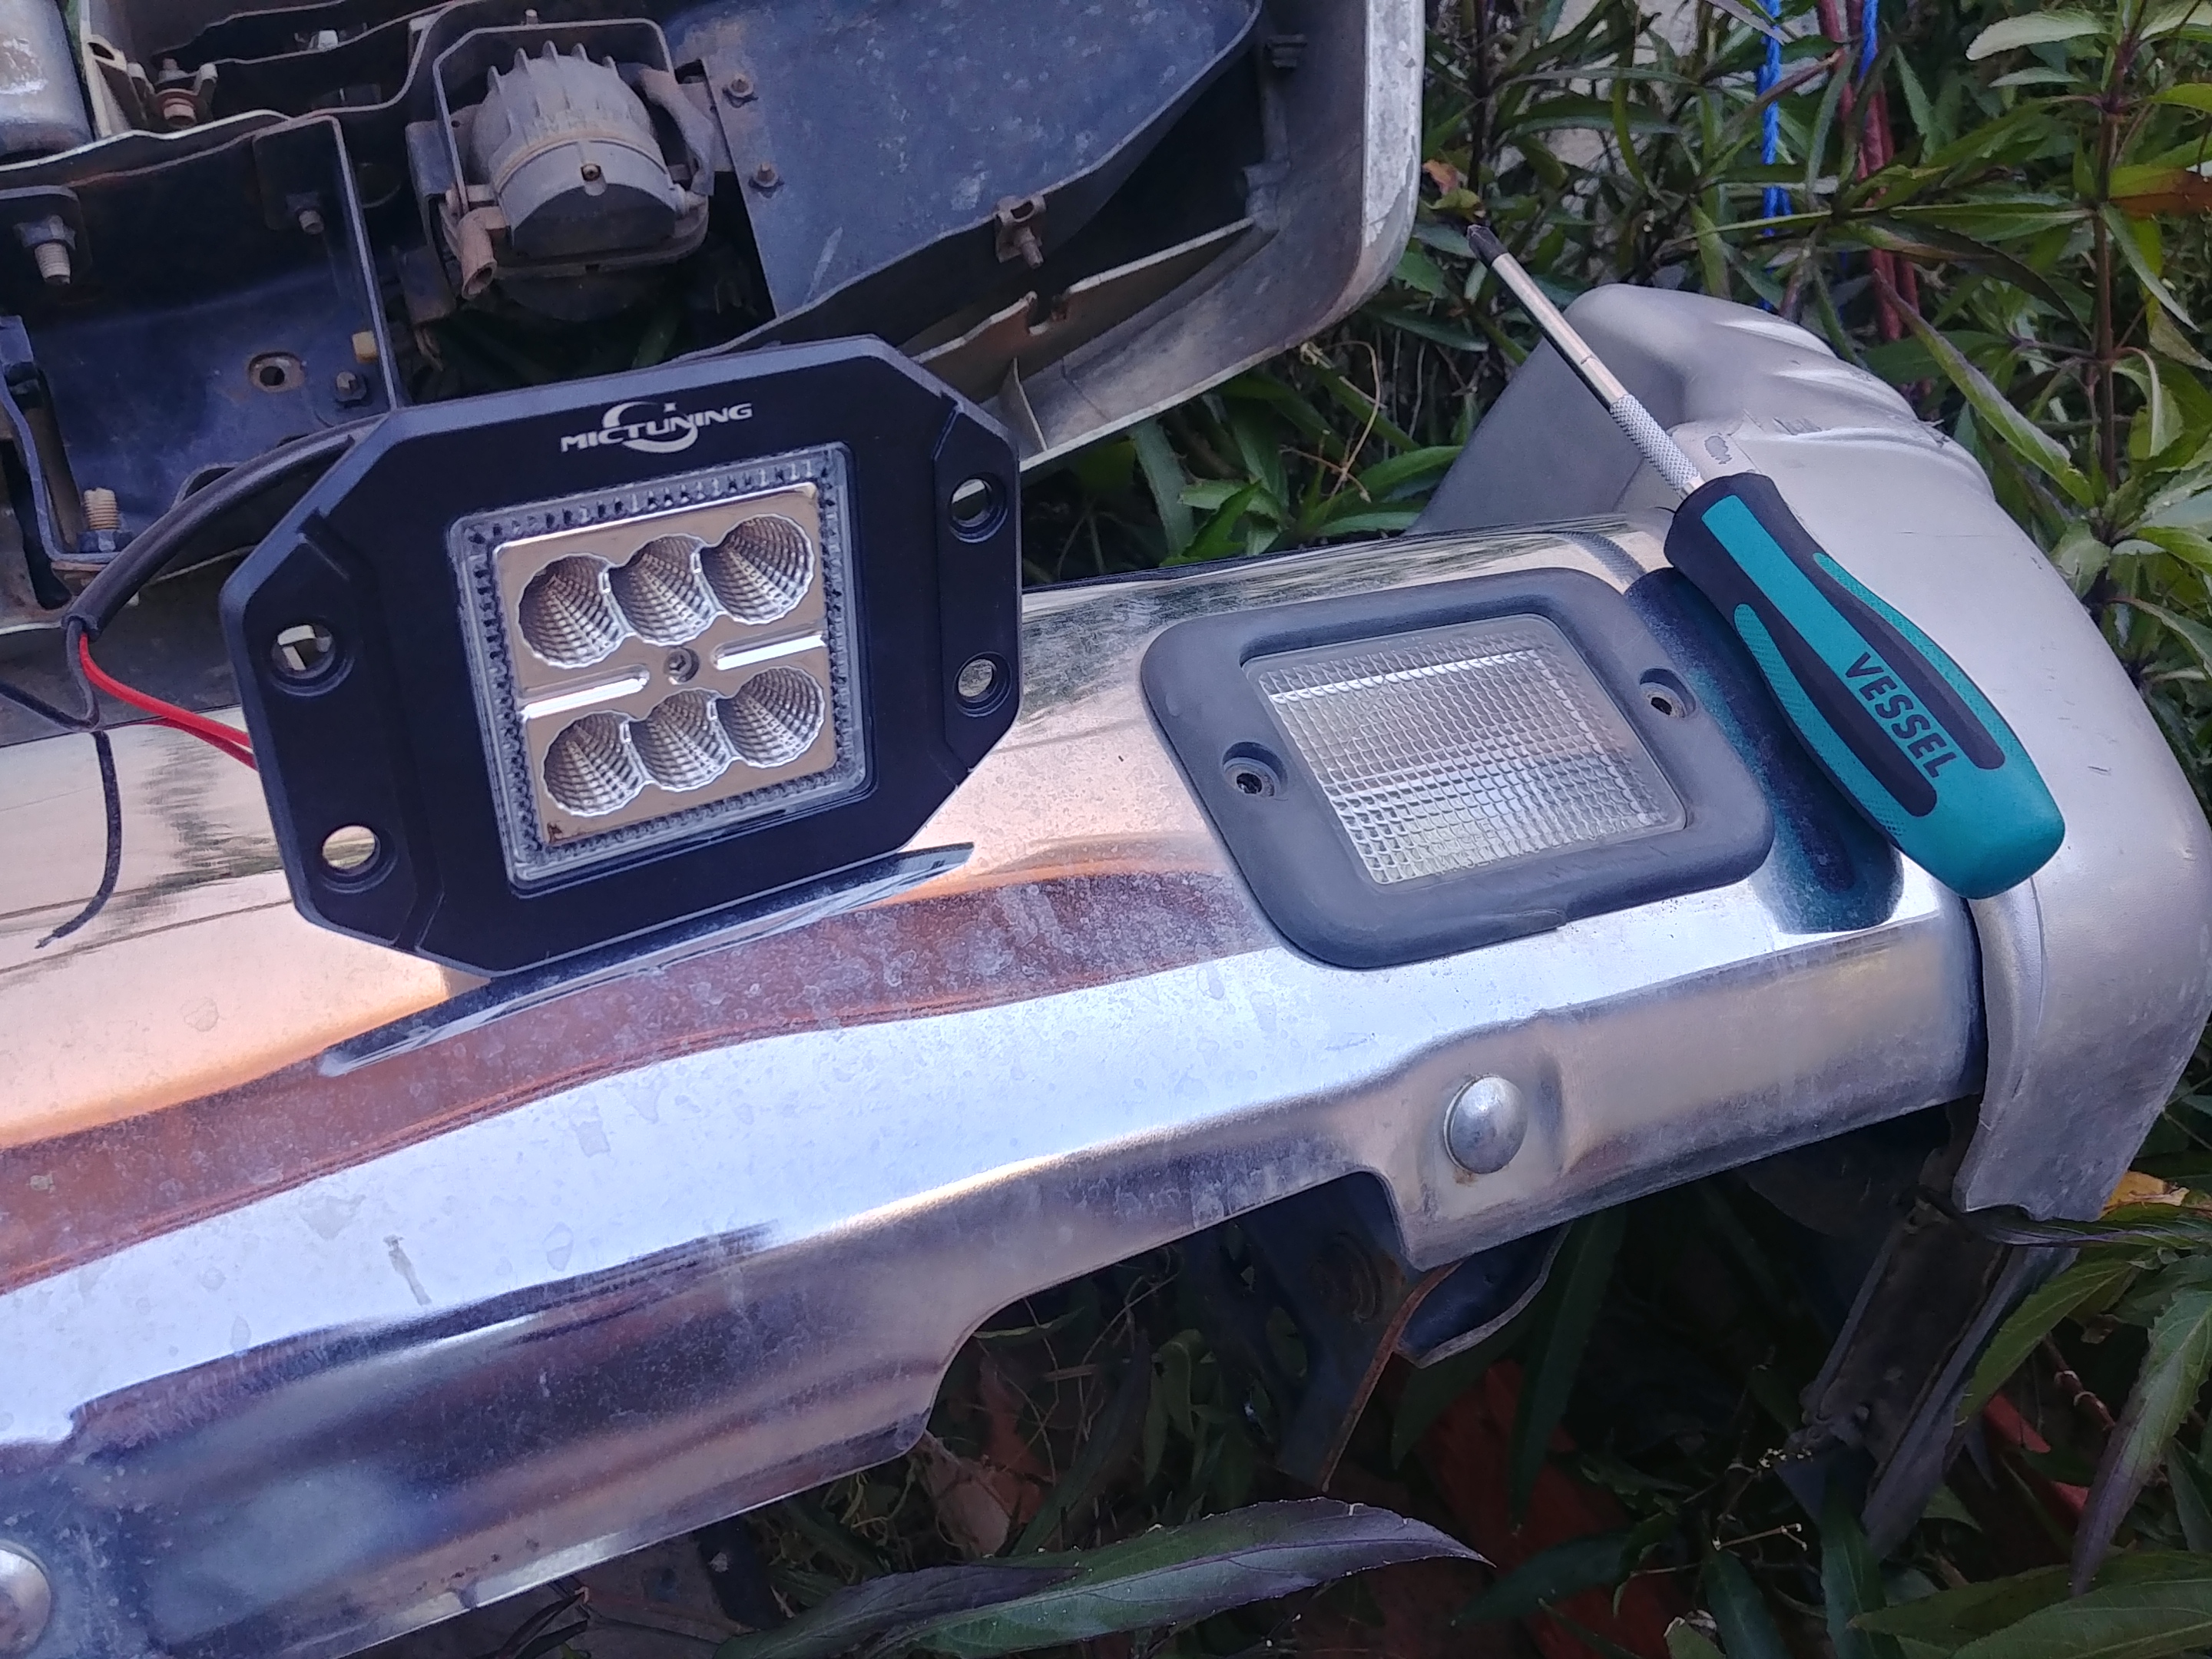
  • Front bumper
    – SS18 LED, 1x 80w/6a
    – (optional) LED fog lights, tbd
  • Roof basket
    – LED 180s, 2x 70w/5a
    – LED wide beams*, tbd
    – LED area lighting, tbd
    – USB power
  • House
    – (all tbd)

*Turns out the “KC Hiliters” I’ve had were simply cheap, white label, rubber buckets with KC “Apollo” lenses in them. I’d rather not run 110W of incandescent up on the rack, but retrofitting LED H3s that need built-in fans in between a rubber housing and glass lens sounds like a dumb idea too, so I’ll provision for something more like the SS18s down the road.

PS: That ExPo electrical thread is excellent.

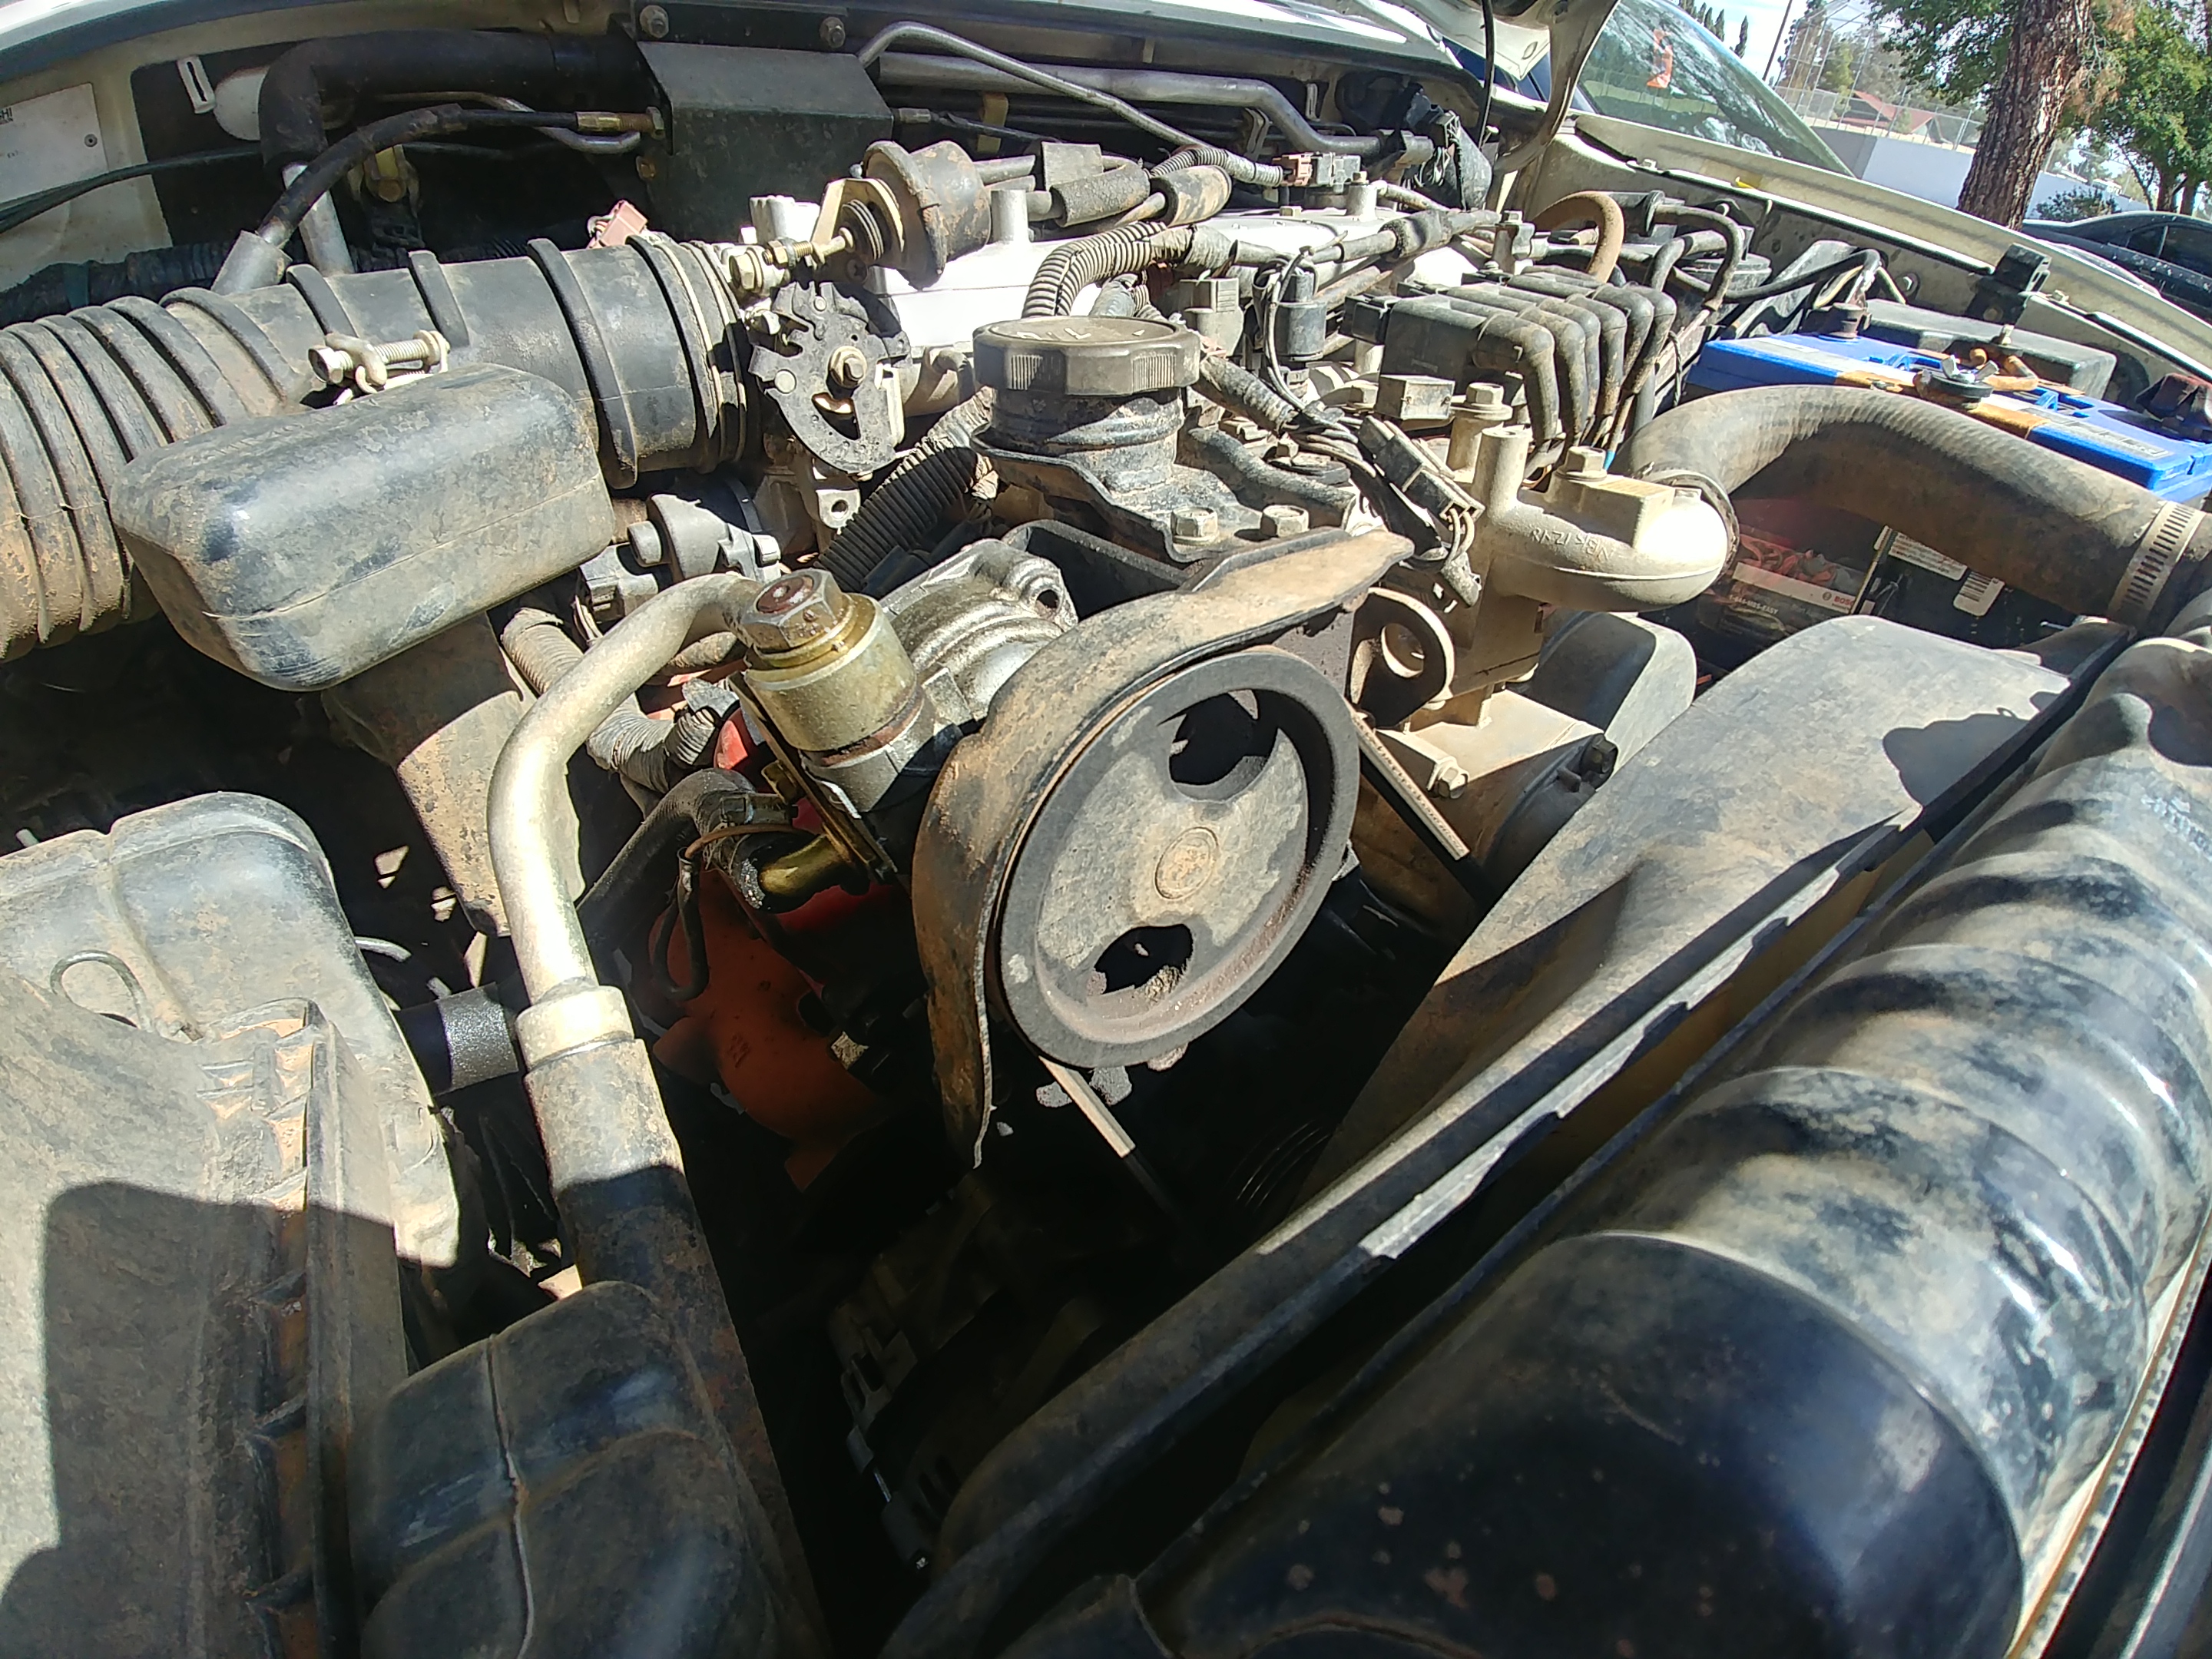
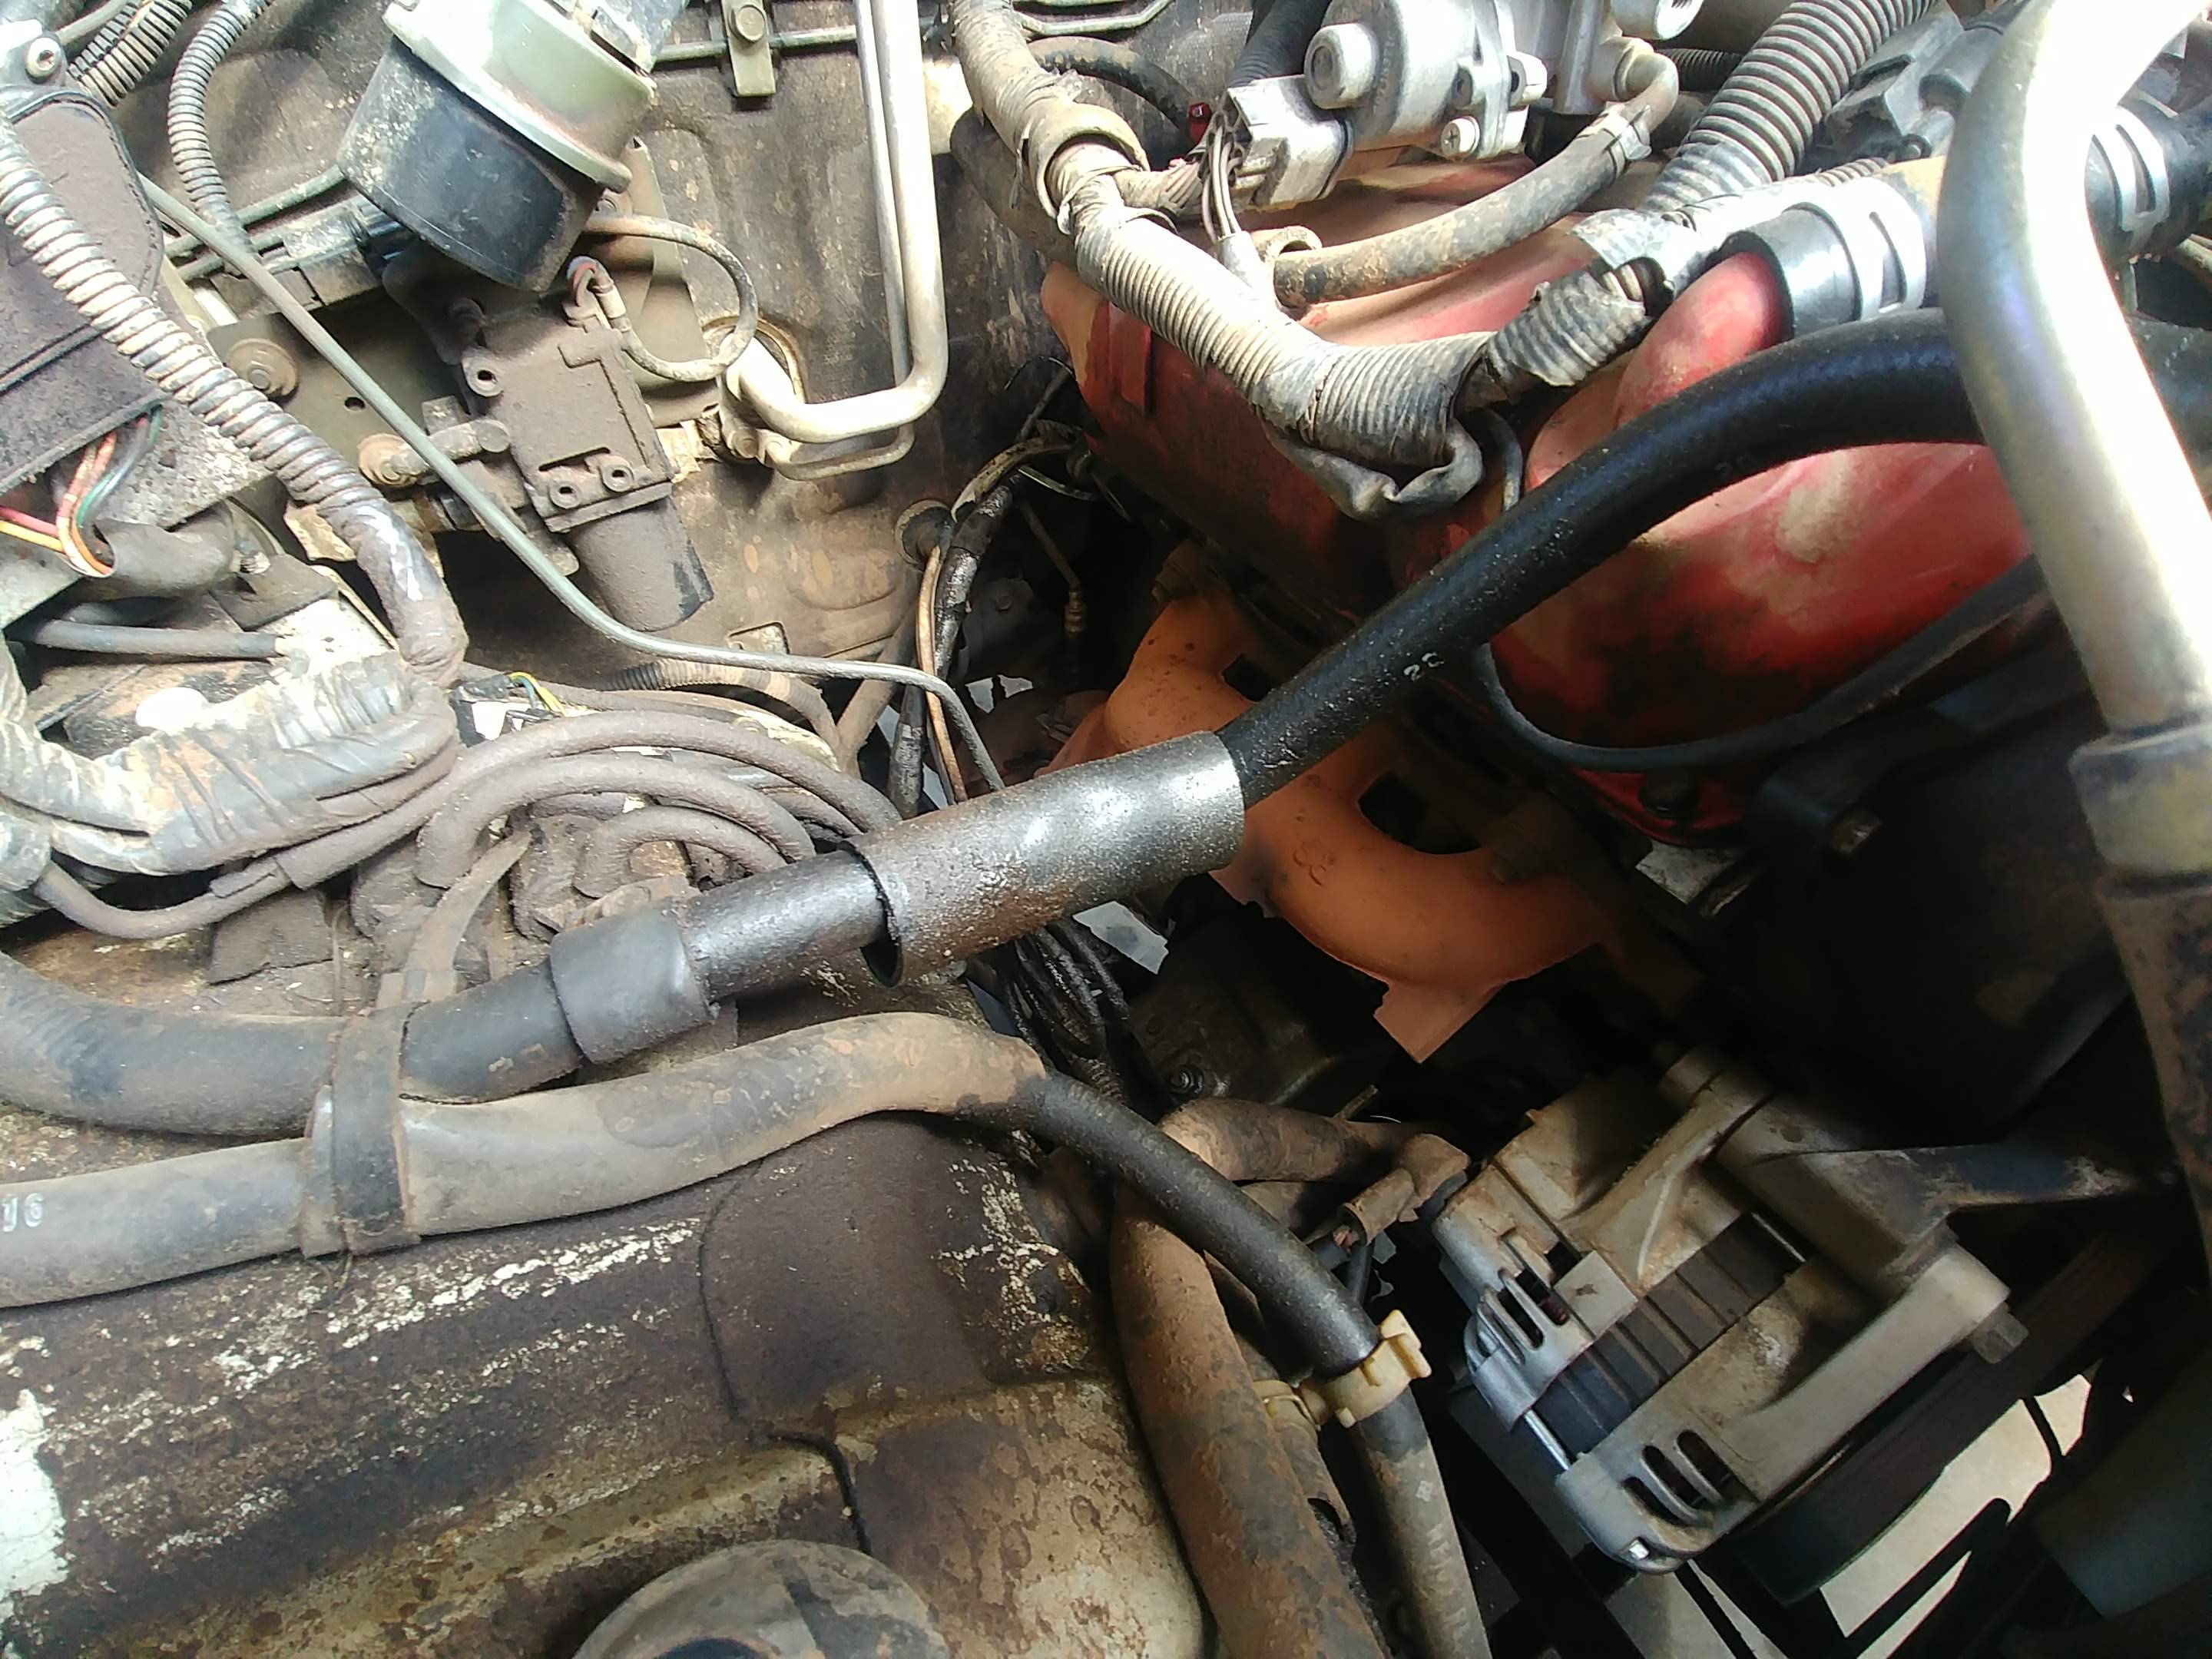
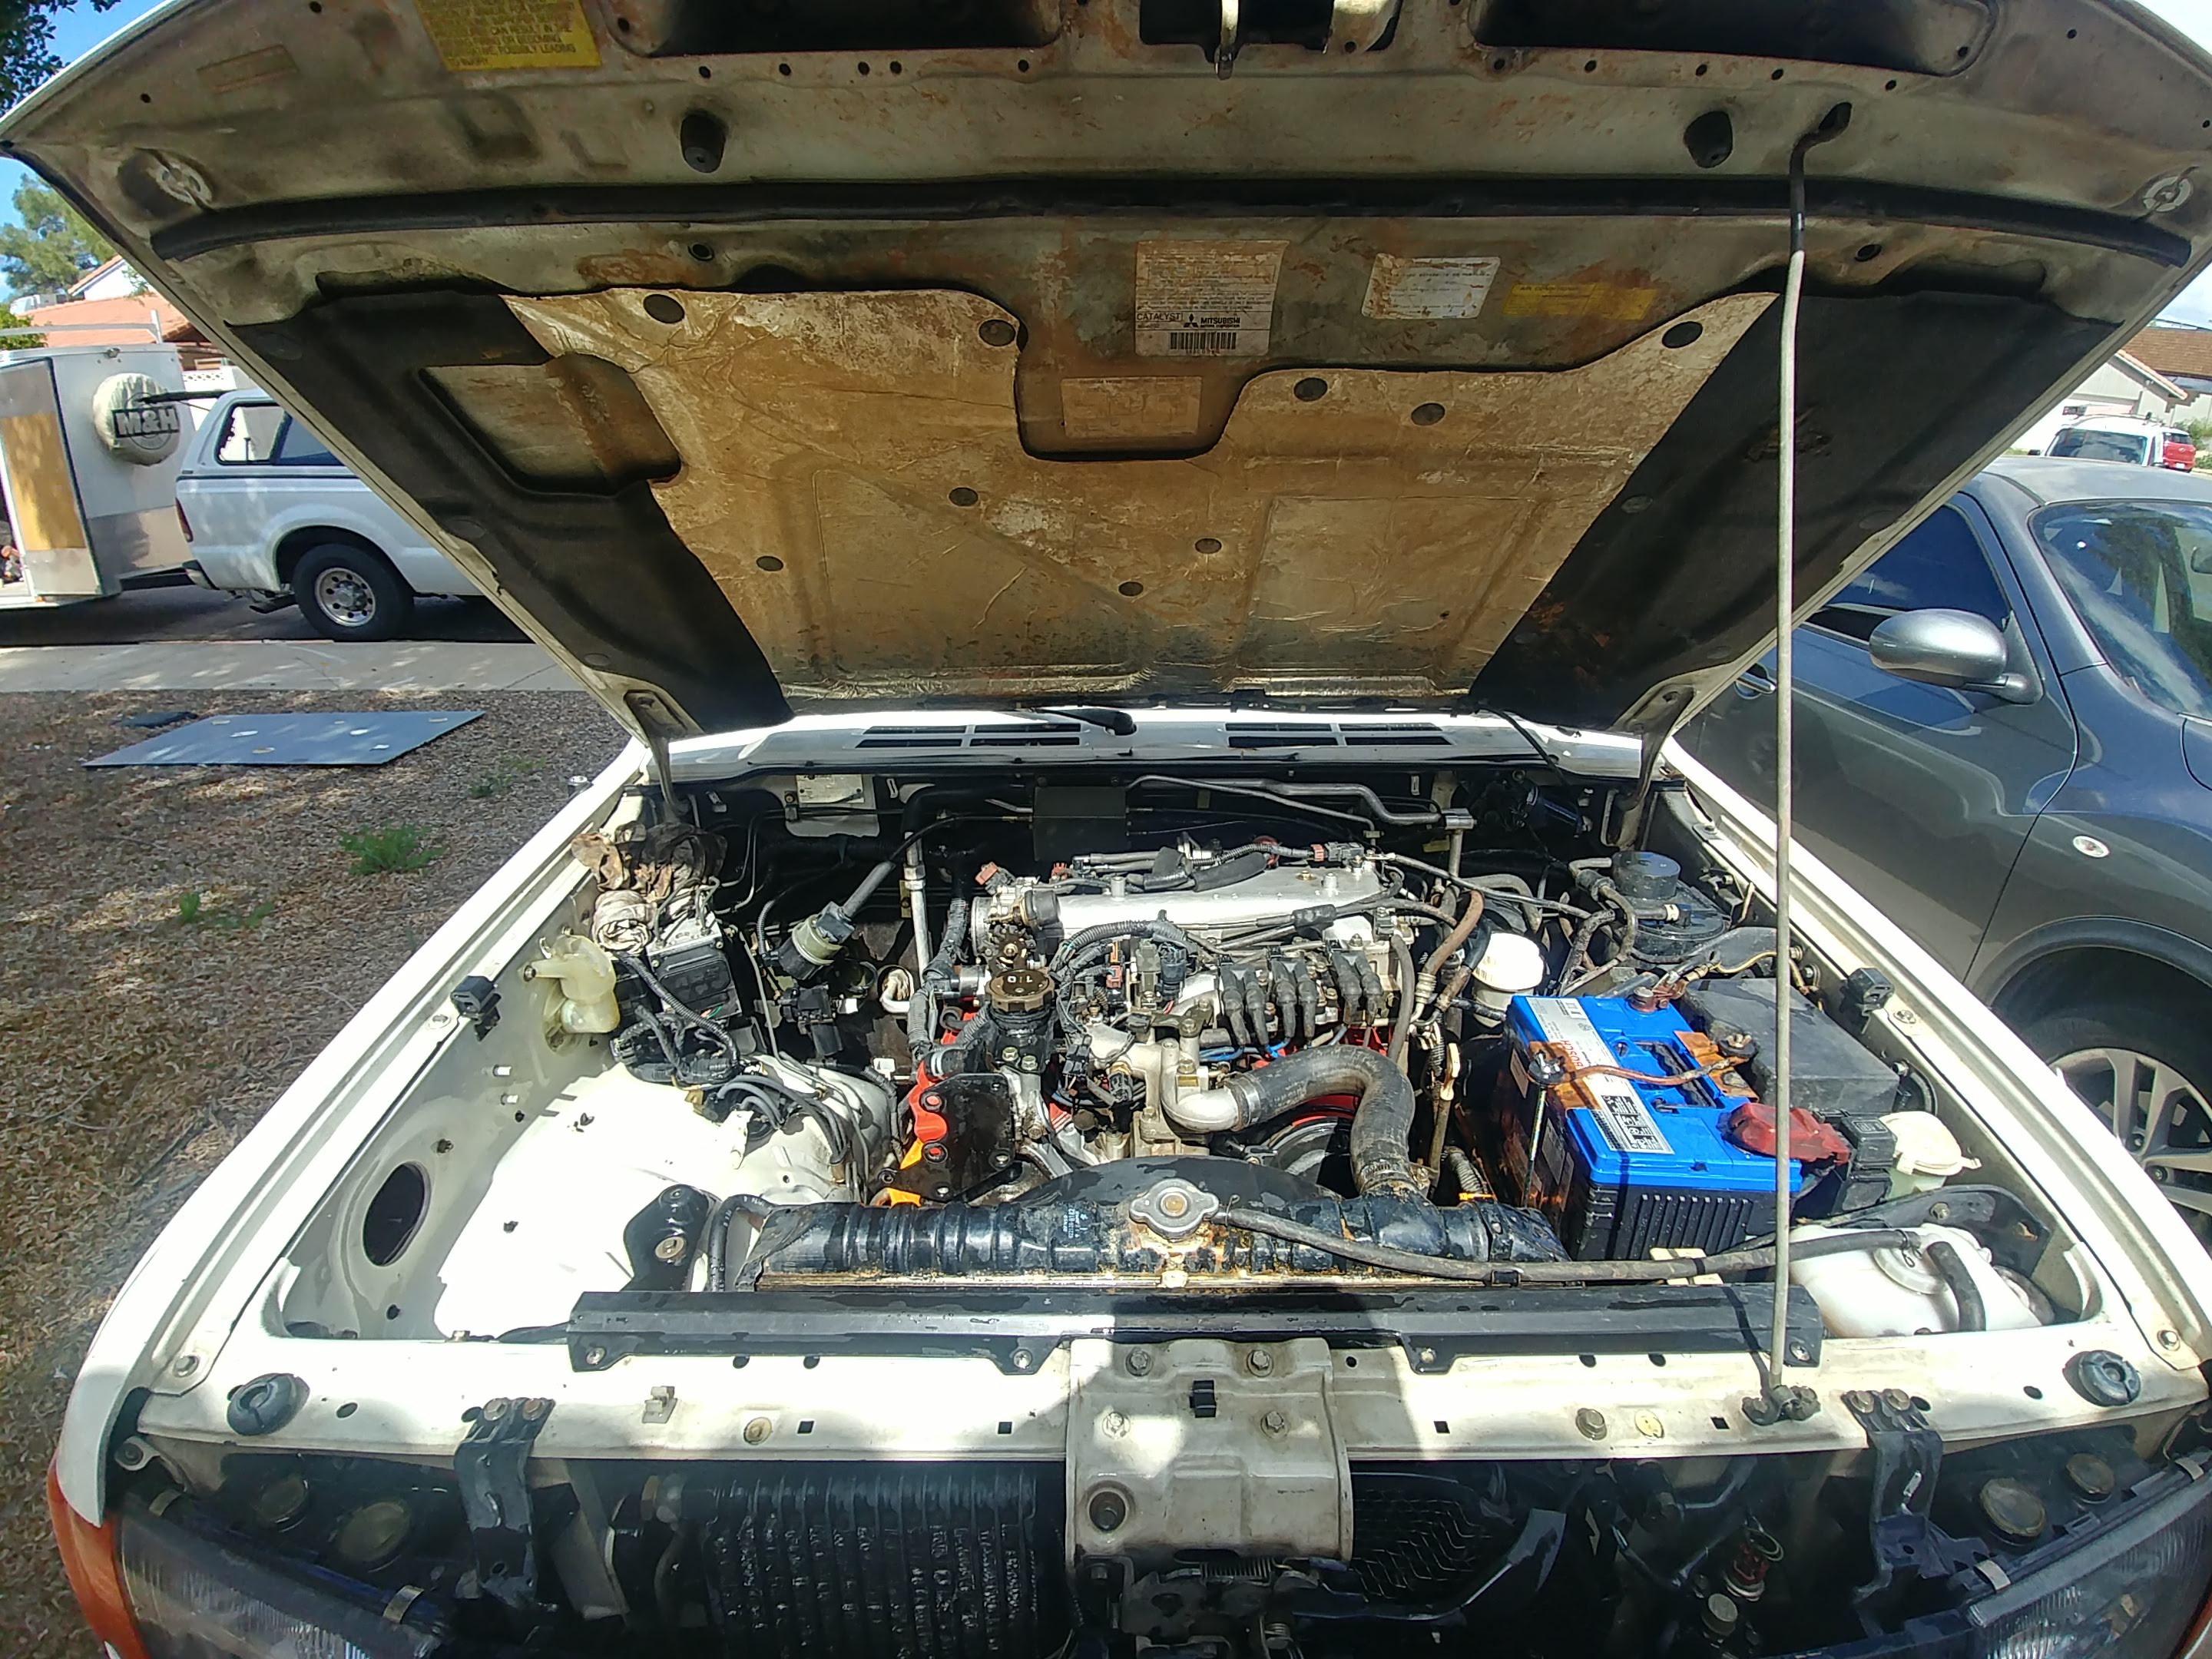
PPS: Apparently the Aussies figured out you can relocate the charcoal canister to the other side of the engine bay to make room for a second battery right next to the first.

1 Like

To the bumper: 16-, 18-, or whatever gauge they include should be plenty for the bar and the fog. Is there factory fog wiring? Should also be plenty for that since I’m sure it was designed for a 35- or 55-watt incandescent.

To the roof: I recommend 8-ga. to the roof box so you’ve got a little extra capacity if you change out lights (shooting for 200% of the expected load).

The USB power will be so low it’s not even worth factoring, just give it a 5A fuse (smaller if you can find it) and call it good.

That area lighting…is that just “camp level” lighting for convenience, or higher powered floods for wheeling? If it’s the former then plan on another negligible load for it (likely less than an amp). If they’re light enough on load it might even be worth wiring them up as constant hot and giving them a waterproof switch on the roof rack (if not built-in).

1 Like

22x,xxx

  • reverse LED install
  • rear bumper swap

I’ll get back to riding the lightning in a bit. Chomping at the bit to get started on that one, but Fez has been looking a bit shabby of late and I decided to go for another easy win.

First, I decided to prep the new bumper before installing it. (Admittedly, had I known how easy it is to remove the bumpers on these trucks, I would have fixed a lot of little shit long time ago.)

Having the new bumper sitting on a table where I could easily work on it–and the other reverse LED I couldn’t install previously because the old bumper was too munched–kinda delighted me, if honest.

I mean, I had everything I needed, for once. Right. There.

Test fit. Checking bolt size. That sort of thing.

My having decent quality drill bits this time is directly related to the last time I tried installing these lights. While the bumper was installed. With no less than three shitty, Harbor Freight drill bits from a bolt extractor kit. That broke.

This time I used a center punch and ran pilot holes before threading the bolts through. (They weren’t self-tapping, but the one I “sacrificed” to tap the holes did just fine in the end.)

Old bumper coming off. (I already removed the bent, never-used, shin-basher.

Almost half the bumper mounting bolts threaded all the way in without any tools.

This also delighted me.

Wrapping things up.

Yes, one of the LED chips is already dead in the one that’s been on the truck a year. Am I the only one who notices most of the products on Amazon these days are generic, white label shit from China? I don’t what that says more about—Amazon, or the state of the economy.

Are we getting the cheap stuff because we don’t value quality—or because fewer and fewer people can afford decent products?


Bumper looks real nice now. :slight_smile:

2 Likes

22x,xxx

  • LED install prep

Y’all might laugh at this one…

I found this slick, 18", user-customizable, made-in-America, with-a-warranty LED light bar through an old rally buddy. The company is called Diode Dynamics, and their stuff seems really solid so far.

It’s super slim, so I thought I might be able to install it between the two-piece middle front bumper bits.

Step 1: Disassemble the bumper down to the bare bones. (Threw the rest away.)

See how nice it sits there?

There were three stanchions(?) supporting it in the middle that had to go.

Simple little welds held them in place.

Janky old Dremel to the rescue! (Yes, I was wearing safety goggles. My sunglasses.)

A couple love taps with an old hammer and they fell right out.

After an hour or so of careful deliberation and measurement, I realized the mounted light is as tall as the garnish I wanted to put it under. This meant I’d either have to cut a “window” in the front of a fairly thick piece of chromed steel(?) or cut the entire center out of the upper trim.

Not having the time, energy, or tooling to take the project to that level, I opted to connect the light to the battery so I could make sure it worked (I have a habit of buying things that sit for a long time before I get around to installing them. People’s Exhibit A: The NIB OME rear springs I’ve been meaning to install since Summer 2015.)

And that’s when I actually took the light out and held it up to the front of the truck for the first time, wherein I realized I don’t even want to put the light in the bumper. It makes more sense to cut out a little section of the grille to mount it right there.

Geez.

Anyway, here’s a look at the engine bay overall. Note the charcoal canister in the rear driver’s corner. Word on the street is them Aussie blokes will relocate it to the passenger side somewhere and run new vac lines so they can drop a second battery where it used to be.

It’s slip-mounted into a simple wall bracket, here.

And it’s supposed to go somewhere over here. Things that make you go hmmm…

1 Like

The latter is only true if “right now” is implied. Anyone can afford anything if they’re willing to wait and work for it. Our day values the “right now” over quality…thus the cheap scam. Delayed gratification is a learned bit of wisdom, while the instant version can be had 6 for a $1 on the same shelf as Top Ramen. This nugget is contained in dozens or proverbs and platitudes…for a reason. Hehe.

But I don’t know if it’s easy to fault the makers or the tech itself on the LED front. I see LED bulbs failing all the time (I’m a professional light bulb changer…sorta). They’re almost as bad as those CFLs for failed promises of longevity. Both share the fault of the internal circuit boards. I’m not sure what separates a “good” led board versus a “cheap copy” made in China.

I’ve only used Amazon in recent days to price check OEM or name brand items I already know I want. There’s still good deals to be found there, especially with Prime shipping. But almost everything else I just assume to be some store front scam for Chinesium, especially anything in the Amazon’s Choice category. I’ve got a lot of personal and professional reasons to be averse to what’s going on in China, and don’t go out of my way to support the Chinese Communist party.

1 Like

Progress is looking sharp though. I envy the harmony you and your fasteners enjoy in the desert climate.

I’ve got a bolt on front bumper bar I found in a junkyard off a '92 Gen2. The rusty front bumper fasteners did not want to give it up without a fight. If you were closer I would give it to you…I still haven’t figured out why I took it.

I aspire to a level of genuine appreciation for the good things in my life, the simple celebrations of which might serve to remind others that, indeed, life is good, without crossing the line to gloating. :slight_smile:

As for your clever bumper bar, methinks it could be a fun, hands-on project for the hobbits. Minimal sharp edges, easily sanded to a nice finish, and prepped for paint. Of course, this is messy work, and hobbits of all shapes and sizes are at risk of getting stuff in their eyes we’d rather they not, so maybe it’s moot.

As Major Payne might say, There’s got to be SOMEBODY needs some JC Whitney…

It’s sad, and yet it’s tough. Business exists to make a profit and has been pointing its big advertising gun in our faces since the invention of color TV. Whole generations growing up not with the American dream of working hard, playing by the rules, and achieving a secure, comfortable living, but with the understanding they deserve the very best of everything, right now, with no strings attached.

This being 2020, I feel like most things should be available for same- or next-day delivery, but I also feel I shouldn’t be shopping with Amazon anymore. I mean, I refuse to set foot in a Walmart for all the current, socially acceptable reasons—Amazon’s the same.

But it’s like I was telling Todd the other day, there’s only so many leather and wood products I can use from the handmade crowd. So what do we do?

It’s almost like we need regular people to step up and make the odd thing or two for sale to their families and friends to take the economy back. :stuck_out_tongue:

2 Likes

I wish, but I don’t have a Gen2 or Gen2.5 to put it on. Still haven’t heard back from OXWest yet, but if the call comes maybe I can stick this thing on the plane in exchange for a ride from the airport. Ol’ Fez will be looking the part by then.

Guys like Josh come to mind. I’ve also got a good friend here in RVA that is from Belarus and runs a one man stainless steel pie cut making business out of his shed. He used to build custom motorcycles (Classified Moto), but got into this to pay the bills between builds. Makes robots out of old Craigslist tools he finds to fill his “factory”…awesome stuff. He and I are of this same mind, and my boys are going to be our minions.

1 Like

I believe you’ve got things well in hand @Brian and I’m late to the party…

But have you considered putting your aux batt in the back? Before I started driving diesels with OEM spacing for duals, I ran my aux from the rear. It does require a different way of thinking in terms of wiring, but if your aux power needs are mainly in the back, it saves wiring length on the other end if that makes sense? I ran a 1/0 cable from my solenoid to the back, and made entry via a factory rubber grommet.

You still need to find a place to put it. And using lead acid is no longer an option (imho it isn’t anyway). There is argument for the batt lasting longer though, since it is in a more controlled environment.

I made a battery box for one build, used a trailer style for another, and in the third iteration, I simply covered all exposed hot points, and clamped it to a secure battery tray behind the fridge, where it would be protected. This setup was actually in the Pajevo for MOD 2017, which you might’ve seen…

Another bonus is that you aren’t putting even more weight out over the front, where you have less load capacity already.

Having said a this, my current dual batt rig (see what Idid there? :joy:
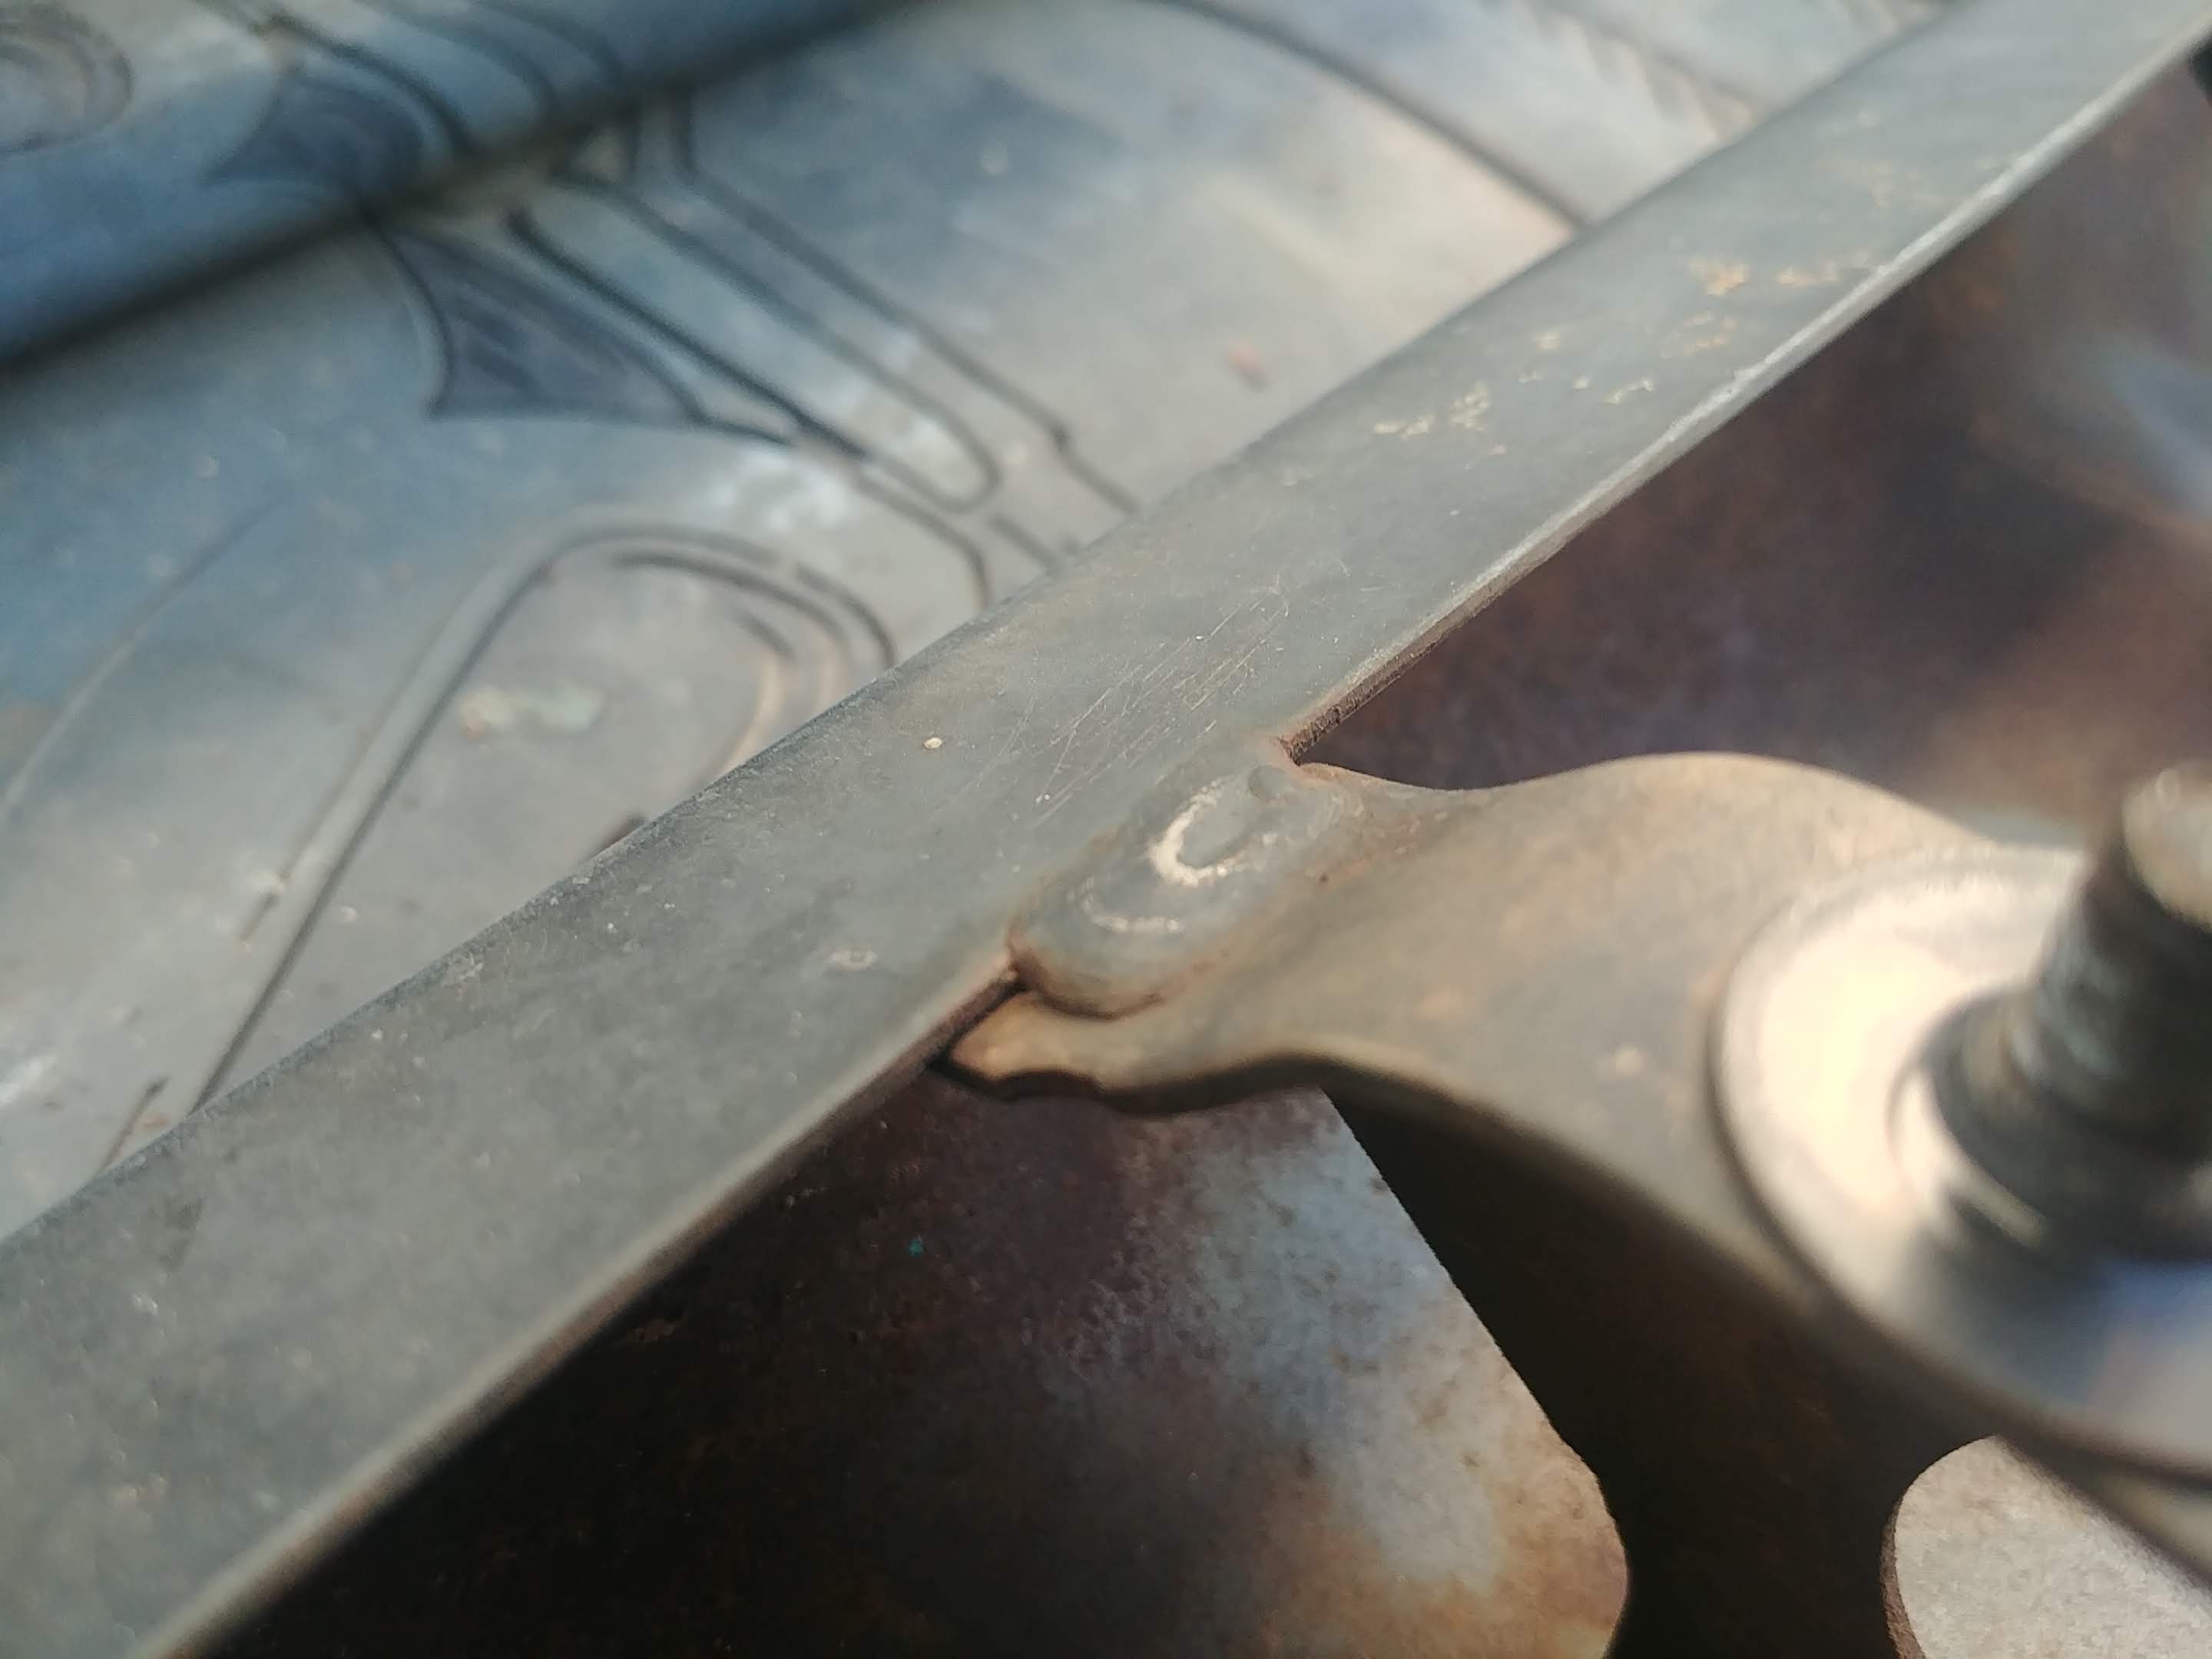
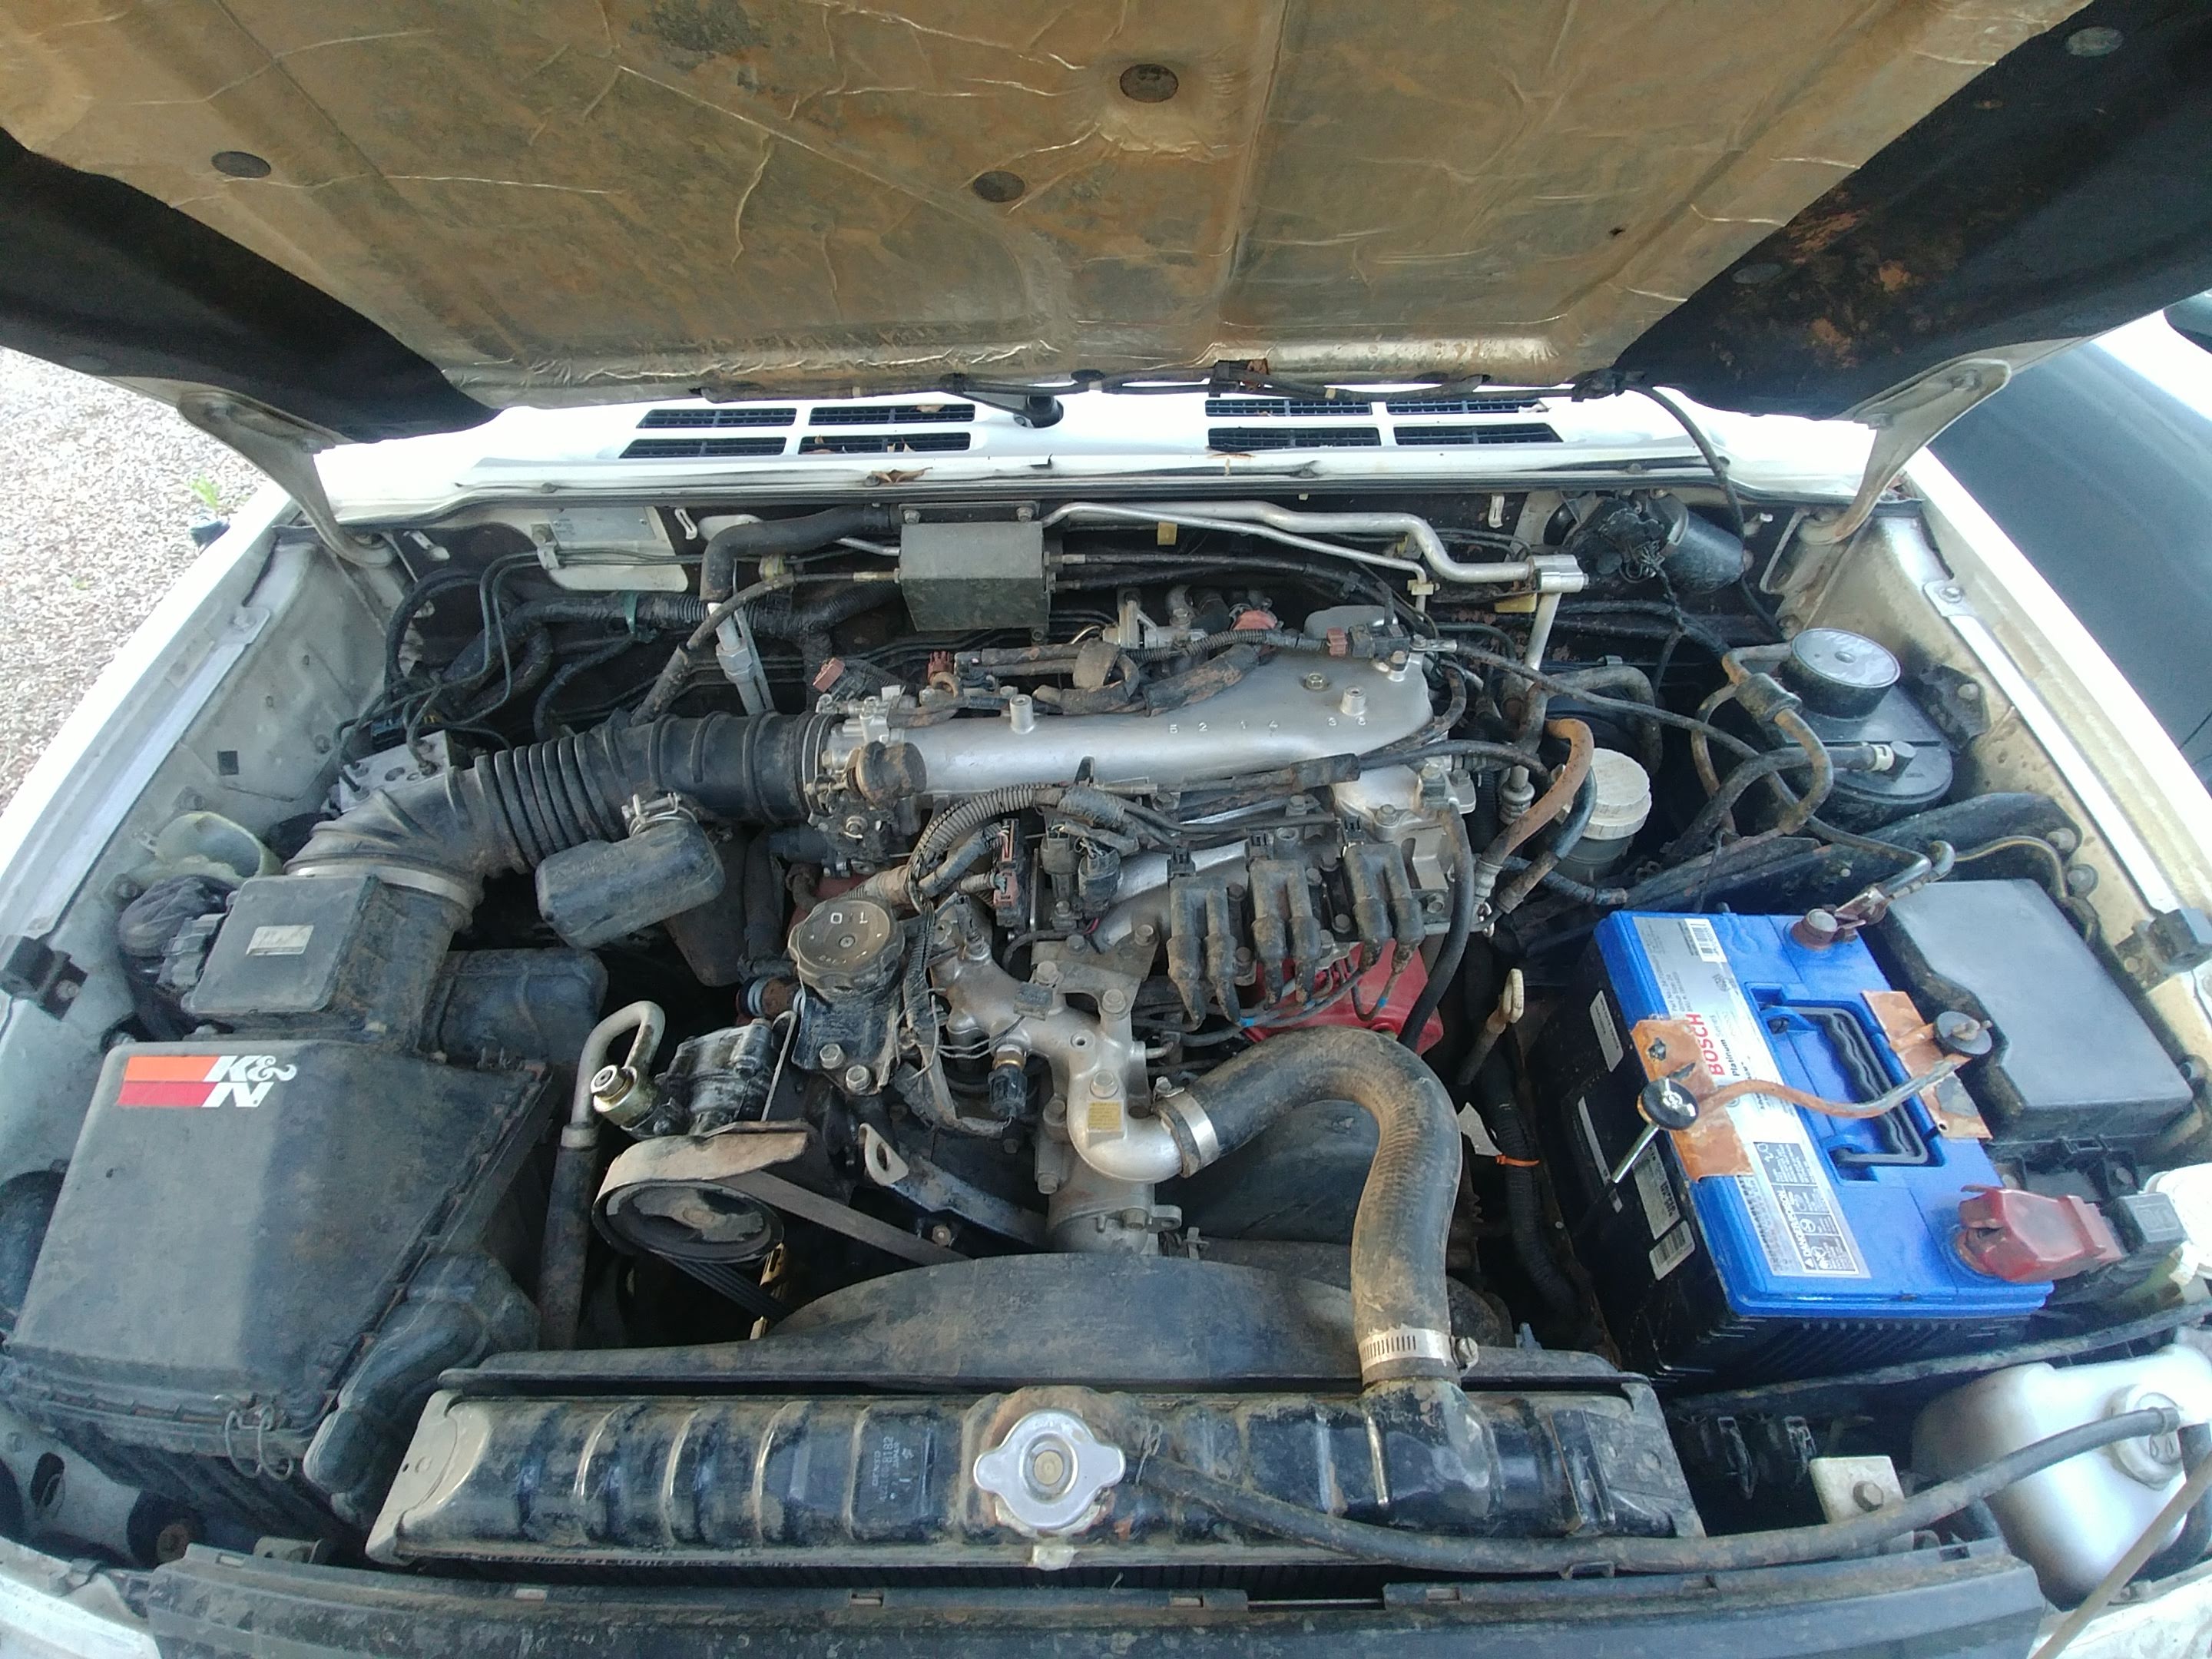
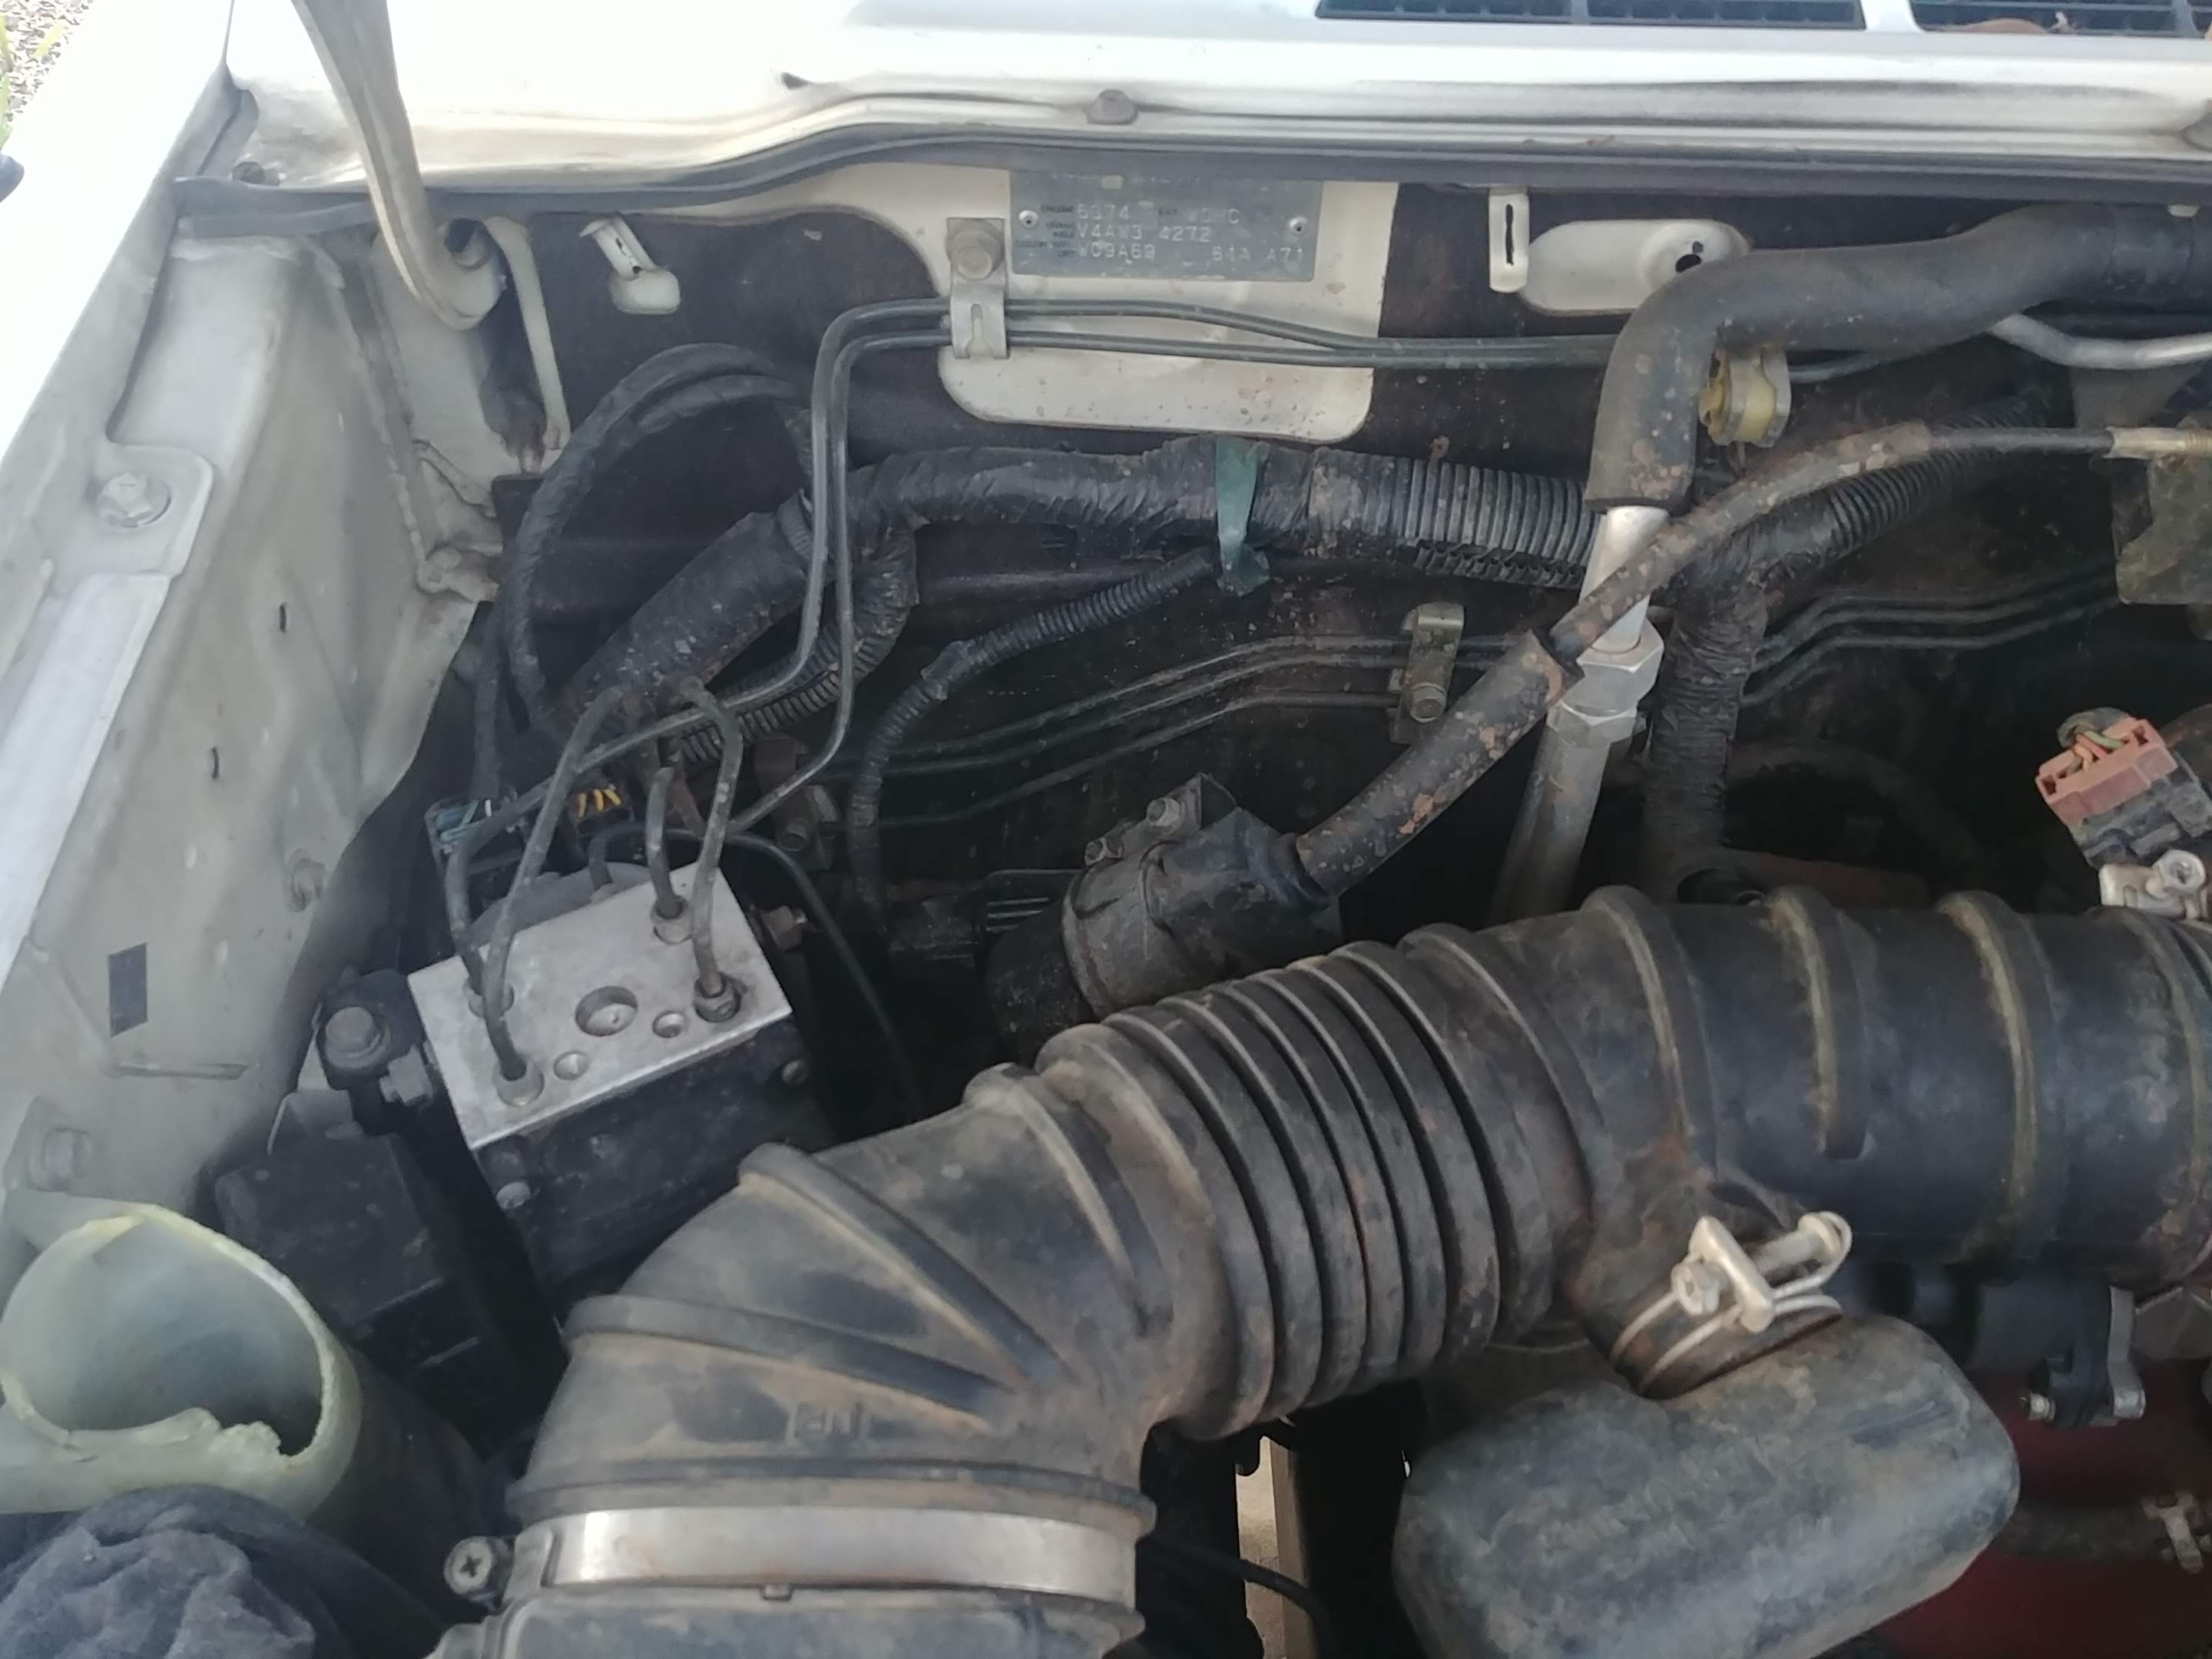
) has them both in the engine compartment. It was a factory option, and implementation was as easy as a few cables, a tray and a clamp. No brainer.

Anyways. Food for thought. Just so you don’t convince yourself that you HAVE to put second batt underhood.

Lol, Phil. ISWYDT :lulz

I’m thinking I might do just that, @pajevo. It’s going to be a while before I need anything more than the odd USB port back there, so that kinda makes sense. There’s even a pretty decent sized bucket under the floor where the amp used to be, right? Perfect spot to mount an AGM. Also means much shorter run from the main panel in the engine bay.

Starting to see a plan come together on this front. Don’t know why it still feels so foggy to be honest. Just when I think I’ve got it figured out, some small detail confuses the shit outta me and I’m stalled.

  • Connect main battery pos/neg to tidy bus bar-type thing (ie: main panel) via those terminals Chazz mentioned.

  • Power any forward aux lighting (likely just the one LED bar) via relay with built-in fuse.

  • Route 6AWG pos/neg through individual circuit breakers from main panel to roof and house sub-panels.

  • Route signal lines (CAT5) between in-dash switch location to roof basket connection.

  • Install roof panel (likely relays w/ built-in fuses like above) in watertight, metal box w/ marine USB port.

I’m thinking I’ll use jumper cables for my 6AWG runs, since they’re apparently less expensive.

As I have minimal needs for house power right now, I feel like I can probably get away with a simple bus/fuse box on the house circuit under the second row for now. When I go to add the second battery, I could move the 6AWG leads to the battery a la the isolated, dual bat setup, right?

The real tricky part, for me, is how I tie aux lighting to the high beam switch. Especially on the roof. It’s relatively easy in the engine bay—just run the light bar relay signal off the high beam relay. I think? This is where things start feeling layered/nested and my brain starts hurting.

Ideally, I’d like to be able to have all my forward-facing aux lights on/off with the high beams, including the factory fogs (which are normally off when the high beams are on). Feels like there’s an old school, jumper-the-parking-lights-fuse trick involved, there, but I don’t know.

Appreciate the advice here. Thank you.

Brian…many little steps eventually equal to huge progress. Wow…Fezzik looks like it has come a long way in such a short amount of time.

I am loving it!!!

1 Like

Thanks, brother!

I have it on good account that is you have a white, 2G Montero, you’re pretty lucky, because it’s single stage or something. Apparently you can cut and polish and bring them back to good as new condition.

I will not be doing that, though, as I want that hard earned patina! :cowboy_hat_face:

By the way, just had a thought on the high beam switching. Is this what that piece of the diagram looks like? I tap the signal coming off the factory high beam relay and run that fork through my dash switch to the trigger of my light bar relay.

I’m seeing things right, right? The light bar switch isn’t “armed” unless the high beams are on. So I can dip–or fire :smiling_imp: --
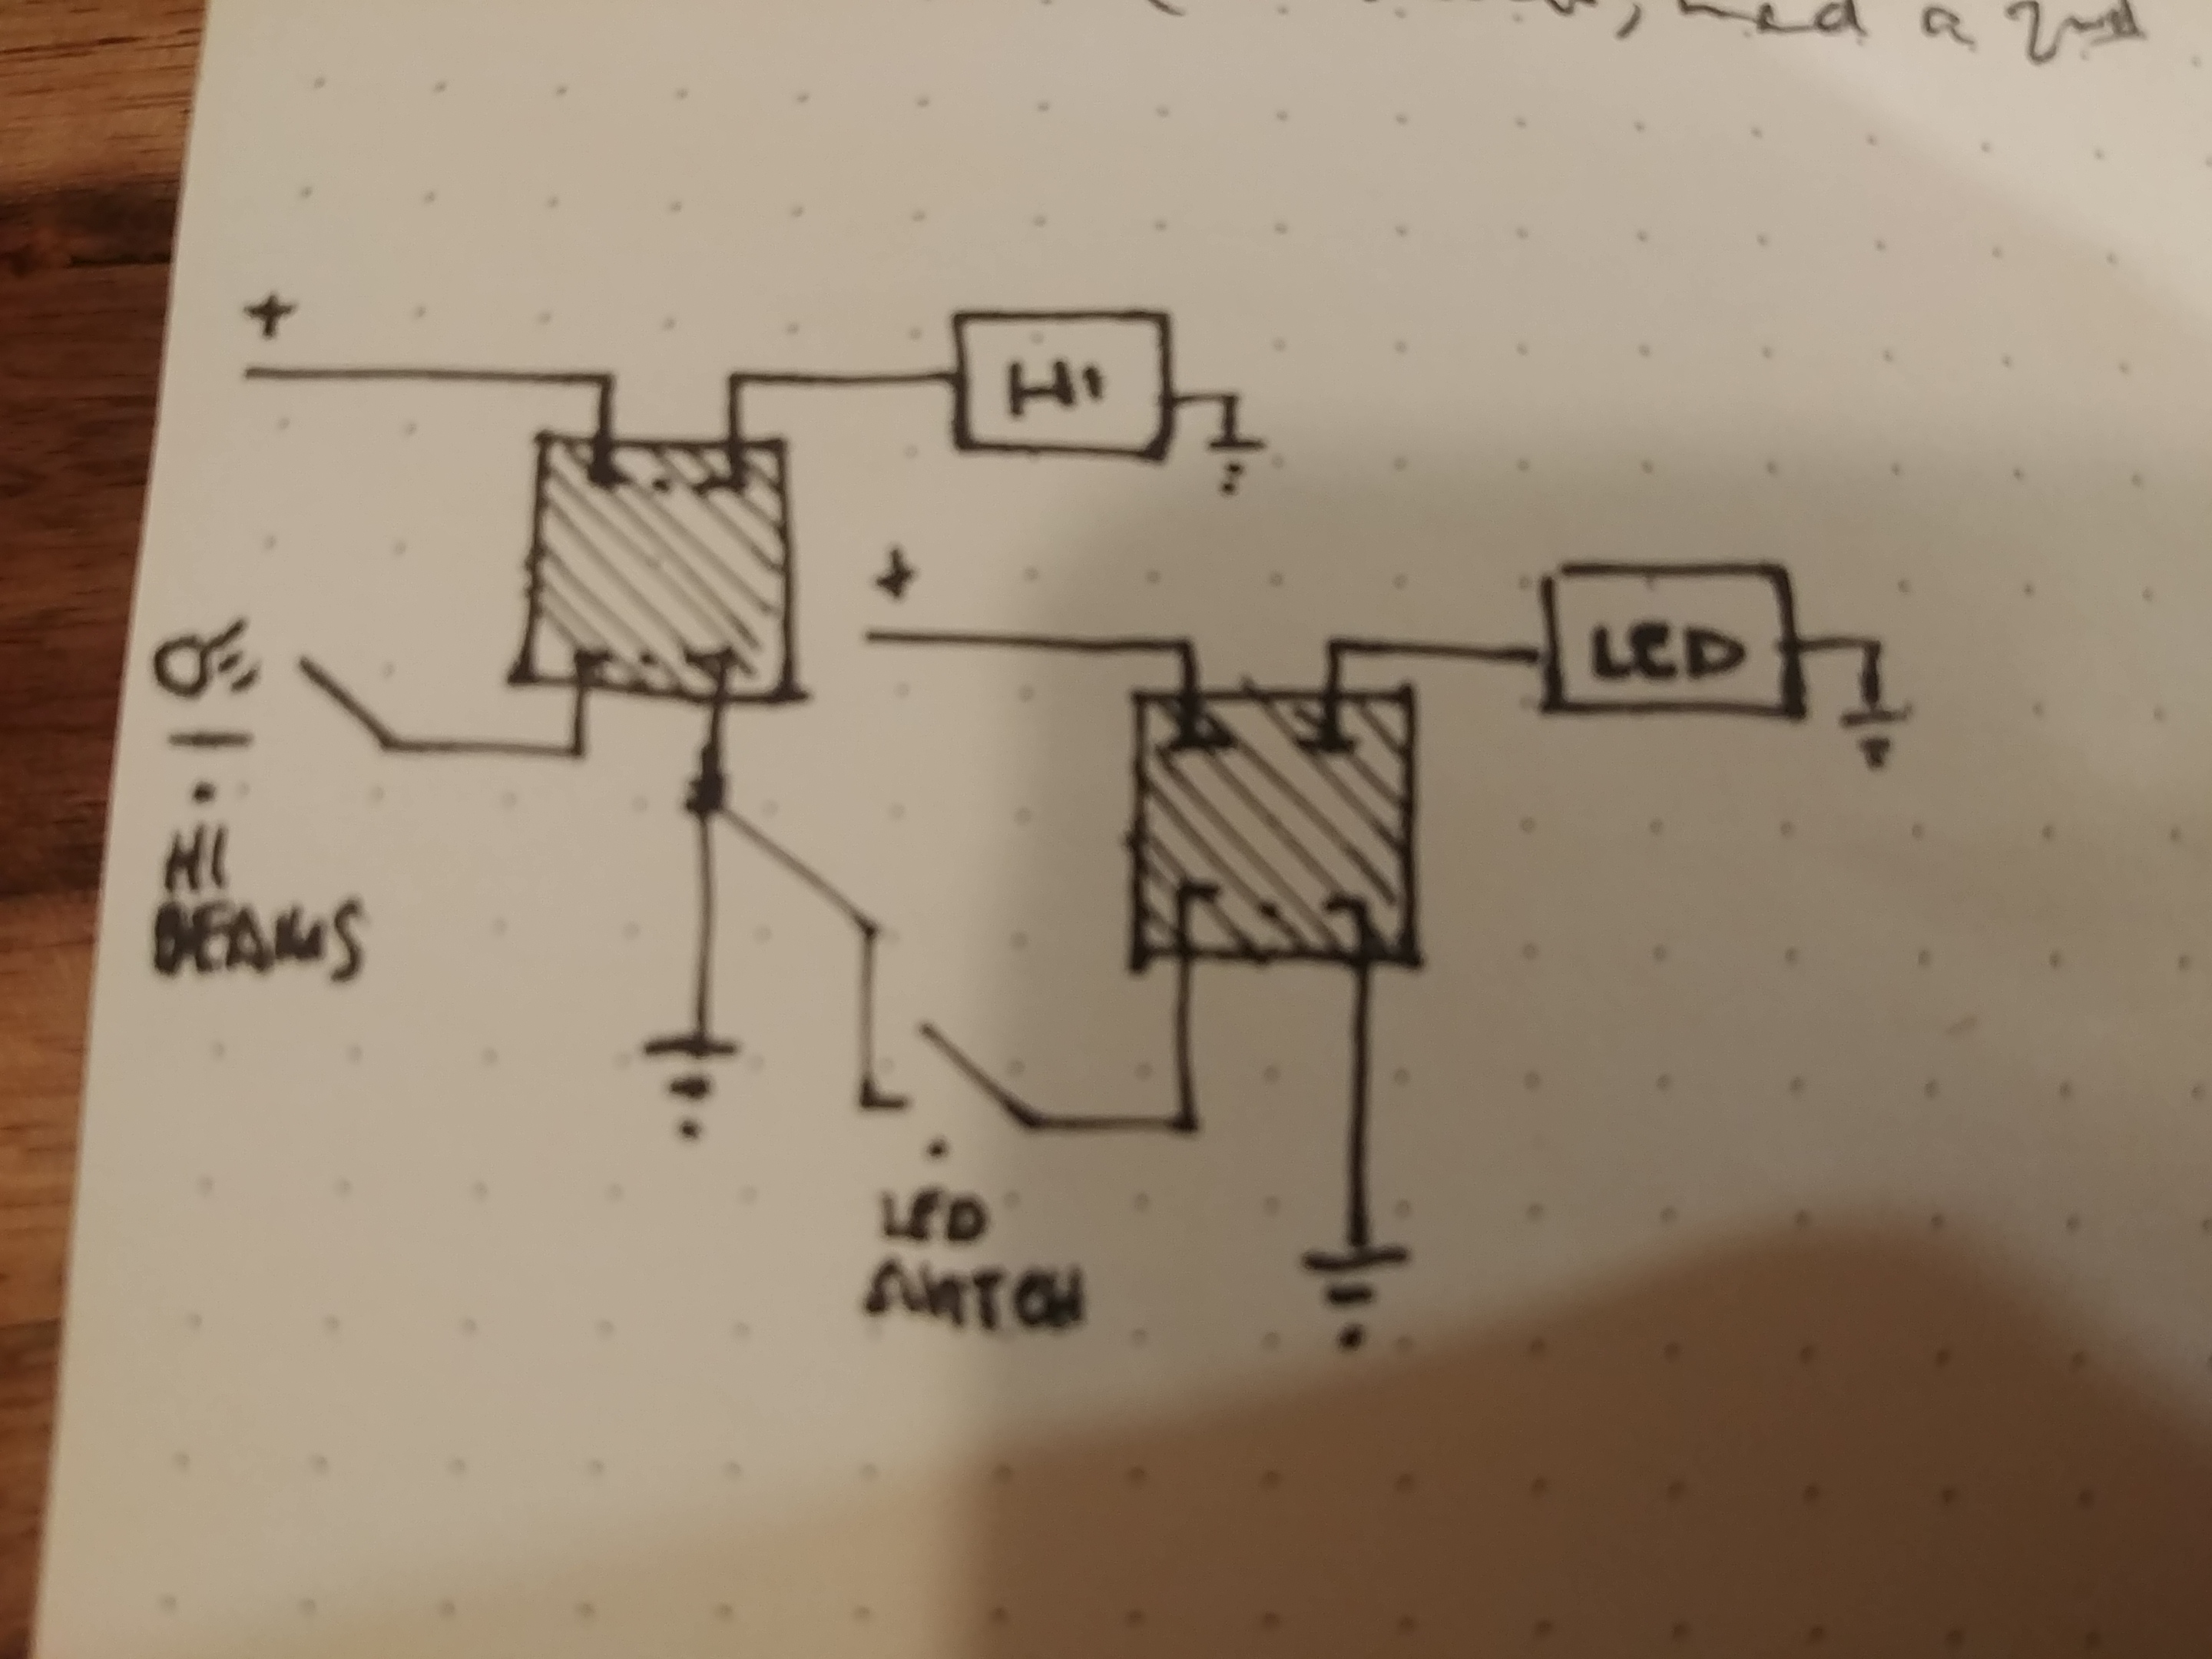
all the big lights with just the factory high beams.

I like to run any combination I desire too, hate those silly auto-cutoffs between highs and fogs. Not sure how Mitsubishi does theirs…Subaru is just snipping a wire. Best to figure out how the cut-off works and remove it, as if you pull power from another still-live-with-highs circuit you’ll be back-feeding power into it

Correct, but that’s extra wiring to have to pass in and out. As a shortcut, you could tap on to the high-beam switch on the inside and run that straight to your dash switch for the bar. Then you’ll only need a single signal wire going through the firewall to the relay. There’s plenty of capacity on this circuit for as many switches as you’d want, and cuts the wiring in half. :+1:

1 Like

Yiss!

I feel like, once upon a time, I was told Mitsubishi likes to trigger lights by swapping the ground and how that tends to make things a little harder than they need to be.

Thank you, sir.

This just in…

Thanks for the reco @ChazzLayne

@BradD build thread magic. Get some.

2 Likes

221,622

  • brake bleed
  • failed attempt at O2 replacement

Quick recap of my ongoing brake issues:

  • RF caliper was dragging, wore inside pad down to metal, mild grooves in rotor now
  • failed attempt to replace front calipers (didn’t fit), aggressive cleanup, new pads
  • new pads started squeaking/scraping inside 5mos with plenty of life left in them

After cleaning things up a couple months back—including swapping pads left to right for shits and giggles—the front right has started making noise again when making right turns under partial braking.

Someone mentioned it might be a matter of bleeding the brakes. Considering I cracked the lines when I attempted to replace the calipers—but did not re-bleed after—I’d say this is a very sound idea. So I decided to bleed the shit out of them last night.

It was an interesting experience, to say the least. I used Vacula, my Mighty Vac to put a vacuum on the bleeders. Of course, the rears being Speed Bleeders that didn’t work. I had to apply a vacuum, then walk up and pump the pedal a couple times. Got a few bubbles. Got a lot of fluid.

Moving to the front, the Speed Bleeders I’d ordered from Amazon didn’t fit, so we just had the OE bits. Topped off the reservoir, put 20in+ vac on the bleeder and cracked it open slowly until it dropped to 10-15in. Got lots of bubbles from the RF, then only a few, and a decent amount of fluid.

Switching to the LF, I got lots of bubbles. What’s worse, it seemed like no matter how many times I opened that bleeder, I barely got any fluid and the reservoir barely dropped. In the end, though, after dumping the container and trying again, I was pulling clean, clear fluid, so I put all the wheels back on and took it for a spin.

The pedal feels much firmer now—but it still squeals on right turns.

Methinks I should put new rotors and manual hubs on my list when the fancy calipers come back from Detective Coating. :slight_smile:

Oh yeah, and having confirmed I got the right CA-spec O2 sensors, I attempted to replace them while I was in there. I’ll be damned if they refused to break loose. It’s funny, I don’t remember removing anything else to get to them in 2015 when I replaced them last time.

Anyway. When I get back next weekend, I guess. Along with the fuel filter, diff/tcase oils, and PS pump and reservoir.

3 Likes

222,787

  • PS pump/reservoir replacement
  • 1/4 O2S replacement
  • K&N cleaning

This is my engine bay. There are others like it but this one is mine. It’s a fucking mess. If you were at Montero Camp for Overland Expo West last year, you remember how muddy it was. I let that mud bake nearly a year.

Smart. Brains.

This is my power steering pump. It’s been making noise since Josh and I installed the new engine in May of 2018. I let it whine because it sounded kinda like a supercharger. And that’s neat.

The low pressure return line, however, was cracked and leaking. I’m talking massive oil spot in the driveway leaking.

Enough is enough.

But first—here’s a dirty K&N filter.

Just look how nasty things were.Gross.

After quite a bit of scrubbing and rinsing, things started looking pretty good!

Oh! And what’s this? Why, it’s a new O2 sensor where the tried, 5-year old jobber used to be!

Unfortunately, I couldn’t get the other side out so we’ll save that for another day.

And here’s a shot of things mostly buttoned back up.

Unfortunately, the noise is still there. Just as bad as before. I don’t know if it’s the tensioner pulley or air in the system (the FSM says to bleed it without the engine running by manually turning the pump and steering back and forth without letting the level drop below the filter basket in the reservoir, but we live to fight again.

Still need to replace the other front O2, replace diff/tcase fluids, replace fuel filter, and it would appear I’m losing coolant somewhere, so that’s going to be a big priority here pretty quick.

Until next time…

2 Likes

Quick trick for bleeding system. Place some cardboard underneath front wheel. Makes it easier to rotate the wheel back and forth, lock to lock. I always bled with engine running… But FSM knows best. Also look for milkshake bubbles in PS fluid if air trapped…

Btw, I’m a sucker for a clean engine bay, and getting cherries from Japan has made this even worse. You are on your way to my good books. :grin::joy: In case that’s important. Lol.

(I’m the guy that went through a full pack of magic erasers on the underside of the pajevo’s hood. So I may not be the best judge of anything sensible…)

1 Like