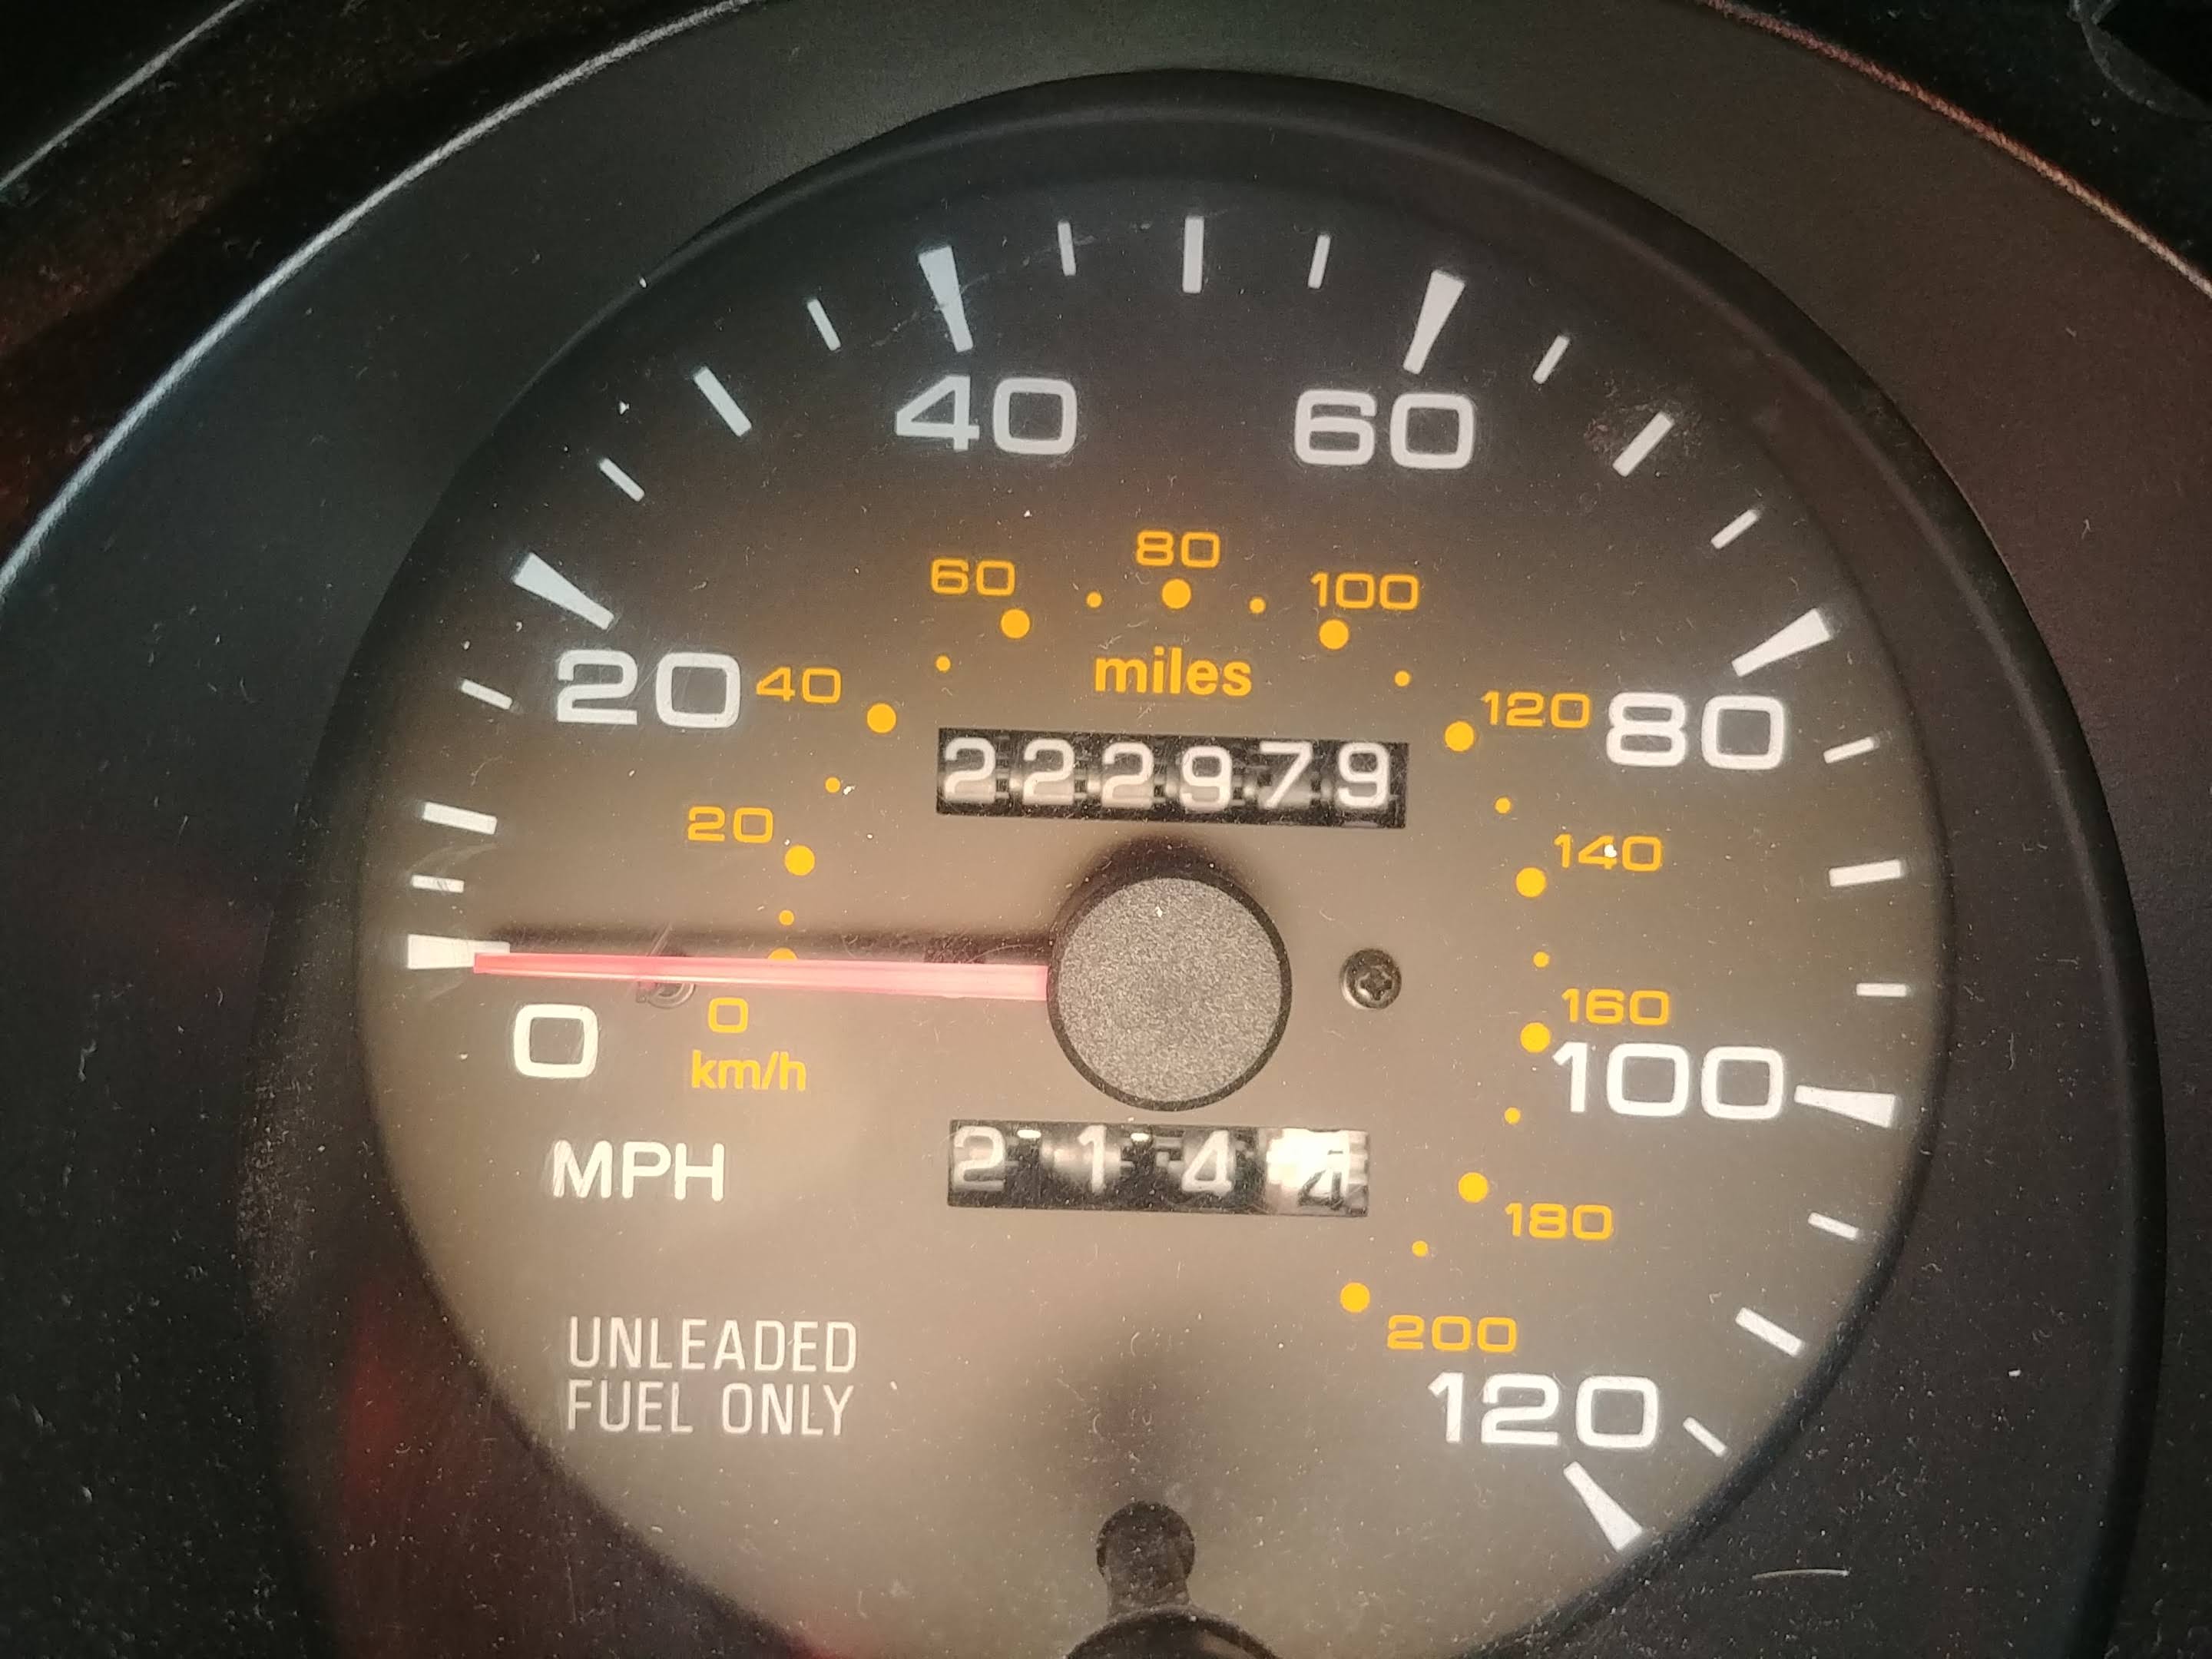
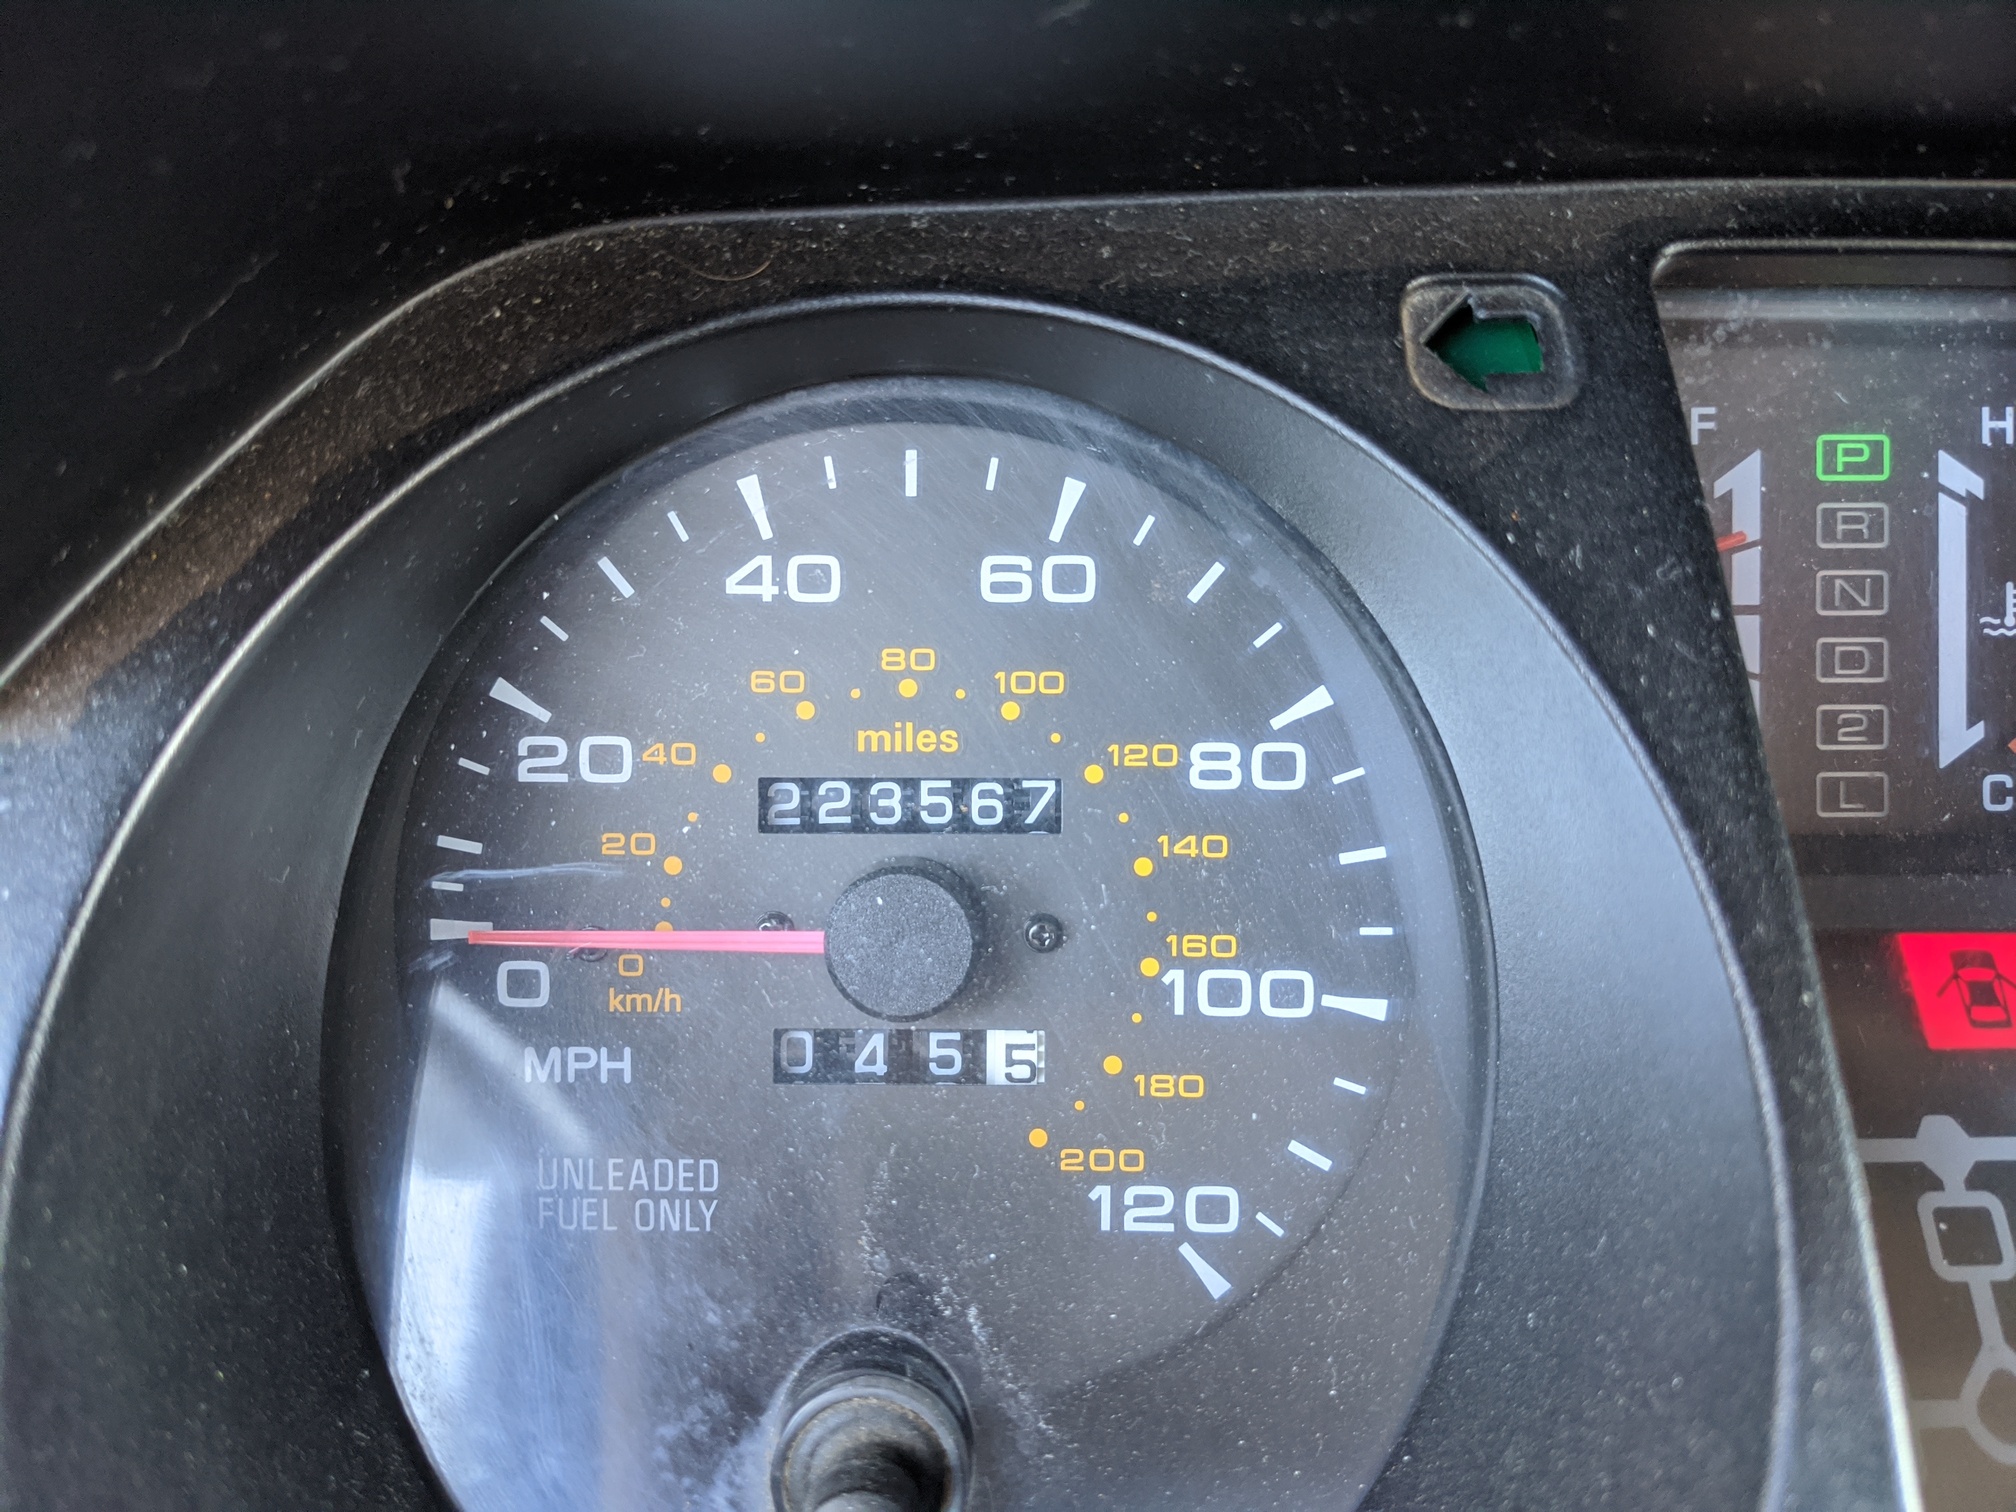
223,567
- grease front end
- light bar install
- front/rear diff oil change
- more worries
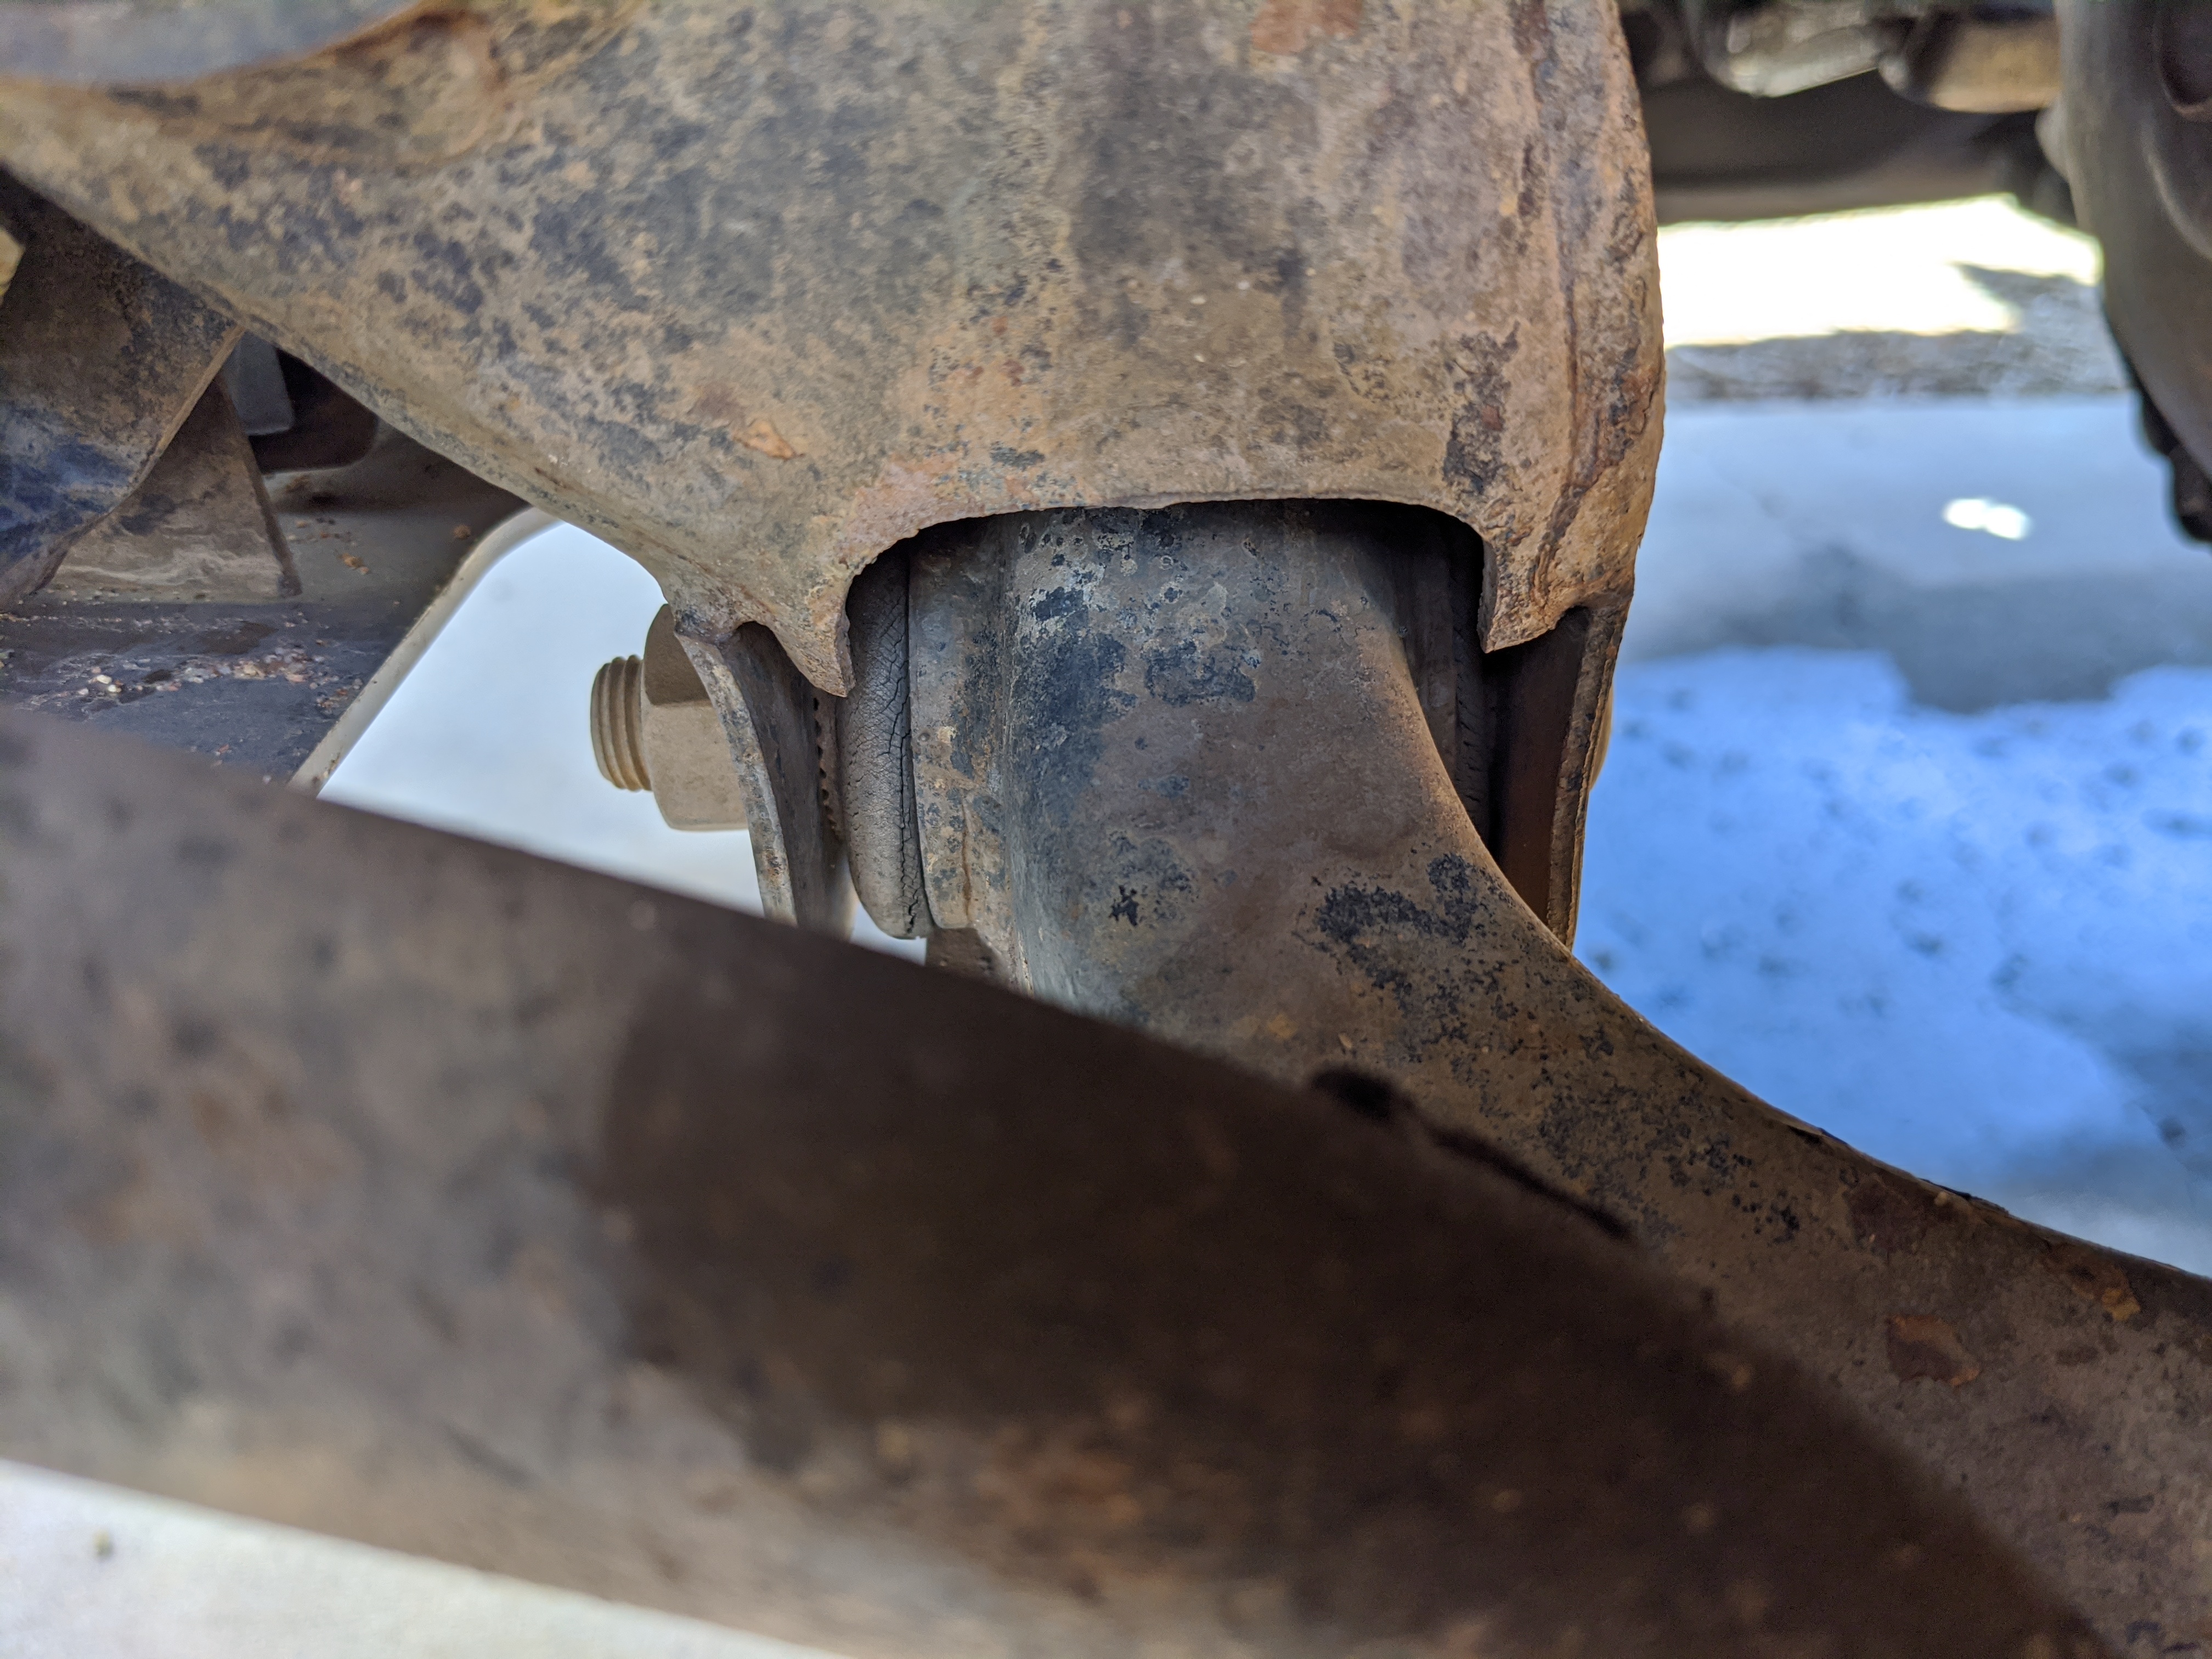
Having crossed two streams in as many weeks, ol’ Fez has developed something of a nasty creaking/popping noise in the front end. It’s apparently related to weight transfer, forward to rear, specifically when the front suspension is unloading.
Shaking the truck side to side does nothing. Bouncing the front bumper does nothing. But every time I come to a stop, there’s 3-5 very loud creaking/pops from the front end, and then another 5-7 when I start accelerating.
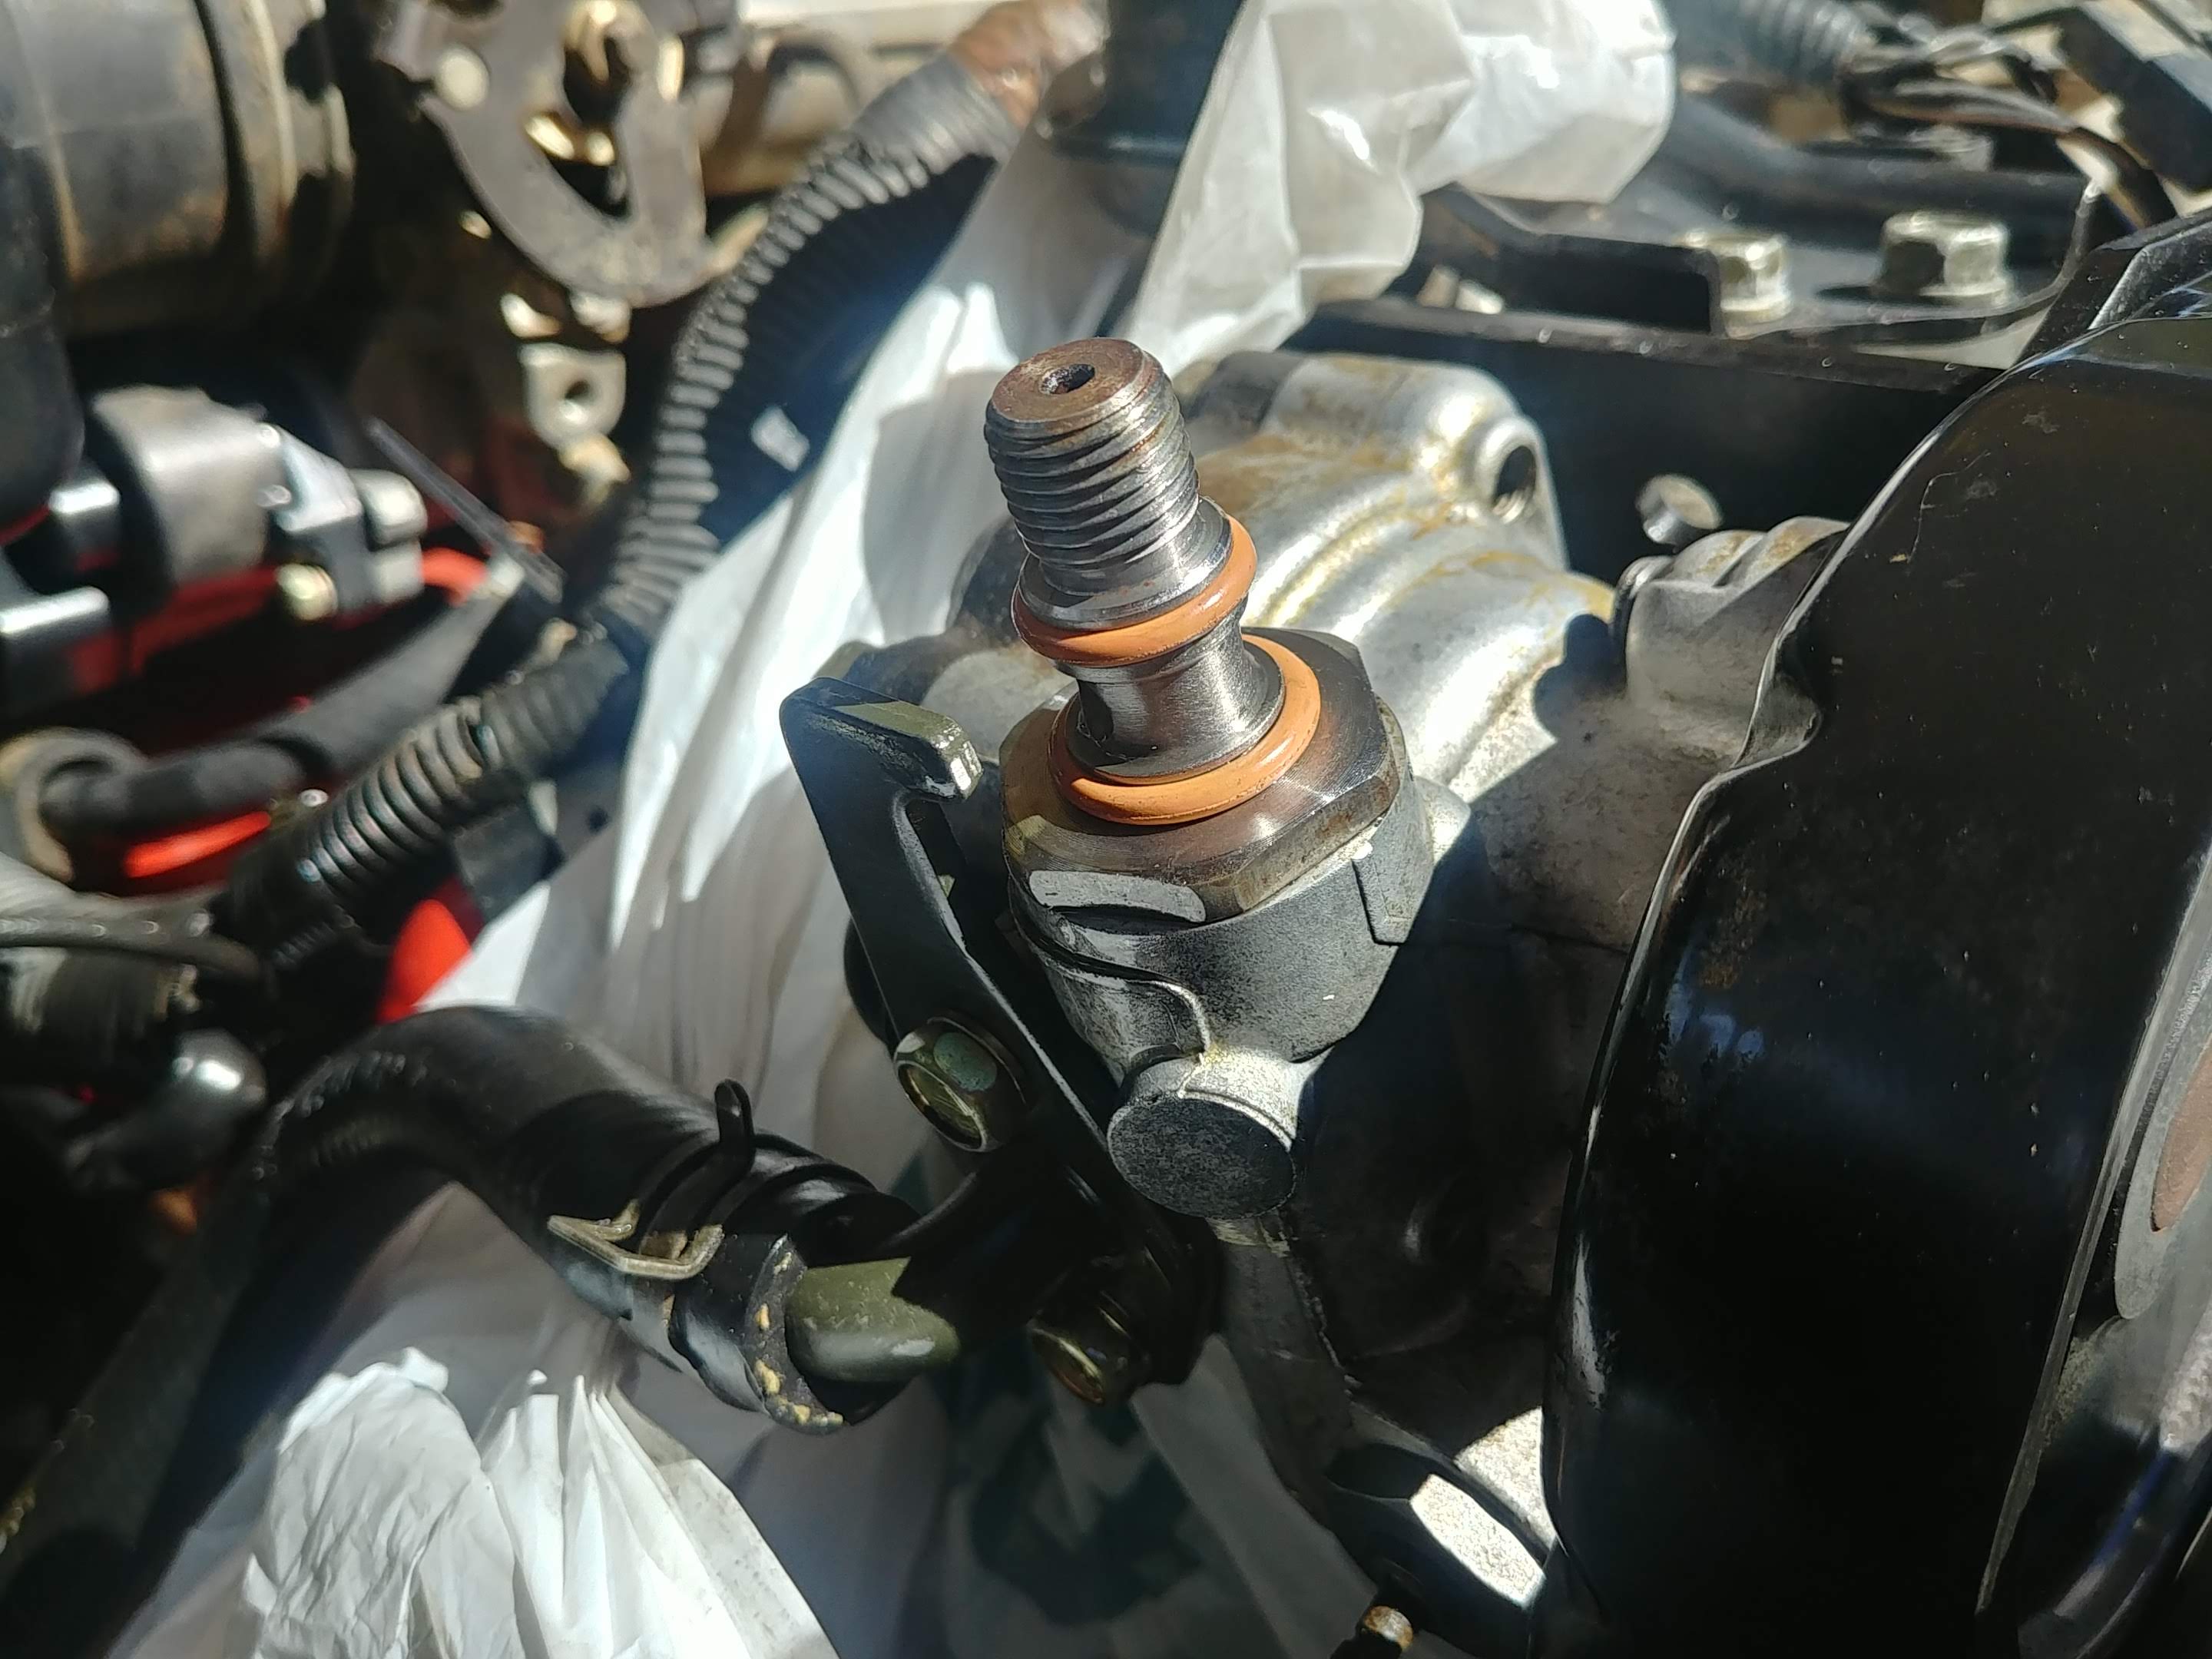
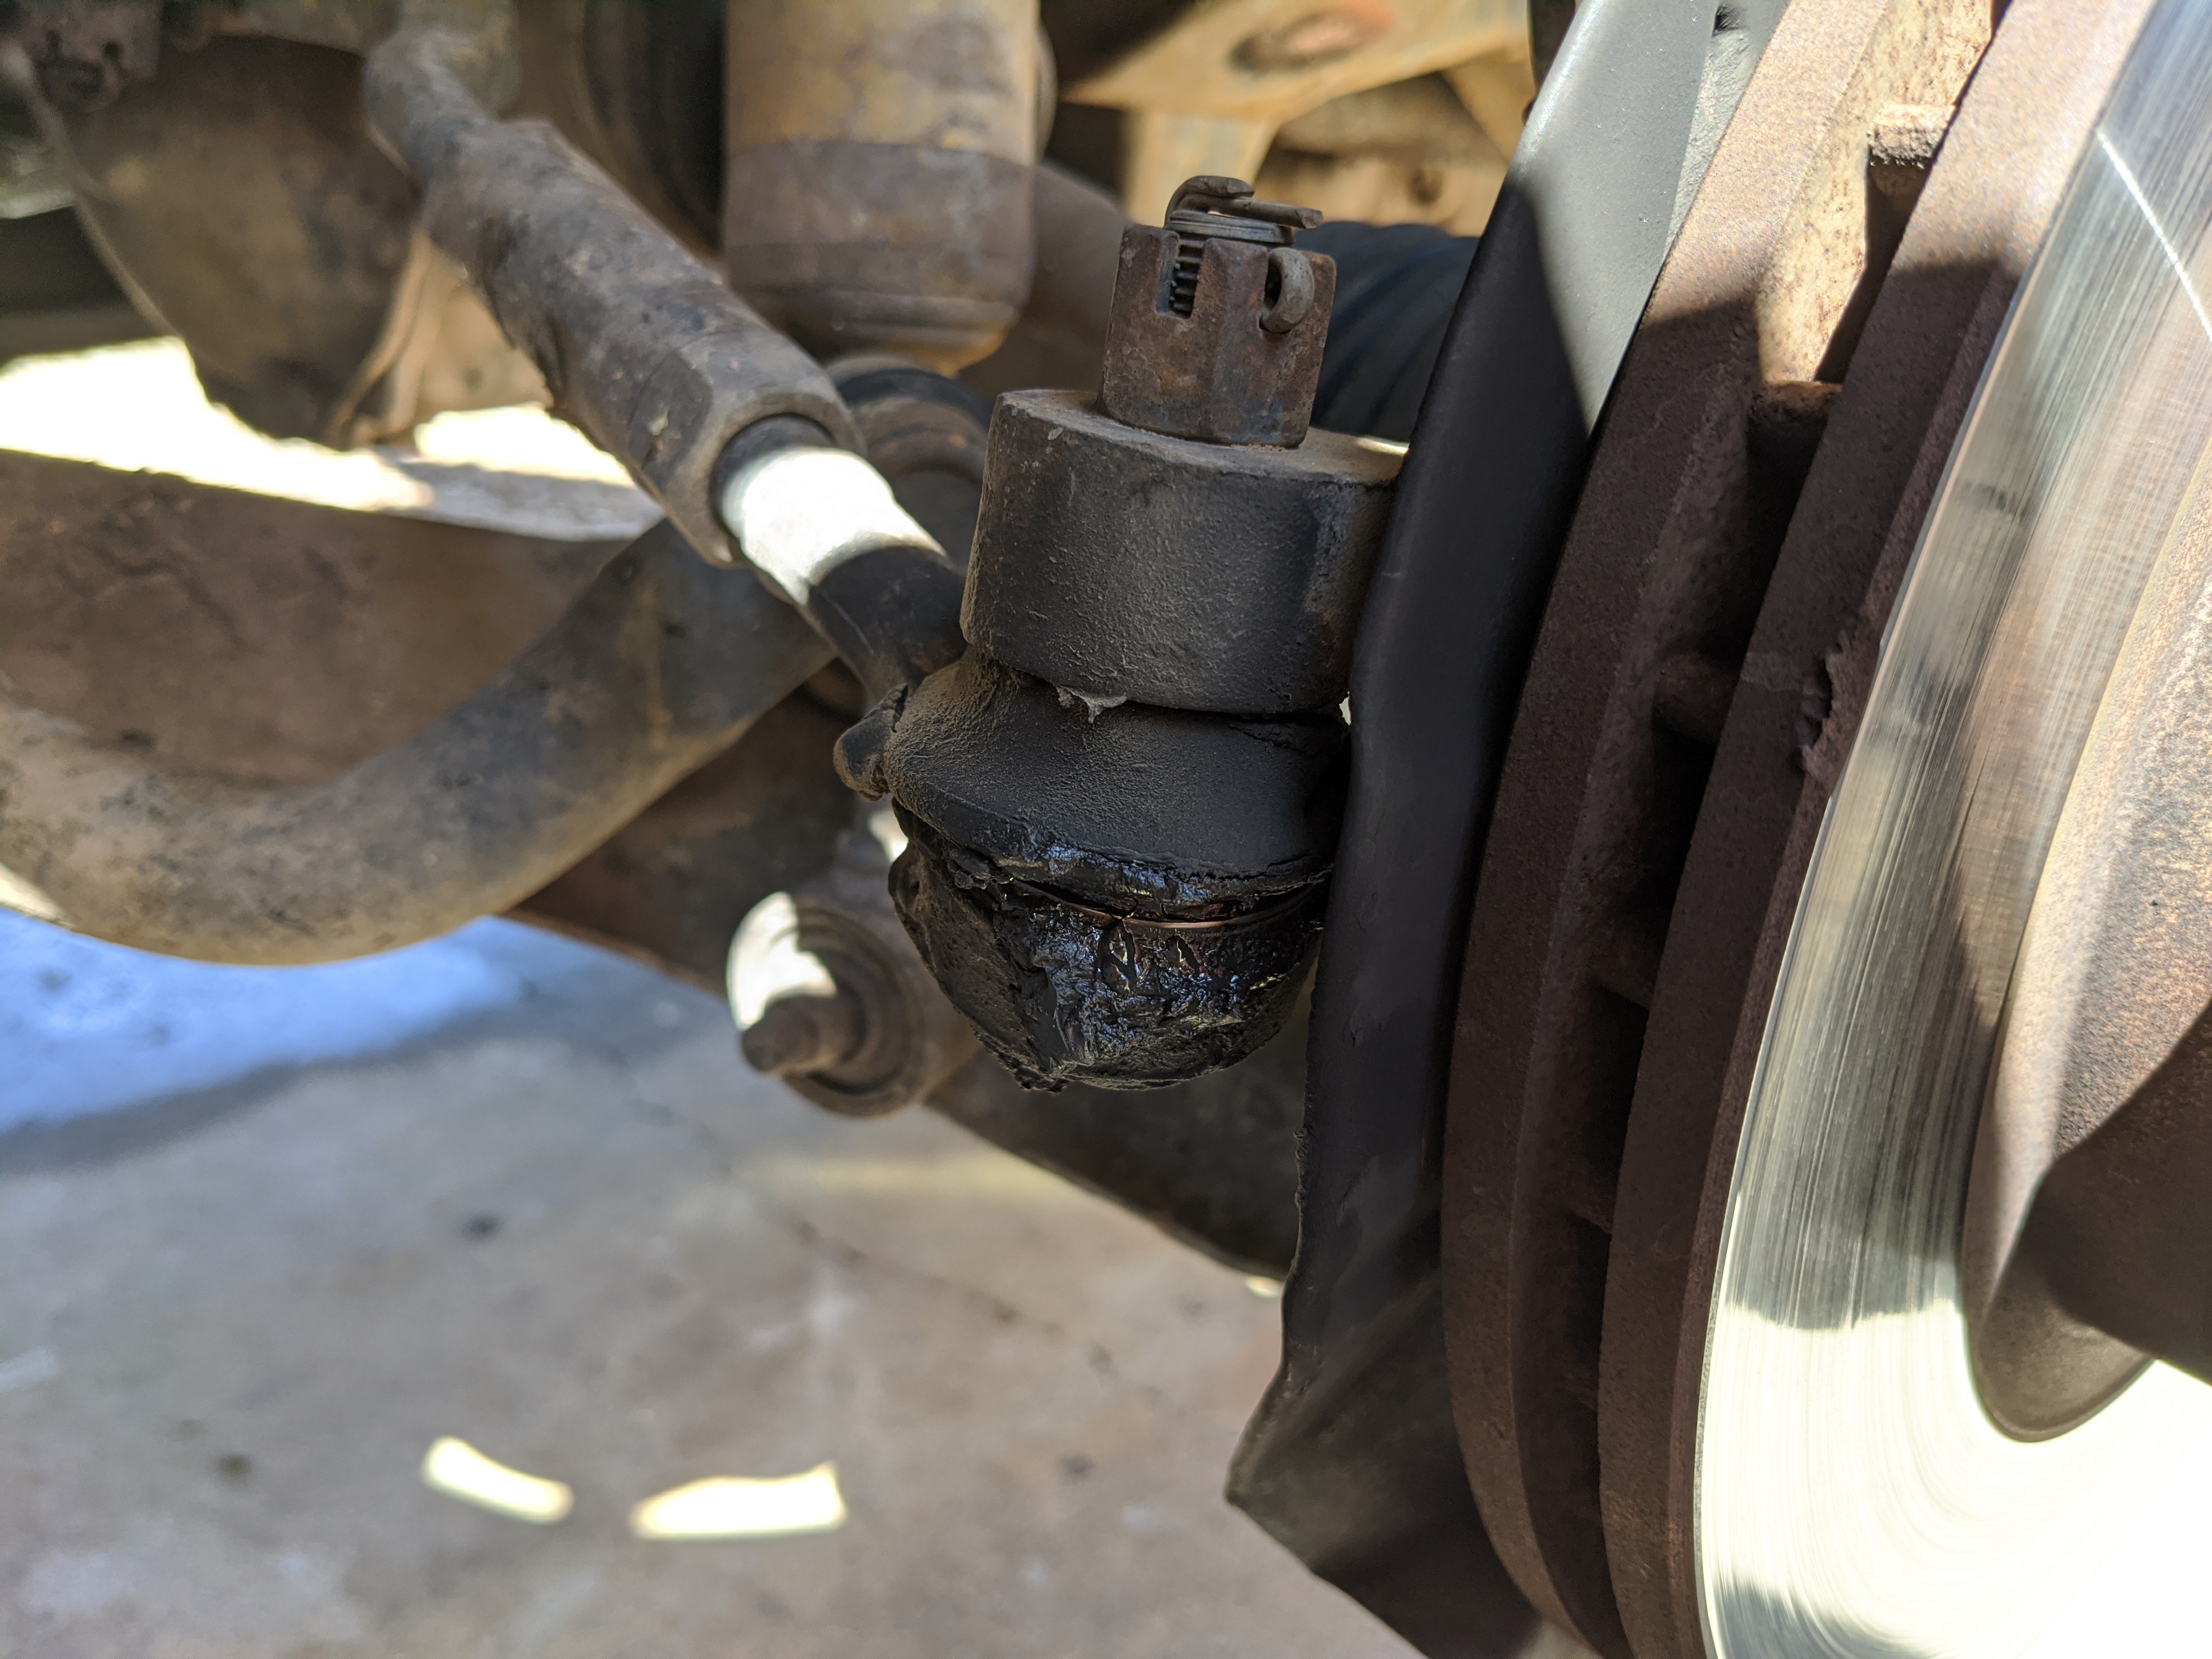
Sounds like it’s coming from the passenger side, but when I went to raise the front end to pull the wheels so I could inspect/grease everything, the driver side did it as soon as the jack began lifting the weight.
Josh has a set of ADD ball joints for me—whenever it’s safe to collect them—but it looks like I’ll need to order a few more items. I mean, it looks like these Mevotechs are shot to shit. (Less than 3 years old and I take the truck off-road maybe twice a year.)
And did I order the upper ball joints or lowers? Or both? Either way, my lowers look okay, but the tops are another pair of less than 3 year old Mevotechs and they’re absolute garbage. I will never buy these ever again. Ever.
LCA bushings are looking a bit ragged these days, too. I am SO not ready to replace all the front end bushings on any front; budget, time, or effort.
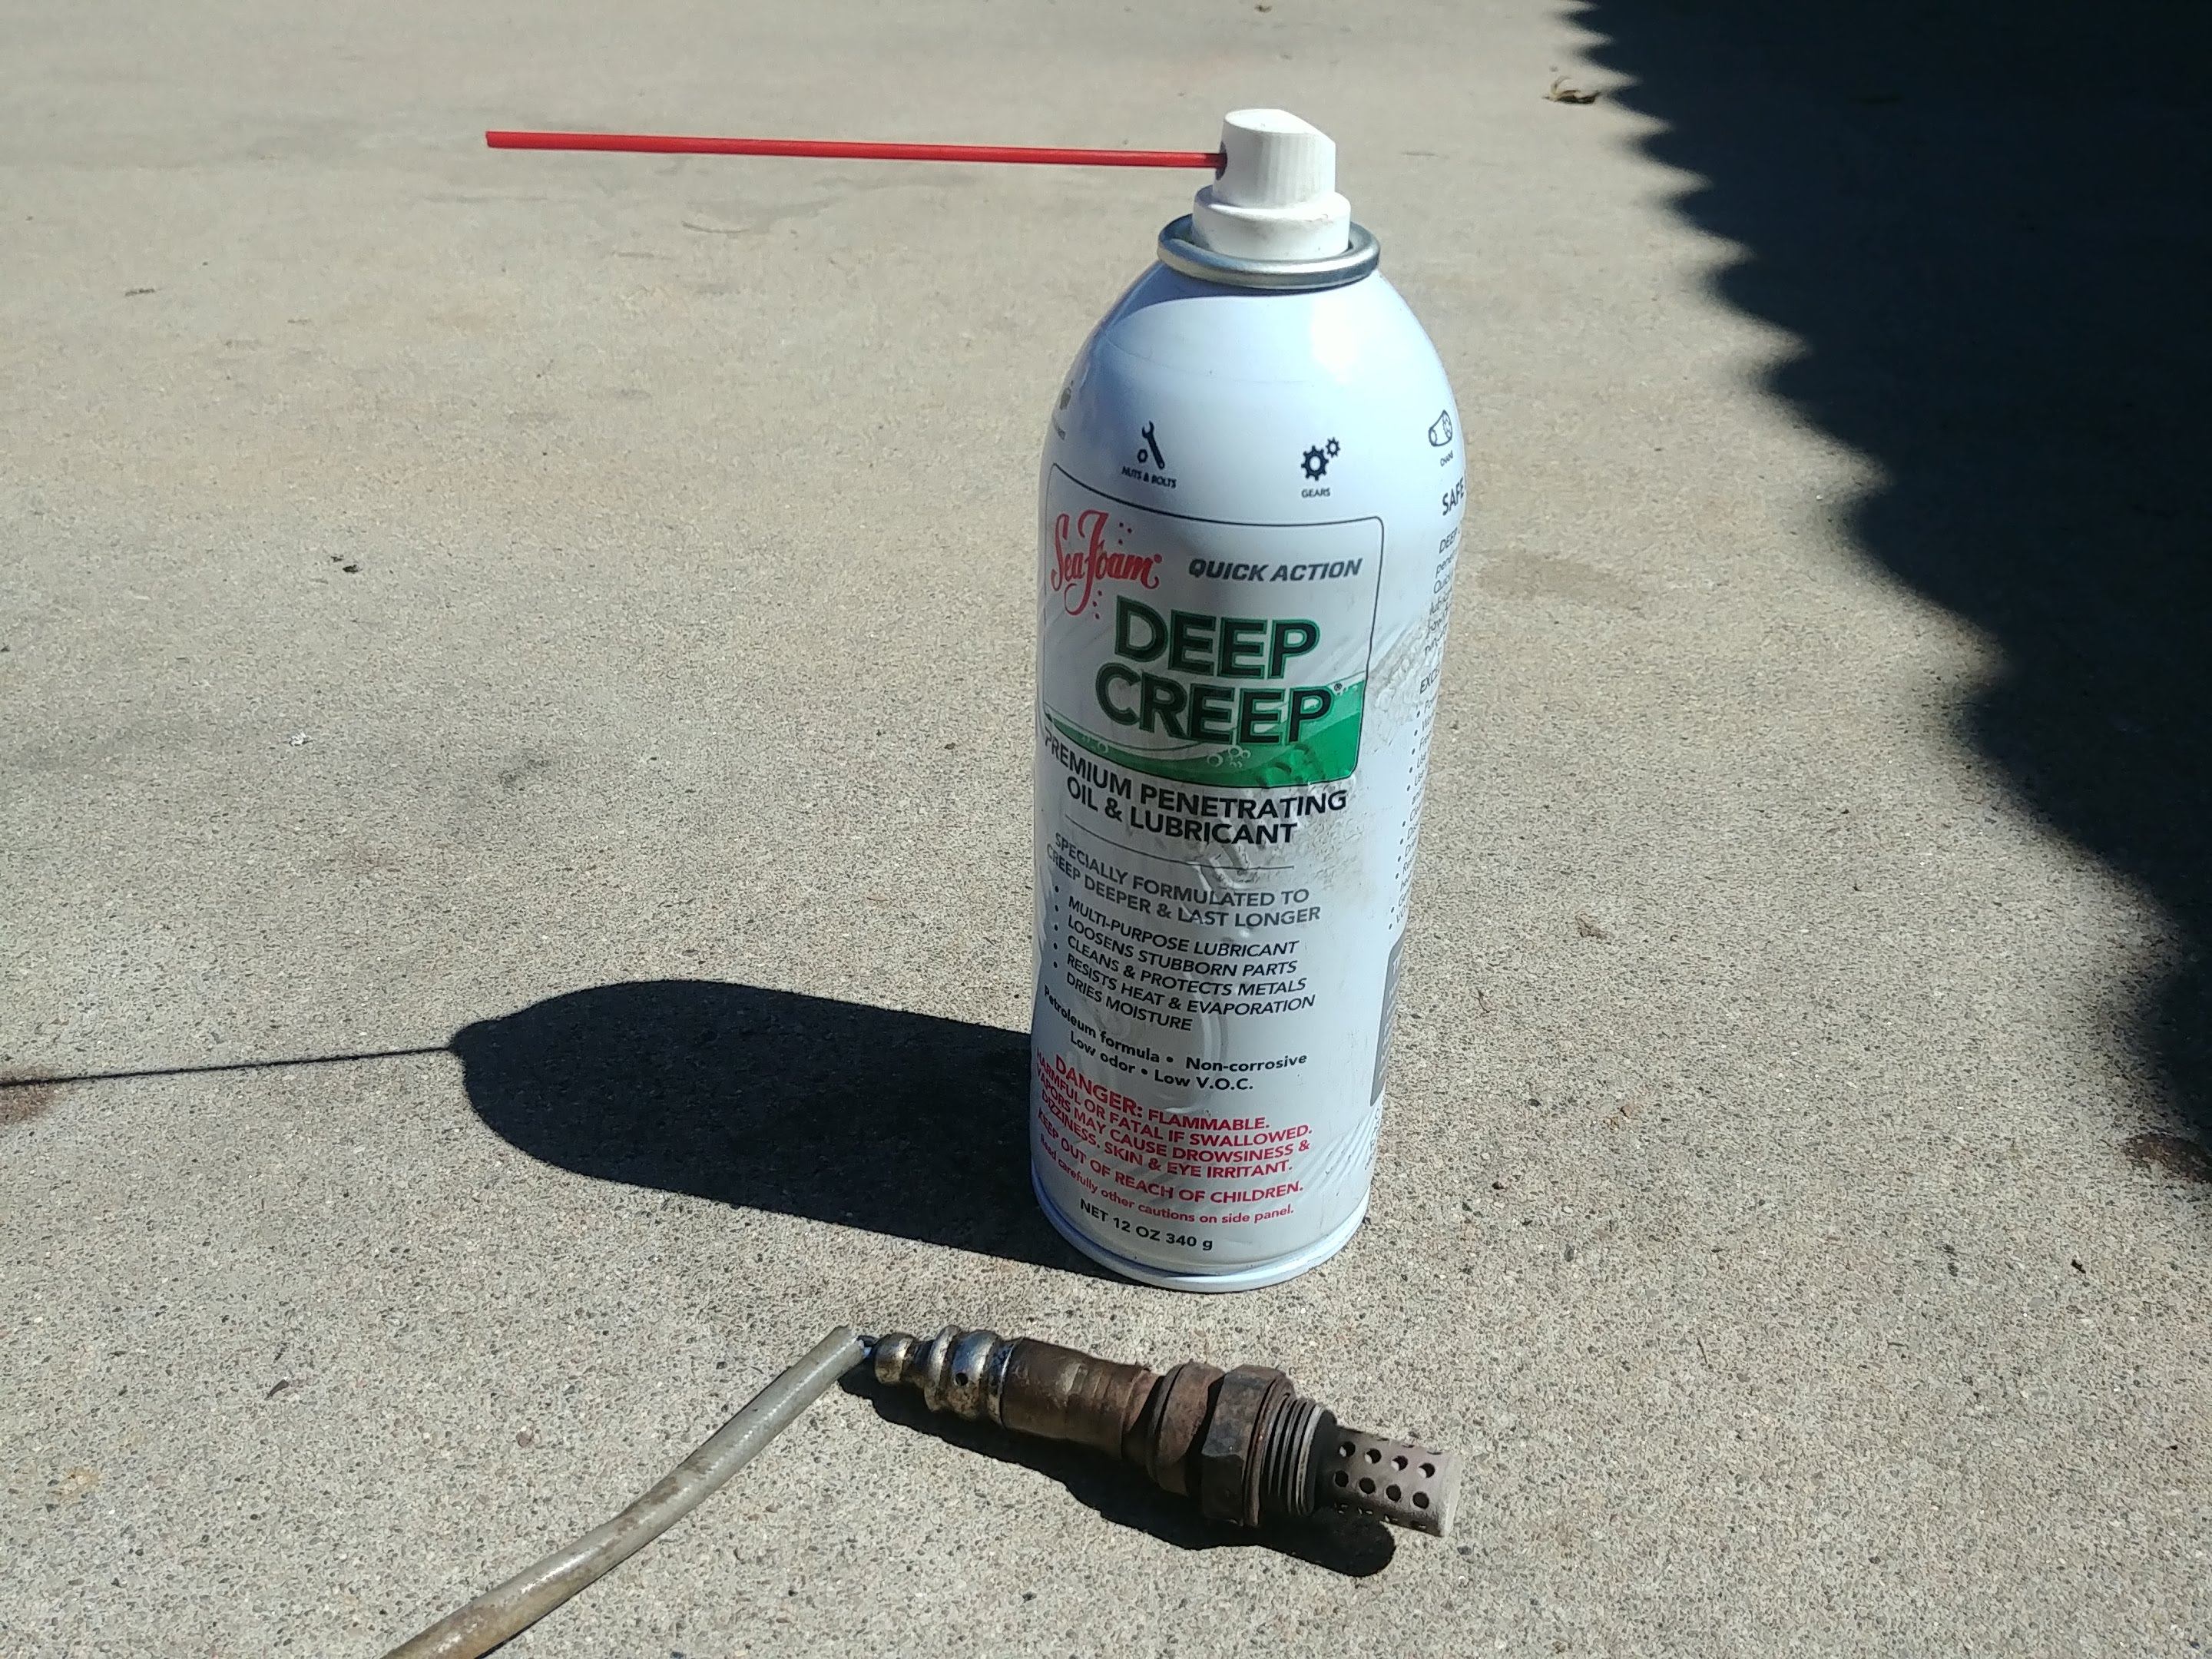
In any case, I greased every zerk I could find, and sprayed other things with WD40. (Why not?) Guess what—it made absolutely ZERO difference in the creaking and popping. Currently thinking I might want to check/spray the lower strut mounts and sway bar bushings next time I’m under the truck.
(Would be nice to have some of this “free time” I see in all the coronavirus memes these days.)
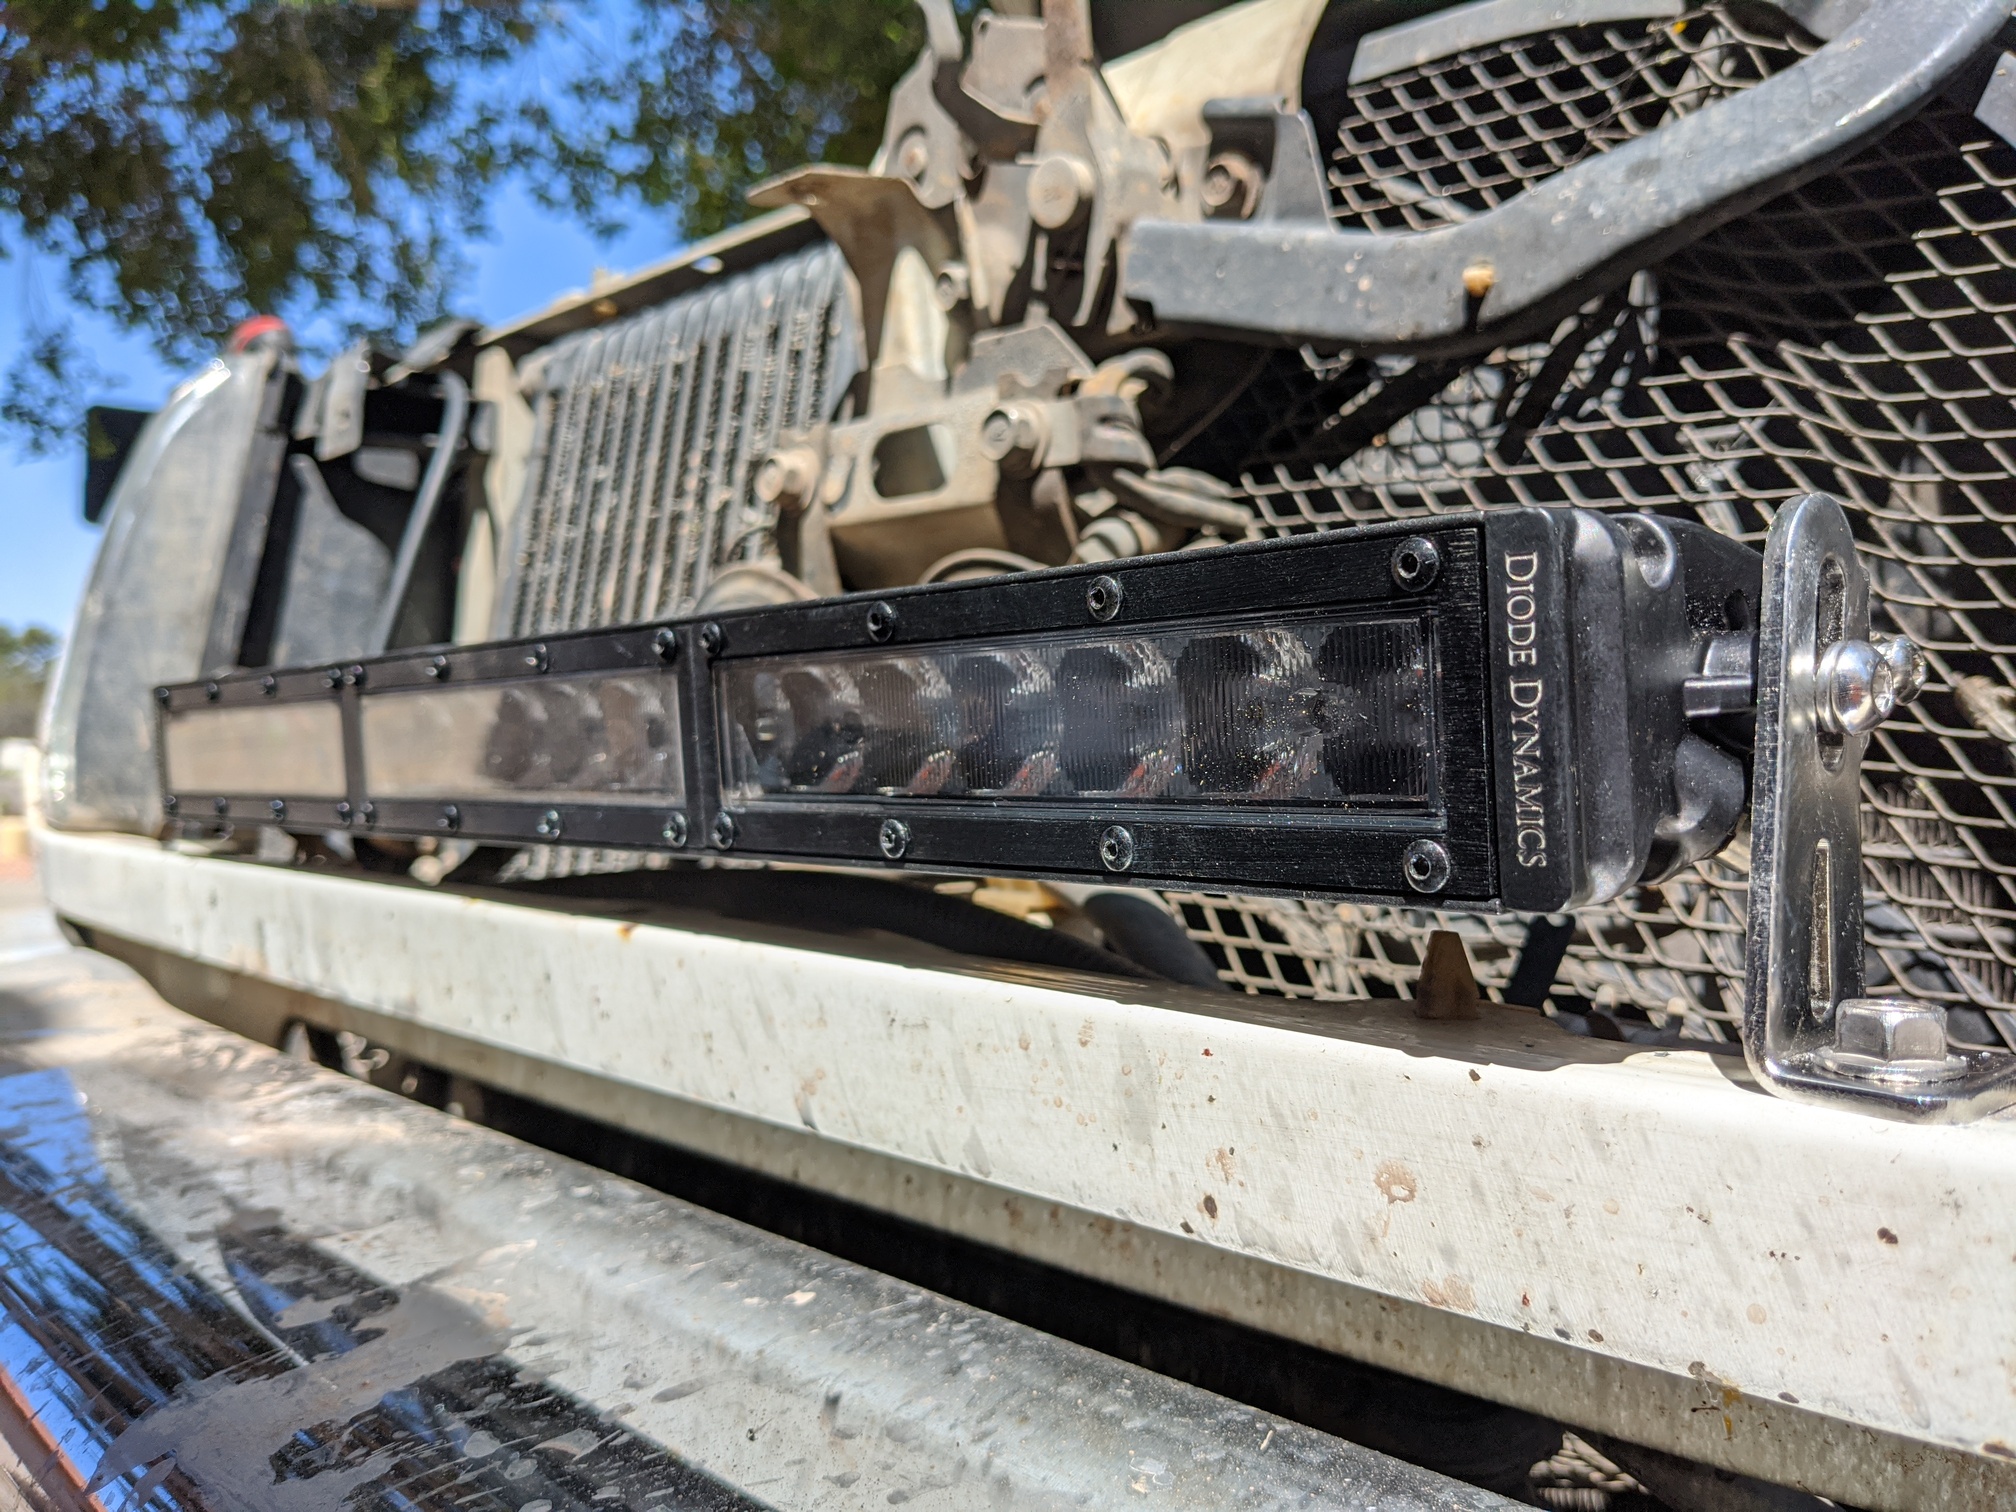
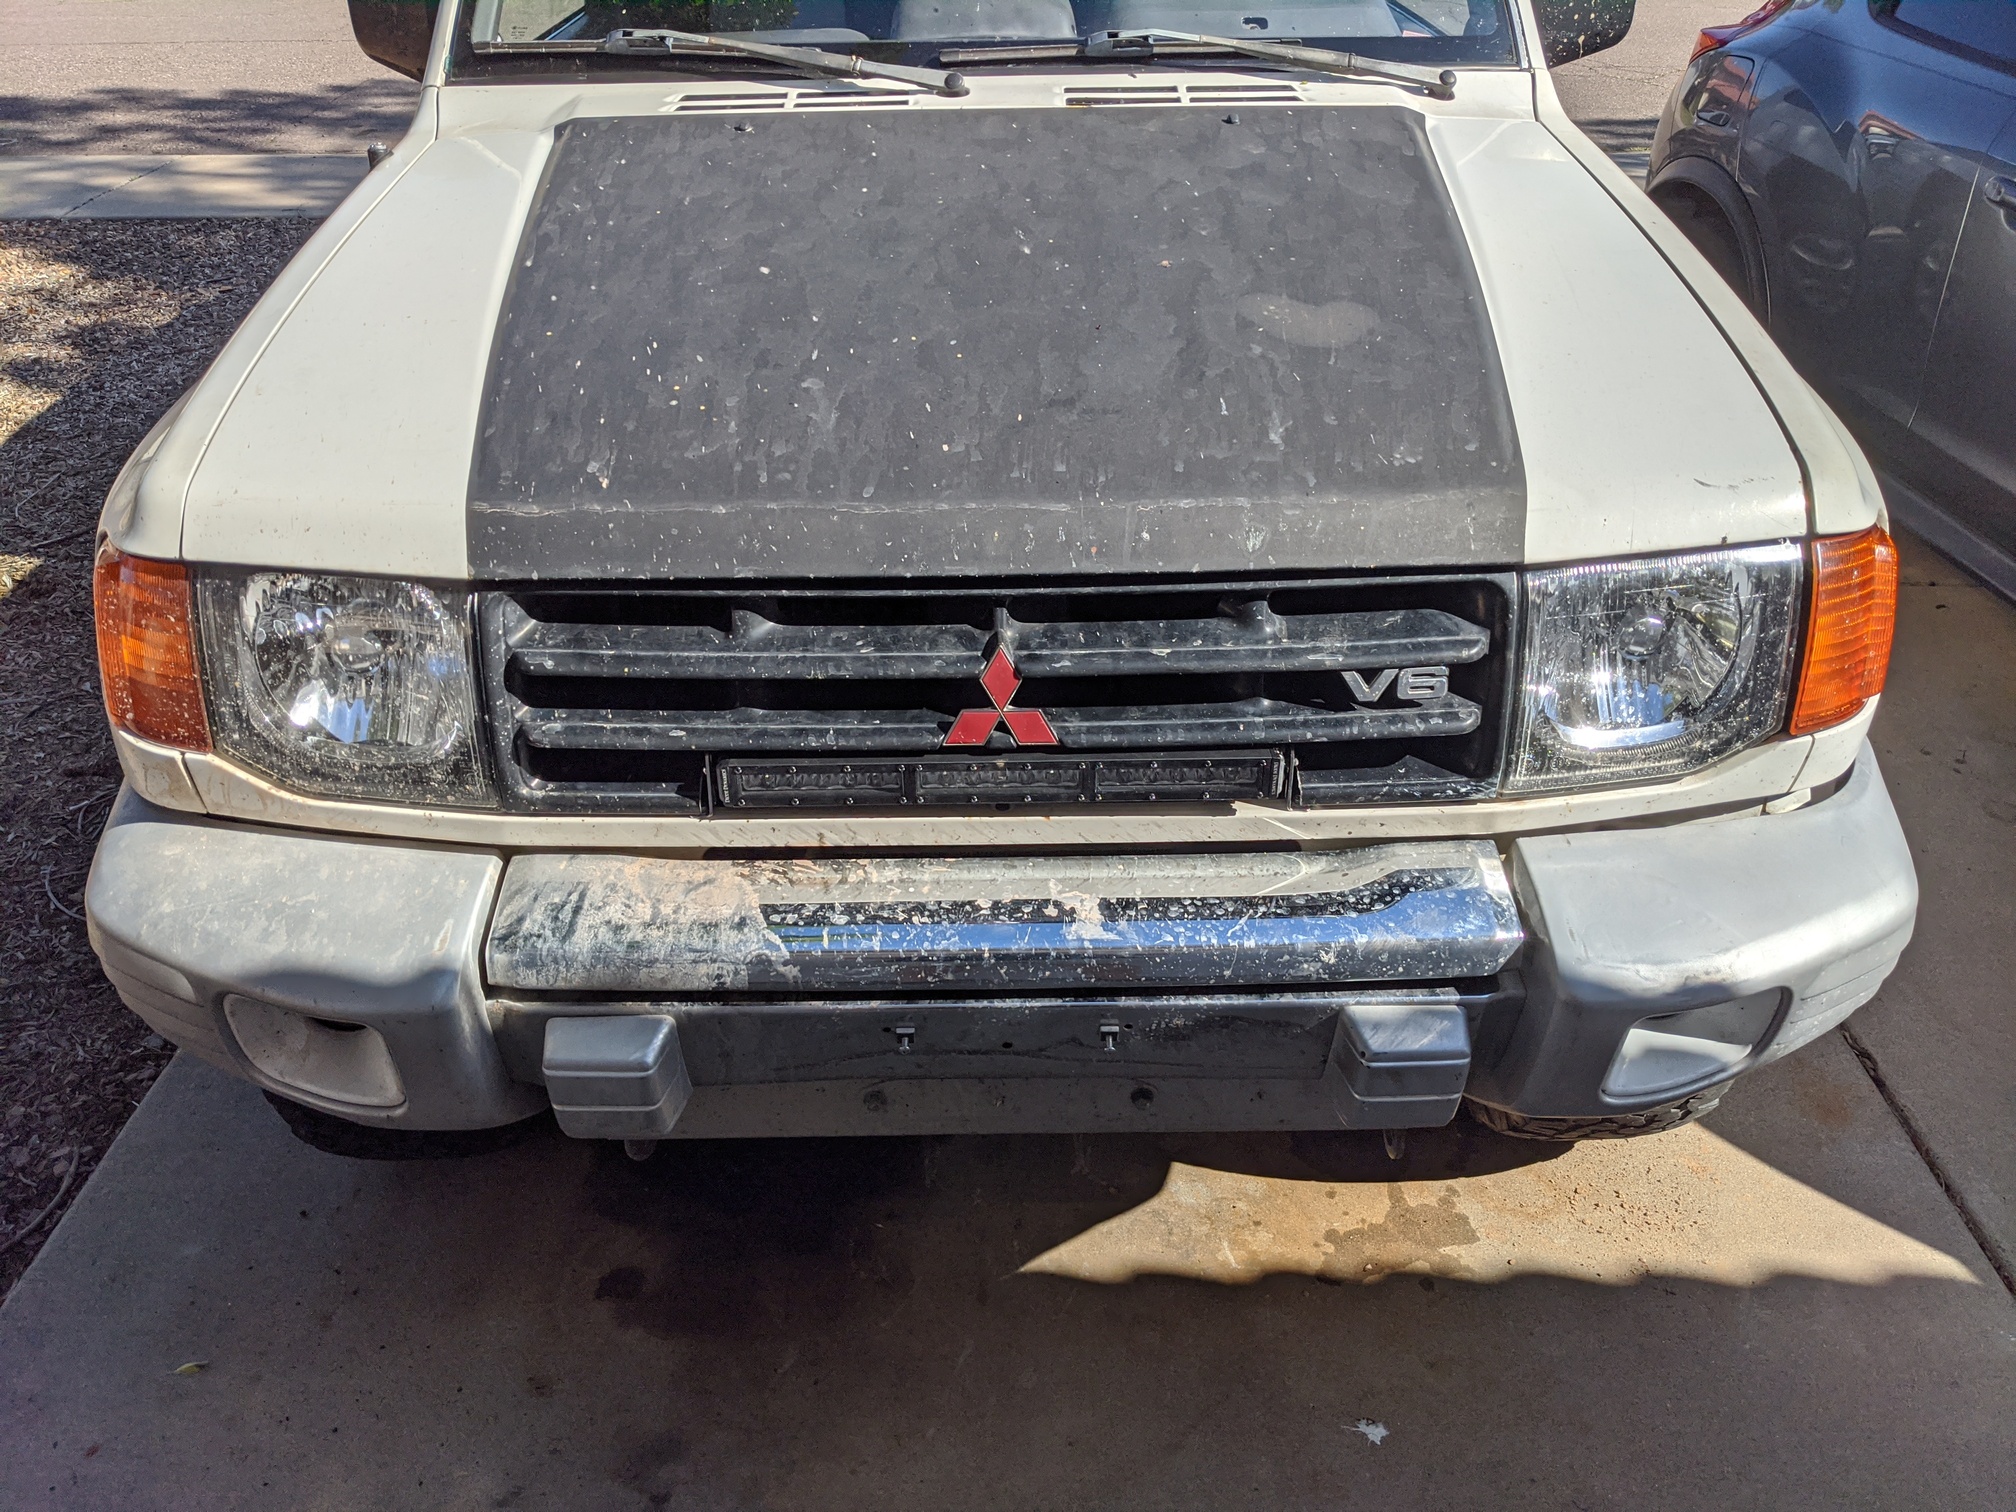
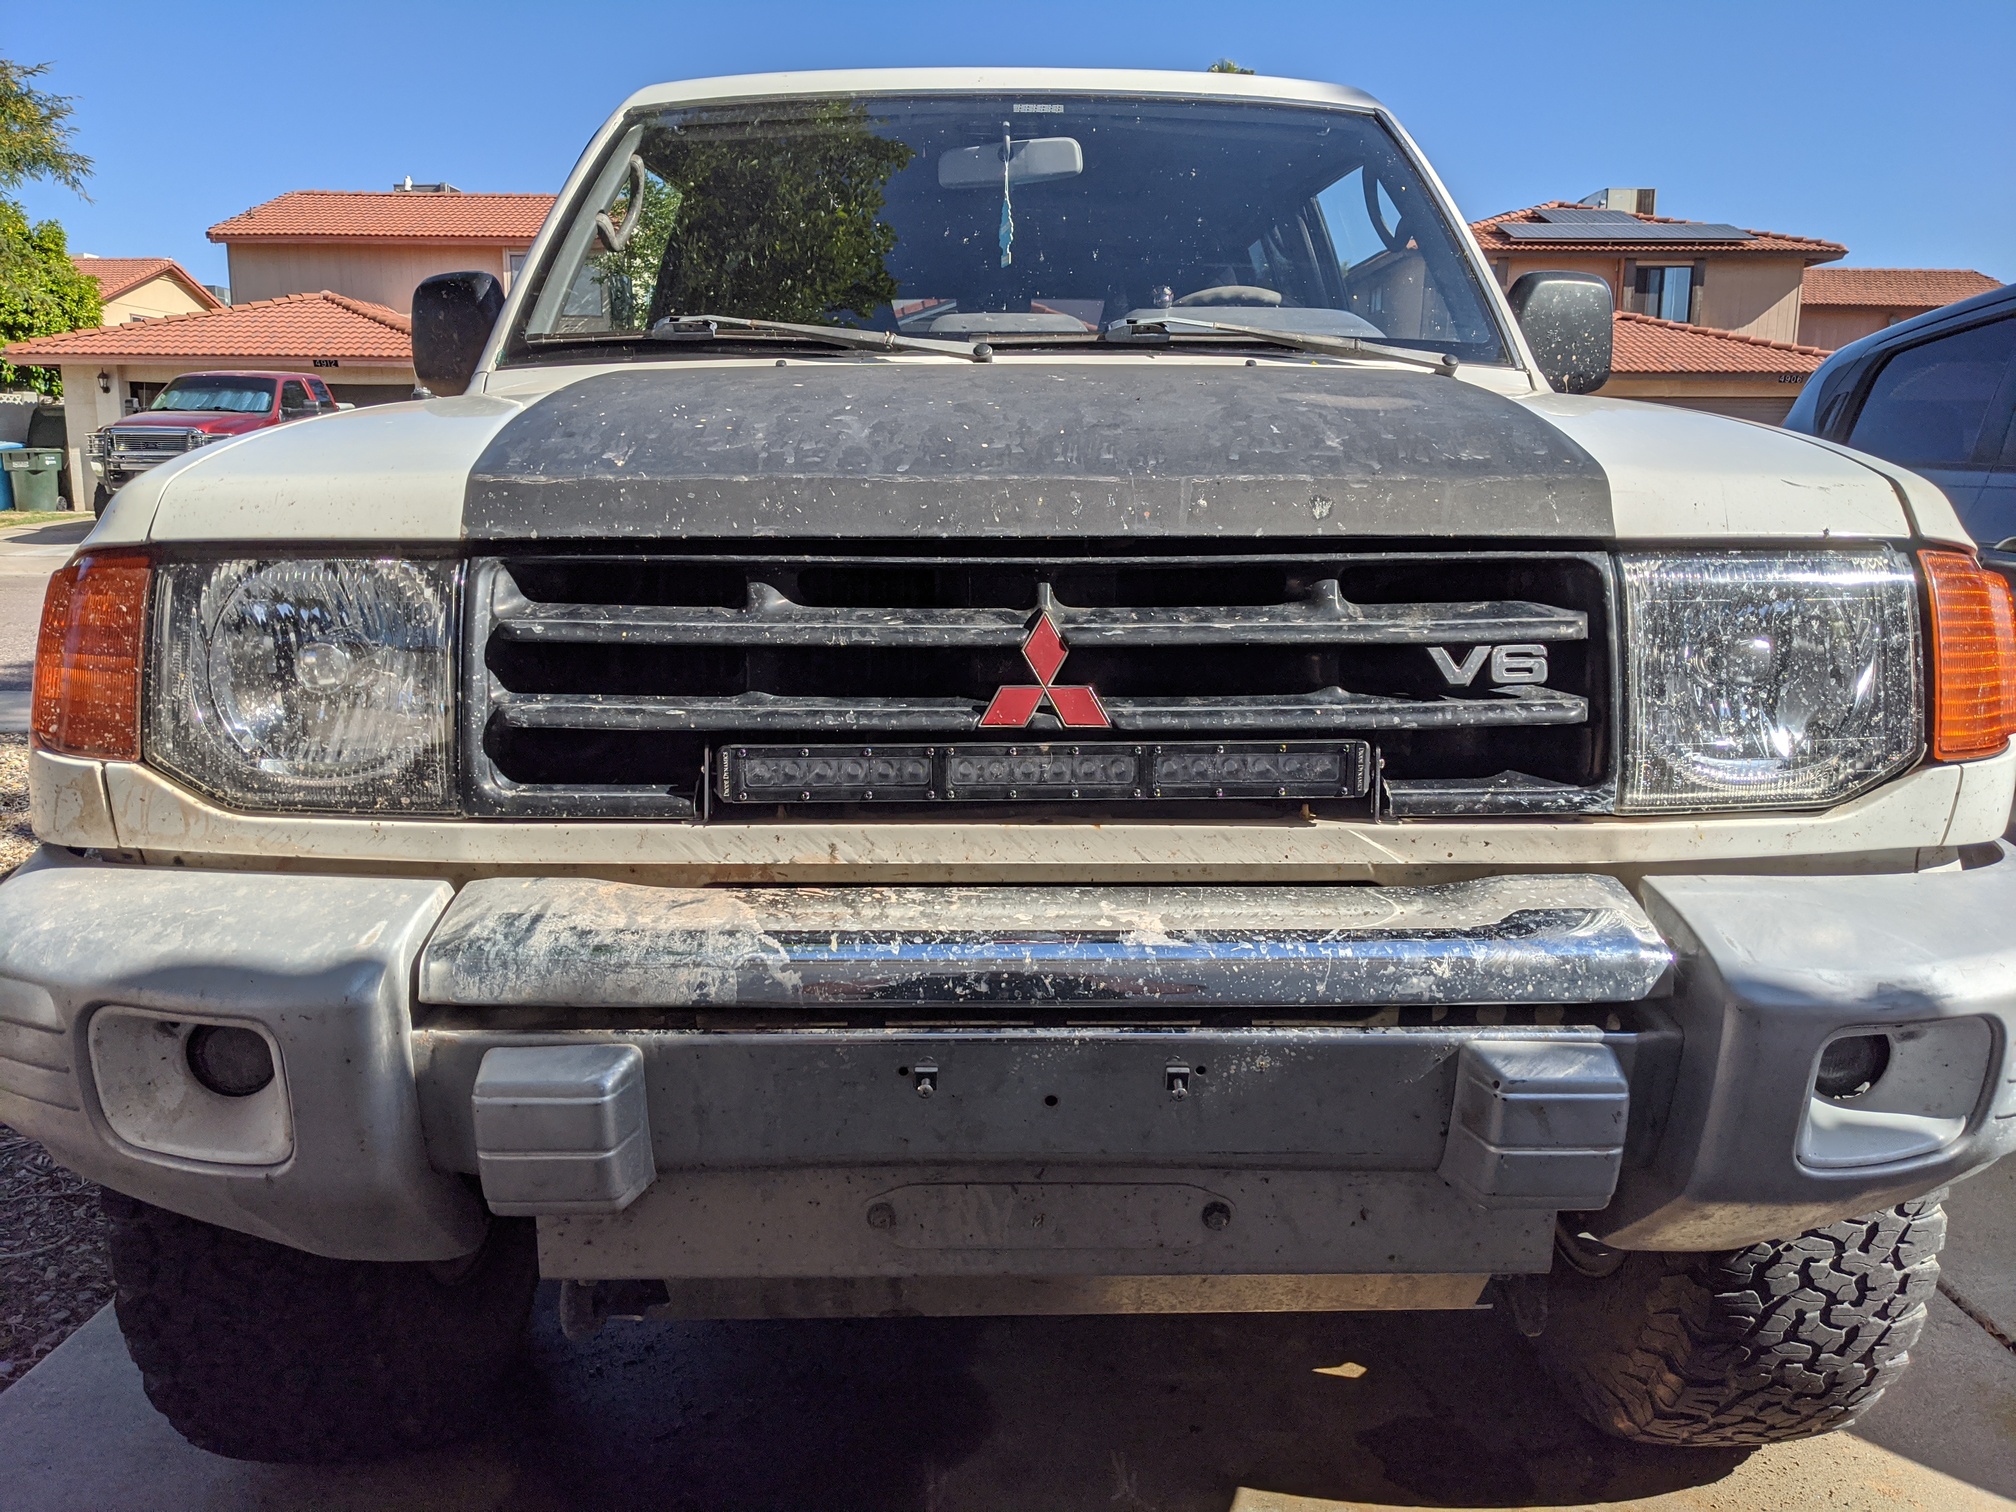
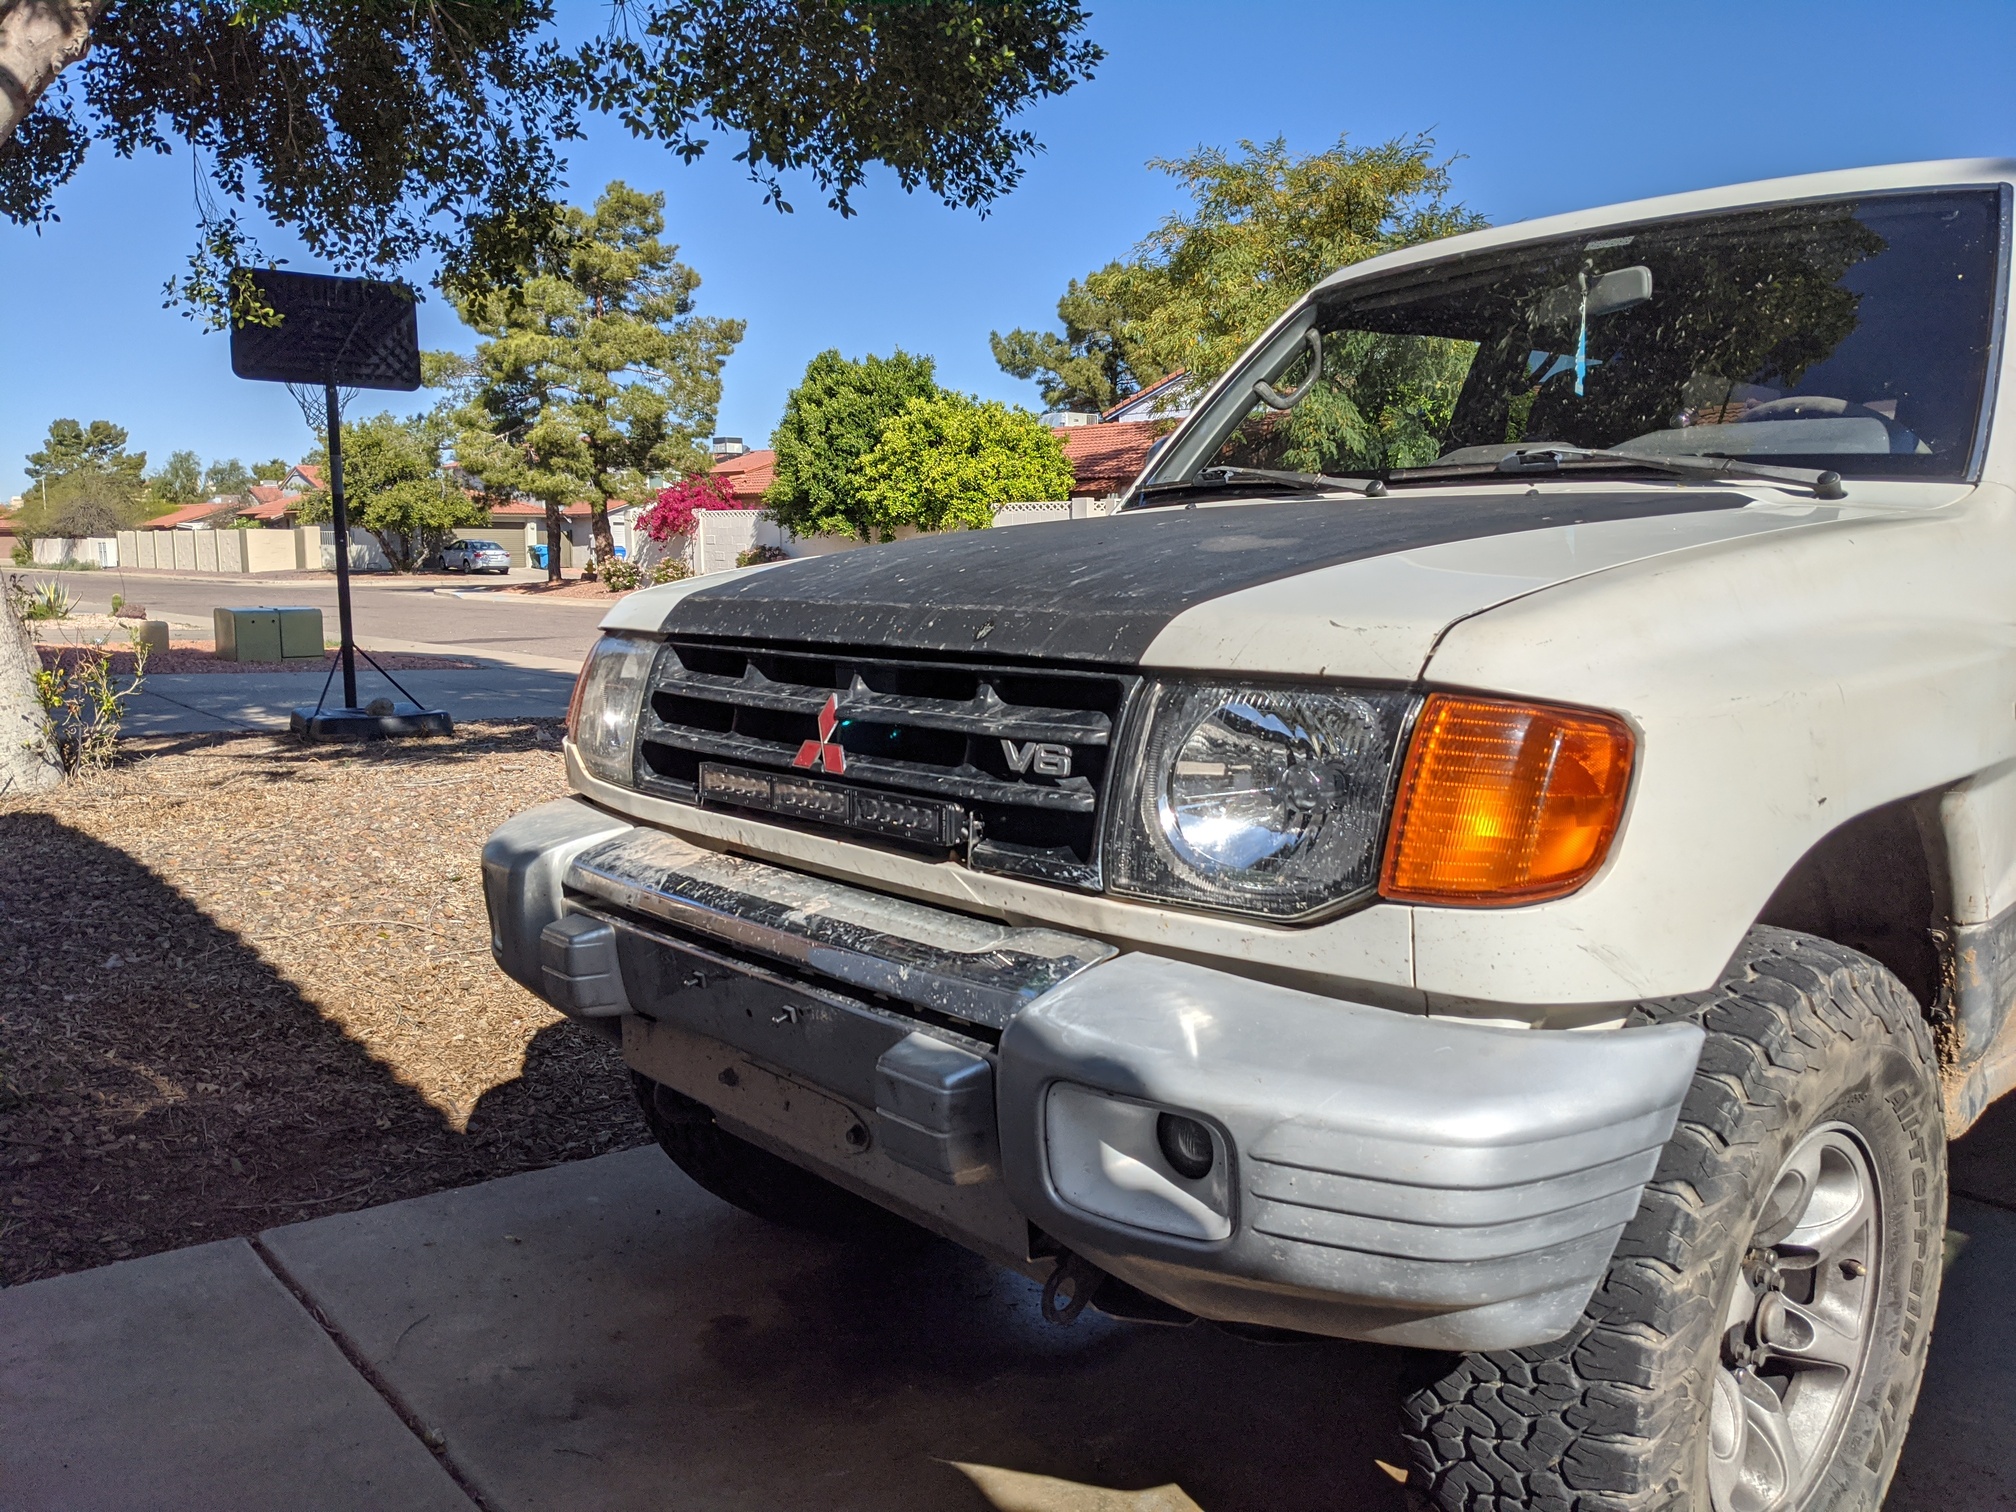
Light Bar Install
This is a Diode Dynamics SS18. It set me back about $250 shipped with harness.
We’re taking P to Obi’s (Grandma’s) house every other day. This meant I had almost an entire Sunday to do whatever I wanted. I could have started my taxes. I could have cleaned up more of the garage. Instead, I decided it had been too long since I’d installed a mod and set out to install my fancy light bar.
Being out in the boonies after dark a few weeks back reminded me how inadequate the factory high beams can be in the field. Also, a better man than I would have washed the truck before installing a new mod. Something something maintenance before mods.
This omelette required a couple eggs.
But we’ll come back to that.
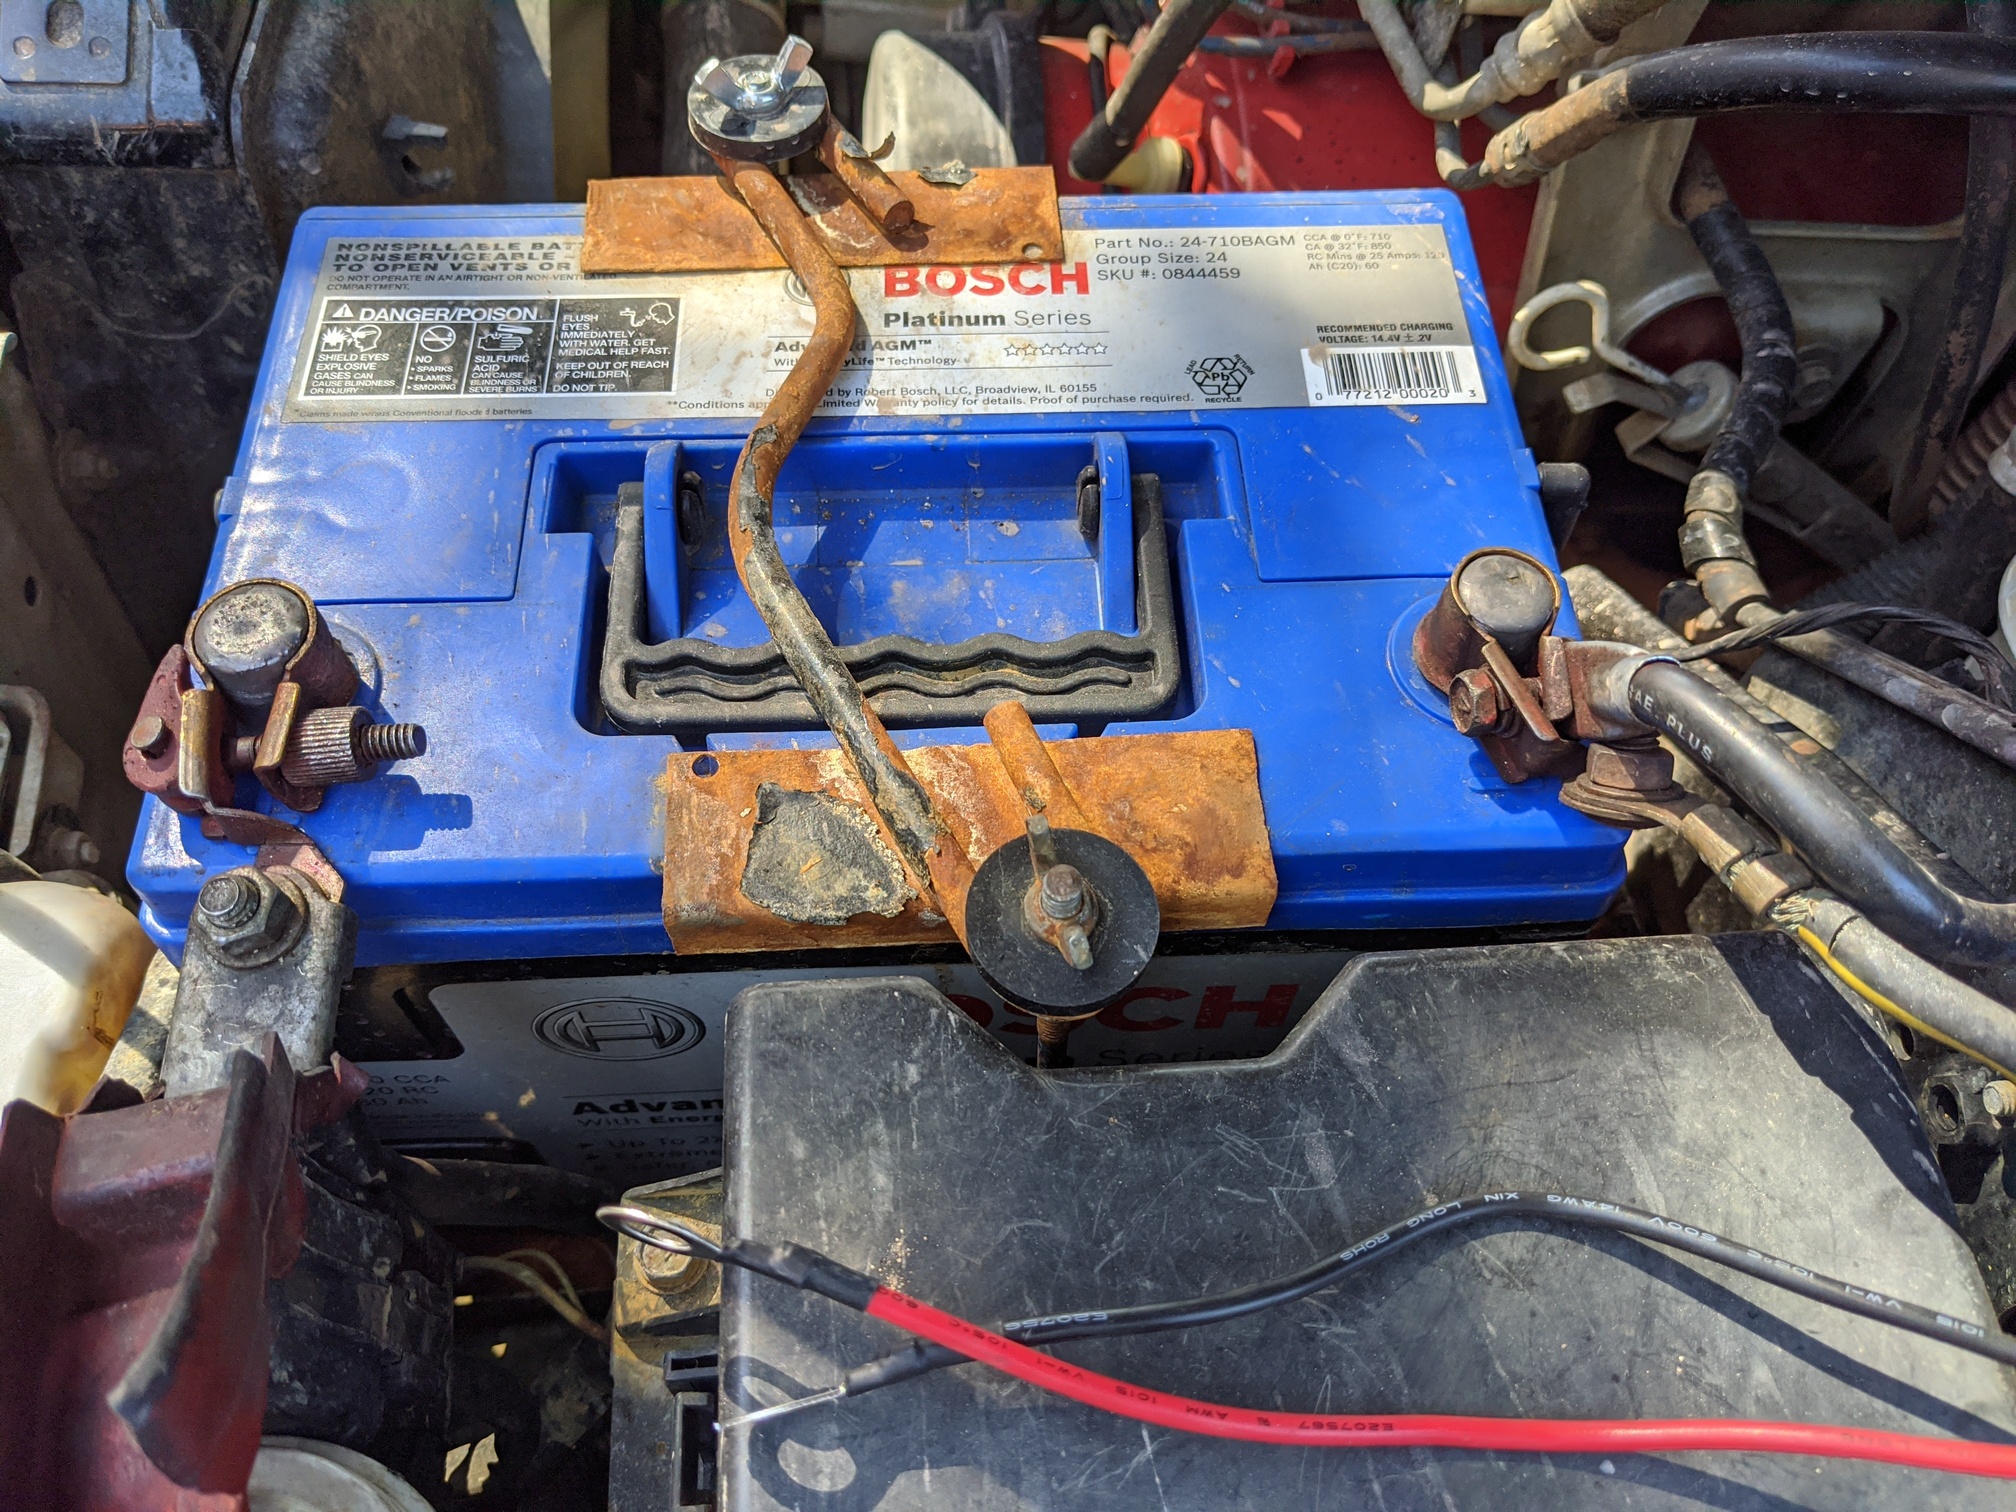
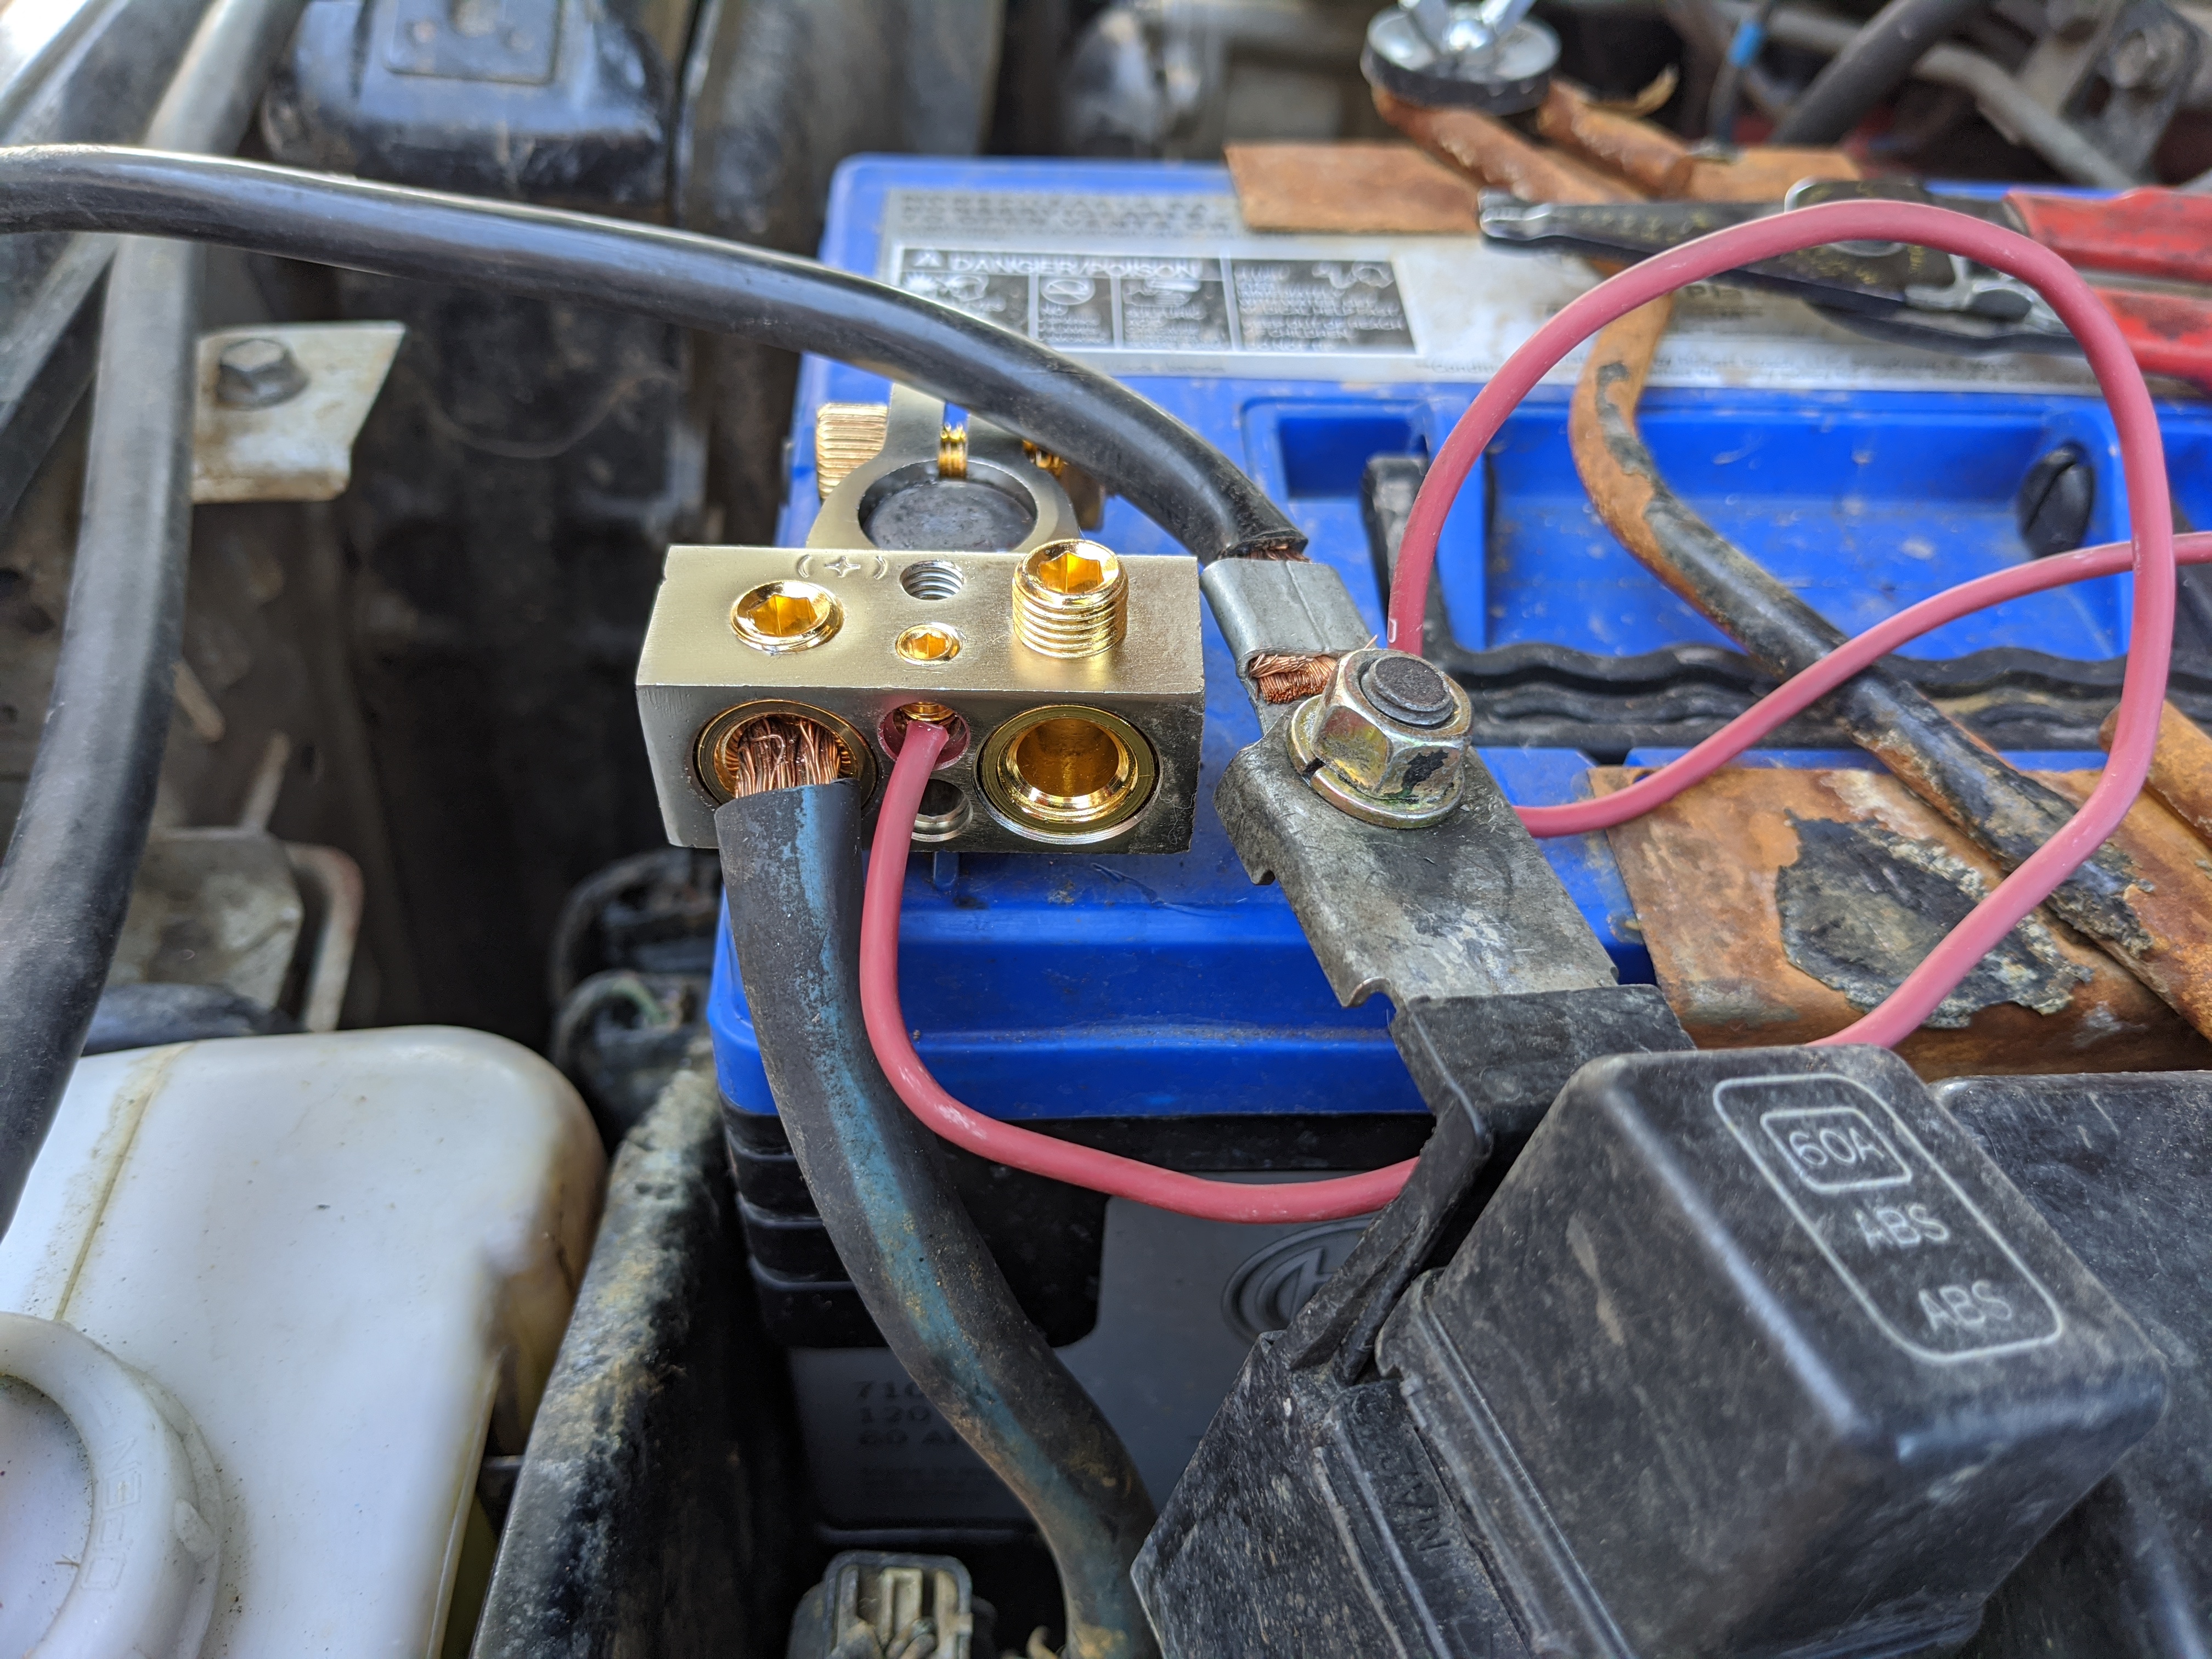
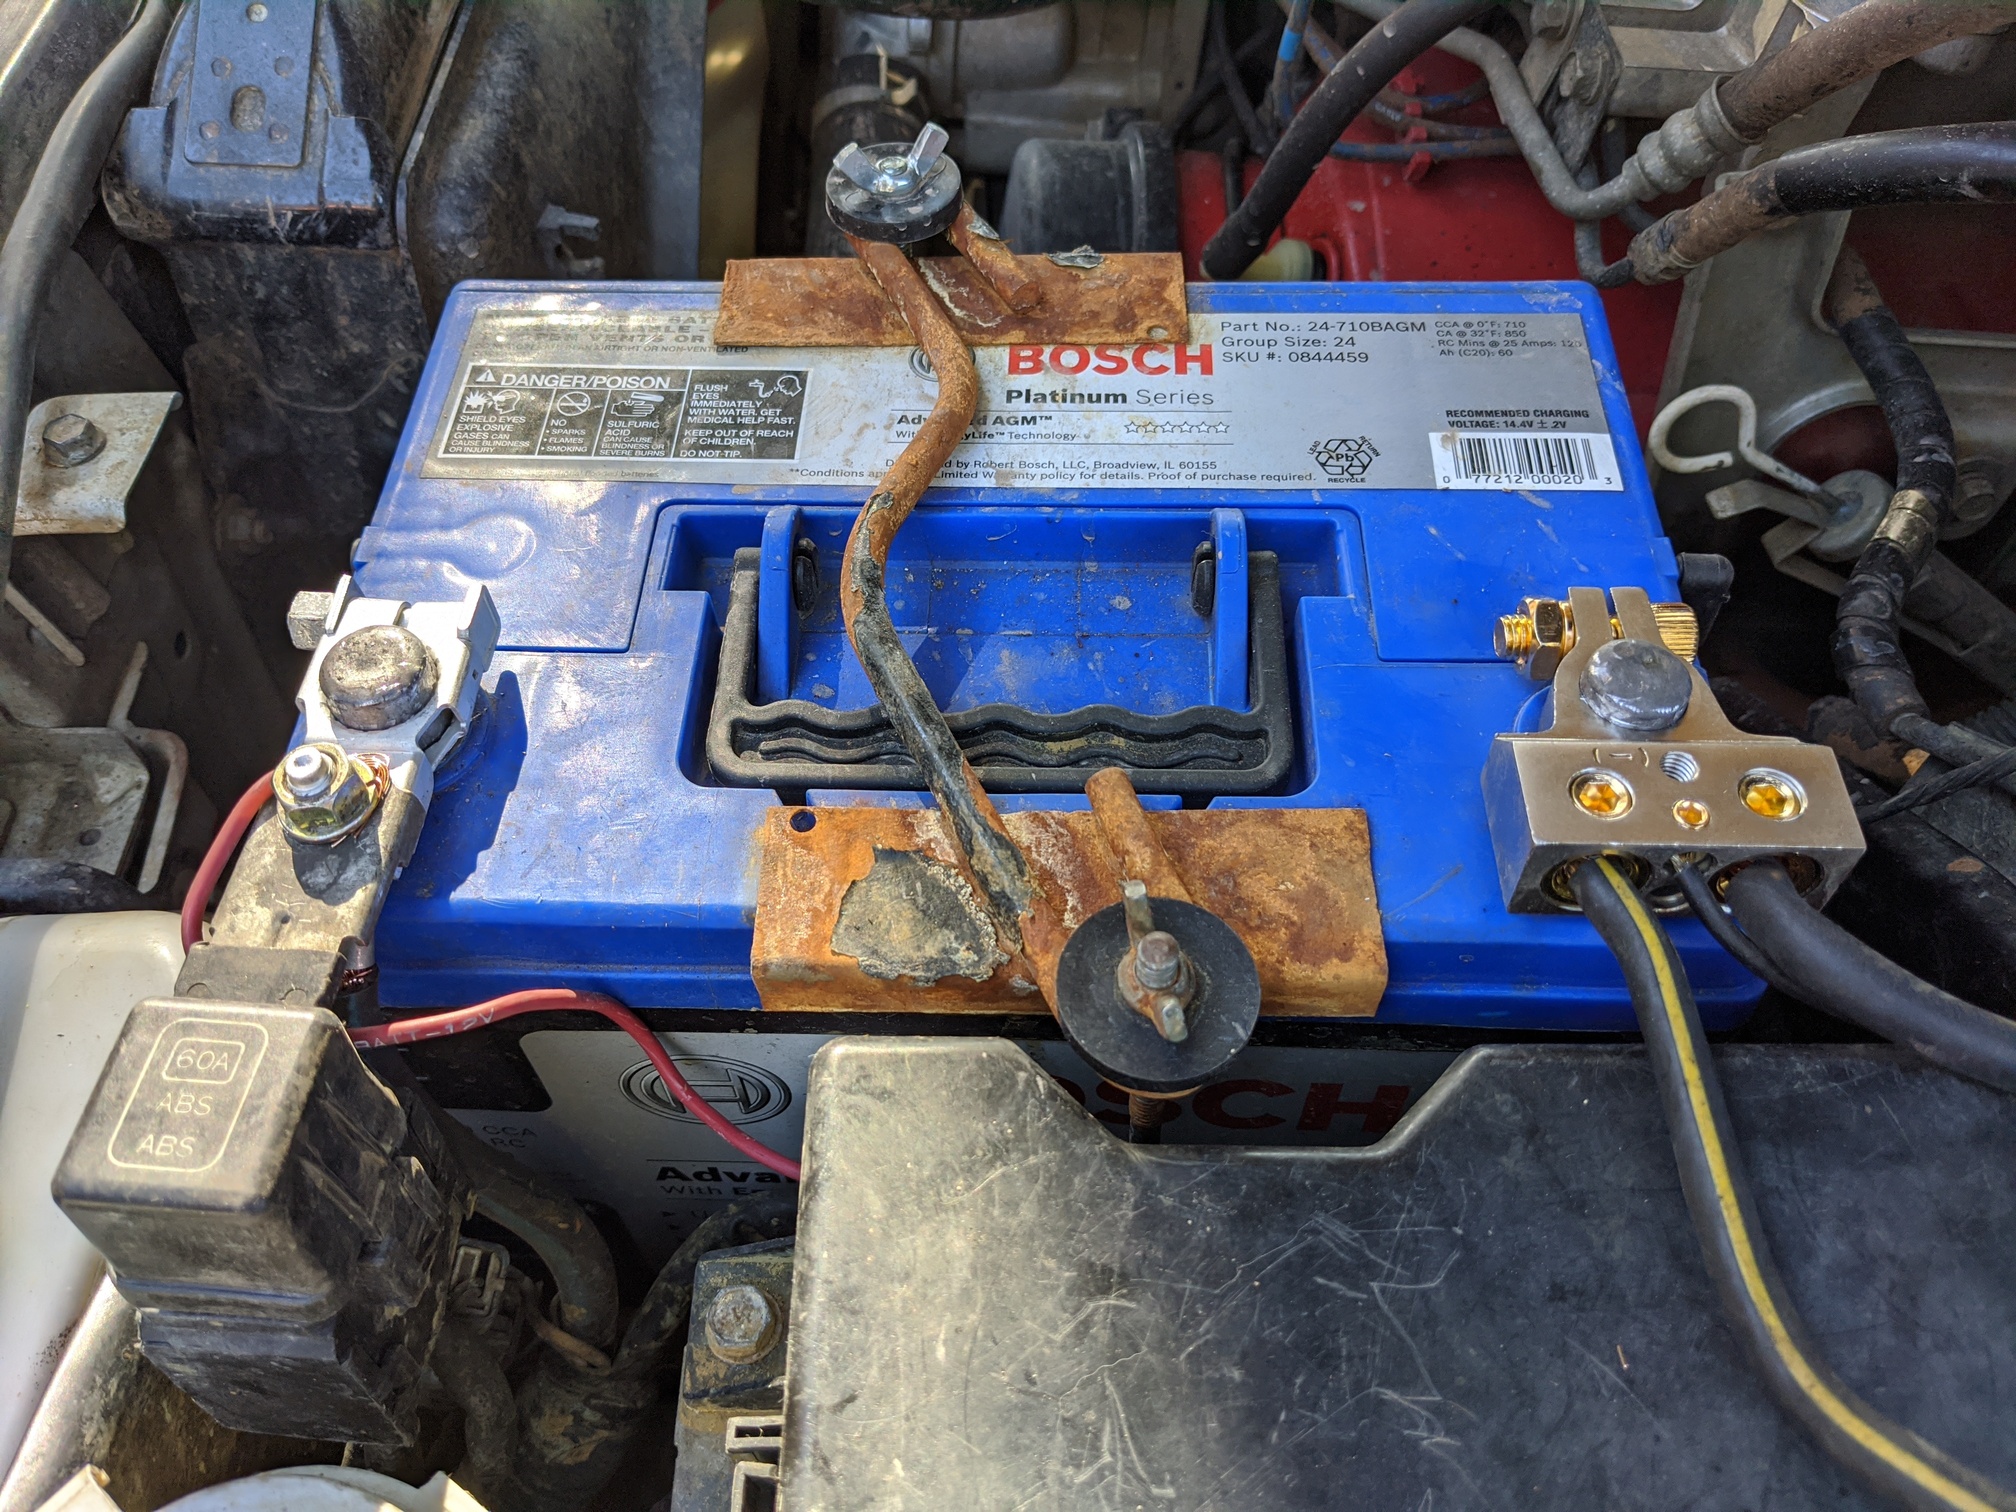
Check out these classic stylings. My battery tie-down is a victim of so many old school, lead acid batteries. So are the embarrassing terminals. Once the quarantine is lifted, I hope to take a few bits to the shop for media blasting so I can bring them home and paint them. This battery tie-down will be the first to get some love.
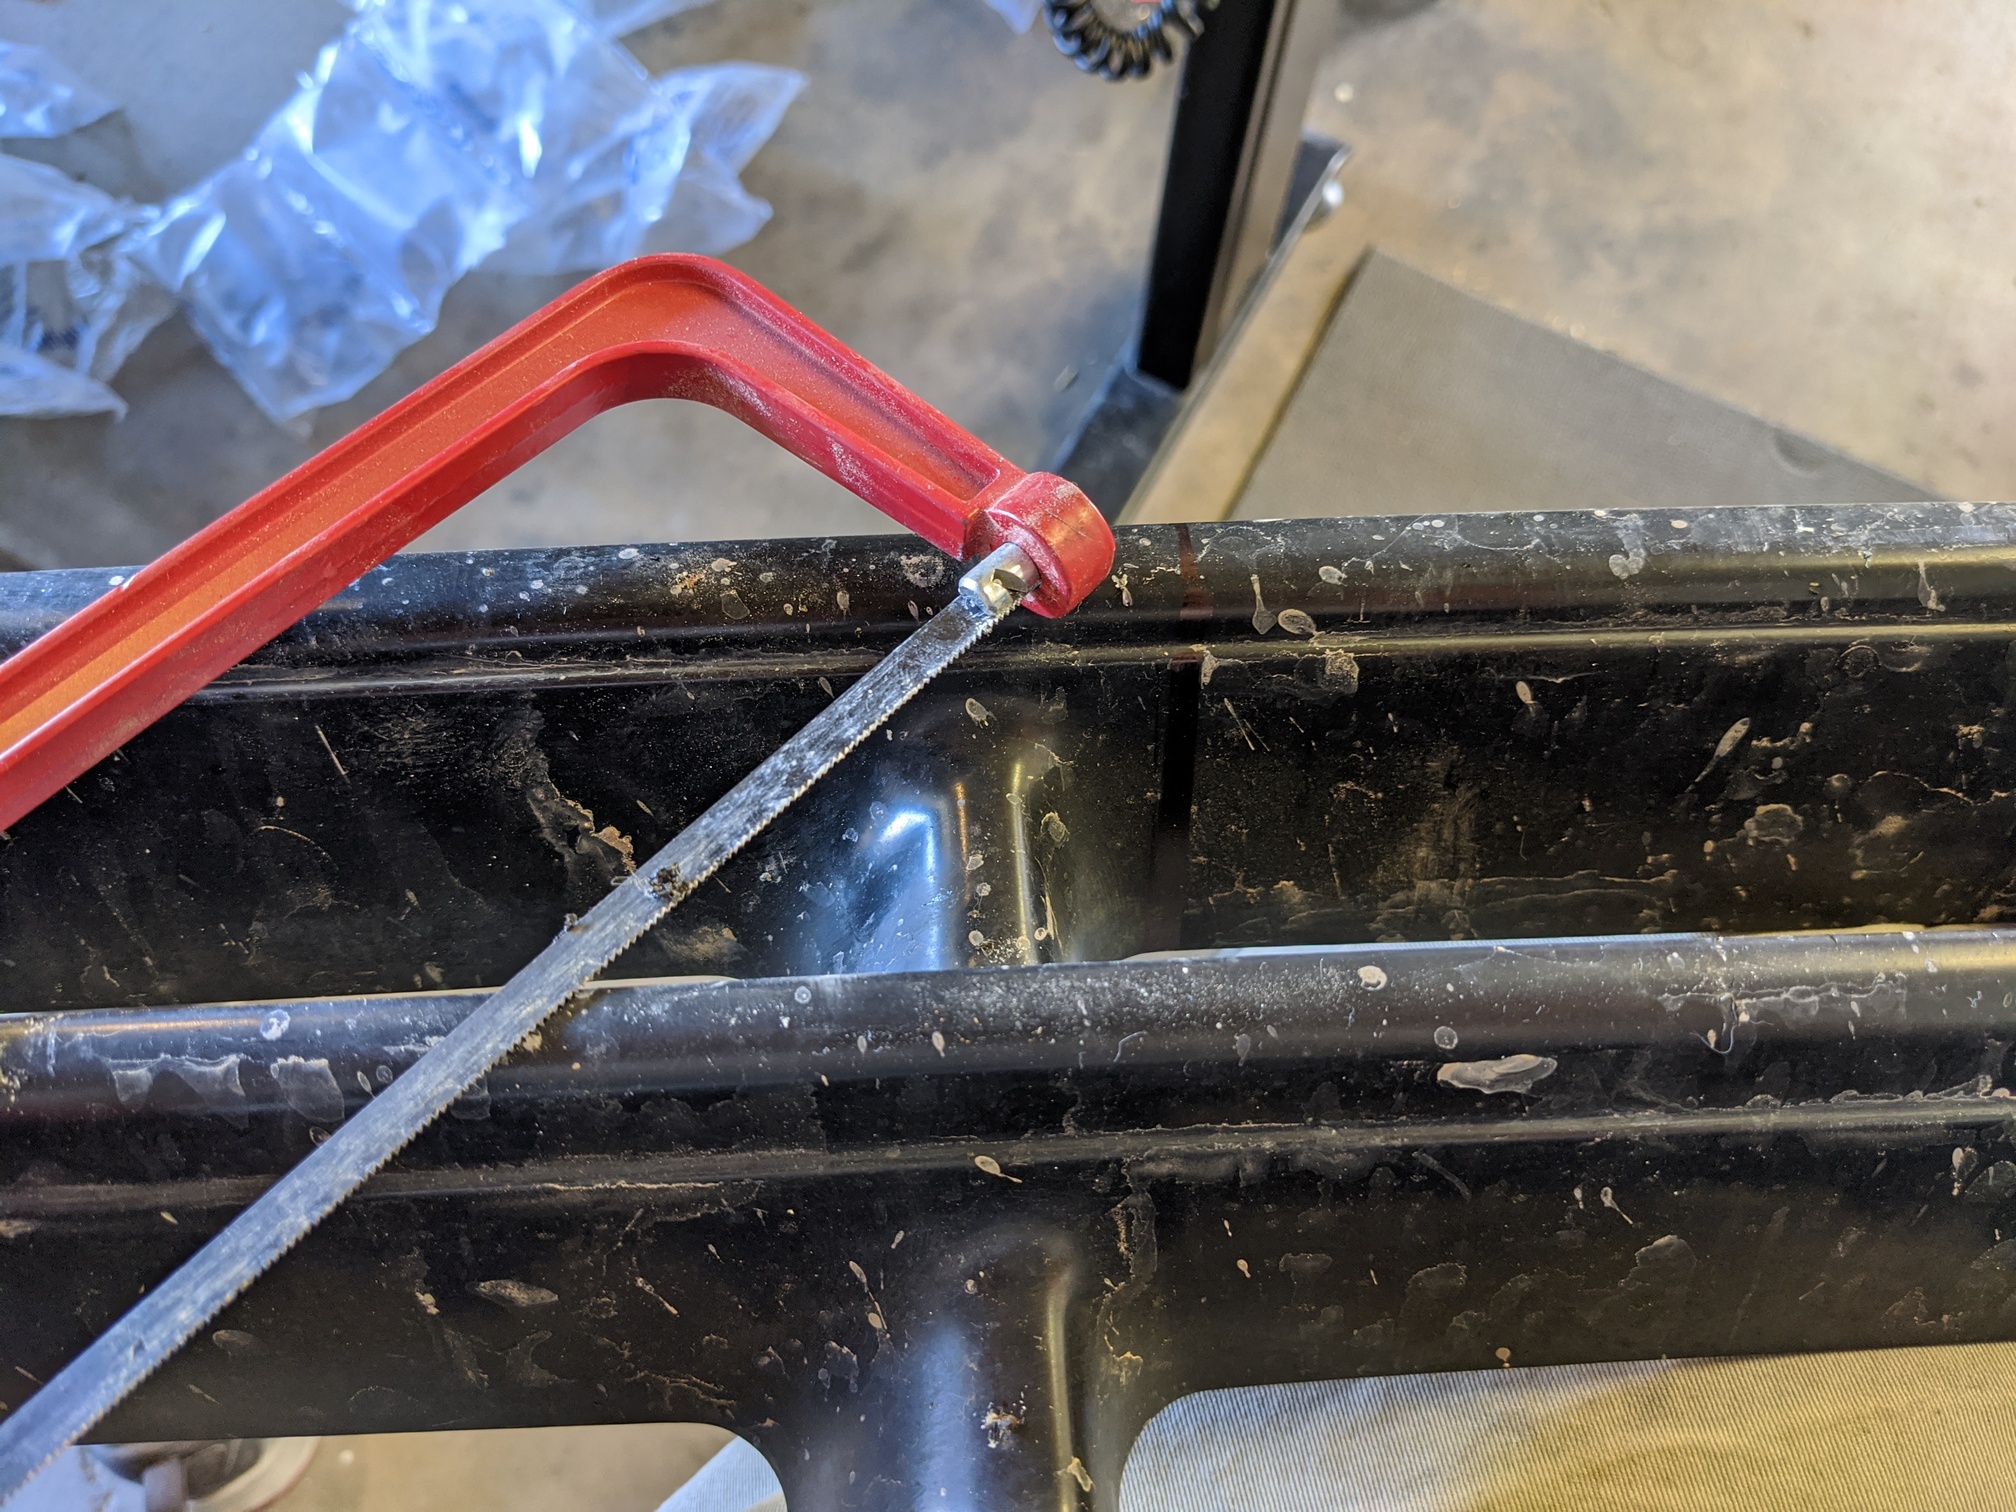
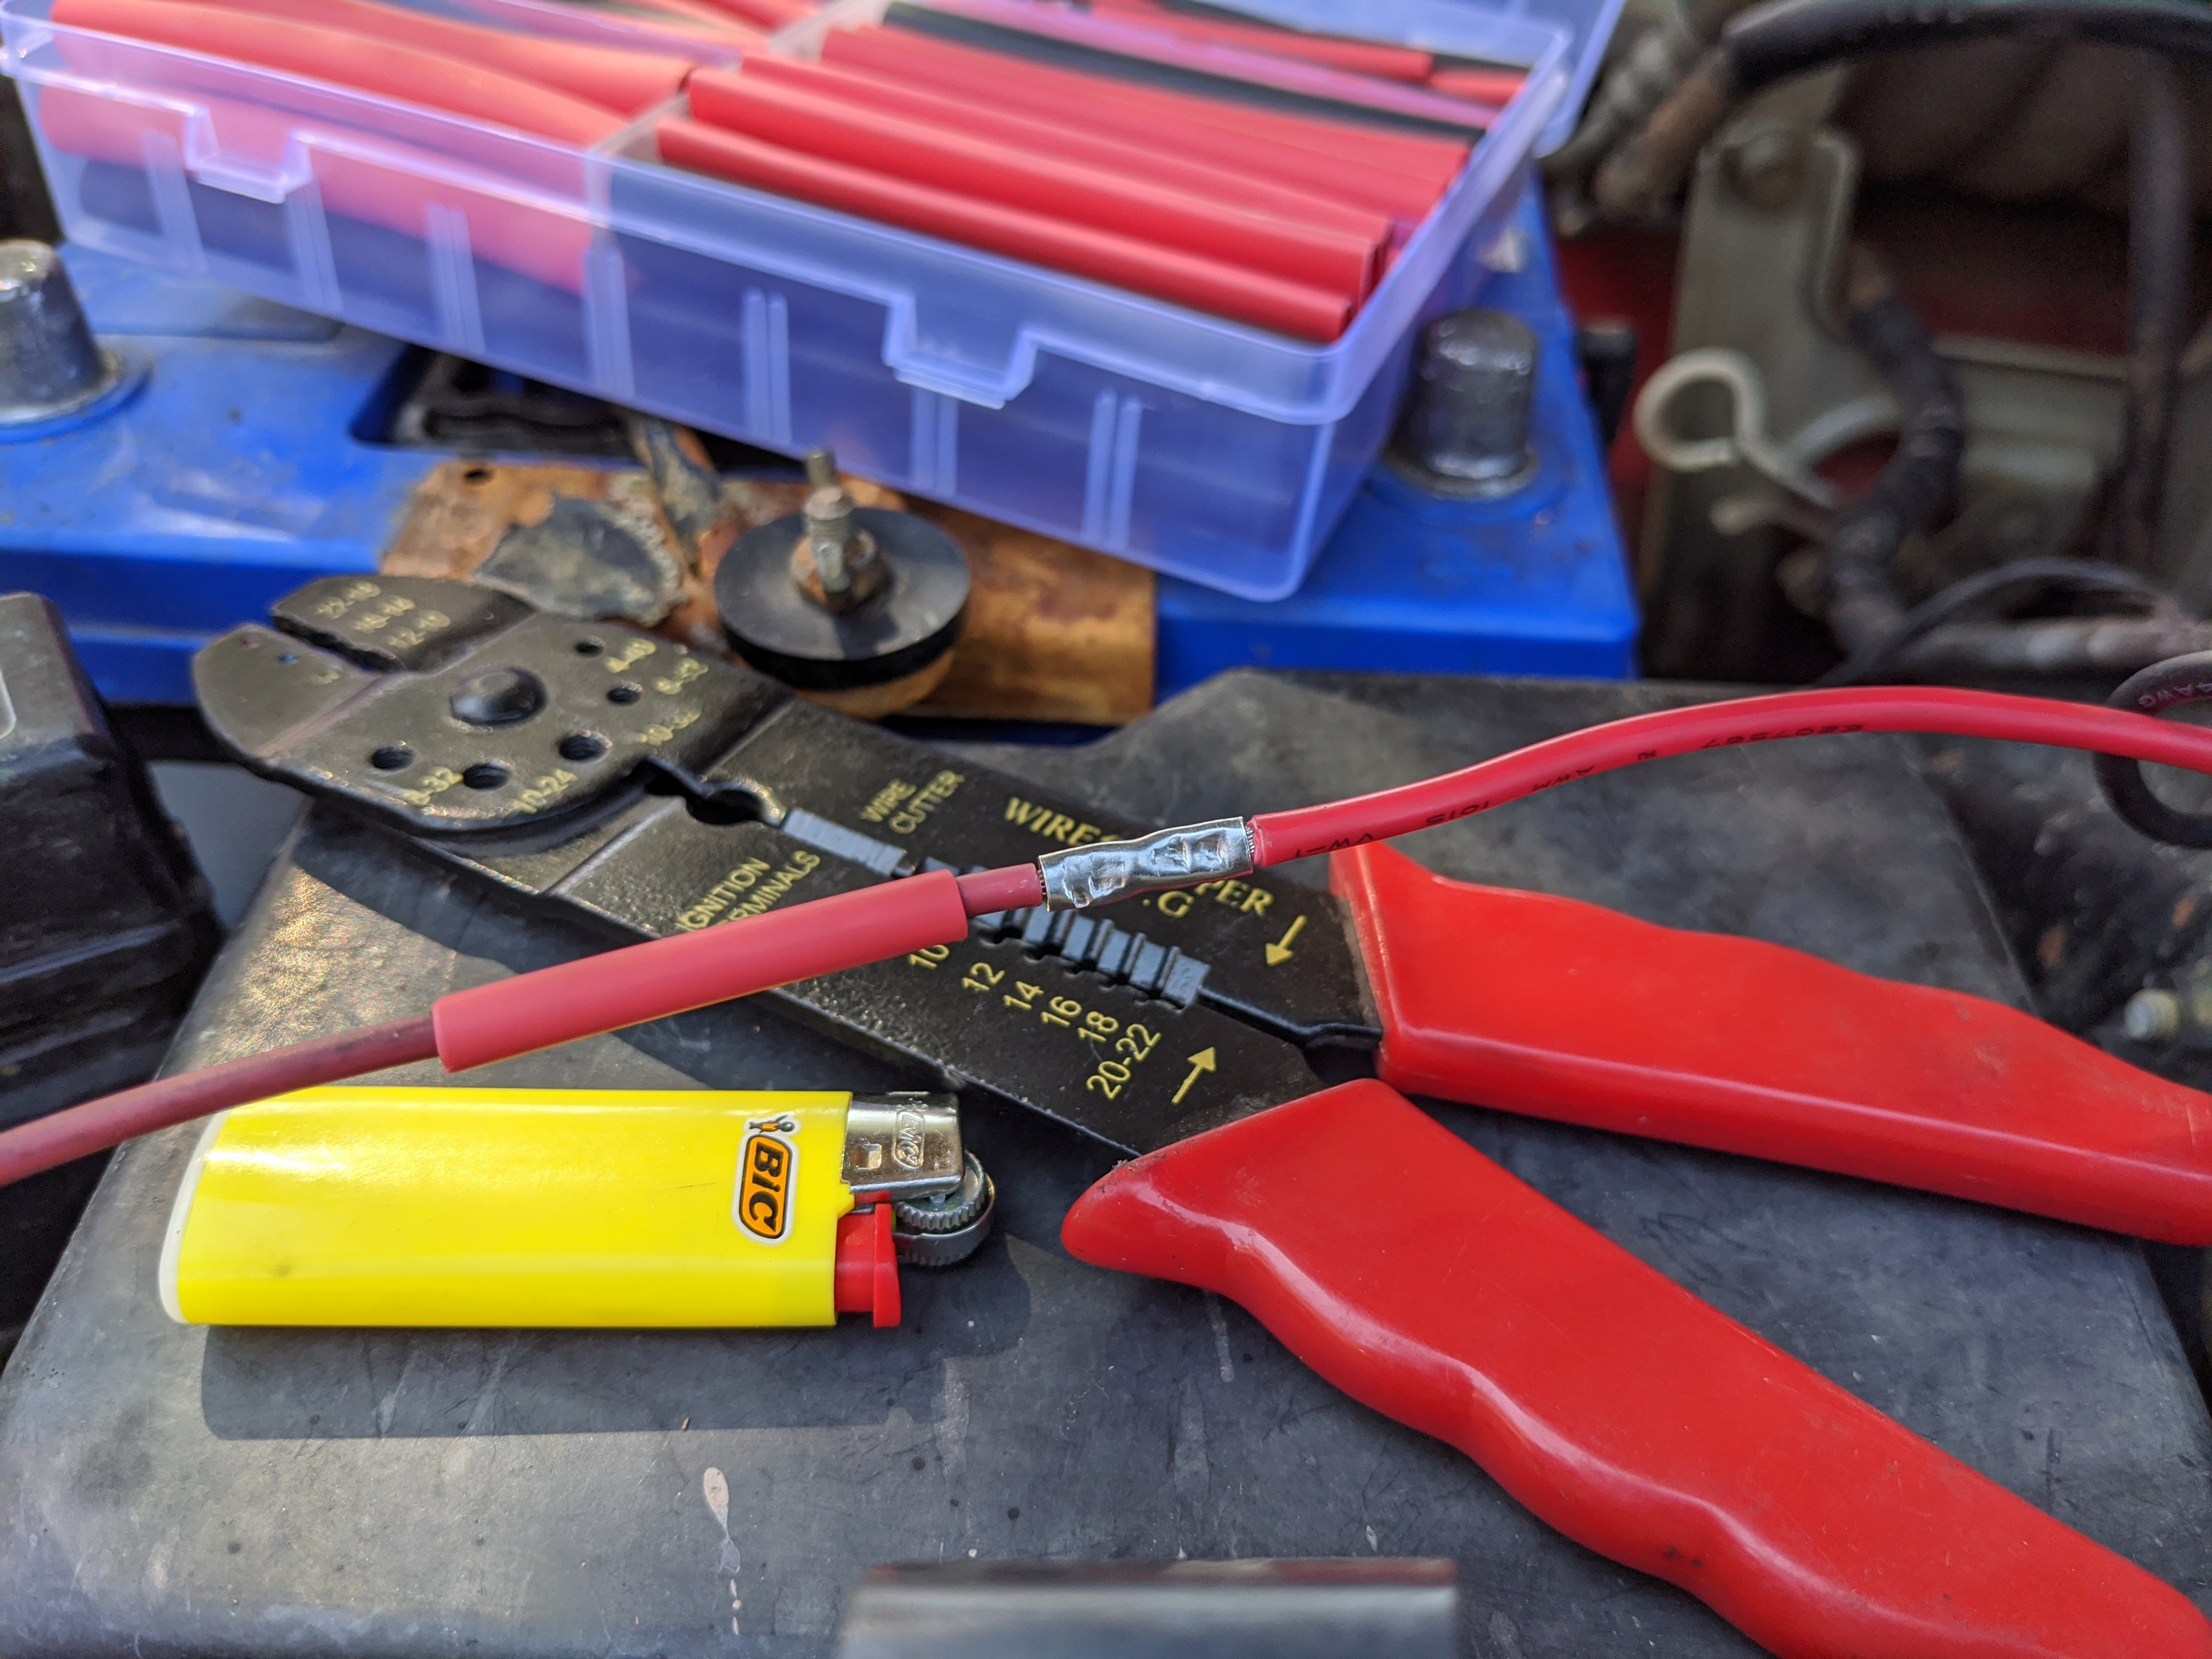
Note the tidy ring terminals on the end of the harness from Diode Dynamics. I cut them both off.
I had to extend the positive about 8" to reach the new terminal. This is when I realized my crimping tool sucks ass big time. And since this was the only piece of heat shrink I would need for the entire project this time out, I opted to go old school instead of sourcing an extension cord for the new heat gun (I am legitimately excited to use).
Sorry, Chazz. (At least I’m using the butt terminals, heat shrink, and battery terminals you suggested!)
The terminals Chazz recommended were excellent. Beefy. Elegant. I was stoked to use them. And after I had the negative terminal sorted, I took my wire cutters to the positive side.
Got everything wired up and ready to go. Put the key in the ignition, turned it to ON, and connected the positive terminal. And nothing happened.
Touched the ABS fuse bracket to the terminal. Everything woke up. FUCK.
I’d cut ring terminal off that wire and stuck it in the new post. The original terminal sheared when I took it off. I couldn’t even go back to where I’d started—and it’s not like I want to be running to multiple parts stores these days.
Now I was truly stuck. I remembered a kitty litter tote full of old DSM wire harness sections and desperately dug in. Found the last “DR. UBER” ground wire kit from my 2GNT days. (Read: 15 years old.)
I must have stood there, staring at this situation for a good 20 minutes before I got another bright idea.
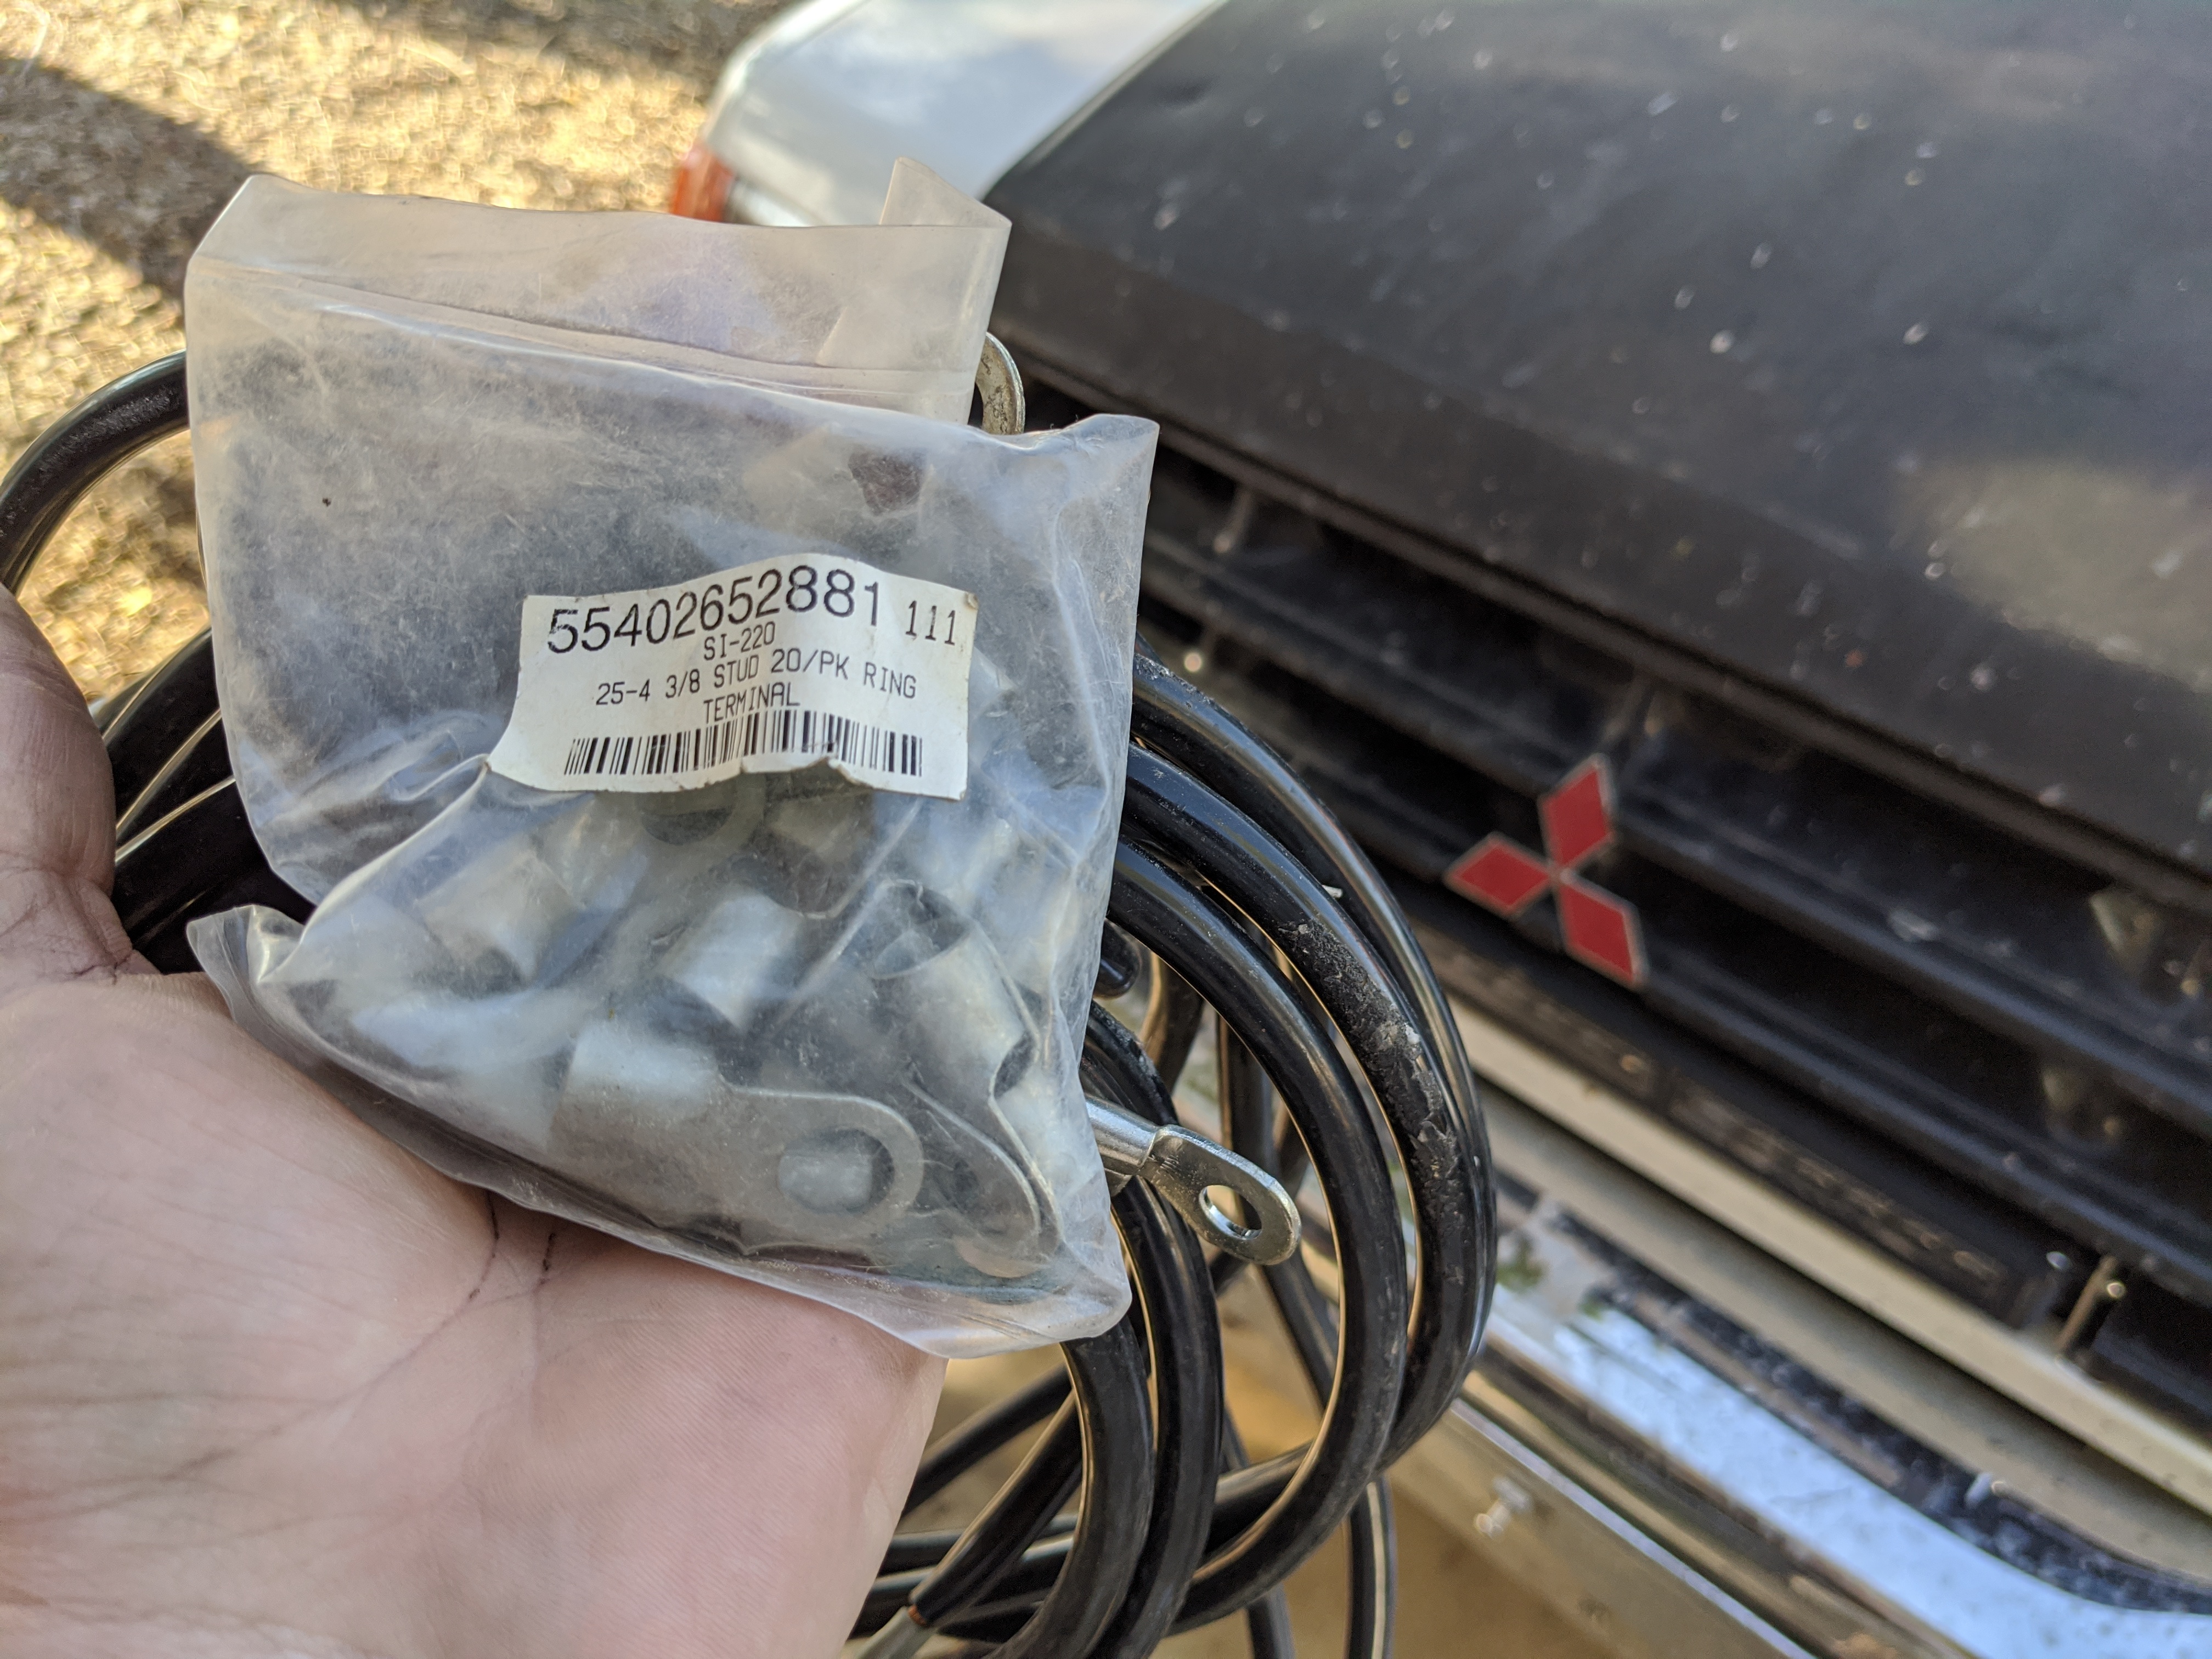
Turned out, before I ordered the terminals Chazz recommended, I’d picked up a set of the Toyota ones Shovel mentioned some time ago. For the Montero owners in the audience, here’s the positive one and here’s the negative one. Oh, and since they’re excellent and worth knowing about, here’s the Install Gear terminals Chazz mentioned earlier in this thread.
Yes, I know the light bar positive lead is crudely wrapped around a battery post. From the Yeah-We-Heard-THAT-One-Before Department comes the simple excuse that I was running out of time and will be re-doing part of this in the near future, as I want my auxiliary lights on the high beam switch and will be going back to the drawing board on that front.
(I could use a relay to energize a bus bar that feeds the aux lights when the high beams are on, right?)
I ran the wire for the switch into the fender and into the cabin through the grommet in the door for the time being. The light bar works. It just works any time you hit the switch.
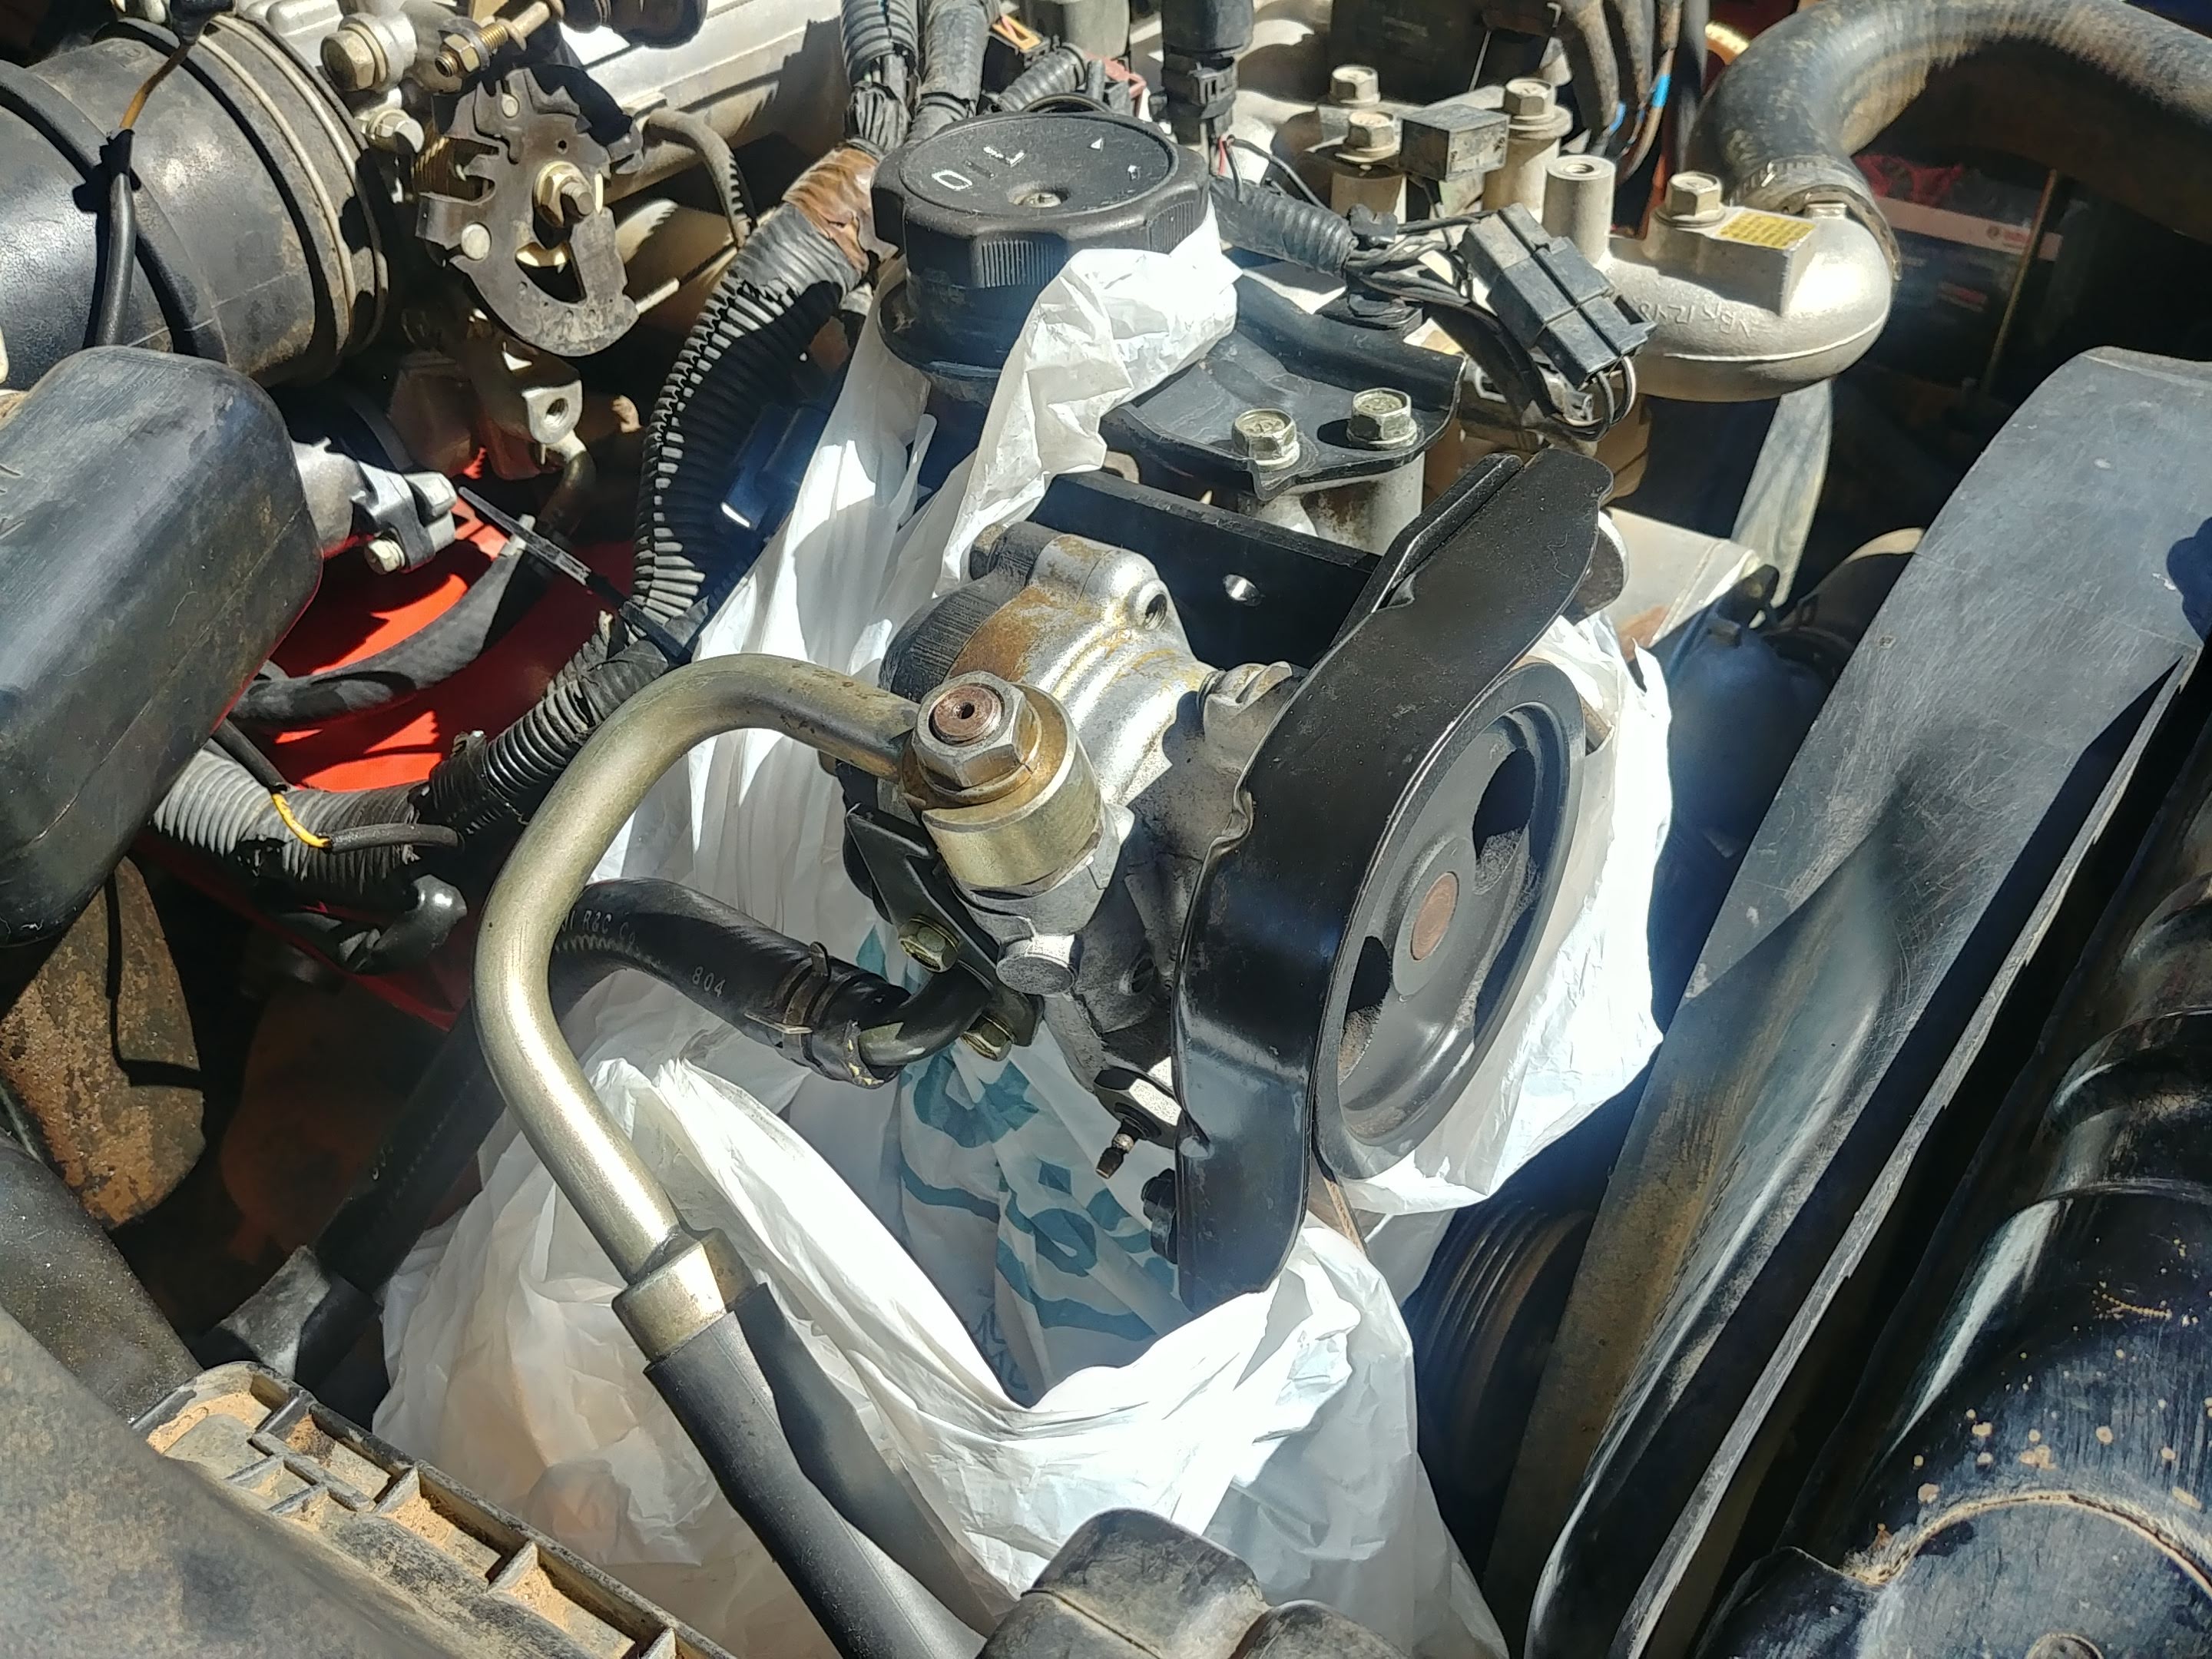
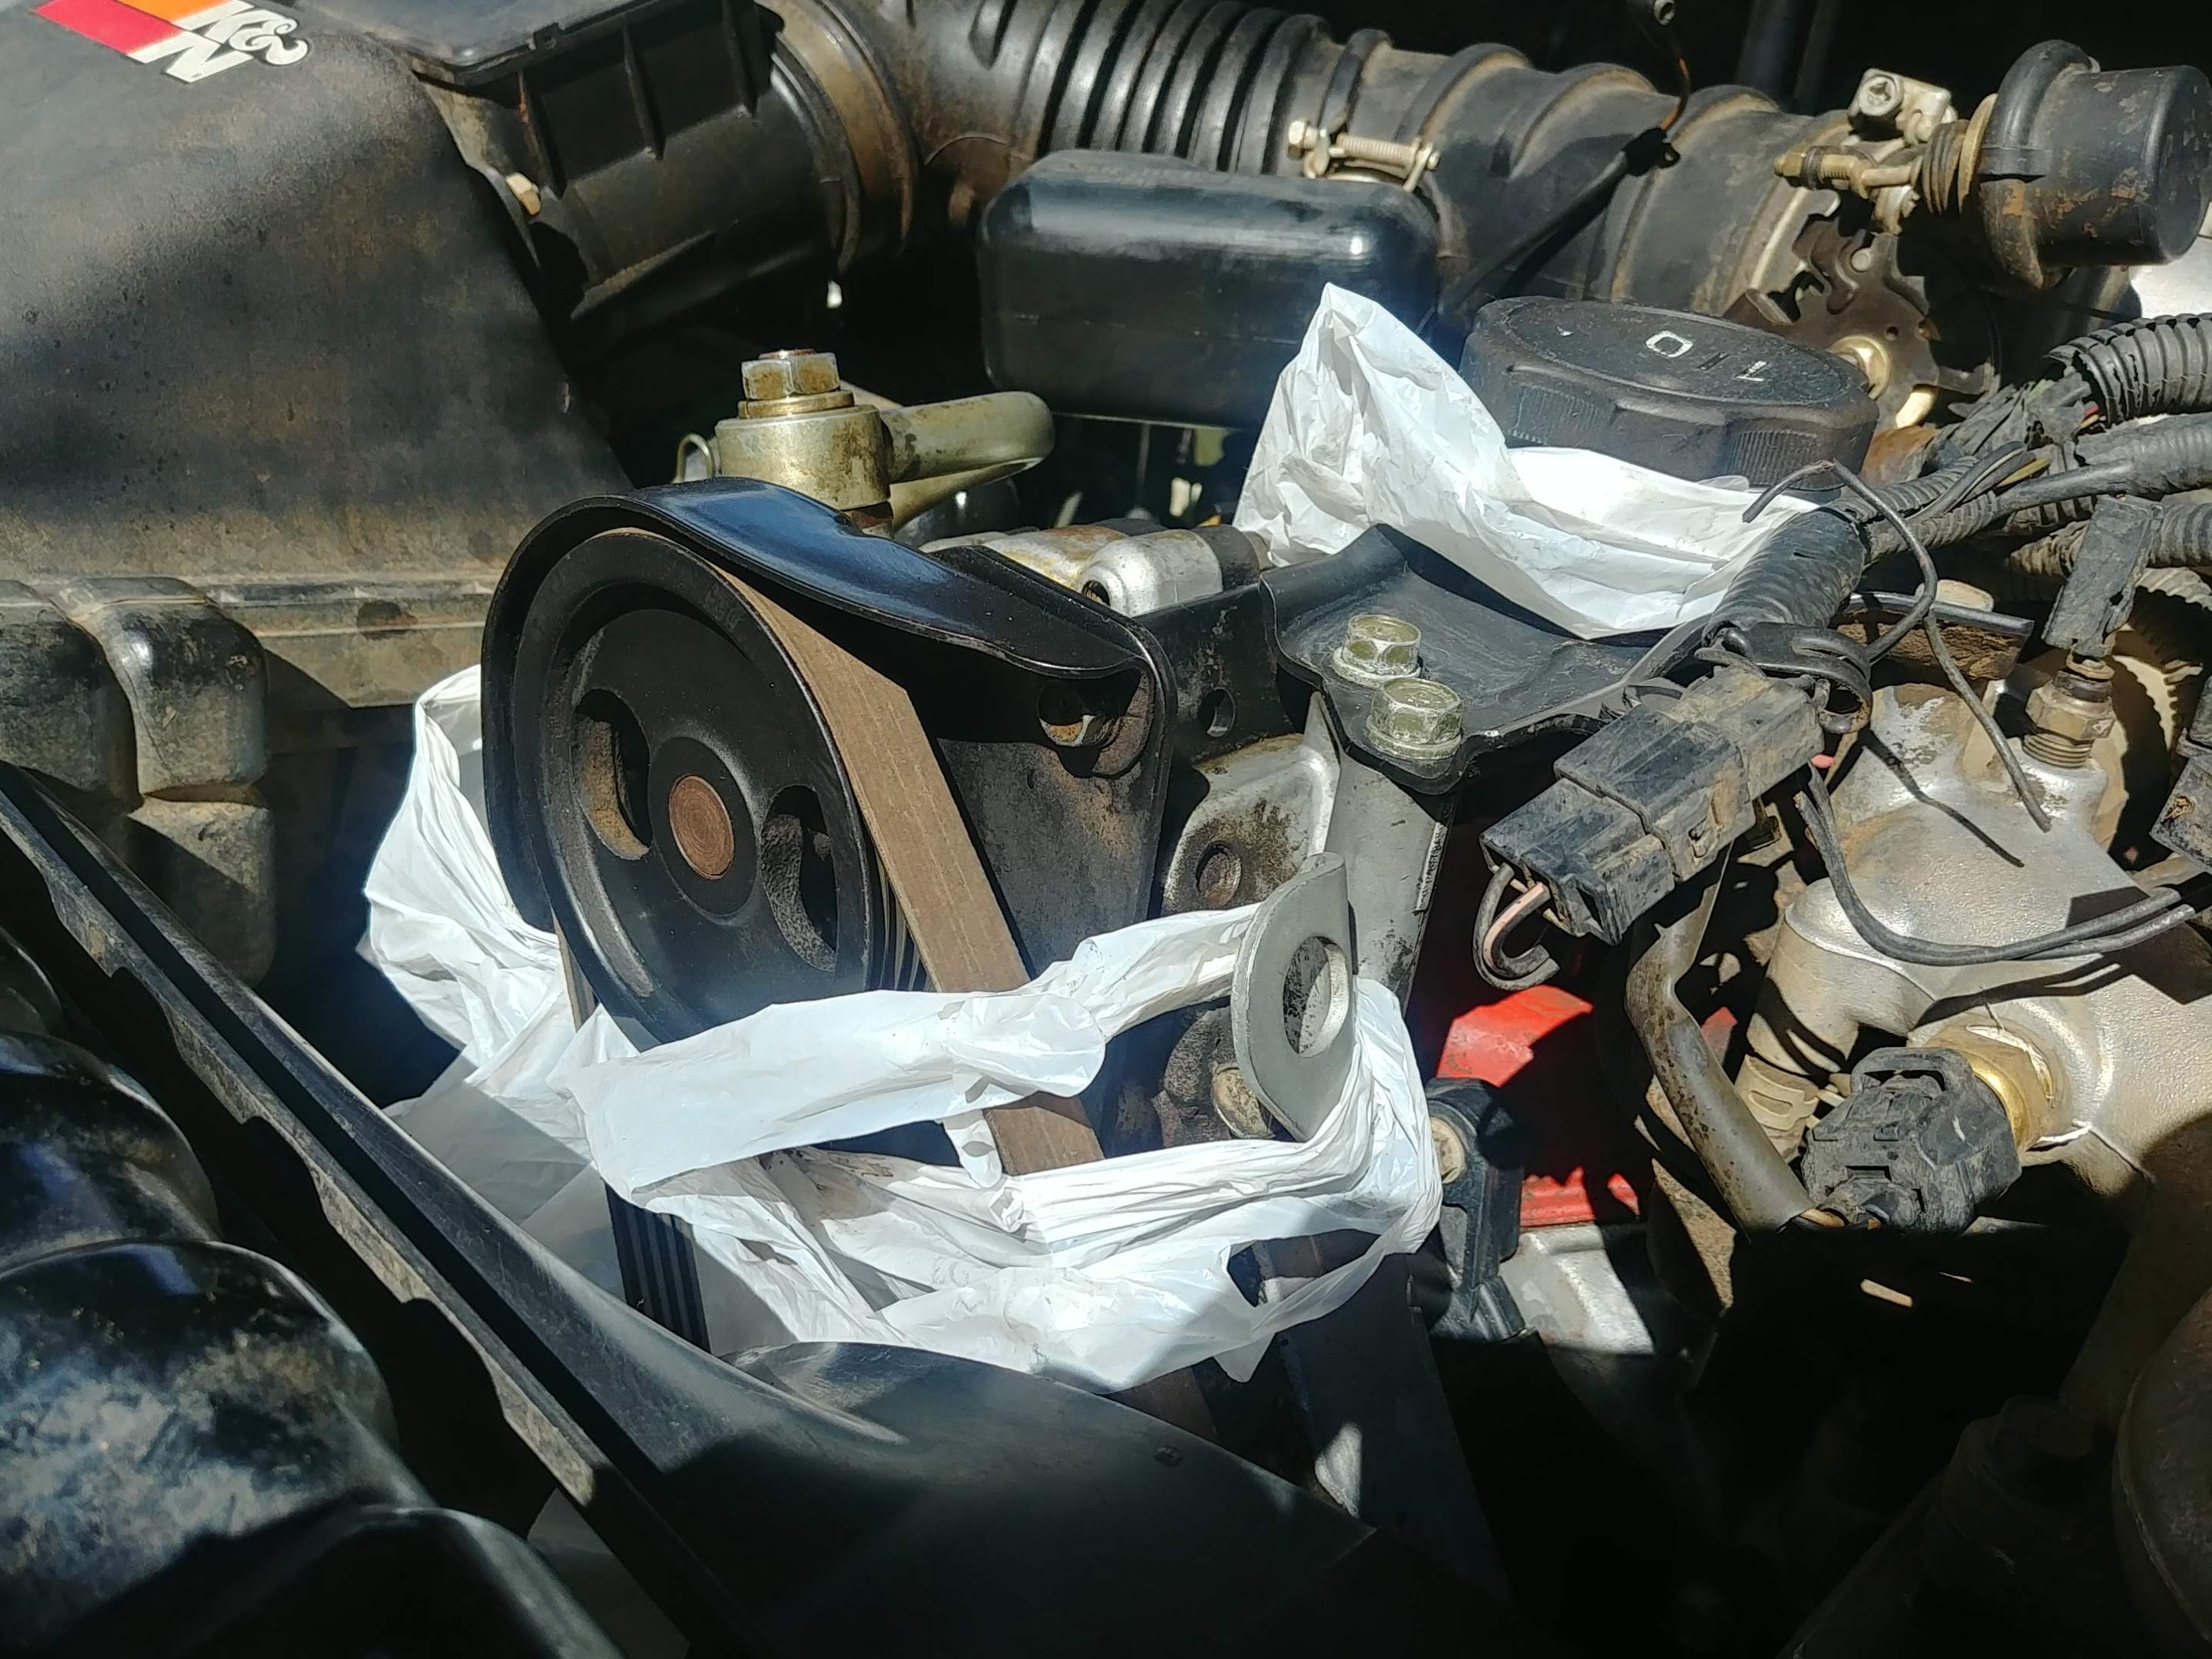
Having a few hours before dark, when I could test and aim the light, I changed the front diff fluid. For the first time, in the five years and 73,000 miles I’ve owned the truck.
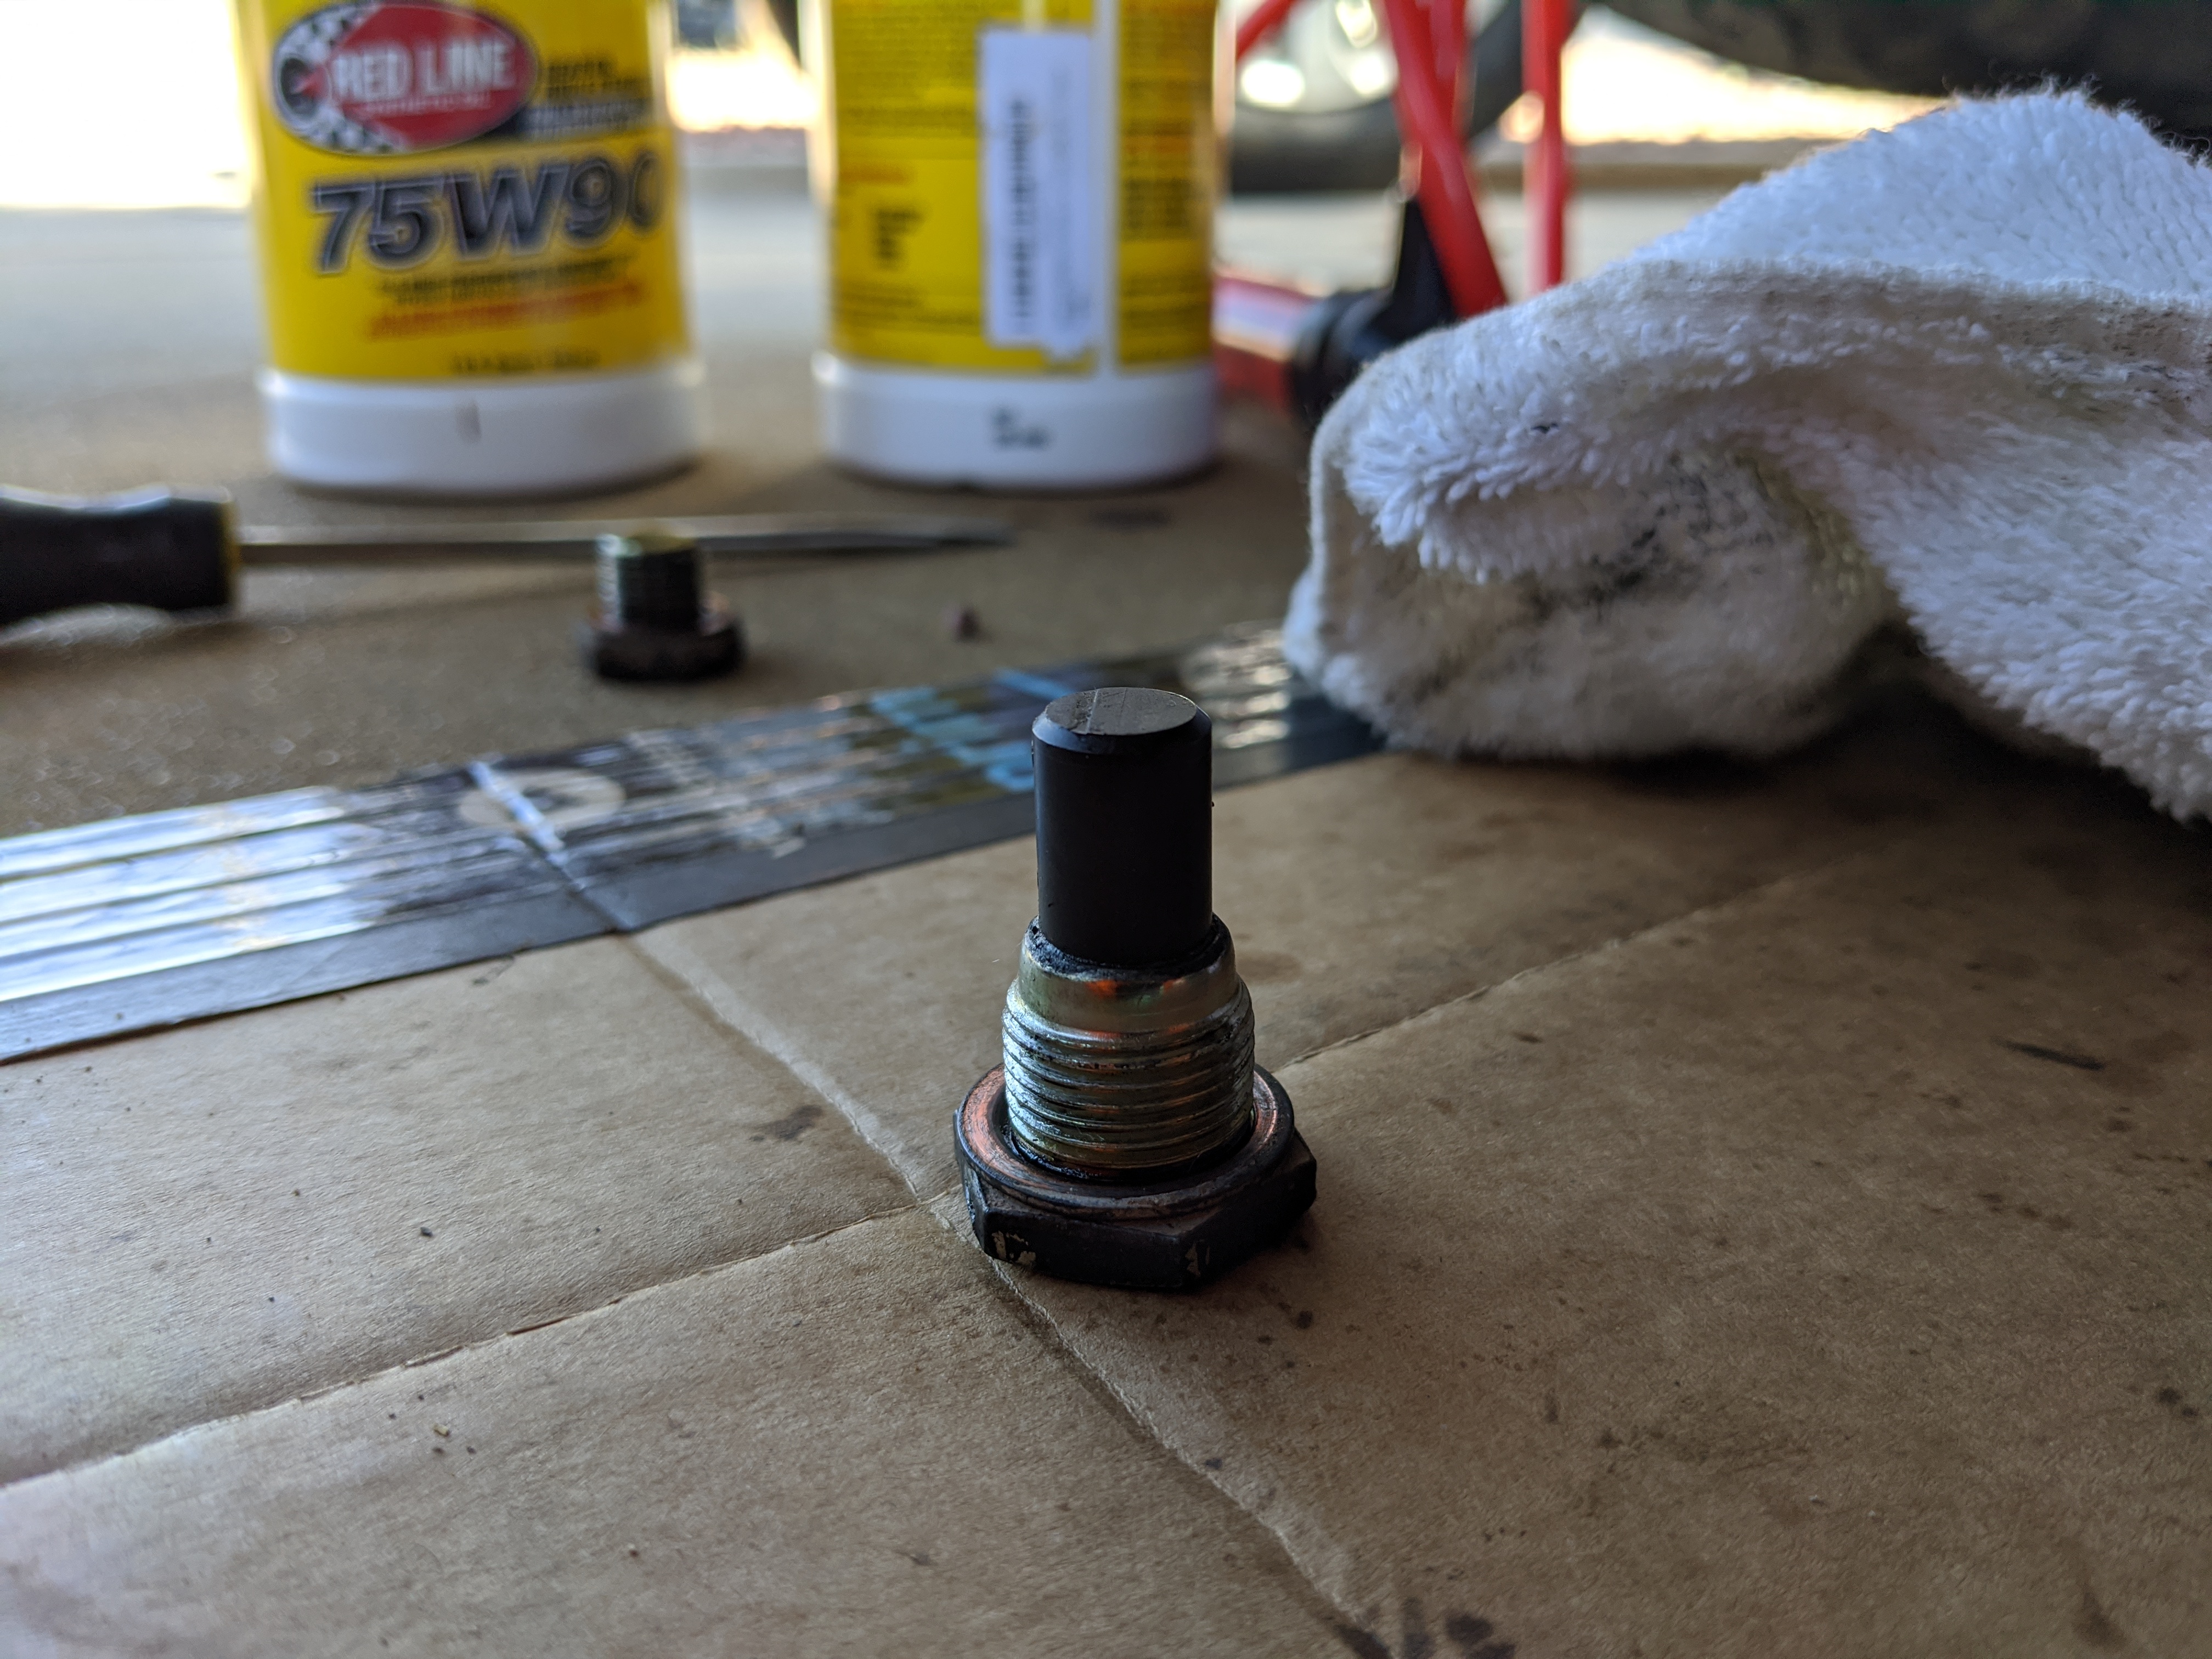
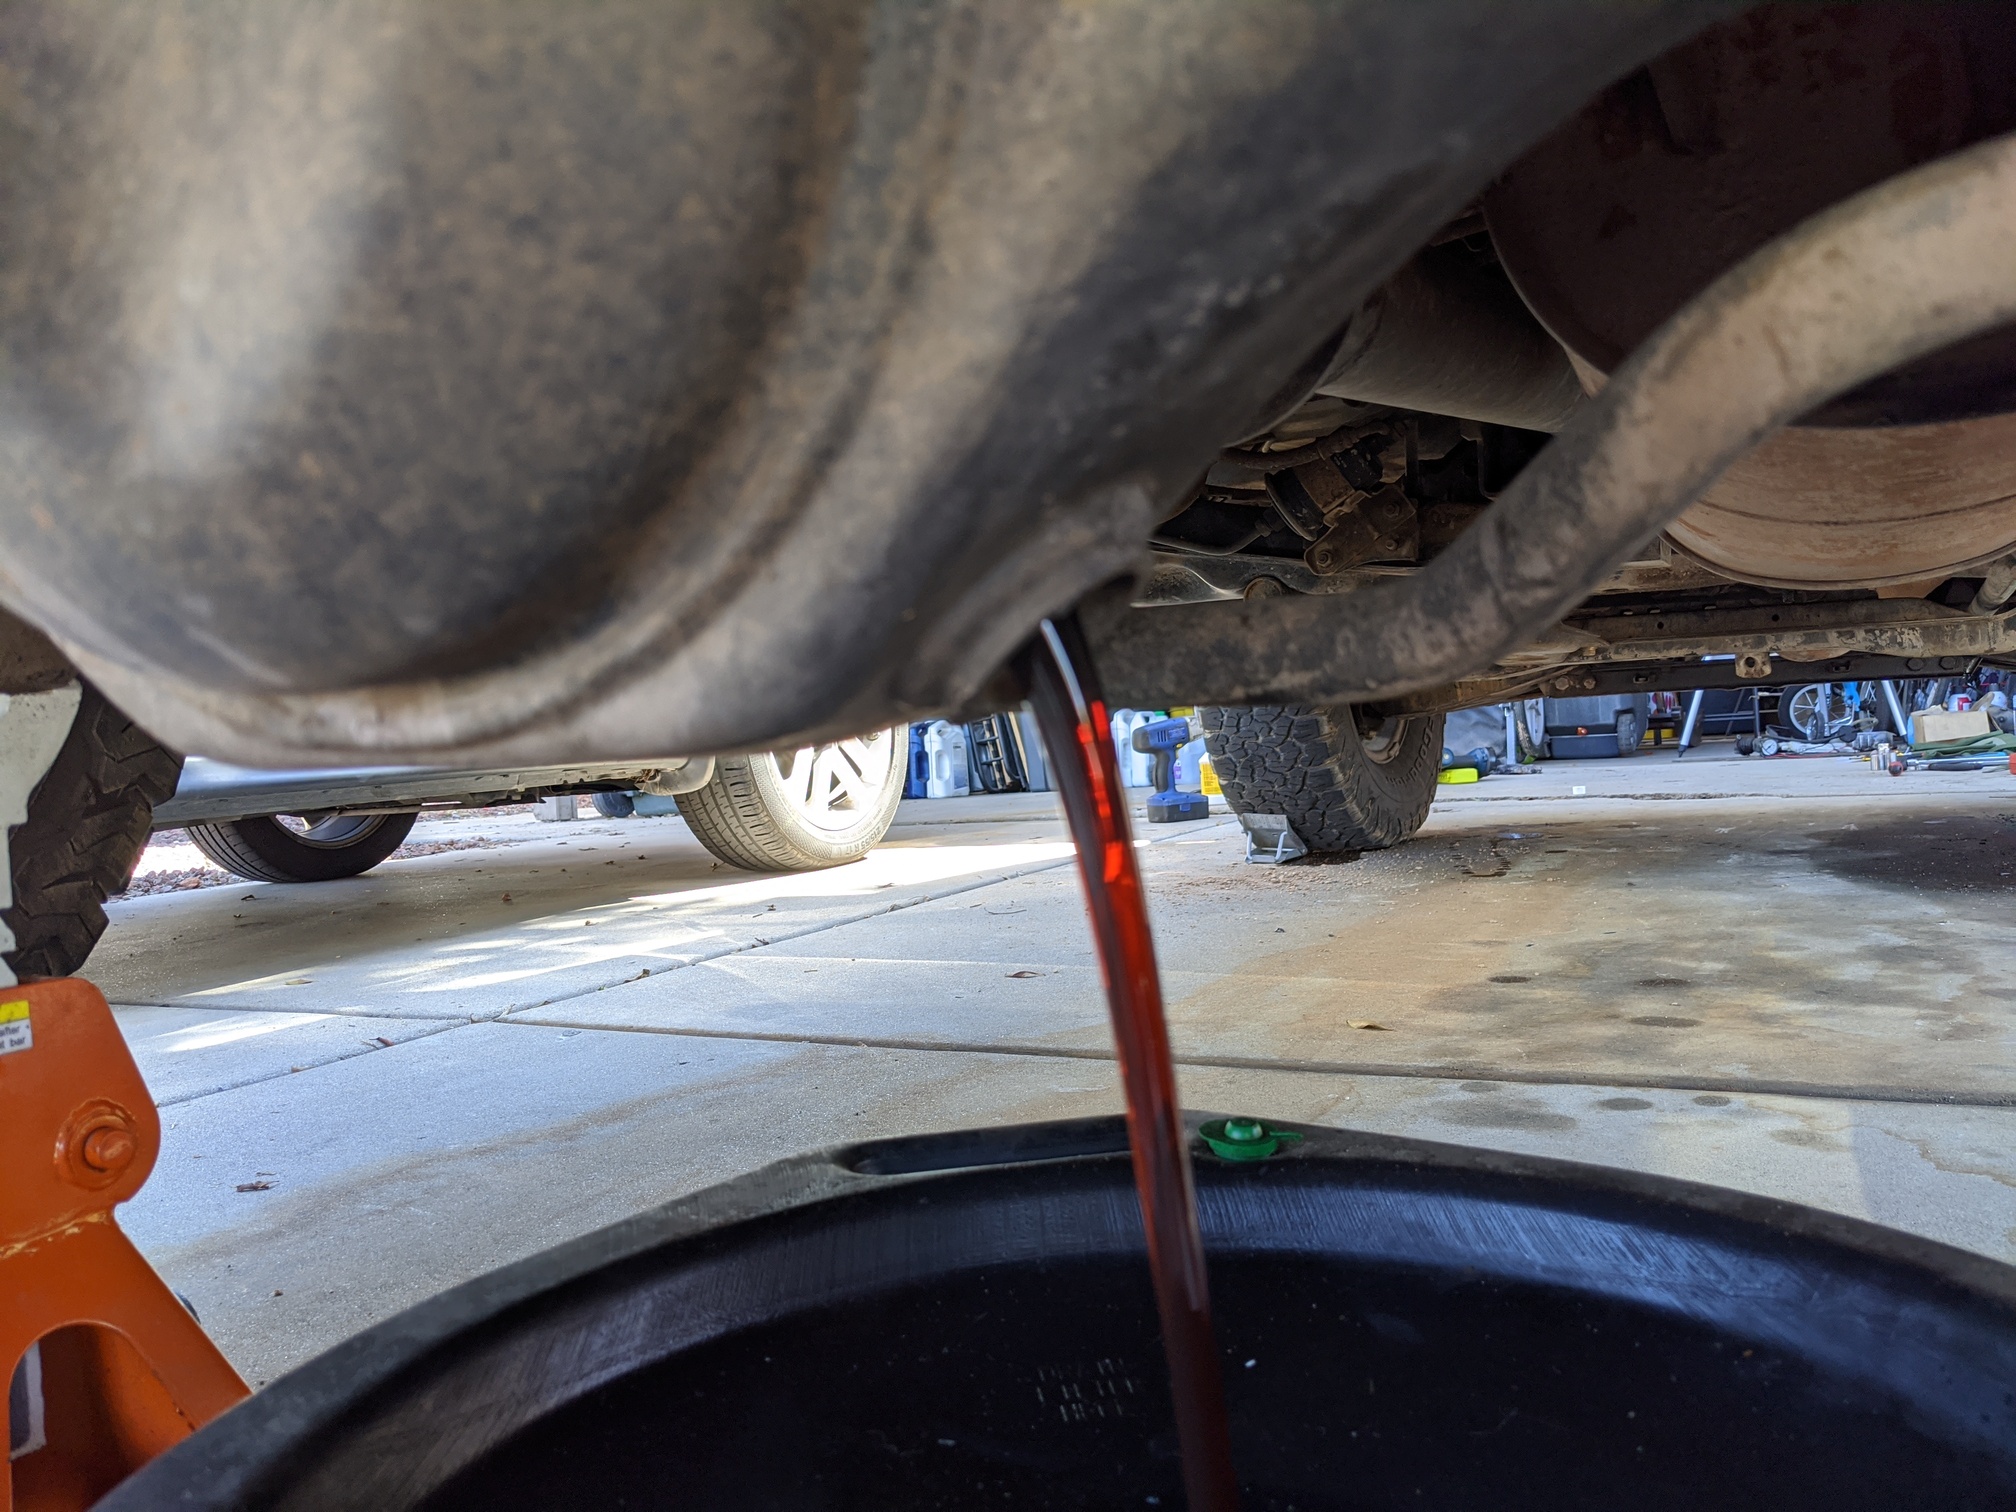
Do 98 Monteros have magnetic diff drain bolts from the factory? Mine had them. The front was fully covered, but not caked, in black soot-like material, but the old oil drained mostly clear. I refilled with 2+ quarts of Redline 75W90 GL-5.
The rear also had a magnetic drain bolt. This one was covered in so much black goo it was as thick as the threaded section. Old fluid came out red? I refilled with the rest of the 75w90, which was a hair over 2.5qts. It didn’t drip out of the fill hole, but I also had the rear end raised above level.
Now, I thought this would eliminate the gear whine I hear when driving down the highway, but much like my efforts with the front end creaking and popping, it did not. It’s a subtle whine audible at highway speeds, related to slight changes in load on the driveline. Easing on/off the throttle changes it.
Interestingly, though, taking the truck for a late night spin to aim the light bar found me noticing the sound might actually be coming from the front driver side hub under cornering loads. If I do a wide, almost-slalom (barely leaving my lane), there’s definitely a whine coming from the front left corner when I load it up under cornering.
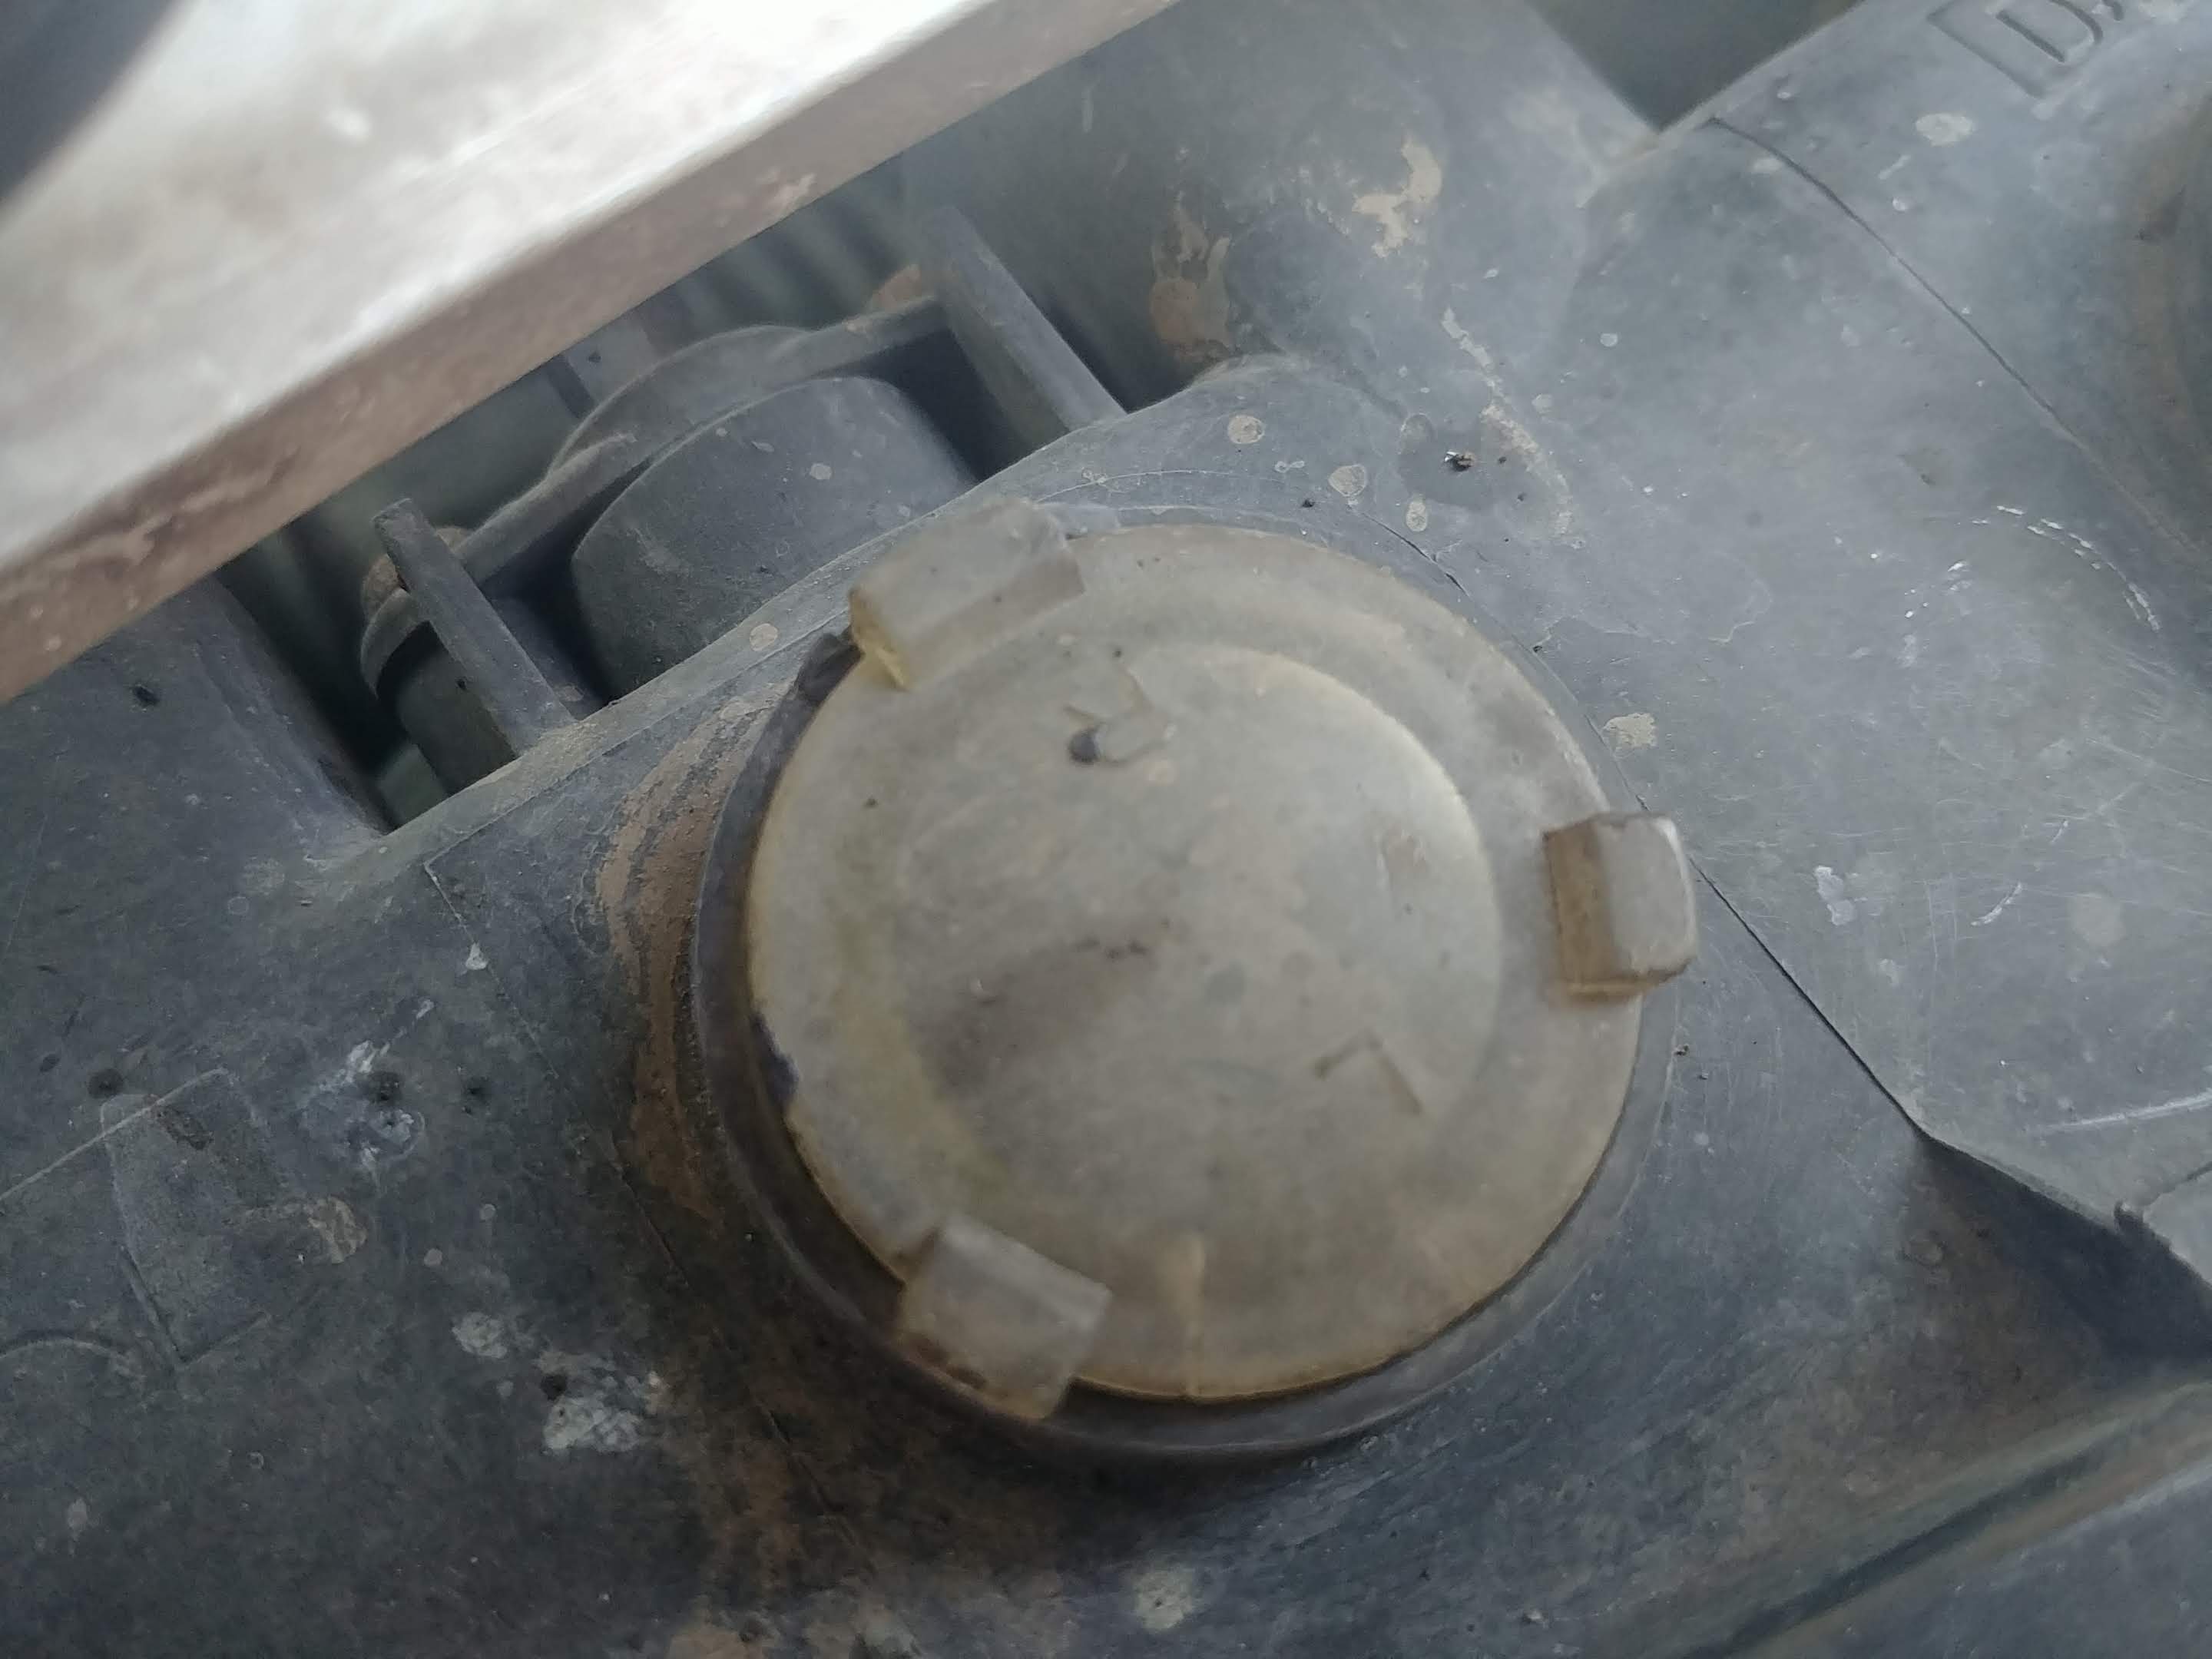
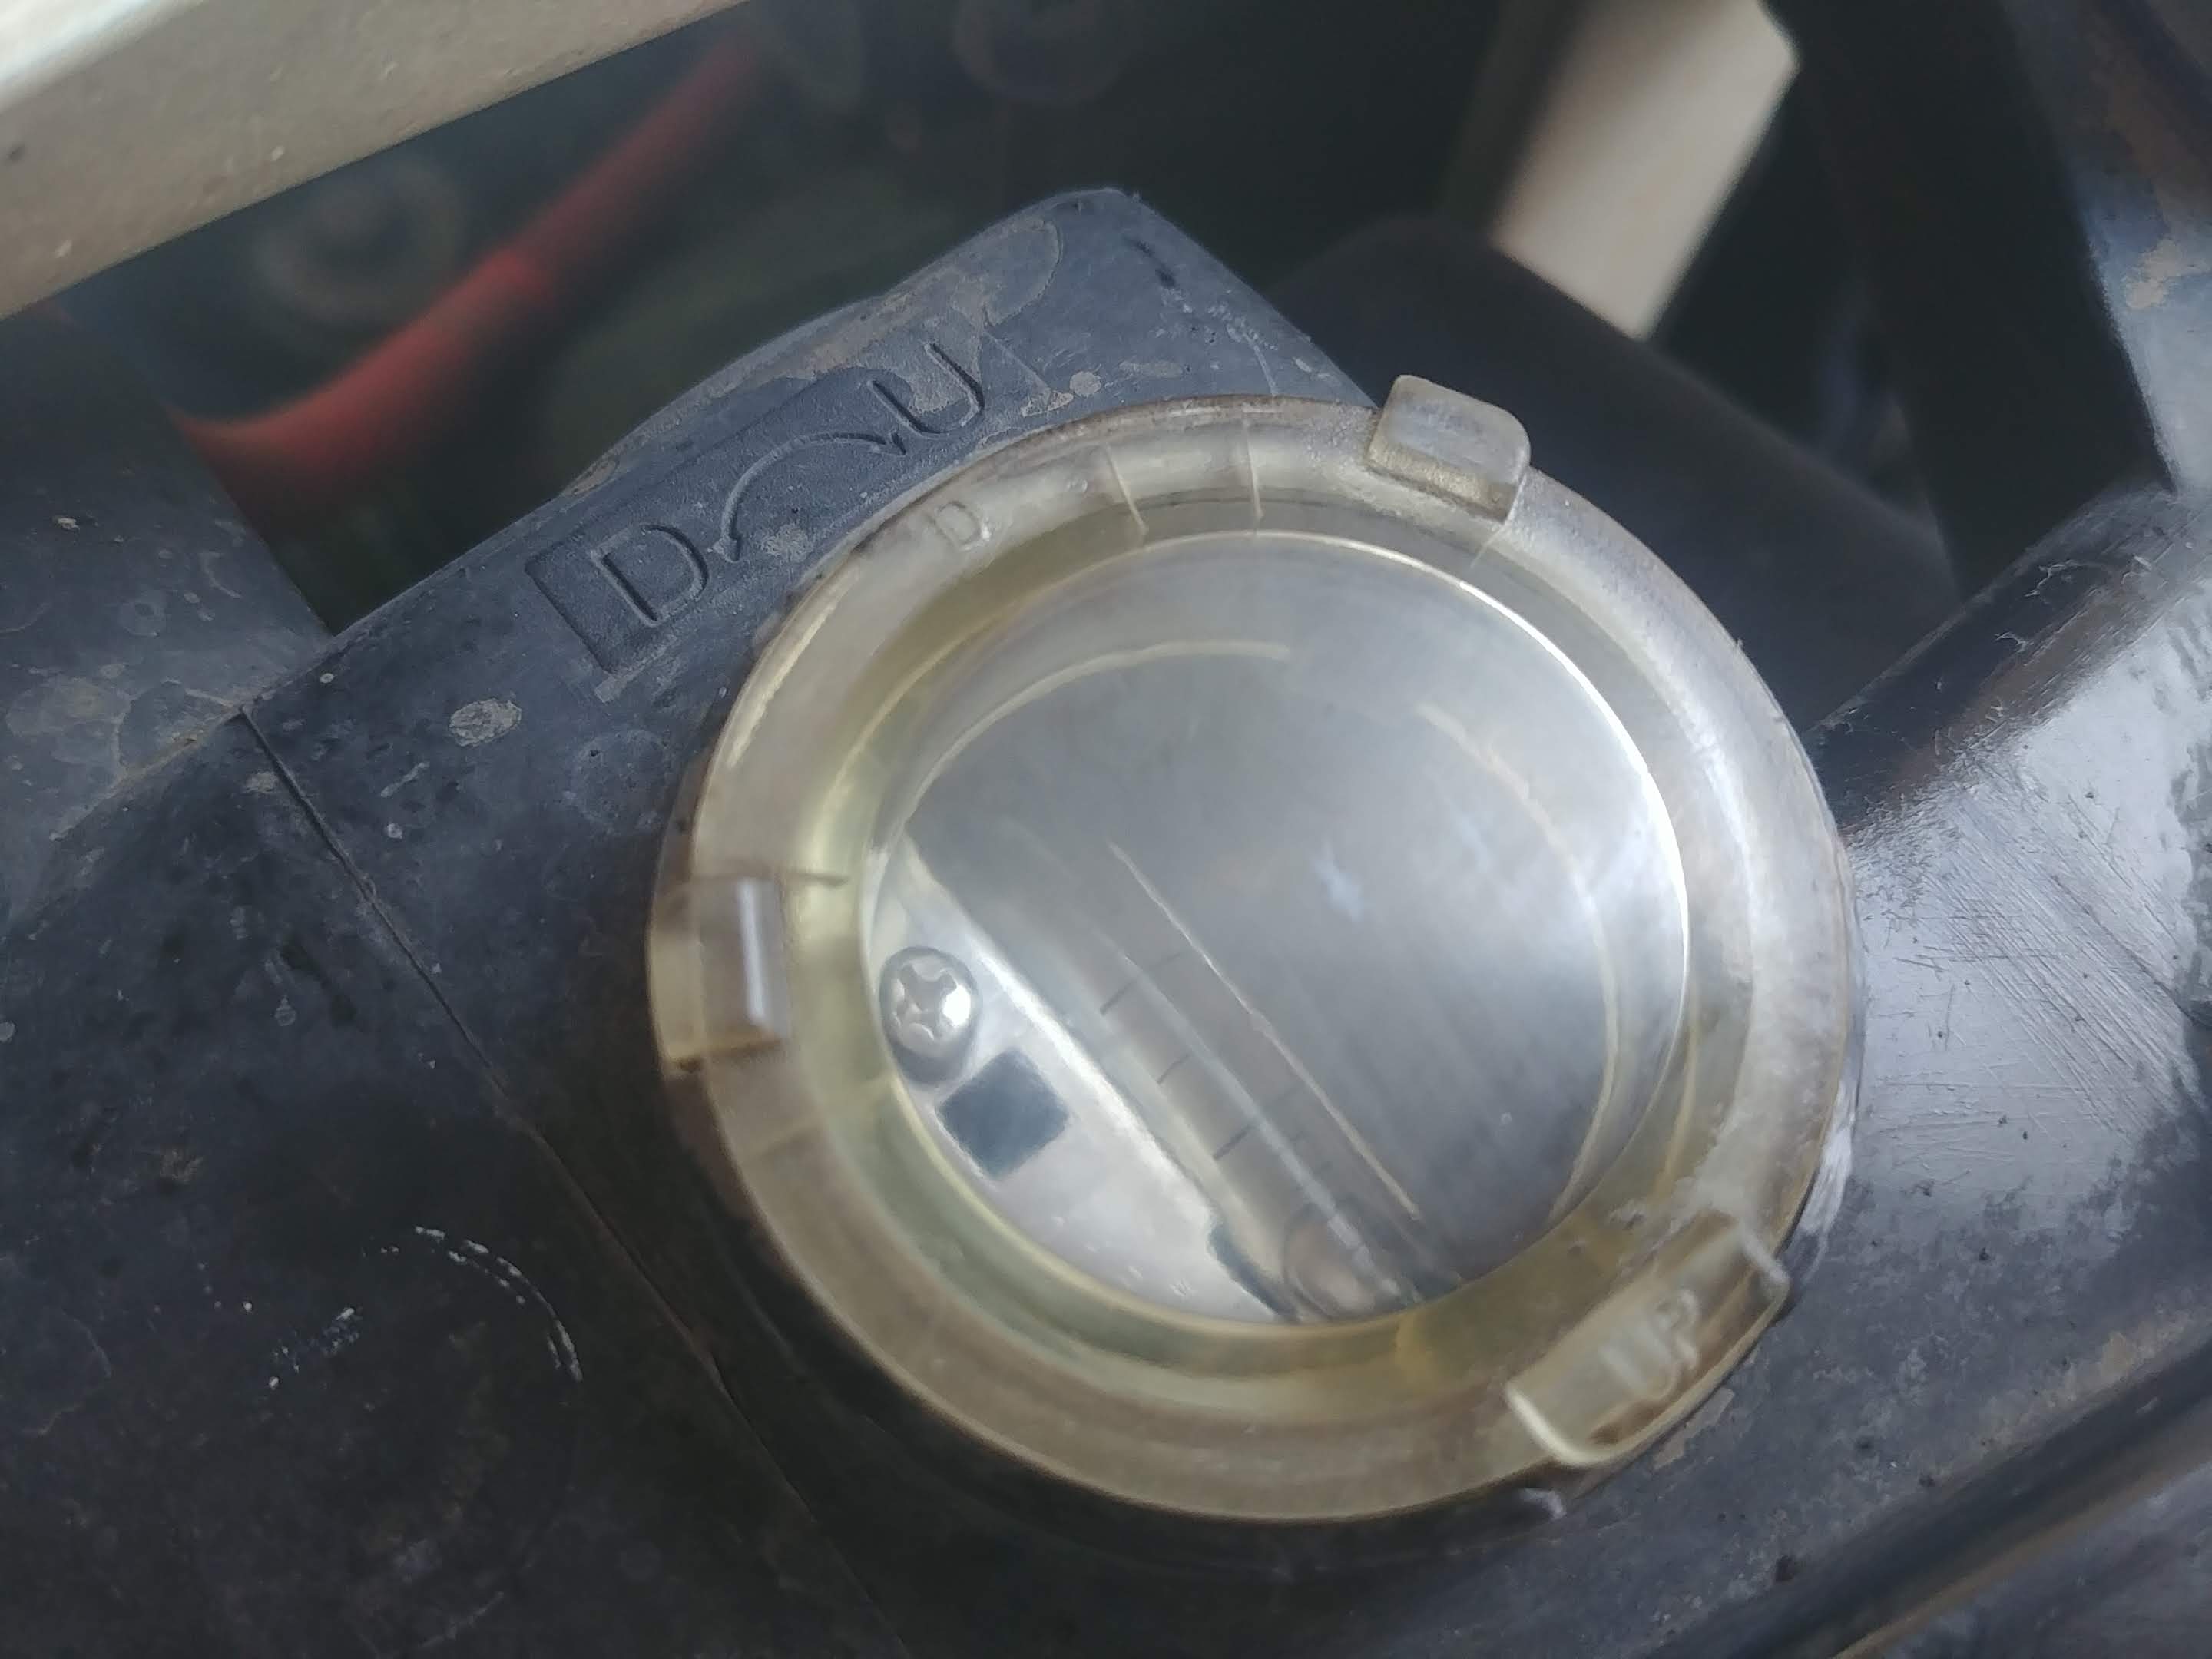
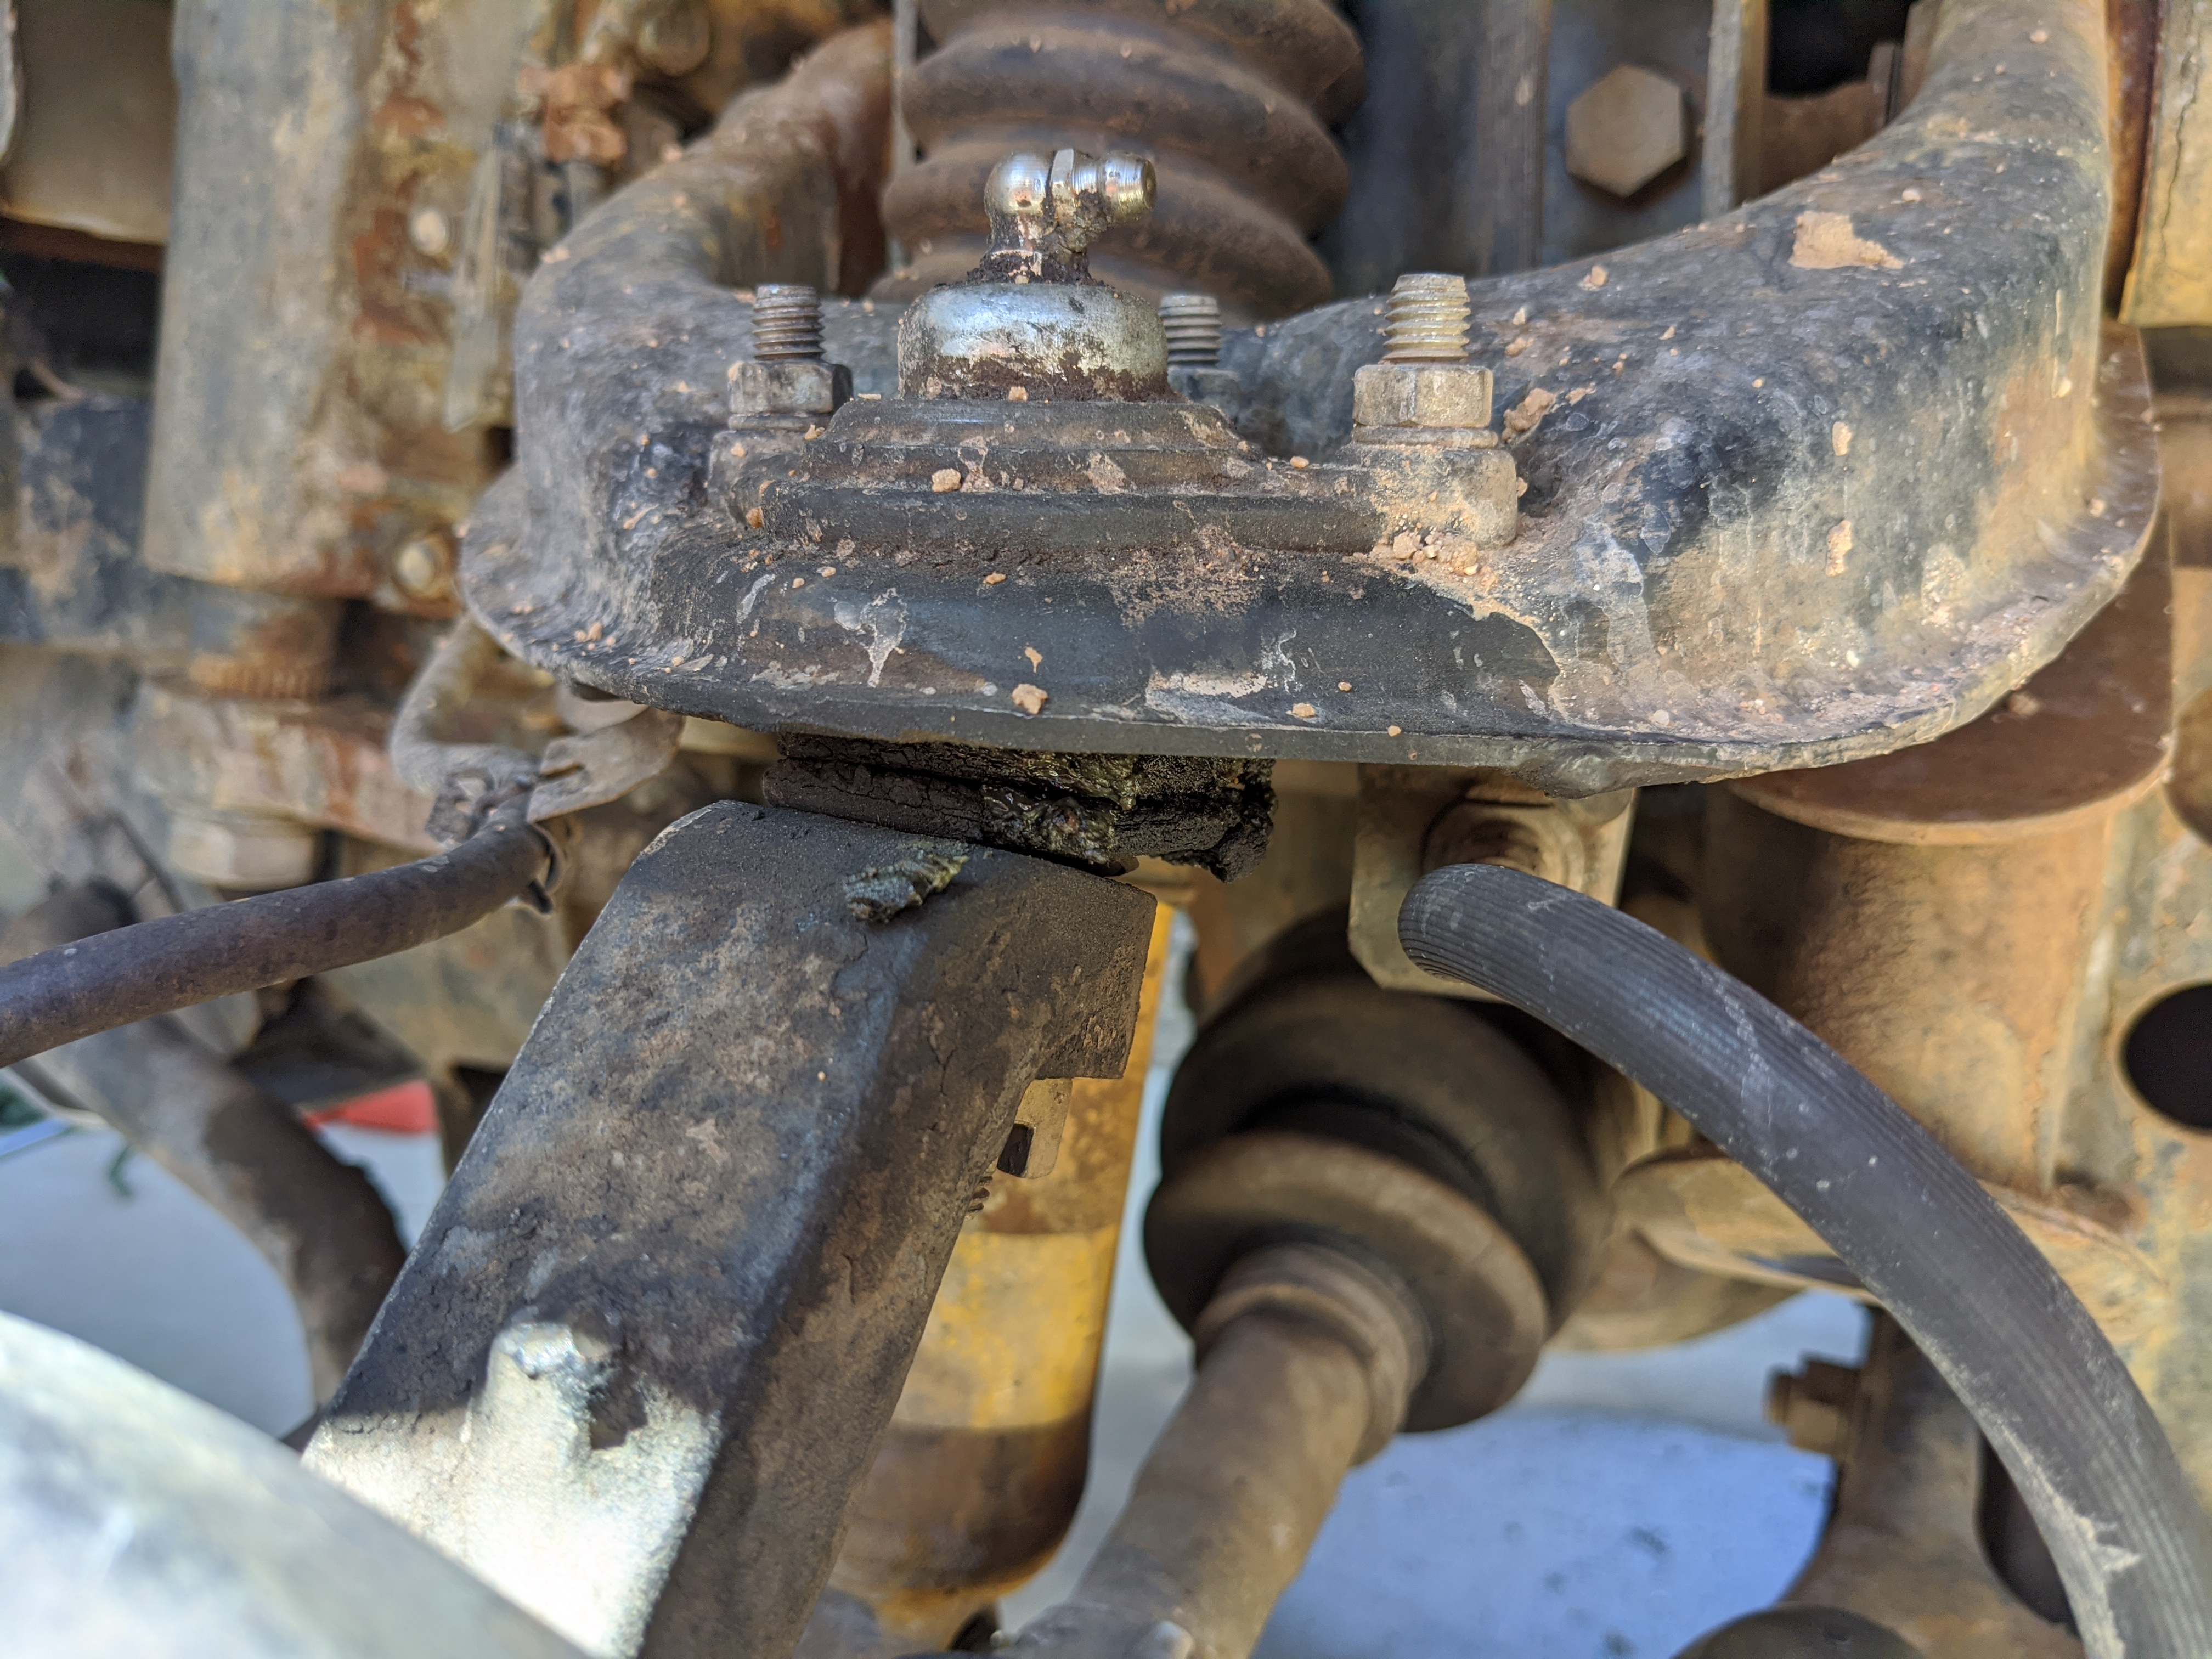
Not pictured: Cleaned/inspected 4WD actuator assembly.
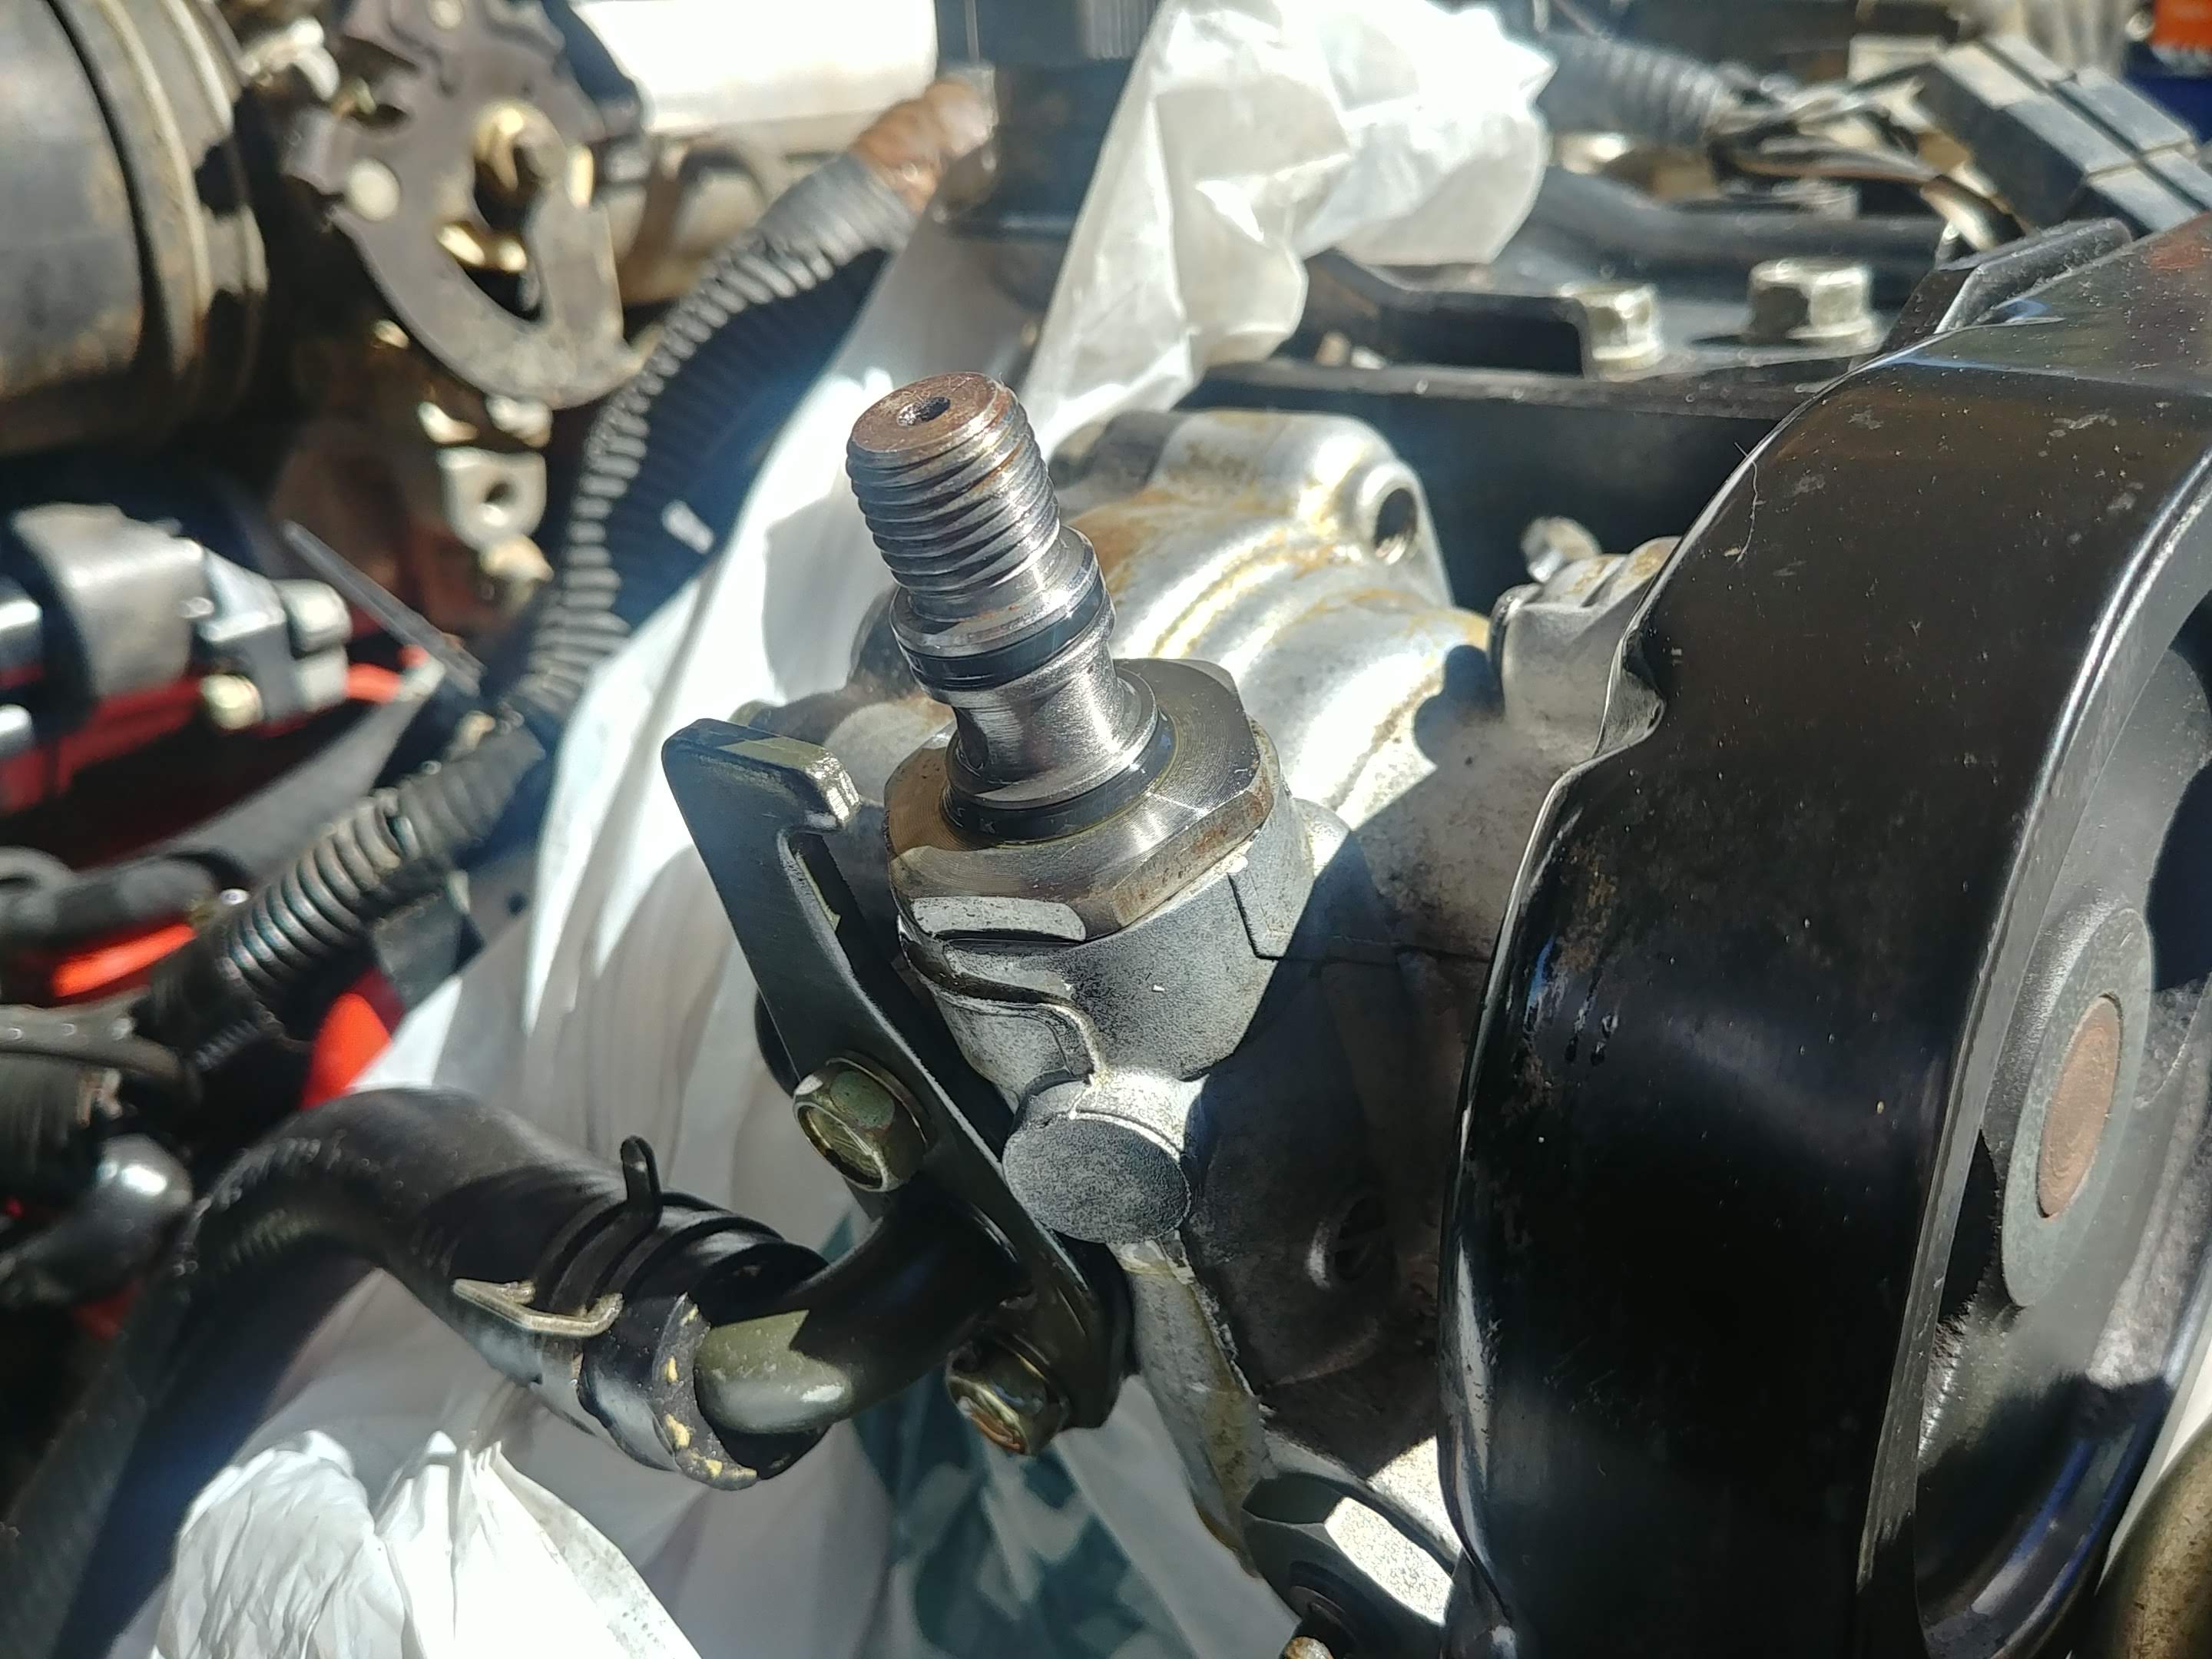
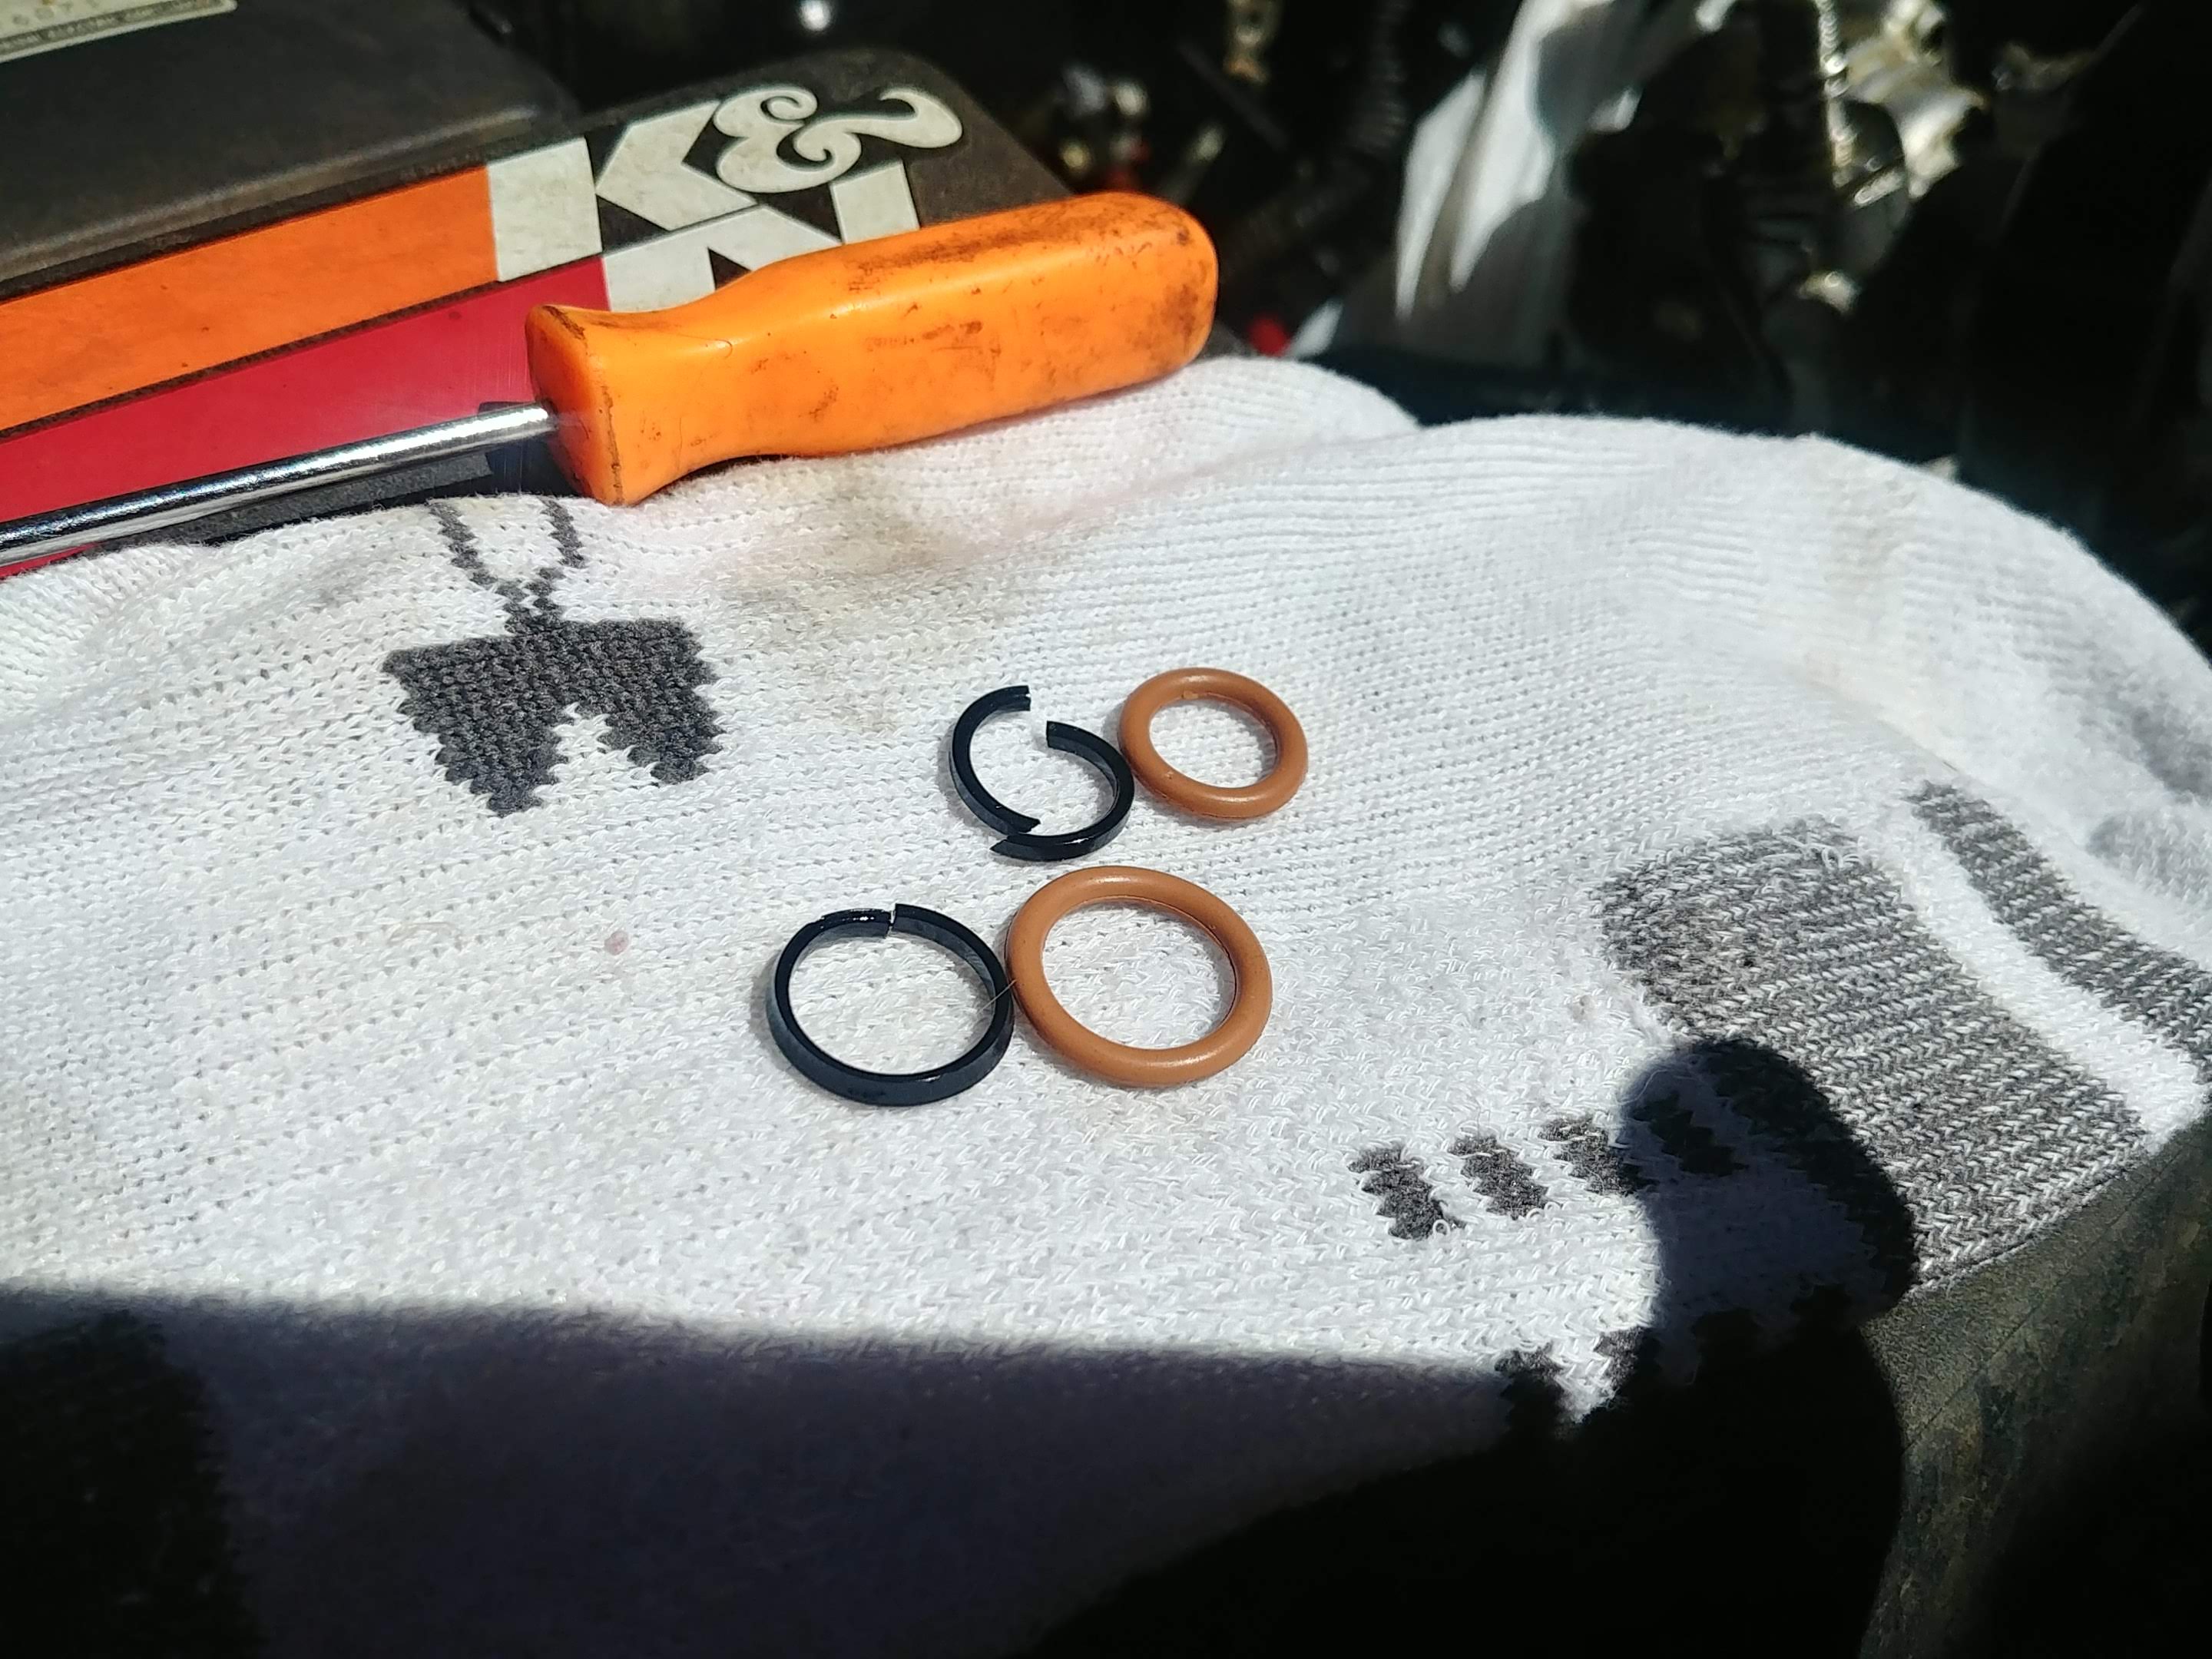
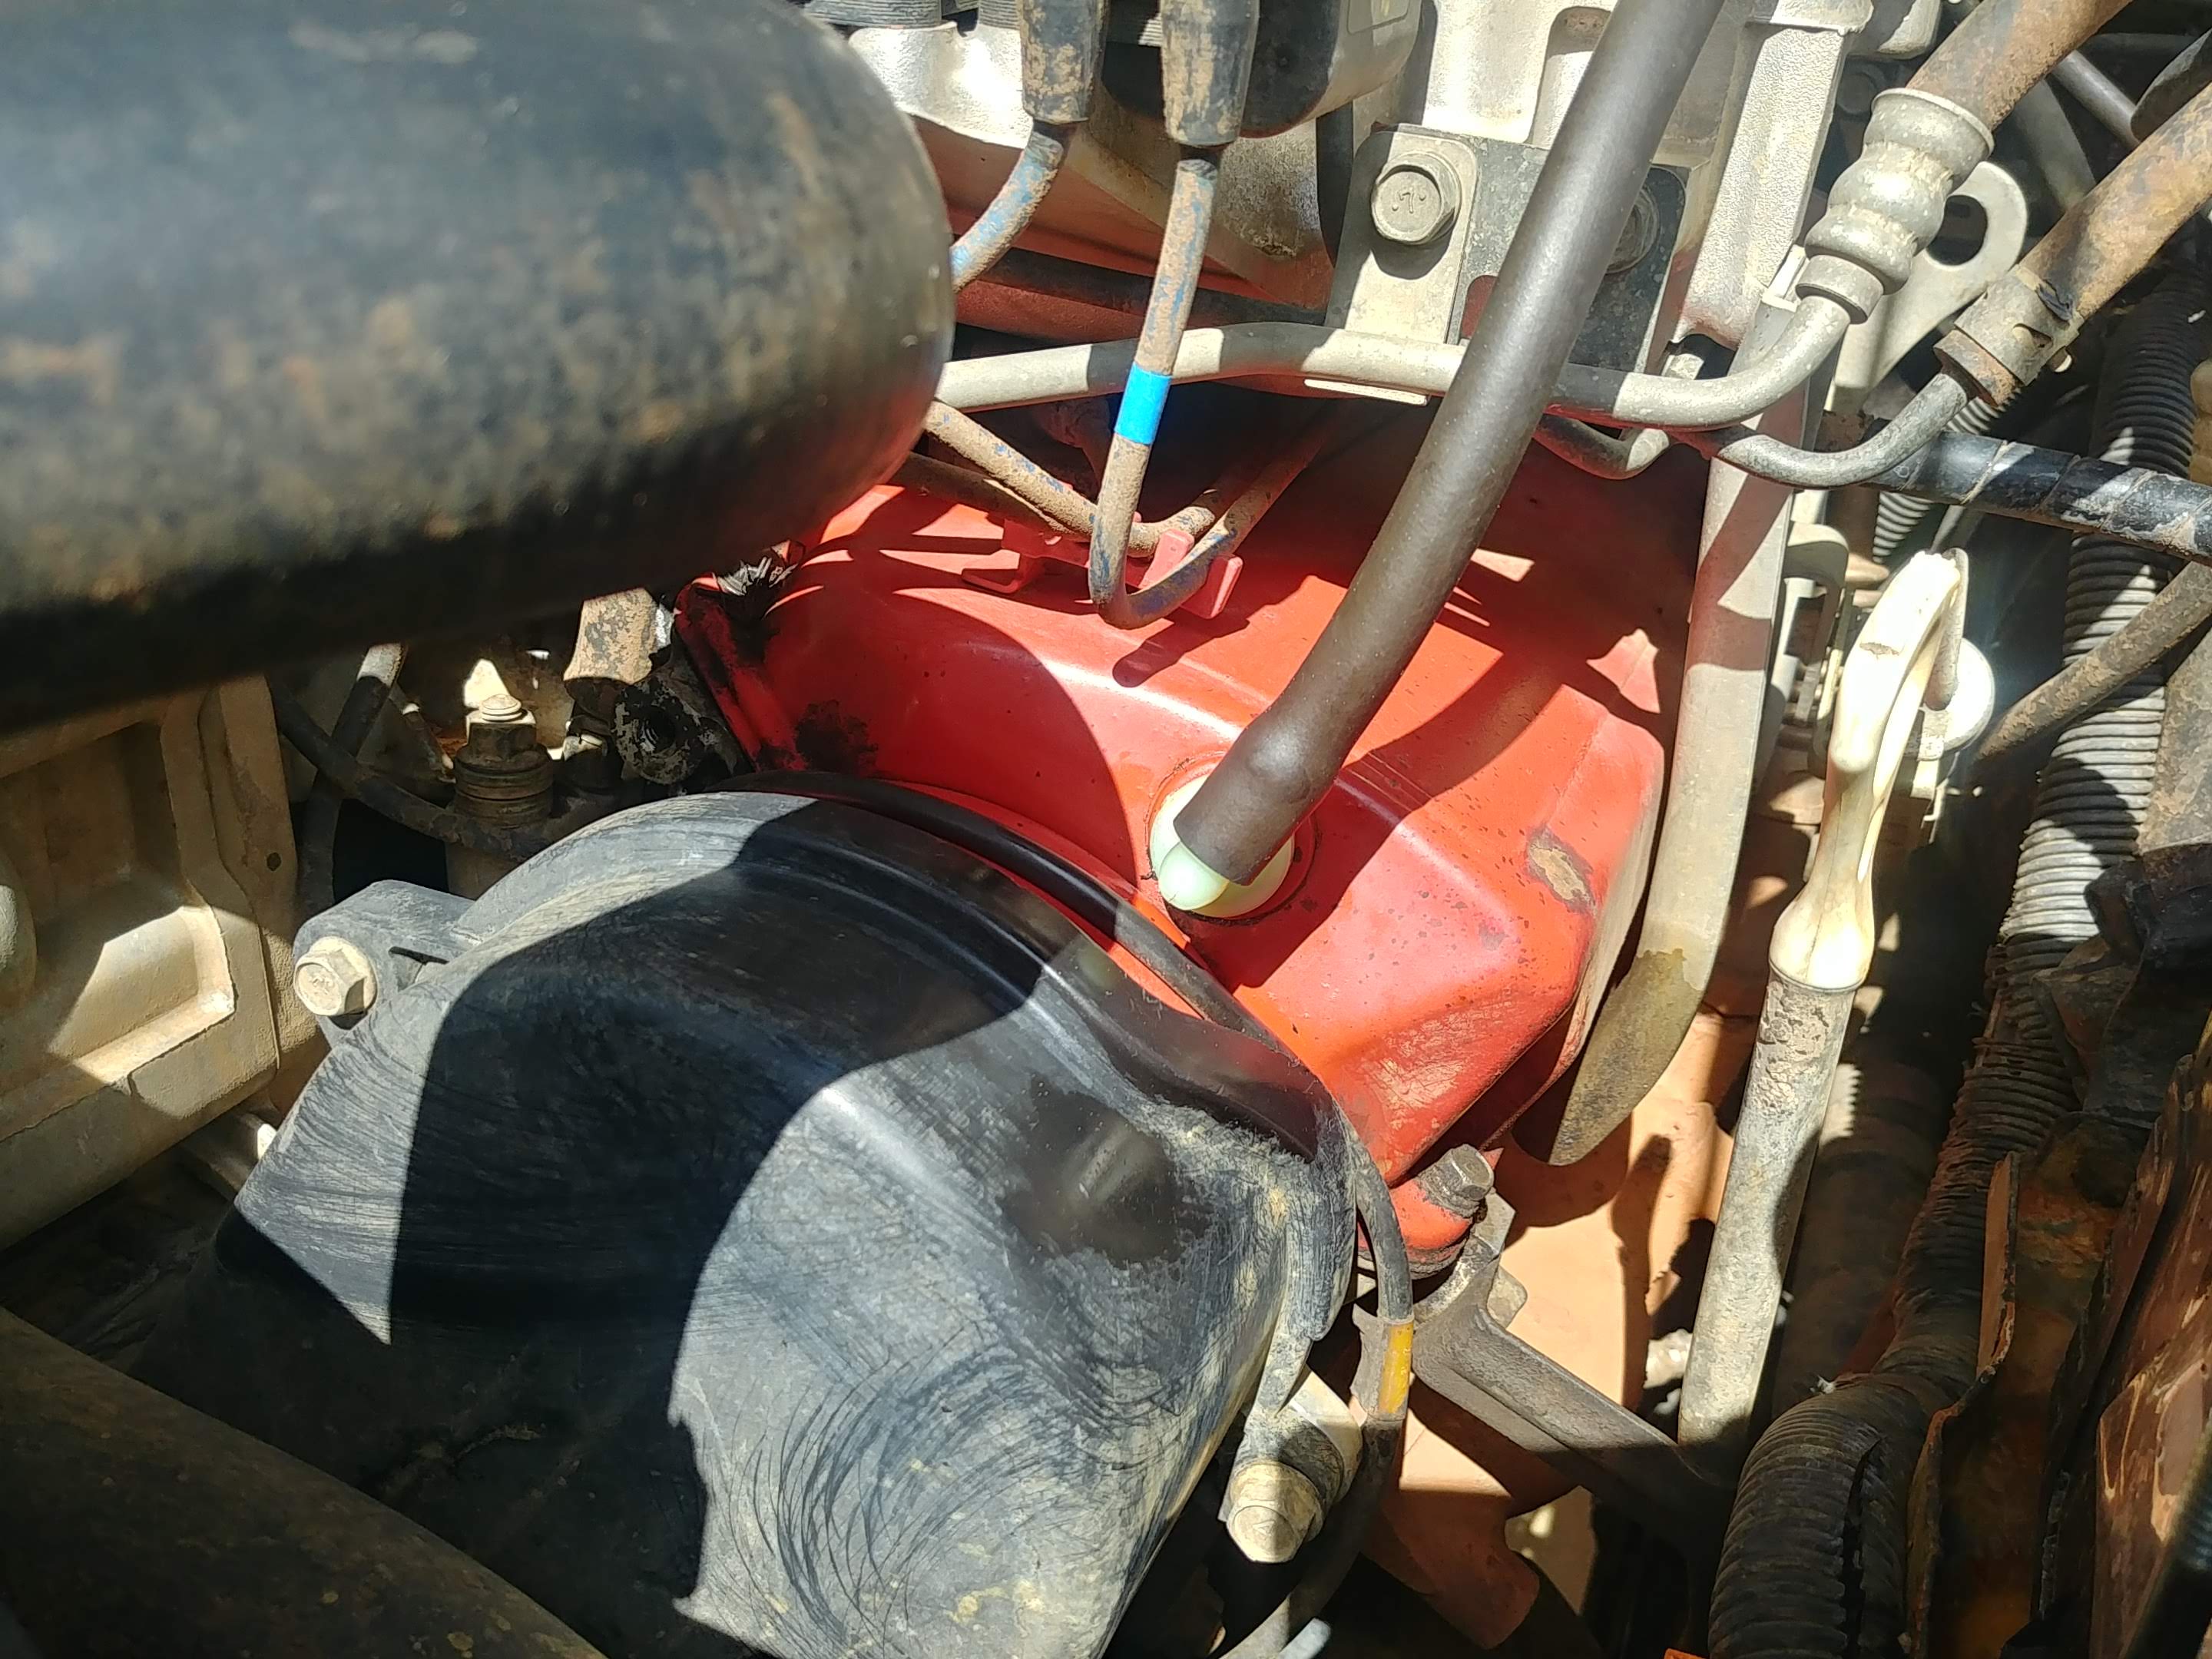
Before I cracked the front diff drain, I took a closer look at the 4WD actuator assembly. Peeling back the accordion boot, water poured out both ends. Not a lot, but at least a table spoon. Probably not ideal.
That said, the rod inside looked spotlessly clean. So clean, in fact, I wondered why I’ve heard so many people talk about greasing these things up. It doesn’t look like mine’s EVER been coated in grease. In fact, it might be the cleanest thing under the truck.
I wiped all the power steering fluid (remember that leak) and mud and grime off the vac lines and made sure everything in that area was clean and tidy. Then I sprayed the rod with WD40. You know, to displace the water.
Wouldn’t you know it? Shifting into 4H (AWD) did nothing. No lights blinking at all. Oh, but the ABS light came on, because something was telling something else the axle was engaged, but not engaged?
Later that night, I got it to engage AWD and made a point of engaging, disengaging, engaging, disengaging at least a dozen times to work the rod back and forth. Seems like it’s mostly working now. Once in a while it almost engages instantly. 
Finally, it got dark, the girls went to bed, and I found myself driving…
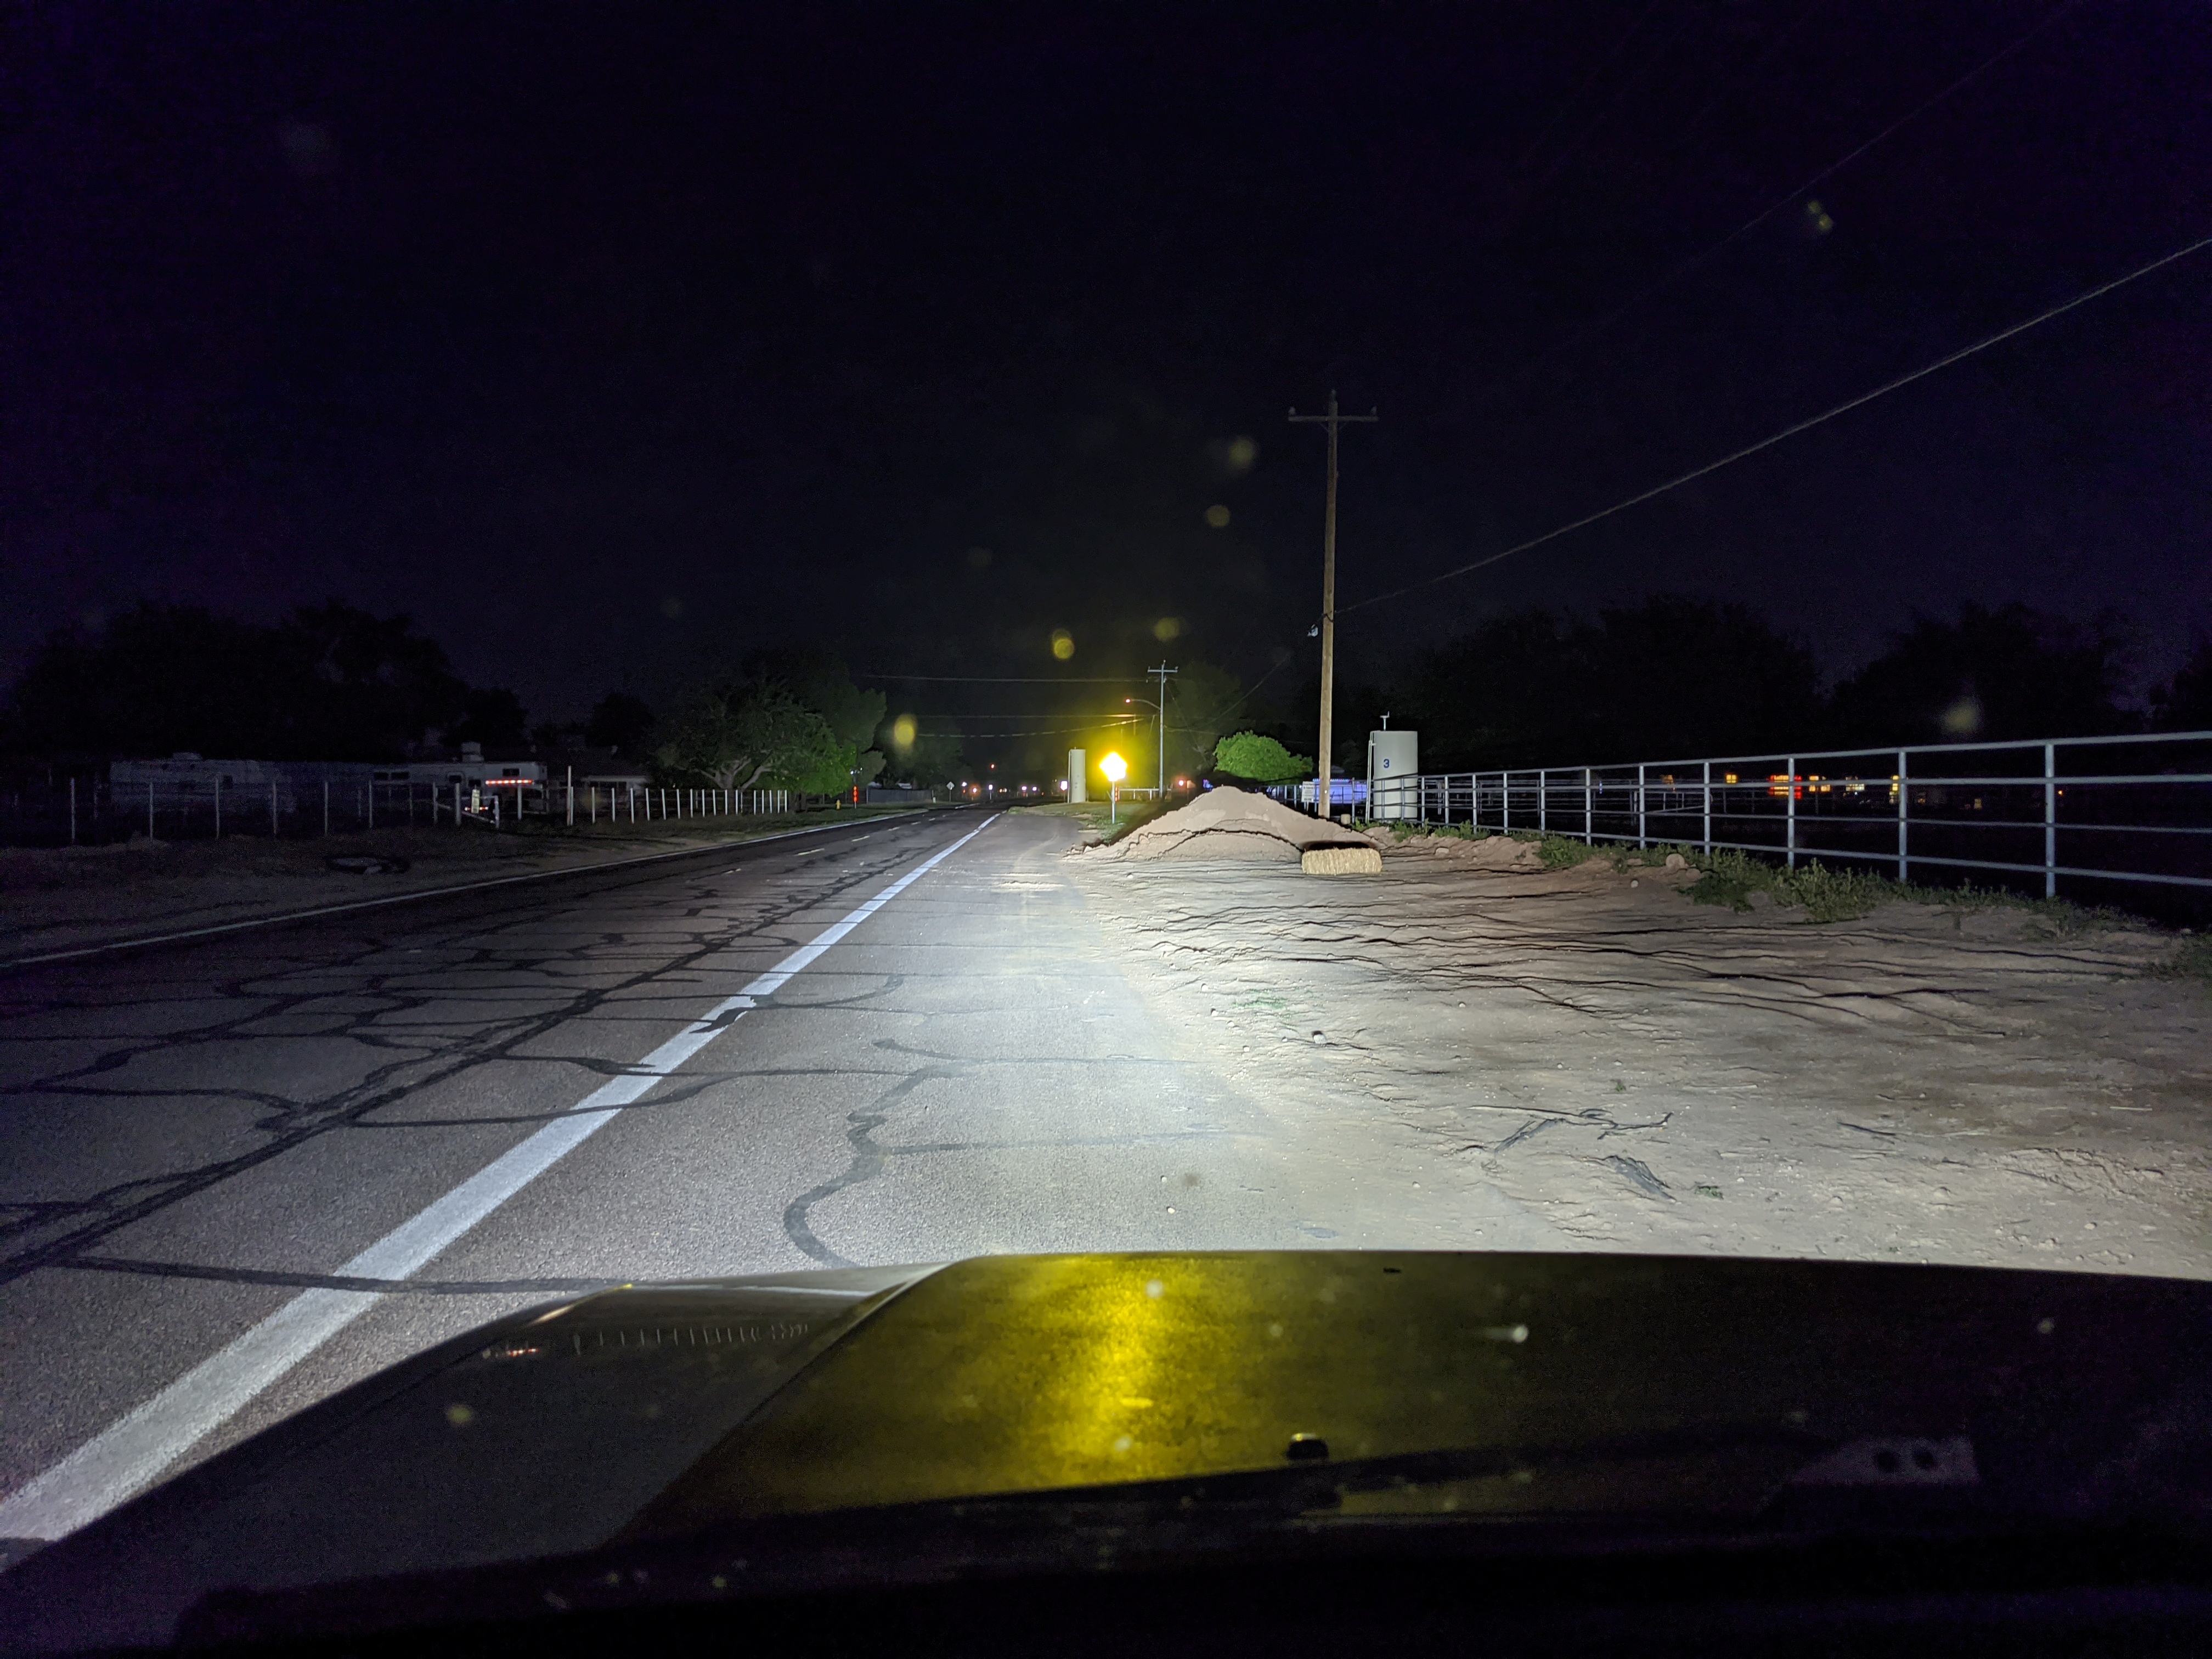
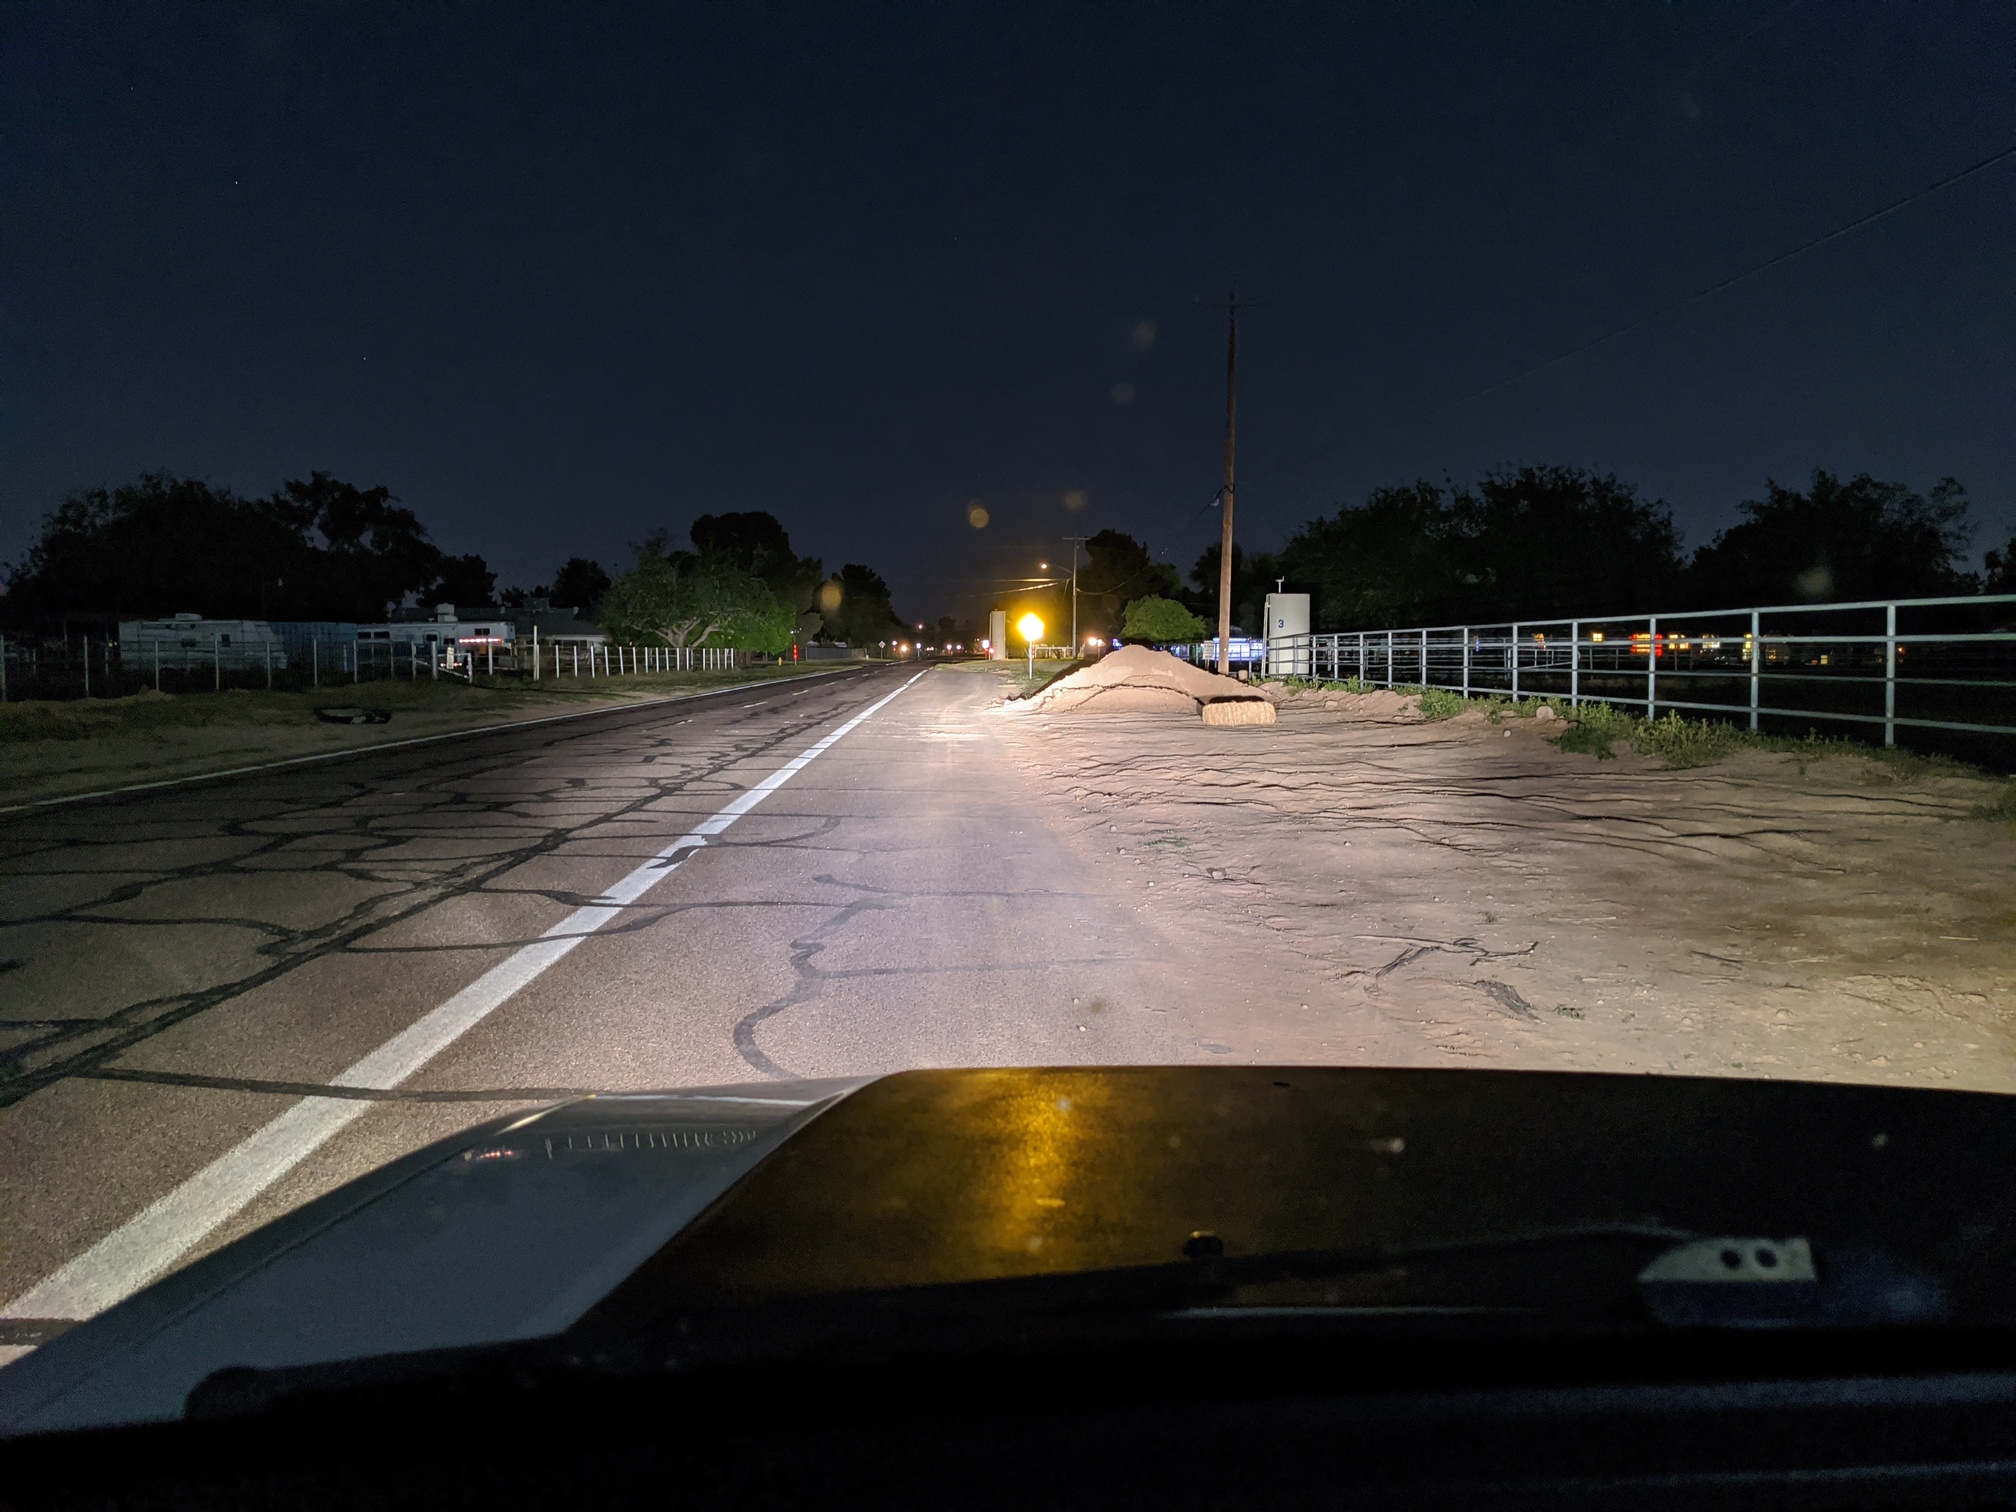
These pictures were taken with my brand new Pixel 4 in Night Mode (auto), resting on the steering wheel, looking through the windshield.
Stock headlights with new Osram Nightbreaker bulbs & amber fogs.
Light bar solo.
Light bar + high beams.
Pictures don’t really do this thing justice. I drove over 60 miles that night trying to find someplace without streetlights or traffic. Ended up on the 303 loop between I-17 and Lake Pleasant Parkway. Let’s just say I’m super impressed and looking forward to having this bar wired up right on the high beams. Damn thing’s so bright I almost need sunglasses due to the reflection of street signs a quarter mile away. (I’m also running 3x driving lenses on the bar right now. Probably going to swap out two with flood lenses to widen the beam up close.)
/end update
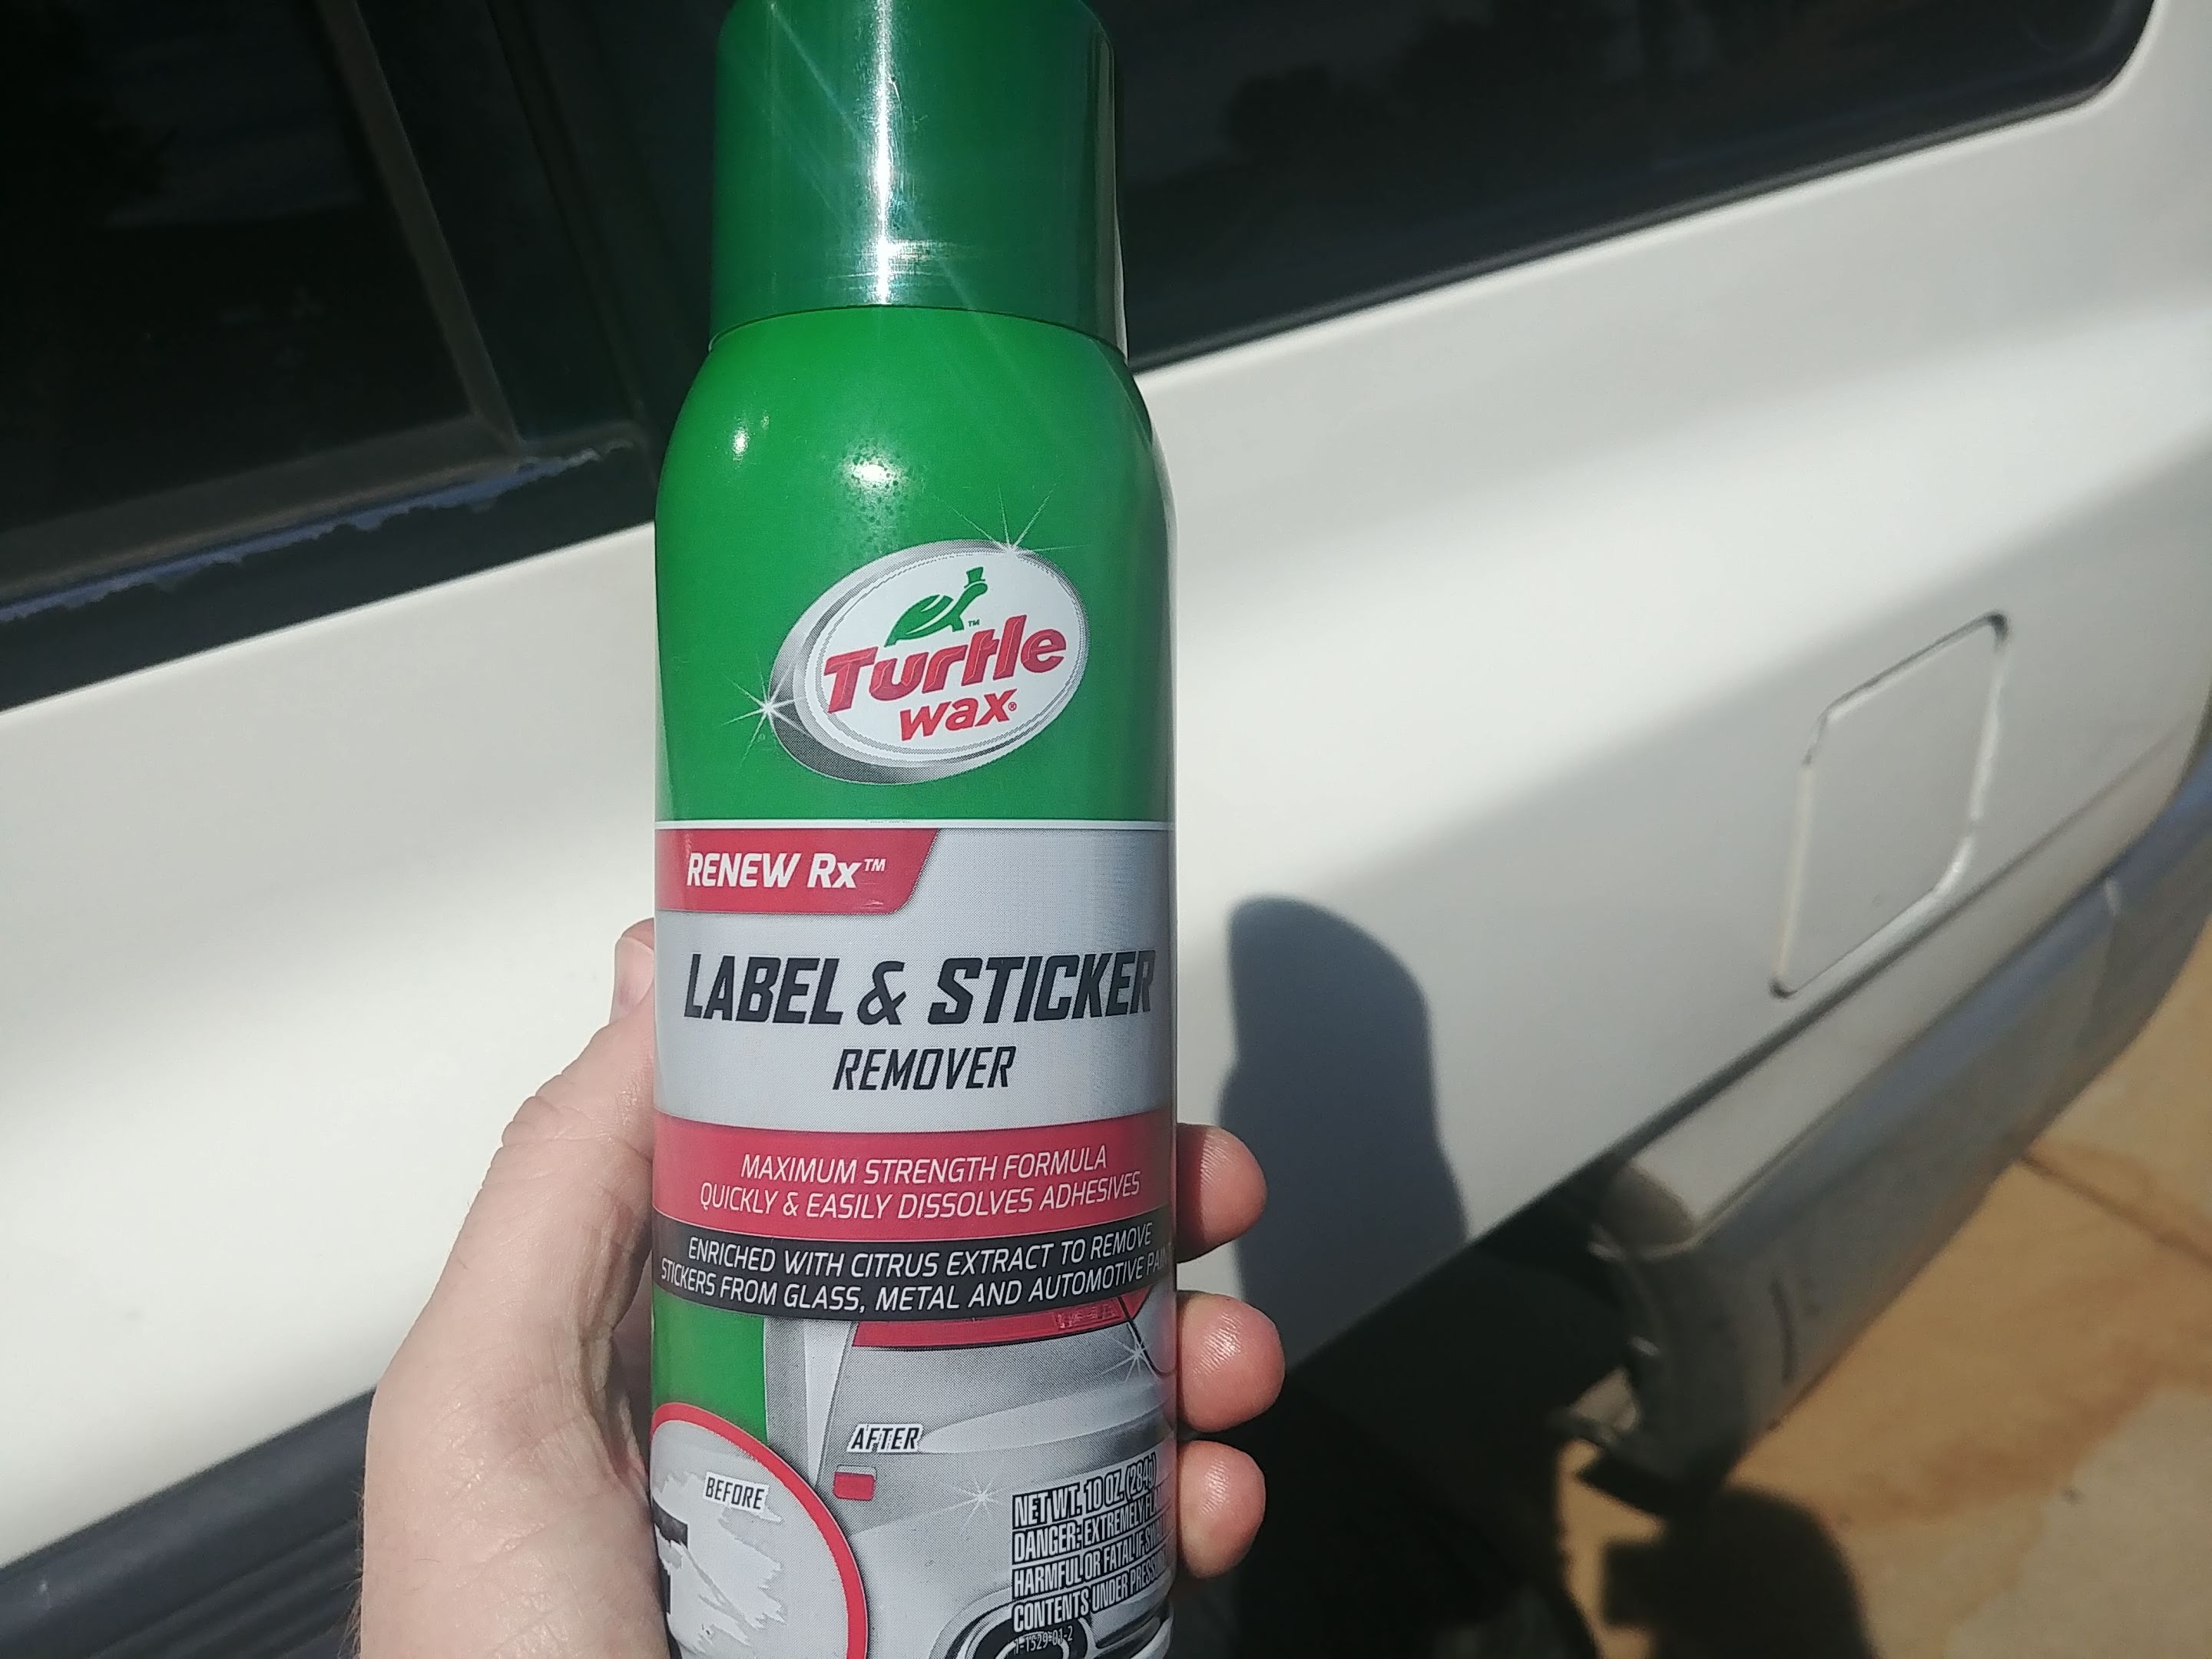
 But otherwise, it’s great if you want to take your underhood cleaning up a notch…