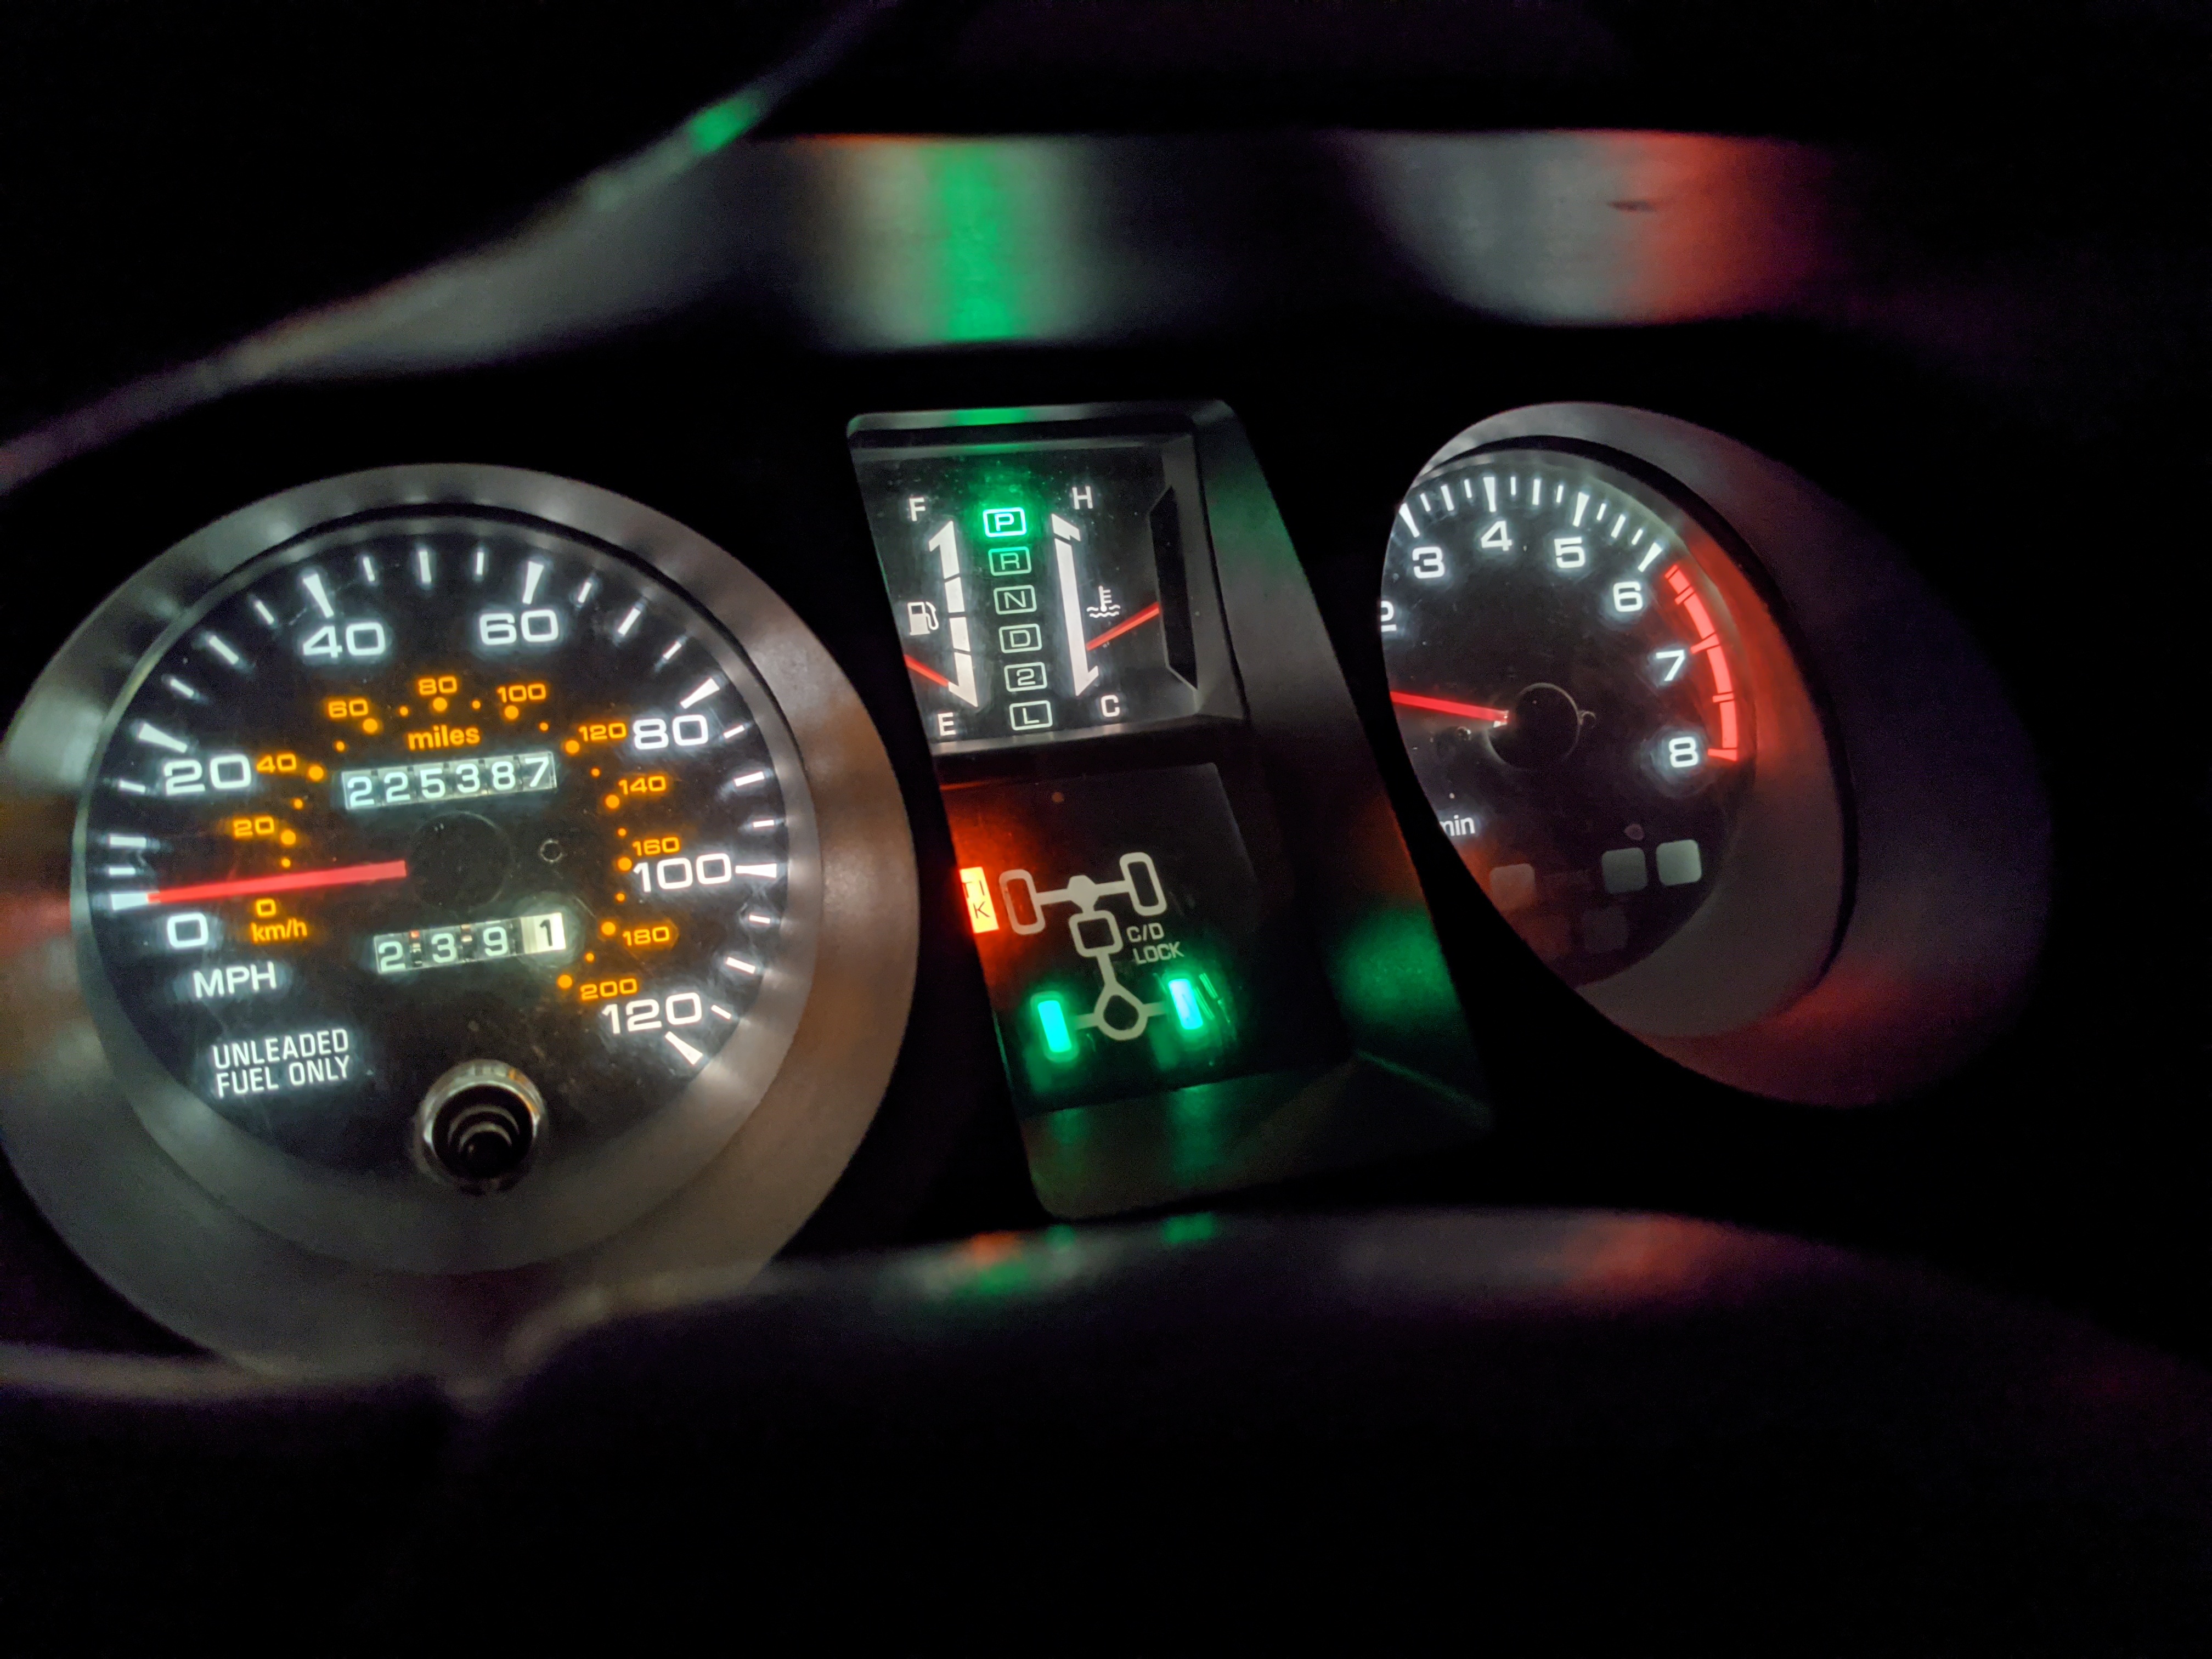
225,XXX
- 2 steps forward
- 2 steps back
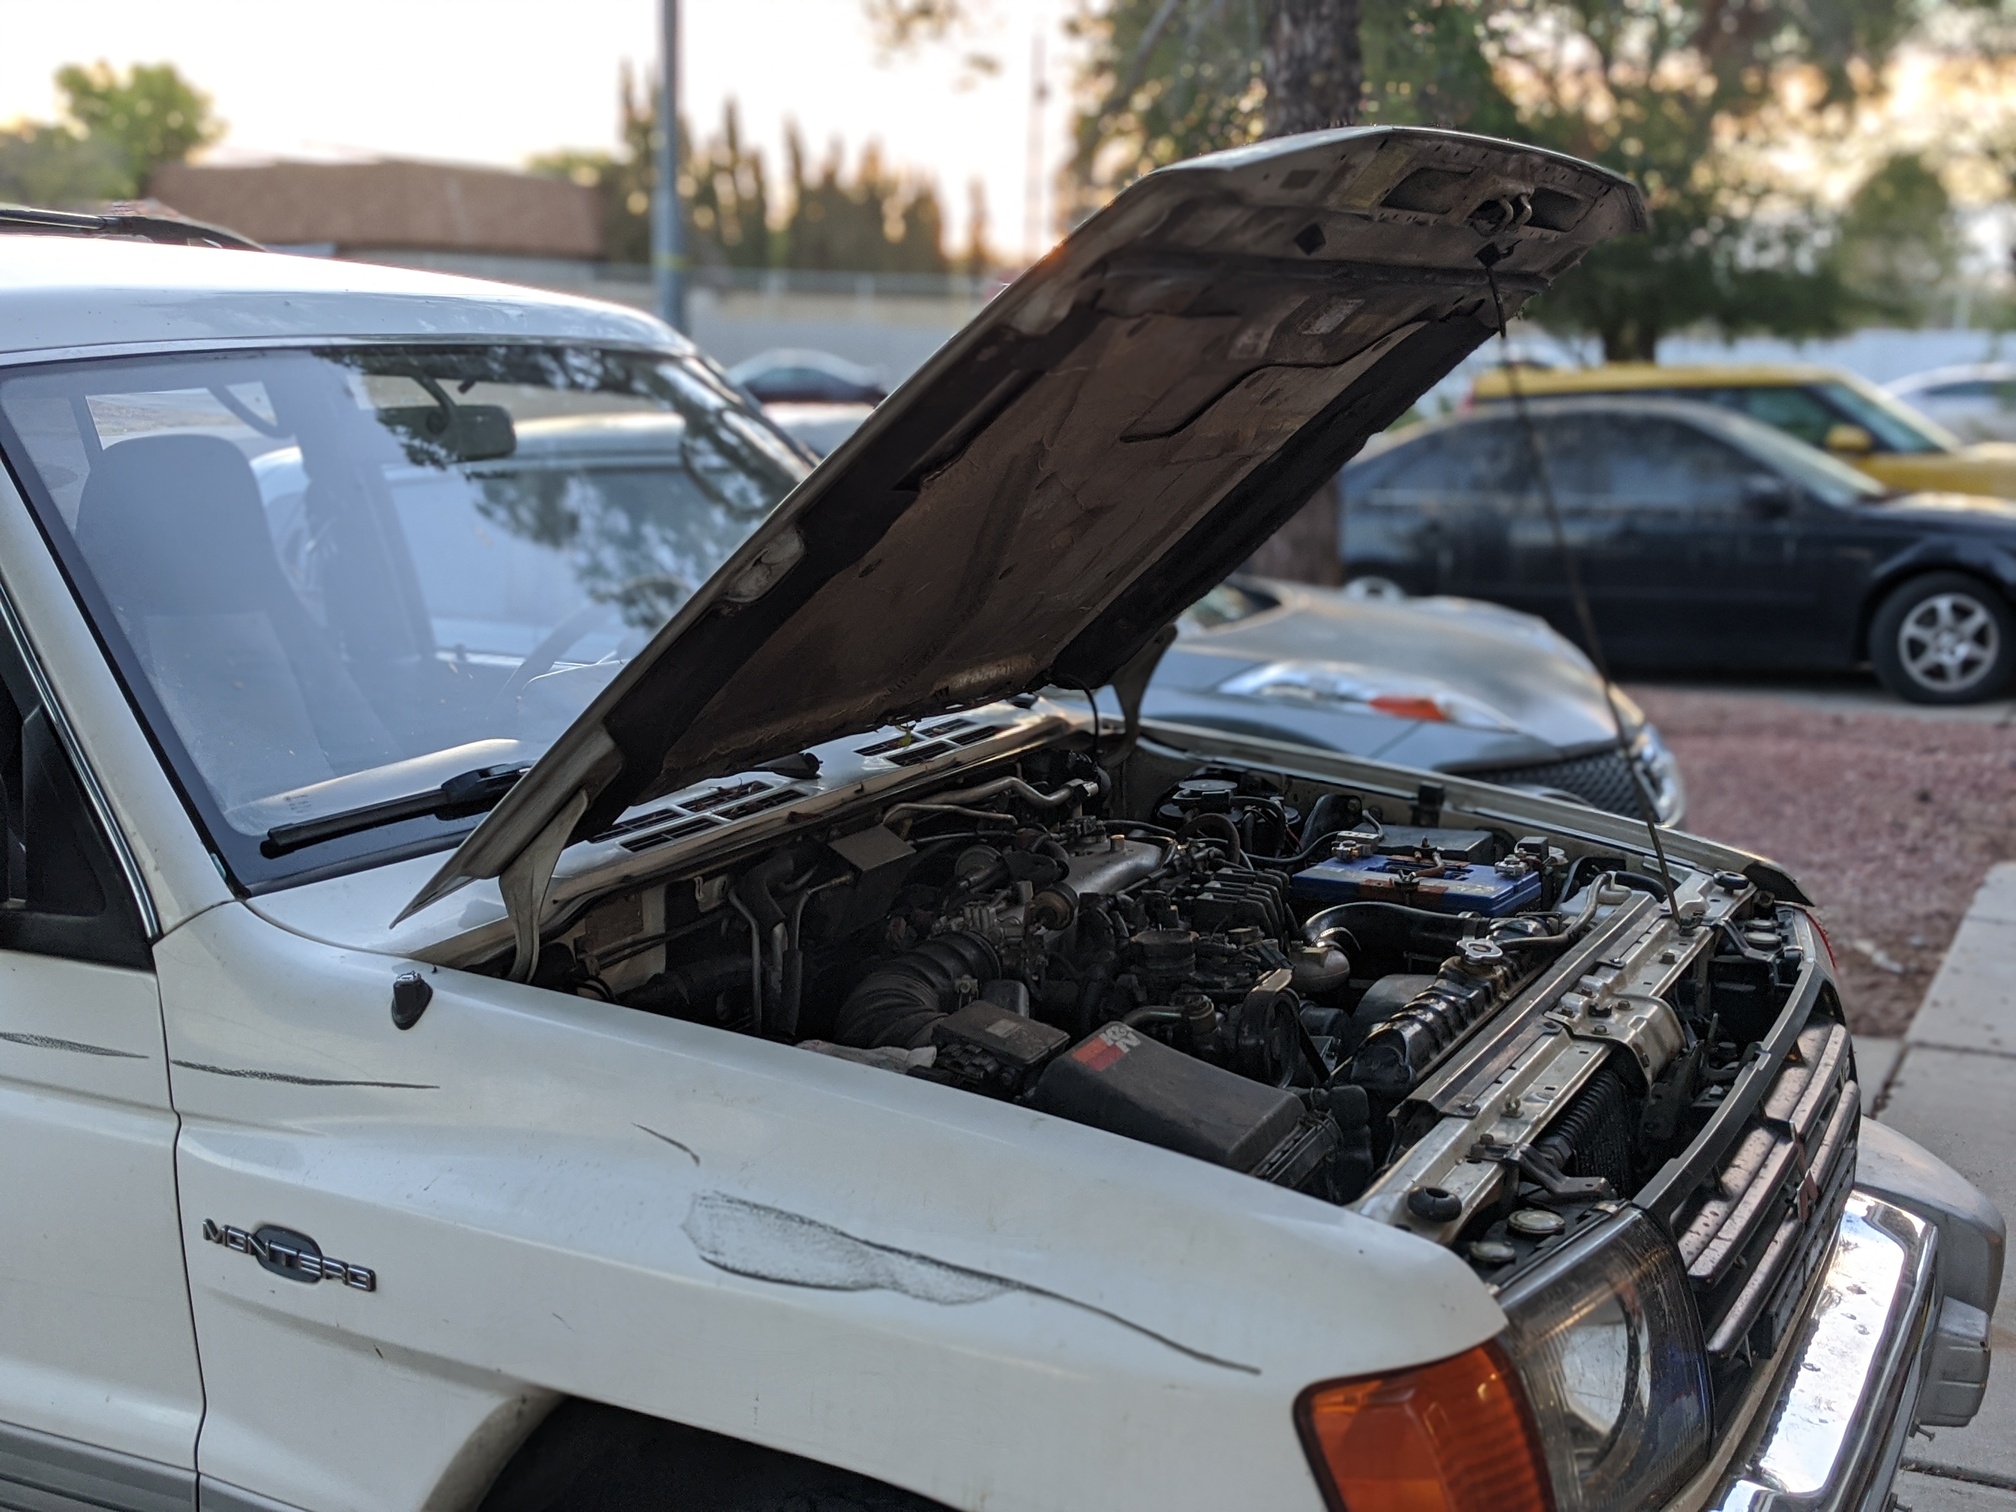
Fortunate to get every Friday in July off (with pay!), I found myself staring down the barrel of a hot Friday with nothing better to do than hit the bricks early and replace my crusty old radiator with the freshly rodded, tanked, and painted OE unit I got from Josh by way of Ryan. I was in the driveway at 0530. It was already pushing 90°F/32°C.
I was concerned about pulling the transmission cooler lines on the bottom of the radiator. You know, losing transmission fluid, making a mess, trading one neglected, weak link for another. That sort of thing. While messy, the lines turned out to be not much of a problem at all. If I lost a cup of fluid from the radiator, it was a lot.
Trickier still, I’d read conflicting stories about how to remove the radiator. Some said to unbolt and remove the fan and clutch. Others said the lower fan shroud was designed to unclip and drop out to allow clearance for the fan when pulling upward.
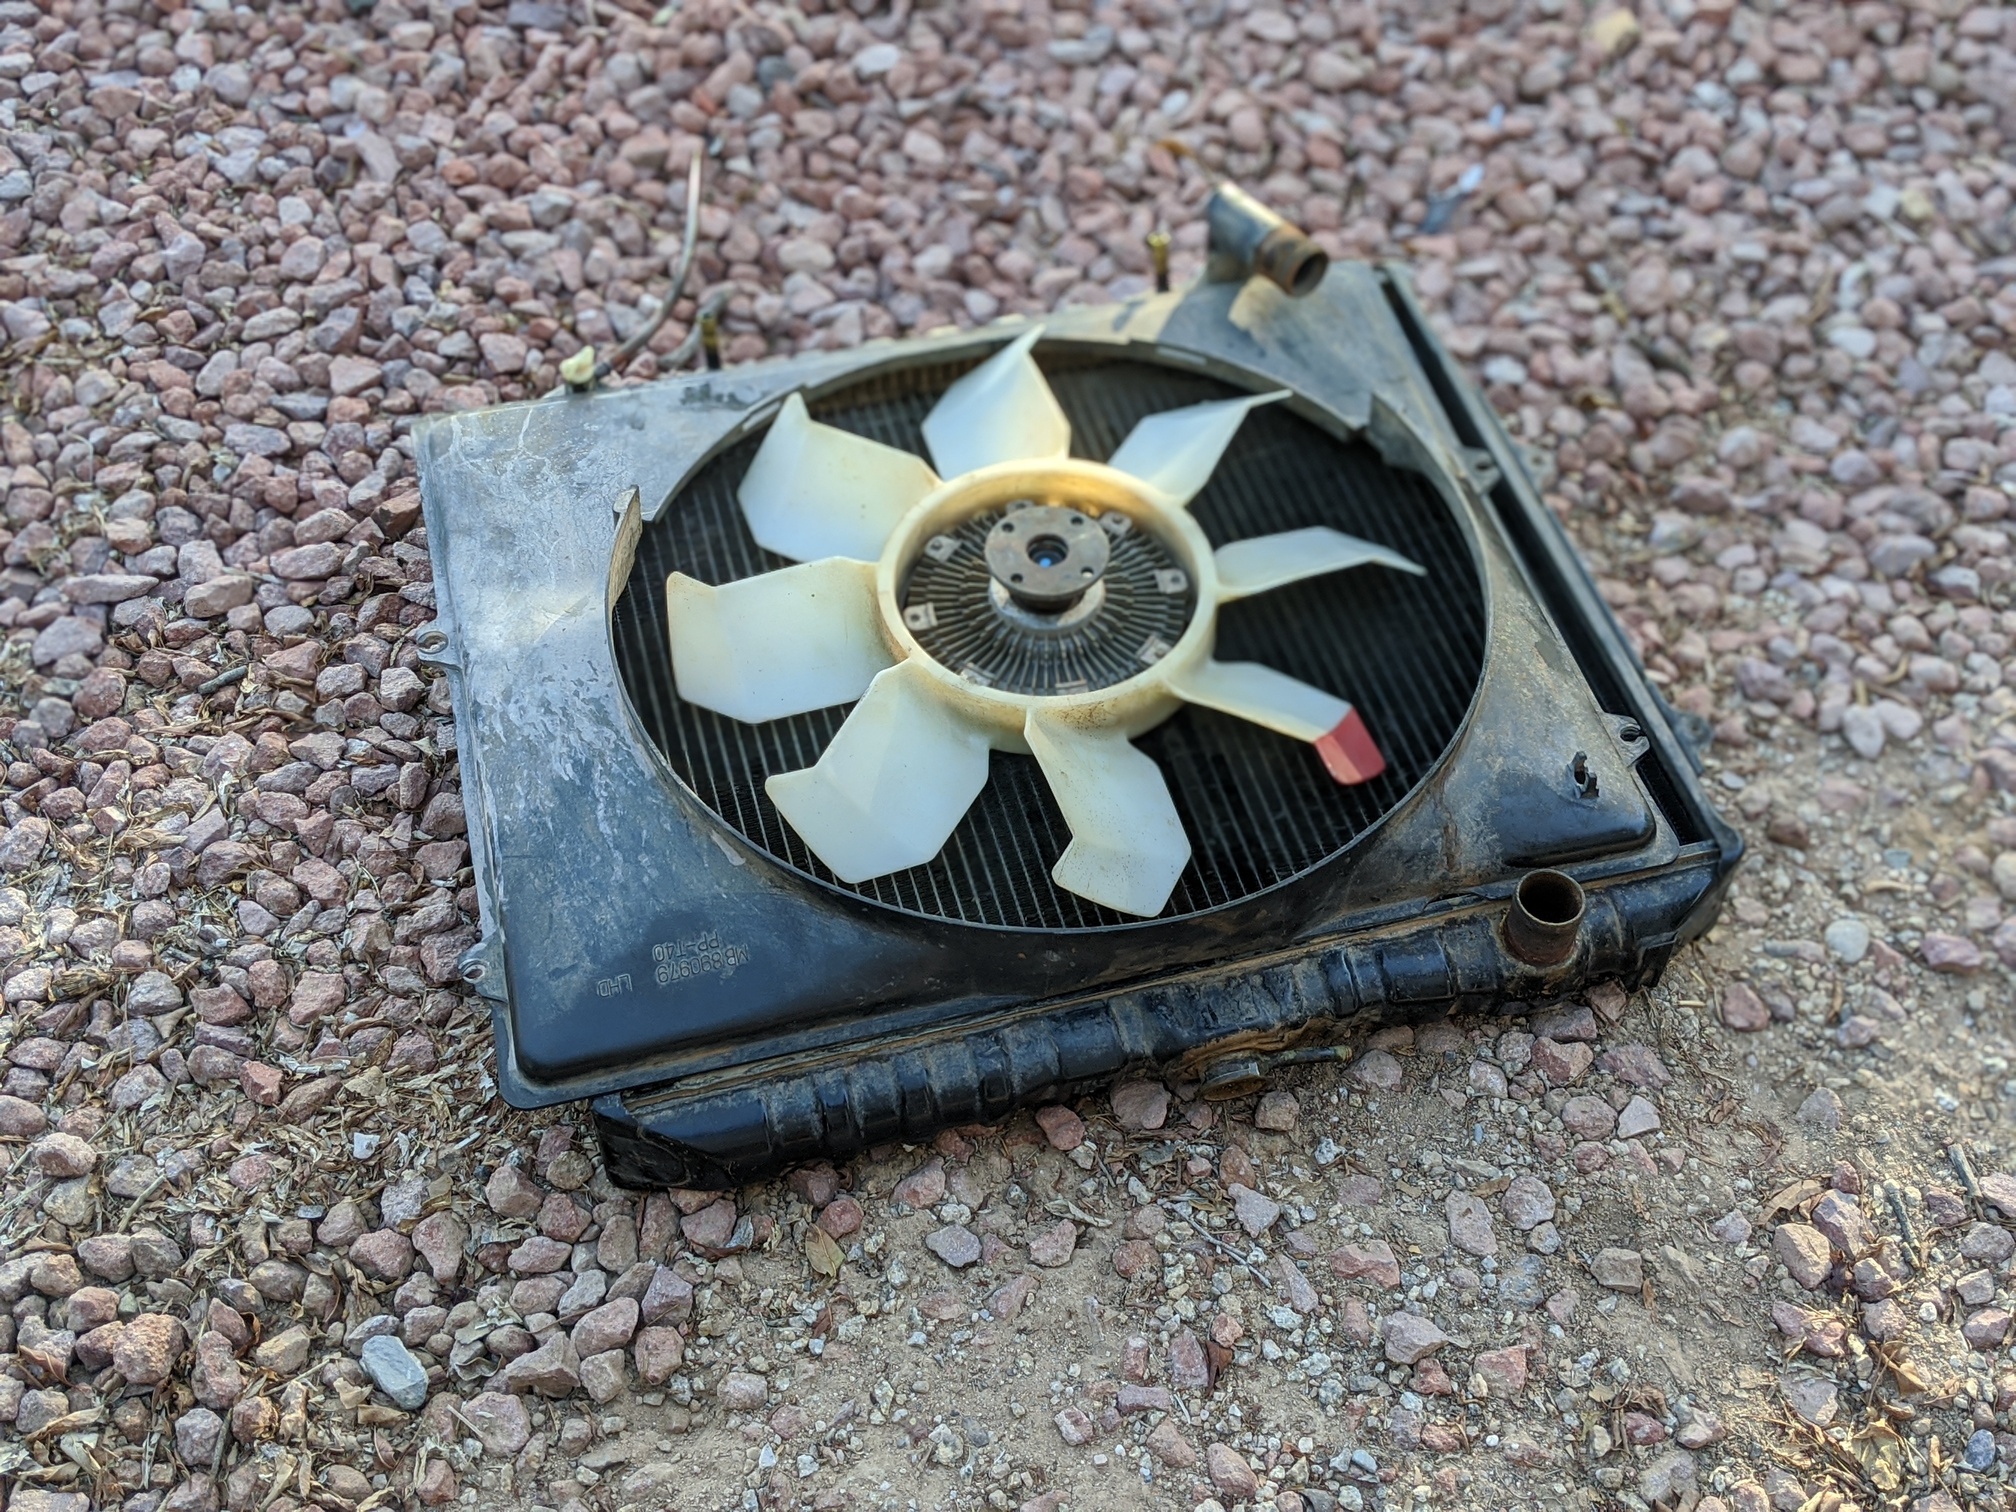
My ass.
It looks like there might have, at one time, been a lip or ridge or something on the bottom of the fan opening—and maybe that’s what people were talking about—but whatever was there is long gone on my truck, and no amount of careful gymnastics was getting that thing out without removing the fan.
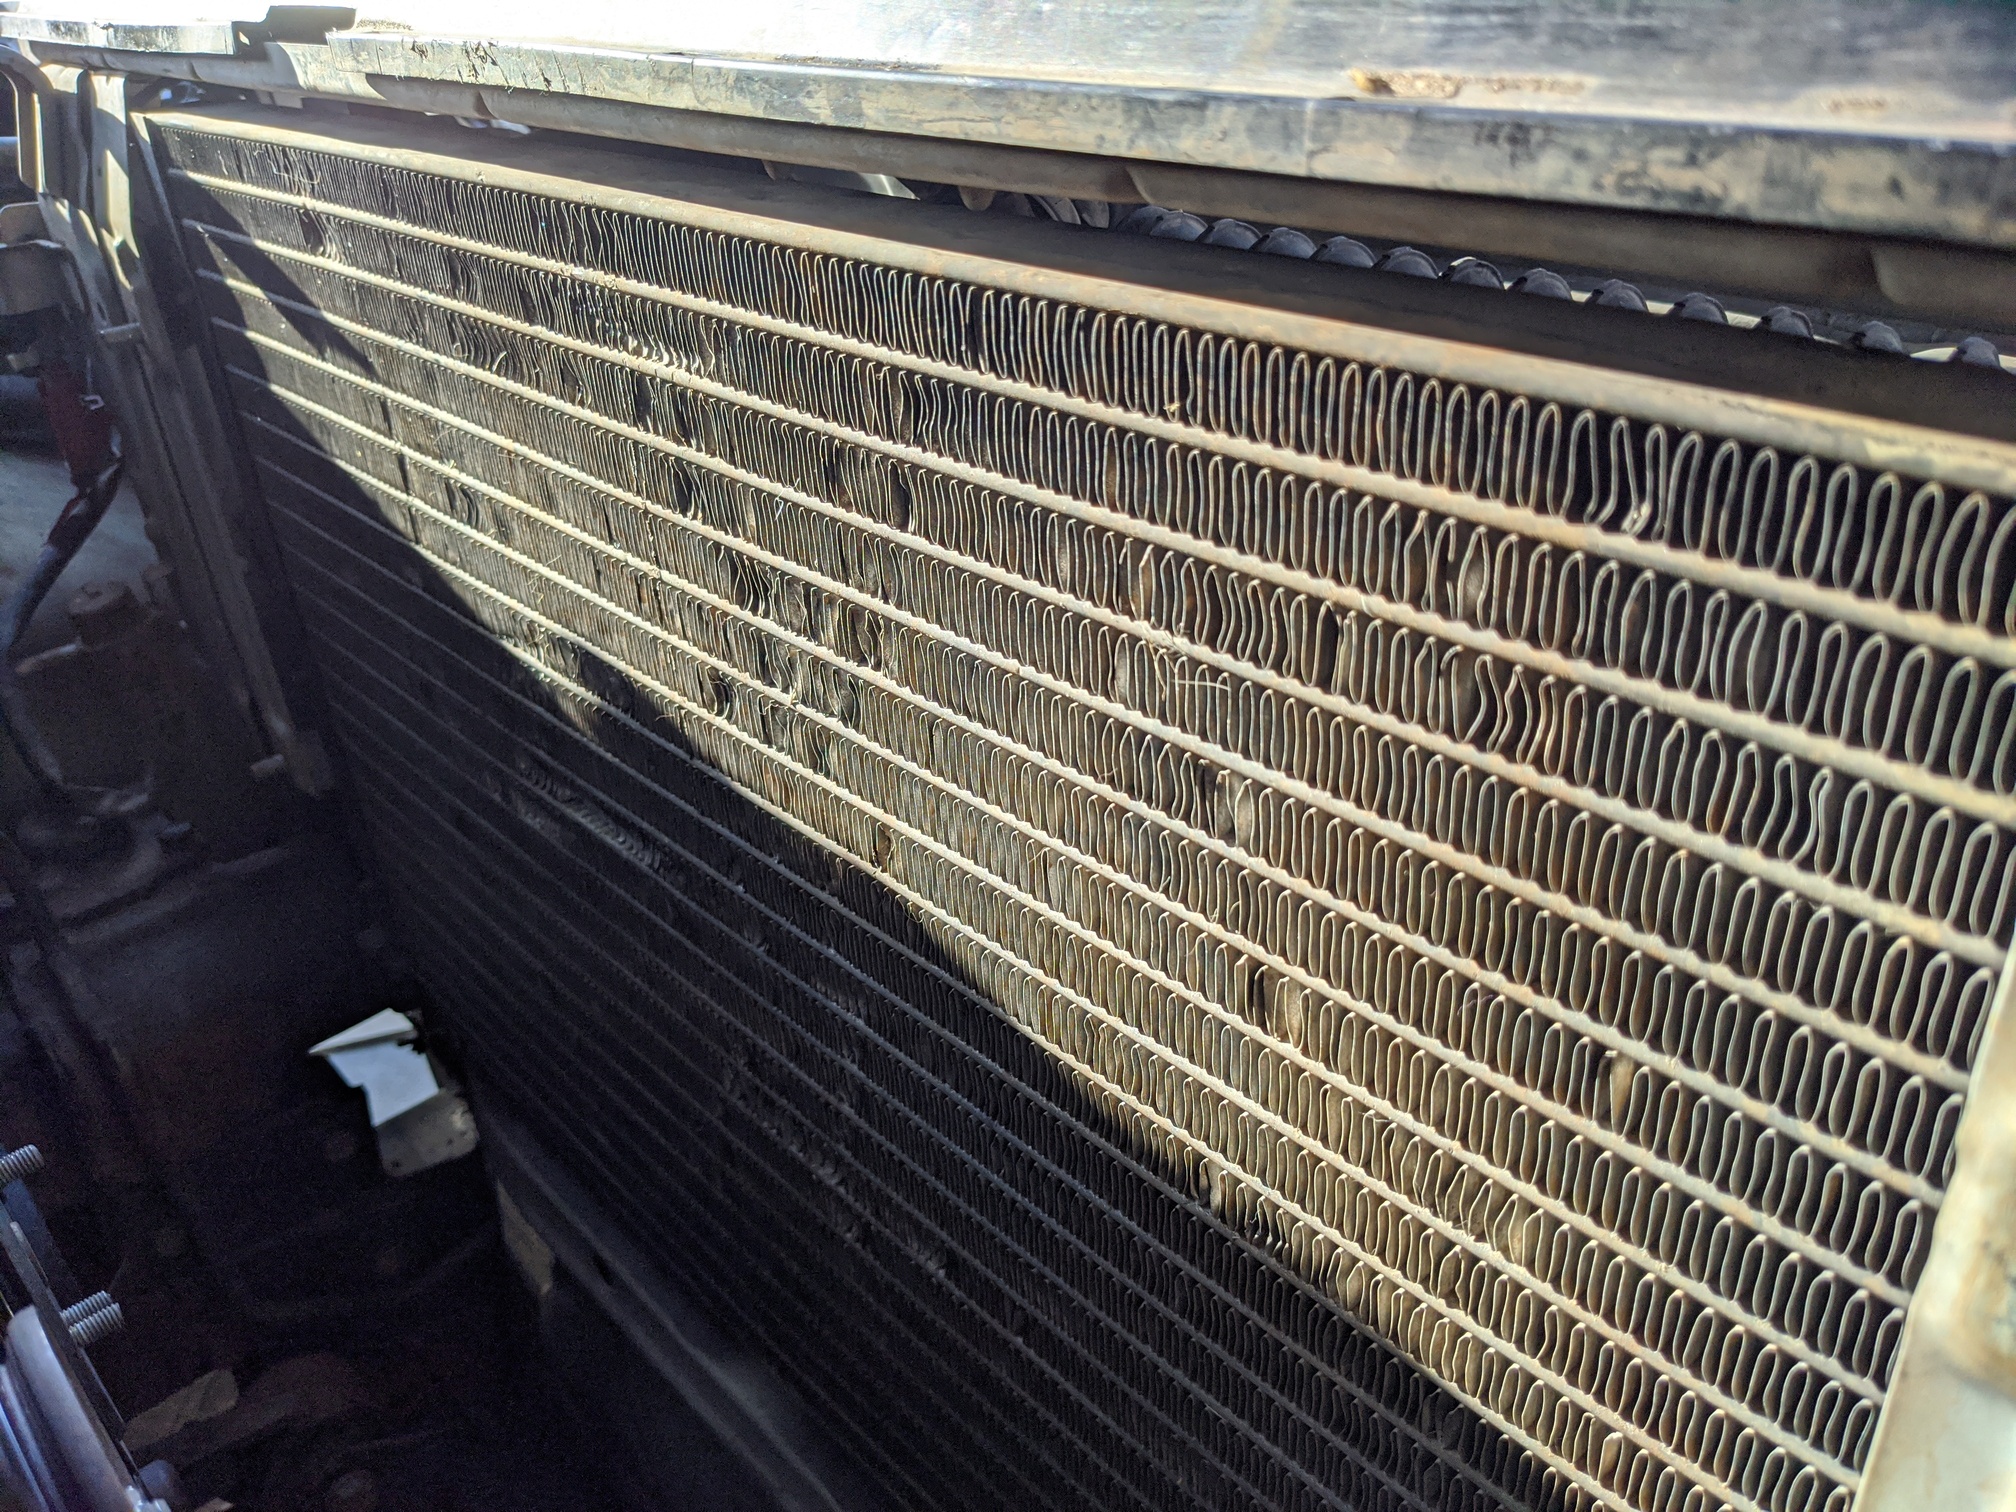
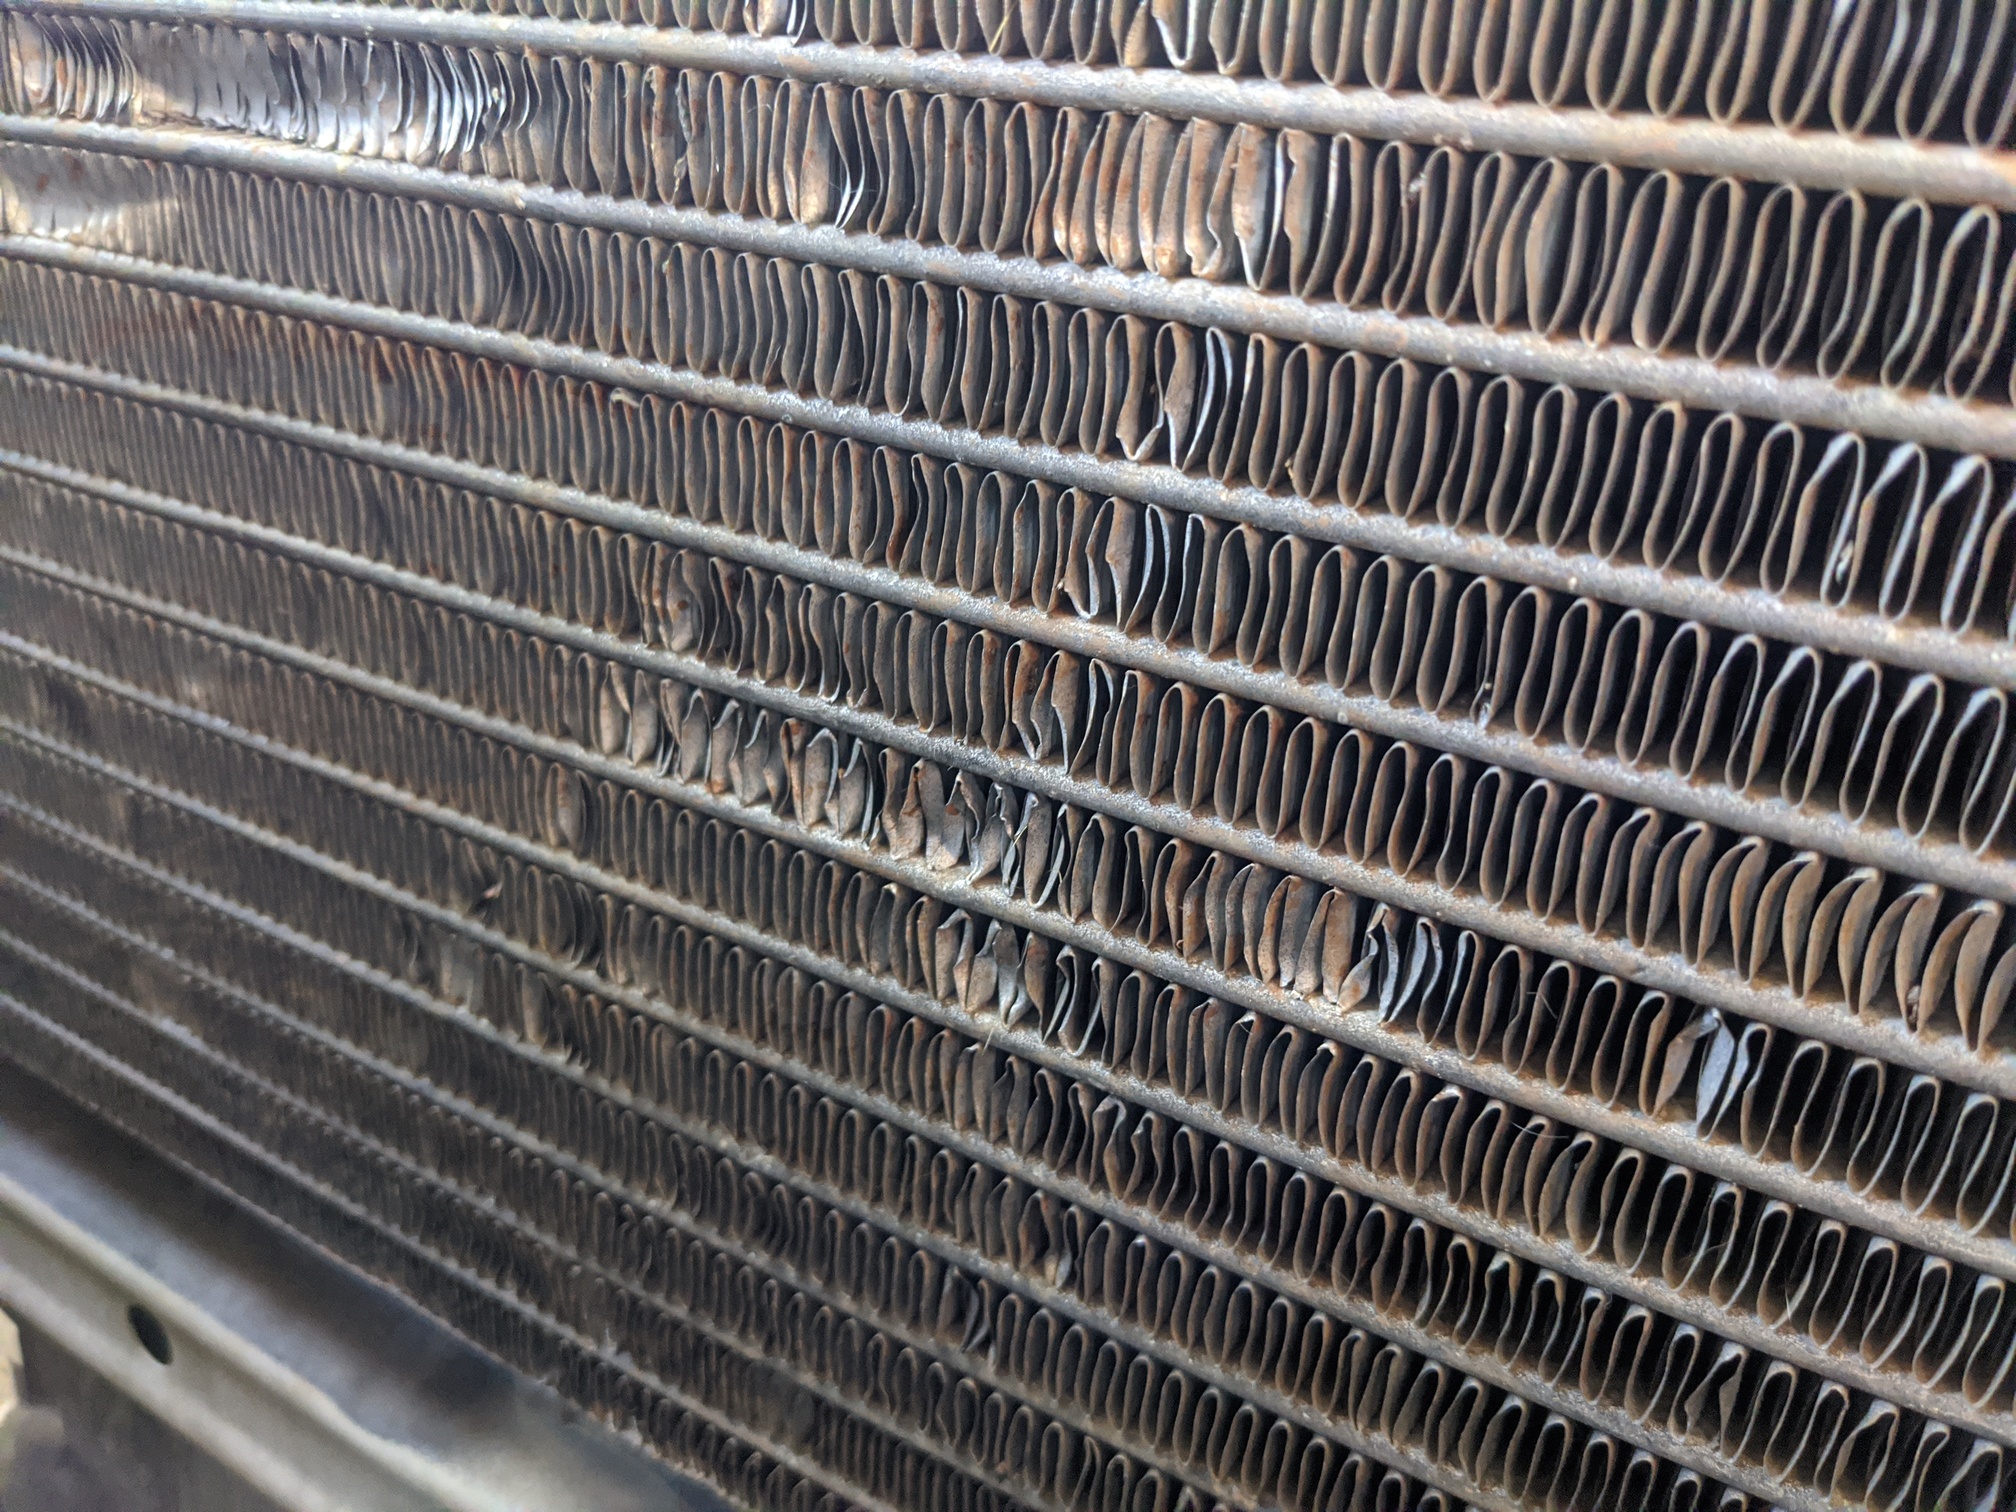
After spraying through the AC condenser from the engine bay side to hopefully blast dirt and bugs and whatnot out the way they came in (taking care to also check that water came through the oil and transmission coolers, too), I was fairly wet and feeling not-too-bad, so I spent a good 45 minutes with a pick carefully grooming the fins on the backside of the condenser core.
BEFORE
CLOSEUP
There were a couple spots where it was pretty nasty. One, in fact, where it looked like almost 2-3 inches of fins were mashed down into the core. Guess I’m lucky the AC still works, eh?
(You can see said spot, just left of center in the picture below.)
AFTER
Despite having to lean over the core support and get almost crosseyed to do this, it was kinda rewarding. You take one of those little picks you get in the set of four—I used the one that’s a 90° angle—and you slip it into the space between the fins.
Turns out the pick is pretty much the exact width of the bend in the fins, so you just slide it one way, move to the next slot and slide it the other way. Back and forth. Back and forth. Until everything’s relatively uniform.
There were a couple areas where I needed the pointy end of the pick to grab a a few smashed fins and pull them back before I could do the back and forth thing, and I definitely didn’t do all of them, but it was a nice little thing to do while I was in there, and I’m looking forward to seeing if it makes any difference to my AC temps.
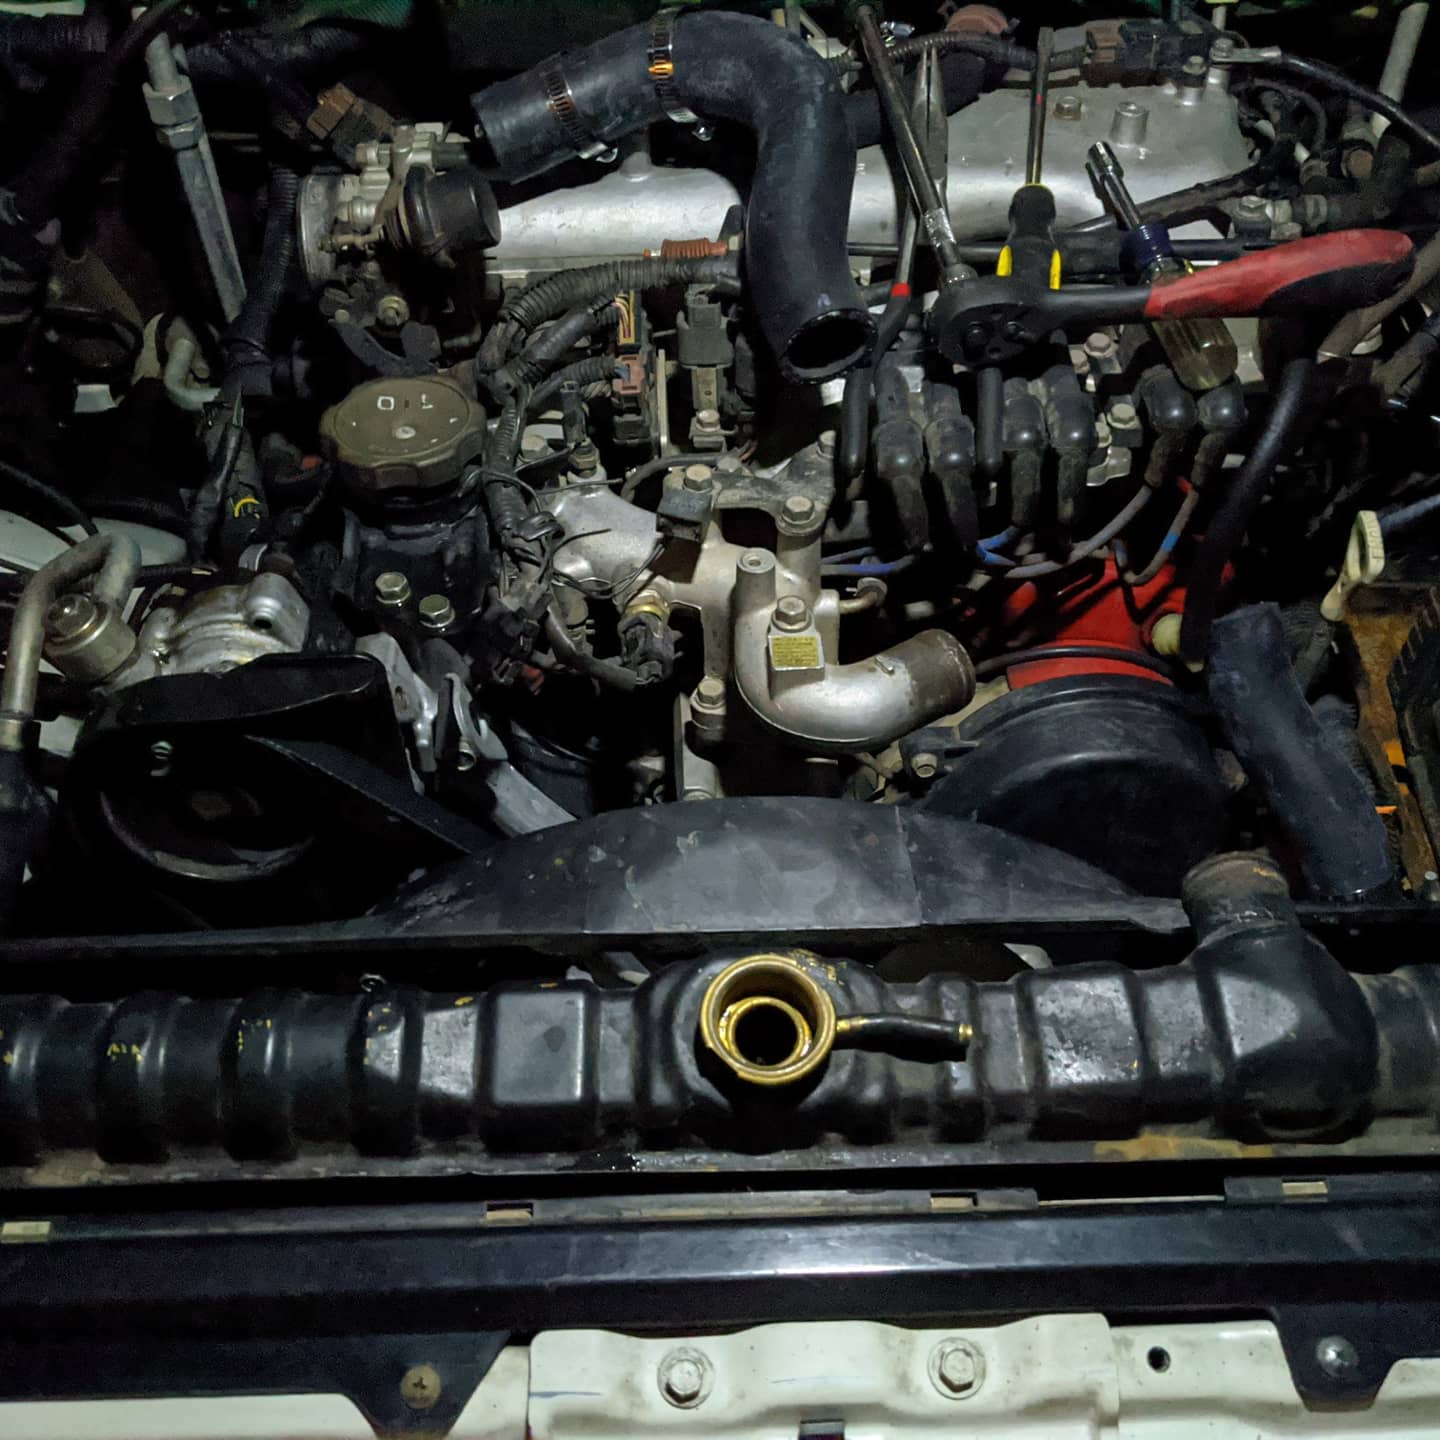
With everything drained out, and no tstat installed, I shoved the garden hose nozzle into the upper water neck and flushed things until the water came out clear below. (I wanted the pressure to help remove any sediments from the bottom of the block before flushing with several gallons of distilled to mitigate the mineral content of the tap water.)
I GOT HOSE
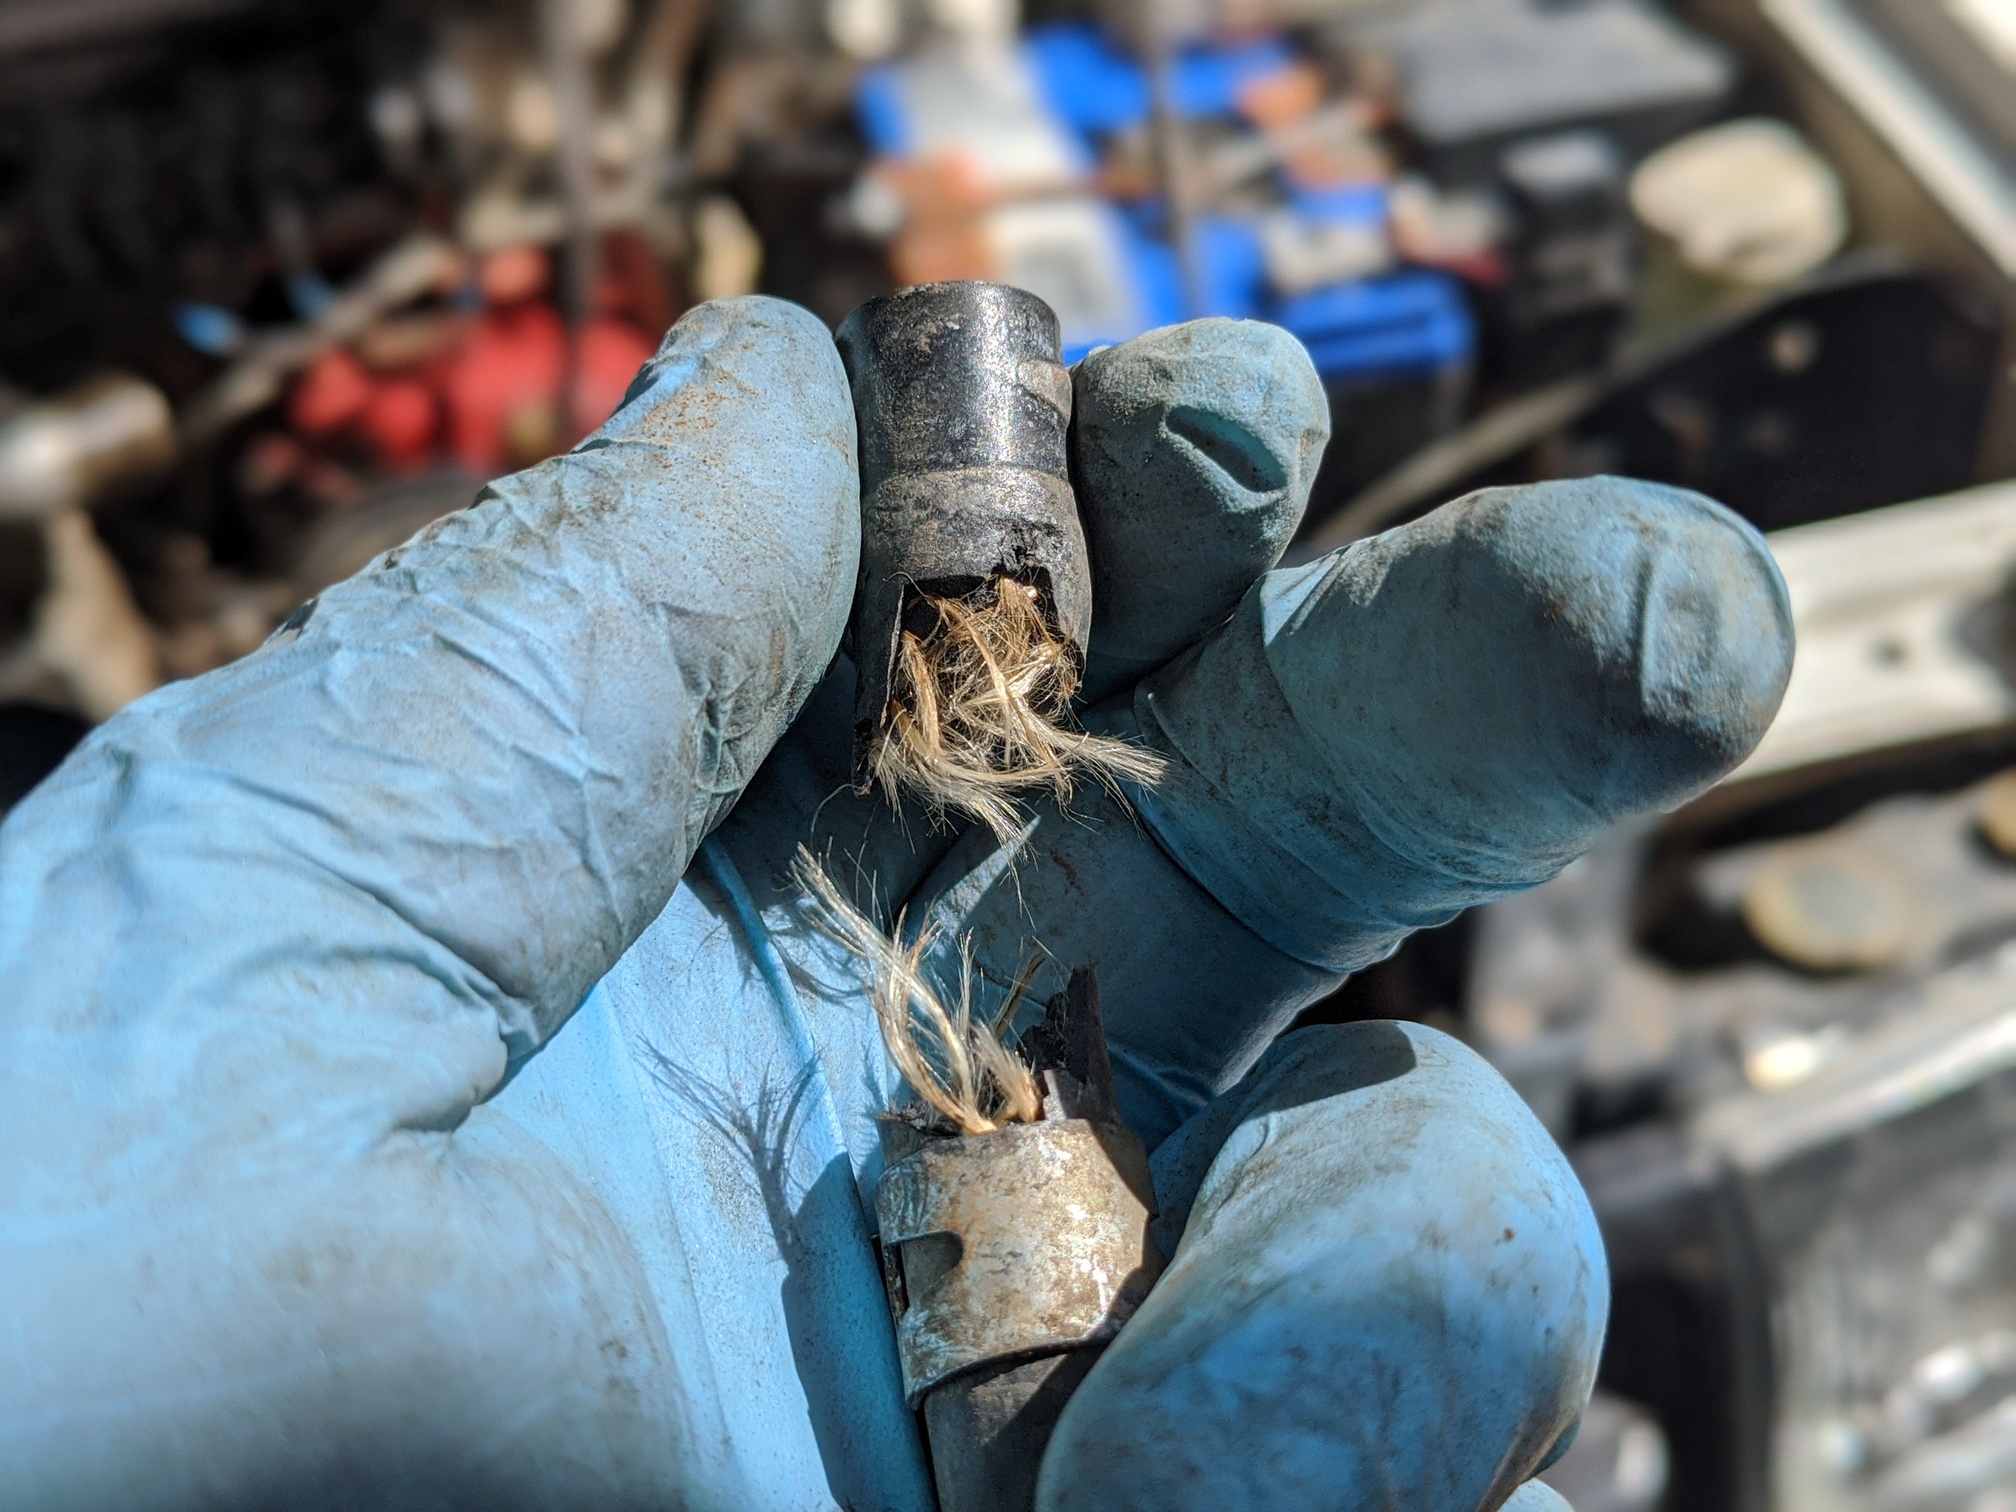
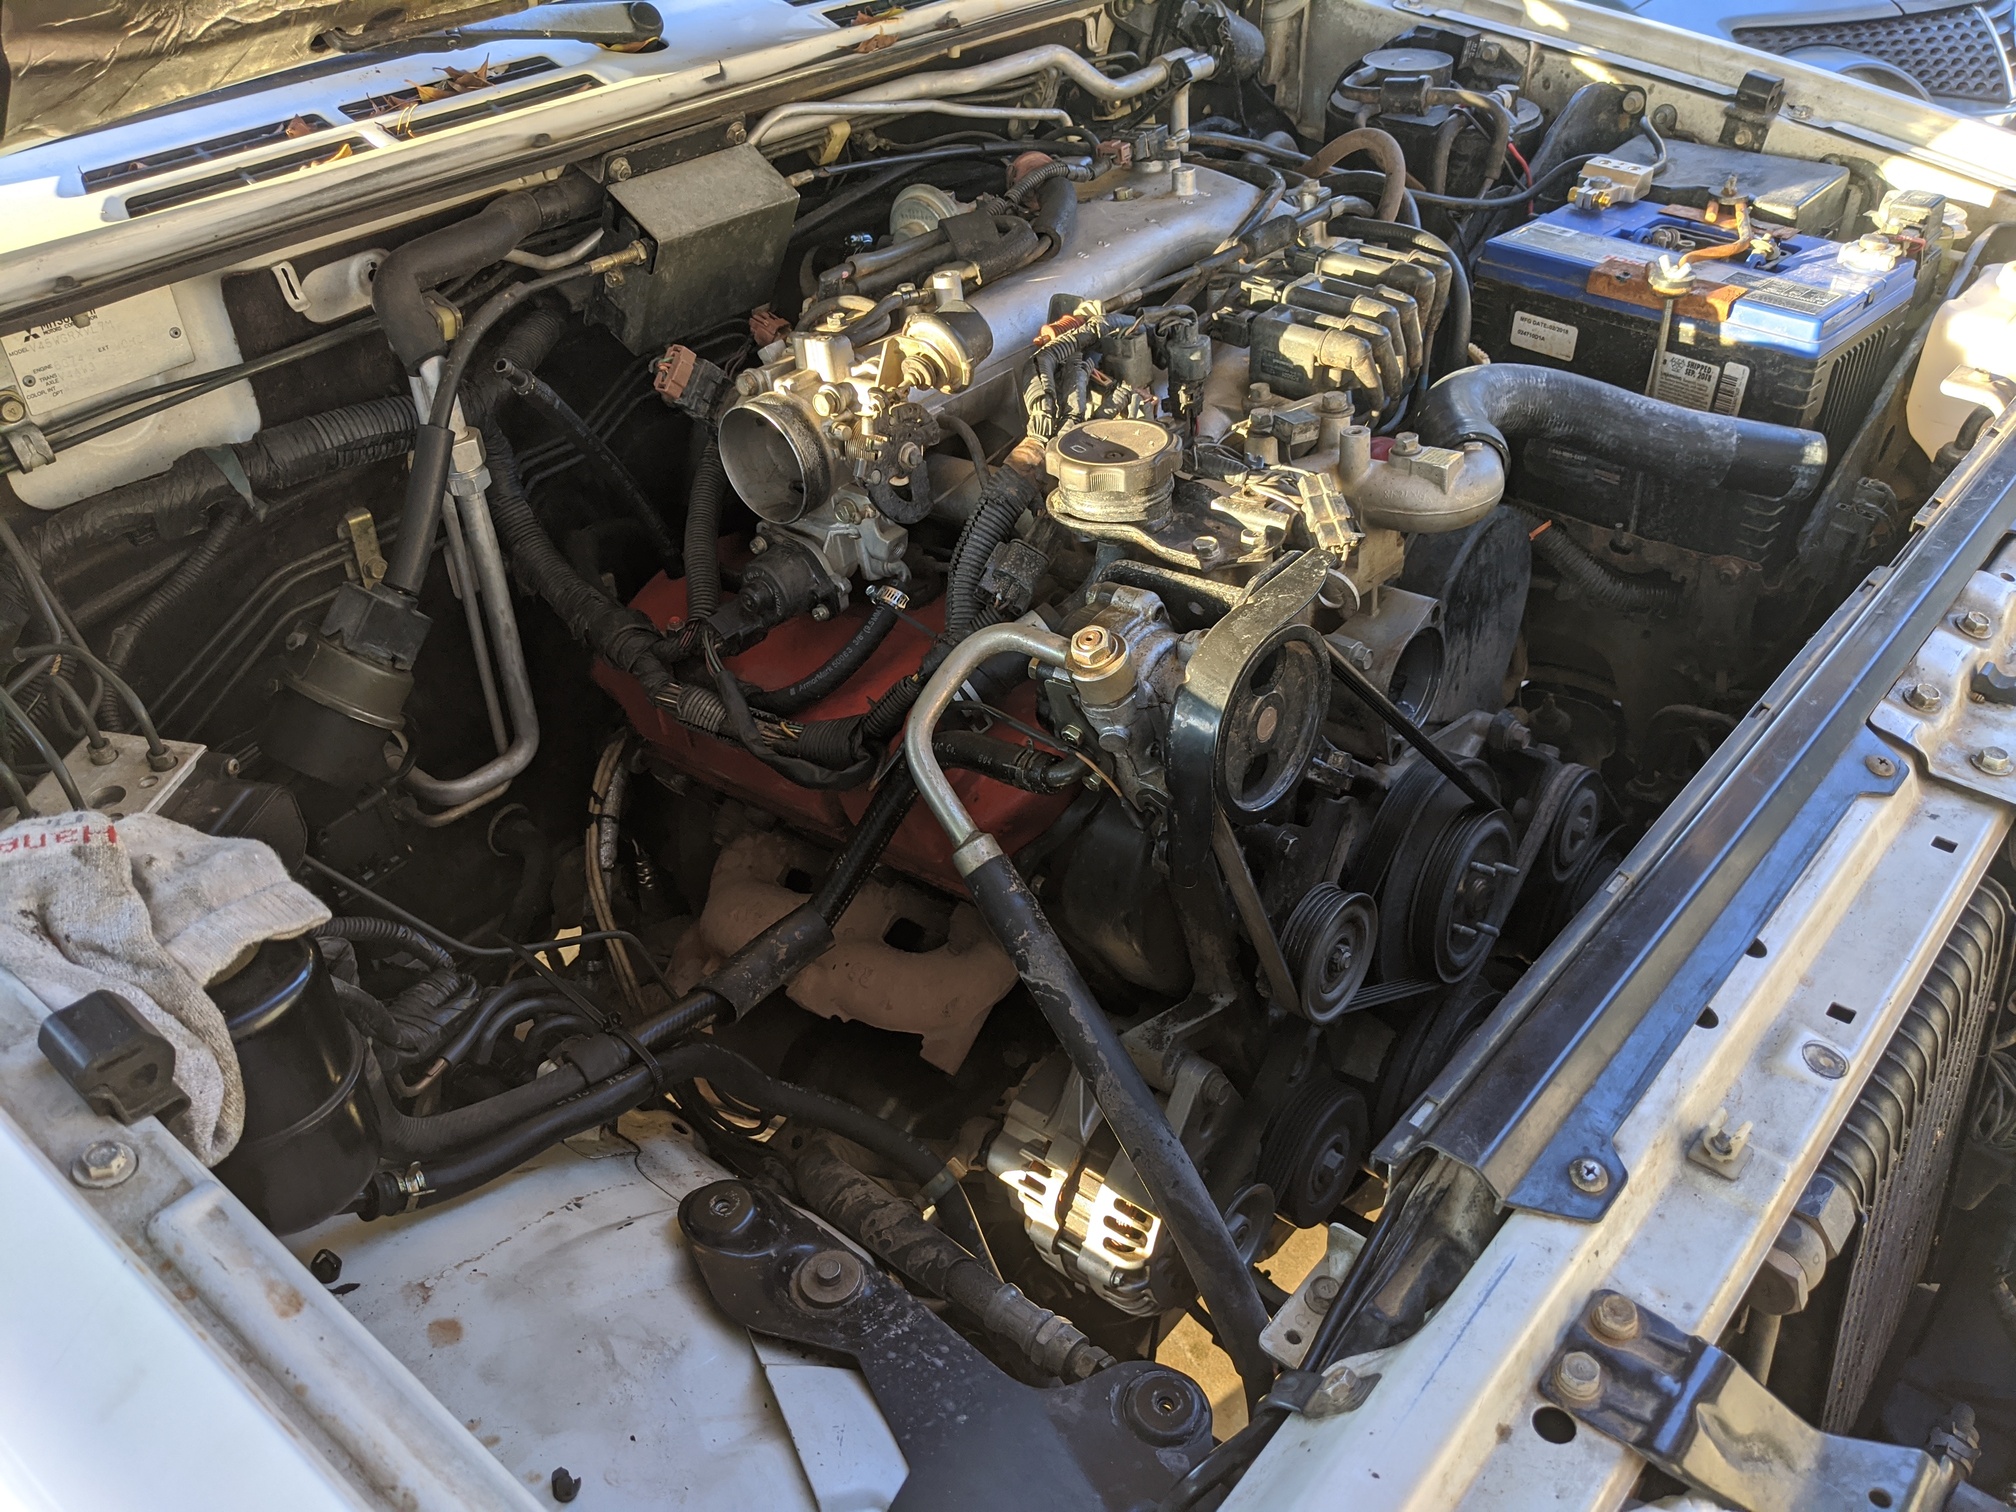
I remembered seeing Johnny B From Peoria showing up in several “what size heater hose do I need” threads over the years tell people to check the coolant lines to the throttle body. And honestly, I was considering skipping these. I mean, it’s not like I need to worry about my TB icing up in winter.
Of course, he’s not suggesting that because of TB icing. He’s reminding people that these overlooked hoses can get brittle, crack, and cause a loss of coolant while driving. I gave one of my hoses a wiggle. It was hard as a rock. It even snapped when I went to pull it off.
Disaster averted.
So! Everything cleaned up and ready to reassemble! I blasted garden hose water through the TB hose barbs to make sure there was no crustiness left. Then I installed the new hoses. Then I fought with the damned bastard heater hoses. I bought new worm clamps, because I hate dealing with those split clamps that need pliers (and are almost always pointing the wrong direction).
I got the bottoms on real nice and flush, then fought with the uppers. They’re on there, and they’re on there good, but I’m not happy with them. And then I found the bag of new heater hose I ordered sitting on my work bench. (I wonder what hose I used.)
@MrGalantguy this bud’s for you!
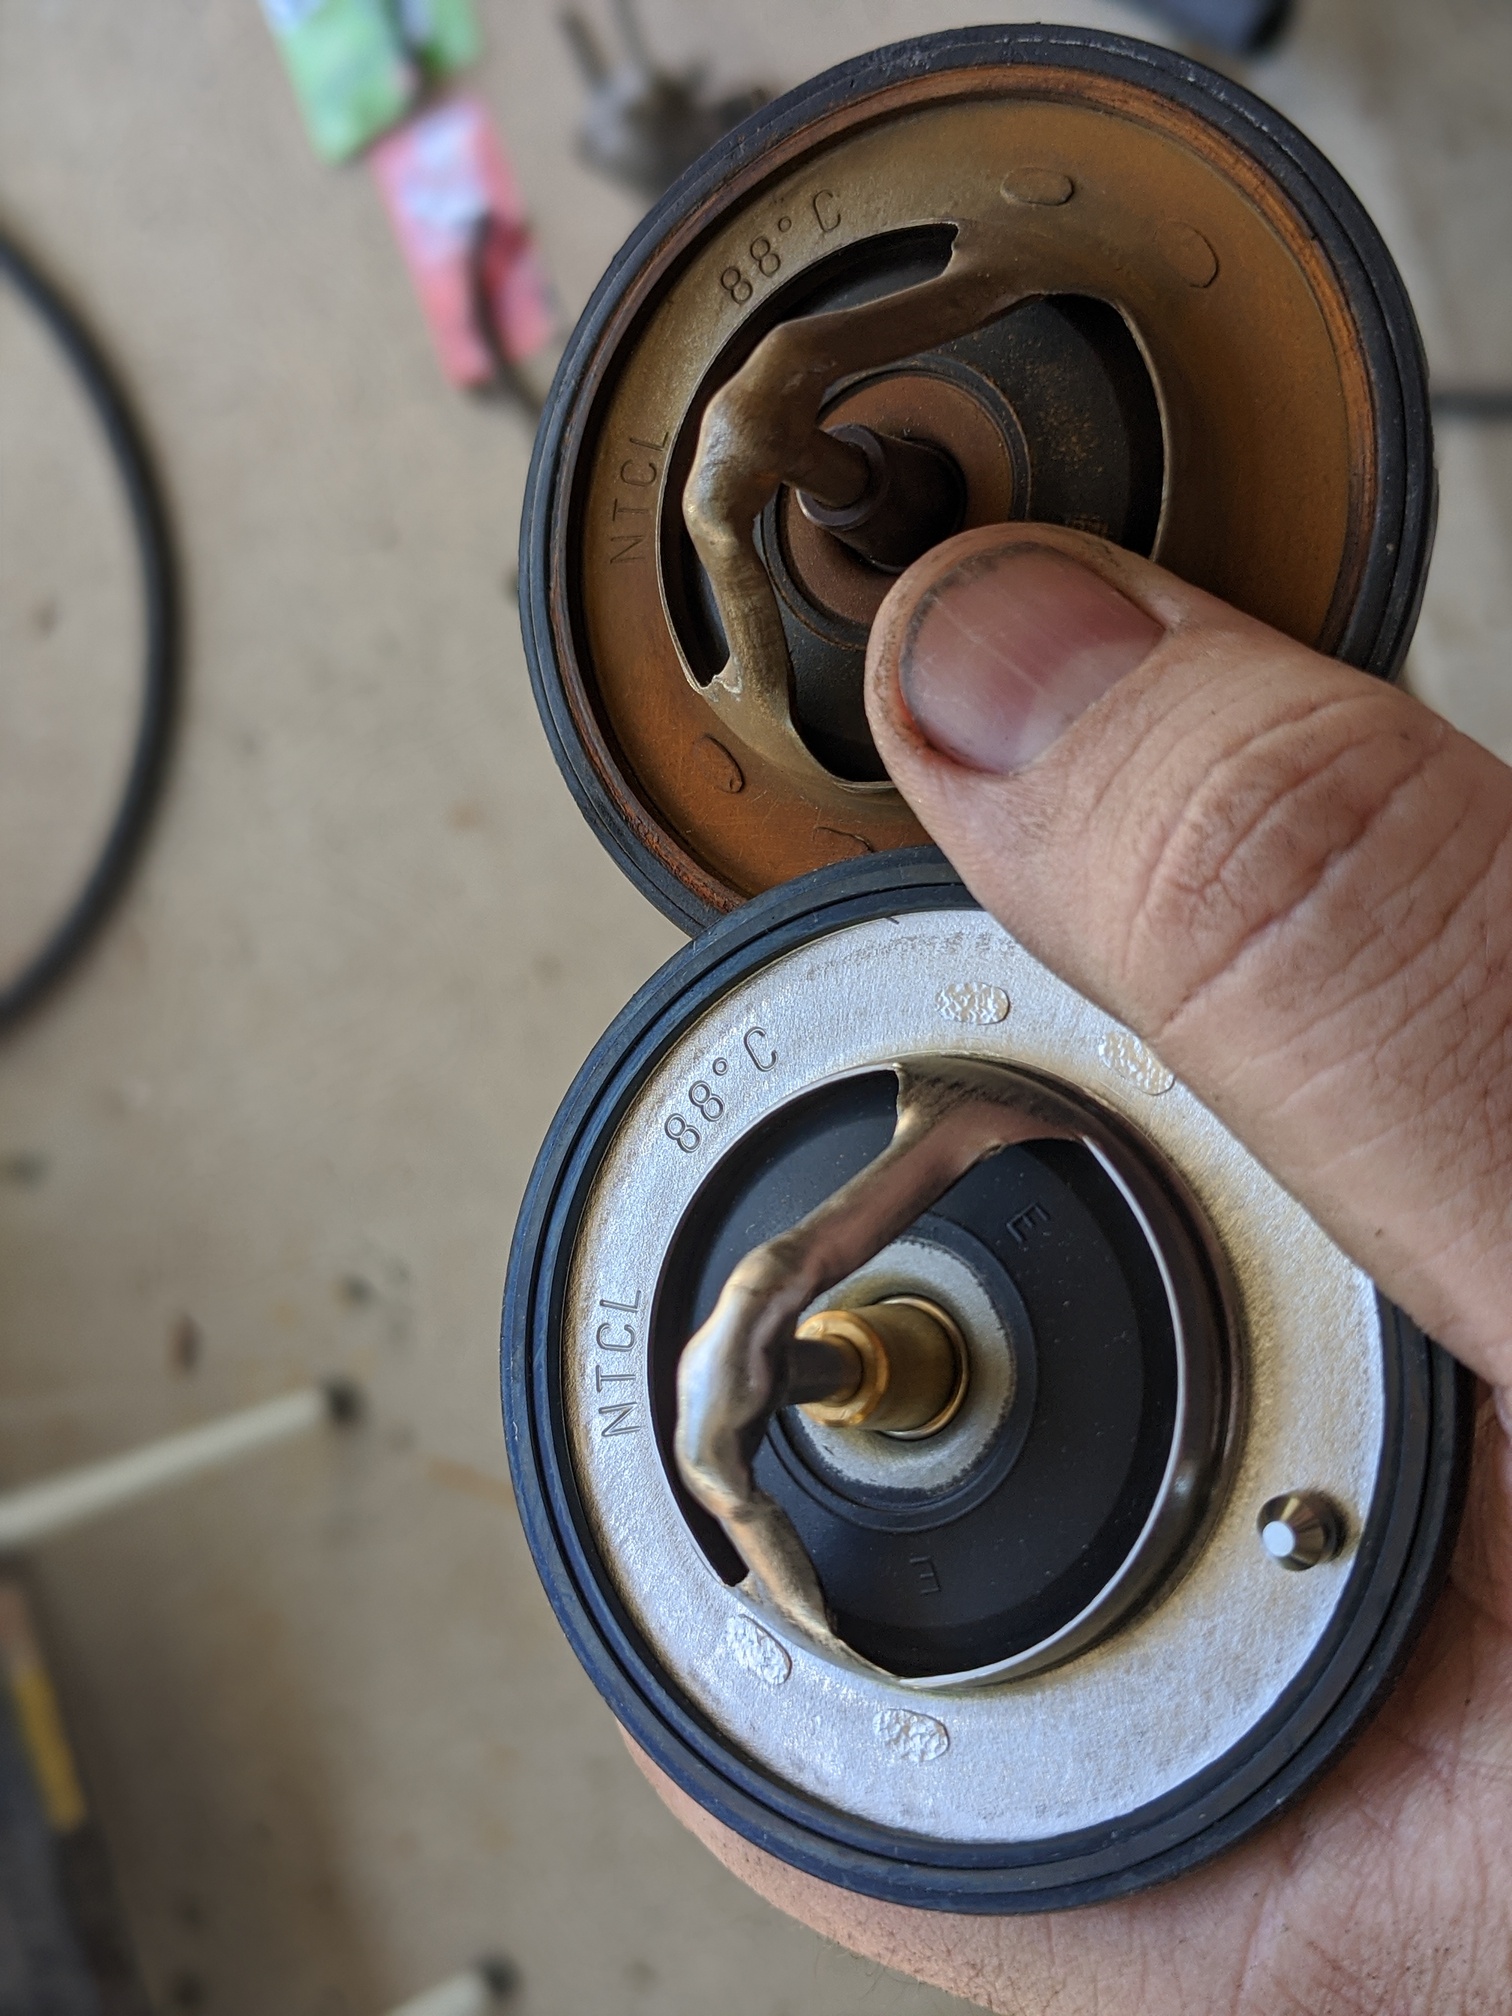
Every Montero owner knows you want the OE thermostat. I think I paid $40-$50 for mine. And while it’s still fine, I’m not going through all this for nothing. I got this one from Josh, who had connections at a local Mitsubishi dealership. Well, that dealership closed down.
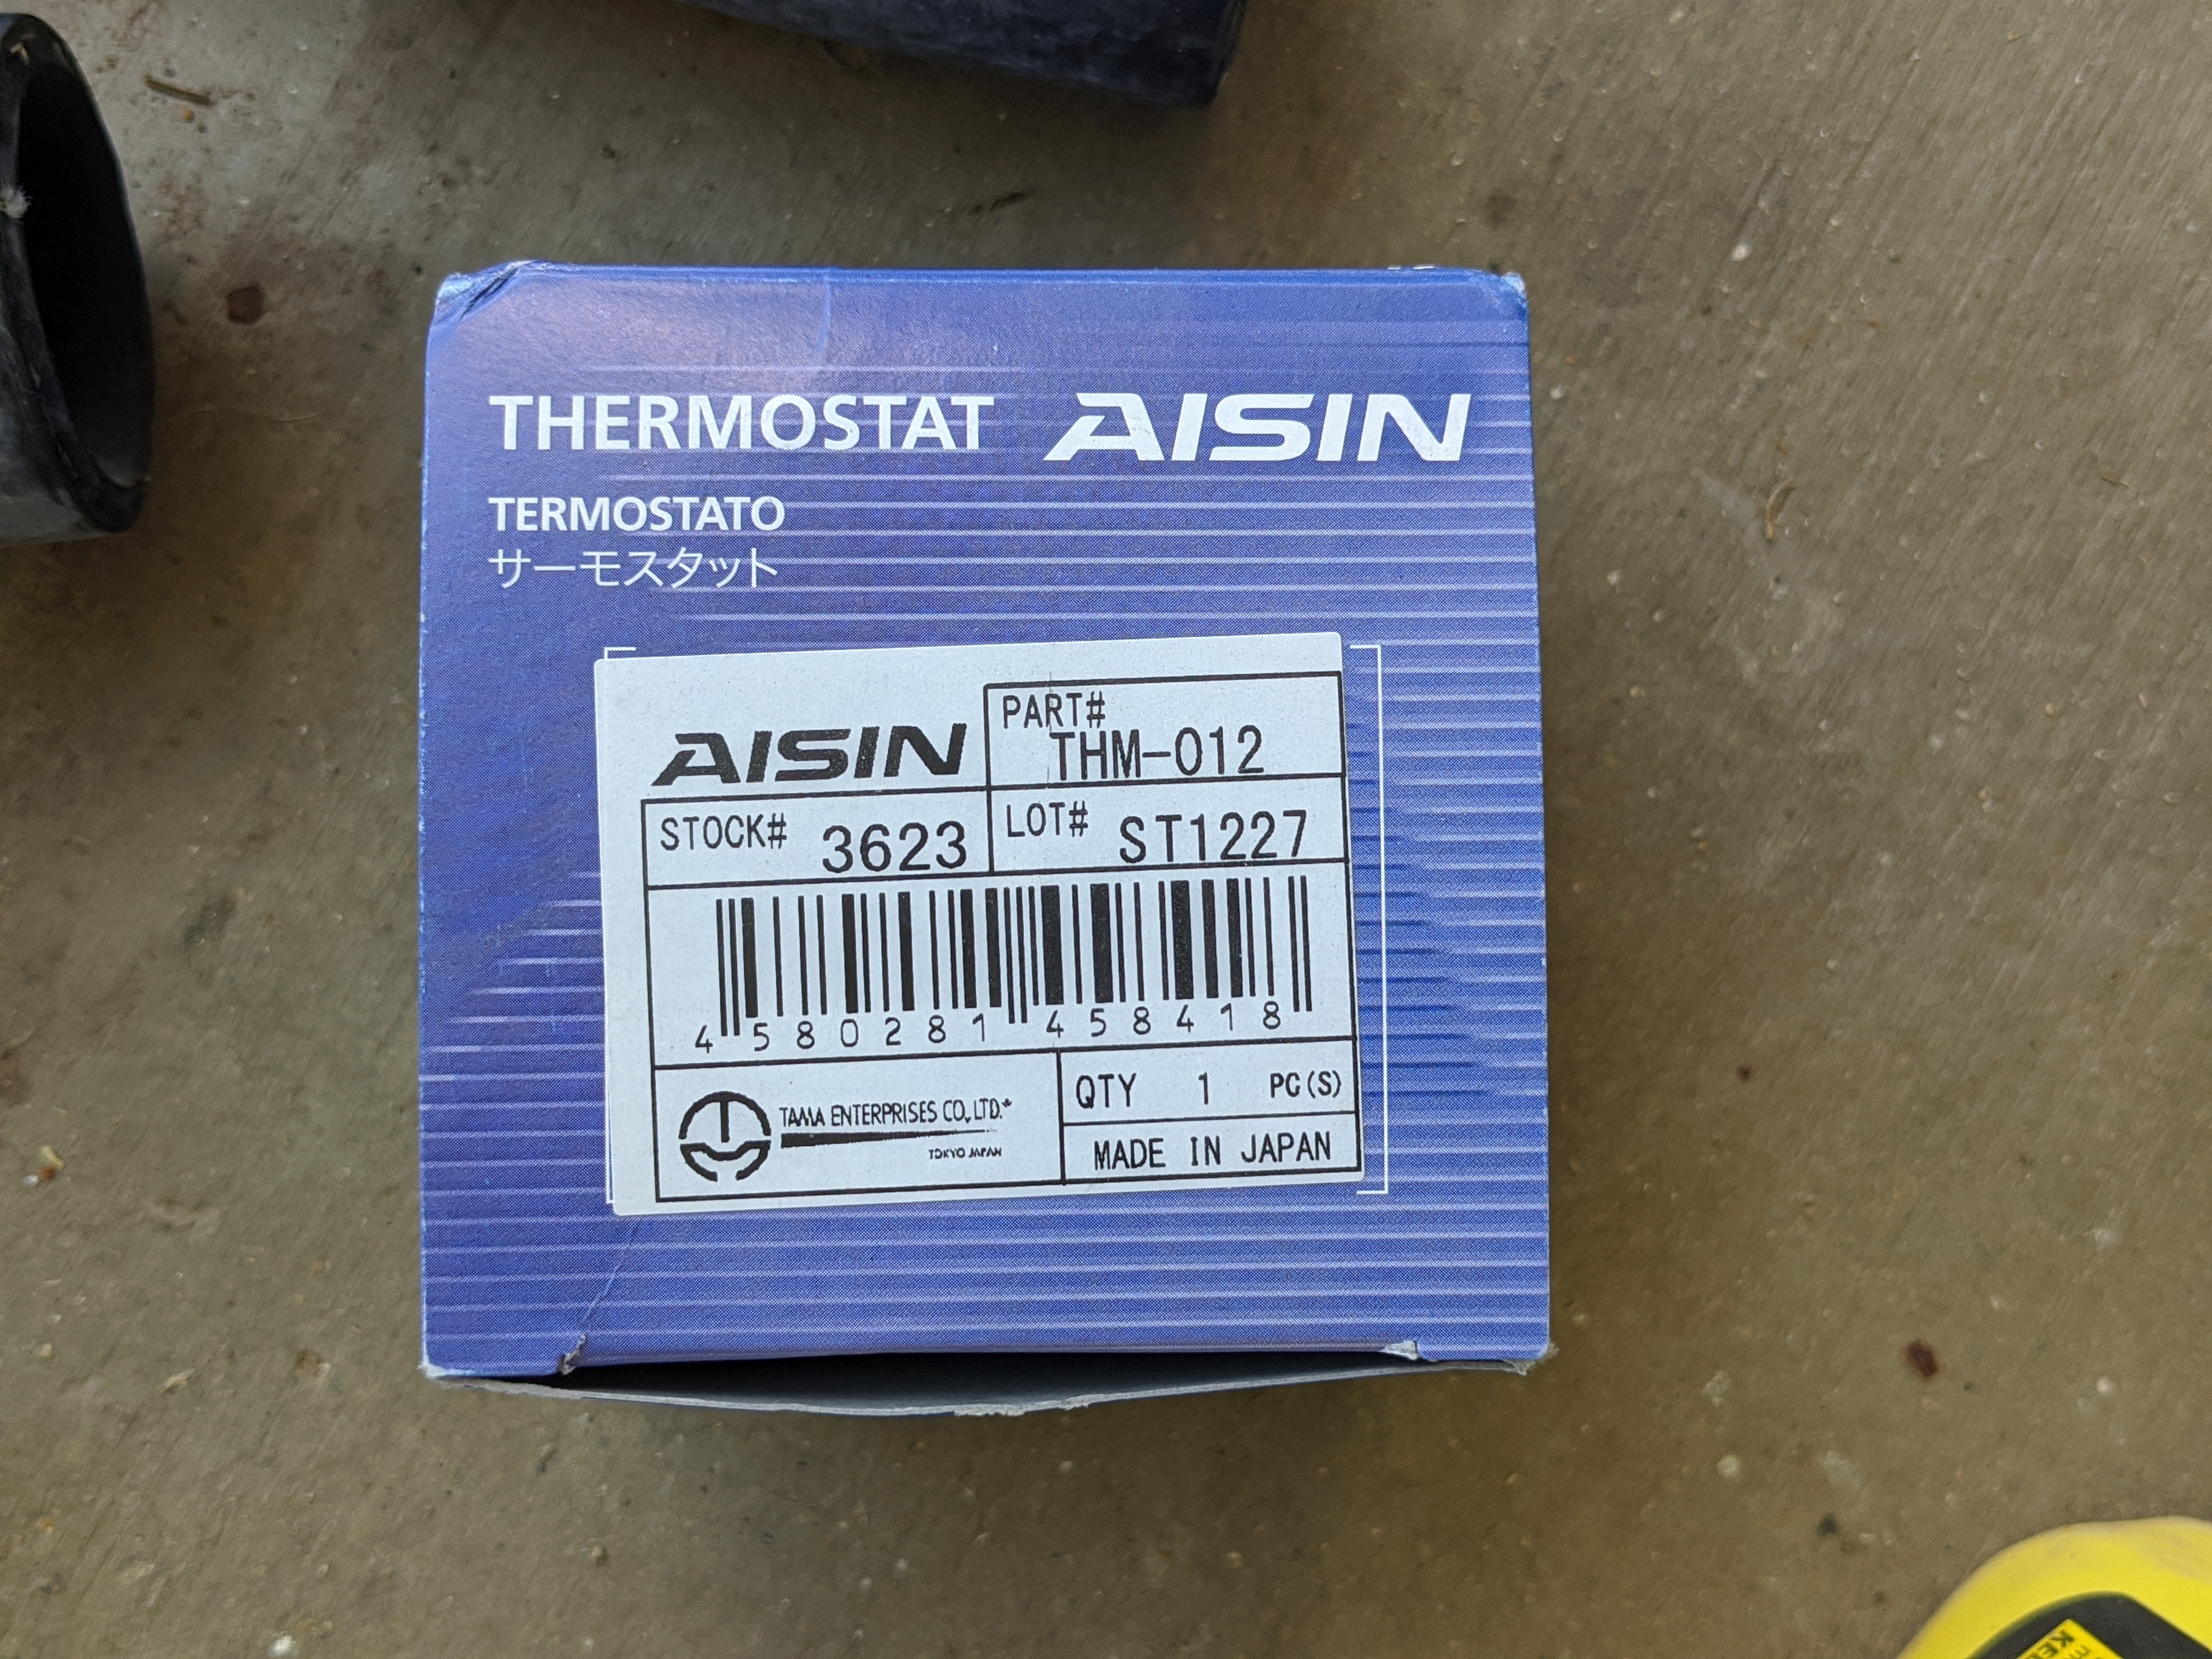
Checking a few of the online Mitsubishi Parts Warehouse-type places, I found the tstat listed as NLA. On a whim, I tried Ebay. And that’s where I found the AISIN unit.
It’s the same thing. Right down to the stampings (like those 555 tie rod ends) And it’s $19 shipped on Amazon. If I didn’t have a decent emergency spare right now, I’d grab a second just because.
Of course, things took a bit of a turn for the worst at this point…
I reinstalled the tstat housing (empty), slipped the new upper hose on, and poured two gallons of distilled water through the engine, preparing for final assembly. Then I went in and grabbed the fresh radiator out of the clean corner in the garage.
I gave it a final once-over and everything looked right. All metal. Same radiator cap and drain lines. Perfect. And then I went to bolt it in.
At first I thought I’d just bumped the AC clutch with the lower inlet pipe while lowing the radiator in place, but when I slipped it over the mounting studs on the core support, it was clearly making contact. If it wasn’t, there was no way I’d be able to get a hose on it.
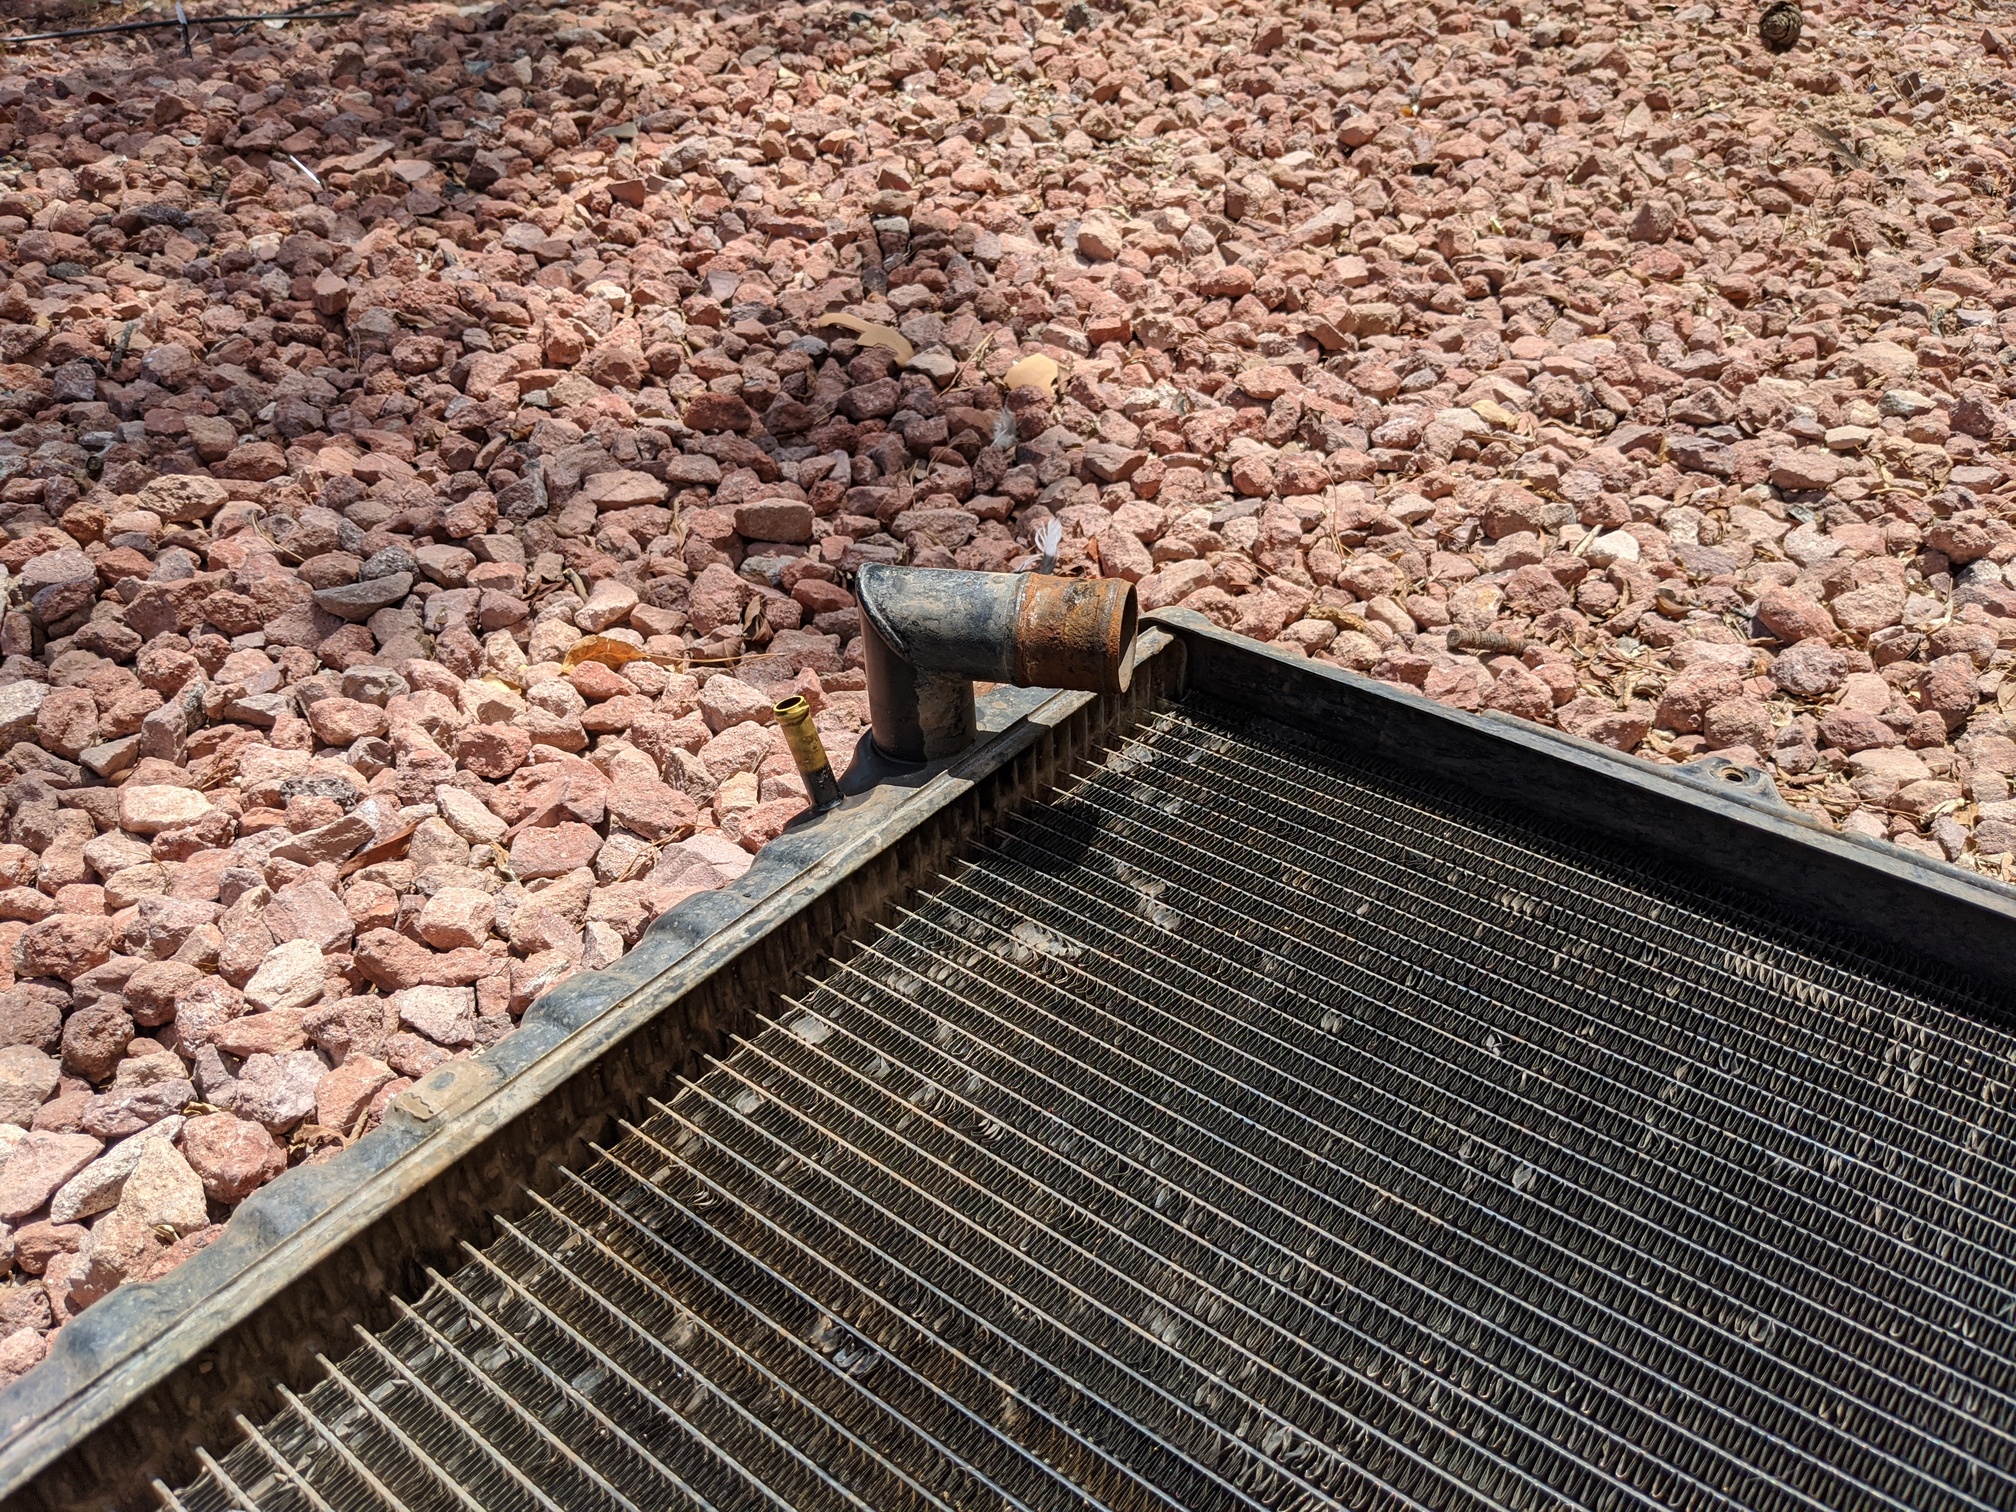
I pulled it back out and took a closer look.Wait a minute! This one has a radiused lower pipe. Mine has a hard 90° pie cut going on.
Now, this is a Montero radiator. I got it from Ryan, who is a long time, legit Montero guy. He knows his stuff. It was his rebuildable spare out of another Montero. But now I wondered, why was this lower pipe different from mine? Did the radiator shop have to replace the original piece? And did this stick out further than it was supposed to?
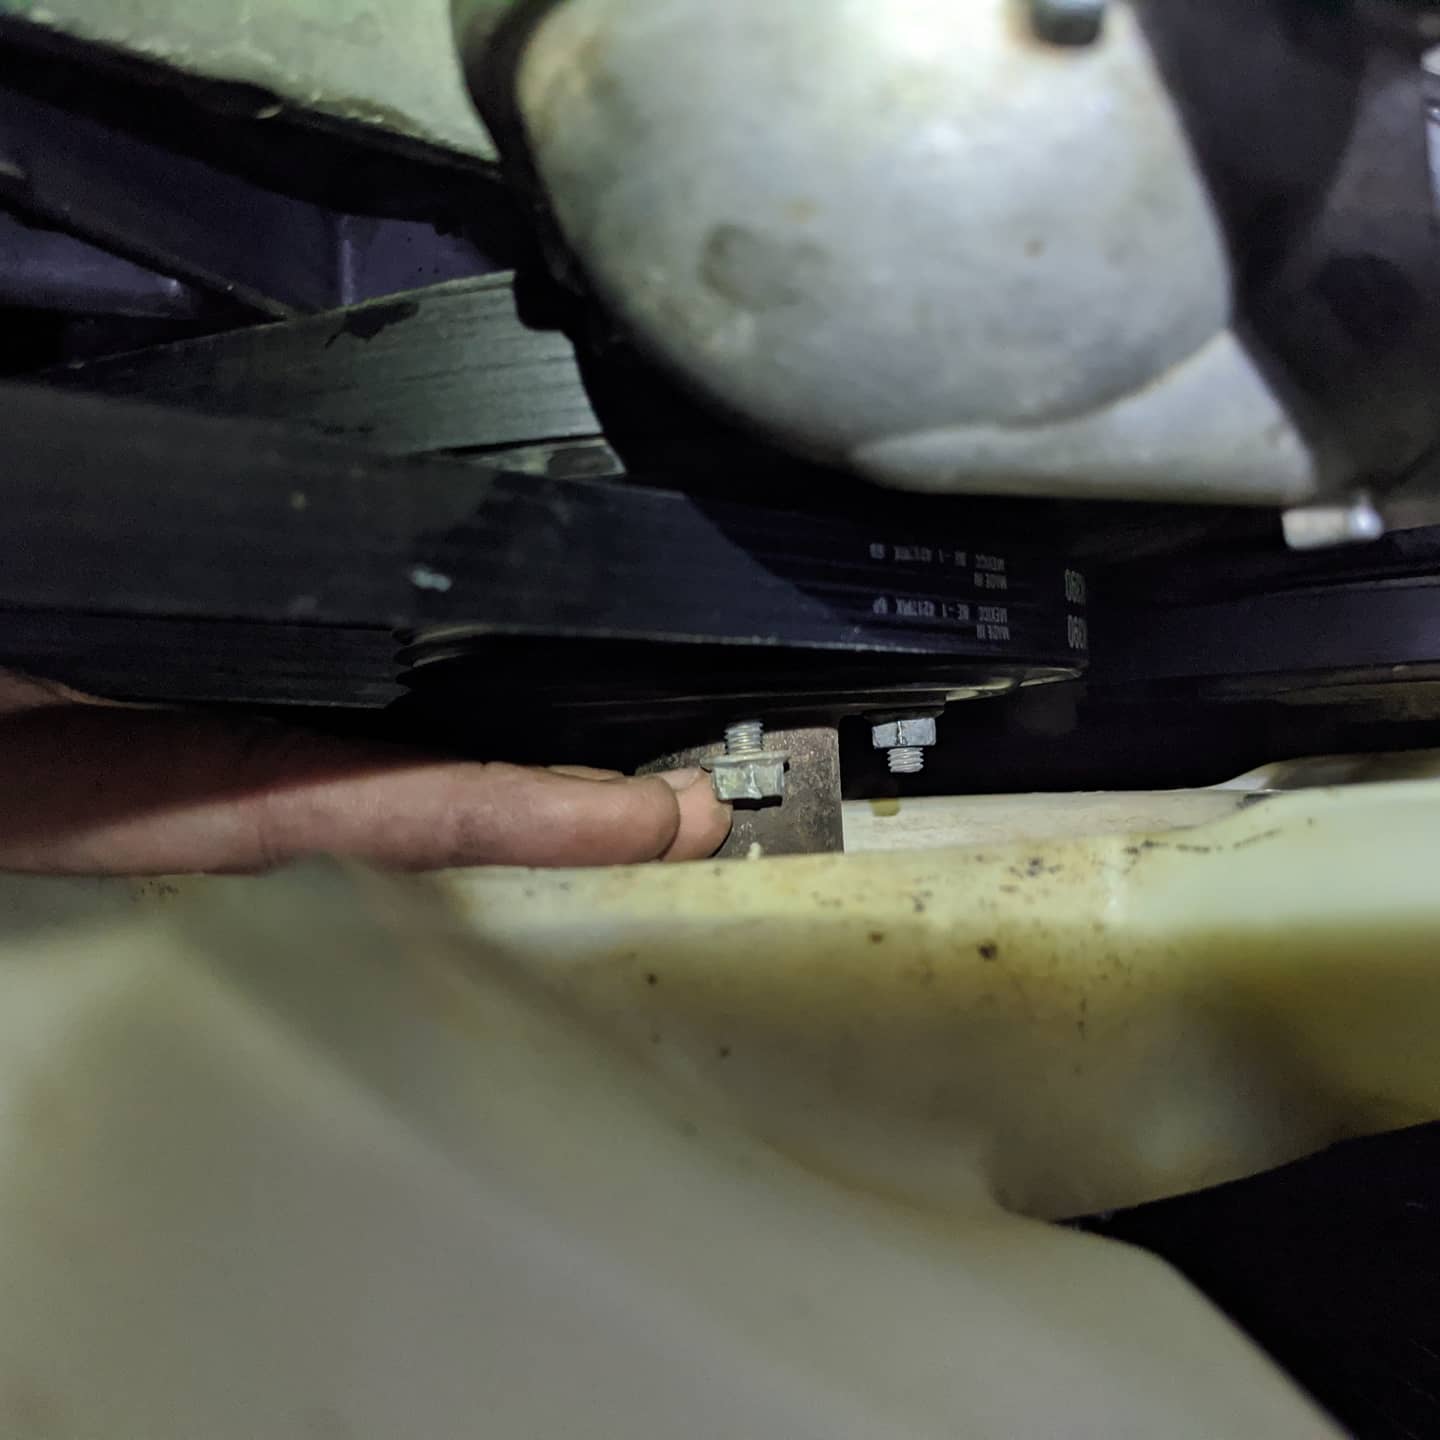
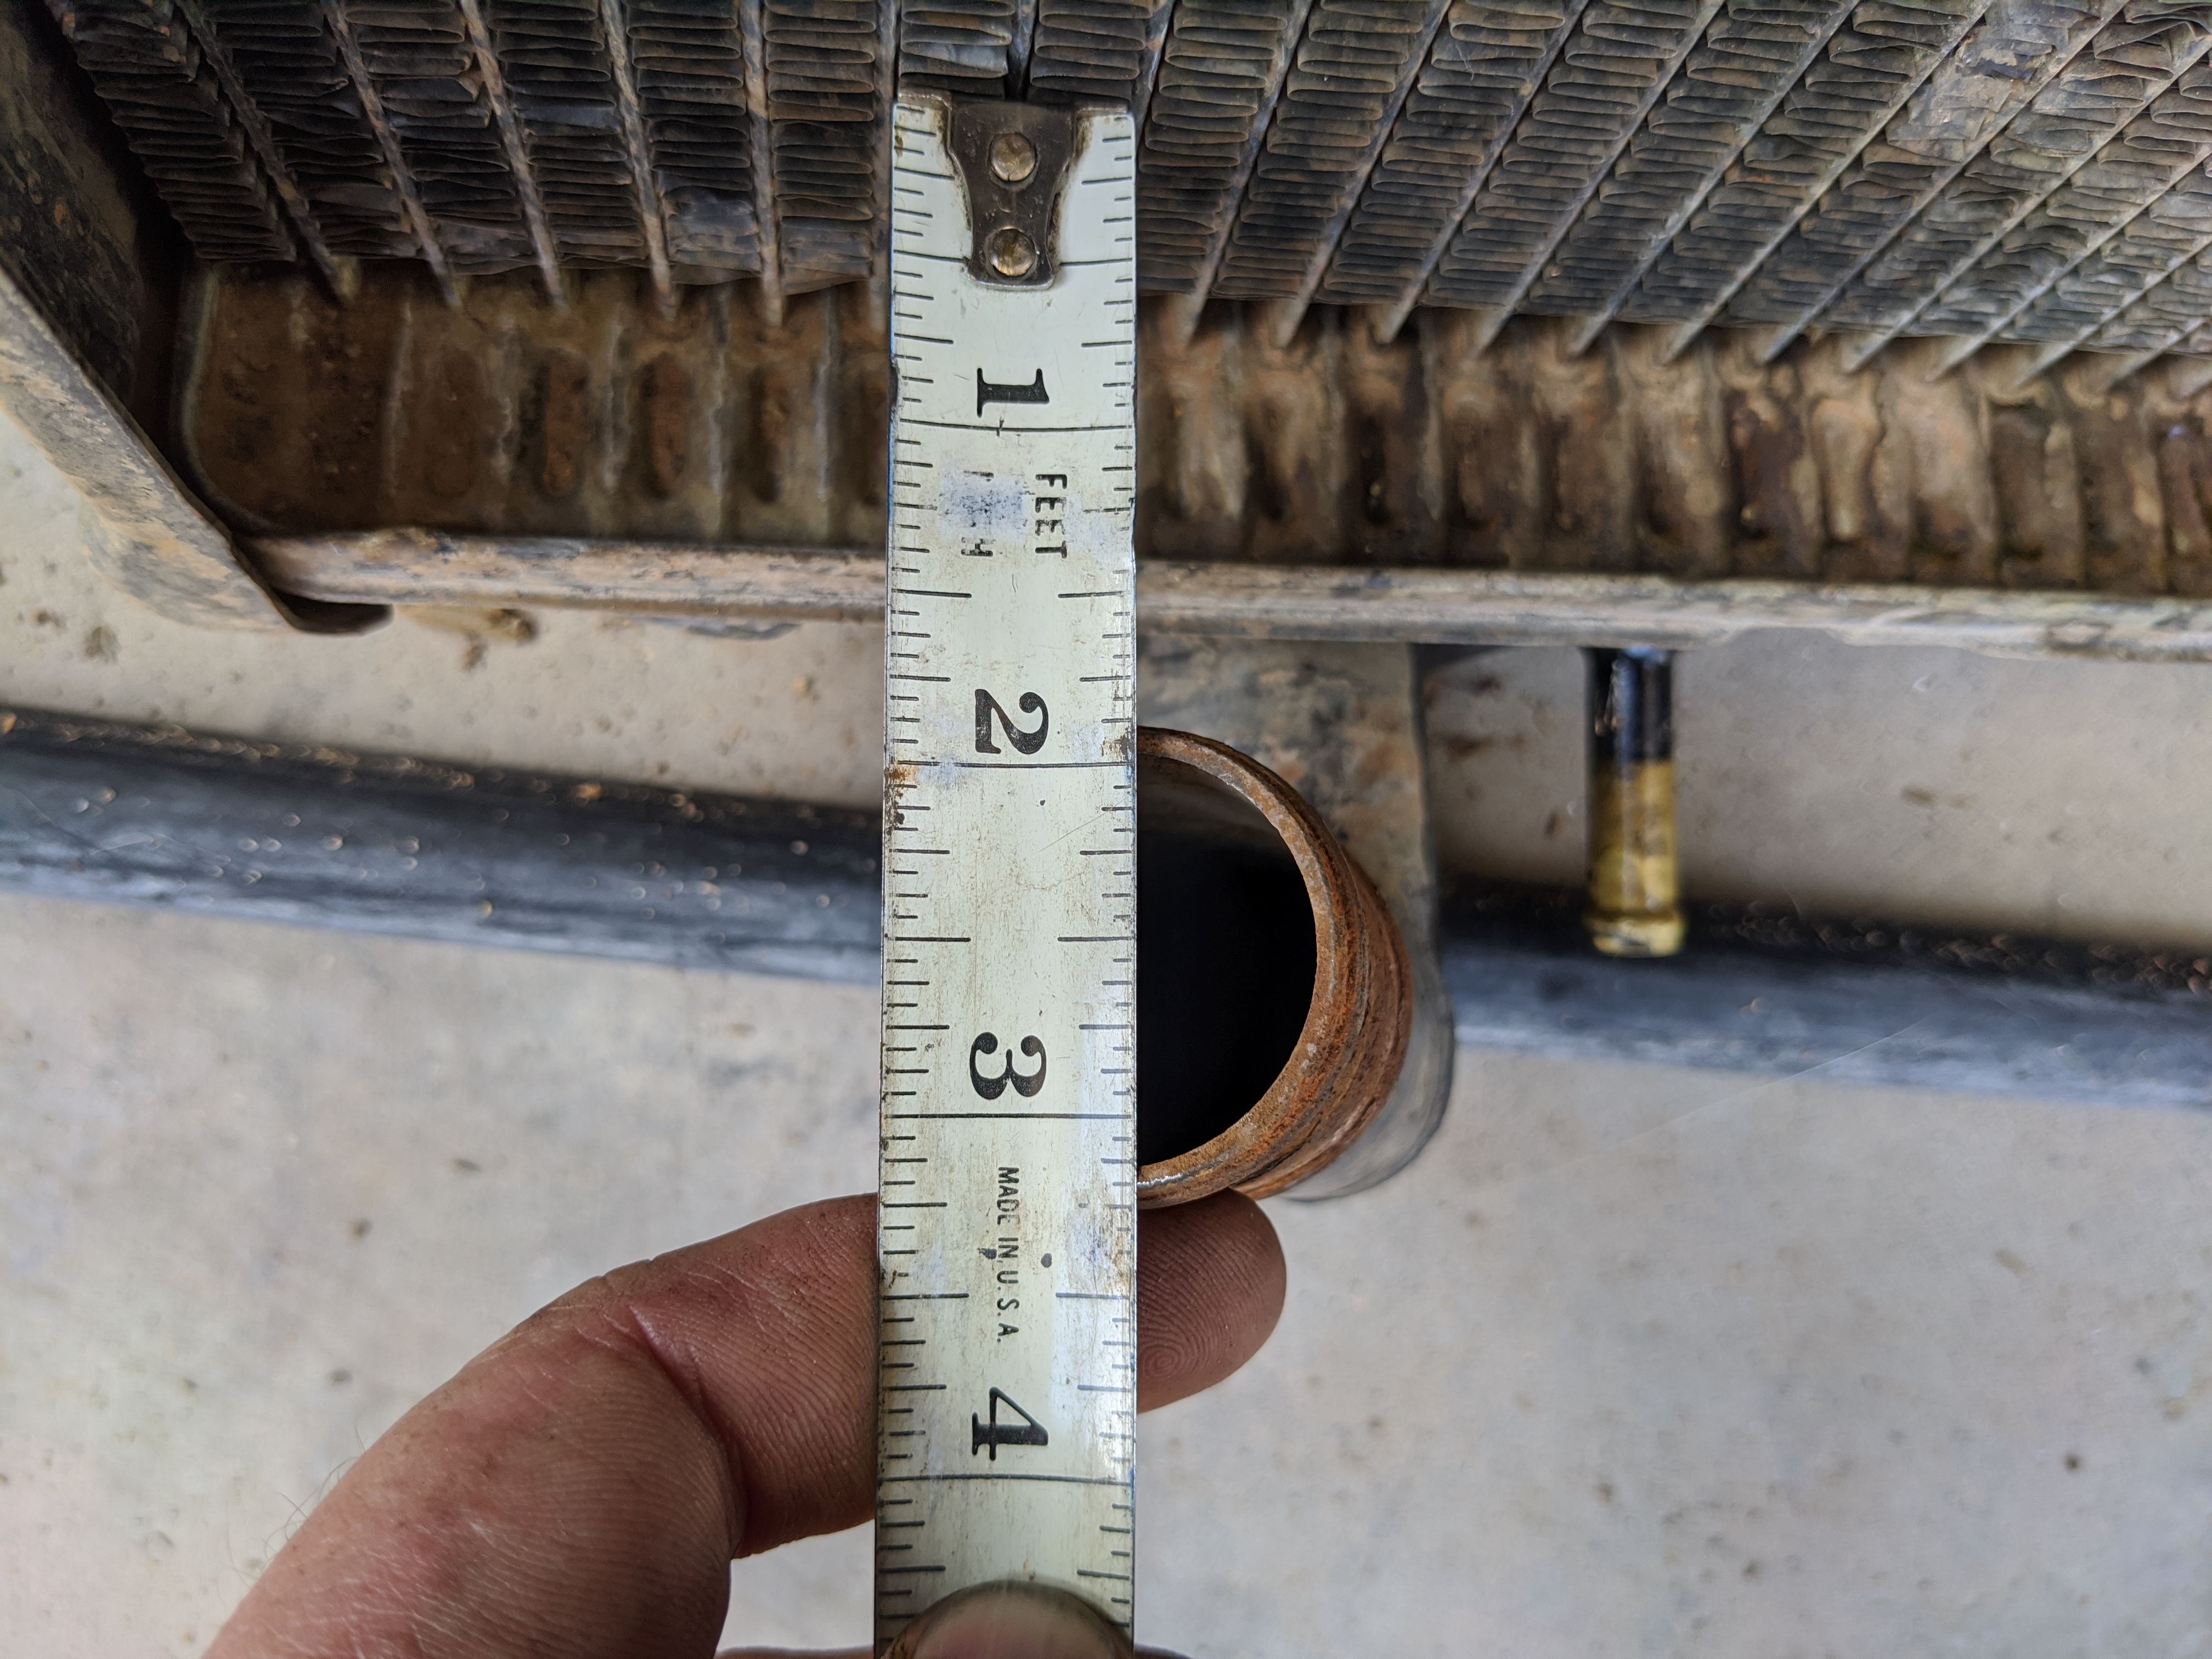
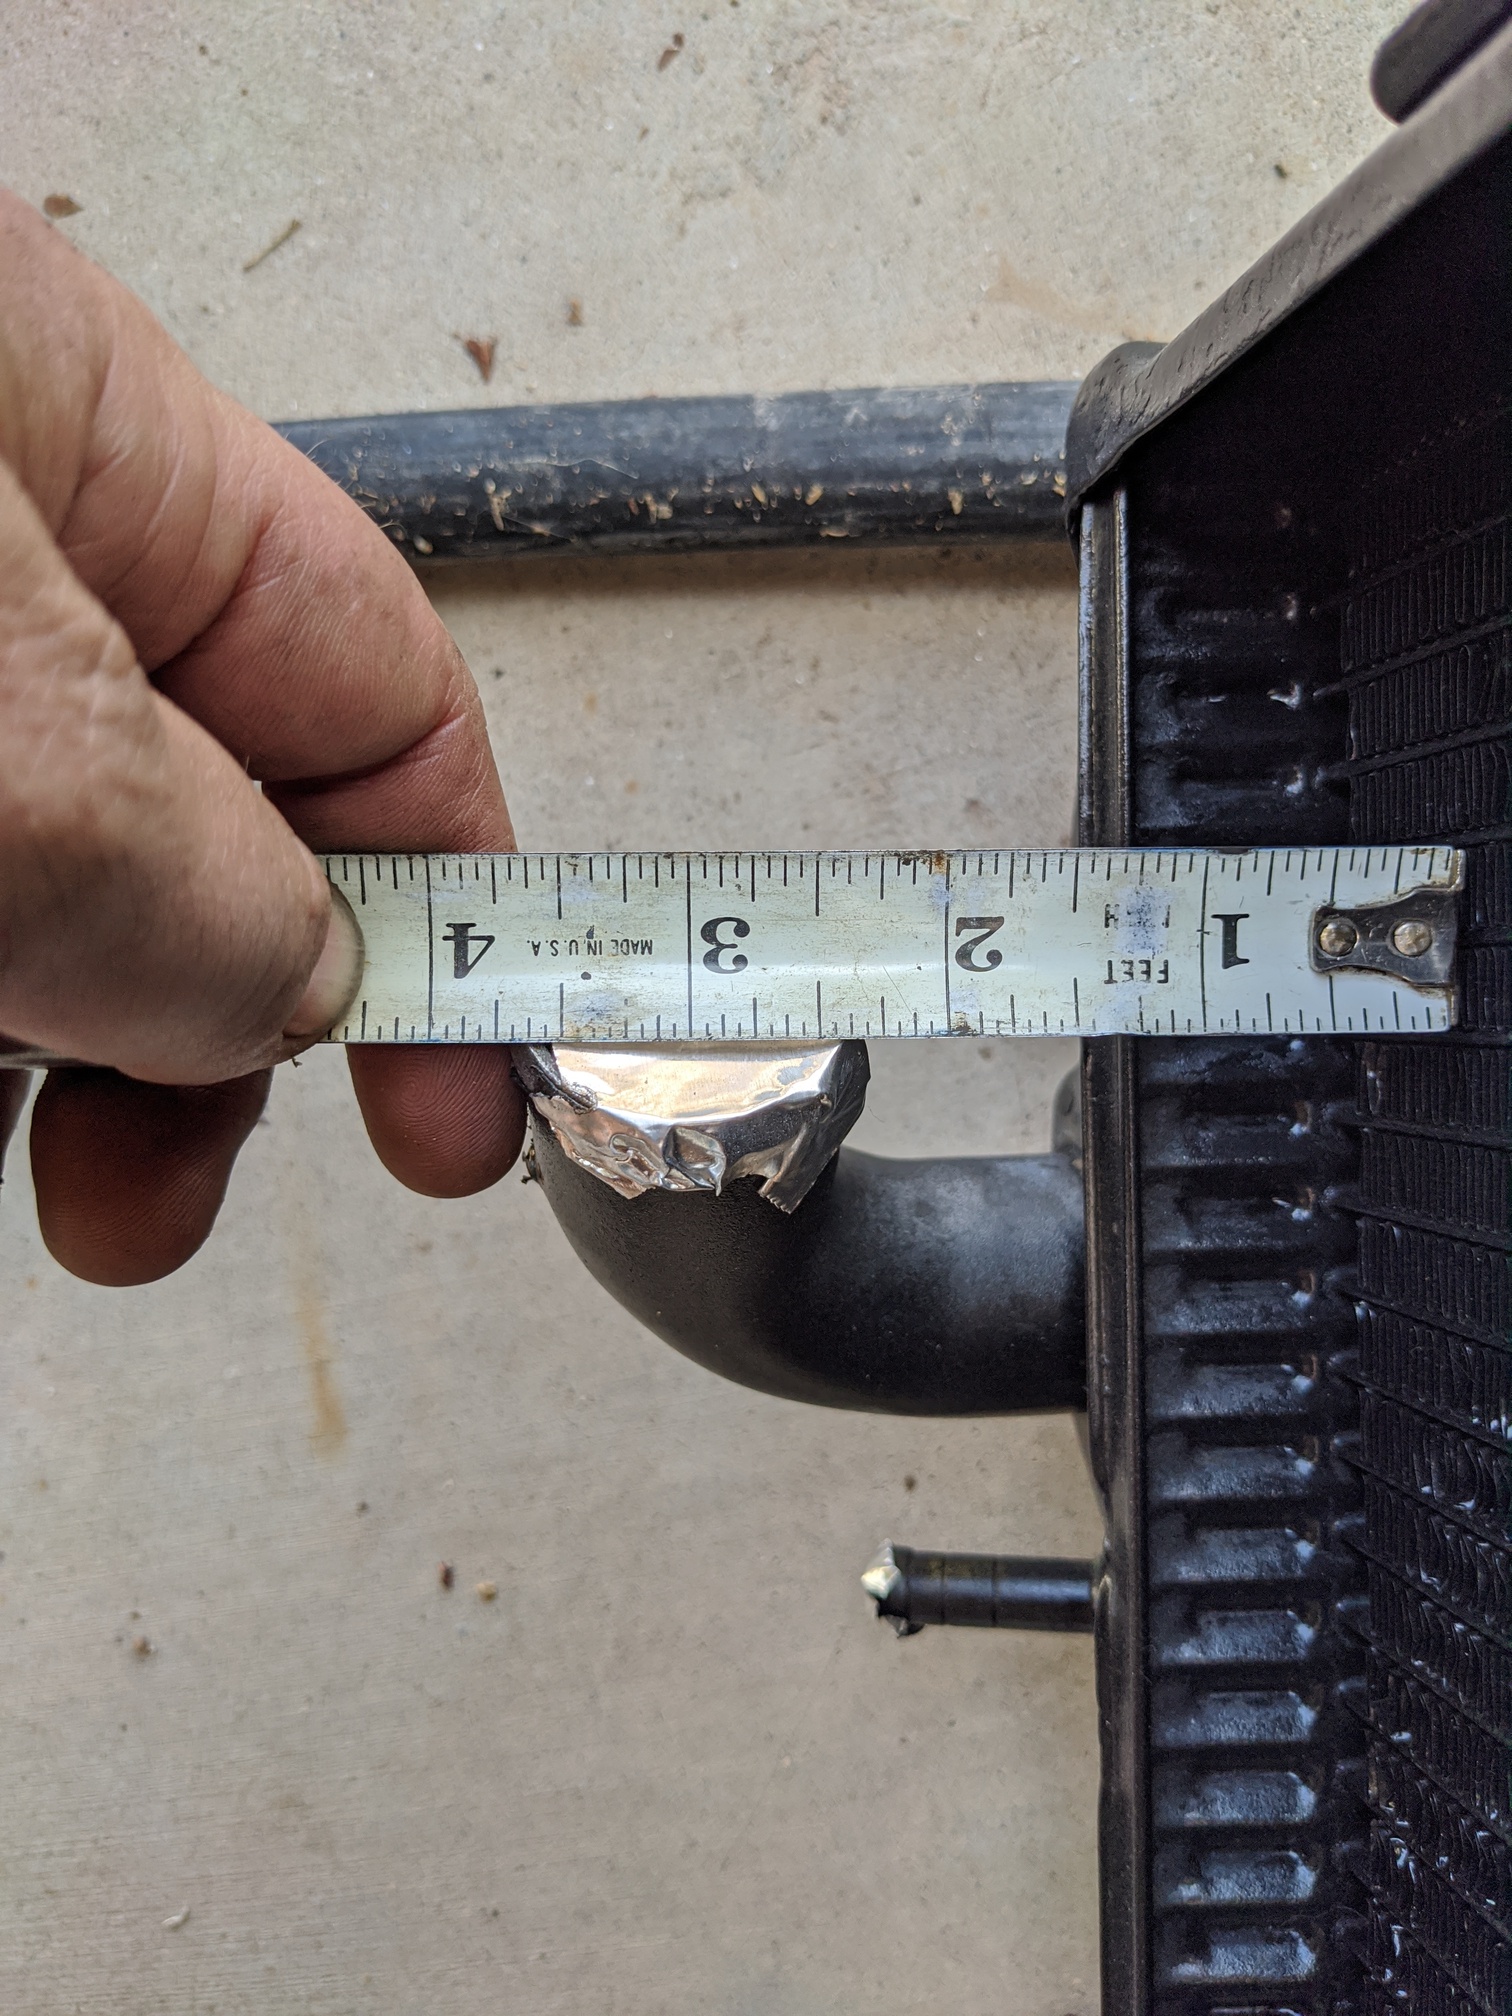
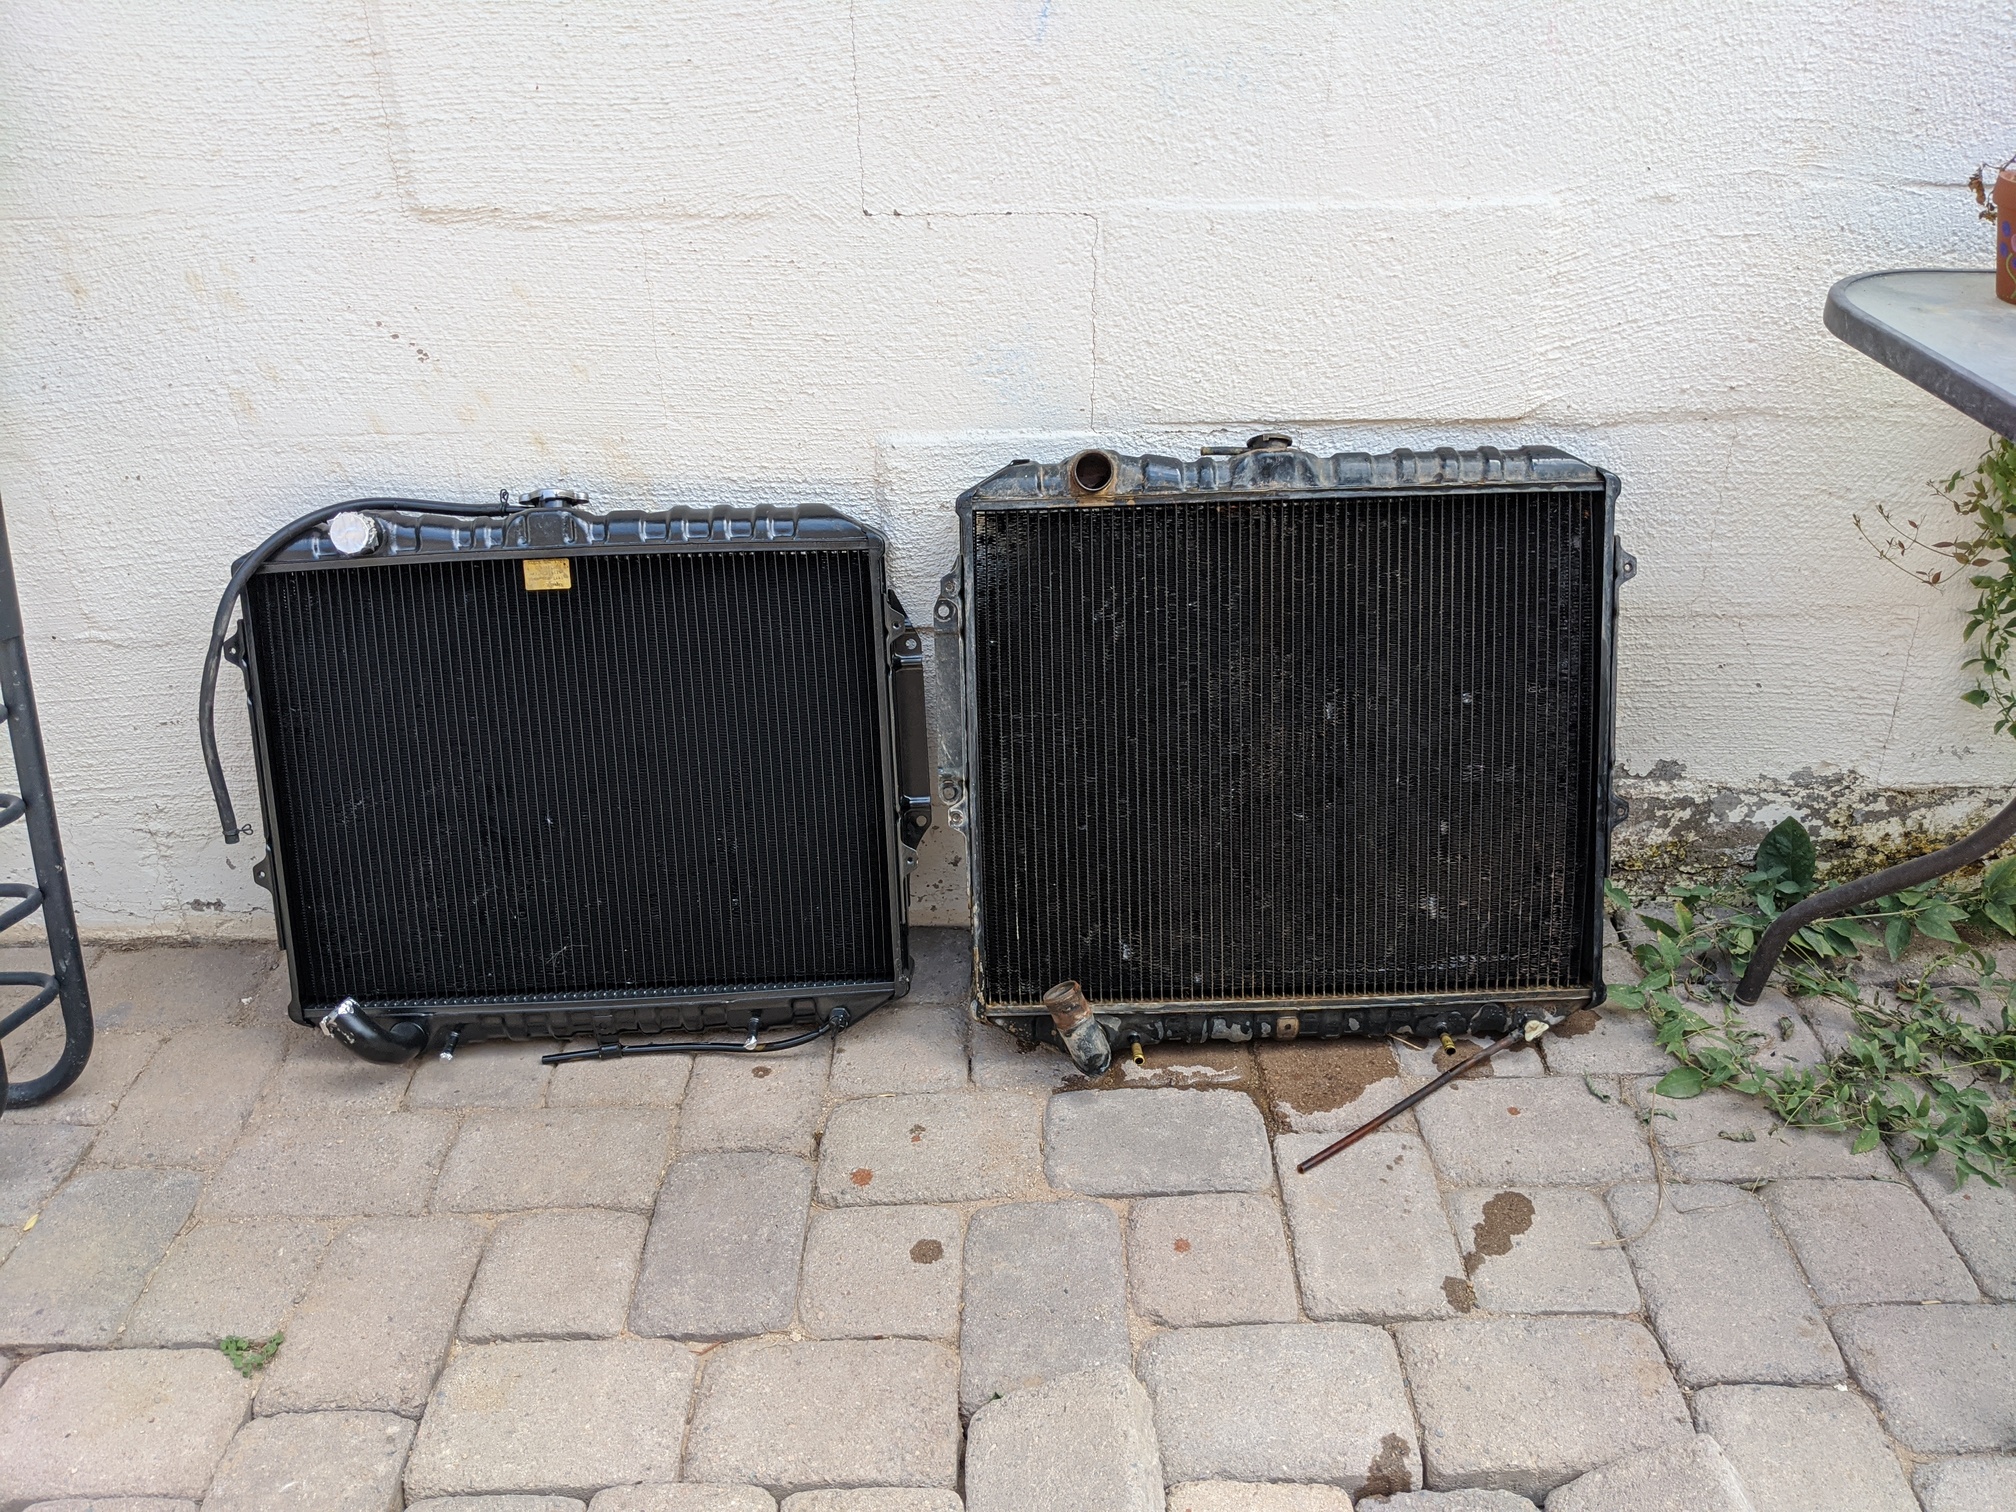
Roughly 3.25" from the core to the outer edge of the pipe on my old radiator.
3*.75"* on the new unit. The lower pipe sticks out a half inch further than it’s supposed to.
I had the wrong radiator. Damnit.
Texting back and forth with Josh, neither of us could figure out how this could have happened. Why was this one piece different between the two? As we made plans for him to come pick up both radiators on Monday and take mine to the shop for refurb (we were trying to minimize downtime, obviously), I tucked both radiators up against the wall on my patio to keep them out of the sun and elements until Monday.
And that’s when I saw it…
This was the first time I saw them side-by-side. Turns out the new one is a Montero radiator, but likely out of a 3.0L V6 first gen truck. The core itself is 1-2" shorter in both length and width. But look at how similar the rest of these things are!
The top tanks have the same ridges. The mounting tabs are opposite, but on the exact same centers. Technically, I could cut the elbow off the new radiator and run it just the same—but that would be stupid, doing all this work to resolve cooling issues only to install a smaller radiator.
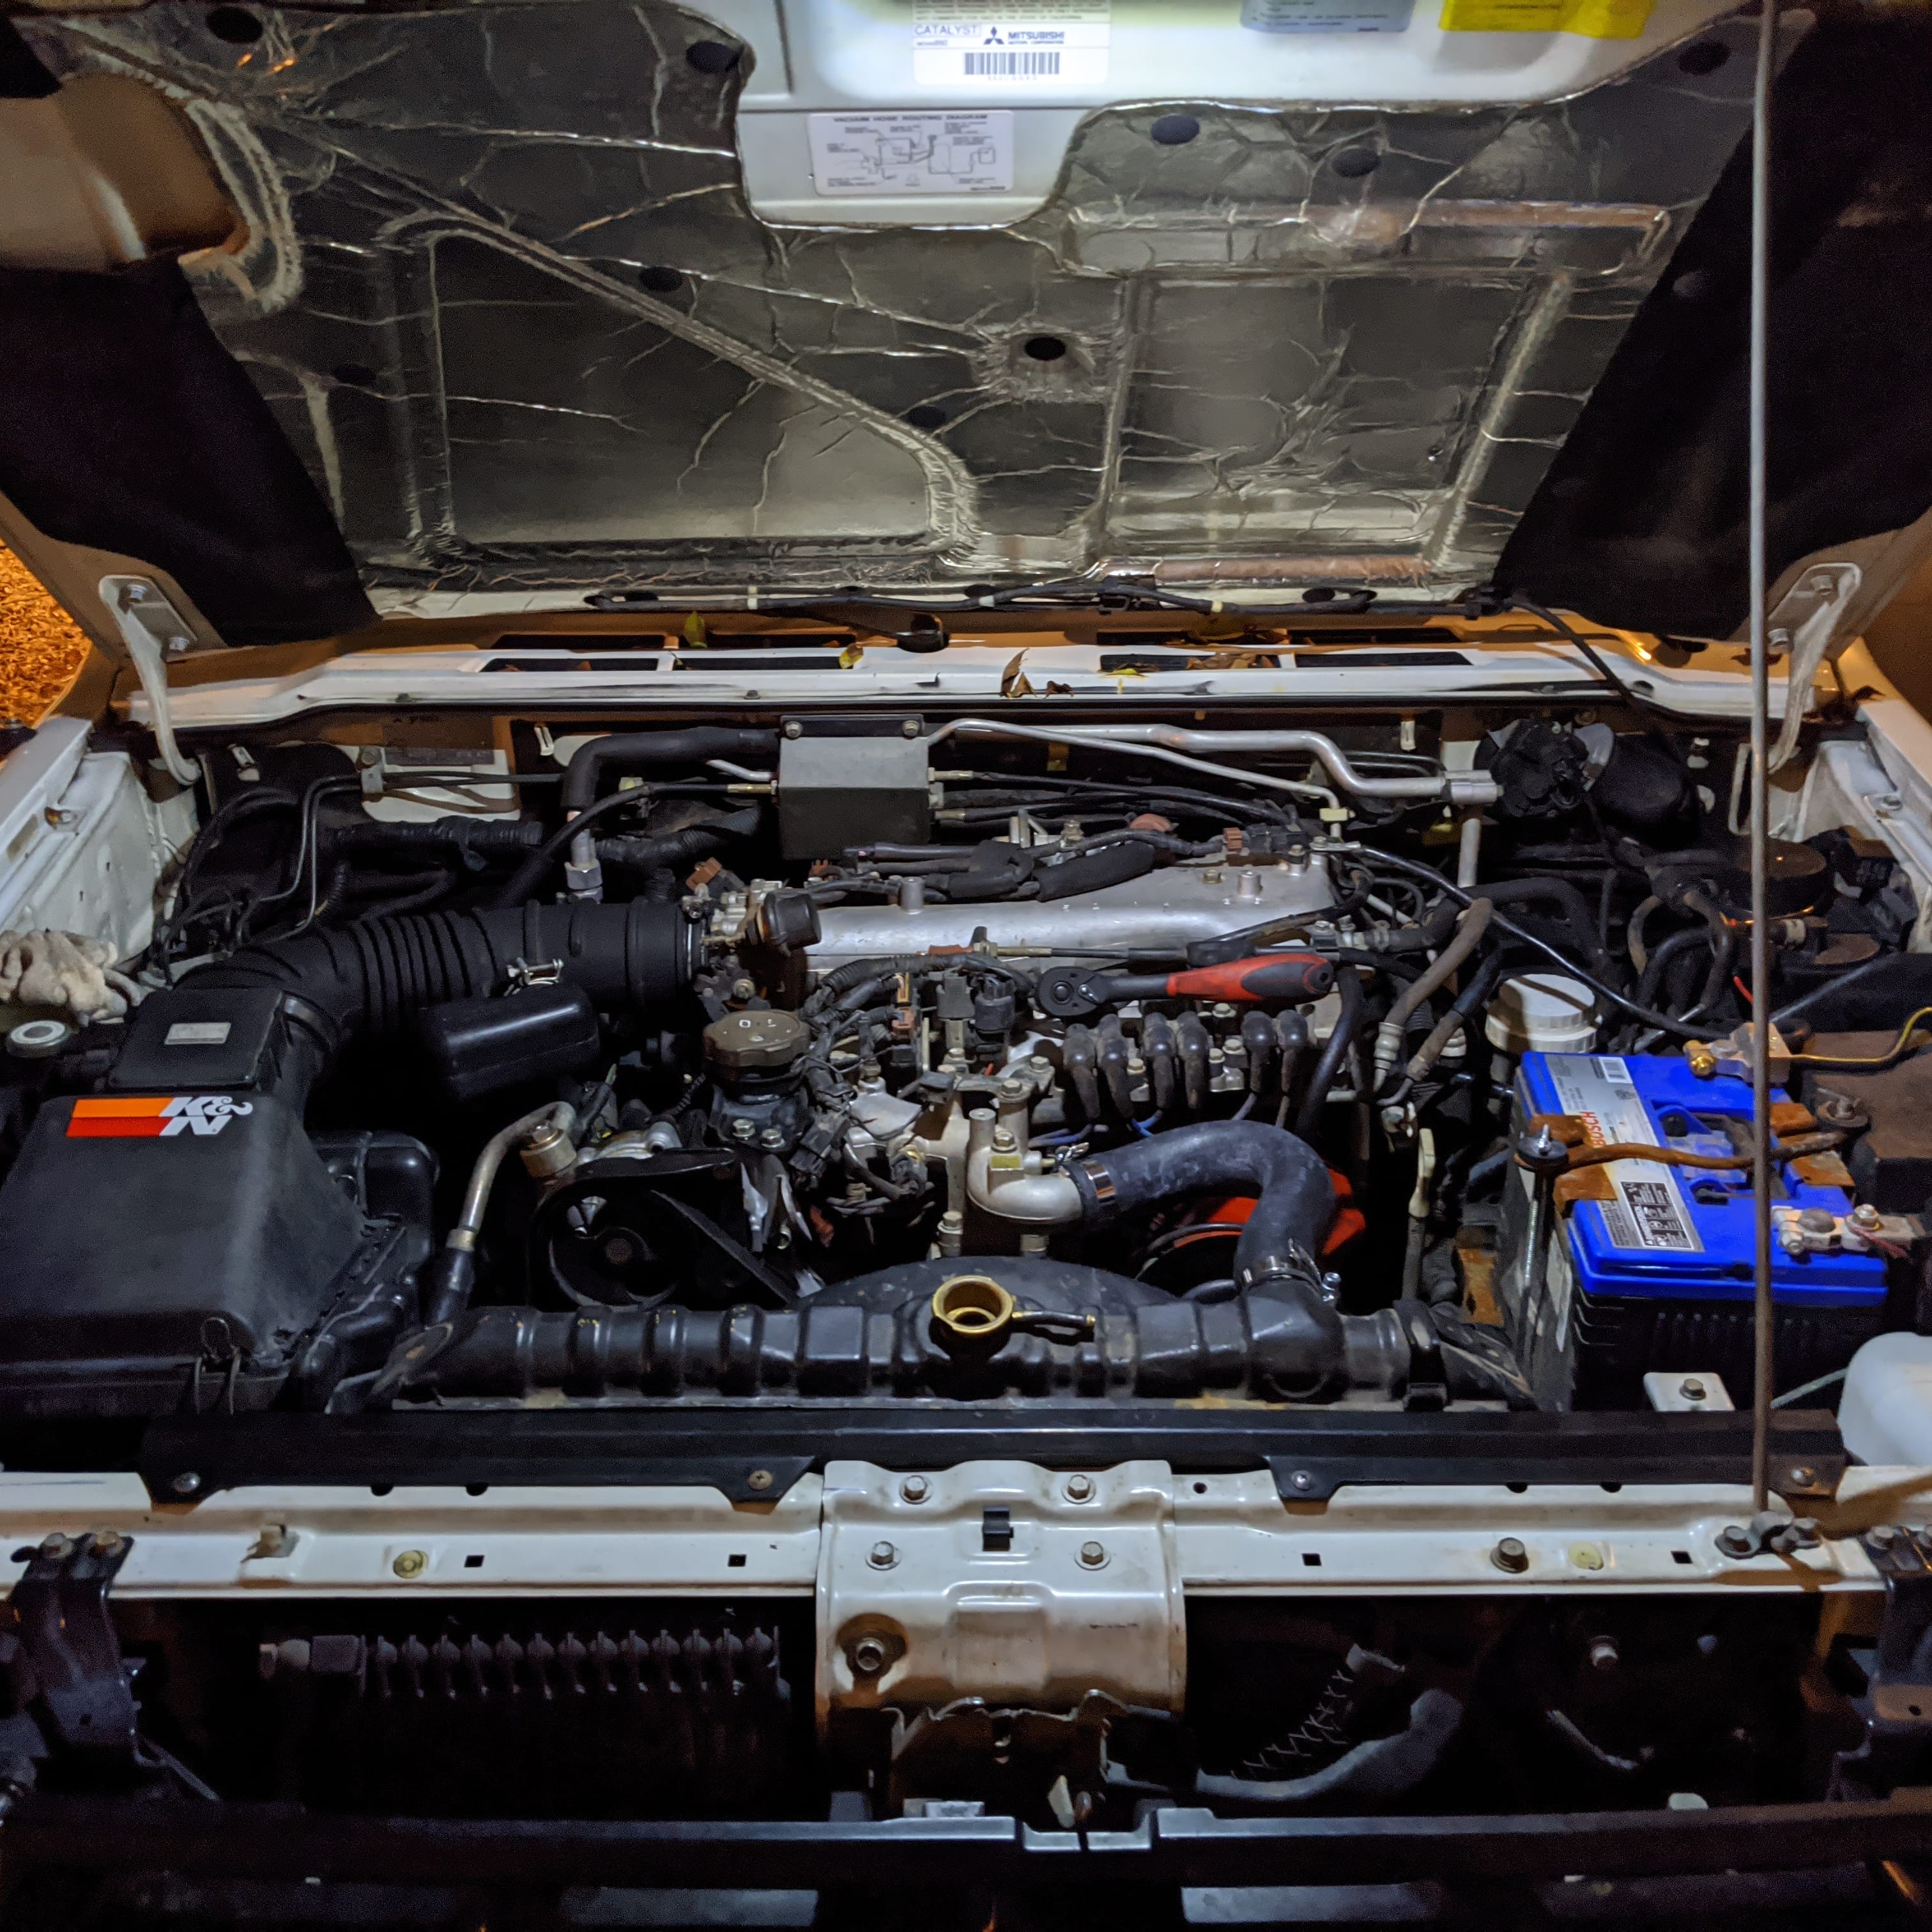
Josh picked up the radiators. Mines at the shop this week. I’ve got all new belts on order at NAPA, and it looks like I could afford to replace some weeping hoses while I’m in there. (Front axle is leaking from both sides, so a winter re-gear is looking likely, too.)
And now I’ve got all this access and time on my hands. I think I’ll do some detailing this weekend.


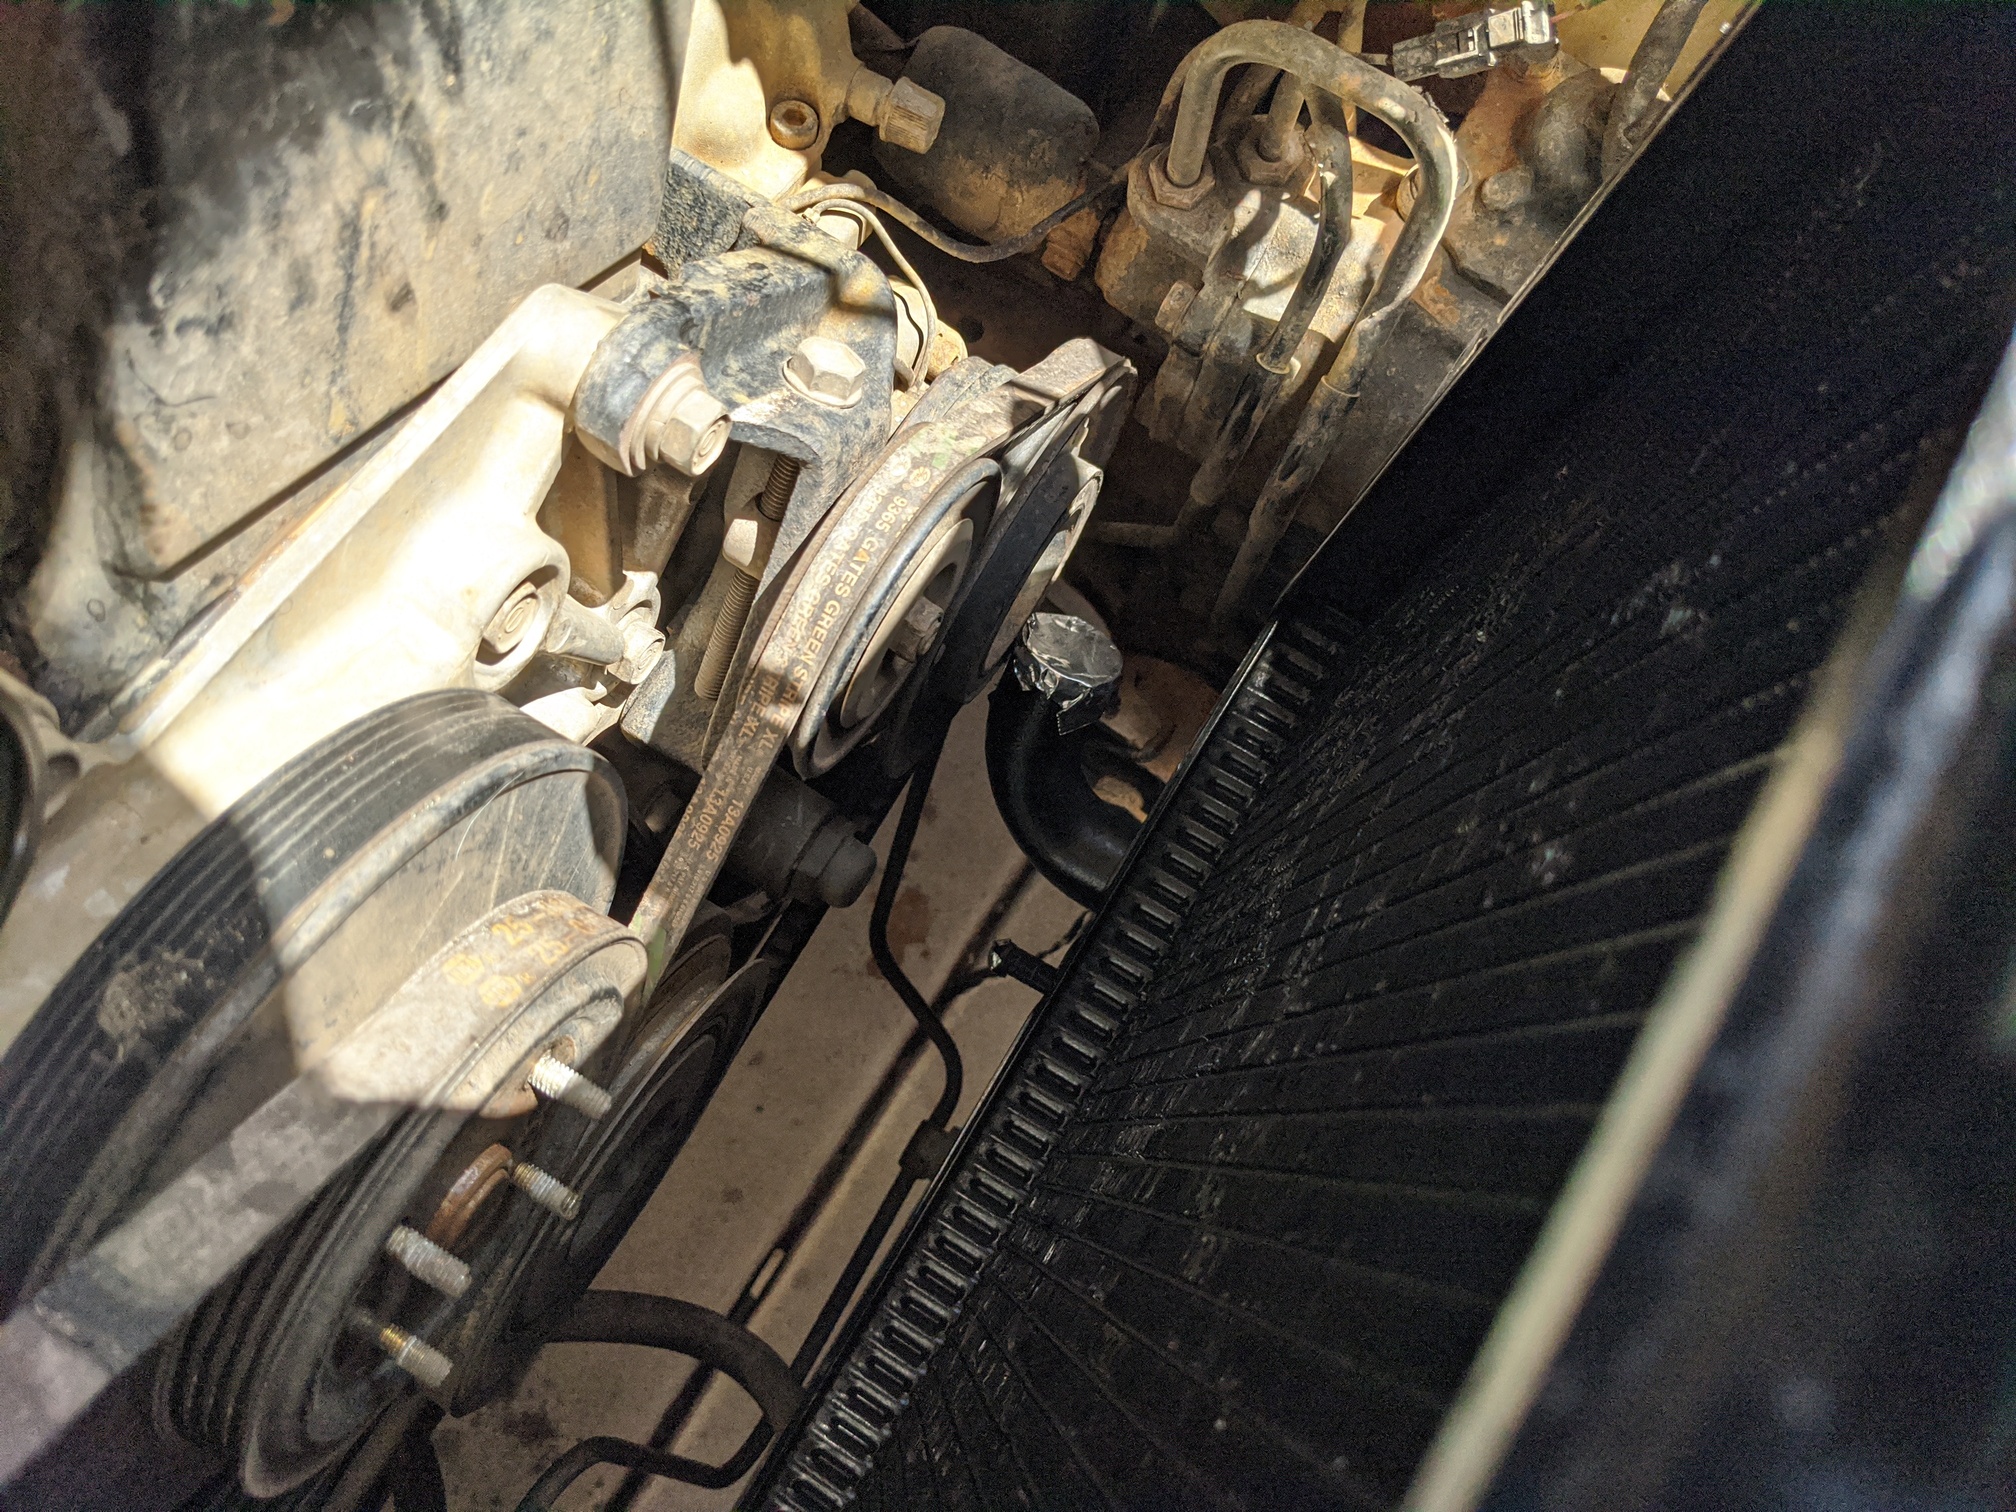


 ) and 25k ago, Josh did the belts while I was working on other things during the new engine install. So this was the first time I did anything more than fiddle with PS tension.